5. E-textiles
Research
I realized that on Sunday nights, instead of doing my gitlab, I had sudden urges to do my dishes.

I would like to find a way to make fabrics that are recharged by contact by taking the heat given off by the body or any other way to pick up energy where it is (sun, plants, bodies). Ref : Julie Merlino.
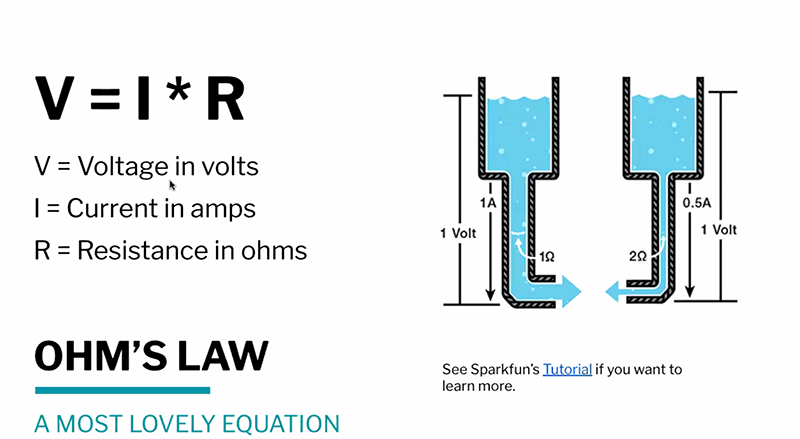
Class presented by Liza Stark refreshing memories of physic classes :
References & Inspiration
I don't have any references in this field but the class gave me some :
vocabulary
circuit = circuit
sensor = capteur
button = bouton
switch = interrupteur
Tools
- Confusing vocabulary, even in french :
Process and workflow
Circuit buttons + declinaisons
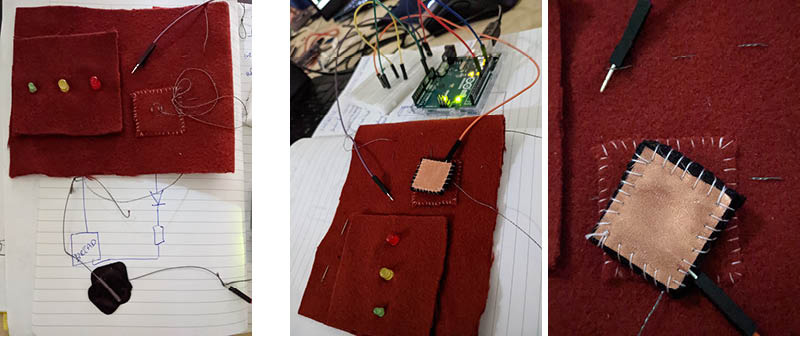
Learn how to integrate electronics into fabrics : lead wire, copper foil, diode, battery.
-
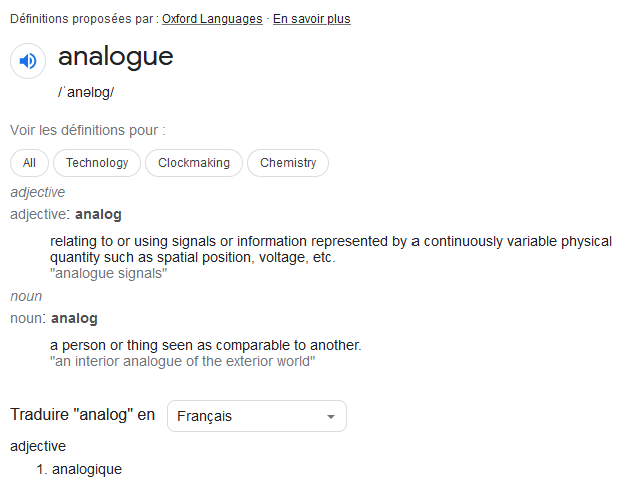
Analog switch in Velostat which is a conductive sheet, pressure sensitive
-
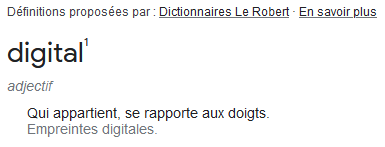
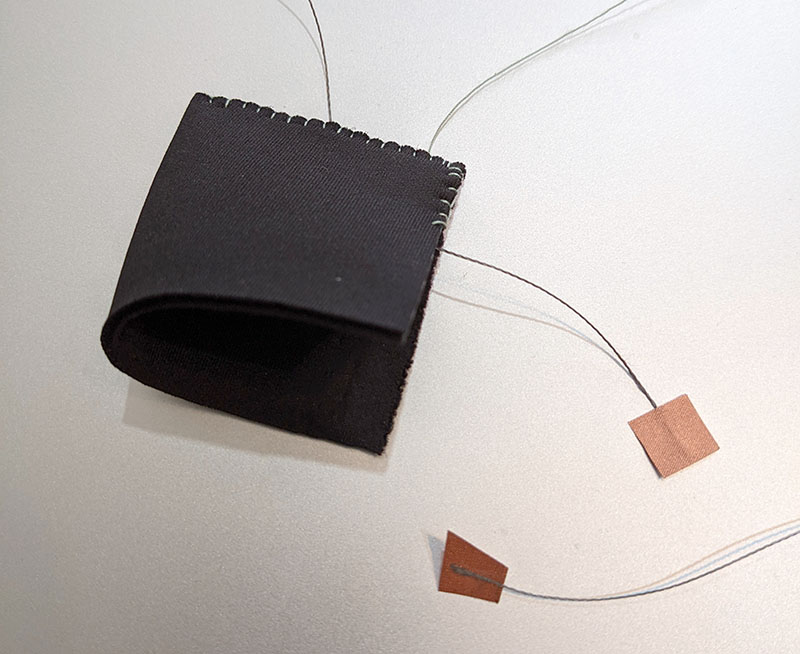
Digital switch in copper foil sandwiching a layer of perfored neoprene (isolating)
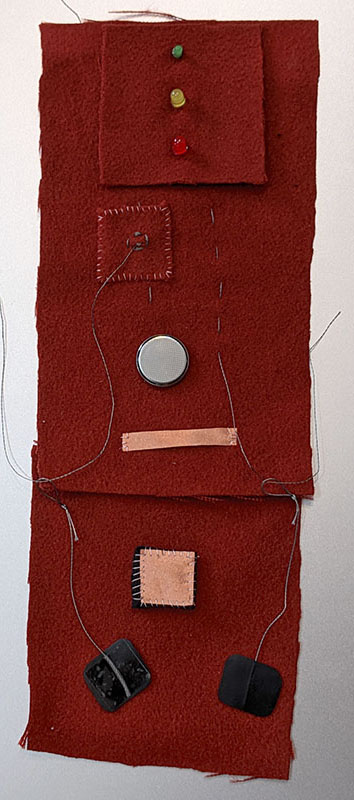
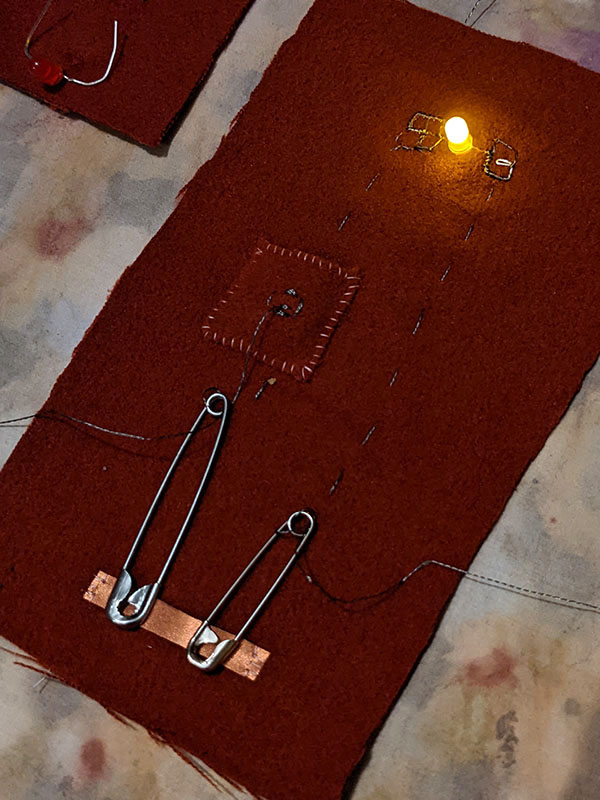
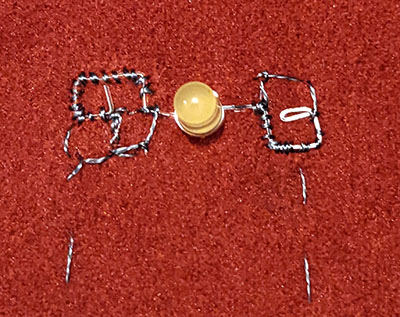
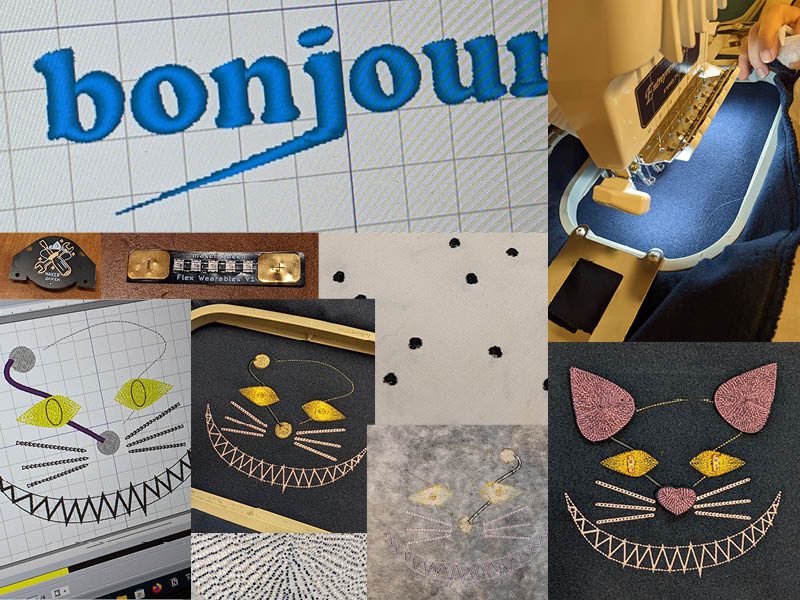
I embroidered each branch of the led in the shape of its charge, so as not to lose the sense of the circuit and try to the max to make my circuit look beautiful.
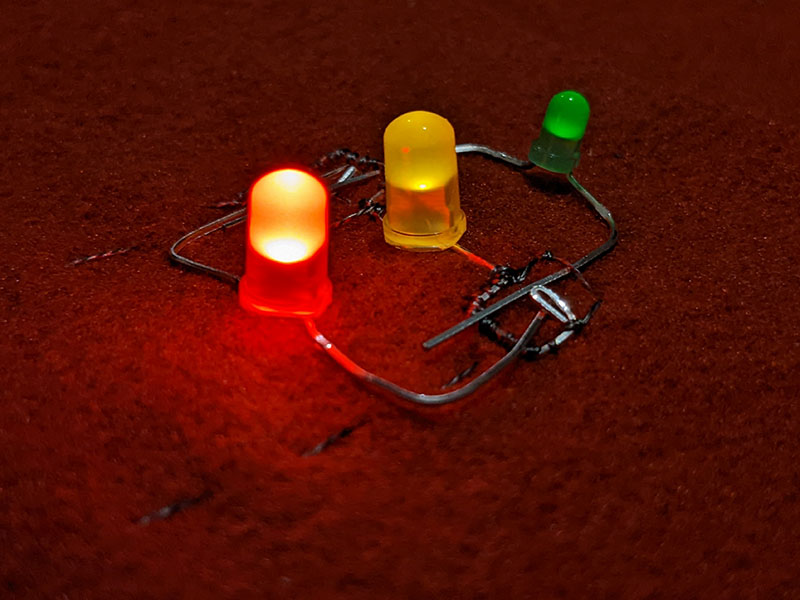
Finally, added two other led, looking like a traffic light :
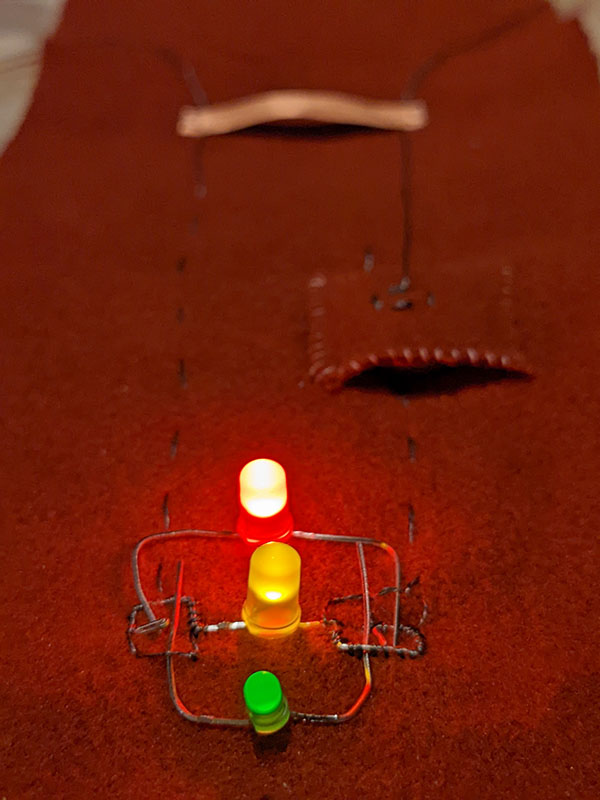
NB: something very simple, but very difficult to document. Having to press the ON/OFF button of the circuit, while holding the phone, having satisfactory balances between before and during lighting, focusing, launching the video... a headache!
I thought I could program a timing for each separately, but gone too far too fast.
Sew other tests buttons and contacts, but abandonned :
Conductive inks 2

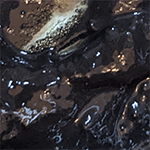
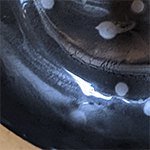
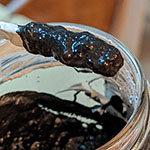
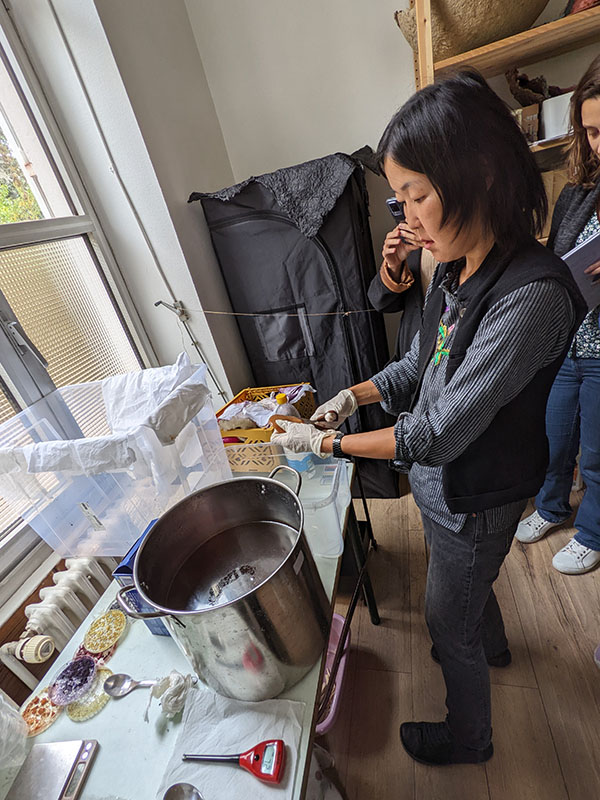
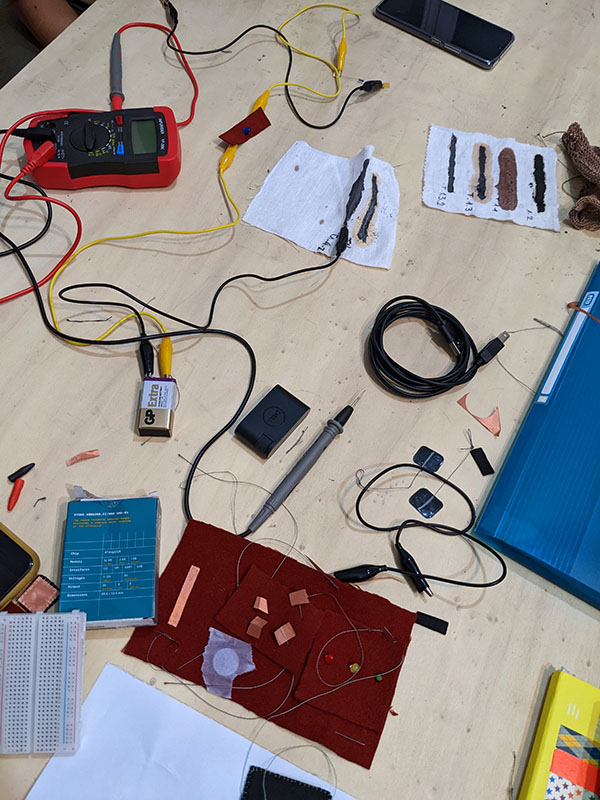
With Amandine and Laora, we created conductive inks, based on the printing inks used in week 04. We did a lot of very close tests by changing only one ingredient, which allowed us to immediately identify what was essential in our recipe and what was not.
Recipe
- 100ml of vinegar 8%
- 6g iron sulfate
- 5g of soda crystals
- Guar gum powder
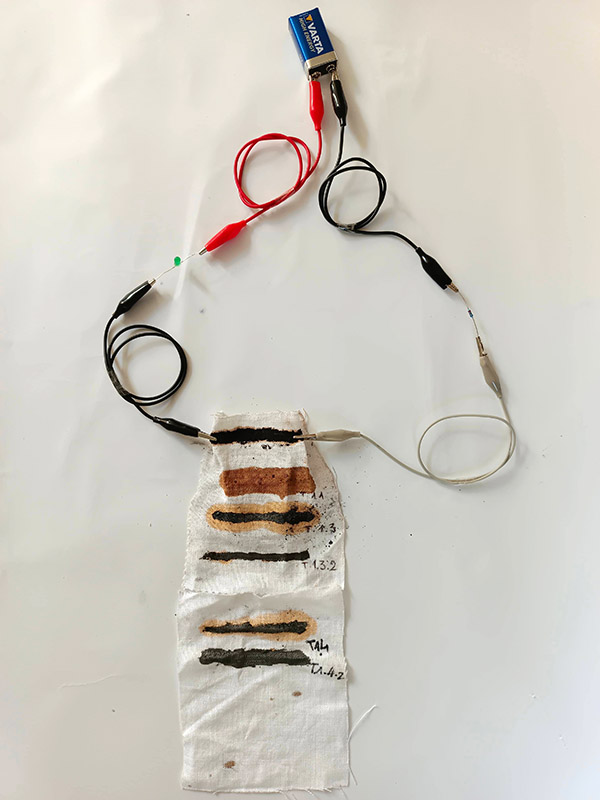
We were so impatient to see the results, we dried the inks with a hair dryer, and tested them in the process. The results were uneven, but all worked, at different light intensities. T.1.4 in image 5 being the weakest and T.1.4.2 the strongest (these are both variations of an ink, without and with guar gum). Our conclusions were hastily positive.
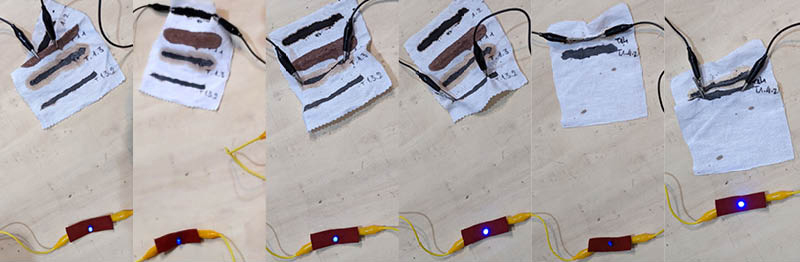
| yes | no | yes | big yes | no | big yes |
Test 1.1 💡 2,6 mega Ω
- 10g de la solution Test 1.
- Mélanger avec de la gomme de guar jusqu’à obtenir une texture se rapprochant du miel.
Test 1.2 - 💡 0,410 mega Ω
- 10g de la solution Test 1
- Ajouter 5g d’oxyde de fer noir
- Gomme de guar
- Bien mélanger (attention aux grumeaux)
Test 1.3 💡 1mega Ω
- 10g de la solution Test 1
- 2g de graphite (Mikro Graphit 10my99)
- test sans gomme de guar
Test 1.3.2 💡💡 50kilo Ω
- 10g de la solution Test 1
- 2g de graphite (Mikro Graphit 10my99)
- Gomme de guar
Test 1.4 💡 7,3mega Ω
- 10g de la solution Test 1
- 2g de graphite
- 2g encre sérigraphie pour textile
Test 1.4.2 💡 💡💡 19,5 kilo Ω
- 10g de la solution Test 1
- 2g de graphite
- 2g encre sérigraphie pour textile
- Gomme de guar
A few days later, we redid the tests, first to take better rendering photos, because we realized that in the rush, we had not captured these tests very well. The inks had had time to dry longer.
All the intensities went down, there were very few satisfactory results. We concluded that the first tests must have benefited from the humidity of the inks that were still too fresh.
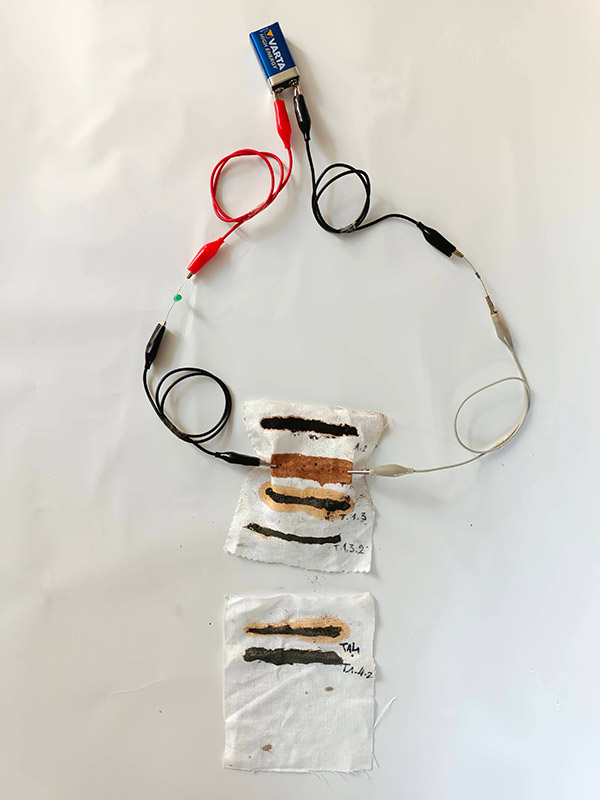
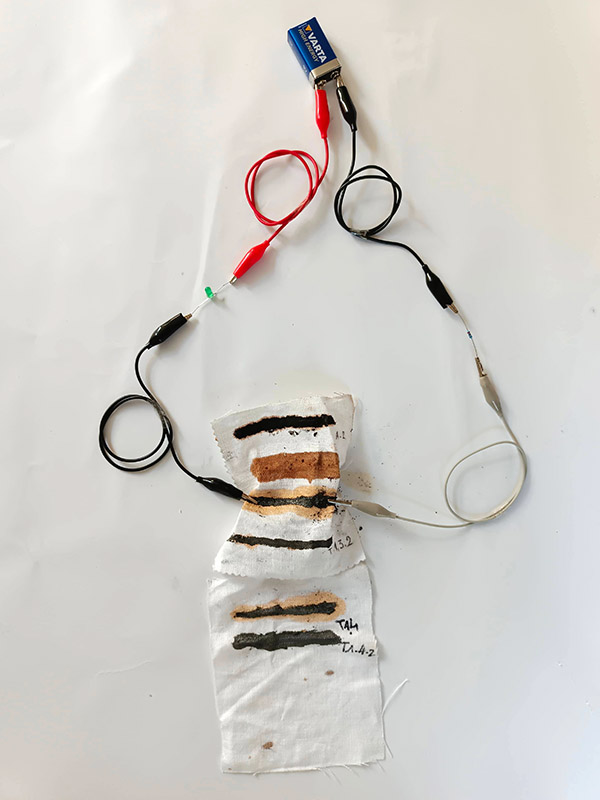

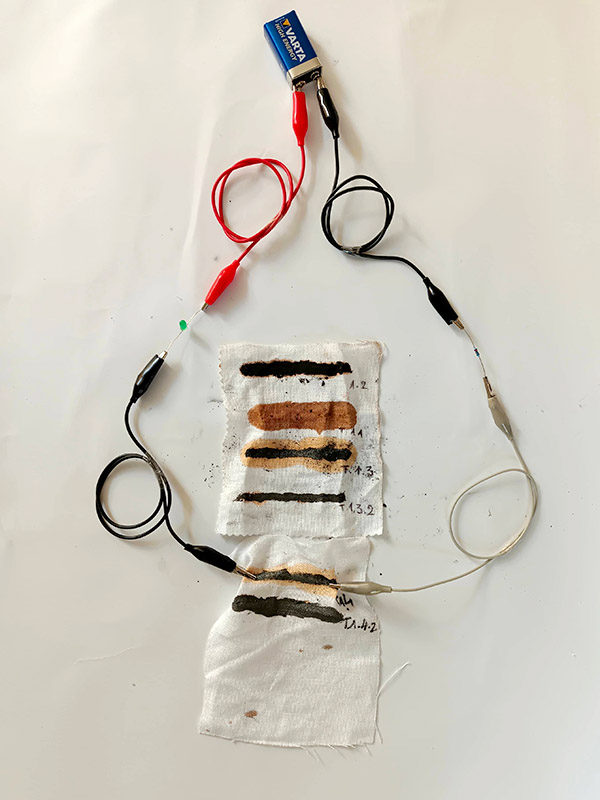
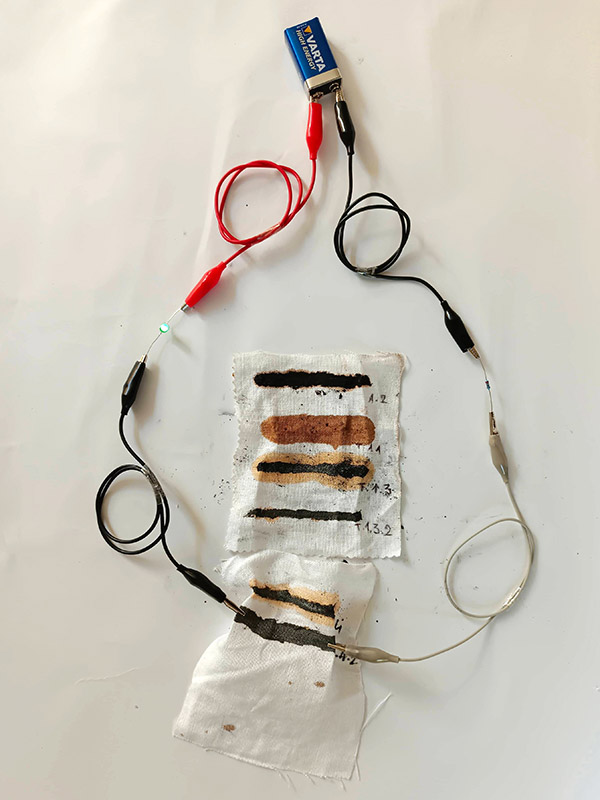
However, the more the printed surface touches itself, the more the lamp lights up.
(The crocodile clips do not touch each other).
Arduino
Step by step
Class says : How ?
-
control a led
-
read a sensor
-
control a led based on the interaction with the sensor
What do we need ?
-
make a circuit
-
write the code for a circuit
I say :
I didn't know Arduino at all, and my physics lessons and PHP notions are very far away, but step by step we'll make it. Simplify every action you have to do and follow the list.
| Connect the Arduino board to the computer via USB |
| download usage app and install it |
| connect the plate via the app by choosing the "UNO" model |
| choose an example program like "blink" |
| click on upload to send it to the plate |
| the built-in led applies the program |
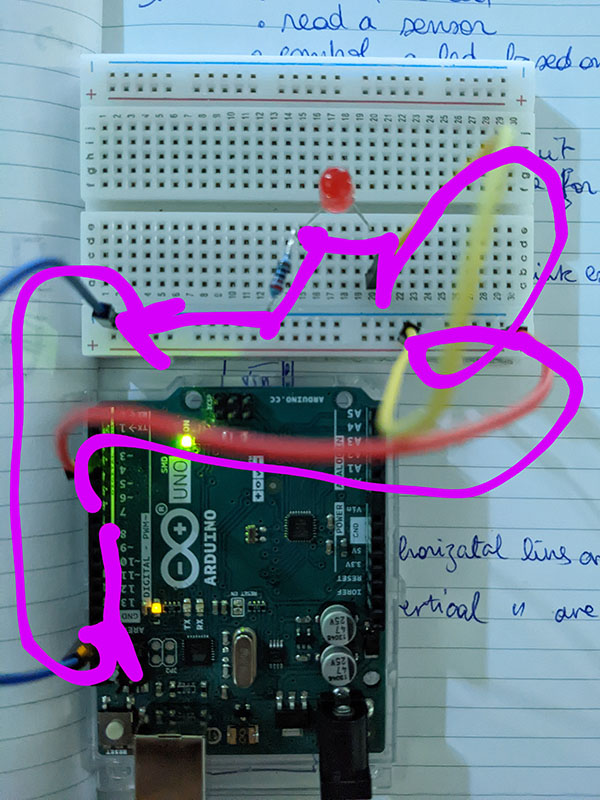
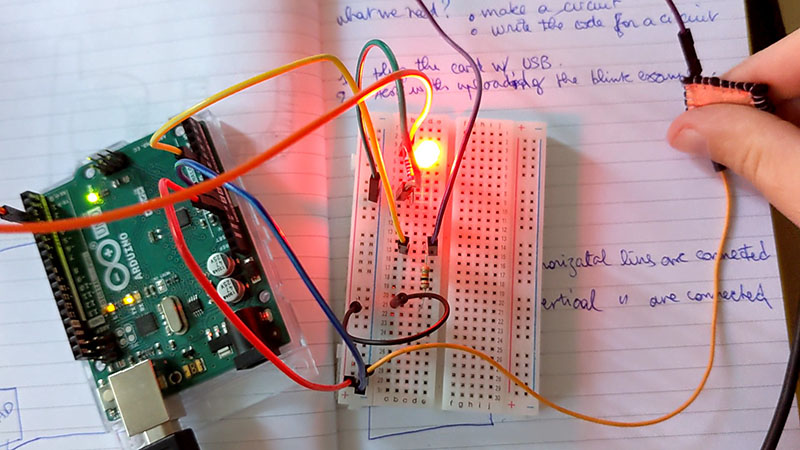
Build a complex circuit with the arduino plate and the bread board.
recipe :
-
1 UNO plate
-
1 bread board
-
1 led
-
1 resistance 220V
-
1 resistor 10kV
-
8 conductive threads
-
1 digital button
-
1 analog button
-
extra: circuit-mounted leds
First connexion with a program :

Don't plug everything with anything !
the current load
the intensity
the resistance
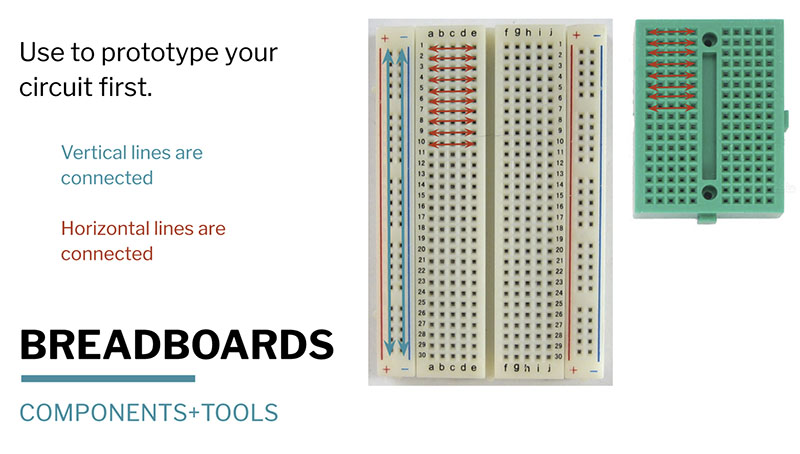
Always close your loop : by using the vertical and horizontal lines on the breadbord, they are linked :
Code Example
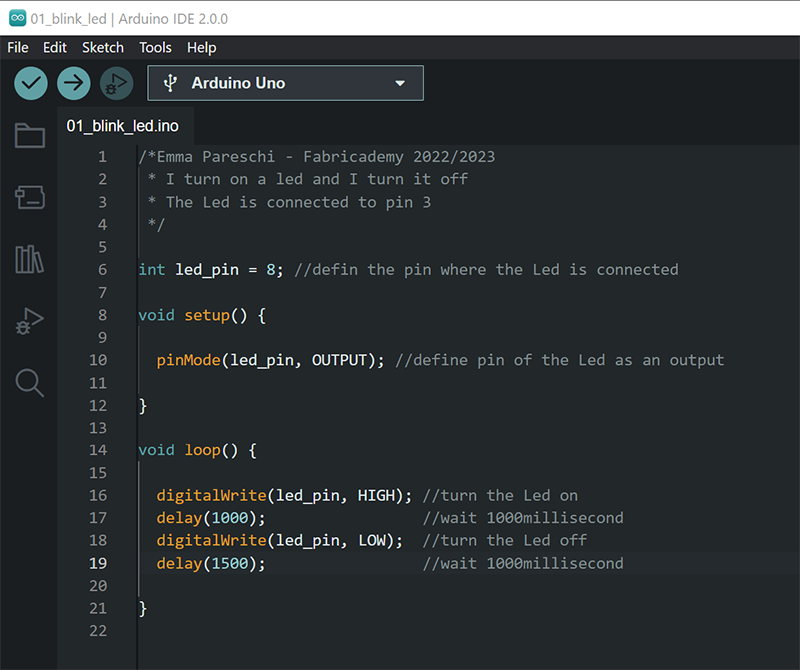
Blink code from Emma's class which I tried to change : slot 8 instead of 3, and no similar delays for ON and OFF :
/*Emma Pareschi - Fabricademy 2022/2023
 * I turn on a led and I turn it off
 * The Led is connected to pin 3
 */

int led_pin = 8; //defin the pin where the Led is connected

void setup() {

  pinMode(led_pin, OUTPUT); //define pin of the Led as an output

}

void loop() {

  digitalWrite(led_pin, HIGH); //turn the Led on
  delay(1000);                 //wait 1000millisecond
  digitalWrite(led_pin, LOW);  //turn the Led off
  delay(1050);                 //wait 1000millisecond

}
Epileptic corner
fast
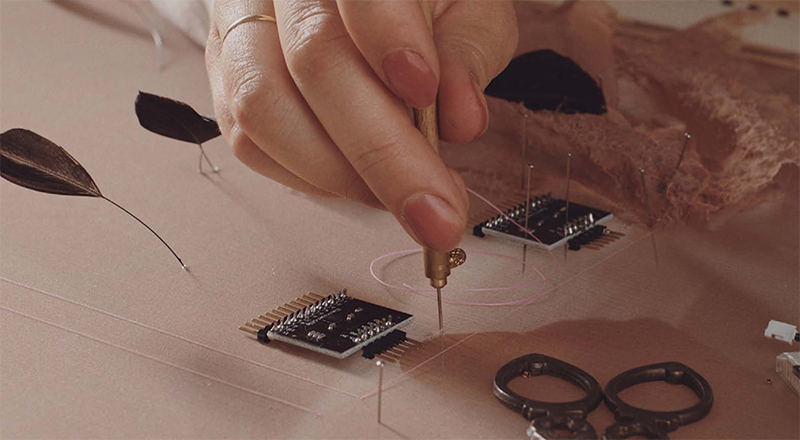
Digital embroidery machine
Two possibilities :
- draw in the embroidery machine software
- import a vector file extension .wmf (format present in Illustrator)
Once the drawing is done, you apply your desired stitch type choices, thanks to the different menus available.
Width, length, orientation, fill type, stitch density, outlines...
One important thing, for the texts: there are fonts in the embroidery software, they are already set up to be well embroidered. If you wish to embroider texts in a non-configured font, it will be necessary to vectorize it before importing it into the embroidery machine software in order to avoid misinterpretations of it (same principle as for generating a pdf from Adobe).
Also, choose the "satin" stitch which makes a very tight zig zag the width of the shape of the letter, and check the "automatic" box (as opposed to "manual straight line) so that the satin stitch follows the shape of the letter. letter and handles angles.
Work in progress.
Kombucha starter 1
Conclusion
This week was very hard for me even though it should be soft, I didn't know how to approach the E-Textiles subject. The realizations are necessarily banal and the timing didn't allow me to explore more, to look for ideas and ways to propose a more personalized tour.
I went back to the week04, which I definitely find hard to leave.
I have more and more trouble with the weeks nested in each other. I feel like a computer that has too many programs running, my brain freezes and I find myself unable to get either one to go. Ending anything with the idea that we can come back to it is vicious: we never close the chapter, and we always think about it in the background.
I don't know when I'll have time to reread the courses, go see other sites, other projects, digest everything.
Fabrication files
-
File: Conductive inks ↩