6. BioFabricating Materials
Inspiration
Bioplastics! What an amazing week. I love materials and this week is really interesting for me. I believe that there are infinite possibilities when creating materials and Bioplastics are a new subject for me.
What I like the most is that these materials is that they so not contaminate the environment once they are used.
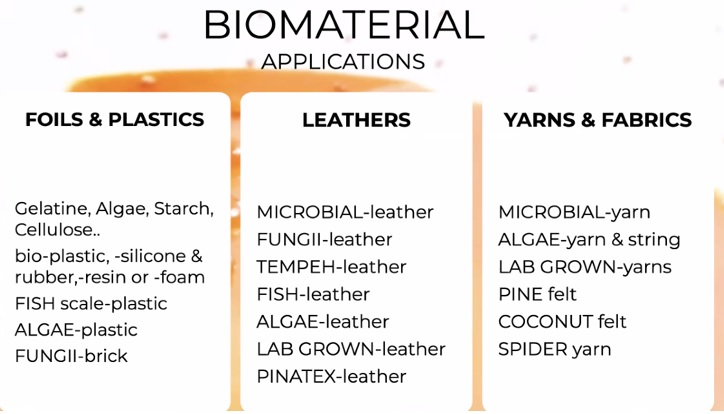
For this week inspiration, I was really influenced by Cecilia’s presentation and found this Company that creates colorful bioplastics from food waste and algae through advanced material engineering. It is an ideal alternative to leather and synthetic leather, beautiful, durable, versatile and biodegradable. https://peelsphere.com/

3D BioPrinting
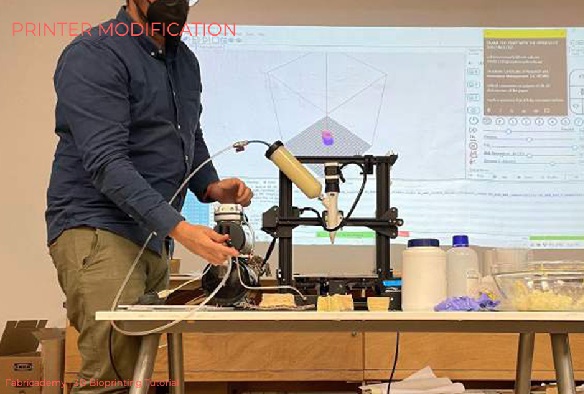
3D bioprinting is a combination of biology, biomaterial creation and 3D printing
It is a methodology that uses computer-aided design software to produce physical 3D models
This technique can be used by adapting commercial 3D printers with additional components to obtain the desired function
For the recipes of the mix you shall have a Biopolymer, Biolasticiser, Solvent and additives
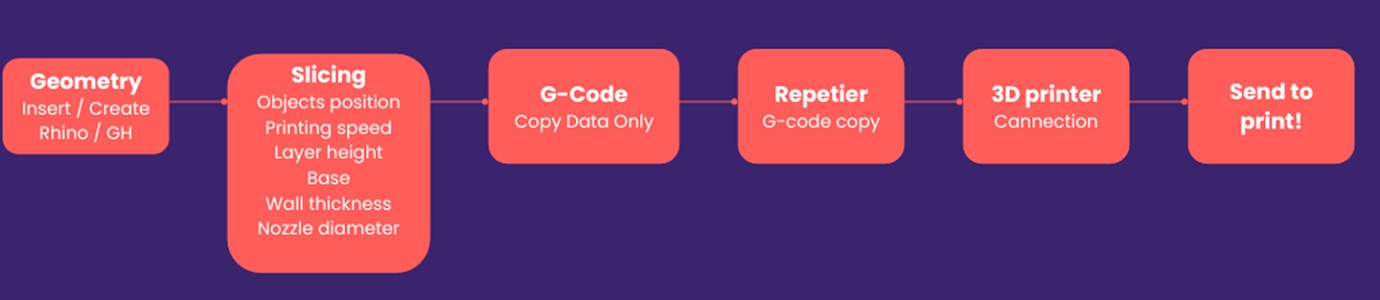
You can create your design in Rhino and then send it to 3D print. Below is a useful diagram of the way to print:
Before printing with the 3D print machine, make your Biomaterial solution as smooth as possible to void any bubles
The settings of the machine (speed, height, temperature) will depend on the type of bioplastic to be deposited.
It is recommended to try the extrusion in a syringe before 3D printing your model
Materials

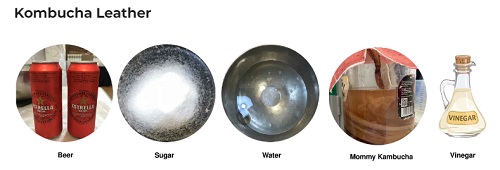
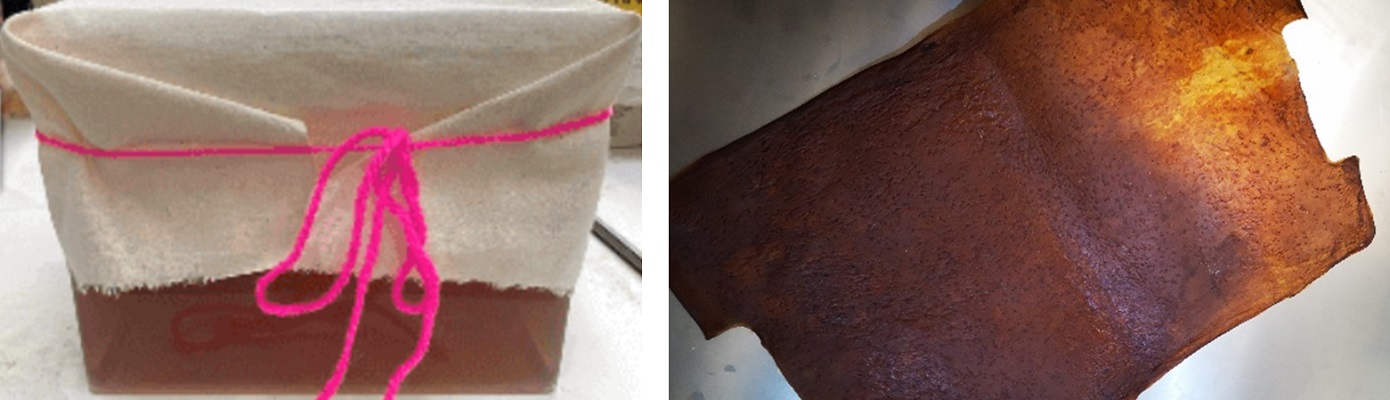
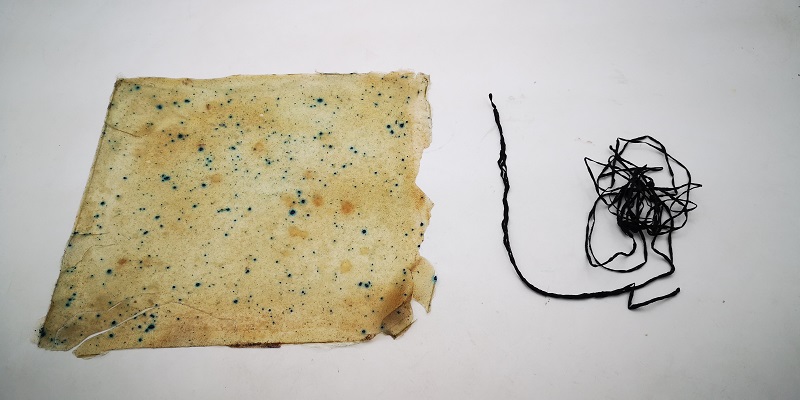
Kombucha Leather 1
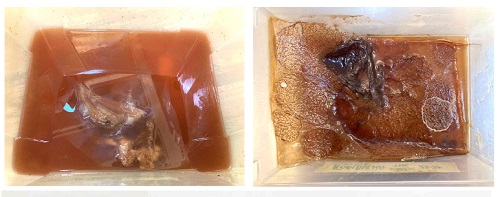
Kombucha can be grown at different thicknesses. It is a layered cellulose where the grown material is washed and then dryed.
Different growing mediums and recipes create different colours of textures while the different treatments change the properties of the materials.
Tools and Ingredients
-   1 liter of Black tea mix
-   120gr of Sugar
-   1 Kombucha Scoby (microbial colony of bacterial yeast)
-   1 Clean Container
-   1 Natural dyes.
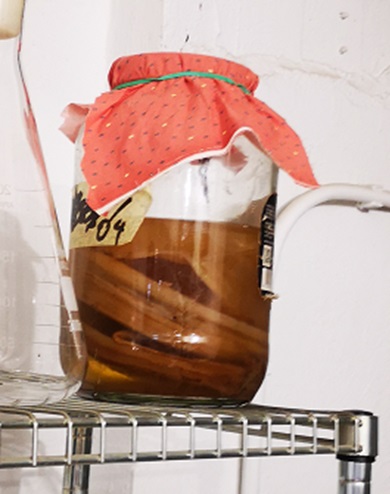
Process
Brew 1 Liter of black tea
Add the sugar and stir until the sugar is dissolved
Measure the temperature (aprox 30°C)
Place everything in the growing tray and cover with Lid without sealing it
Let it grow for 30 days at 30°C

Gelatin Bioplastic 2 3
Gelatine bioplastics are crafted usually from Powder in combination with Water and Glycerine.
Its not vegan as it is fully animal based.
Gelatine: not vegan , not water proof, will melt on the sun, is not water resistant, BUT IS FLEXIBLE and SIMPLE. They can be conductive. They are collagen
You can improve these properties, can be improved by Alum (mineral), waterproof properties of gelatine, cinnamon can be added to protect from mold.
These recipes can be super flexible and not elastic at all, these depends on the amount of glycerin
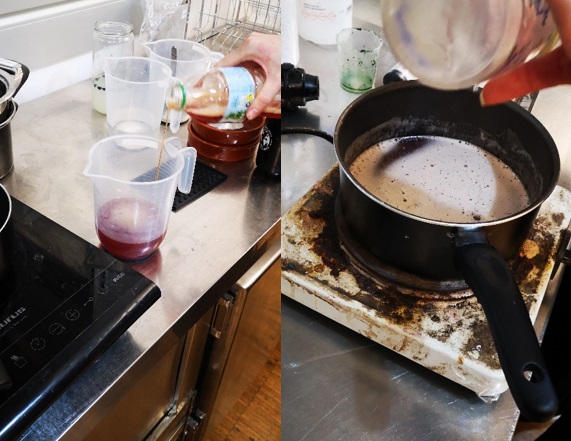
Gelatin is a hot recipe
It is difficult to control the water of gelatin, water needs to be measured before
Tools and Ingredients
-   240 ml of water avocado dye
-   48 gr of gelatin
-    30 glycerol
-   Pinch of Cinnamon
-   Pinch of Mica powder
Process
The difference of adding all of the ingredient at the time and in two step water+gelatine and later glycerol is the transparency of the bioplastic
We added cinnamon to avoid mold
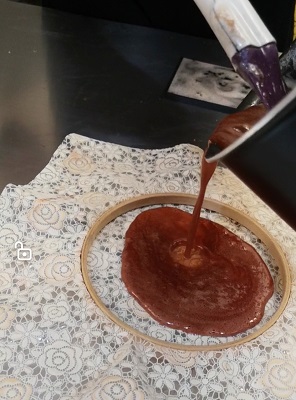
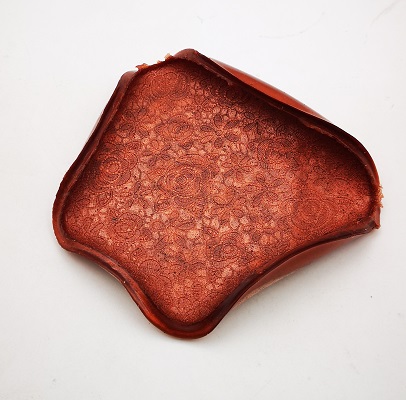
Prepare mold with a shape of flowers
Cool down before we cast it
Mica powder is added to the mix once it is cool down
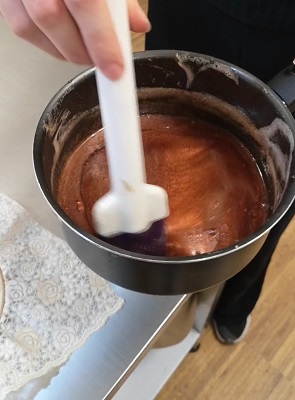
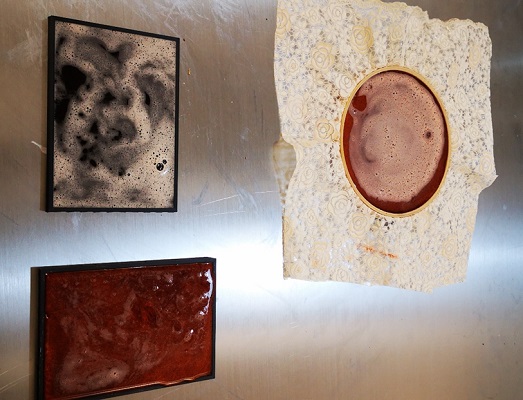
We casted in three different molds to obtain different textures. Note: Gelatin will shrink a lot
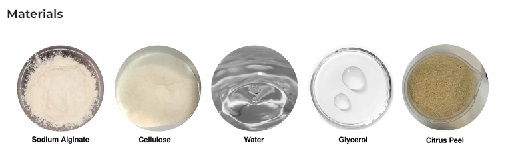
Sodium alginate bio-plastic 4
Sodium alginate, comes from sea weed, this material is water proof, fire resistant, flexible and it shrinks a lot
Sodium alginate is a cold recipe
Essential oils can be used to avoid smells
Calcium chloride creates a chemical reaction with sea weed of sodium alginate. You can also use agar agar, otherwise it will not going to dry. Sodium alginate is brown and agar agar is red
Gelatin and sodium alginate are polymers. For bioplastics we need polymer, plasticizer glycerin, oil and additive: essential oils, pigments, powders. Spirulina is an additive used for pigments
Sodium alginate needs to breathe, plastic molds cannot be used. Wood can work
For casting, you need plastic, and it will take the shape of the base, it is very liquid. With biomaterials it is better to use sterilized water, mineral water, reuse dyebath
Tools and Ingredients
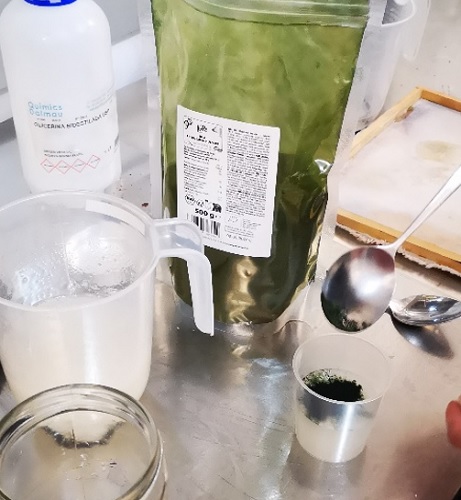
- 8gr of sodium alginate
- 200ml of water
- glycerol 40gr
- Pinch of spirulina for color (green)

- 200 ml of Water
- 20 gr of calcium chloride (Too much calcium chloride will dry the material)
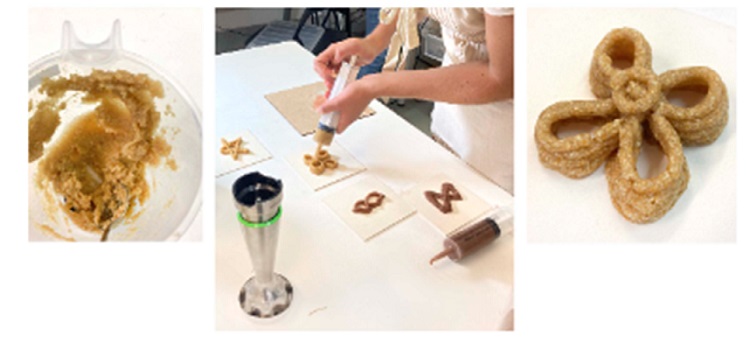
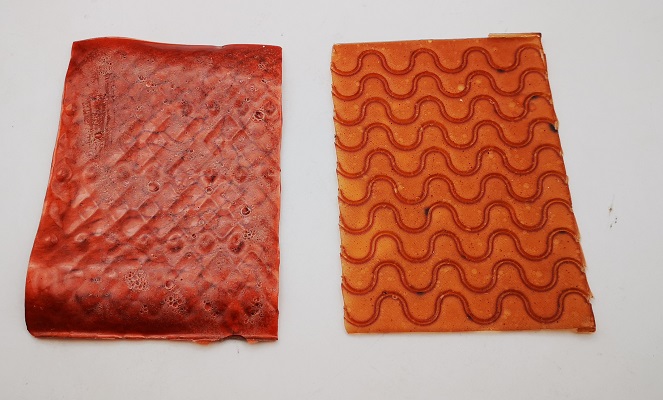
Process of Extrusion
Mix the Sodium Alginate ingredients and put the mix into a syringe (without needle). During the mixing you generate bubbles, the best thing to do is to let it rest before extrusion
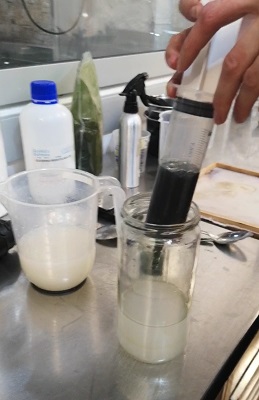
Mix the water and the Calcium Chloride in a recipient
Extrusion is only for sodium alginate or casted. You can optimize the fabrication by controlling the volume of water
Then apply mix of Sodium Alginate into the Calcium Chloride Mix by pushing the syringe with the same pressure all the time
Dry it in a ventilated area
Process of Casting
Mix the Sodium Alginate ingredient. During the mixing you generate bubbles, the best thing to do is to let it rest before casting
Spray calcium chloride over the surface of the mold (specially on the edges and not too much). Then dry it a bit to avoid excess
Cast the Sodium Alginate mix into the mold
Once casted, Spray another layer of calcium chloride on top of the bioplastic surface
Then, verify that the solid layer is formed and then you dry
For drying, you can use a fan or a dehydrator (but it shrinks)
Conclusion and Results
Not many words can be said apart to those that I enjoyed a lot this class, I understood very well the composition and processes fabricating bioplastics, and I loved the amazing and lovely Bioplastics I created :)
Once the Bioplastics were dried, I noticed these are waterproof and flexible. Some of them were fragile and were a bit damaged when removing them of their molds. However, I found amazing how you can obtain different results from the same mix just by changing the manufacture process
Thank you Petra

Further details and alternative explanations, you can check in the webpages of my friends Emma and Anna :)