11. Textile Scaffold
References
Twist again, Dominique Vial
Dominique Vial (Fabricademy 2020-21) made a wonderful project on recycling jeans and making household objects.
Fab-Brick
FabBrick is a French company which is selling bricks made out of textile waste since 2018. The patent is available in French here.

Binishells
Nicolò Bini is exploring furthermore the experiments of his father Dante Bini who was pouring wet concrete on the ground and slowly inflated it to create architectures. Nicolò Bini is using inflatable structures to be able to have higher and custom shapes, then he sprays concrete on it.
Crystals
SPOILER ALERT: It didn't work out…
Recipe
- Boil Demineralized Water
- Add your powder in the warm water until it doesn't dissolve anymore
- Suspend an object on top of the container and submerge one part of it
- Cover with a light fabric to avoid contamination
Iron sulfate
Browsing Crystalverse blog, I saw that iraon sulfate was a quite fast process for crystallization. The green obtainted on that blog is really appealing. I had iron sulfate which was already partly crystallized in beautiful green chunks. I tried to use the white powder to keep the existing crystals. The water turned directly brownish when I added the powder because it oxydizes with the oxygen from the water. I kind of expected that. On Crystalverse, the author adds sulfuric acid to remove that oxydation. But I was ok to have orange/brownish crystals. I planned to make crystals growing on yarn that I had spun and hand-dyed with alder to see if there was an interesting color reaction. I thought at first that crystals were formed because I was seeing some cloudy particles around the fiber, but when I took them out of the solution after 3 days, there was nothing solid.


Calcium chloride
I tried to make Calcium Chloride crystals. According to this website, it is supposed to work. But it didn't work after 3 days, I kept the solution to see if there's still some evolution…


Textile waste + white glue
Recipe
- 50% water + 50% white glue (in weight)
- shredded textile waste (should work with waste yarns too)
I made a solution of 50/50 weight ratio of water and white glue (wood glue) that I mixed with textile waste. The textile waste was shredded with a Precious Plastic machine that we have at Green Fabric to recycle sewing waste. I left it for the weekend at the lab, and it hardened when I came back. The big block has an interesting smooth and shiny finish, probably according to the type of material you use for the mold. I am quite pleased with the result and it would be interesting to make bigger bricks. I think it could also work with tapioca glue (see next section).


.")
.")
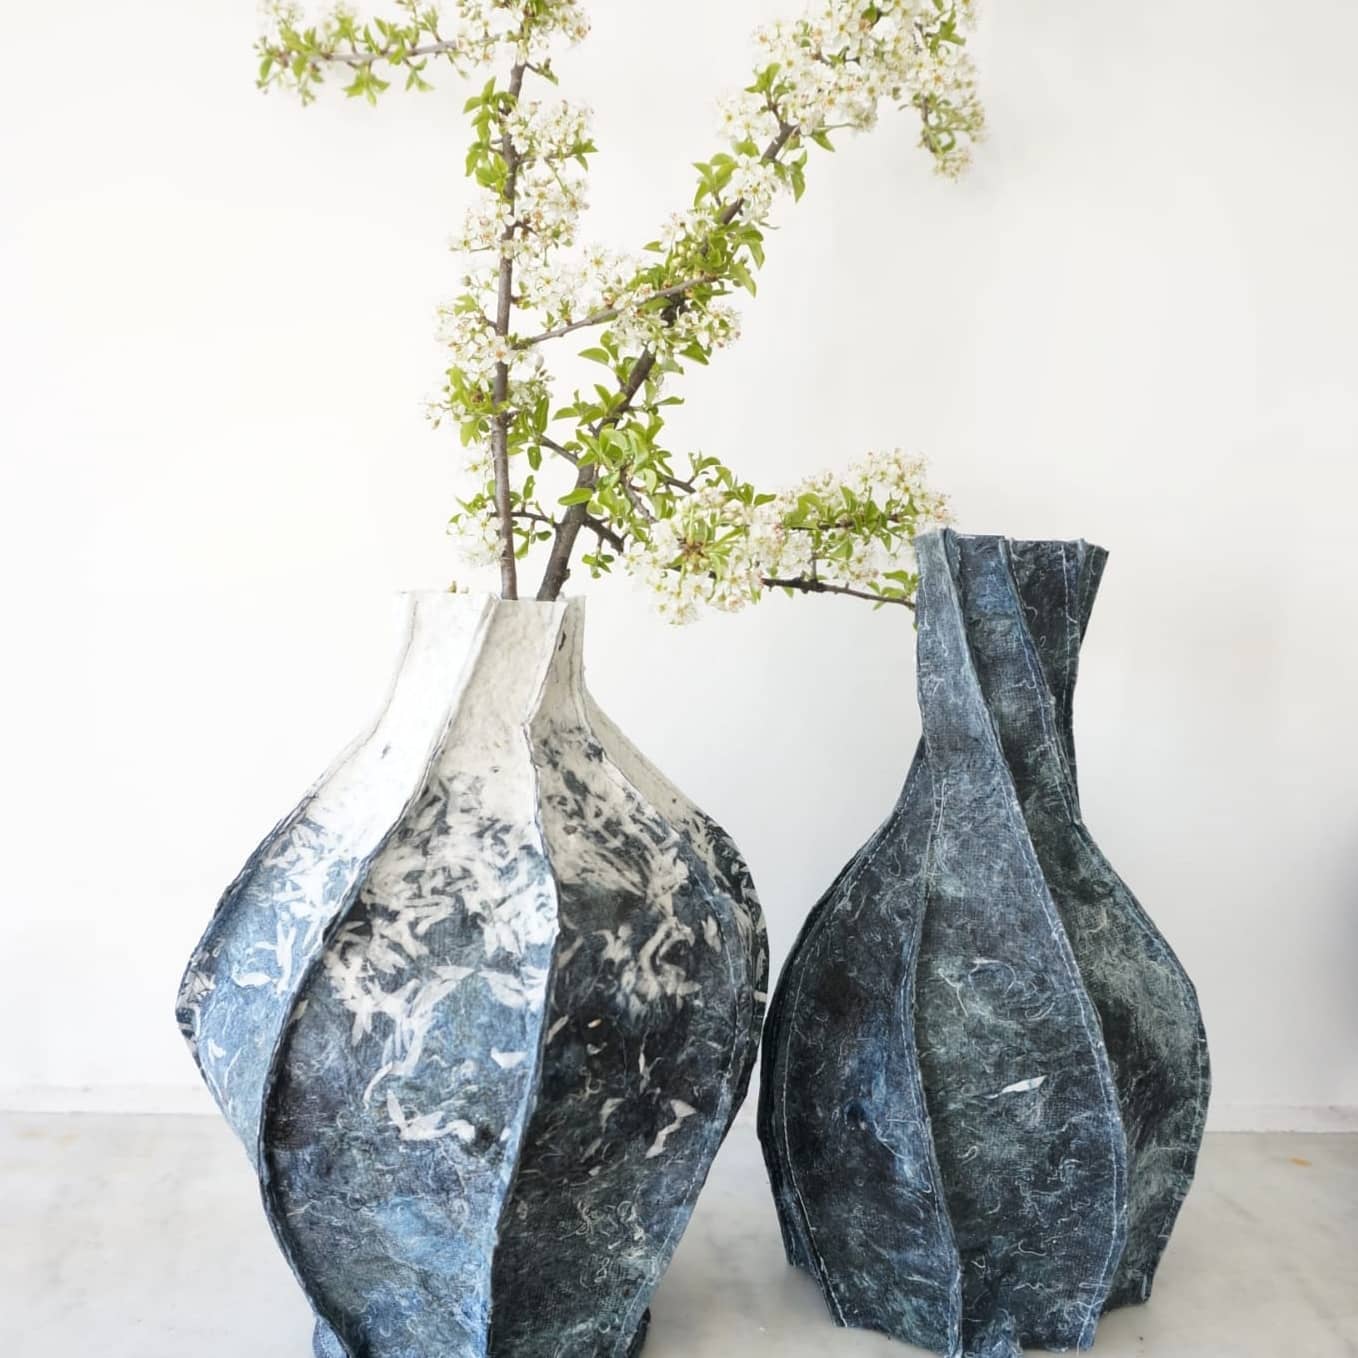
Papier mâché with threads (tapioca glue)
Recipe
- in a pan add:
- 150g room temperature water
- 15g tapioca flour
- stir well to remove any lumps
- put the pan on the stove on very low temperature
- stir all the time to avoid lumps
- stop cooking when it becomes transparent and thick
- if it's too thick:
- put the pan out of the stove
- add water and stir until you obtain a regular texture
- put it back on the stove until the texture is to your taste
I wanted to try the "papier mâché" technique with textile waste. Instead of white glue, I tried a homemade glue with tapioca flour and water. My mother said her father used that to glue the packaging of cakes he would sell in Laos. I first put 15g of tapioca in 150g water, but she said it wasn't enough, so in total I put 30g tapioca for 150g water. In the end, it was too concentrated and I had to put water so that it would not be too thick. I think 10% tapioca of the weight of water should be enough.
I dipped yarn waste in the mixture and glued them on a balloon to make a bird house with my daughters. The texture was too gluey for my little one and she gave up. After one day, the top was dry but not the bottom so I couldn't break the balloon to see the result yet. But the top is quite hard so I think it is going to stay hard after the balloon pops out.


CNC course
Camille Vierin, a resident at Green Fabric, shares her CNC machine with the rest of the lab. She is using a Mekanika machine which are machines made in Belgium that you have to assemble yourself with a great documentation. Plans are open source for easy customization and repair.

Camille gave us a course on Fusion 360 to prepare a file for the CNC machine. She gave us an existing .dxf file of a book holder from Mekanika to train us.
Manufacture tab
- Orientation: change plans
- Stock/Brut: setup your material
- relative size cube: to cut in a material which has already been cut before
- stock top offset: put it back to 0, otherwise it adds 1mm on the top of the material
- setup/origin: stock box point, select the point at the bottom left of the stock to only have positive coordinates
- Operations: always start from the inside to the outside
- Turning/2D pocket
- for laminated wood: use a negative milling cutter (around 40€) or a compression milling cutter (both positive and negative, 50€), otherwise a positive cutter (15€) will rip the fibers out.
- Cutter (define your cutting tool)
- flat end mill, 2 flutes, carbide (better than HSS)
- diameter: 8mm
- shaft diameter: 8mm
- overall length: 70mm
- length below holder: 30mm
- shoulder length: 25mm
- flute length: 22mm (pay attention to this one)
- Cutting data (this is specific to each machine and the cutting tools)
- spindle speed: 20000rpm
- surface speed: empty
- ramp spindle speed: 20000rpm
- cutting feedrate: 2760mm/min.
- the following settings should be filled automatically
- check feed per tooth result according to material, size and type of tool (feed per tooth tables)
- Validate
- Turning/2D pocket
Pocket, Properties box on the right
- Tool
- plung feedrate: 1000 mm/min.
- Geometry: select bottom path of the pocket.
- Height: a view to let you check all important heights (materials and movements)
- Passes
- [x] Both ways
- [x] Multiple Depths (max half of diameter)
- Max roughing stepdowns 3mm
- [ ] Stock to leave
- Linking
- [x] Allowing retract
- Safe distance: 4mm
- Leads and transition
- [ ] Lead-in (entry)
- [ ] Lead-out (exit)
- Ramp
- Helical Ram Diameter: 7.6mm
- Max ramp stepdown : 3mm
2D Contour, Properties box on the right
- Geometry: select bottom outside paths
- Tabs (to not cut fully the material so that it doesn't float in the void when cut)
- Number of tags: 4
- Tab width: 6mm
- Tabs (to not cut fully the material so that it doesn't float in the void when cut)
- Passes
- [x] Both ways
- [x] Multiple depths
- Max routing stepdown: 3mm
- Safe distance: 4mm
- Linking
- [ ] Lead-in (entry)
- [ ] Lead-out (exit)
- [x] Ramp: 2deg/3mm/2.5mm
Going on the CNC machine
- Mekanika's CNC machine uses the PlanetCNC sofware
- setup the CNC tool
- Home button
- move origin with arrows to the bottom left corner of the desired cutting area
- XY button: set the XY origin here
- move by hand the head above the spoilboard
- put the probe underneath the tool and clip its red plug onto the tool
- Z button: setup the Z origin automatically with the probe
- setup the spindle's rotation speed (20000rpm [5] for this file)
- setup the suction shoe
- load the file on the panel
- plug the spindle
- turn on the spindle
- check if weird noise
- turn on the hoover
- launch
Camille suggests to buy CNC tools on Fraiser Bits.


PICTURE RESULT