5. E-textiles
References
Gloves
Irene Posch's Early Winter Night Biking Gloves. I find those very useful! Instructions here

Glow Glove is a glove made for recovery periods for people who got strokes.o
Claire Williams


Moon
")
e-textile summer camp samplers
Unstable Design Lab
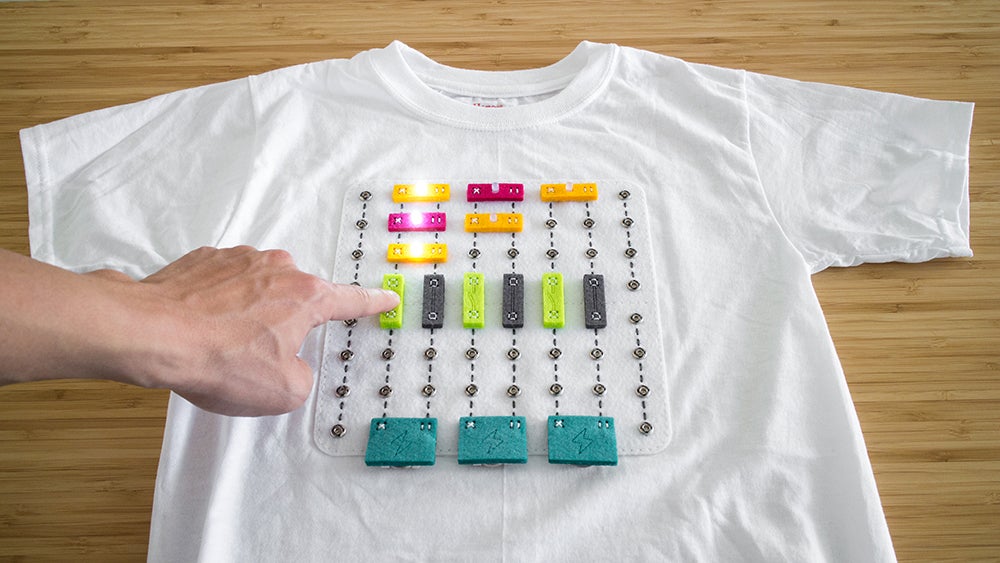
Textile Animation
Instagram post embedding not available.Watch it on Instagram
Embroidered computer
In the 40 computer memories were made of intricate interweaving of copper wires. Women were the ones making them as they had the dexterity skills from sewing or other textile technique. Magaret Hamilton was the boss of the "rope mothers". The article "That Time When Computer Memory Was Handwoven by Women" retraces this history. My mother, who got employed at Hewlett Packard in the 80s to repair electronic cards, was hired because she was a seamstress even though she knew nothing about electronics.


In 2016, e-textile artist Irene Posch made a very beautiful version of a computer memory with embroidery and pearl-shaped magnets.

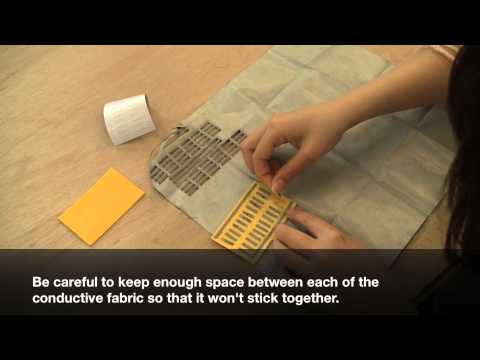
Soft/Hard connections
I like the DIY battery holder in this sample:

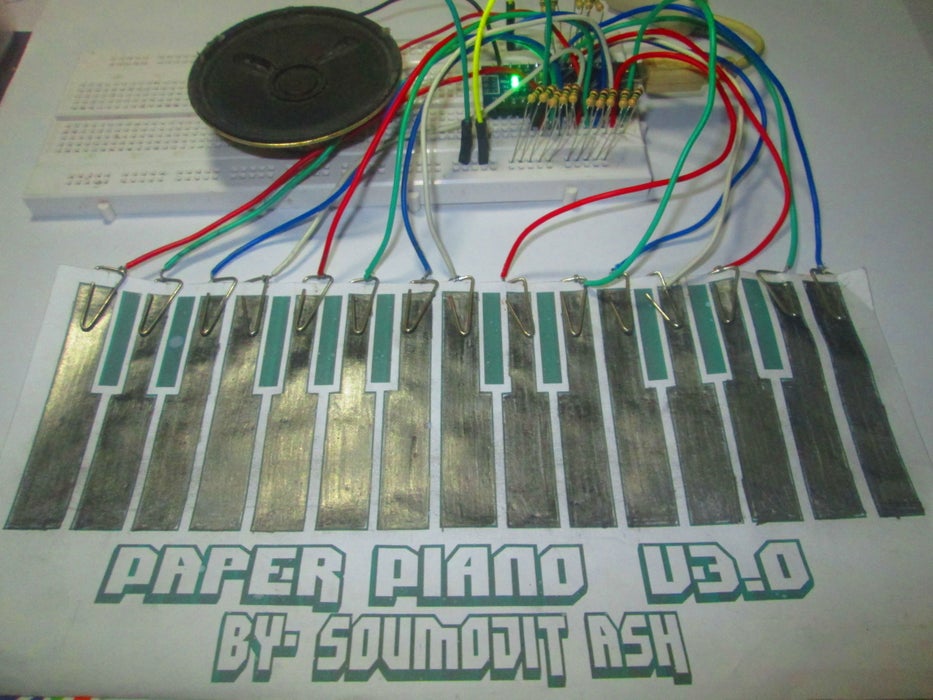
Paper sensors
I really liked the paper sensors prototypes that Ieva Marija Dautartaitė made for Fabricademy 2023.
It reminded me of the Arduino paper piano project that I once made from Instructables.
Tooling
Irene Posch's tooling page lists quite some nice tools to build yourself for e-textile.
e-textile breadboards
References
Pattern dot matrix
The Pattern dot matrix is a tangible interface to program weaving patterns. It has been developed by Dave Griffiths within the Penelope research project.


In 2021, I got a subsidy to explore textile and code. I wanted to reproduce the textile version of the Pattern Dot Matrix, or make a textile breadboard. I've never had the time to do so. But now is the time! :)
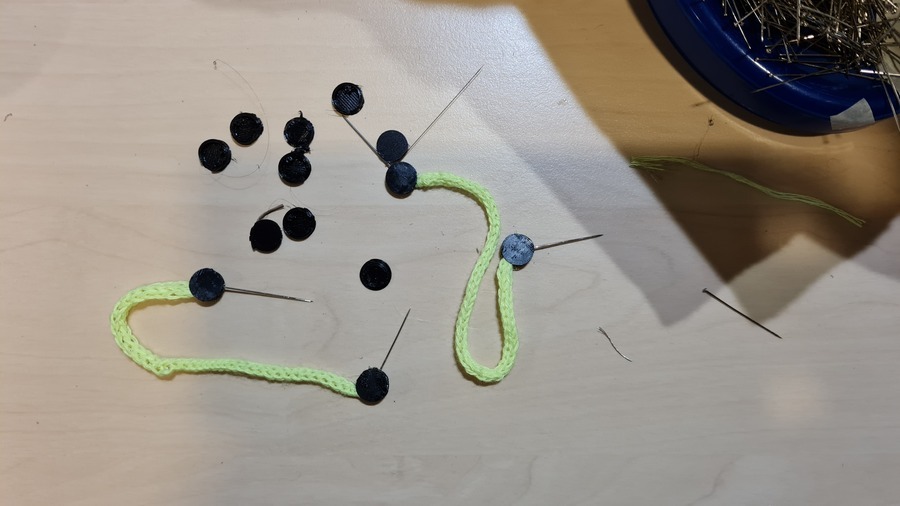
Feltbread
Snap buttons 
Knitted breadboard
e-textile pin probes
Two weeks ago, I helped my artist friend Wendy Van Wynsberghe to build soft pin probes from Irene Posch's tutorial.Wendy's paracords were quite thick so we had to modify the 3D printing file to make the holes bigger. Also there was an error in the file, the cap was not mirrored so the holes were not in front of each other when you'd close the case.


.stl file for DIY pin probe, remixed from Irene Posch's.

Prototypes on a failed knitted sock
A few weeks ago, I had already tried the different conductive threads/yarns that I had to check if a textile breadboard would work out. Only my conductive yarn from Bart & Francis didn't work for the breadboard as it is not conductive enough.


Here is my unfinished breadboard. It works fine, I just need more time to chain-stitch all the lines!

Knitted sensors
I wanted to experiment the different conductive threads/yarns with my knitting machine. I could even explore techniques that I've never tried before: loops on single-bed, ottoman stitches, short rows ripples. Since those were my first attempts with these techniques, and with quite capricious threads, they were not very successful.


Digital sensor: push button


Analog
When Liza Stark said that conductivity can be increased by proximity or by adding more material, I immediately thought of a good purpose for my Bart & Francis not-so-conductive yarn. I thought that it would work well for stroke switches.
Folds
I wanted to make a stroke sensor with fringes, but in the end, I ended up with a pressure sensor.
Stretch
Stretch sensor made with a simple crochet chain with the not-so-conductive yarn from Bart & Francis. I wanted to put the chain on a glove above my finger to activate an LED but I didn't have time.
Blow
I wanted to make a blow sensor by putting a lot of tiny conductive threads that could be blown onto an LED to make contact.
First try with the LED on a breadboard:
Second try with the LED on a paracord:
Update
- After reflection, I should have looked at the Stroke sensor on Kobakant to design the blow sensor to make it more stable.
-
Small project
I wanted to use the pressure sensor to control a motor with a fan on it; the fan would then blow the blow sensor to control an LED. Each part functions by itself, but I didn't have time to combine all experiments.
Tinkercad
Tinkercad is an online CAD tool mostly aimed for kids. It's well-known for simple 3D modelling (I use it all the time!) but it's circuit design tool is less known.


Arduino code
Here's the pressure sensor on the textile breadboard connected to Arduino to get the analog values when we press the knitted swatch. The video shows the analog pin on the LED, it should be placed on the knitted sensor instead. When I press the sensor, the value decreases but the LED goes brighter. I would have expected that the values would get higher actually as it is supposed to read Voltage values according to the AnalogRead documentation.
Update
During Week 8, on wearable electronics, I took some time to refine my Arduino circuit to get an analog ouput from my sensor then controlling the LED with Arduino.


int ledPin = A0;
int sensorPin = A5;
int sensorValue = 0;
int newSensorValue = 0;


void setup() {
  Serial.begin(9600);
  pinMode(sensorPin, INPUT);
  pinMode(ledPin, OUTPUT);

}

void loop() {
  // put your main code here, to run repeatedly:
    sensorValue = analogRead(sensorPin);
    newSensorValue = map(sensorValue, 0, 1023, 0, 255);
    Serial.println(newSensorValue);
    analogWrite(ledPin, newSensorValue);
}