8. Wearables
References & Inspirations
Wendy Van Wynsberghe
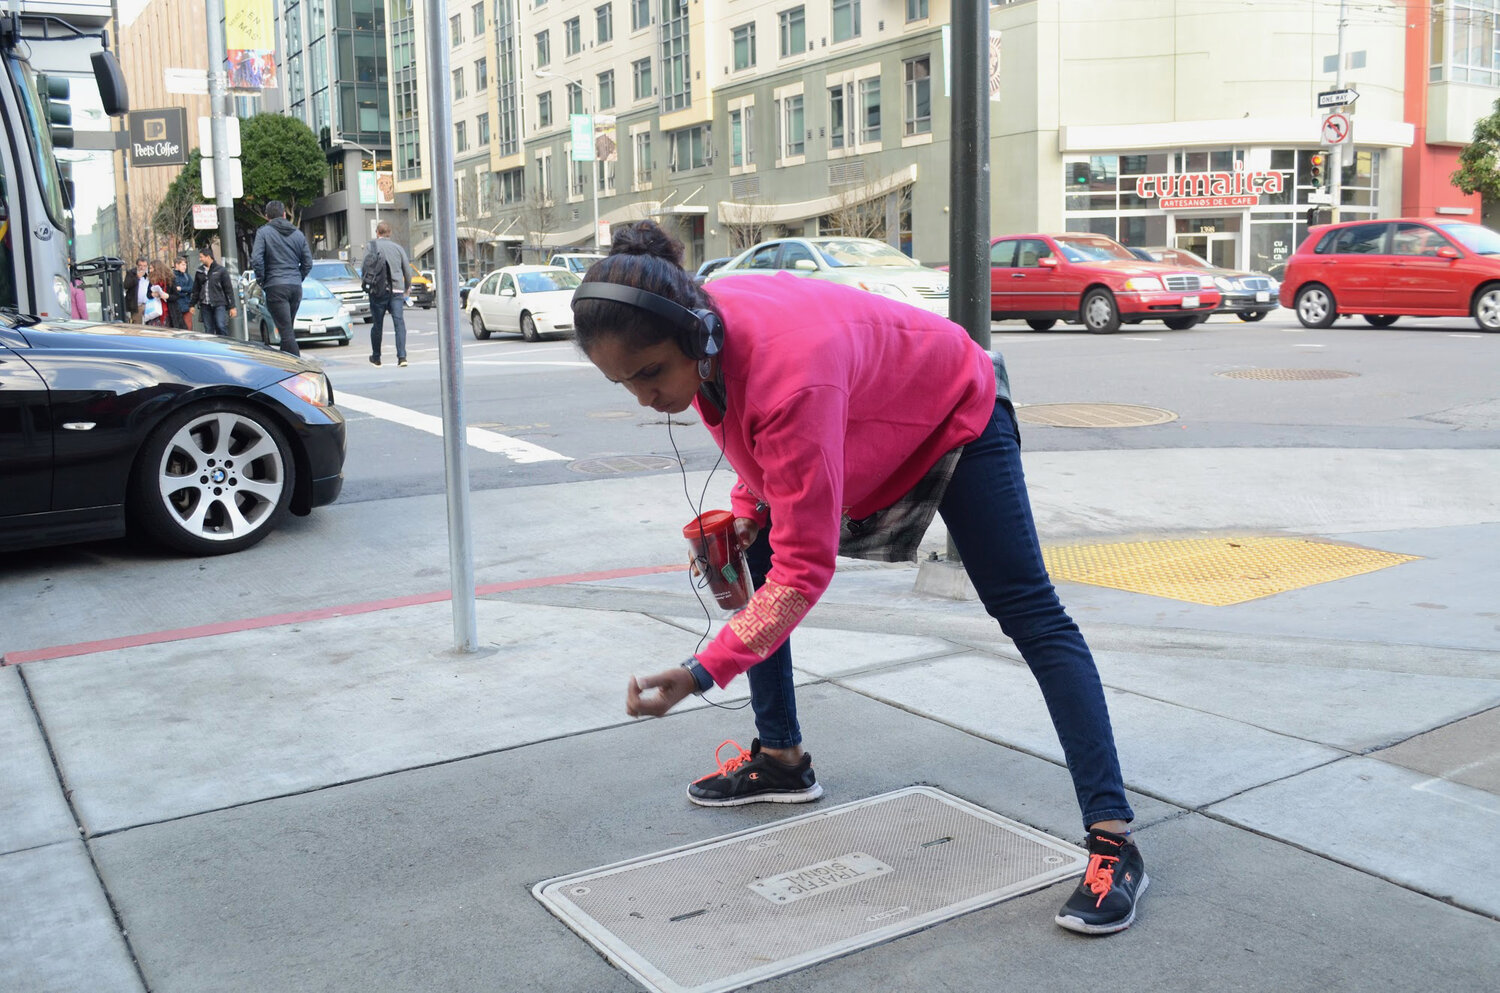
Wendy Van Wynsberghe is a Flemish artist and friend. She's working mostly on e-textile and sound for interactive installations. Her piece Kissing protocols explores the way people great themselves in different cultures: visitors of the piece could wear masks, gloves, etc. and interact with each other. Her piece Ultrasonic is a batman cape to hear ultrasounds from bats.


Fractal antennae by Afroditi Psarra


The knitted radio by Ebru Kurbak
"The Knitted Radio is a sweater that is also an FM radio transmitter allowing a multiplicity of voices to be disseminated in the public space." It is proposed as a solution for protests in places with autocratic authorities.

Ebru Kurbak made really helpful knit diagrams to reproduce electronic components with knitted structures:


Flip dots

DIY magnetic pearl
Jessica Stanley made magnetic pearls out of a neodymium magnet and hardened foam.

Mosfet circuit
Part of the assignment was to build a transistor (preferably mosfet N-channel) to always have it readily-available. If you're using an NPN transistor, you might need to add an extra resistor. To know what type of transistor you have, you have to type its number on a search engine and look at its datasheet.
A transistor acts like a resistor according to how much voltage you put it. It is useful when you want to use an electric component asking for a lot of current (such a component is called a power load). An arduino board outputs 20mA current and 5V voltage. Here we plug an additional battery at the top of the circuit, and the power load at the bottom. Make sure to avoid contact between the two lines crossing under the transistor to avoid short circuit. The Arduino code used here is just the basic LED blinking example.
As I didn't have copper tape, I made it on a plain ribbing sample with silver thread. I thought it would then be easier to use for a potential wearable project.


Actuator 1: flip dot
Refs
- Motor on a string
- (Flapping wings](https://www.kobakant.at/DIY/?p=8058) + DIY
I find the magnetic beads flip dots really beautiful and was curious to make my own coil or motor. I tried with what I had at the lab, and I already knew it would not work as the thread is way too thick and I was able to do only very few circles with it.

I tried again with enameled copper wire stolen from my daughter's pearls kit. I did 60 rounds and it worked! Although, to be honest, it is not working every time, I'm not sure why. My 9V battery is now at 7V, maybe I don't have enough voltage? Note that I don't have two-ended crocodile jumpers, so I use a breadboard, but you can connect directly the battery to the coil.
Then I thought it would be nice to have the Arduino code to make it flip over and over like the blinking LED, but it is not as easy as it sounds. I figured I'd need to build an H-bridge to be able to pass the current from point A to B, then from point B to A. I put the documentation here for later.


Actuator 2 + wearable: Air piano/flute
Refs
- Breathing belt
- Touch each finger with the thumb to play a note.
- Musical glove where you turn your hand to play music
Tools
- Arduino UNO
- Arduino IDE
- Not-so-conductive yarn
- conductive thread
- crochet hook
- glove
- Adafruit Flora
- powerbank (or battery holder)
- sewing needle
- sewing thread
- speaker
I wanted to use the stretch sensor that I made during week 2 around e-textile. I first thought of making a sensor to check if one was sitting with a straight back as my partner and I often have back pain. But I thought it would be quite complicated to know exactly where to put the sensors without medical education…
So I thought to use the sensors on the hand, like I already thought during week 2. I wanted to make an air piano: to play piano notes while just tapping virtual keys in the air.
The first prototype using a refurbished speaker on a breadboard was quite straight-forward and I didn't take pictures of that… I first tested the sketch from this tutorial. Then I removed the melody from the original code and retrieved here the frequencies of piano keys.


Using Adafruit Flora
Install
- Go to File/Preferences
- Add this "https://adafruit.github.io/arduino-board-index/package_adafruit_index.json" in the field "Additional Boards Manager URLs"
- Go to Tools/Boards Manager
- Search for "AVR" in the search field
- Install "Arduino AVR Boards" and "Adafruit AVR boards"
- On Linux, you might need to do this is the terminal:
sudo chmod 777 /dev/ttyACM0orsudo chmod 777 /dev/ttyUSB0 - extra: on (Arch) Linux, if you still have an error ressembling
Permission denied on "/dev/ttyACM0", you might need to install theadafruit-boards-udevpackage with your package manager.
The Flora board has much less pinouts than the classical Arduino Uno. Here's a picture to show the correspondances:

I need one pin for the speaker, one pin to trigger the sensors, so there are only two pins left for the stretch sensors, meaning I can only connect 2 fingers. For a prototype that's fine, but if we want to use all fingers and both hands, we would need more pins… As for battery, I only found a 5V powerbank which is quite big…

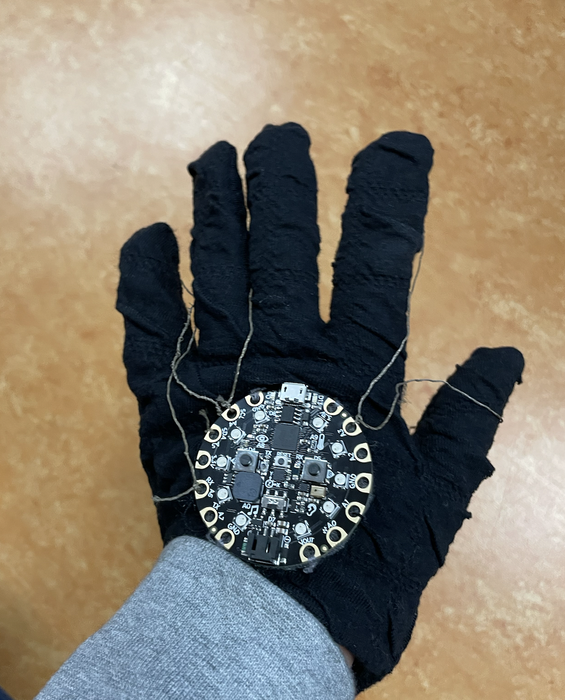
Here, Eileen my fabricademy fellow, is testing the glove:
Air
As I use only 2 fingers, I have commented lines concerning the other 3 fingers.
```
// PIN NUMBERS VARIABLES
int pinSpeaker = 10;
//int fingerThumb = A1;
int fingerIndex = A11;
int fingerMiddle = A7;
//int fingerRing = A3;
//int fingerPinky = A4;

int trigPin = 9;


// INIT STRETCH VALUES FOR EACH FINGER
int stretch = 0;
int stretch1 = 0;
int stretch2 = 0;
int stretch3 = 0;
int stretch4 = 0;


// NOTES IN HERTZ
float DO = 261.63;
float RE = 293.66;
float MI = 329.63;
float FA = 349.23;
float SOL = 392.0;
float LA = 440.0;
float SI = 493.88;
float DO2 = 523.25;


void setup() {
  // INIT SERIAL COMMUNICATION SPEED WITH THE BOARD
  Serial.begin(9600);

  // INIT INPUT PINS
  pinMode(fingerIndex, INPUT_PULLUP);
  //pinMode(fingerThumb, INPUT_PULLUP);
  pinMode(fingerMiddle, INPUT_PULLUP);
  //pinMode(fingerRing, INPUT_PULLUP);
  //pinMode(fingerPinky, INPUT_PULLUP);

  // init Output pins
  pinMode(trigPin, OUTPUT);

  pinMode(pinSpeaker, OUTPUT);

  tone(pinSpeaker, DO, 1000); // pinNumber, tone, duration;
  delay(1000);
  tone(pinSpeaker, RE, 1000); // pinNumber, tone, duration;
  delay(1000);
  tone(pinSpeaker, DO, 1000); // pinNumber, tone, duration;


}

// CUSTOM FUNCTION TO REPEAT A PART OF CODE WITH CHANGING PARAMETERS
//
// DON'T FORGET TO SPECIFY THE TYPE OF PARAMETERS IN THE FUNCTION DECLARATION
// OTHERWISE THERE'S A "variable or field declared void" ERROR
//
void finger(int stretch, float note) {
    if(stretch > 2) {
      tone(pinSpeaker, note, 1000); // pinNumber, tone, duration;

  }
}


void loop() {
  digitalWrite(trigPin, LOW);
  delayMicroseconds(5);
  digitalWrite(trigPin, HIGH);
  delayMicroseconds(10);
  digitalWrite(trigPin, LOW);

  // DETECTS WHEN THE SENSOR IS BEING ACTIVATED
  // RETURNS THE DURATION WHEN GOING FROM HIGH TO LOW
  stretch = pulseIn(fingerIndex, HIGH);
  //stretch1 = pulseIn(fingerThumb, HIGH);
  stretch2 = pulseIn(fingerMiddle, HIGH);
  //stretch3 = pulseIn(fingerRing, HIGH);
  //stretch4 = pulseIn(fingerPinky, HIGH);

  // CALLING CUSTOM FUNCTION NAMED "finger"
  finger(stretch, DO);

  //finger(stretch1, RE);
  finger(stretch2, MI);
  //finger(stretch3, FA);
  //finger(stretch4, SOL);

  // CHECK VALUES IN SERIAL MONITOR
  Serial.println("index");
  Serial.println(stretch);
  Serial.println("stretch middle");
  Serial.println(stretch2);

}
```