Experiments | Felting
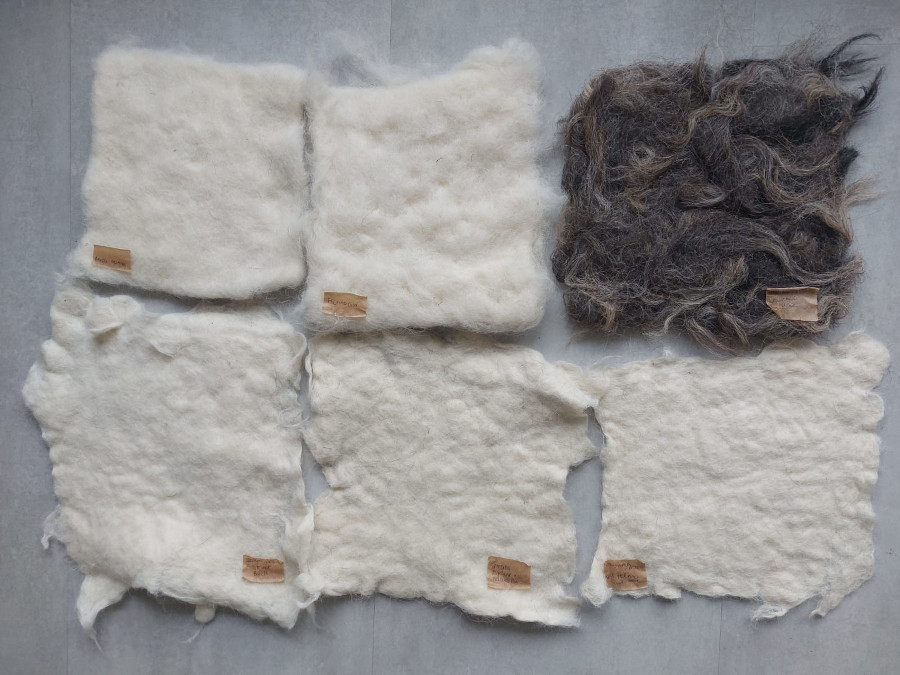
Expected Output: A comparative set of felt samples produced with different tools, alongside process notes and practical tips to support replication.
Felting processes details
Wet Felting
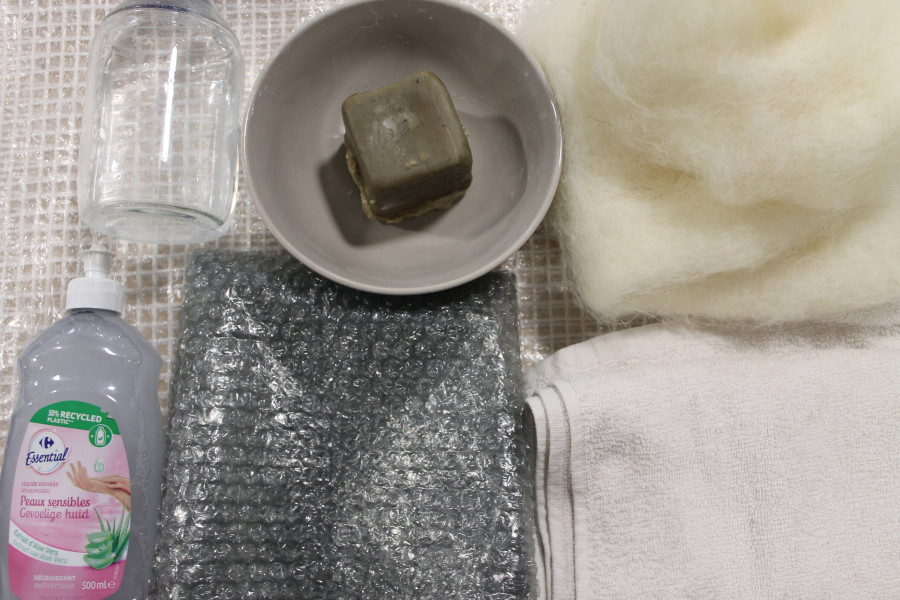
MATERIAL:
- Washed and carded wool
- Marseille soap
- Hot water
- Plastic/bubble wrap
- Towel or cardboard tube to roll with
STEPS:
- Prepare 4 layers of carded wool, alternating fiber directions each time.
- Moisten the wool with warm water and Marseille soap (the soap helps open the wool scales).
- Cover the layers with bubble wrap (bubbles facing the wool) and roll them around a cardboard tube, applying pressure.
- Roll the wrap several times and then unwrap it. At this stage, a significant portion of the previously added water is expelled from the fibers.
- Massage the wool using warm water and Marseille soap, working the fibers in multiple directions.
- Repeat the wrapping, rolling, and massaging phases several times. The more repetitions, the better the final result.
- Rinse the wool thoroughly with clean water and strike it repeatedly against a flat surface (the impact further compacts the fibers).
Needle Felting
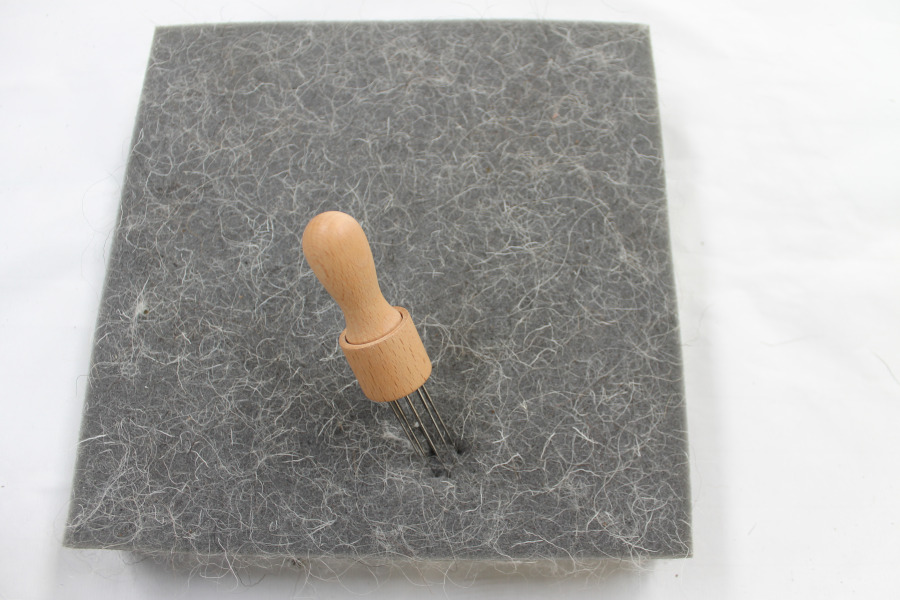
MATERIAL:
- Washed and carded wool
- Felting needle tool
- Felting mat
STEPS:
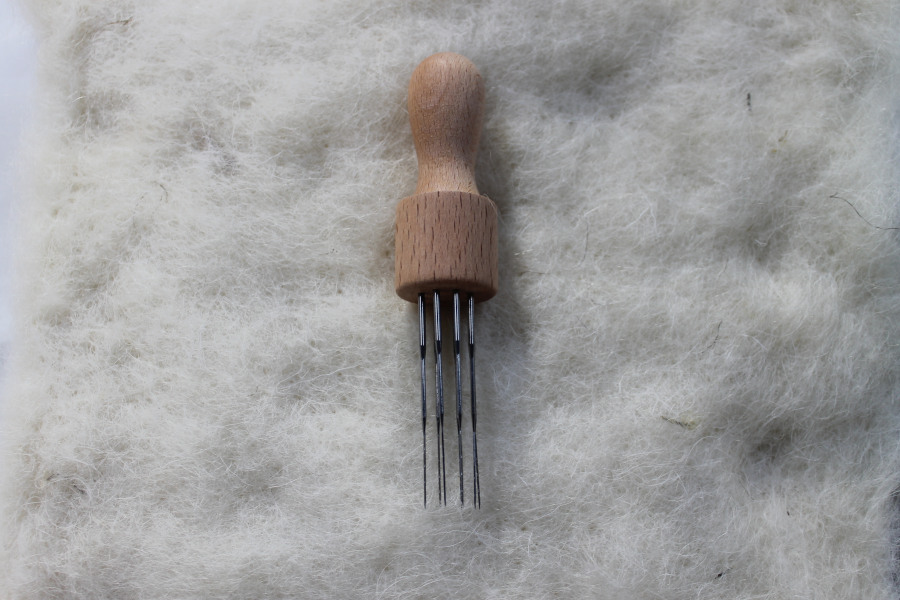
- Prepare 4 layers of carded wool, alternating fiber directions for each layer to improve structural stability. (For my test, I placed two layers, started the process and then added two more layers)
- Place the layered wool on the felting mat, keeping the edges aligned.
- Hold the felting needle perpendicular to the wool surface and begin puncturing the fibers with repeated up-and-down movements, causing them to migrate and interlock.
- Work across the entire surface, avoiding concentrating the needle in one area for too long, which may create holes or weak spots.
- Once the first side begins to stabilize, carefully flip the sample and repeat the needling process on the opposite side.
- Continue alternating sides, gradually increasing the density of the felt by repeating the needling motion across the surface and along the edges.
- Repeat the process until the desired surface uniformity is achieved.
Tech definitions
-
Low-tech: simple, accessible and manual, relying on human effort, easy-to-access materials.
-
Medium-tech: partially mechanized, tools that reduce effort but still require hands-on interaction.
-
High-tech: automated or industrial-like machines, fast with minimal manual effort.
Phase 1 (January)
This first phase explores different felting technologies to understand how tool type and level of mechanization influence the felting process.
The goal is to to map available tools and identify their potentials and limitations.
Tools overview
| Tool | Technique | Tech level |
|---|---|---|
| Manual needle | Needle | Low |
| Felting gun | Needle | Medium |
| Robotic Arm | Needle | High |
| FeltLOOM | Needle | High |
| Soap | Wet | Low |
| Rolling pin | Wet | Low |
| Sanding machine | Wet | Medium |
| Rolling machine | Wet | High |
Exploratory tests
Needle felting systems
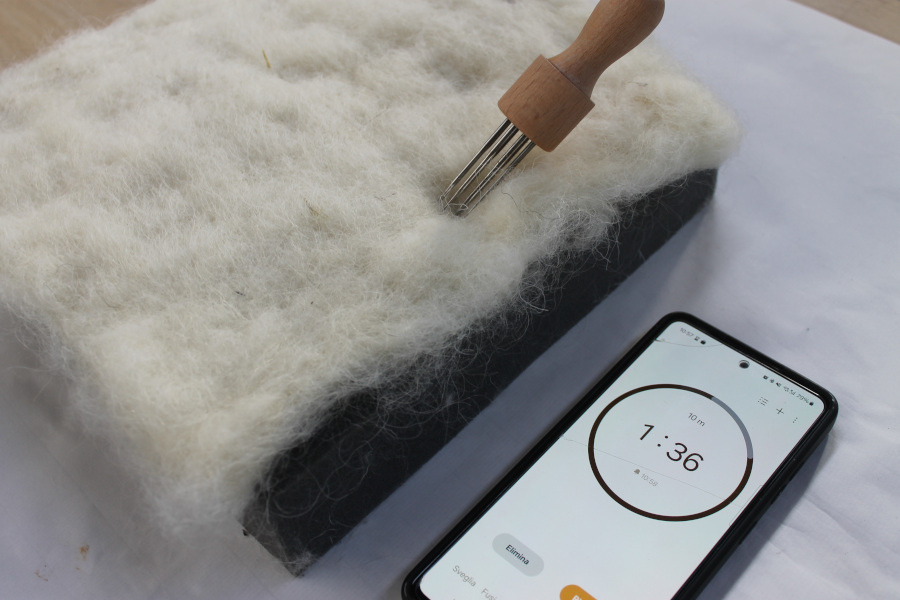
Manual needle (Low-tech)
- Setup: manual felting needle, dry wool
- Process: repeated vertical punching
- Observations: high control over fiber placement, very slow process, difficult to achieve uniform density.
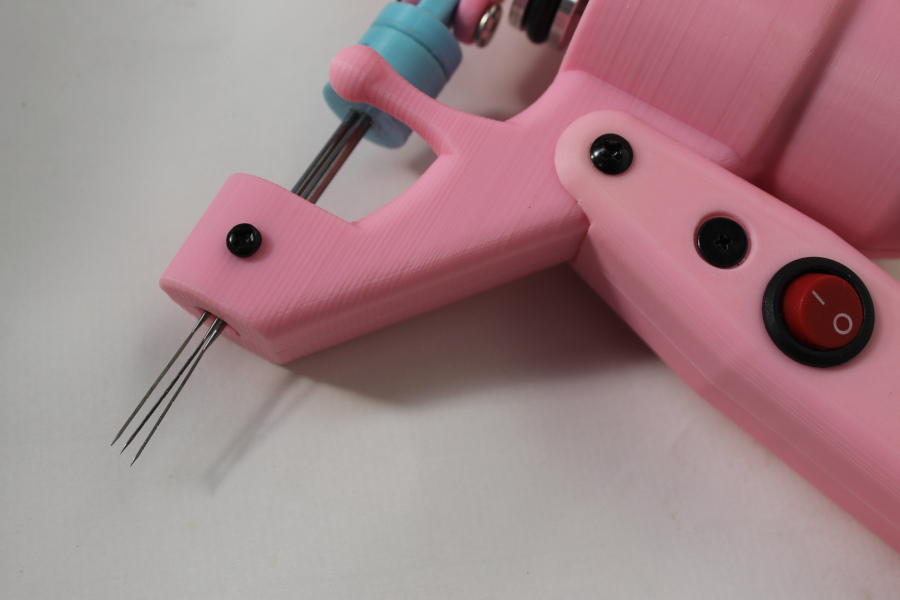
Felting gun (Medium-tech)
- Setup: electric needle tool
- Process: rapid repeated punching
- Observations: faster than manual, less precision in detail, good compromise between speed and control.
Robotic arm (High-tech)
- Setup: Arduino-controlled robotic arm (TinkerKit Braccio) with six servo motors
- Process: programmed mechanical movements to simulate needle punching
- Observations: low precision in fiber placement, insufficient control for consistent results, weak structural formation.
Already tested during OS Hardware Week, a second session confirmed that the results were not enough good: a larger and more powerful tool would be required.
FeltLOOM (High-tech)
- Setup: automated multi-needle machine
- Process: continuous needle punching
- Observations: very fast and consistent, uniform surface and density.
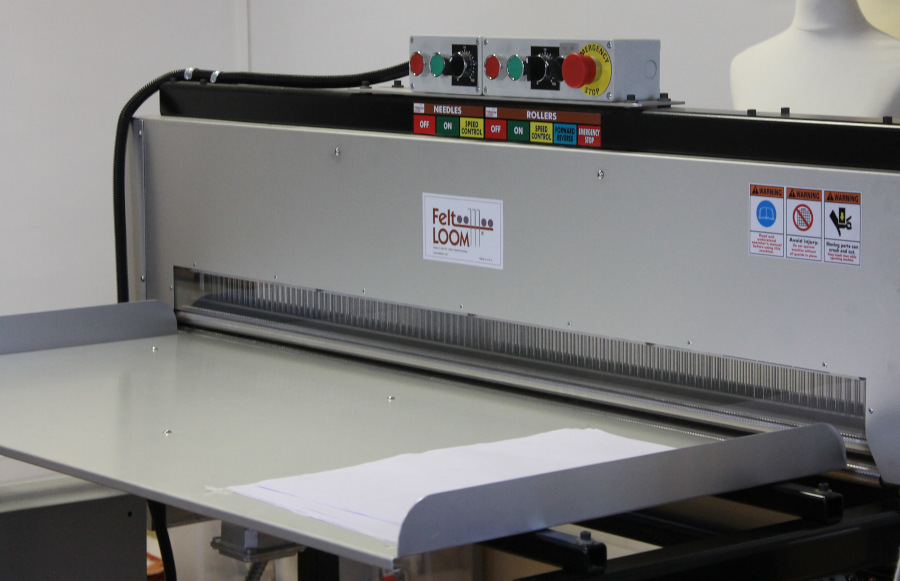
How to use it
With FR Woolshed and Le Textile lab, I joined a workshop on 01/15 at Villa Chateaufavier and tested the machine.
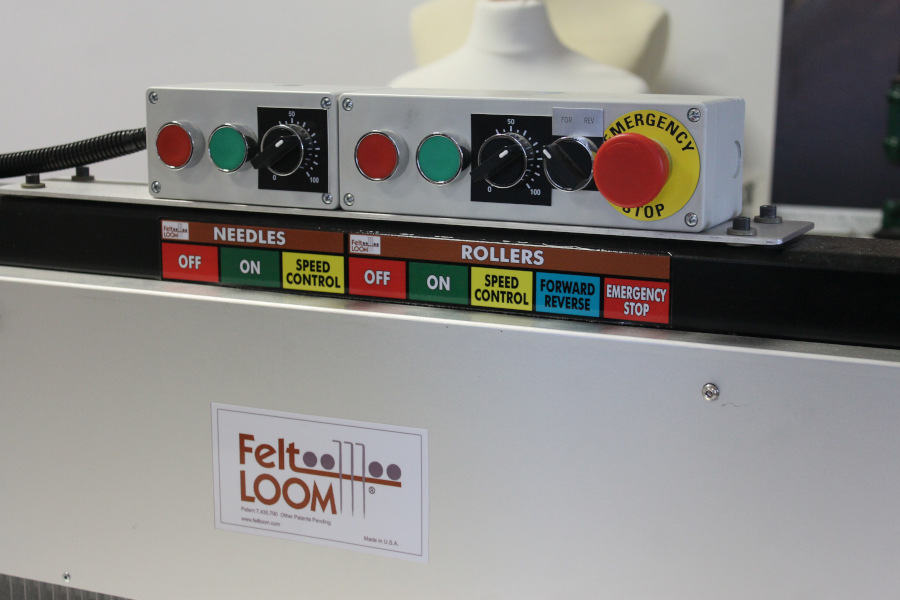
Machine buttons
-
Dual motors: one for roller feed, one for needle movement, allowing independent control of feed speed and needle frequency.
-
Forward and reverse controls, to run the fiber back and forth for increased density.
-
Emergency stop button to immediately stop the machine.
Practical tips
-
Place the material on the feed side and let it slide forward: the barbed needles will work the panel as it moves.
-
Always keep fingers away from the felting area.
-
Keep fibers clean to minimize broken needles; unwashed wool is forbidden in Lainamac school and generally not recommended.
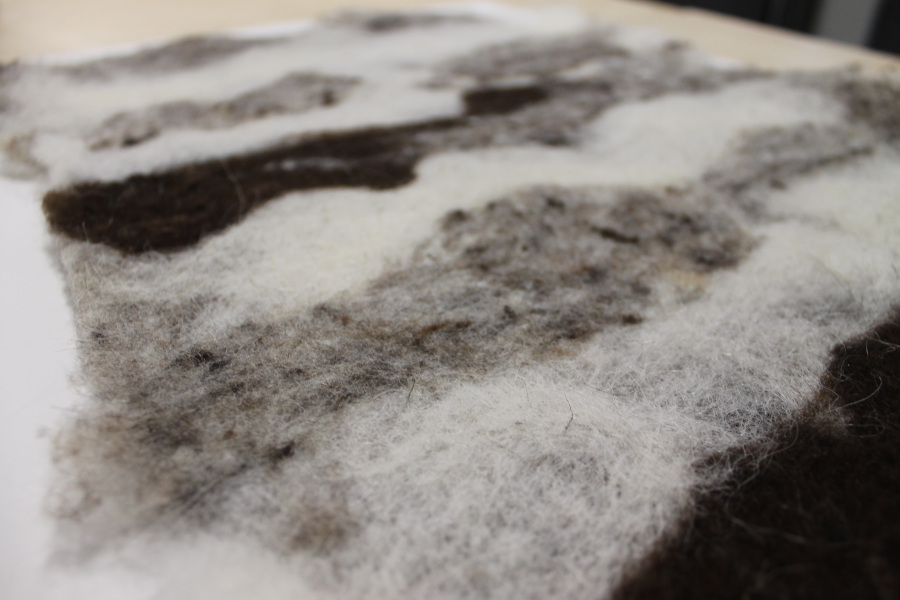
My sample
Wet felting systems
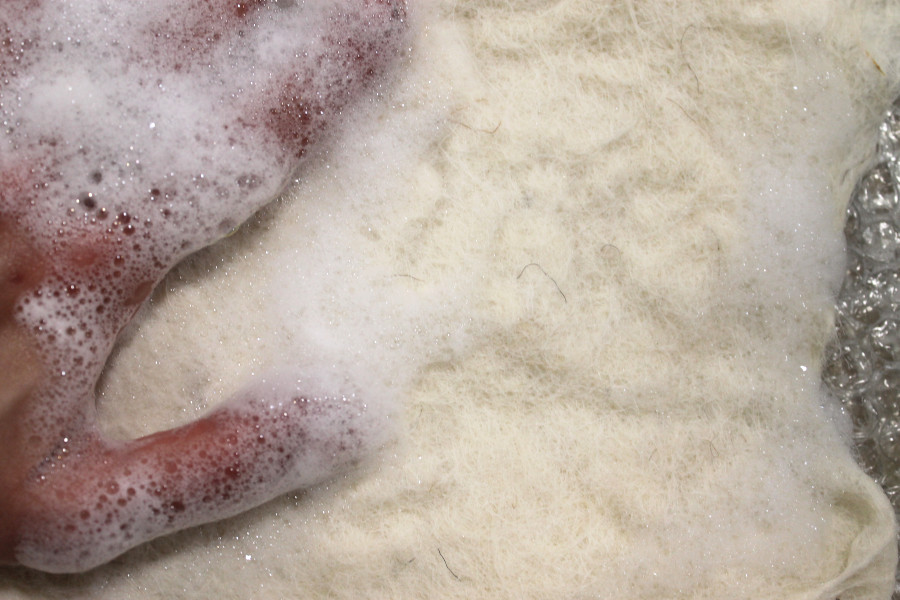
Soap (Low-tech)
- Setup: water, soap, manual rolling
- Process: friction + pressure applied manually
- Observations: high variability depending on gesture, strong tactile feedback, time-consuming.
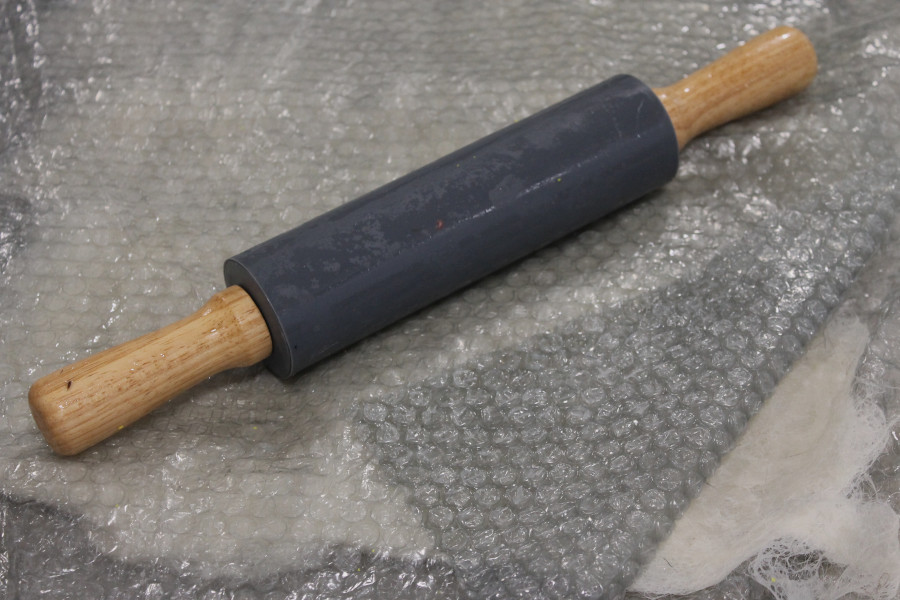
Rolling pin (Low-tech)
- Setup: water, soap, rolling pin
- Process: manual wet felting using rolling motion with a kitchen rolling pin to apply pressure and compact fibers
- Observations: effective in compacting fibers using consistent pressure,accessible and low-cost alternative to dedicated equipment, results dependent on manual force and duration of rolling.
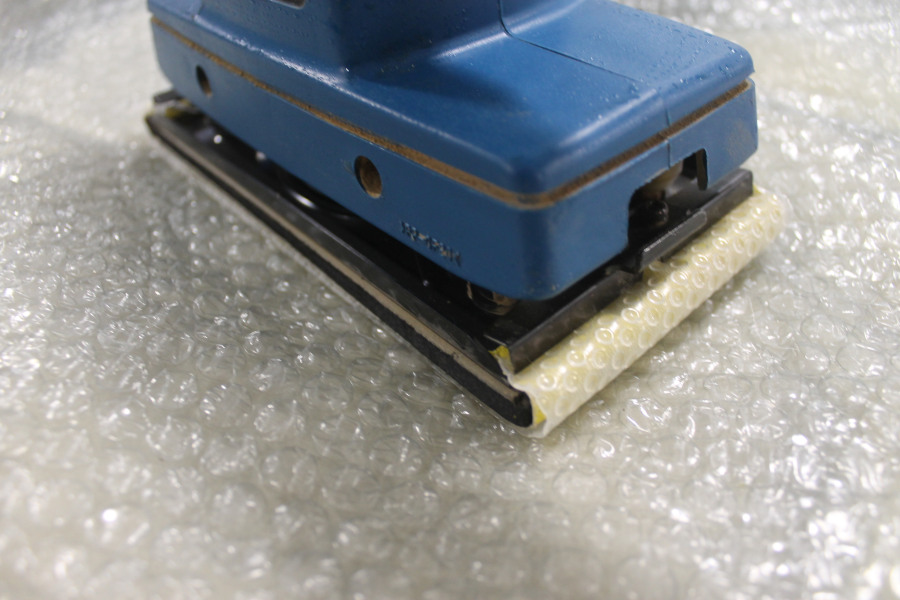
Sanding machine (Medium-tech)
- Setup: vibration/friction from machine
- Process: assisted felting through mechanical movement
- Observations: more consistent than manual, reduces physical effort, still partially unpredictable.
Rolling machine (High-tech, not tested)
- Process: Using continuous rolling and uniform pressure, the machine accelerates and standardizes fiber interlocking.
- Note: planned but not available in the lab, even if expected to deliver during the first phase.
Key insights
From these initial tests, some patterns emerged:
-
Speed vs control trade-off: low-tech tools allow precision but are slow, high-tech tools increase speed but reduce adaptability.
-
Consistency increases with mechanization: machines produce more uniform results.
-
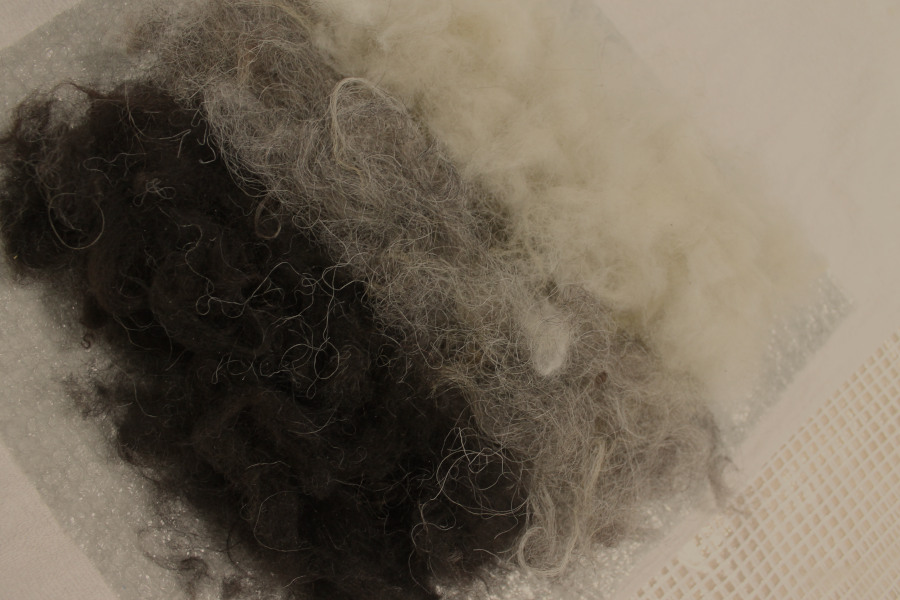
Material conditions: all tests in this phase were conducted using washed and carded wool. Unwashed wool was tested with needle felting but did not interlock effectively, a needle also broke during the process. Unwashed wool will be further explored in wet felting for rug making.
Phase 2 (February-March)
Key Concepts
After the mentoring session on January 27, I defined the scope as follows:
-
Run a form of scientific investigation by monitoring the same variables and comparing samples.
Example: using the same amount of wool and the same amount of time, observing and documenting and comparing the results. -
A set of comparison samples will be produced and become the basis for a scientific paper or be developed into artistic samples.
Concepts
This research compares how wool preparation and technology level influence felting efficiency, structural stability, and water usage when working with rustic wool.
Standards for comparison
| Parameter | Value |
|---|---|
| Wool type | Washed carded Thônes et Marthod, unwashed when applicable |
| Observation time | 10 minutes |
| Sample weight | 50 g |
| Initial shape | Square |
| Sample size | 25x25 cm |
| Layer structure | 4 layers cross-laid |
Outputs
Bucket: N = needle felting, W = wet felting
| Bucket | Tech tool | Final Dimensions | Thickness | Operator Effort | Flexibility | Surface Texture | Additional Notes |
|---|---|---|---|---|---|---|---|
| N | zero (standard needles) | 26x27 cm | 11 cm | High | Medium | Flat | Strong fiber interlock structure |
| N | zero (standard needles) | 27 x 27 cm | 15 cm | High | Low | Very curvy | Unwashed wool tested (failed, a hole in the middle) |
| N | Felting gun | 27x27 cm | 13 cm | Medium | High | Irregular | Low-powered tool |
| N | FeltLoom | High | 30x30 | 6 cm | Low | Very flat | High-quality, it can work up to 3 panels of the same dimension at the same time |
| W | zero (water, soap) | 25 x 28 cm | 4 cm | High | Medium | Quite flat | This technique requires more than 10 minutes |
| W | Rolling pin | 33 x 32 cm | 3 cm | Medium | High | Quite flat | Dimension is bigger than the beginning |
| W | Sanding machine | 32 x 30 cm | 5 cm | Medium | High | Flat | The machine helped with agitation |
| W | Sanding machine | 28 x 30 cm | 3.50 cm | Medium | High | Quite flat | Wool washed through fermentation (not carded, just combed) |
The comparison highlights differences in density, structure and consistency.

Process videos
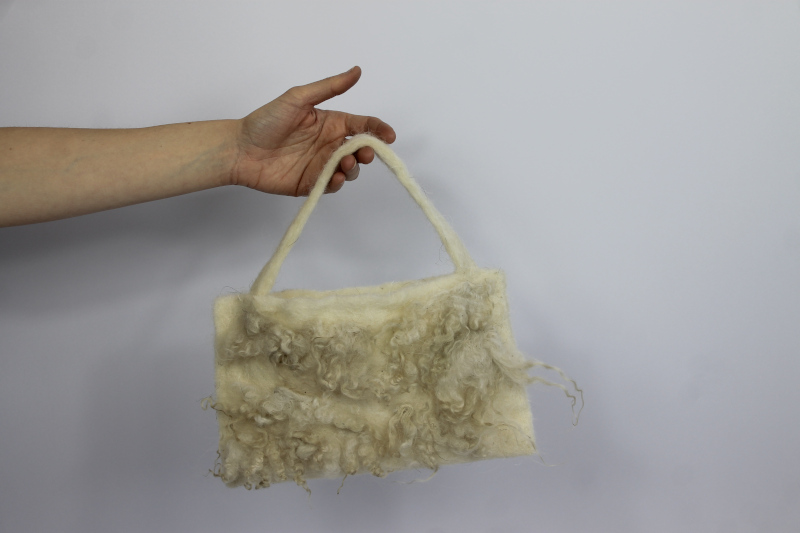
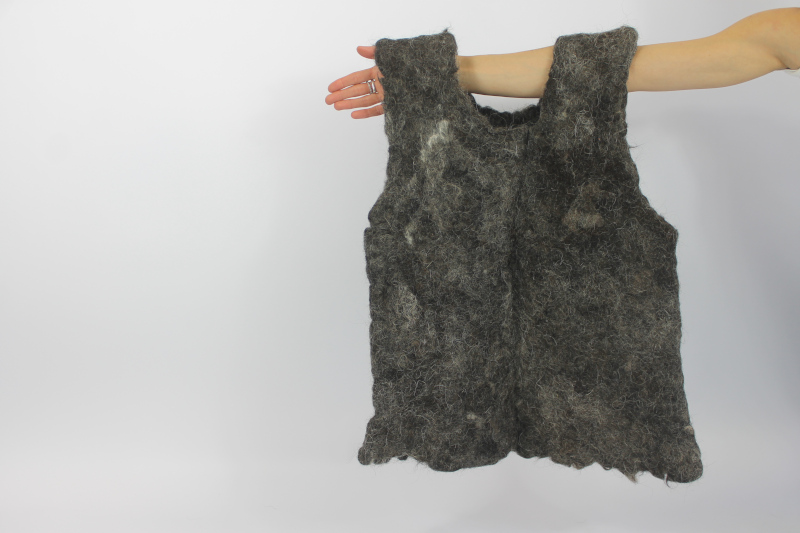
Experimental products
Finally, tools and techniques were combined to create experimental pieces, including garments made from Thônes et Marthod wool, not typically used for this type of application.
References
Images: Martina Muroni unless otherwise stated.