Digital bodies
1. References, research & inspiration
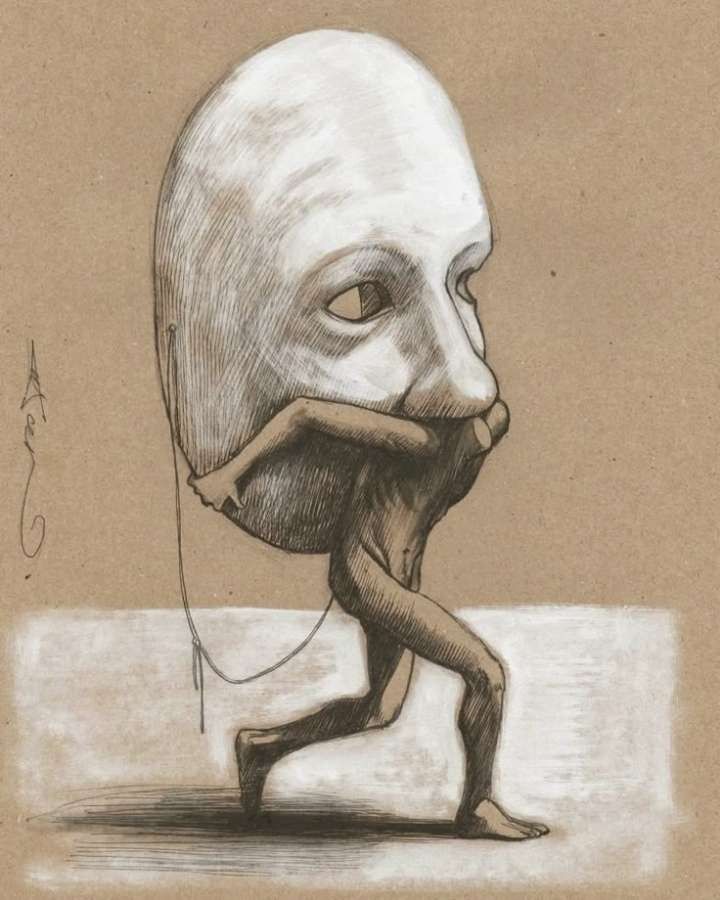
At the beginning of this week, we explored how artists have represented the human body in different ways and through different mediums. Seeing all those interpretations made me think beyond what a body looks like. What does it mean to be human? What makes a body more than its physical form? And with so many differences between us, how much do we have in common?.
I started thinking about the people I meet every day. We grow up in different places, speak different languages, and experience life in ways no one else can fully know. Even our bodies hav different sizes, colours, and the way they move. At first, these differences seemed to make the question harder to answer. I kept wondering what could possibly be shared by everyone, regardless of where they come from or what they look like.
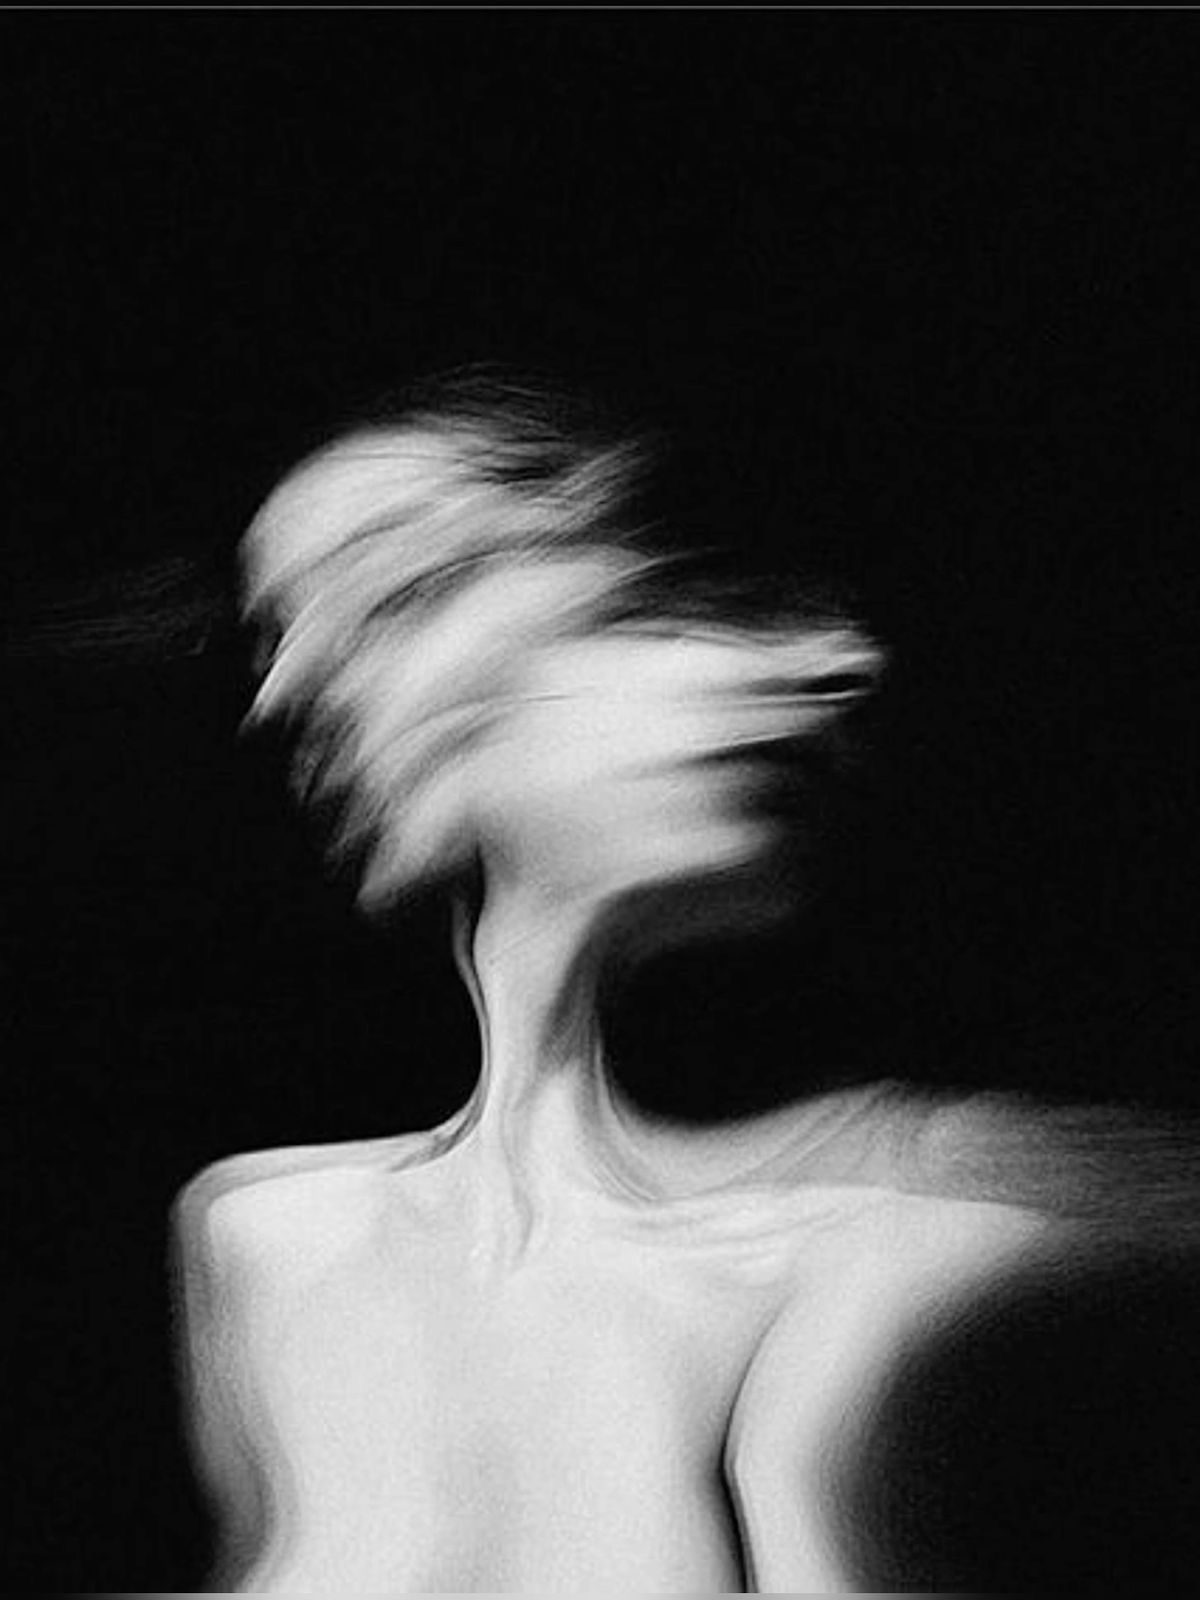
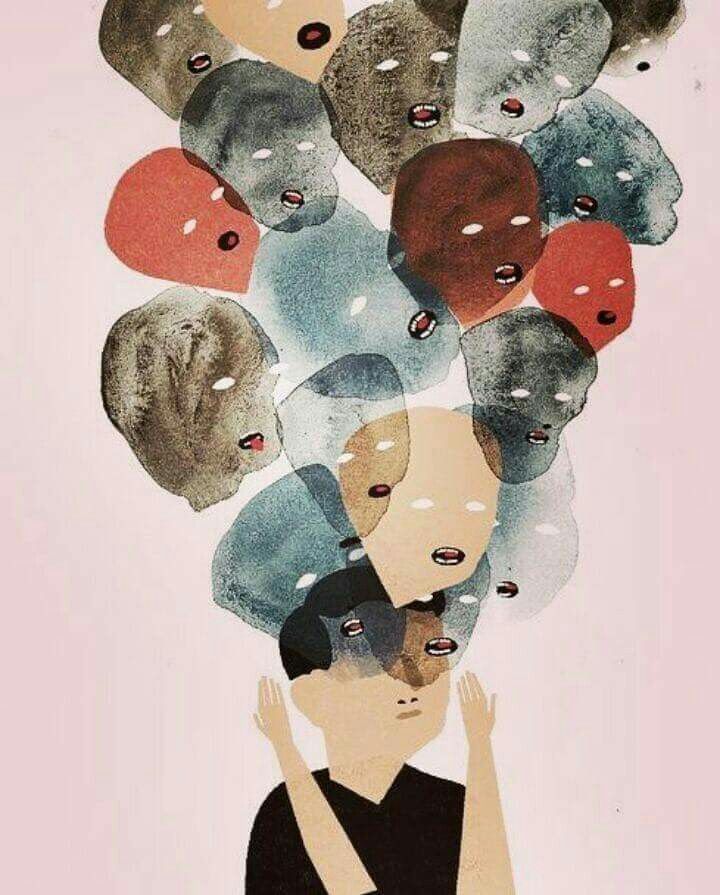
Then I thought about the things we feel but don’t always say. A smile when we feel understood. The tension in someone’s face when they’re afraid. The way a person reaches for another when they need comfort. We may express these feelings differently, but we can often recognise them without saying a single word. Maybe that is one thing we all share: the language of emotions.
Concept
Untold Emotions
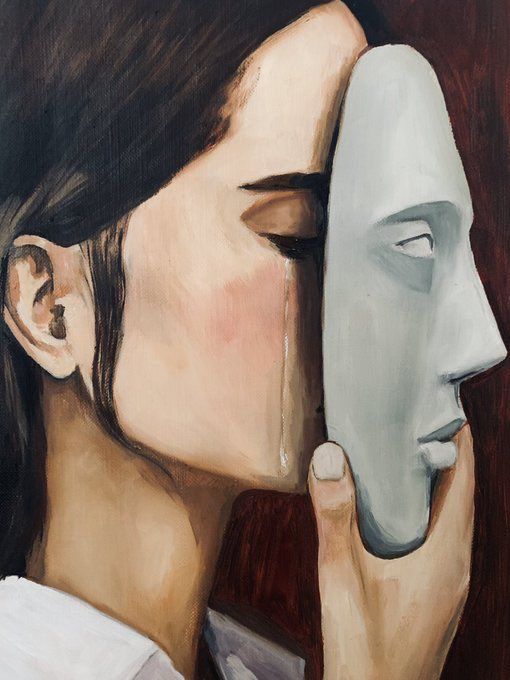
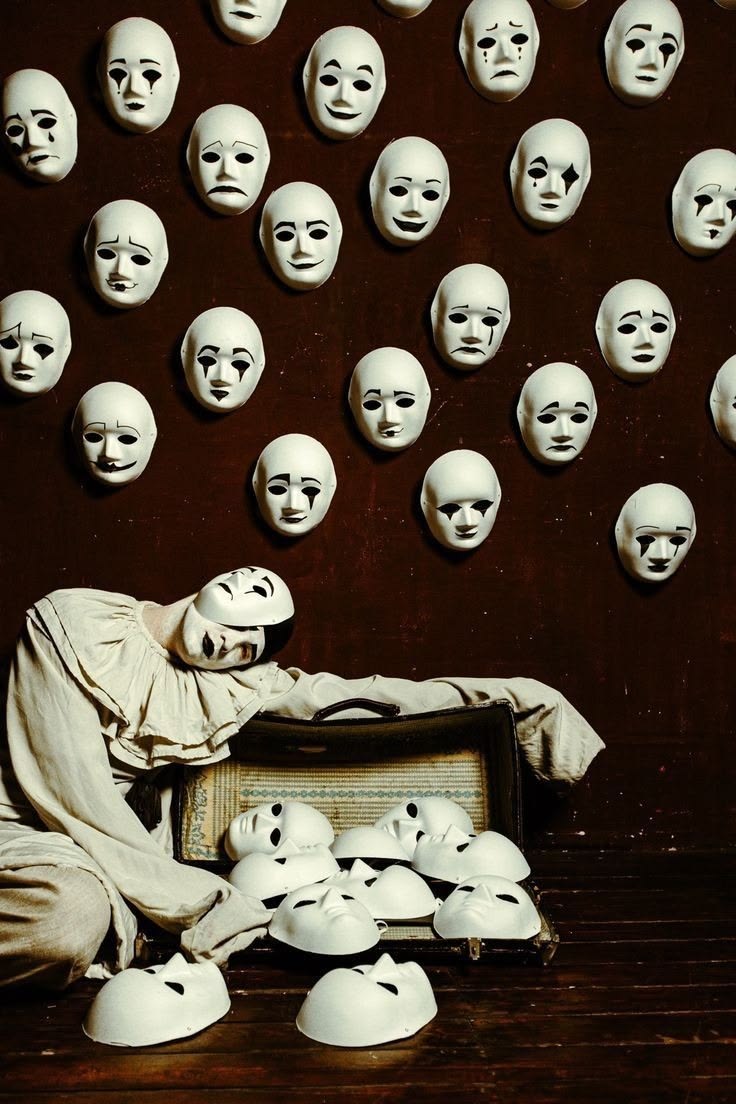
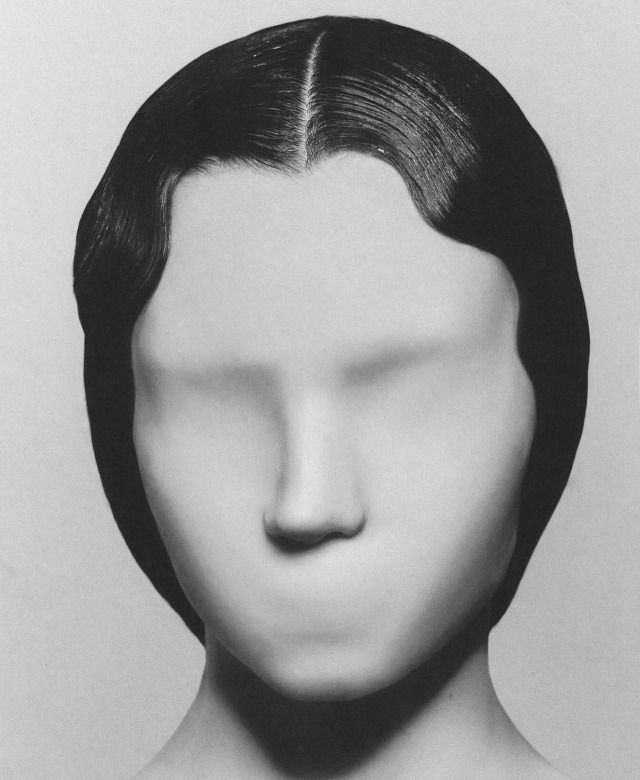
Untold emotions are feelings we carry but don’t put into words. Sometimes we don’t know how to explain them, sometimes we’re afraid to. They can still show through a pause, a glance, the way we hold ourselves, or the distance we leave between us and someone else.
2. Design Workflow
Ideating & Sketching
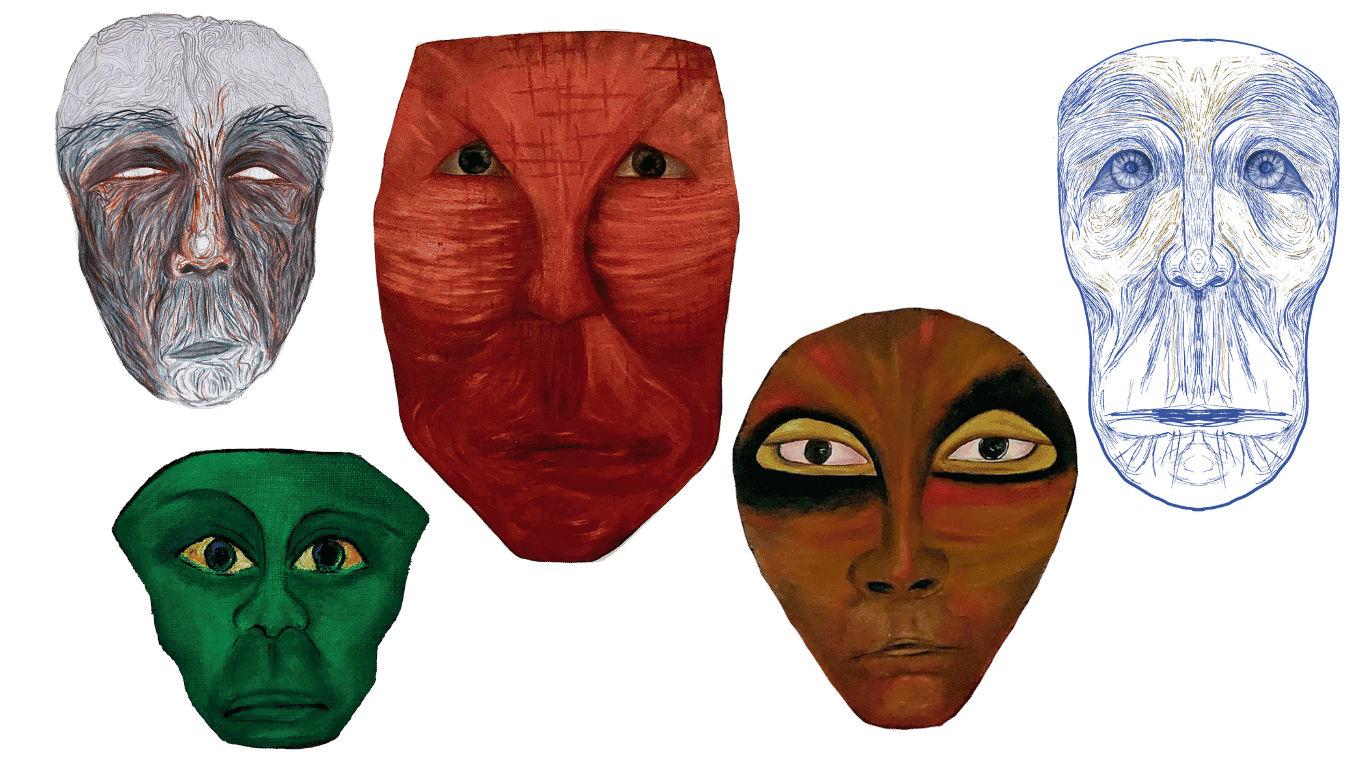
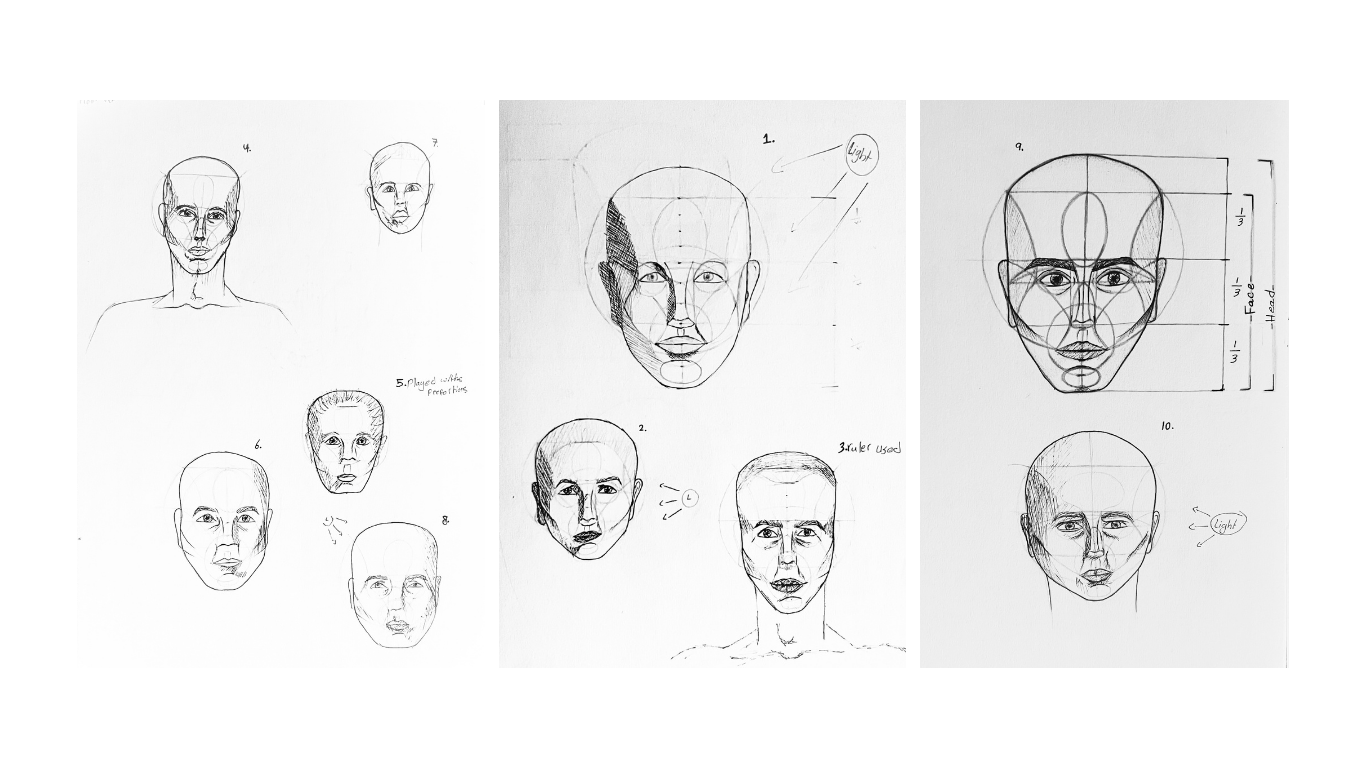
I started by sketching a few ideas and revisiting some of my earlier illustrations, where I had explored emotions that are often left unspoken. In my illustrations, I exaggerated and distorted the face and body to show how an emotion feels, rather than how a person actually looks.
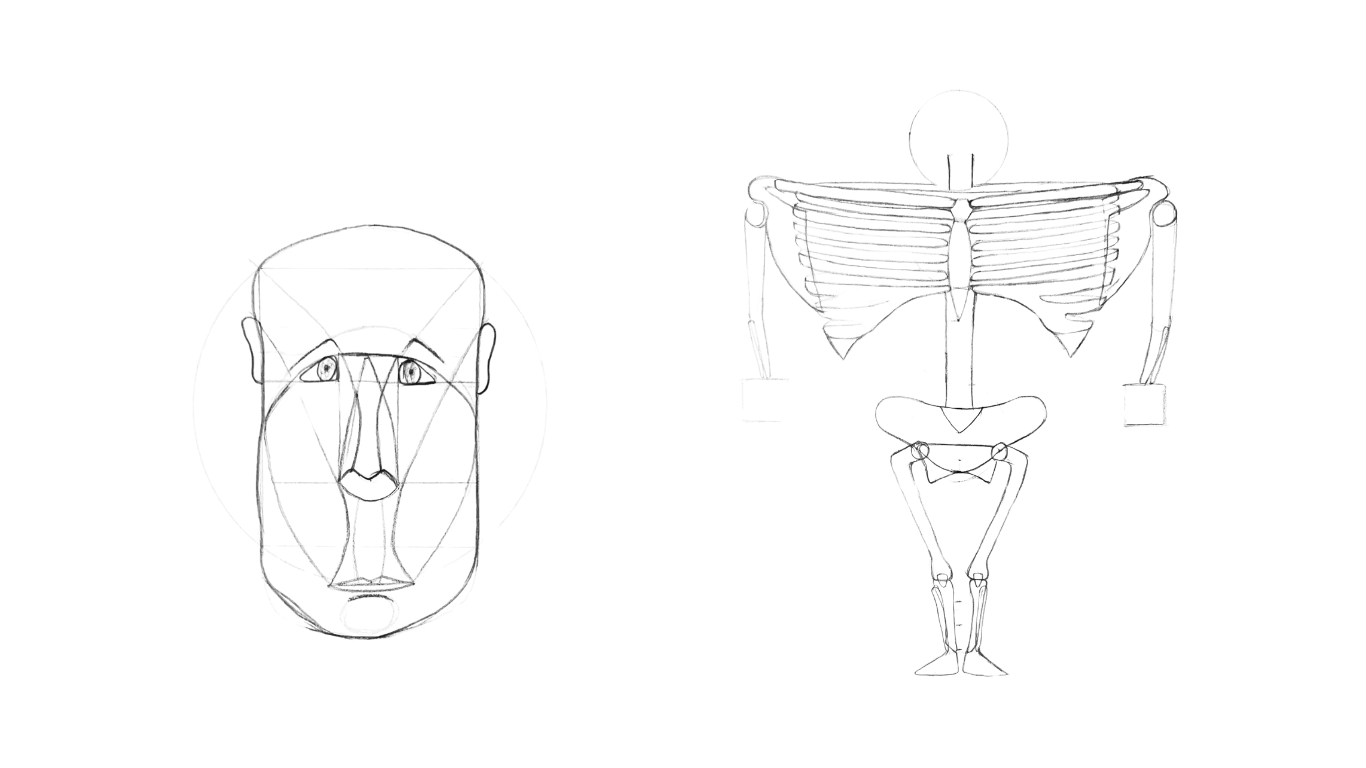
What will I create?
I will create a human head with a blank face, then turn the face I remove into a mask. Through the contrast between the faceless head and the mask, I want to explore untold emotions: the feelings we experience but struggle to show or put into words.
Human head: Create the head in Blender using MPFB, then separate the face to leave the head faceless. Face mask: Export the separated face as an STL file and import it into Nomad Sculpt, where I will sculpt and distort it to express untold emotions.
3D Modelling
Blender
We had a Blender tutorial with Rico, where he introduced us to MPFB, a plugin for creating human figures. I found it helpful because I could generate a body from scratch and adjust its proportions until it matched the form I had in mind. MPFB also includes a rigging feature that allows you to pose the figure, which I would like to explore later.
For my project, I used MPFB to create a human figure, then edited the mesh to keep the part I needed:
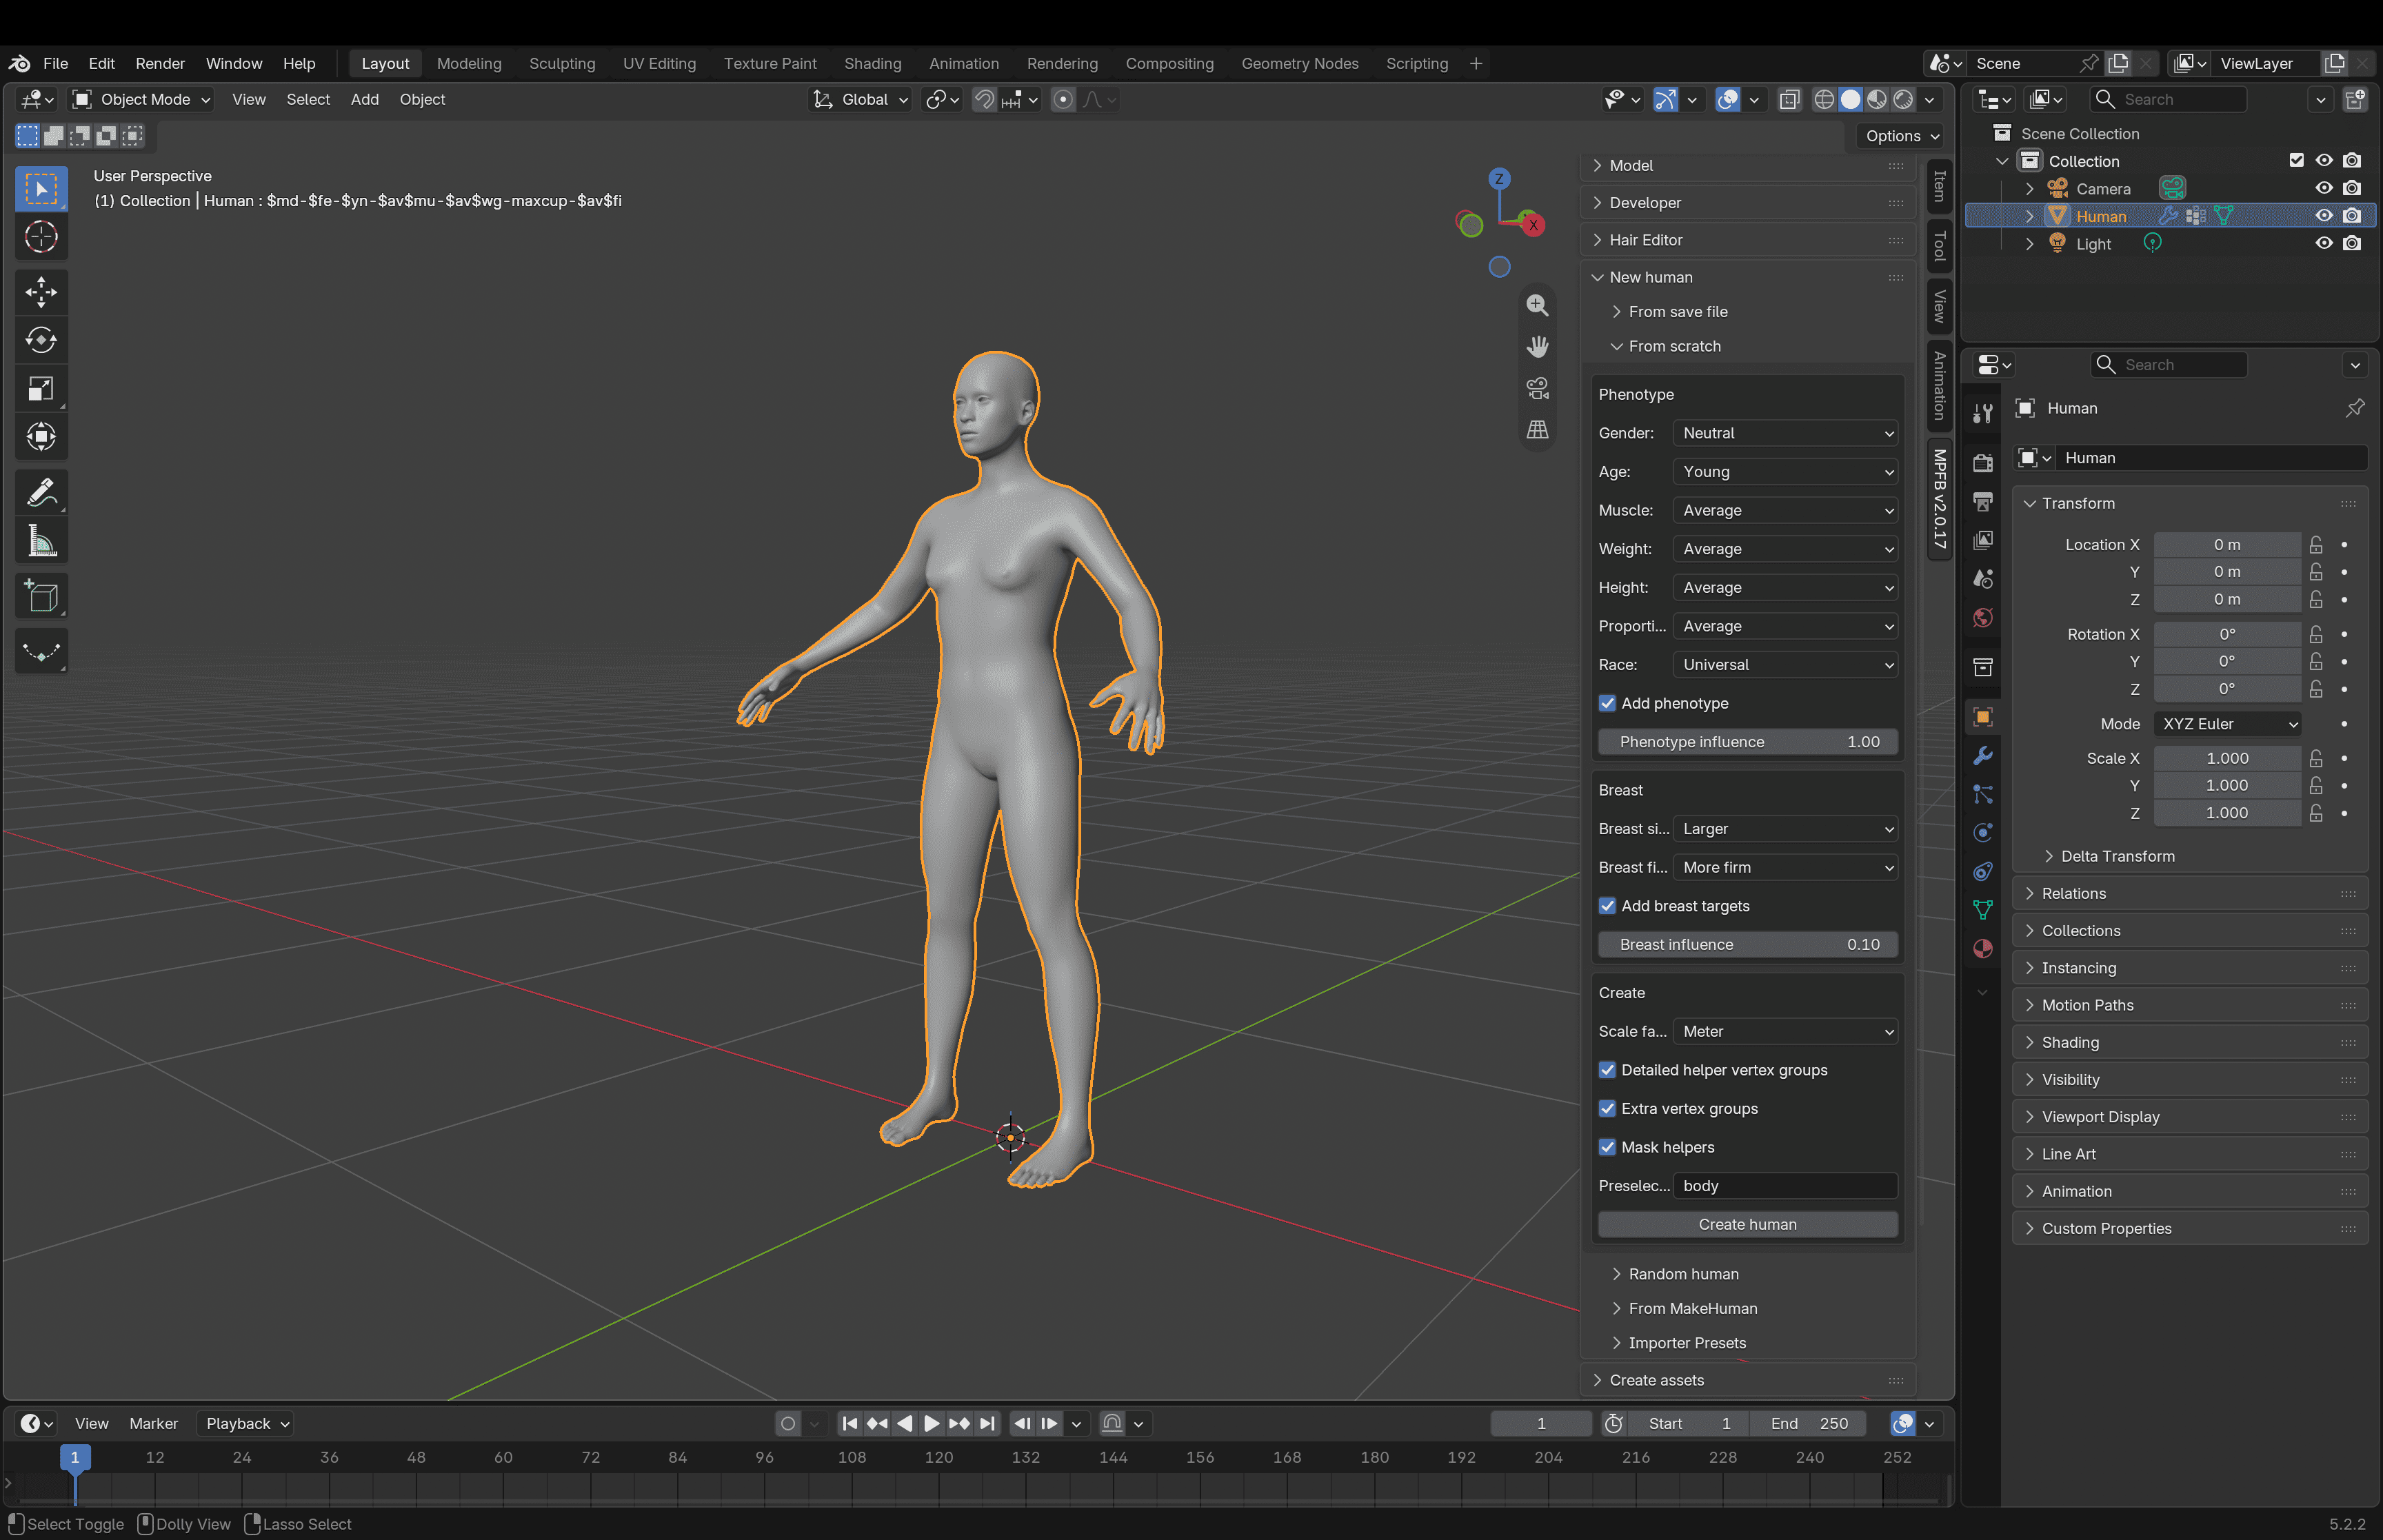
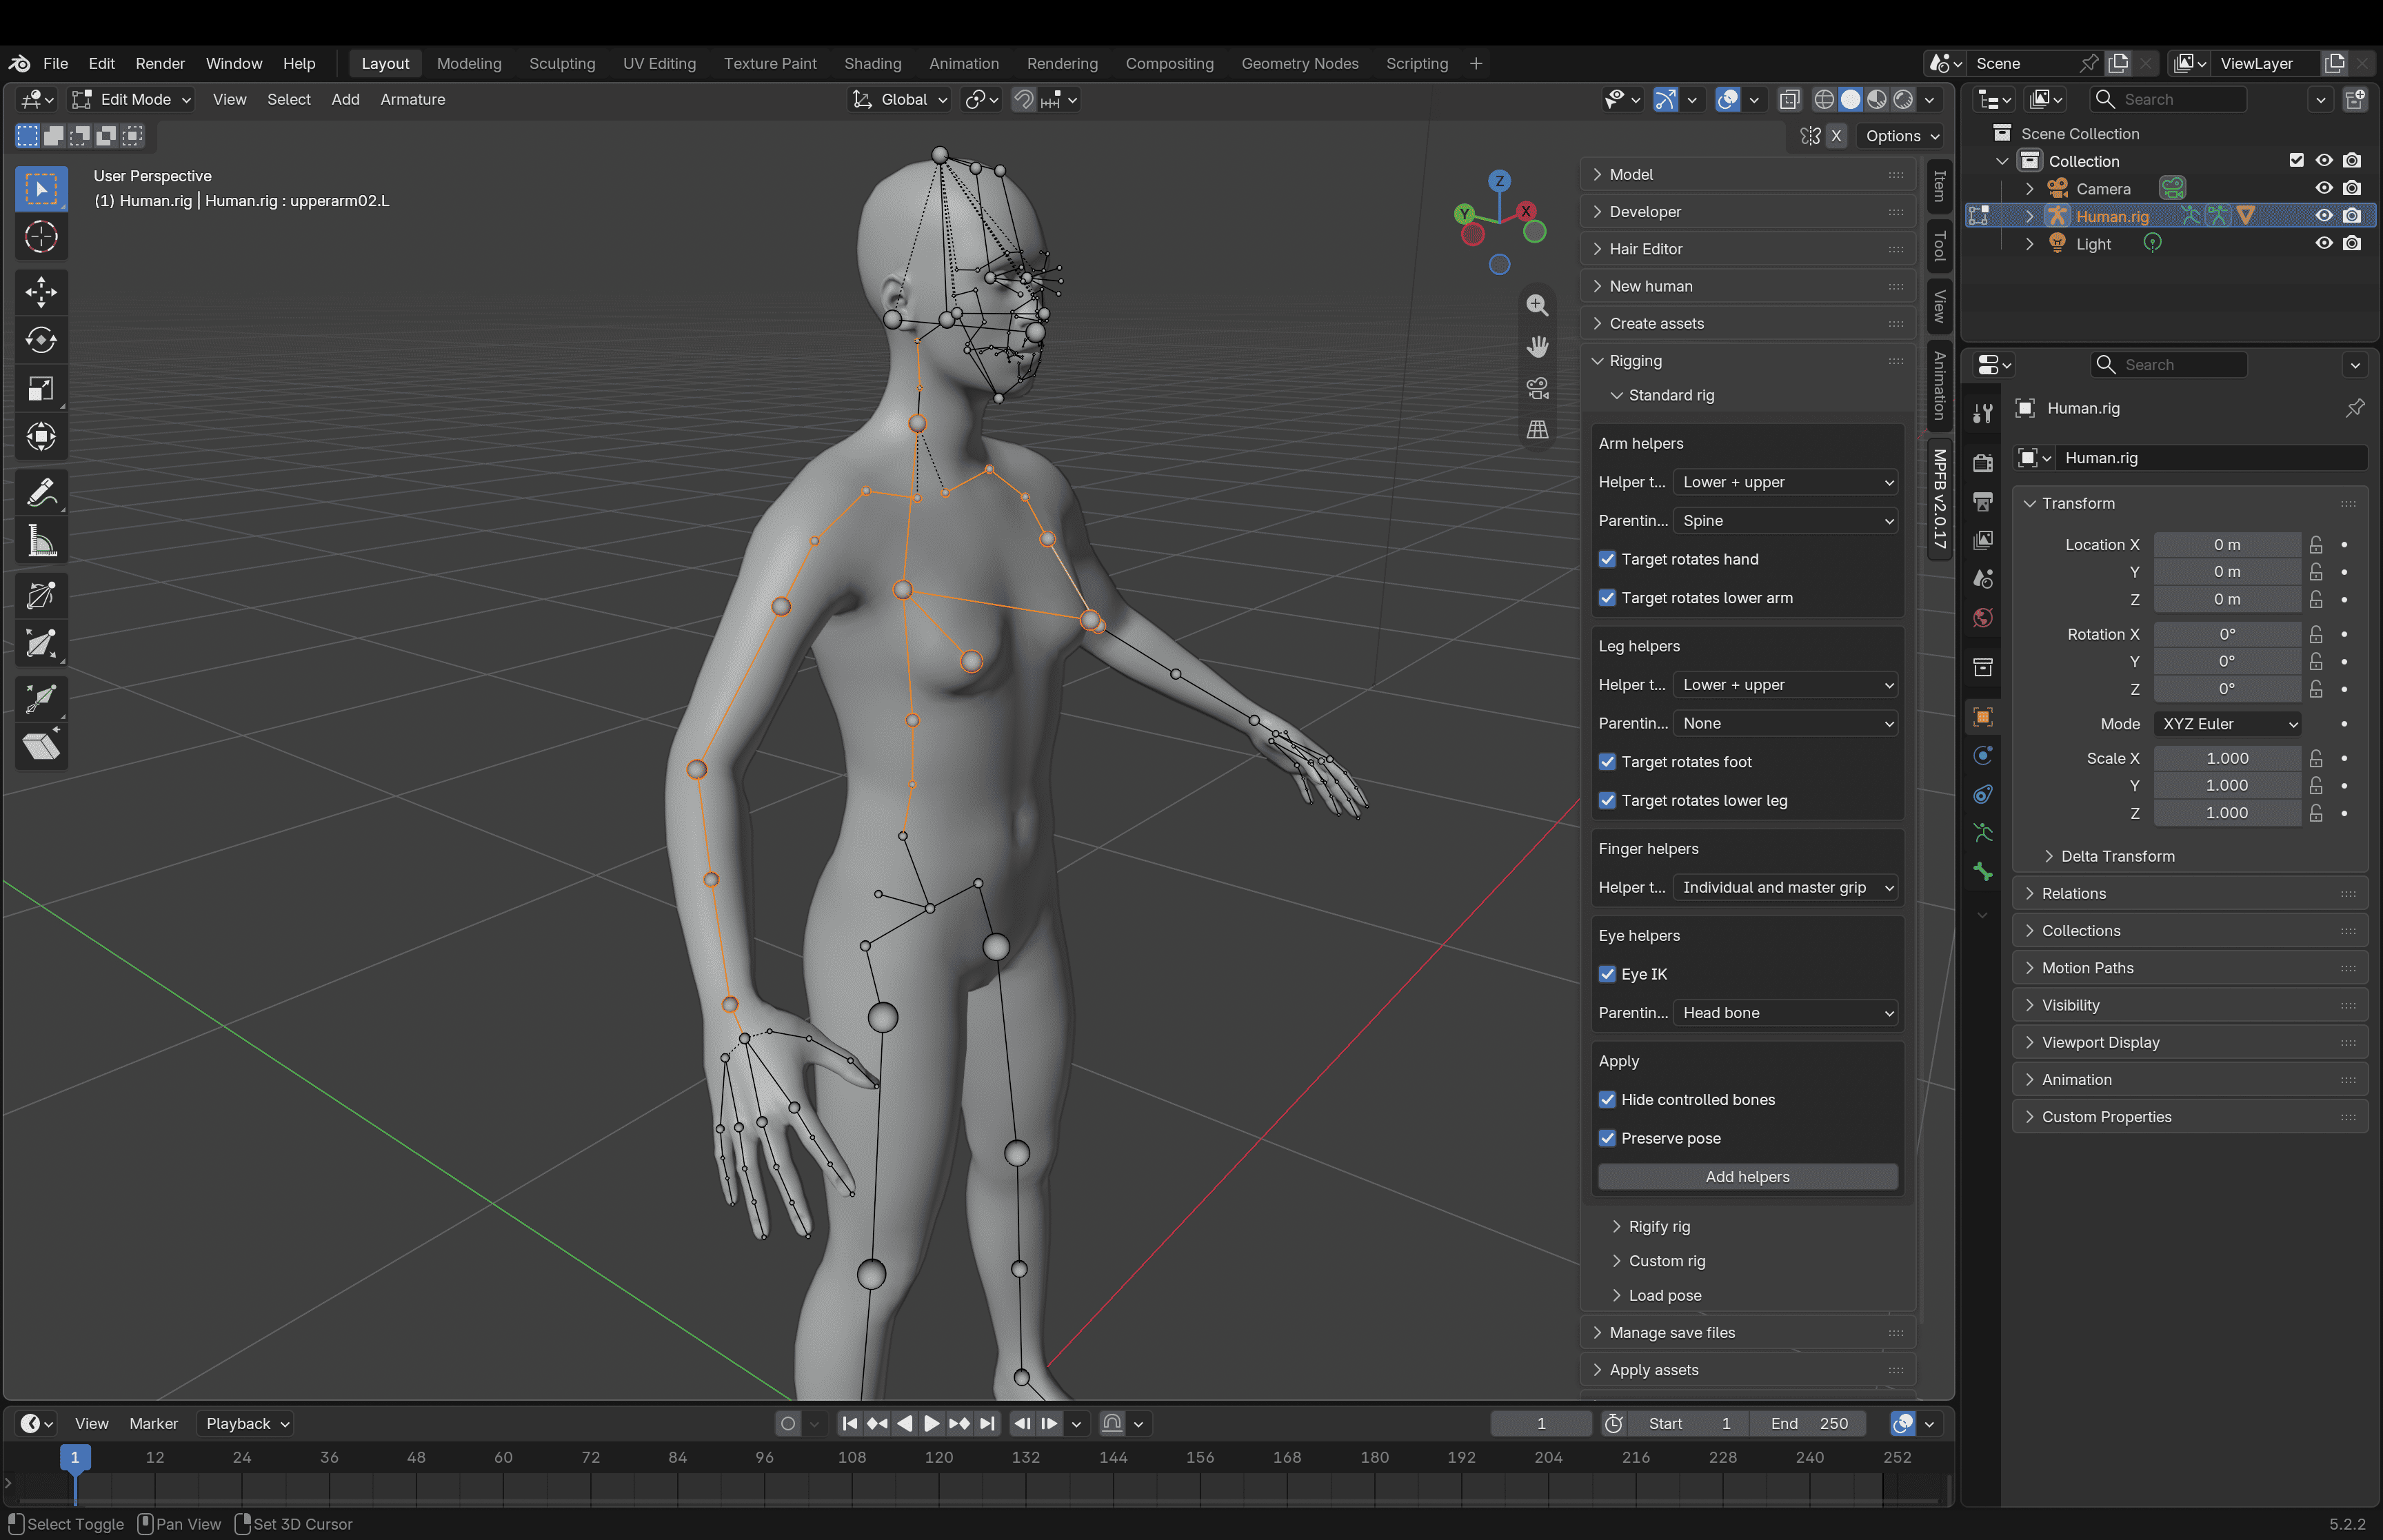
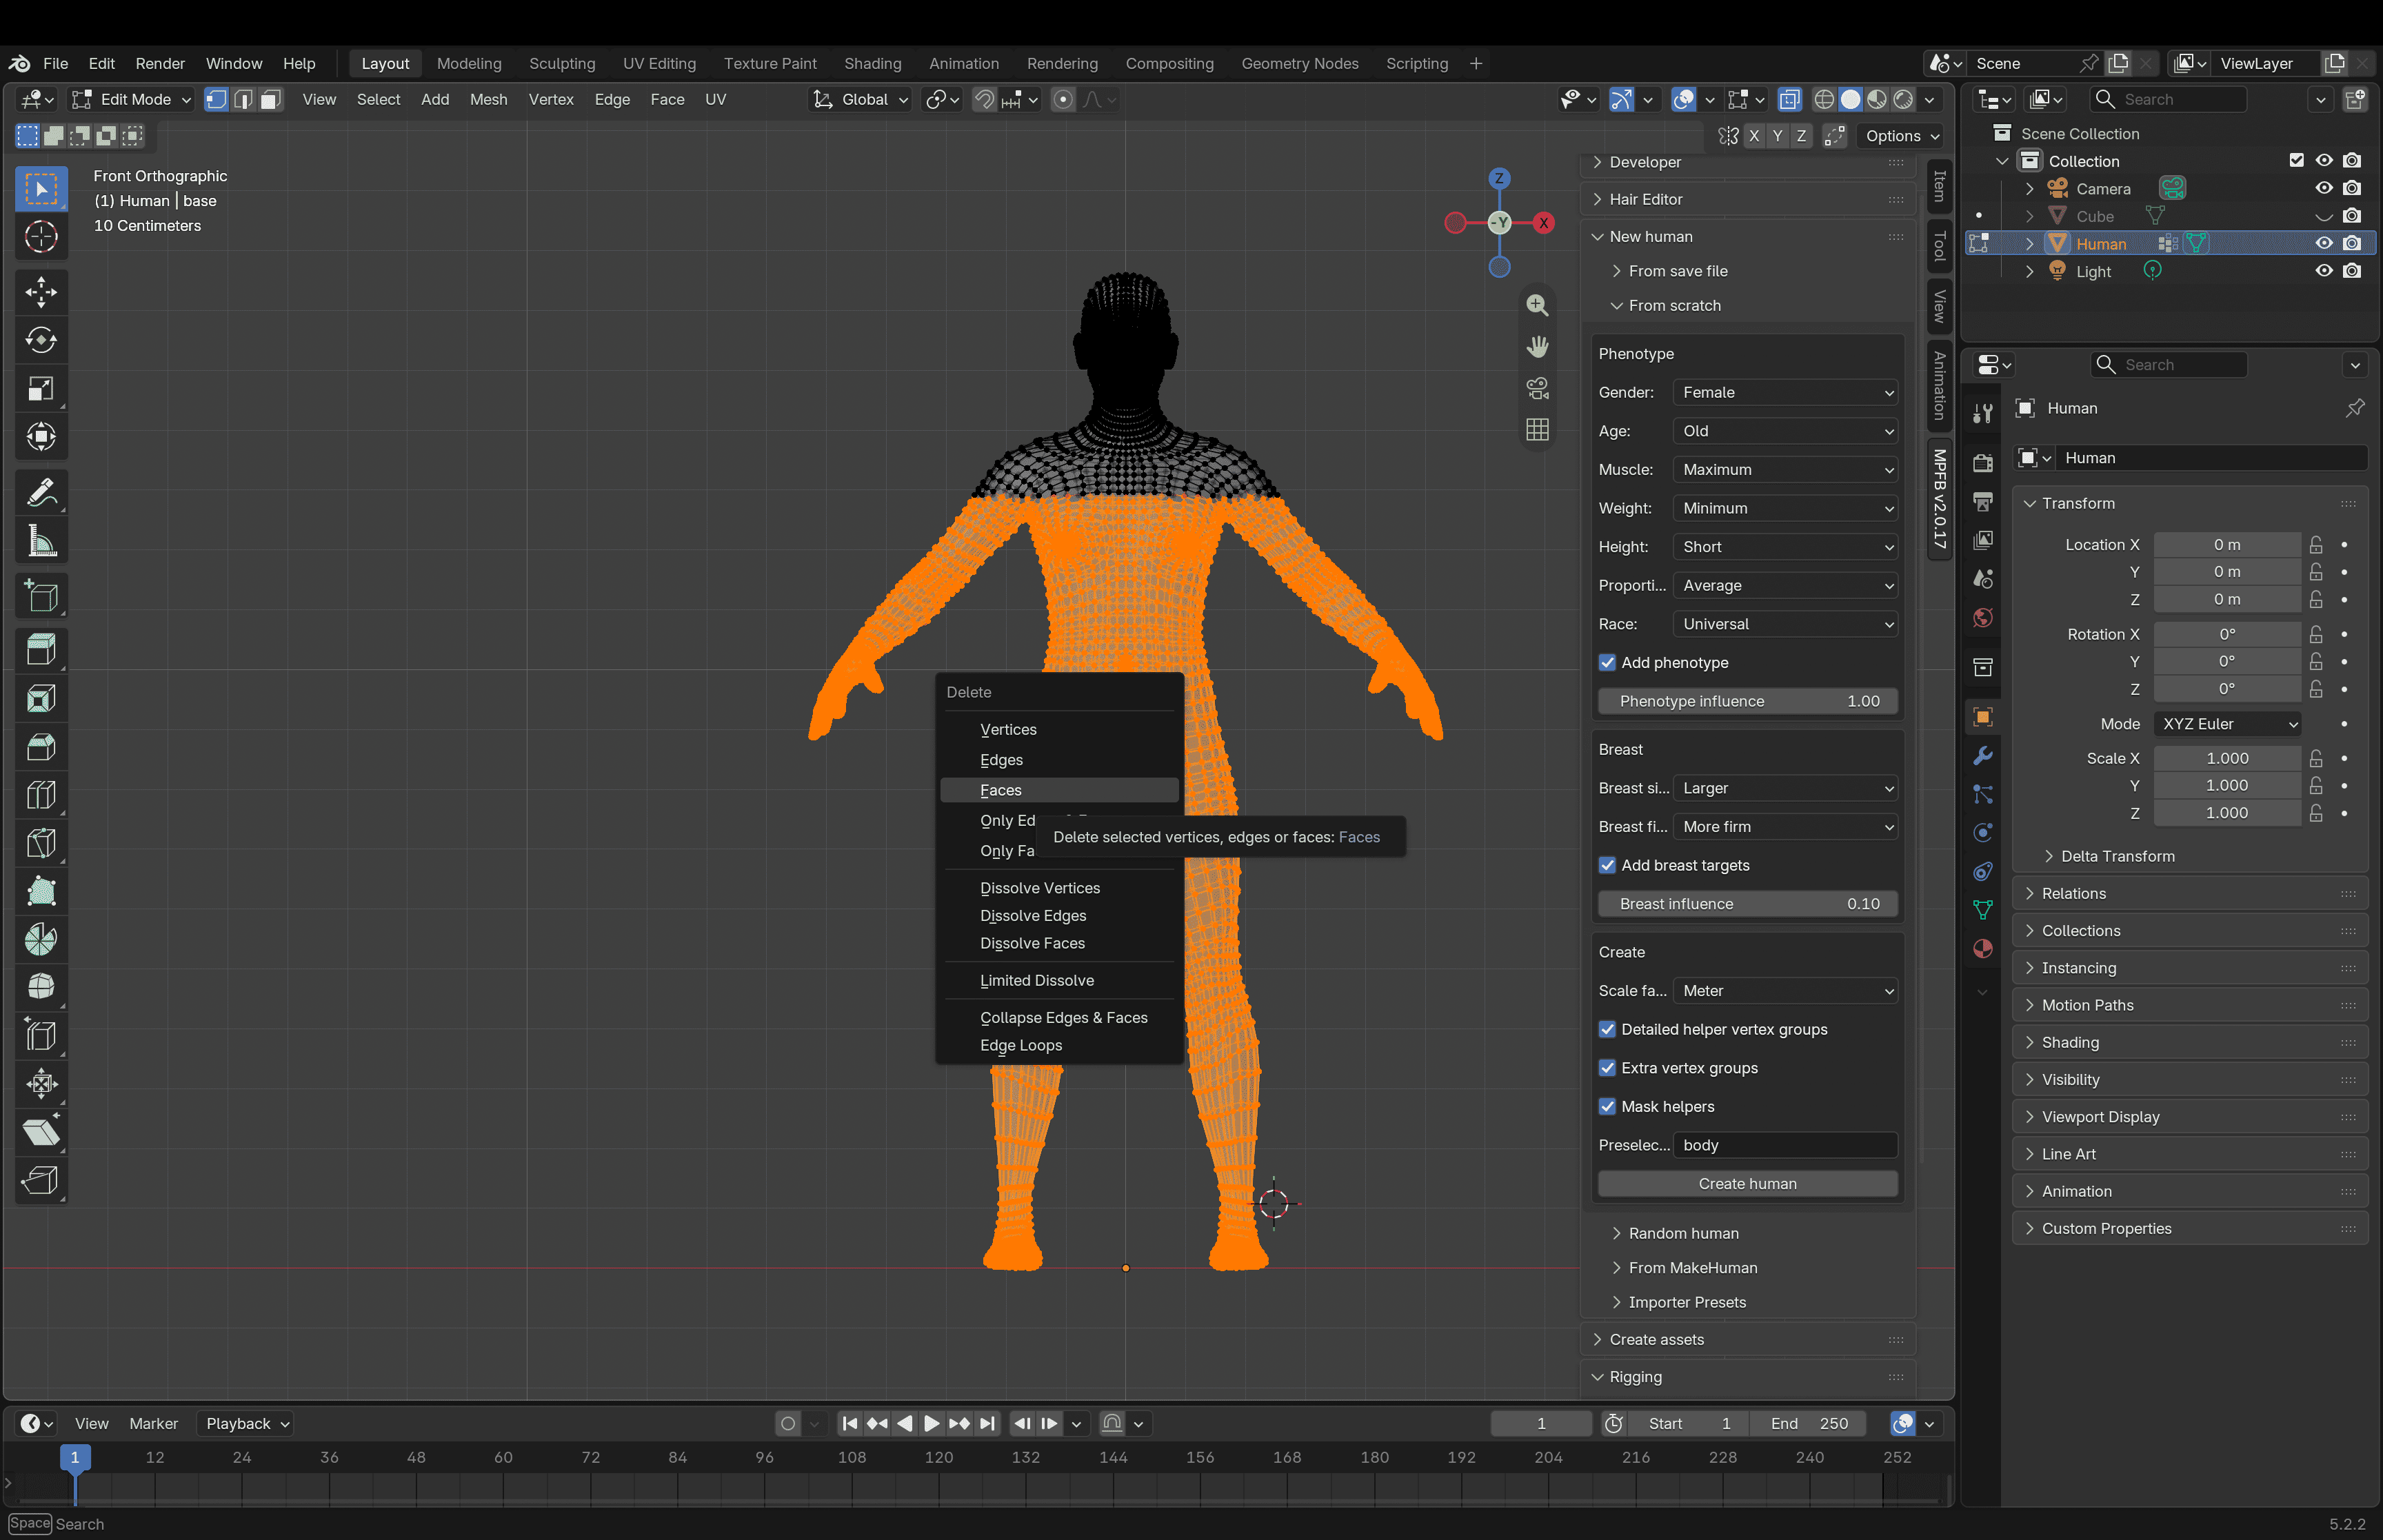
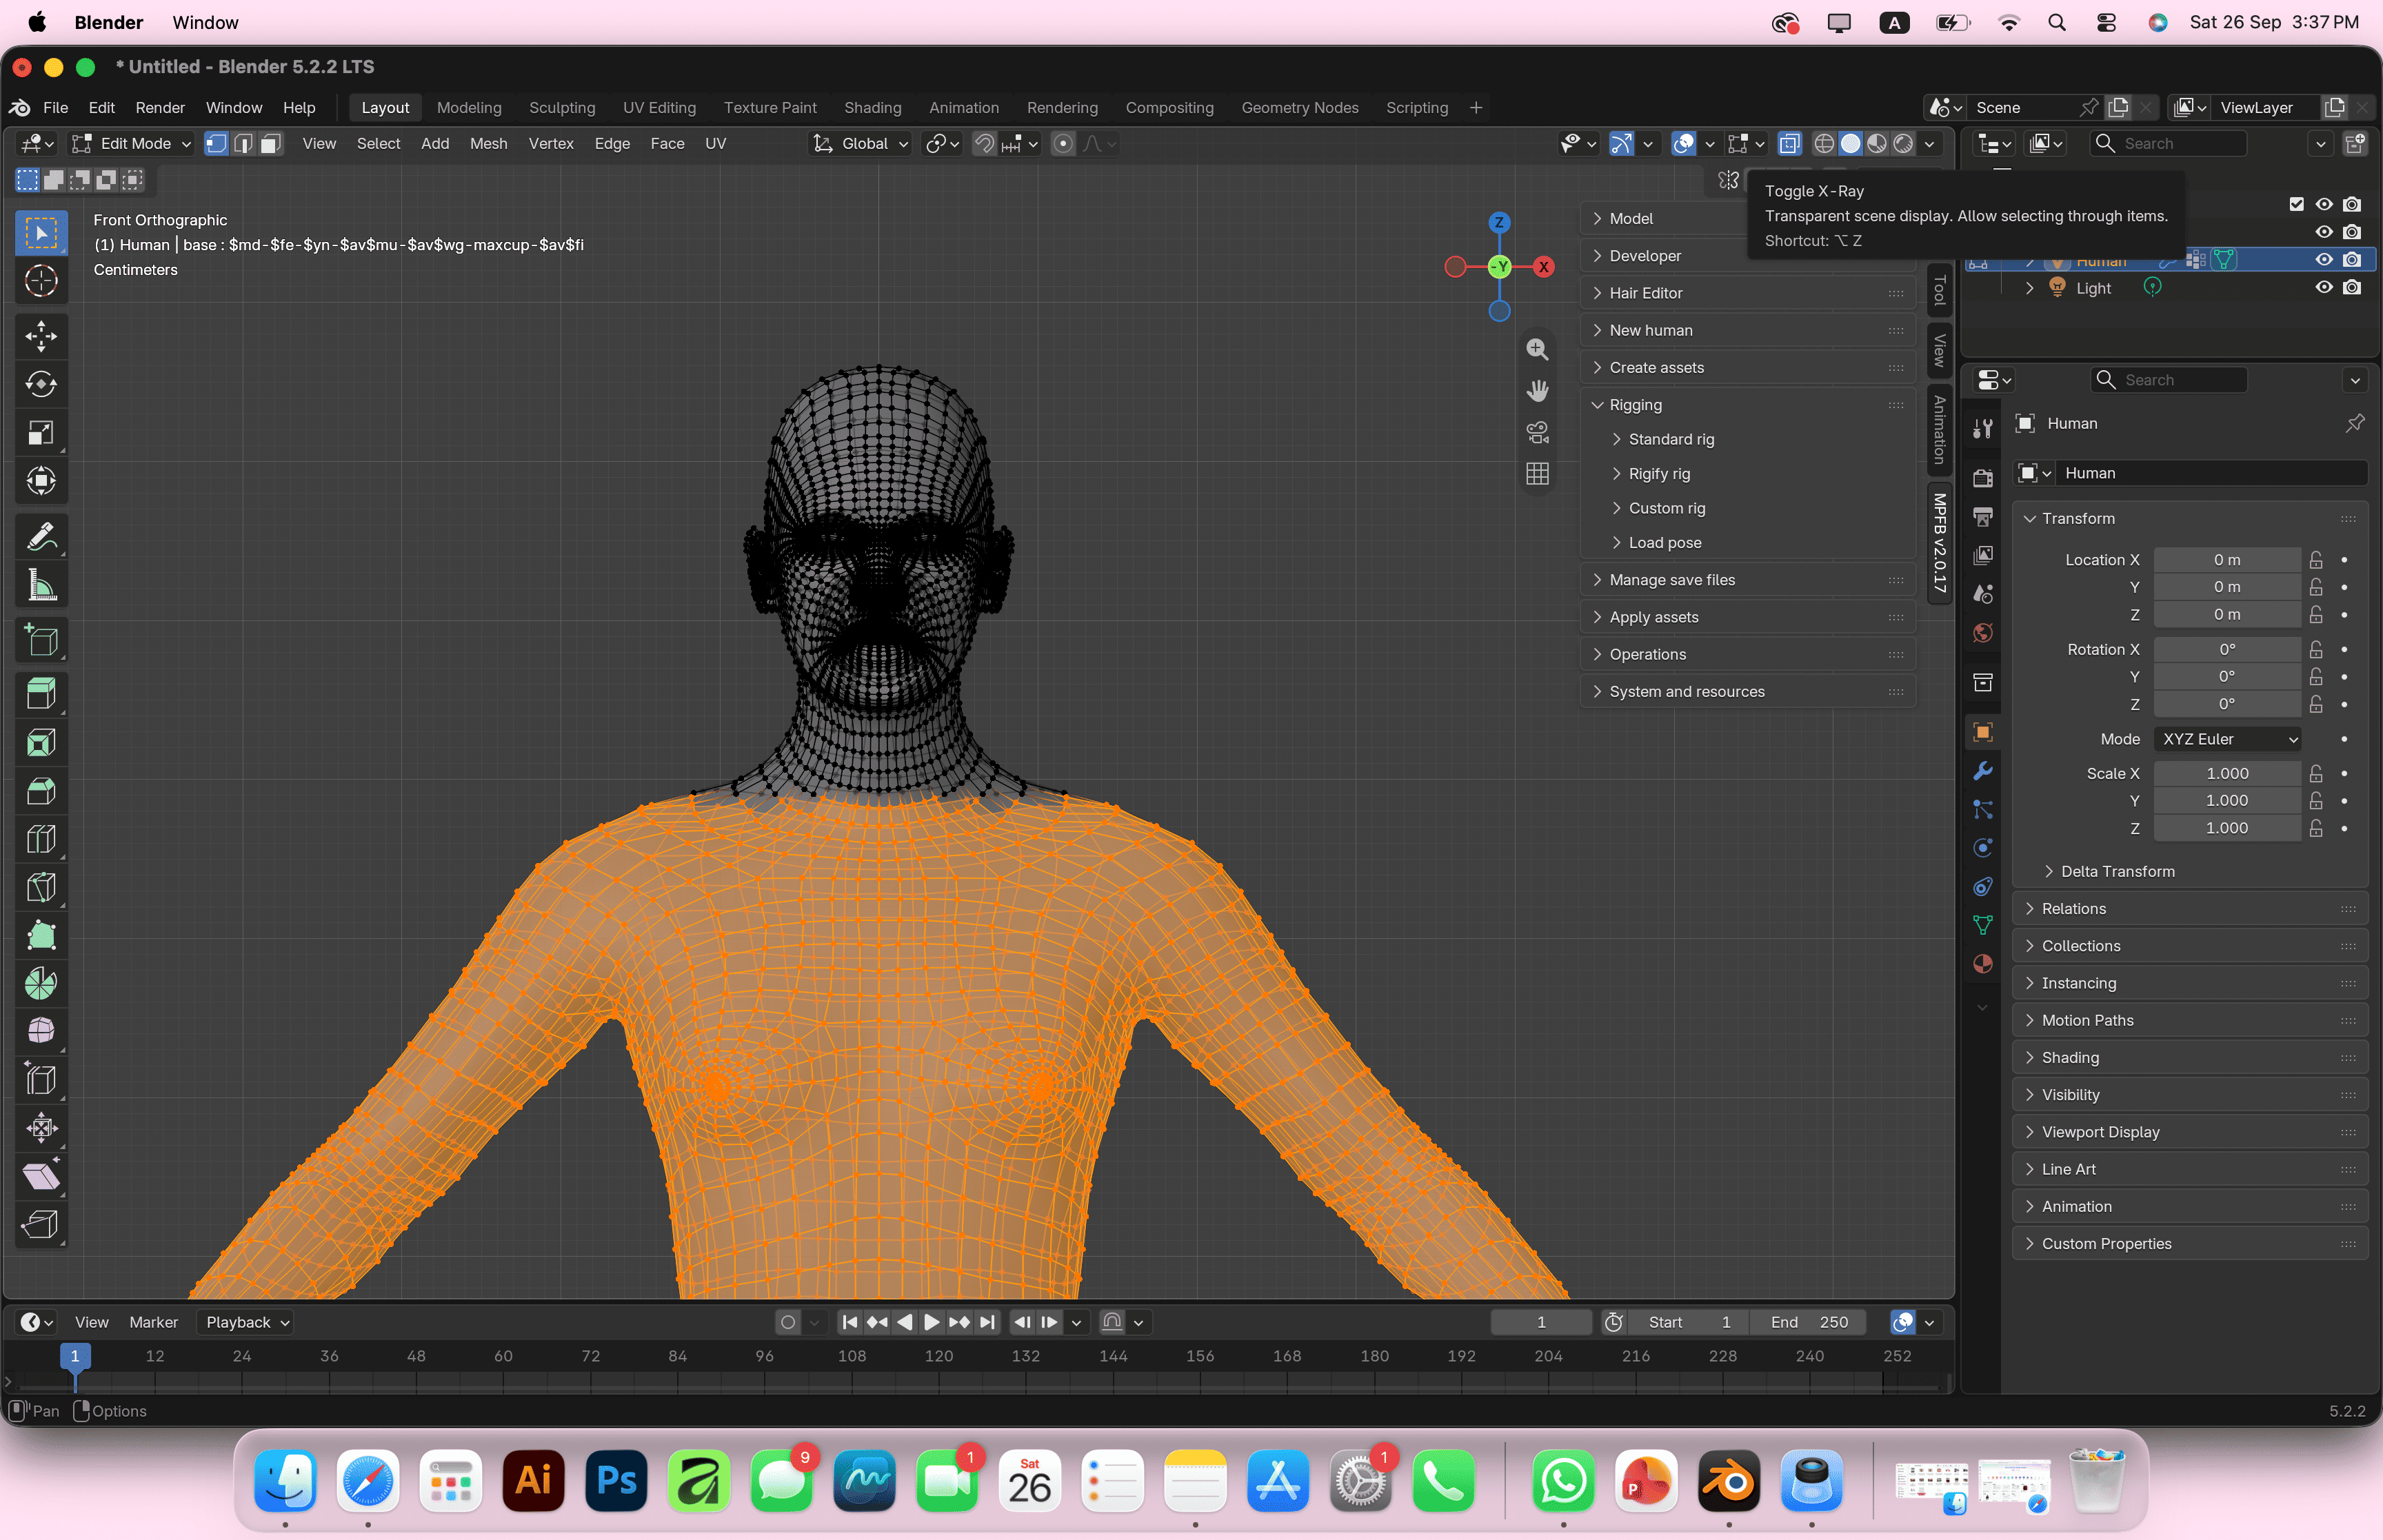
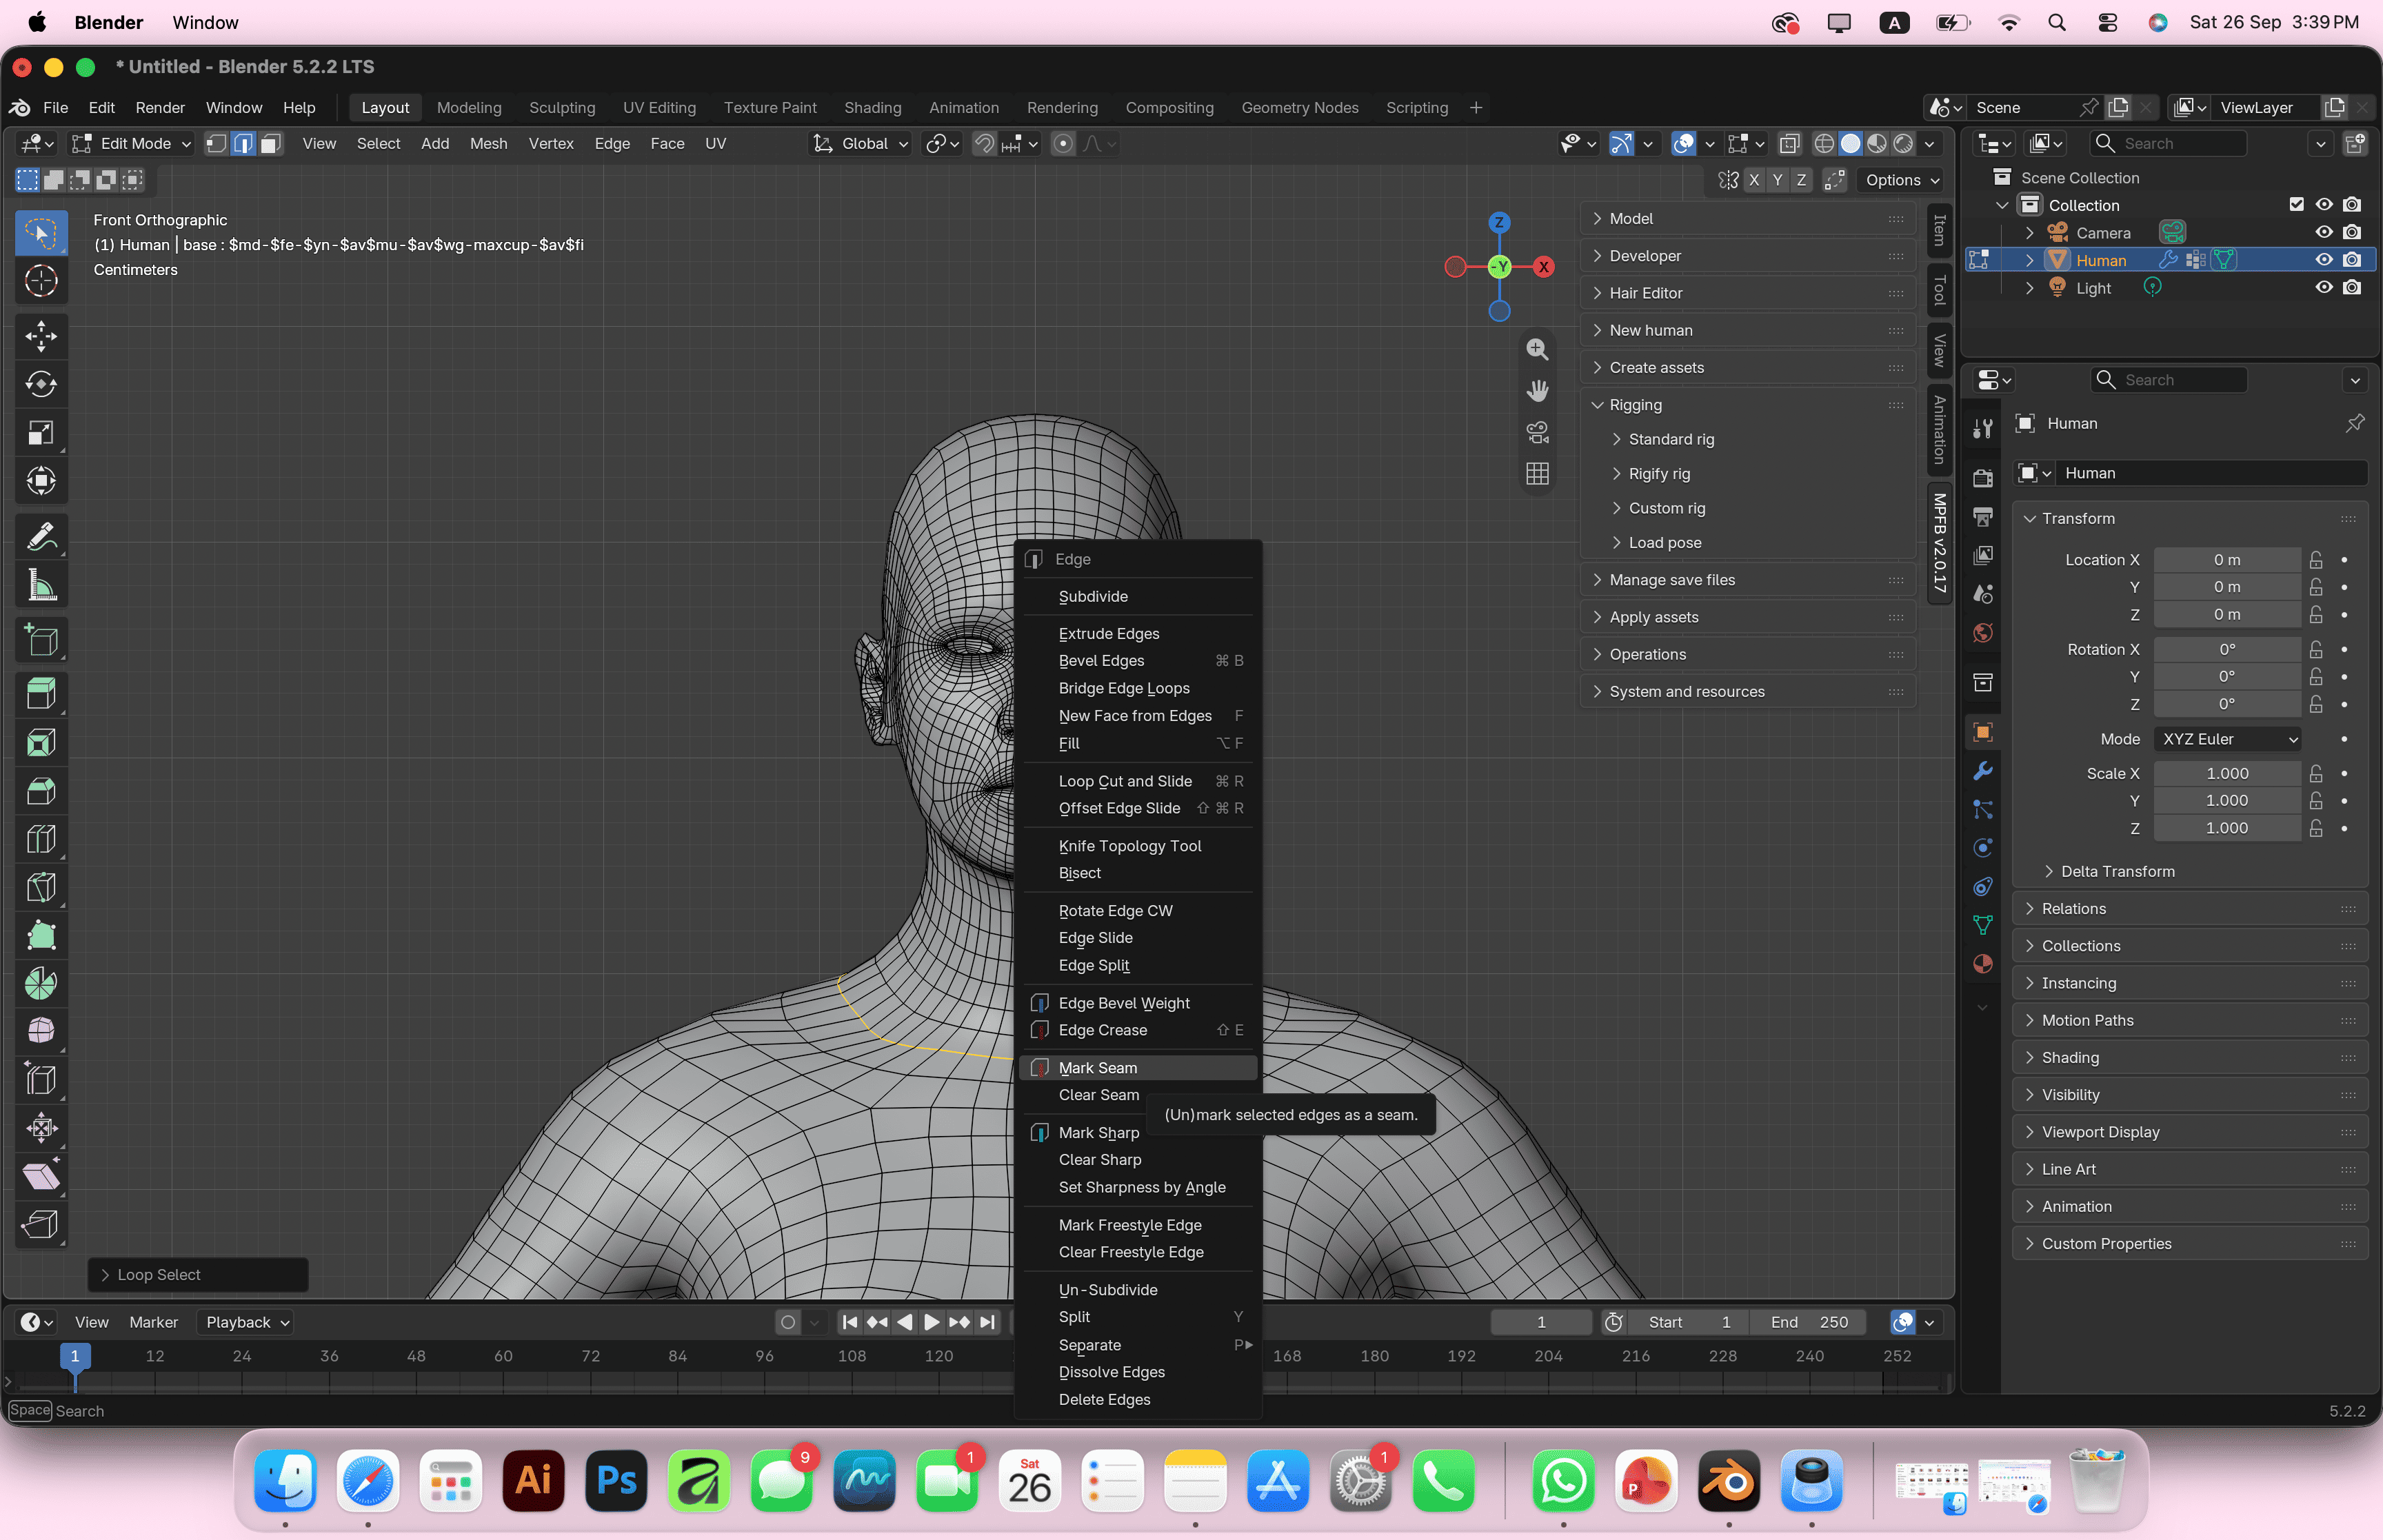
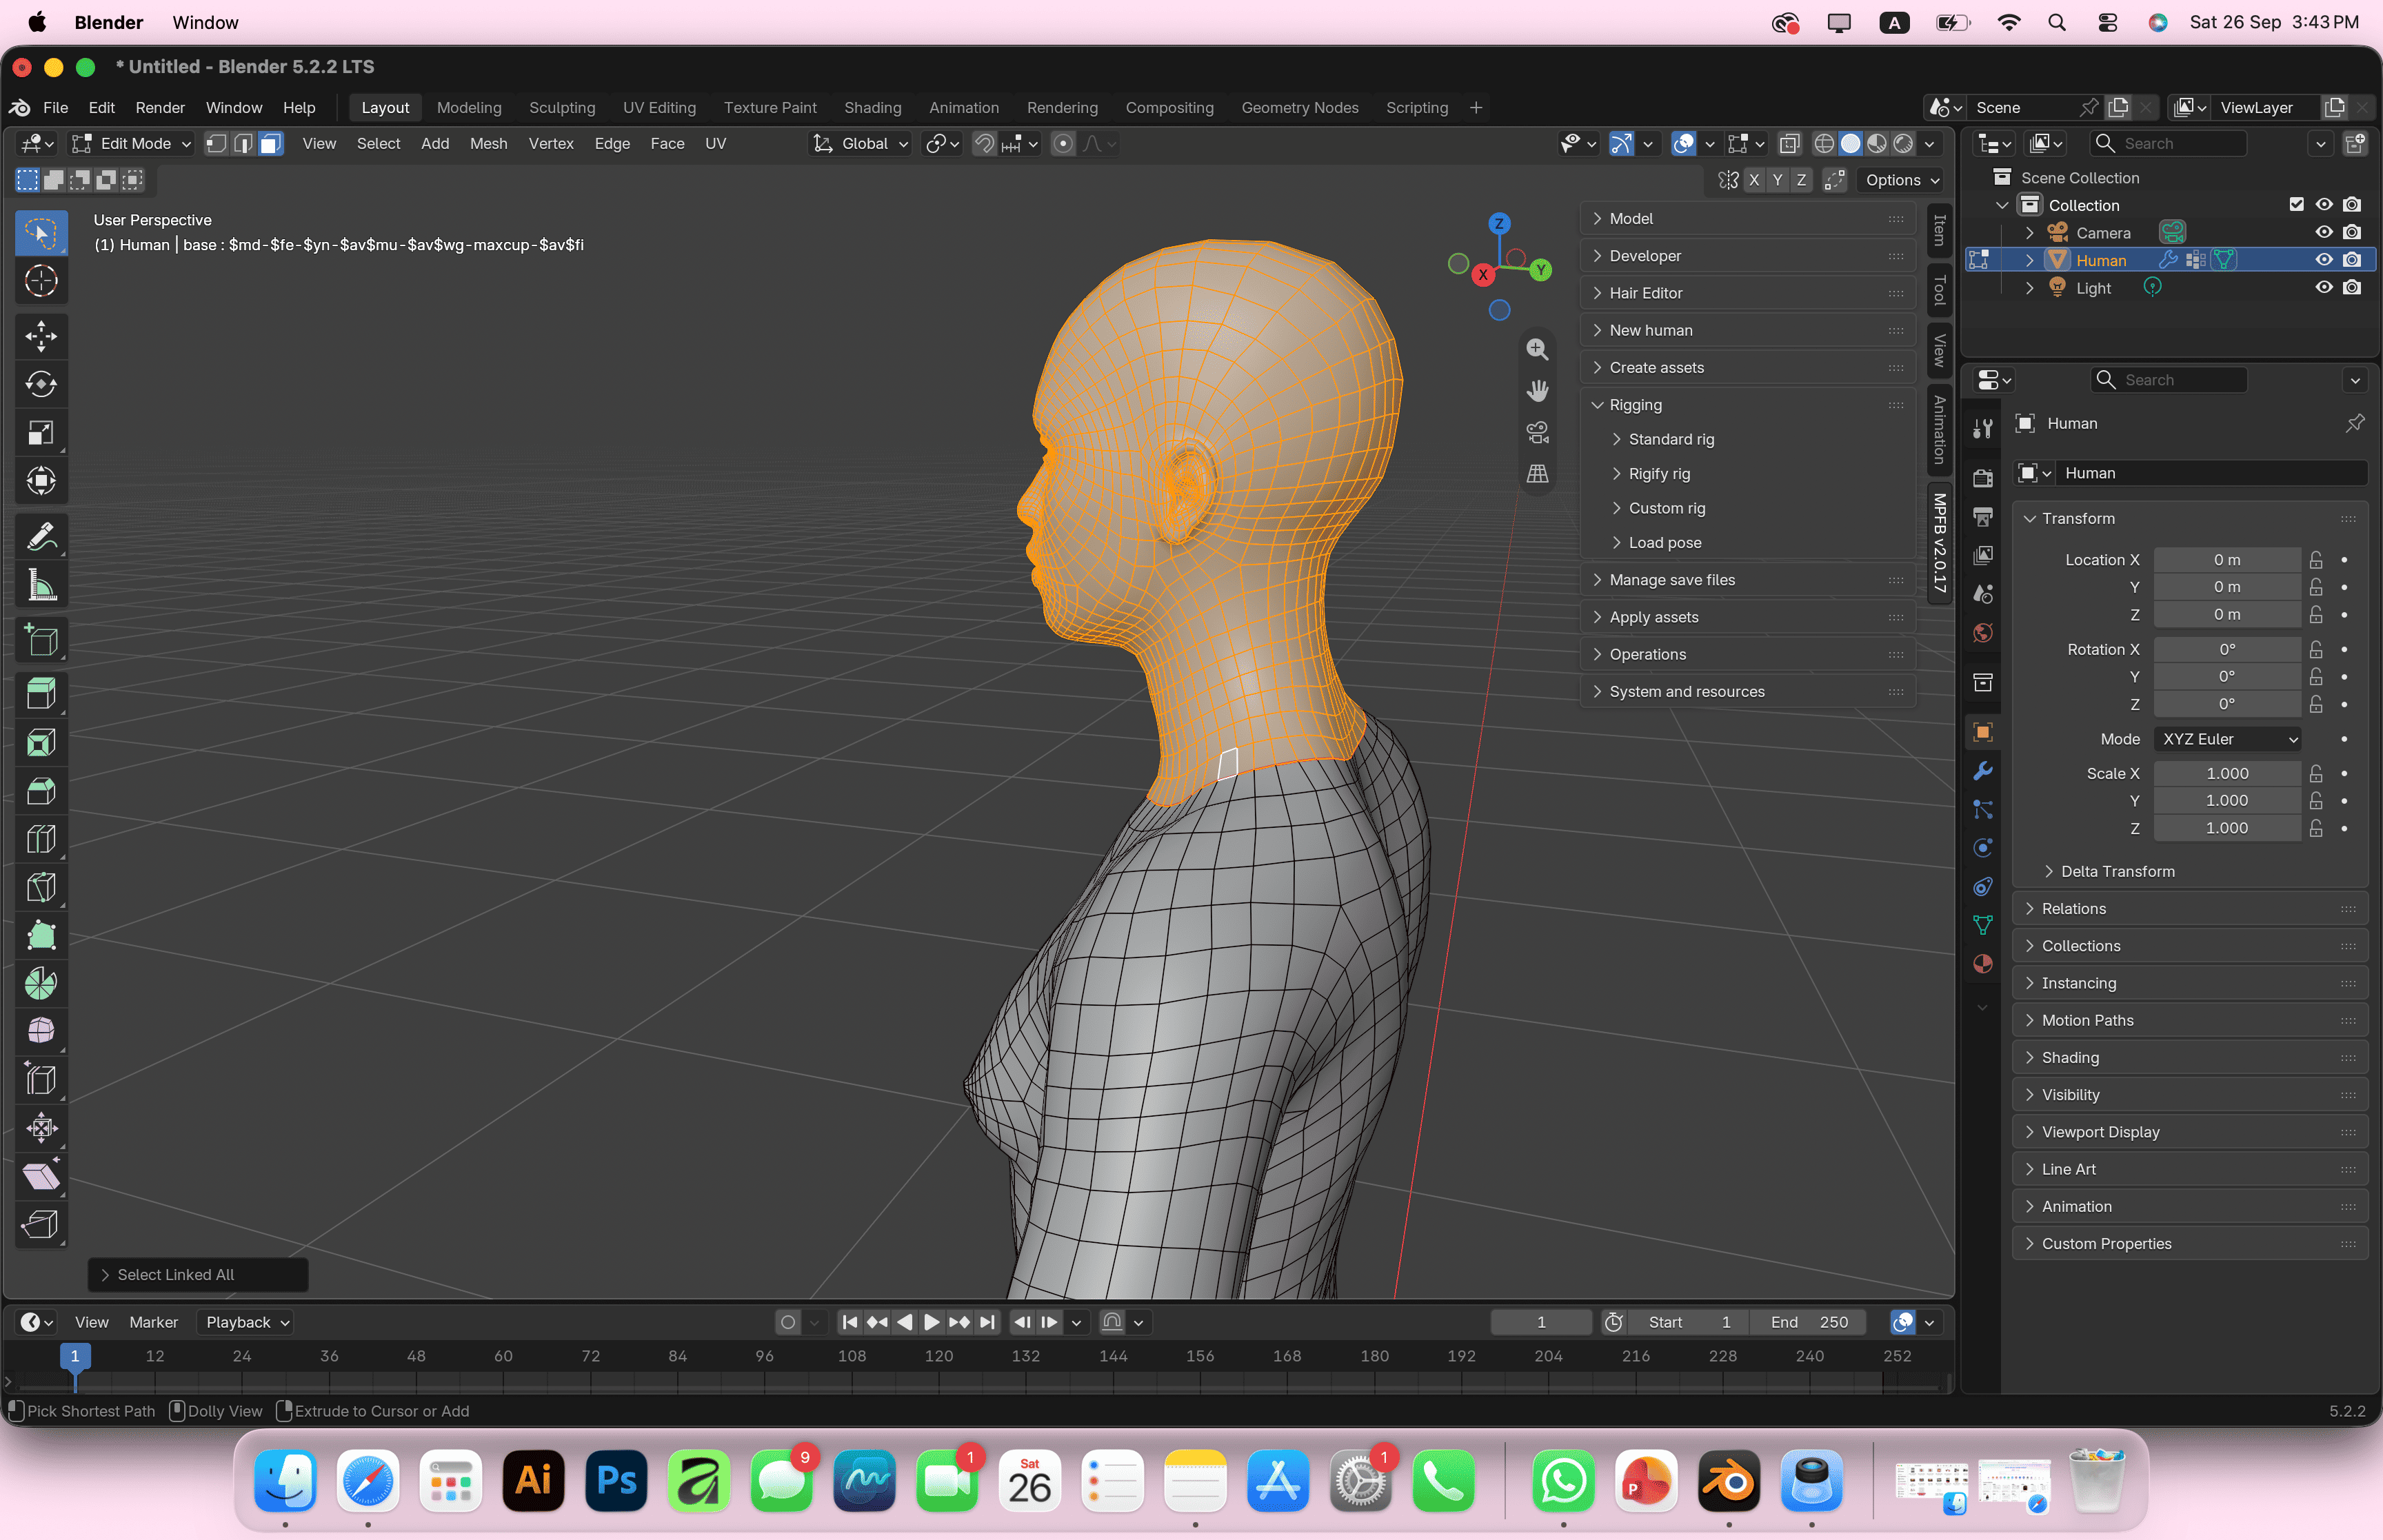
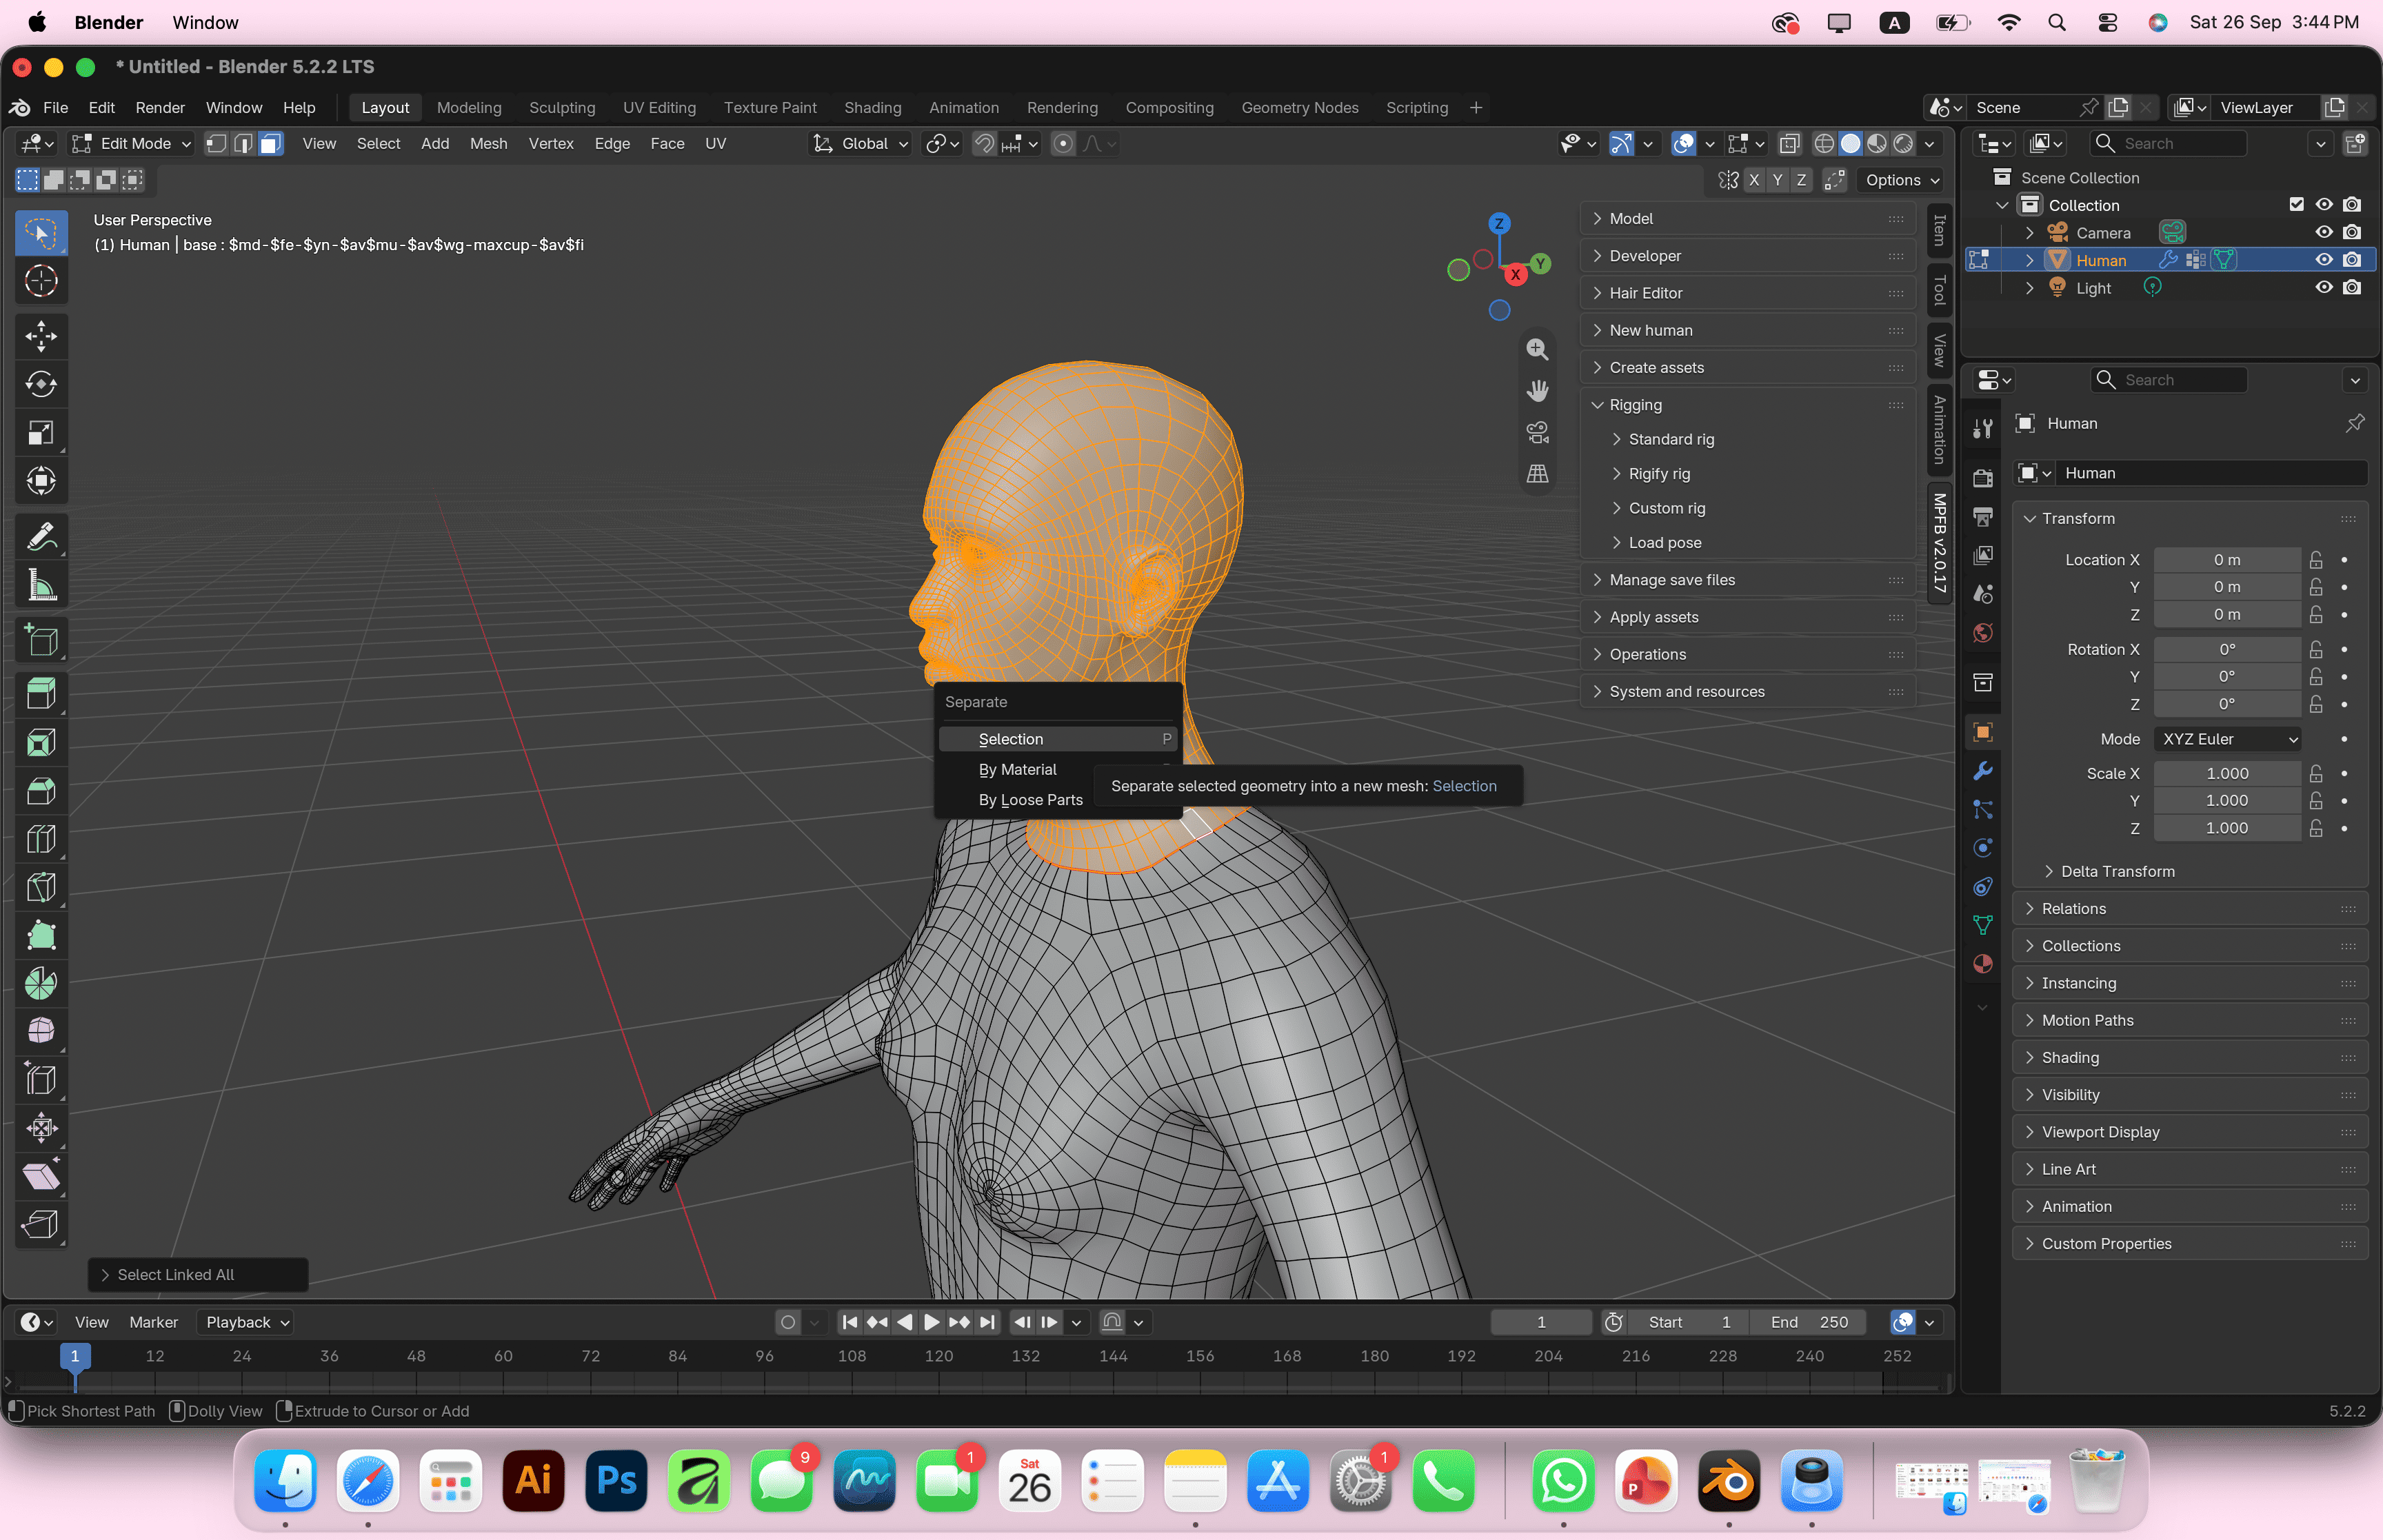
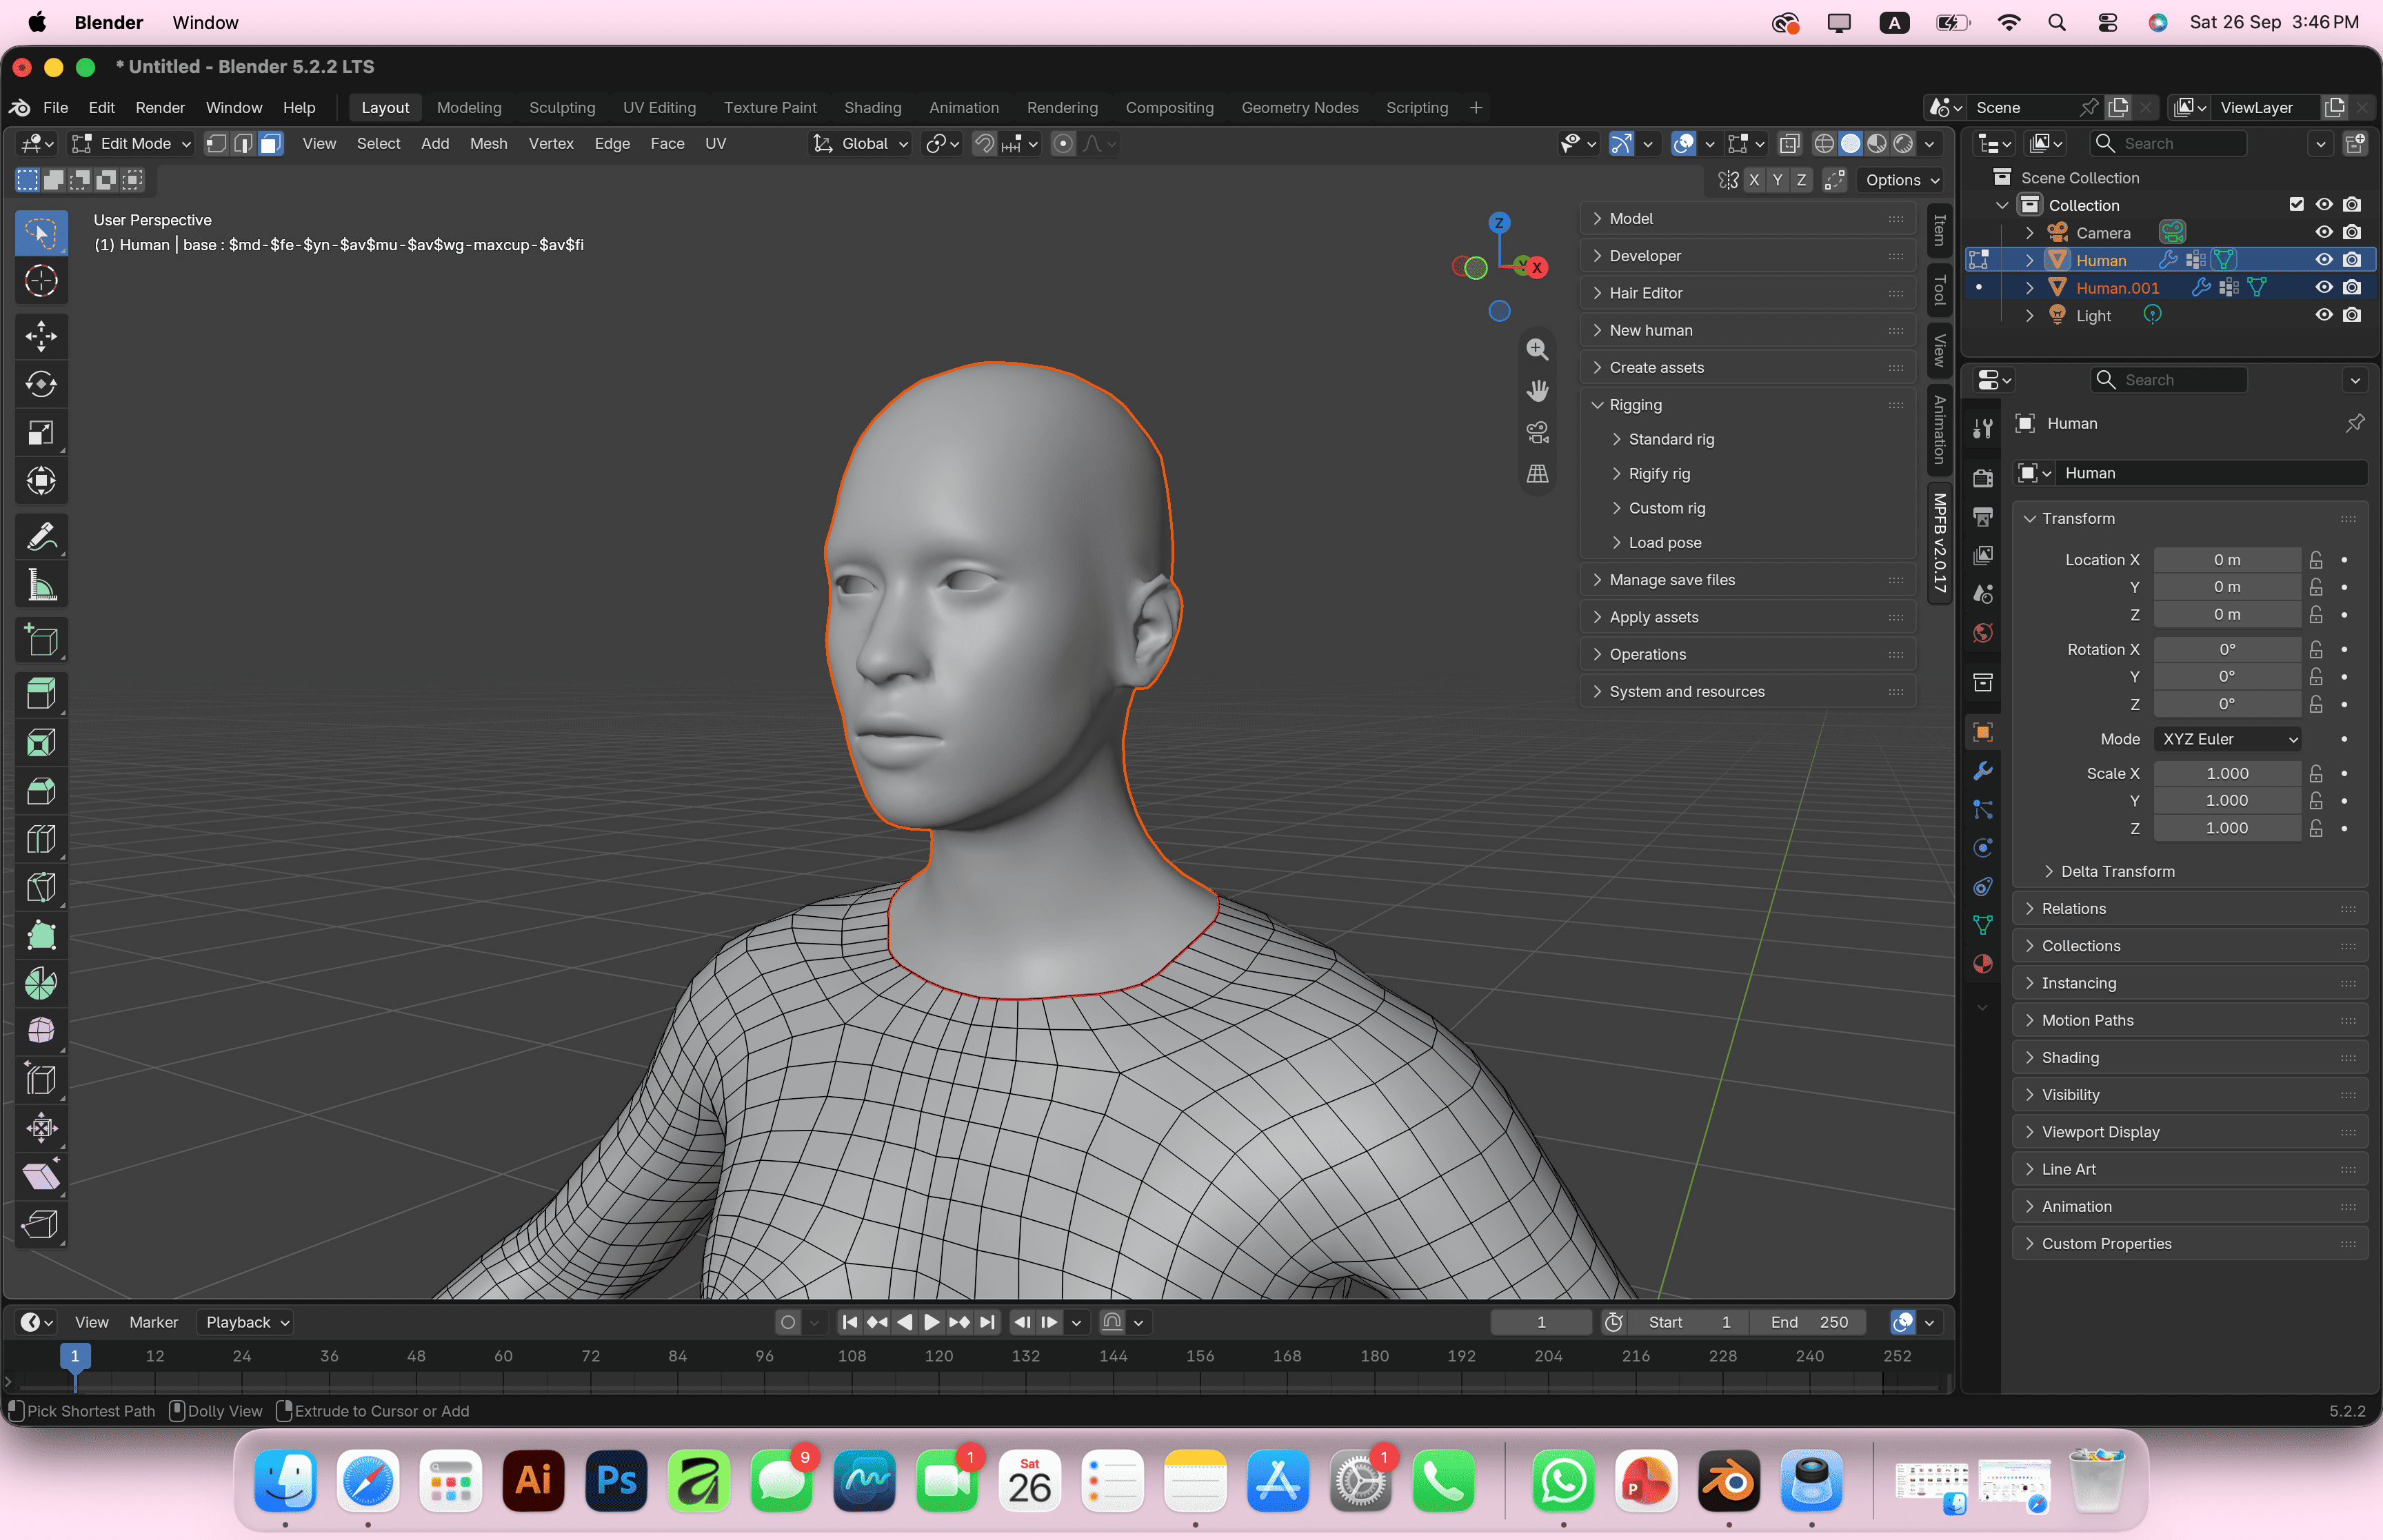
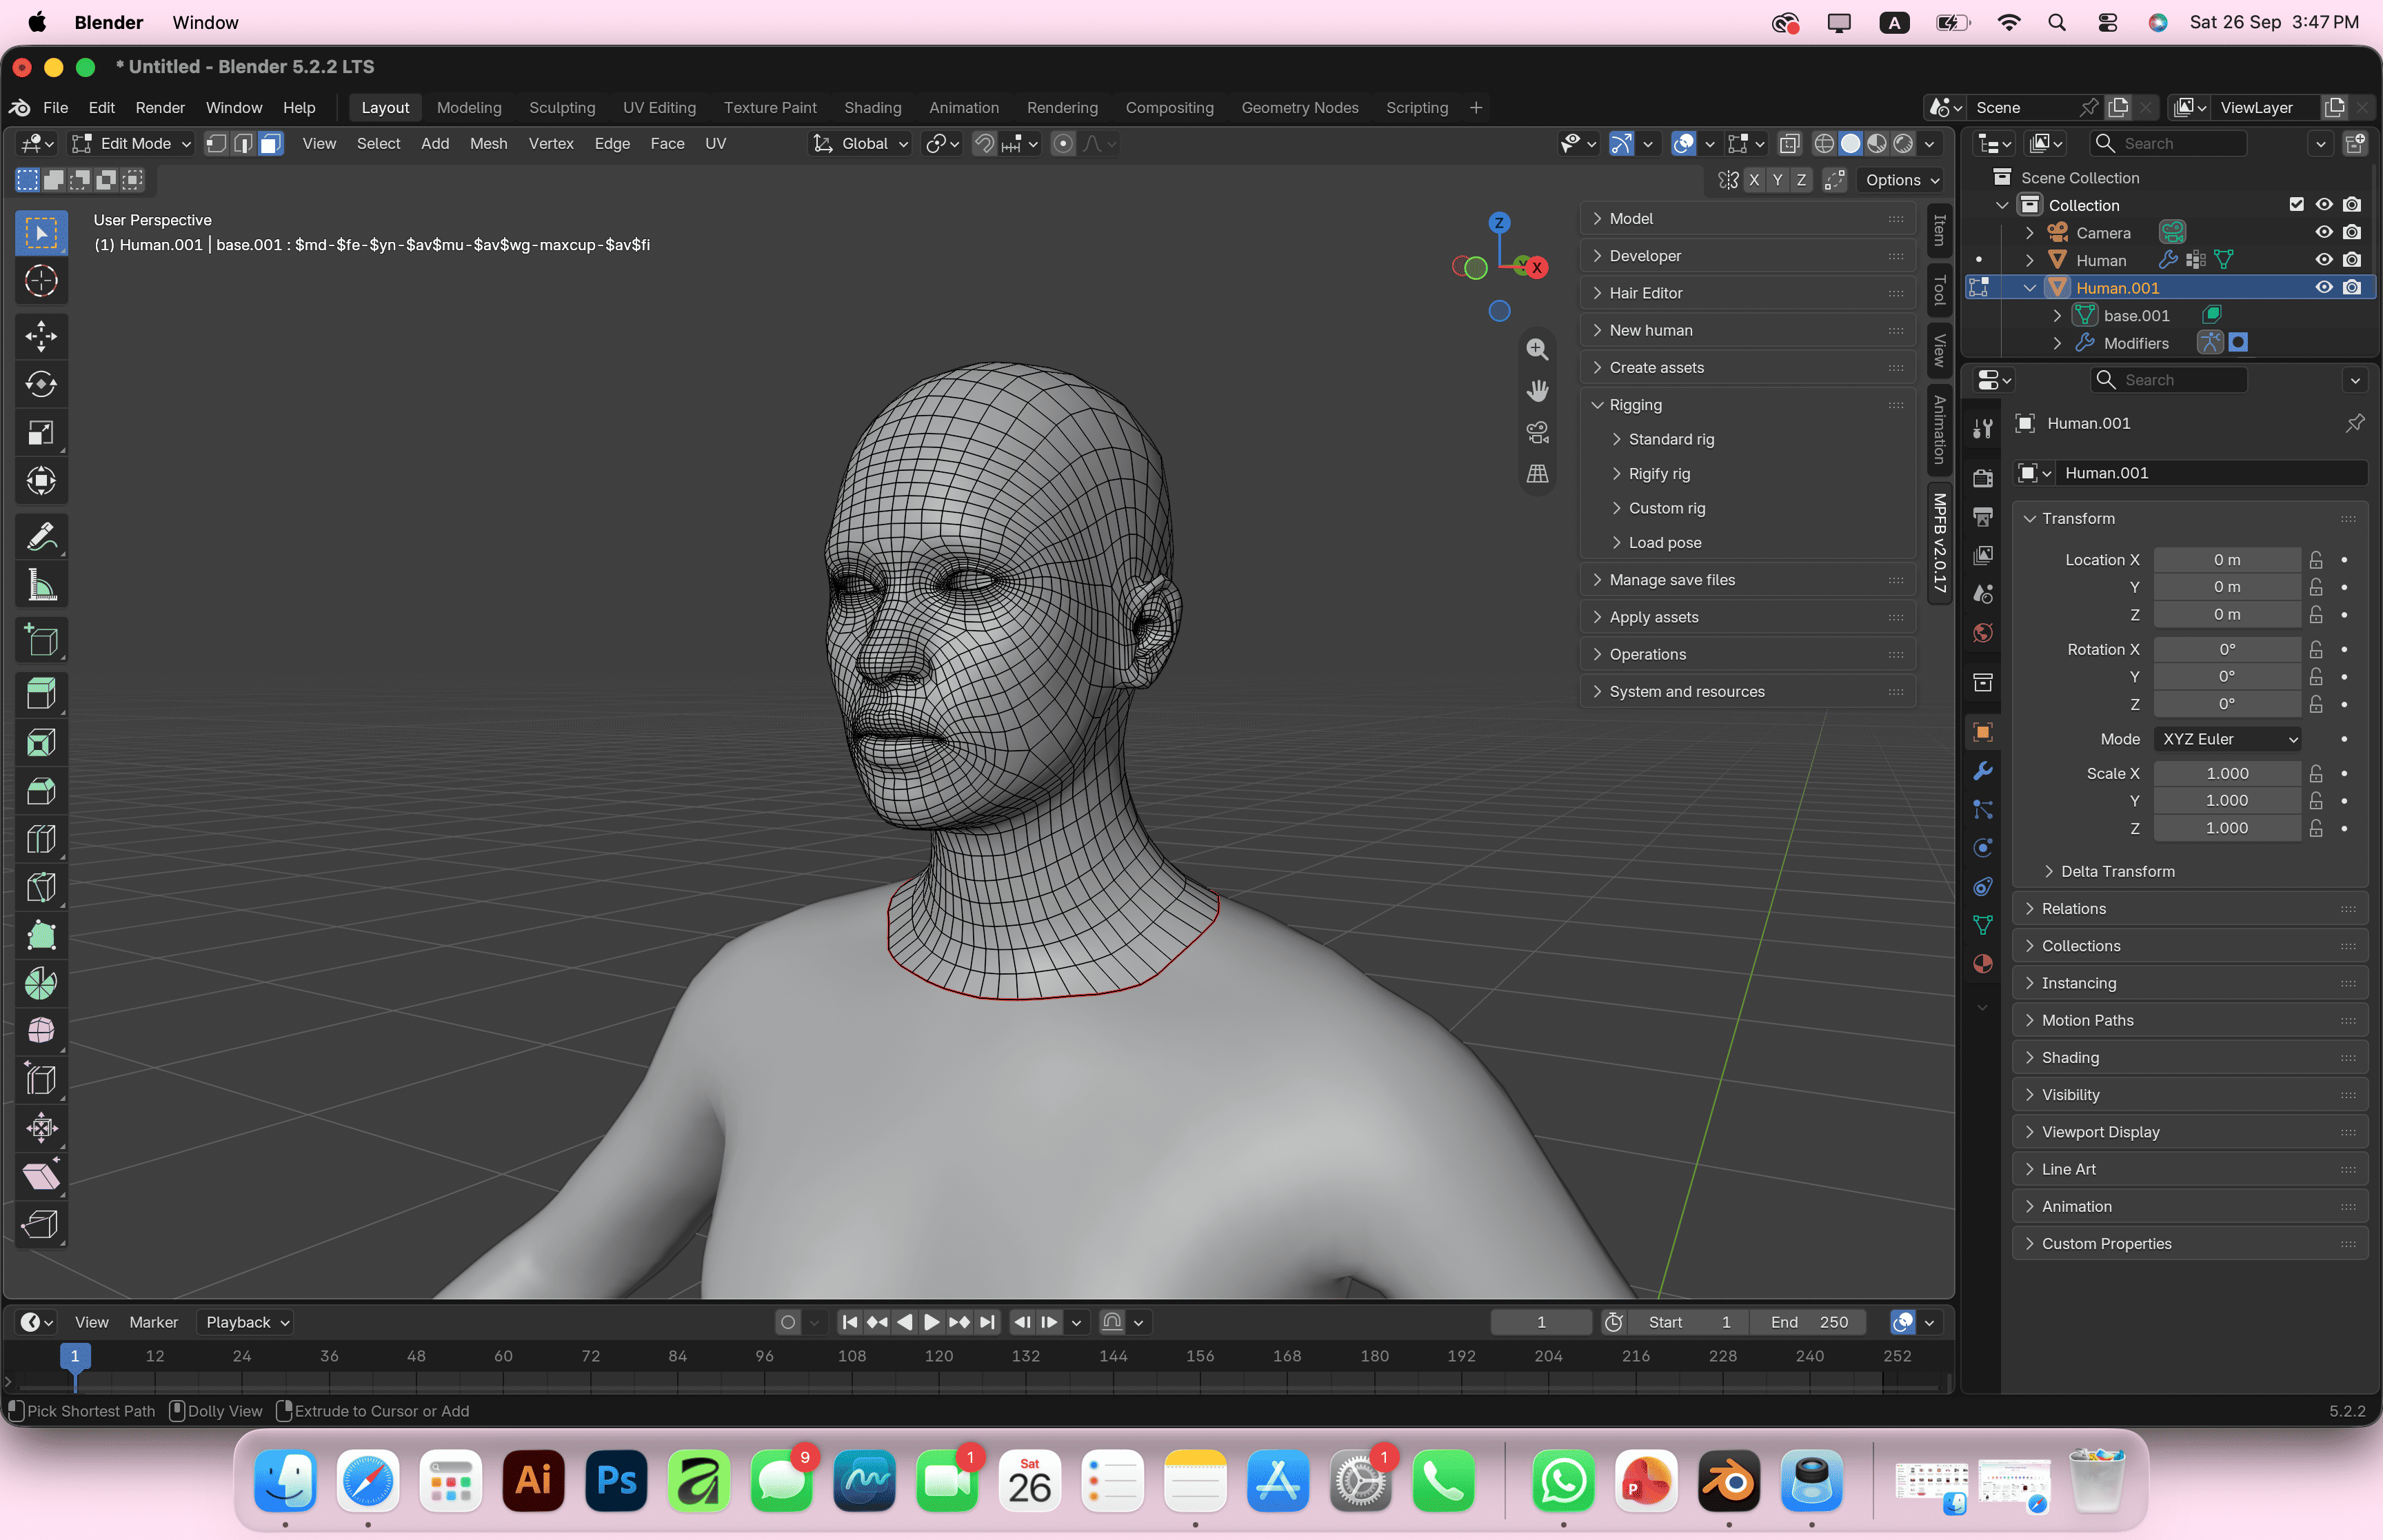
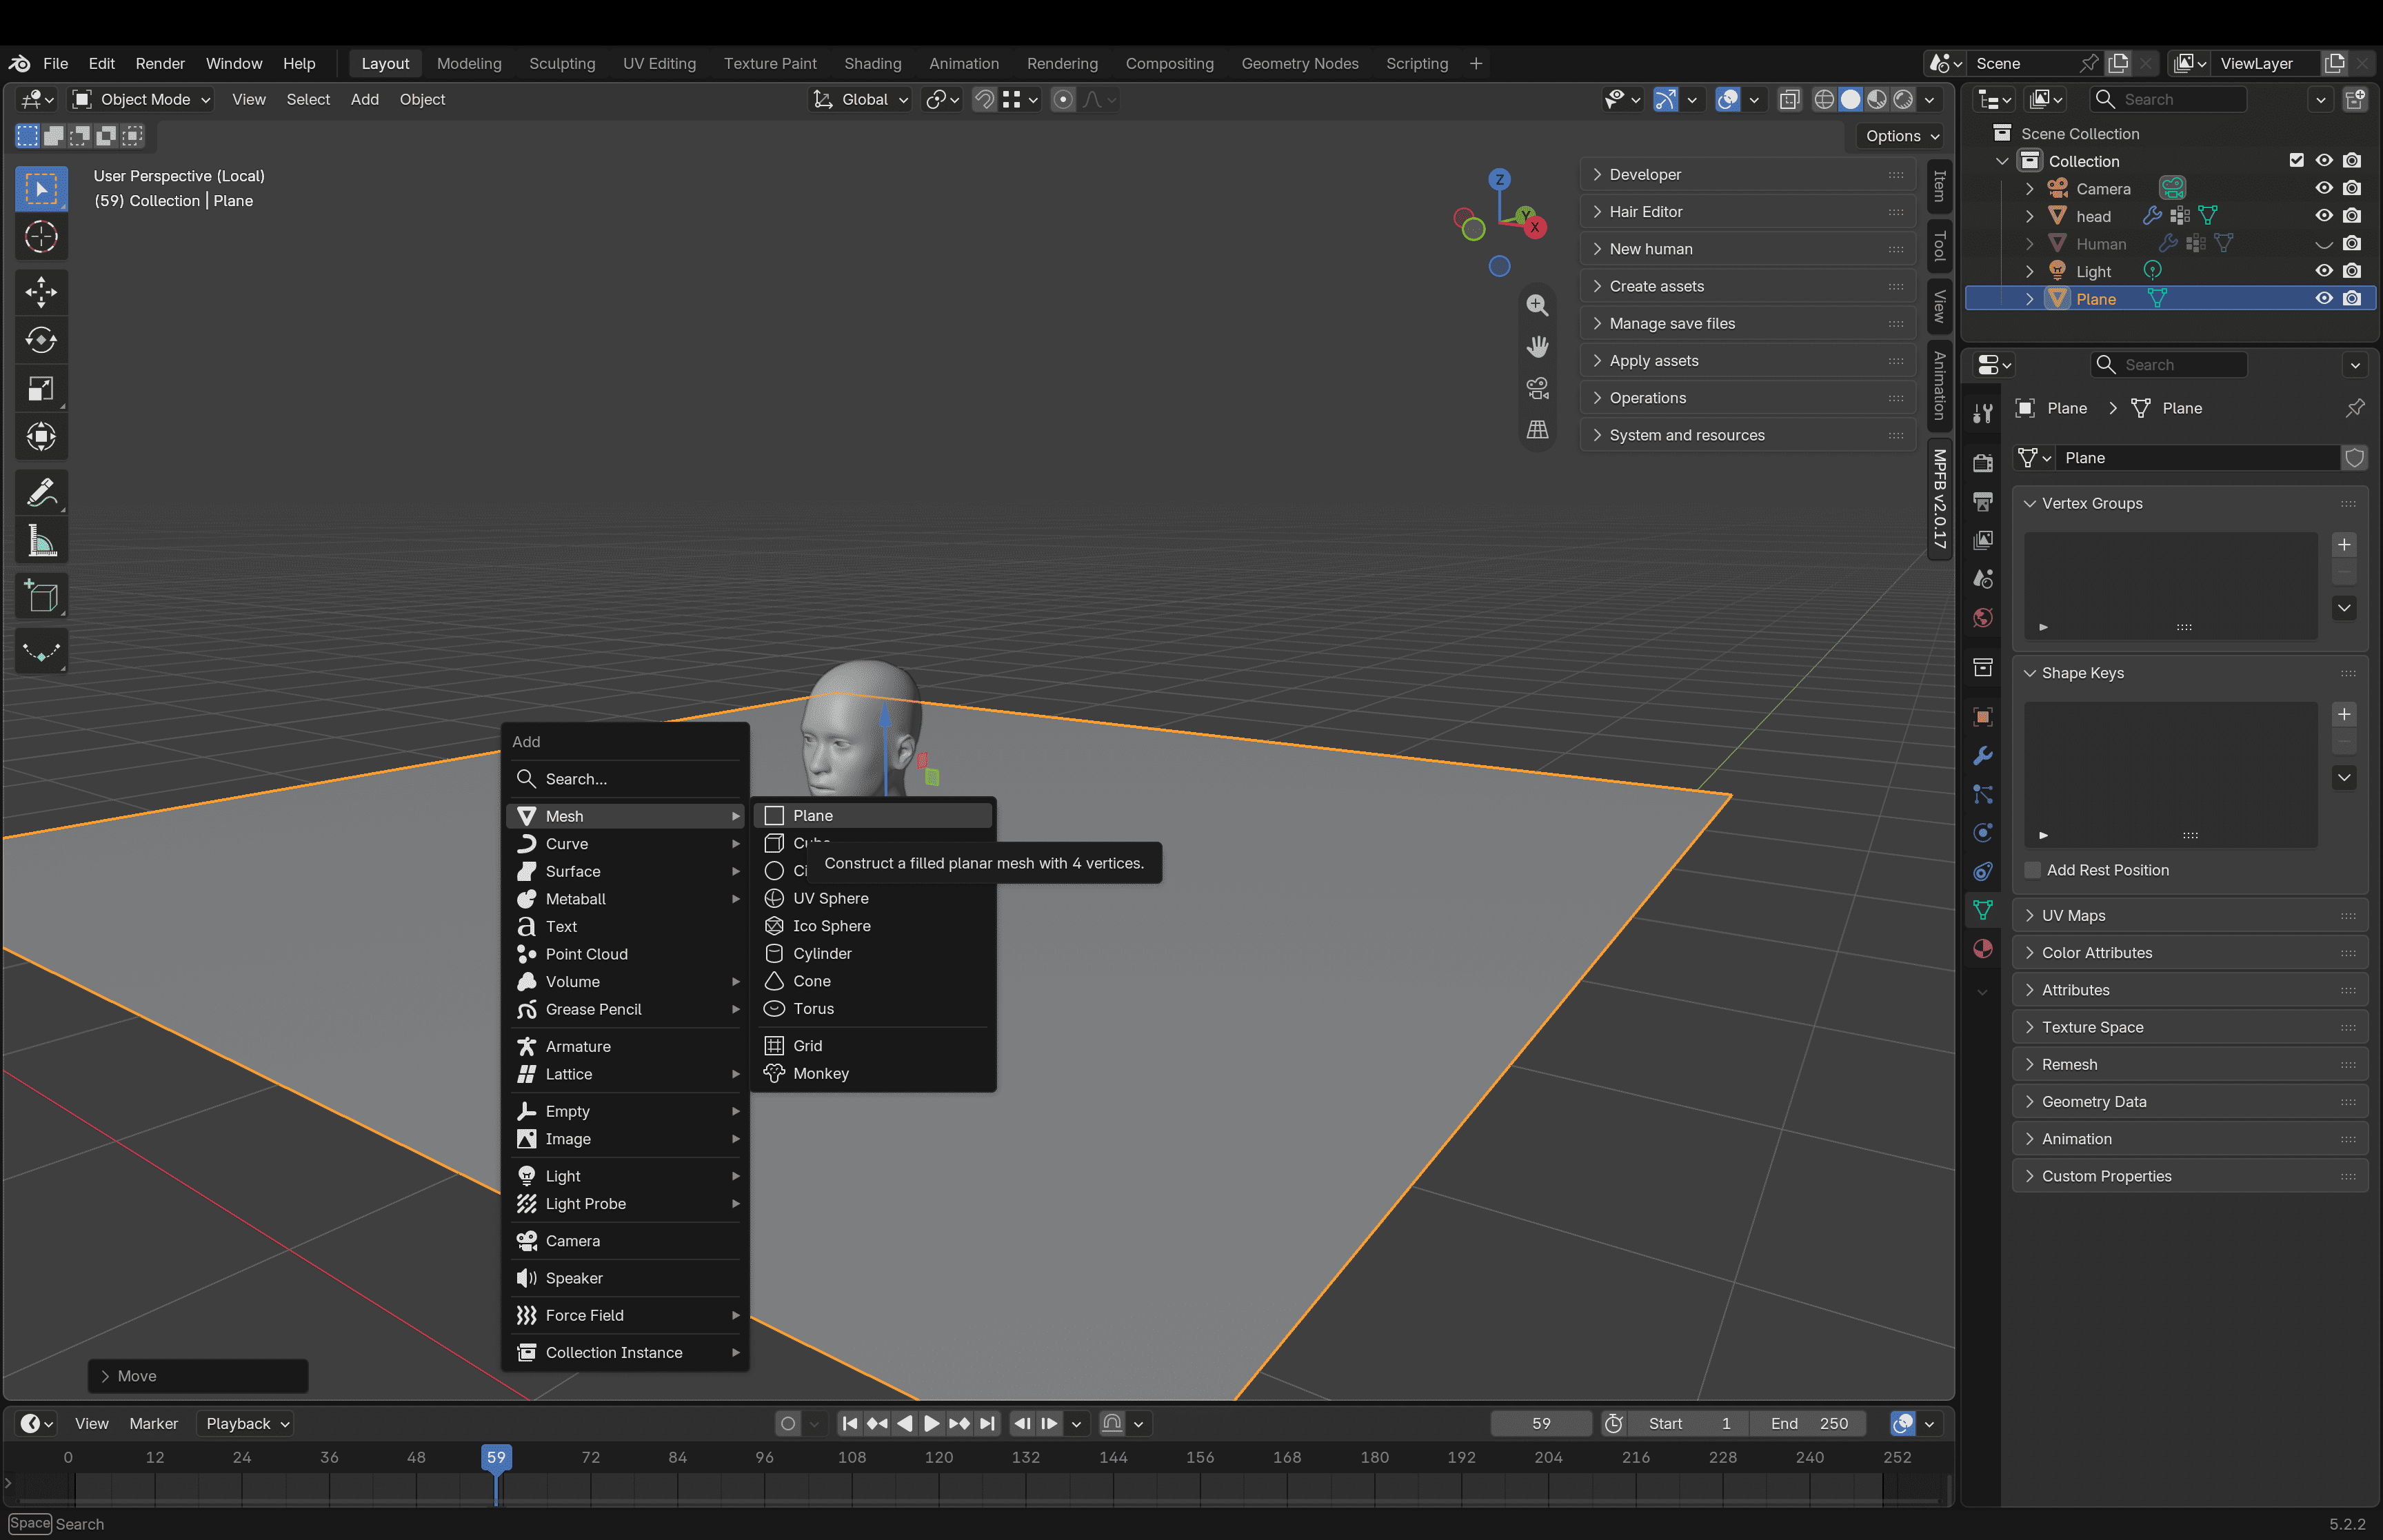
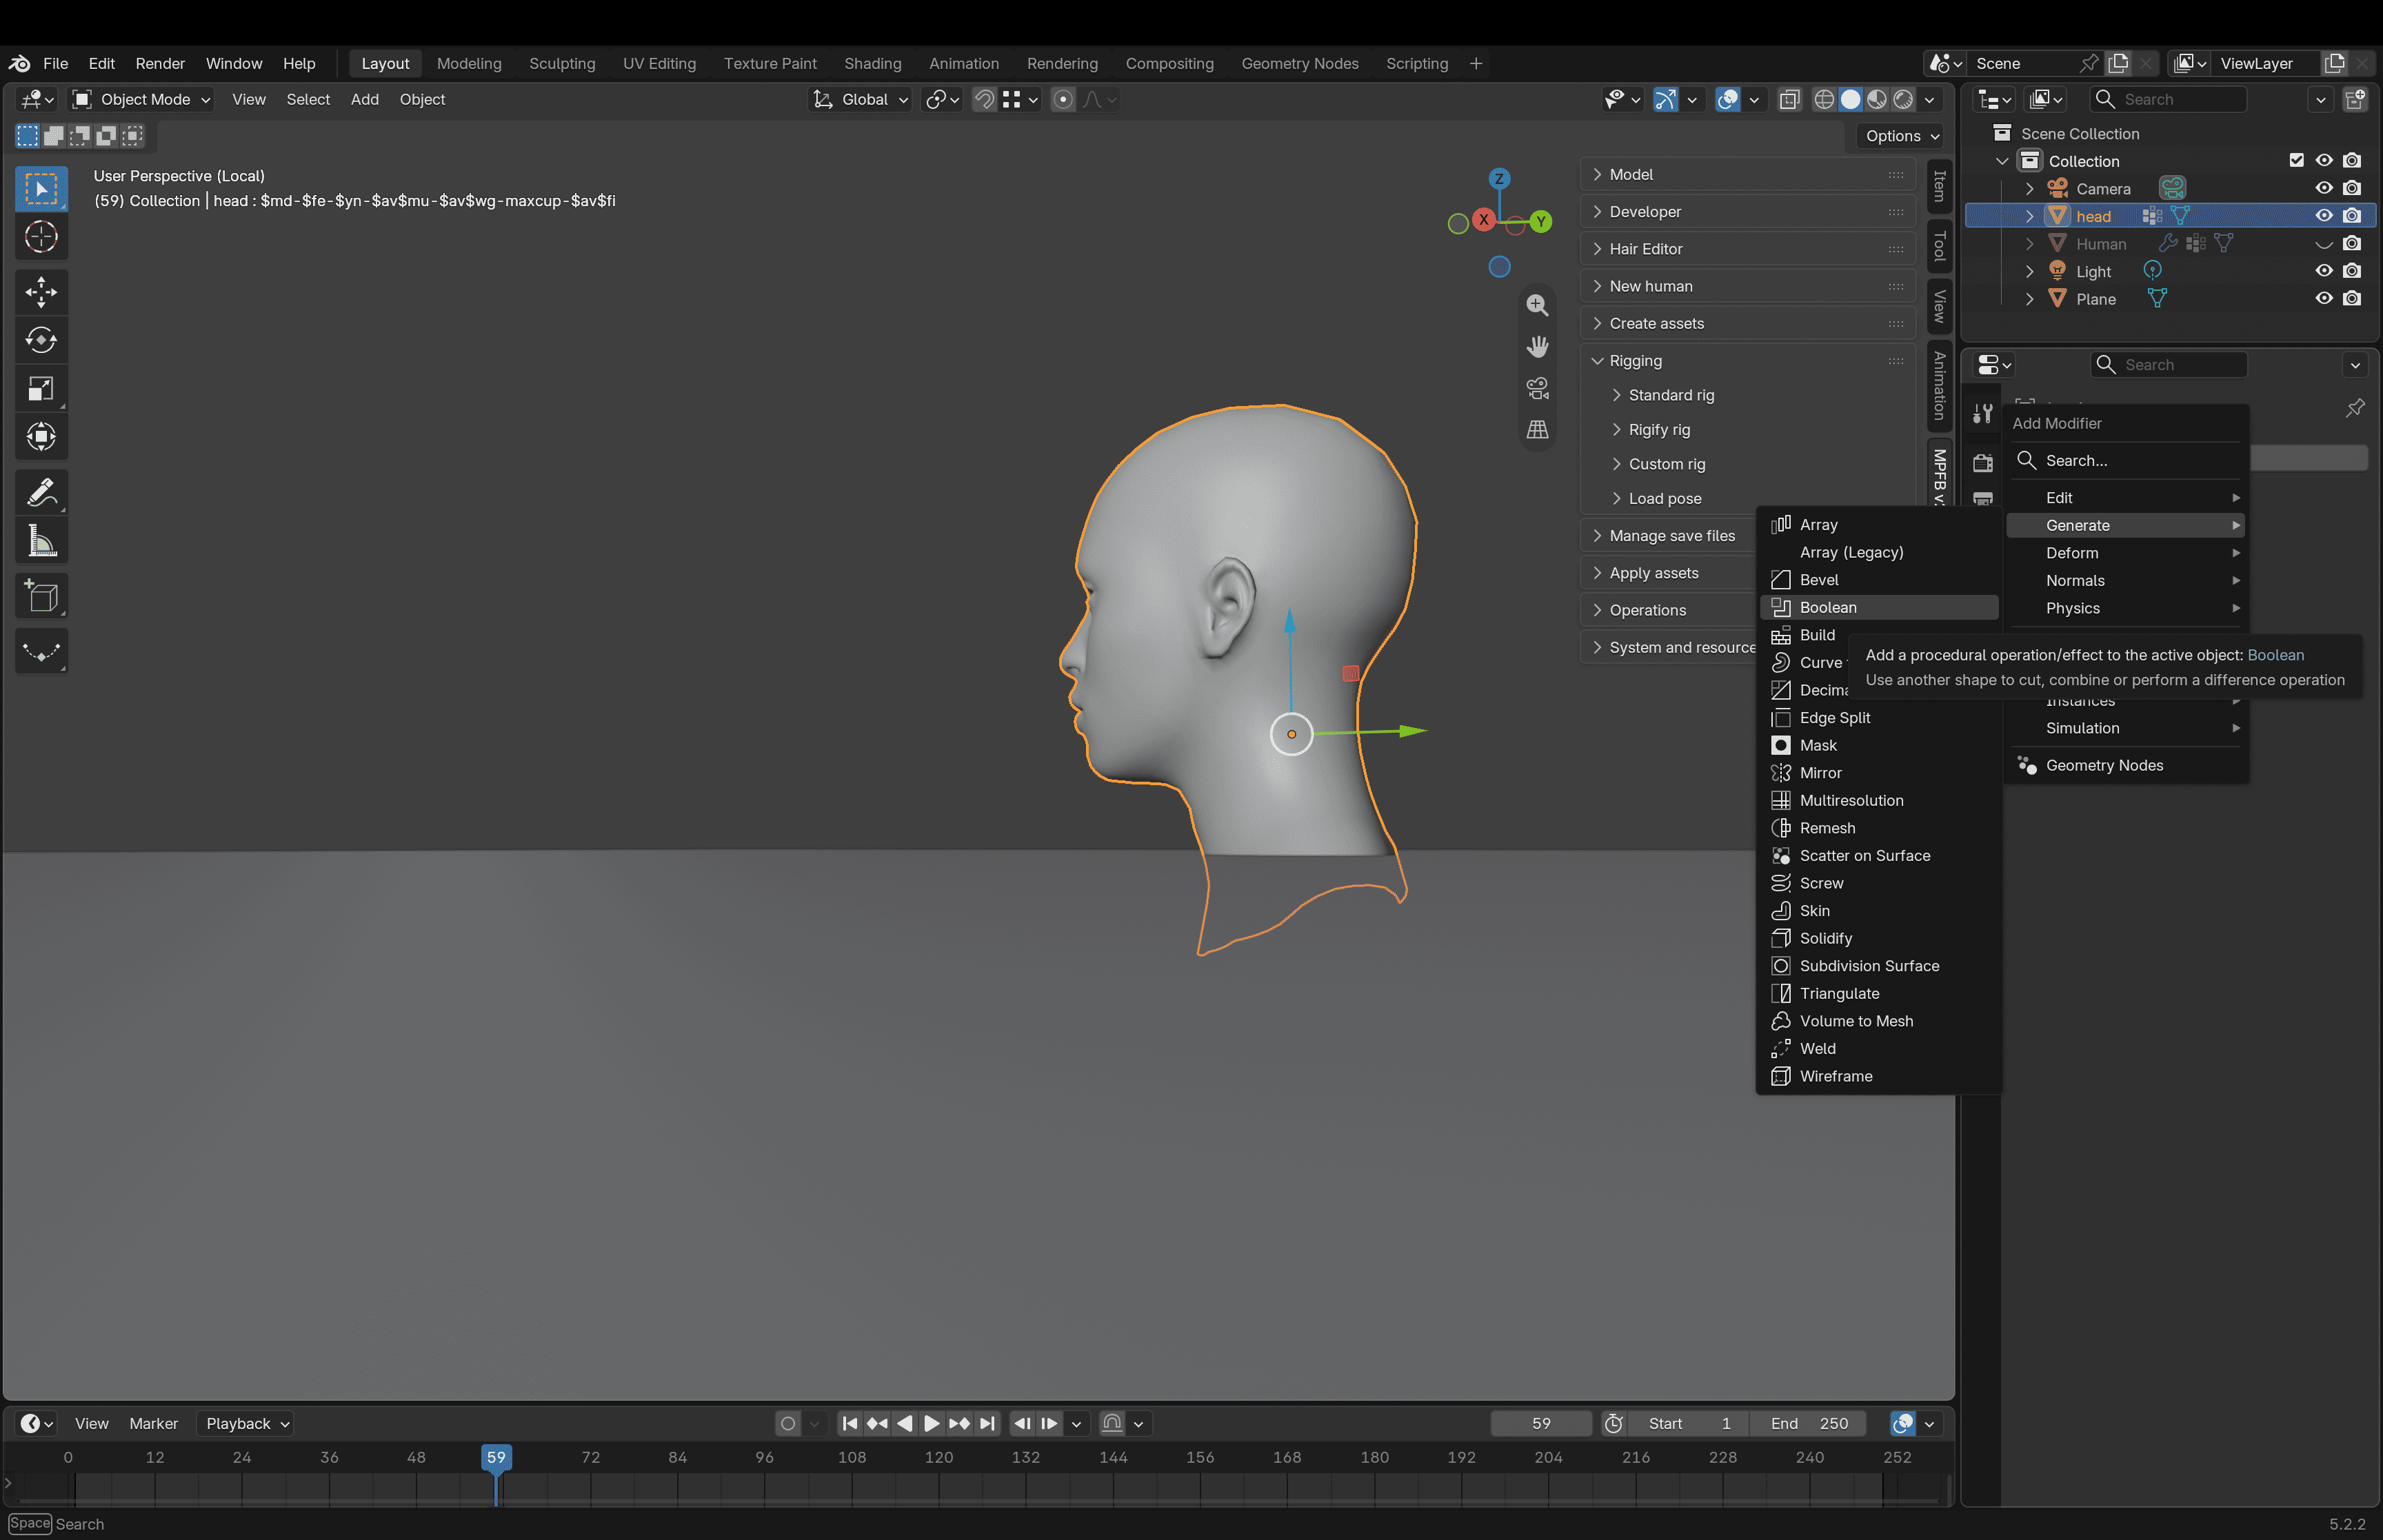
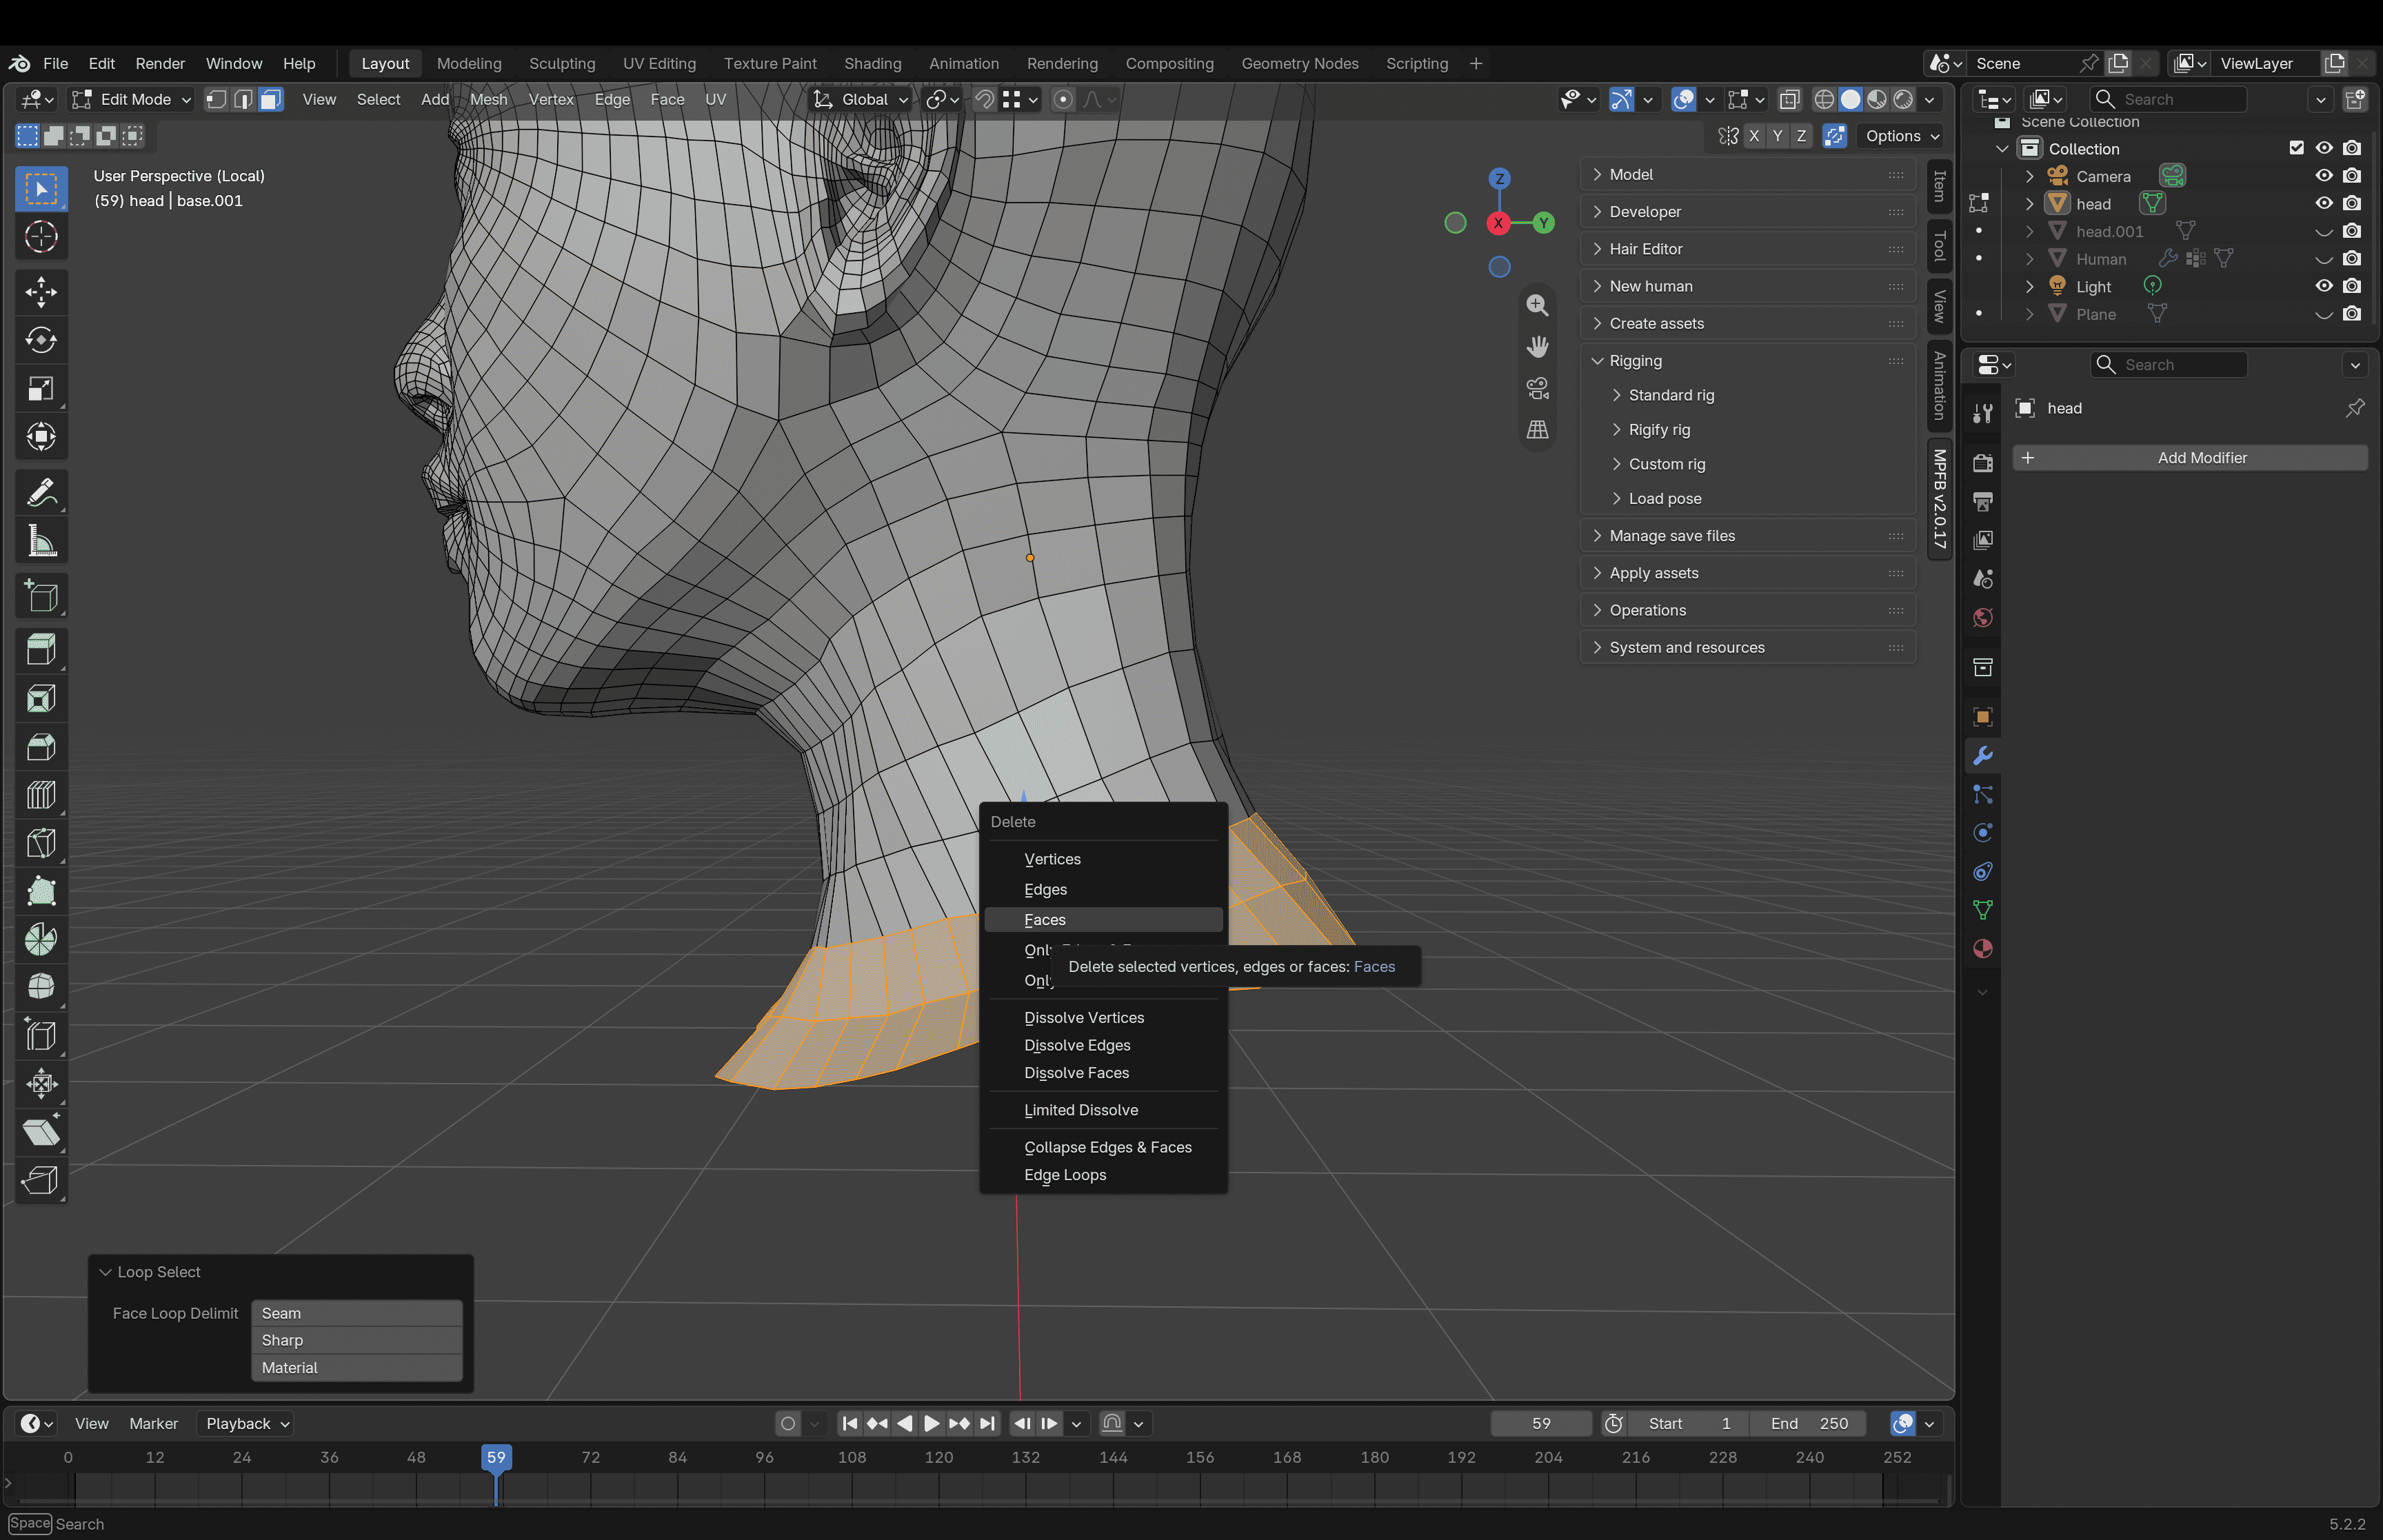
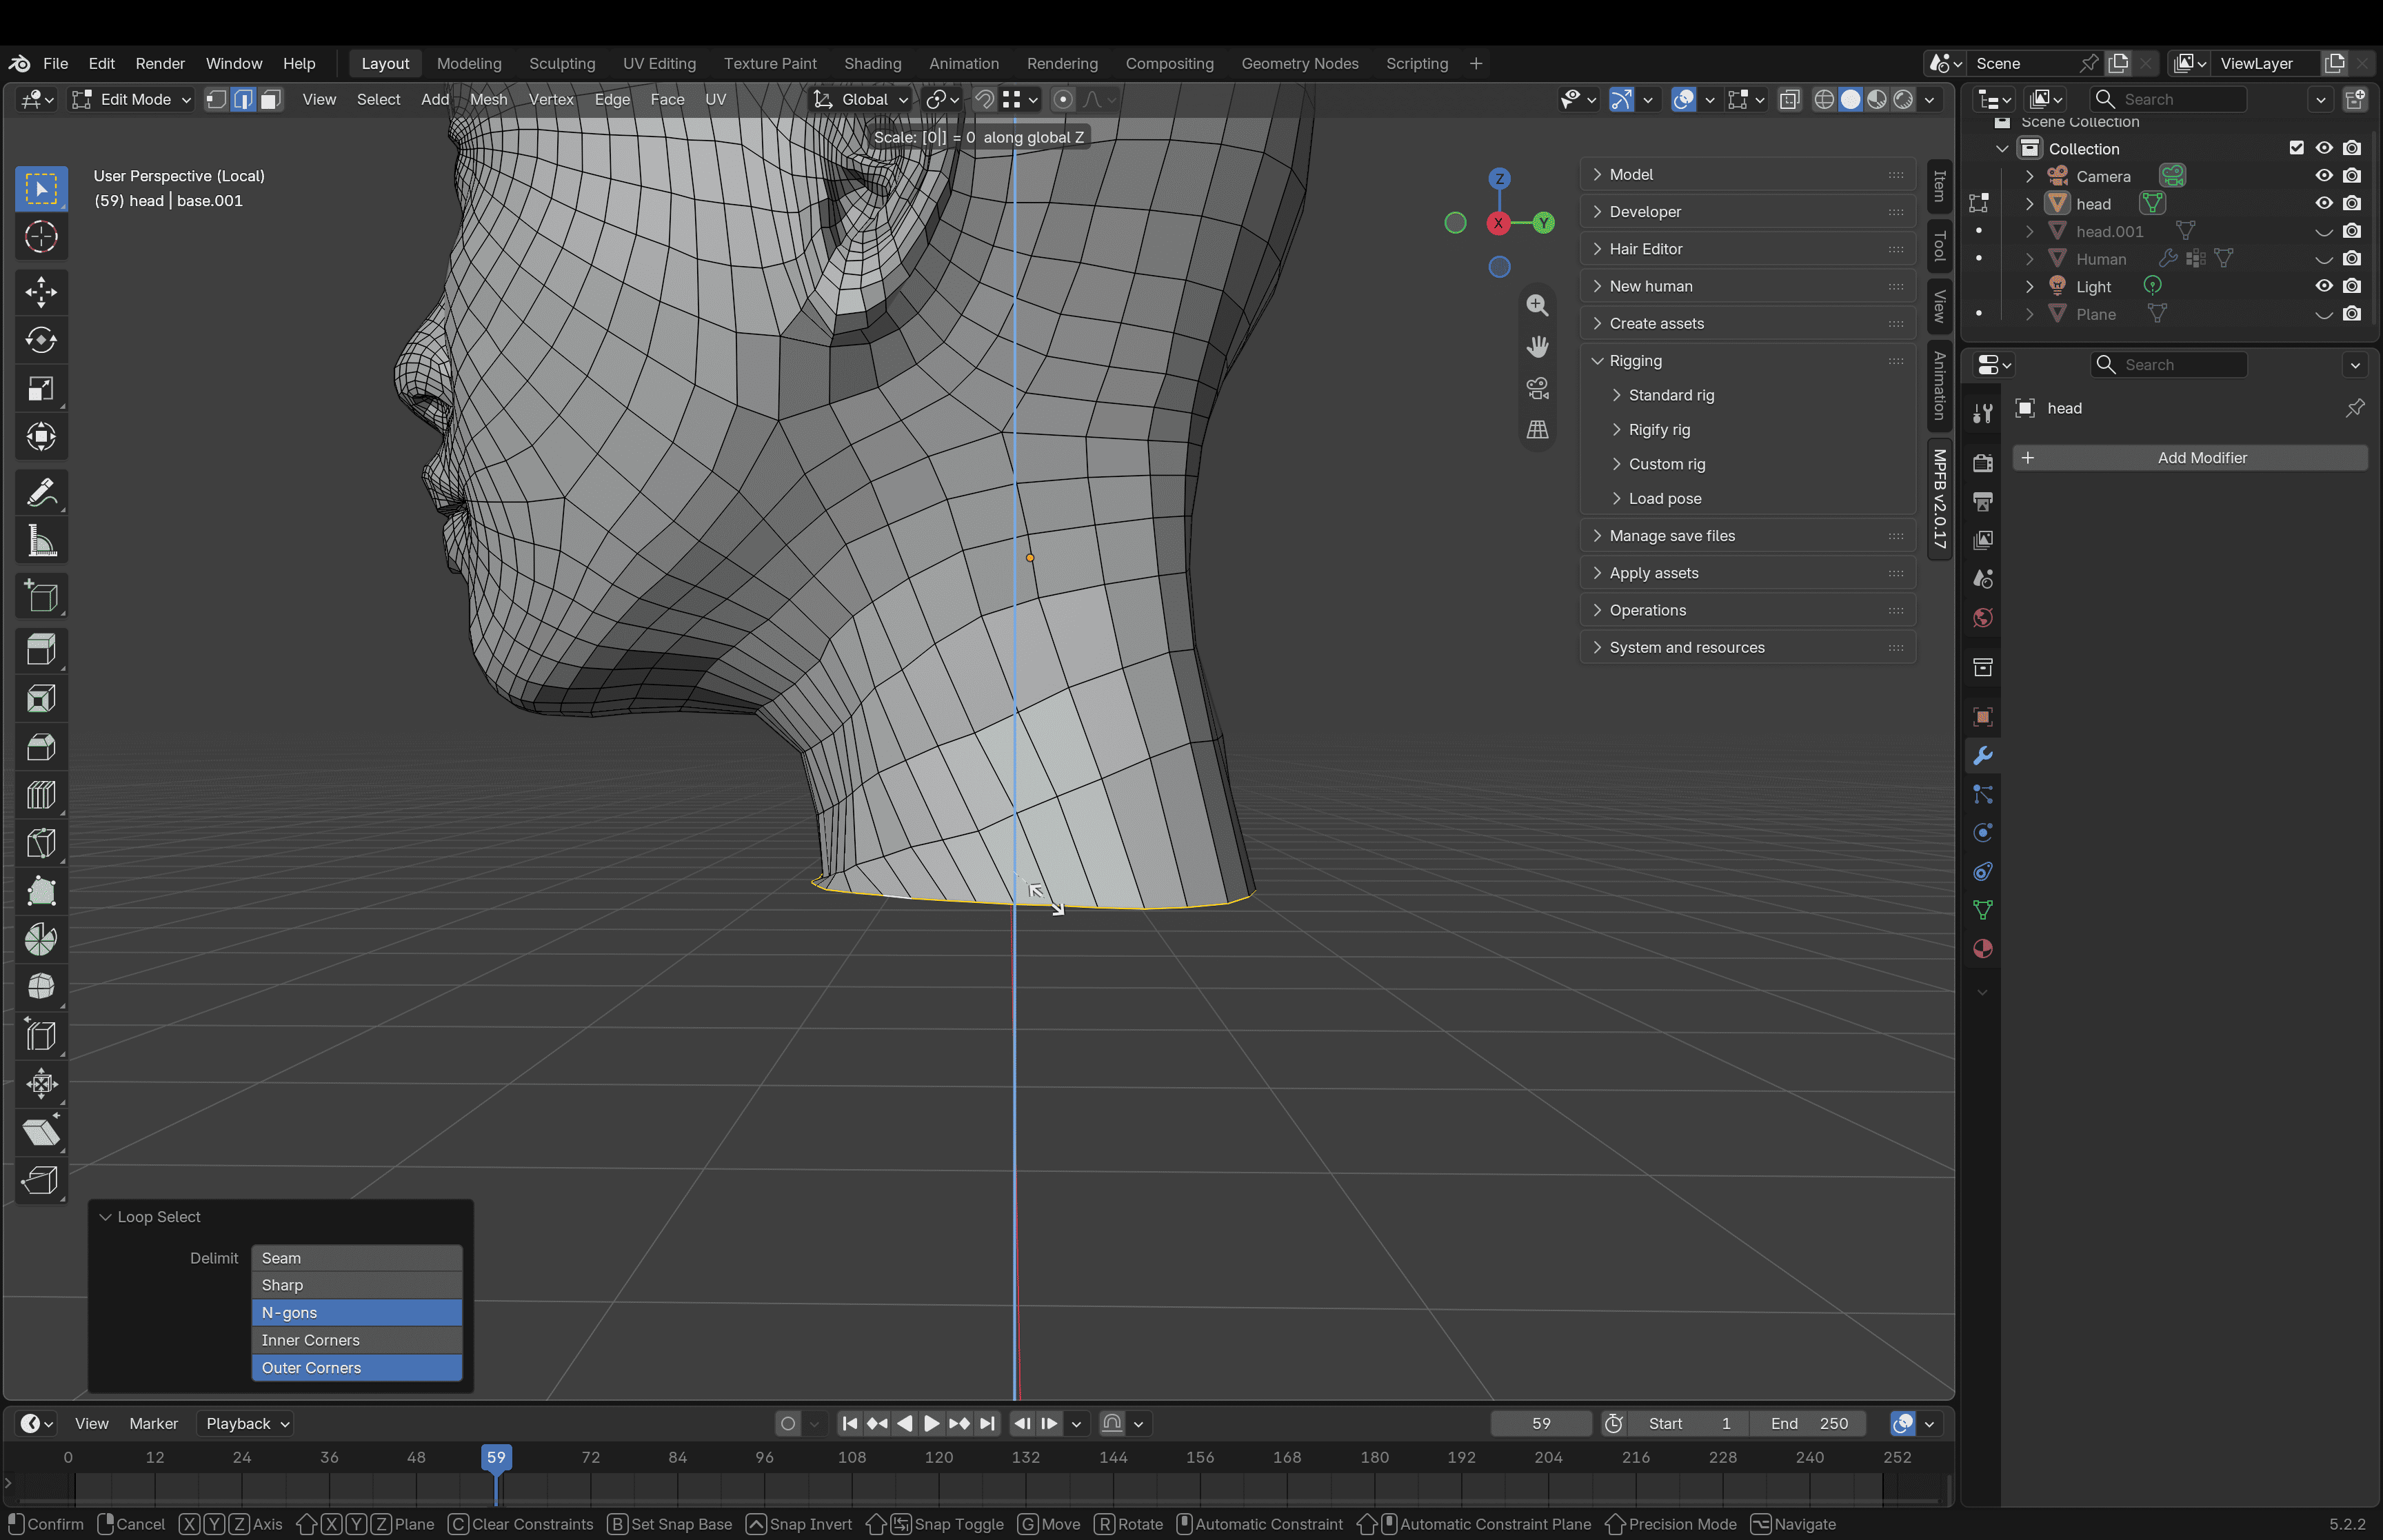
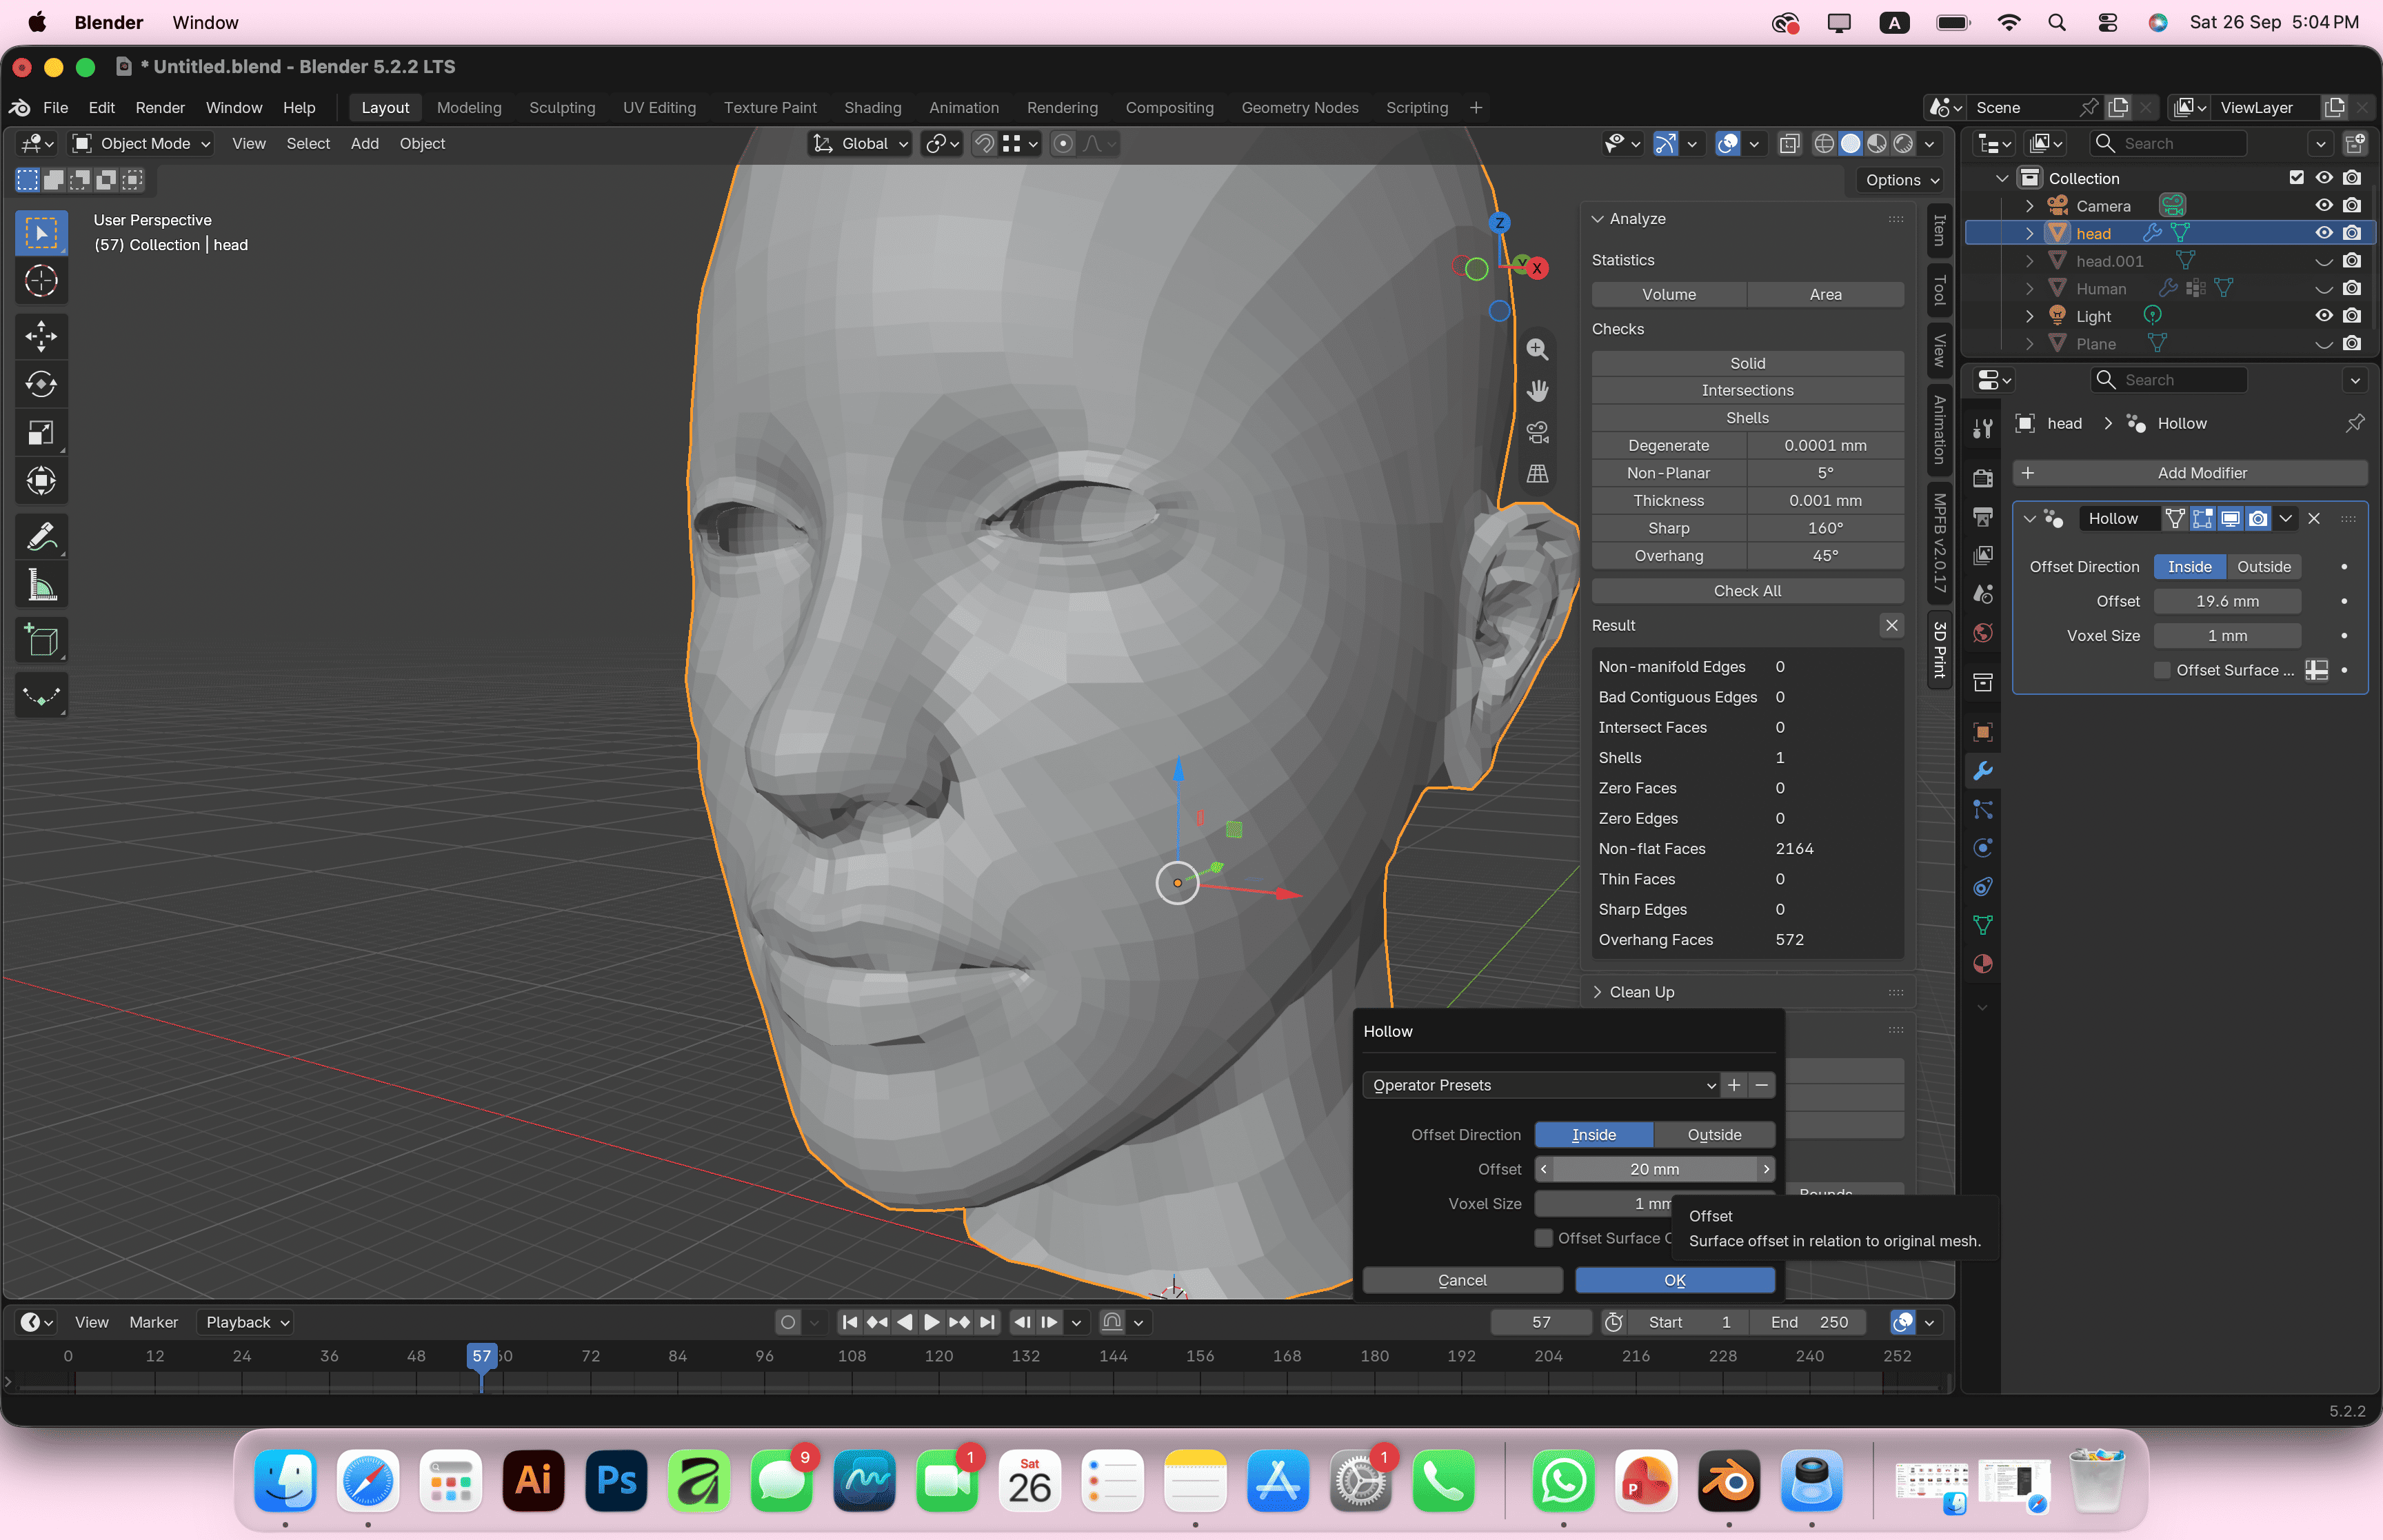
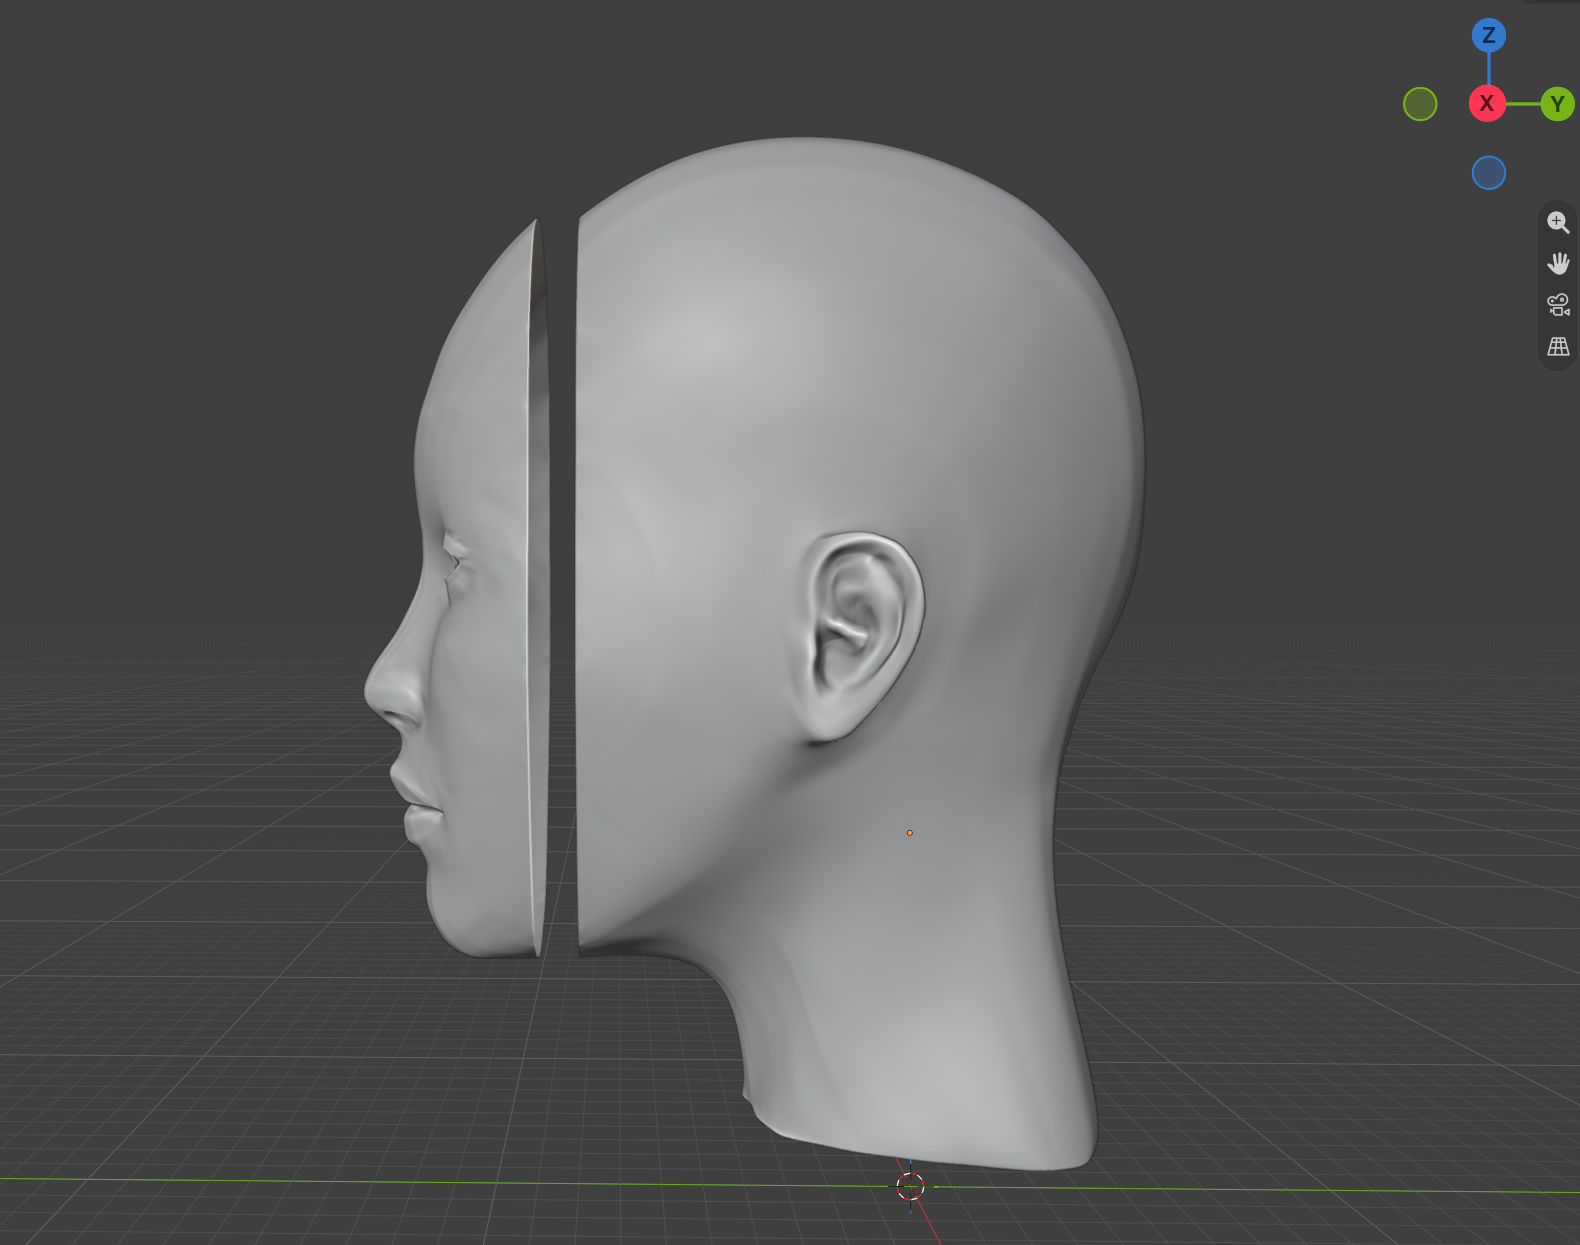
This process helped me turn a full human figure into a form (head) I could continue developing for my project.
Blender process
- Generated the body: I created a human in MPFB and adjusted its shape.
- Converted it to a mesh: This allowed me to edit the geometry directly in Blender.
- Defined the cut: I selected an edge loop where I wanted to divide the form. Then I selected a face on the head side and expanded the selection to the connected faces.
- Separated the selection: I pressed
Pand chose Selection to make those faces a separate object. - Cleaned up the geometry: I deleted the extra geometry I no longer needed.
- Flattened the bottom edge: I selected the last edge loop and scaled it to zero on the Z axis using
S → Z → 0. This gave the form a flat base. - Creating the mask: I added a plane and used it to cut the face from the head, creating a separate mask.
What is MPFB
_MPFB is a human character generator. This tool lets me create a human figure with one click and adjust its body features until it looks the way I want. It can also add a rig so I can pose the figure, with different rig options, including Rigify and both IK and FK controls. I can change the skin and eyes, then use the asset library to add clothes, body parts, and other materials.
Nomad Sculpt
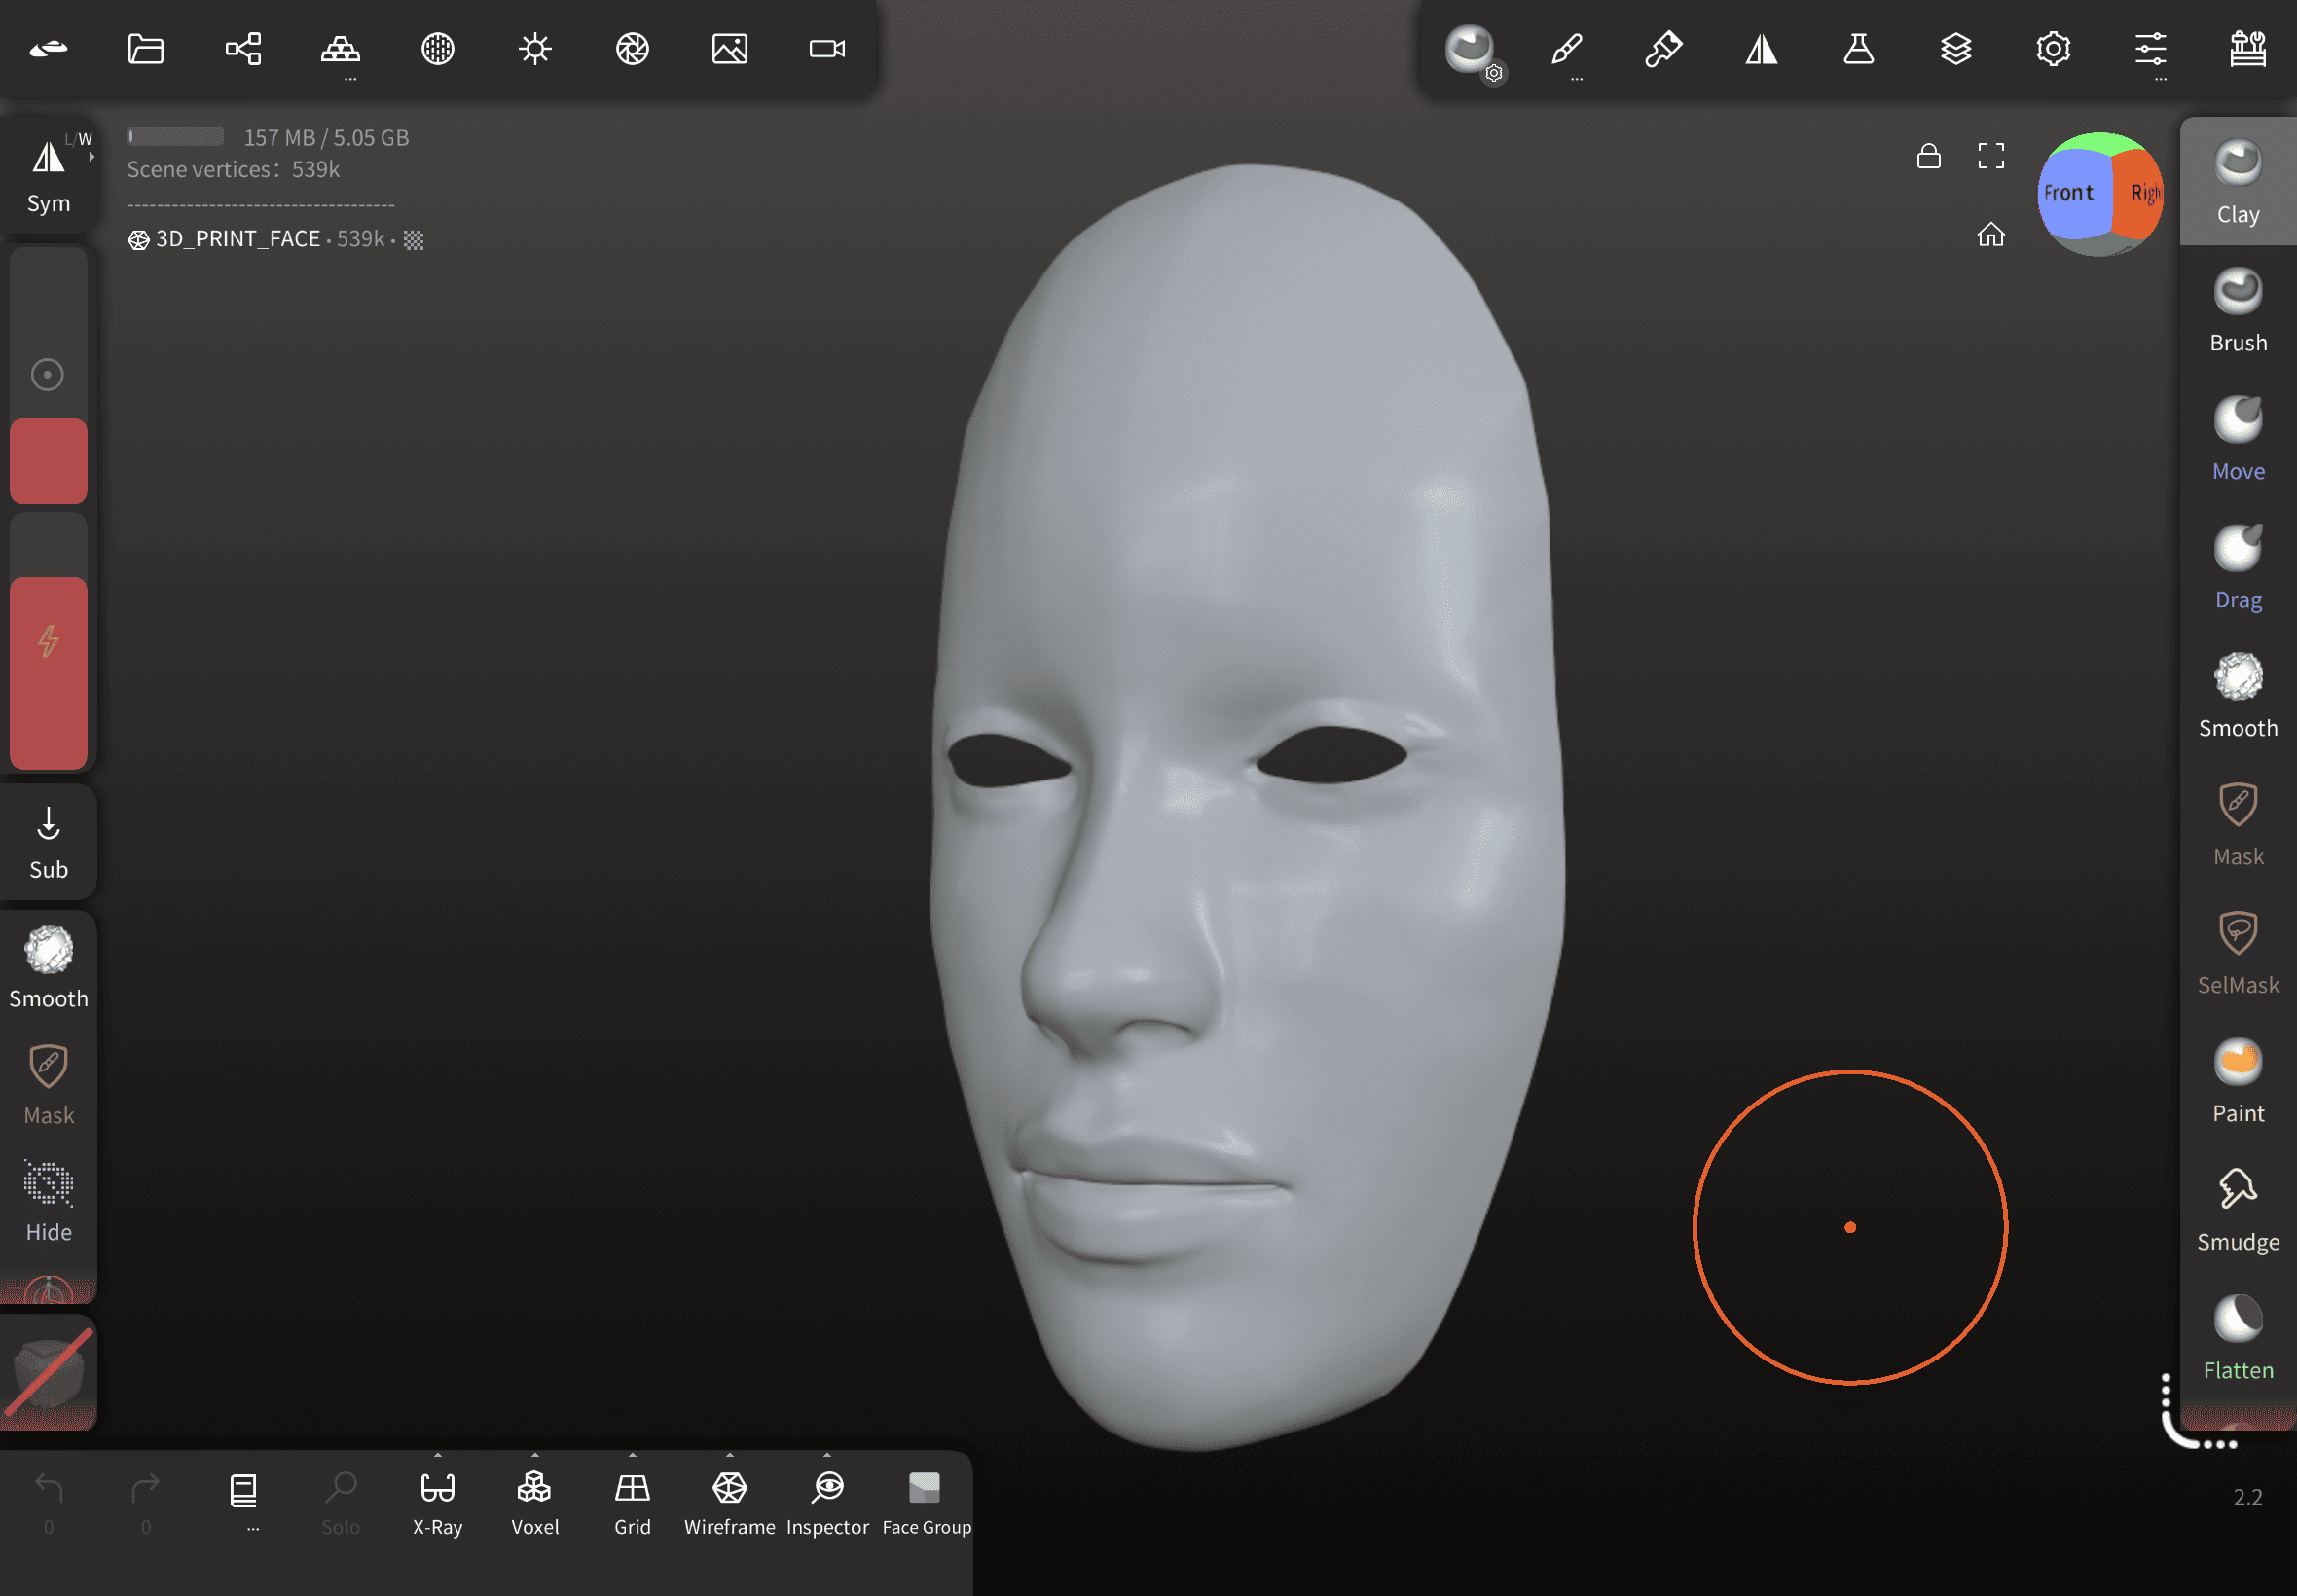
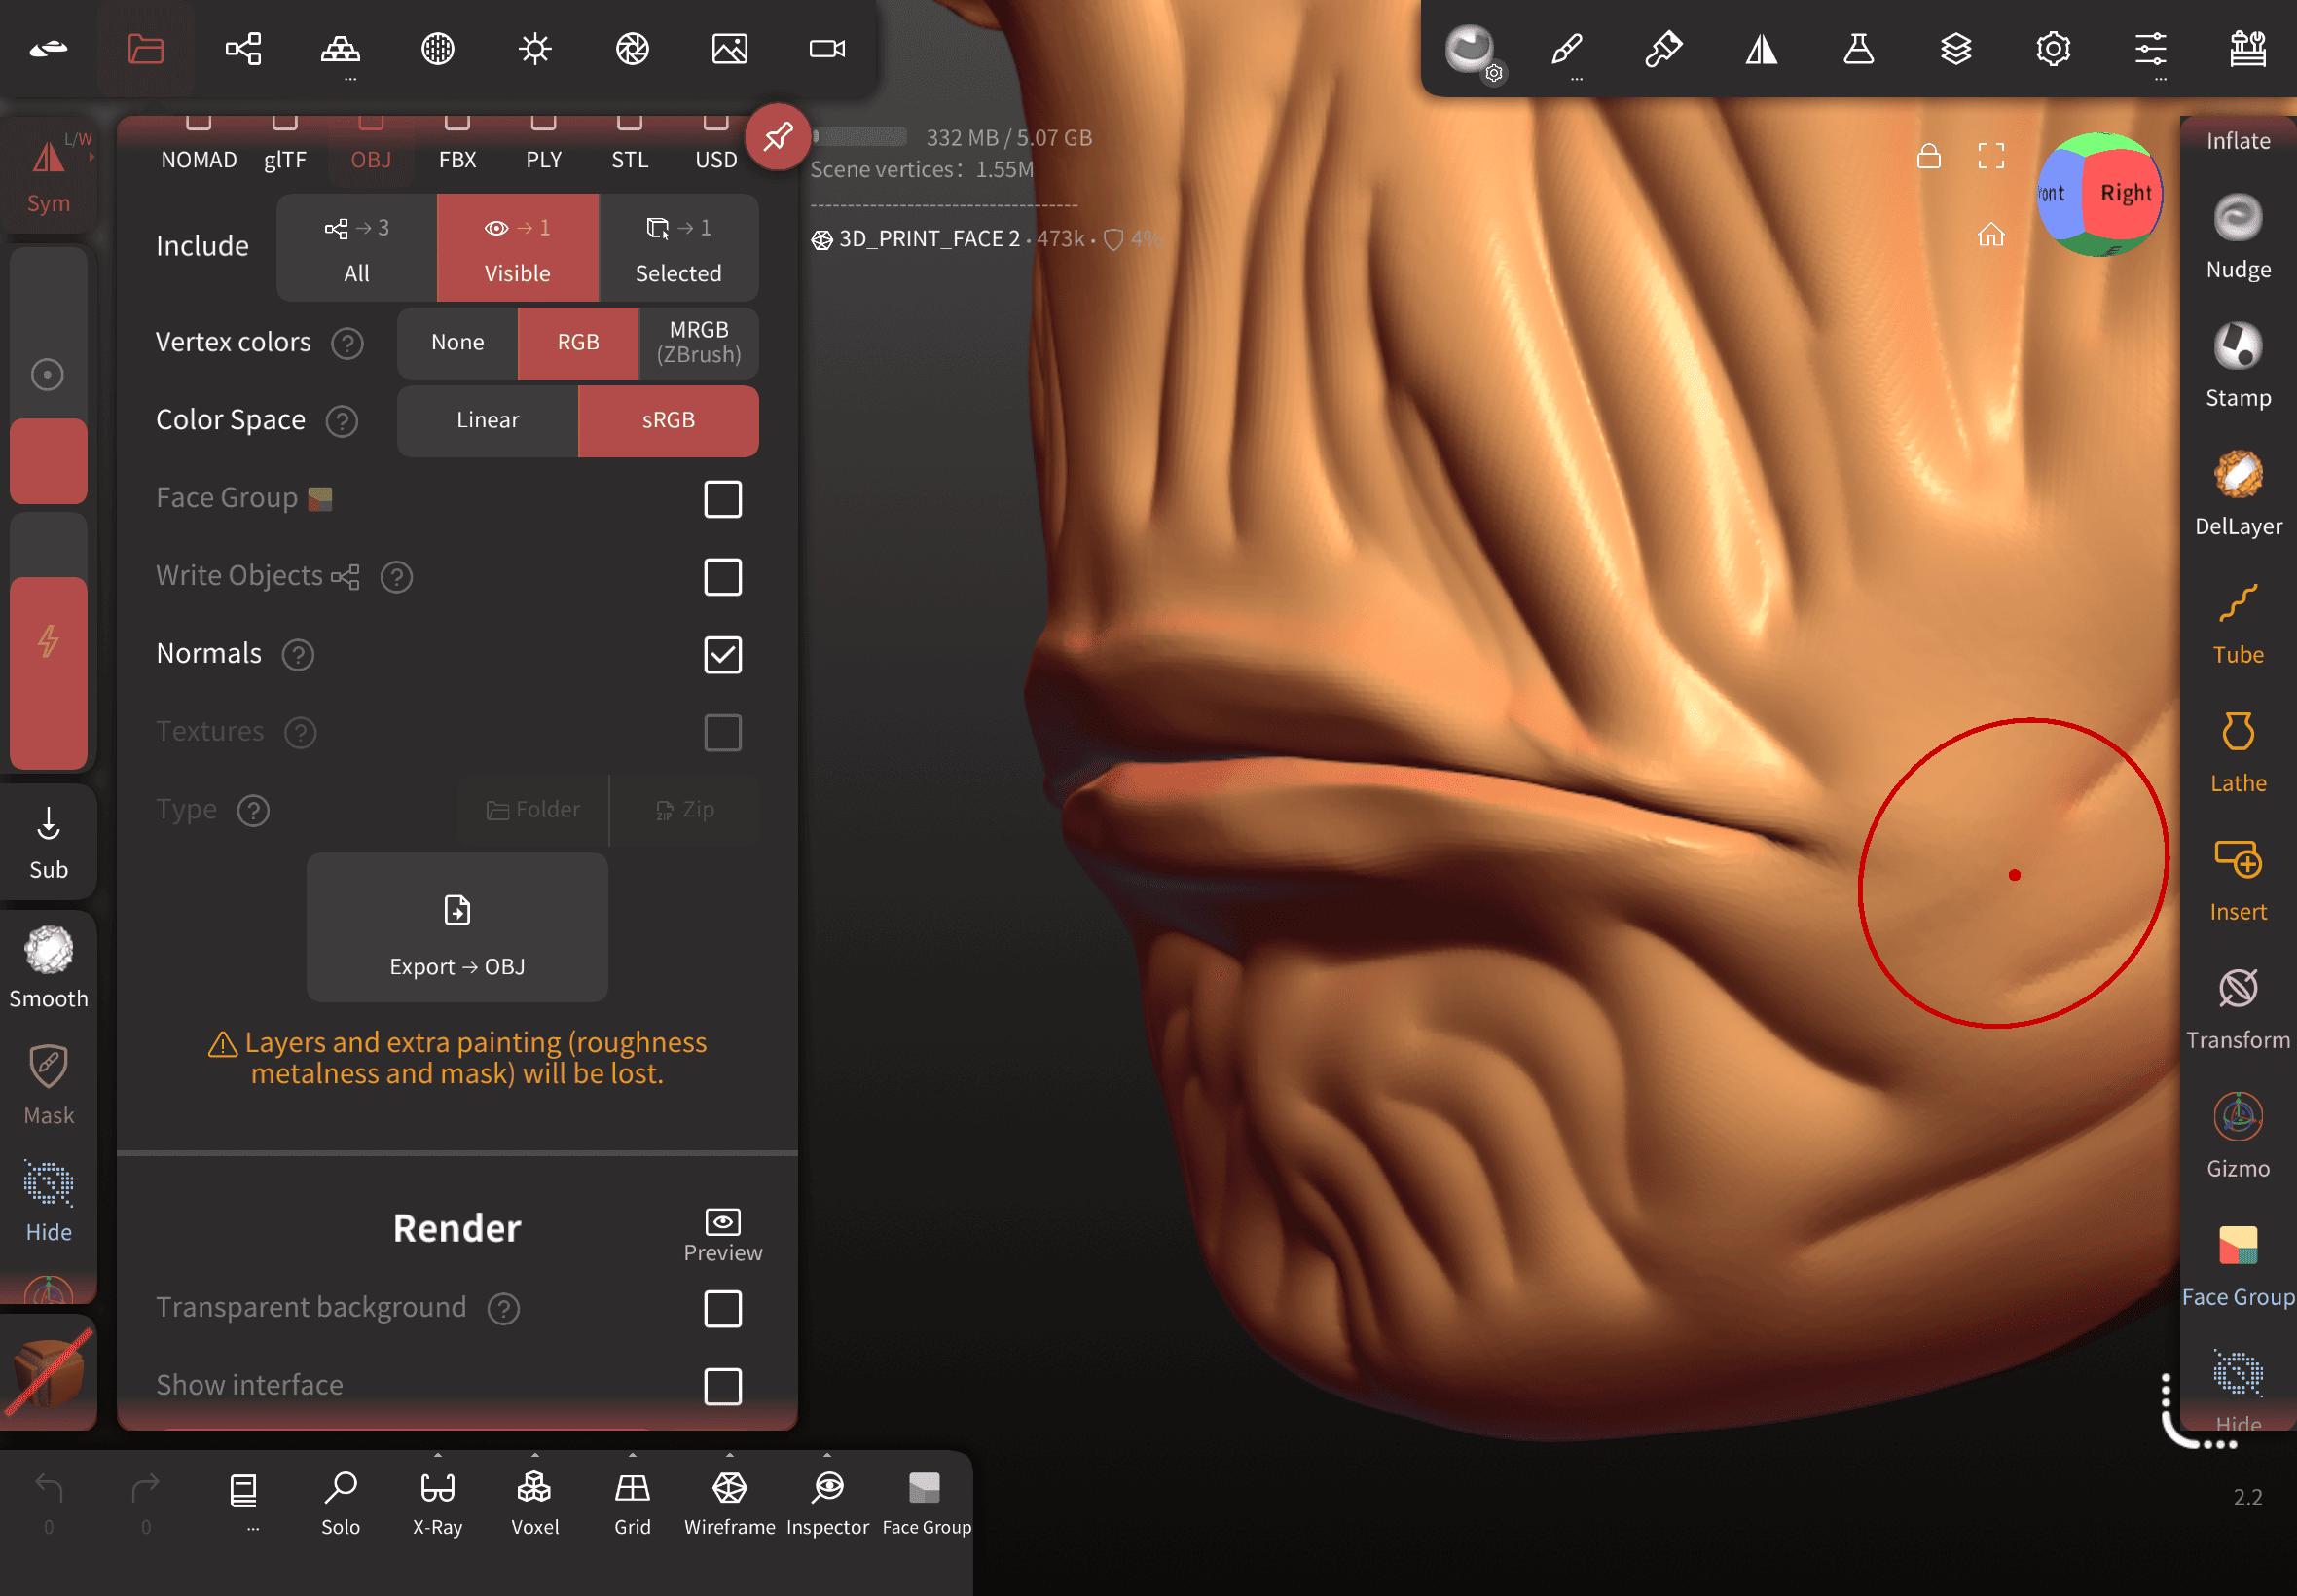
I exported the face mask I had cut from the head as a separate STL file, then imported it into Nomad Sculpt to continue sculpting and distorting the face.Nomad Sculpt is a really cool tool for exploring different sculpting brushes, and I found it easy to use on the iPad.
Mesh Mixer
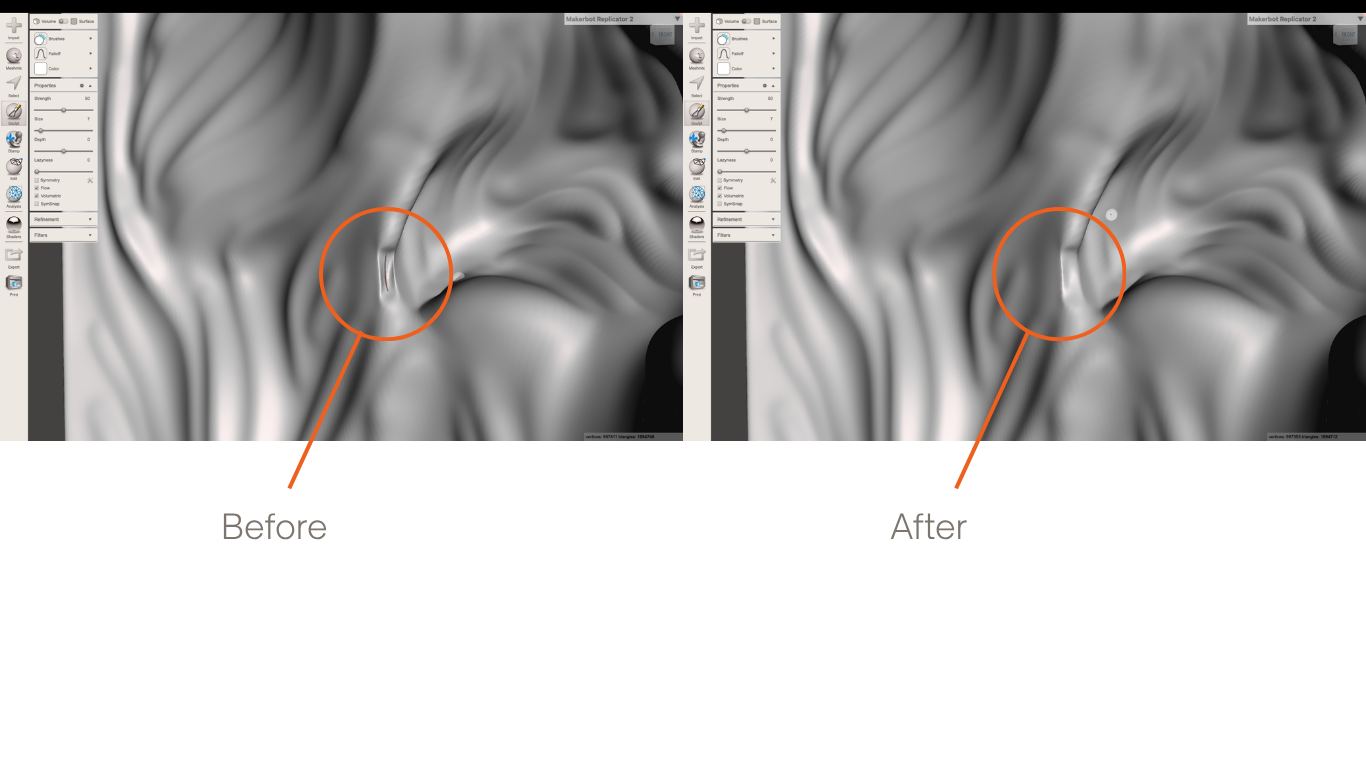
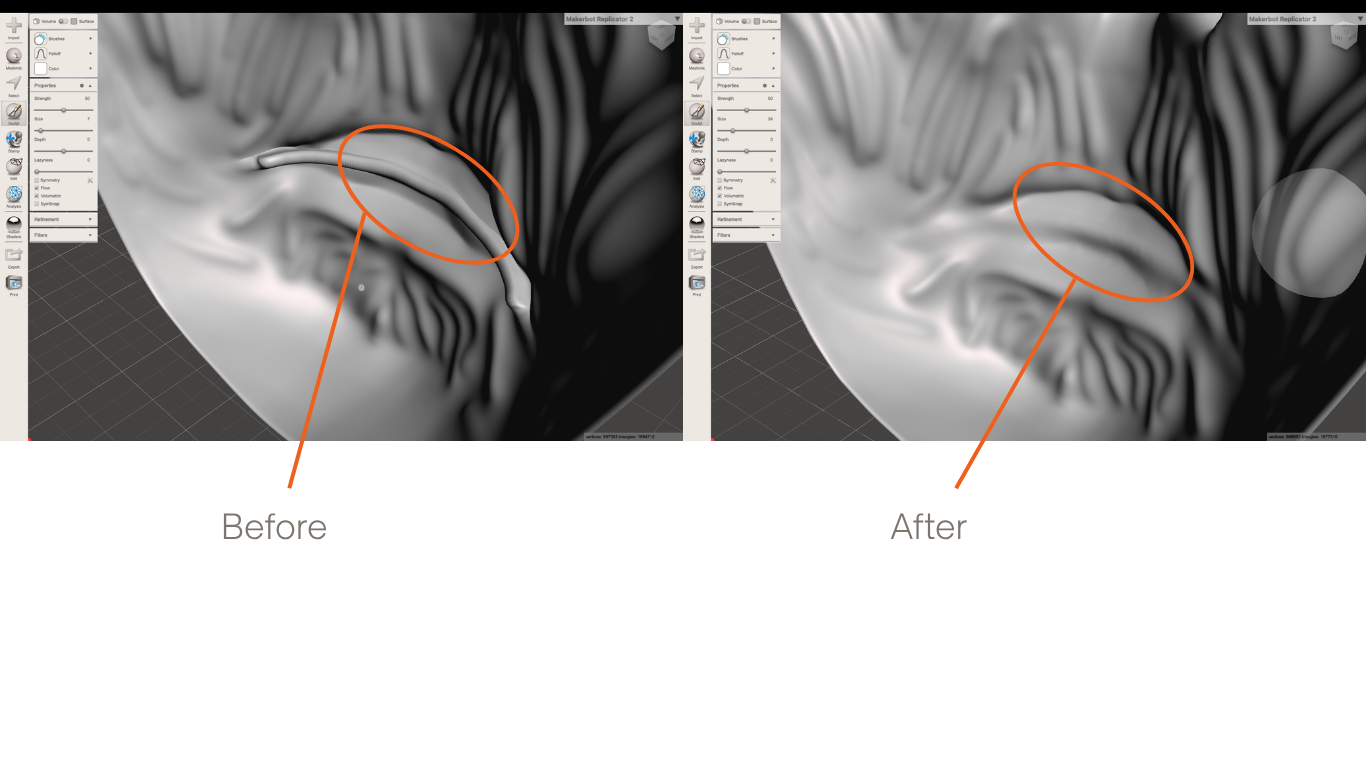
After sculpting the face, I noticed some unwanted points and uneven curves in the mesh. I imported the face mask into Meshmixer to clean up these areas and smooth the surface while preserving the distortions I had intentionally created.
This step helped prepare the model for 3D printing, as unwanted details in the mesh could appear in the final print.
3D Models
Download my face mask model (STL)
3D Scan
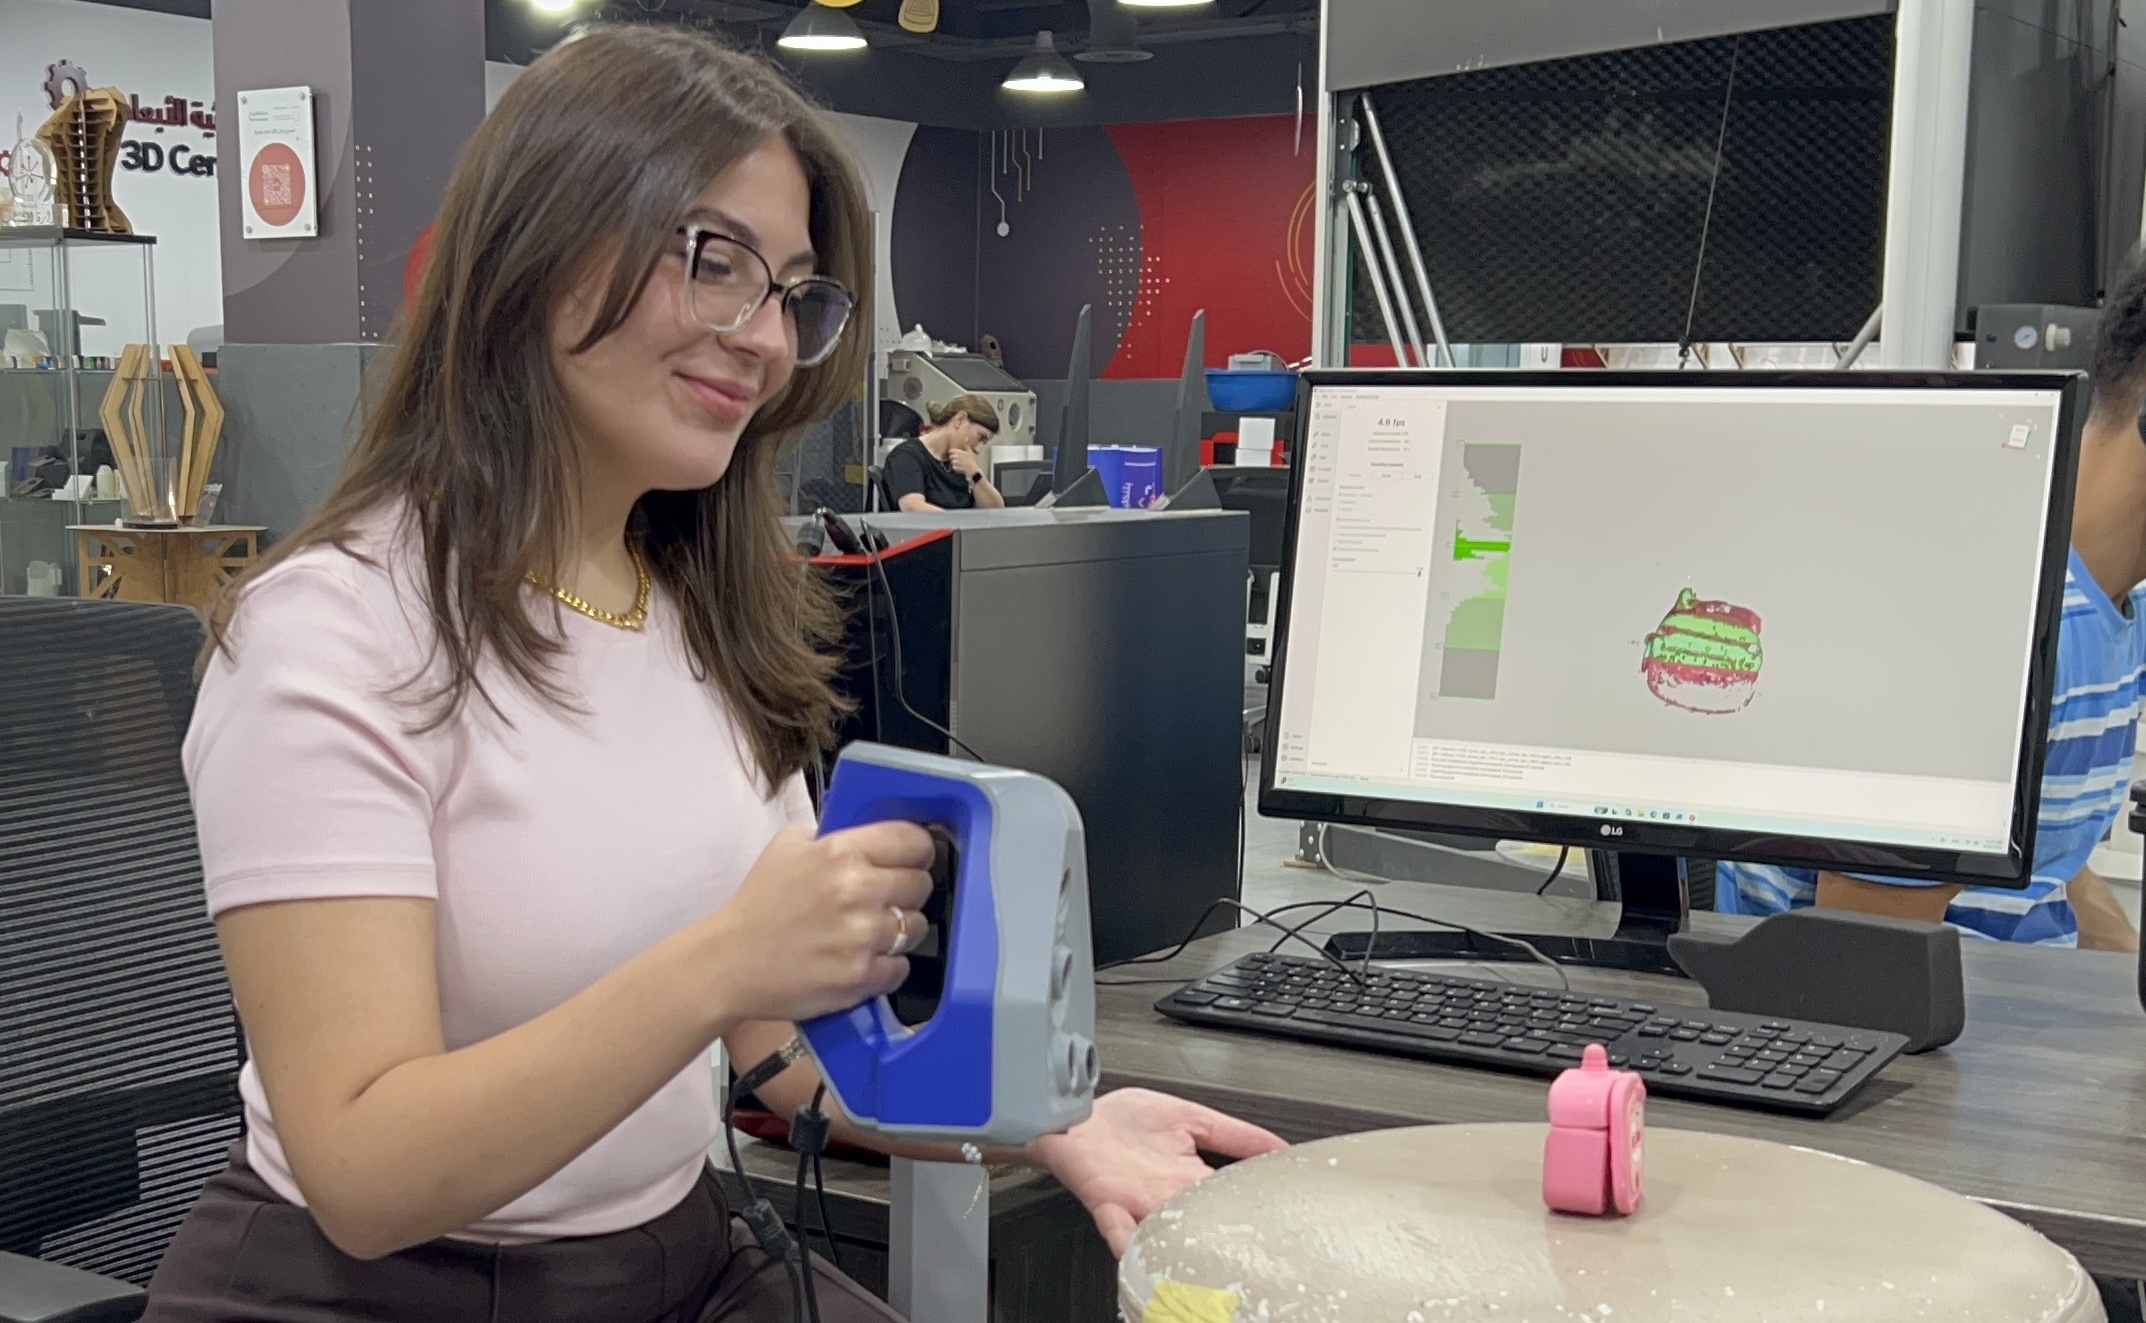
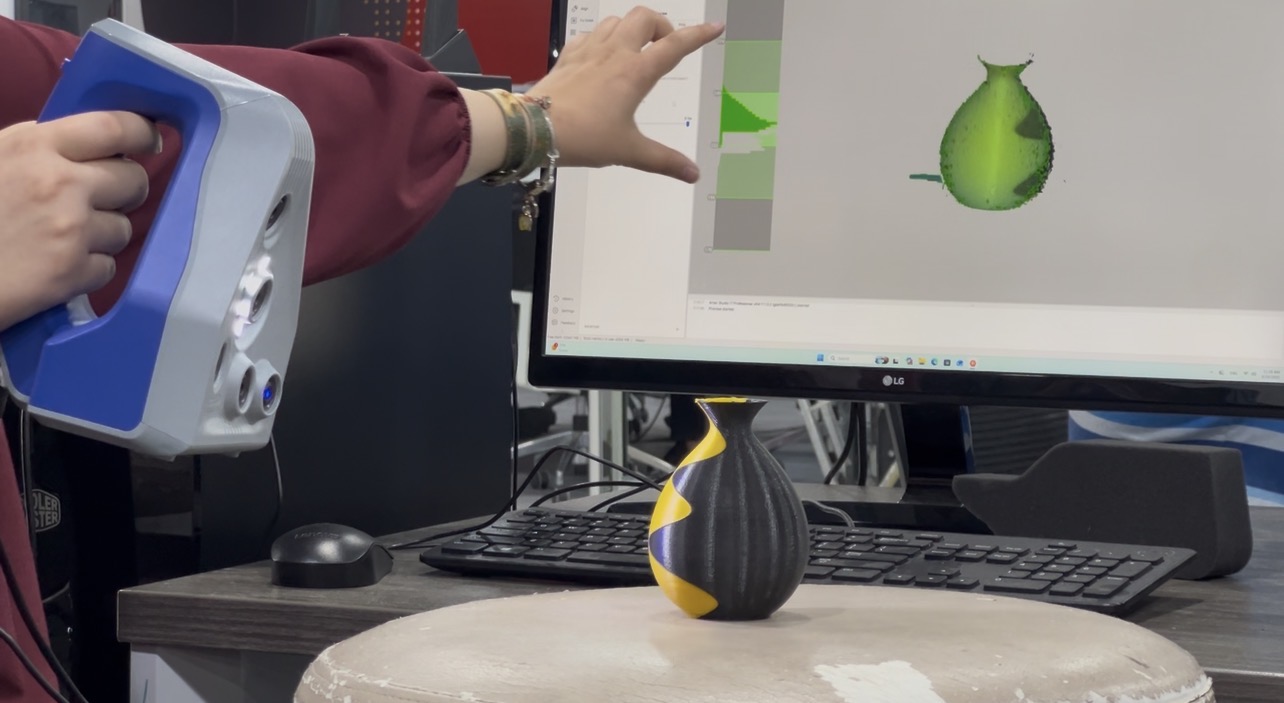
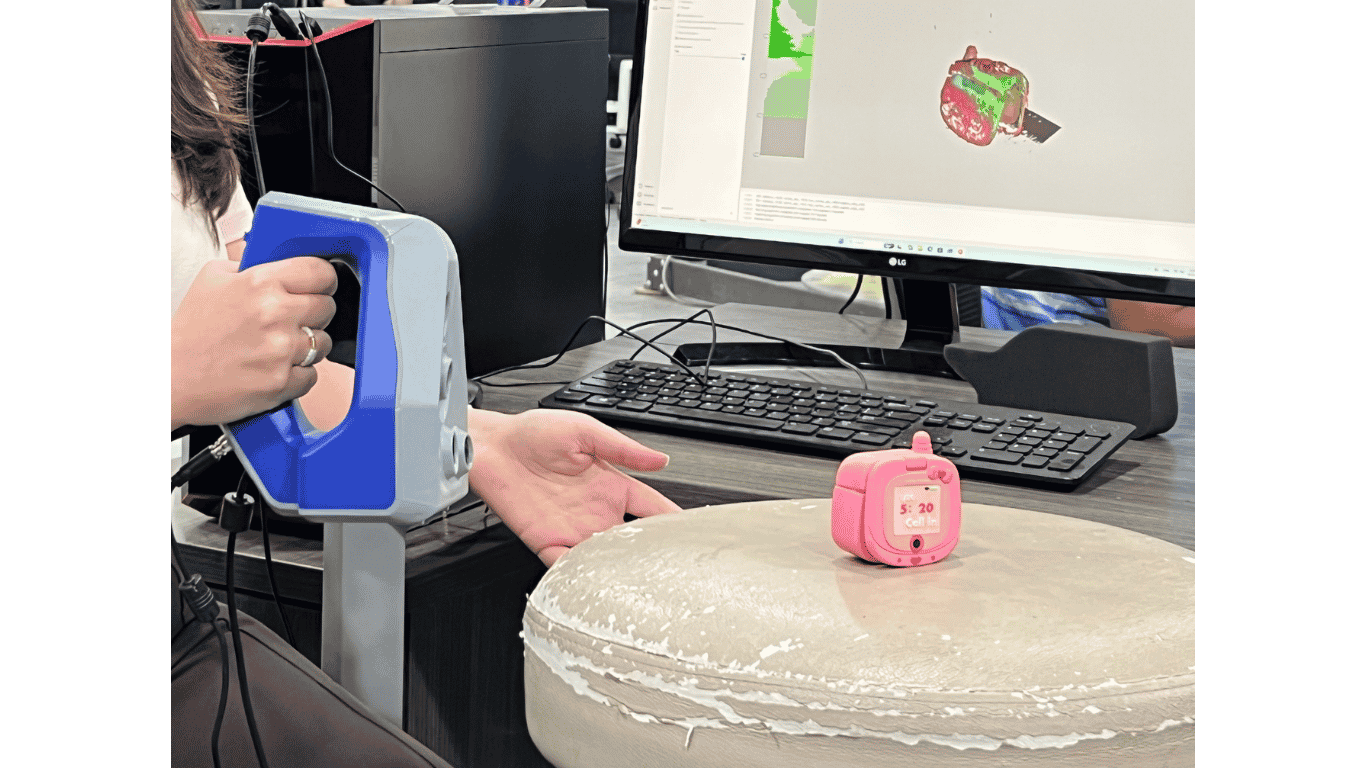
We learnd another way of createing a 3D model is by 3D scaning an obejct, we were introduced to the Artec Space Spider, it's a high-resolution, handheld 3D scanner that uses blue-light technology to capture small objects and intricate details with metrological-grade precision.
Scan Results
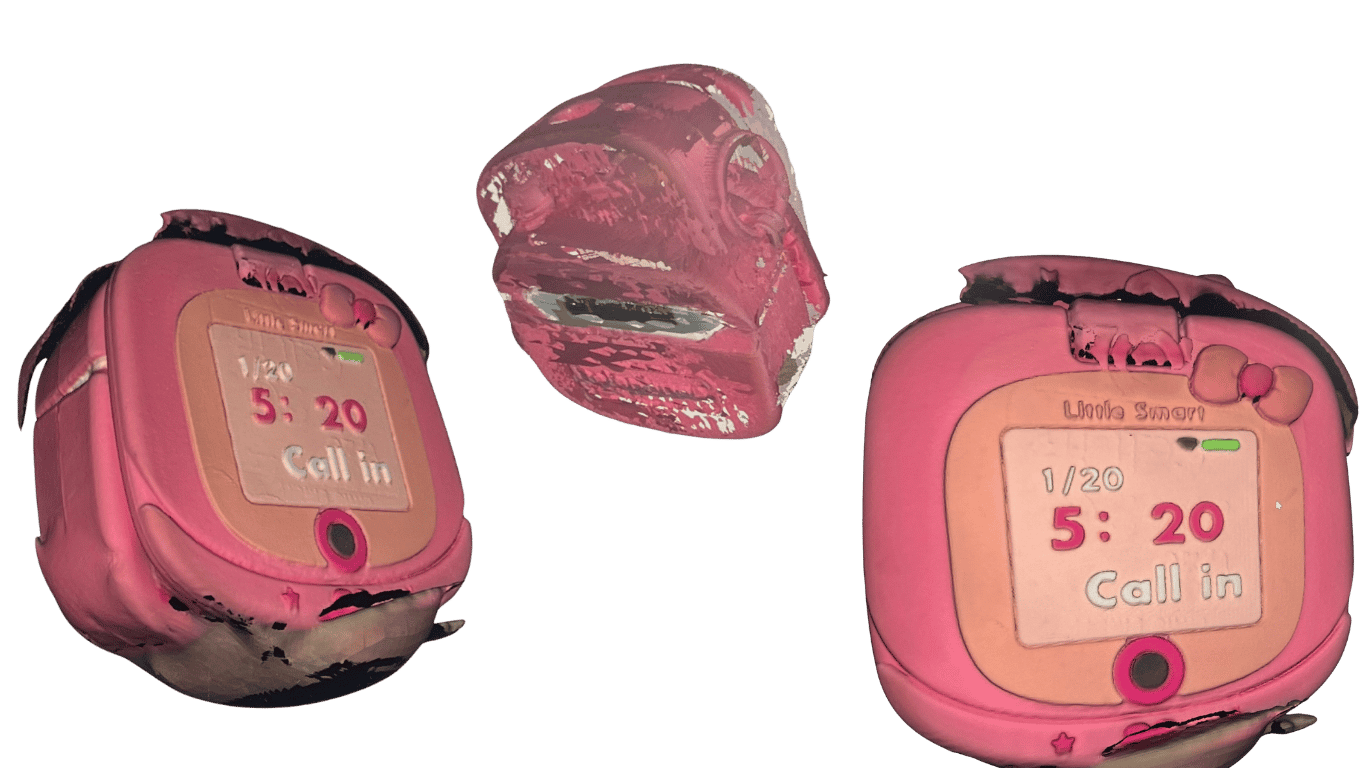
I was impressed by how detailed the scan was. The scanner captured even the smallest, most delicate parts. Still, I’m not fully satisfied with my result. I made a few mistakes along the way, and I want to share them so others can avoid them.
The scanner was a bit heavy, so I sometimes moved it too suddenly. Slower, steadier movements would have helped it keep track. I focused on the object instead of watching the software preview, so I missed when the scan went off track. When I flipped the object to scan its bottom, my object opened and changed shape. The scanner could no longer match it to the earlier scan. I should have checked the alignment before the final render. The software merged the bottom with the top, and I didn’t catch it in time.
Capture the best results
-
Watch the screen: Focus on the software preview rather than the physical object, keeping the part centered in the green tracking rectangle.
-
Maintain distance: Keep the distance bar centered so the mesh does not cut off or lose detail.
-
Move with loose joints: Keep your arms and wrists relaxed, moving at a slow, steady pace without sudden motions to avoid losing tracking.
-
Overlap your passes: Ensure good overlapping areas between multiple angles or separate scans so Artec Studio can align and register them properly.
-
Use a turntable: Place small items on a rotating platform to easily maintain a consistent distance and stable field of view.
-
Prep difficult surfaces: Spray shiny, dark, reflective, or transparent items with a vanishing spray or powder to create a matte surface the scanner can track.
3. Fabrication Workflow
Laser Cutting
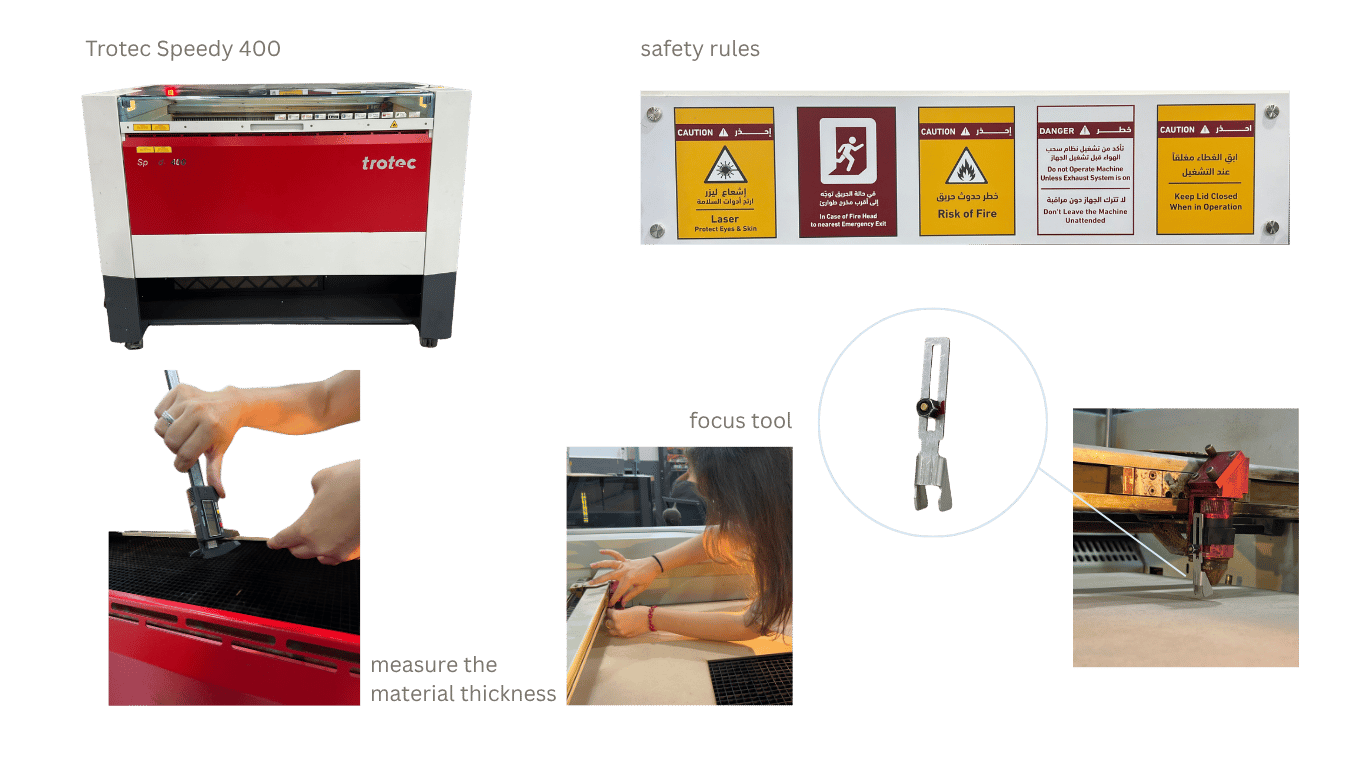
The first step was getting to know the machine. At the lab, we use the Trotec Speedy 400, a high-performance, mid-size industrial CO₂ and Flexx laser engraver and cutter.
Slicer on Rihno
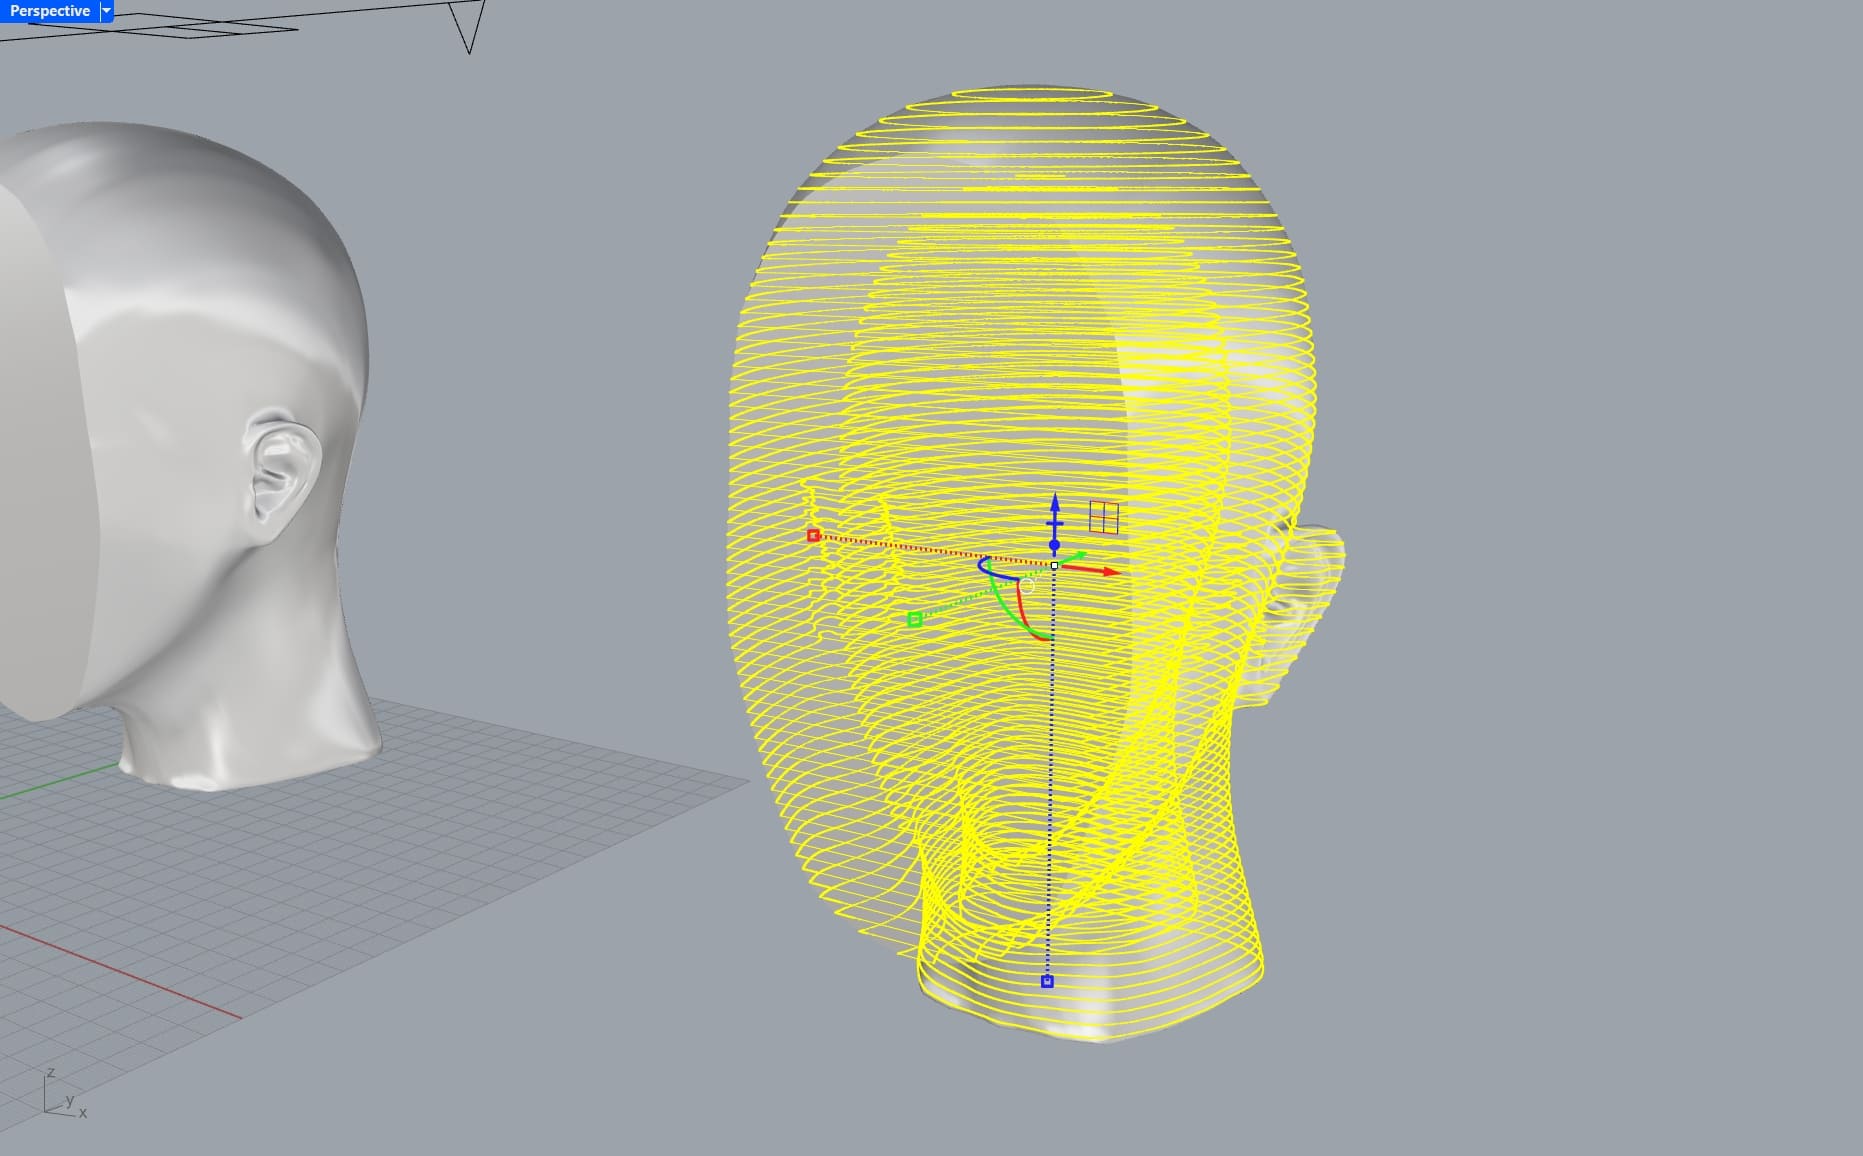
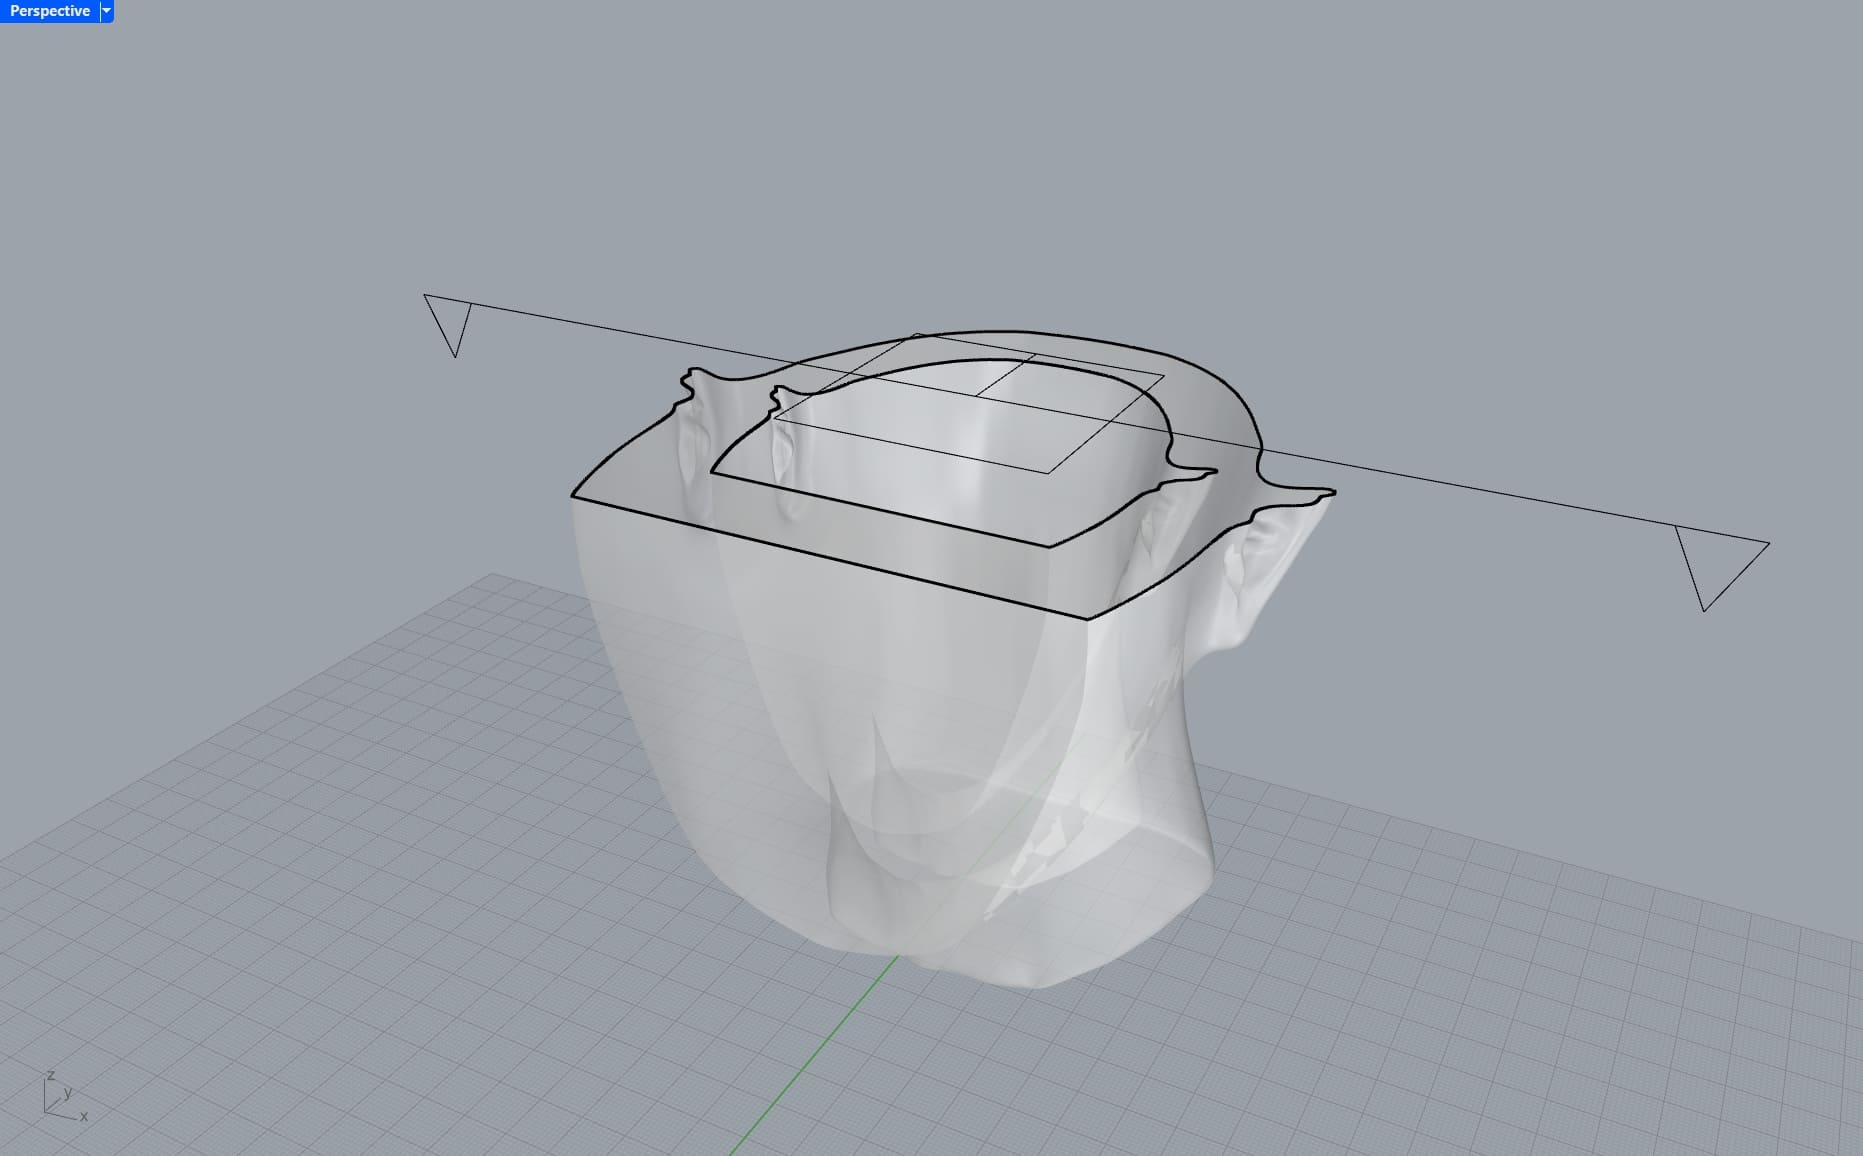
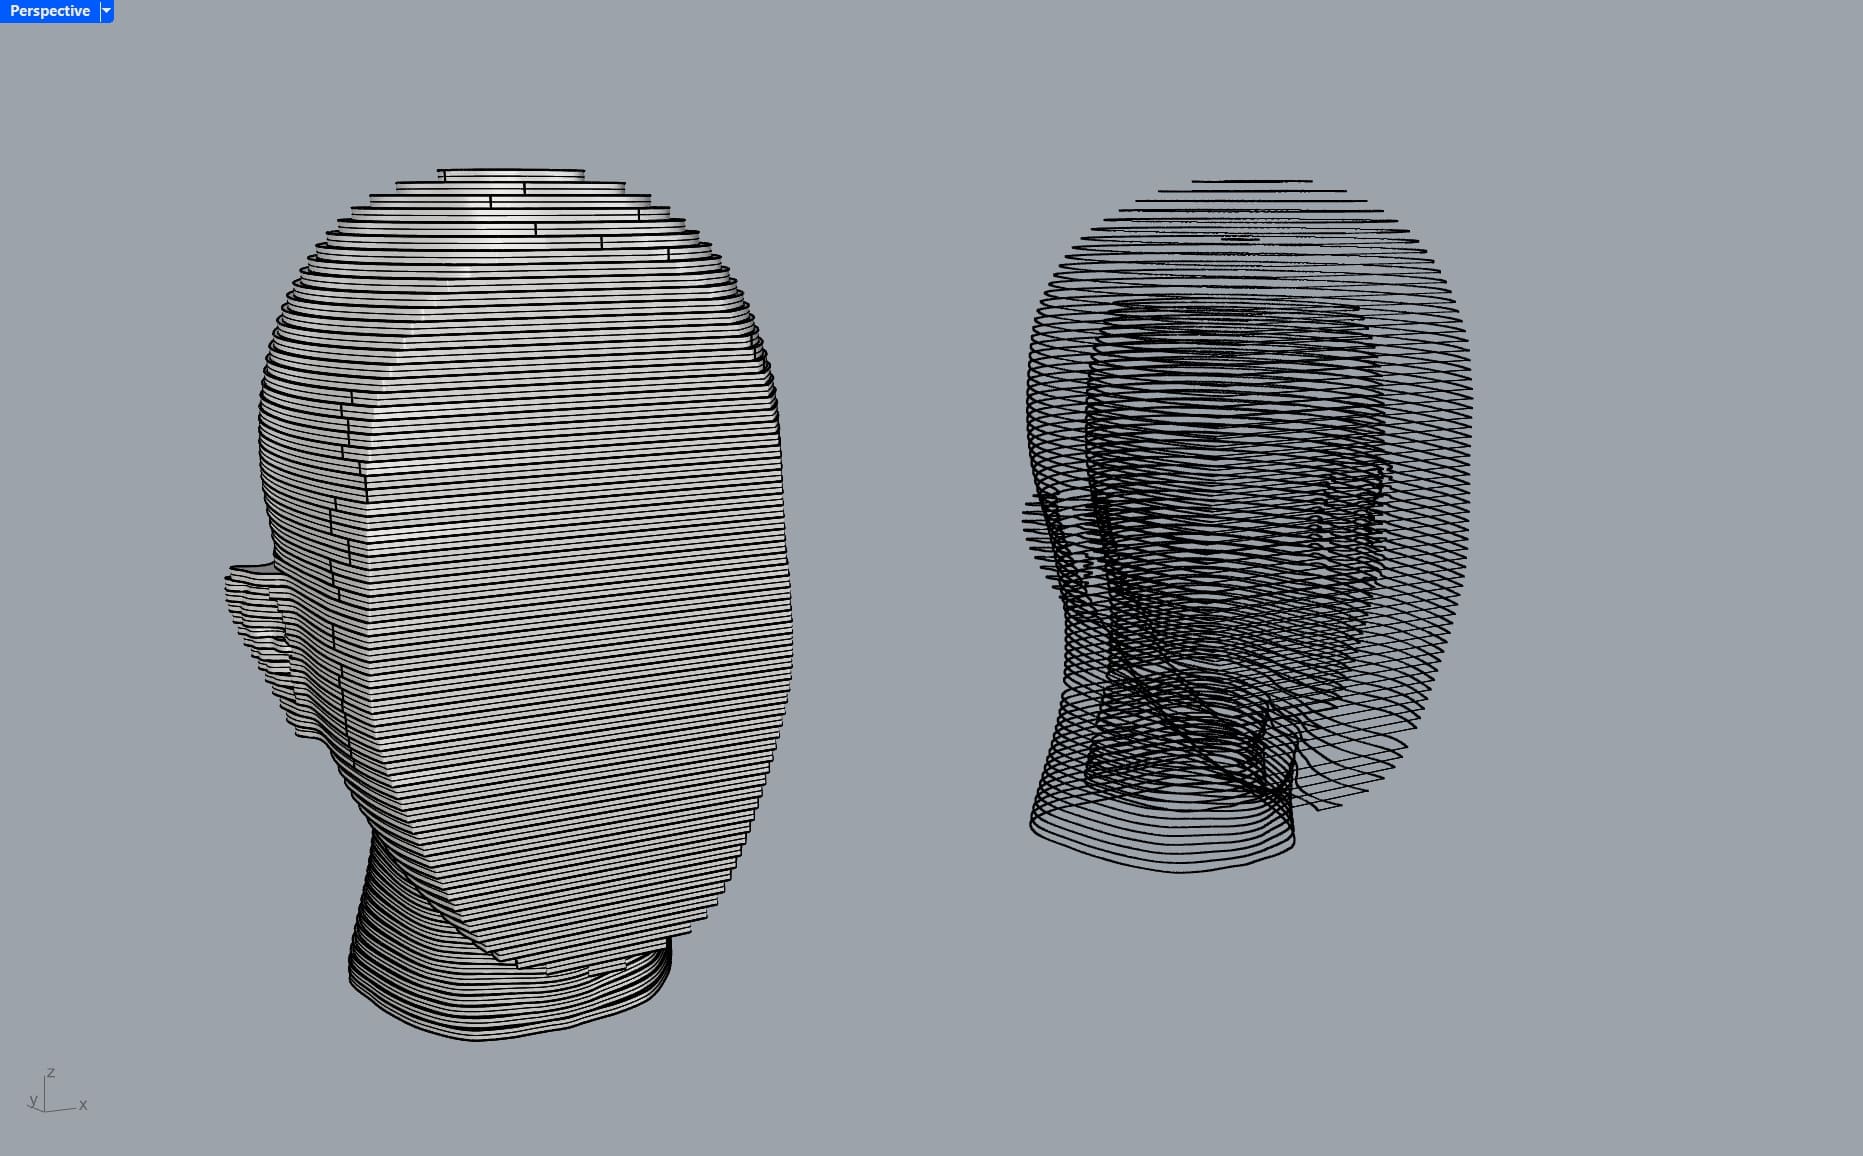
I imported the Blender model into Rhino, created a smaller copy, and used Boolean Difference to hollow it out. Then, I generated vertical contours at 3 mm spacing, nested the pieces, and exported them as an SVG for laser cutting.
Rihno Process
- Imported the model from blender into rhino as a closed mesh.
- Made a copy in place and scaled it down uniformly.
- Applied a “boolean difference” operation between them.
- Applied “contour” operation on the result with a vertical direction to generate the outline curves and set a 3mm spacing to make zero gap between the wooden slices
- Nested them then exported as svg file to use in the laser machine
Nesting on Affinity
I used Affinity to arrange the sliced pieces next to each other, making the most of the available space.