BioChromes
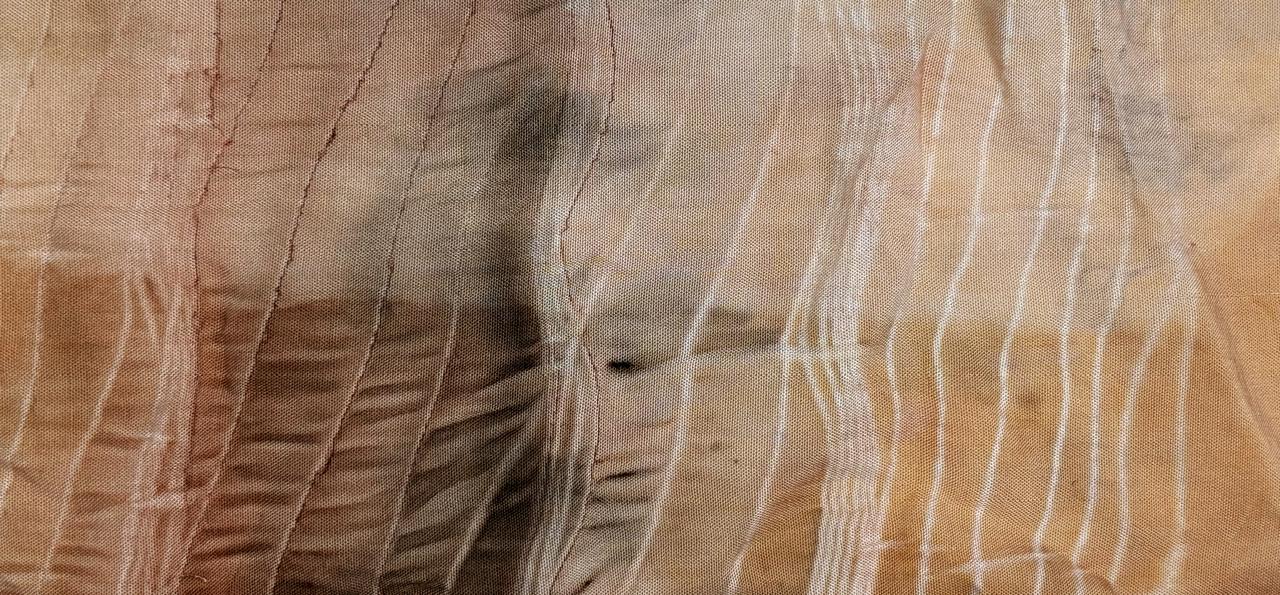
Exploring Natural Dyeing
We began the week with an introduction to natural dyeing and the differences between plant-based and protein-based fibres. Before working with colour, we learned how to identify, sort, weigh, and prepare our materials.
This week was all about exploring colour from nature. We were introduced to biochromes, colours produced by living organisms and learned how natural sources can be used to create dyes, inks, and pigments.
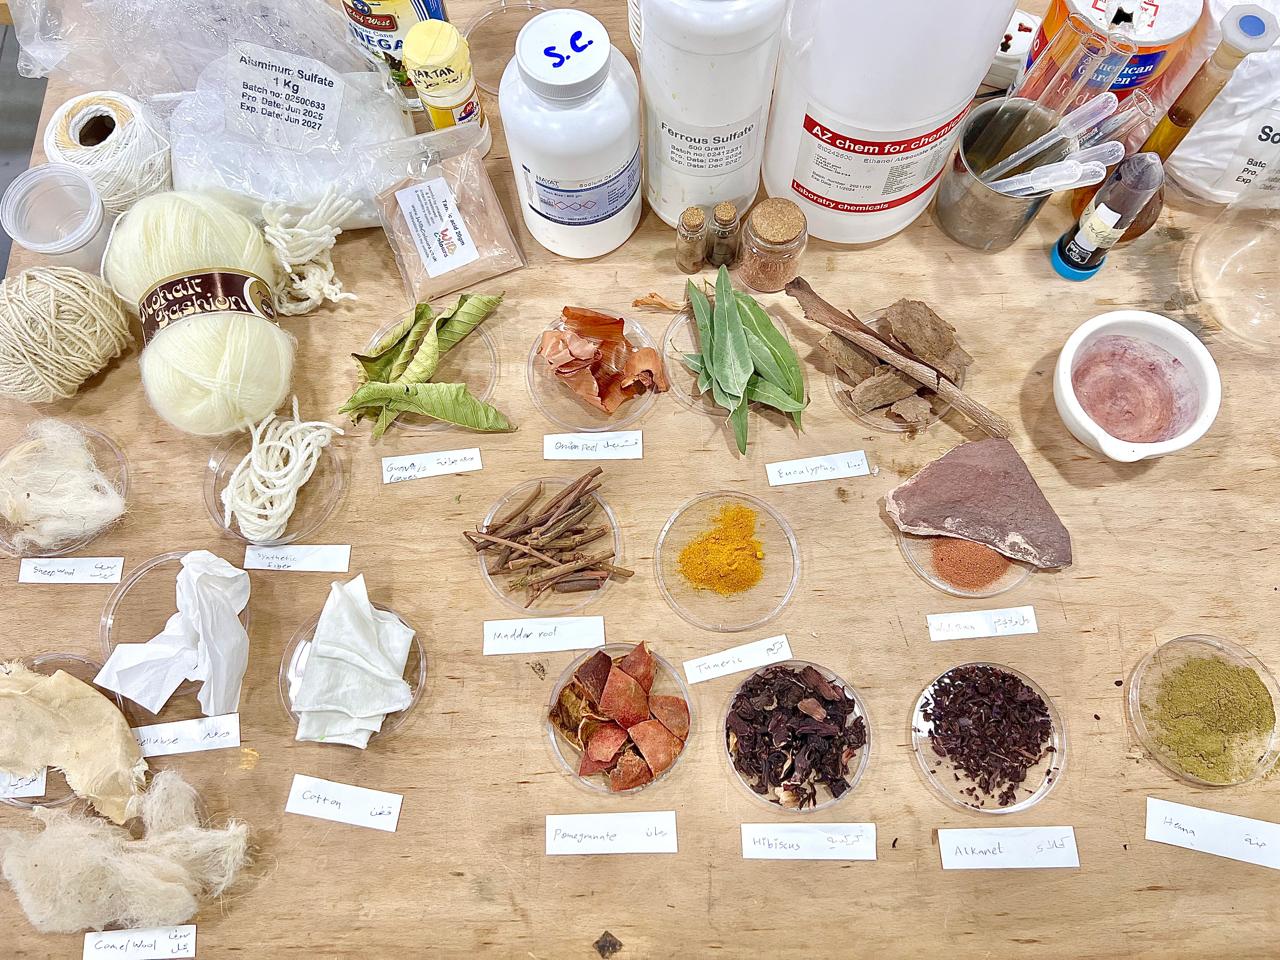
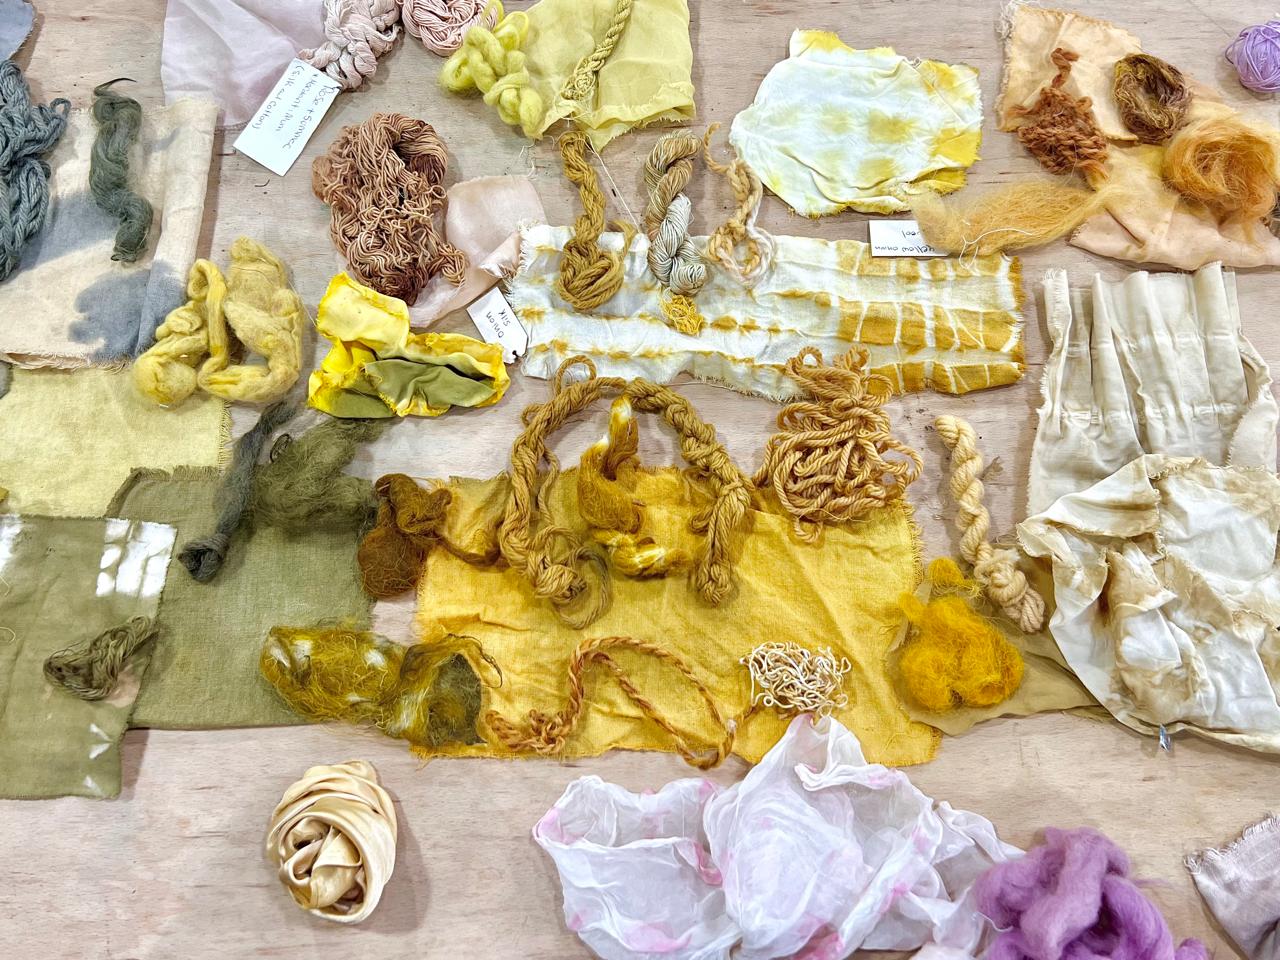
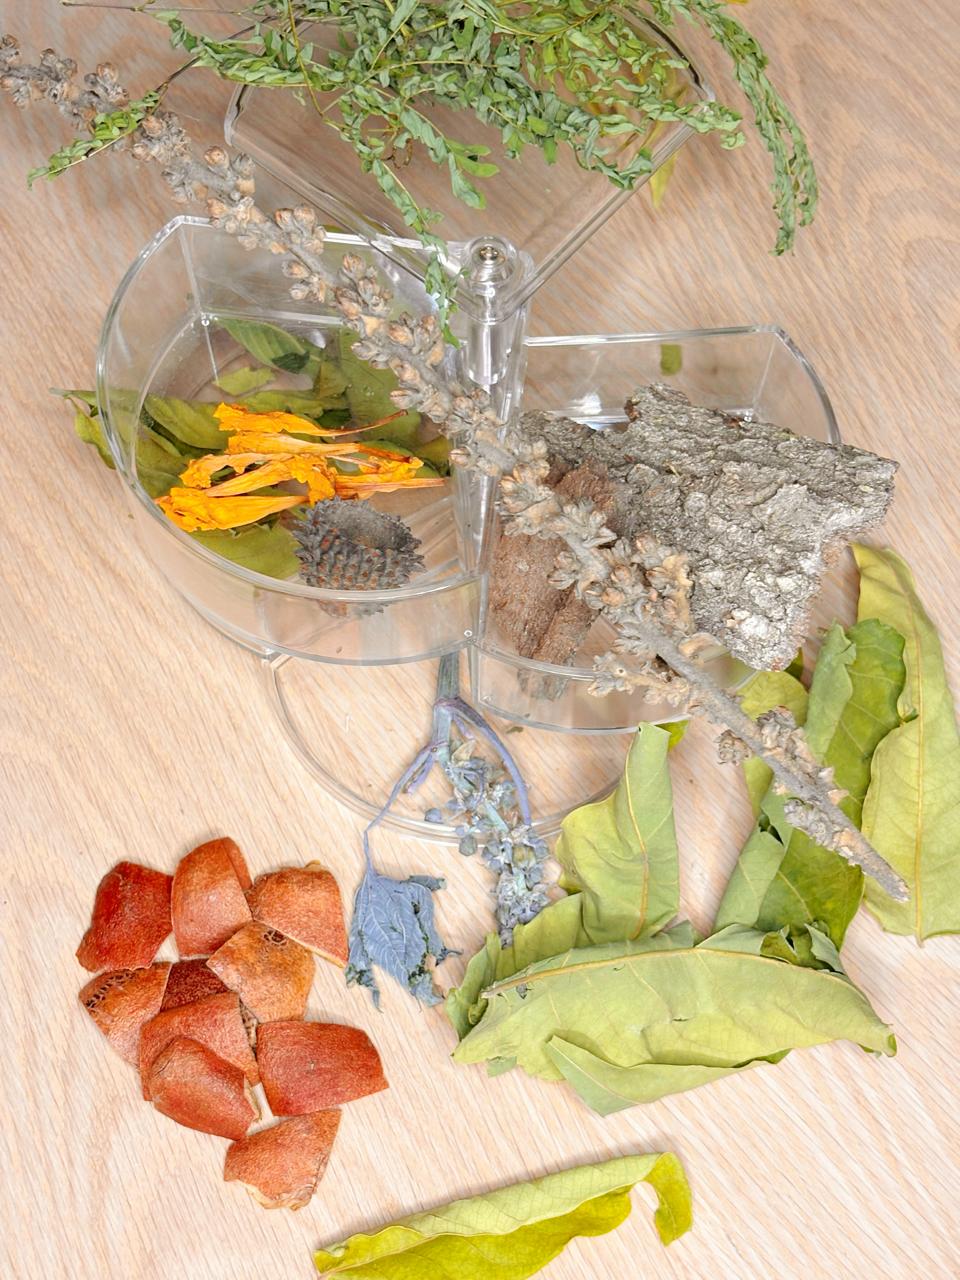
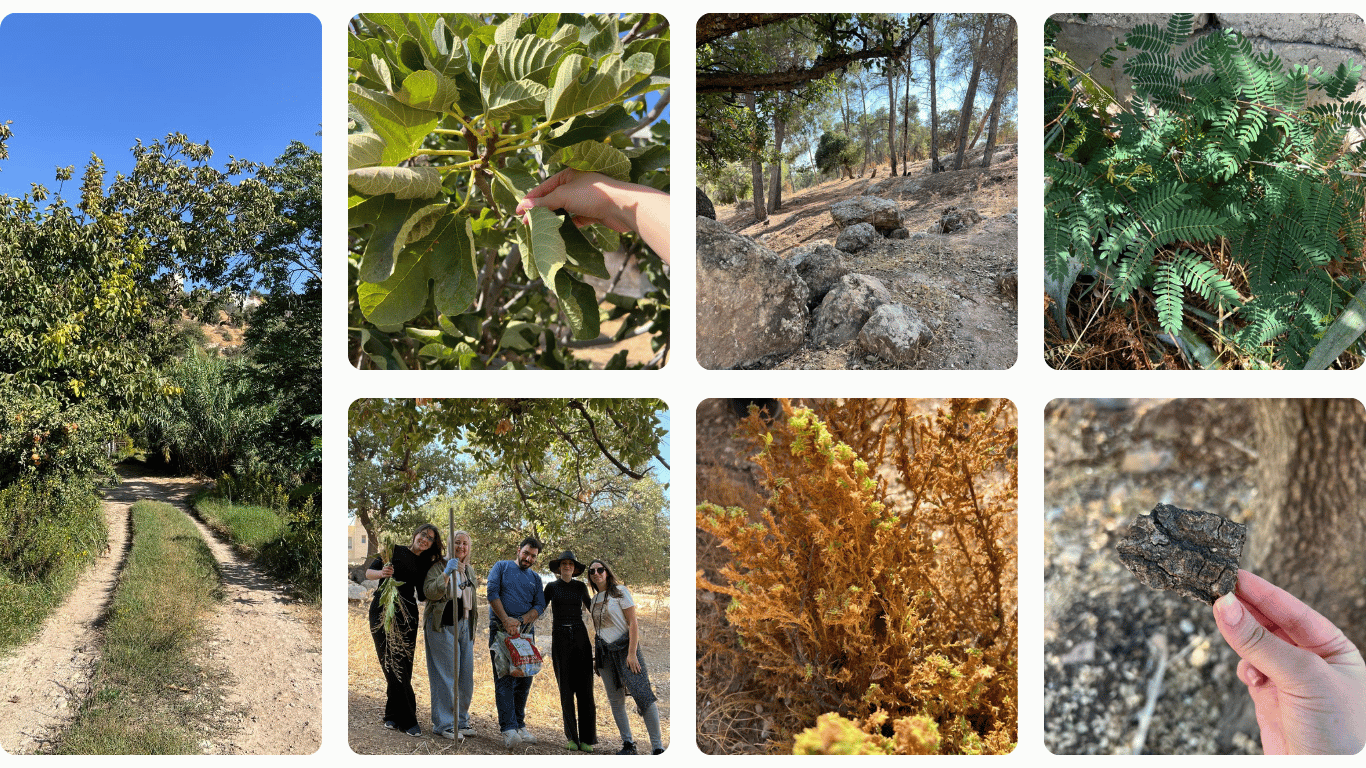
We had a field trip into nature in Jordan, where we collected plants and other materials to experiment with. It was interesting to look at our surroundings differently and wonder what colours we could extract from the things we found. I used the app PlanNet to help me idintify the plant.
Group Work at The Lab
Back in the lab, we worked as a group to prepare the fibres and dye baths, then experimented with Onion skins and Guava leaves. Working together helped me understand the steps before exploring on my own.
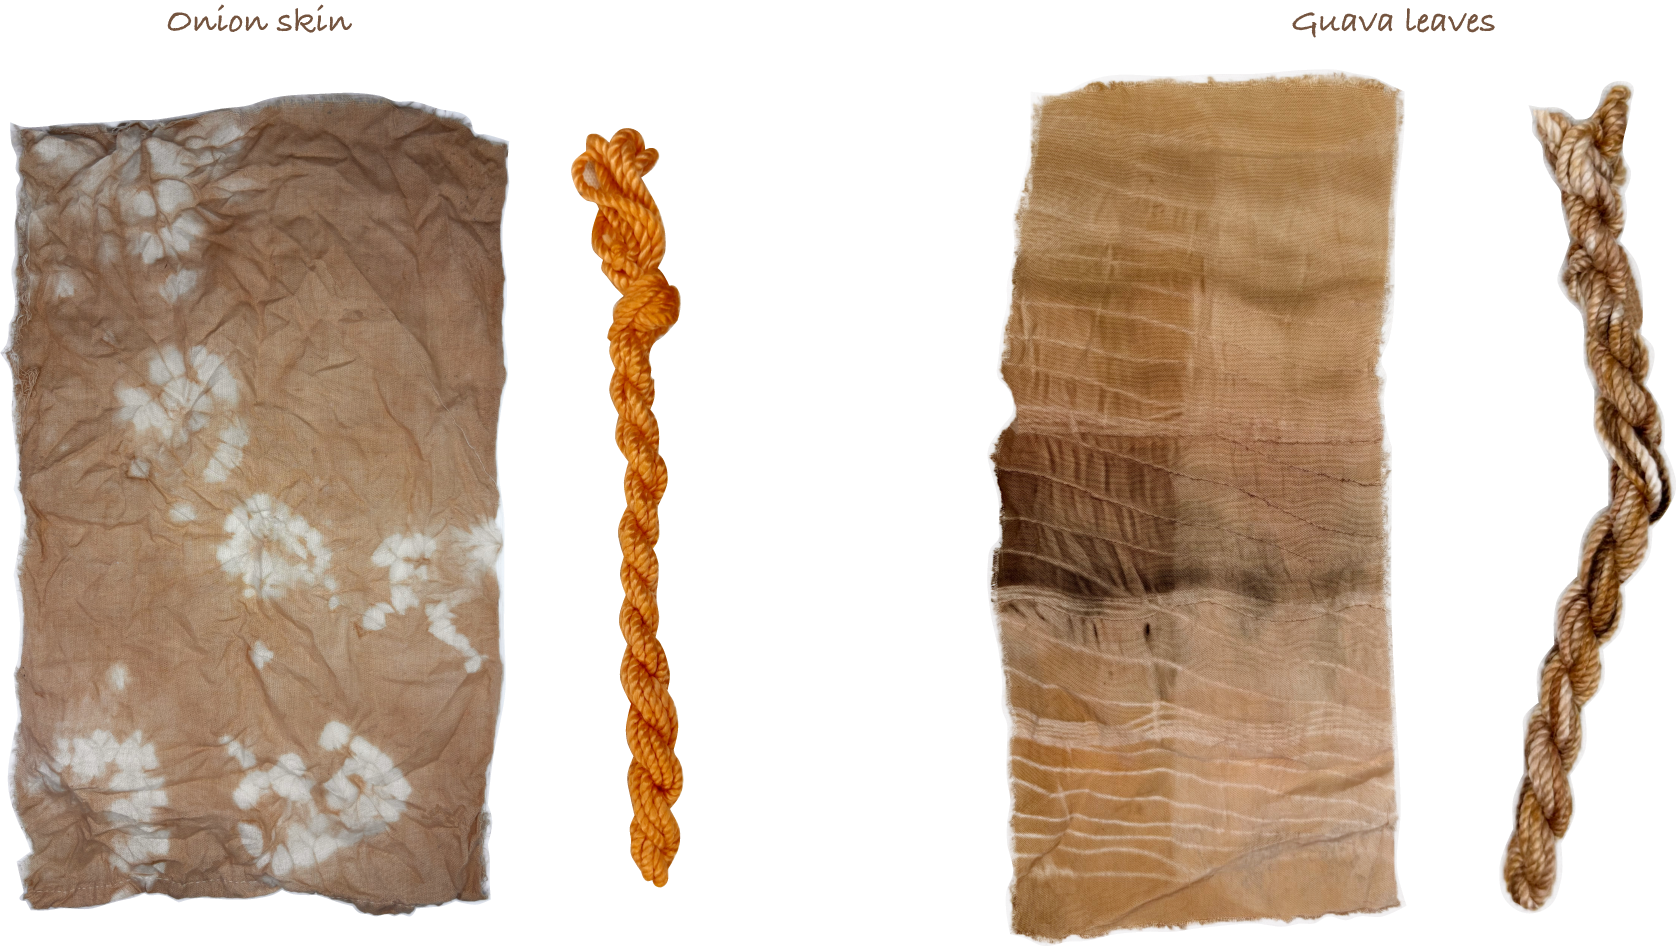
Onion skins | Guava leaves dye
Fibers Scouring & Mordanting
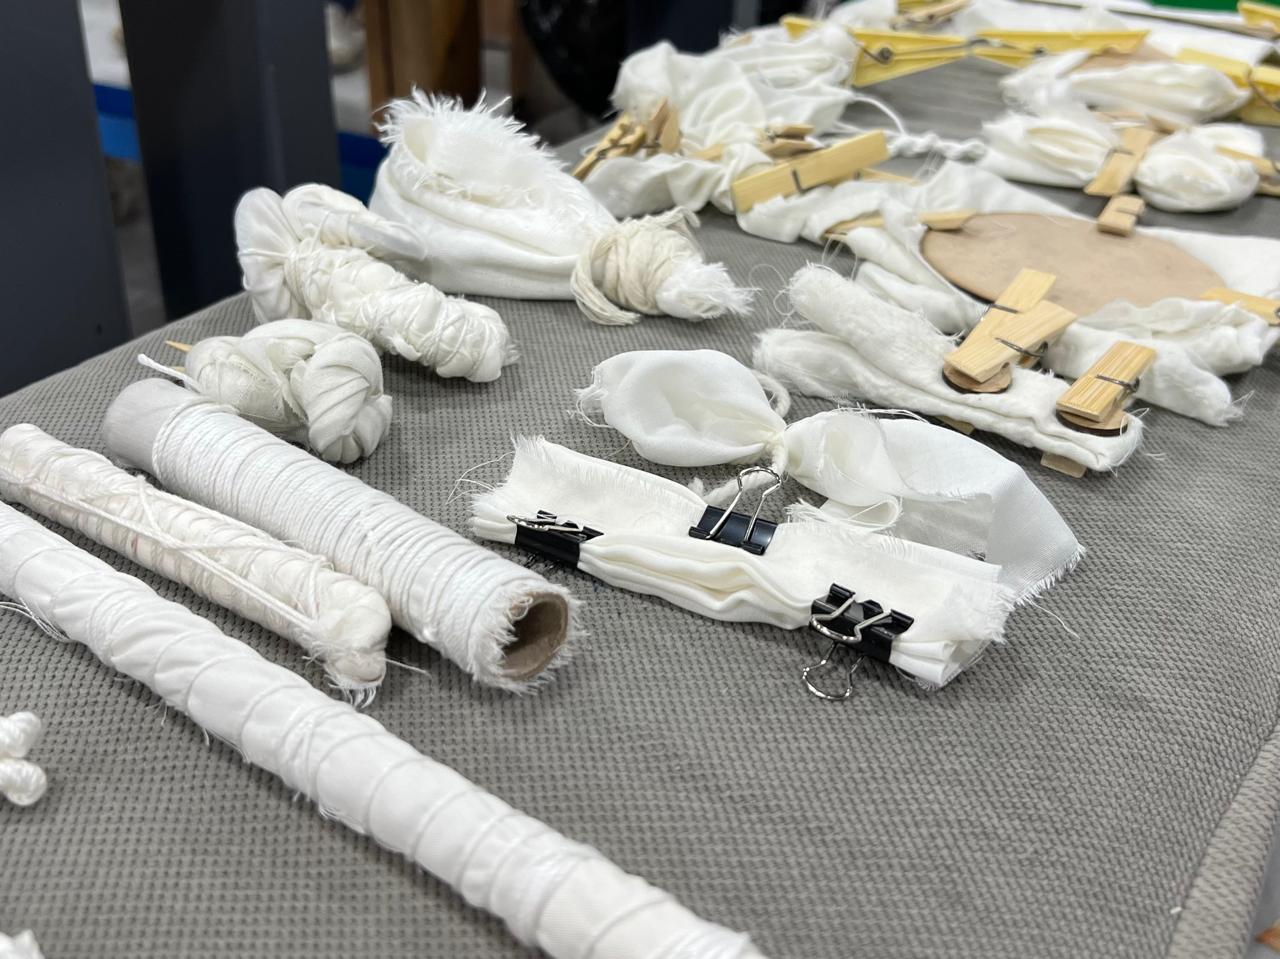
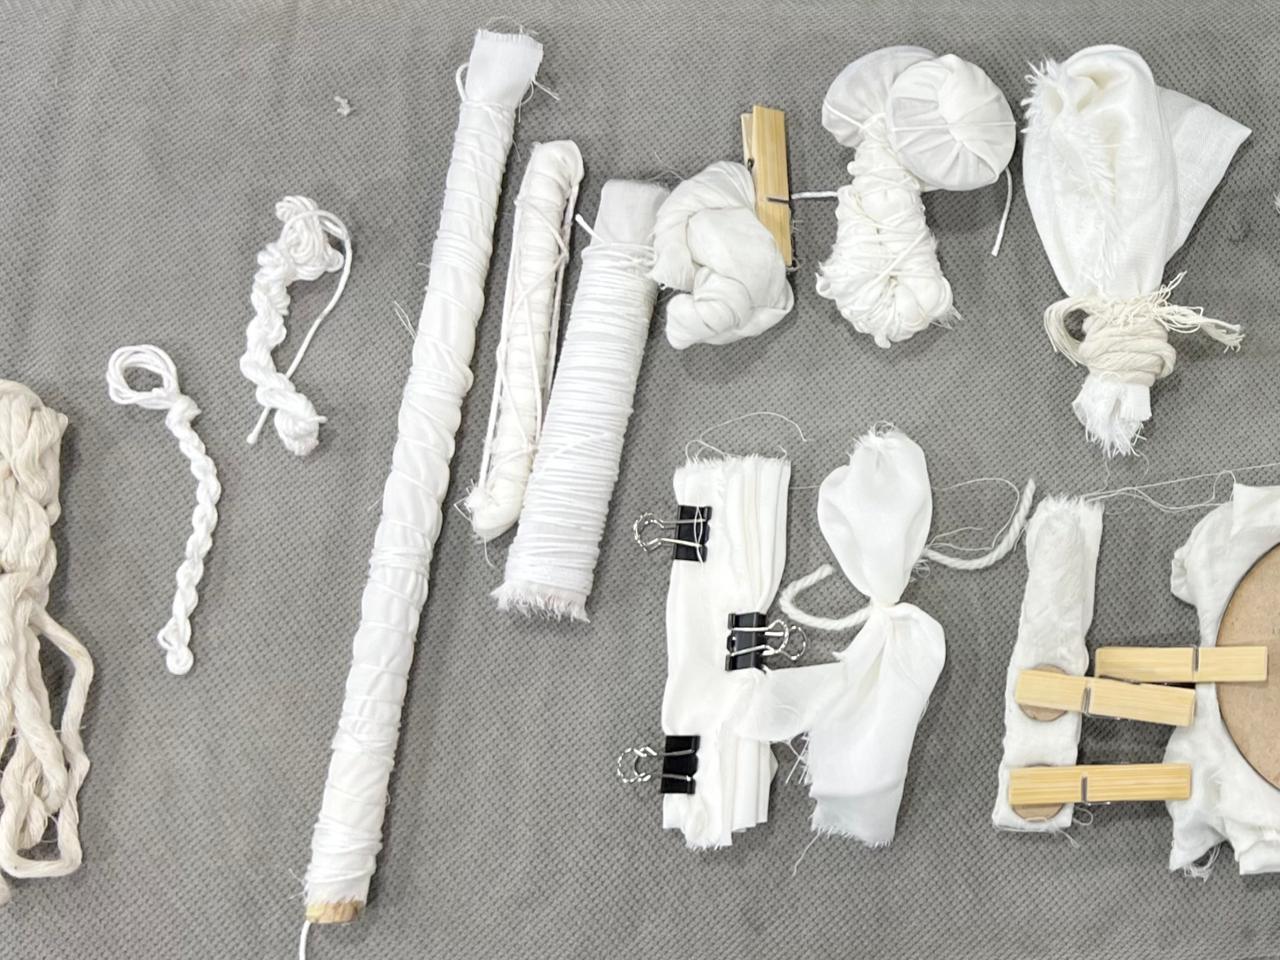
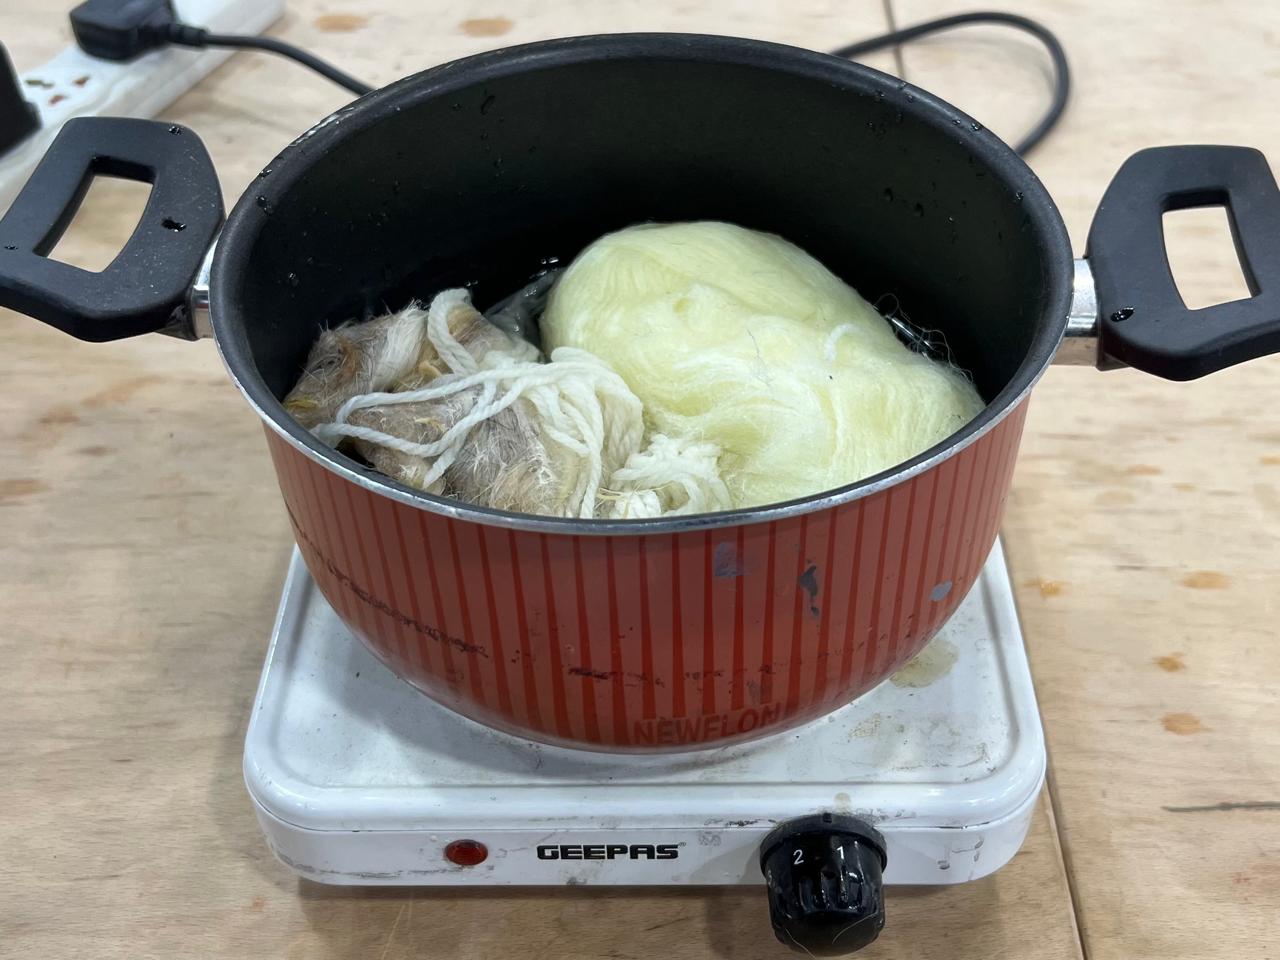
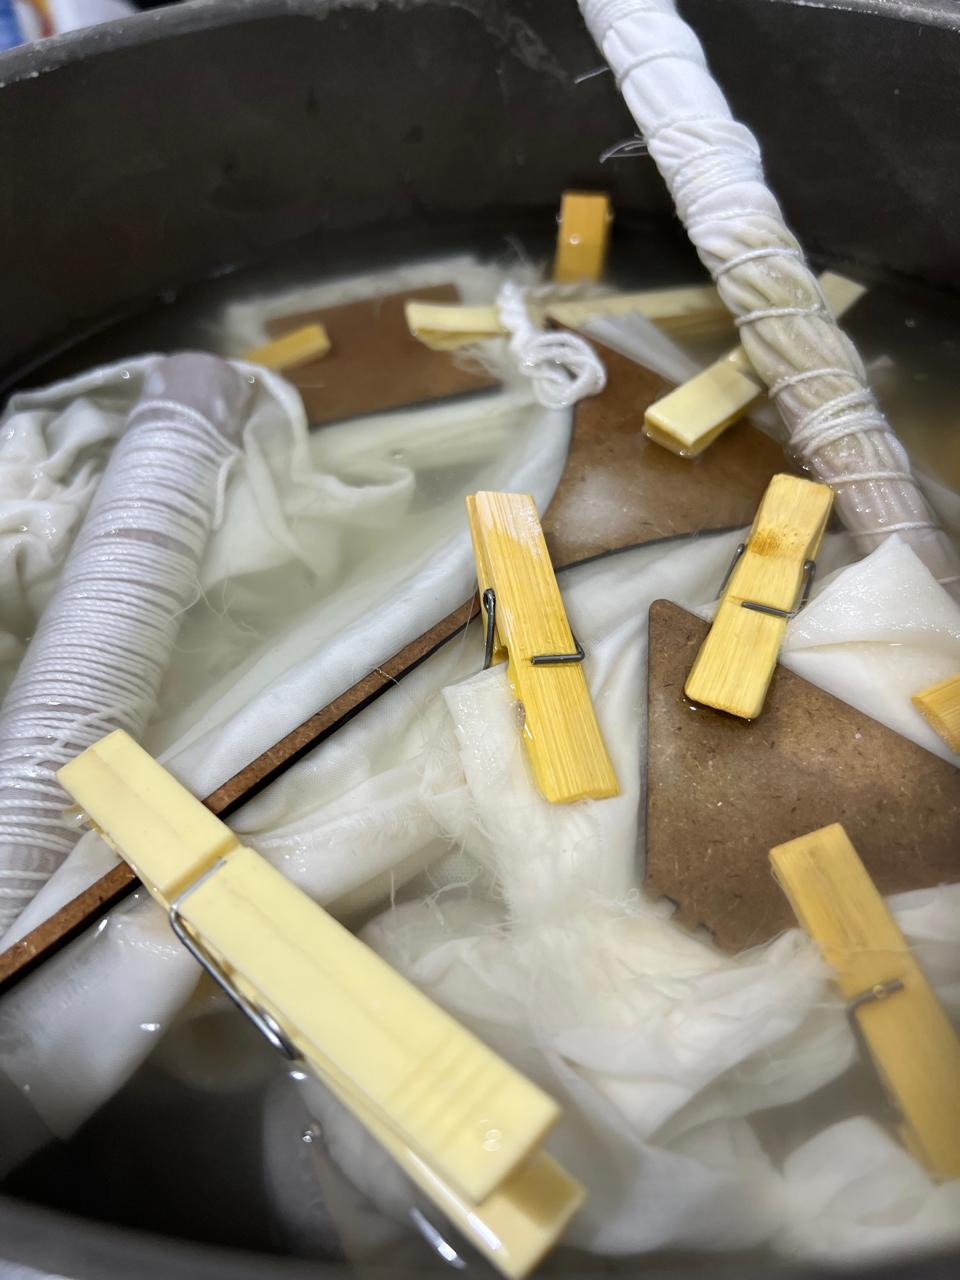
Before starting the dyeing process, we needed to prepare the fibres so they could absorb the colour more evenly. We began by sorting them according to their source and weighing them while dry to calculate the amounts needed for each treatment. Then, we folded and tied our fabric pieces to experiment with Shibori techniques, creating patterns by restricting where the dye could reach, Bundle Dyeing, Binding-resist Dyeing, and Fold and Clamp Dyeing. Once the pieces were ready, we placed them in their first preparation bath. Then we moved on to scouring to clean the fibres, followed by mordanting with alum to help the dye attach to them.
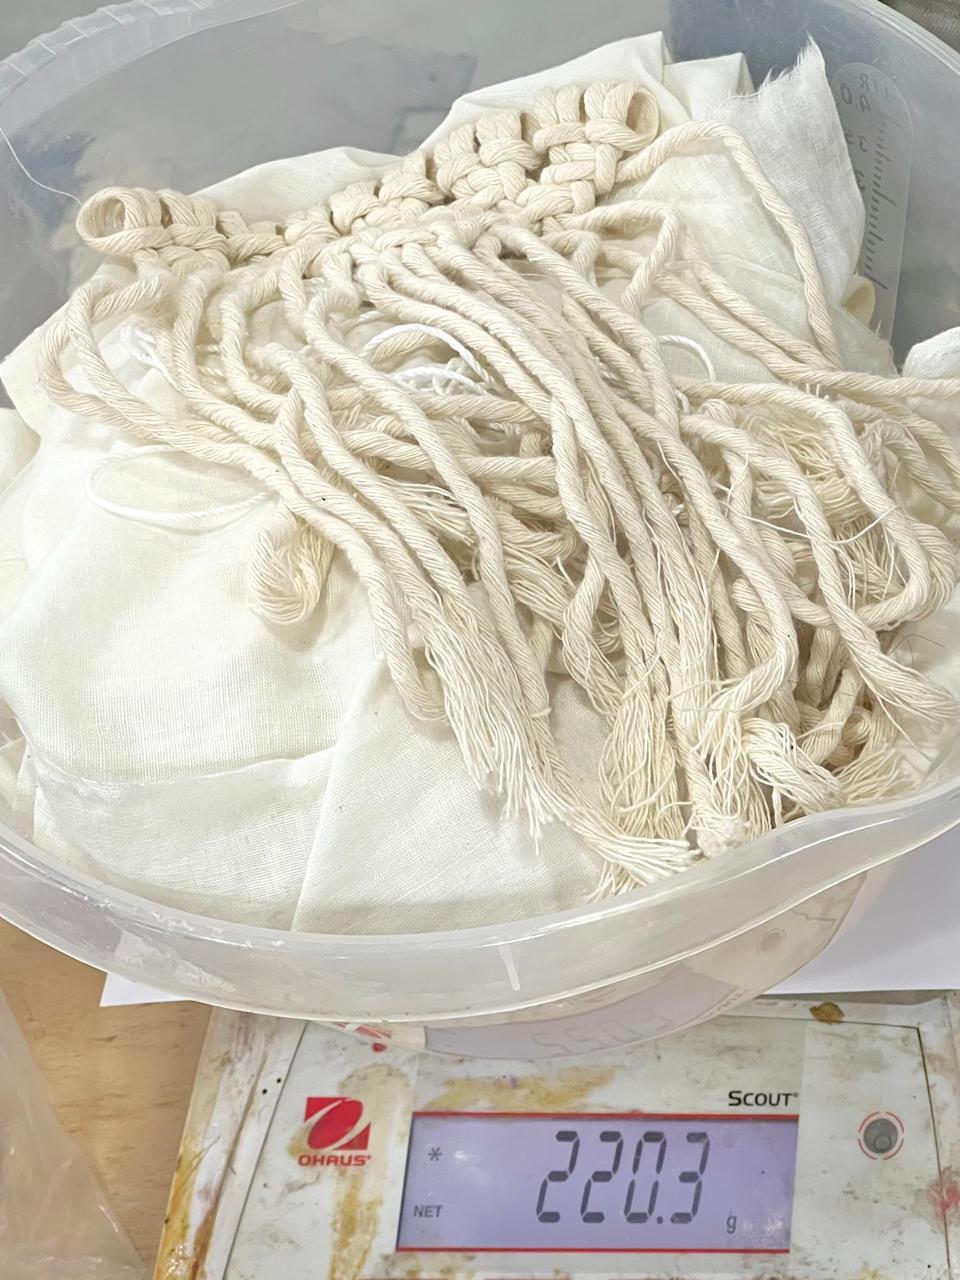
W.O.F W.O.F. stands for Weight of Fibre It is the dry weight of the fibres before soaking and is used to calculate ingredient quantities for dyeing. For example, the plant-based fibres weighed 220.3 g. To use alum at 10% W.O.F.: 220.3 × 10 ÷ 100 = 22.03 g of alum. The percentage is based on the dry fibre weight, not the amount of water in the bath.
Scouring Scouring is cleaning the fibres before dyeing to remove dirt, oils, waxes, and other residues. This helps the dye penetrate more evenly. The cleaning method depends on the fibre. like soda ash / sodium carbonate for plant-based fibres.
Mordanting Mordant is a substance used to help a dye attach to the fibres. It can also affect the final colour and improve how well it lasts through washing or light exposure, depending on the dye and fibre like Alum.
1.Scouring and cleaning
- Plant-based fibres: we placed them in a pot of water with soda ash (sodium carbonate) and kept them heated for one hour.
- Animal-based fibres: we kept them in hot water for one hour without boiling, using a gentler treatment like dish soap to avoid damaging the fibers. After cleaning, I rinsed the fibres before moving on to mordanting.
2.Mordanting with alum
We prepared separate alum baths using 10% of the dry Weight of Fibre (WOF). The alum was dissolved in water, added the fibres, and kept the baths on gentle heat for one hour, making sure the fibres remained submerged and moving them gently occasionally.
Prepare the Dye Bath
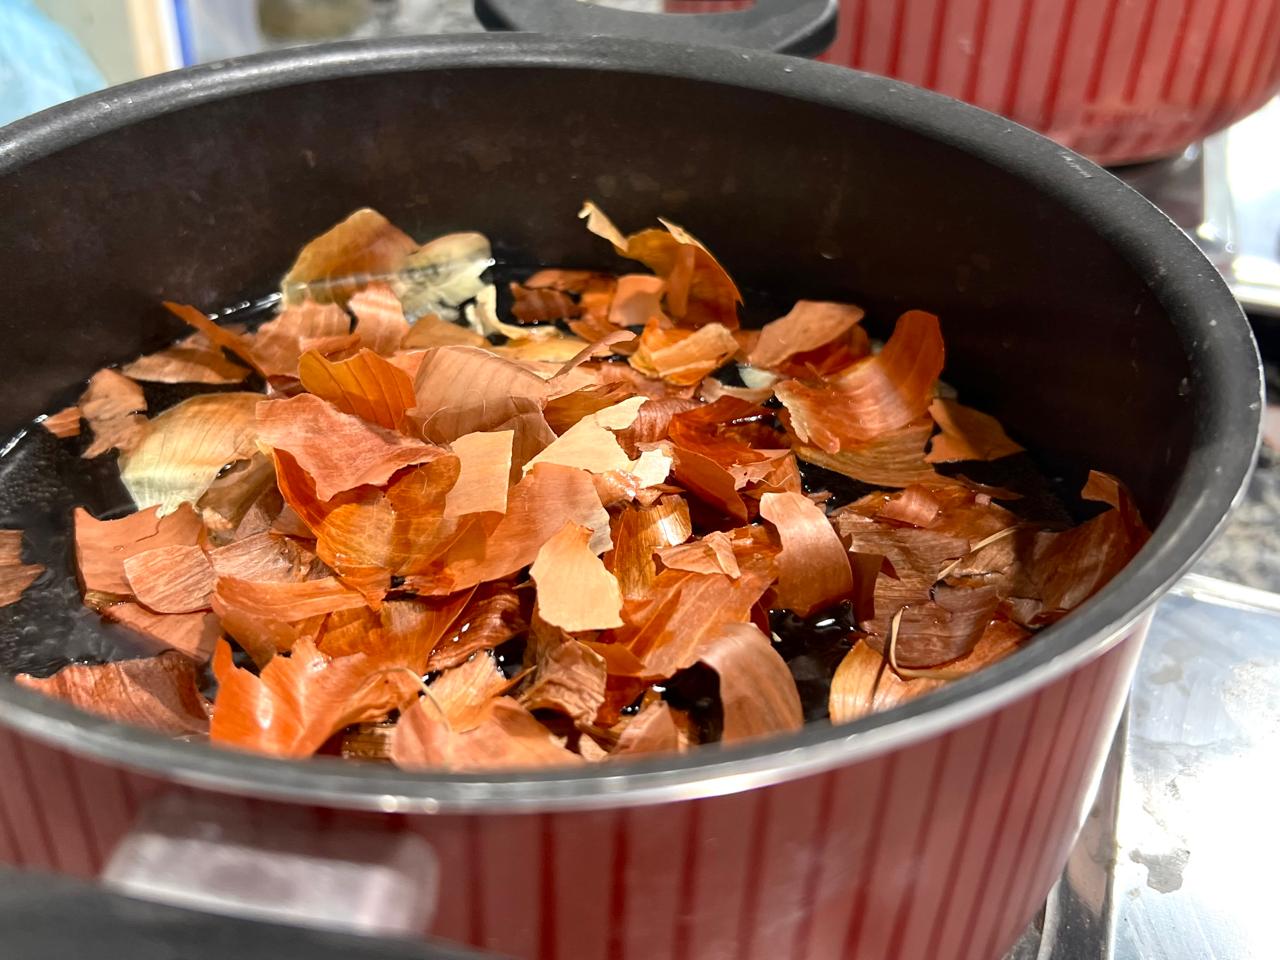
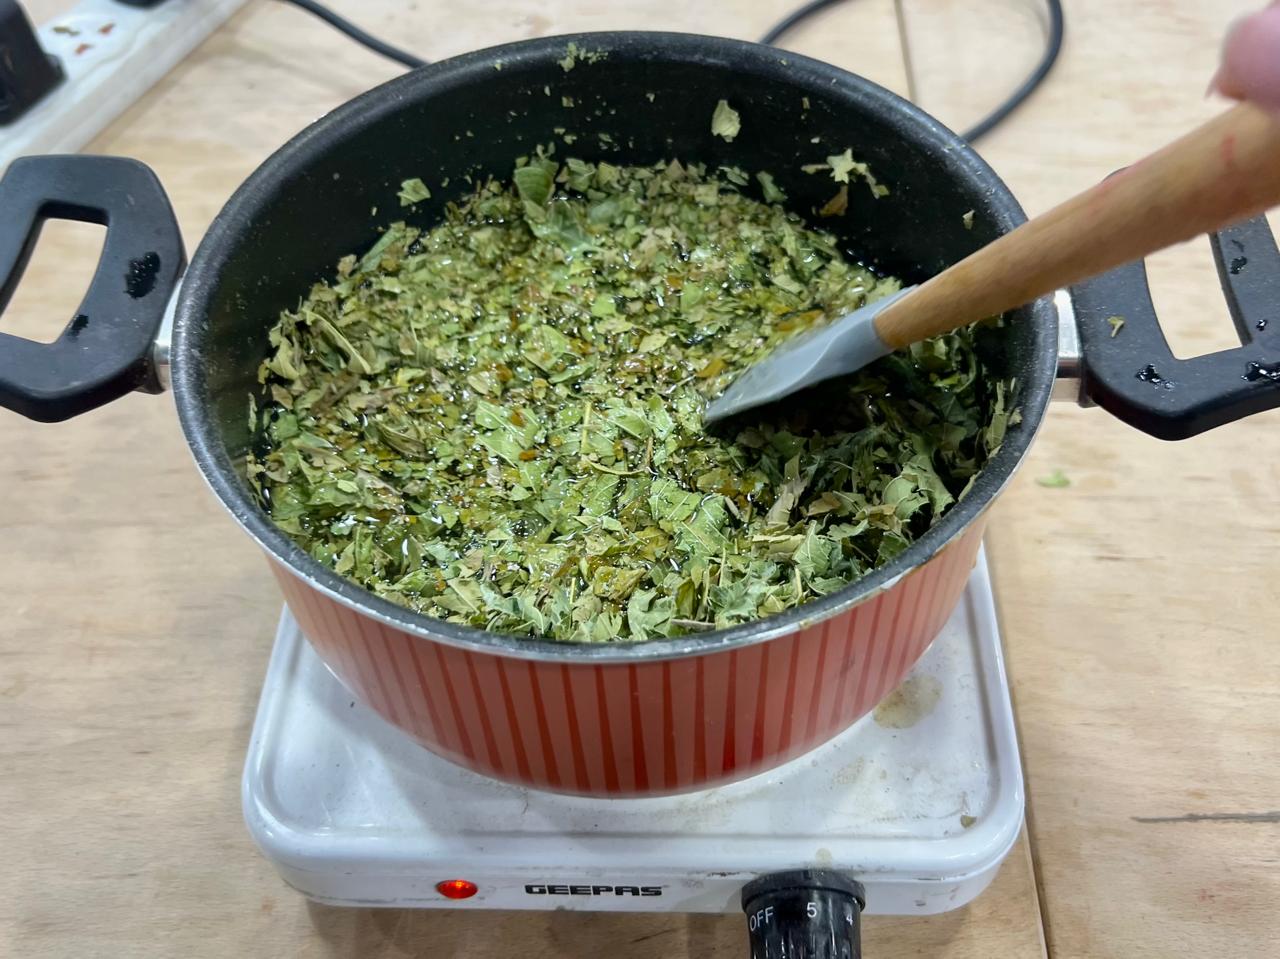
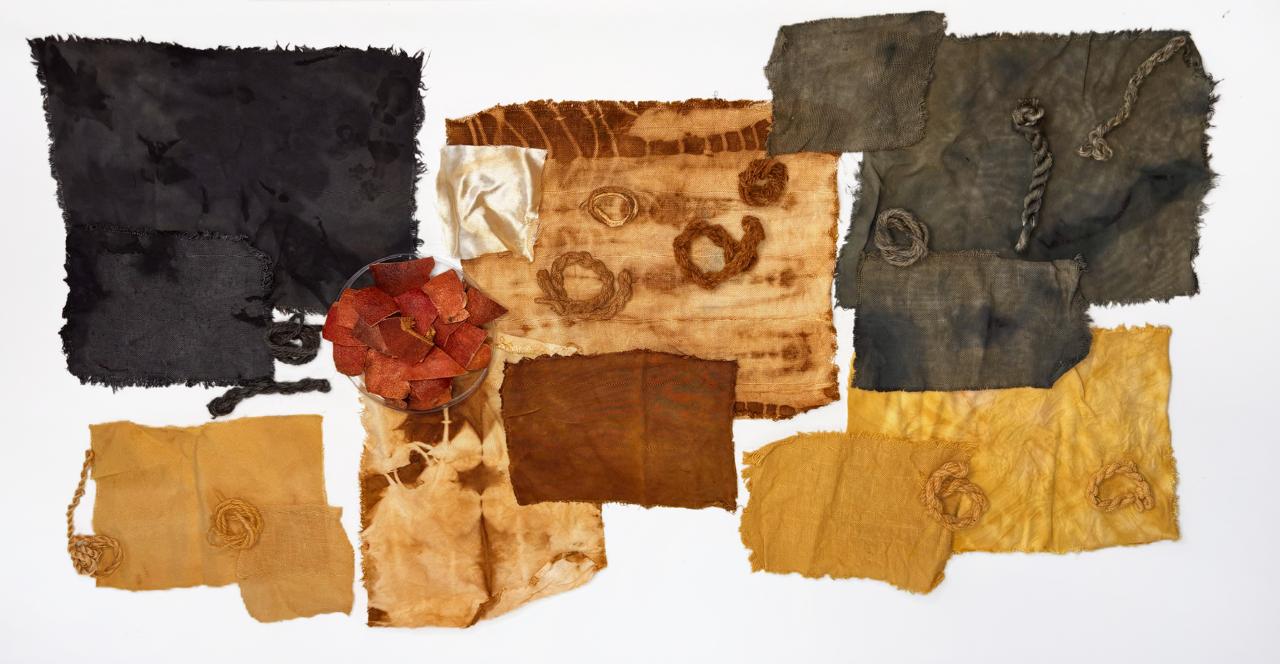
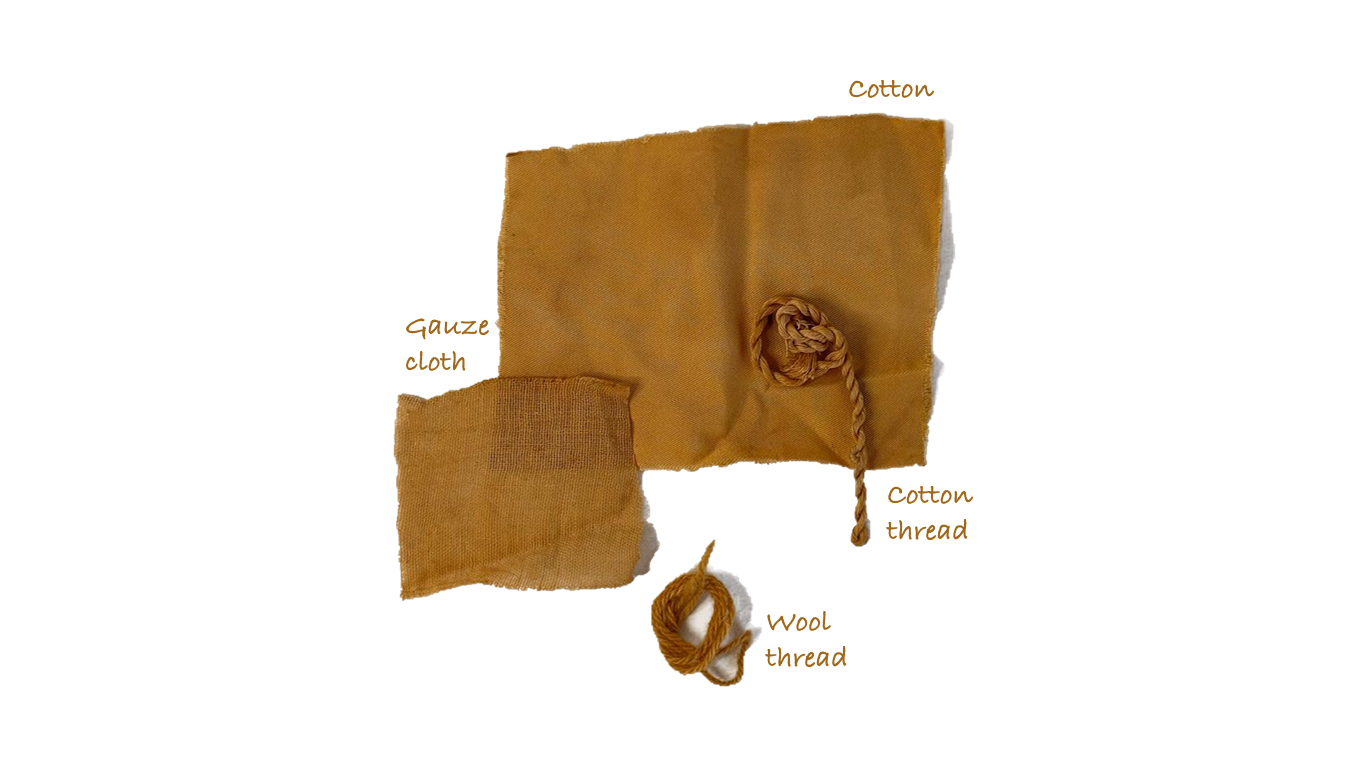
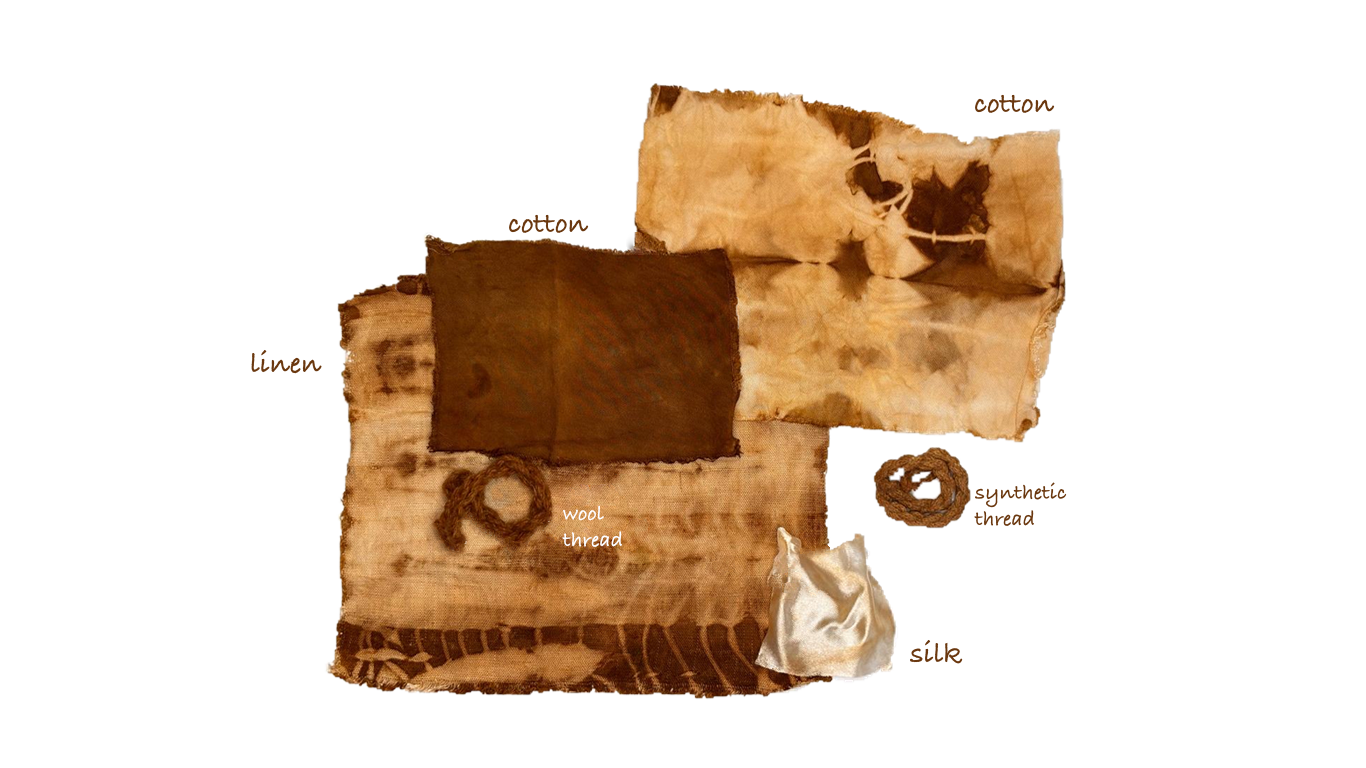
We boiled the onion peels and guava leaves in separate pots of water to extract their colour for about an hour. The onion peels gave us warm golden-yellow tones, while the guava leaves produced a brown shade.
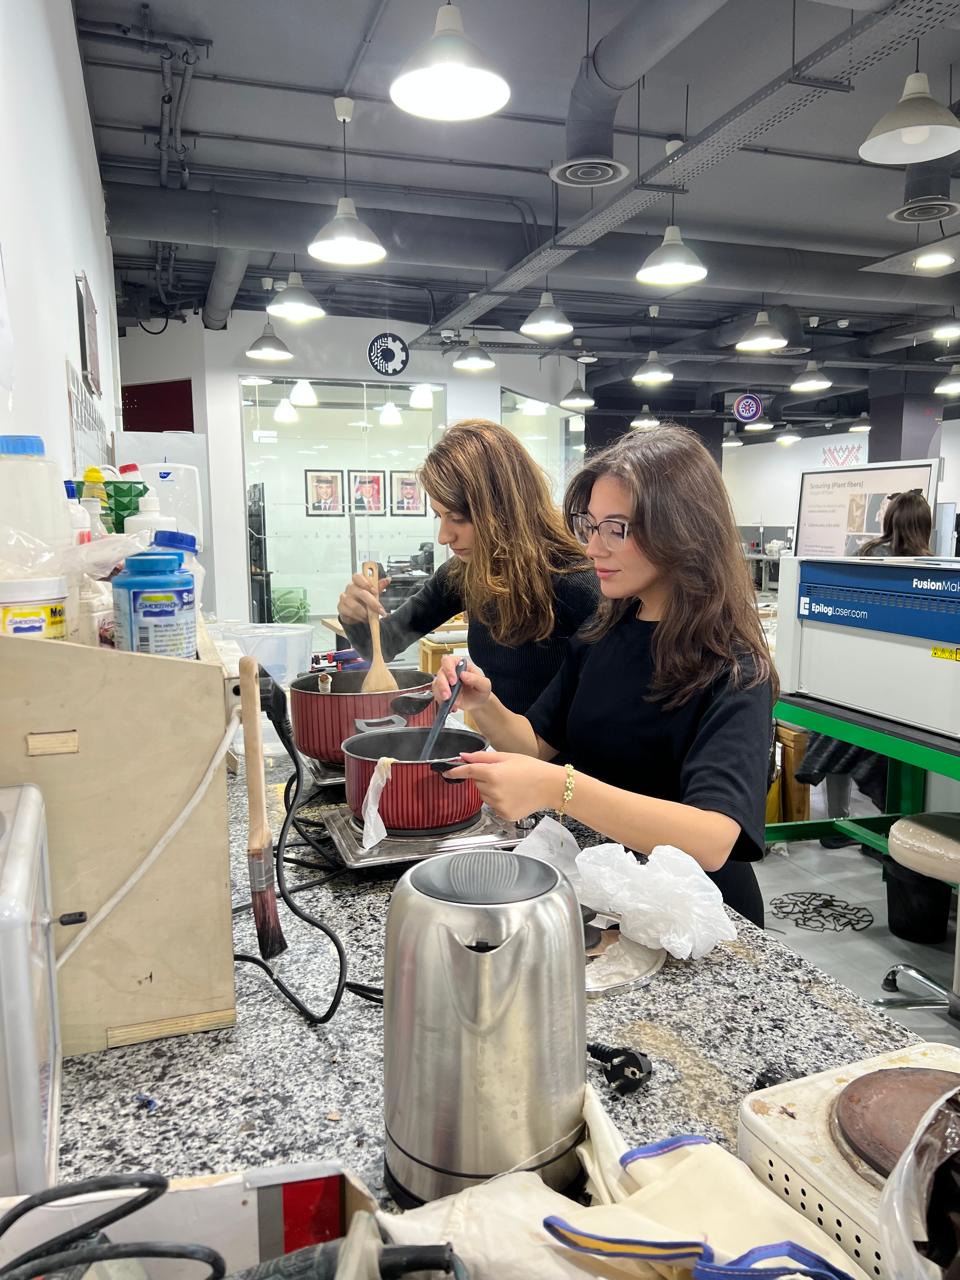
Dye Bath
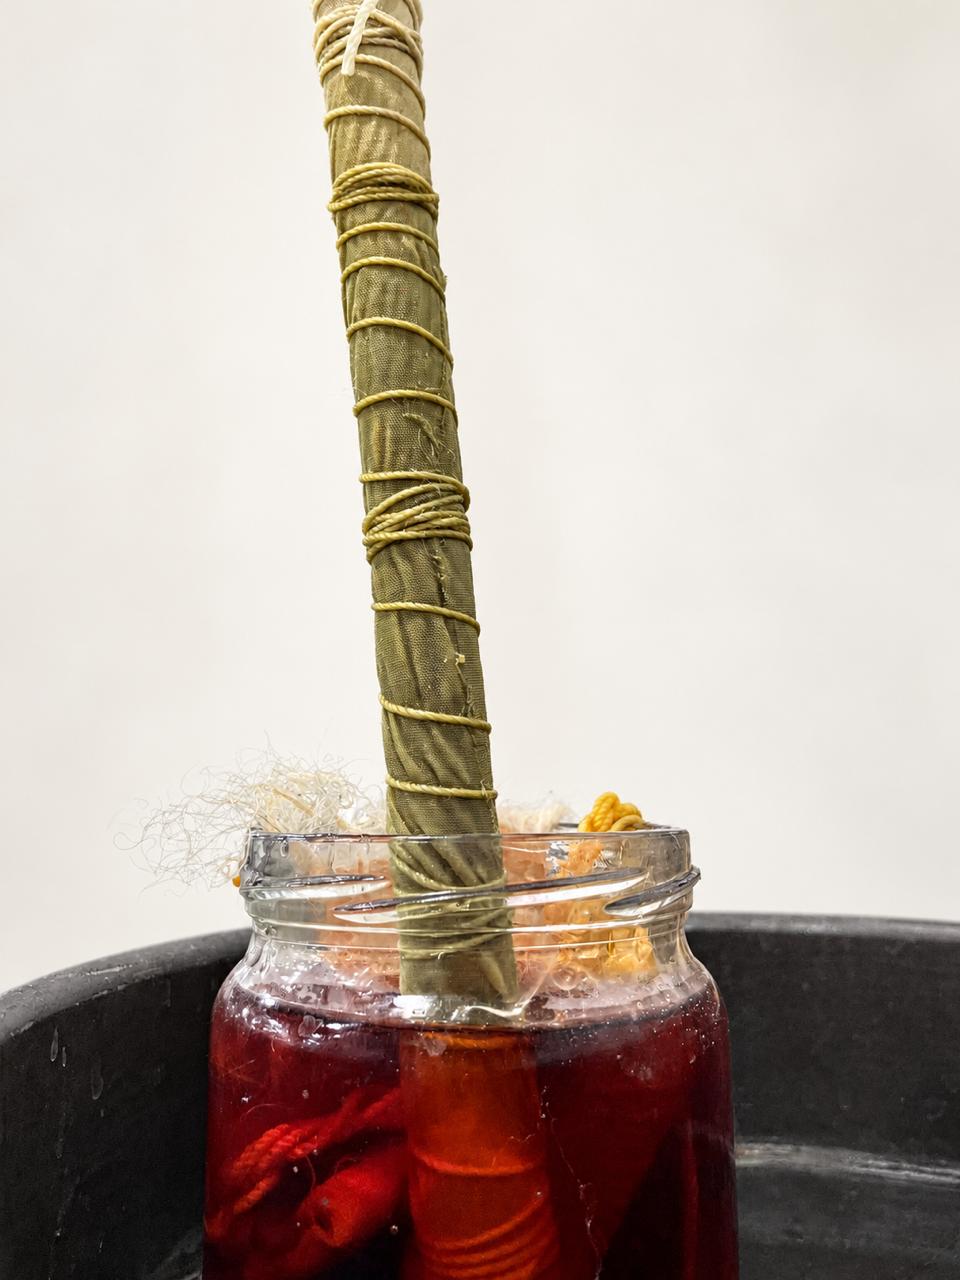
Once the fibres were prepared, we moved on to dyeing. We boiled the onion skins and guava leaves in separate pots of water to extract their colour, then strained each bath to remove the plant material.
We placed our prepared fabric pieces into the dye baths with heat, keeping them submerged and moving them gently so the liquid could reach the exposed areas. we kept them for four hours and rinsed them with cold water after.
Result
I’m really happy with the results, especially the guava leaves, I never imagined they could produce such a rich colour. Unwrapping the fabric and seeing the patterns was the most exciting part, as the folds and ties made each piece different.
I noticed darker areas where the fabric was wrapped around the wooden stick. I wonder whether the wood released some colour or tannins into the bath, contributing to those marks. This is only a possibility, so I would like to repeat the experiment with and without the stick to see how it affects the result.
Cochineal dye
As part of our group experiments, we explored cochineal dye using material collected from a prickly pear cactus. We noticed white, cotton-like patches on its surface, collected some of them, crushed and boiled them in water to extract the colour.
What makes this dye interesting is that the colour comes from insects living on the cactus, rather than from the cactus itself.
What Is Cochineal?
Cochineal is an insect-derived natural dye associated with scale insects of the genus Dactylopius, which live and feed on prickly pear cacti. The white material visible on the cactus is a waxy covering produced by the insects. Underneath this covering are the insects themselves, the source of the colour. The colour producing compound is carminic acid. Cochineal has a long history as a source of red dye. Although it is collected from a plant, it belongs to the animal-derived dye category.
Our Group Process
1. Finding and collecting the material
Our instructor, Claudia, found a prickly pear cactus in Jerash that was affected by cochineal insects, giving us the opportunity to try this experiment. Its pads were covered in white, cotton like patches, the insects’ protective waxy covering. We collected some of this material to extract its color back in the lab.
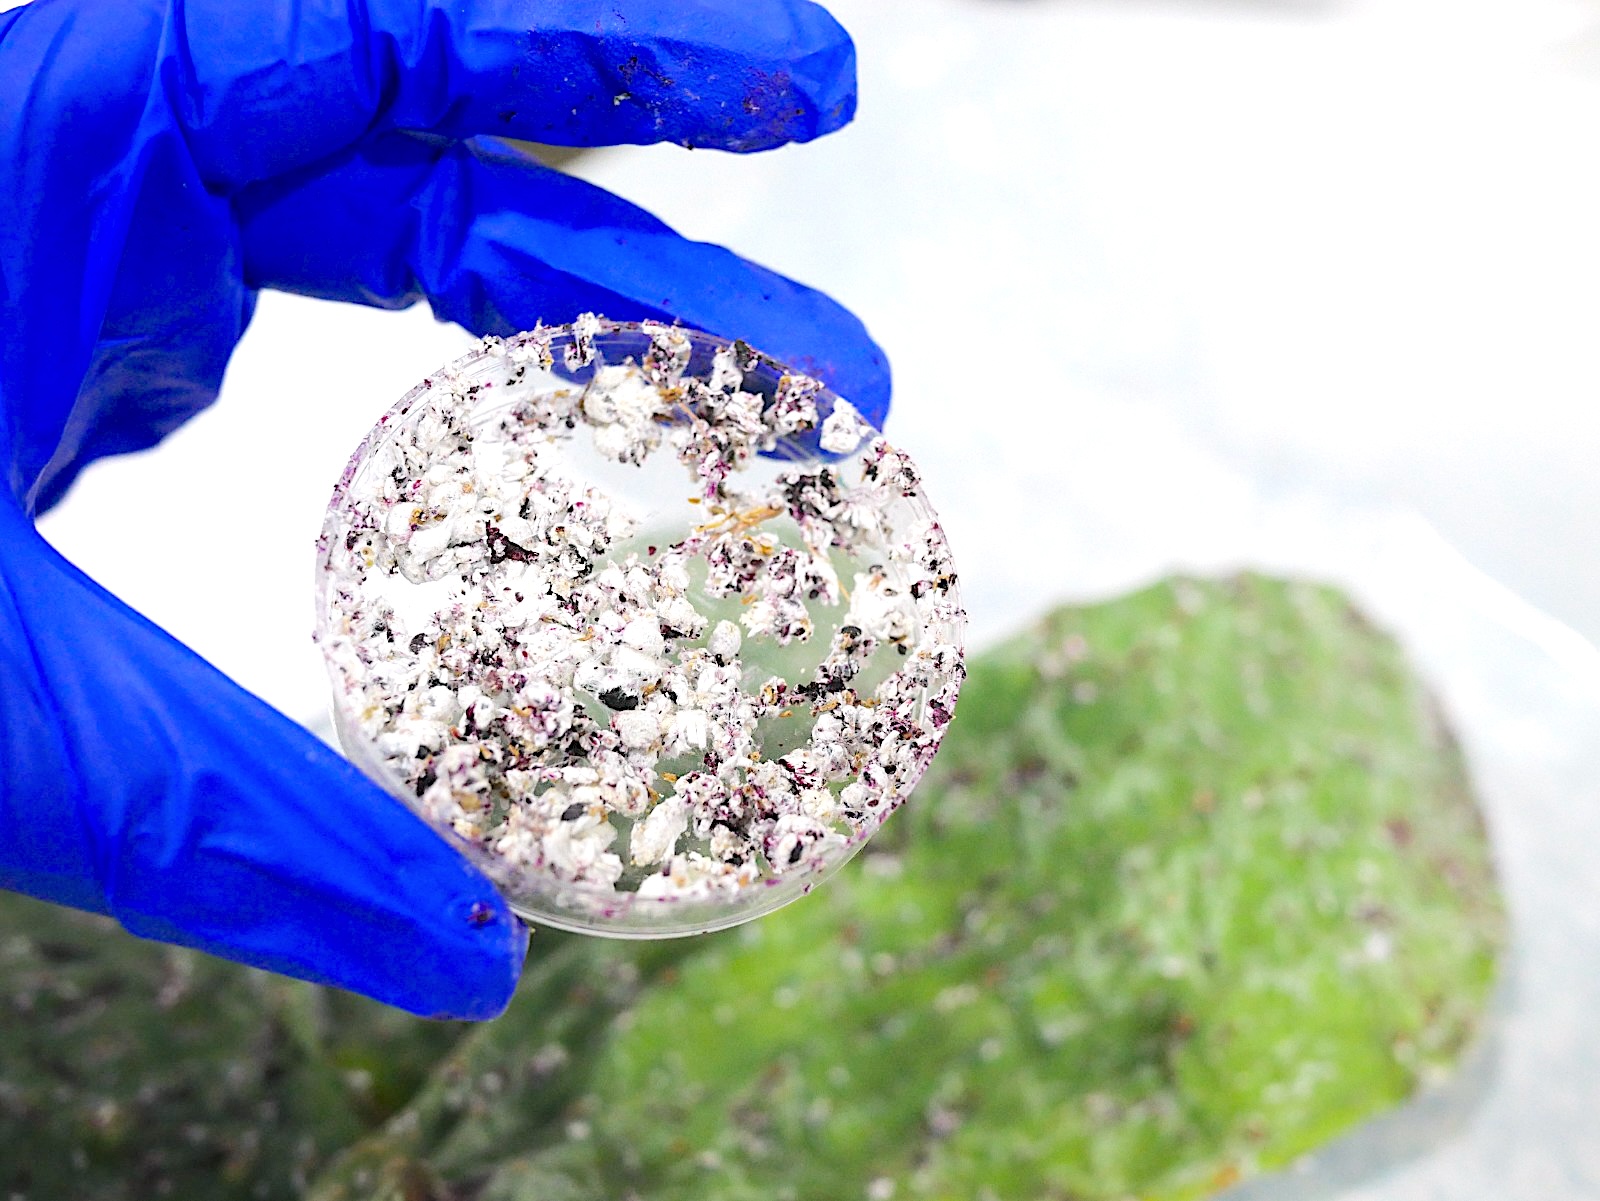
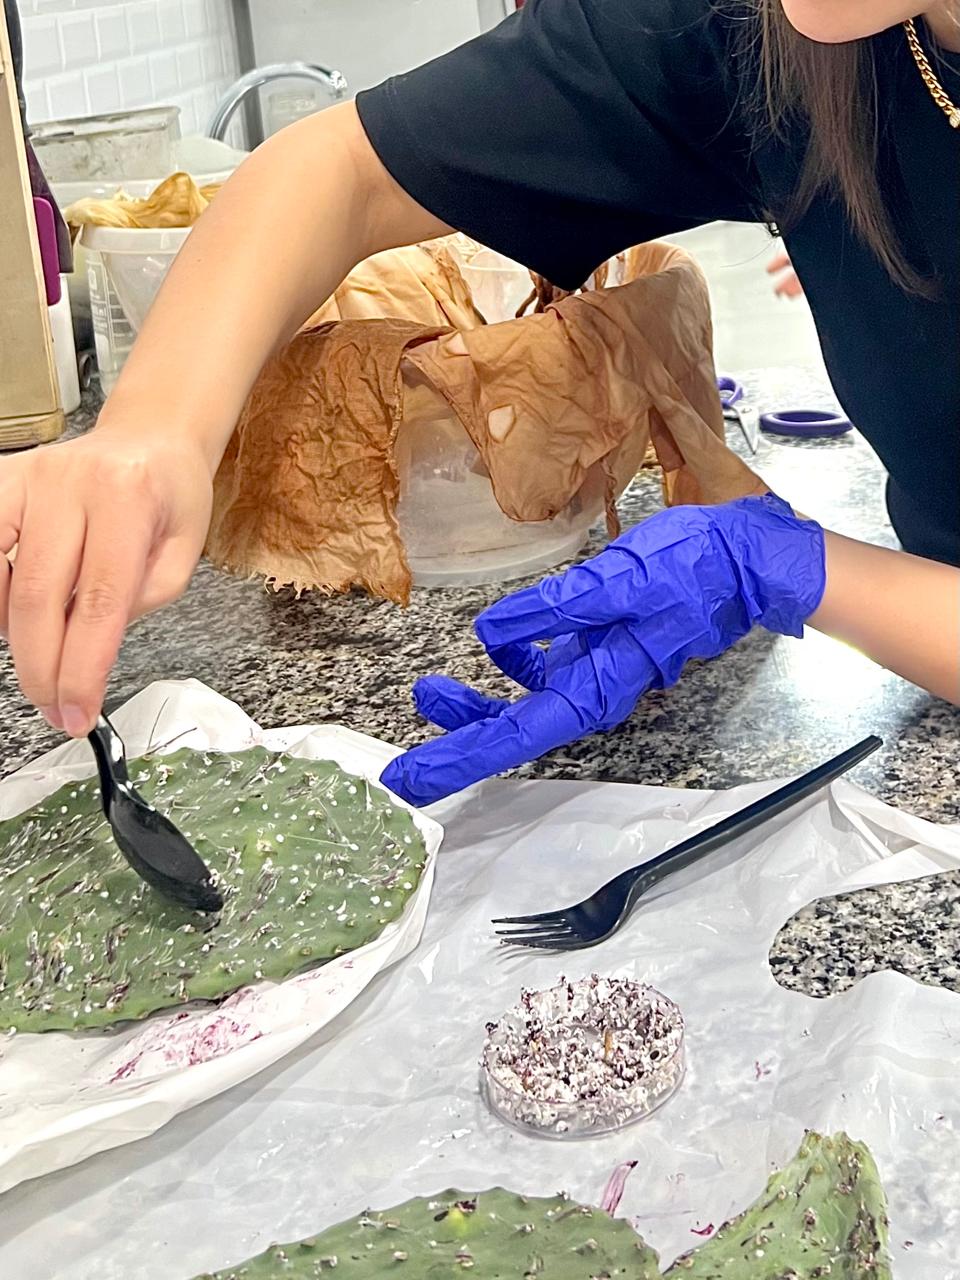
2. Extracting the colour
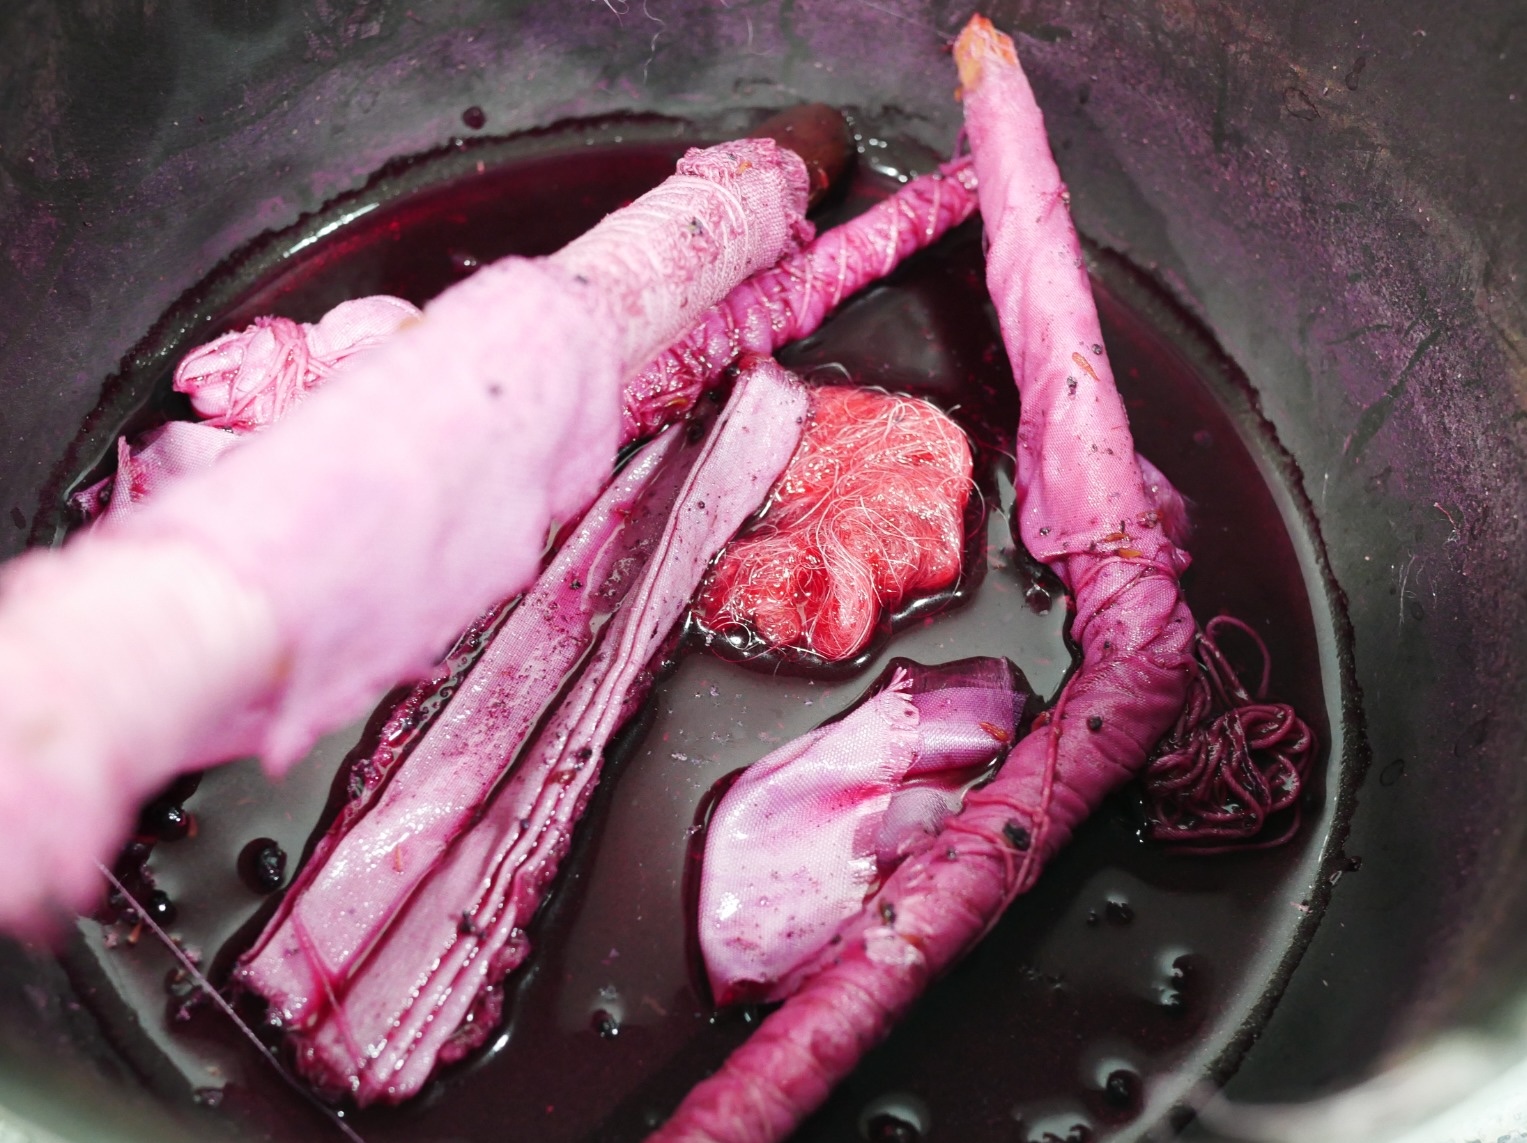
We added the crushed material to water and boiled the mixture to extract the colour into the liquid. This formed the starting dye bath for our cochineal exploration.
Result
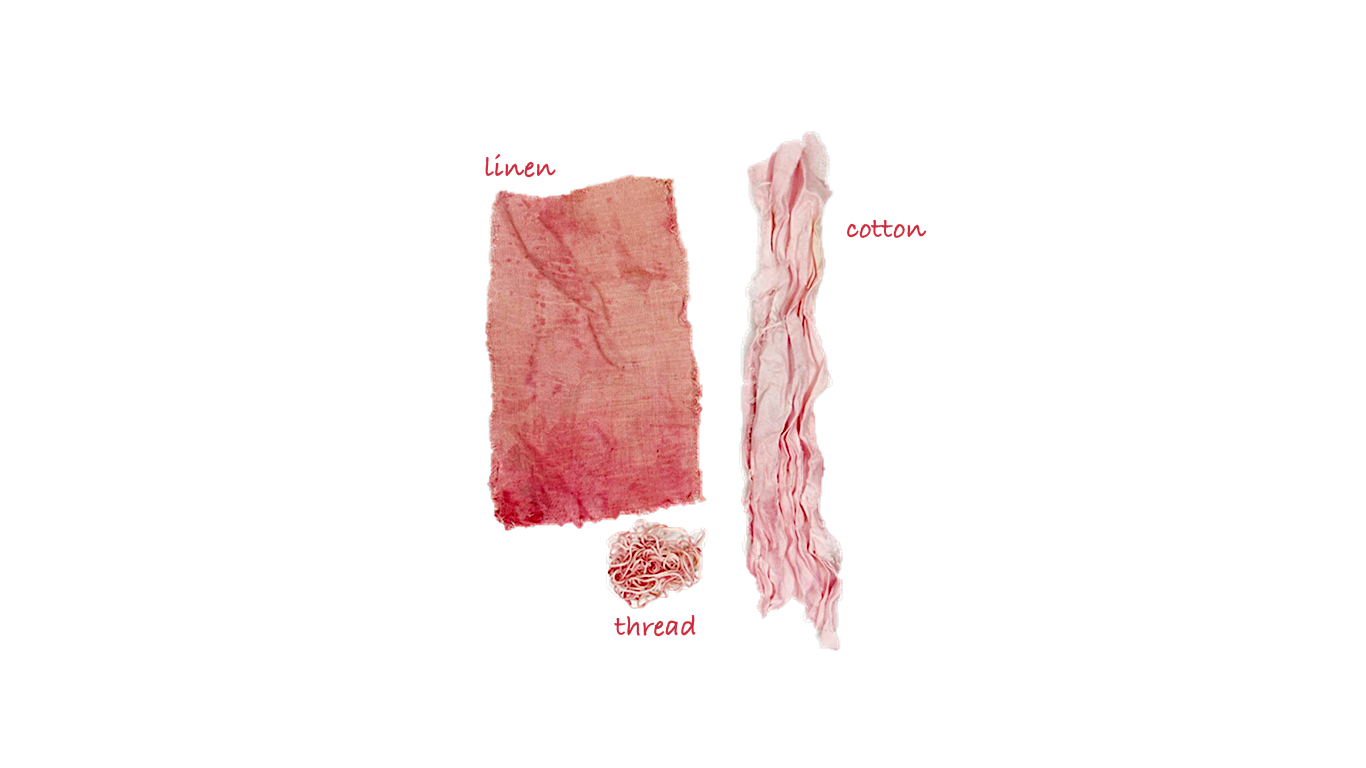
This experiment introduced us to a very different source of natural colour. After working with leaves and onion skins, we explored a dye that came from insects living on a plant. It added another dimension to my understanding of biochromes and the variety of sources we could investigate.
My Experiments with Natural Dyeing
For my experiments, I selected two natural colour sources: dried pomegranate peels and hibiscus. I started with pomegranate, exploring how different treatments could transform a single dye bath into a varied colour palette.
Dried Pomegranate
I wanted to explore with dried pomegranate rinds, it is my top choice for natural dyeing because they are rich in natural tannins and unique color compounds that create strong, long-lasting shades.
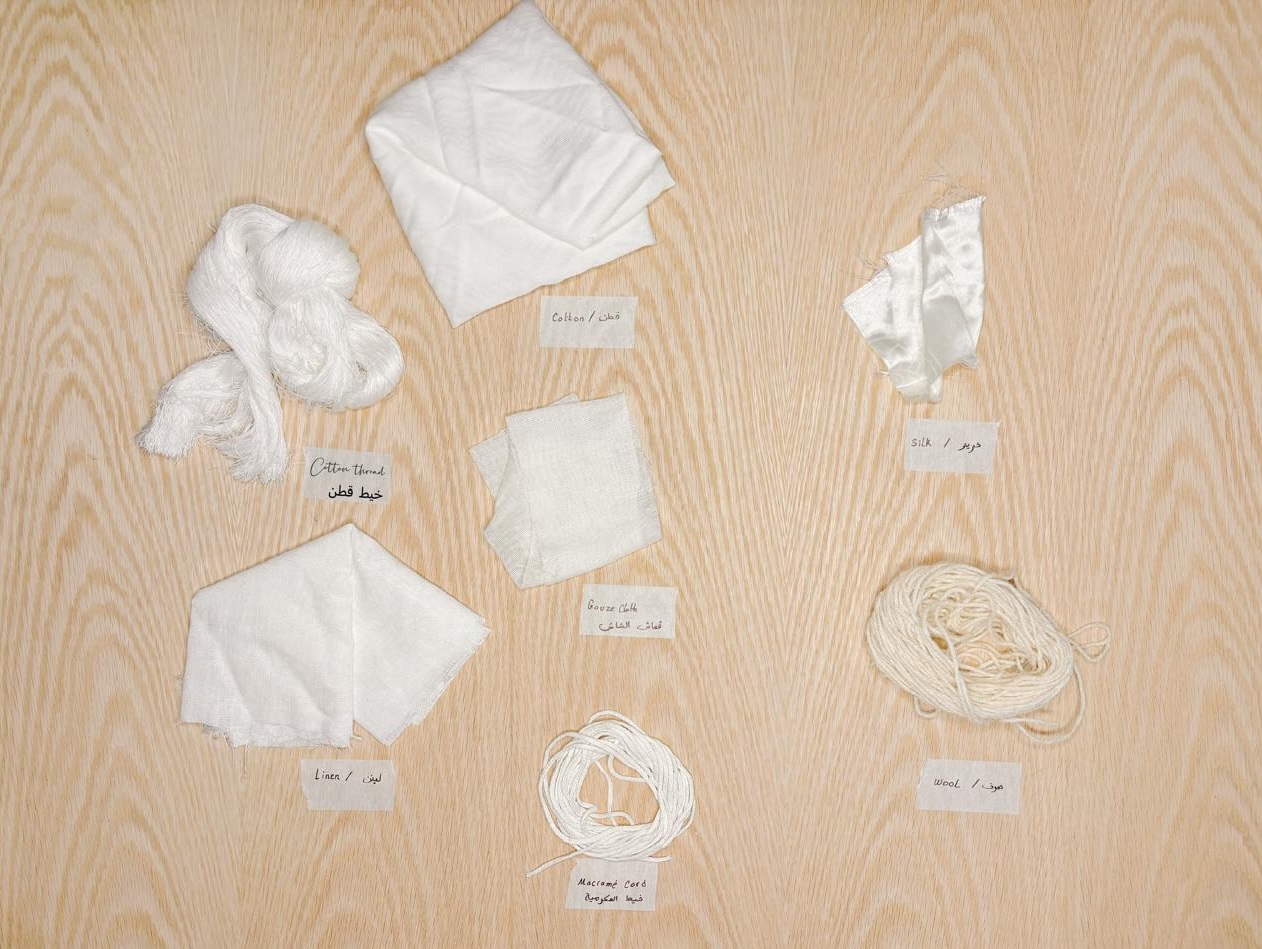
1. Sorting and Weighing the Fibres
The first step was to sort the fibres according to their source. Plant-based fibres are primarily composed of cellulose, while animal fibres, such as wool and silk, are protein-based. Identifying the fibre composition helped me organise the samples and determine how to prepare them.
I weighed the dry materials before soaking them. This measurement, was the basis for calculating the amount of alum needed for mordanting.
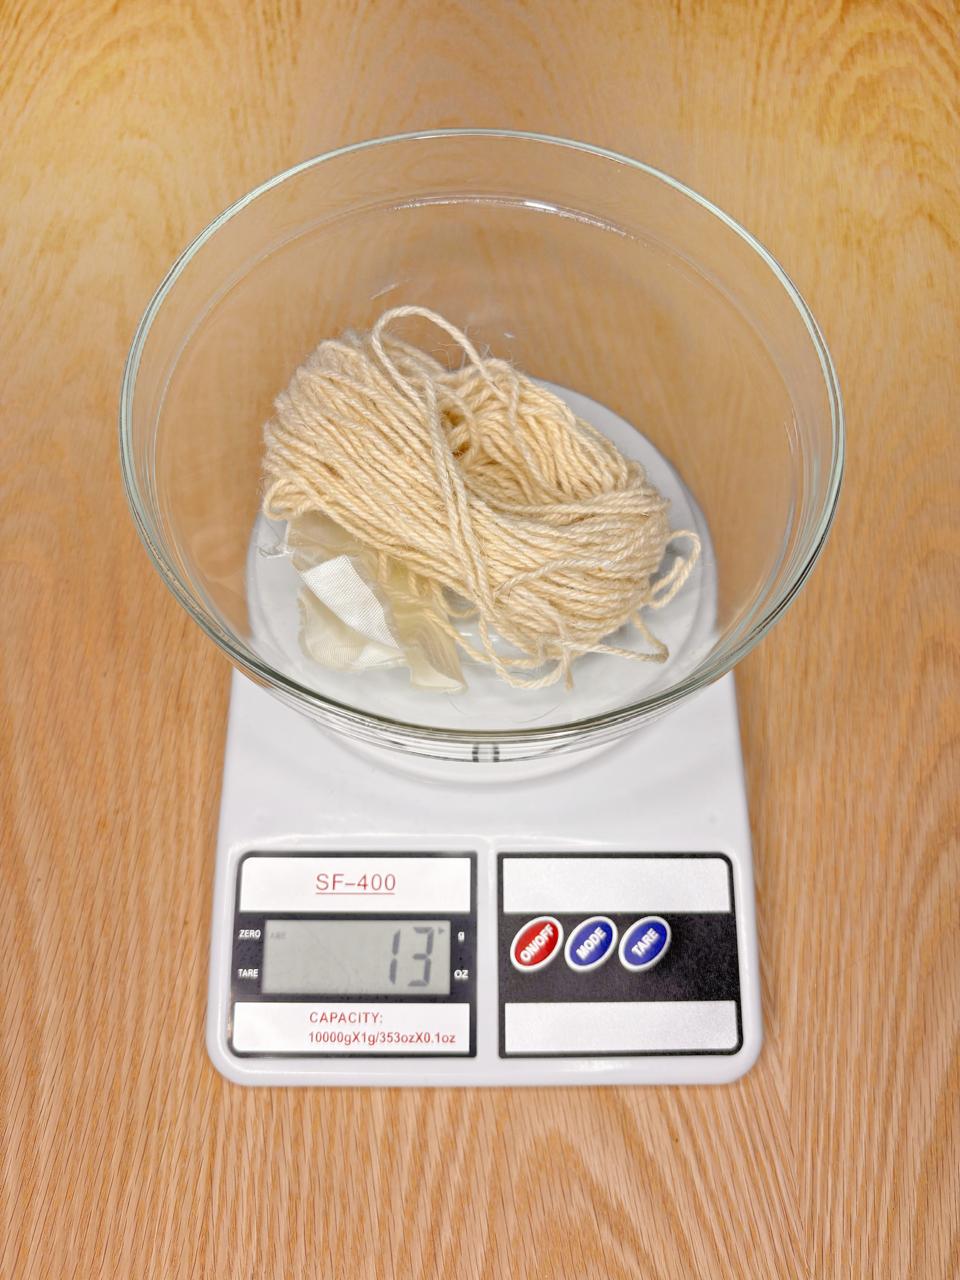
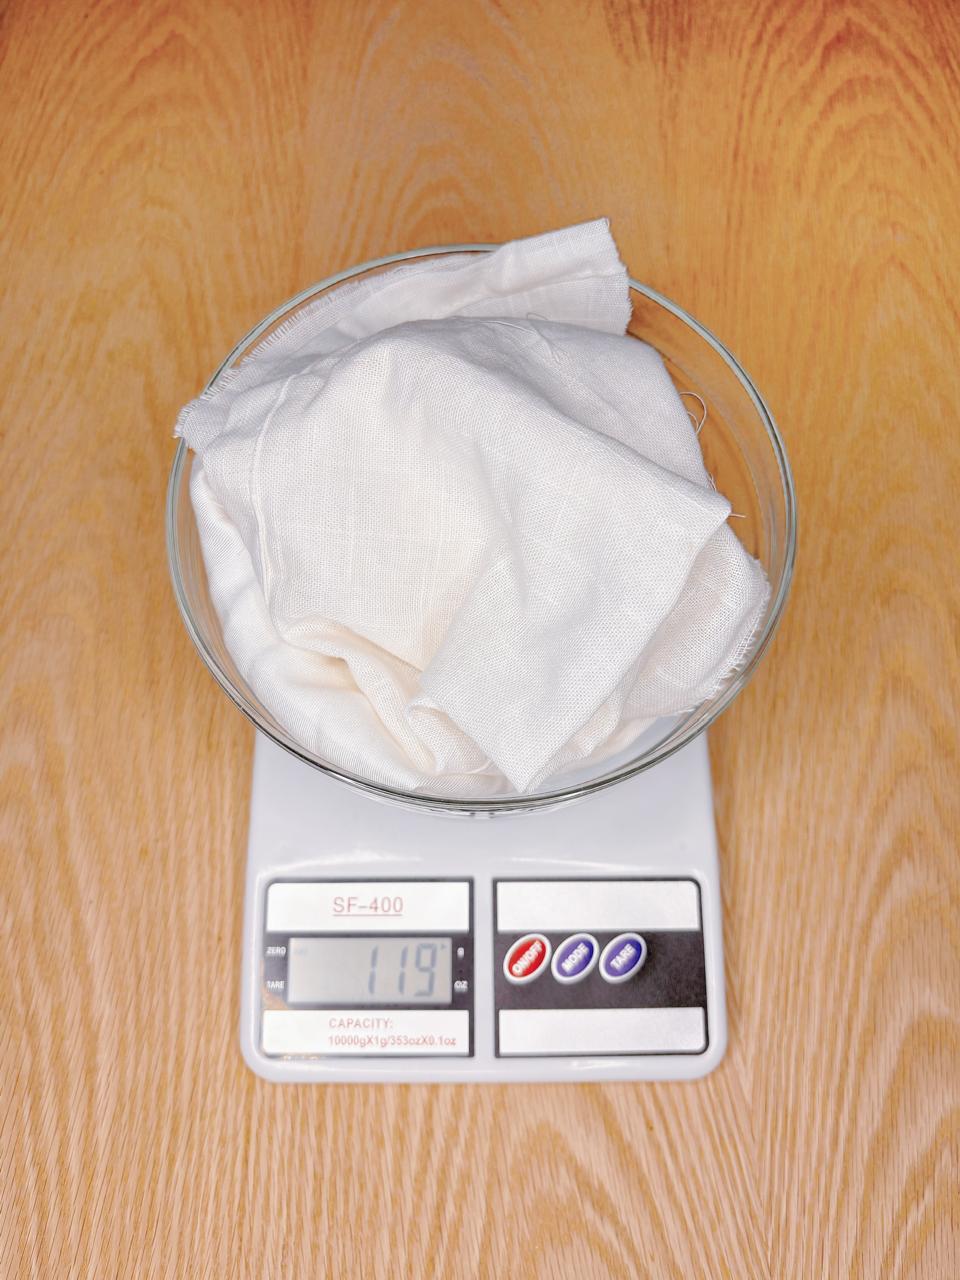
| Material group | Dry weight |
|---|---|
| Plant-based fibres | 119 g |
| Animal-based and synthetic fibres, weighed together | 13 g |
| Total | 132 g |
2. Scouring and Cleaning
Before dyeing, I cleaned the fibres to prepare them for the following treatments. This preparation helps remove substances that may interfere with even dye uptake.
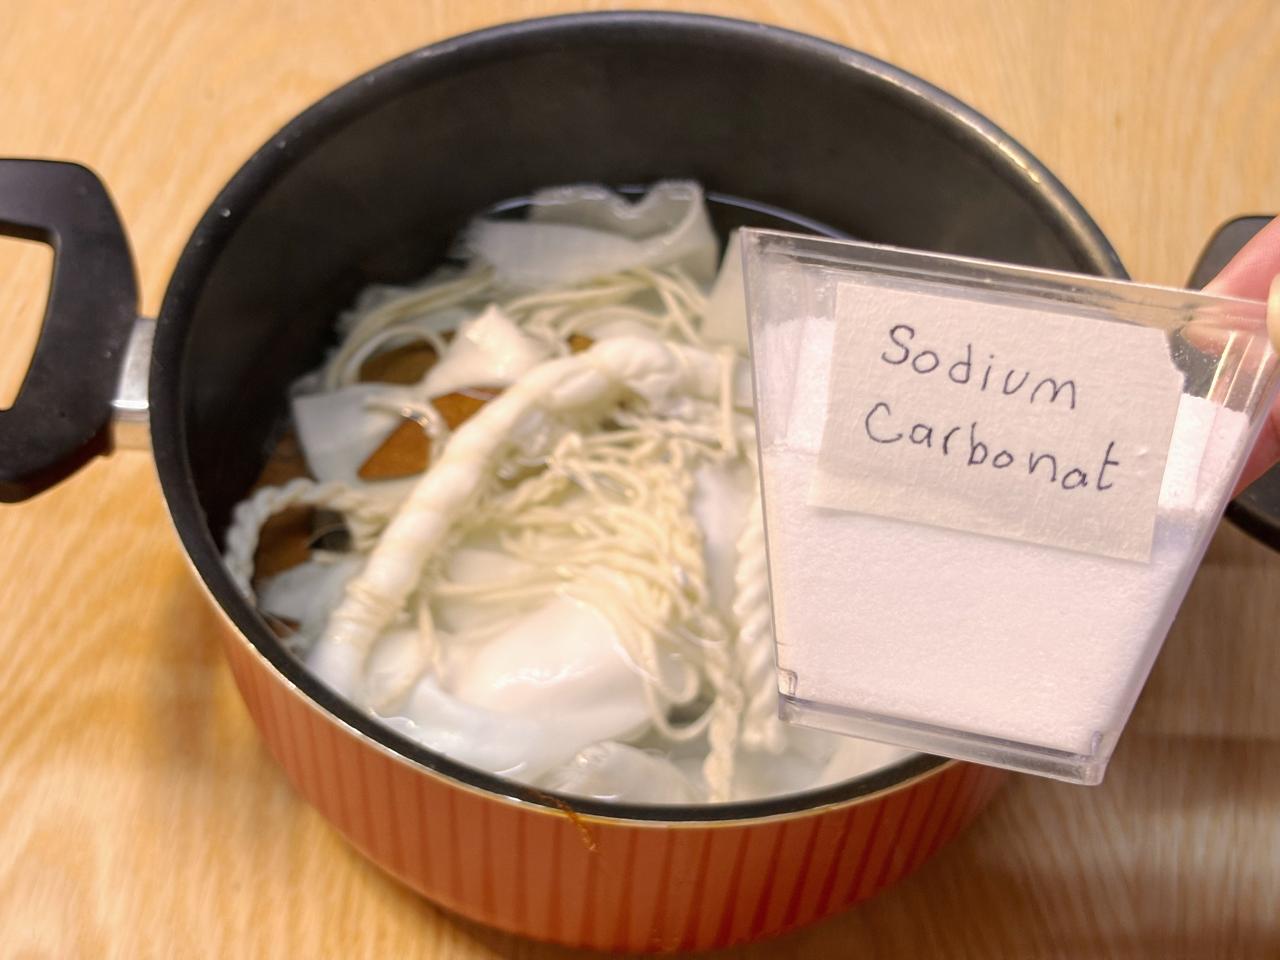
Plant-based fibres
For the plant-based fibres, I added 2.38 g of soda ash (sodium carbonate), equivalent to 2% of the dry Weight of Fibre (W.O.F.), to the water and left the materials in the bath for one hour.
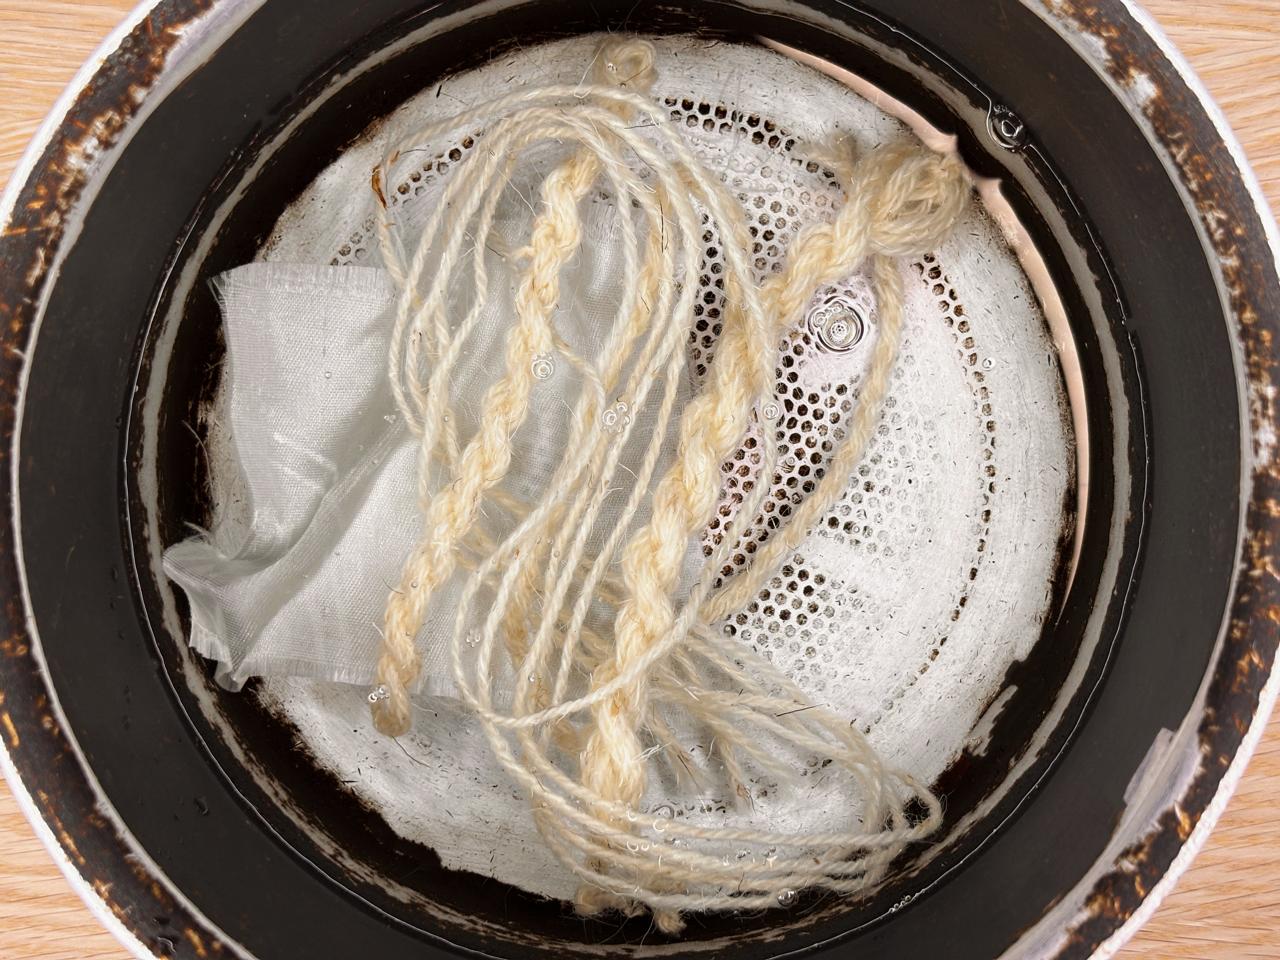
Animal-based fibres
For the animal-based fibres, I used hot water and one drop of dish soap without boiling and left them for one hour. I kept the treatment gentle to reduce the risk of damaging the fibres.
This was the cleaning method I used for this experiment, the animal-fibre bath did not contain the soda ash used for the plant-based materials.
3. Mordanting
After cleaning, I prepared separate alum mordant baths. Mordanting is a preparation stage that can help the colour attach to the fibres and can also influence the resulting shade.
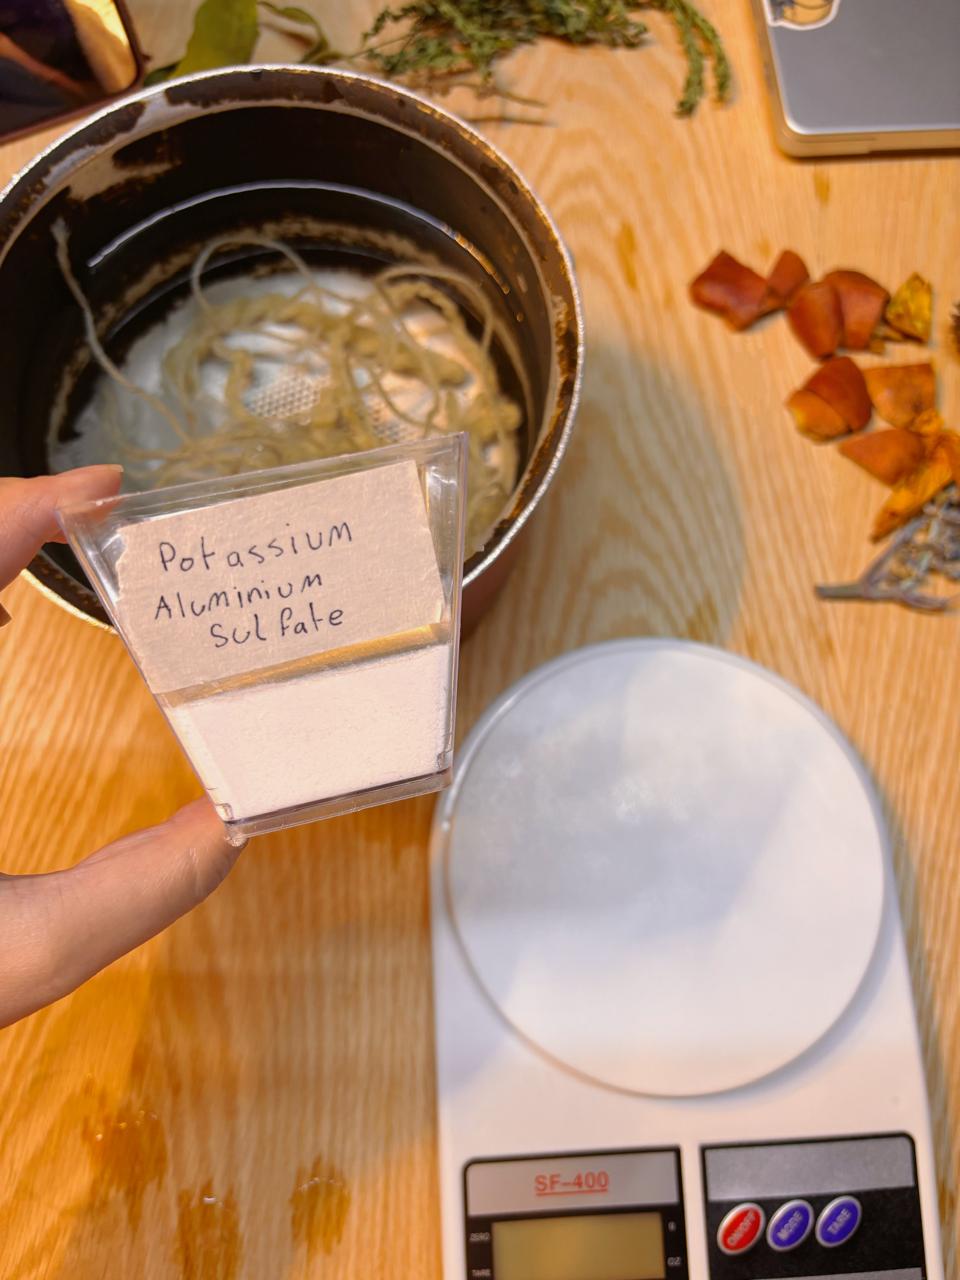
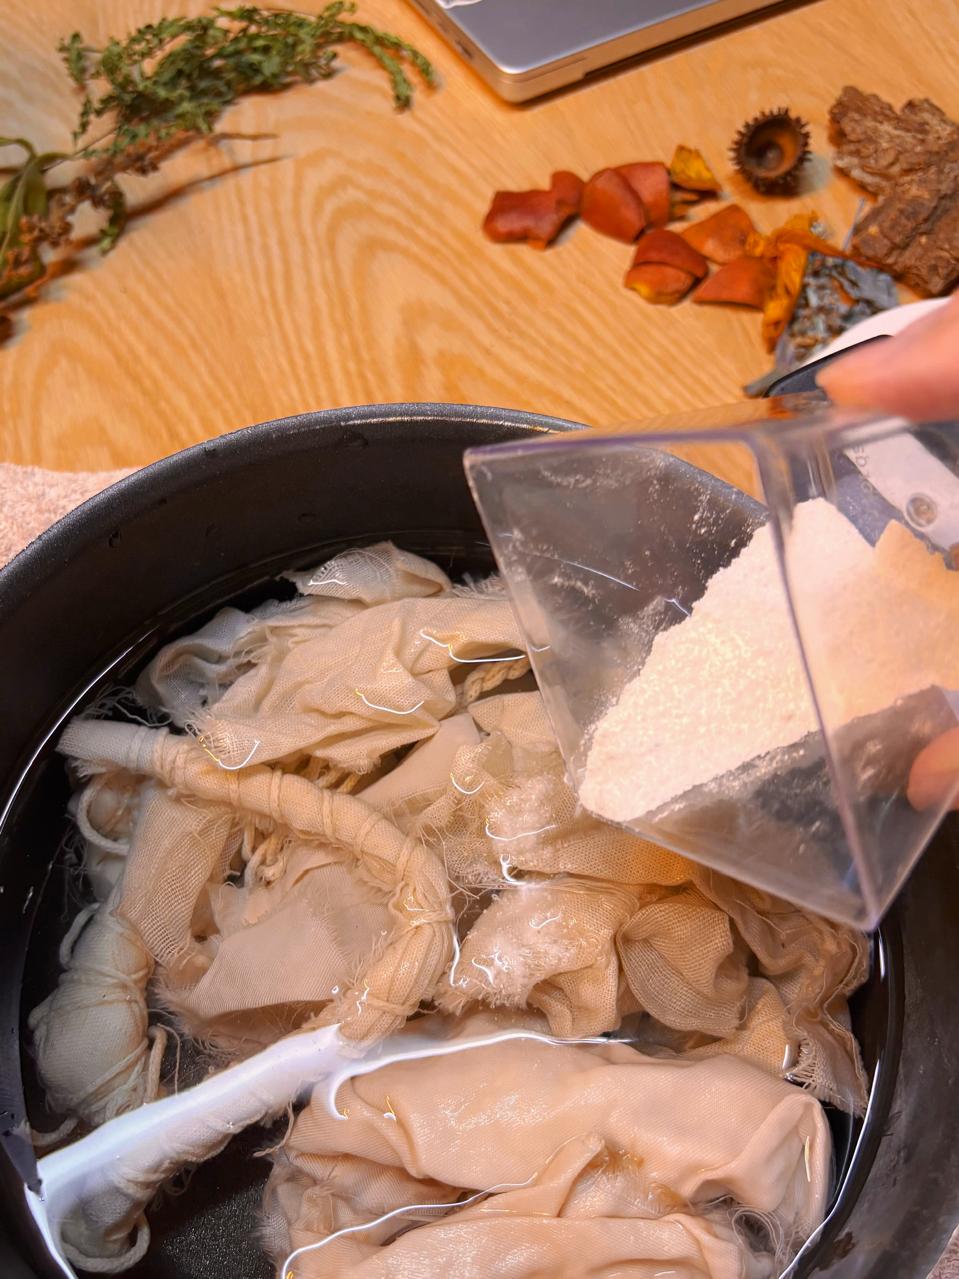
I used alum at 10% of the dry WOF for both batches.
Calculation:
Alum required (g) = dry WOF (g) × 0.10
| Material group | Dry weight | Alum percentage | Alum used |
|---|---|---|---|
| Plant-based fibres | 119 g | 10% | 11.9 g |
| Animal-based fibres | 13 g | 10% | 1.3 g |
I placed the fibres in their respective mordant solutions and heated them gently for one hour, allowing the materials to remain immersed throughout the treatment.
4. Preparing the Pomegranate Dye Bath
I began by crushing the dried pomegranate peels and grinding them into smaller pieces with a mortar and pestle. Breaking them down exposed more of the material to the extraction water.
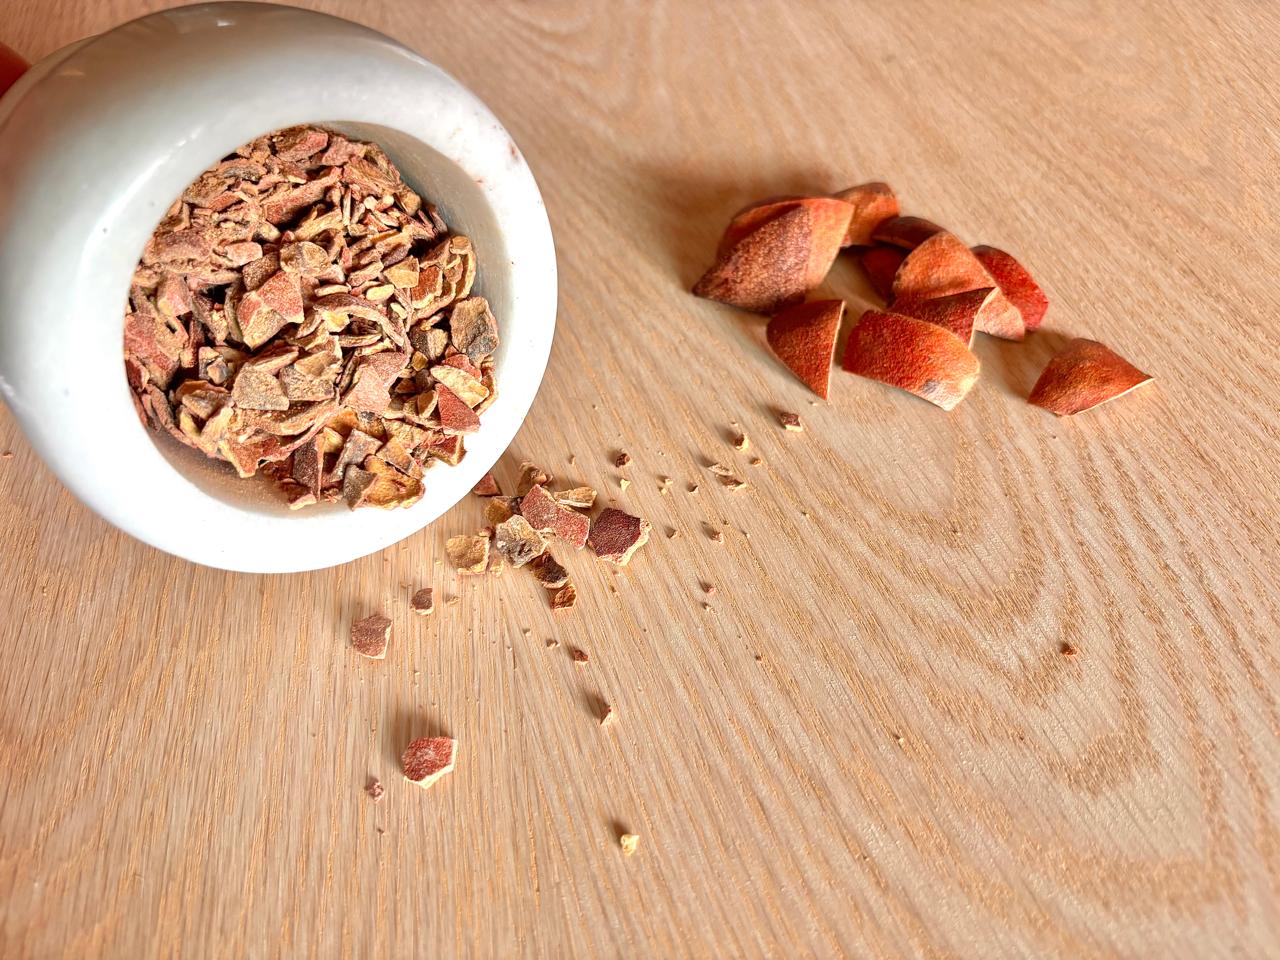
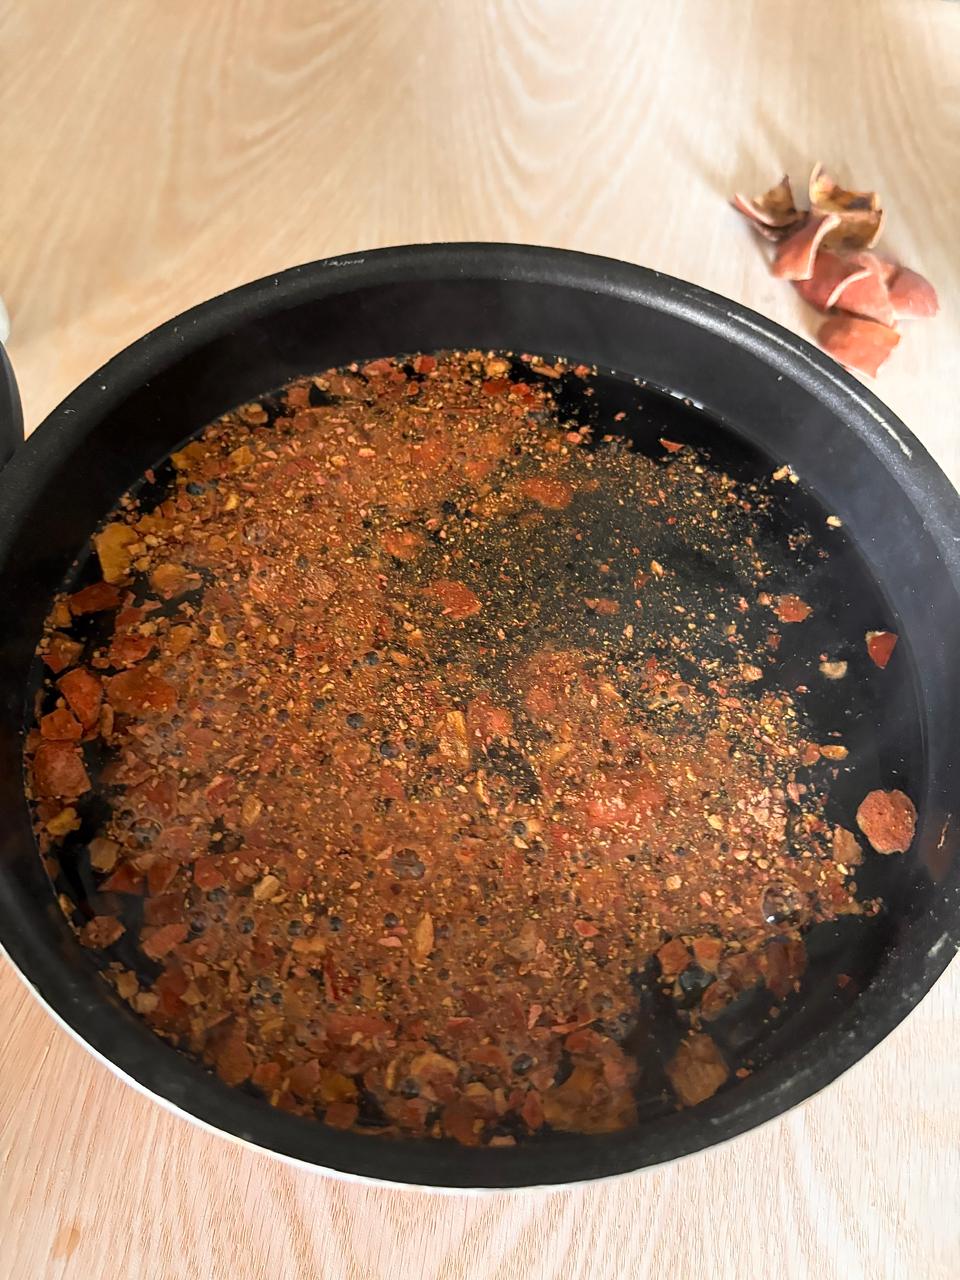
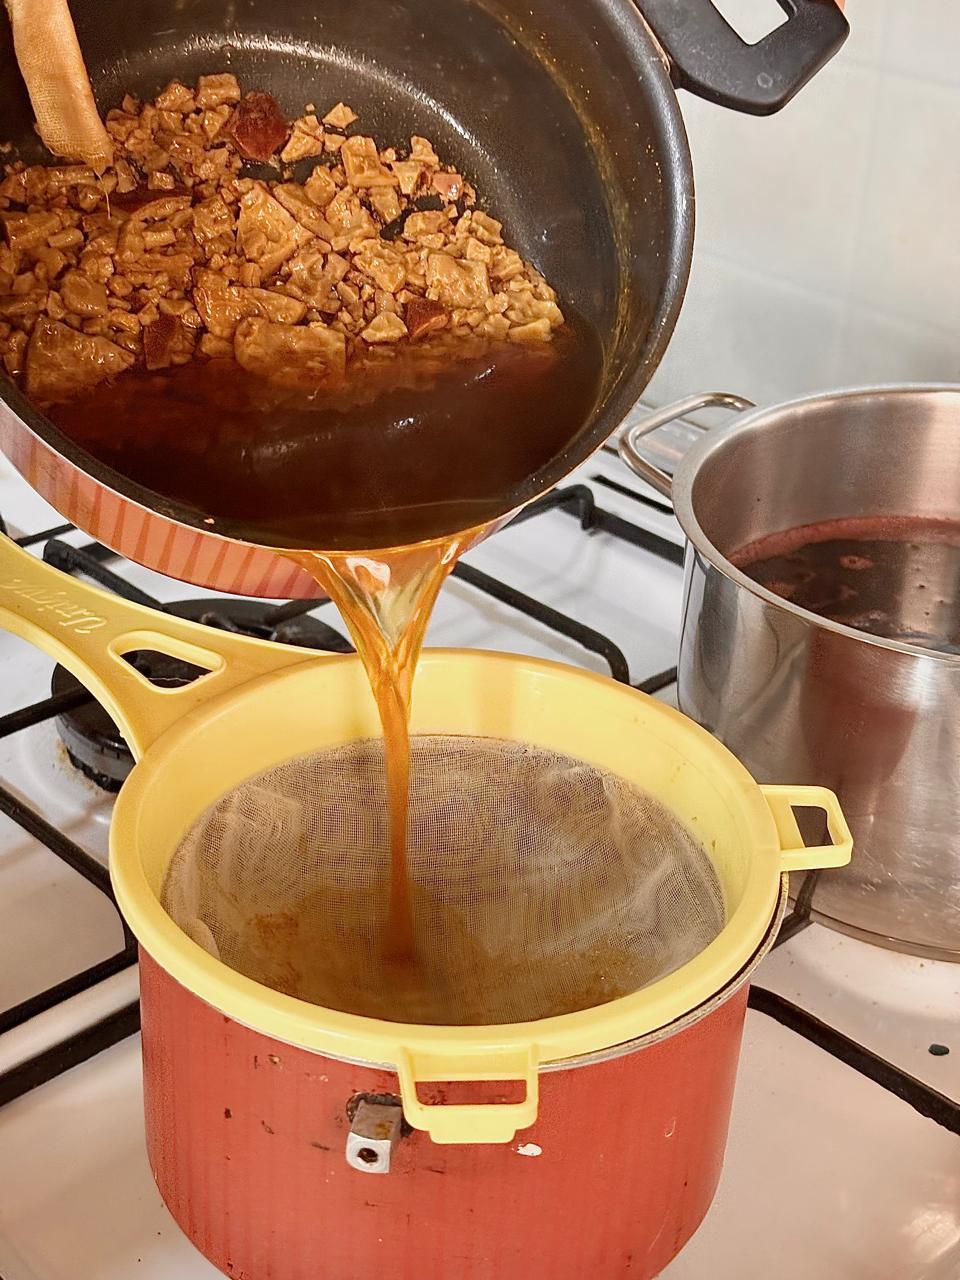
I then extracted the colour in the following stages:
Soaking: I placed the crushed peels in hot water. Boiling: I boiled the mixture for one hour. Further extraction: I reduced the heat and continued heating for another hour. Filtering: I passed the mixture through a cloth strainer to separate the liquid from the solid pieces. Drying the remaining solids: I kept the strained pomegranate pieces and dried them again.
The filtered bath was a rich-coloured liquid, ready for the modifier tests and fibre dyeing experiments.
Test with Modifiers
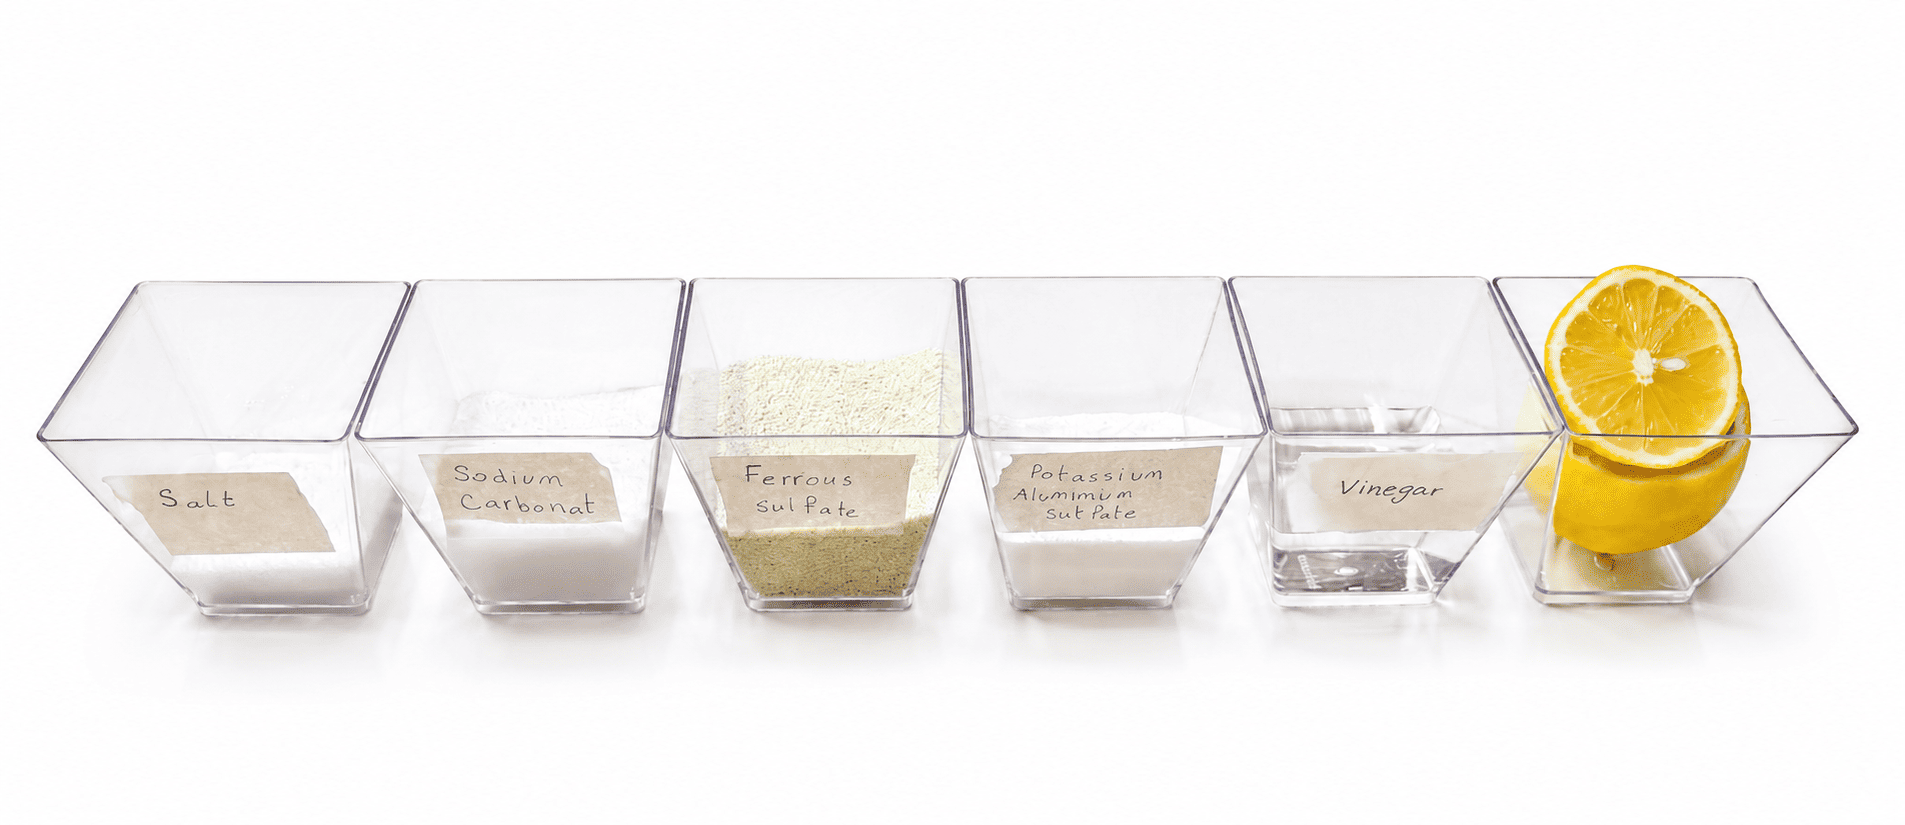
I divided the dye into six samples and added a different modifier to each one to explore how the colour would change.
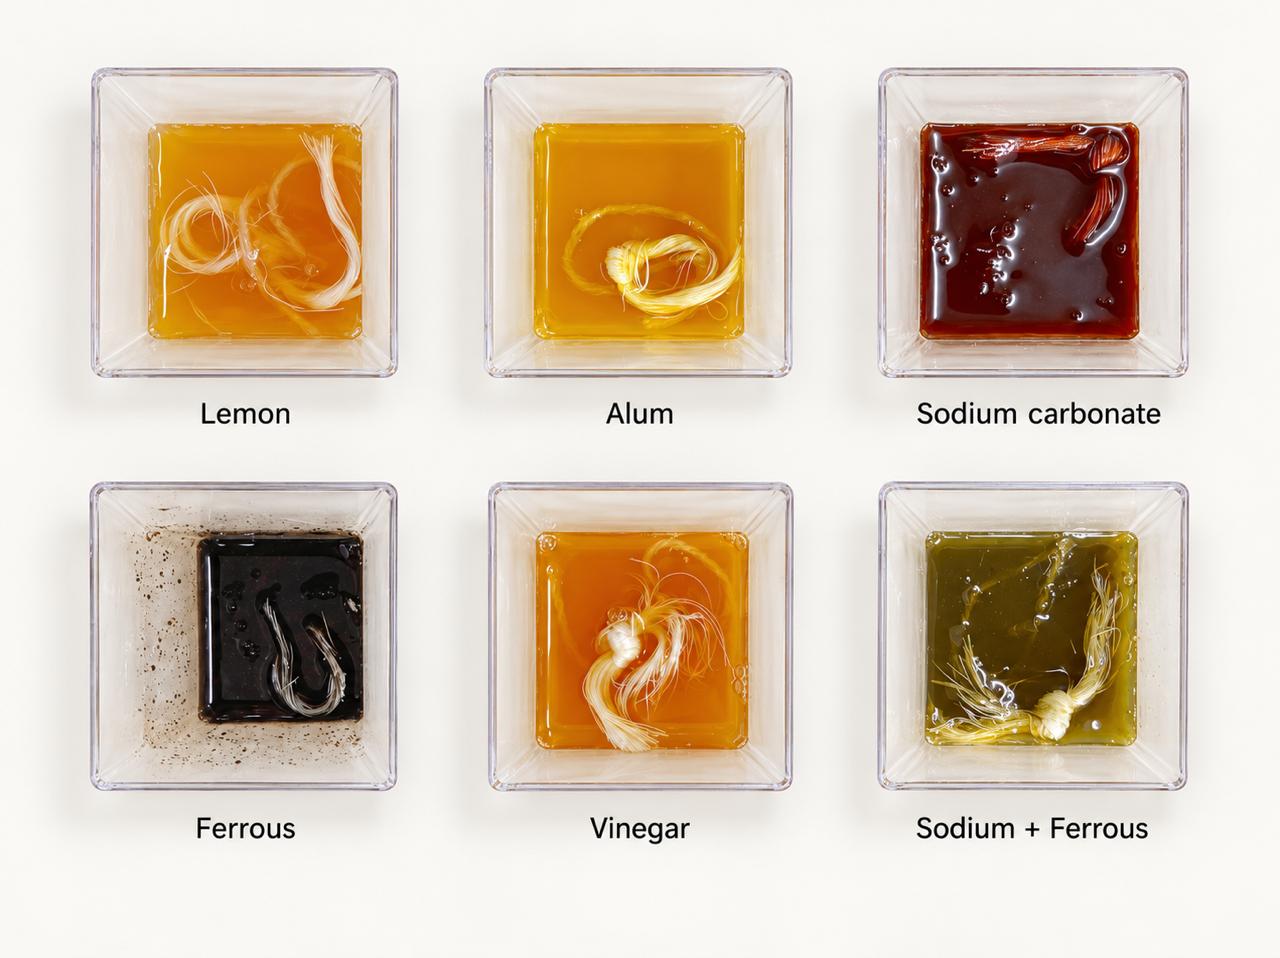
| Addition | My observation |
|---|---|
| Alum | Maintained a bright golden-yellow colour. |
| Sodium carbonate | Shifted the colour towards a deep reddish-brown. |
| Ferrous sulfate | Created the darkest result, almost black. |
| Lemon juice | Produced a slightly redder hue. |
| Vinegar | Produced a rich orange shade. |
| Alum + ferrous sulfate | Created an olive-green shade. |
Seeing these samples side by side showed me how one dye can produce such a varied colour palette.
5. Dyeing the Fibres
Following the initial tests, I divided the pomegranate extract into five labelled jars:
| Dye bath | Treatment |
|---|---|
| 1 | Pomegranate extract without an additional modifier |
| 2 | Pomegranate extract + sodium carbonate |
| 3 | Pomegranate extract + alum |
| 4 | Pomegranate extract + ferrous sulfate |
| 5 | Pomegranate extract + alum and ferrous sulfate |
Heating and soaking
I heated the dye baths for three hours, stirring throughout the process. After three hours, I turned off the heat. I left the fibres immersed for an additional 24 hours, allowing the baths to cool with the samples still inside.
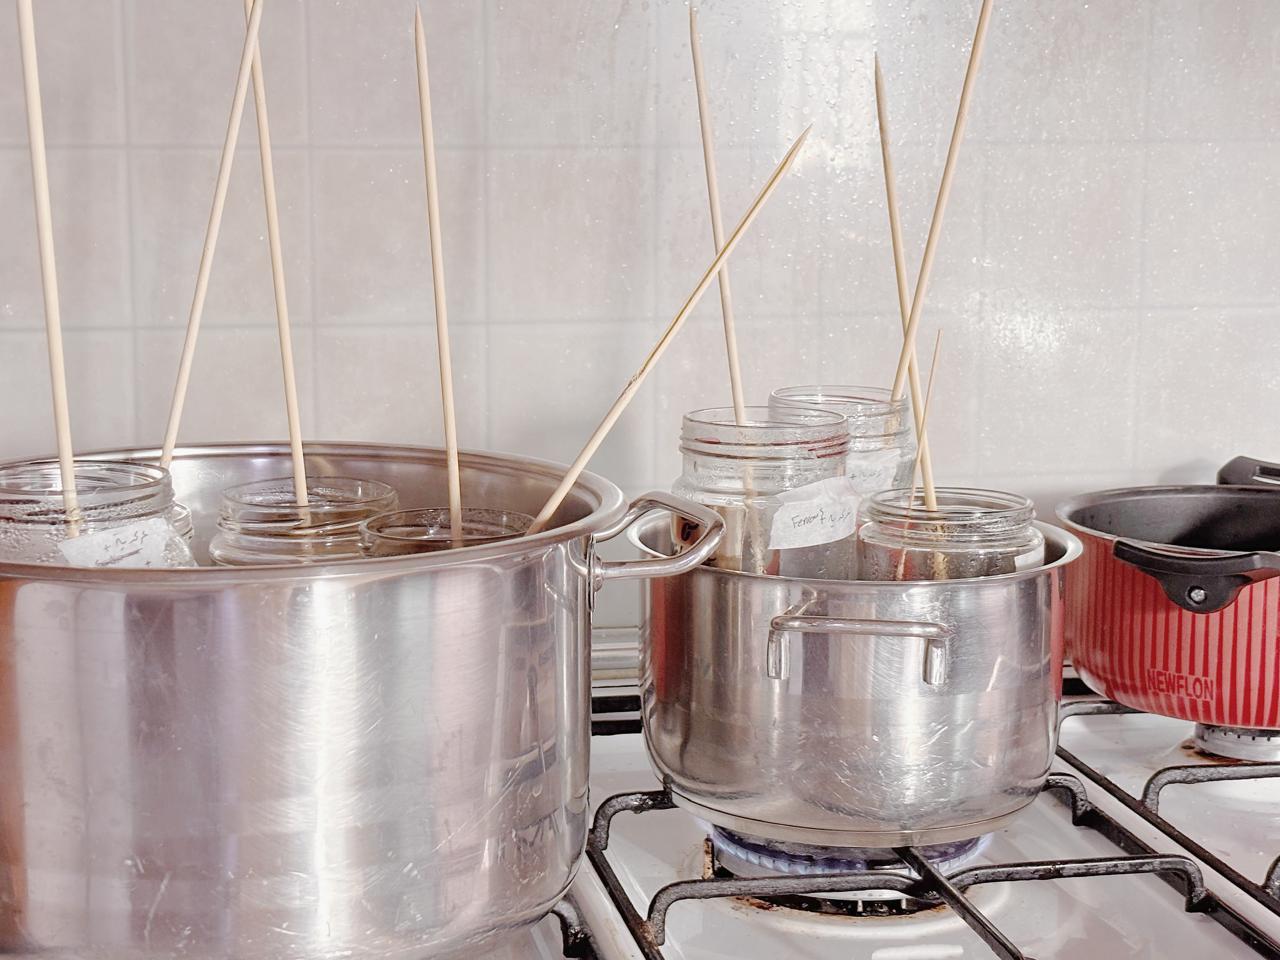
The following day, I removed the fibres and rinsed them with water.
After rinsing, the samples showed rich, intense colours. I sorted them according to their dye bath and left them to dry, keeping each group separate so I could easily identify and compare the results.
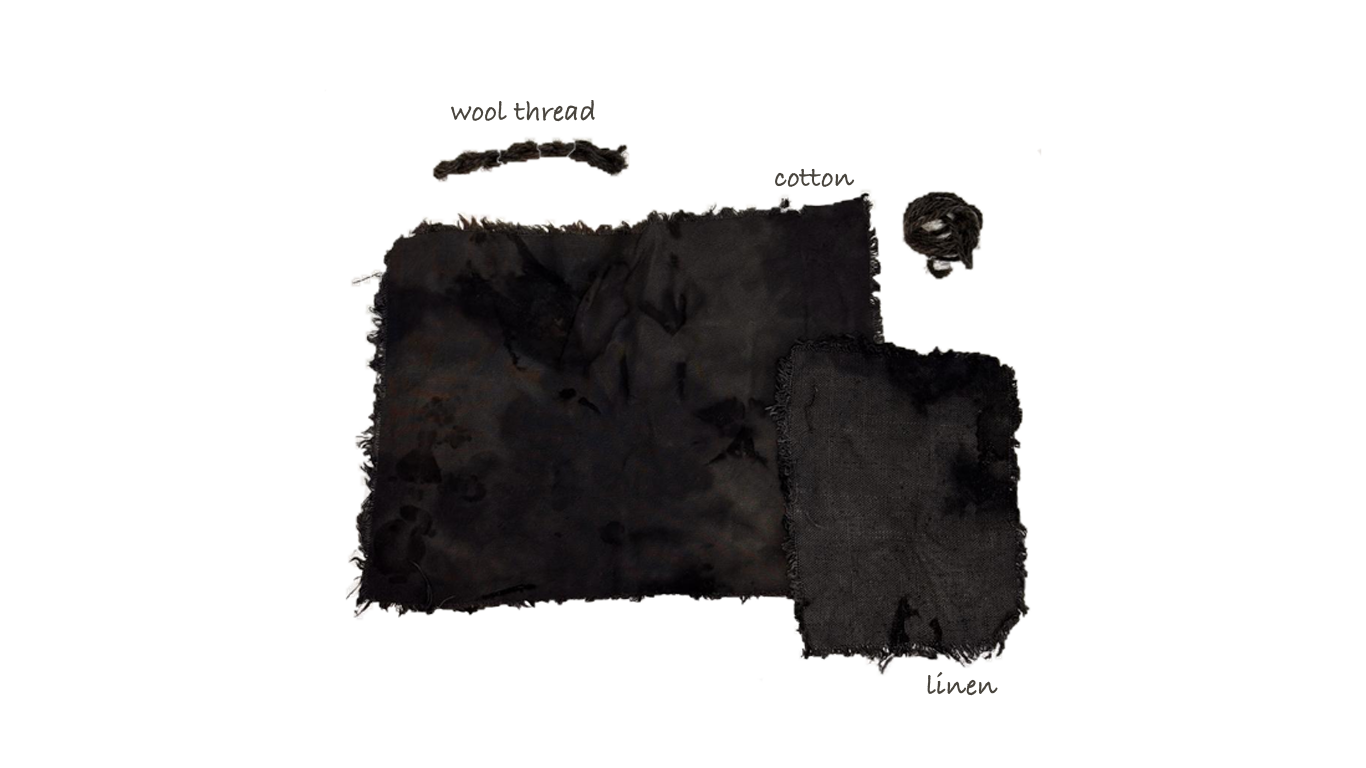
6. Results of Pomegranate Dye
Pomegranate extract without an additional modifier
Pomegranate extract + sodium carbonate
Pomegranate extract + ferrous sulfate
Pomegranate extract + alum
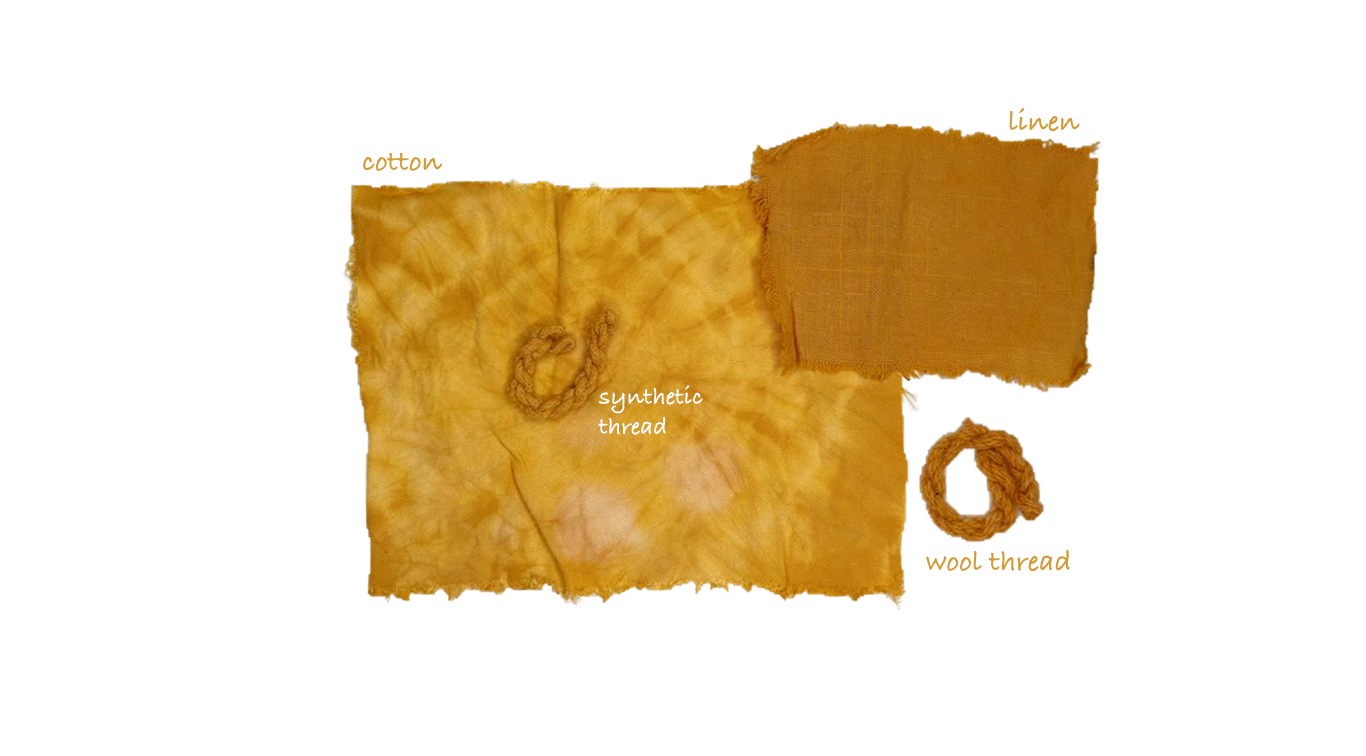
Pomegranate extract + ferrous sulfate + alum
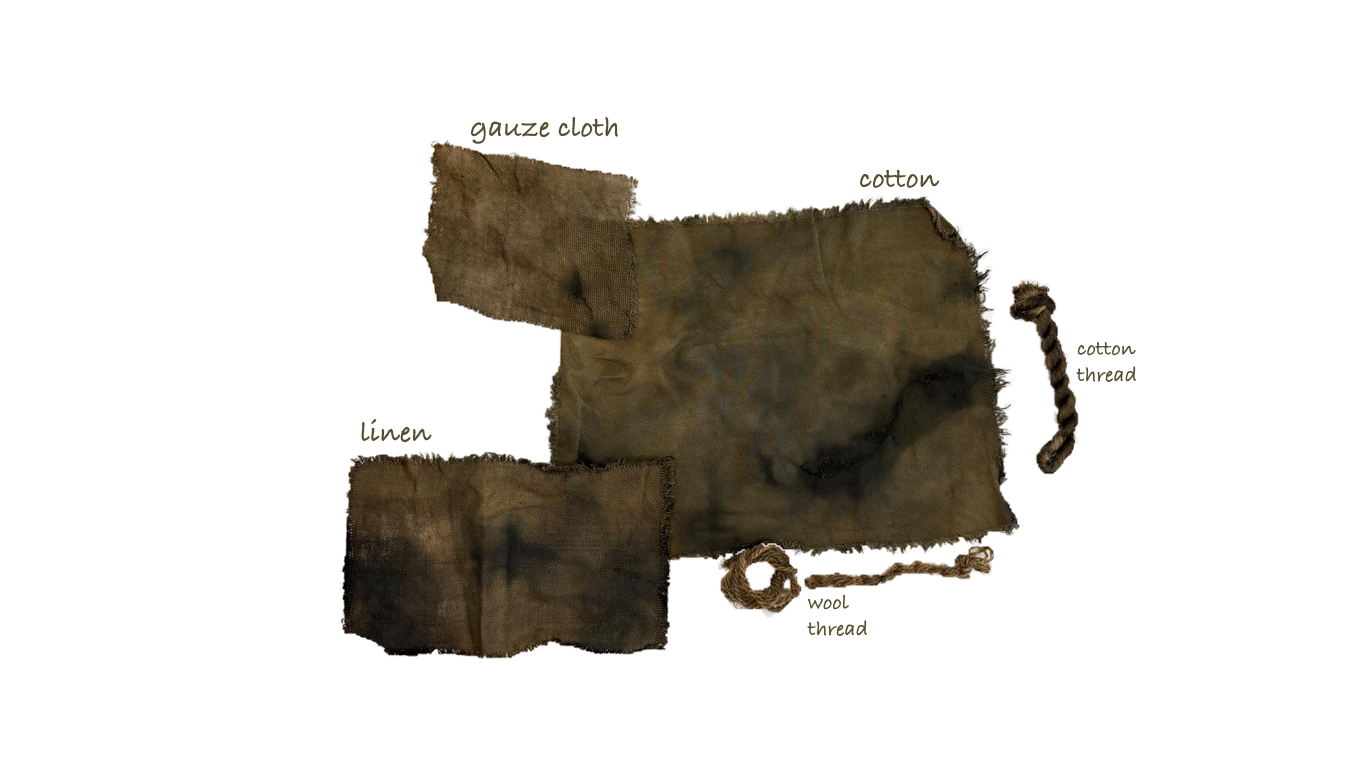
Hibiscus
For my second experiment, I chose hibiscus, a fugitive dye whose colour can fade or change over time, especially when exposed to light. I wanted to explore this changing quality and see how it affects my samples. I plan to keep half of each sample covered and expose the other half to light, taking photographs at regular intervals to compare how the colours change.
1. Preparing the Hibiscus Dye Bath
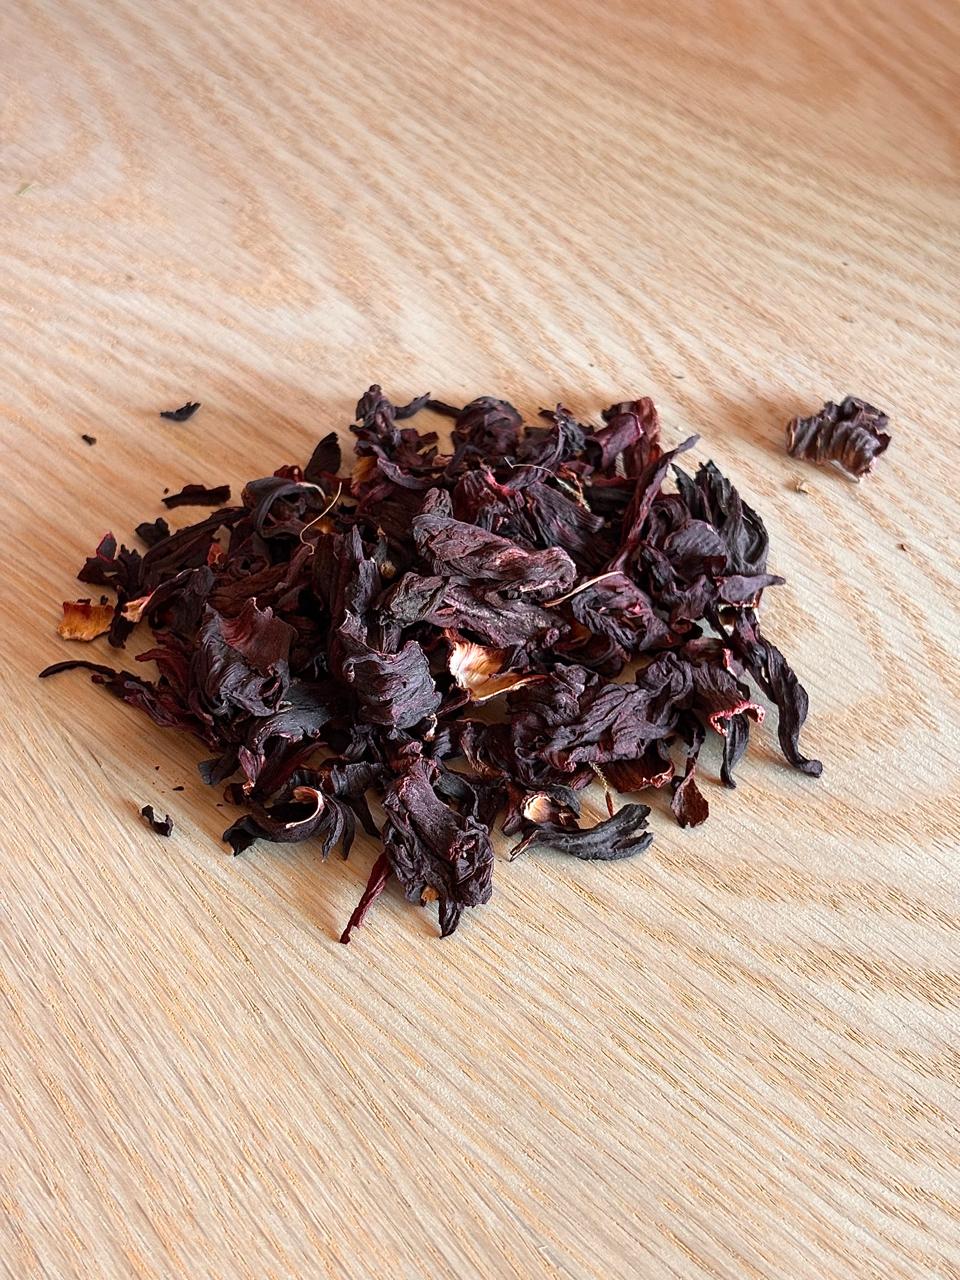
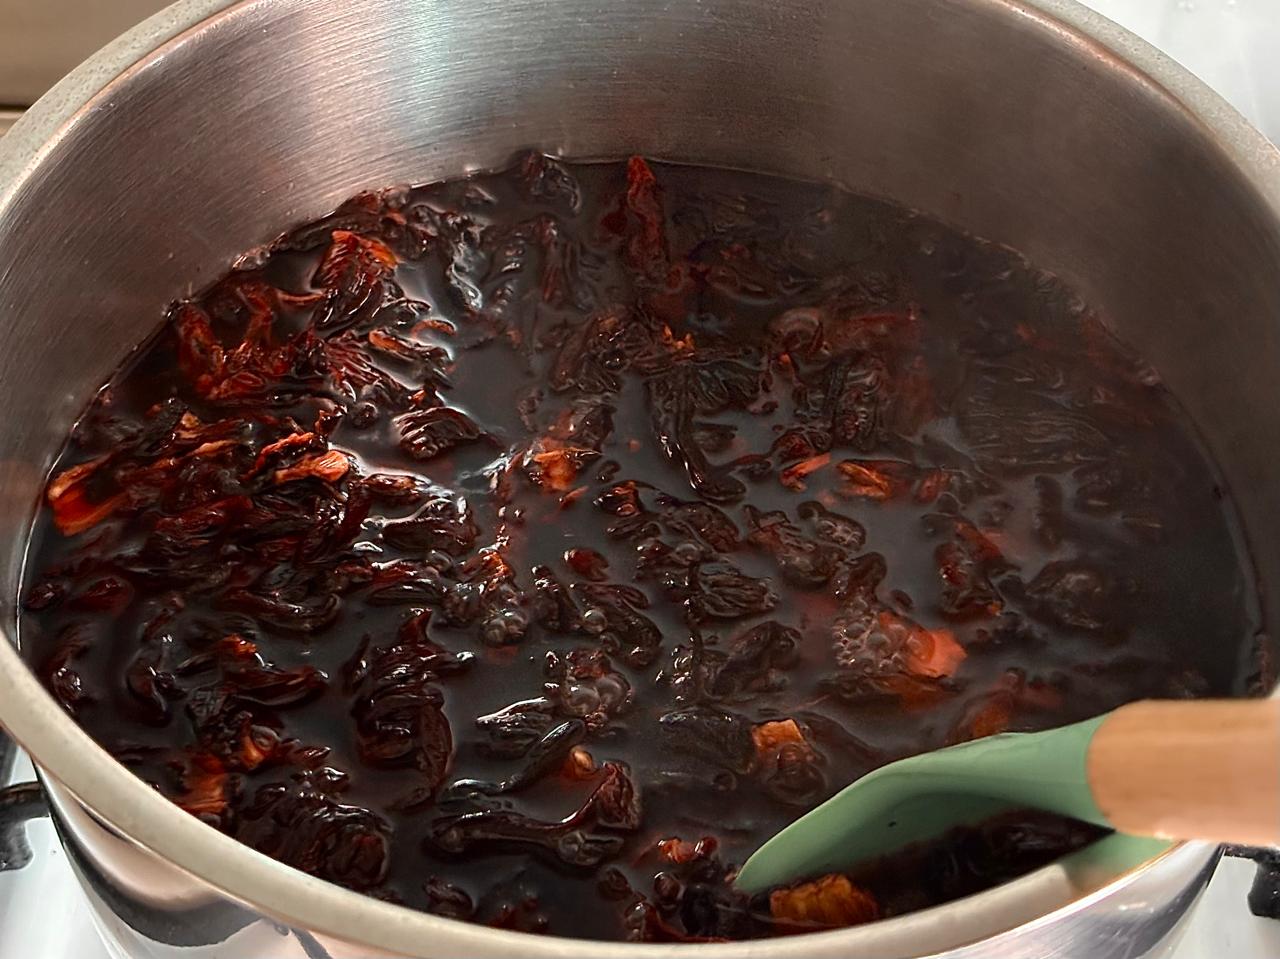
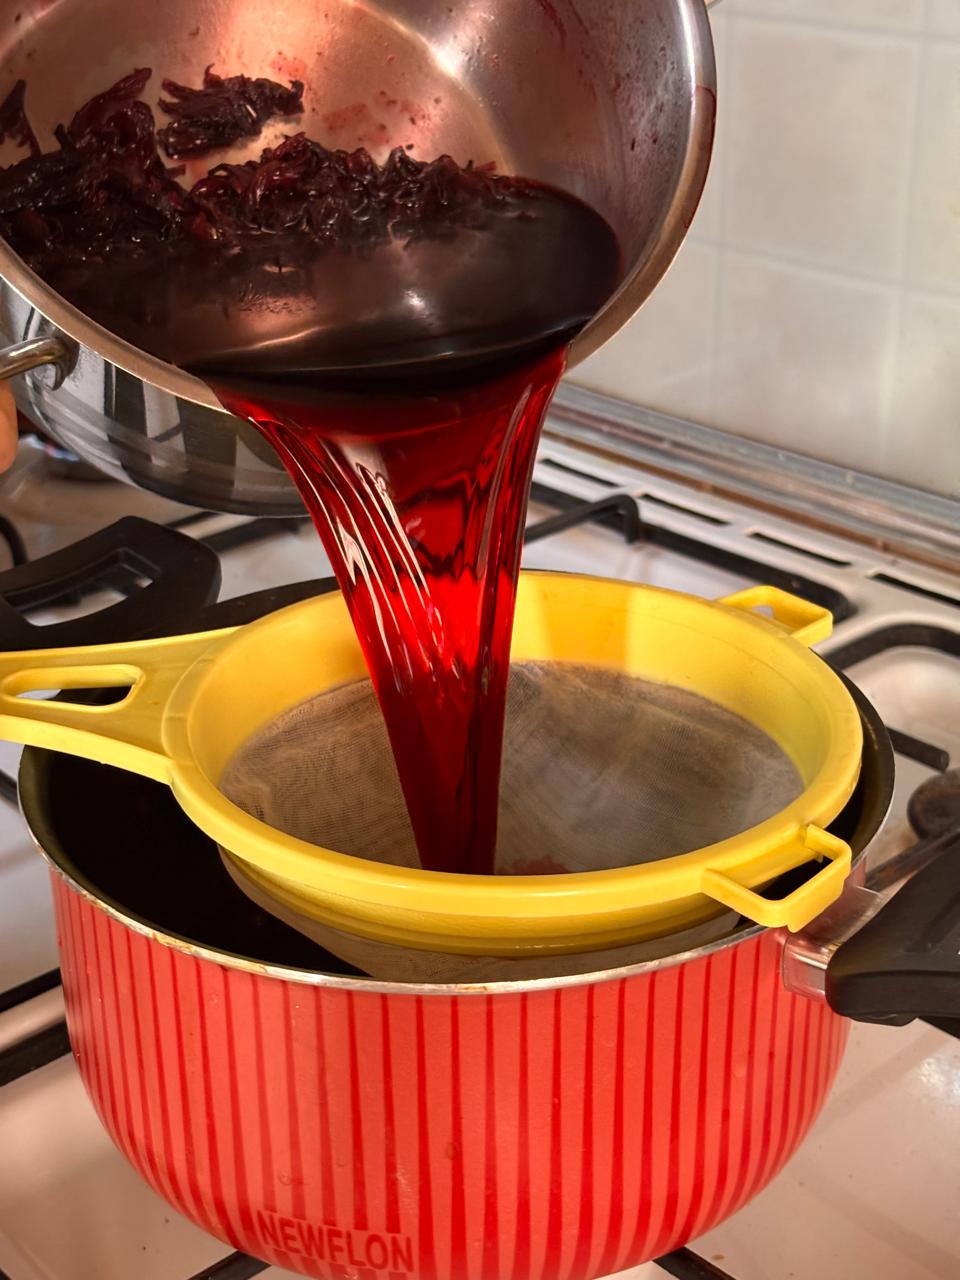
Boiling: I placed the hibiscus directly into a pot of water without crushing it and began heating it. I boiled the hibiscus in water for one hour. Further extraction: I reduced the heat and continued heating it gently for another hour. Filtering: After extraction, I filtered the liquid through a cloth strainer to separate the hibiscus pieces from the dye bath. Drying the remaining solids: I kept the strained hibiscus pieces and dried them.
The filtered liquid became the base for my modifier tests and fibre-dyeing experiments.
Test with Modifiers
Before dyeing the fibres, I divided small portions of the extract into separate containers and tested it with different modifiers. I also kept an unchanged portion of the extract for comparison. This helped me compare each treatment with the original colour.
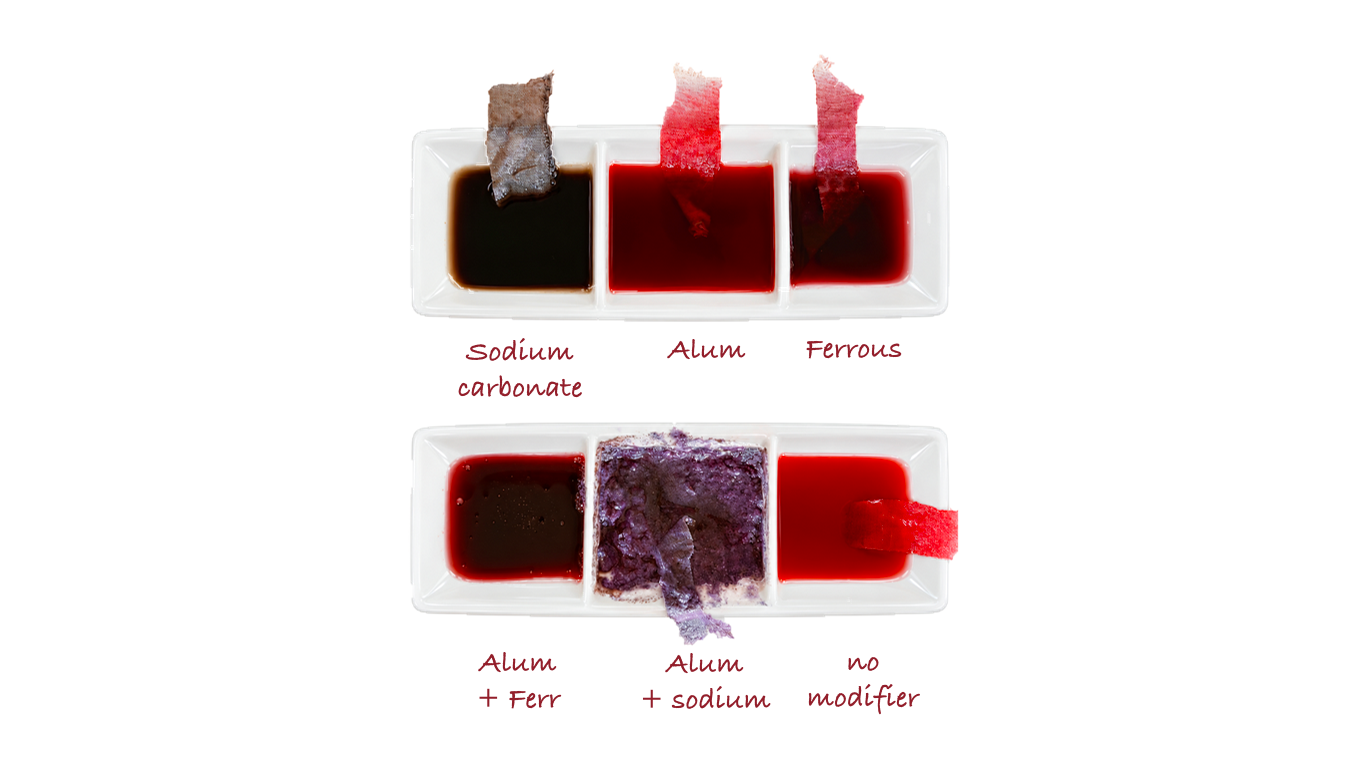
The purpose of these tests was to explore how different additions affected the hibiscus extract before applying it to the fibres.
| Test | My observation |
|---|---|
| Unmodified extract | Bright, strong red. |
| Alum | A rich red, visually similar to the unmodified extract. |
| Sodium carbonate | Very dark brown, almost black in the deeper part of the bath, with brown edges. |
| Ferrous sulfate | Deep burgundy-red, appearing almost black in the darker areas. |
| Alum + Sodium carbonate | Cloudy purple-grey, with visible clumps or sediment rather than a clear liquid. |
| Alum + Ferrous sulfate | Dark wine-red with a brown-black centre and red edges. |
2. Preparing Five Labelled Dye Baths
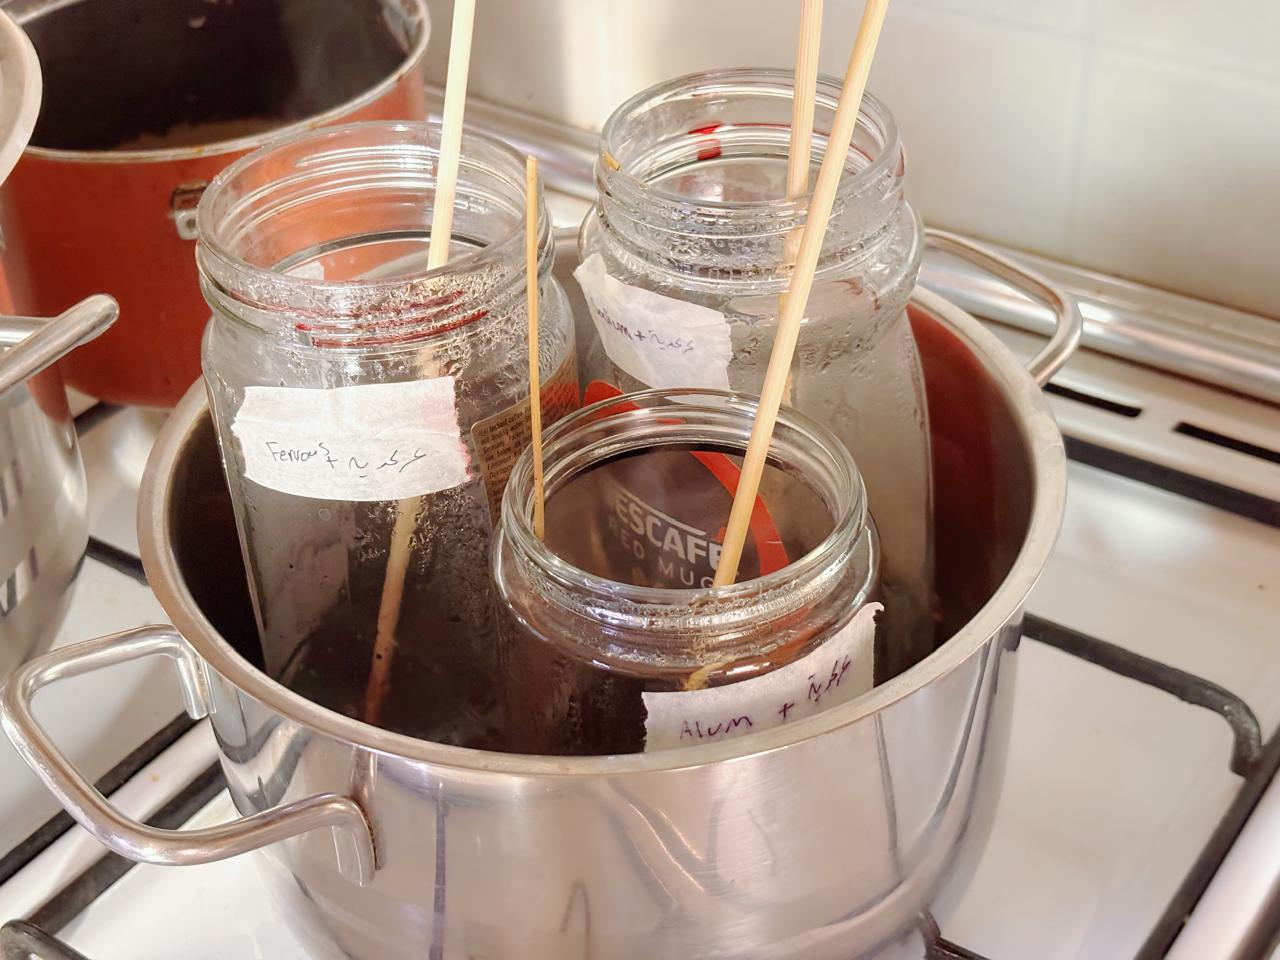
After the tests, I divided the hibiscus liquid into five labelled jars. I then added the previously prepared fibres to each jar, keeping them submerged in the liquid.
| Dye bath | Treatment |
|---|---|
| 1 | Hibiscus extract without an additional modifier |
| 2 | Hibiscus extract + alum |
| 3 | Hibiscus extract + sodium carbonate |
| 4 | Hibiscus extract + ferrous sulfate |
| 5 | Hibiscus extract + alum + ferrous sulfate |
3. Heating and soaking
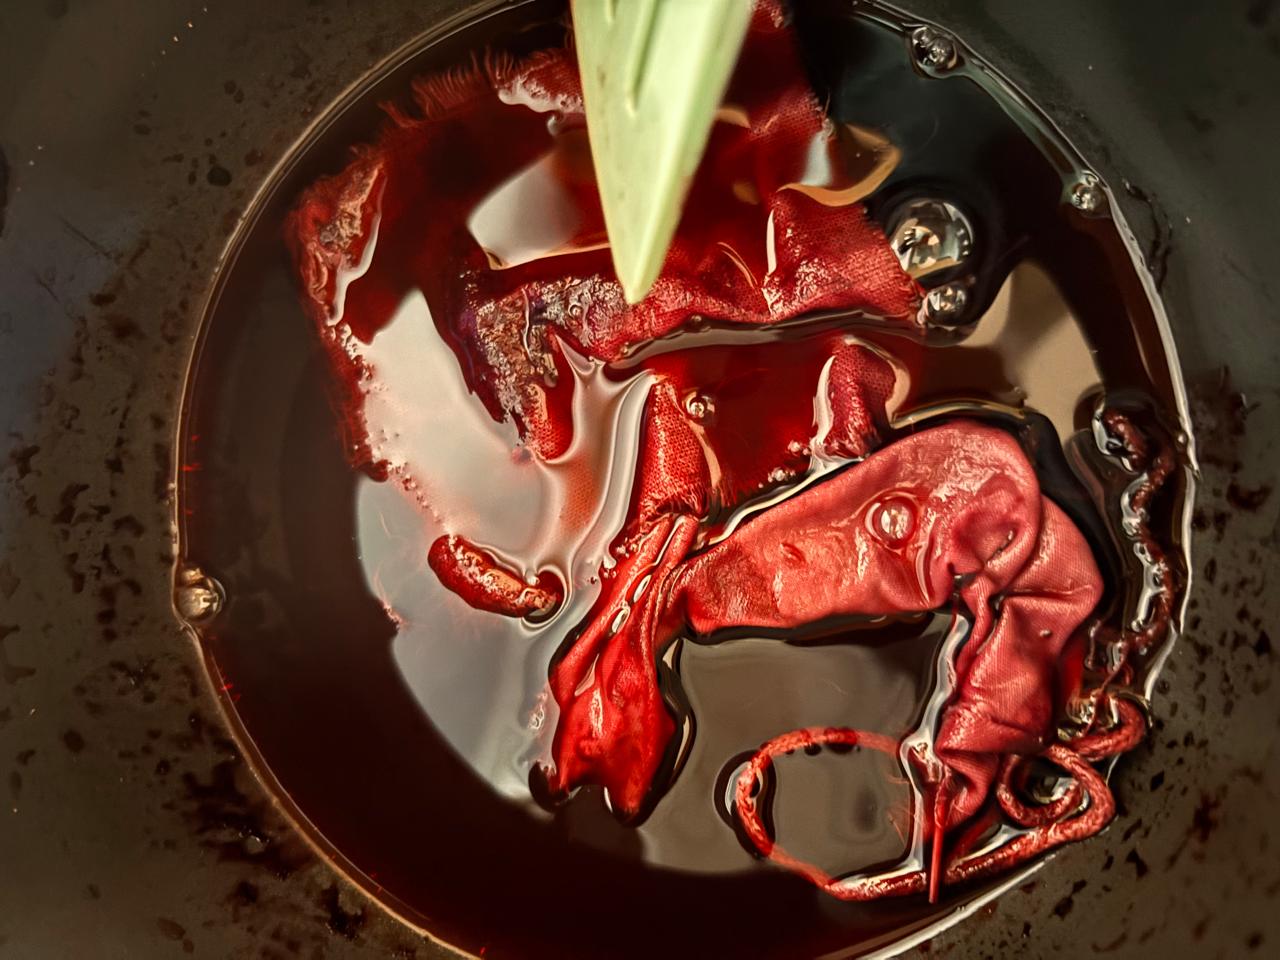
I heated the five dye baths for three hours, stirring throughout the process to move the liquid around the fibres.
After heating, I turned off the heat and left the fibres immersed for an additional 24 hours, allowing the baths to cool with the samples still inside.
I kept the jars labelled throughout heating and soaking so I could identify each treatment when removing the samples.
The following day, I removed the fibres and rinsed them with water. I kept the samples grouped according to their dye bath and left them to dry separately.
Keeping the groups organised helped me connect each result to its treatment and compare the colours after drying.
4. Results of Hibiscus Dye
Hibiscus extract without an additional modifier
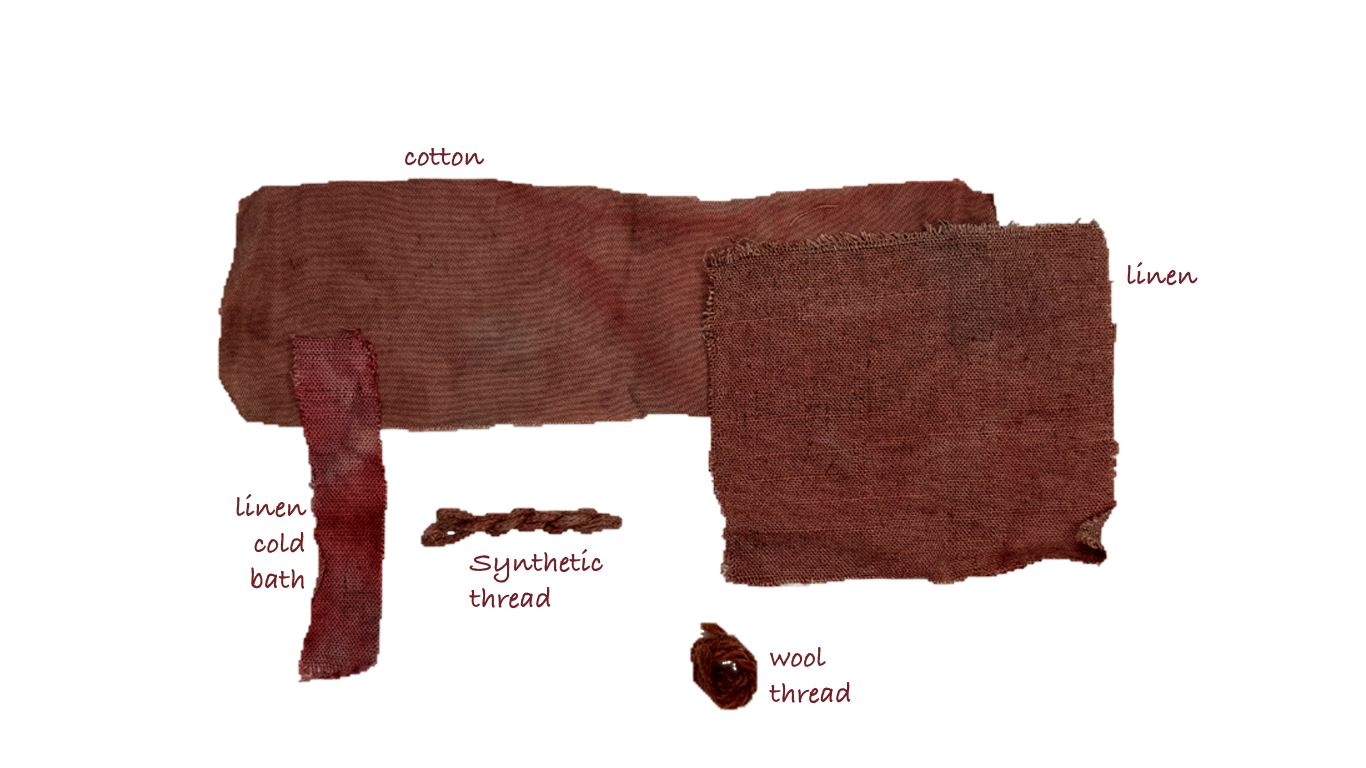
Hibiscus extract + sodium carbonate
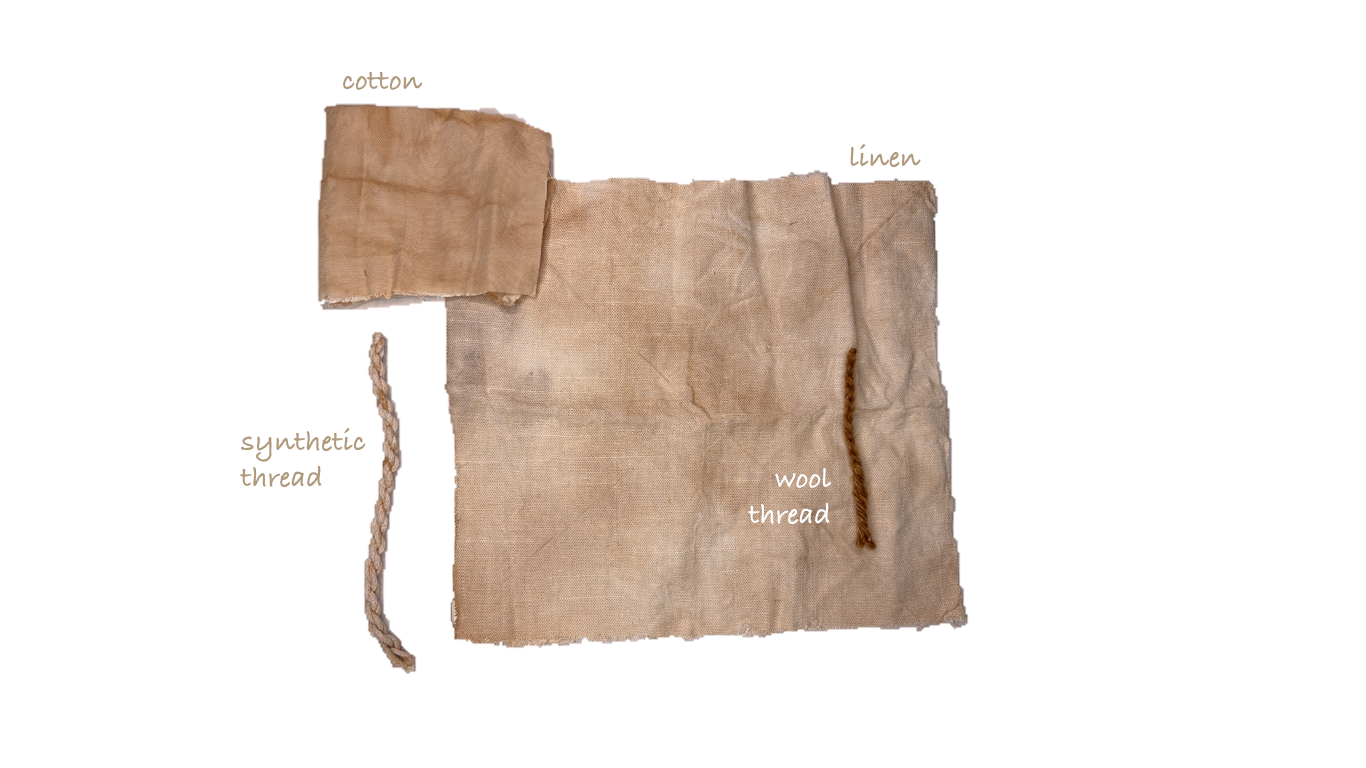
Hibiscus extract + ferrous sulfate
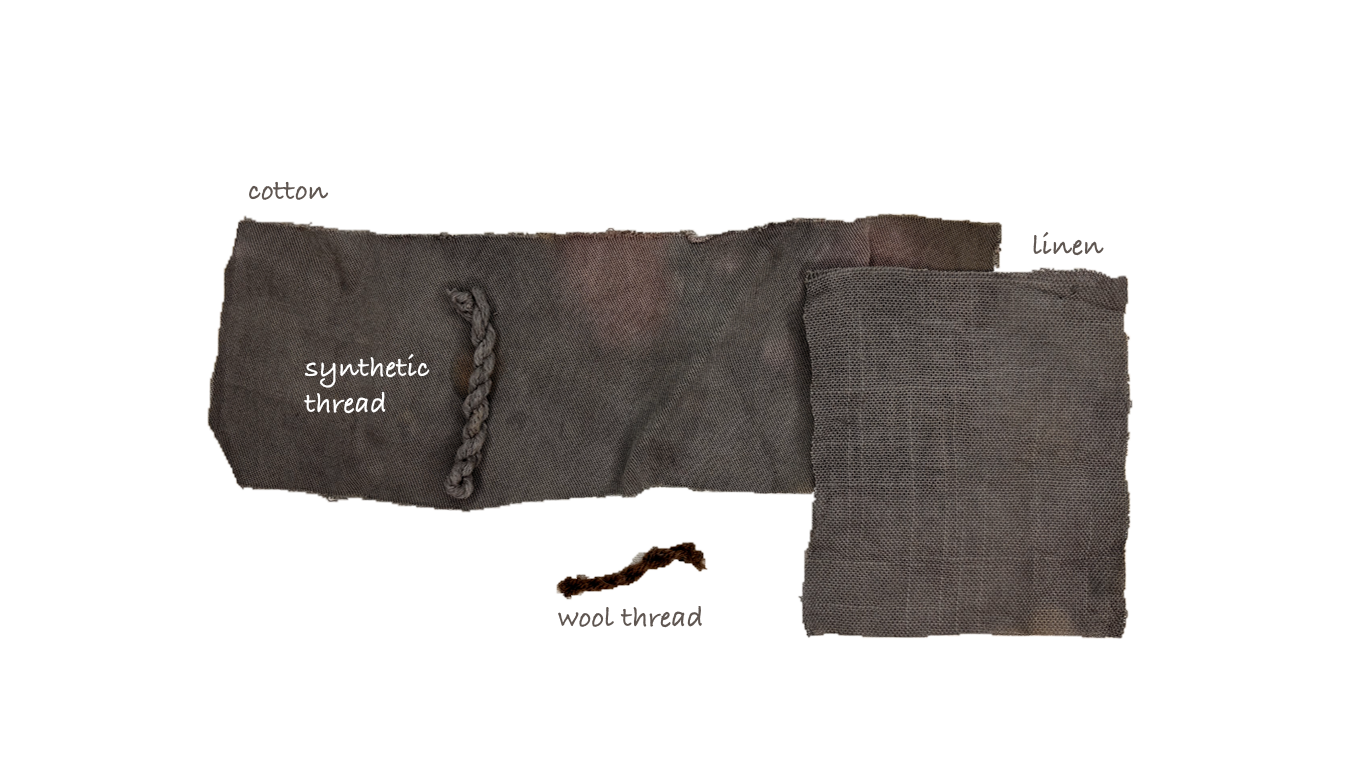
Hibiscus extract + alum
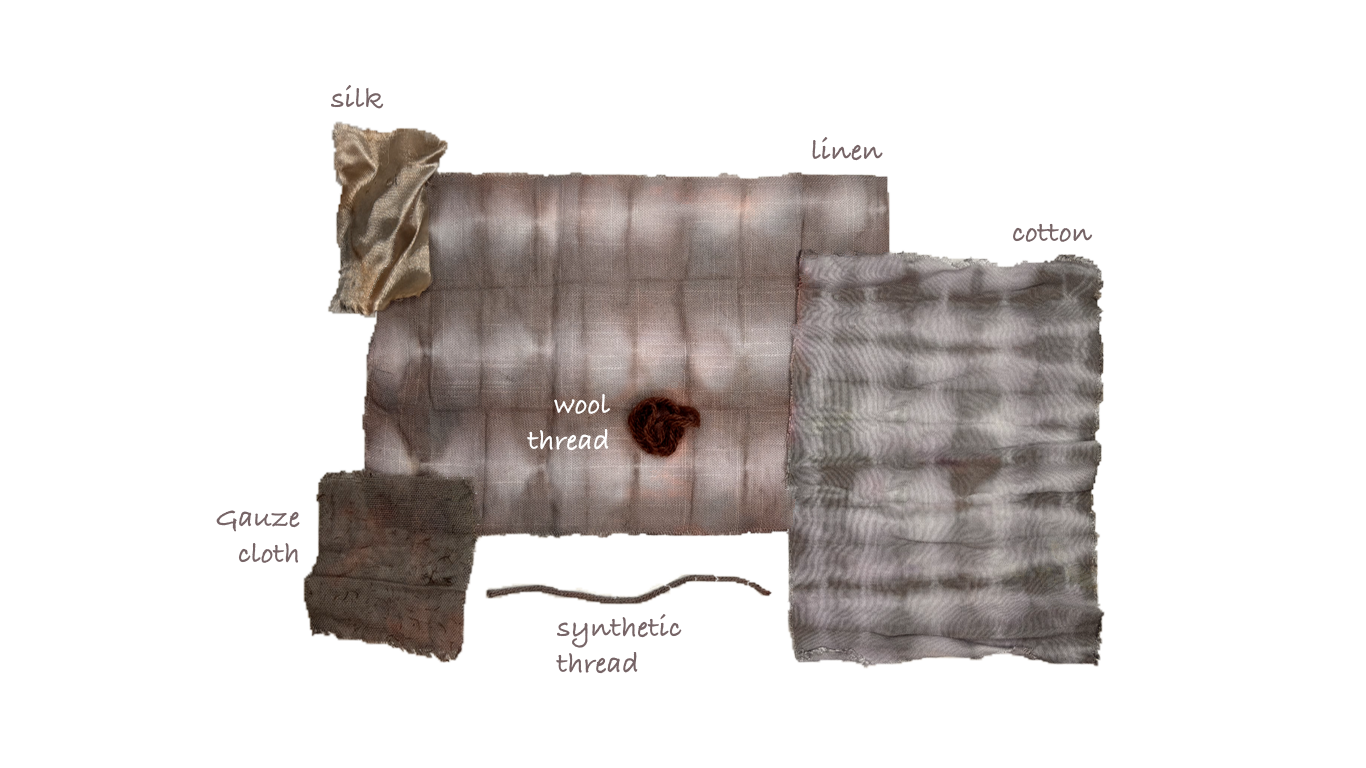
Hibiscus extract + ferrous sulfate + alum
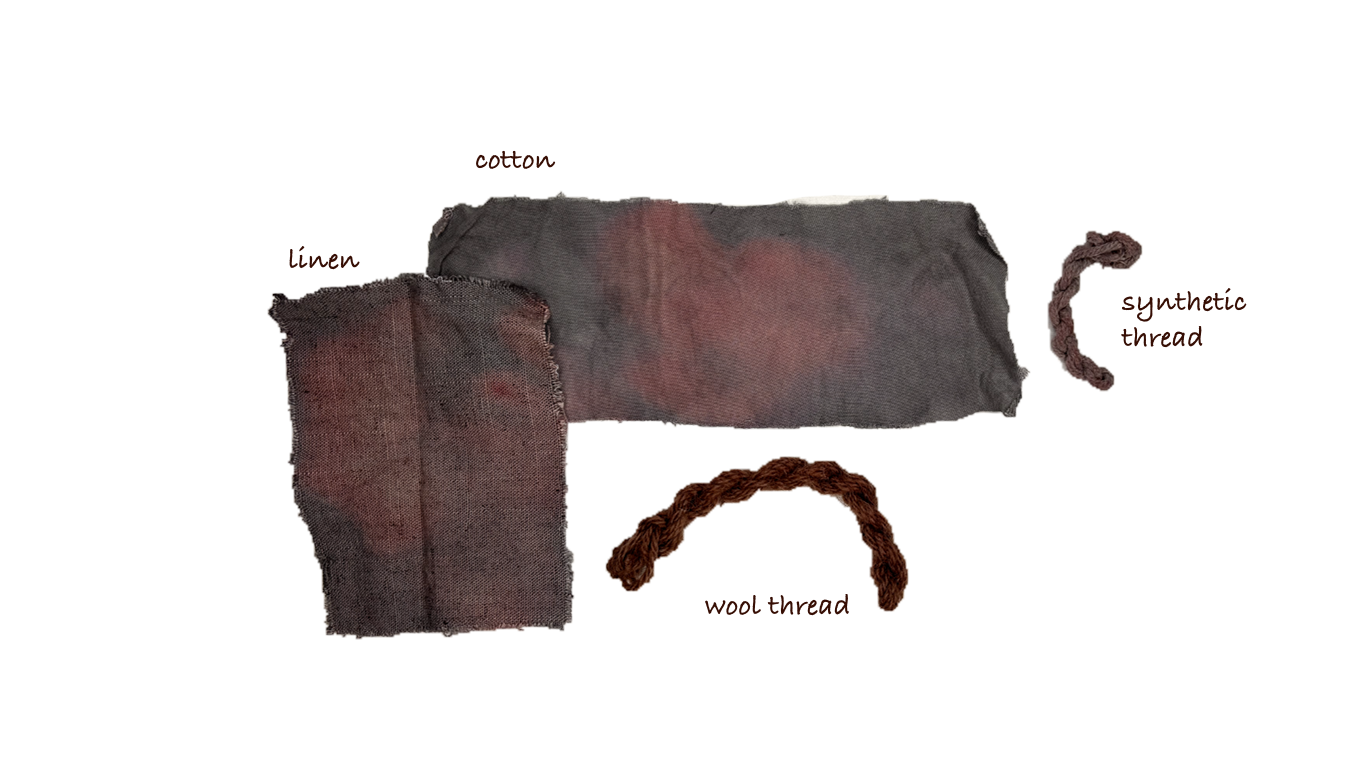
Pigment extraction
Pigment extraction is the process of obtaining colour in a solid form. In this experiment, I used lake pigment precipitation to recover color from my leftover dye baths. By adding alum and sodium carbonate, I formed insoluble solids that captured some of the color from the liquid.
#### Pigment extraction process I used the remaining pomegranate and hibiscus dye baths to explore pigment extraction. This gave me a way to reuse the leftover colour and develop another material from the same experiment.
1. Weigh the Dye Liquids
Weigh each dye bath separately, excluding the container’s weight. My pomegranate liquid weighed 162 g, and my hibiscus liquid weighed 139 g.
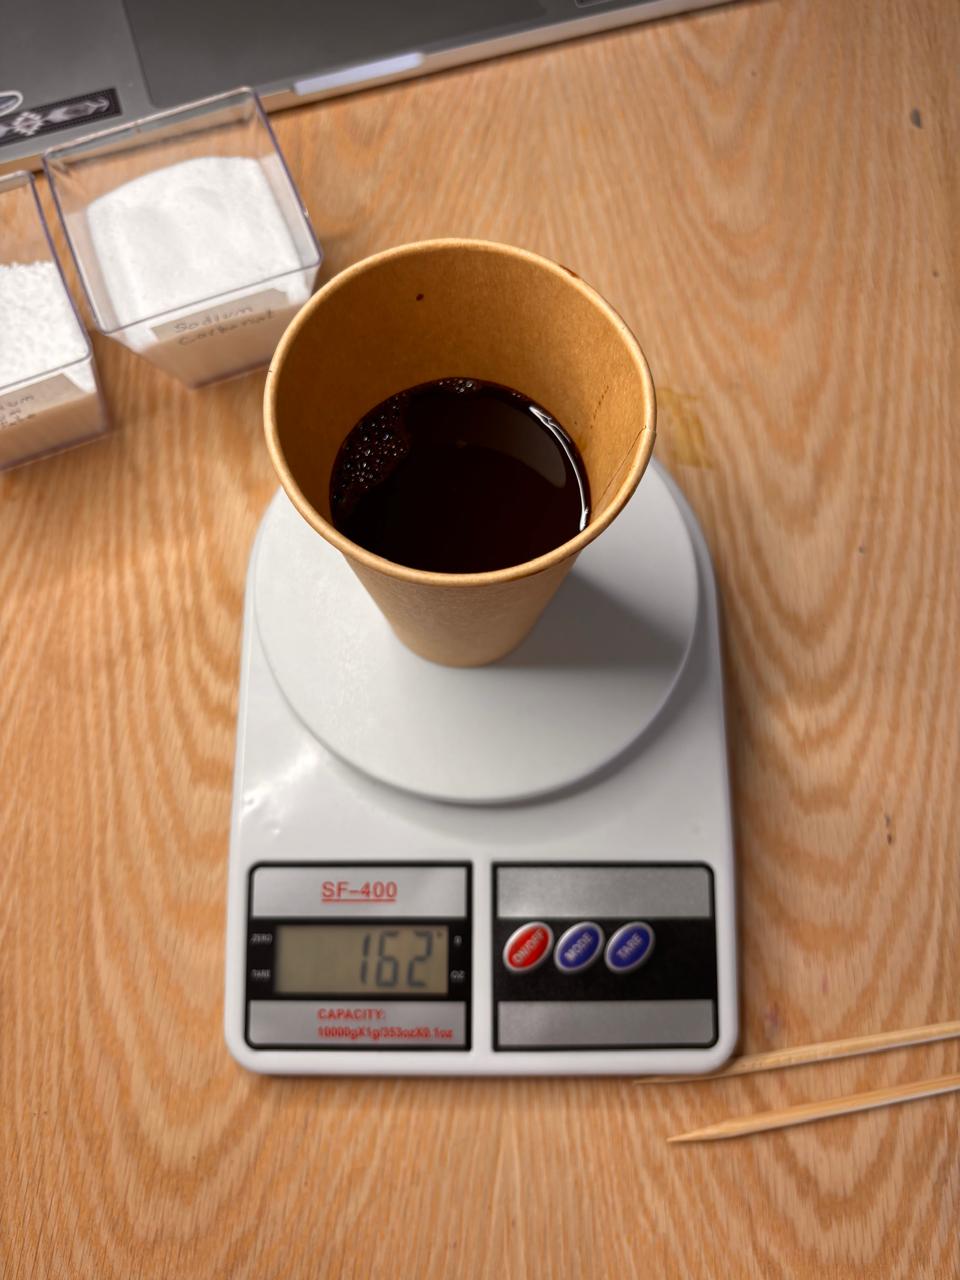
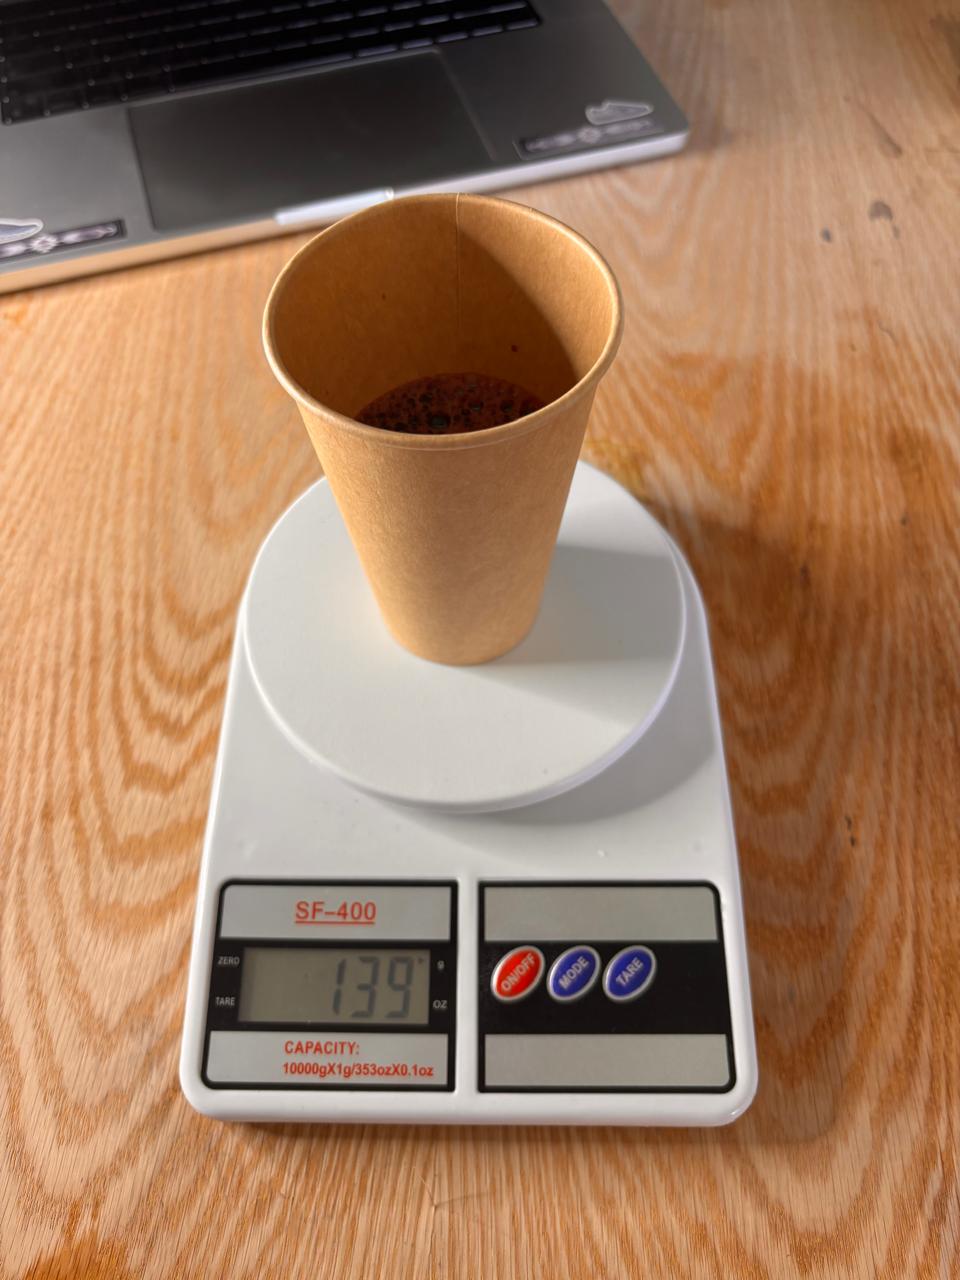
2. Calculate the Ingredients
I calculated 10% alum and 5% sodium carbonate based on the weight of each dye liquid.
| Dye bath | Liquid weight | Alum 10% | Sodium carbonate 5% |
|---|---|---|---|
| Pomegranate | 162 g | 16.2 g | 8.1 g |
| Hibiscus | 139 g | 13.9 g | 6.95 g |
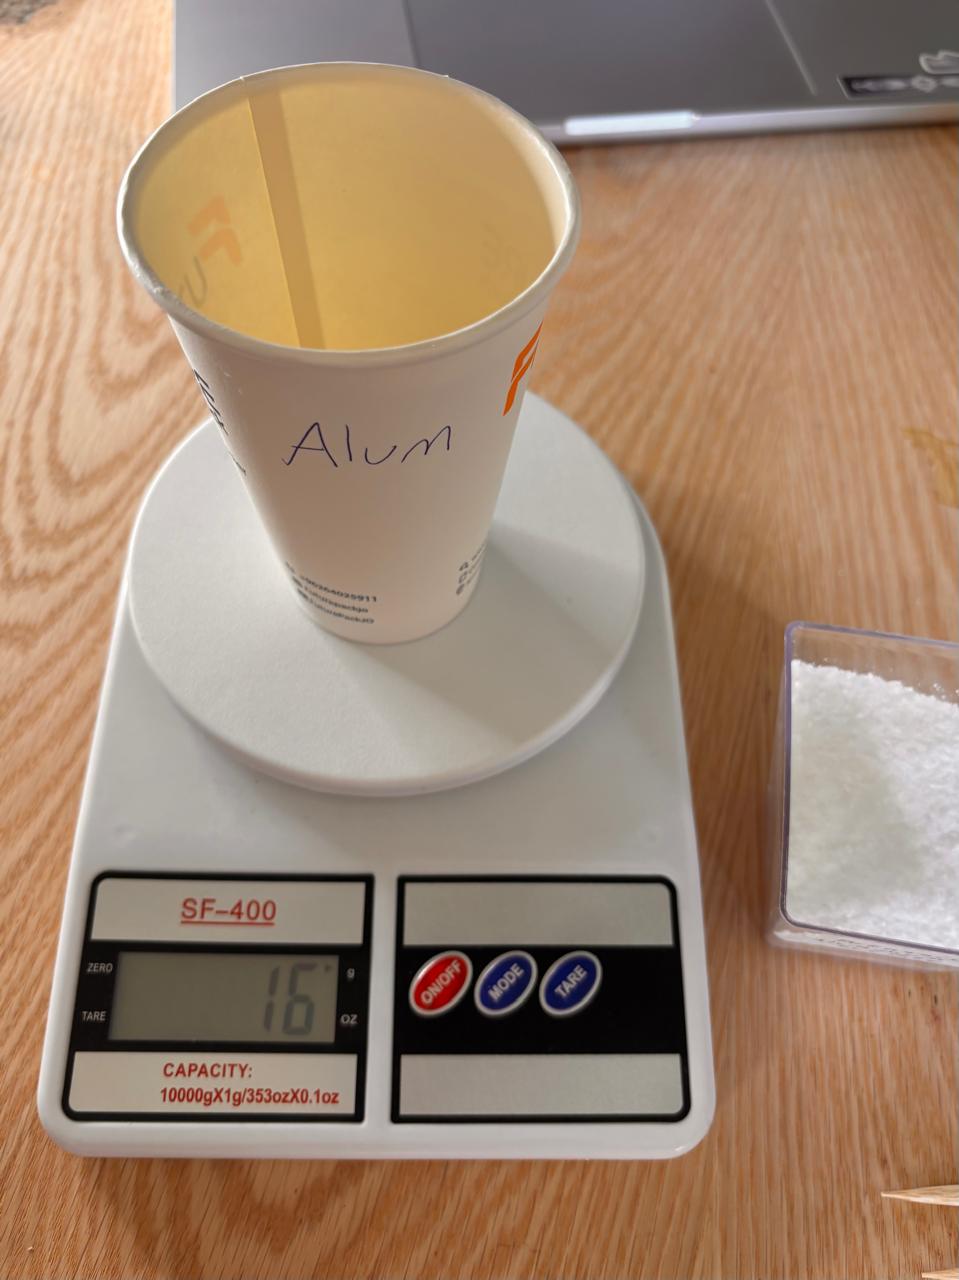
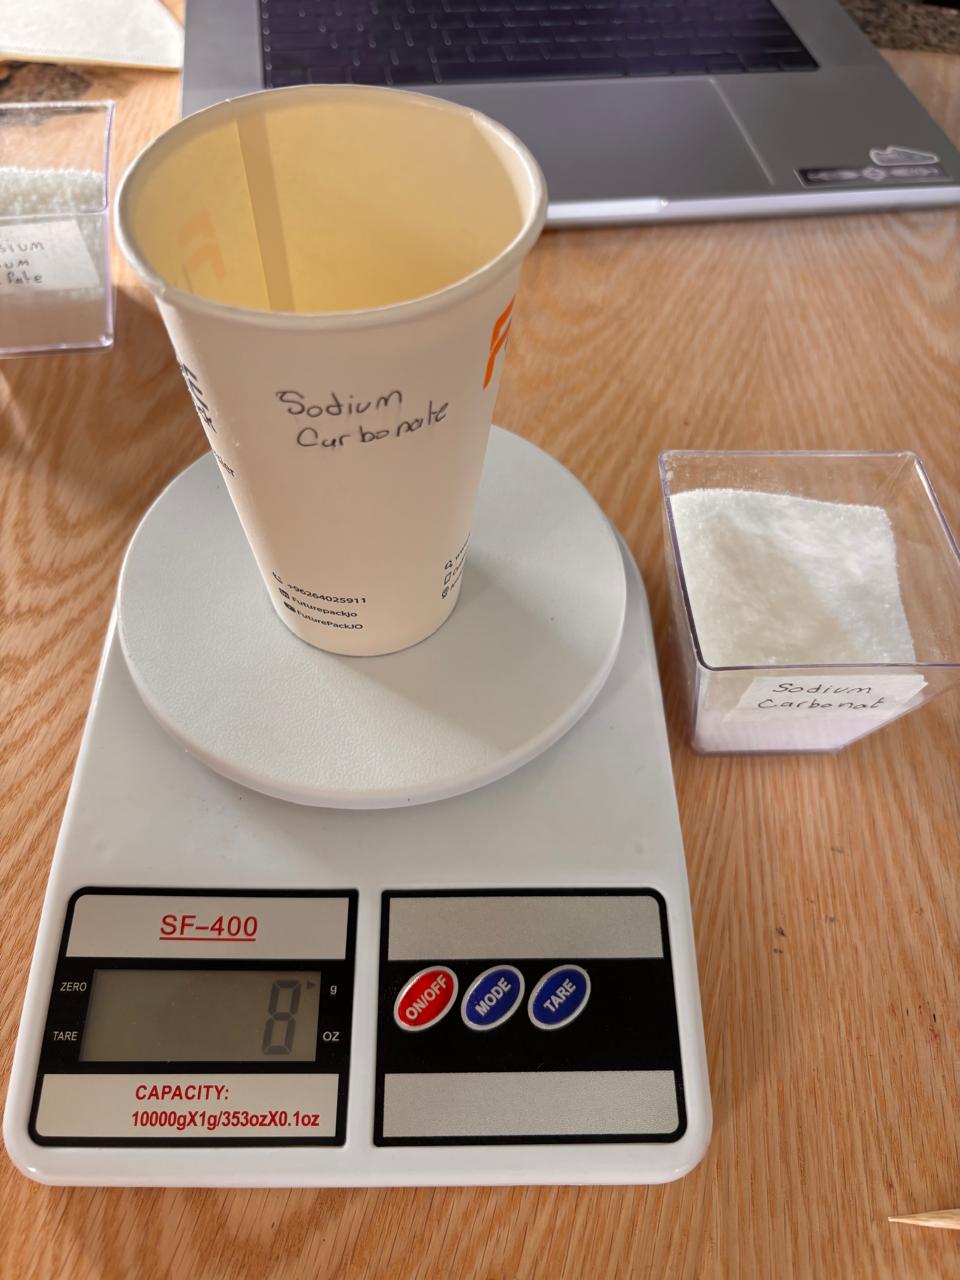
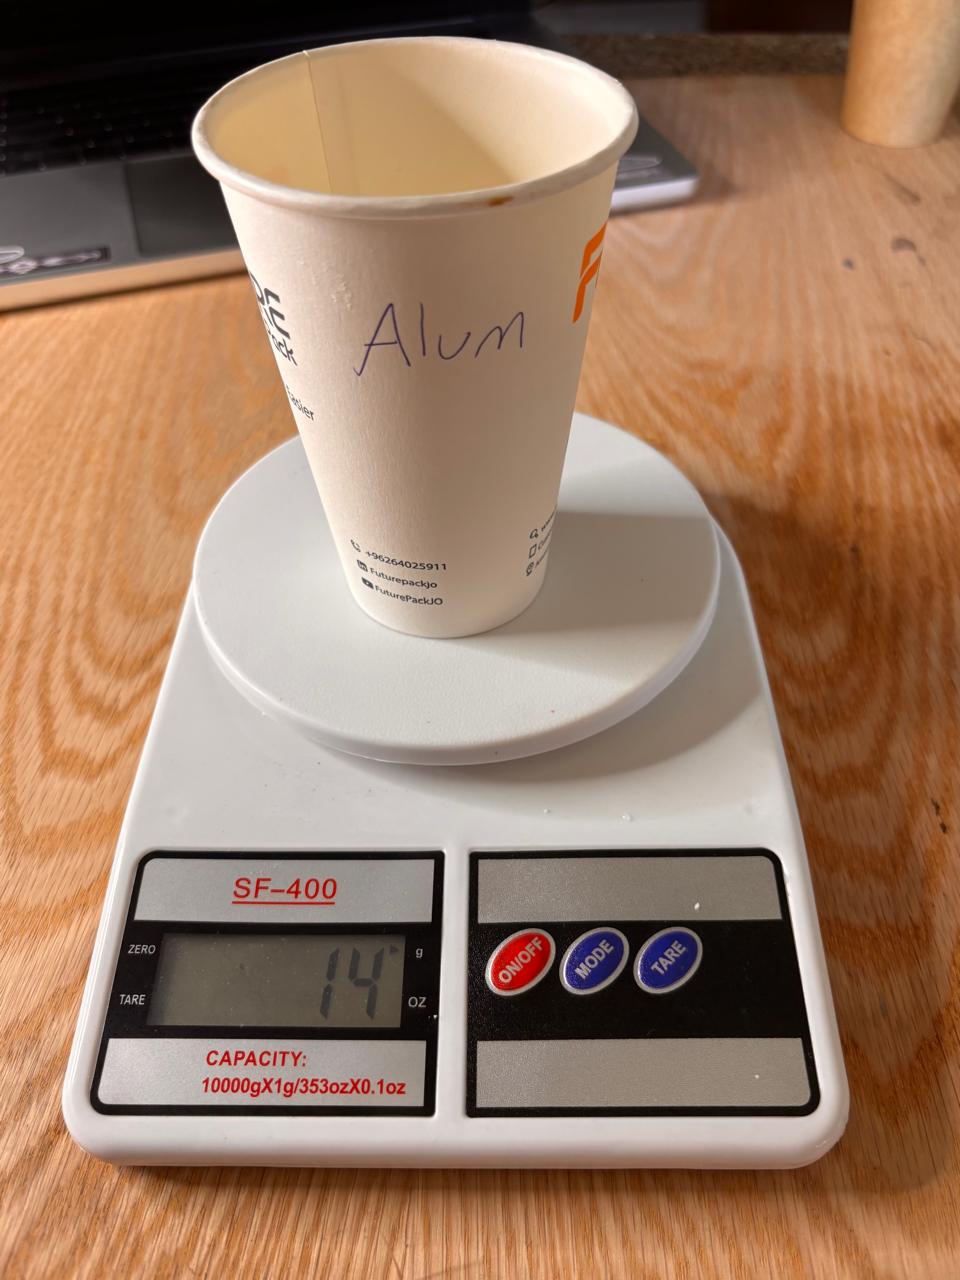
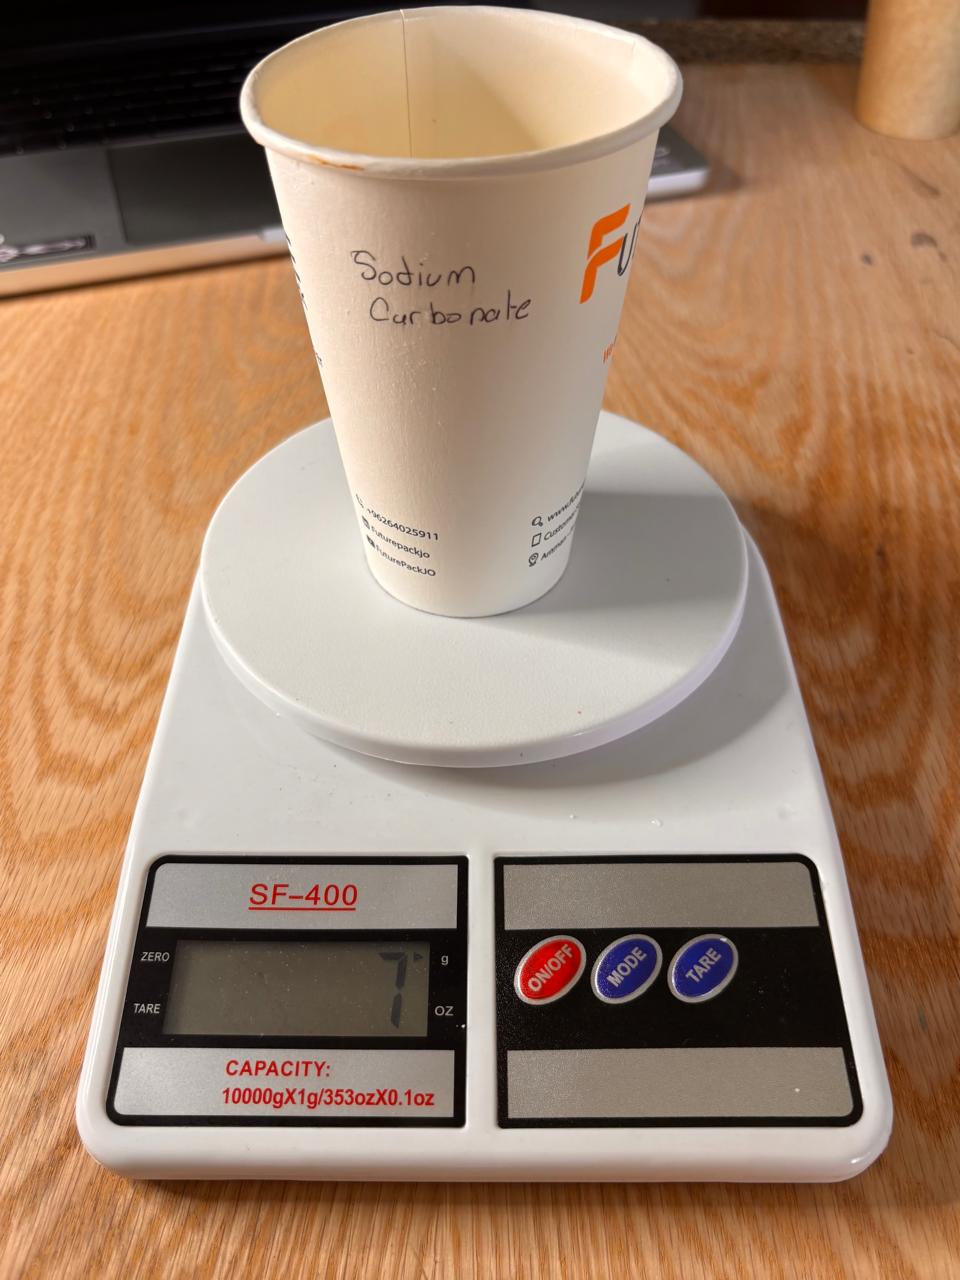
3. Add the Alum Solution
I added the measured alum directly to each dye bath, followed by the sodium carbonate, without dissolving them separately in water beforehand. For a future experiment, I would try preparing separate solutions to distribute the ingredients more evenly and compare the results.
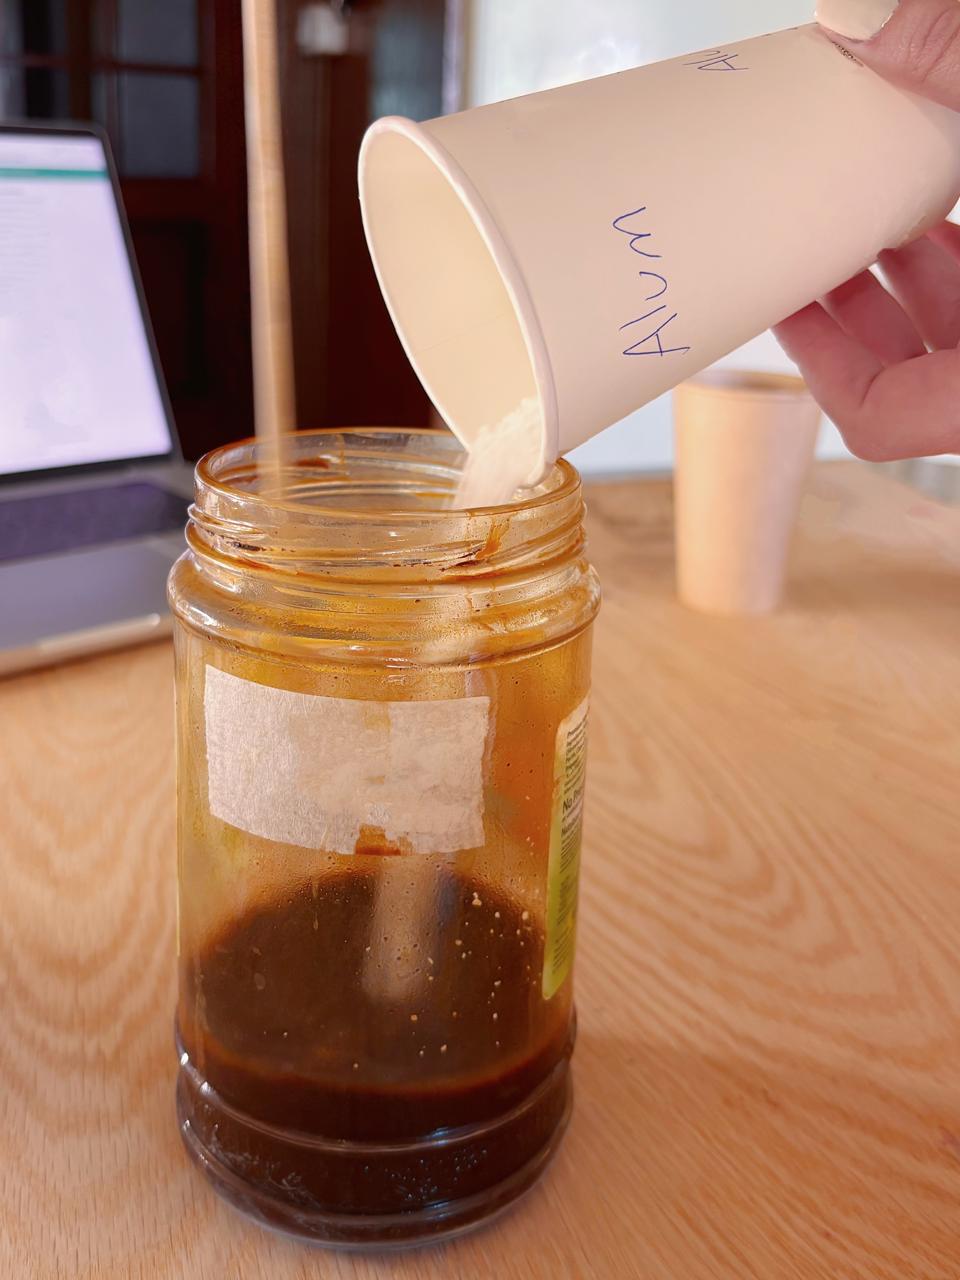
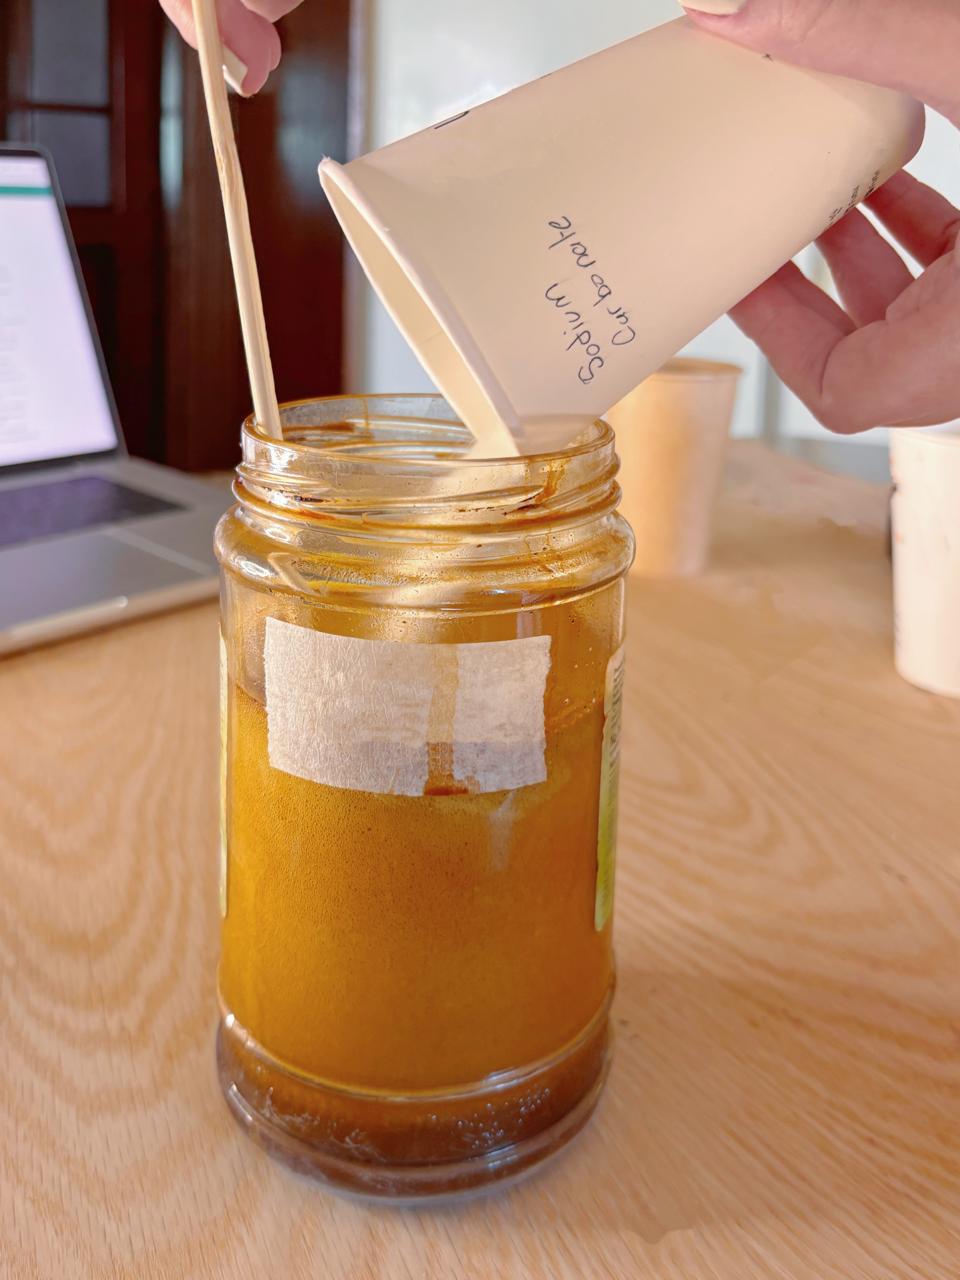
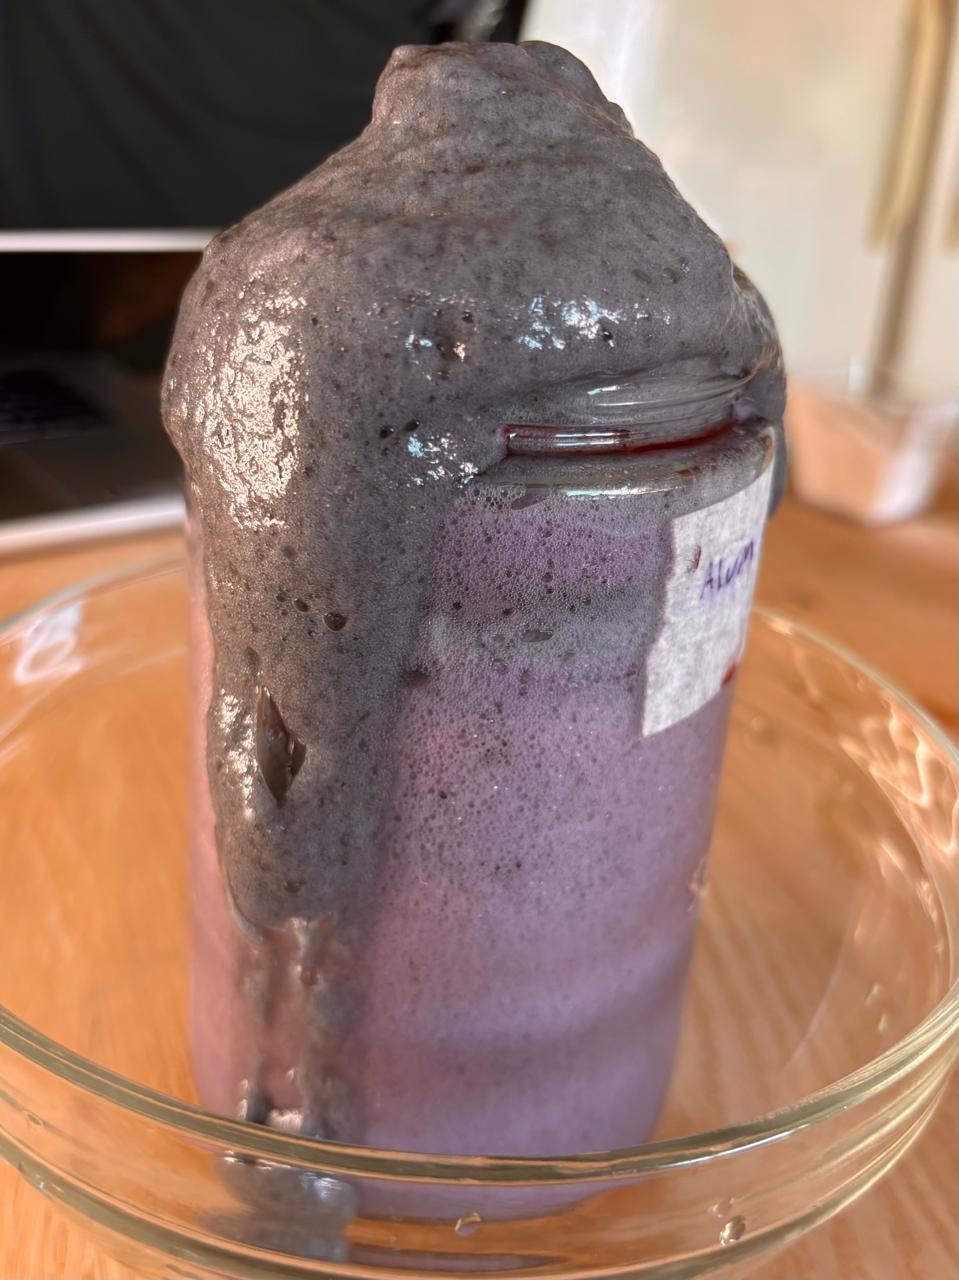
The first two images show the alum and sodium carbonate being added to the pomegranate dye bath. The last image shows the reaction in the hibiscus dye bath, using the same ingredients in the quantities calculated above for each bath.
3. Filter
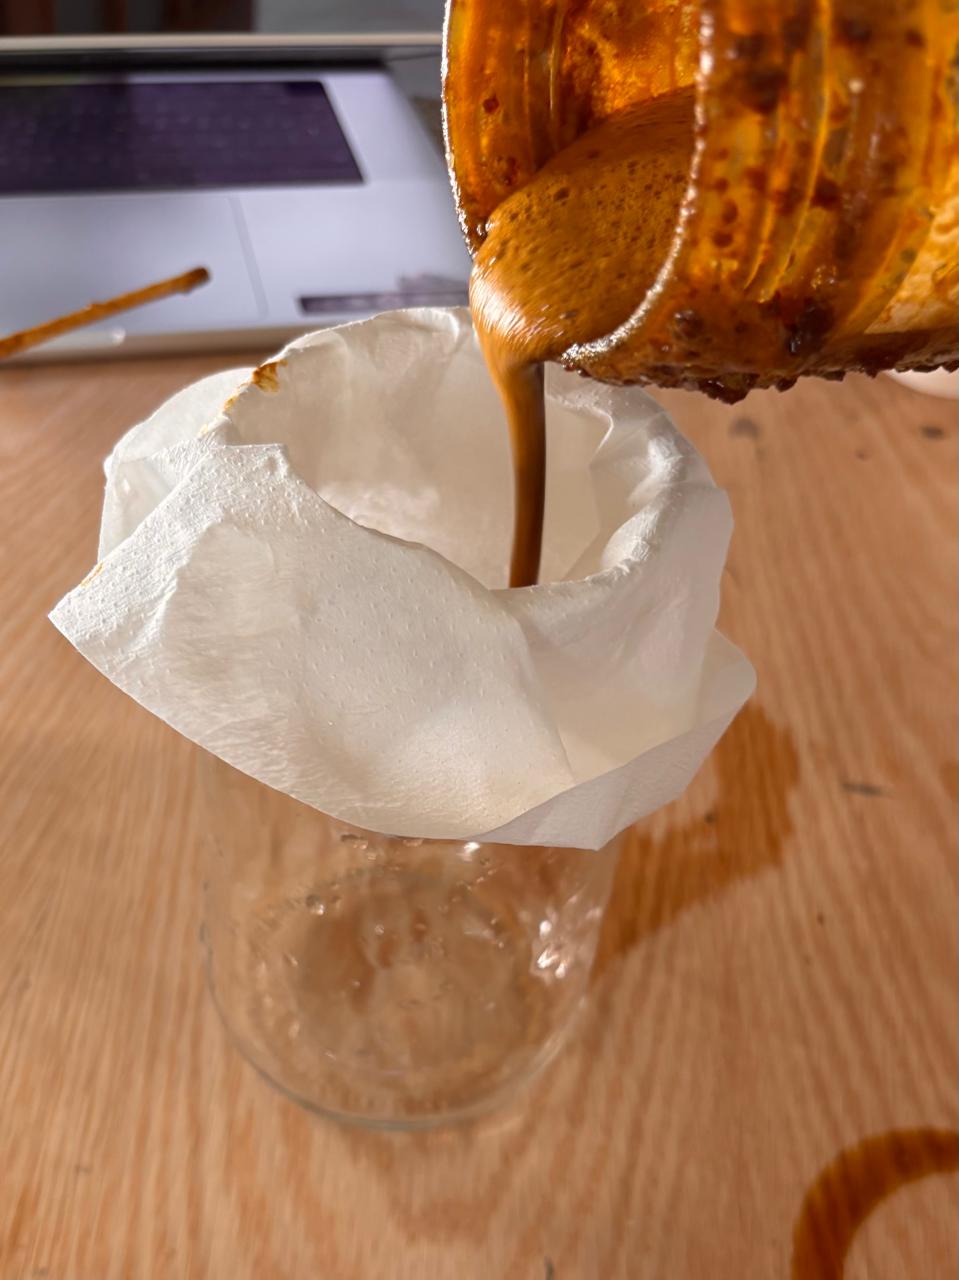
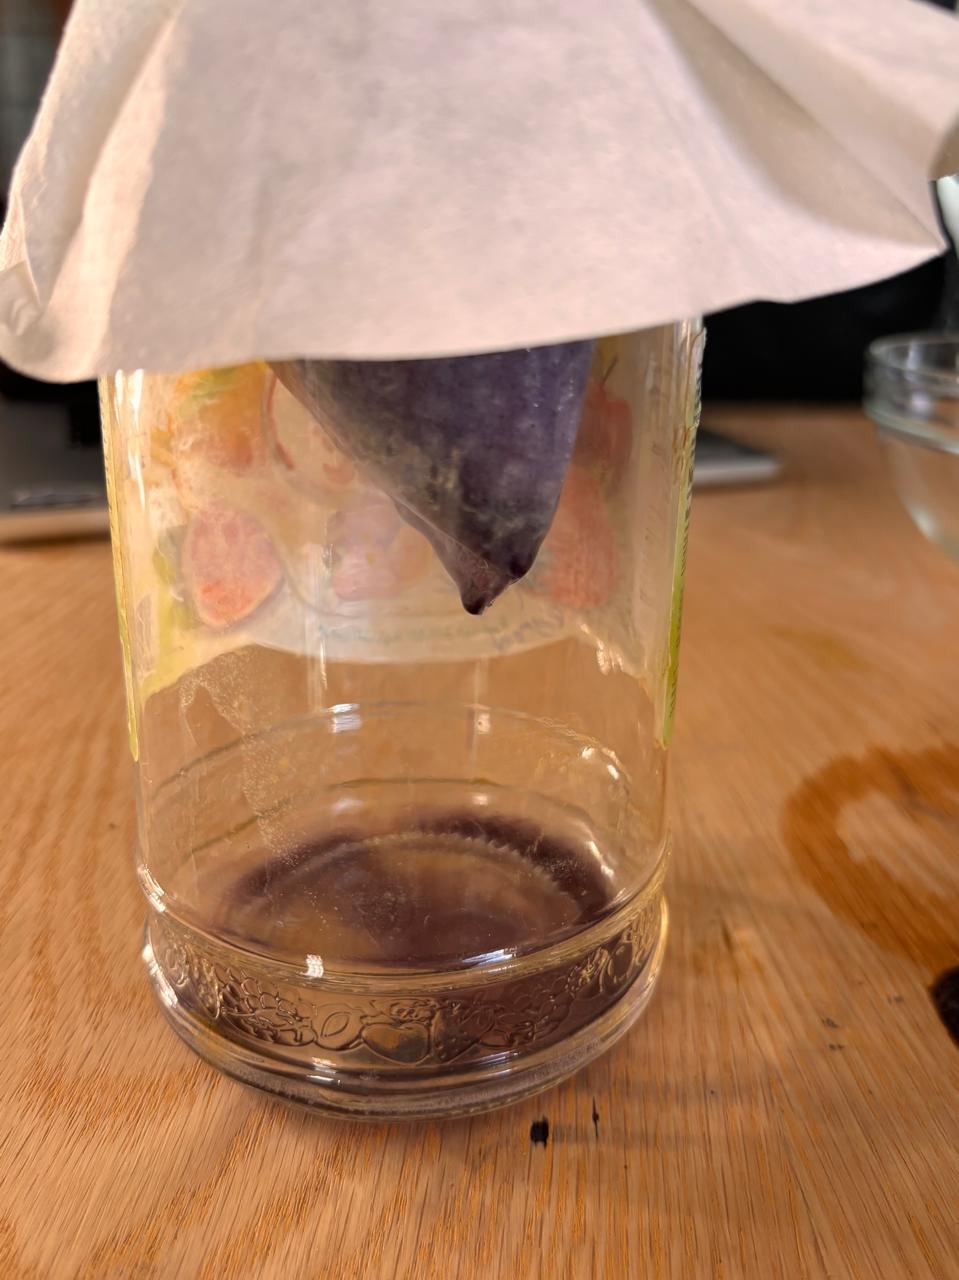
I then filtered each mixture through a coffee filter to collect the colored solids and left them in the sun to dry.
4. Dry the Pigment
Leave the pigment in its filter in a protected, ventilated place until completely dry. Drying time depends on the amount of material and the surrounding conditions. in my case it took 2 days to fully dry.
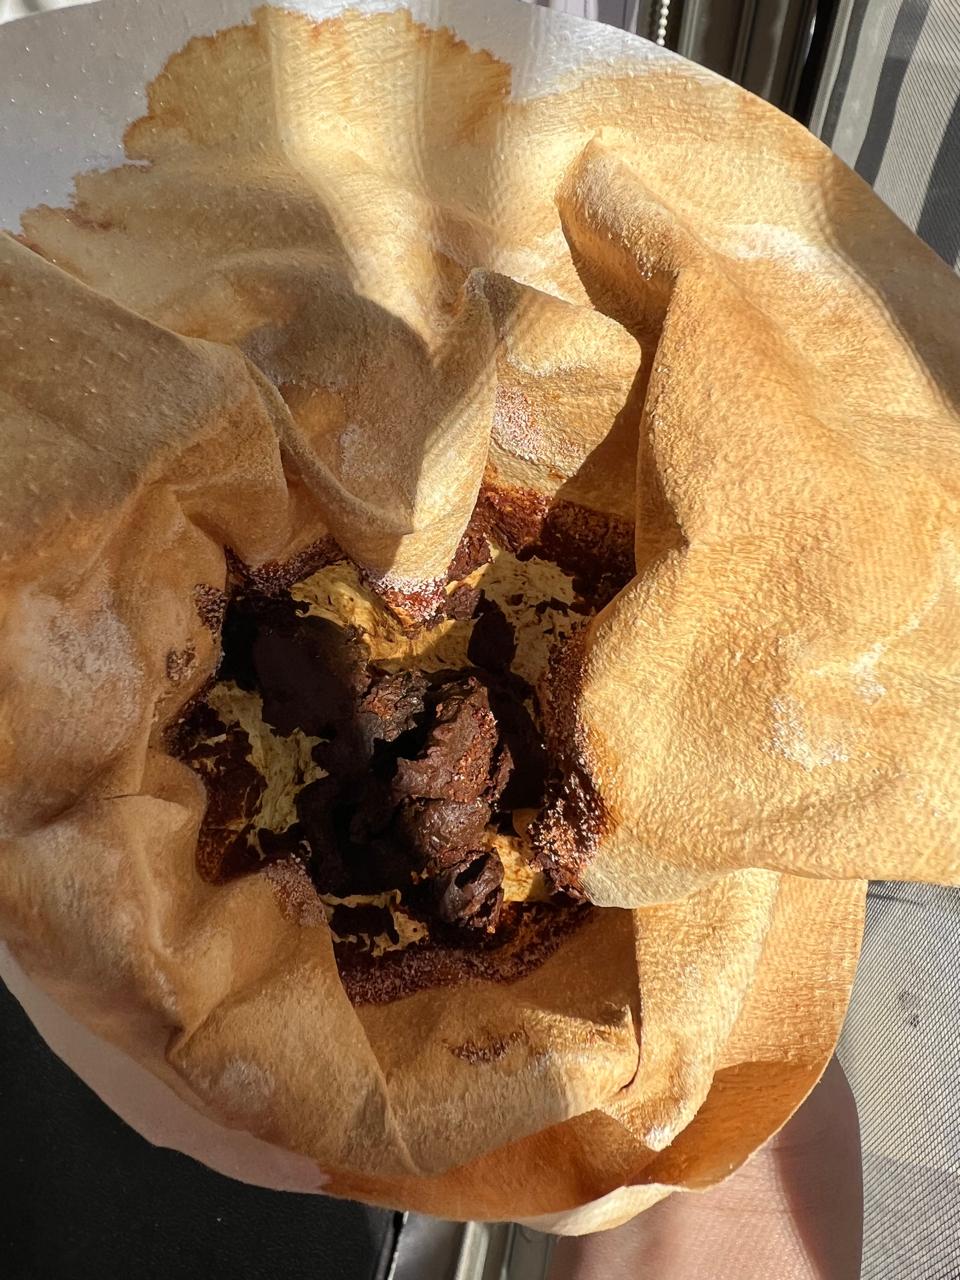
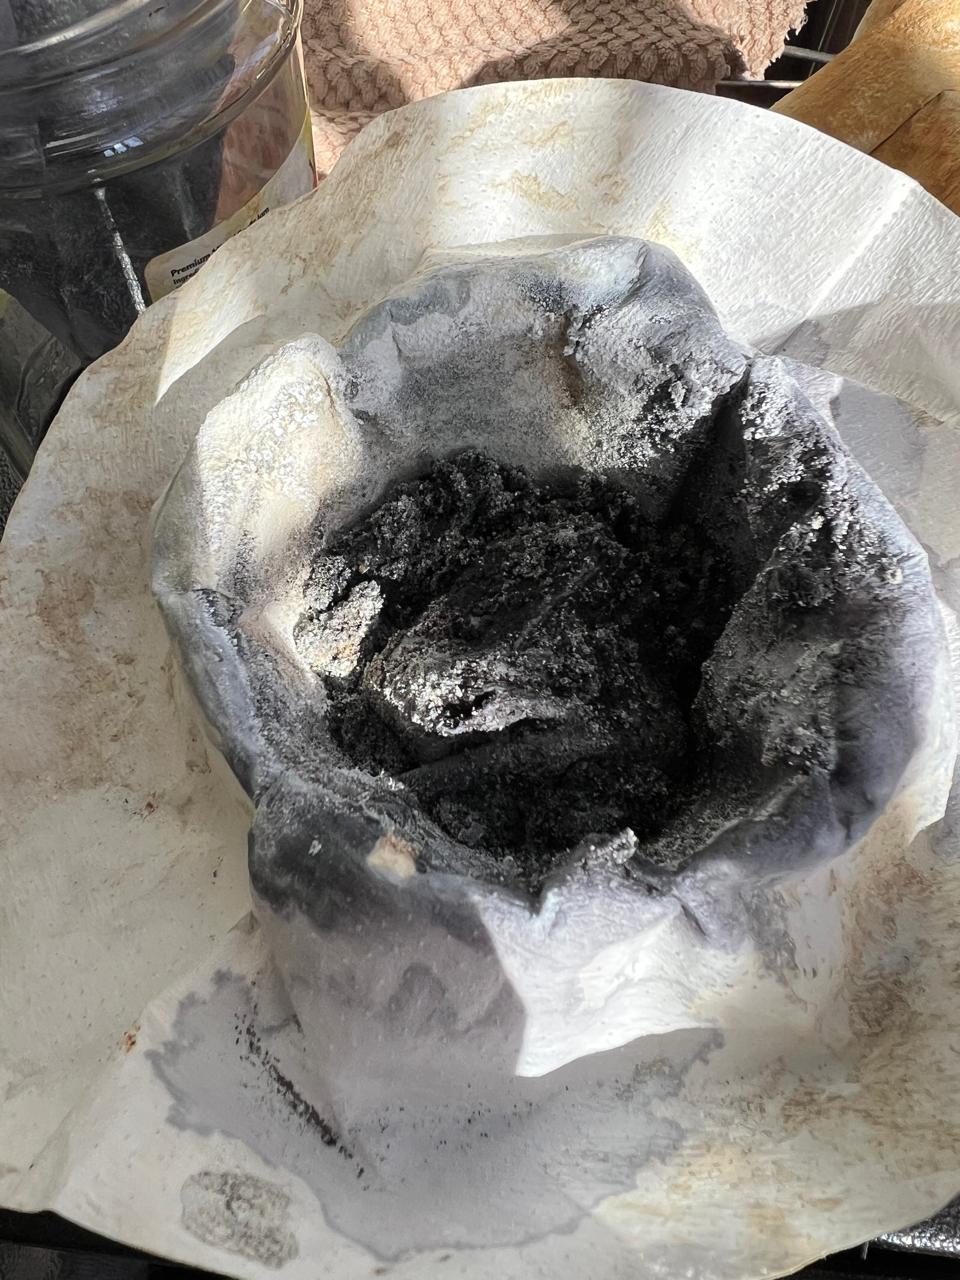
I noticed that the pomegranate mixture was not drying properly and had developed a thick, paste like consistency after 3 days. To help with the drying process, I removed it from the strainer and spread it into a thin layer, ensuring adequate airflow and ventilation. I then left it to dry completely before proceeding to the next step.
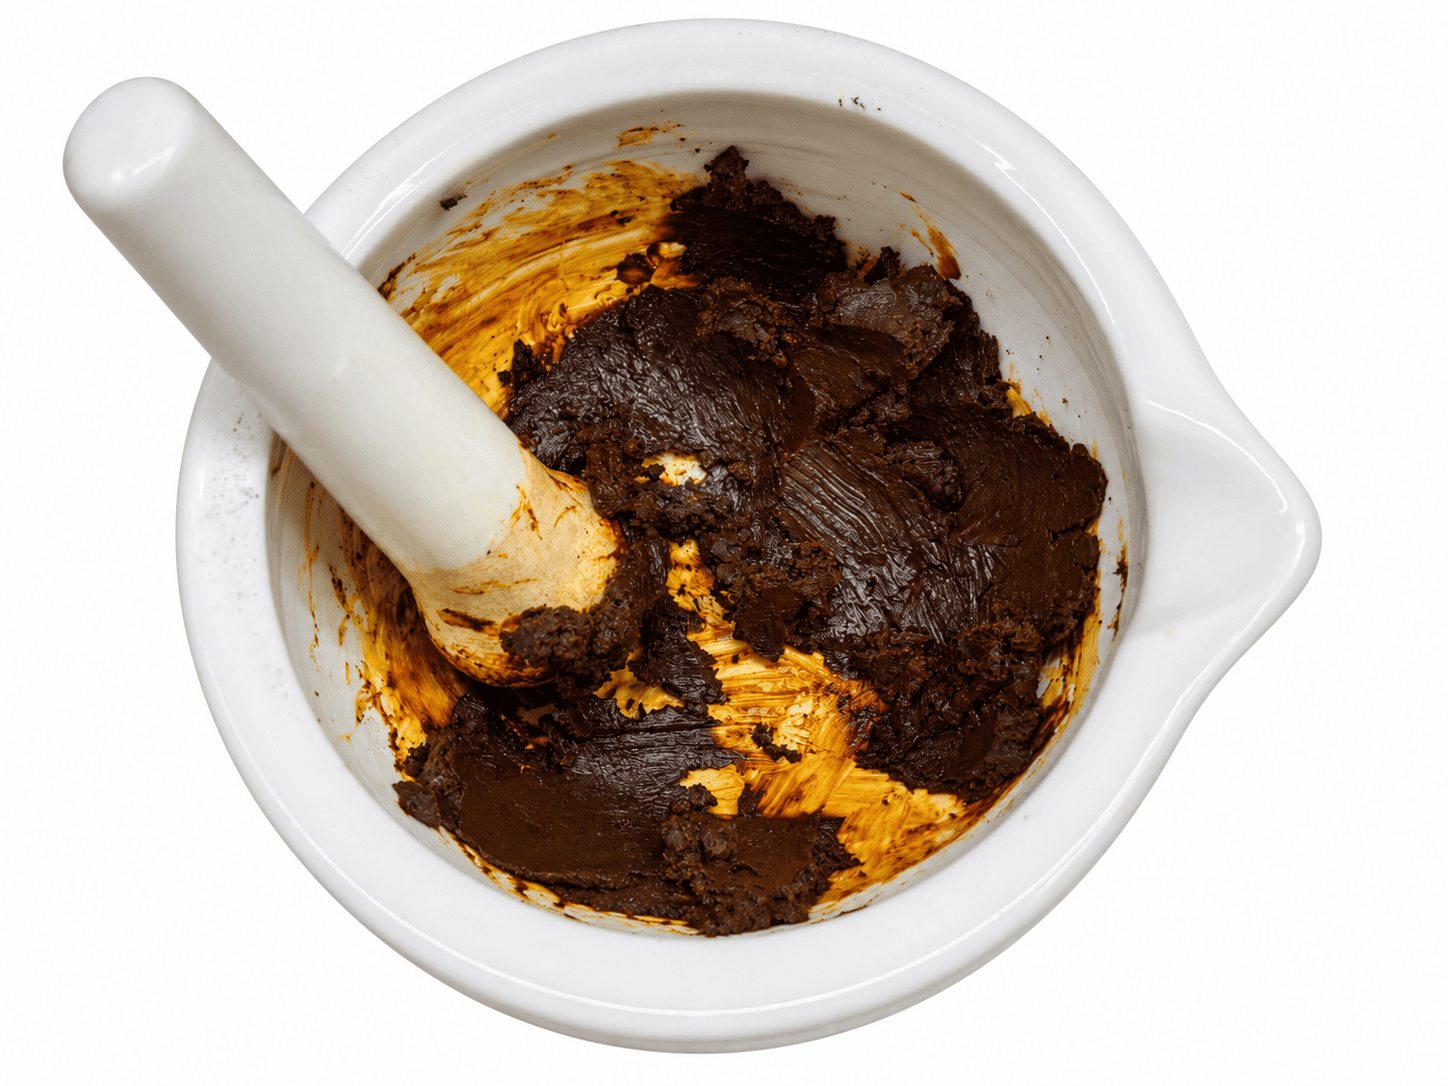
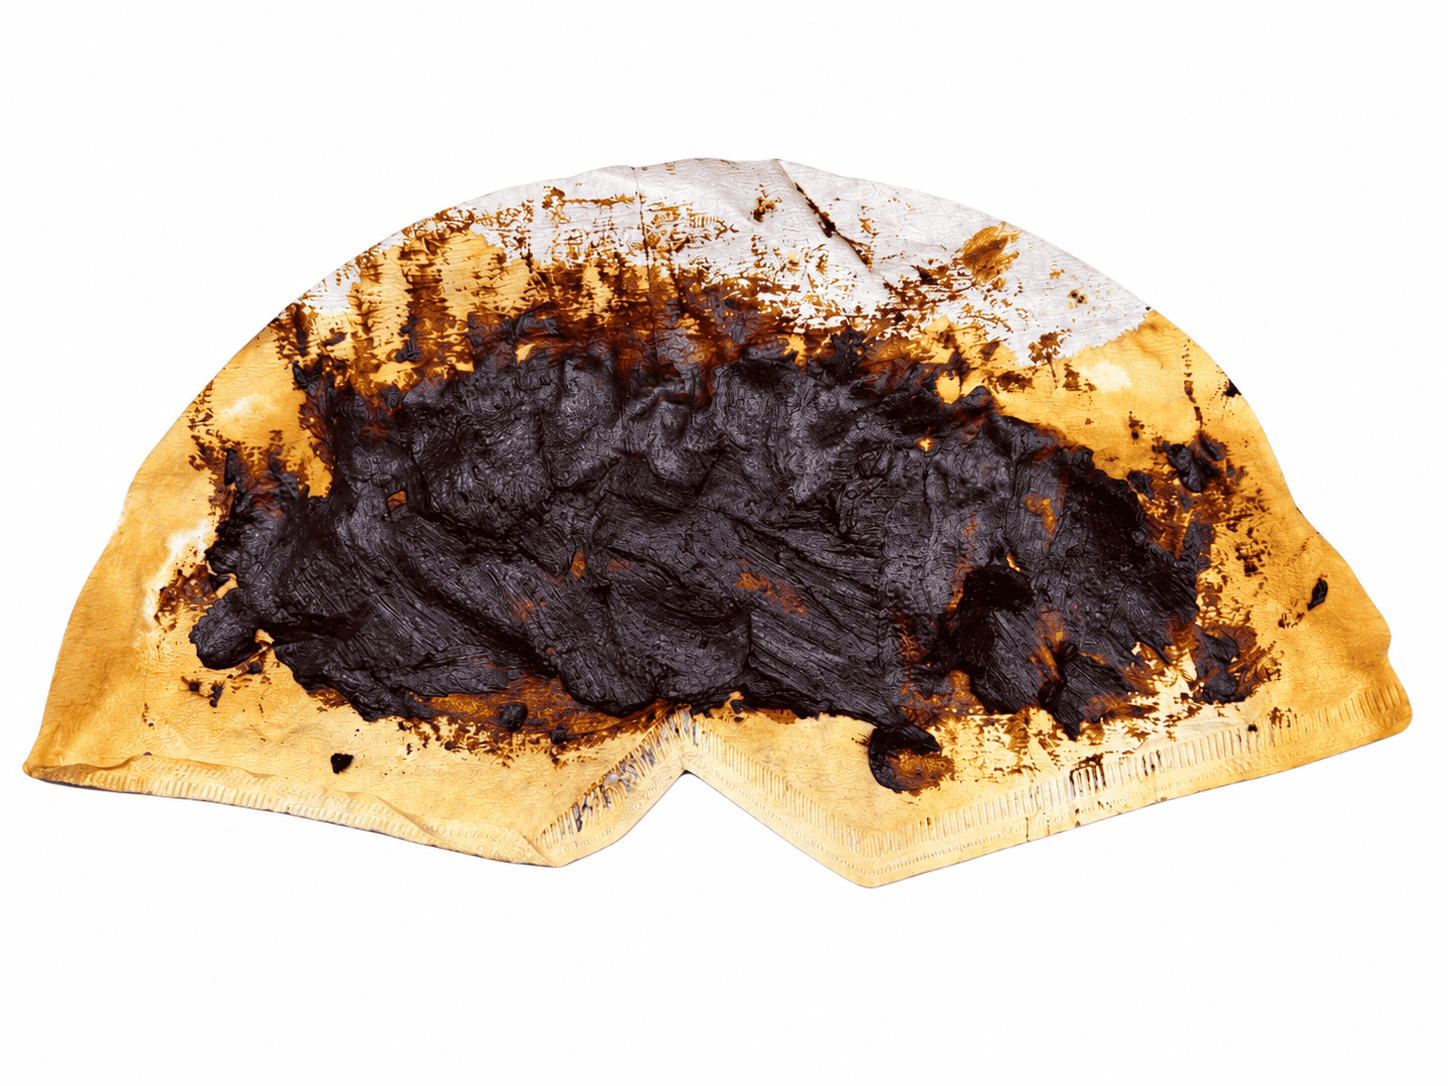
5. Grind and Store
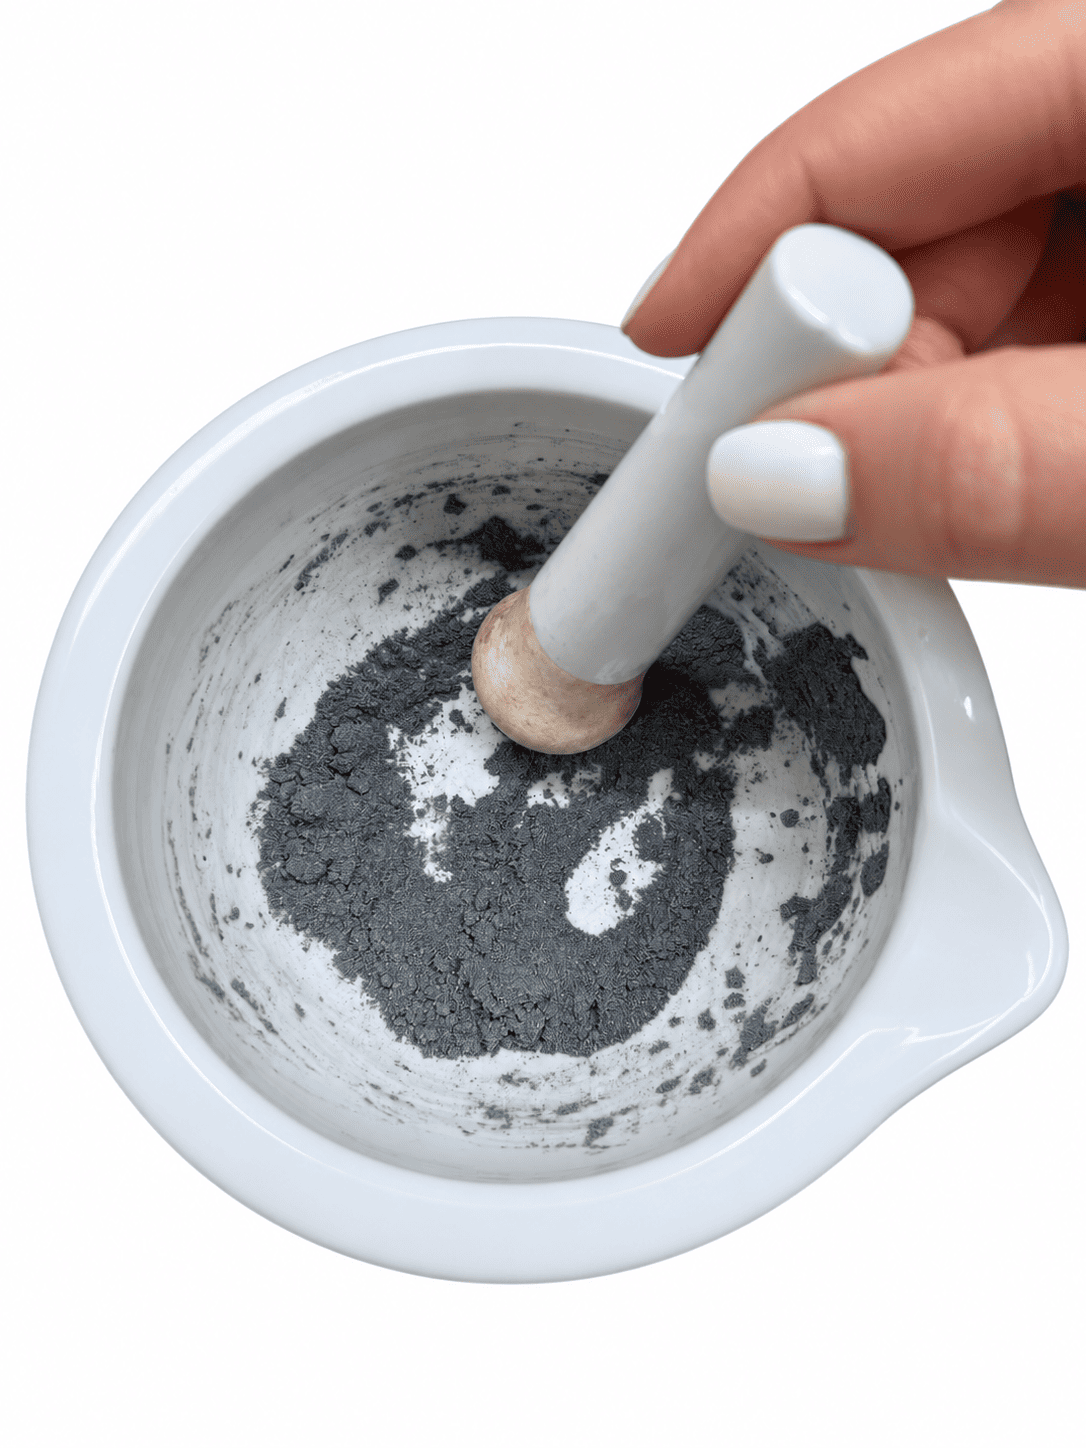
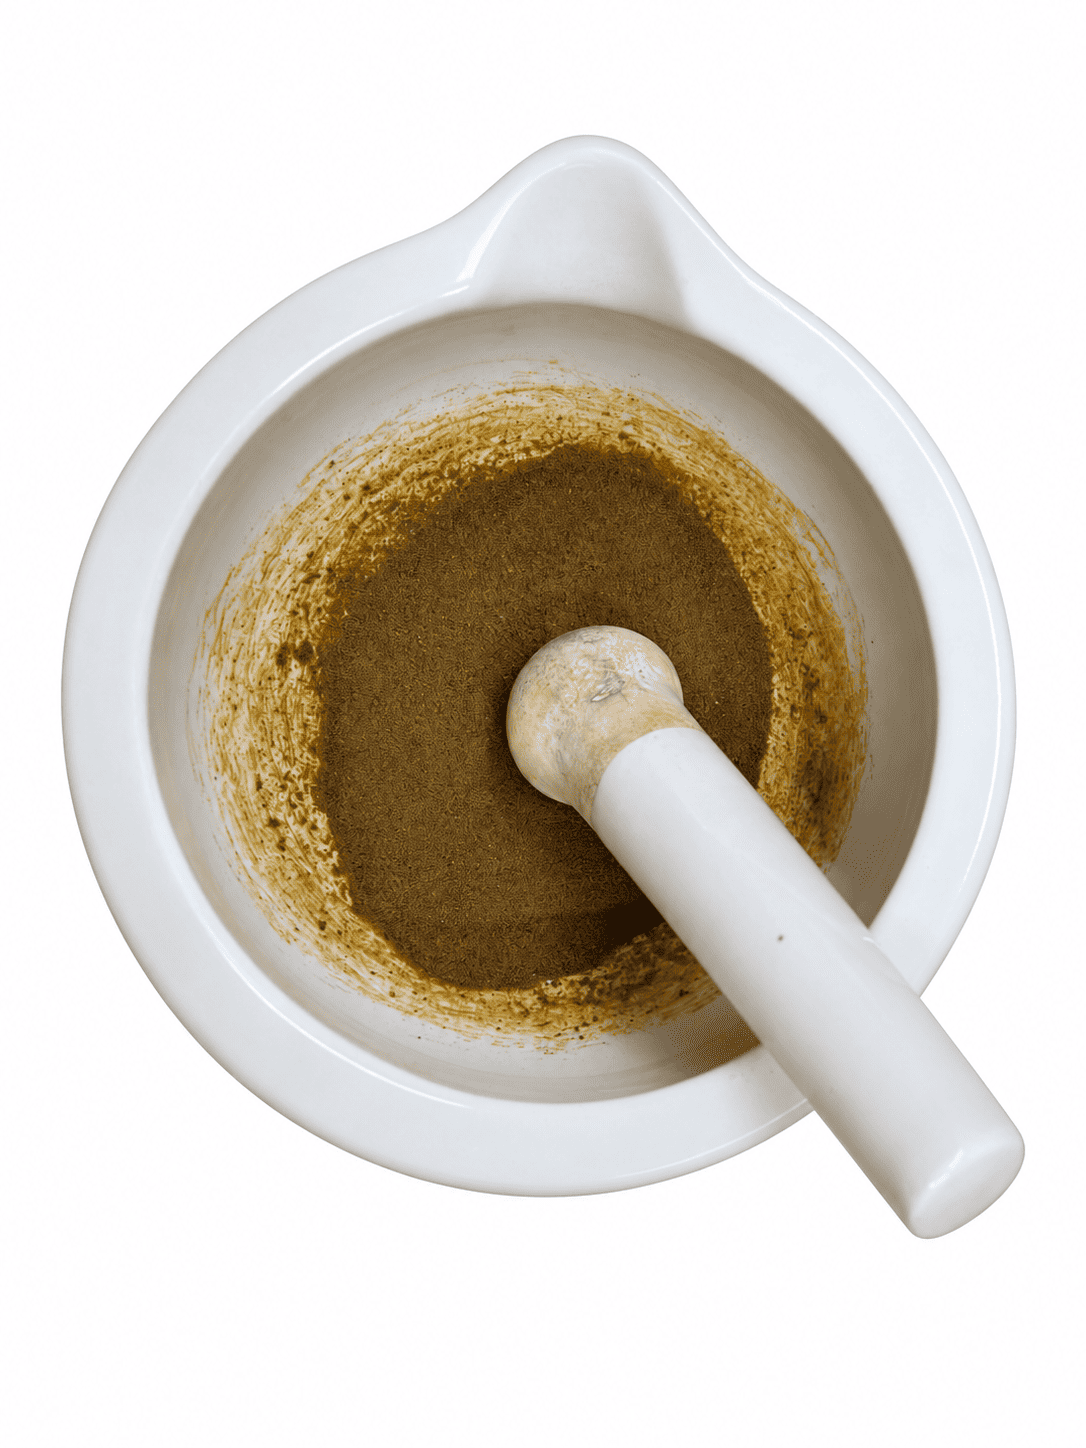
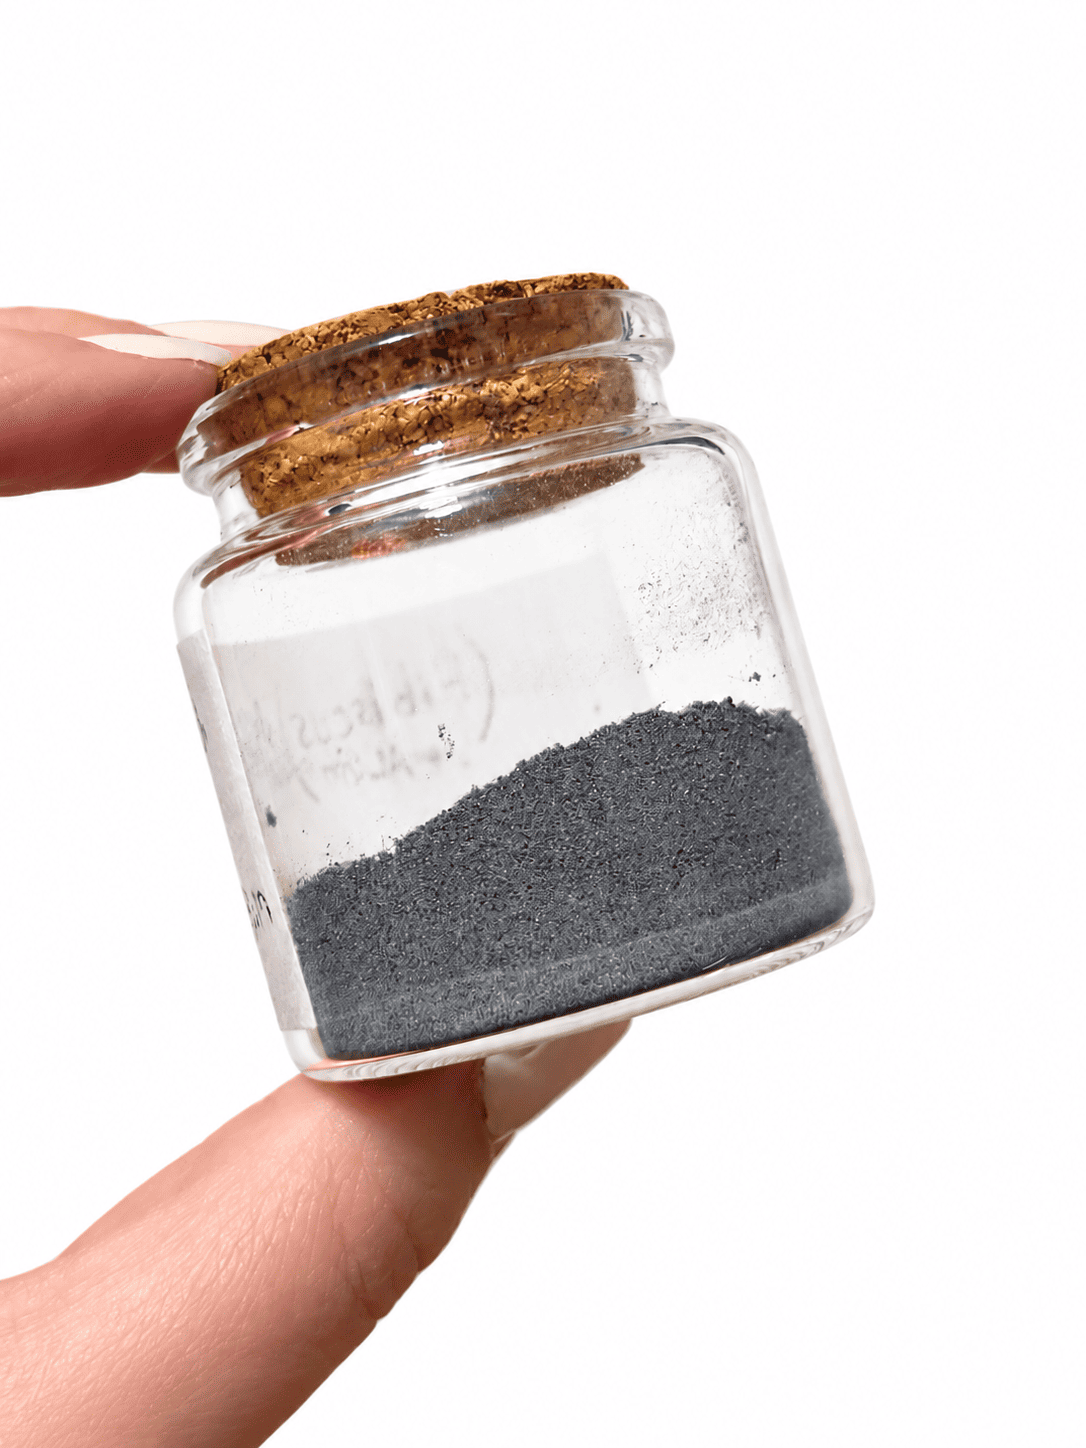
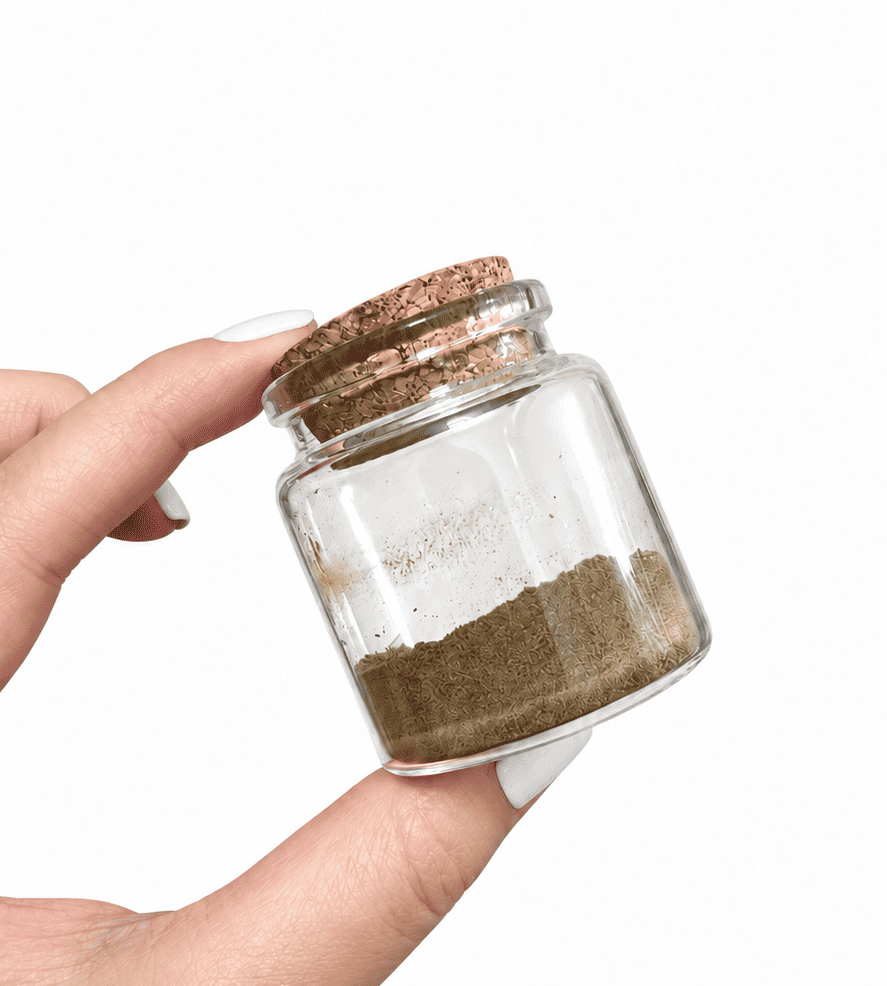
Once fully dry, I gently grind the pigment into a fine powder, avoiding airborne dust. I stored it in a labelled container with the dye source, date, and recipe.
The pigment can later be mixed with a suitable binder to explore applications such as watercolour or other paints.
My Experiments with Ink
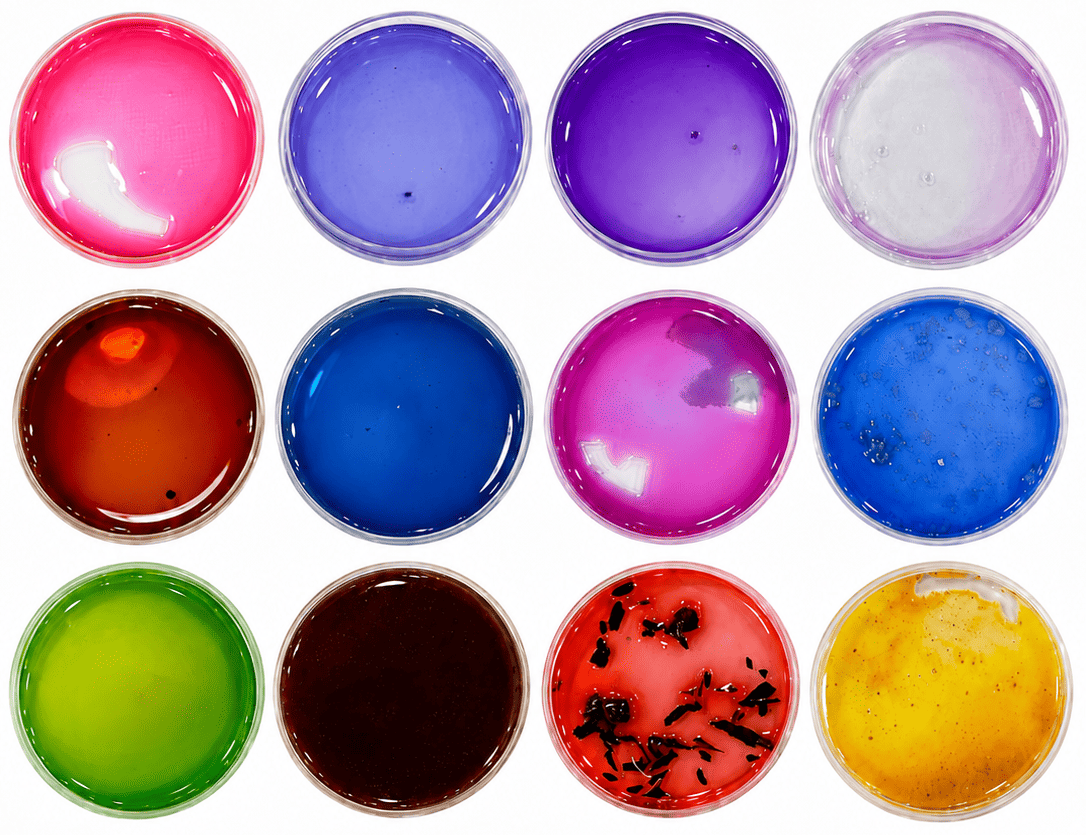
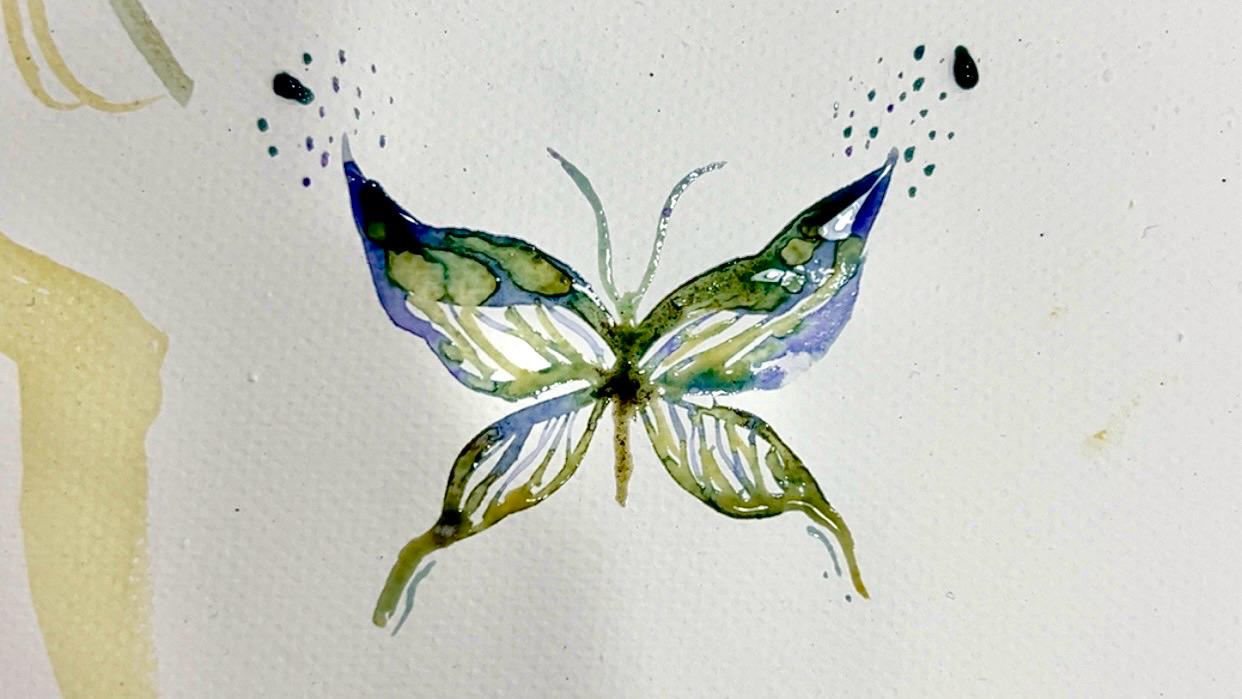
Red Cabbage Ink Exploration
As a group, we experimented with red cabbage as a colour source, using two extraction methods: water and ethanol. We then used both extracts as bases for testing modifiers and exploring colour variations.
1. Water Extraction
We started by boiling the red cabbage in water to release its colour into the liquid. We used the resulting extract as a base, dividing it into smaller portions to test different modifiers and observe their effects.
2. Ethanol Extraction
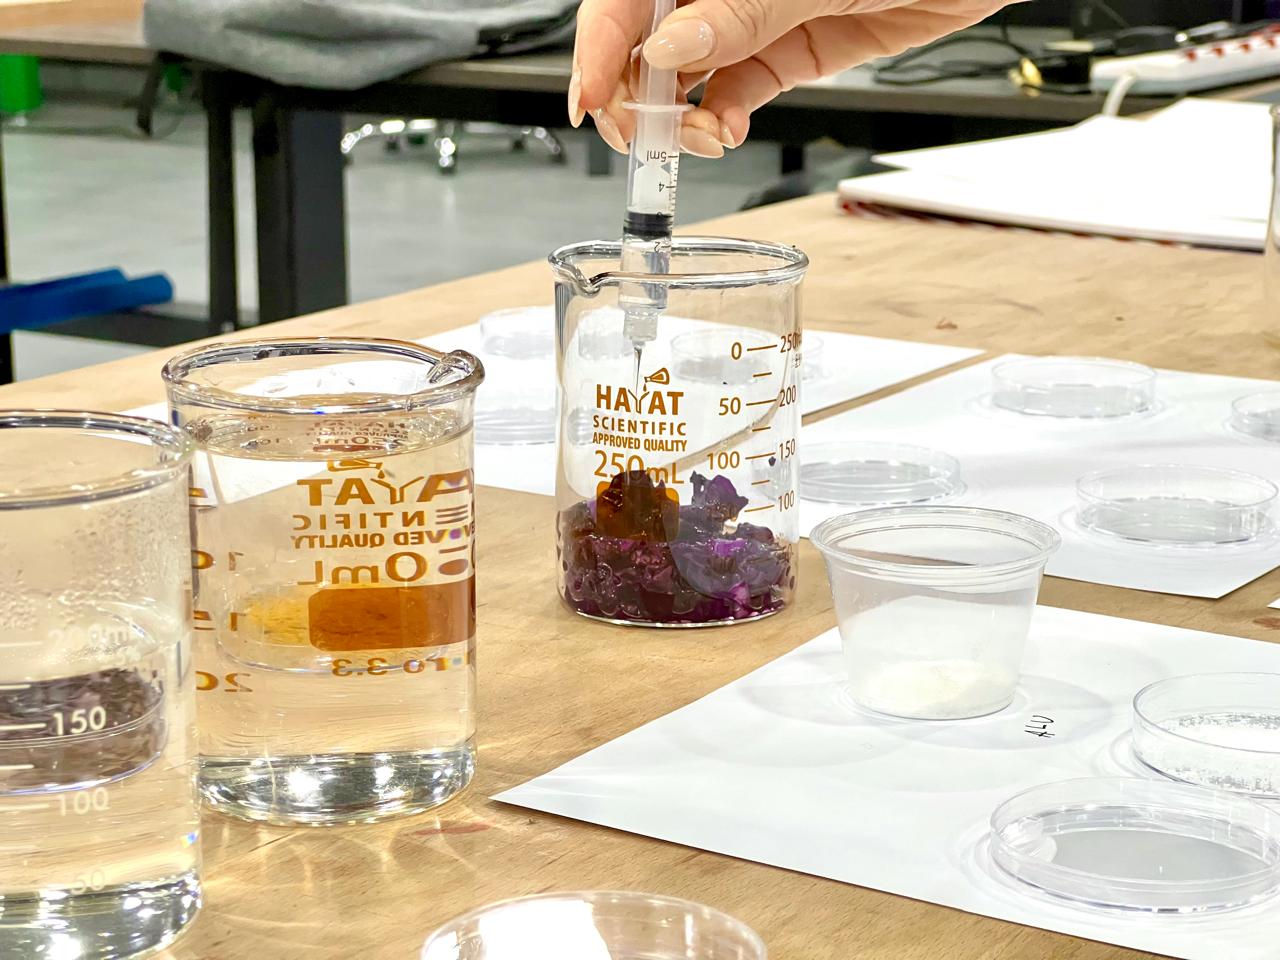
For the second method, we added ethanol to a separate portion of red cabbage to extract its colour without boiling. We also used this extract as a base for modifier tests, allowing us to explore how the colour responded after a different extraction method.
3. Exploring Modifiers
Red cabbage contains anthocyanins, colour compounds that respond to changes in pH. This makes it an interesting material for exploring how acidic and alkaline additions can change the appearance of an extract.
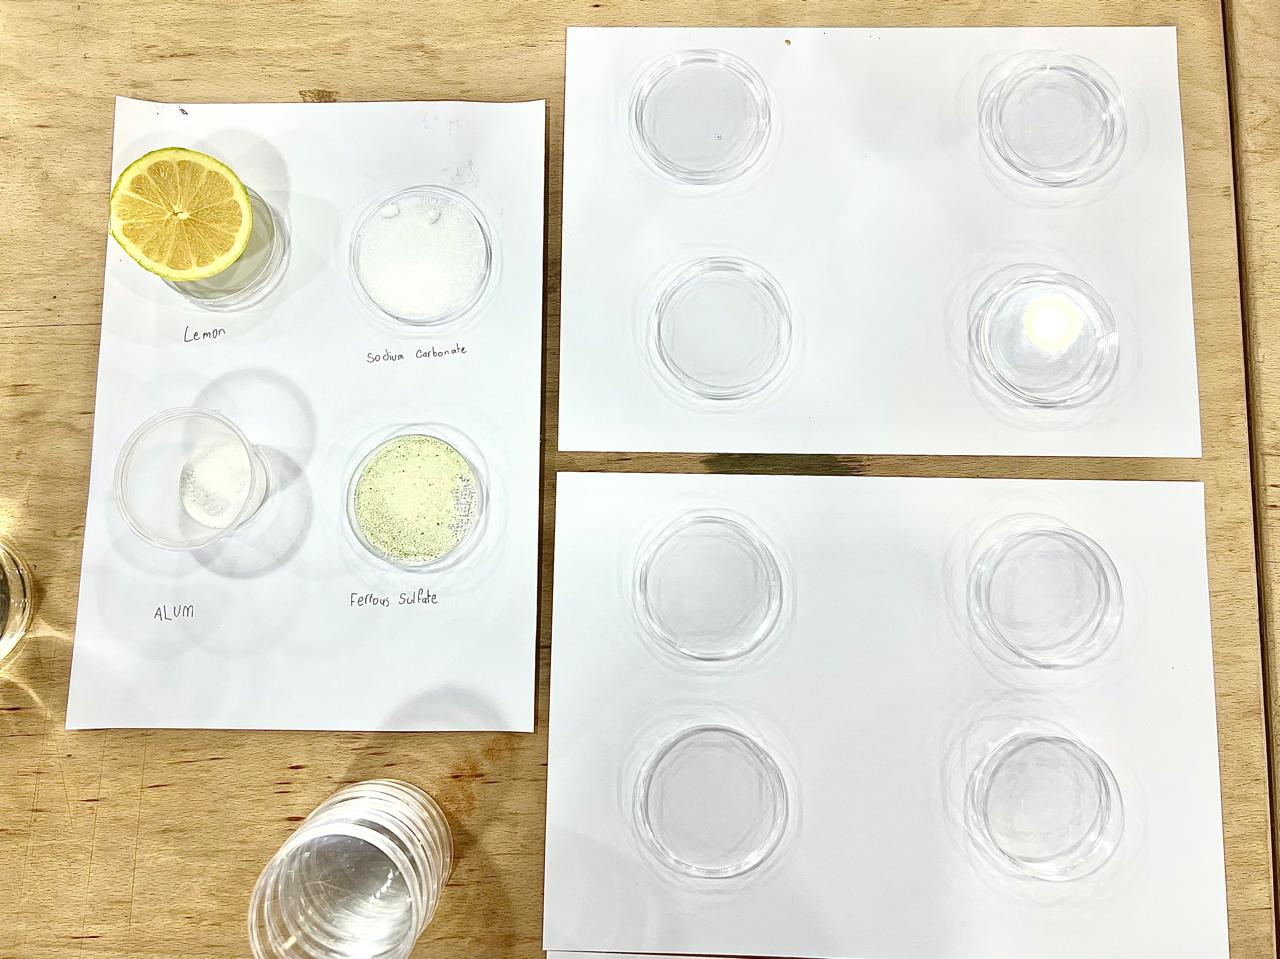
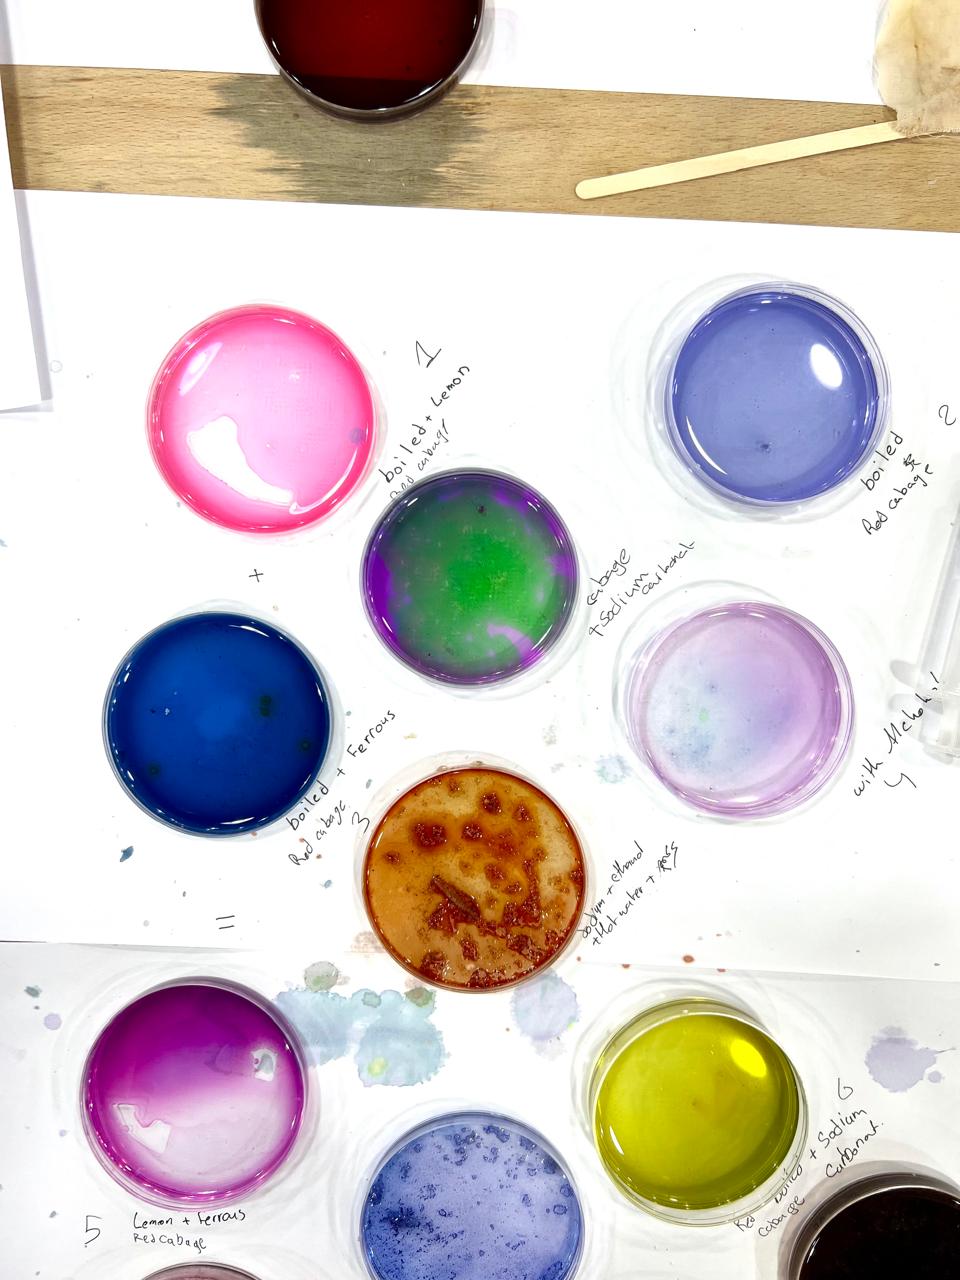
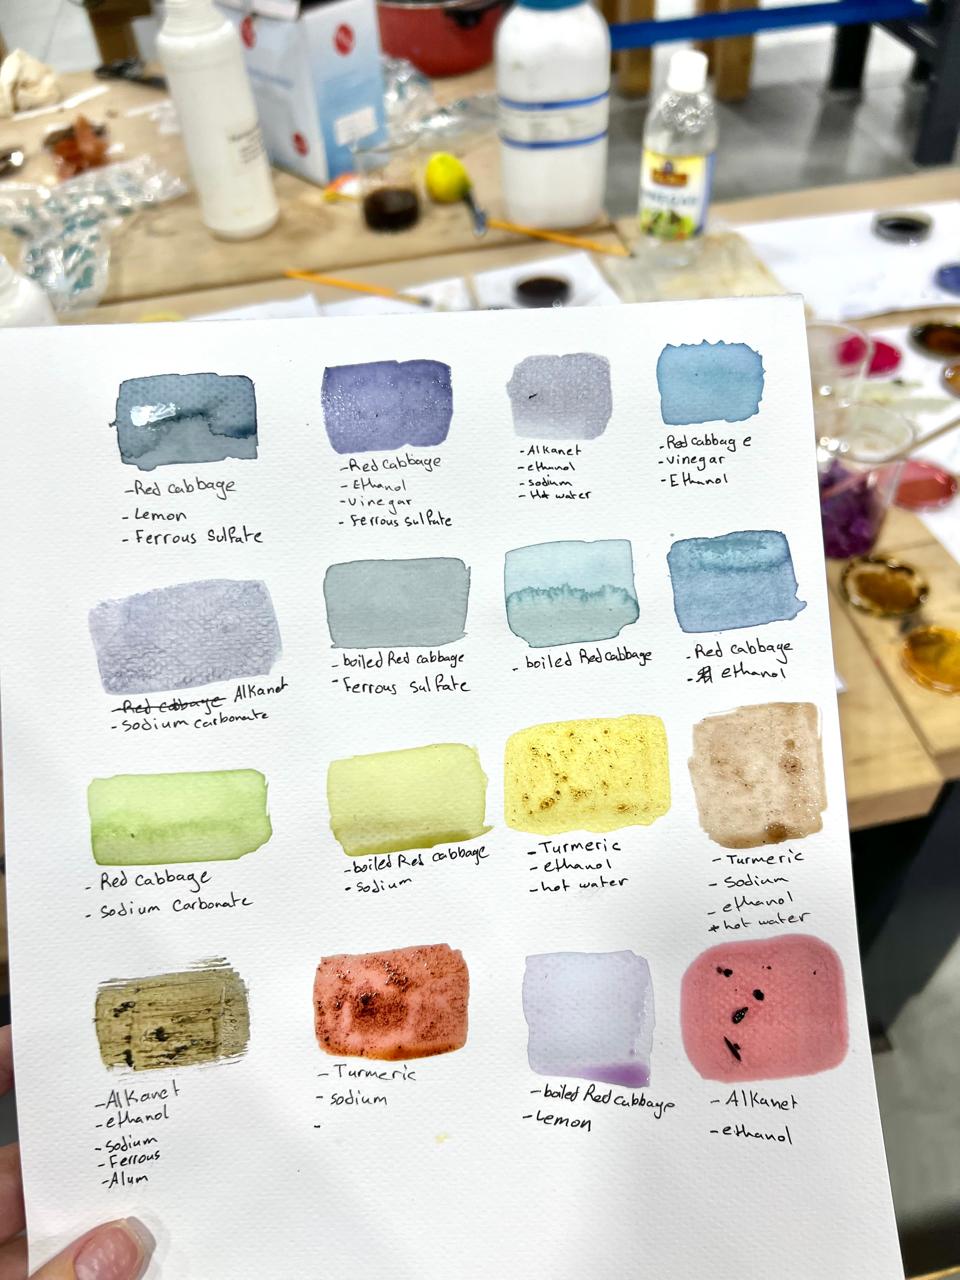
By testing modifiers in separate portions, I could compare the colour variations produced from each base. I kept the water based and ethanol based tests separate to distinguish between the two extraction methods.
Red Cabbage: Comparing Extraction Methods and Modifiers
We tested modifiers on two red cabbage extracts: one made by boiling the cabbage in water, and another made by soaking it in ethanol. The grid below brings the tests together so we can compare the colour produced by each treatment.
| Modifier | Water based extract boiled | Ethanol based extract soaked |
|---|---|---|
| No modifier | TBD | TBD |
| Alum | TBD | TBD |
| Sodium carbonate | TBD | TBD |
| Ferrous sulfate | TBD | TBD |
| Alum + ferrous sulfate | TBD | TBD |
| Alum + sodium carbonate | TBD | TBD |
Group Installation Work
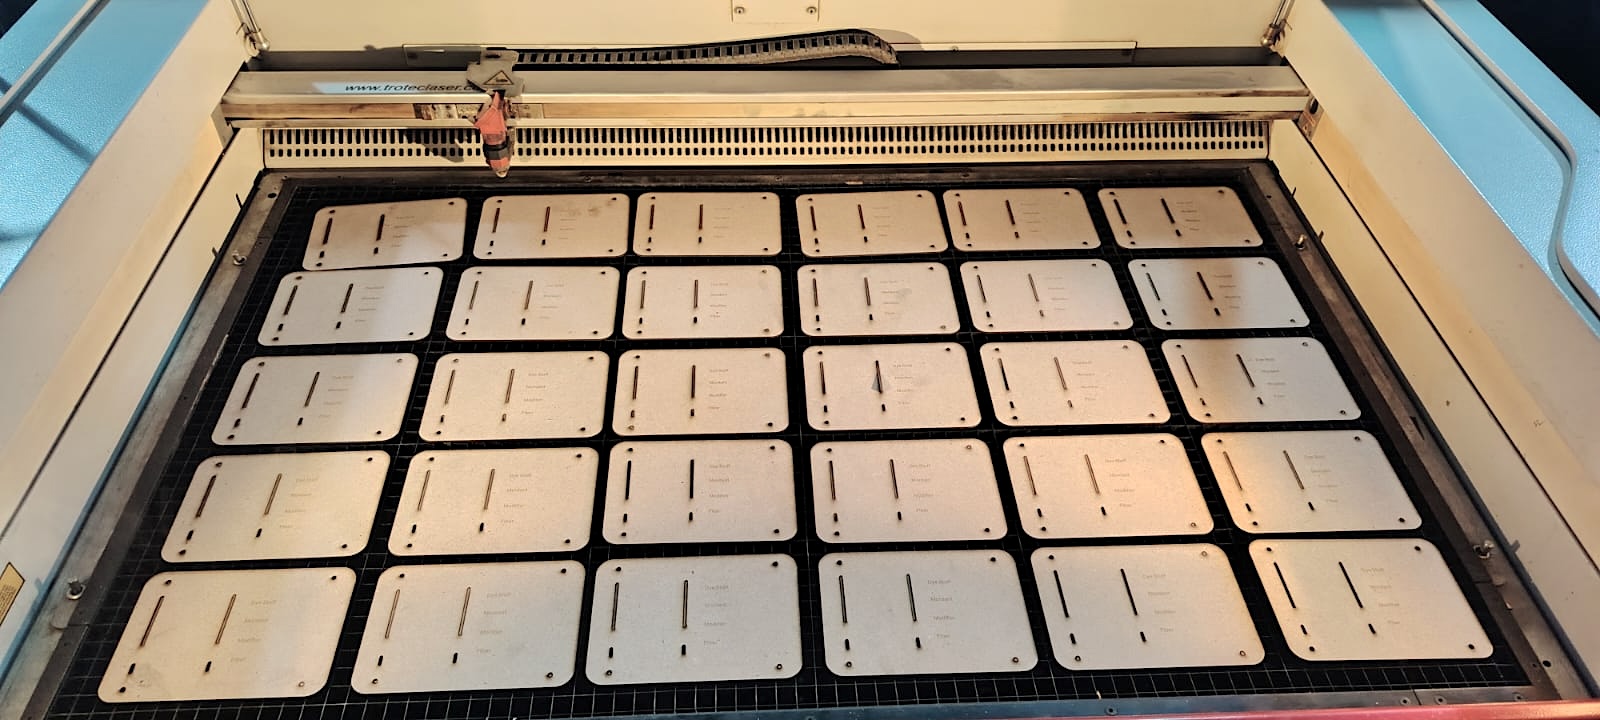
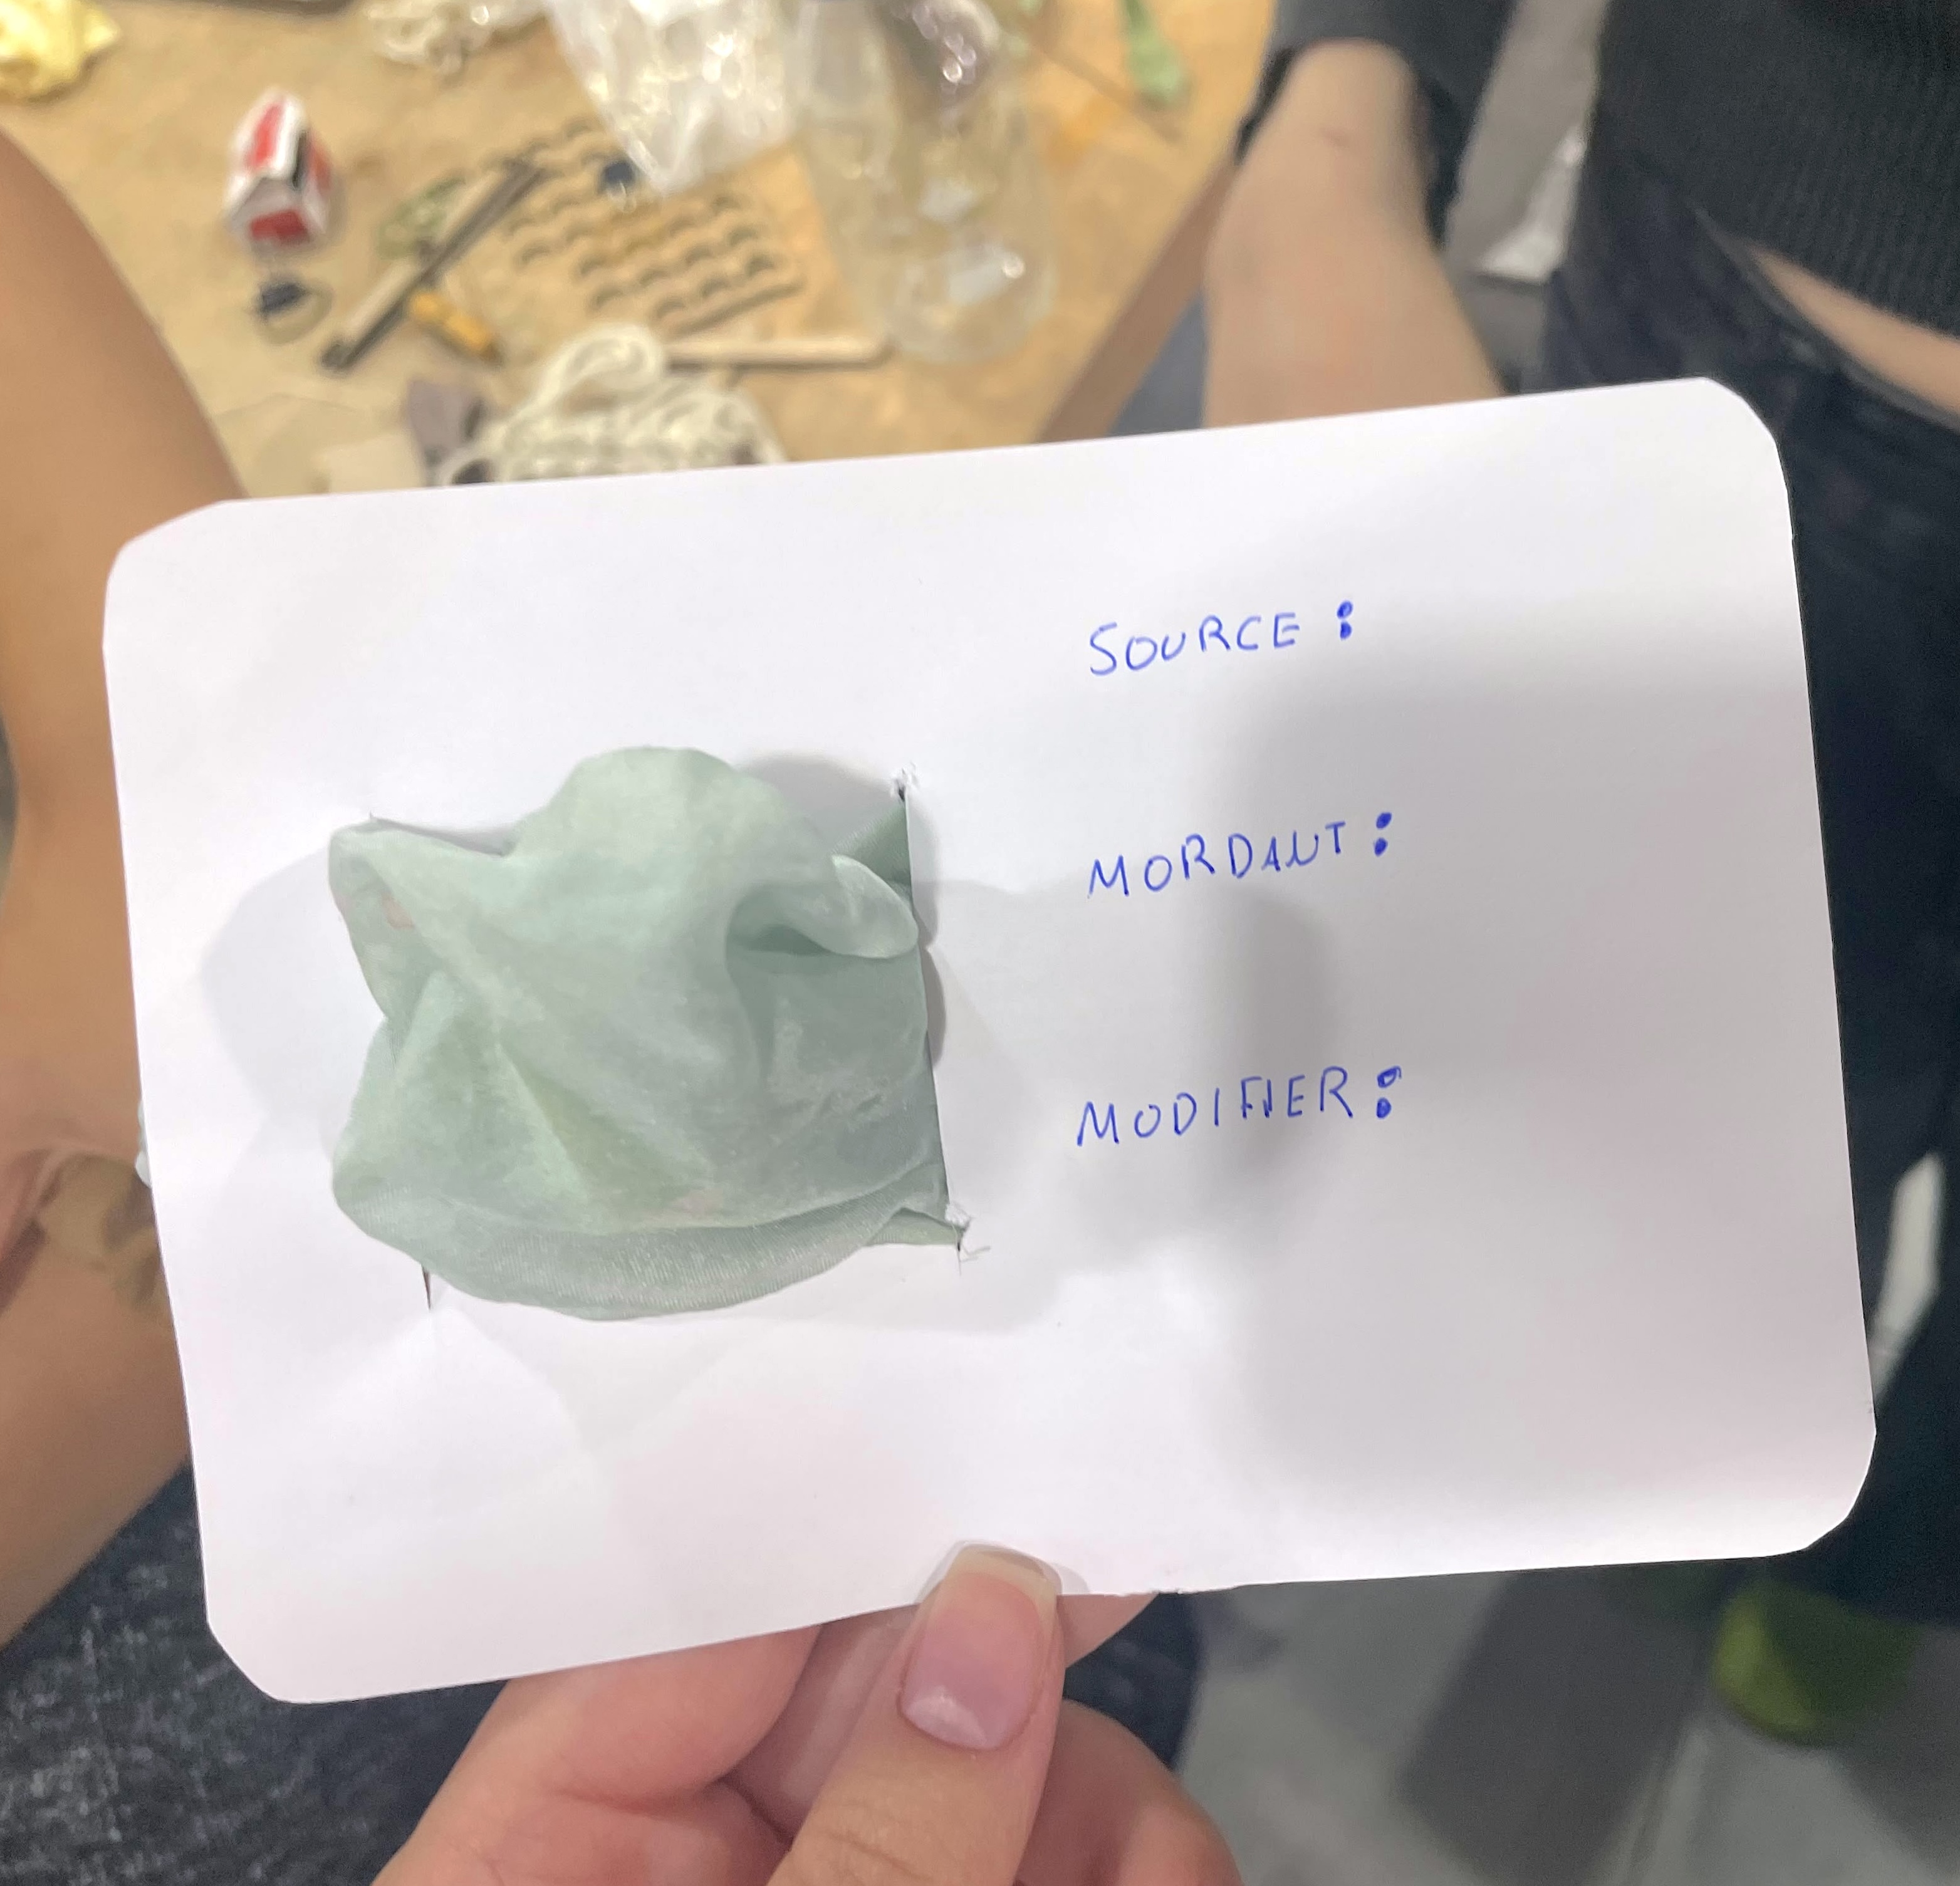
As a group, we decided to bring our results together in a shared installation. We designed a template with space for both fabric and thread samples, then laser cut the pieces from 2 mm MDF. Each piece connects to the others, bringing our individual experiments together in one display.
Our installation will be exhibited at the Makers Collective event on 24 October 2026.
Reflection & critical thinking
- What did I learn? What did I personally find interesting or surprised me?
- What would I do differently? If something "failed" do I know how else to tackle it now?"
- How does this connect to my final project or my learning trajectory?
- What are implications and possible applications, think also from the ethical or environmental aspect, how it could connect to your practice and project?