Computational Couture
We started this week by following Julia Körner’s lecture. She showed her previous work made with different 3D printers. Her work is mostly inspired by natural elements. It was a good start to the week, and I was ready to explore 3D printing on and with fabrics. Do you want to see what I made this week? Here you can find the results.
Moodboard and Research
As I said, the starting lecture was a good source of inspiration for me. I looked up some repetitive shapes that come naturally. This led me to biomimicry and how shapes have multiple functions. I filled a couple of pages with images of mostly animals.
I was mostly inspired by the life cycle of the moon jellyfish, you can read more about it here. I liked the movement of each life stage and was curious to see how I could translate this to fabric.
Process
After I gathered my inspiration, I followed a couple of tutorials on YouTube on geometry nodes in Blender.
Blender
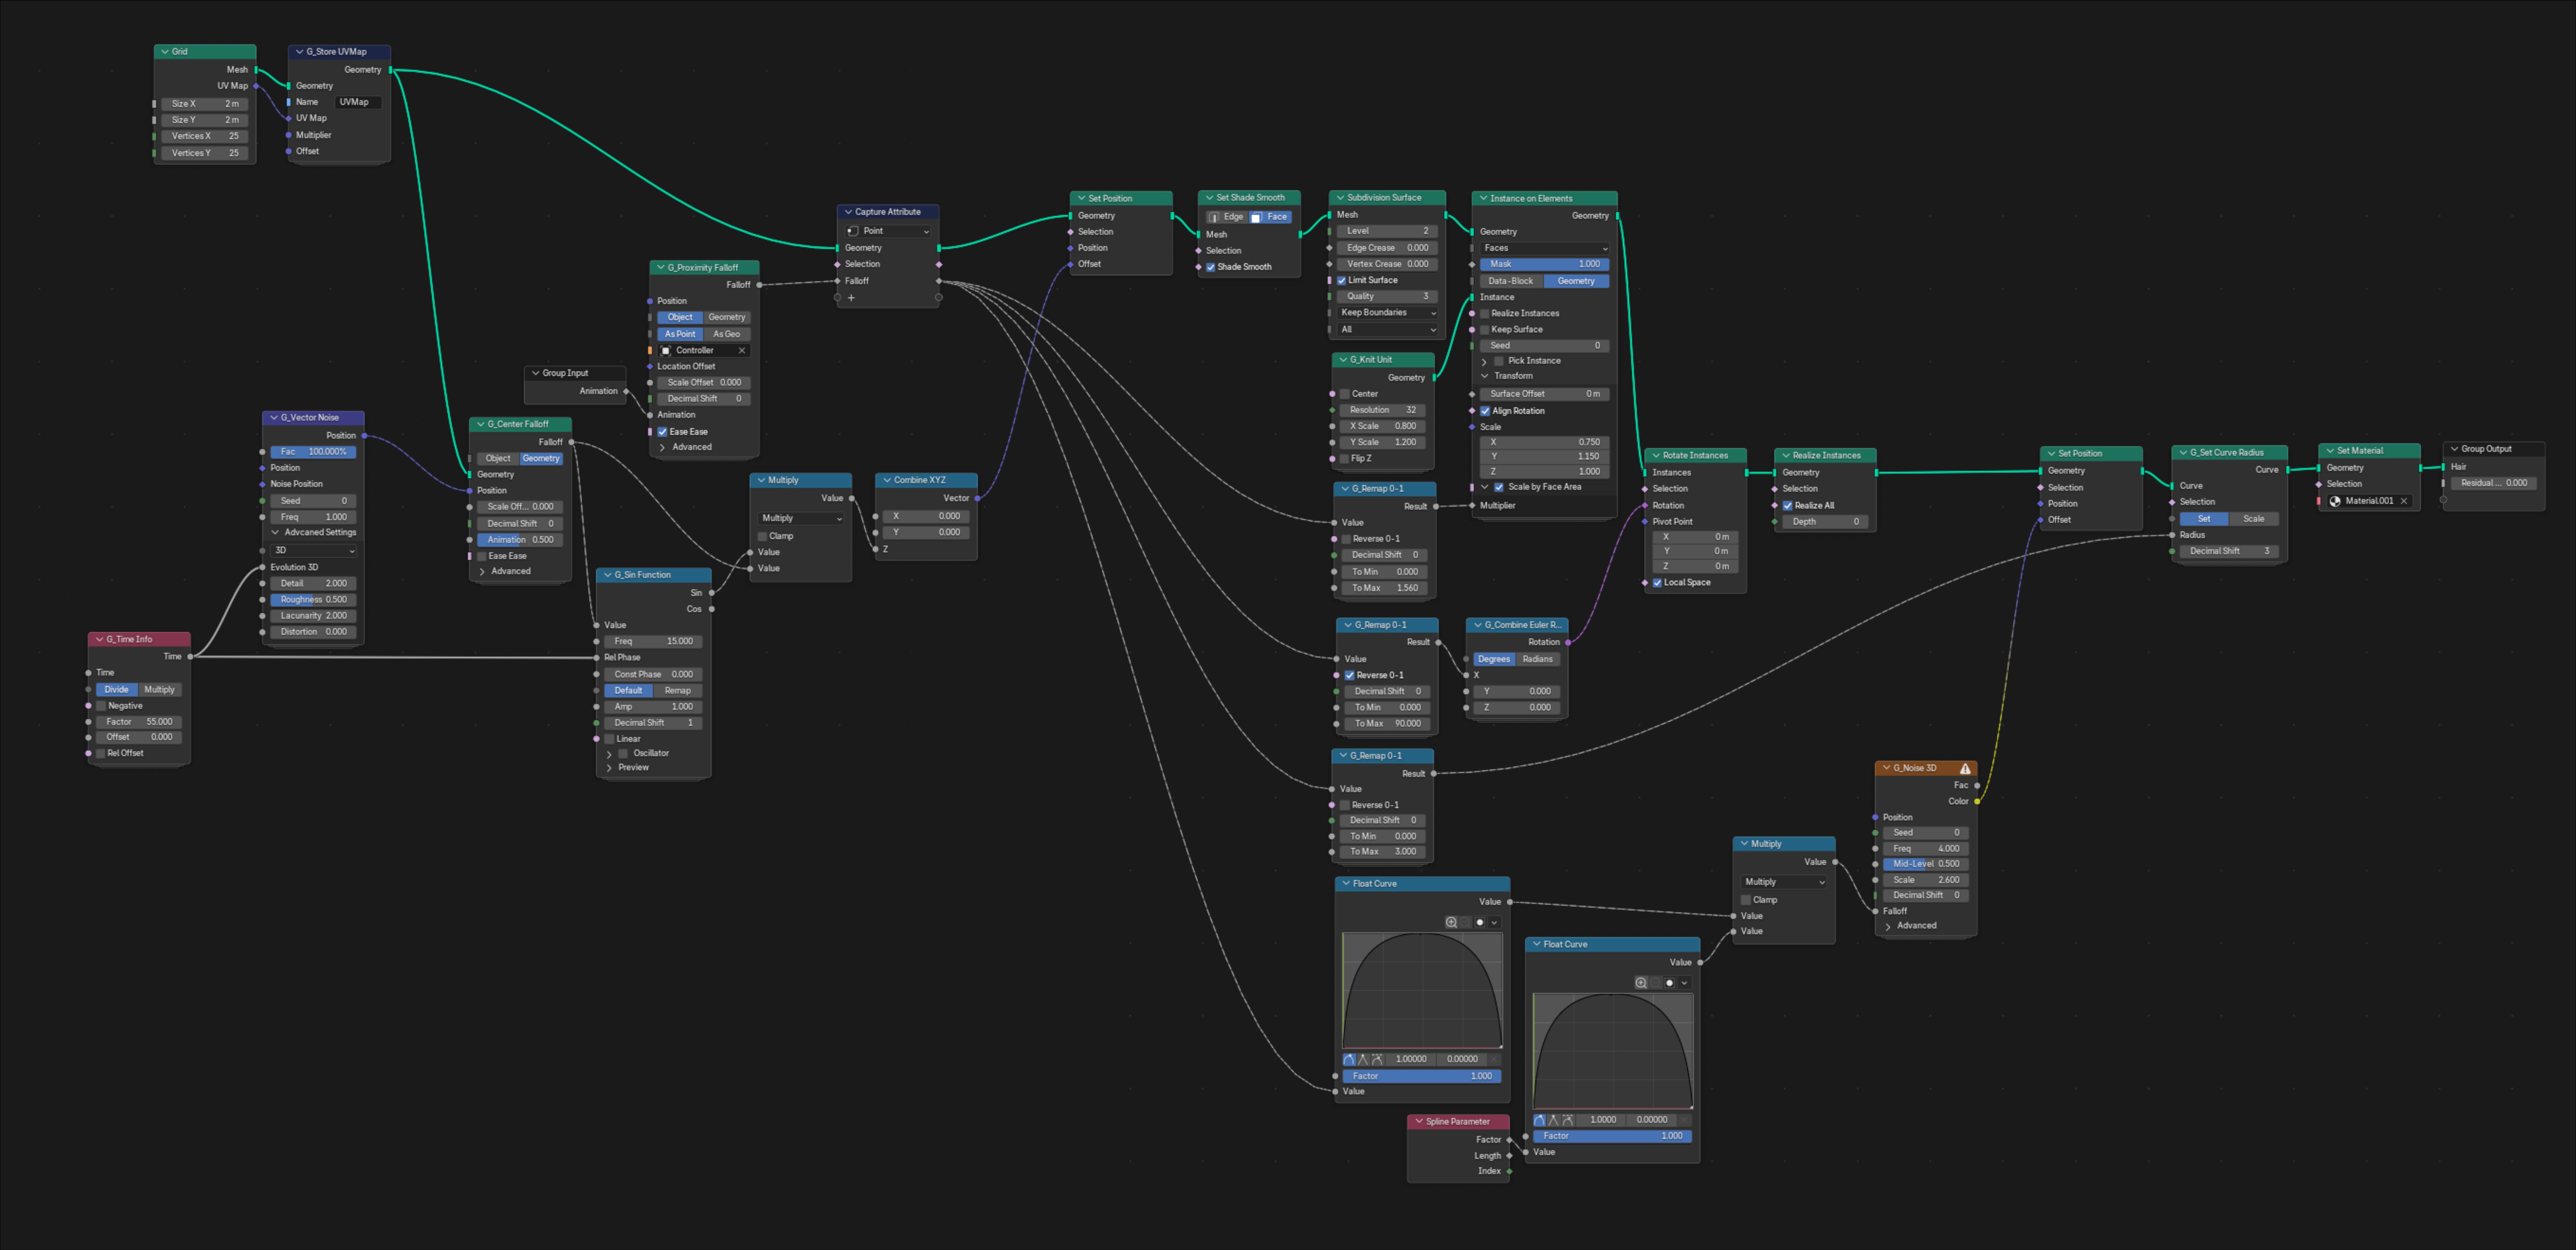
Before, I had already made a knit-like texture using the tutorial of Bradley Animation.
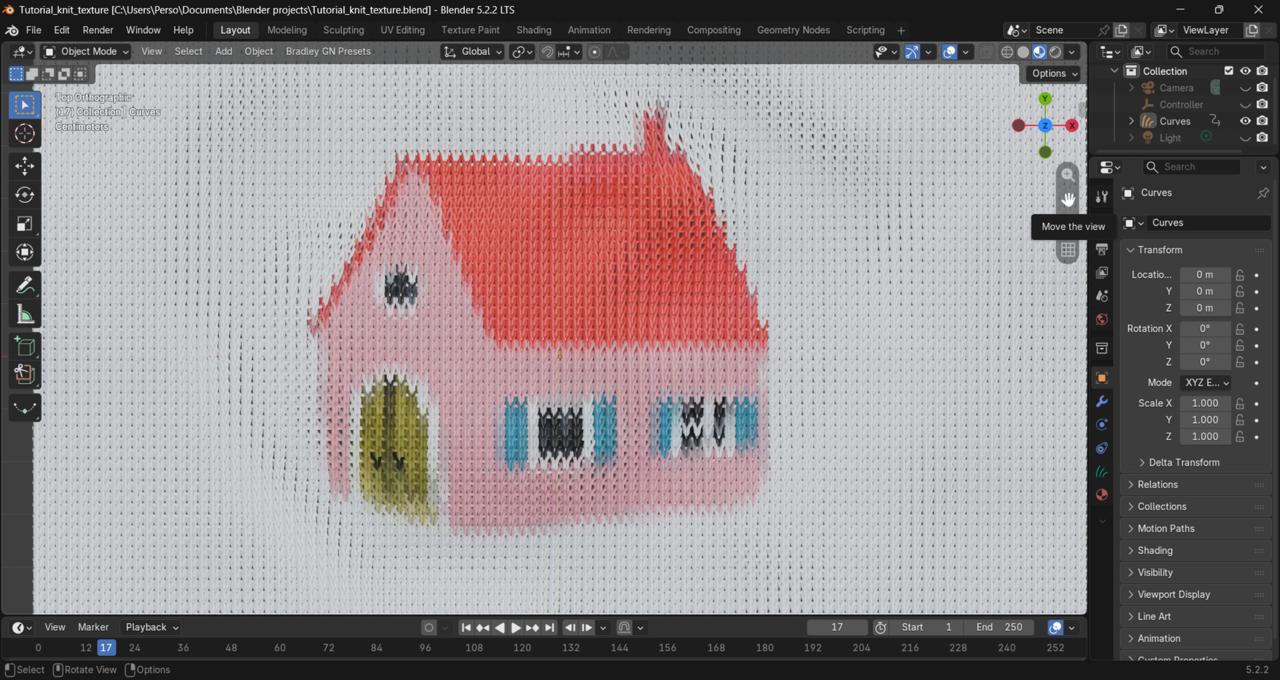
Geometry nodes & Bleder file
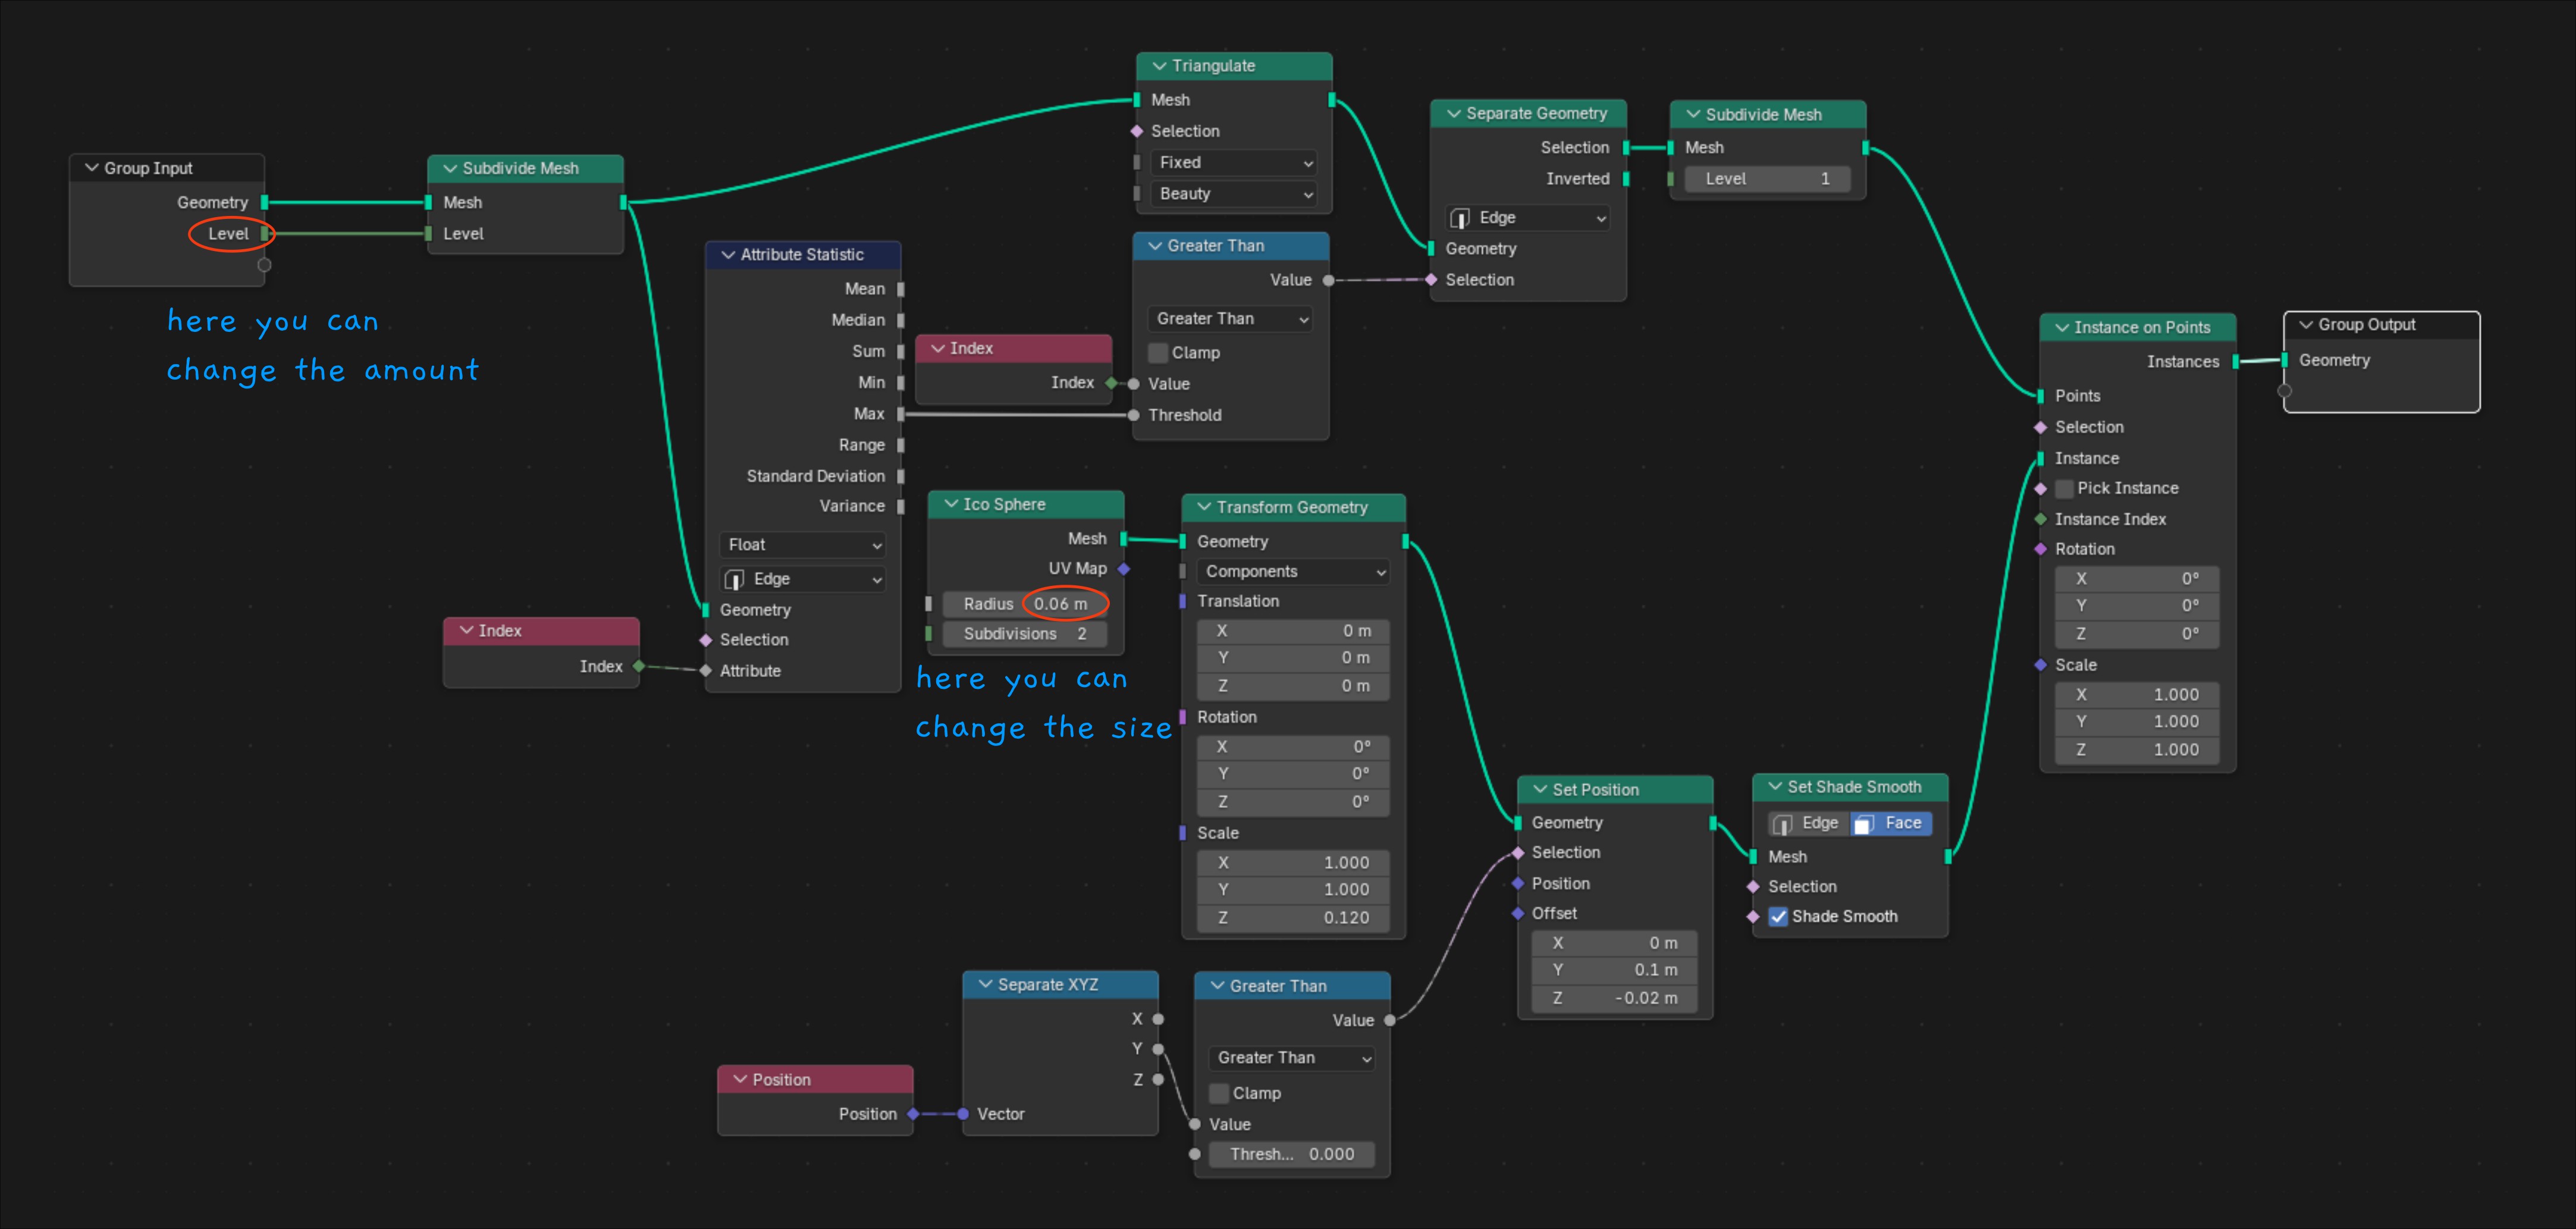
With the tutorial of CG Cookie – Learn Blender I made fish scales in Blender. This was easy to follow, and I got a better understanding of how geometry nodes work.
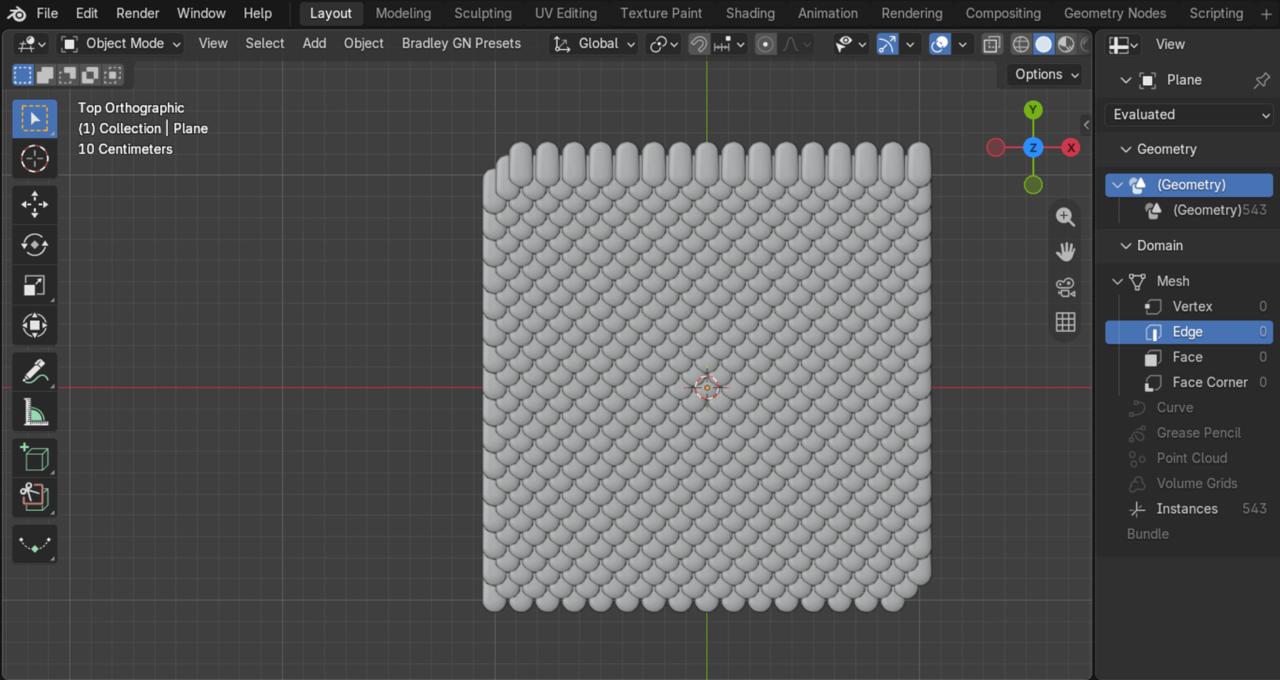
Geometry nodes & Bleder file
I followed one more tutorial by Augury Blender to make some hexagon tiles that reminded me of the bird claws. This tutorial used a manipulated shape and arranged it in a grid.
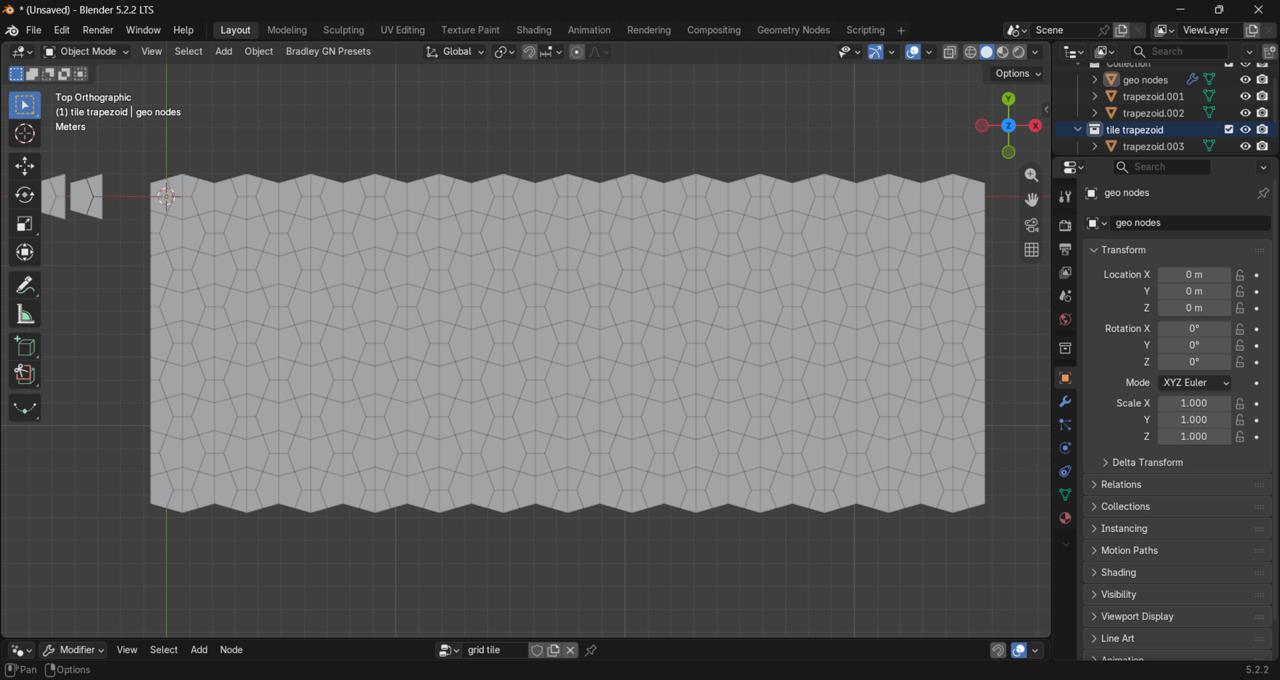
Geometry nodes & Bleder file
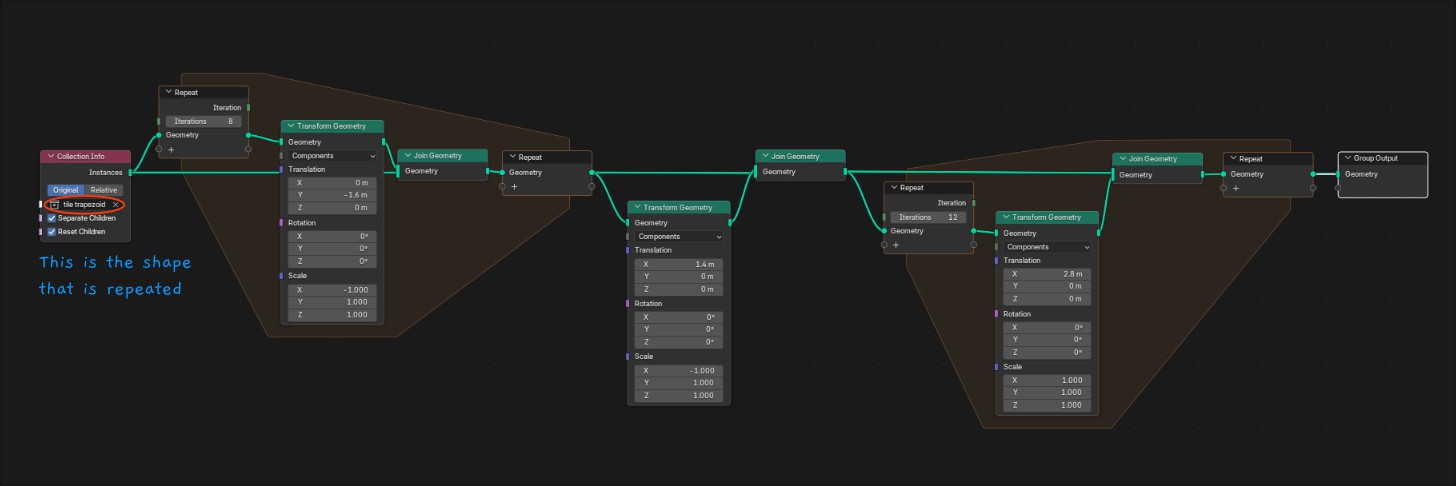
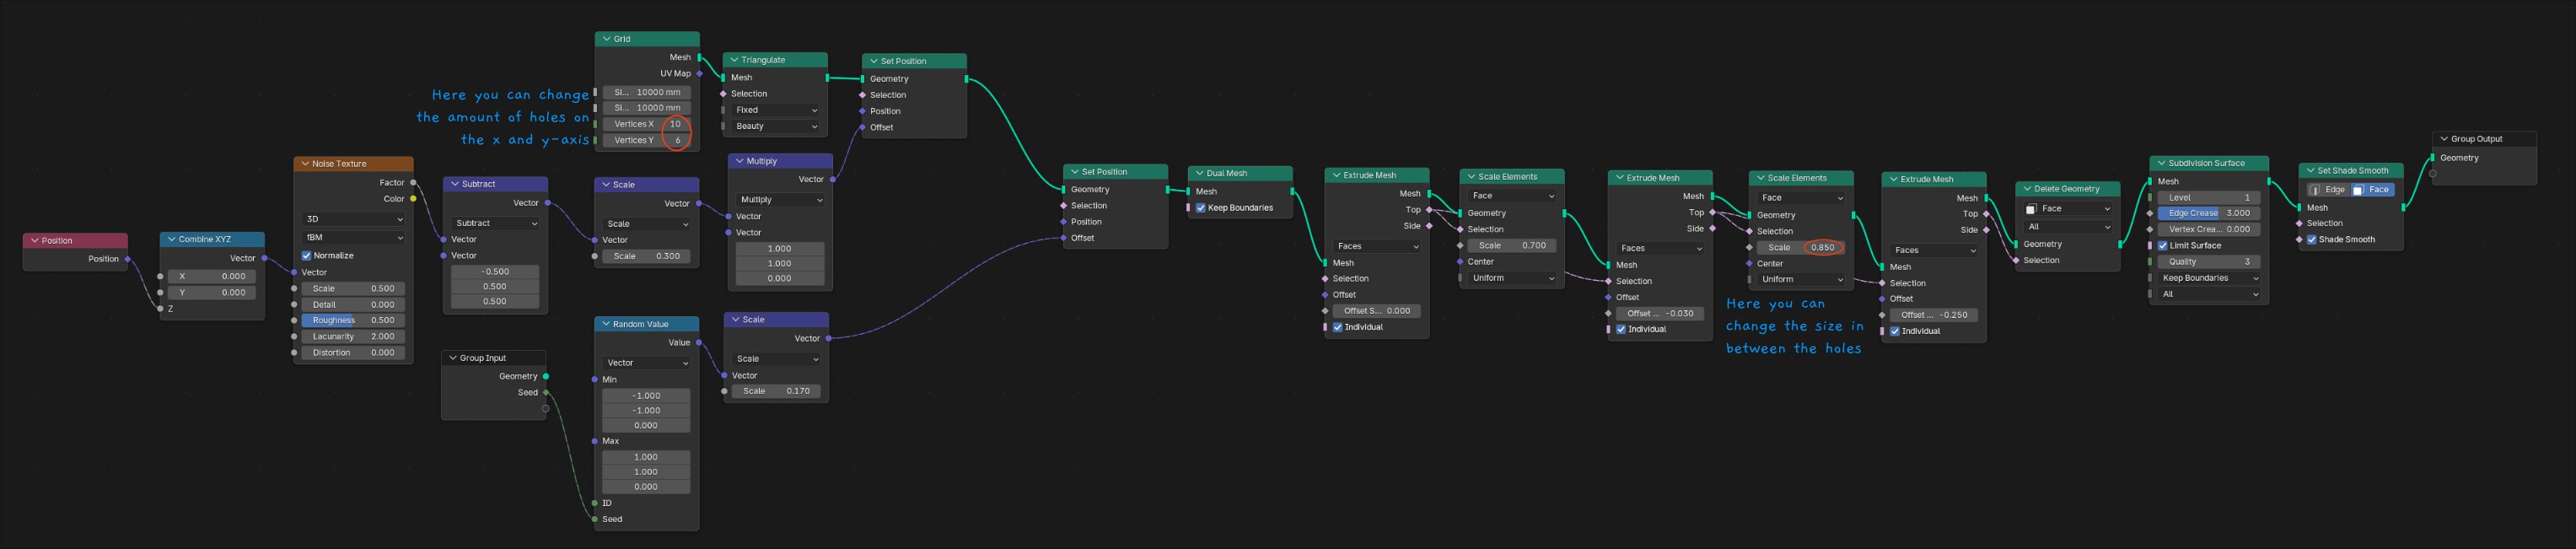
These tutorials showed me two different ways to go about this. Either using geometry nodes to manipulate the flat square, or using the flat square as a grid and adding another shape to the grid. I used the first method to create the hexagons inspired by the insect eyes.
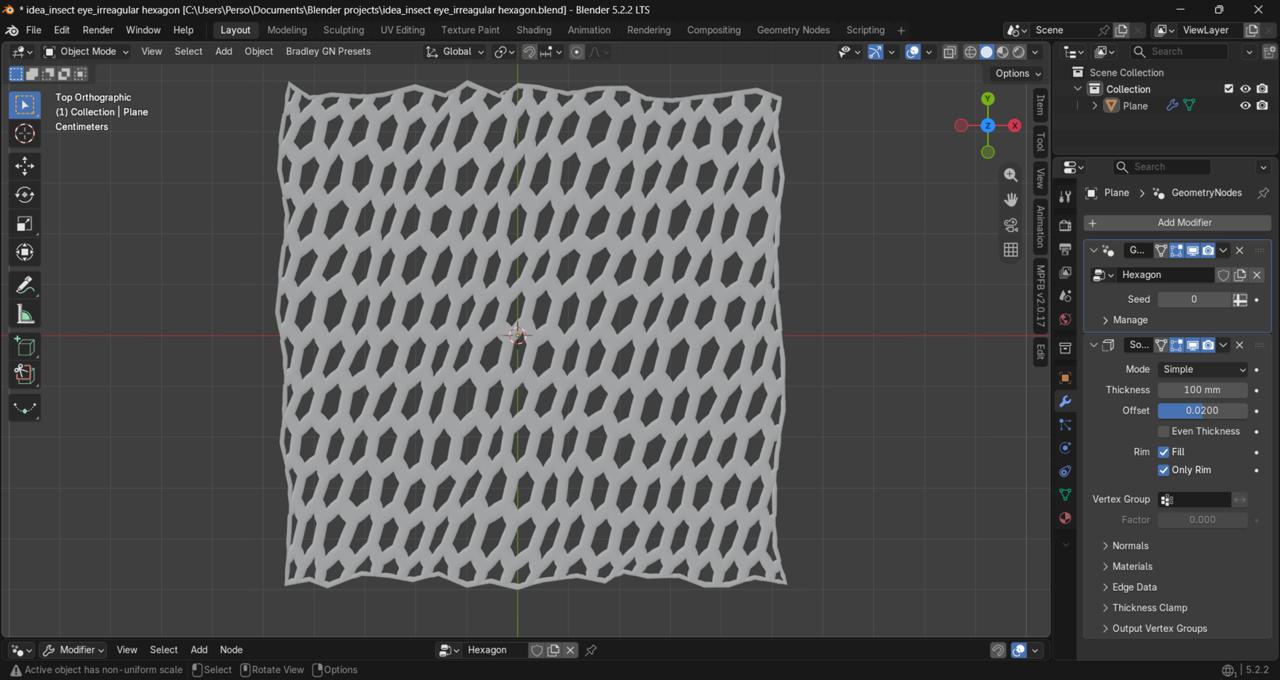
Geometry nodes & Bleder file
For my favorite idea, the moon jellyfish, I used the help of Claude to achieve the different shapes by only using geometry nodes. I wanted to create the transition of life stages from the flat square, and that was way more difficult than I was initially expecting. For each life stage, I need to make a different geometry nodes tree and then finally combine them together in the main tree.
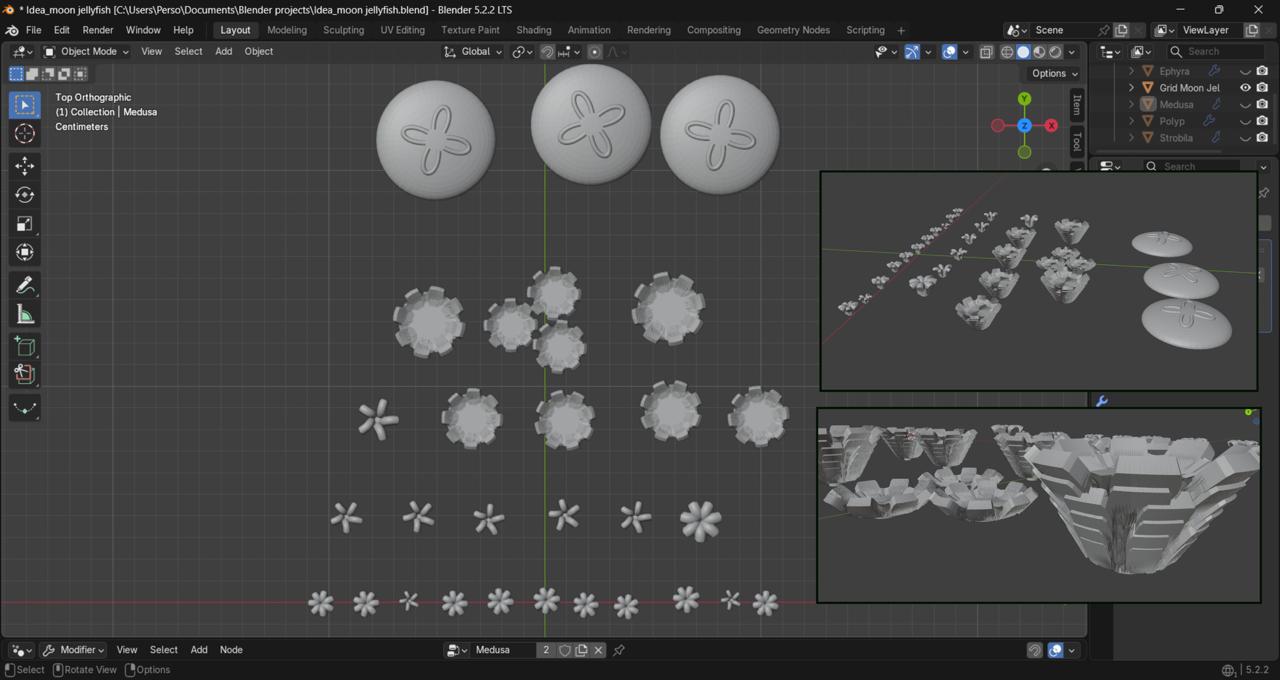
Geometry nodes & Bleder file
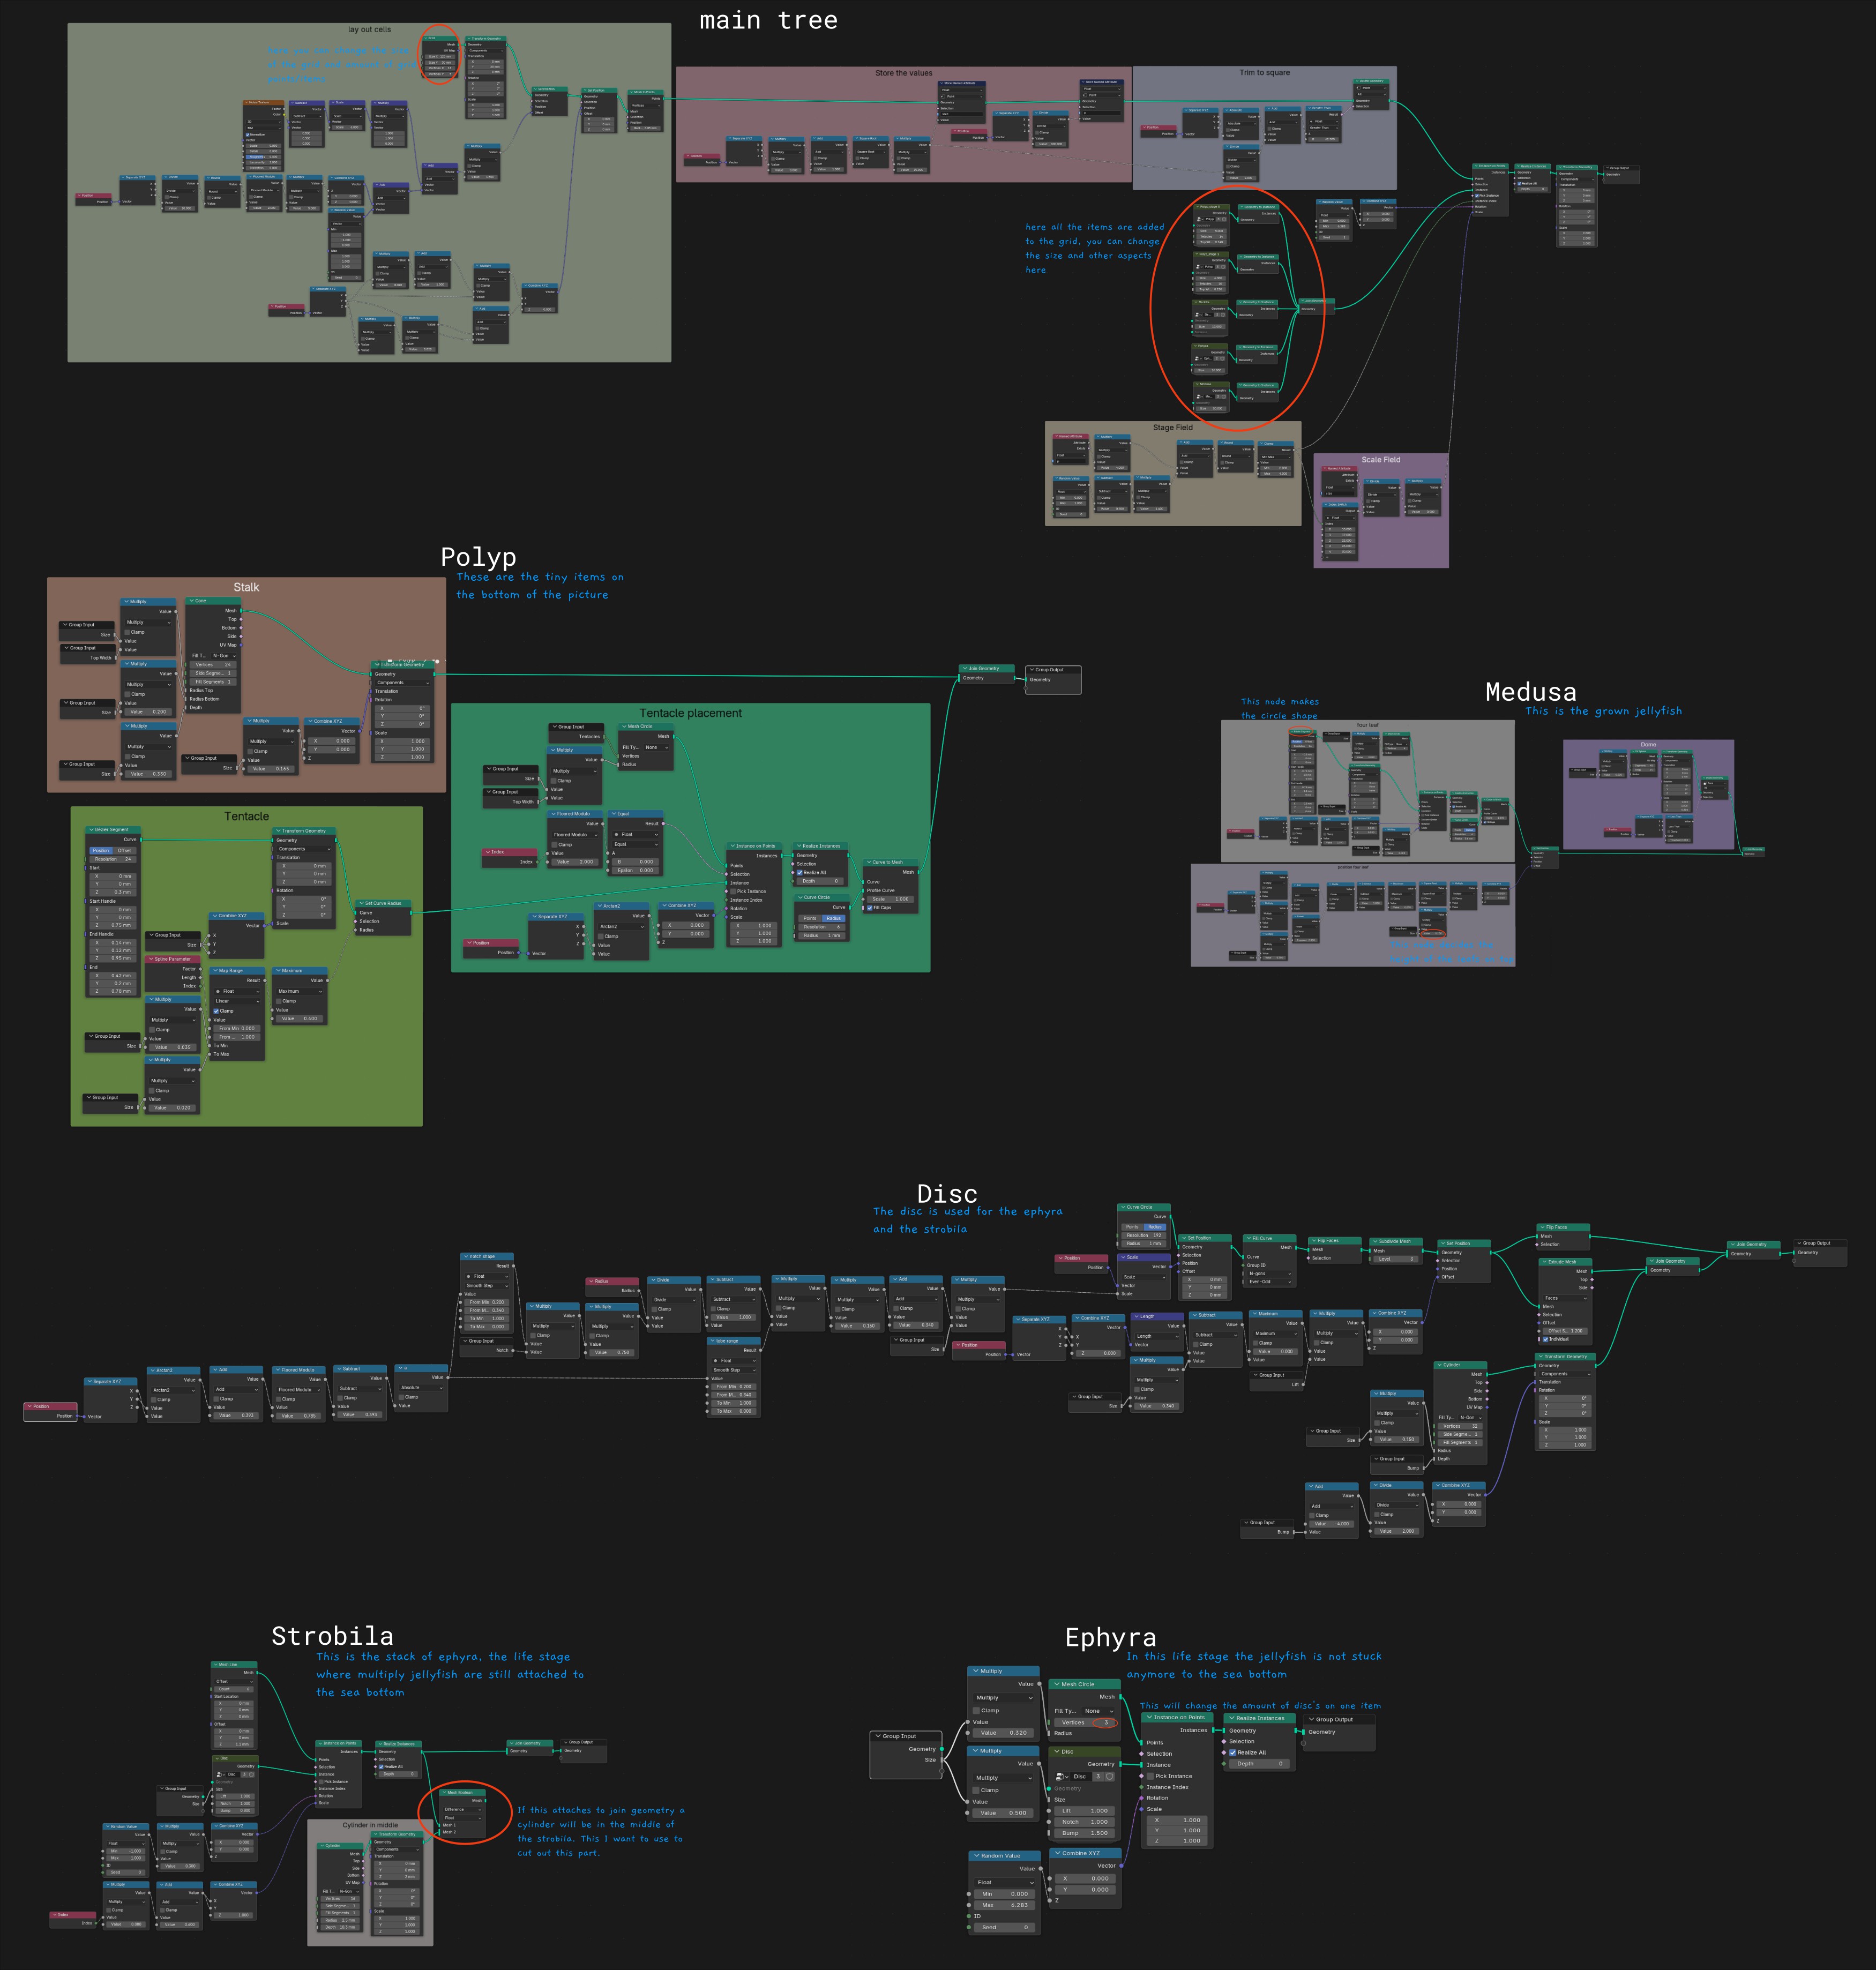
I’m surprised by how it turned out and was not expecting to succeed at some point in the process. But it’s still not looking the way I was picturing in my mind, I want to show more of the movement and the transition faces. However, during this process, I got some other ideas for one of the life stages (strobila, the stage where each disc is stacked). I wanted to see if it could be 3D printed with flexible filament and with a hole in the middle so it could be worn like that. Each disc would be separated from each other on the outsides what would create a flowing and moving material. Sadly, I didn’t have time to explore this idea further this week.
3D printing
I exported all the Blender files to STL files so I could open them in Bambu Studio and Cura. During this week, I used two 3D printers: the Bambu Lab H2D and the Zmorph. I started with the Bambu Lab H2D, I got good help from Pauline and Boris while getting to know the 3D printer.
We started testing with the insect eye file with non-flexible filament. We changed the initial layer height to 0,4mm so it wouldn’t rip the tulle. The tulle was attached to the bed with some tape so it wouldn’t move and would lie flat. The calibration of the printer was done on the opposite side of the bed, and in the meantime the tulle got ironed because of the heated bed. The first test showed the good shapes but was just one layer thick and was easily removable from the tulle.
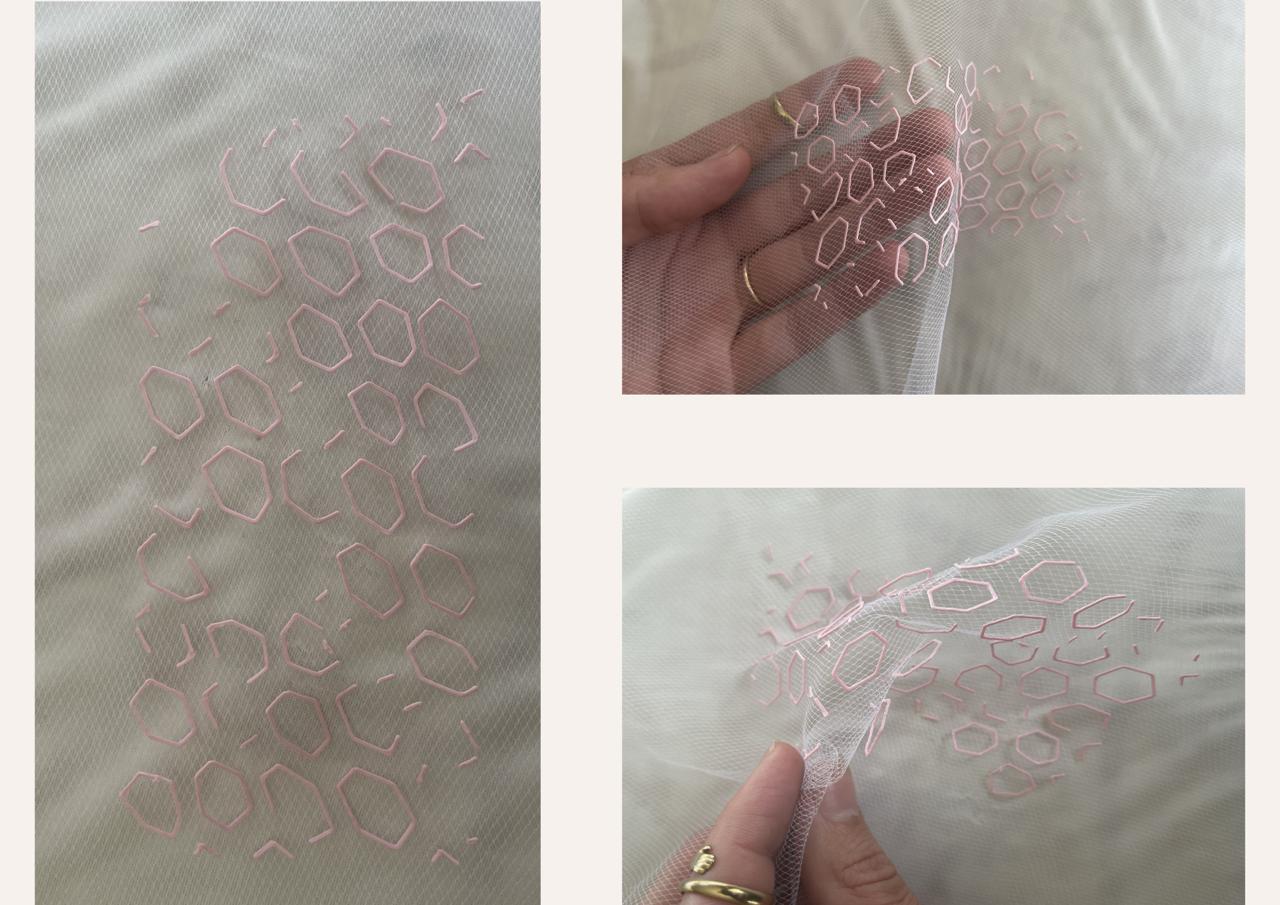
For the second test, we set the initial layer height to 0,3mm and increased the nozzle and bed temperature to 240°C (20°C more) and 70°C. Somehow, the resizing of the file changed the size of the holes, but the height was working well for the printer. This test resulted in well-attached oval pieces to the tulle. This was not the expected result, but the texture felt nice, and it was draping well.
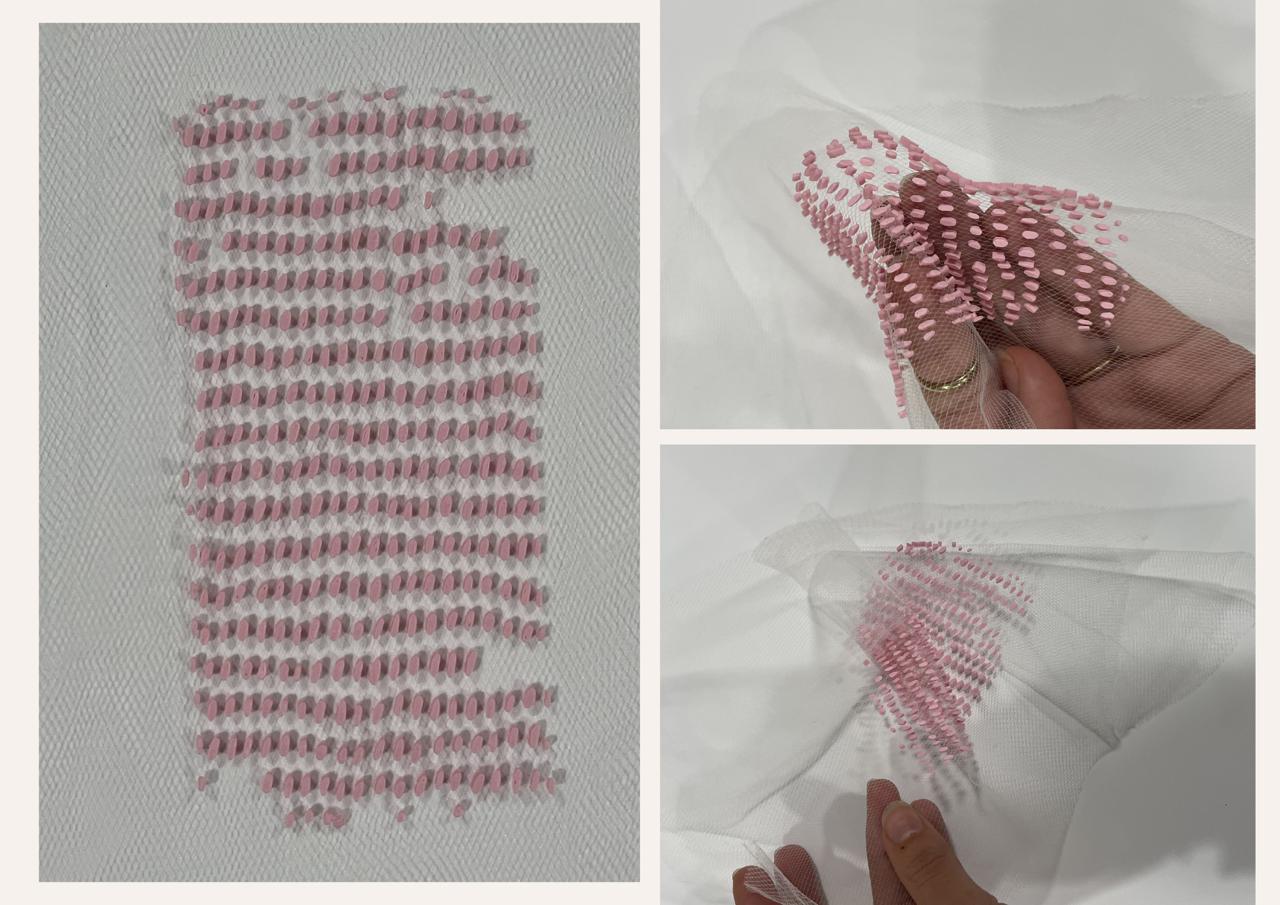
The third result I got needed lots of tries. I wanted to see if we could create the first size of holes just like the tiny ovals from the second test. The scaling in Bambu Studio was influencing the line thickness a lot what resulted that we couldn't print in the desired size. The smaller size we had already, so we went bigger. We had some more trouble with the flat part that’s in the Blender file, so we dropped this underneath the bed so it wouldn’t get printed. The first couple prints were still not working, the lines were not that straight as it was doing before. We tried changing the temperature, the layer height, and some other settings, but nothing was working. When we checked the printing preview, we saw that the printer was not starting at the first layer. This meant that the start was 0,4mm above the bed. We scaled the file a bit up, and that fixed the problem.
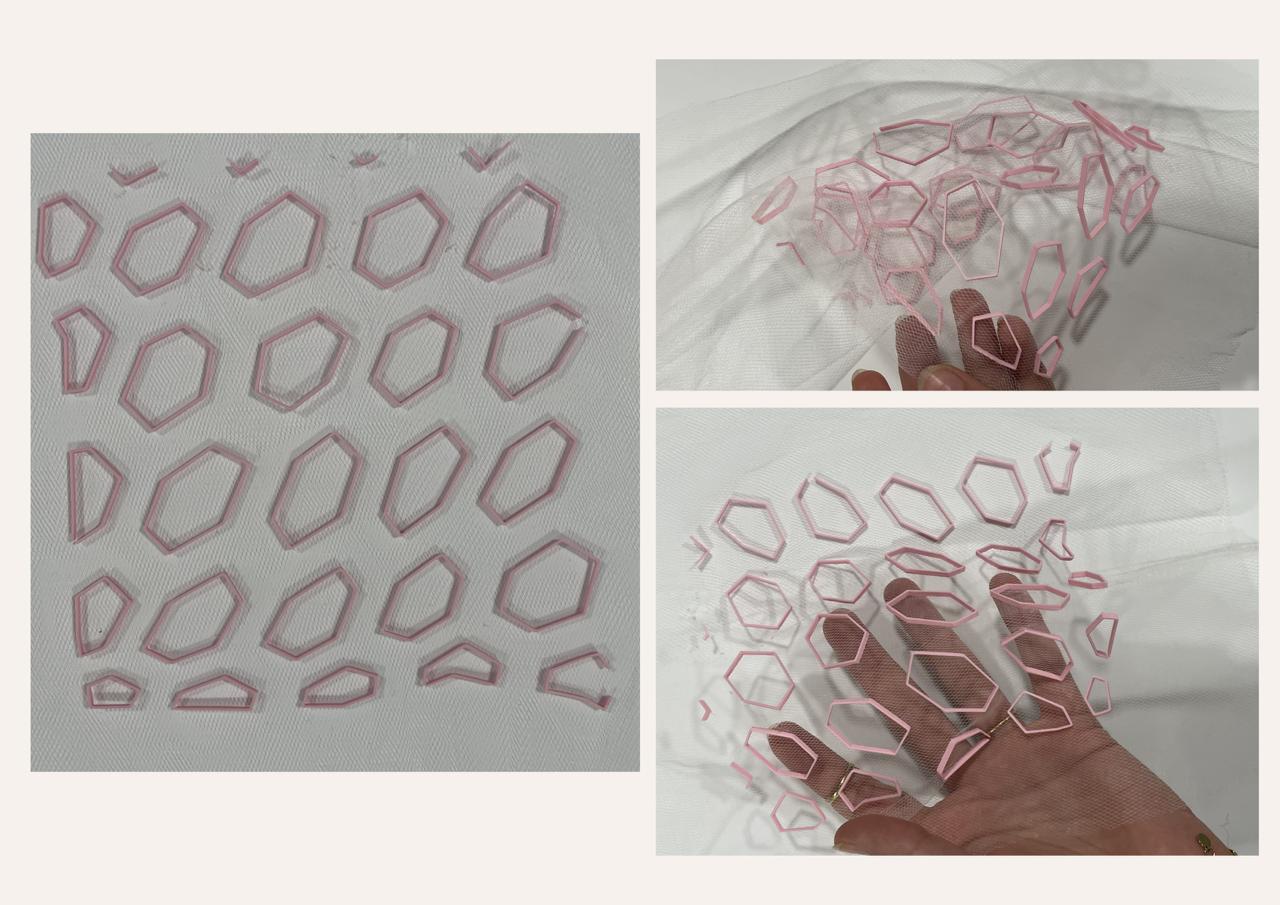
This was the end of Friday, we didn’t have more time to print things. On Monday, I went to Le Textile Lab to try two more things. I wanted to see the insect eye with some flexible filament and was really curious about the fish scales on stretchy fabric. These tests were done with the Zmorph 3D printer.
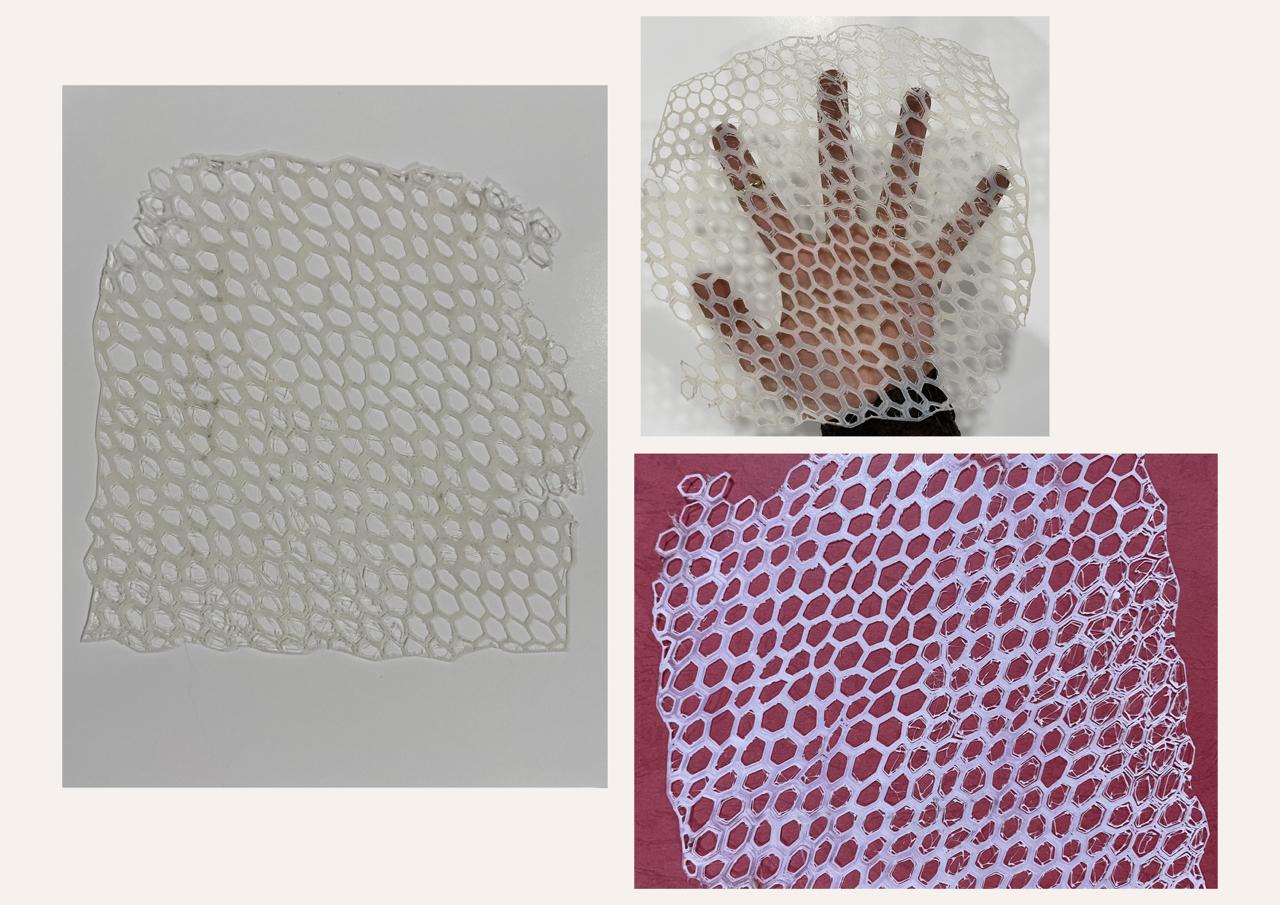
I started with the flexible filament to make the insect eye. In Cura, I sized up my file to around 20cm and a height of 7cm. For the settings in Cura, I changed the quality to 0,24mm and the infill to 20%. In the material tab, I changed the printing temperature to 240°C and the build plate temperature to 60°C. The speed was set to 40mm/s and in build plate adhesion I had none. The expected time to print it all was around 6 hours and 30 minutes. During the printing, I needed to keep a close eye on the printer so the flexible filament was well inserted and melting. After a bit more than an hour, I stopped the print, it didn’t increase in height, but the shapes were well visible. Some of the holes I cleaned up by cutting the inside away.
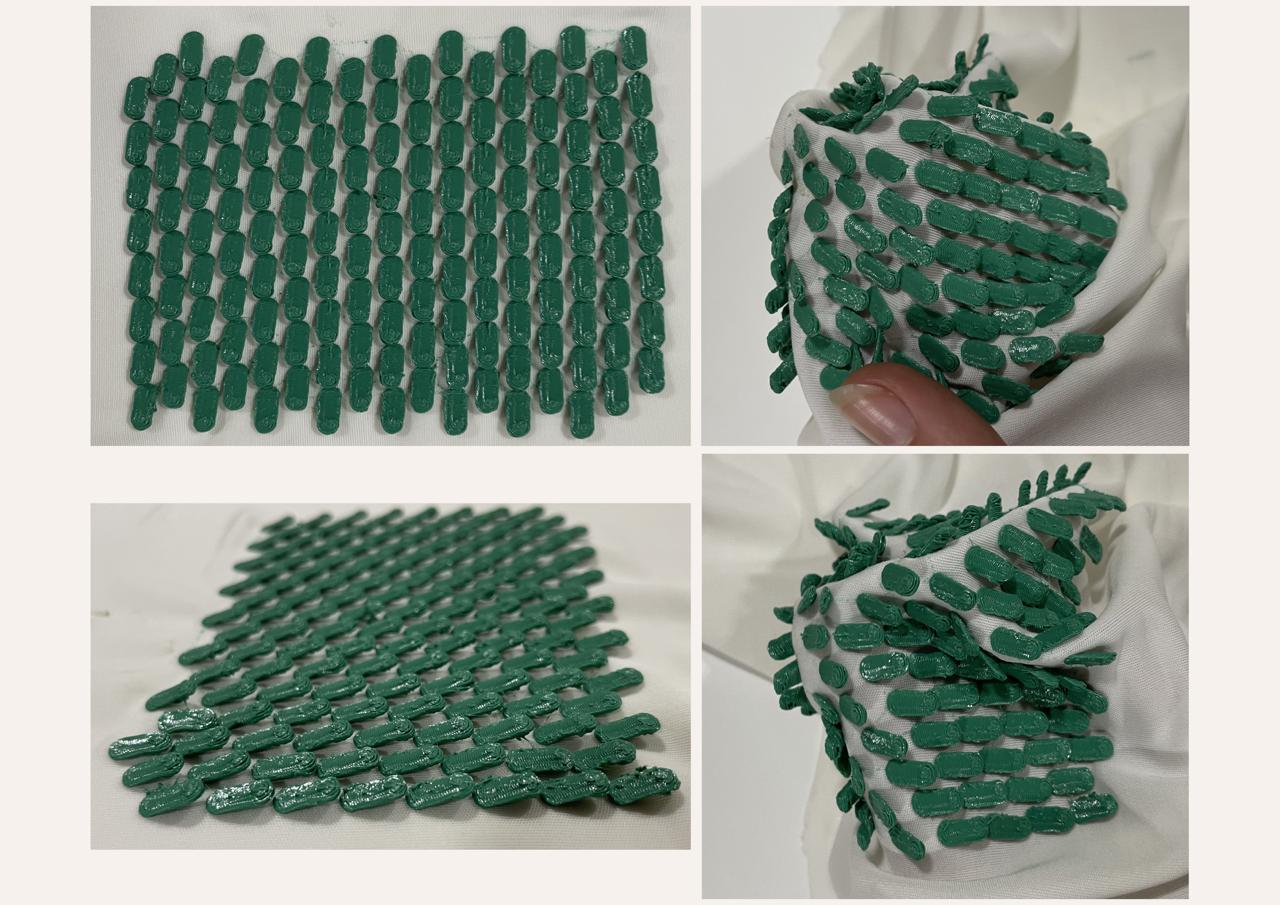
For the fish scales, I almost used the same settings in Cura. I changed the quality to 0,12mm, the printing temperature to 210°C, and the build plate temperature to 70°C. I sized the x and y axis down and kept the z axis so there would be enough room to go up. This print took around 3 hours. This one I couldn’t stop earlier, sadly.
Results
In total, I made four different swatches using two files. I’m surprised how different the three swatches from the insect eye look and how they behave. For the fish scales I made a tiny mistake, I didn't check the stretchy side before attatching it to the bed. It was the wrong way around, and it didn't stretch back as much as I was expecting. I would like to try this again, because I like the look of this a lot.