Digital bodies
1. Objective
First week experimenting building something from scratch!
My personal objective for this week was working on my own workflow in my creation process and I believe I did good; I will describe more in the 2.1 "Quick how-tos" section.
I developed design skills by acquiring knowledge about 3D scanning and modelling, mesh repair or manipulation.
I developed fabrication skills by being capable of executing from file to production workflow, from slicer to laser cutting.
I understood the fabrication process and understood the workflow, and I am able to reproduce it.
My Final outcome was a stacked model representing a woman LIPS.
I do not think my practice was very original, but I am very pleased with it; I was able to create from scratch an image using Gemini AI, make a 3D model using TRIPO3D, editing the mesh for some corrections with Blender, slicing and stacking my model with Slicer for Fusion 360, cutting with a Laser Cutter CFL-CMA139OT.
2. References, research & inspiration
I looked into at all of the material Anastasia Pistofidou, Rico and presented in the webinar for inspiration.
My highlights: - different art representations of the body. - Jaume Plensa: use of 3D software to deform his sculptures. - My favorite: David Cerny and his slicing technique.
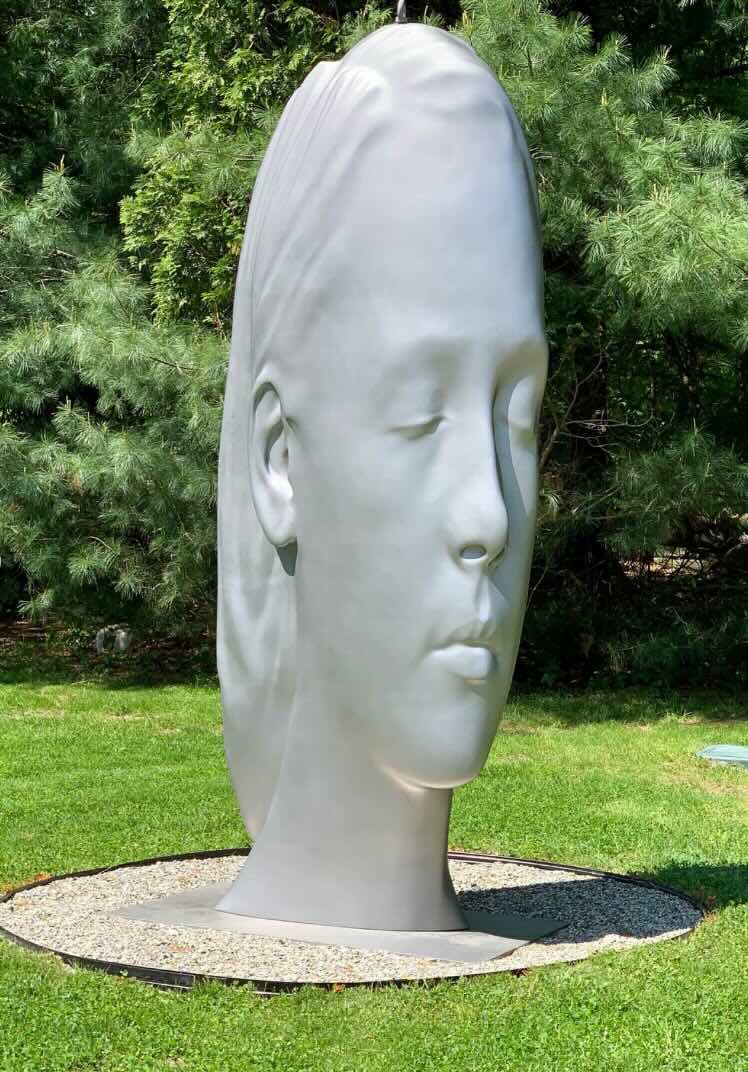
Jaume Plensa, 1955 Barcelona
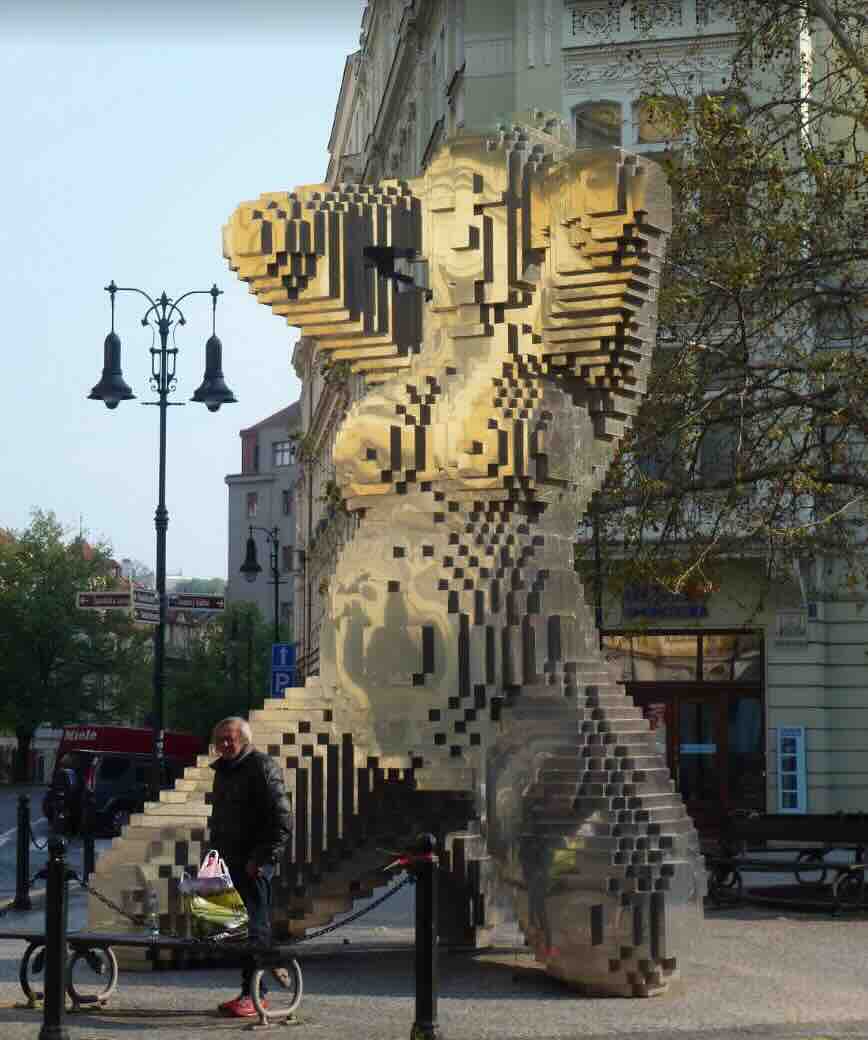
David Cerny, Prague
2.1 Tutorials
I enjoyed Rico´s Blender tutorial, ja! it´s a 2 hours video, but it took me 2 DAYS to be able to complete the exercises. I learned a lot!
3. Tools
TinyPNG
Ideation Process
Editing 3D mesh
3d Model with TRIPO3DForm Slice app
Laser Cutter video
Adobe Illustrator
4. Process and workflow
This is the workflow I followed after watching all the tutorials that were really great!:
Step 1
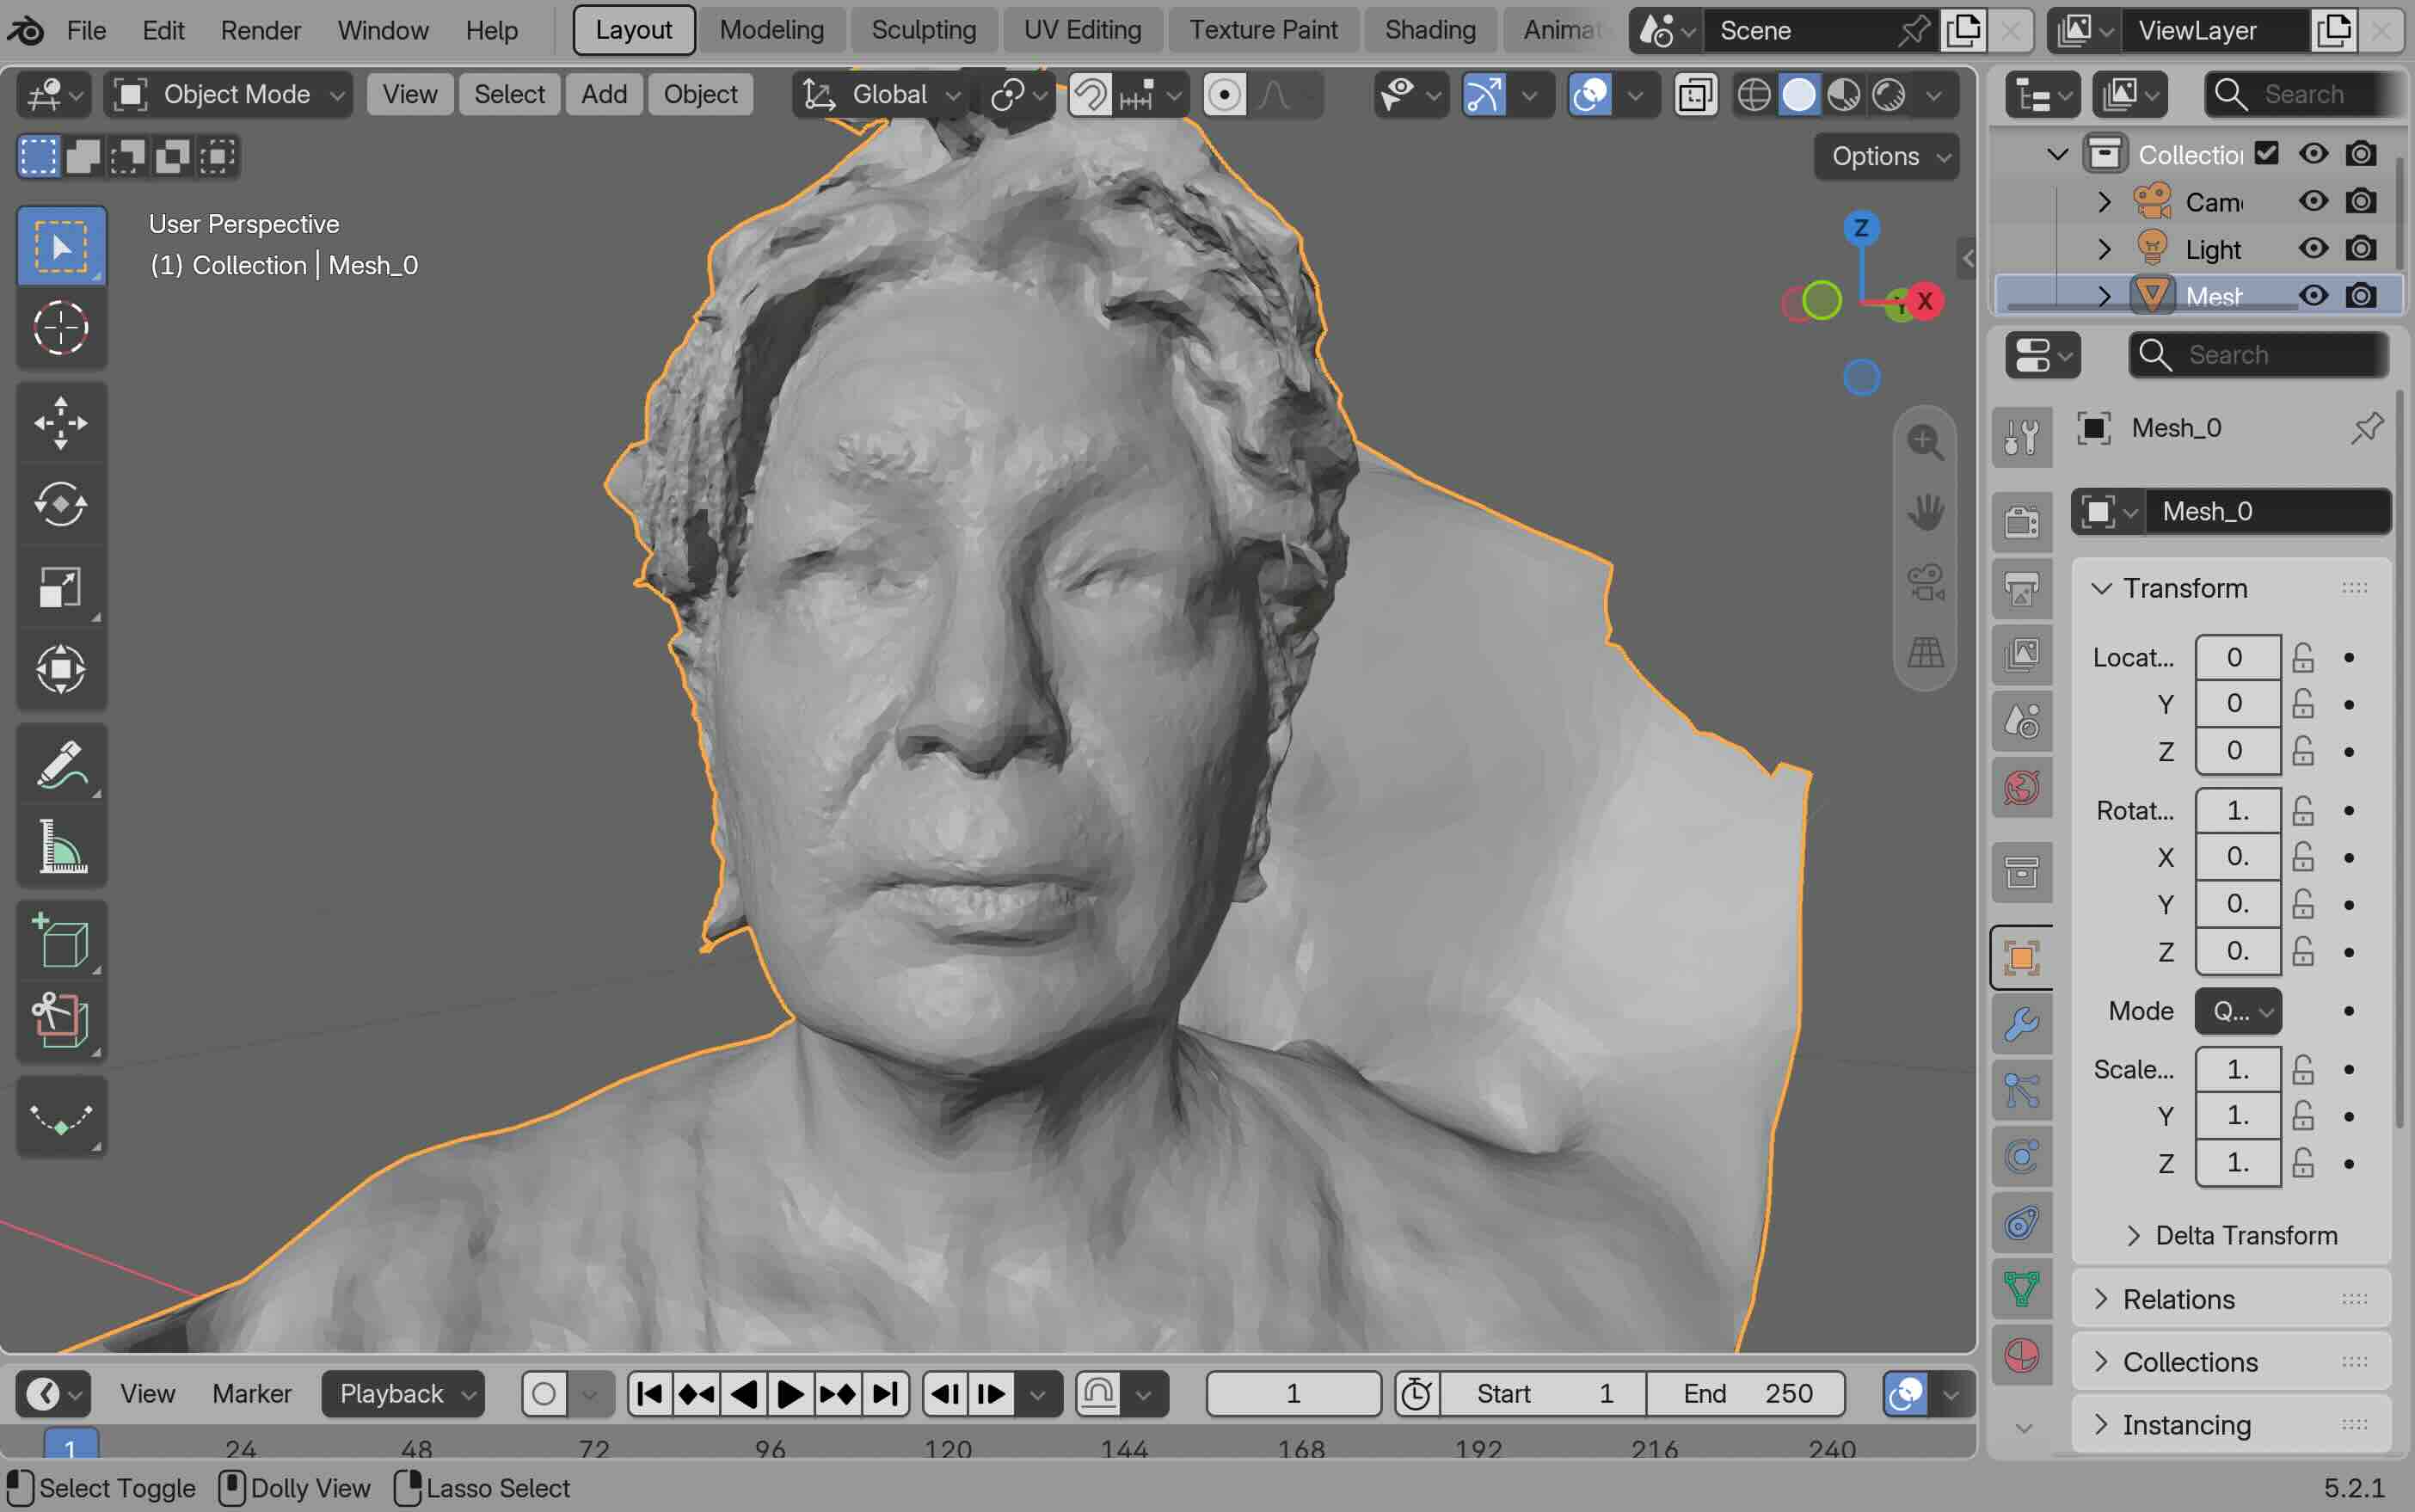
I scanned myself trying to get a nice profile to get my lips, but I really didn´t like how they looked and decided to try an ideation process with Gemini AI.
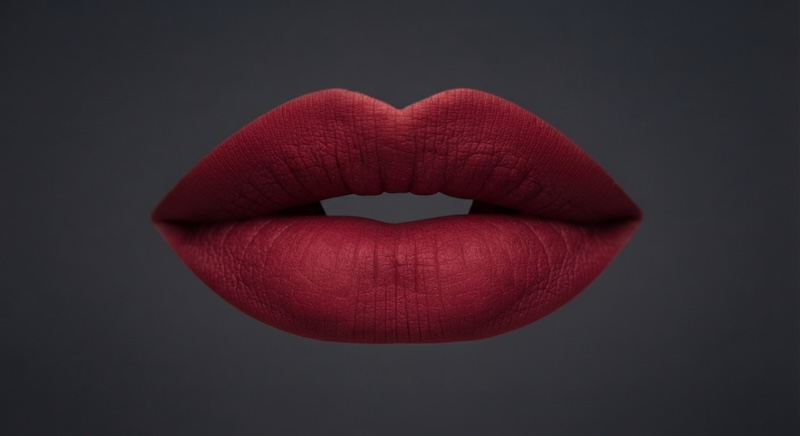
I did three iterations looking for women sexy lips and I was able to get a very nice image.
Image used:
Step 2
I generated a 3D model of the lips choosing 159000 vertices using Tripo3D which worked really well in Blender. I exported the .stl file to my computer.
Step 3
I imported the .stl file to Blender in order to edit the mesh and get rid of some bumps on the upper lip that didn´t make me very happy.
Step 4
I imported the image in Slicer for Fusion 360 and started working with the parameters selecting the following:
- size of the cardboard: custom 1250mm X 1530mm
- height: 200mm
- width: 241.4mm
- length: 517.03 mm
- Stacked
- Automatic Dowels
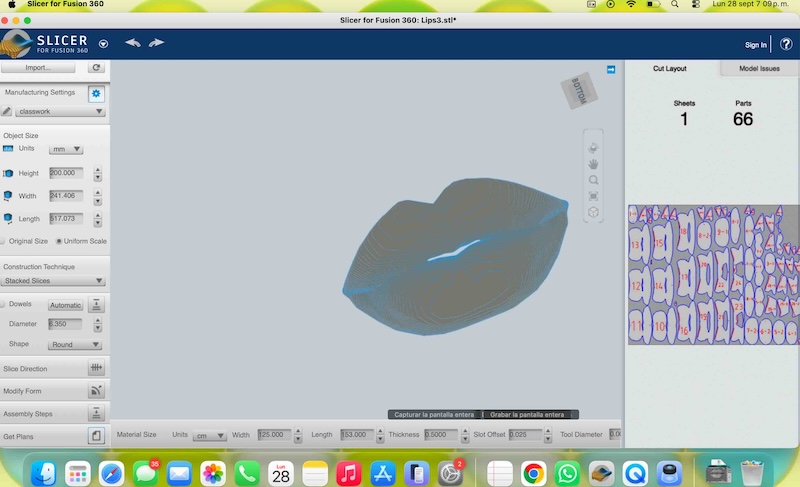
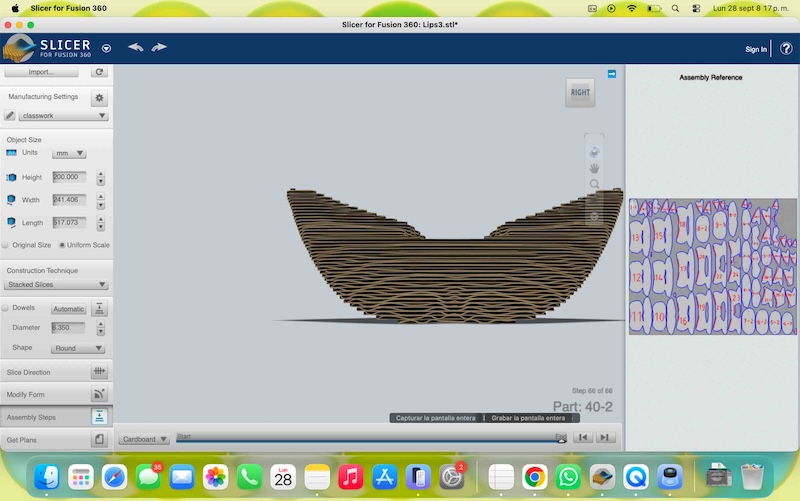
I tried the software Asli presented in her tutorial but I haven´t cut with it yet, but I will try it, basically because Slicer 360 crashed several times in my Mac.
Step 5 Laser cutting
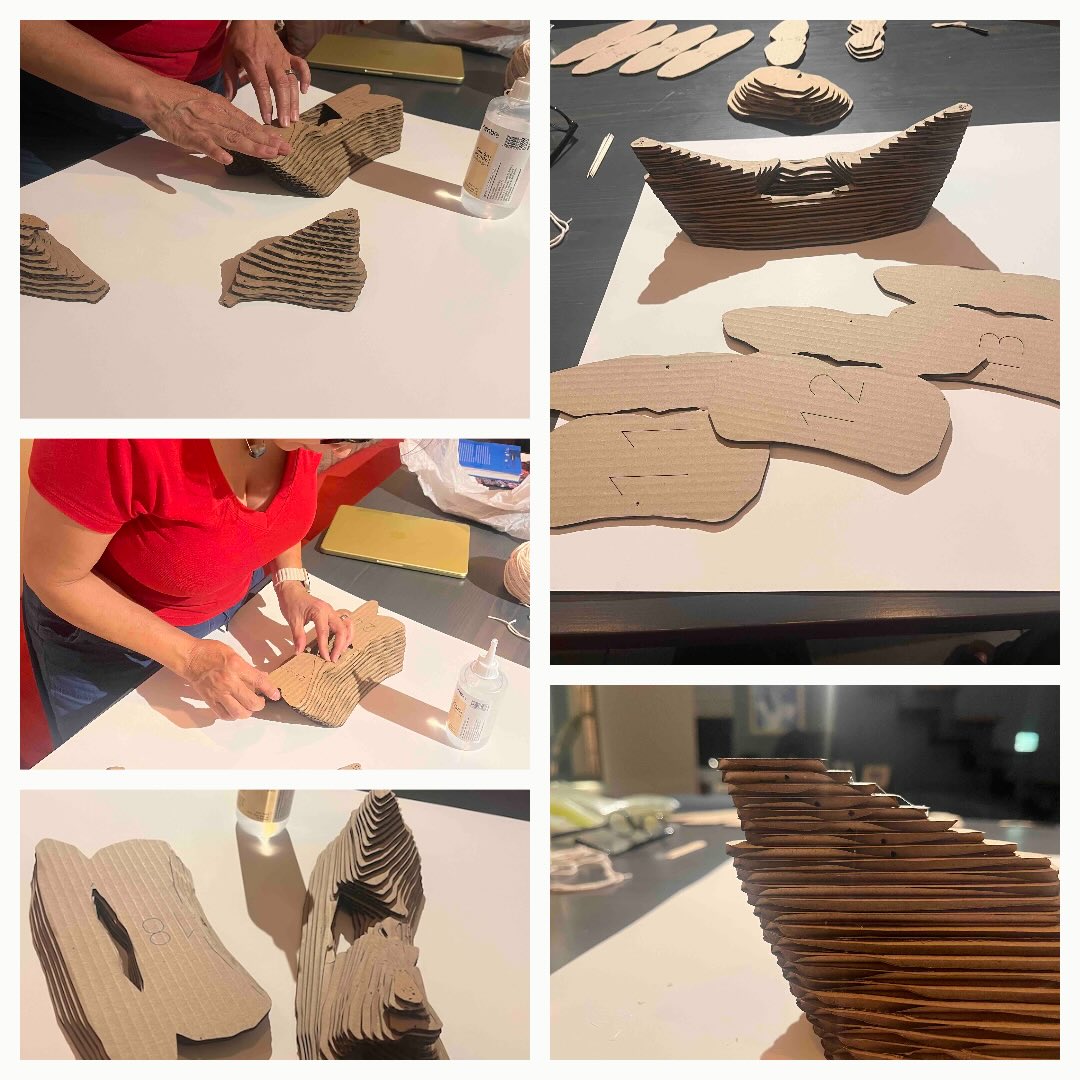
- After turning the primary and secondary systems on the laser cutting machine, I focused the laser at 5mm between the optics and the loaded cardboard.
- I opened the .dxf file but it showed an error: the red lines (related to the numbers and guides) were all over the cutting area. Raúl, one of y tutors helped me correcting by using Illustrator. This corrected the error.
- I entered the parameters for cutting in cardboard based on the previous cutting with our Fabricademy tutors:
For RED line: Max. Power(%) 20.00 / Min. Power(%) 15.00 Work speed (mm/s) 200
For GREEN lilne: Max. Power(%) 40.00 / Min. Power(%) 35.00 Work speed (mm/s) 90
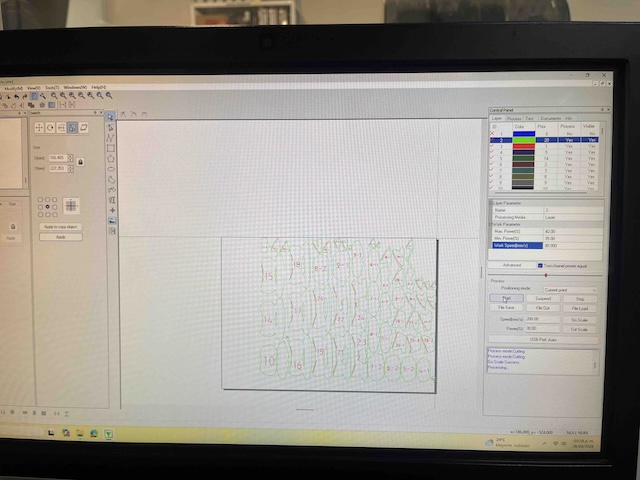
I adjusted my pieces to the max size of the cutter and used the whole cardboard material. I did 2 cuts, they did not fit all on just one go. I have material left for future cuts.
The cutted cardboard:
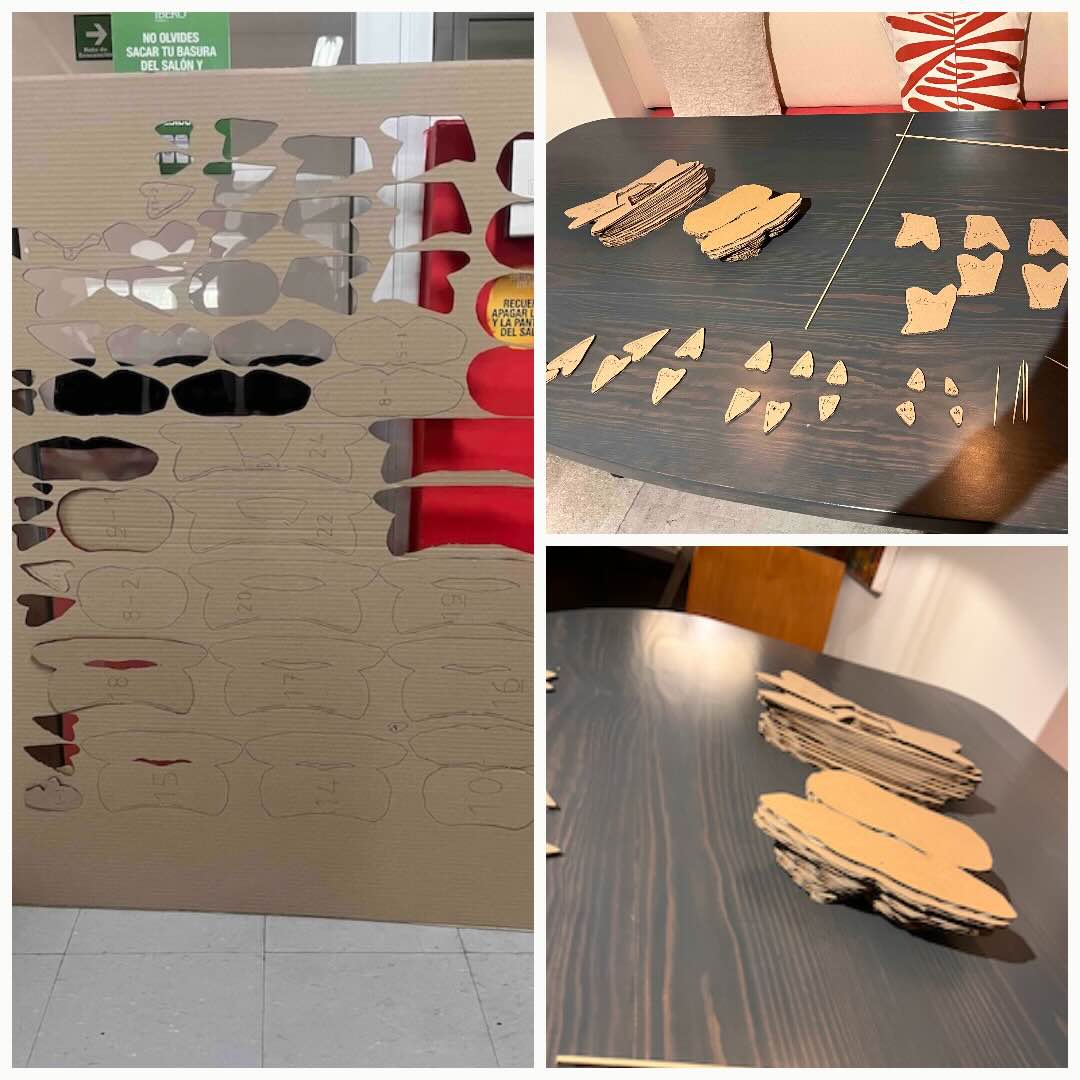
Step 6 Construction
I struggled to construct my LIPS because I did not find any reference on the cutted pieces or the Assembly Steps that could tell me exactly where the sliced pieces should join. It took me quite a bit of time (2 hours) and I did not succeed.
Honestly, the Dowels really didn´t help much. I was finally able to understand the assembly logic and succeeded with a beautiful result.
5. Results
VERY HAPPY :)
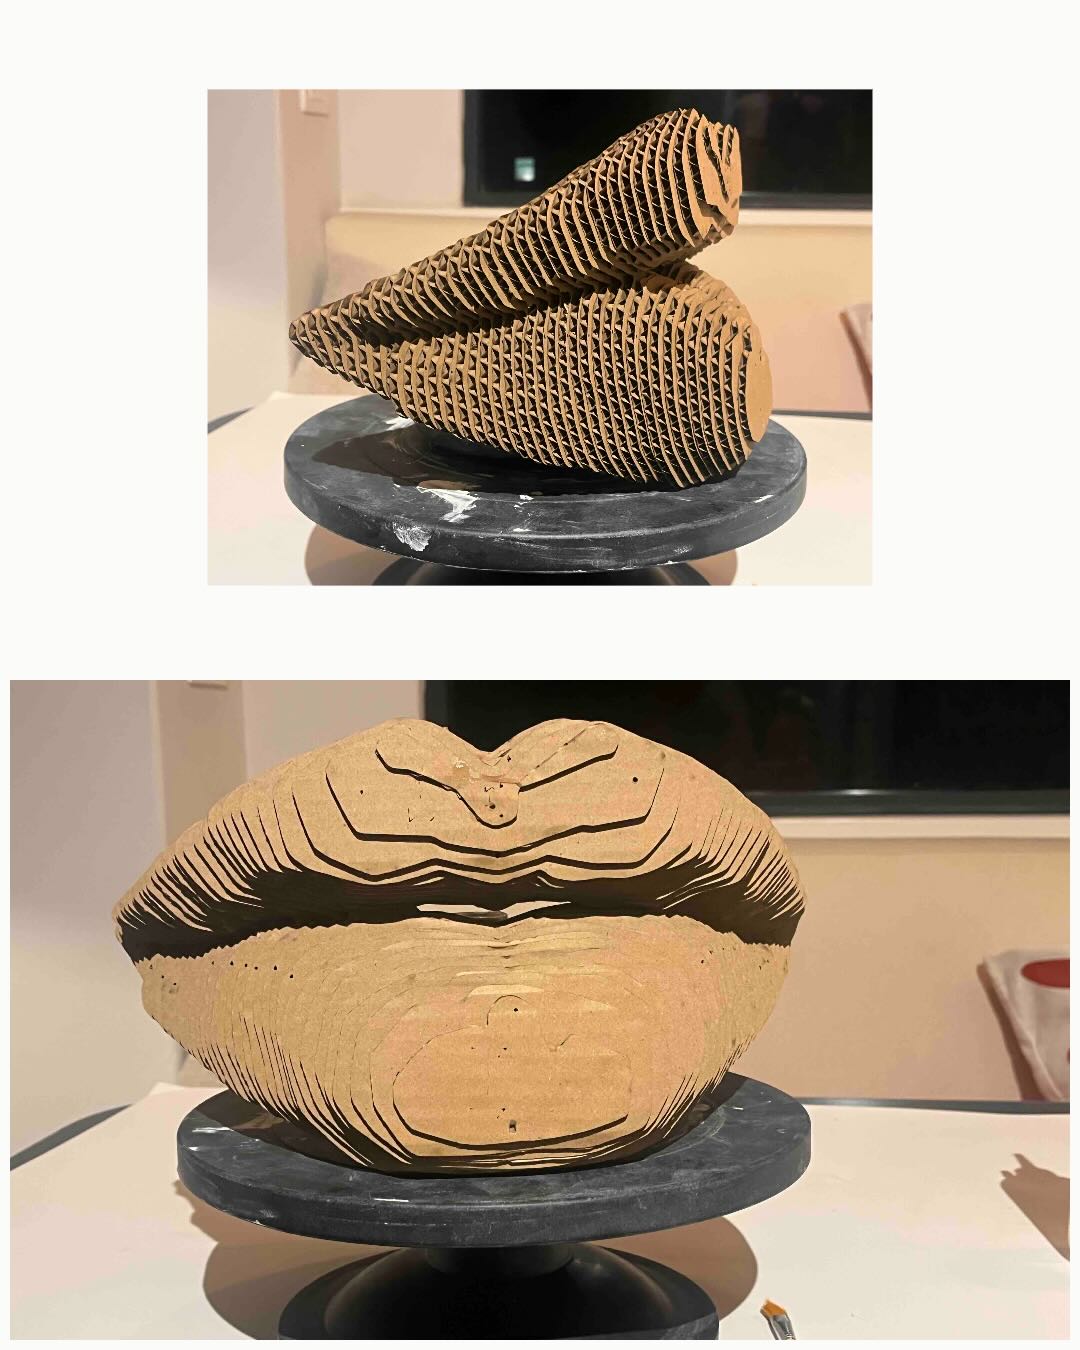
5.1 3D Models
File: Blender 3D
6. Weekly reflection & critical thinking
- I loved this second week / Hands on week. I can´t deny I felt frustrated, since everything is new to me and I am in a completely different zone that I used to be. Very happy with the results and I´m very much looking forward to keep learning more.
- I need to be more confident in myself and trust the process; I was afraid to construct the lips, because it look threatening in the beggining.
- This project is related to my final project because I will definately use the laser cutter and I will experiment with different materials.
- I do question the issue of sustainability regarding the waste of materials, but I see IBERO is very much concerned about it and emphazises optimization.
- So, I:
- Learned to design by acquiring knowledge about 3D scanning and modelling, mesh repair or manipulation.
- Developed fabrication skills by being capable of executing from file to production workflow, from slicer to laser cutting.
- Understood the fabrication process and understood the workflow, and I am able to reproduce it.
NuEval — final step
Go to NuEval and fill in the checklist, when not complete notify your instructor.
7. Fabrication files & References