Digital bodies
Week02: Students checklist
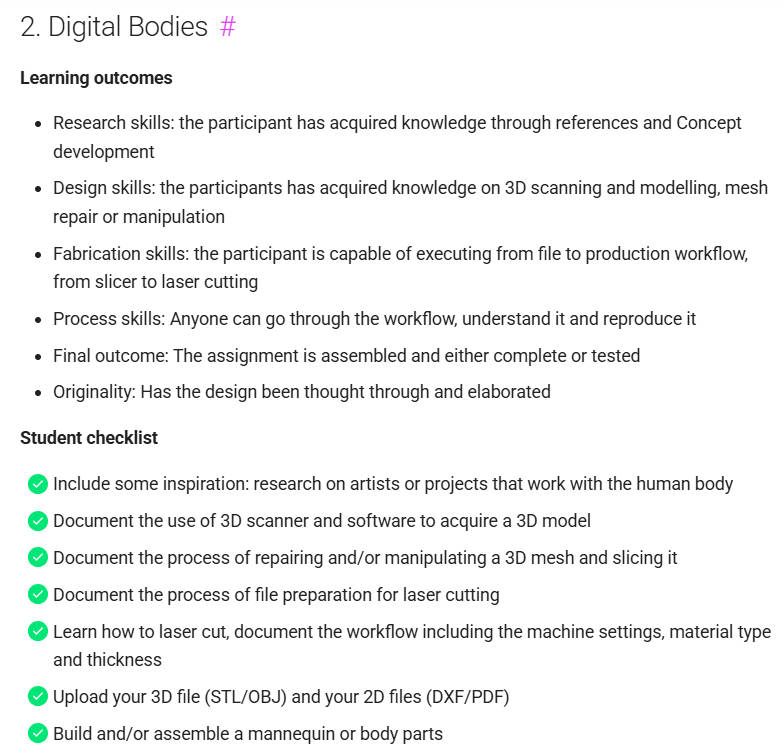
Image Source: Fabricademy Handbook
1. Objective
Following an interesting presentation by Anastasia Pistofidou on both the physical and digital human body, our task is to explore the body through digital fabrication methods. One notable observation from her lecture was how the representation of the human body in art and expression transforms with every century — moving from highly detailed, realistic figures to genderless or even completely formless representations. To engage with this theme, we will be working with 3D scanning, mesh manipulation, and slicing models for laser cutting. I have chosen to use the assignment checklist as my guide, starting the project with inspiration and preliminary research into this week’s topic.
2. References, research & inspiration
Figureheads and maritime Identity
This exploration of how the human form changes over time naturally led my research toward cultural heritage and local history. For my second moodboard, I gathered inspiration from traditional maritime figureheads. In Nordic history, these wooden sculptures were placed on the front of ships to protect the vessel and ensure a safe journey. It was believed that the female form could appease the unpredictable gods of the sea and Triton himself, ensuring a safe and calm passage through treacherous waters. This practice stems from an ancient folklore belief that a bared female body possessed a magical power capable of taming storms and calming the sea. Carved with dramatic expressions, they are a great historical example of human figures designed for a specific practical purpose—just like our task of manipulating a digital mesh to fit a physical fabrication process. Figurheads
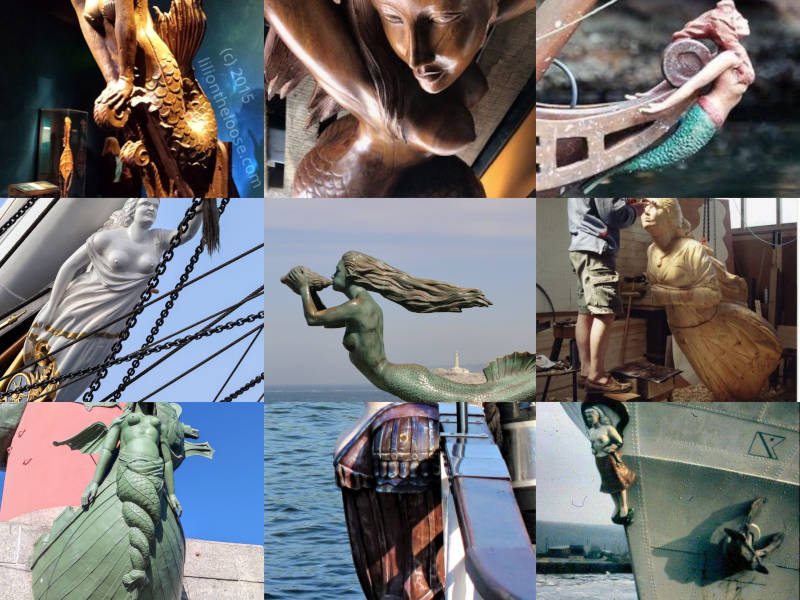
Image Source: Moodboard [Pinterest]
Mythological transformations - Selkies and Mermaids
The next part of my visual research looks at how the human body merges from folklore and storytelling, with nature in Nordic and Celtic myths. I have collected images illustrating the legends of Kópakonan - the Seal Woman The Seal Women from the Faroe Islands and the Selkies from the Orkney Islands Selkies. These stories are all about a fluid transformation between animal and human, where shedding a skin reveals the human body underneath.
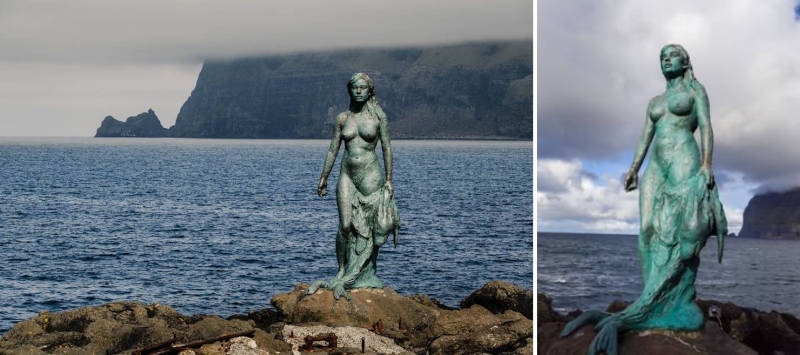
Image Source: Photos [Pinterest]
One speculation about the similarities between these two pieces of folklore is that they originate from the very same stories—passed down by sailors and travelers between the neighboring islands communities of the Faroes and Orkney.
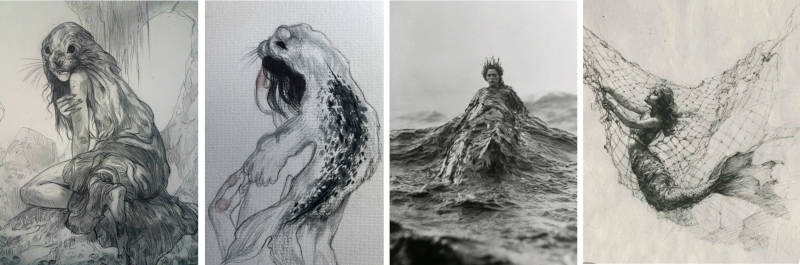
Image Source: Photos [Pinterest]
To expand on this theme, I also included depictions of mermaids from Scottish folklore mermaids, ending with the iconic Little Mermaid from my home country Denmark The little Mermaid. My childhood favorite story. Together, these references show a deep cultural fascination with hybrid bodies, beautifully mirroring the ideas of physical transformation and shape-shifting that we are exploring digitally this week.
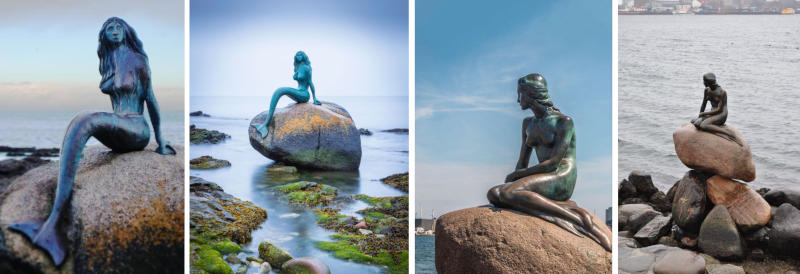
Image Source: Photos [Pinterest]
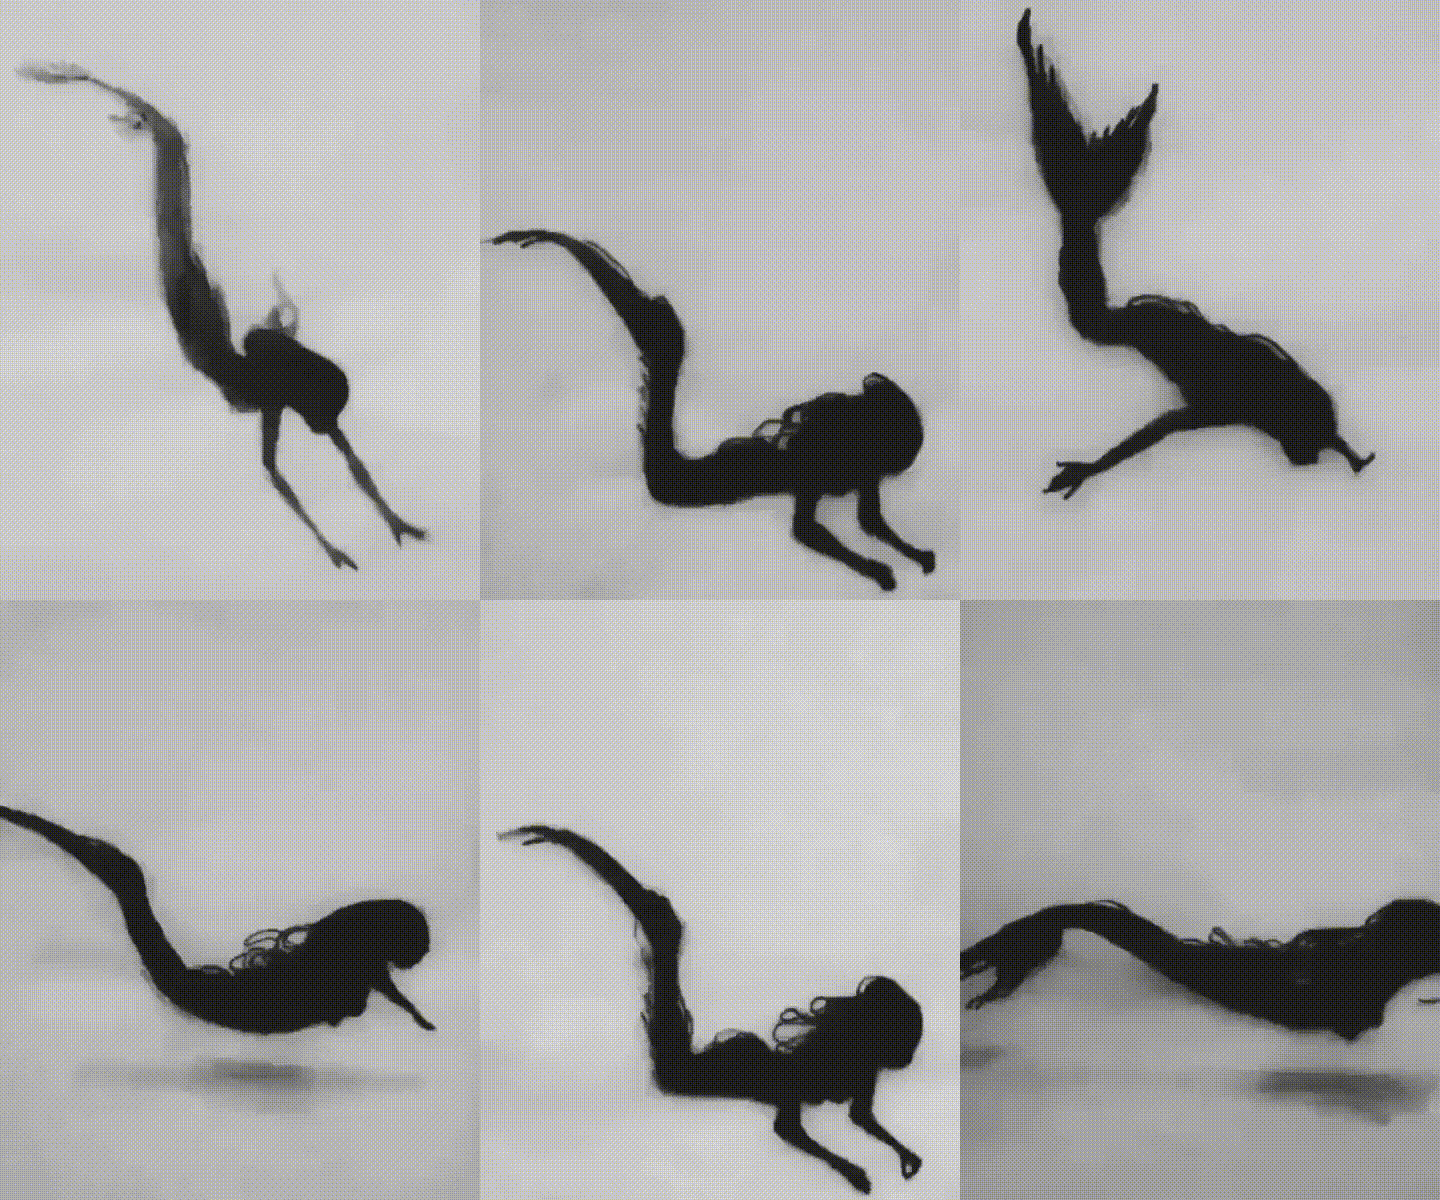
Animation: Photos [Pinterest]
However, my own nordic winter swimming style is a bit less graceful and a lot more upside down! While the mythical mermaids master the waves effortlessly, you are more likely to catch me doing frozen leg-stands in the Atlantic surf.
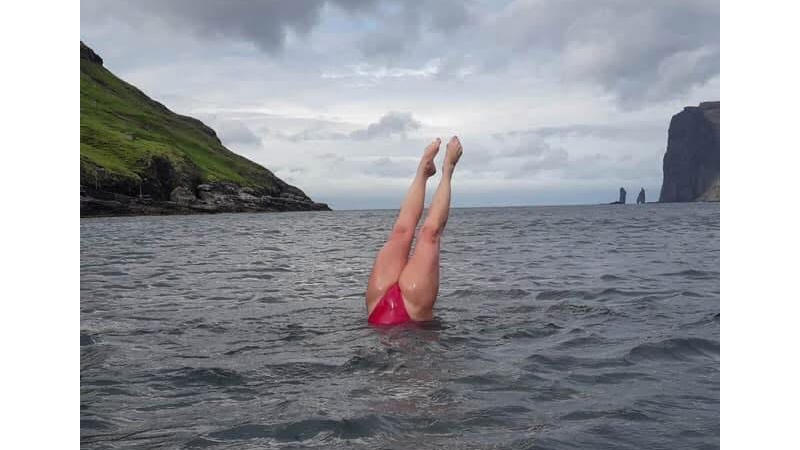
Year-round ocean swimming—mermaid training in progress!
3.Tools
I used a variety of software and programs for this week's assignments. Here is a list of all the tools I used:
- 3d scan with EinScan
- Mesh repair with Meshlab
- Meshmixer for mesh repair
- sketchfab
- 3d Model with Gimini and Tripo
- Blender for mesh repair
- Slicer for Fusion 360 for lasercut
- Deepnest.io
4. Process and workflow
3D Scanning: Bringing Nature into the Lab
Since I am doing my Fabricademy journey here at Fab Lab Vágur, it only makes sense to involve our local machinery in my weekly assignments. We have the EinScan-SE tablesize 3D Scanner, a user-friendly tool featuring both Auto and Fixed scan modes that makes it easy for anyone to digitize objects EinScan. For this week's task, I used it to scan two of my beach finds, using the turntable function. Her is how i did.
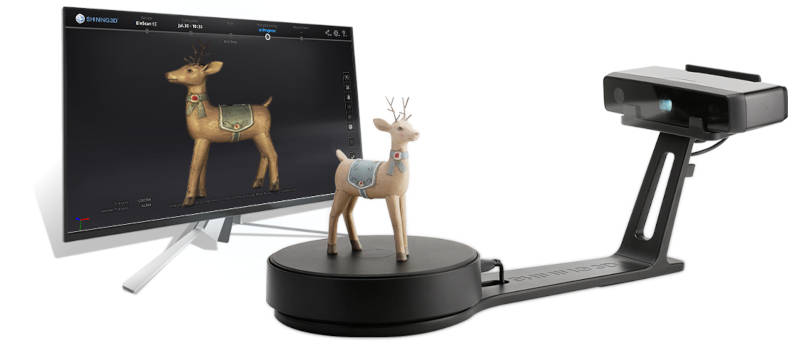
Image Source: Photo from EinScan webpage [Einscan]
Settings: I chose a non-watertight model first, as I intend to use it for making molds for casting later on. I normally set the turntable to 20 rotations, depending on what I am scanning. I used Autodesk Meshmixer Meshmixer to repair and close the surface holes. I haven't fully finished editing my scans for further use yet, but I can return to them whenever they are needed.
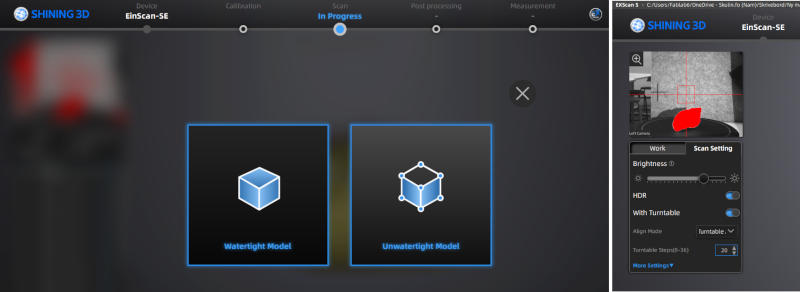
Image Source: Photos [screenshot]
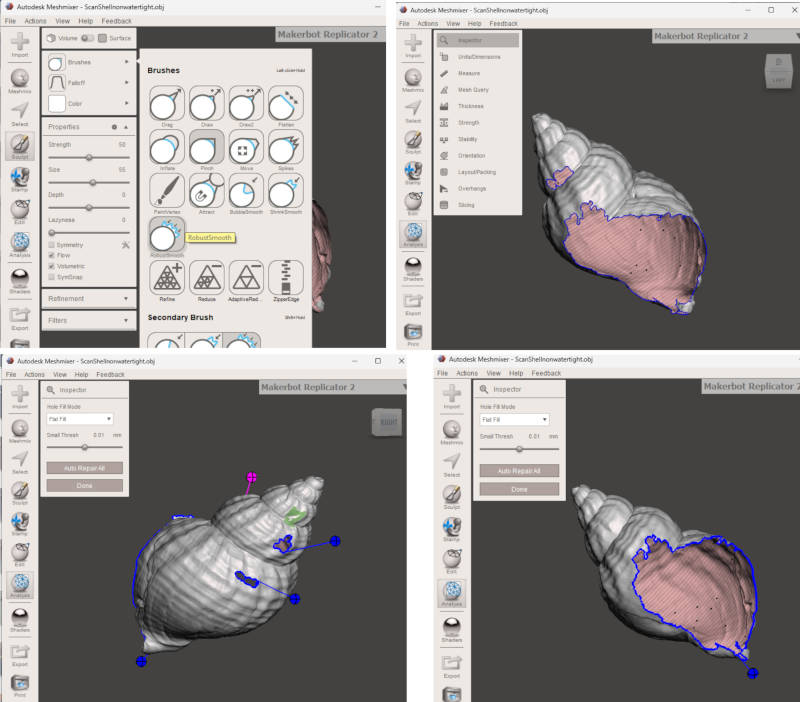
Image Source: Photos [screenshot]
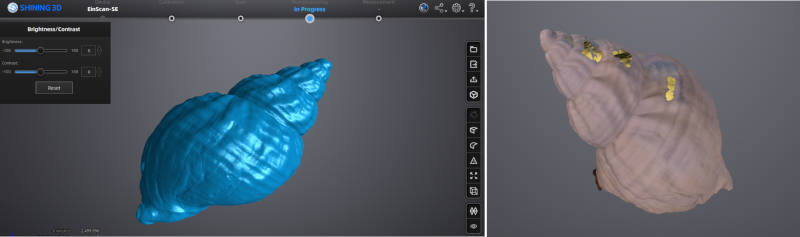
Image Source: Photos [screenshot]
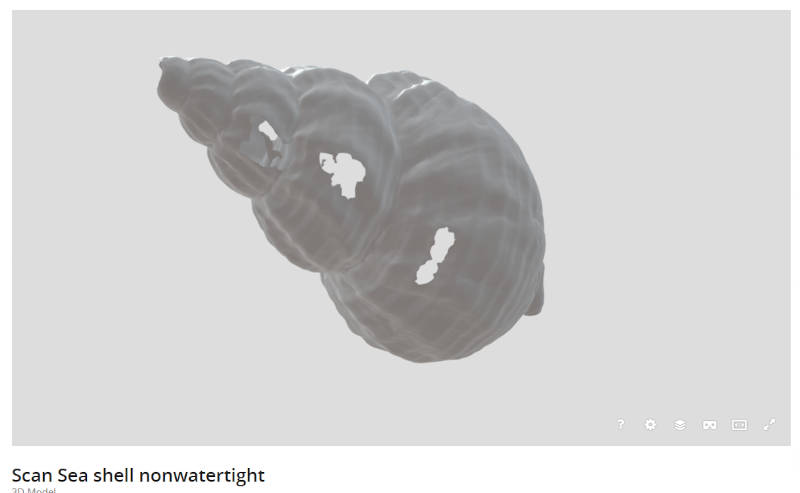
Image Source: Photos [screenshot]
I have never used Sketchfab, so i tried oploading my initial seashell scan (before mesh repair): Sketchfab initial scanning
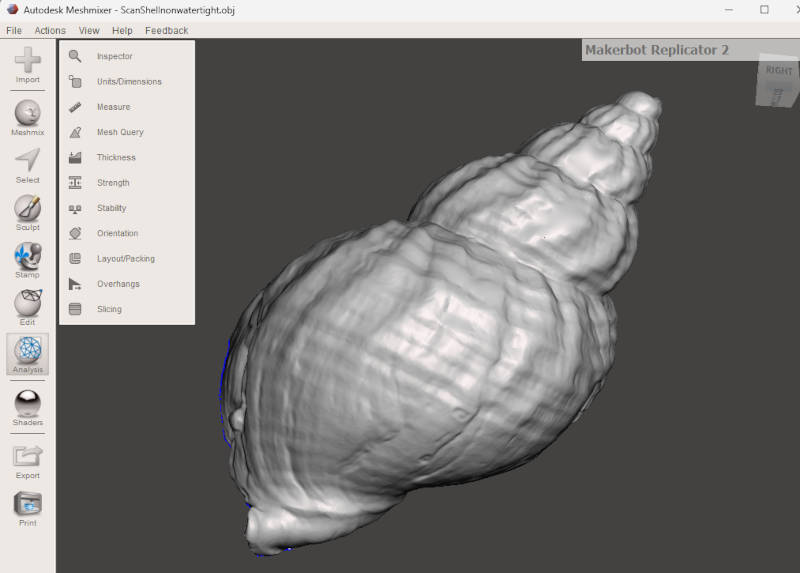
Image Source: Photos [screenshot]
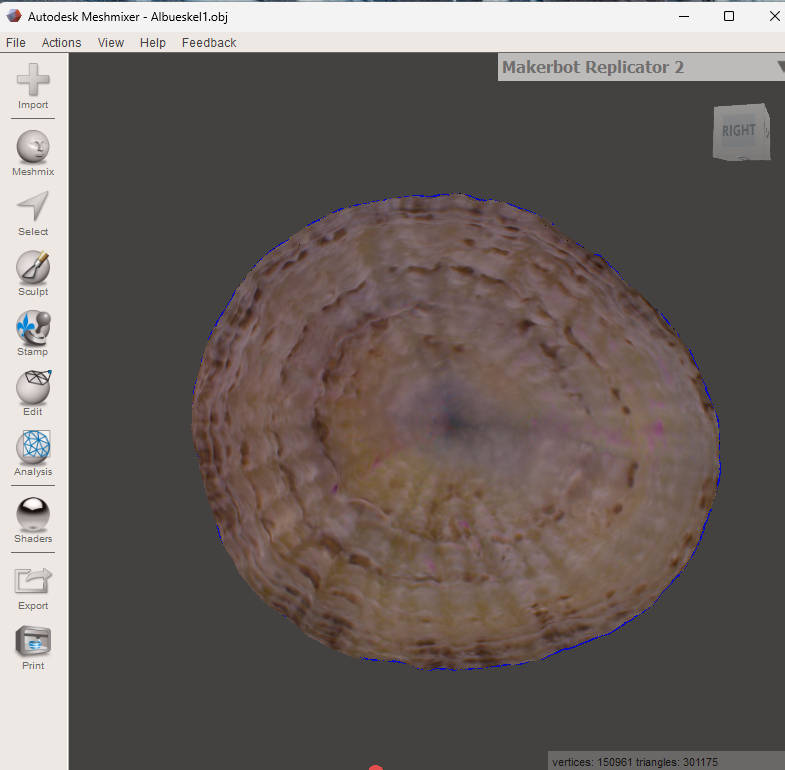
Image Source: Photos [screenshot]
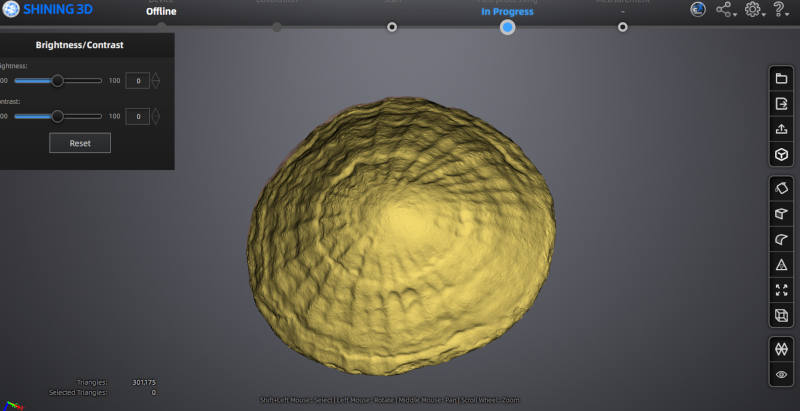
Image Source: Photos [screenshot]
AI Tutorial: Image-to-STL
We had an inspiring new tutorial for Fabricademy program, with Asli Aydin Aksan from Waag. She demonstrated how to use AI tools and open-source software to generate a 3D printable STL file directly from a 2D image. Learning this workflow opens up amazing possibilities for quickly translating visual concepts into physical, fabricated objects. For todays tutorial we first went through gemini Ai. I oploaded my picture and asked it first to remove the background. After that i asked it to use prompts, like decorating my legs with seaweed and seashells - just to stay in the theme. Gemini flopped my legs the other way, so how to specify quistions using Ai, is essential.
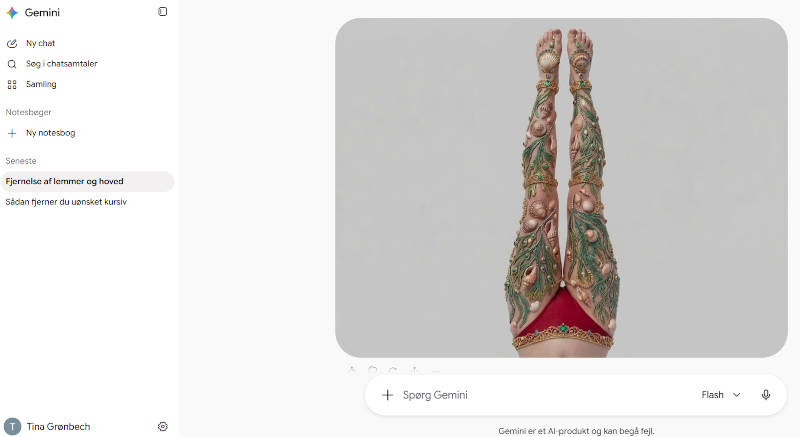
Image Source: Photos generated by gemini [screenshot]

Image Source: Photos generated by gemini [screenshot]
Originally, my work plan was to create a MakeHuman model in Blender, following the earlier very nice tutorial with Rico. However, after the Ai tutorial with Asli, I decided to shift directions. The next step was to use Tripo, an open-source 3D modeling software, where I then uploaded the same picture file (without the background). During that session, I decided to use my AI-generated file for the next part, the laser-cut assignment instead.
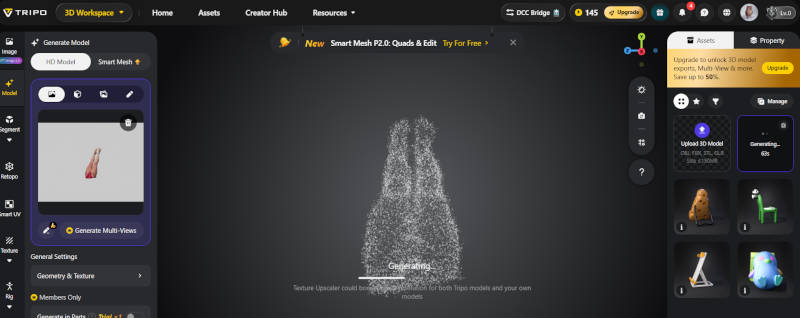
Image Source: Photos generated by tripo [screenshot]
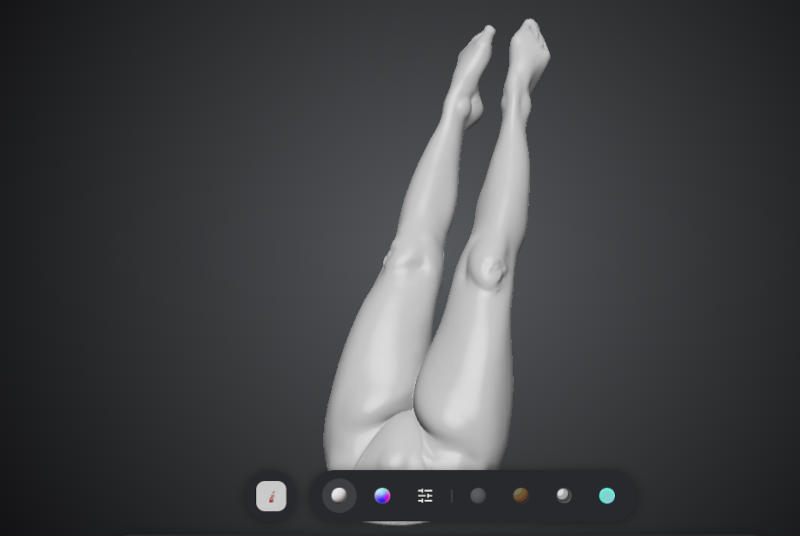
Image Source: Photos generated by tripo [screenshot]
To use - or not to use AI
We concluded her tutorial with a paneldiscussion on using AI as a part of the digital fabrication workflow, covering both the pros and cons, as well as concerns. For me, a major concern is the massive amount of natural resources required to power data centers.Therefor I probably won't choose this method every time or use it exclusively, as it ultimately depends on the complexity of the assignment.
Optimizing the 3d mesh
After using Tripo, I imported the STL file into Blender. To get the file "watertight" and ready for slicing. I went through the following steps in Blender: - Step 1: Adding a plane to split the model. Since the legs have a natural tilt, the model wouldn't stand flat on the table once assembled. To fix this, I added a plane to cut through the legs. This ensures a completely flat base, allowing the model to stand perfectly upright after Assembly. It also corrects the slicing direction, ensuring the slices are generated straight from the feet up to the pelvis, rather than at a distorted angle. Commants: Add - Mesh - Plane - Move/Rotate - Solidify Modifier (to give the plane thickness) - Apply. Click on figur-add modifier-generate-boolean-difference-object-eye dropper tool-select plane-Apply. Now i can delete the part i cut off. I change to Edit mode-A for select - P-seperate by loose parts. I go back to Object mode. Now i have 2 different parts. Press X. and then delete new part.
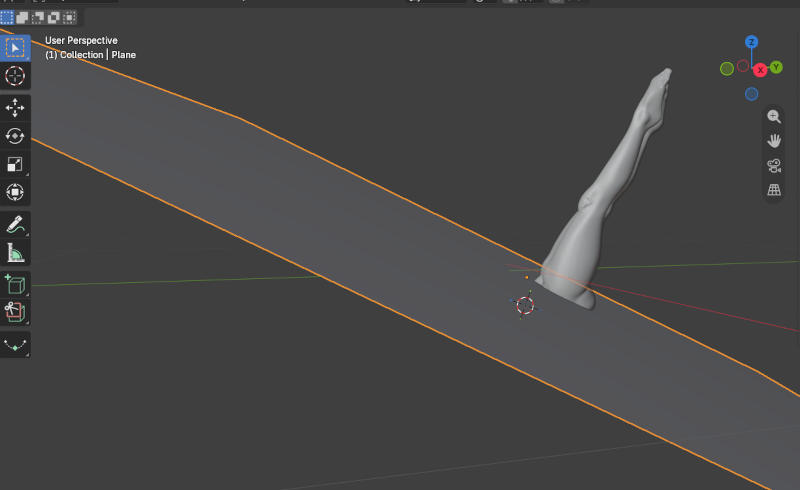
Image Source: Photos [screenshot]
-
Step2: Make my legs watertight, so that I can slice it or 3d print it. *#d print tab (first i must ad on this in preference)- select object-clean up-make manifold-press two times, and faces, edges etc goes to Zero.
-
Step3: Make my model smaller, so the slicer can read my file. *Add modifer-generate-decimate-decrease the polycount (Face count) to 68,296 (to make it lighter)-Apply. I do the Manifold again in step 2.
-
Step4: I had to ajust my legs, so that it was levering with the base as mentioned earlier: G-Z-Move to plan-Ctrl+A-All transforming
-
Step5: I used sculpturing to smooth bumps and surface impections. See pictures below.
-
Step6: Last step is to export as an STL fil to my computer.
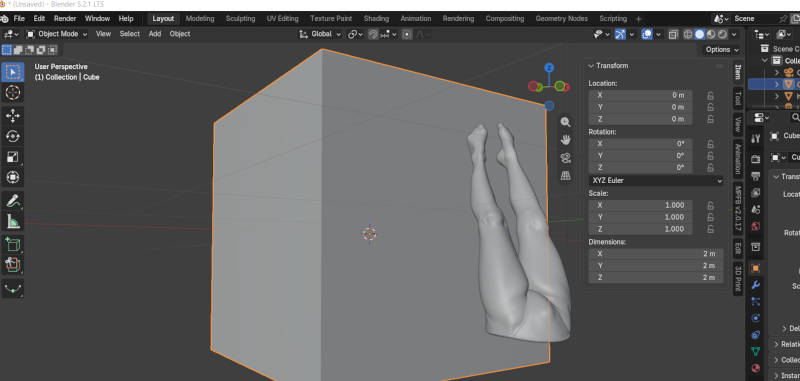
Image Source: Photos [screenshot]
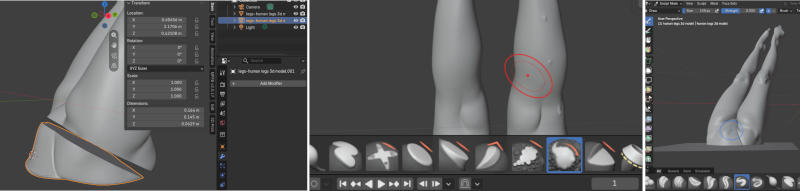
Image Source: Photos [screenshot]
Slicing and lasercutting
After using Blender, I tried out different outcomes in Slicer for Fusion 360. We have two sizes of laser cutters here at the lab: a small desktop Epilog (300x600mm) and a larger Gweike (900x1200mm). My first thought was to make a stacked version using the Epilog laser, as shown in the first image. I thought it would look more natural. However, the manufacturing settings I entered in Slicer didn’t match the bed size, and it generated 20 smaller sheets, which I noticed after trying to nest the parts in Deepnest.io. Instead of spending more time than necessary troubleshooting this error, I chose to maintain momentum and move directly to the next phase.
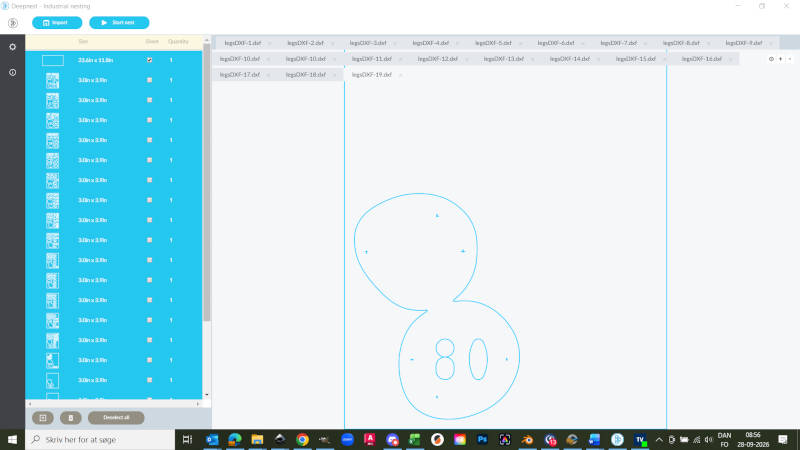
Image Source: Photos [screenshot]
Due to this time pressure and after the initial trial, I thought it made more sense to switch to the Gweike lasercutter. This allowed me to use the precut cardboard sheets we have at the lab (450x800mm) and decided on creating an interlocked version instead, to save time and material. The thickness of the cardboard is 3mm.
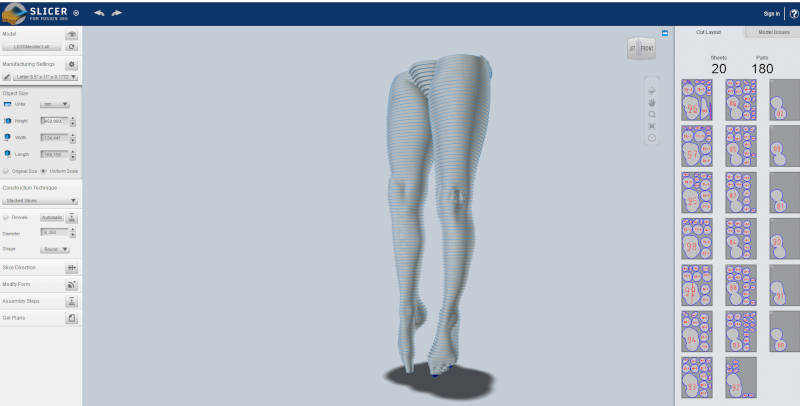
Image Source: Photos [screenshot]
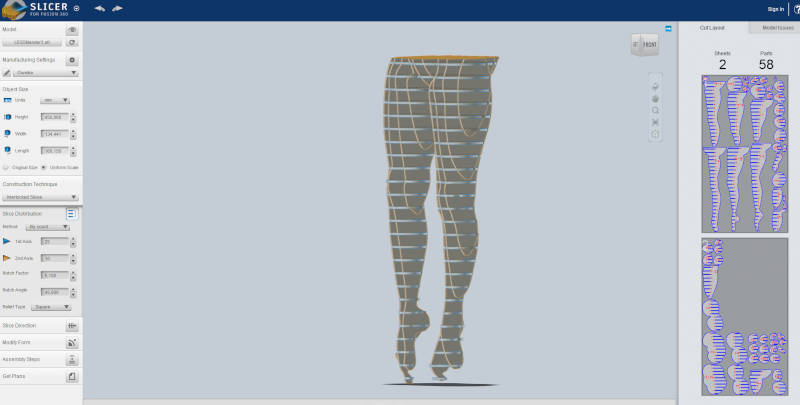
Image Source: Photos [screenshot]
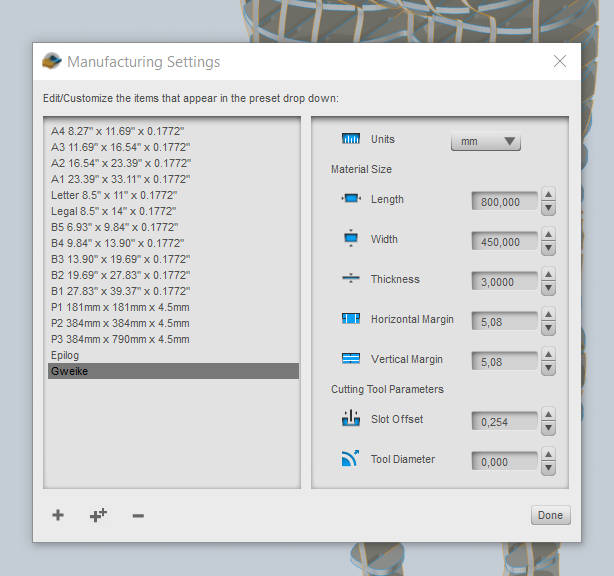
Image Source: Photos [screenshot]
Originally, the model was meant to be around 900mm high closer to true size. However, since full size and absolute time efficiency were not essential constraints for this assignment, these factors allowed me to scale the model down by 50% using the Uniform Scale option in Slicer. The final height of the legs is 450mm. I used two pieces of cardboard for the legs. I didn’t have time to run the new file through nesting software, but it wouldn't have saved enough space anyway; at its current scale, the model simply could not fit onto a single sheet of cardboard.
This is the lasersettings i used:
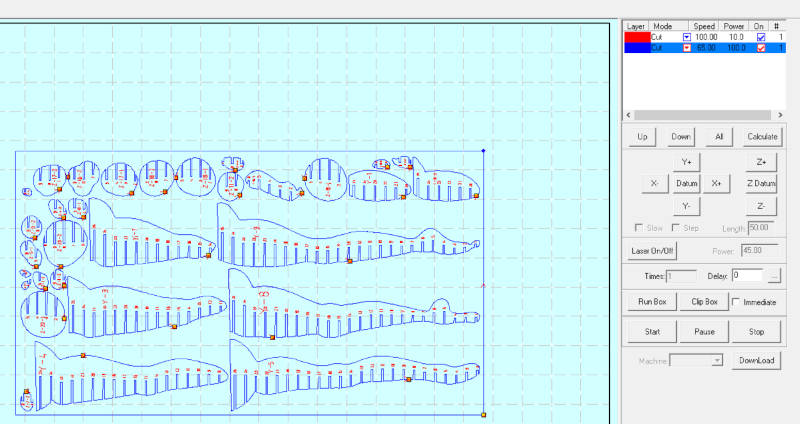
Image Source: Photos [screenshot]
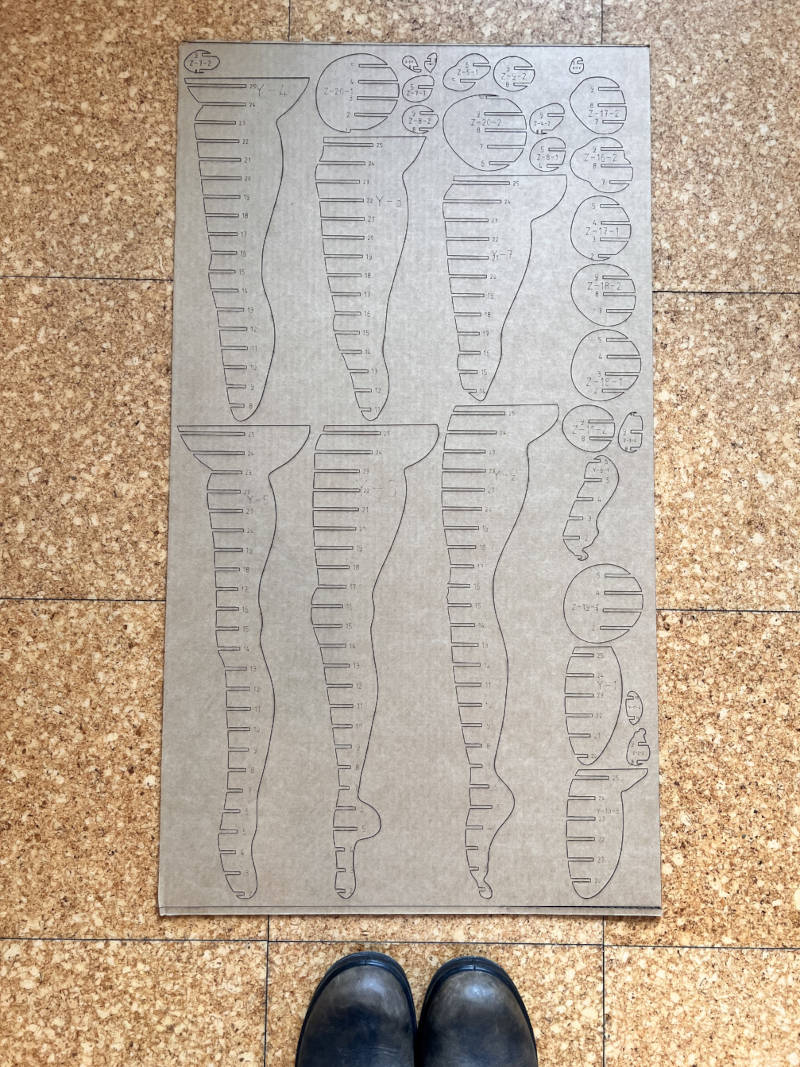
Image Source: Photos [screenshot]
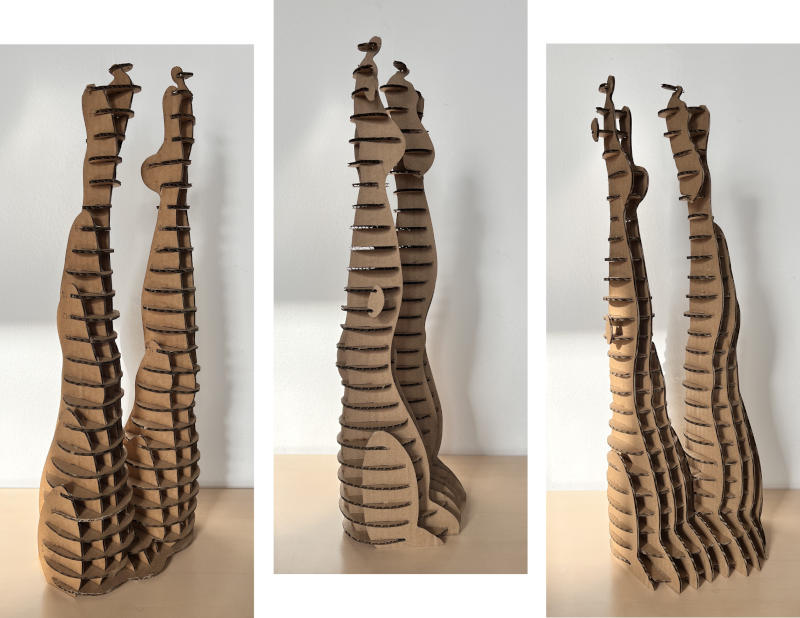
Image Source: Photos [screenshot]
5.Project Files
Her is a link to all my files used in this assignment.
In file folder: - 3d scan of seashells (Albueskel and Seashell) - 3d files of Legs (Legs) - Svg files for lasercutting (leg1 and leg2) - Dxf files for lasercutting (legs2DXF-0 and Legs2DXF1)
Download all project files here (ZIP)
6. Weekly reflection & critical thinking
-
What did I learn & what surprised me?
It was a really interesting tutorial with Asli, learning how to turn a 2D image into a 3D file using open software like Tripo. As a Blender beginner, importing and preparing this mesh for laser cutting was a great learning experience. Originally, the model was meant to be 900mm high to be more true to the size of my own legs, but I scaled it down to 450mm. Shifting from a stacked version to an interlocking structure didn’t surprise me, but seeing the visual contrast between the two methods was great. Given more time, I would have loved to laser-cut both versions to compare them physically. We concluded the tutorial with a discussion on using AI in digital fabrication workflows, covering the pros, cons, and concerns. For me, a major concern is the massive amount of natural resources required to power data centers. Consequently, I probably won't choose this method every time or use it exclusively, as it ultimately depends on the complexity of the assignment. -
What would I do differently?
Time and timing mean everything in digital fabrication. Although I think I budgeted my time well, other tasks and external disruptions interrupted my flow. I skipped the second nesting process due to these constraints, though at this scale, the model simply could not have fit onto a single cardboard sheet anyway. Looking back, I wouldn't change my choices this week, as managing disruptions is just part of working in a Fab Lab. However, it keeps me aware of how essential steps like preparing the file meticulously saves valuable machine time in the end. -
Connection to my final project & learning trajectory?
Moving quickly from an open-source 3D generation to a physical object is a valuable skill. This process gives me a reliable workflow for rapid prototyping, structural testing, and creating casting molds or ideas for my final project. -
Implications, applications & ethical/environmental aspects?
Choosing the interlocking structure over the stacked version greatly reduced both cardboard waste and assembly time. Because the 3mm cardboard joints fit together, I didn't use any glue to assemble the model. In the future, nesting files tightly and adjusting for the laser's kerf will allow me to continue creating simple and glue-free designs that are easy to disassemble and recycle.
Checklist Evaluation & Outcomes
Looking back at the weekly checklist, I have successfully completed the core requirements: * 3D Scanning & Mesh Repair: I experimented with the non-watertight EinScan model and used Autodesk Meshmixer and Blender to close holes and fix the base alignment from the feet up to the pelvis. * File Preparation & Fabrication: I set up manufacturing boundaries for the Epilog and Gweike, using 450x800mm sheets, and scaled the interlocked design by 50% in Slicer. * Assembly & Sharing: The final 450mm interlocking model was successfully cut on the Gweike and assembled glue-free. All files are packed and uploaded.