4. Biochromes
What we made this week
This week's lecture was all about colour, and how to make it from natural sources. We created dyes, inks and pigments from various elements, and documented the process along the way.
Natural dyes
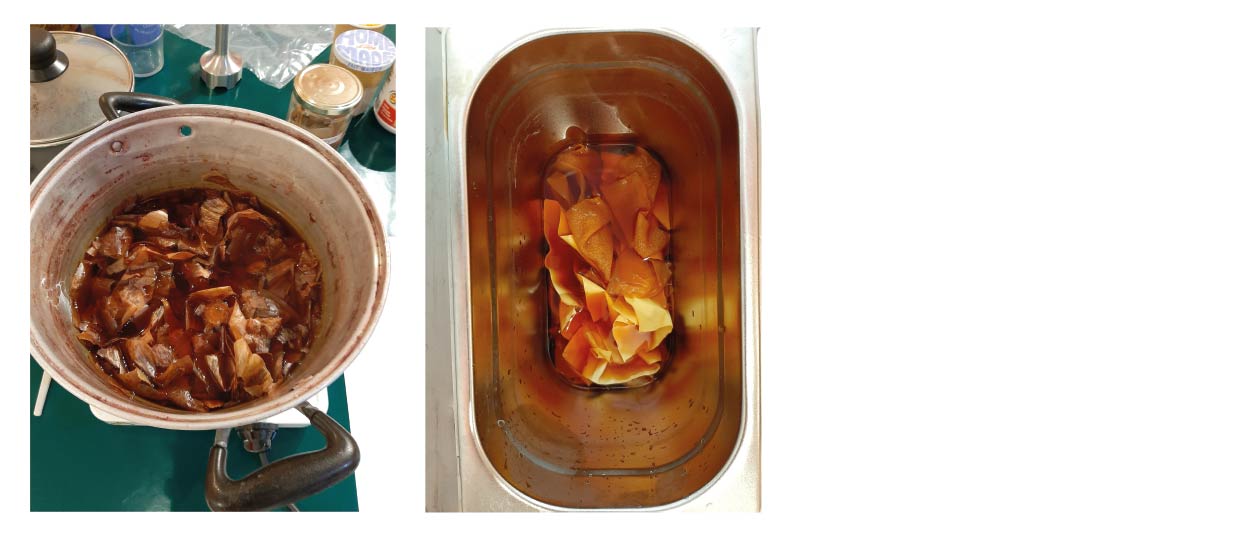
Fabrics
We used a few different fabrics, from which we cut small samples (10x10cm). We mordanted most of them. Here are the different fabrics we had:
Cellulosic fabrics:
- A blend of linen and cotton
- Simple cotton
- A weird cotton, very densely woven and coated on one side
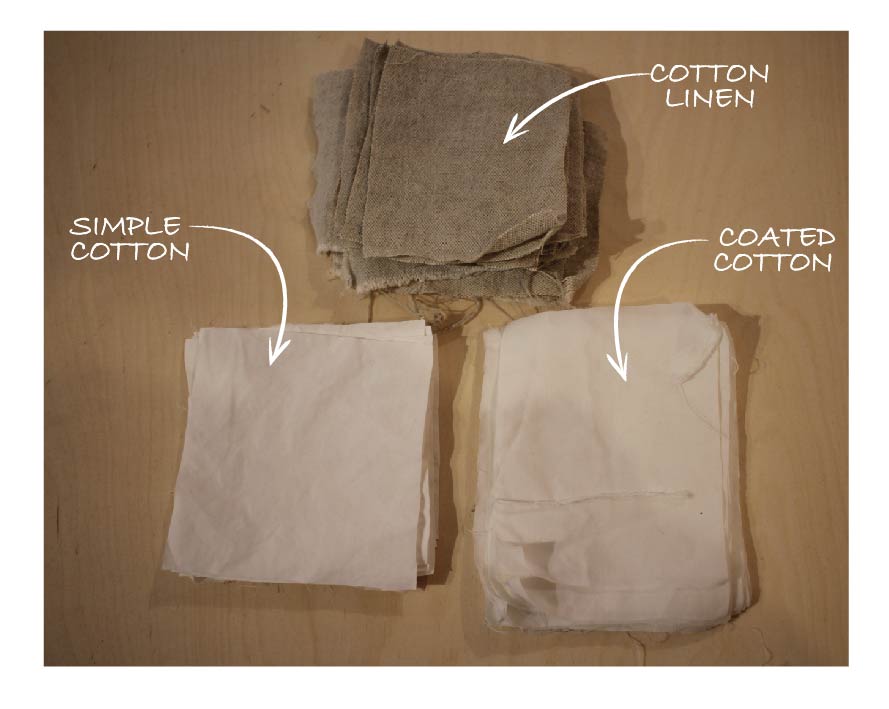
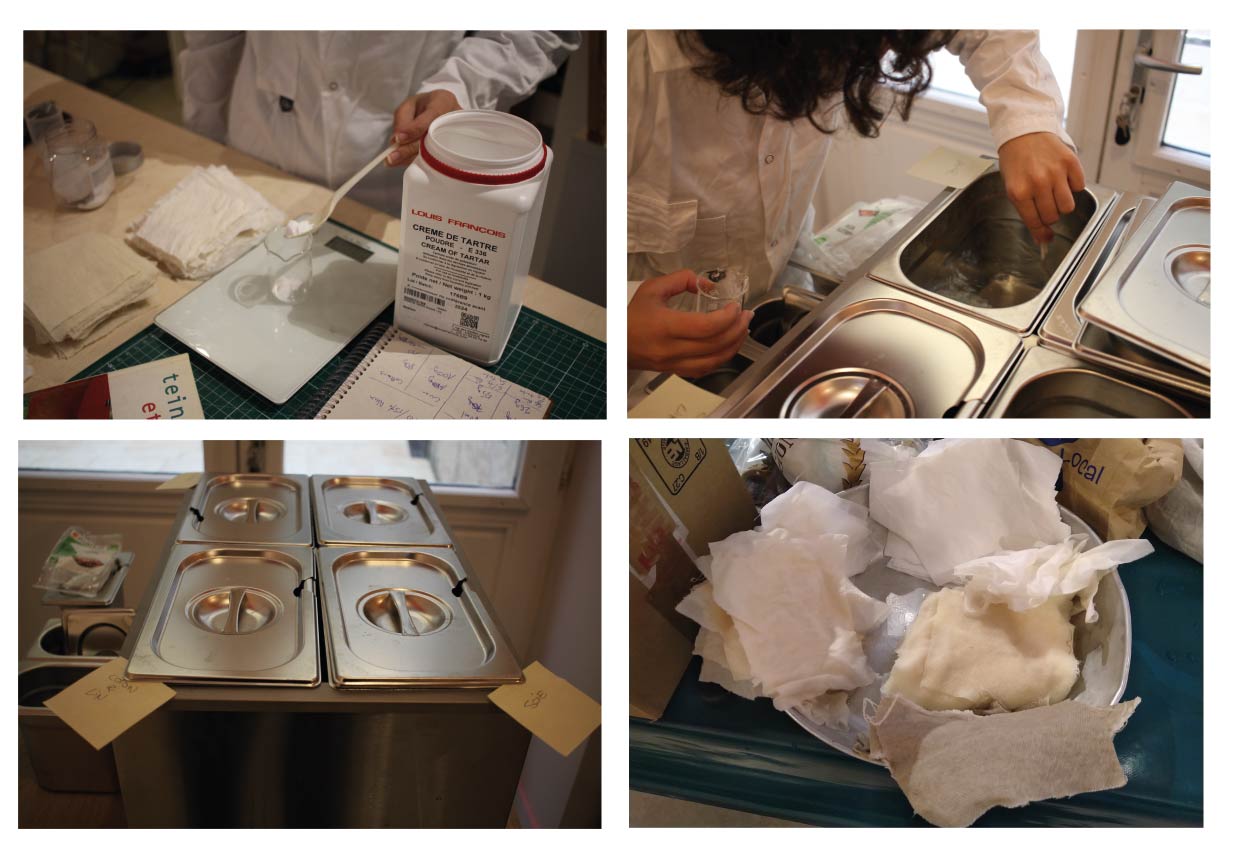
These fabrics were mordanted with alum, with the following process:
- Weighing the material, giving us the "Weight Of Fibers", WOF
- Dissolving alum in hot water, around 10-15% of the WOF
- Adding the material
- Letting it simmer through the night, and then heated it back up for approximately 1 hour
Proteinic fabrics:
- Wool cloth
- Soft silk
- Textured silk
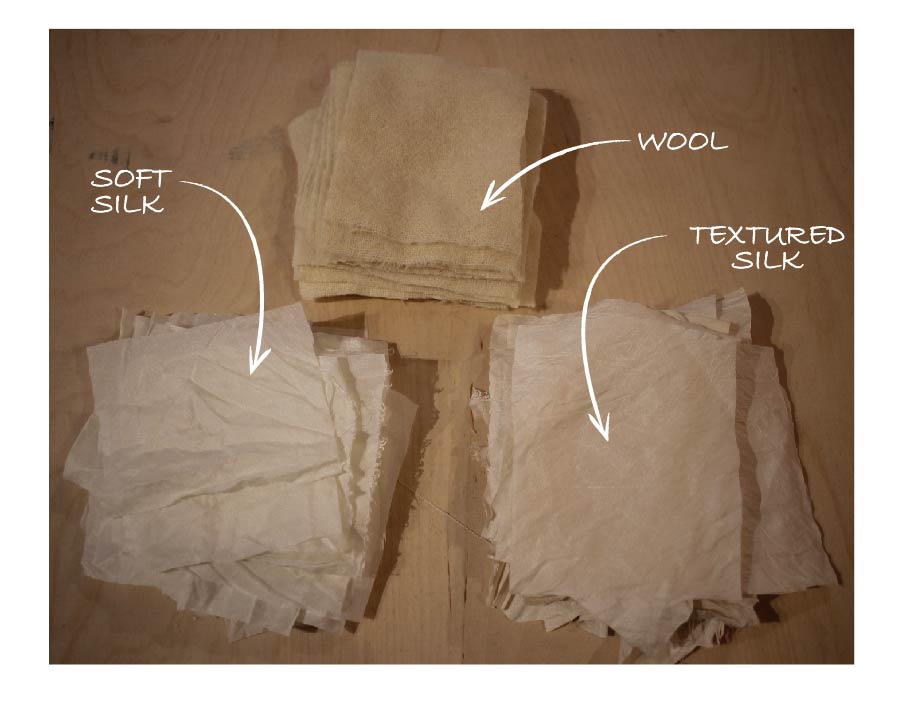
These fabrics were mordanted with alum and tartar cream, with the following process:
- Weighing the material, giving us the "Weight Of Fibers", WOF
- Dissolving in hot water: 8% of tartar cream, then 10-20% of alum
- Adding the material
- Letting it simmer through the night, and then heated it back up for approximately 1 hour
Materials
We used 4 different materials to make our dyes:
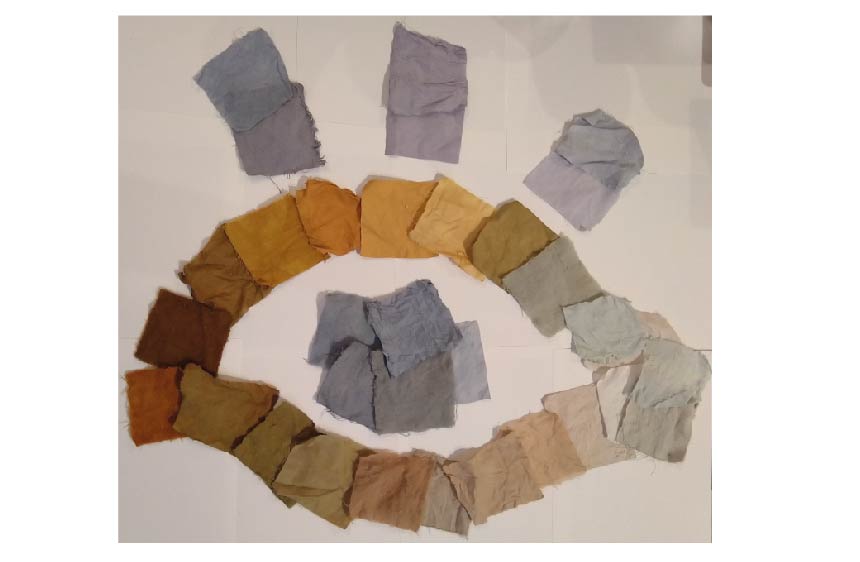
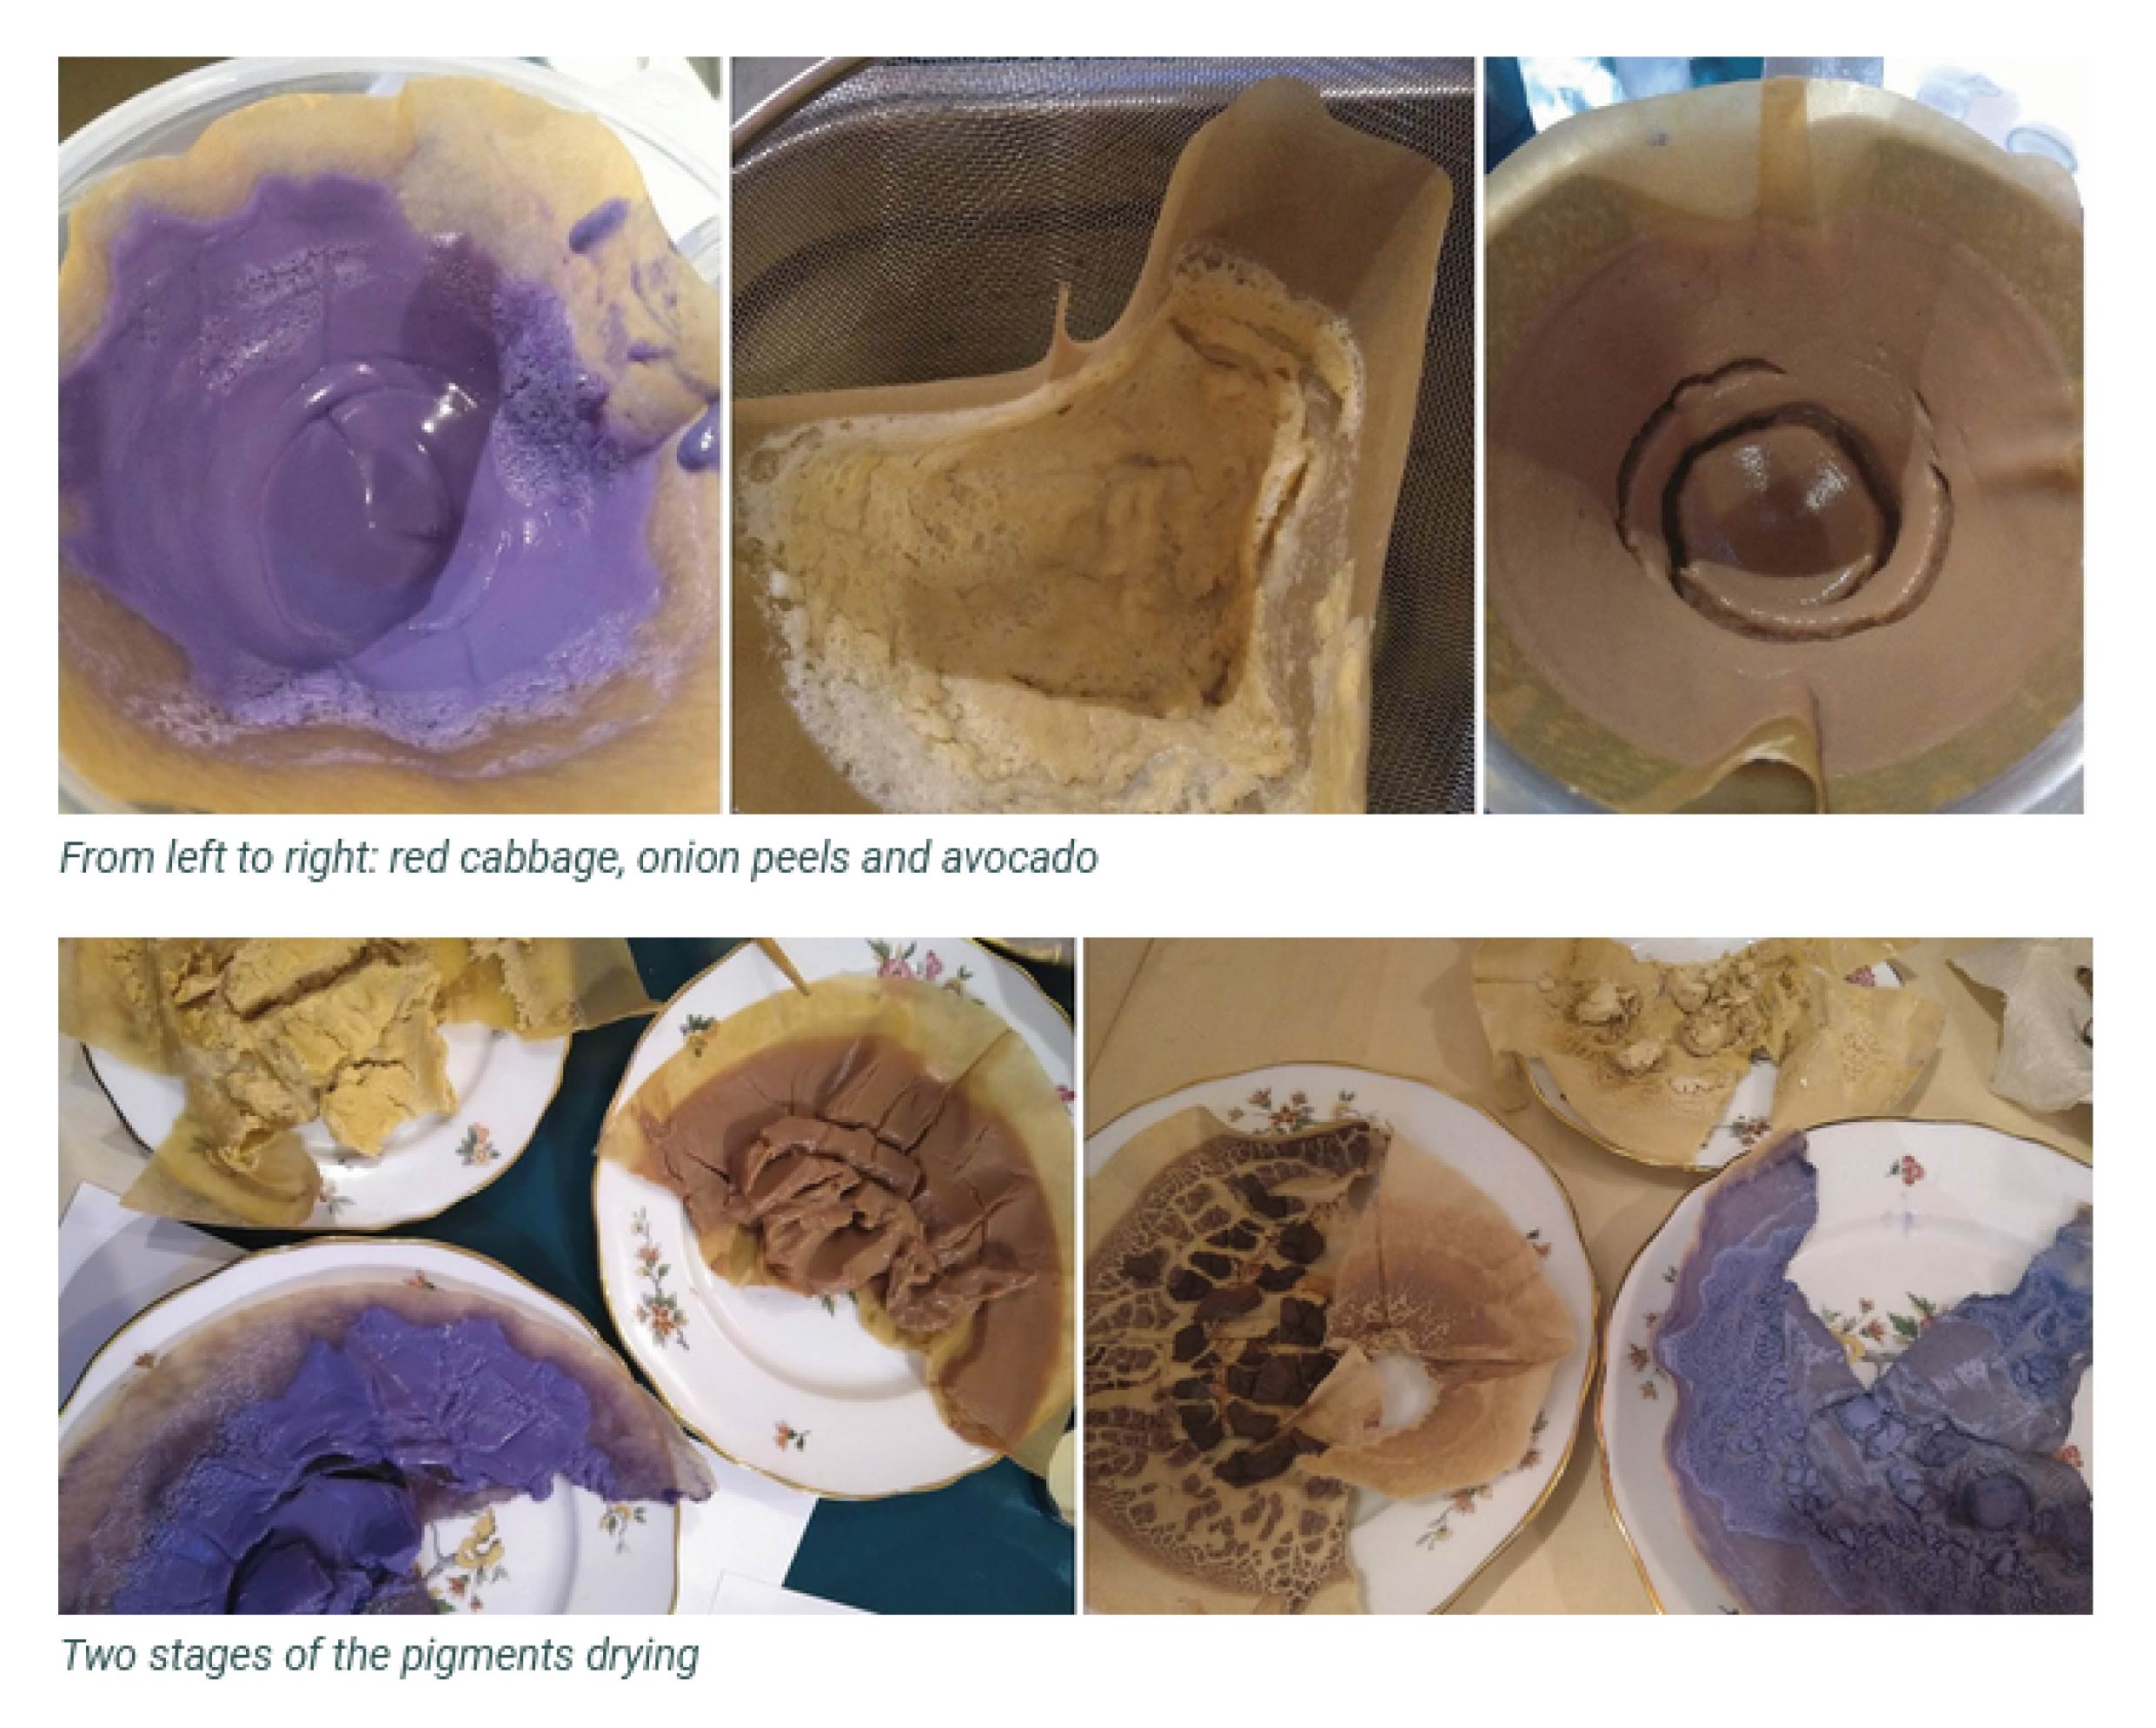
Avocado
The peels and pits of avocado, dried. We boiled 36g of peels and 3 pits in water, for approximately 1 hour. We then put the fabric in, and let it simmer. We took out some of the fabric after 30 minutes, and the rest after 2h45.
The result after 30 minutes are quite light,

but after 2h45 we get a nice light pink-beige-salmon.

We then used an iron liquor to modify a part of the dye bath, and all of them went darker.

Onion
Onion peels, from yellow onions only. We had 25g of it, which is already a good volume because it's so light. We boiled them for 1 hour, and then put the fabric in. We took out some of it after 2h, and the rest after 4 hours (we might have forgotten it..!).
We get a quite vibrant yellow for almost all of them.


We used the iron liquor to modify the colour, and all of them went to different shades of brown.

Red cabbage
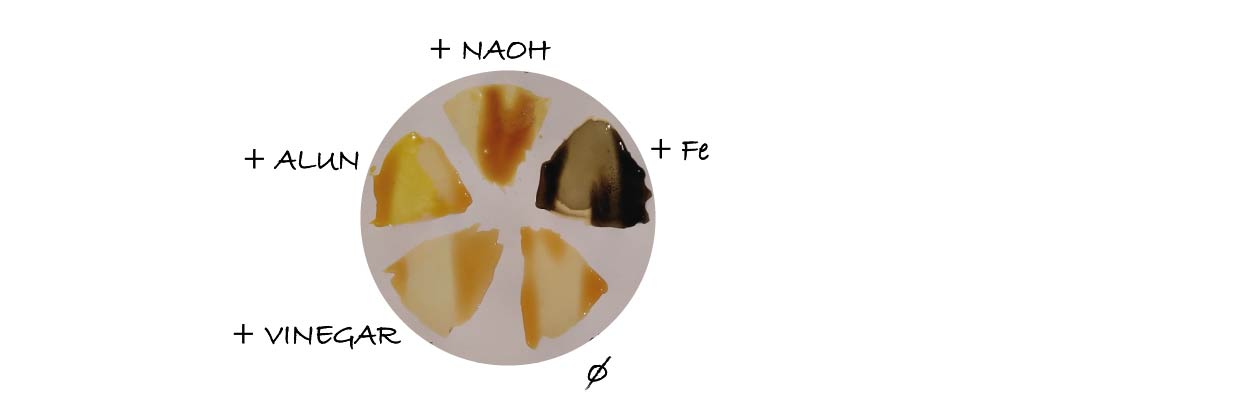
A small quarter of red cabbage, cut in small pieces, weighing 160g. We boiled it for 1 hour and then put the fabric in. We let the fabric in for almost 3h, but the result was not very pronounced. We got better resulsts after post-mordanting, especially with iron liquor, where we get nice blues.


We also tried with soda, which went to the green side, but not very vibrant.

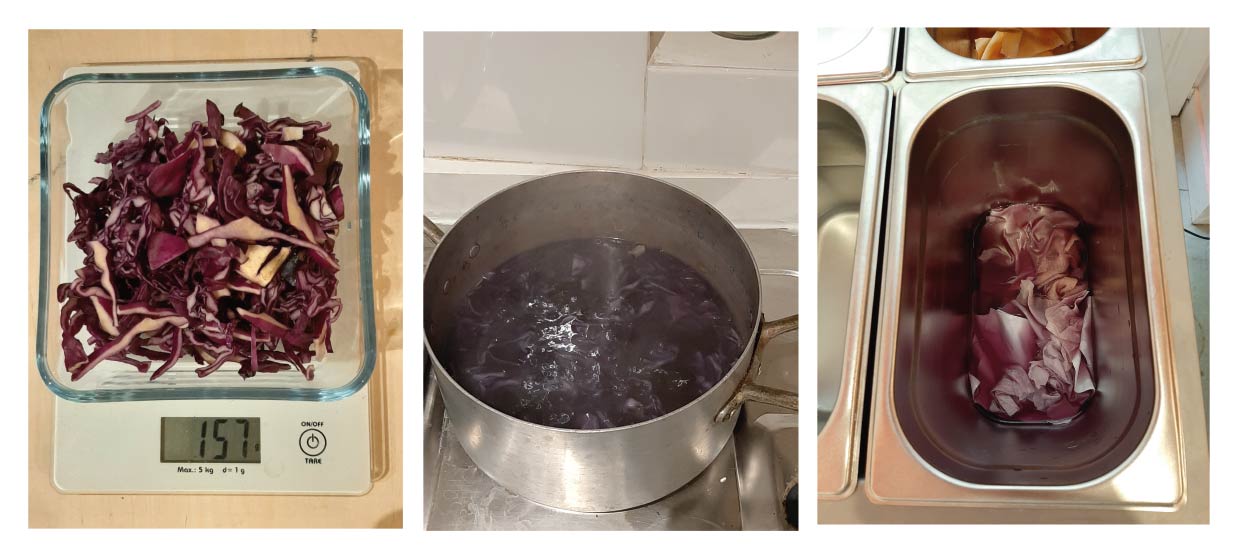
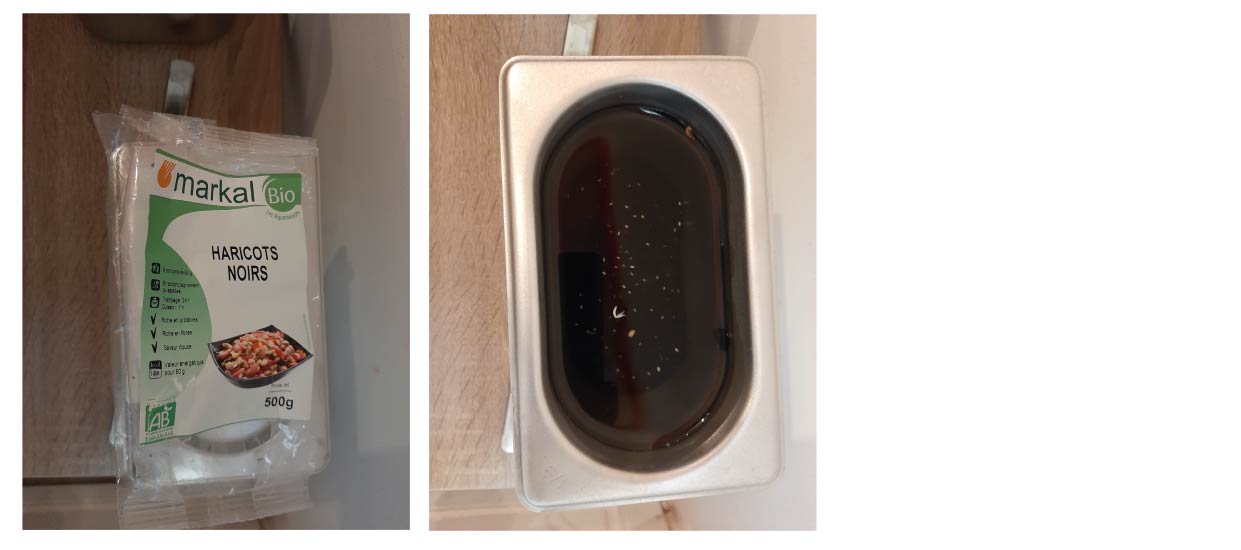
Black beans
A small package of black beans (200g), that we let in cold water for 24h before putting the fabric in.
We let the fabric in for around 6h, and got shades from blue for the linen and wool, to purple for the silk. The coated cotton showed a different color on each side of the fabric.

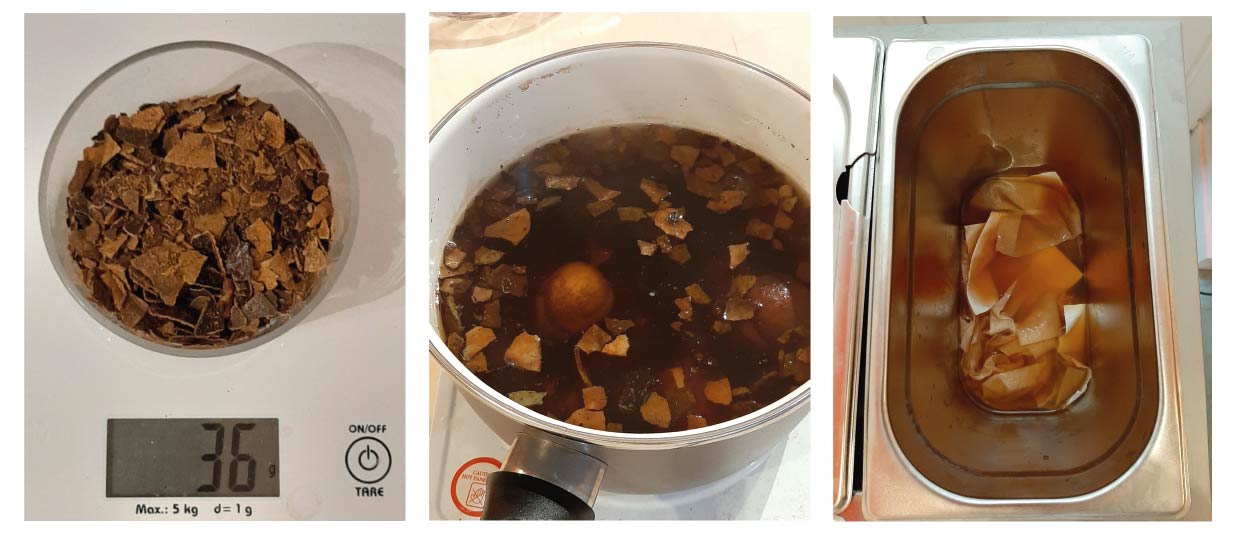
Drawings
With Pauline, who did a talk on how to hack traditional drawing and printing techniques, we decided to try out a few different things:
Resist paste
Like for the Japanese method Katazome, we used a resist paste and stencils before dyeing some of the samples.
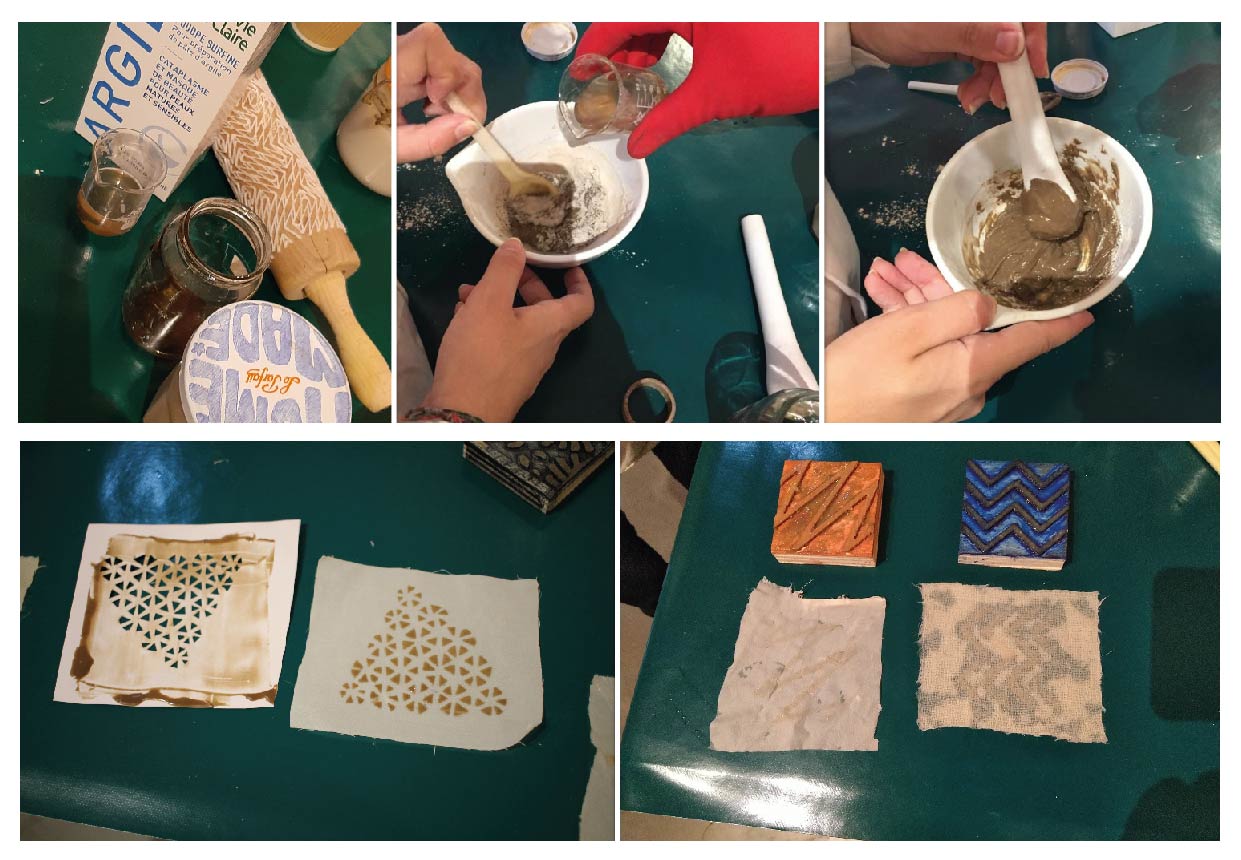
We also used this paste with stamps that were 3D printed by Pauline:
Resist paste recipe:
- 3 parts clay
- 2 parts arabic gum solution (50/50 water and arabic gum, with honey to preserve)
- 1 part water
We then let these samples dry, and put them in the black beans dye bath and let them sit overnight.
We chose the black beans dye for this technique, because it is a cold bath, and the resist paste cannot be put in a hot bath. This technique would work with an indigo bath, for example.
The results were not great, probably because the black beans bath was starting to get old, or because we did not let them dry enough before dyeing them. On one of them we can see where the paste was, but it's very faint.
(result pic)
Iron liquor
We then used iron liquor, in two different ways:
- Iron liquor + guar gum: only a very small amount of guar gum is needed to turn the liquor into a sort of gel
(pics of drawings)
- Iron liquor + resist paste: we took some of the resist paste from above, and added some iron liquor to it
(pics of stamped fabric)
Wax
Next we mimicked the batik technique, by pouring hot bee wax on some samples, with a specific was pourer.
(pics)
We also dyed them in the black beans overnight, and the result was okay, but when rinsing the was with hot water, the colour of the dye was already starting to wear off.
Tumeric paste
Our last test was to try direct printing with tumeric paste. Pauline had made this paste by mixing tumeric root, and adding to it ... ?
We stuck a 3D printed pattern to a rolling pin, and rolled it in tumeric paster, then on a piece of silk.
The result was not very convincing; the 3D printed pattern probably has too thin edges, and the plastic does not take the dye well. We can still see the printing after it has dried, but it is not very regular.

Inks
We tried ink making with 2 of our dye baths: red cabbage and onion peels.
The process was the same for both of them:
- Let the bath reduce a little bit on heat
- Add some arabic gum (30% of the liquid), slowly so that it dissolves well
- Remove from heat, then try it and add different modifiers to it

We also experimented with inks prepared by Pauline, where she mixed tumeric and hibiscus with ethanol:
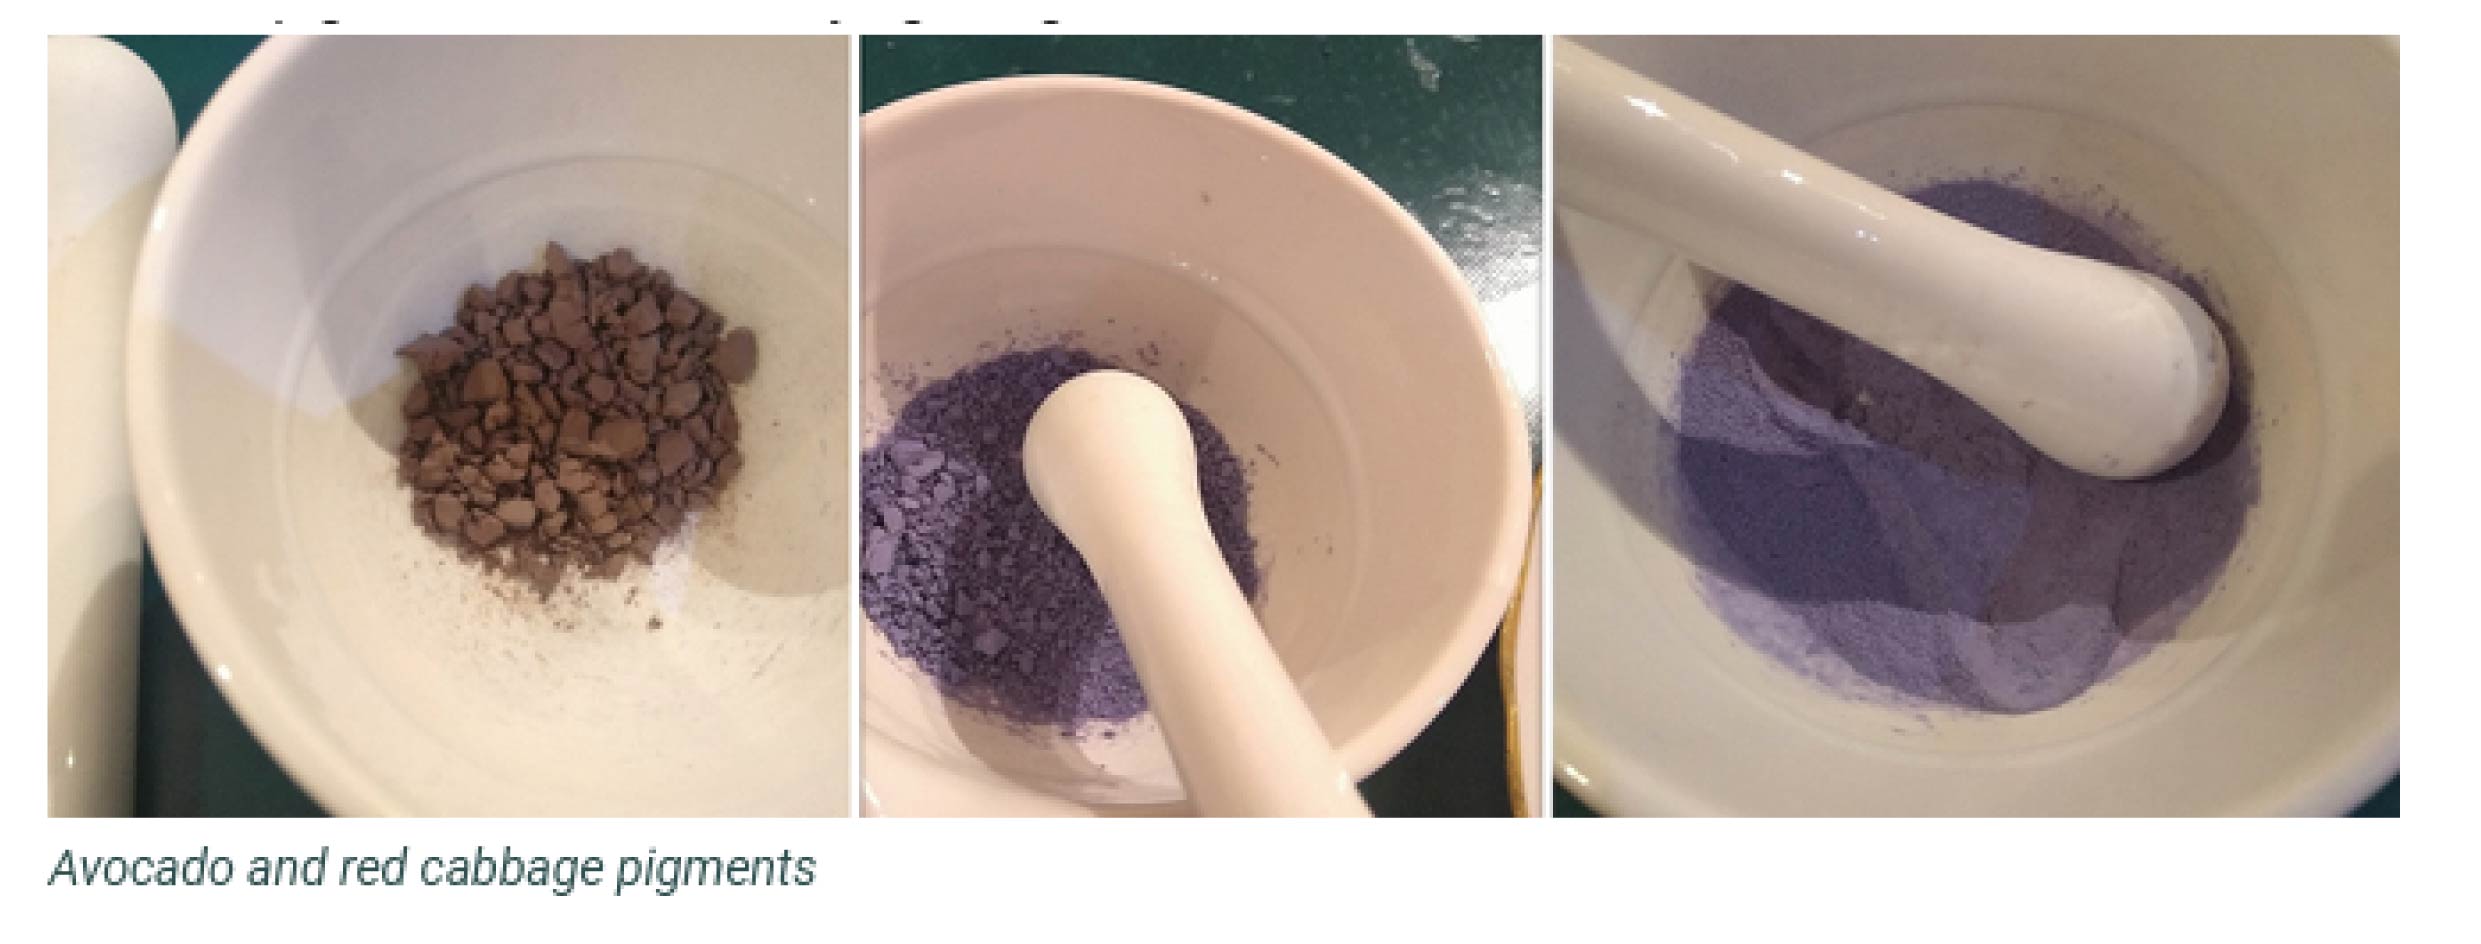
Pigments
With the leftover dye baths, we followed Cecilia's recipe to make lake pigments with 3 of our dye baths. We followed this process:
- Melting 20g of alum in hot water
- Melting 5g of soda in hot water
- Adding the alum to the dye bath
- Adding the soda (slowly!) to the dye bath, to precipitate it
- Watch it rise!
We let them sit for a while, so that the phases were separate and then we filtered. We are now waiting for it to dry! I will add the pictures and the rest of the process as soon as we are done drying and grinding them.
We then filtered, and we are now waiting for it to dry ! I will add the pictures and the rest of the process as soon as we are done drying and grinding them.