7. Computational Couture 
Week 07.
This week was a mixture of freaking out and beeing calm again. Parametric Design and Grasshopper were CRAZY. (In any case...I was expecting that :D)
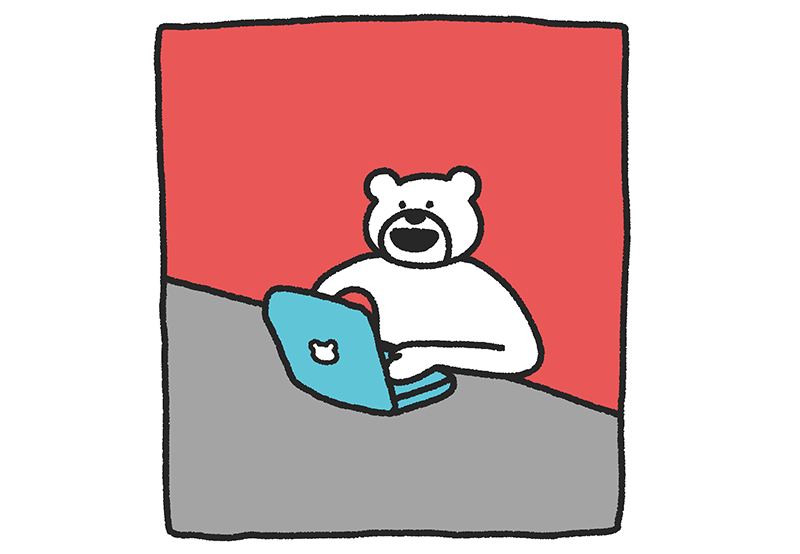
Usually, I am not able to watch the tutorials live, because at 3:00 pm (In Uruguay 11:00 am) I am preparing lunch and kids for kindergarden. Buuuuuut... As I knew Grasshopper was HARD, this week I tryed to watch the first tutorial at 3:00. Of course that was a terrible idea: I could barely understand, and I burned the meal.
This was me, literally:
Then, I decided that freaking out was not the best idea (finally), so I tried to complement Eugenio´s tutorials with some others found on the Web, that helped me to understand the program, and to do the Assignment of the week.
Rhino & Grasshopper 
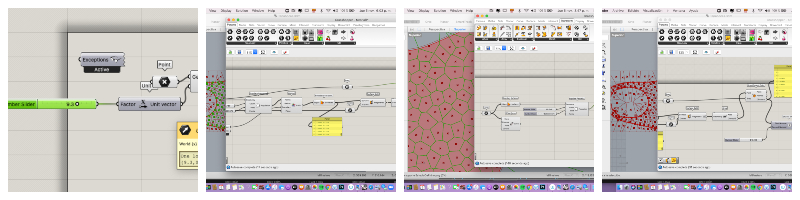
While it is true that Grasshopper is not an easy software, once you get into its "mood", it is kind of friendly. I can not say that I am able to use it without watching a Tutorial, but I started to understand its logic, so I am quite happy!
A fundamental plugin for learning Grasshopper is BiFocals: it is a plug-In that names each action performed on the software. It is useful to understand each command used, and to get a picture of the whole workflow. I watched a bunch of Tutorials, but I mostly recommend those using Bifocals. I finally made 3 final textures with Grasshopper, and I can say that as I progressed, I felt more comfortable. I ended up predicting (well...trying at least...) the upcoming command to be used.
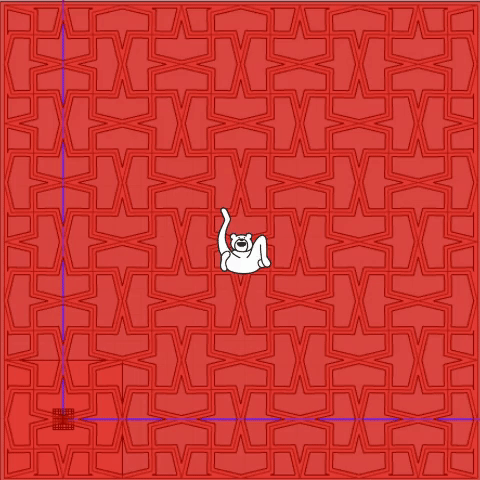
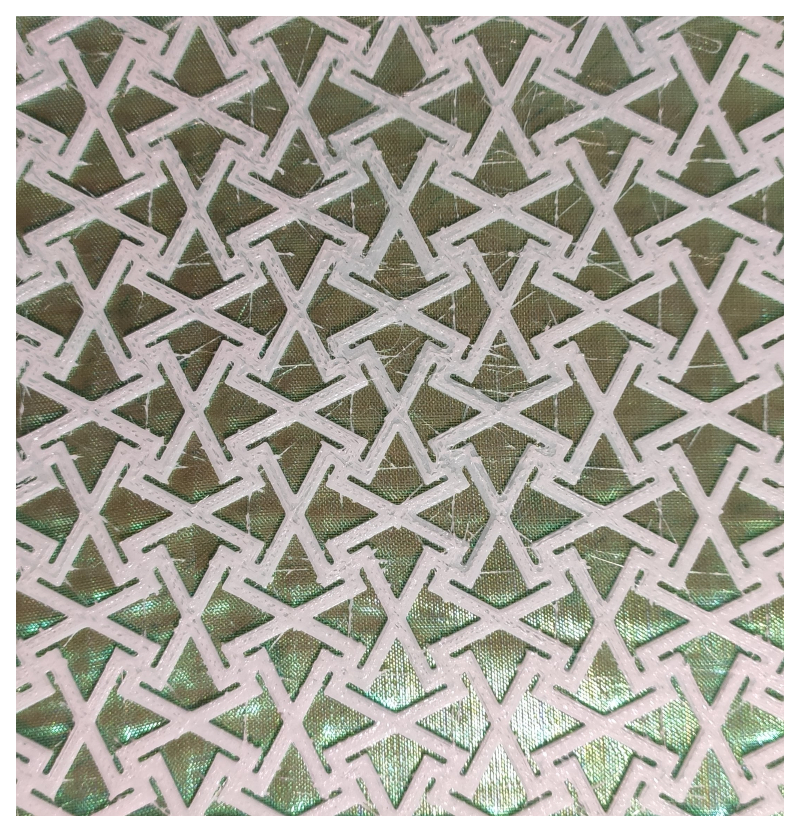
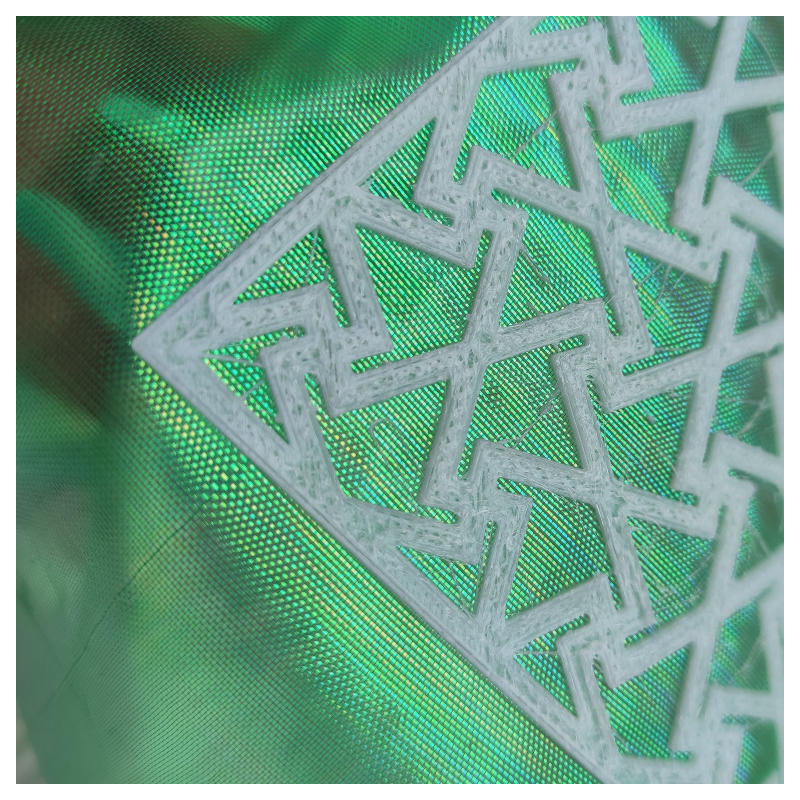
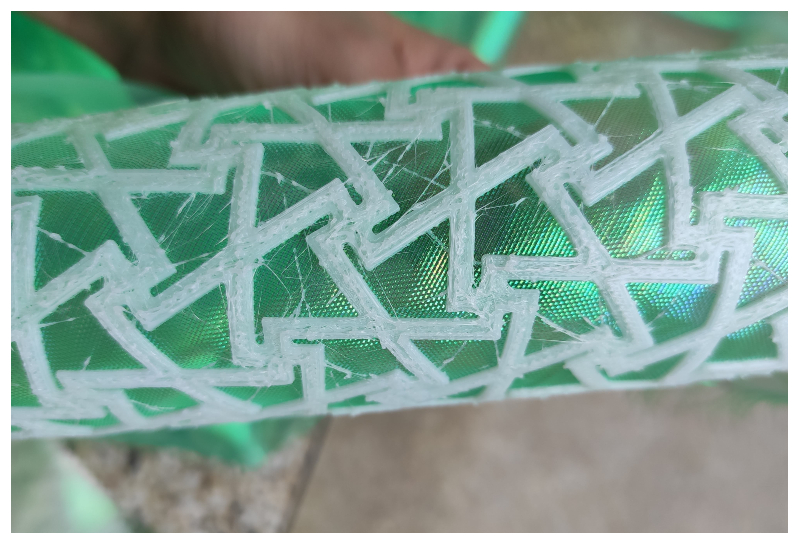
I wanted to make some kind of maze, but Parkeet the plug-in that I found to make mazes, was not available for Mac. So I decided to go with the three textures I show below.
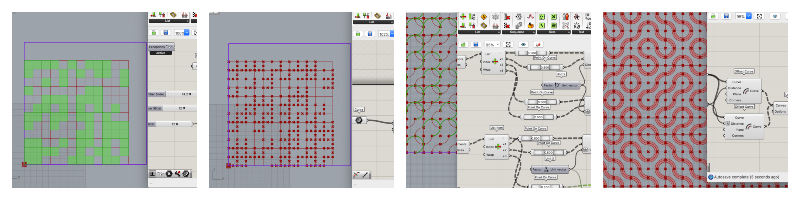
Texture 1.
I found this texture in Rhino Grasshopper Channel, at Youtube. There, they have really clear tutorials where they explain everything step by step. It also links the video, to other tutorials on basic concepts. These, helps a lot to understand better each step.

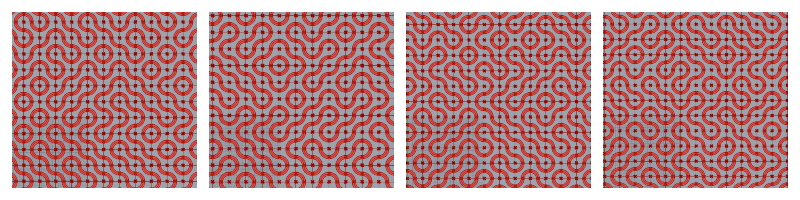
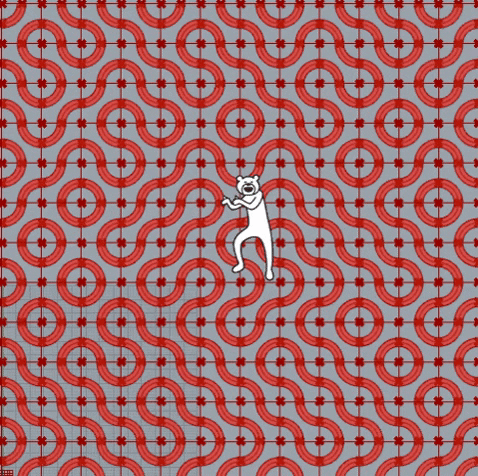
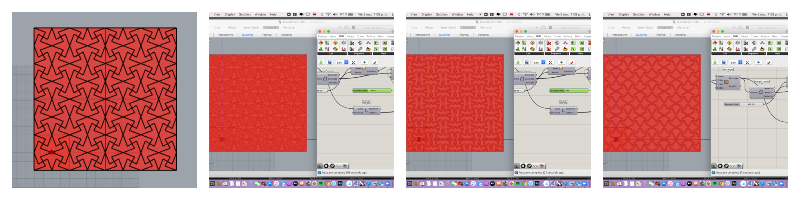 Texture 2.
Also there, I found the Truchet Tiles video. I really enjoyed this one, as it is a simple pattern that ends up with nice results.
 In the middle of the process, I had some errors that I could not resolve (instead of drawing a quarter circle, Grasshopper insisted on drawing a 3/4 circunference). Finally I realized that the problem was that I was using "x" instead of "-x".
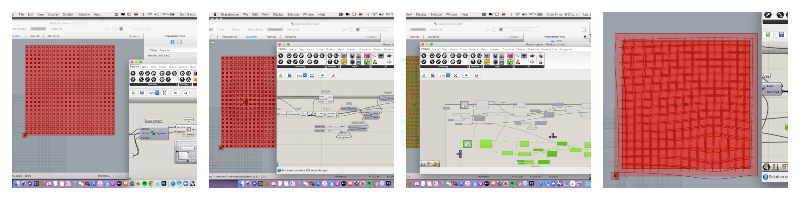
Texture 3.
Finally, I tried with Architutors, to make a grid distortion. This tutorial worked for me, but I missed a lot the Bifocals!
How Parametrical Design works:
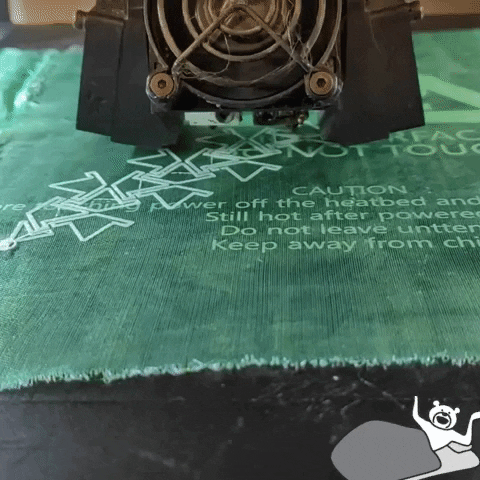
3D Printing 
This was my first time 3D printing, so I was pretty amazed with it. As I have mentioned before, I do not have EUCD Fablab working, and I use Fablab Montevideo. Fortunately, its director is kindly leting me work on my "Fablab part" there. Anyway, as I do not want to bother too much (the University has some COVID19 restirictions and it should not be too many people in the same room) Itry to spend the minimun time possible there.
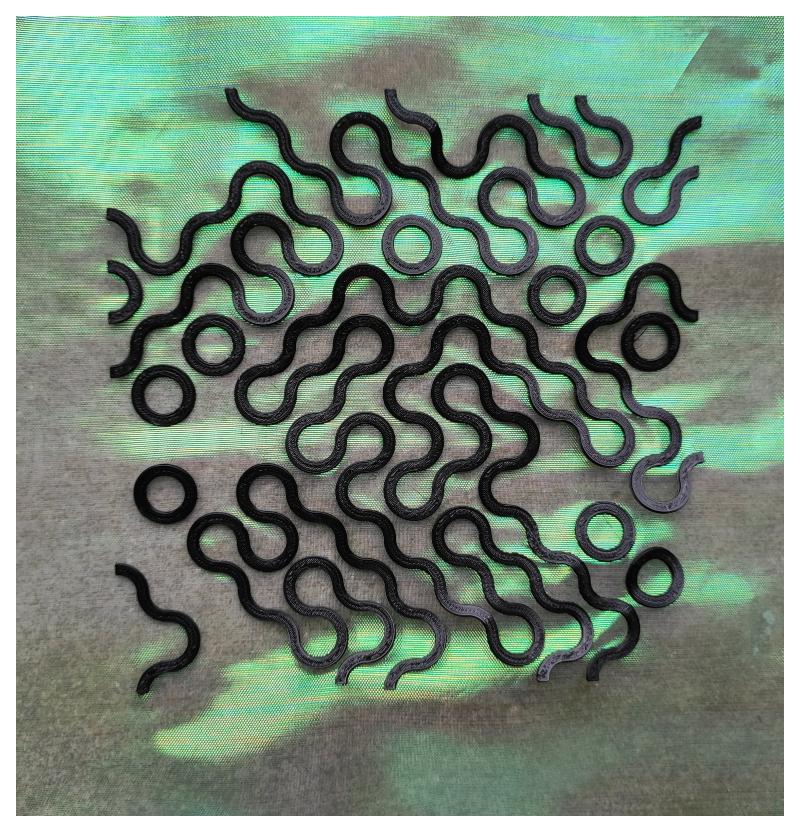
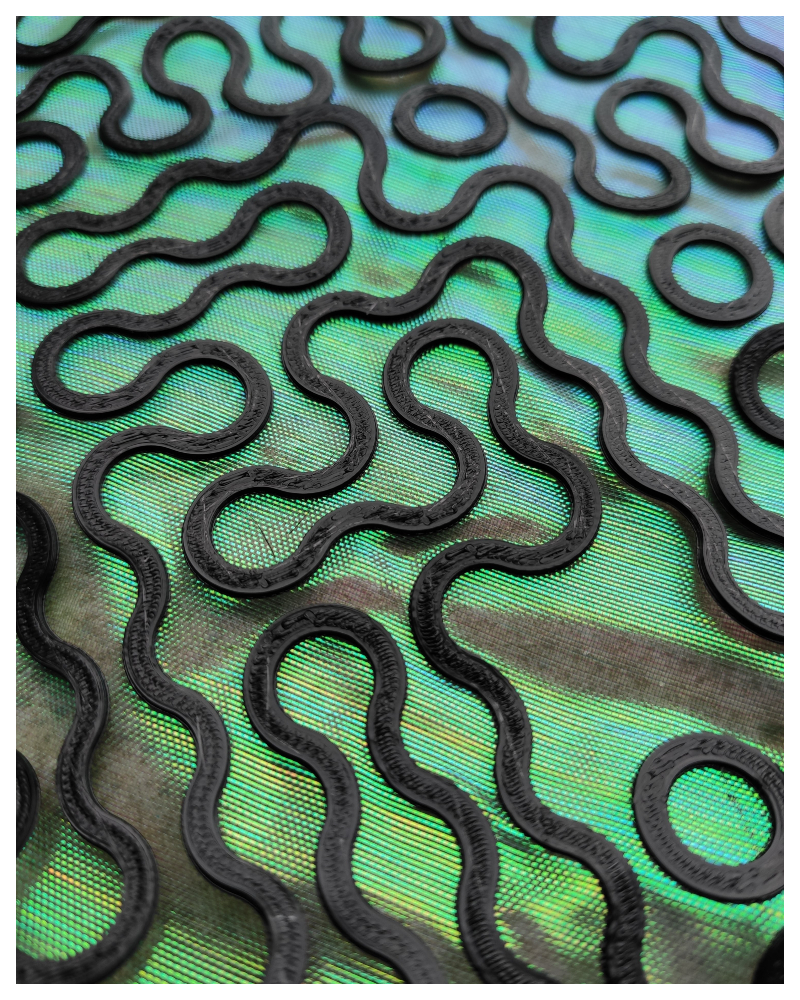
I got to print two samples, one in flexible TPU (Thermoplastic Polyurethane) and the other one in rigid PLA (Polylactic Plastic). I choosed to use the same fabric -an extremely syntethic and iridiscent organza- because: (1) I had it at home from a Mermaid costume that I never finished for my and (2) it looked quite good when I tested it in the 3D printer.
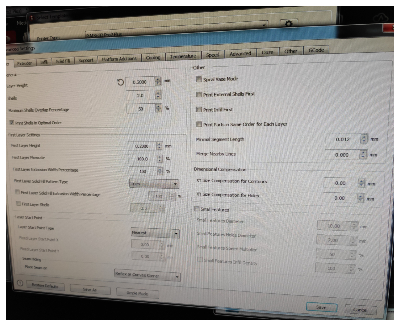
Printer Used: RAISE3D
Settings:
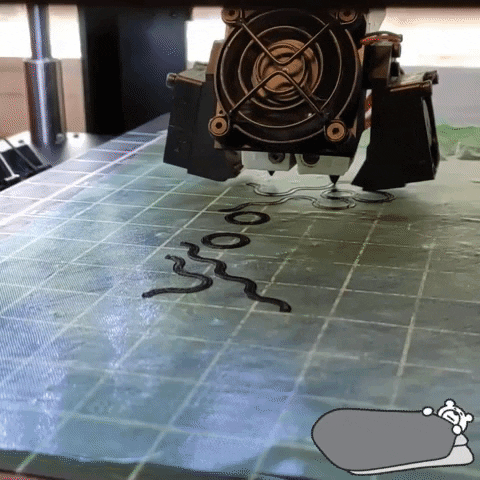
The prints on their beds:
Lessons learned and tips.
-We used glue stick to fix the fabric to the Printer Bed and worked perfectly.
-TPU works much better on the fabric than PLA: it fixes really well to the organza. Besides, it leaves some small "threads" hanging (I liked them though, but is not as clean as the PLA pattern).
-PLA tends to peel off, as the fabric is flexible and the 3D print is rigid. I should have tryed to pause the printer after the first layer and make the "sandwich" technique.
Download Texture 1 Ready to print
Download Texture 2 Ready to print