13. Skin Electronics
Inspiration & Reflection

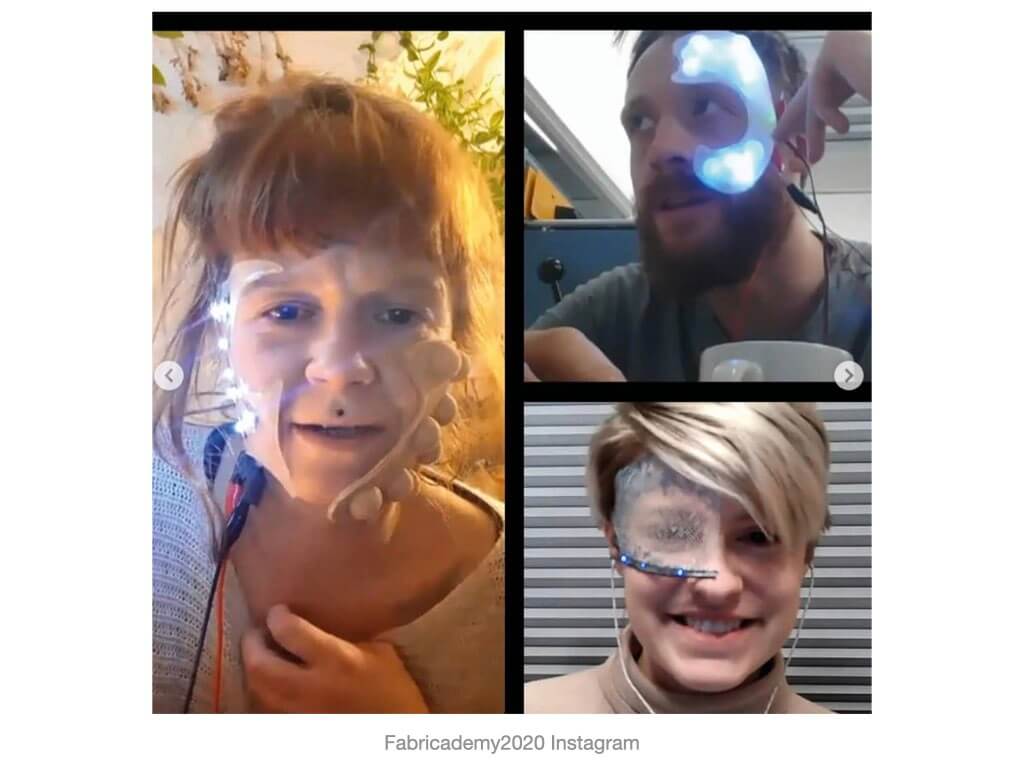

In a 2018 interview, Dutch e-textile and wearables designer Marina Toeters said that lights in wearables must appear subtle or not at all: “People don’t want to be a Christmas tree”. I couldn’t agree more and have developed a small aversion to incorporating lights in textiles. But even though I am not a fan of wearing lights, I do realise this week is important since we’re taught how to program small devices that are more wearable than an Arduino, let alone if it is hooked up to a computer. I will also use the tutorials to experiment with other actuators that I may use for my final project.
ATtiny
Programming the ATtiny with Arduino IDE – workshop by Emma Pareshi
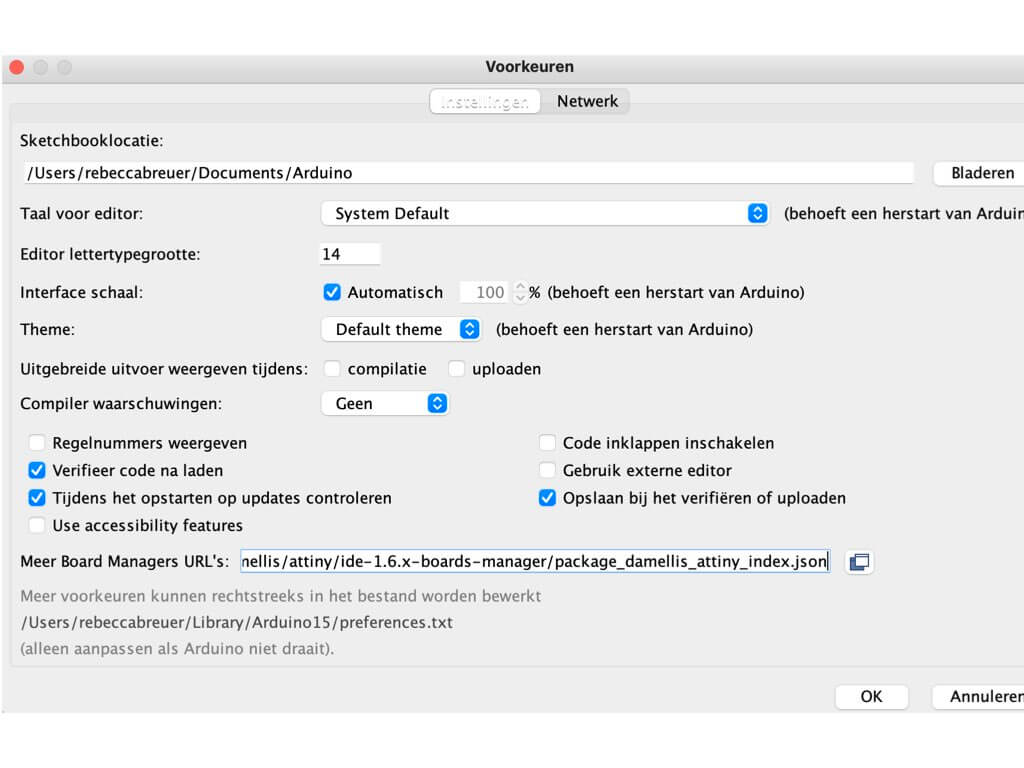
Before we can use the ATtiny, we must be able to programme it. We will do so with the Arduino, but need to install the ATtiny in the Arduino software first.
Open the Arduino software, “preferences”, “Additional Boards Manager URLs” and paste this link and press okay.
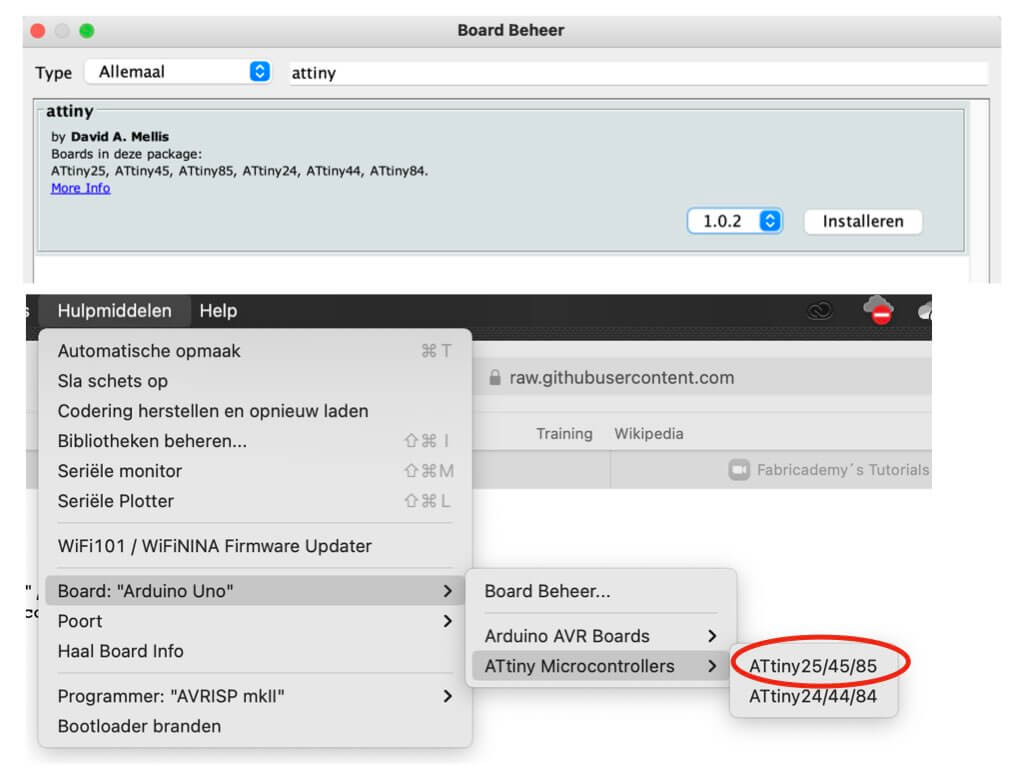
Then, under “tools” select “board” and “Board Manager”, search for ATtiny, select latest version and install.
You can, however, also use a Tiny AVR Programmer that plugs into your laptop. You will need some drivers if you’re using a Windows computer. Emma advises to check out Sparkfun when wanting to use the Tiny AVR Programmer.
We will be using the Arduino. In order to do so we need to upload the Arduino ISP code in the Arduino. This is easy: under “examples” we select the last one “11". ArduinoISP and a sketch opens. We don’t need to change anything, just upload it to the Arduino. Make sure to select the right board and USB port, upload sketch and unplug the Arduino.
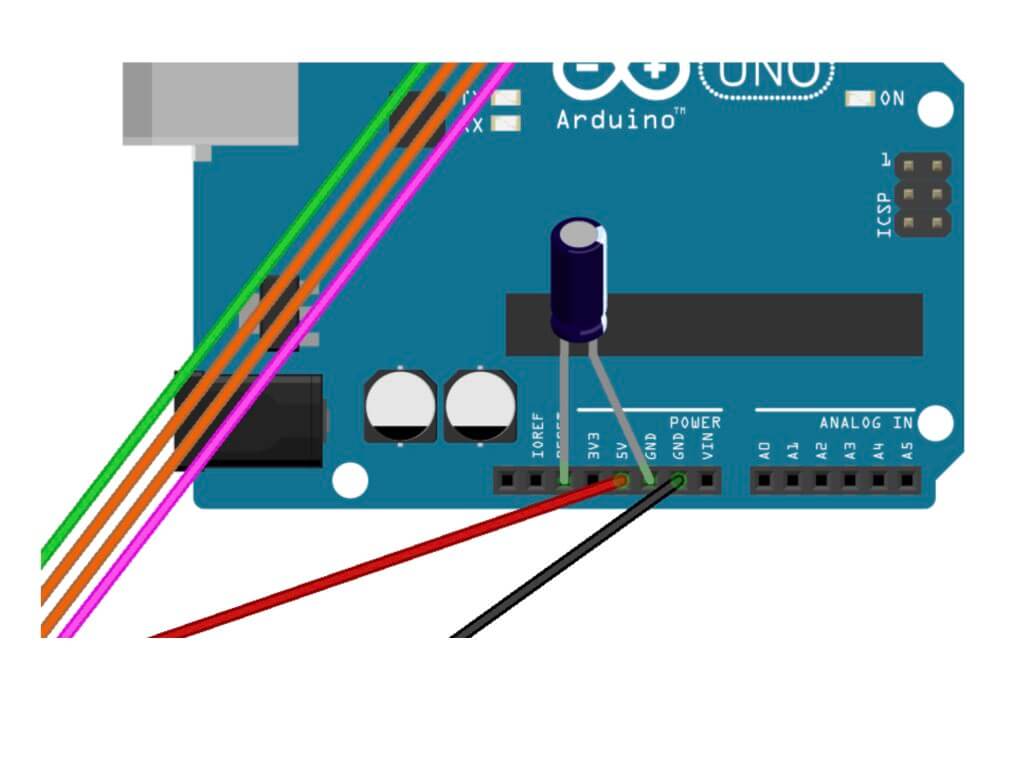
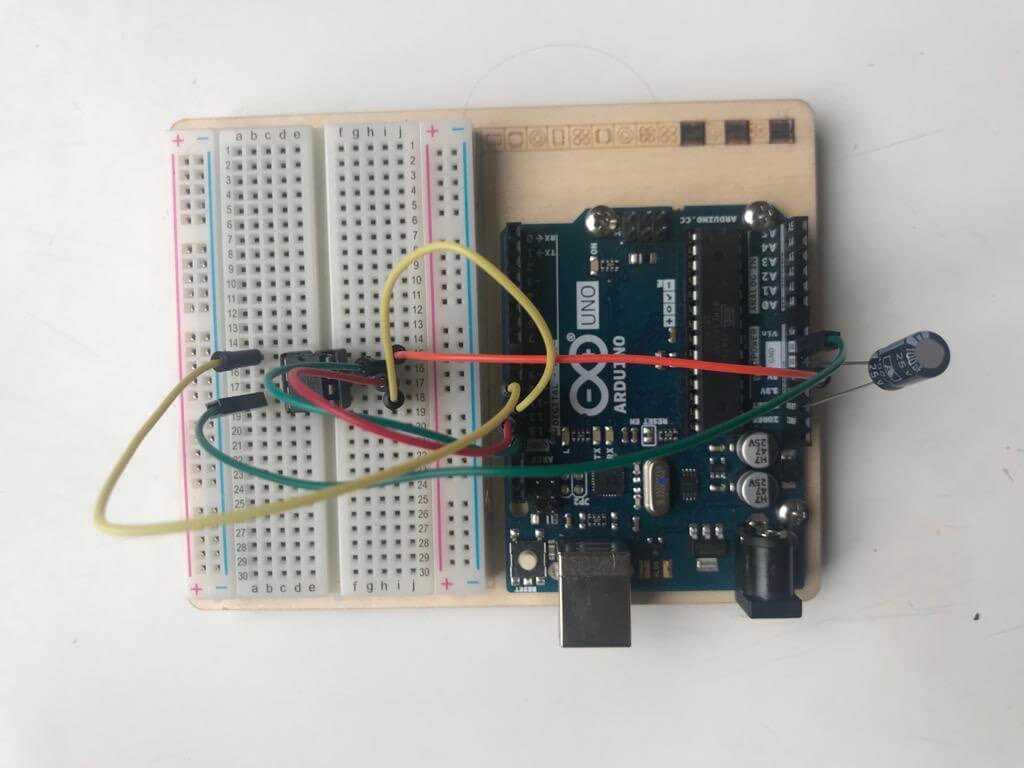
Now it is time to build the bread board with the ATtiny:
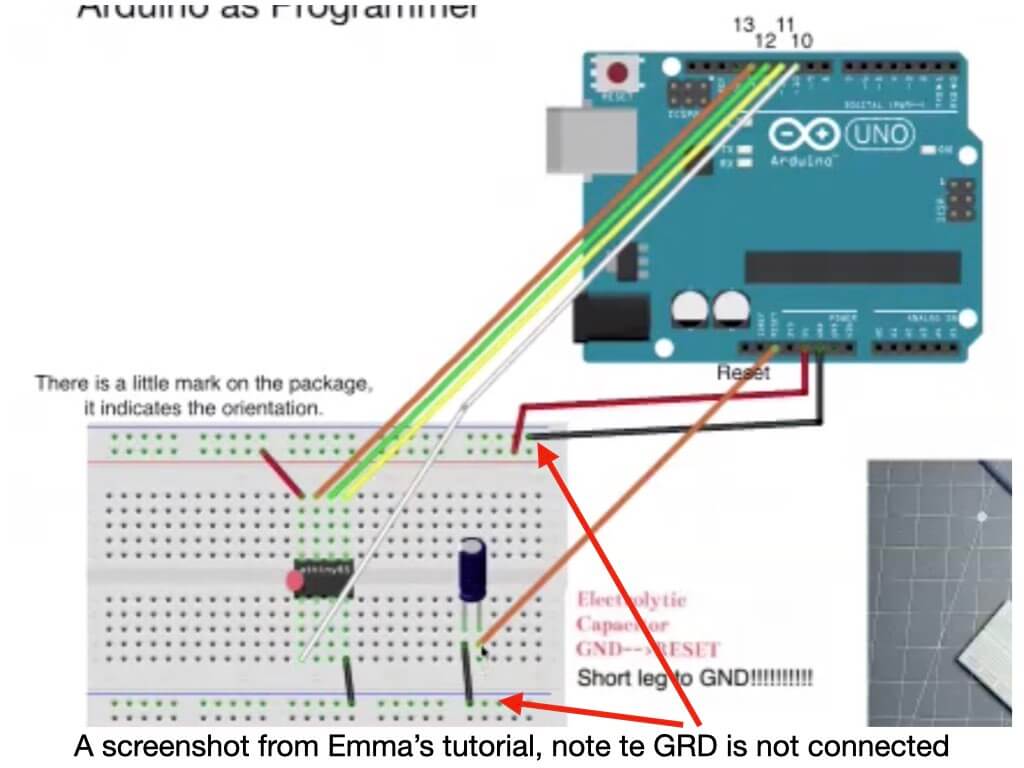
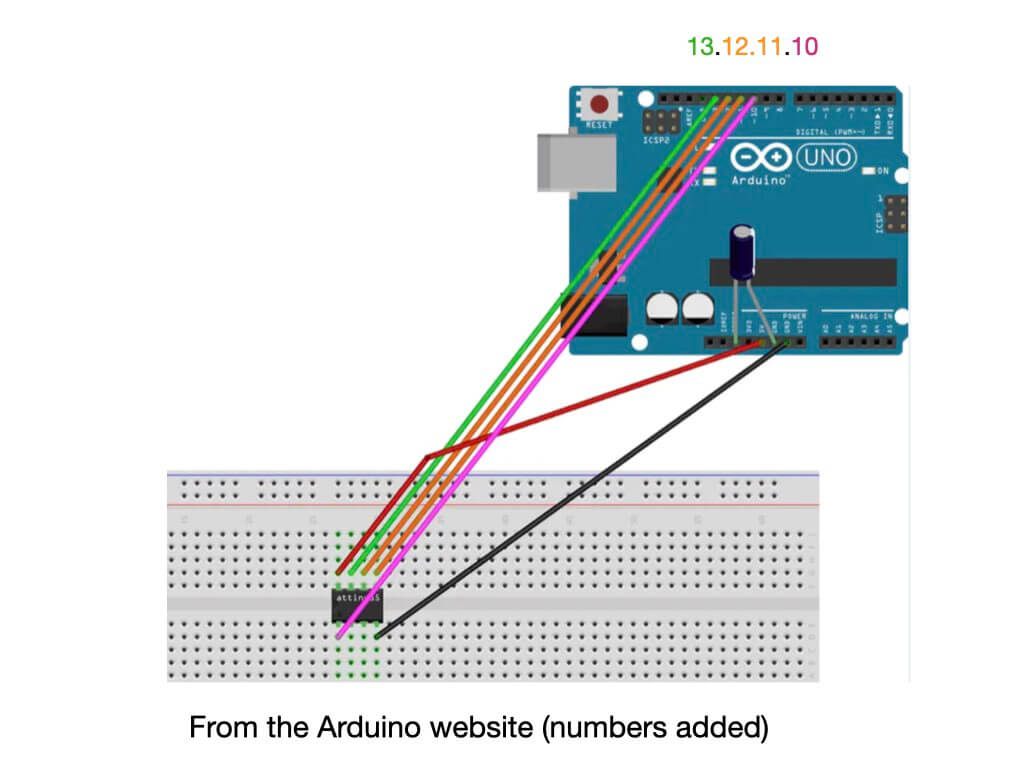
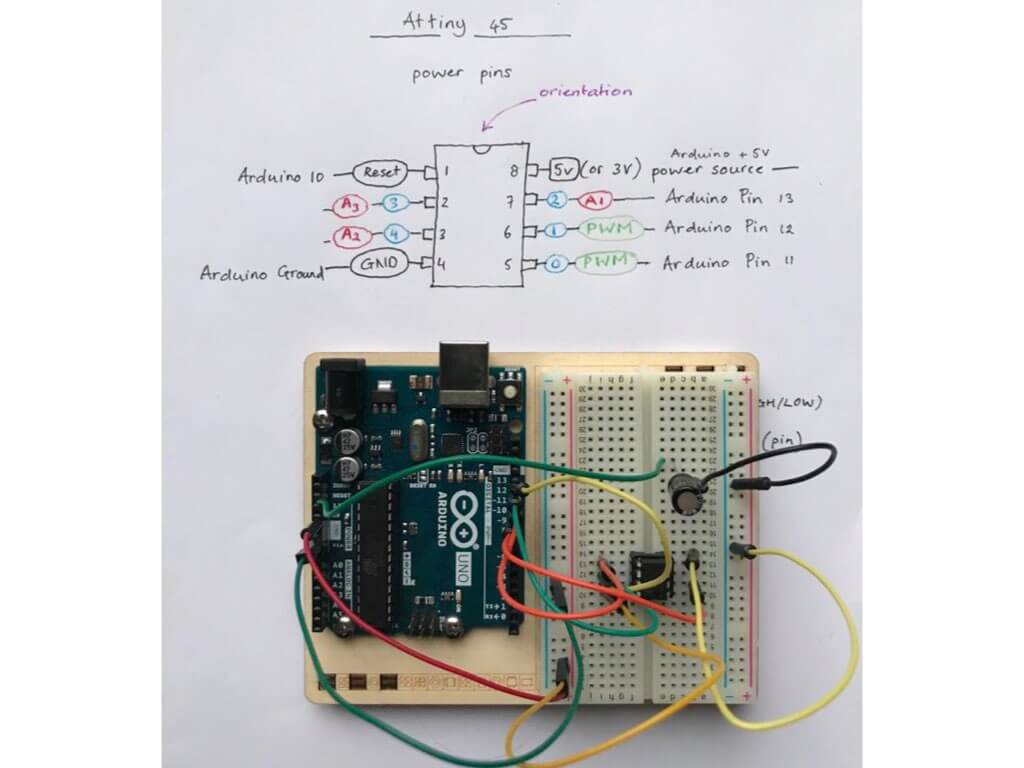
Now we’re going to lay the connections between the Arduino and the Attiny. See example above.
Then we need to undertake the following steps:
- Connect the ATtiny to the Arduino (with the ArduinoISP sketch uploaded)
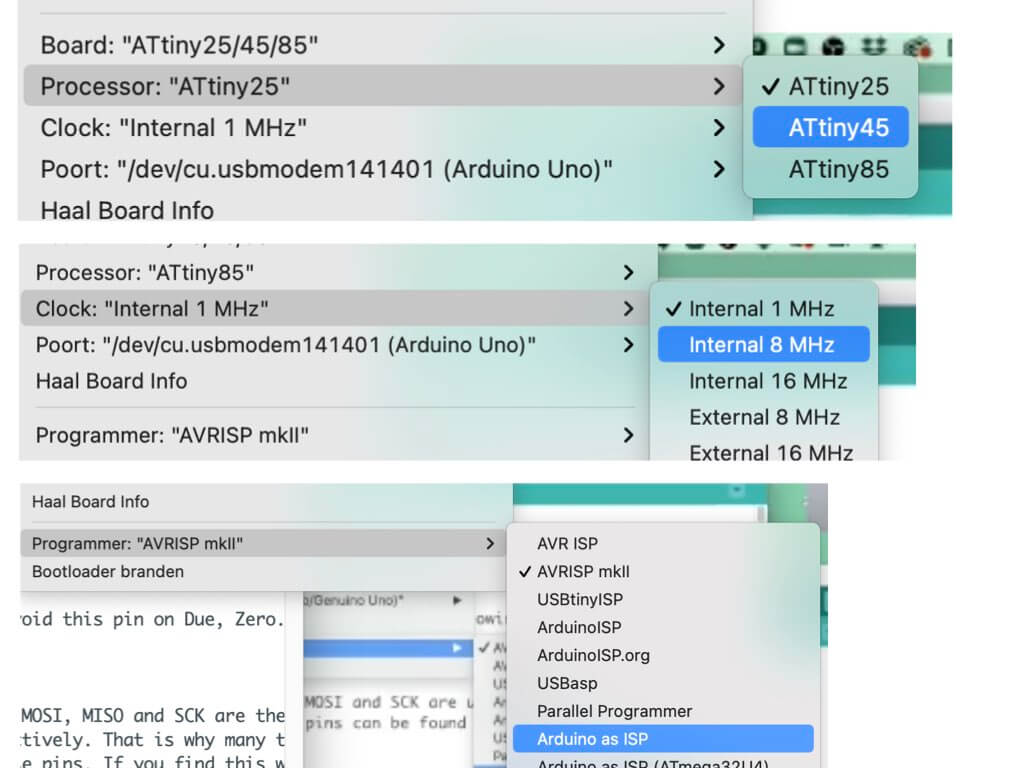
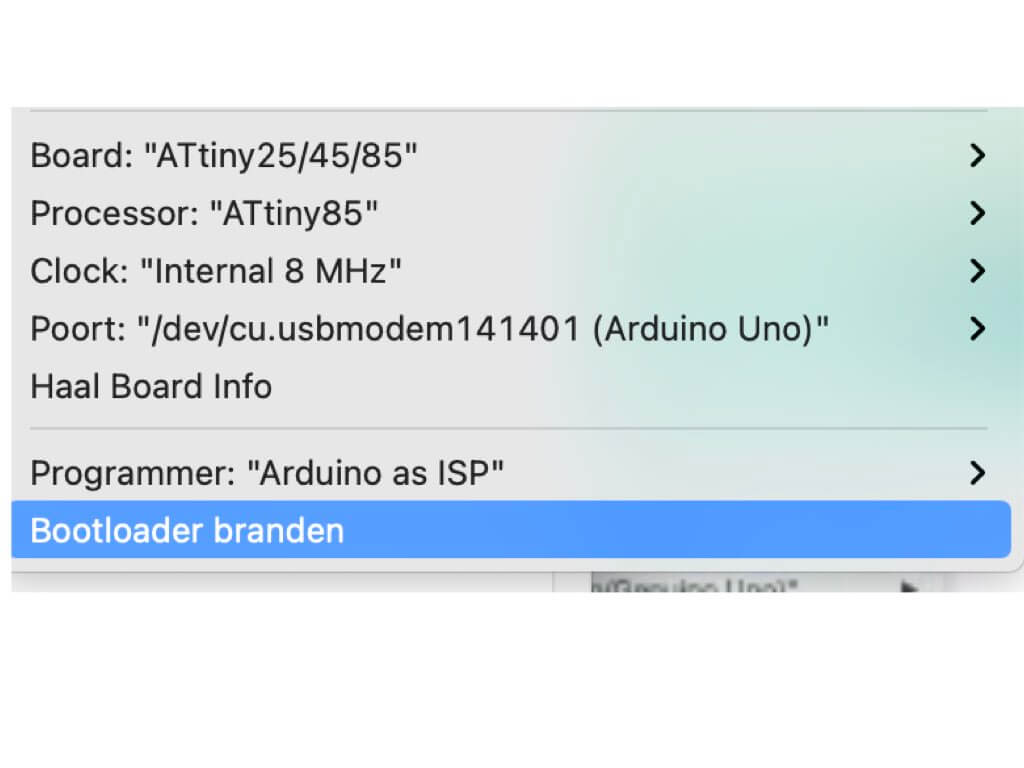
- Select board: ATtiny 85 and port
- Select programmer, Arduino as ISP or FabISP
- In case this is the FIRST TIME YOU use the Attiny: burn the bootloader
• Select board ATtiny 85, select ‘Clock’, and internal 8 Mhz
• Select programmer: Arduino as ISP
• Select “burn bootloader
- On the breadboard connect the ATtiny to the input/output device
- Upload the code to the ATtiny
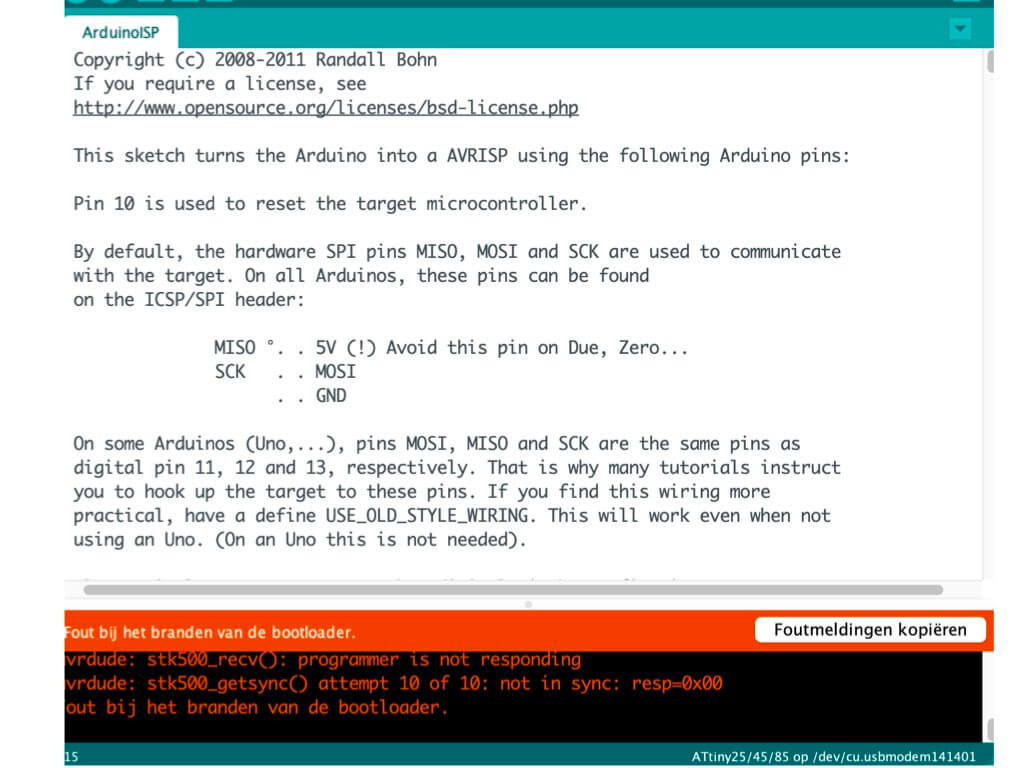
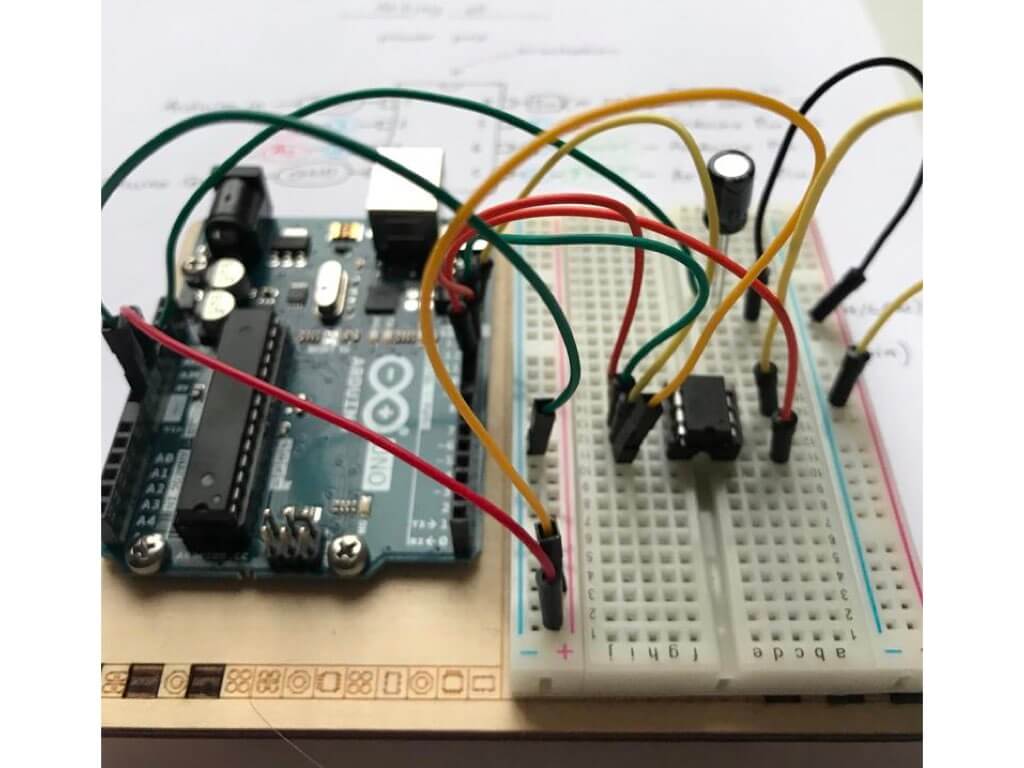
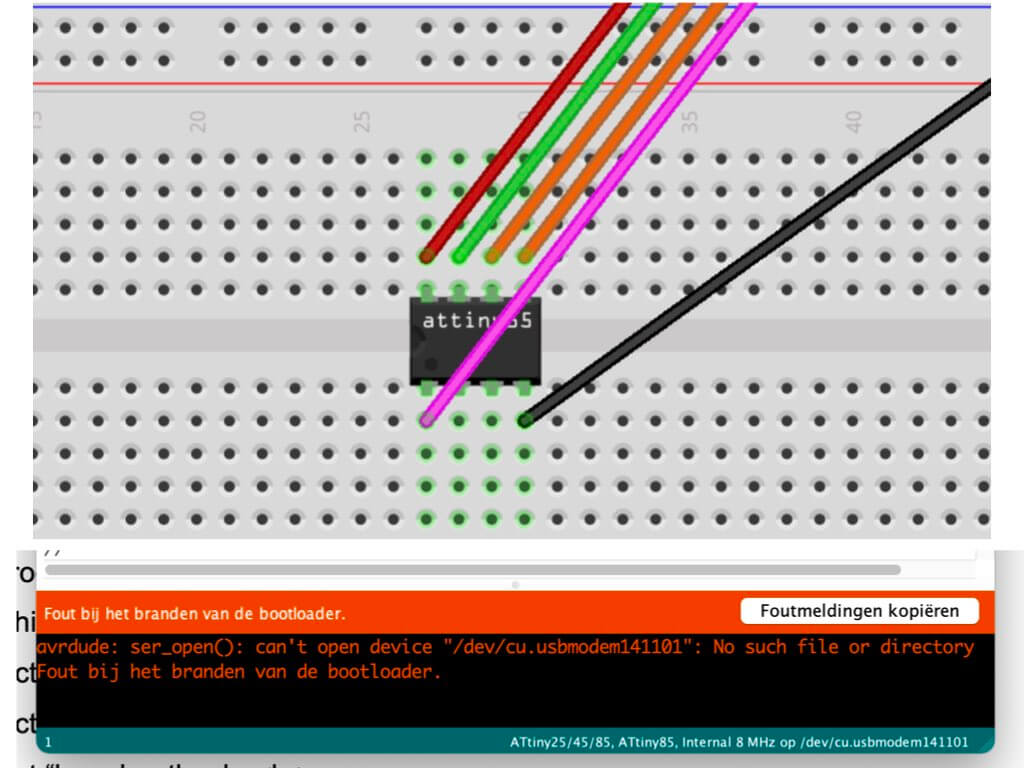
I, however, kept on getting problem notices when trying to burn the bootloader. Once I gave up and unplugged everything, I saw that one of the legs of the ATtiny wasn’t connecting. It had bent and wasn’t going into the breadboard. My eyesight is, unfortunately, deteriorating so I didn’t notice at first, but yet another leg seemed poorly. This causes the ATtiny to not connect snugly and firm. Well, enough for a day. Perhaps I’ll try the next exercise without burning the ATtiny or I will need to somehow obtain a new one. Or try another micro-controller from my Arduino starter kit…
ATtiny Attempt two
I decided to follow the tutorial provided by Arduino for my second attempt. See here.
Unfortunately, I came across the same problem and have no idea what it may be, but my best guess is that the ATtiny may not be working. Normally I could have bought a new one in a shop nearby, but now with the lockdown this becomes much more time-consuming. I thus decided to follow Emma’s next step and see whether any luck may be in the air with this ATtiny…
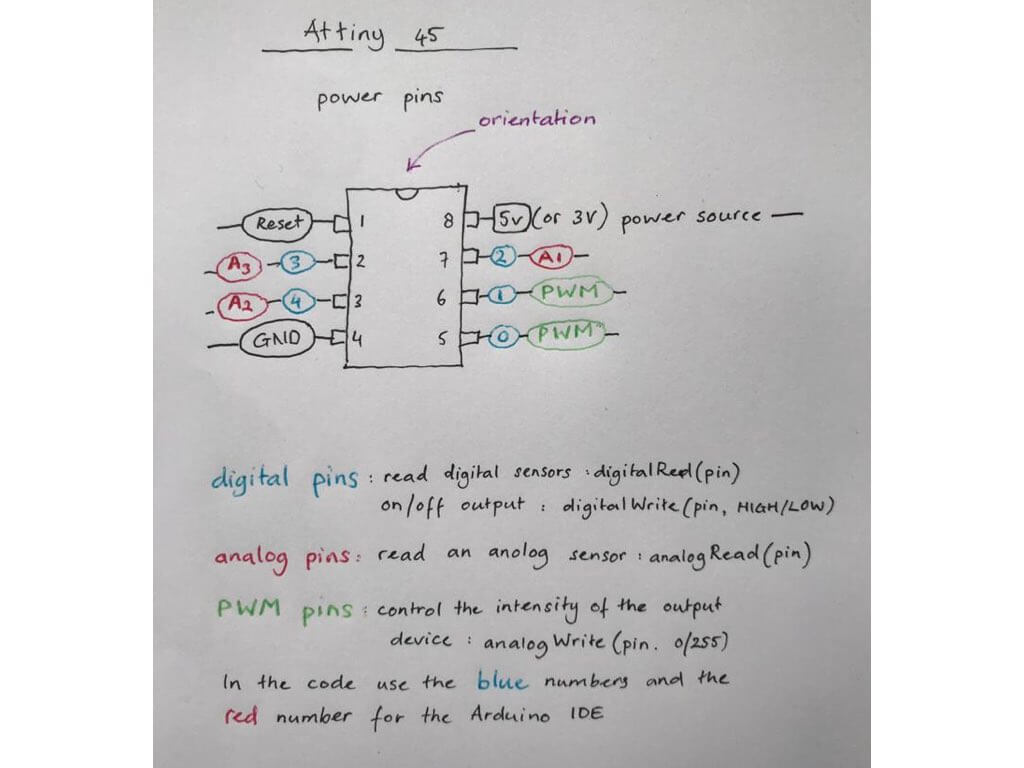
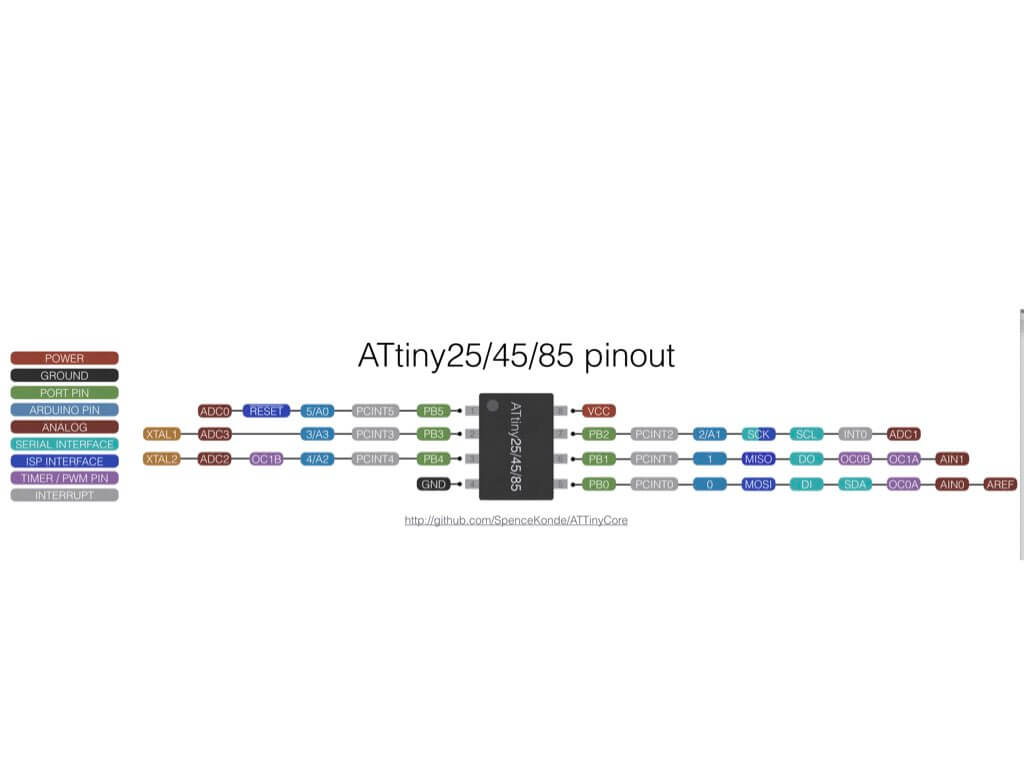
I added a green led, a 220 resistor and connected the latter to ground and the former to digital pin 1 (6 on ATtiny, see sketch and corresponding number in blue.
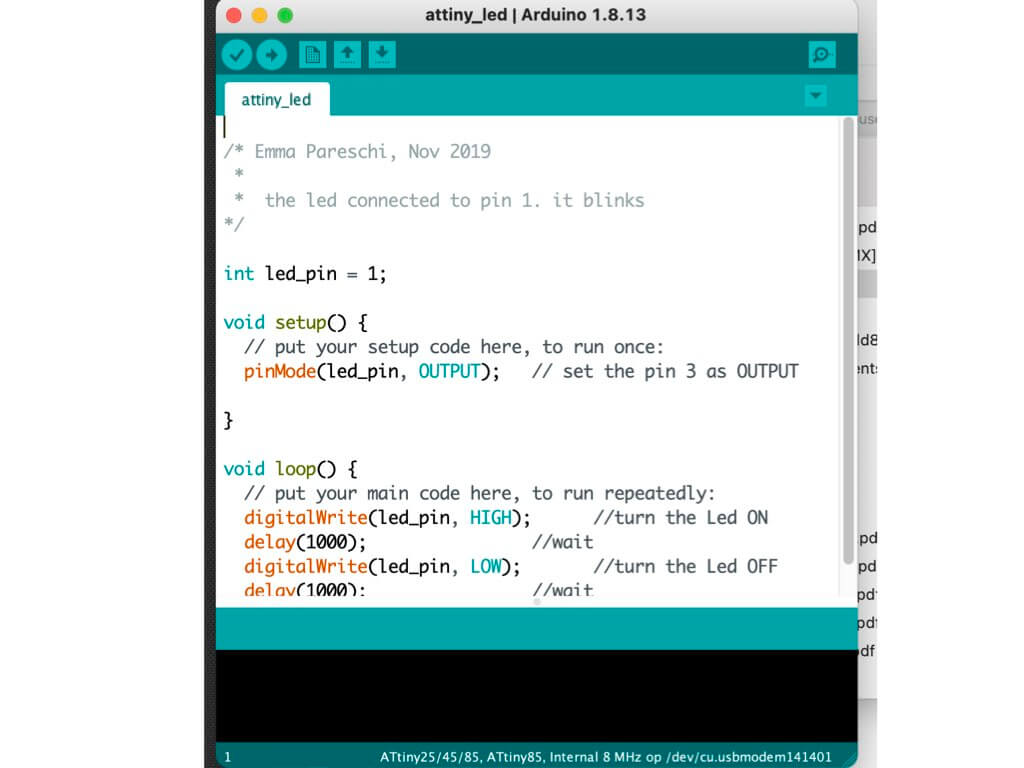
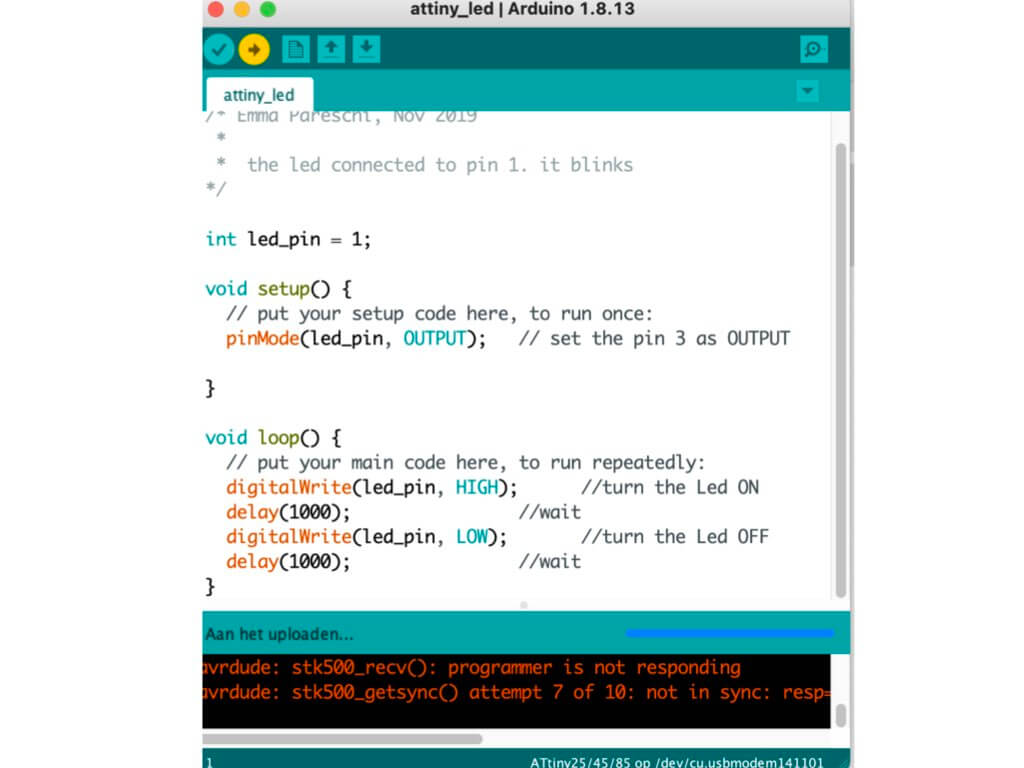
I then opened Emma’s sketch and crossed fingers… Nope, the ‘programmer is not responding’ grrr. The problem may lie in the connection between my laptop and the Arduino. Let’s send an e-mail to Henk to see whether I can come and pick up a new one.
In the meanwhile, I am going to try a project from my Arduino starter’s kit to find out what else may be a problem.
LOVE-O-METER
The third project in the Arduino starter kit book is called the love-o-meter. It uses an analog input and a code that will register how hot I am. Let’s go for it!
I’ll be using a TMP36 temperature sensor to measure how warm my skin is and the component will output a different voltage depending on the temperature sensed. If that isn’t skin electronics, I don’t know what is . The sensor has three pins, one for ground, one for power and one for the variable voltage output. The output will be read through a number of LEDs that turn on or off, indicating how warm I am.
- Wire up the bread board with 3.3V power and ground.
- Attach the short leg (cathode) of each LED through a 220-ohm resistor to ground.
- Connect the other, longer legs (Anodes) to pins 2, 3 and 4.
- Place the temperature sensor (TMP36) on the board with the round part facing away from the Arduino. The order of the pins is important:
- Connect the left pin to power, the right one to ground.
- Connect the centre pin to pin AO on the Arduino. This is an analogue input pin.
It worked but wasn’t that stable so when I wanted to photograph the situation an error occurred. I will try again in due time.
Friday morning: De-bugging with Henk
Since I kept on getting errors, I contacted Henk and he offered to help me out. He helped me to find out whether it was the Arduino, the cables or perhaps the ATtiny or even the bread board that wasn’t working as it should. Also, the connection between the Arduino and my laptop could prove problematic.
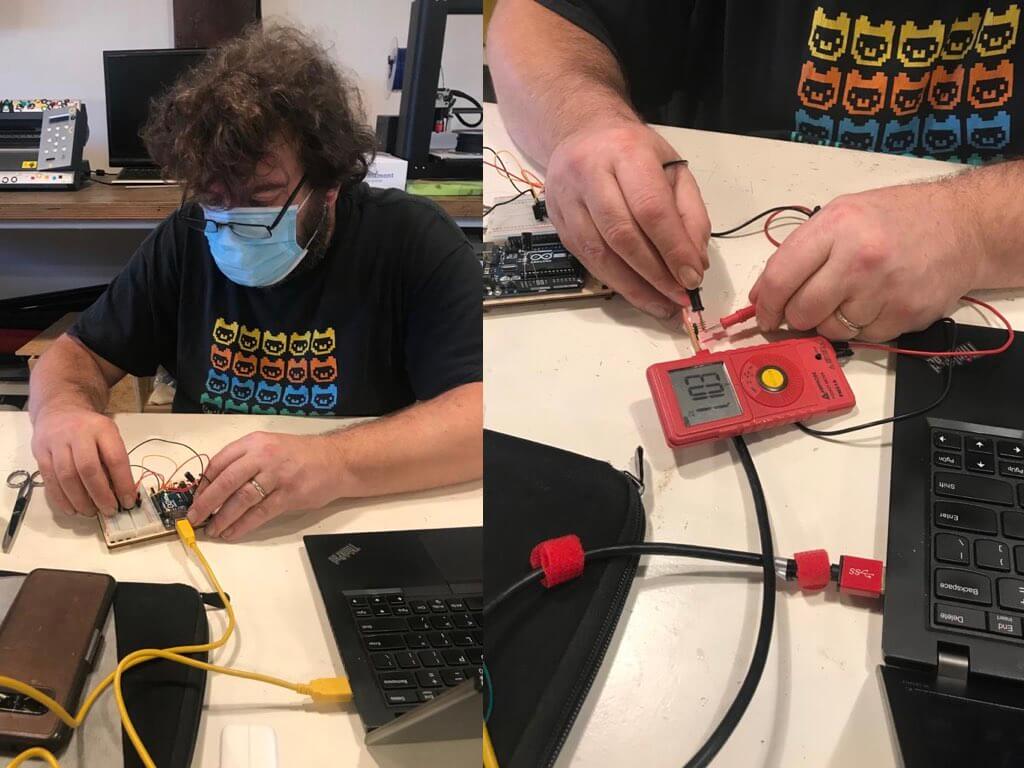
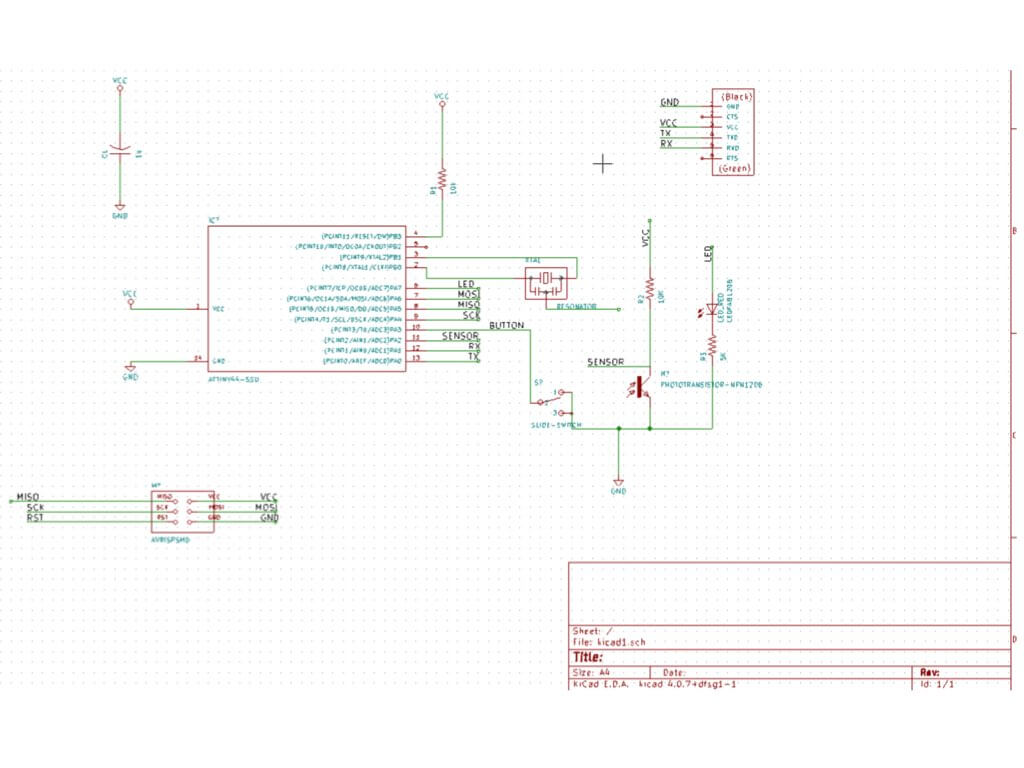
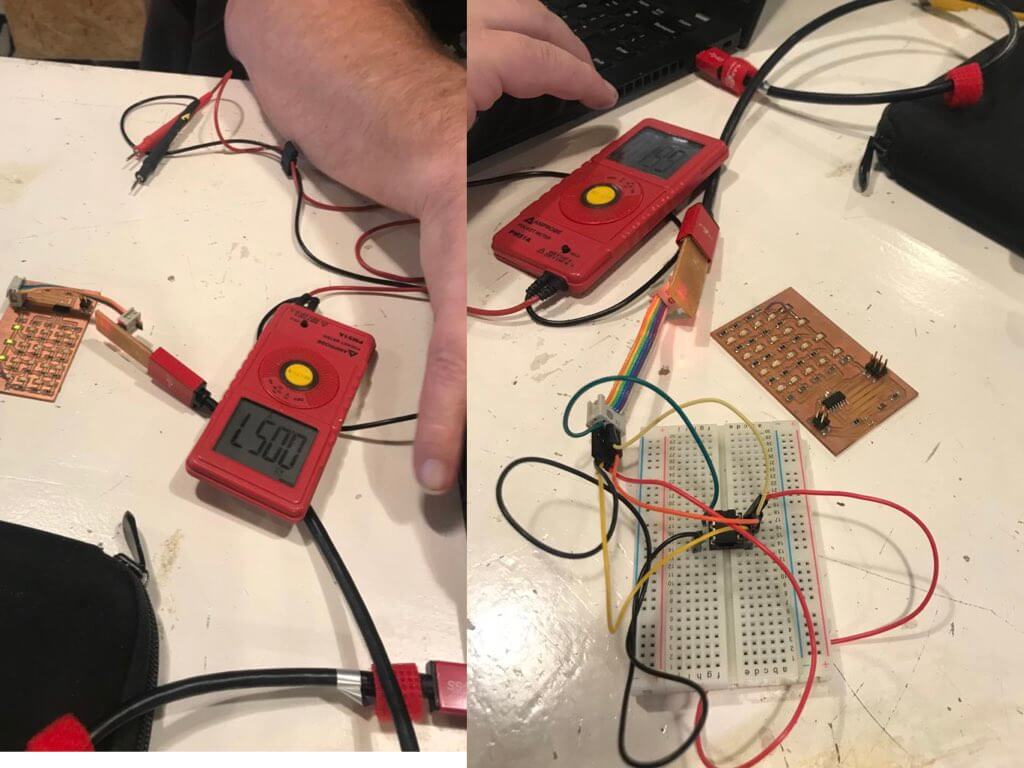
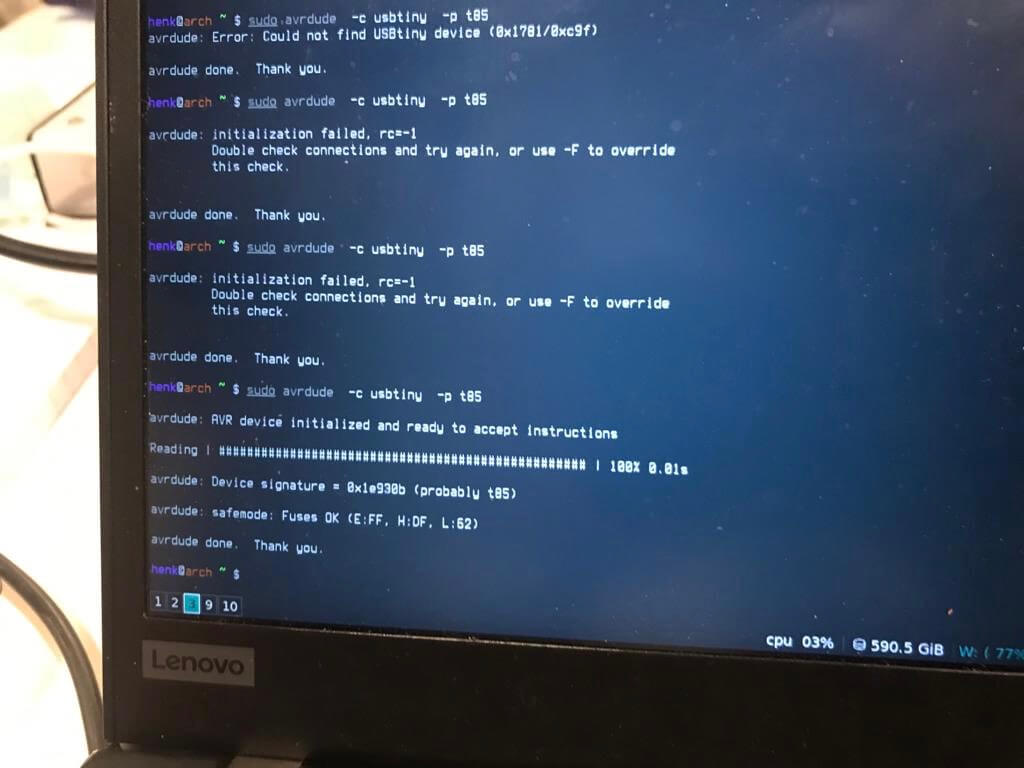
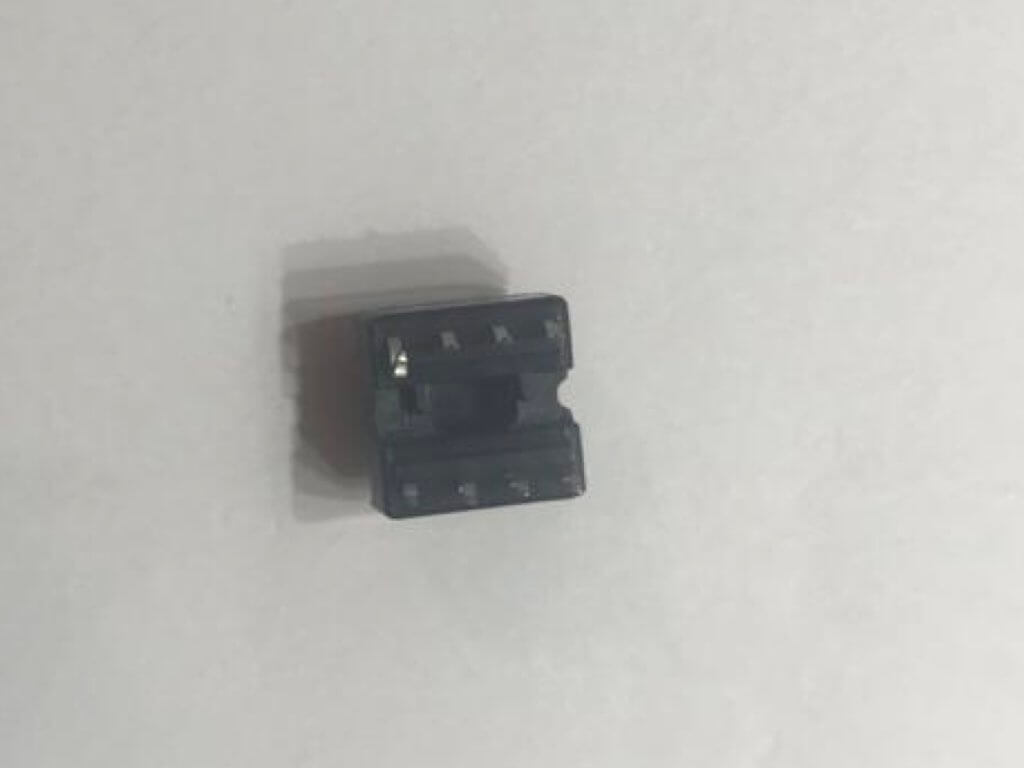
To make a long session short, Henk attached a small device called the FabTinyISP that students at the Fab lab make and use instead of the ATtiny. With this, we discovered that the bread board works, the cables are fine as is the ATtiny. But we still didn’t ‘reach’ the ATtiny, and I couldn’t work out what to do exactly with the FanTinyISP and the information Henk sent me. This rather complicated scheme should help me, but I’m afraid I lack the knowledge to know how it relates to the FabTinuISP exactly.
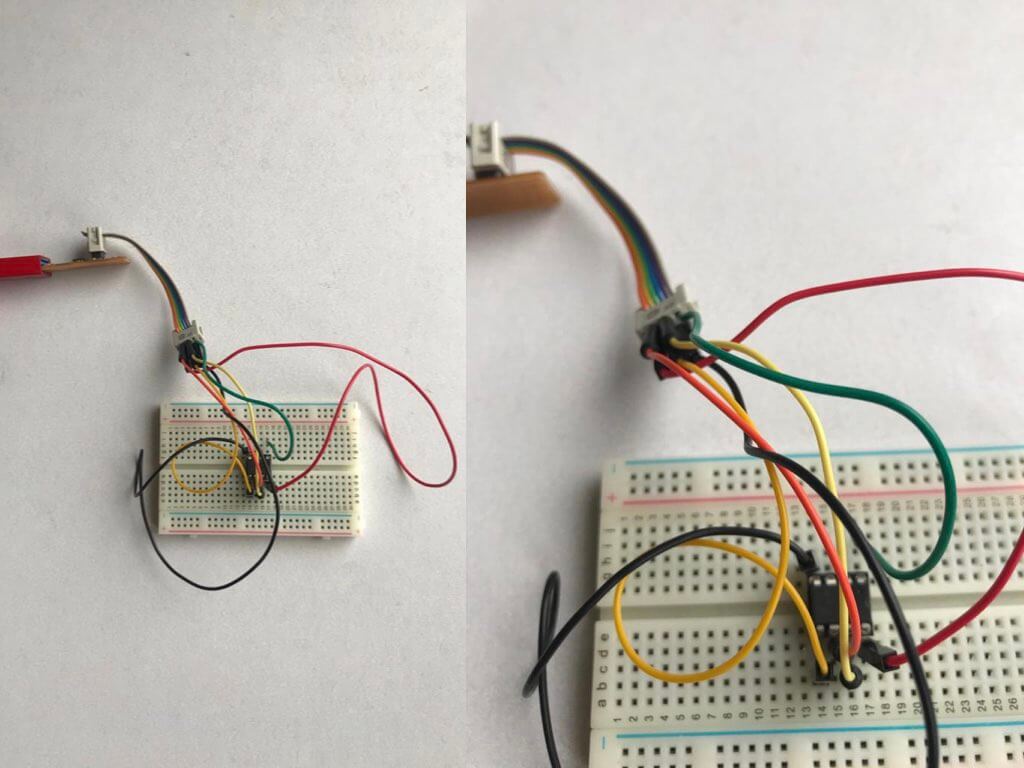
Aided by a photograph, however, I did recreate the situation Henk had created in the lab, including the mixing up of volt and ground, which I recalled happened with him. The device started to get hot and I really quickly unplugged it. Changing the ground and volt around helped, but I still didn’t know what to do with the device.
Another try with Anja

After a nice stroll and chat outside, Anja offered to have a look at the situation with the ATtiny. Unfortunately, we couldn’t get the ATtiny to burn its bootloader either. I was rather frustrated with all these hours of trying and still not getting the ATtiny to burn the bootloader. Some online searching made me realise that it may indeed be the adaptor between the USB-C port and a USB connection on my laptop. I have ordered a new one that should arrive tomorrow and I will try again…
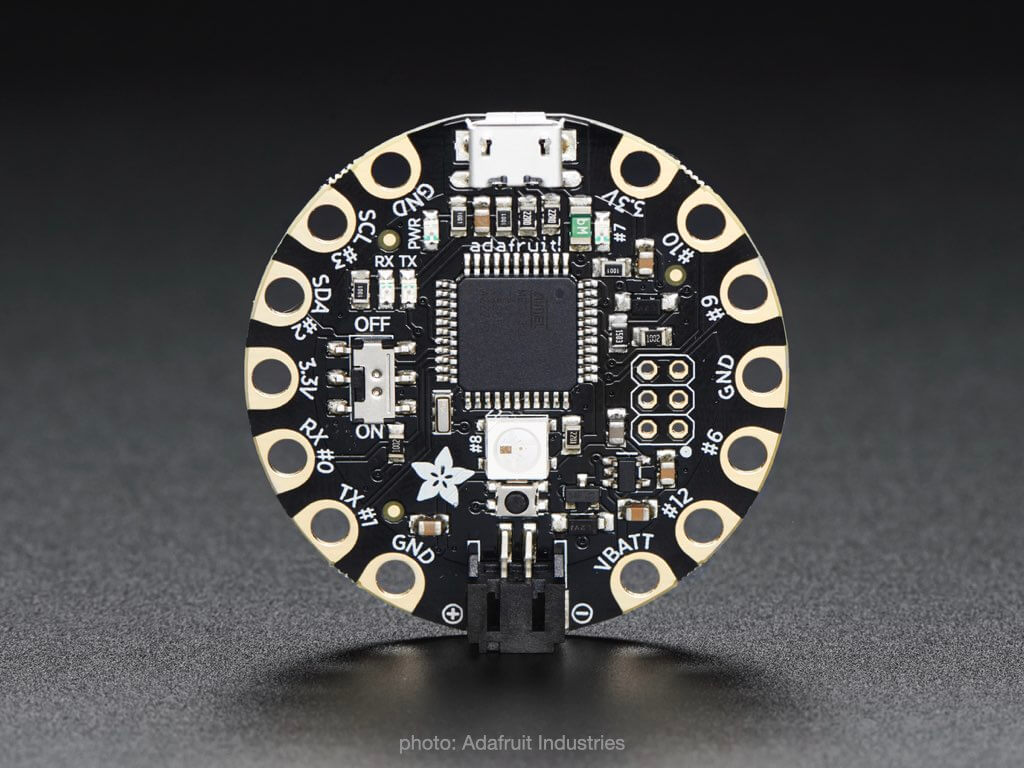
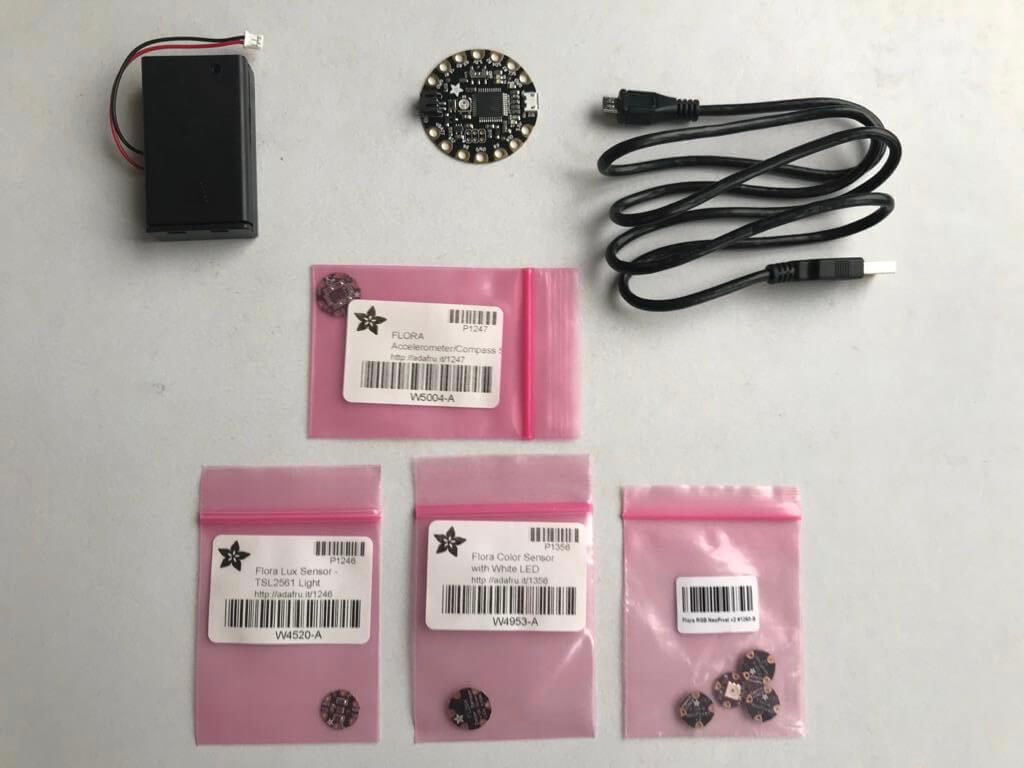
Anja did teach me that I can program the ATtiny by using the Arduino programmer and the device. I never knew this and will give it a try soon. I showed her the Adafruit sensor pack I had bought ages ago, but never got around to using. She advised me to start experimenting with these since the flora, for instance, has many more possibilities than the ATtiny. Apparently, I can also use the Arduino programmer to program the Adafruit. Wow, we’re getting somewhere at last! Since I will be experimenting for my final project ideas rather than for the skin electronics, I will continue my documentation on my final project page.
Link for alternative instructions for programming the ATtiny found through Christina dezi’s page
Link for UTwente Thesis about posture corrector