4. Technologies
“People are trained by the media to be consumers of mass manufactured rubbish.” Vivienne Westwood
As a philosopher, I am interested in fashion’s affective qualities. It is my contention that the representational qualities one first and foremost associates with fashion - think about brand logos, styles and colours that are in Vogue – encourage consumption through marketing and branding. In my dissertation I have dedicated a chapter to this mechanism. You can find my dissertation titled Fashion Beyond Identity online and download the third chapter titled ‘A Delineated Fashion’ if you would like to learn more.
Fashion’s affective qualities need not be visible. It may be the feeling of silk against your skin, the warmth woollen socks bring to your feet, but also the itch an annoying label may cause. We tend not to think much about these affective qualities since we are so preoccupied with looks when we relate to clothing. Yet, if we start to think about technology in relation to fashion, we can imagine that the affective potential expands enormously. With the aid of textile integrated technologies, we can add sound, pressure, warmth and vibration to clothing, to name but a few. And although we can’t be sure, we can also imagine the way we will relate to clothing with these technologies will change radically and may be much more intimate than the relation we may have with a €3,- T-shirt we may only wear during one season.
With this project, however, it is not my aim to change the fashion industry. It is an art project in which I explore the relation between space, bodies and technologies. The result may, nevertheless, prove inspiring for thinking about new experiences that can be brought about in relation to the wearing of clothing.
Flora Accelerometer
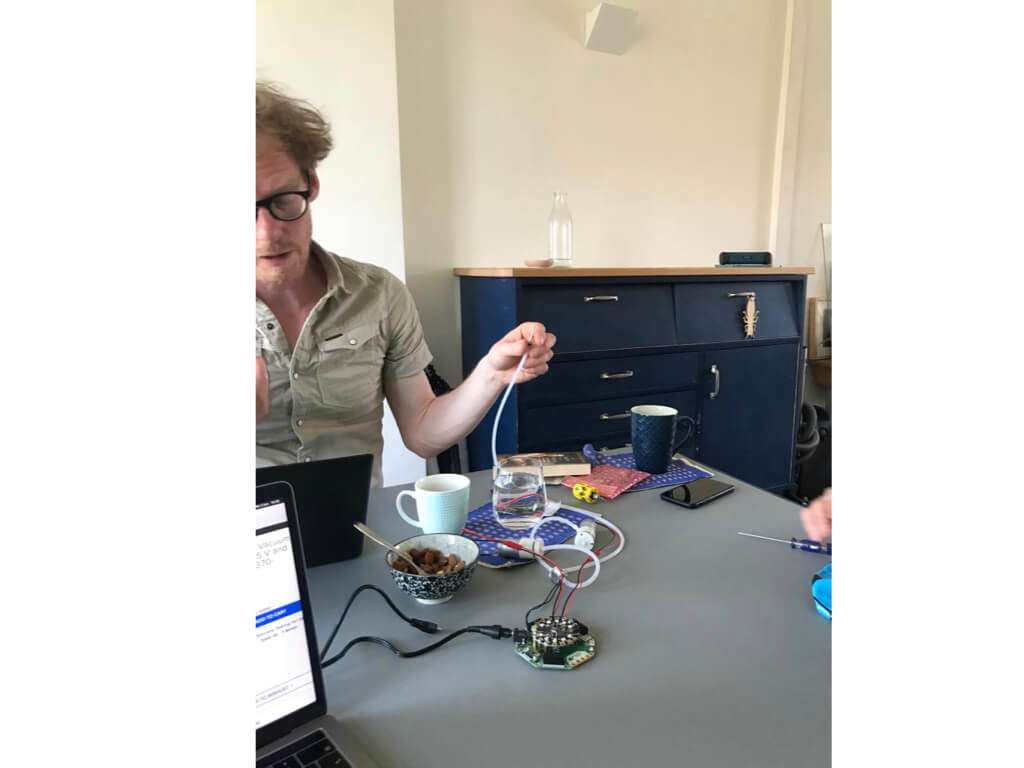
A while ago, I bought an Adafruit Flora Sensor Pack and today I want to test the accelerometer and found a tutorial online. This 3-axis accelerometer has two sensors inside. One measures gravity and can tell us which direction is down, it can also measure how fast the board is accelerating. The other is a magnetometer that senses where the magnetic north is. By combining this data one can orient oneself.
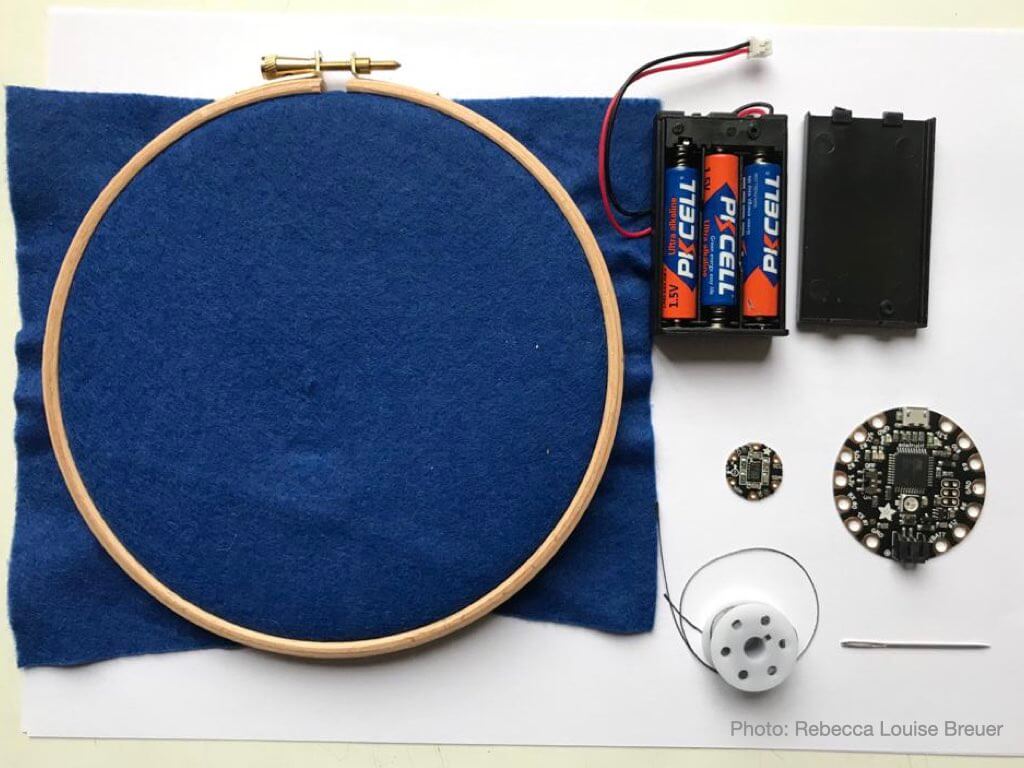

I will need:
- Flora main board
- Flora accelerometer
- Conductive thread (2 or 3 ply)
- Fabric inside an embroidery hoop
- USB A MiniB cable
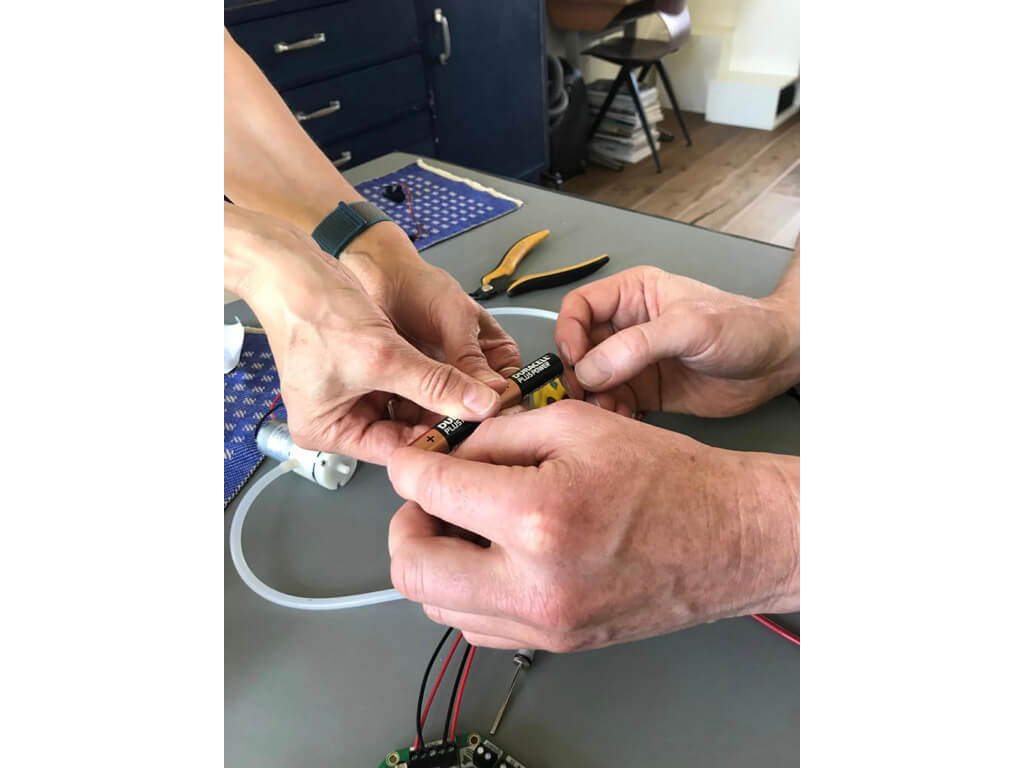
- 3xAAA battery holder, including batteries
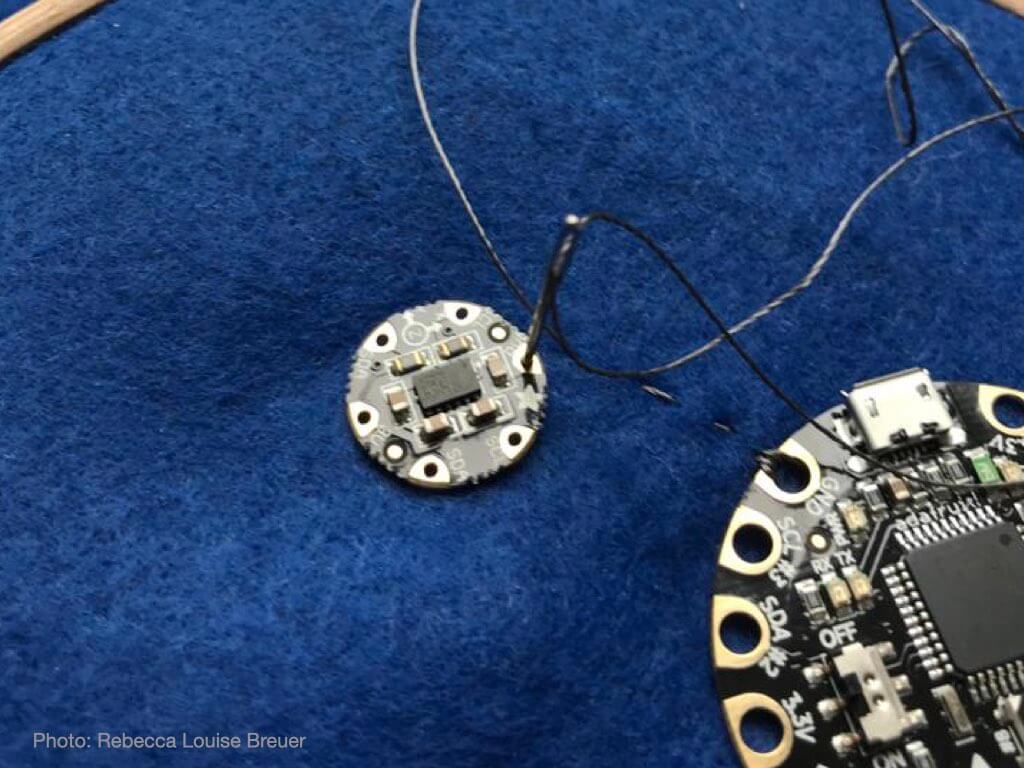
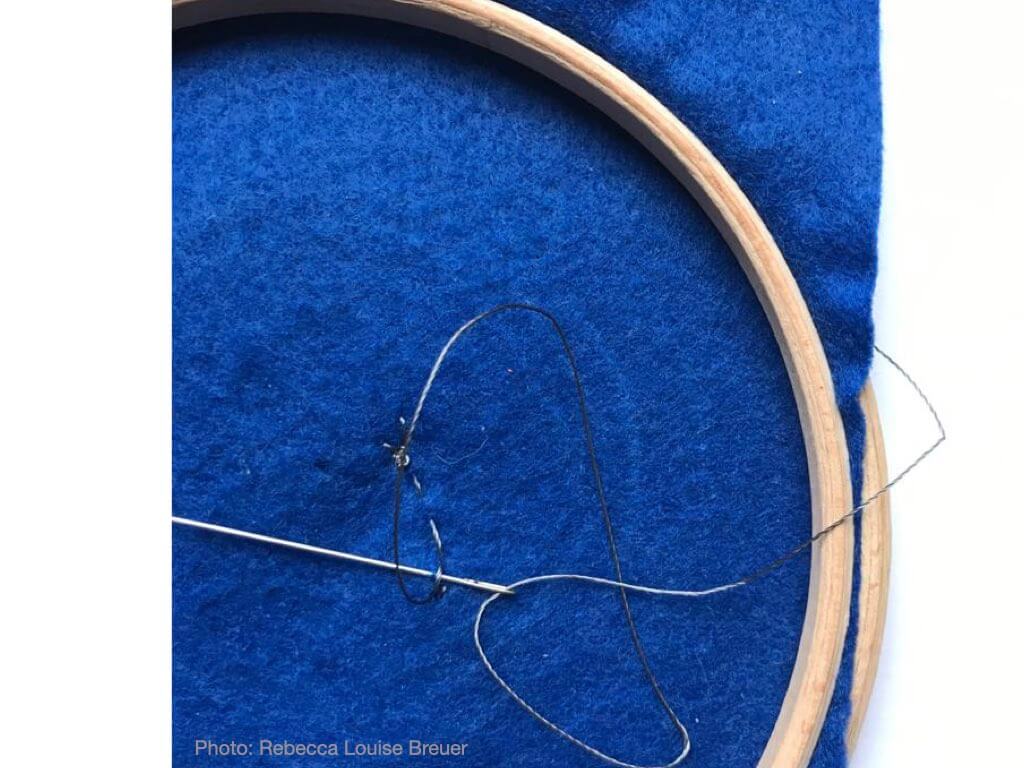
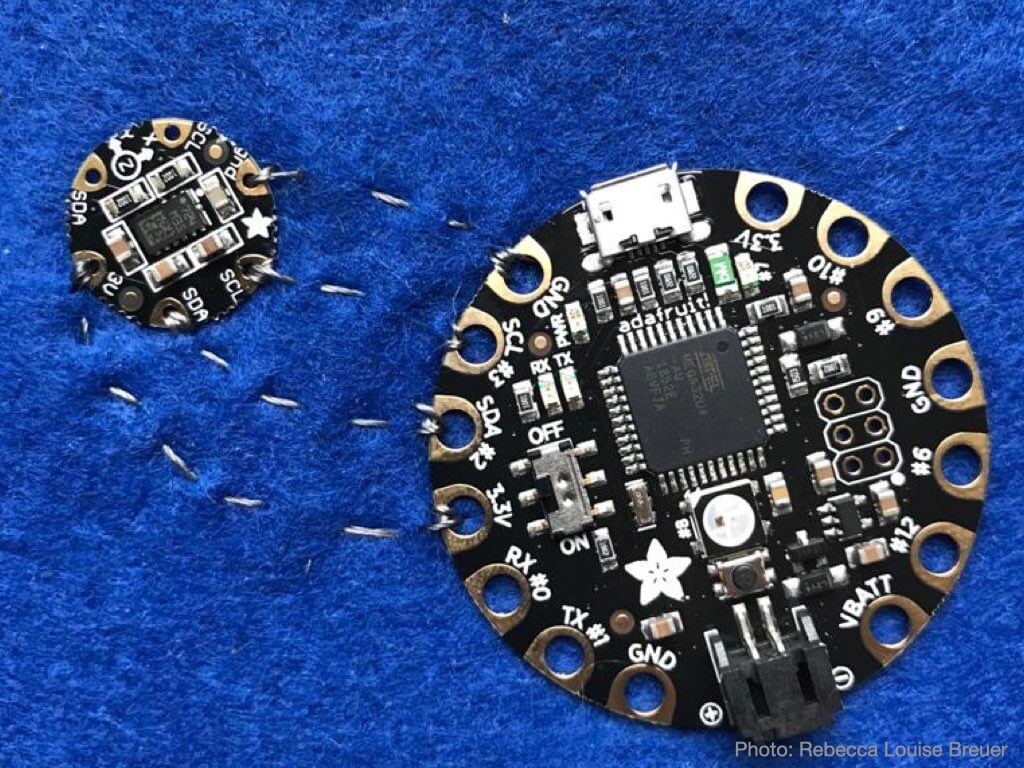
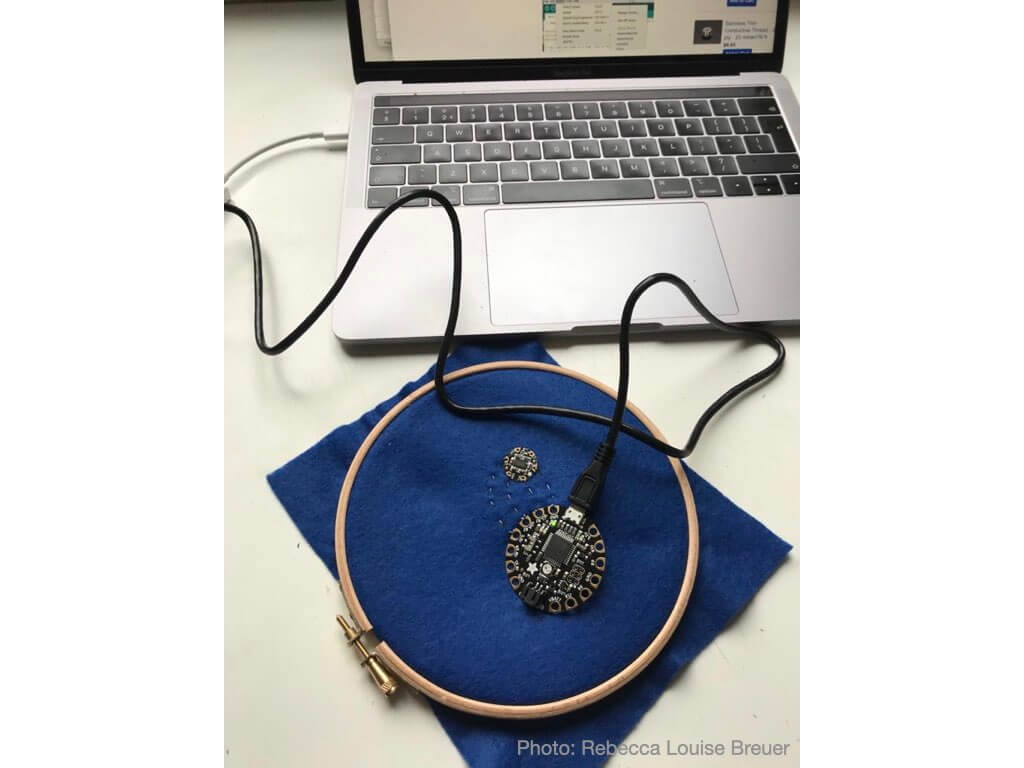
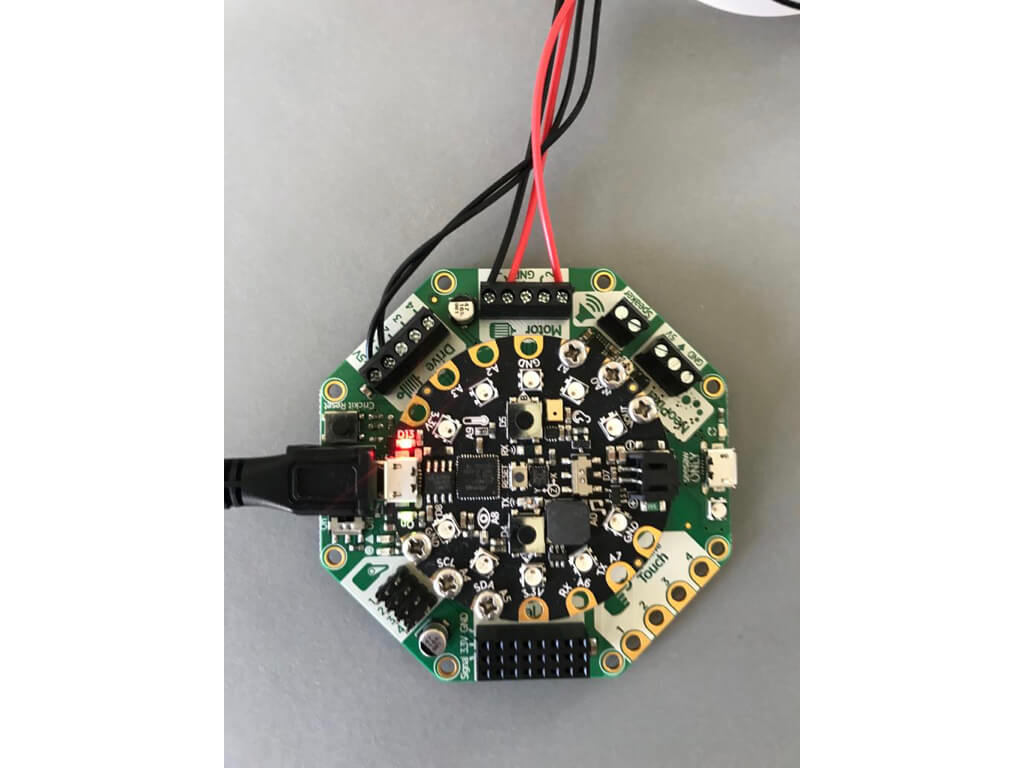
Because this is a simple test and I do want to use the sensor and board again, I haven’t used any sealant to make sure the conductive thread doesn’t let loose but knotted it tightly at the back. I created a path from GND to GND, from SCL#3 to SCL, from SDA#2 to SDA, and from 3.3V to 3V.
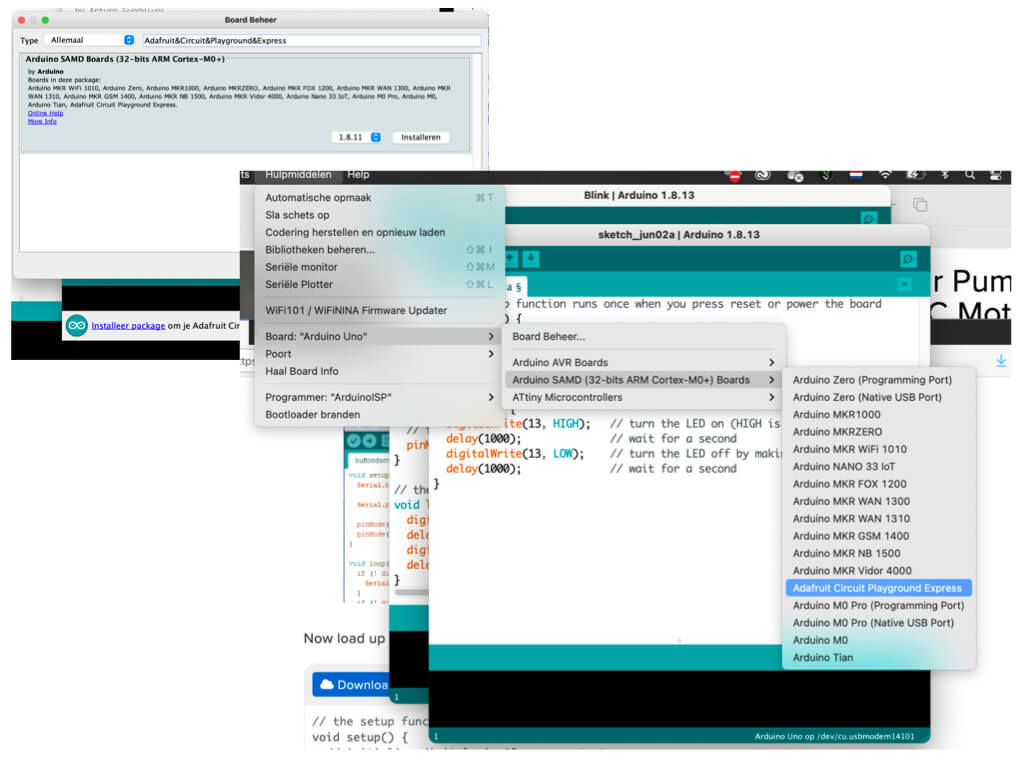
Now it is time to start programming. I hooked up the Flora with my laptop and downloaded the Adafruit_LSM303 from the Arduino Library Manager.
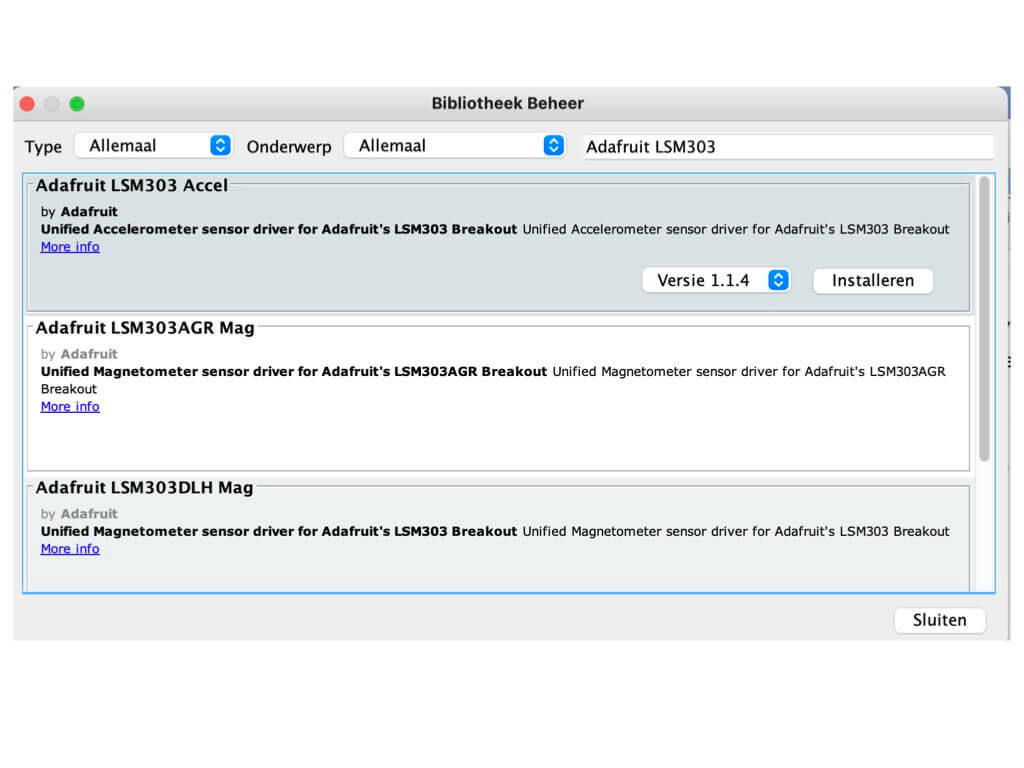
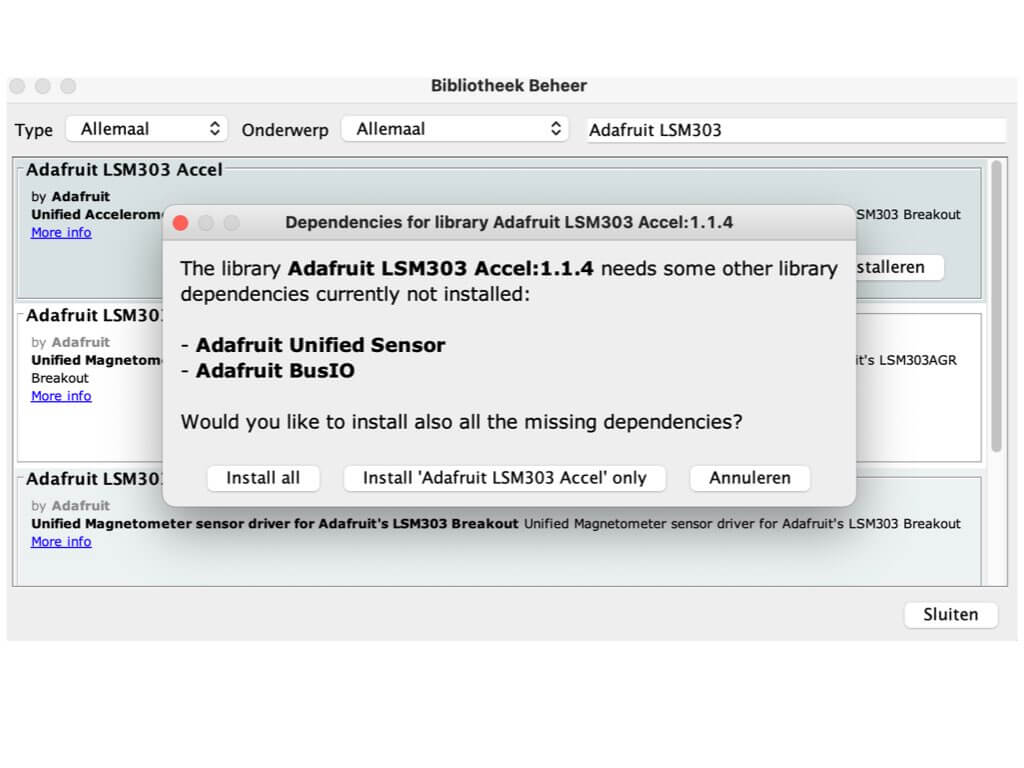
I decided to install all libraries since I intend to work with Adafruit more often in the near future.
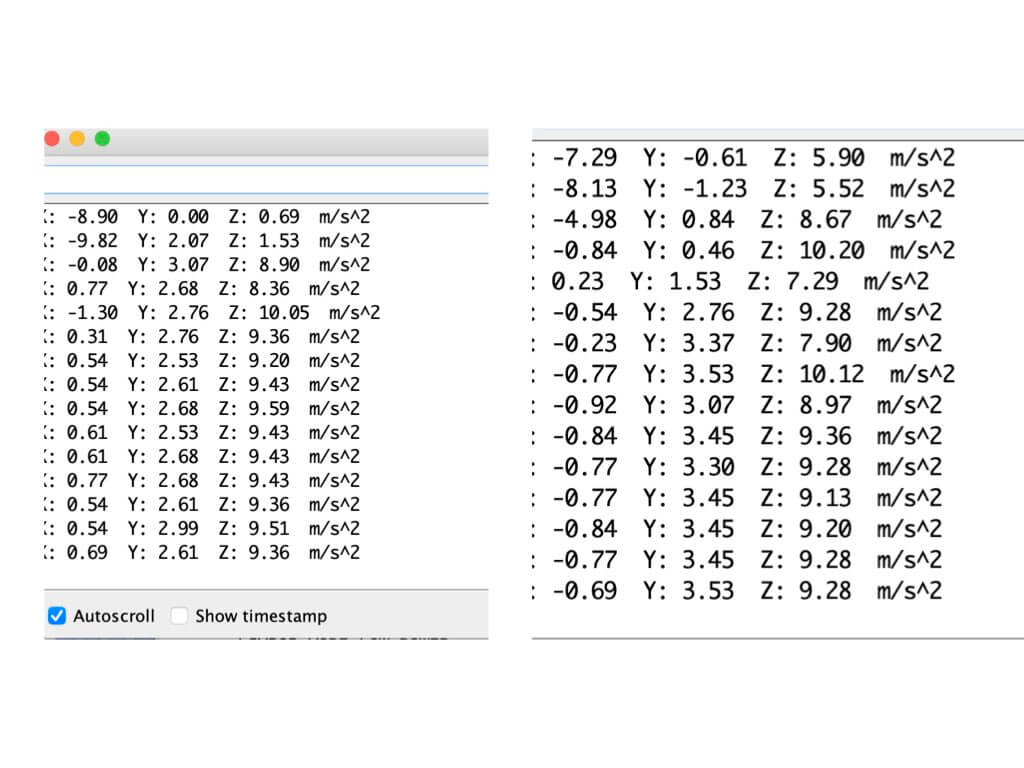
Even though the tutorial was slightly different, I decided to test the sensor by selecting the 'LSM303 Accell' option and then click on 'accelsensor'.

Now it was time to hook up with my laptop, upload the sketch and keep fingers crossed (after all these failed uploads recently). Check out the new connection from USB3 to USB, this should do the job.
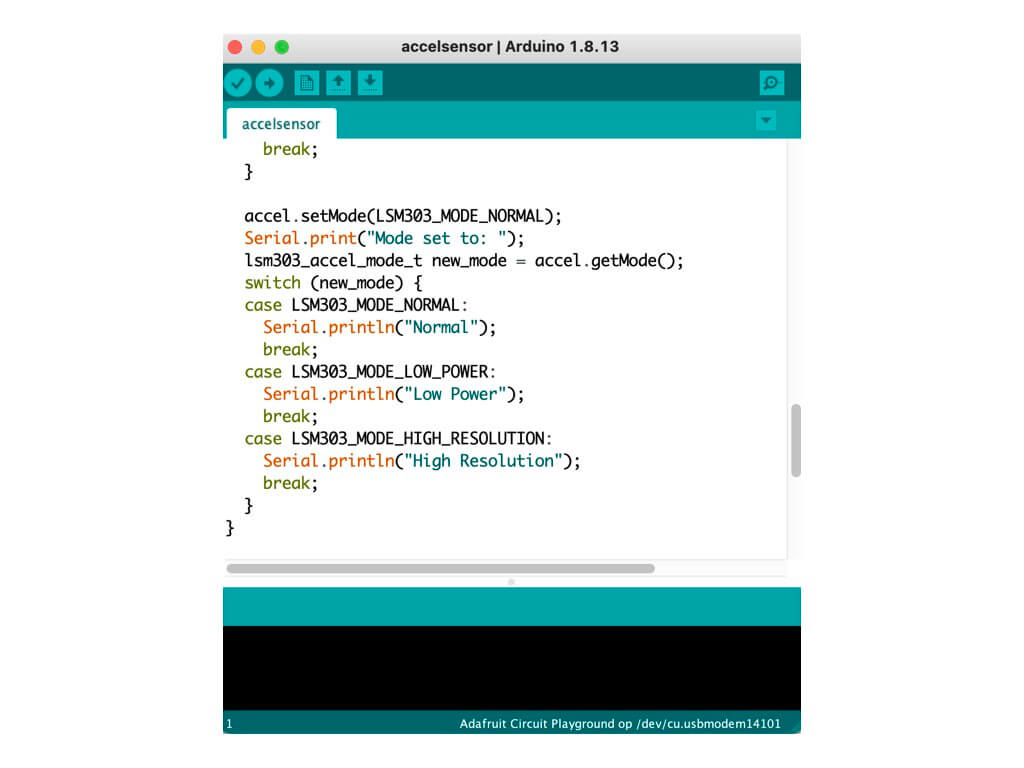
And YESSS! It worked! Below you see that the x-y-z axis changed. This happened due to me moving the embroidery ring. I'm so happy that finally something does work.
Level up
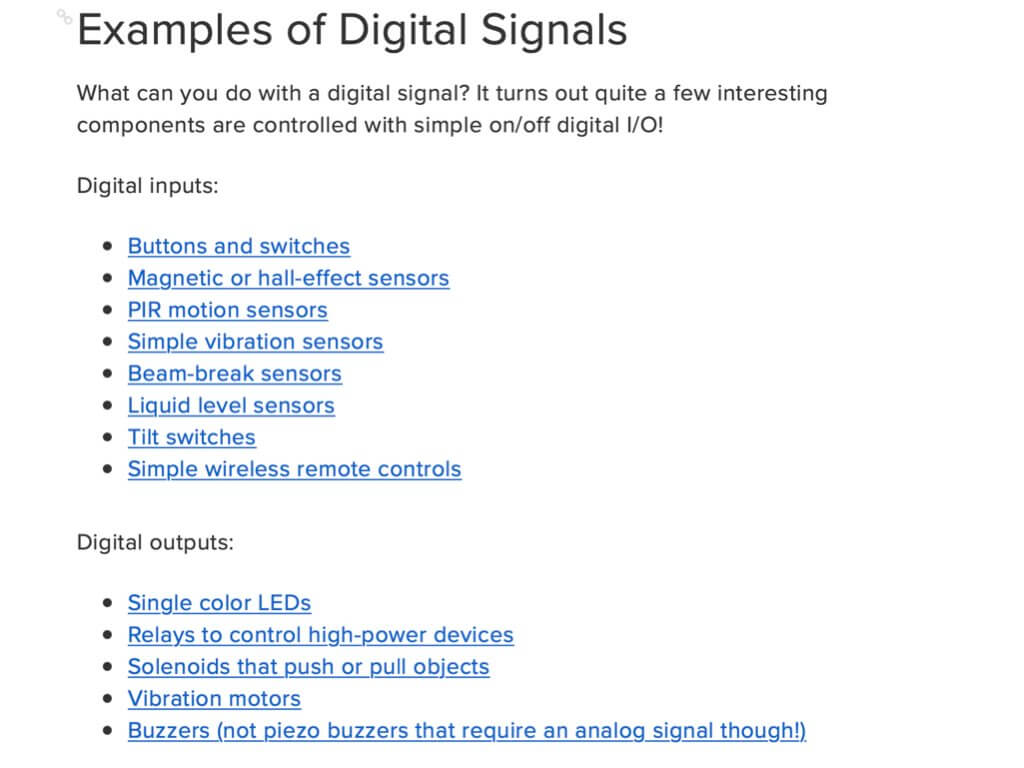
Now, I would like to connect a small vibration motor to the Flora and the sensor and ideally program it so that under certain conditions it starts to vibrate. But this is surely level up. But perhaps this tutorial about digital signals can help me figure out how to do this.
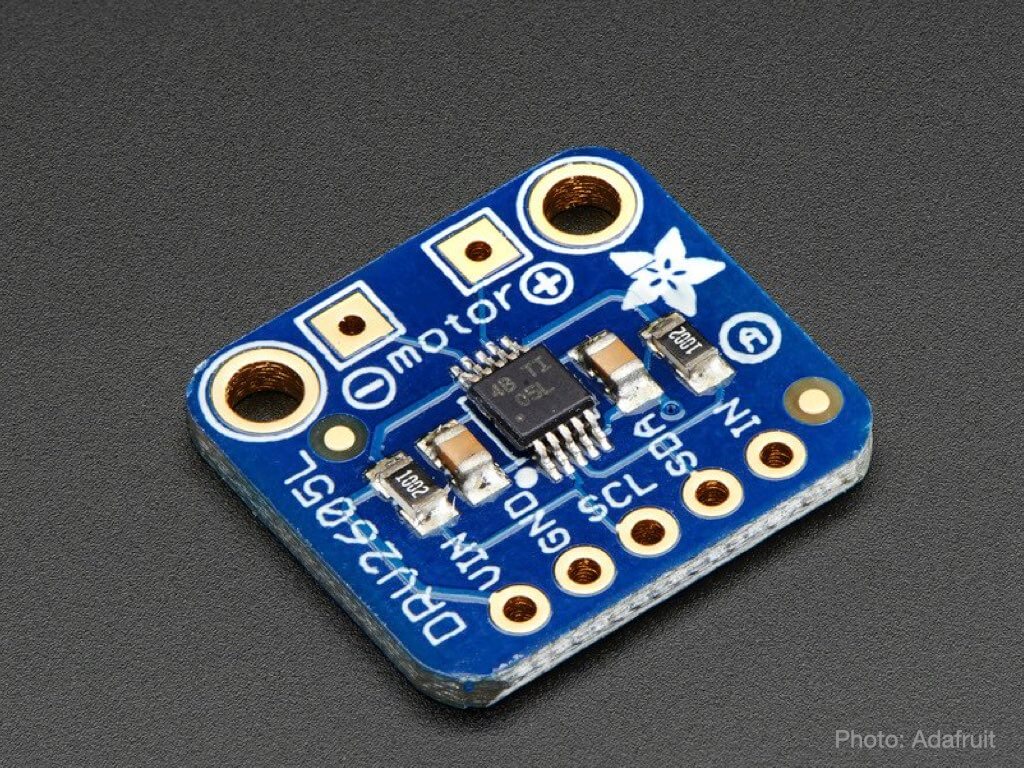
Well, I realised that I will most probably be using analogue input such as nearness or the accelerometer I used above. There’s an interesting thread on the Adafruit forum that deals with Powering Vibration Motors with Flora. It seems as if I need a Driver Board for Haptic Motors.
Okay, let’s research how we can connect the accelerometer to the driver board to control the motor.
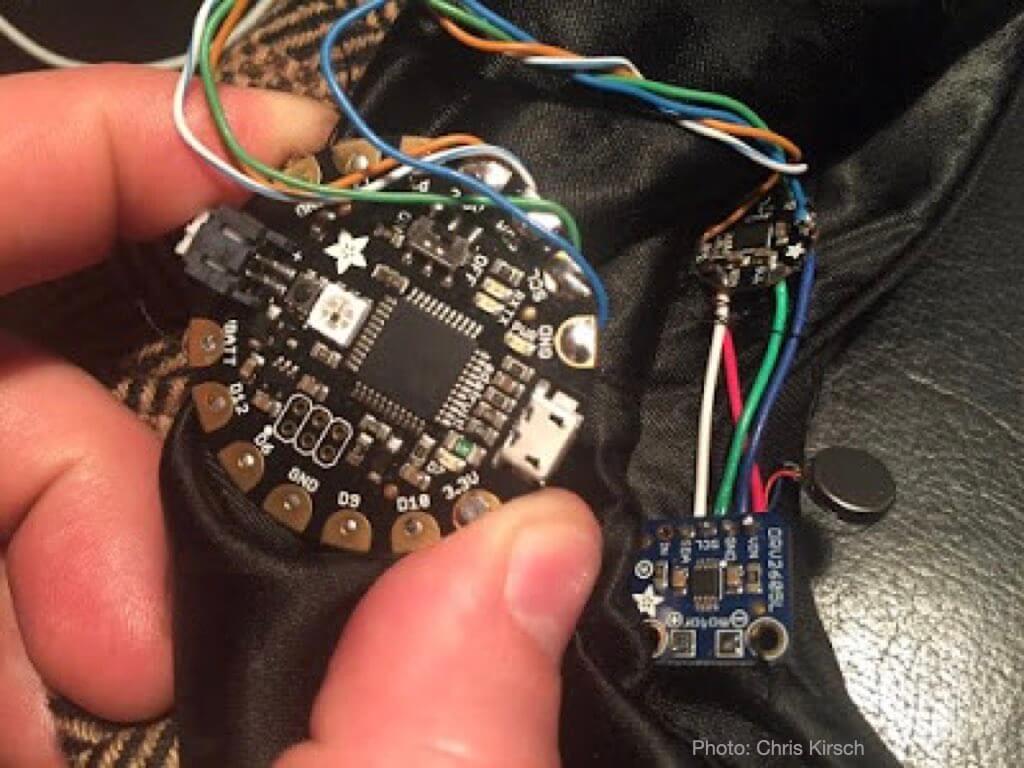
Some further research takes me to Chris Kirsch’s webpage . He has created a North Face hat using the Flora, a small vibration motor and, indeed, the Driver Board for Haptic Motors.
Well, let’s go online shopping. On the list:
- Arduino Flora
- Adafruit DRV2605L Haptic Motor Controller
- Lithium Ion Battery – 3.7v200mAh
The vibrating motor disk I have (a couple), and even though I have a Flora board, I’ll buy a new one since I will most probably be soldering this project and as such unable to re-use the Flora that I have.
Now, let’s wait for the order to arrive…
In the meanwhile, I found this website from Georgine Yeboah, which also features a similar project using a sleeping mask and a haptic vibration motor.
Expansion and Contraction
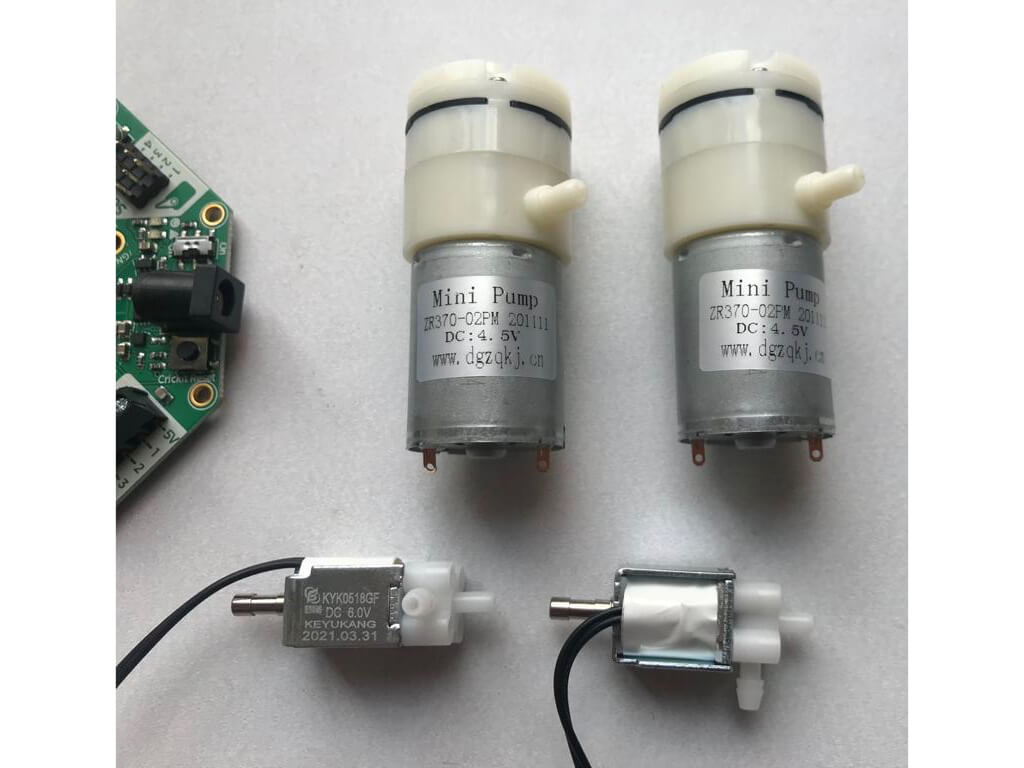
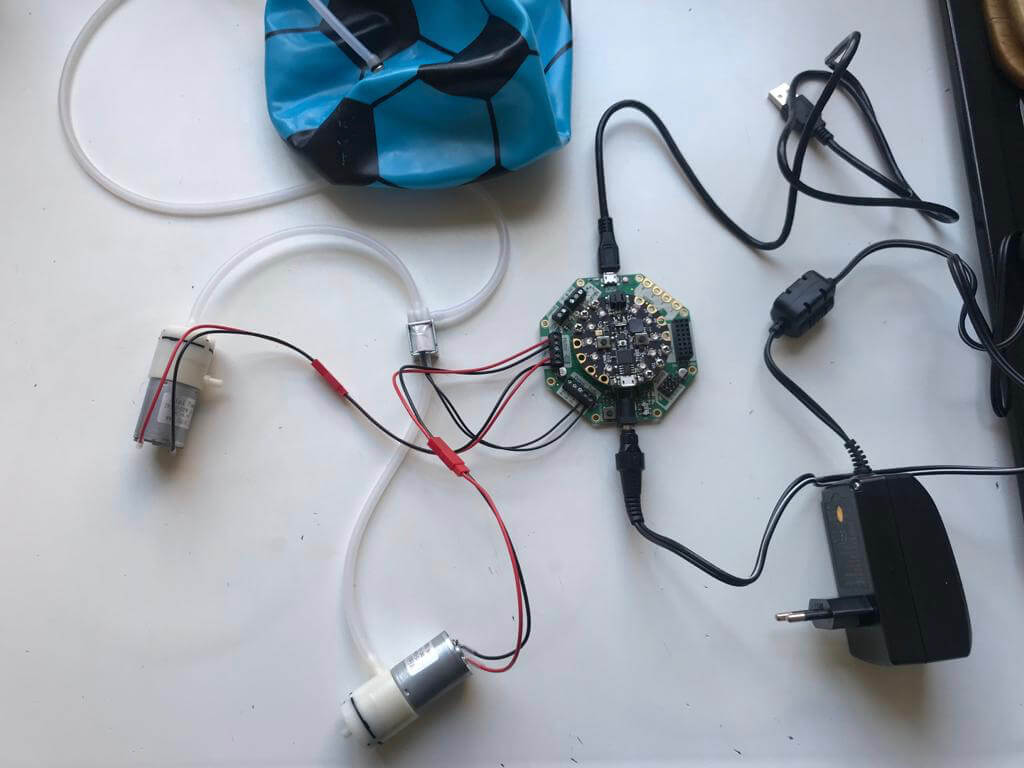
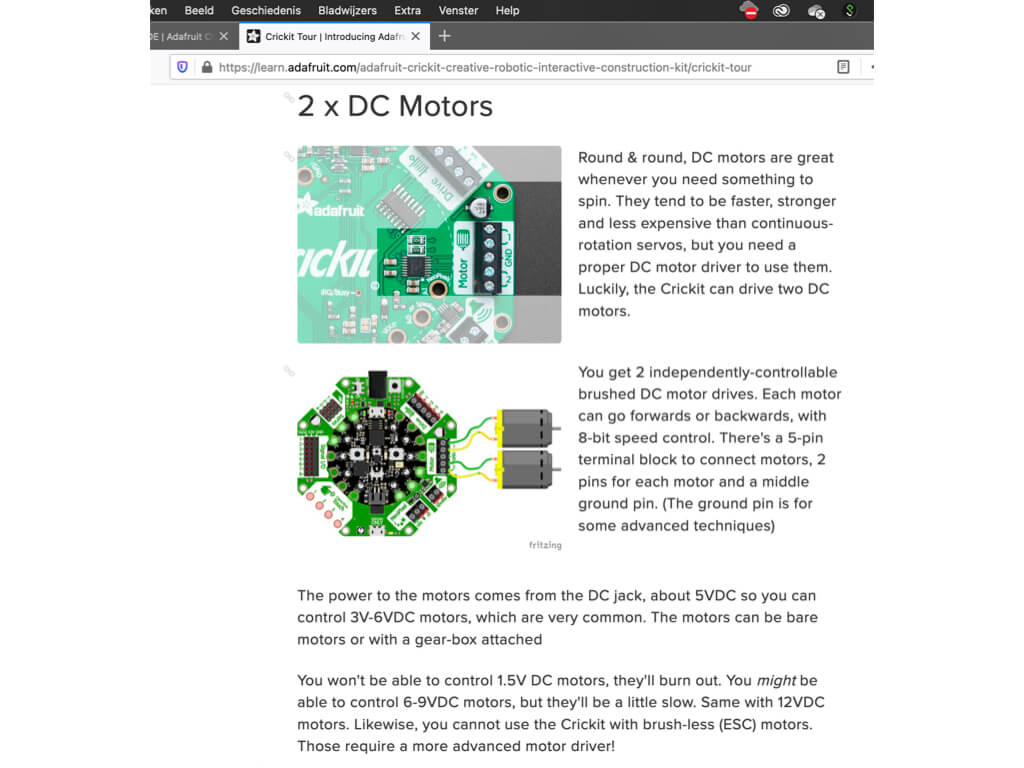
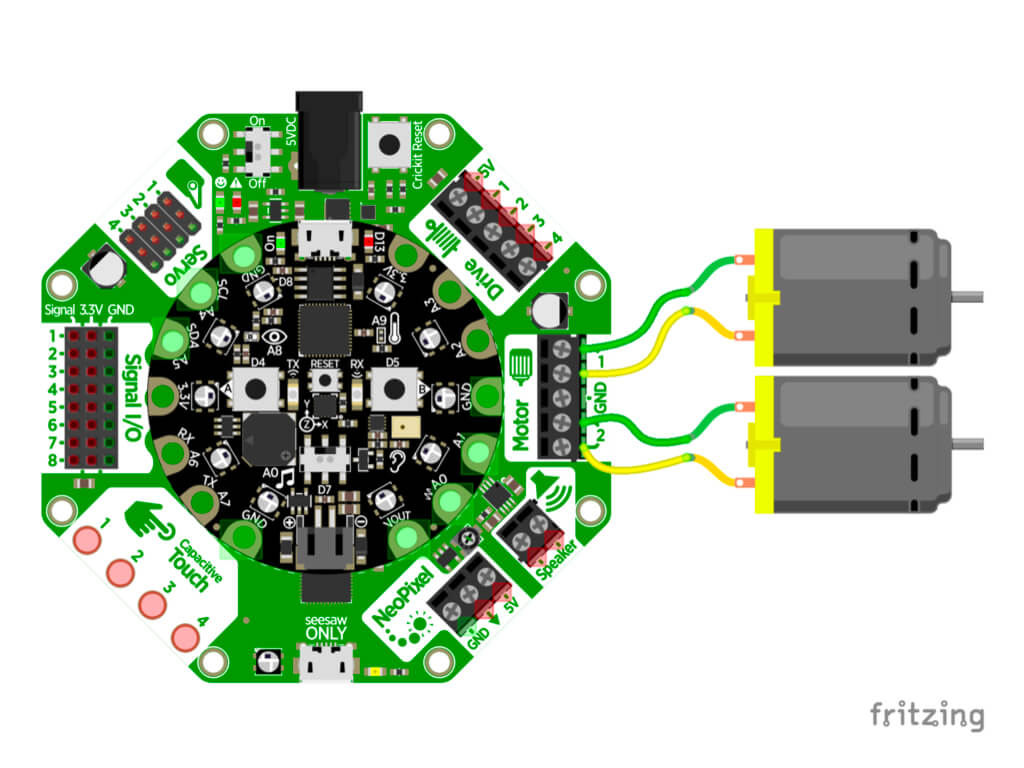
In due time when my concept became clearer, I realised I needed two motors to inflate and deflate a ball. This Adafruit website helped me to decide what to get and I ordered everything I could from them. Unfortunately the air-valve was out of stock and I needed to order it from some vague third party. Turned out it was on its way from China for weeks, due to the Covid-19 effects. As such, it greatly delayed my project...
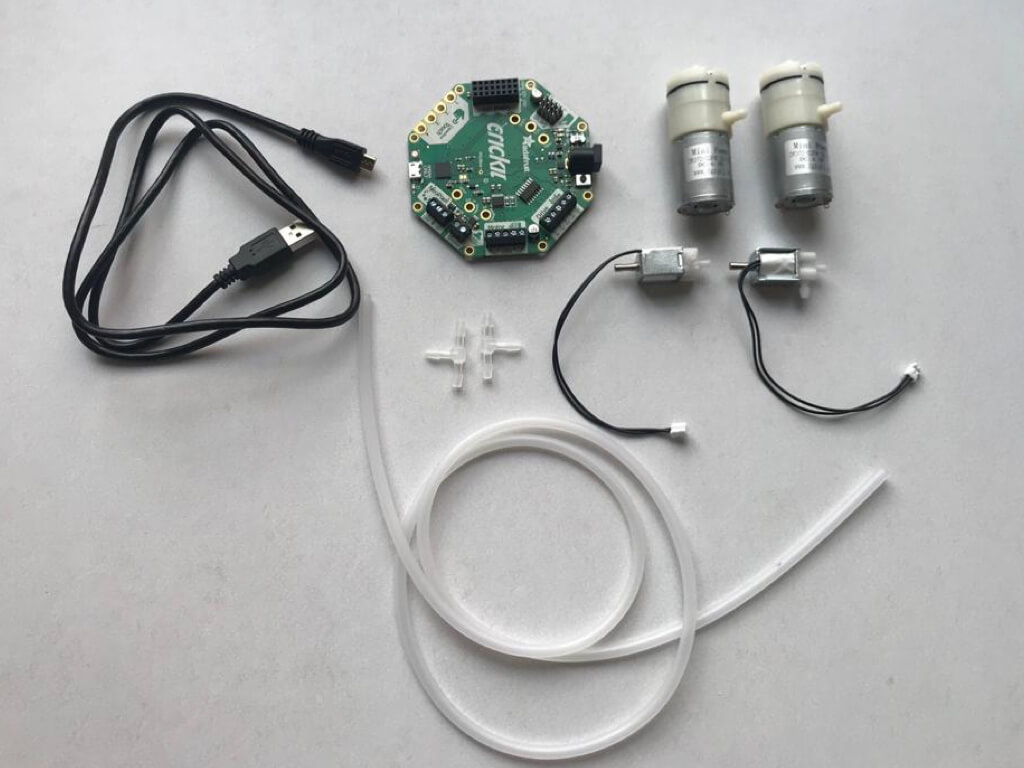
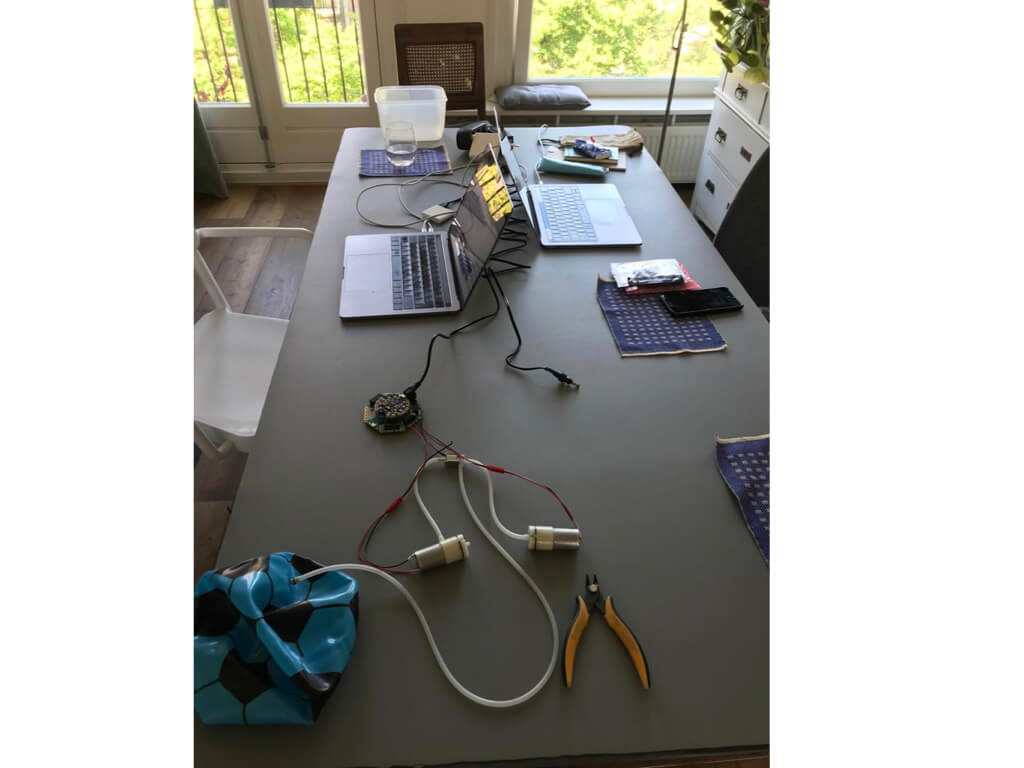
Finally, we ended up not needing the valve and only due to the patient and wonderful help of Anja Hertenberger and Jeroen Meijer I managed to write the code and get the technology to do what I had imagined.
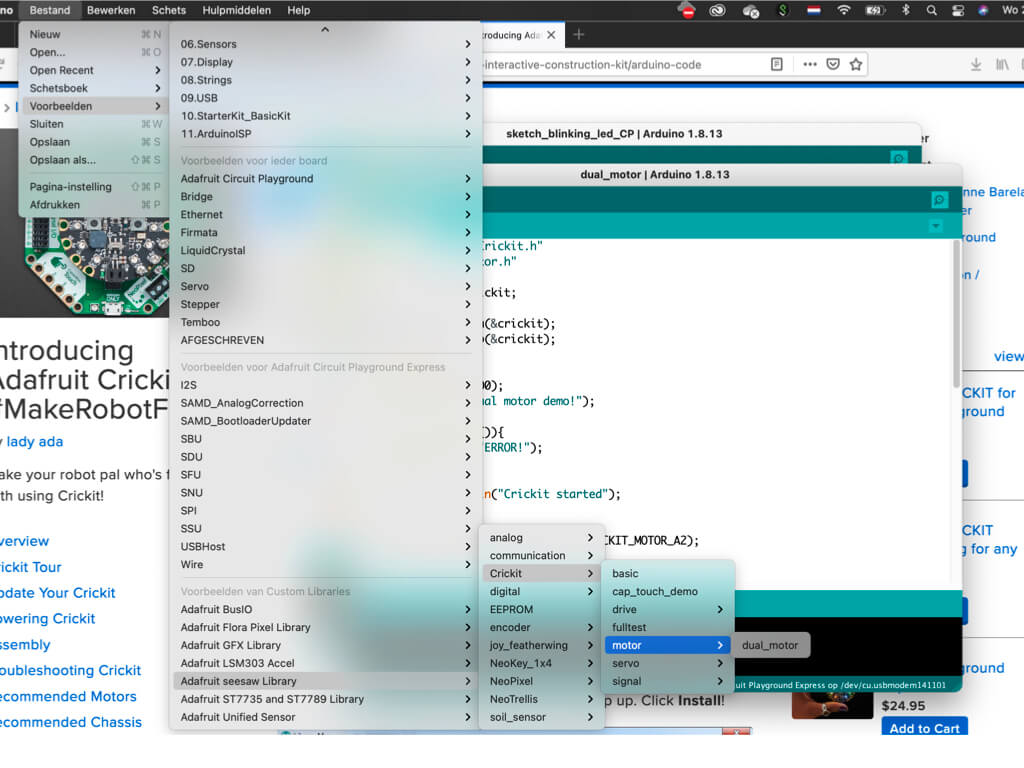
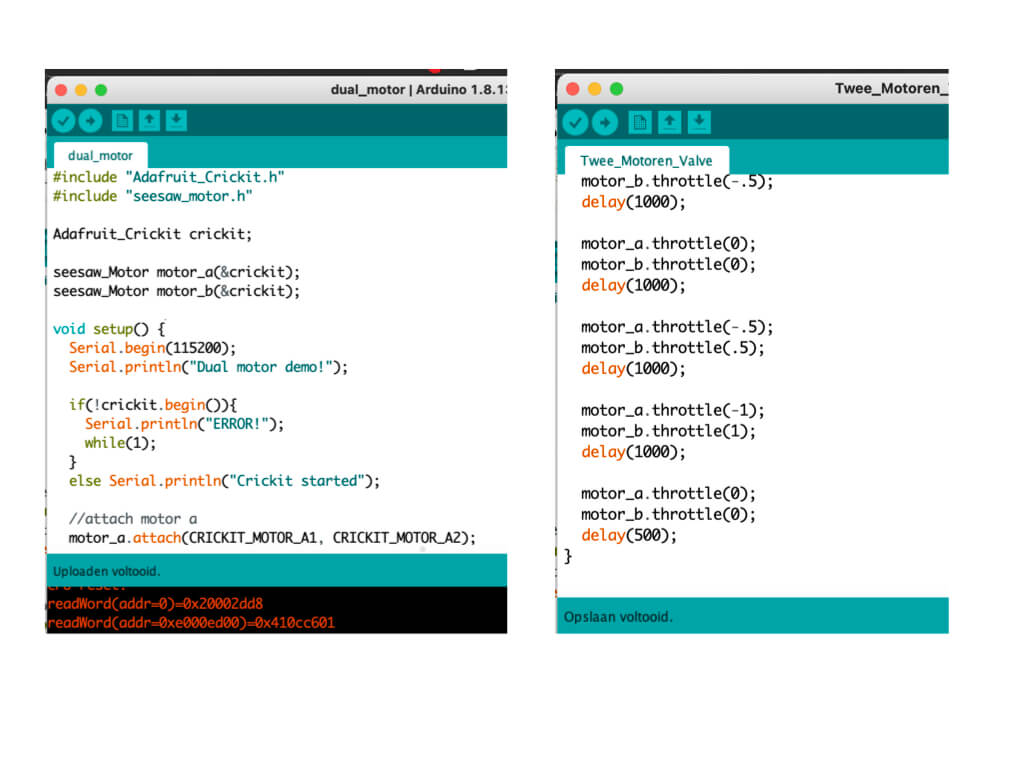

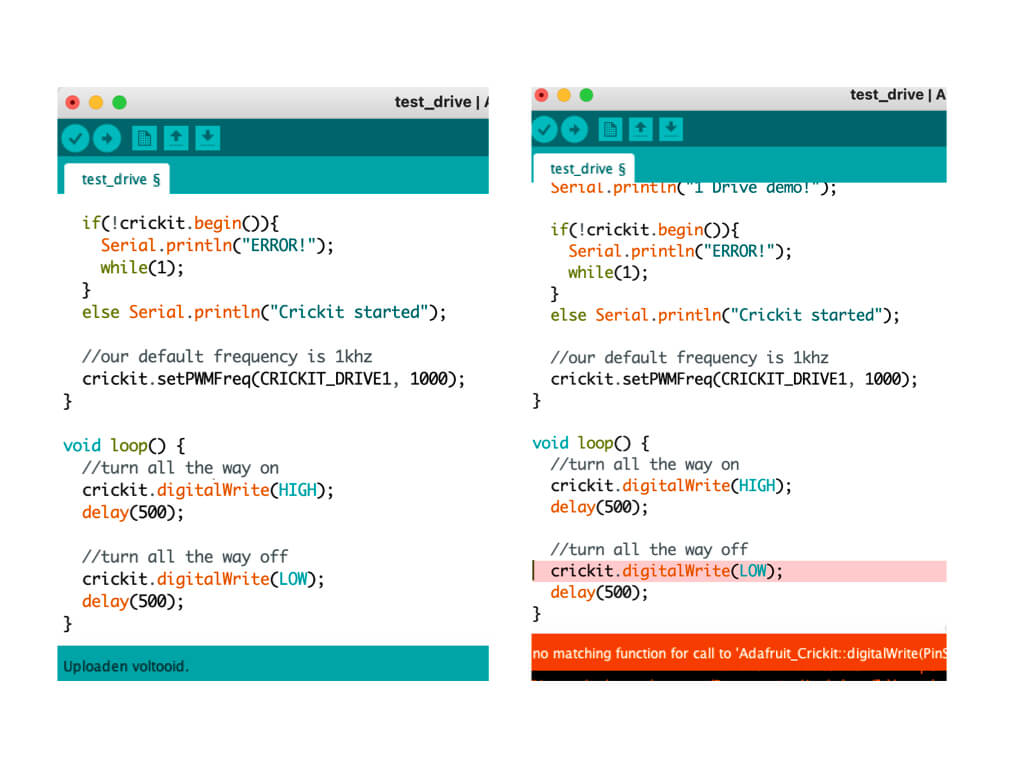
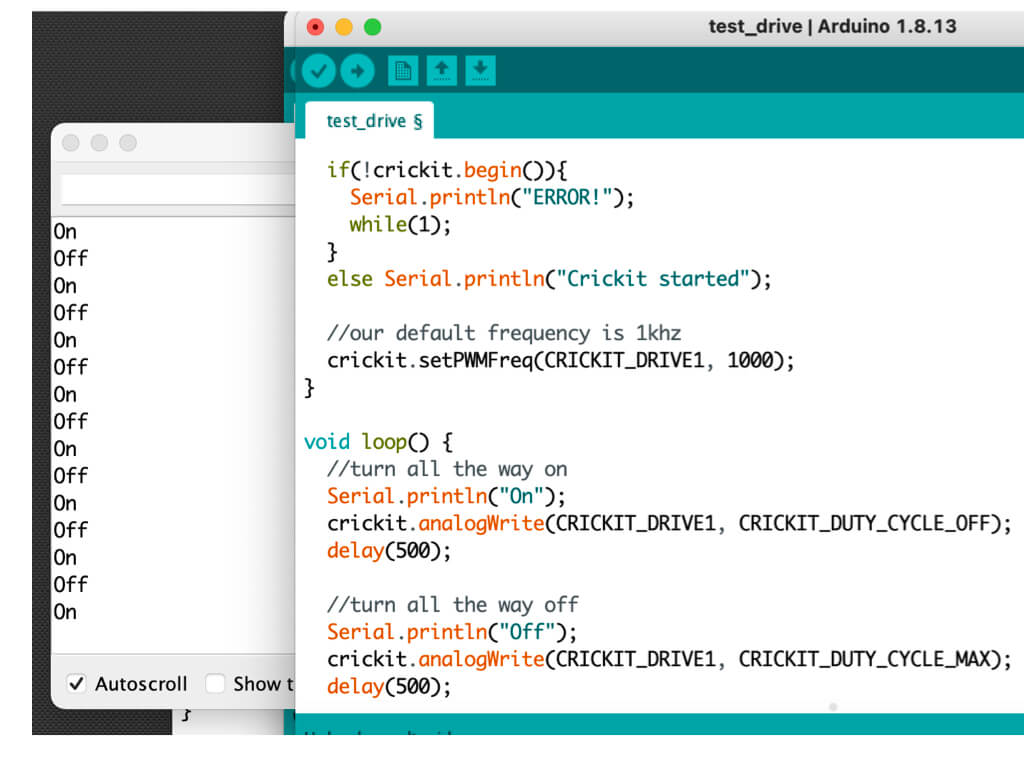
The code for the final project
#include "Adafruit_Crickit.h"
#include "seesaw_motor.h"
int EMPTY_BALL_DURATION = 50000; // tweak if needed to empty whole ball
Adafruit_Crickit crickit;
seesaw_Motor motor_a(&crickit);
seesaw_Motor motor_b(&crickit);
void setup() {
Serial.begin(115200);
Serial.println("Expansion Contraction");
if(!crickit.begin()){
Serial.println("ERROR!");
while(1);
}
else Serial.println("Crickit started");
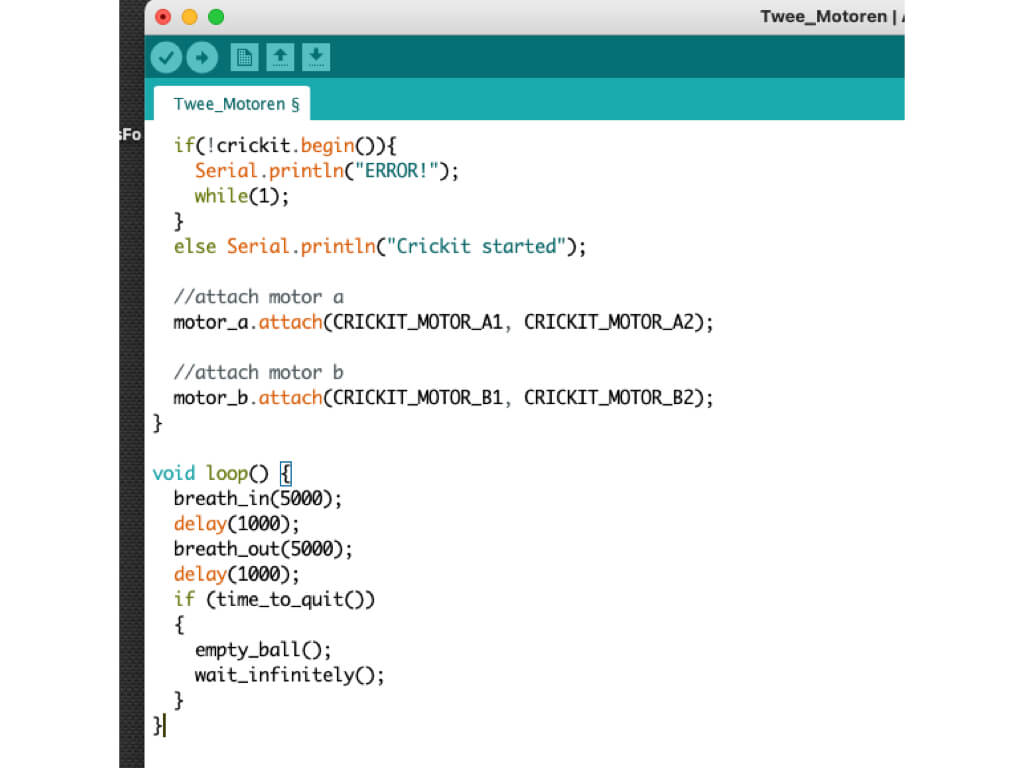
//attach motor a
motor_a.attach(CRICKIT_MOTOR_A1, CRICKIT_MOTOR_A2);
//attach motor b
motor_b.attach(CRICKIT_MOTOR_B1, CRICKIT_MOTOR_B2);
}
void loop() {
breath_in(5000);
delay(1000);
breath_out(4000);
delay(1000);
if (time_to_quit())
{
empty_ball();
wait_infinitely();
}
}
void breath_in(int duration)
{
Serial.println("breath in");
motor_a.throttle(0); // turn off
motor_b.throttle(1); // inflate
delay(duration);
motor_a.throttle(0); // turn off
motor_b.throttle(0); // turn off
}
void breath_out(int duration)
{
Serial.println("breath out");
motor_a.throttle(1); // deflate
motor_b.throttle(0); // turn off
delay(duration);
motor_a.throttle(0); // turn off
motor_b.throttle(0); // turn off
}
void empty_ball()
{
Serial.println("empty ball");
motor_a.throttle(1);
delay(EMPTY_BALL_DURATION);
motor_a.throttle(0); // turn off
motor_b.throttle(0); // turn off
}
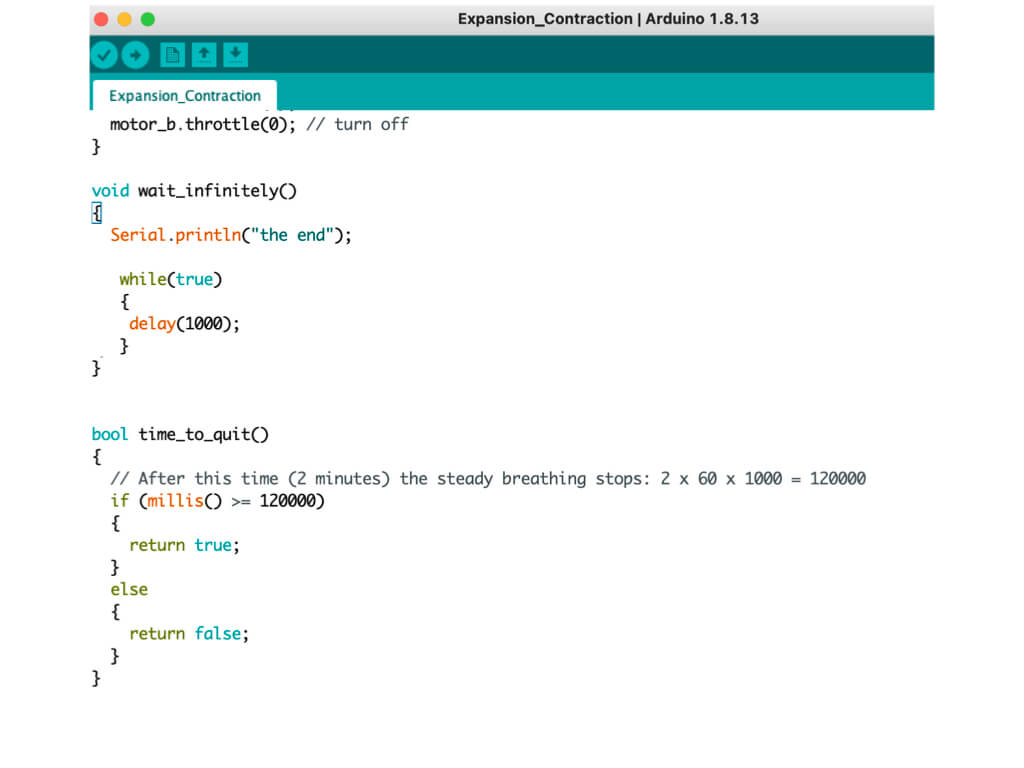
void wait_infinitely()
{
Serial.println("the end");
while(true)
{
delay(1000);
}
}
bool time_to_quit()
{
// After this time (2 minutes) the steady breathing stops: 2 x 60 x 1000 = 120000
if (millis() >= 120000)
{
return true;
}
else
{
return false;
}
}