2. Digital bodies
This week we focused on bodies, how they are represented in art, how artists work with human body.
References
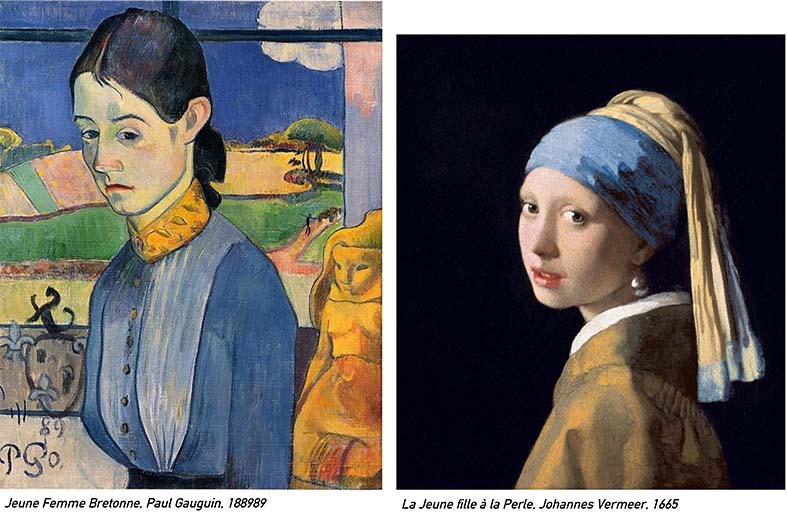
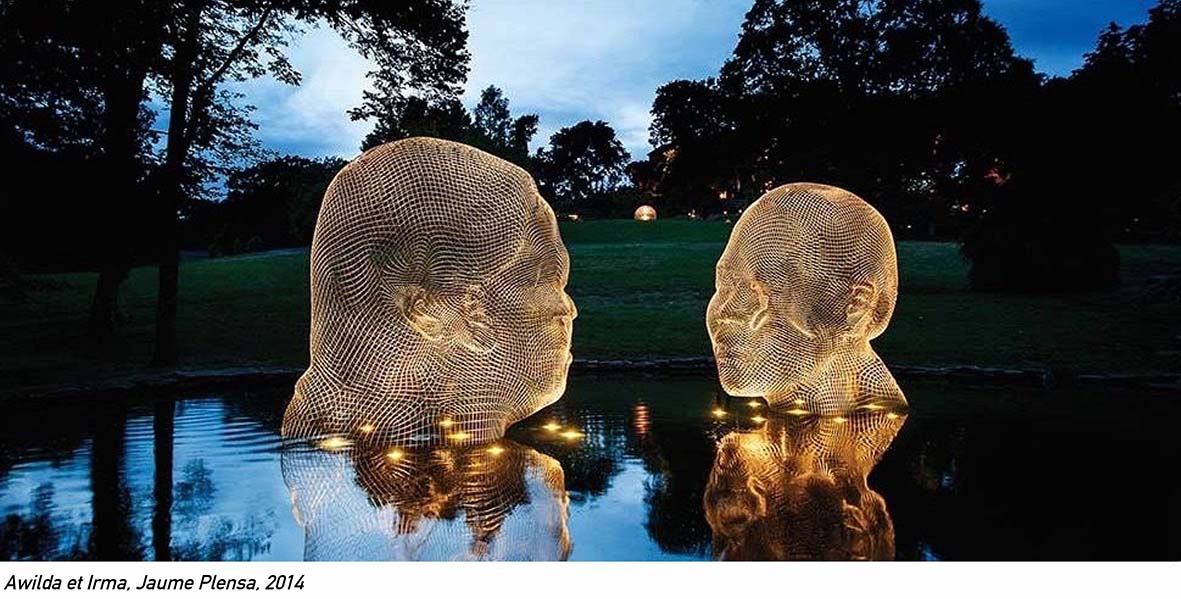
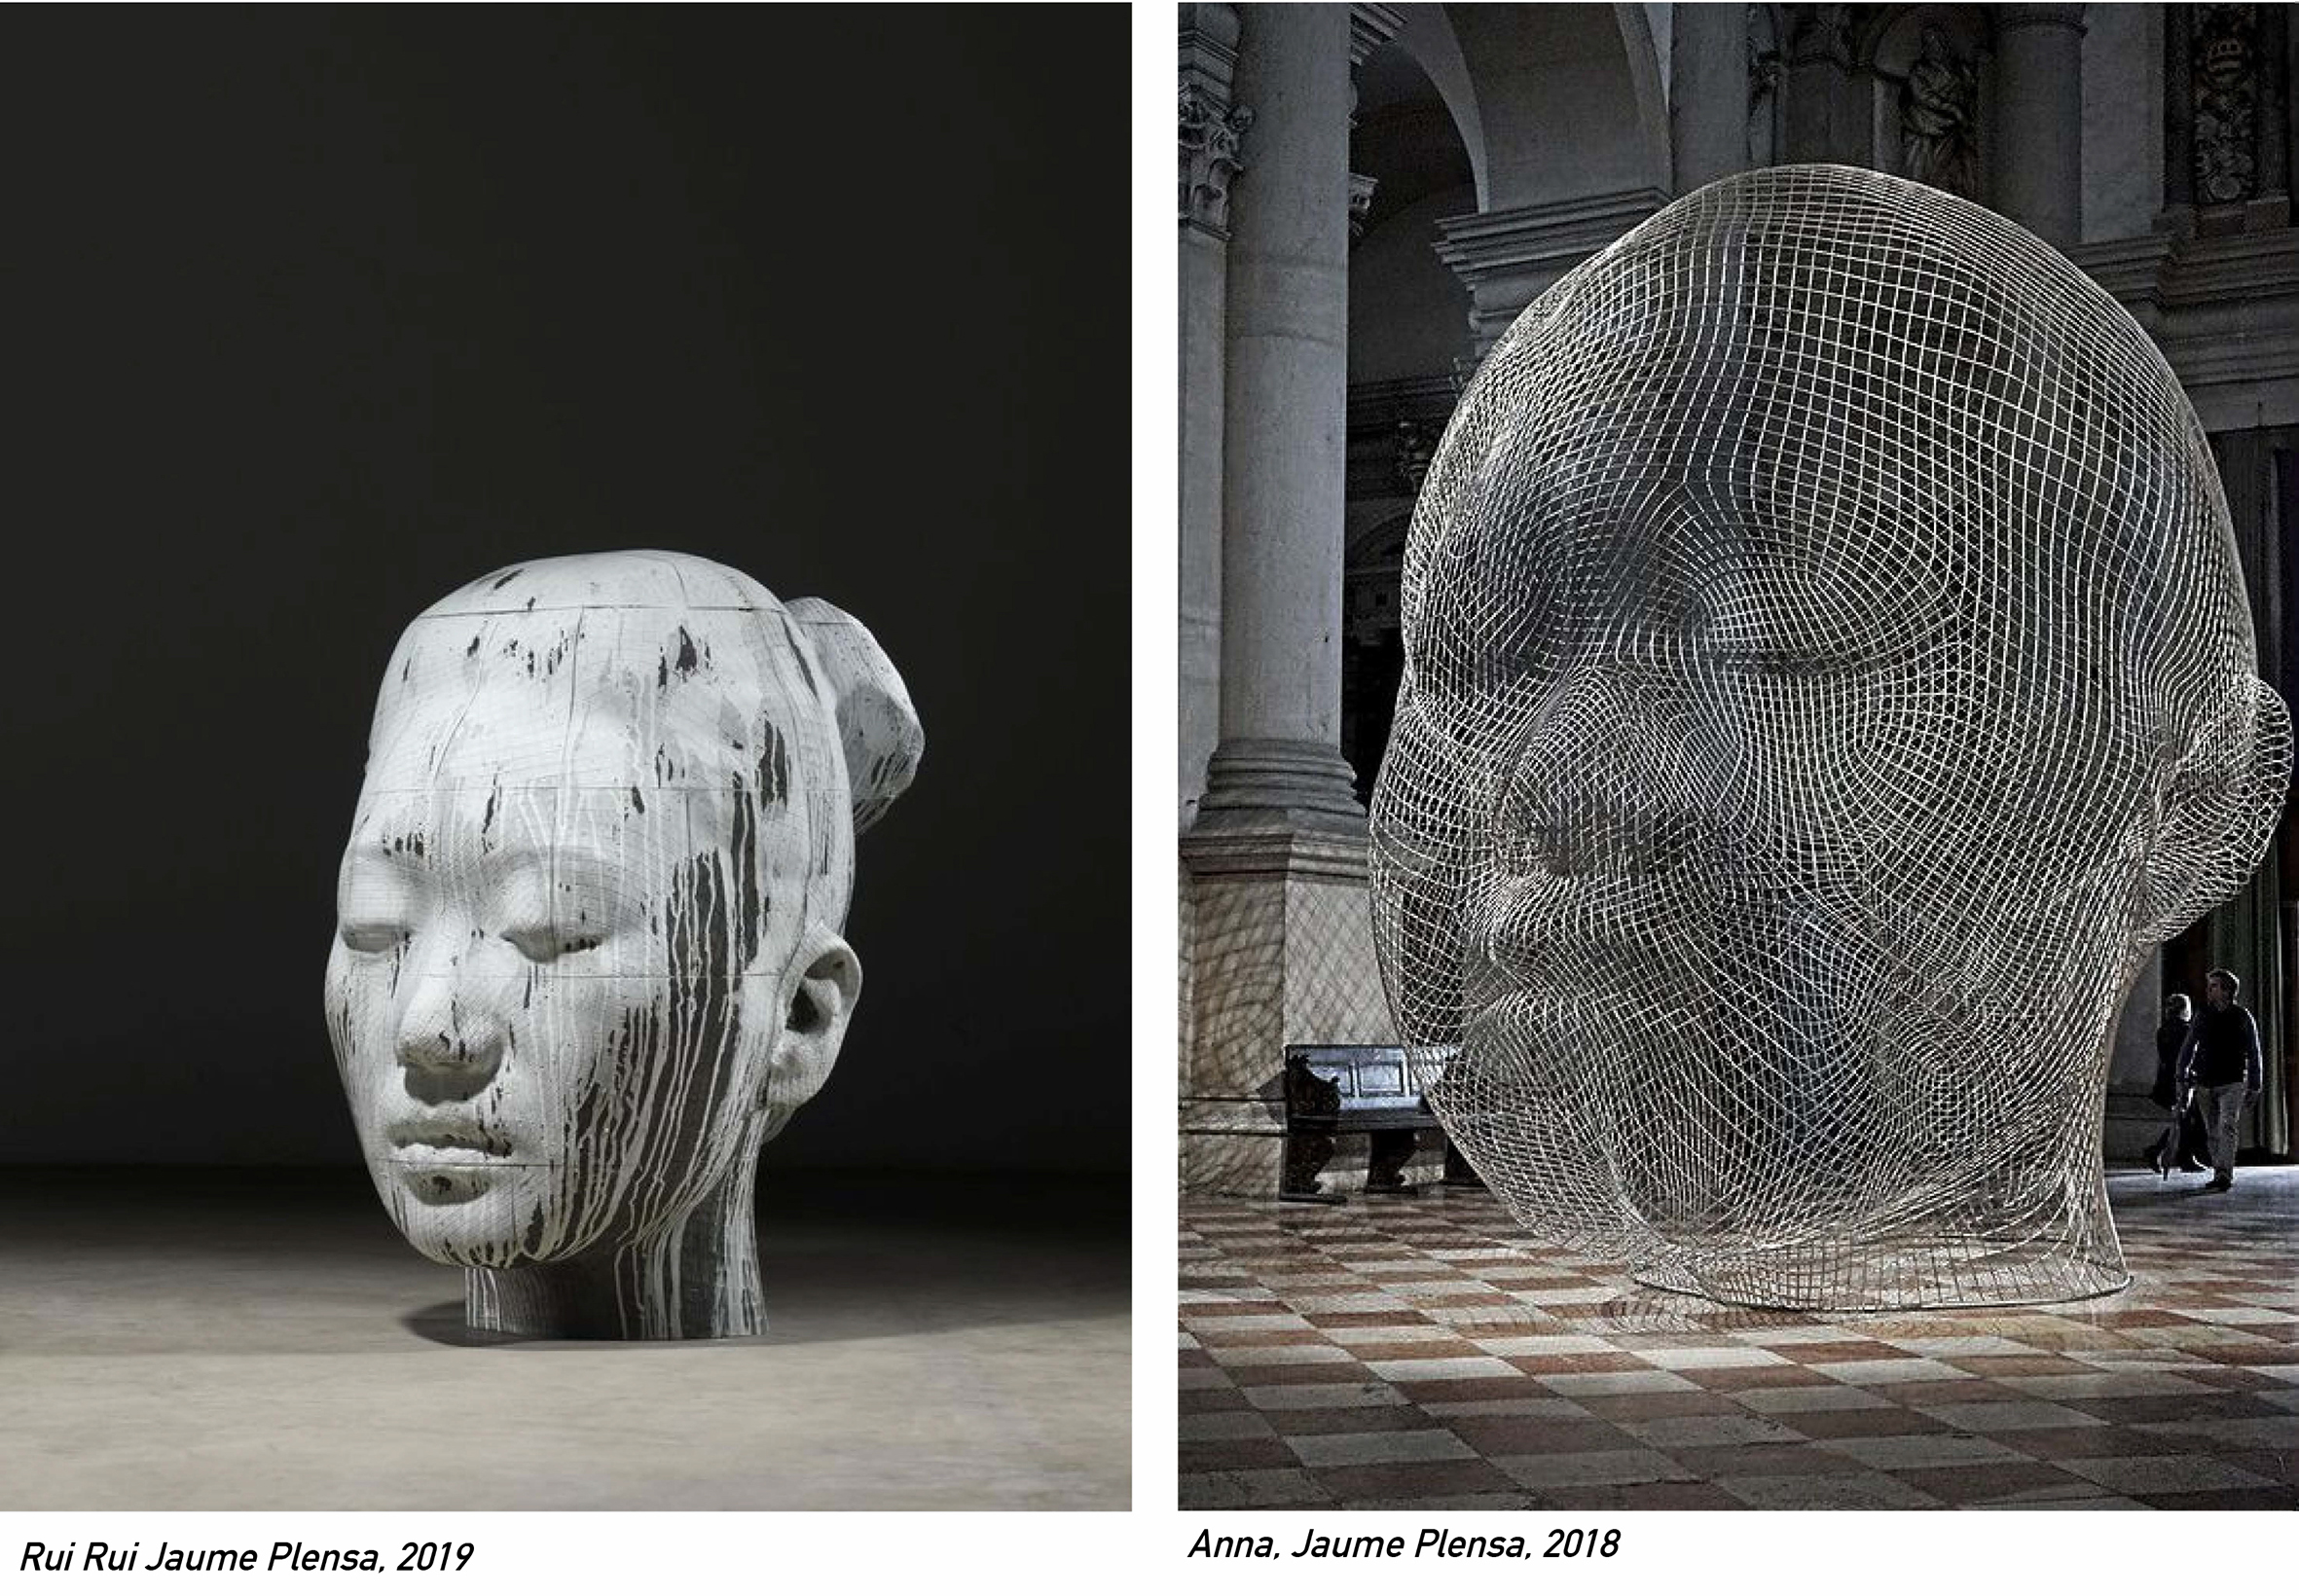
I'm interested in body language and expressions. I was touched by the sculptures of Jaume Plensa during the presentation of the theme of the week. I find that the statues convey calm and serenity. Some are made in stainless steel and have a "net" structure and some are in marble or bronze; generally large in size (between 3 and 8 meters). I like this way of talking about the human body and of organizing it in space. The head and the face represent so many things, it is what we look first in a human, it is the way of recognizing oneself, it is the open door to the expressions and feelings. I decided to work with expressions and I looked for face's expressions in art.
Make Human
I first tried the expressions on Make Human, a software to create 3D humans. I explain in pictures how to find them :
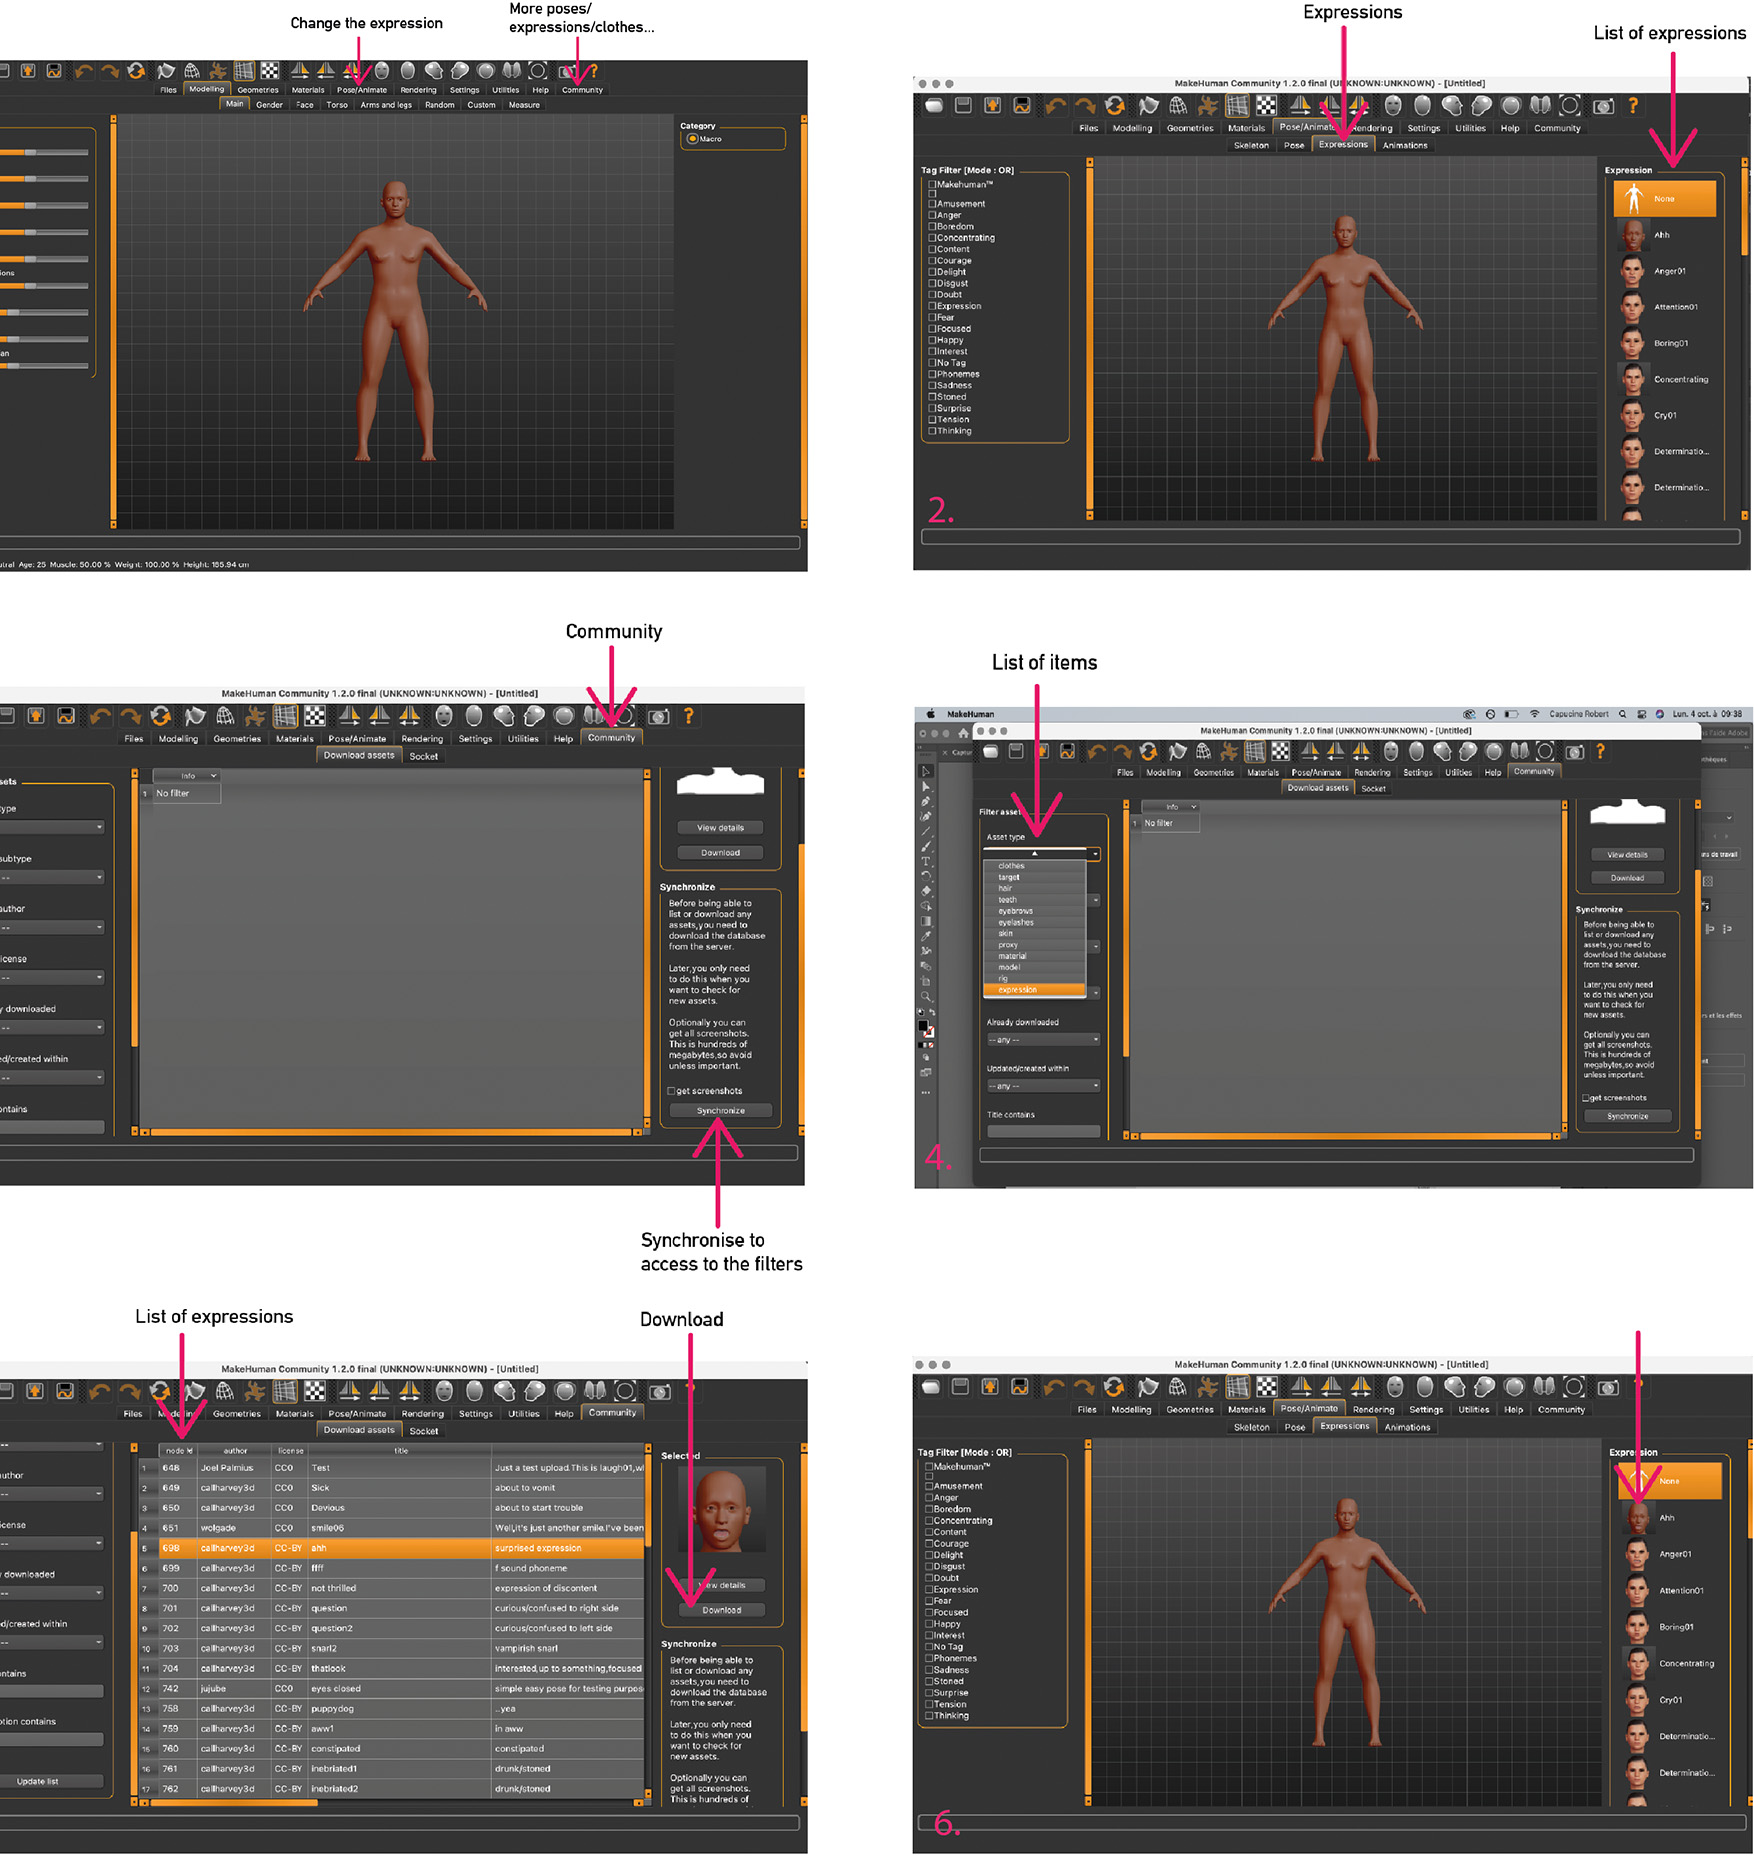
- pose / animate
- expression / list of expression
- to have more expressions: community. Don't forget to click on "synchronize" the first time.
- list of items
- choose expression and download
- the new expression appears in the list
Some Make Human's expressions.
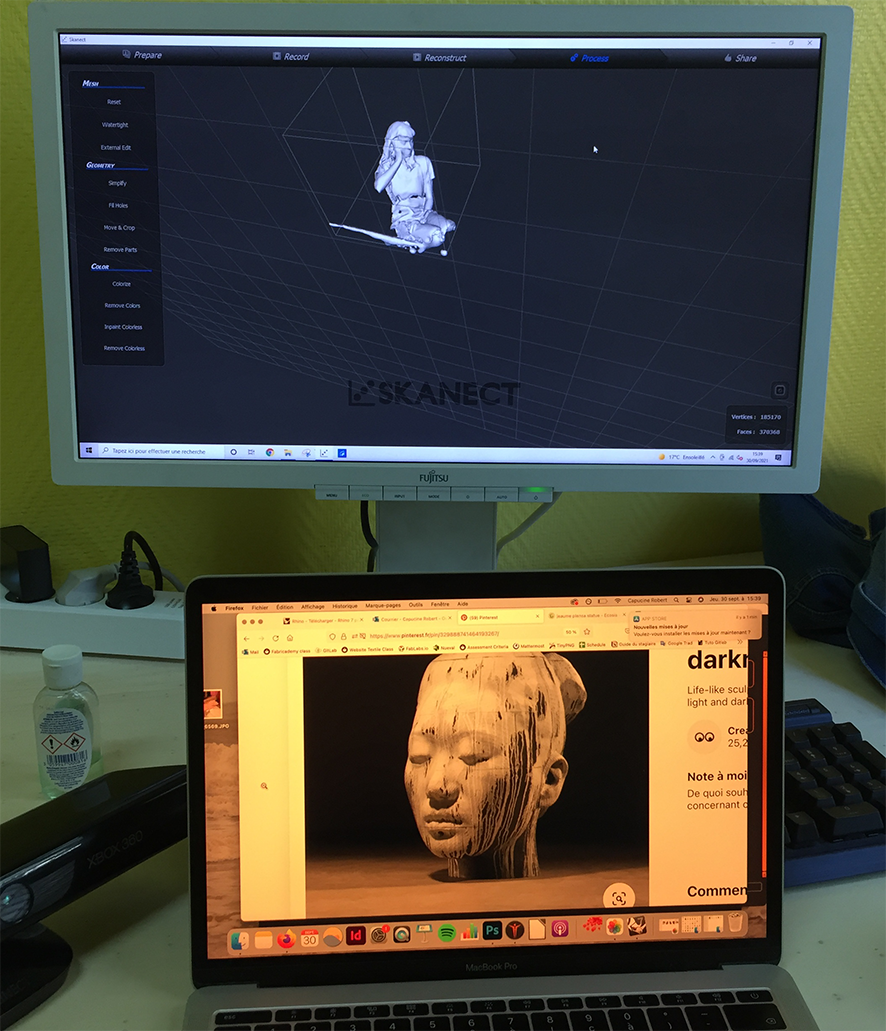
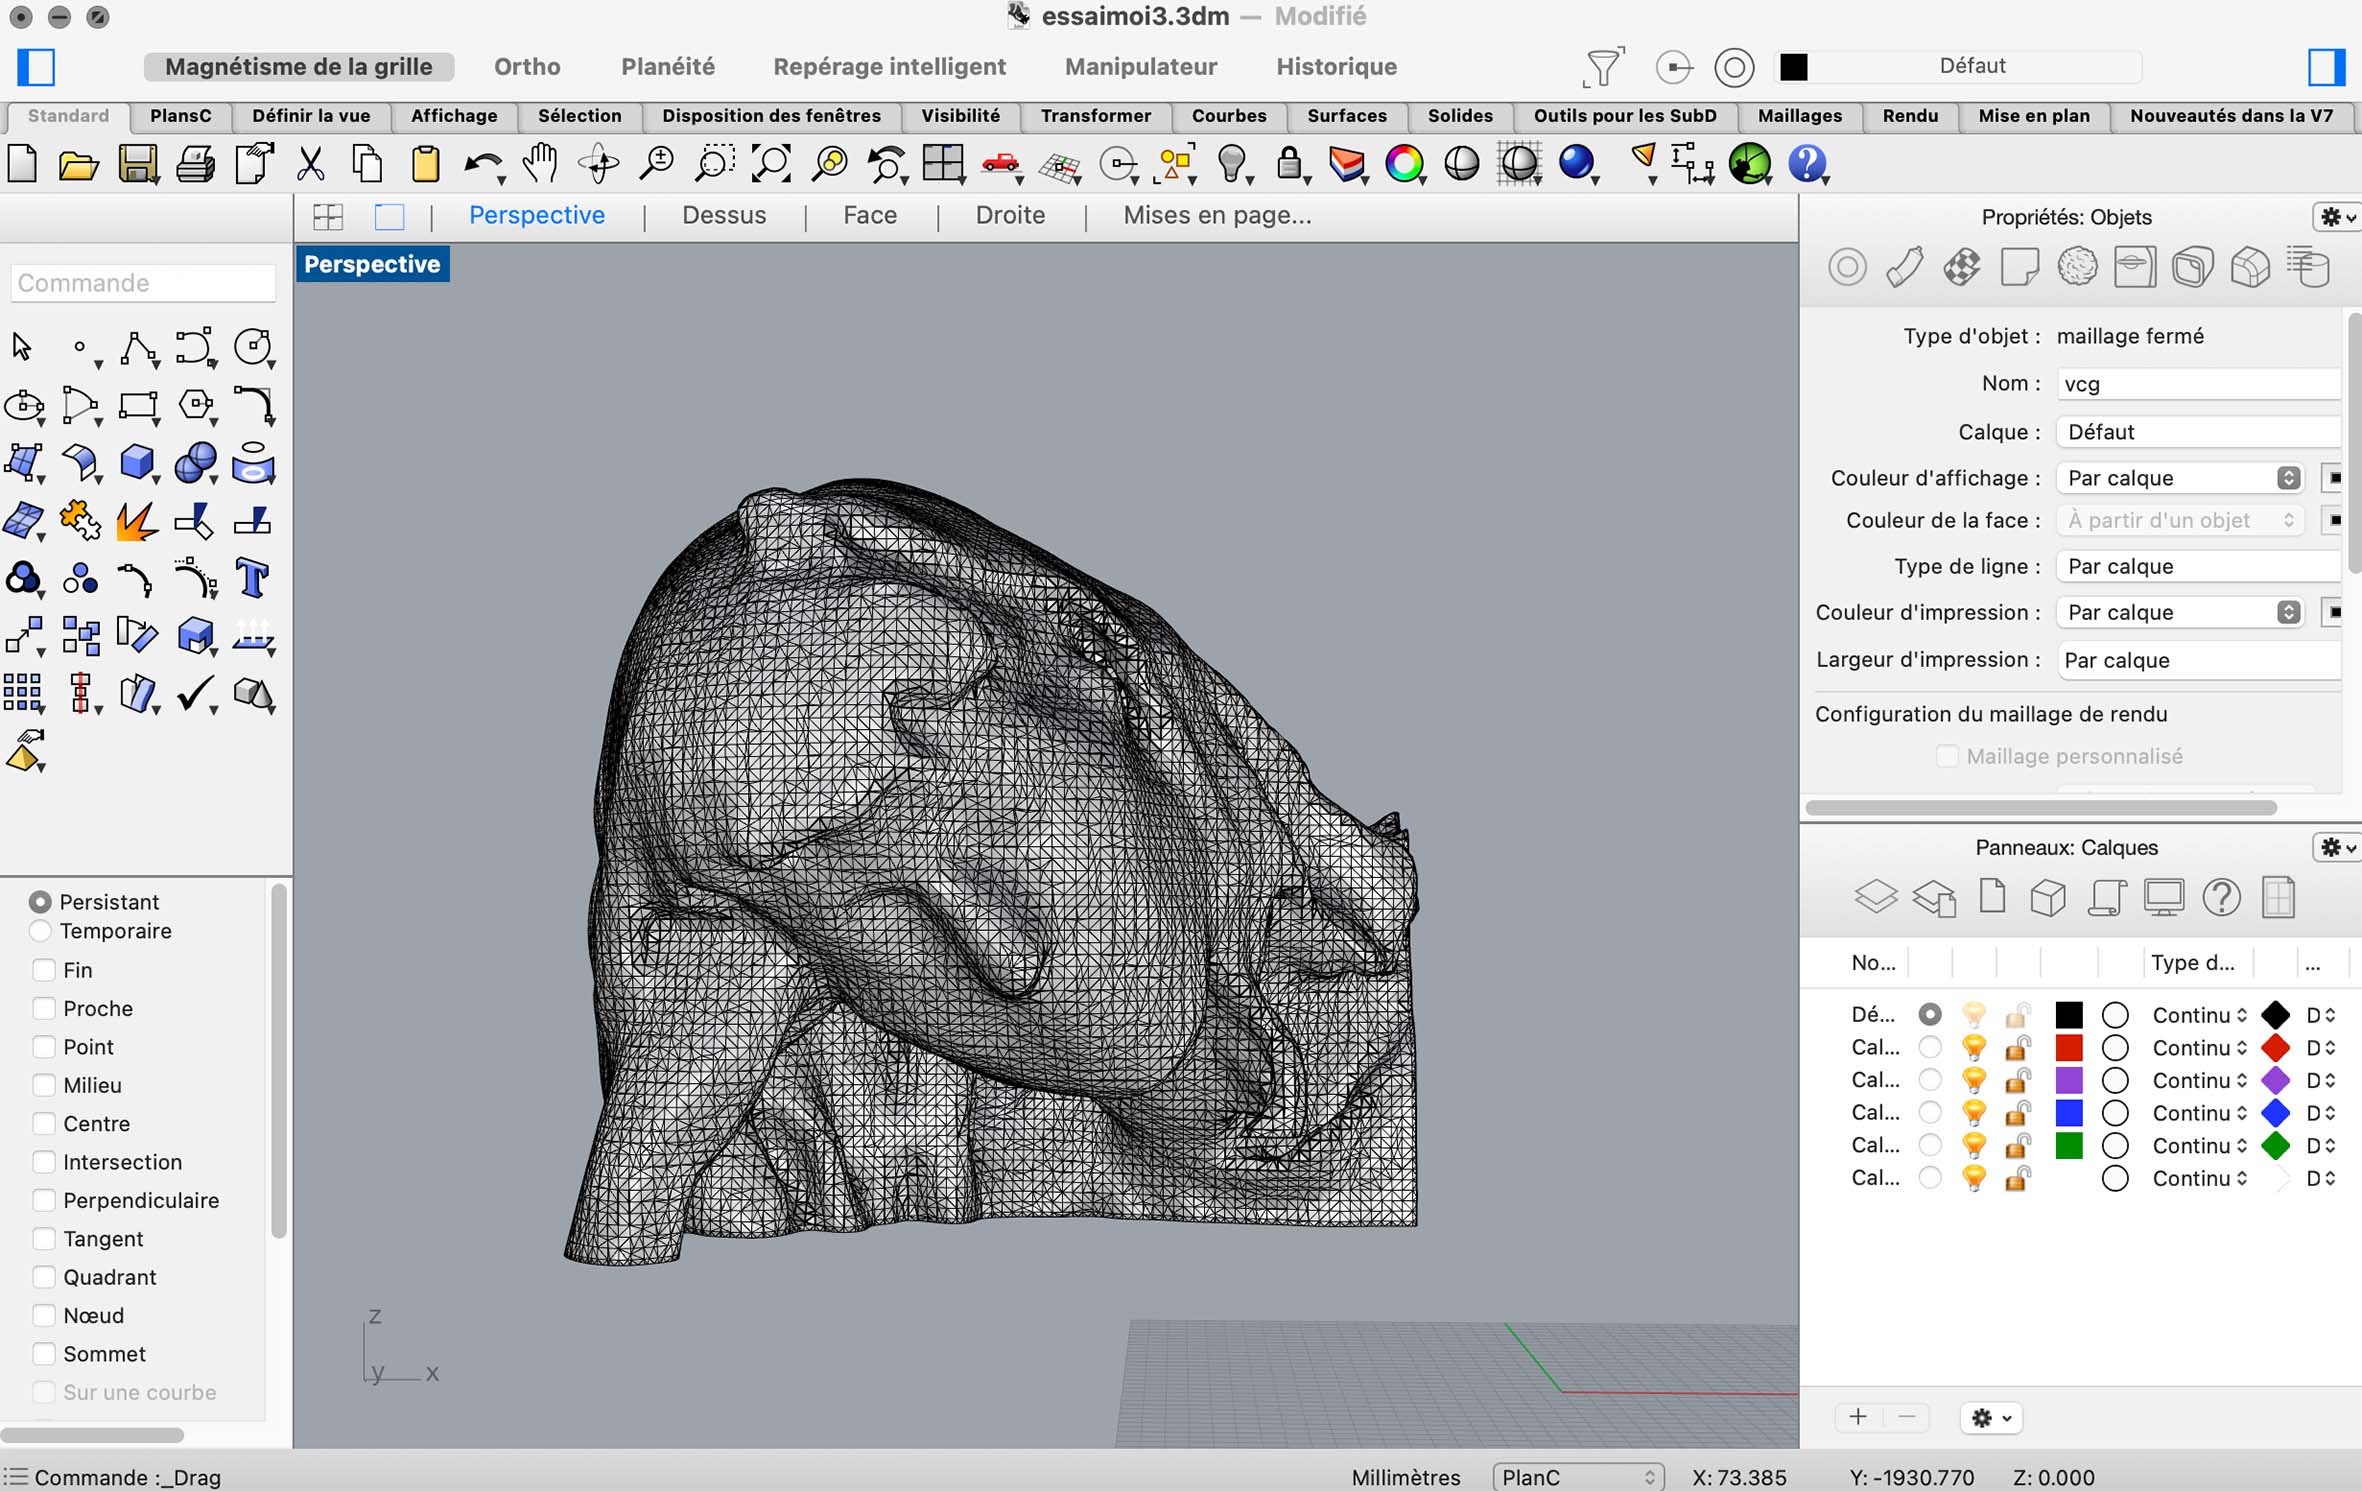
Scan 3D
Then we tried the 3D scanner. We used a "kinect" from xbox and a software called Skanect. We did tests with poses and parts of the body : some are more difficult to scan, such as the hands. I decided to scan a face with closed eyes and mouth to facilitate the scan and to express a calm expression. I saved the 3D model in .OBJ
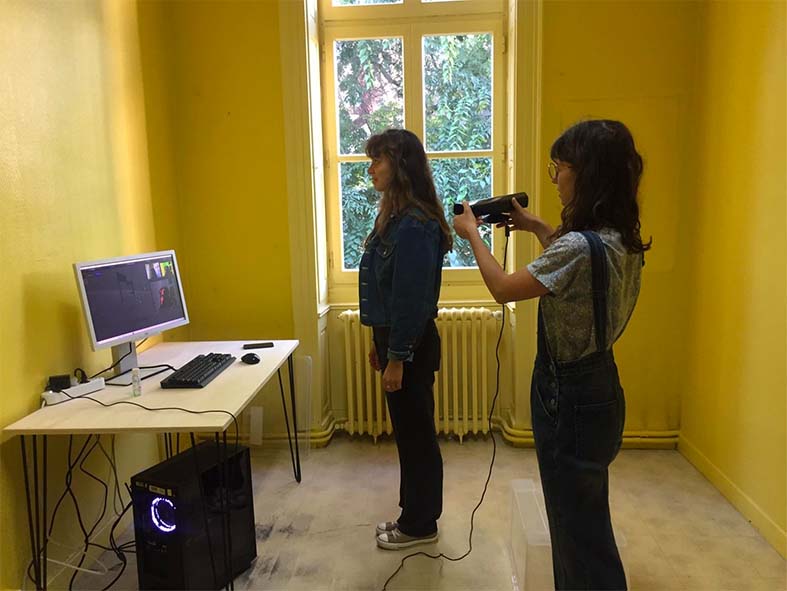
Inspiration during the scan :
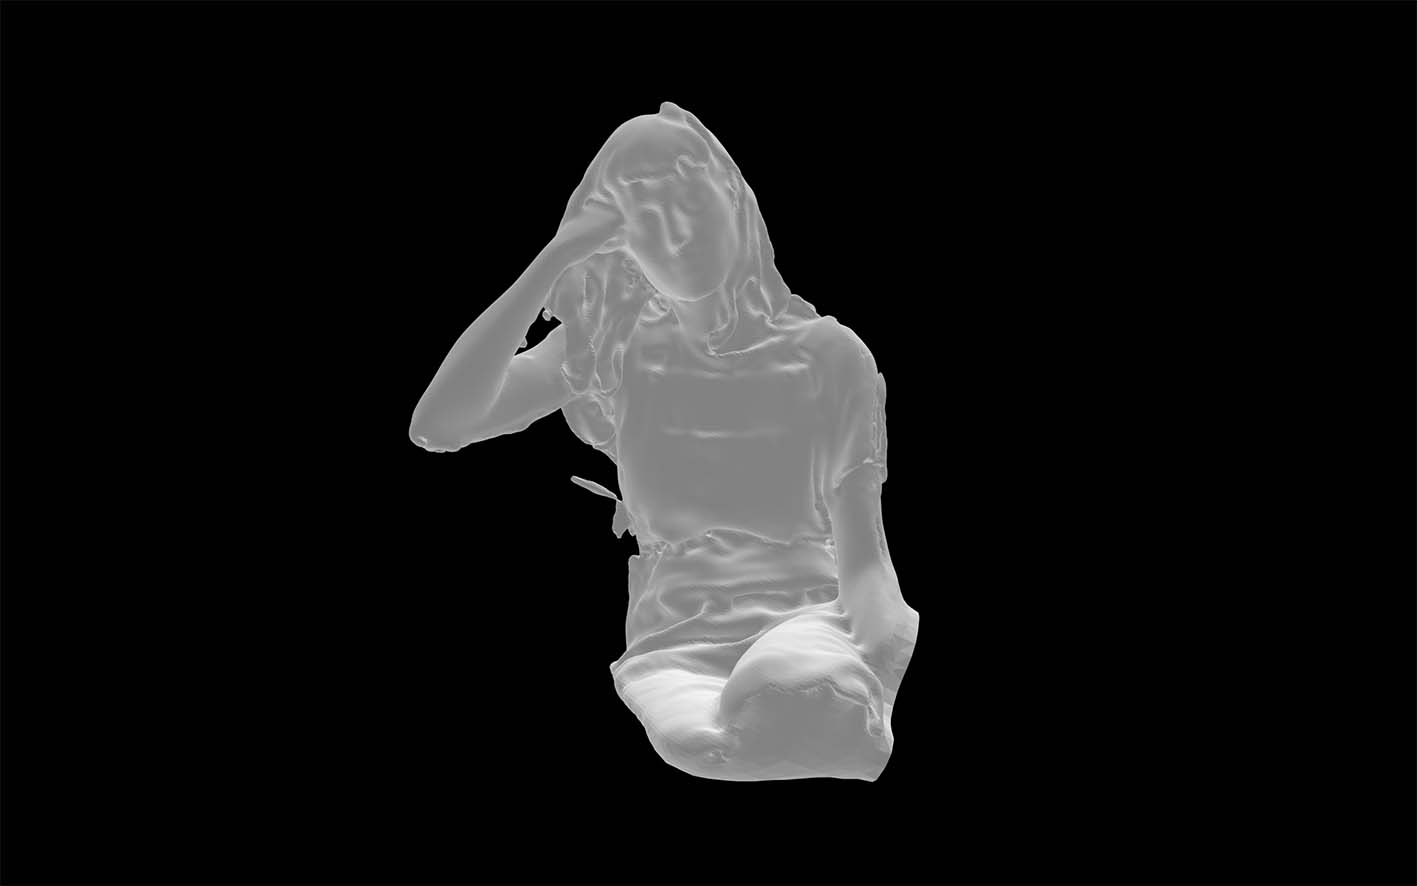
3D me :
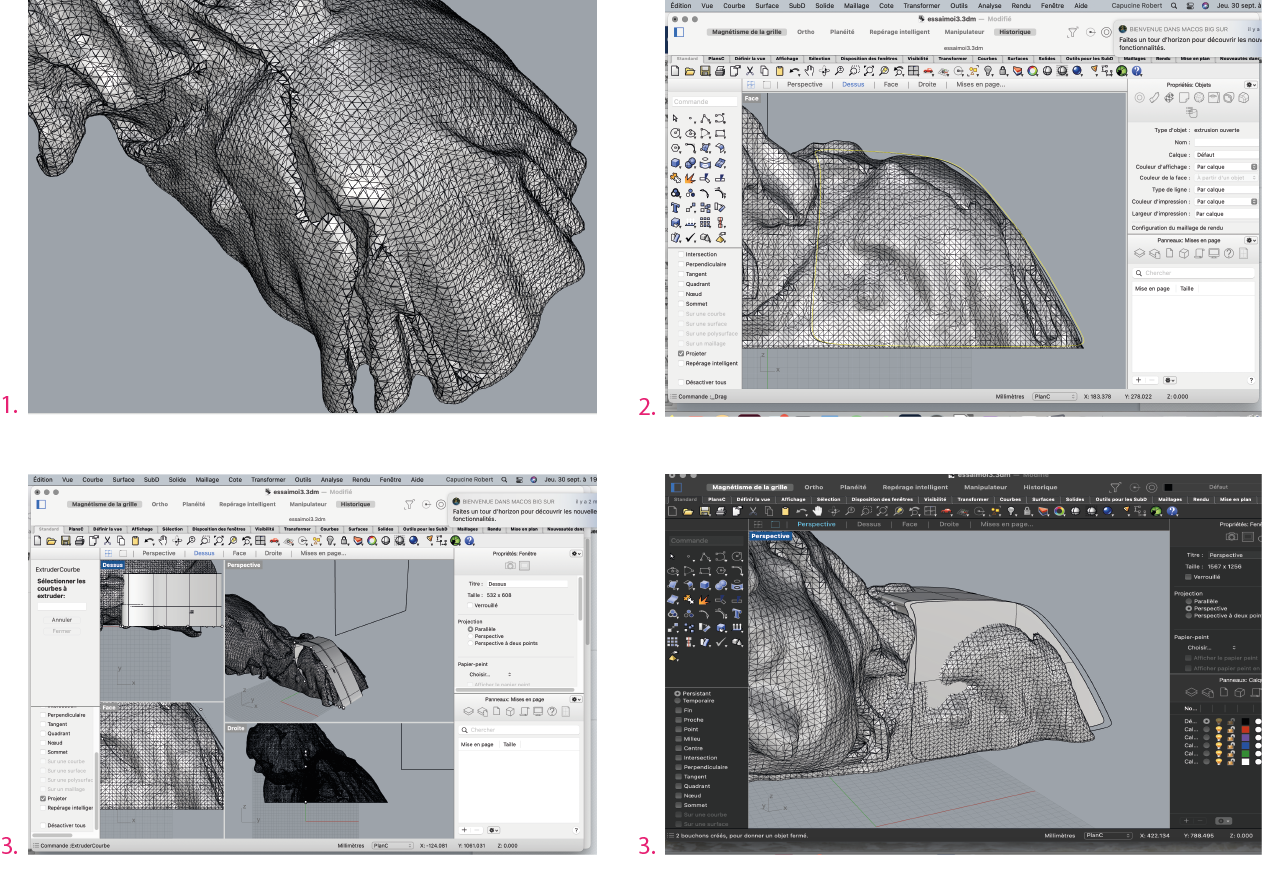
Rhino
I used Rhino, a 3D modeling software.
- import the doc.obj
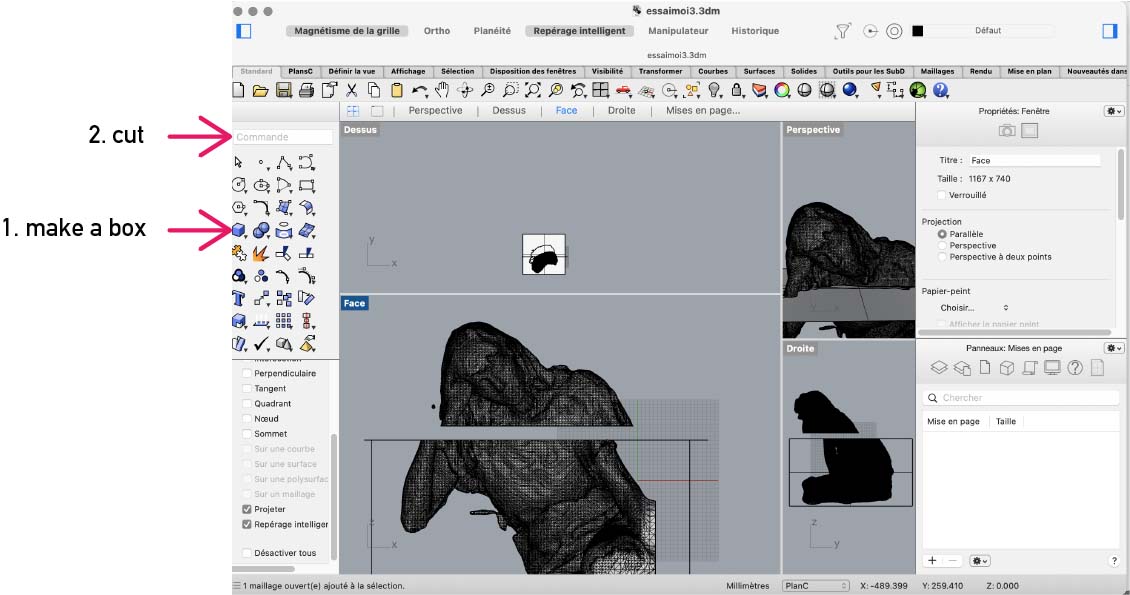
To find a function -> look for it in the icons or type it directly.
I made a box to cut the body. I placed the box on the front plane to be able to cut straight. I then "cap" the object to make a closed object. Tips : the filling surface must be flat.
Functions I used:
- box -> draw a box and extrud, enter
- split -> split object with a cutting object, enter
- cap -> select object, enter
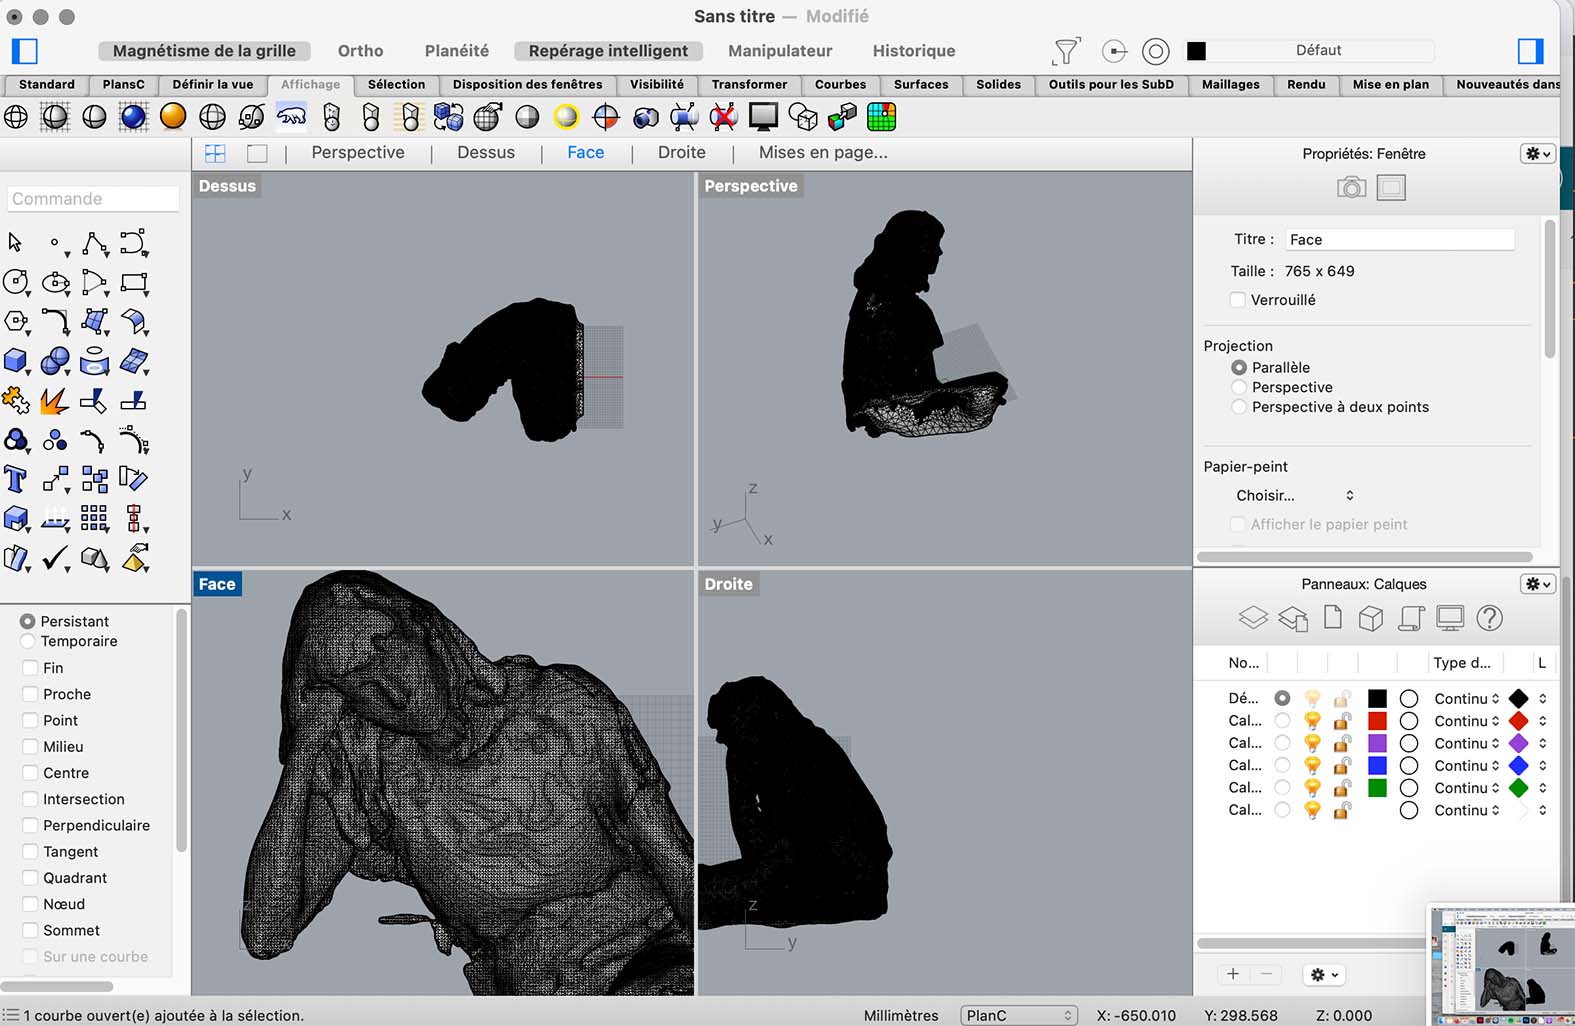
These 4 images show the main struggle when using the 3D scan: there are kinds of cracks in the 3D model. Here I tried to recap them by extruding a curve.
Finally, I cut the 3D model:
Here is the file to download it :
Slicer
I used slicer to get a plan to construct the 3D model. Slicer step by step :
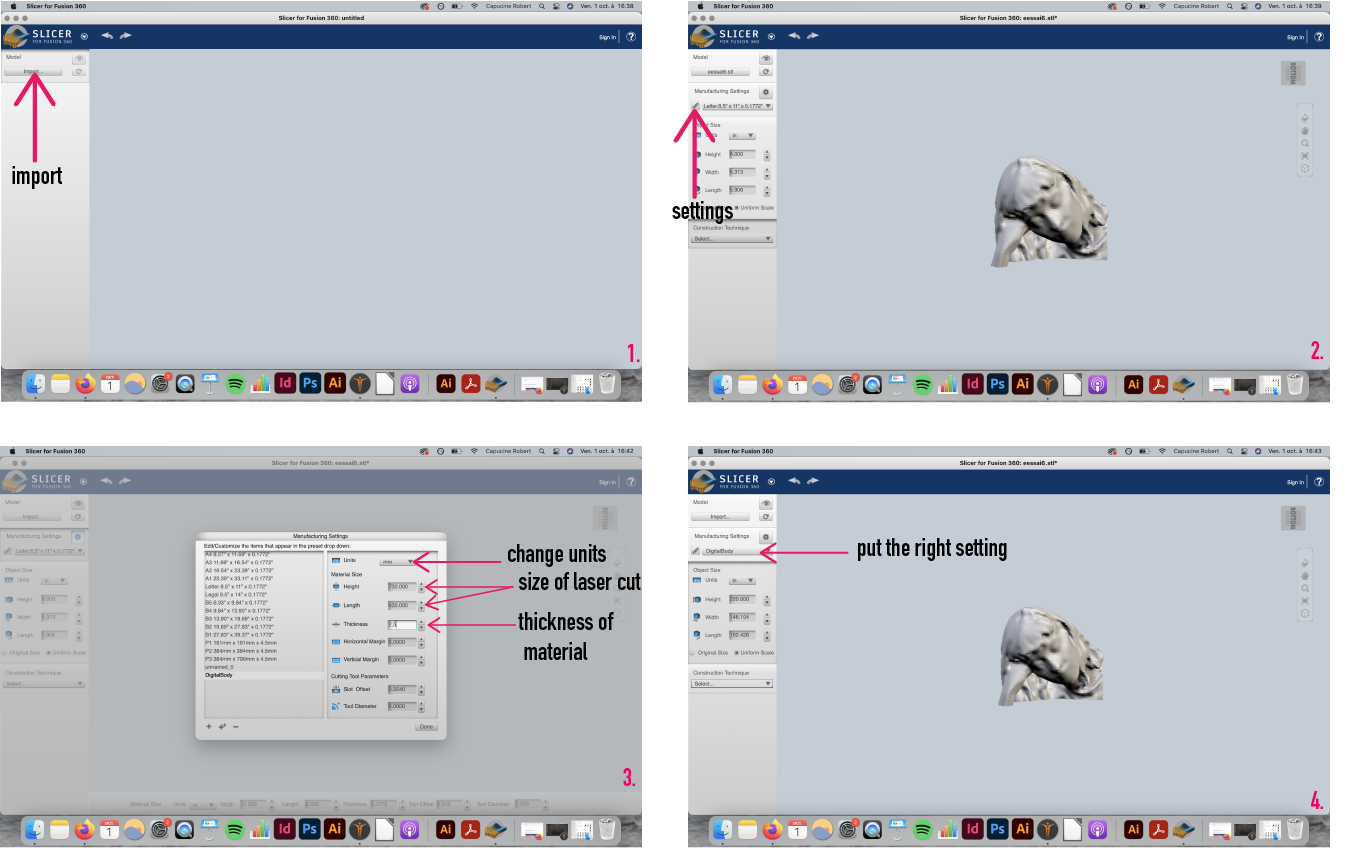
Once settings were ok, I visualized the construction :

Laser Cut
Laser cutting time !
With the laser cut machine we used a software called Job Control. We needed to set parameters with a drawing software so the drawing can be recognized by Job Control. I used illustrator. Settings for the laser cut we used :
- cut : red 255
- "half cut" : green 255
- outline : 0,001
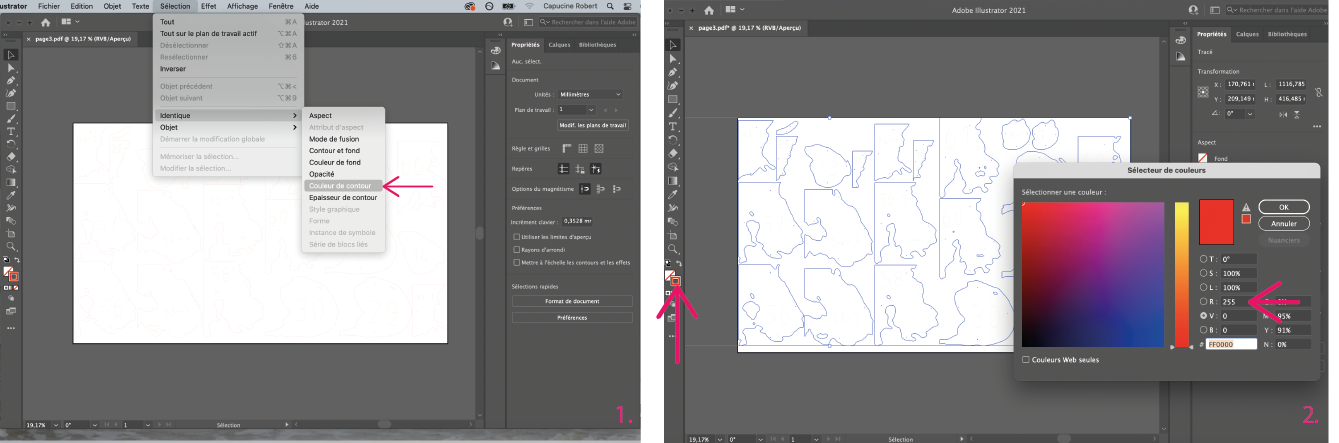
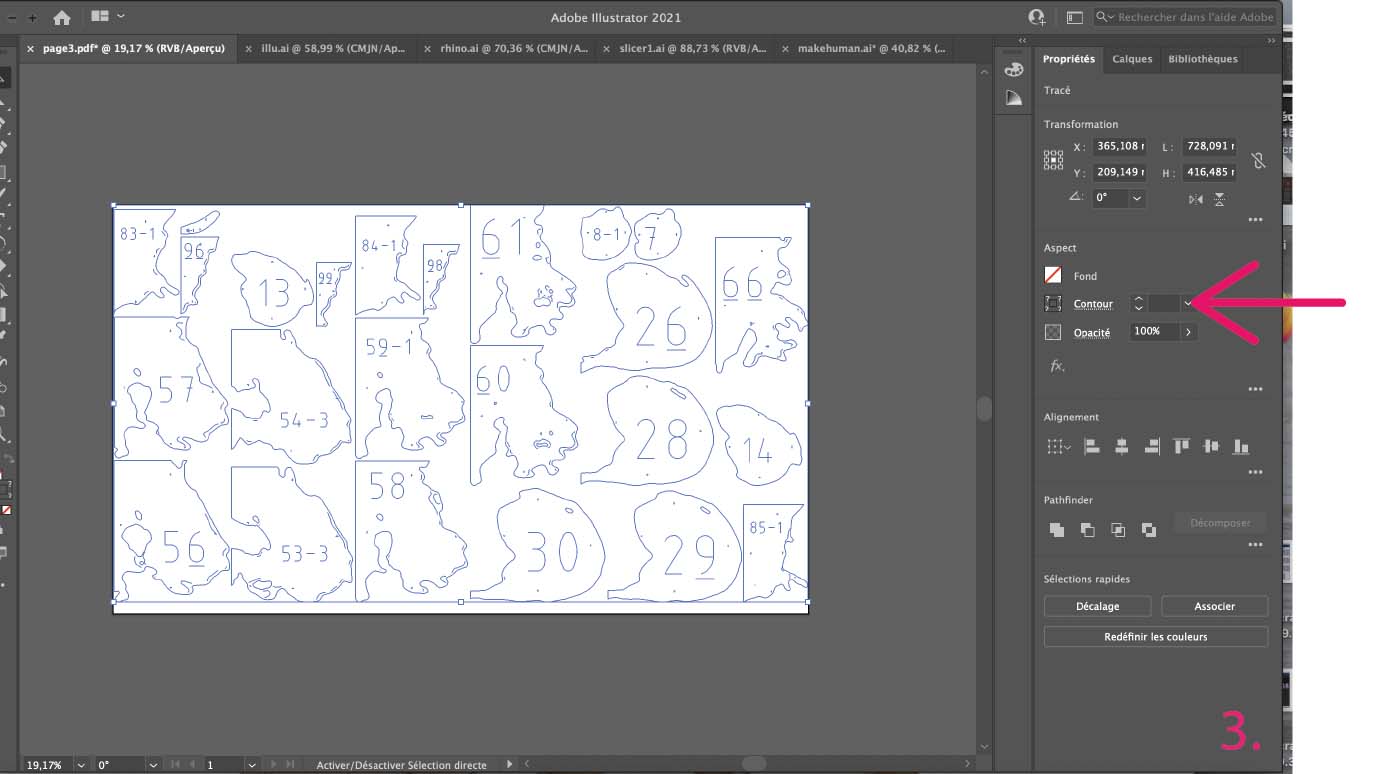
- select - identical - outline color -> select all the drawings with the same outline color
- double click on the outline color - choose a pure red or green by typing 255-0-0 -> set the right color
- outline - change the size to 0,001 -> laser cut recognize the path
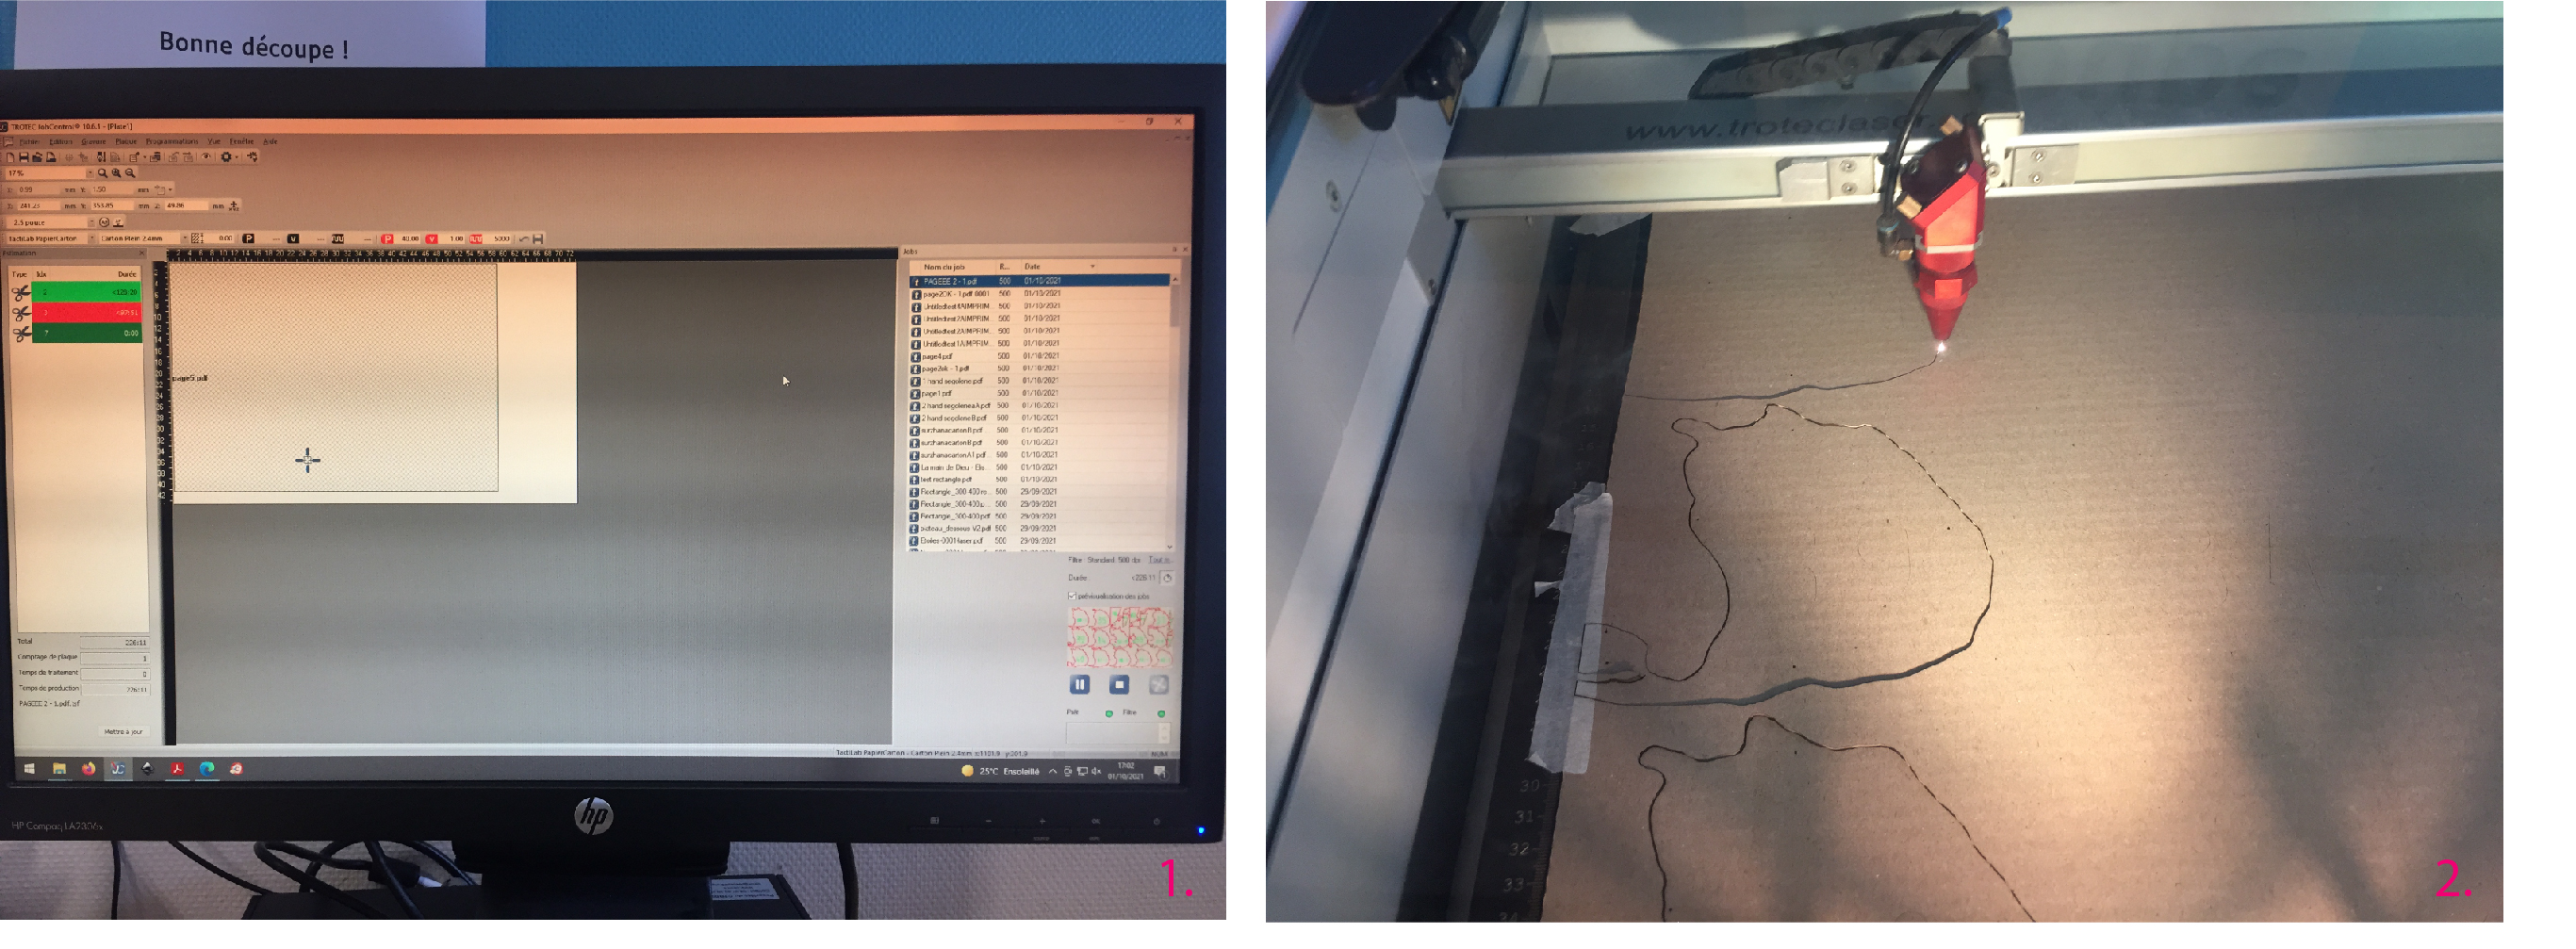
- Job control interface (choose the right settings : power and speed of laser depend on the material)
- Laser cut in action
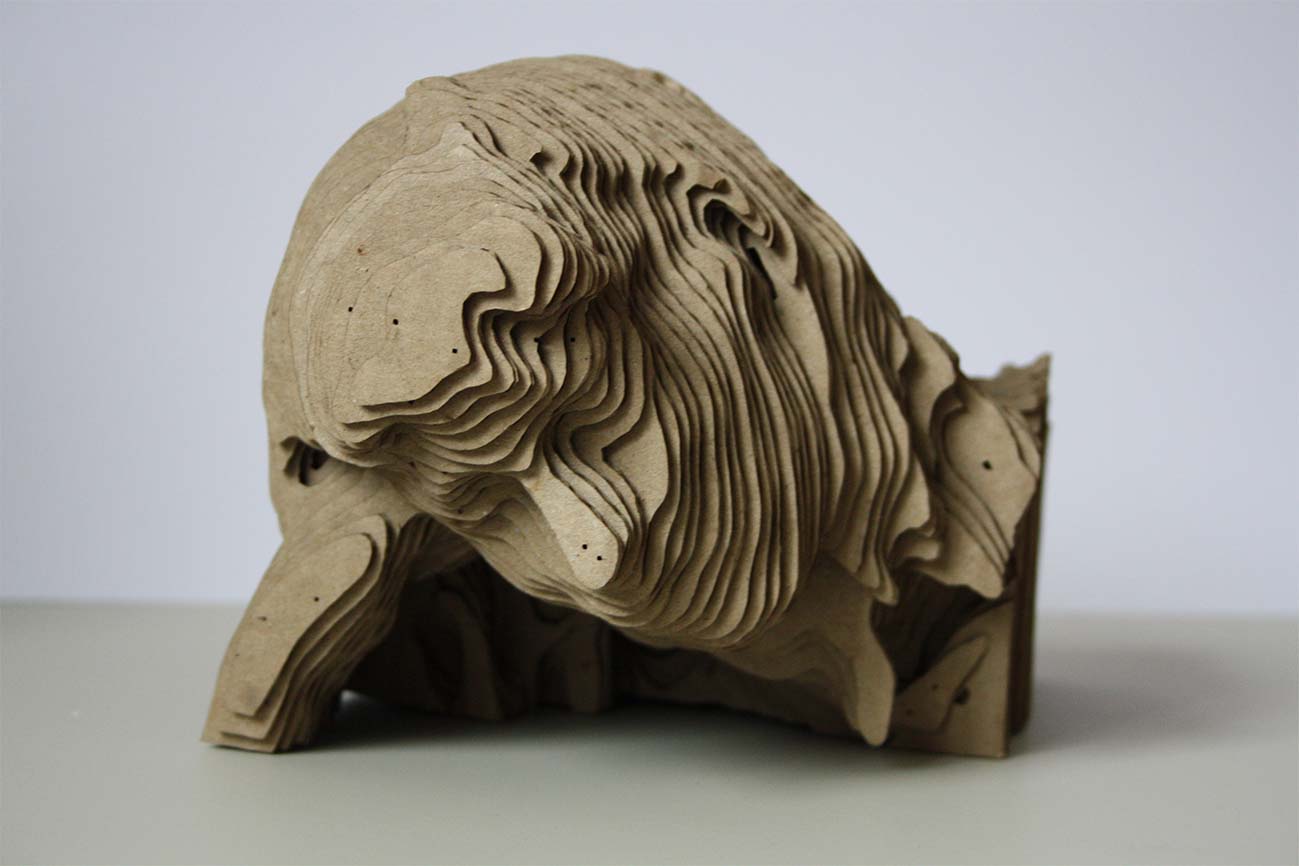
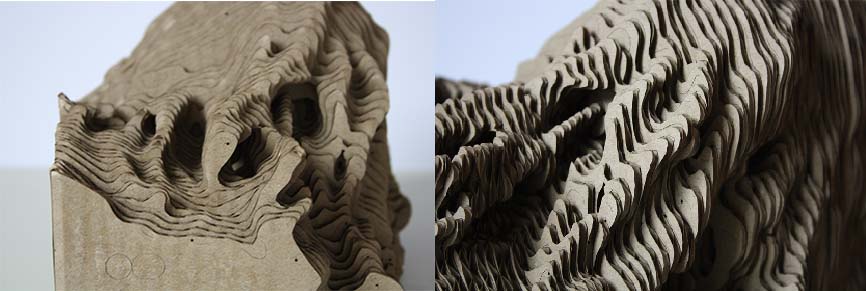
Construction
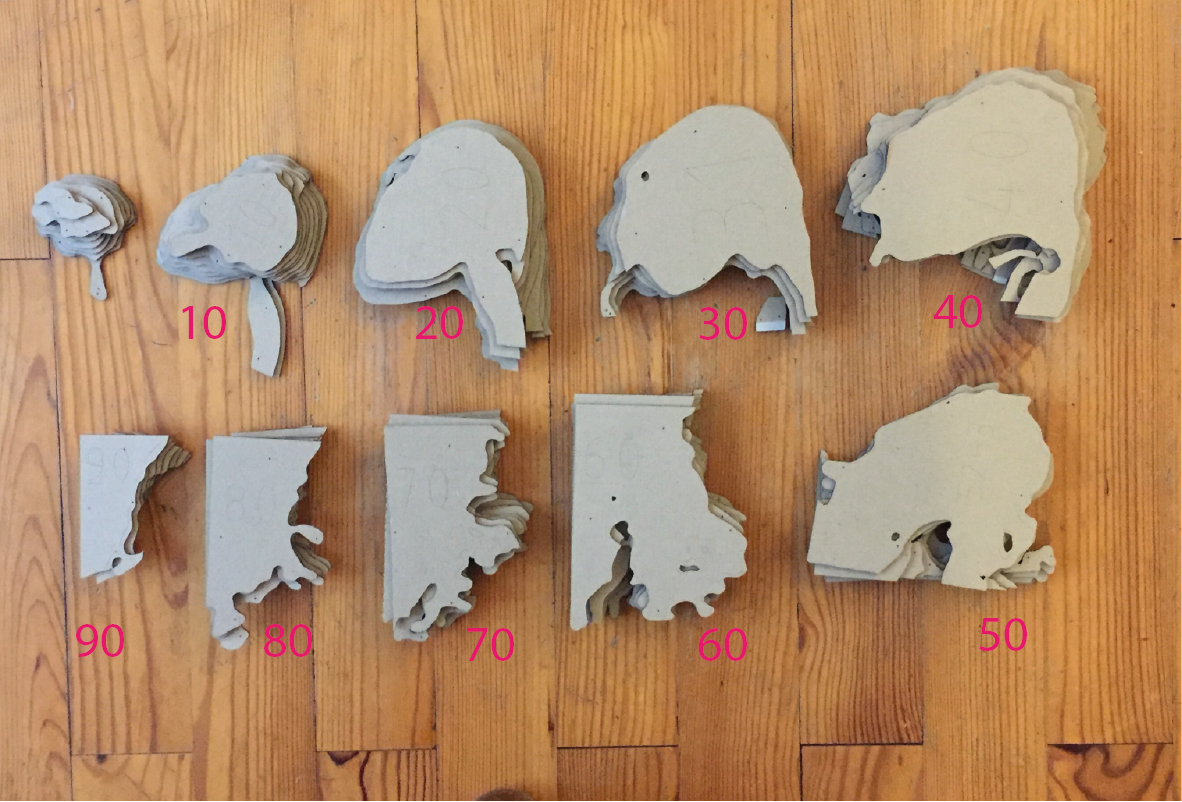
I sorted the different parts by tens then I assembled and glued them.