3. Circular fashion
Inspiration
I was inspired by geometrical shapes and patterns.
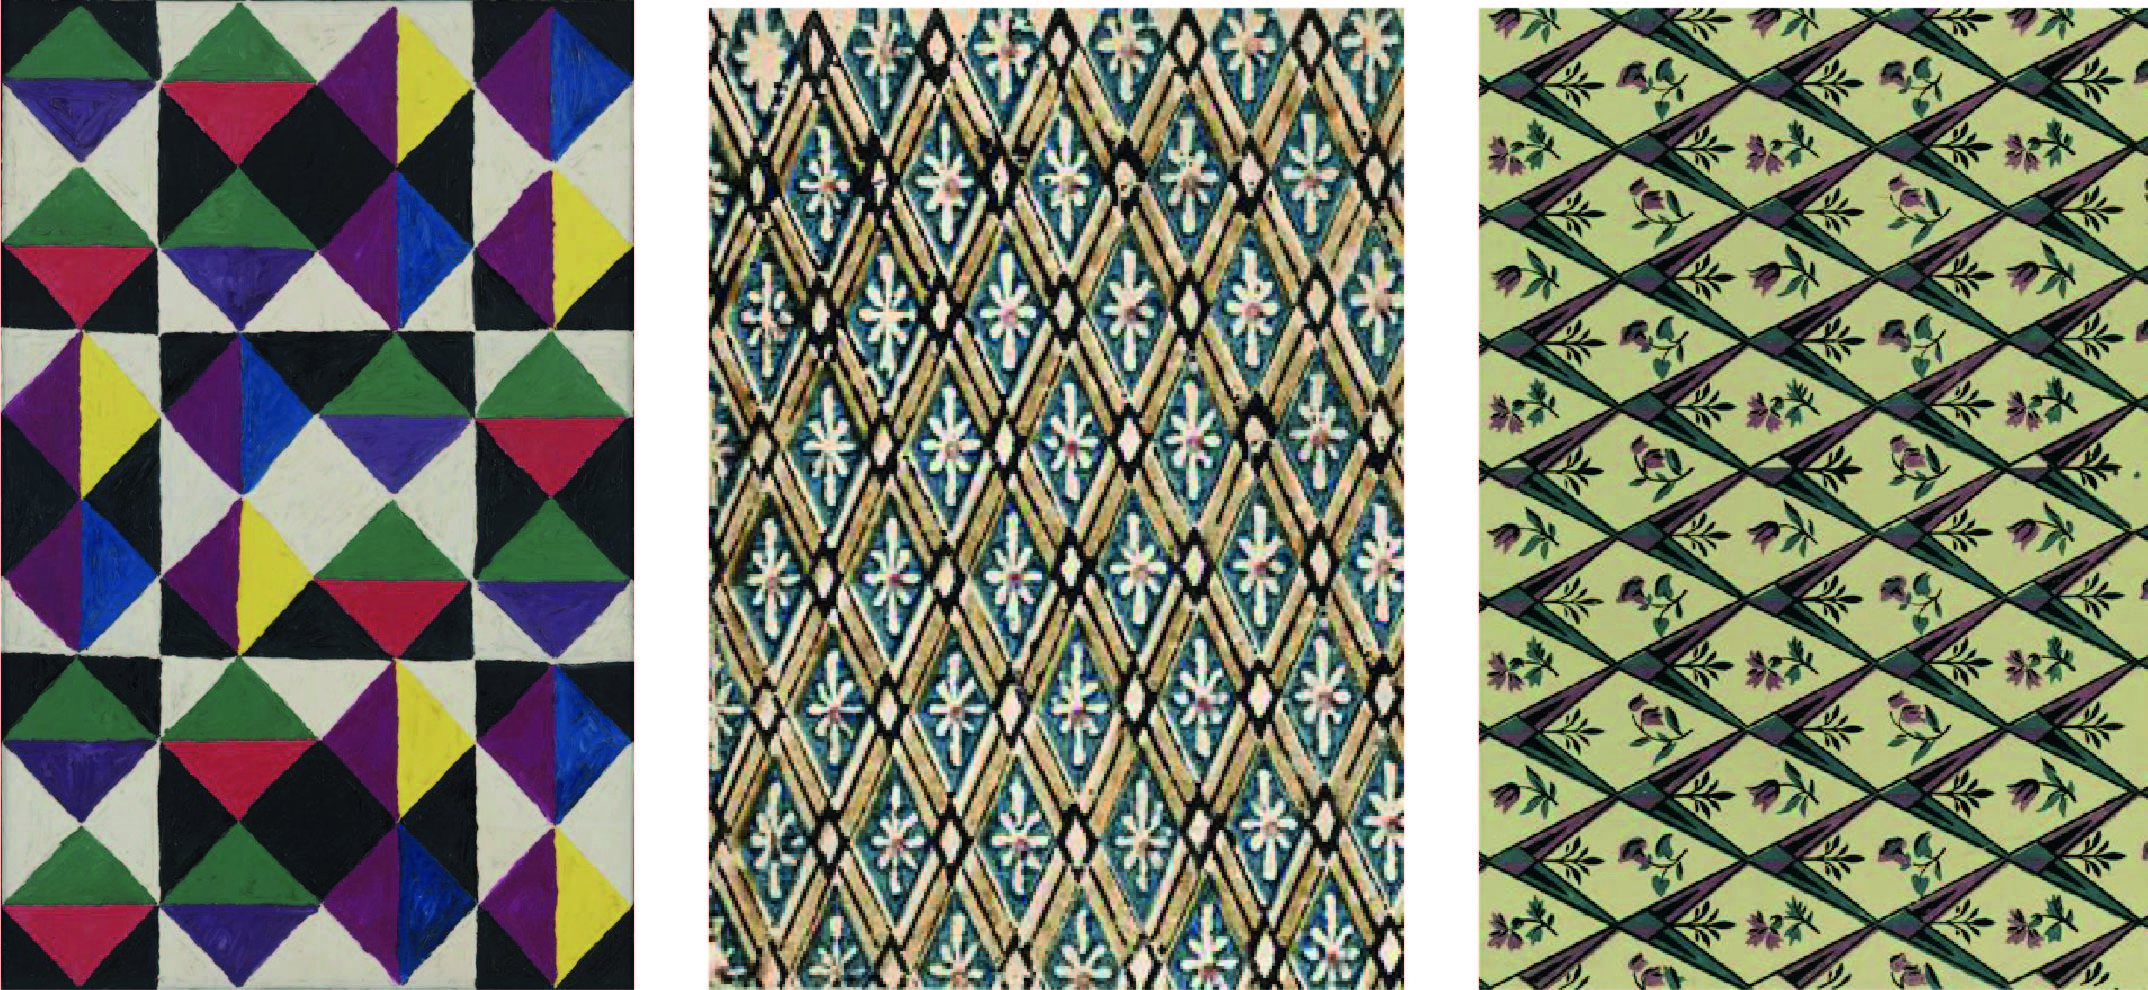
1/ Alfred Jensen, Clokwork in the Sky 2/ Manufacture Chapillon, wallpaper 3/ Unknown, wallpaper
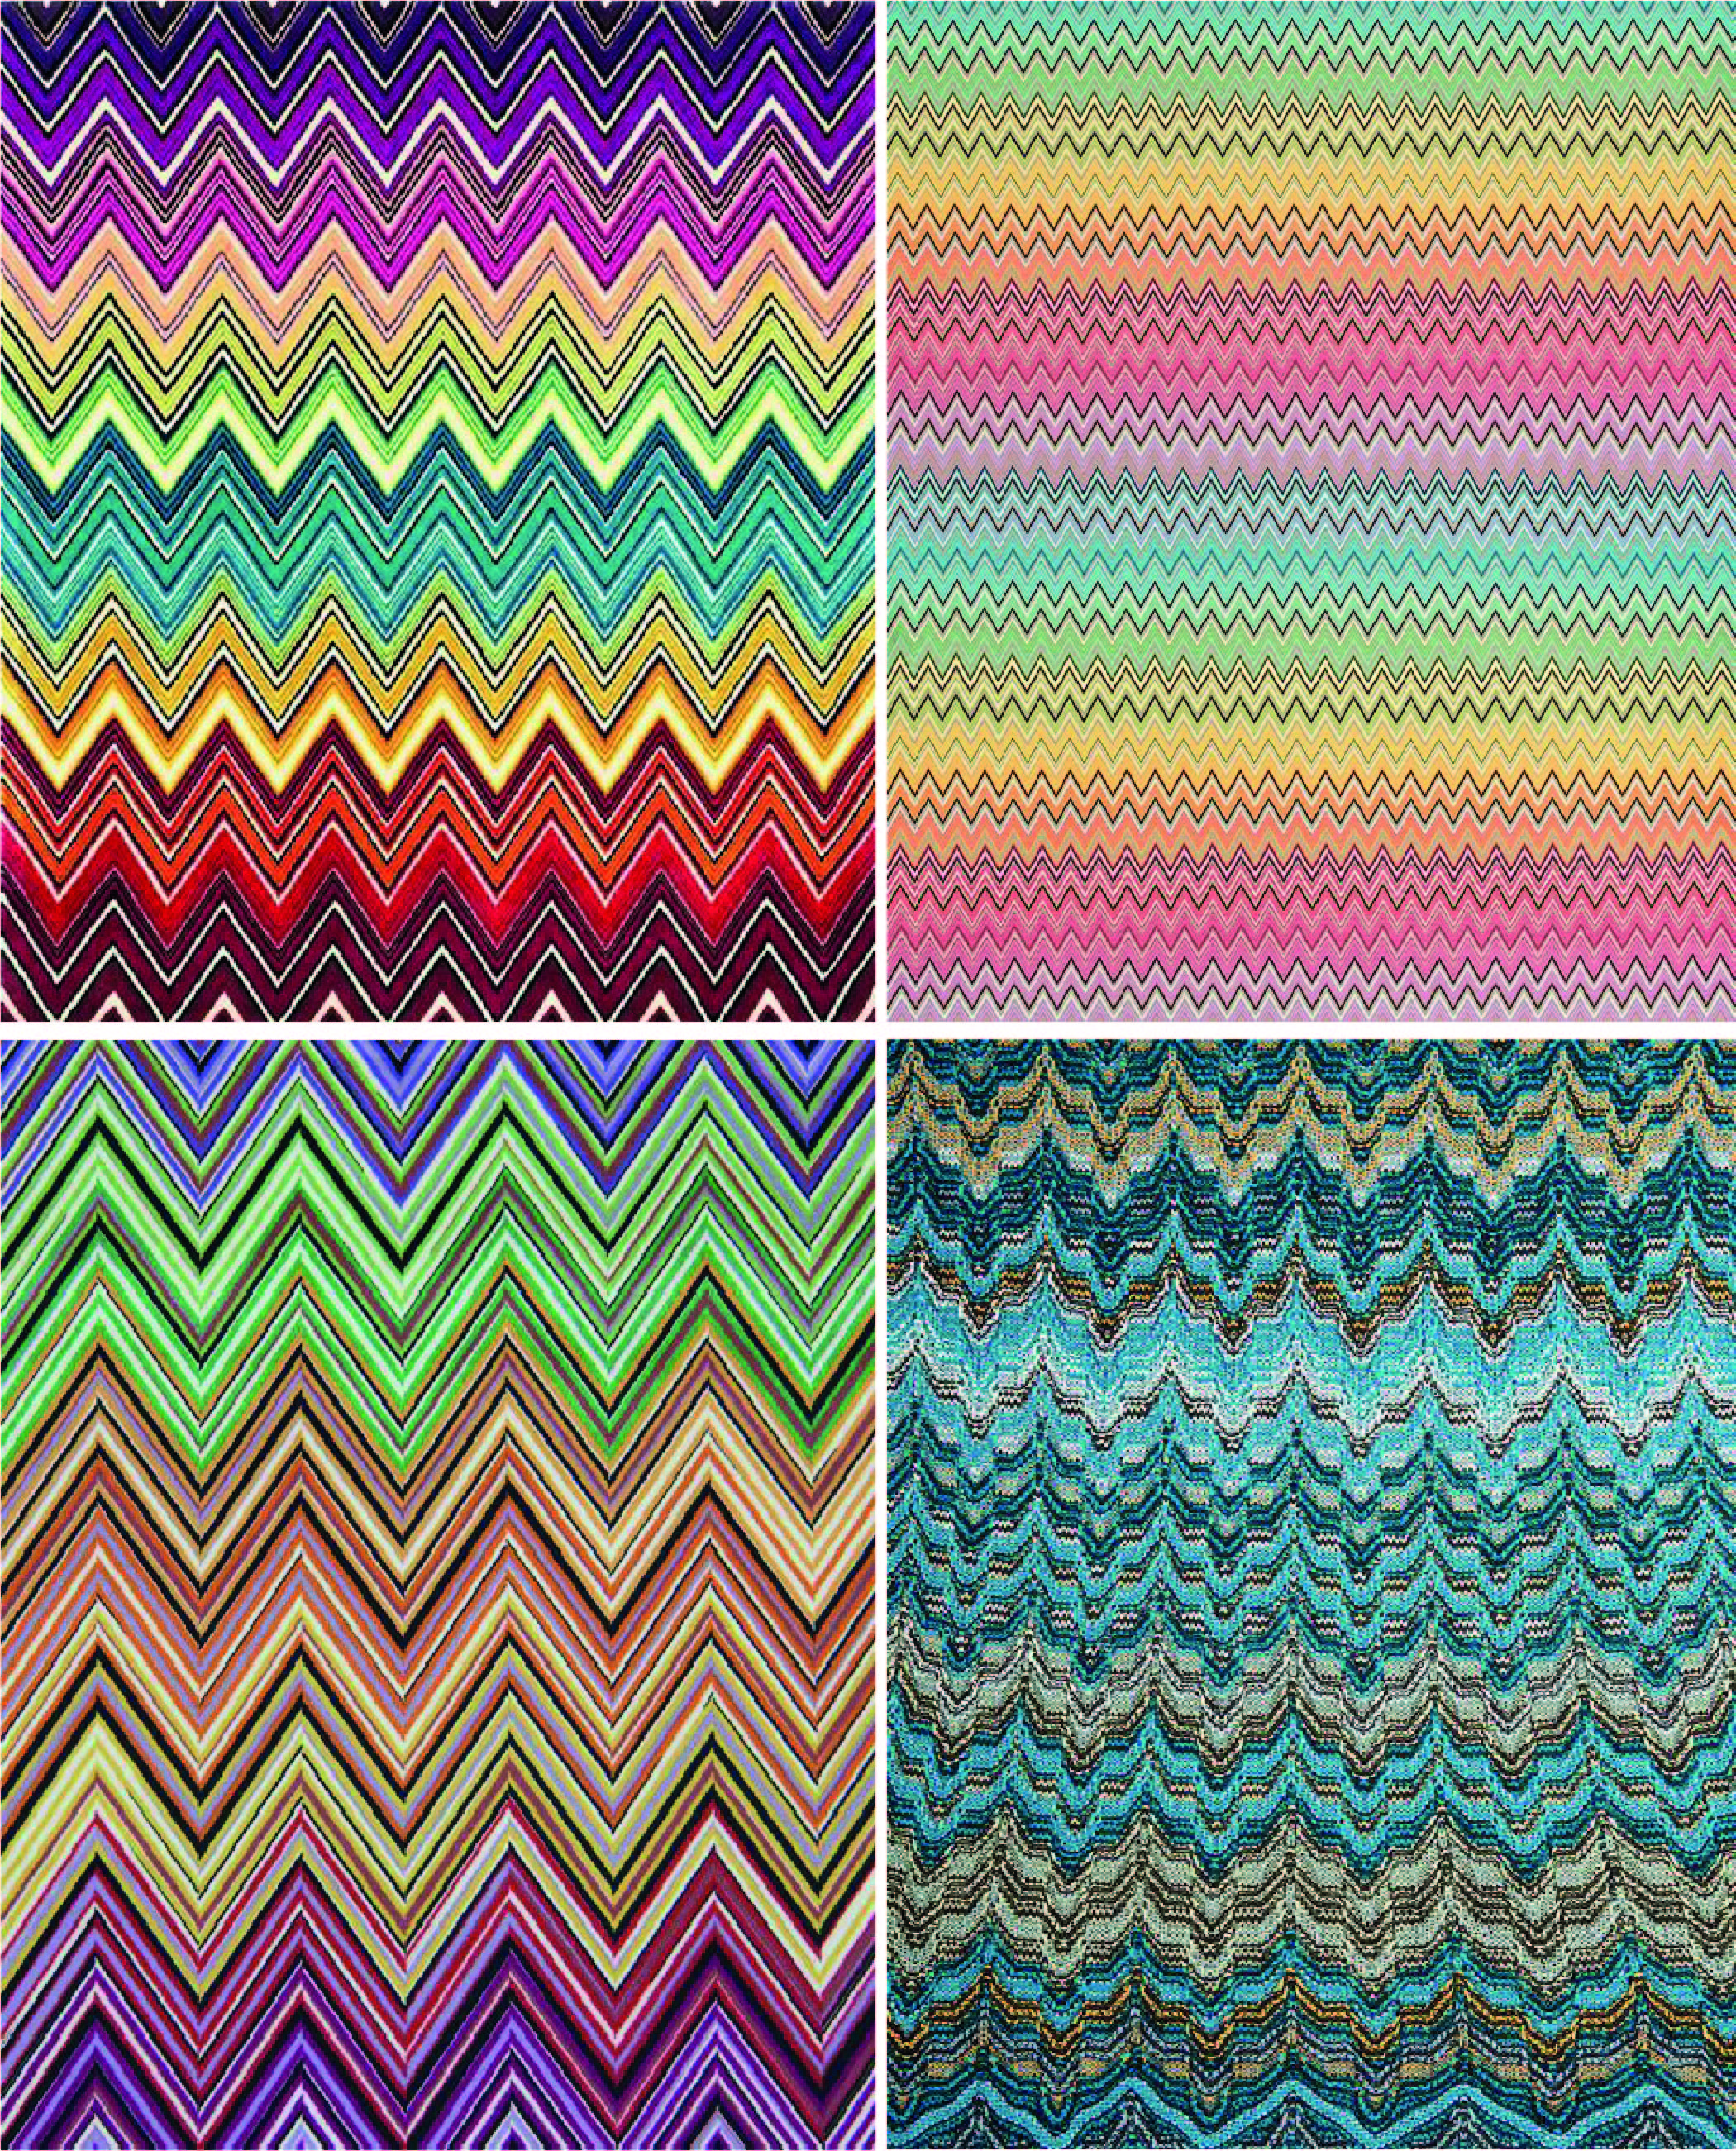
There are patterns from the italian brand Missoni that I discovered thanks to Surzhana Radnaeva. They are famous for stripes and geometric figures and their patterns are recognizabled among all.
First tests
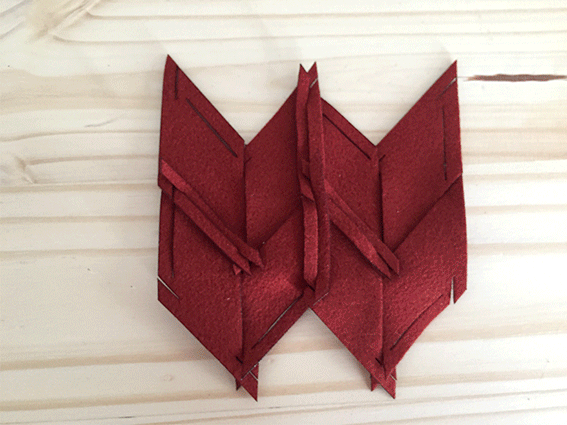
I tried different patterns but each of them let too many textile wastes. I tried to create a pattern that doesn’t leave no waste which is why I started to draw patterns in a boundary box in my notebook.
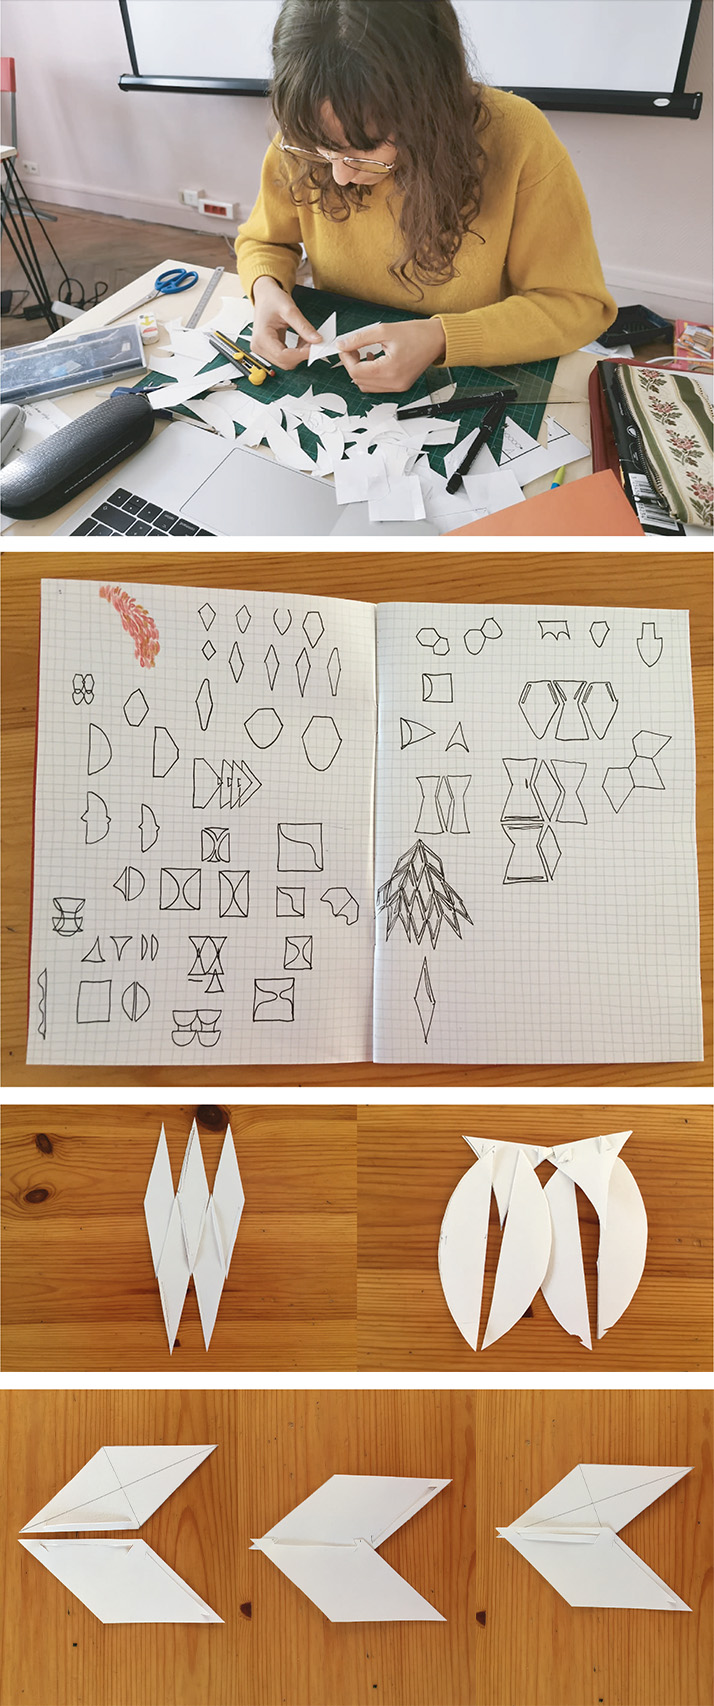
After some paper tests, I realized that the different modules didn’t hook on very well, so I wasn’t able to create a resisting surface. My two objectives came out this way :
- As less waste as possible
- resisting surface
So I decided to stay with the diamond shape because I didn’t have time to think of an other shape. When I’ll have more time I may think of something else !
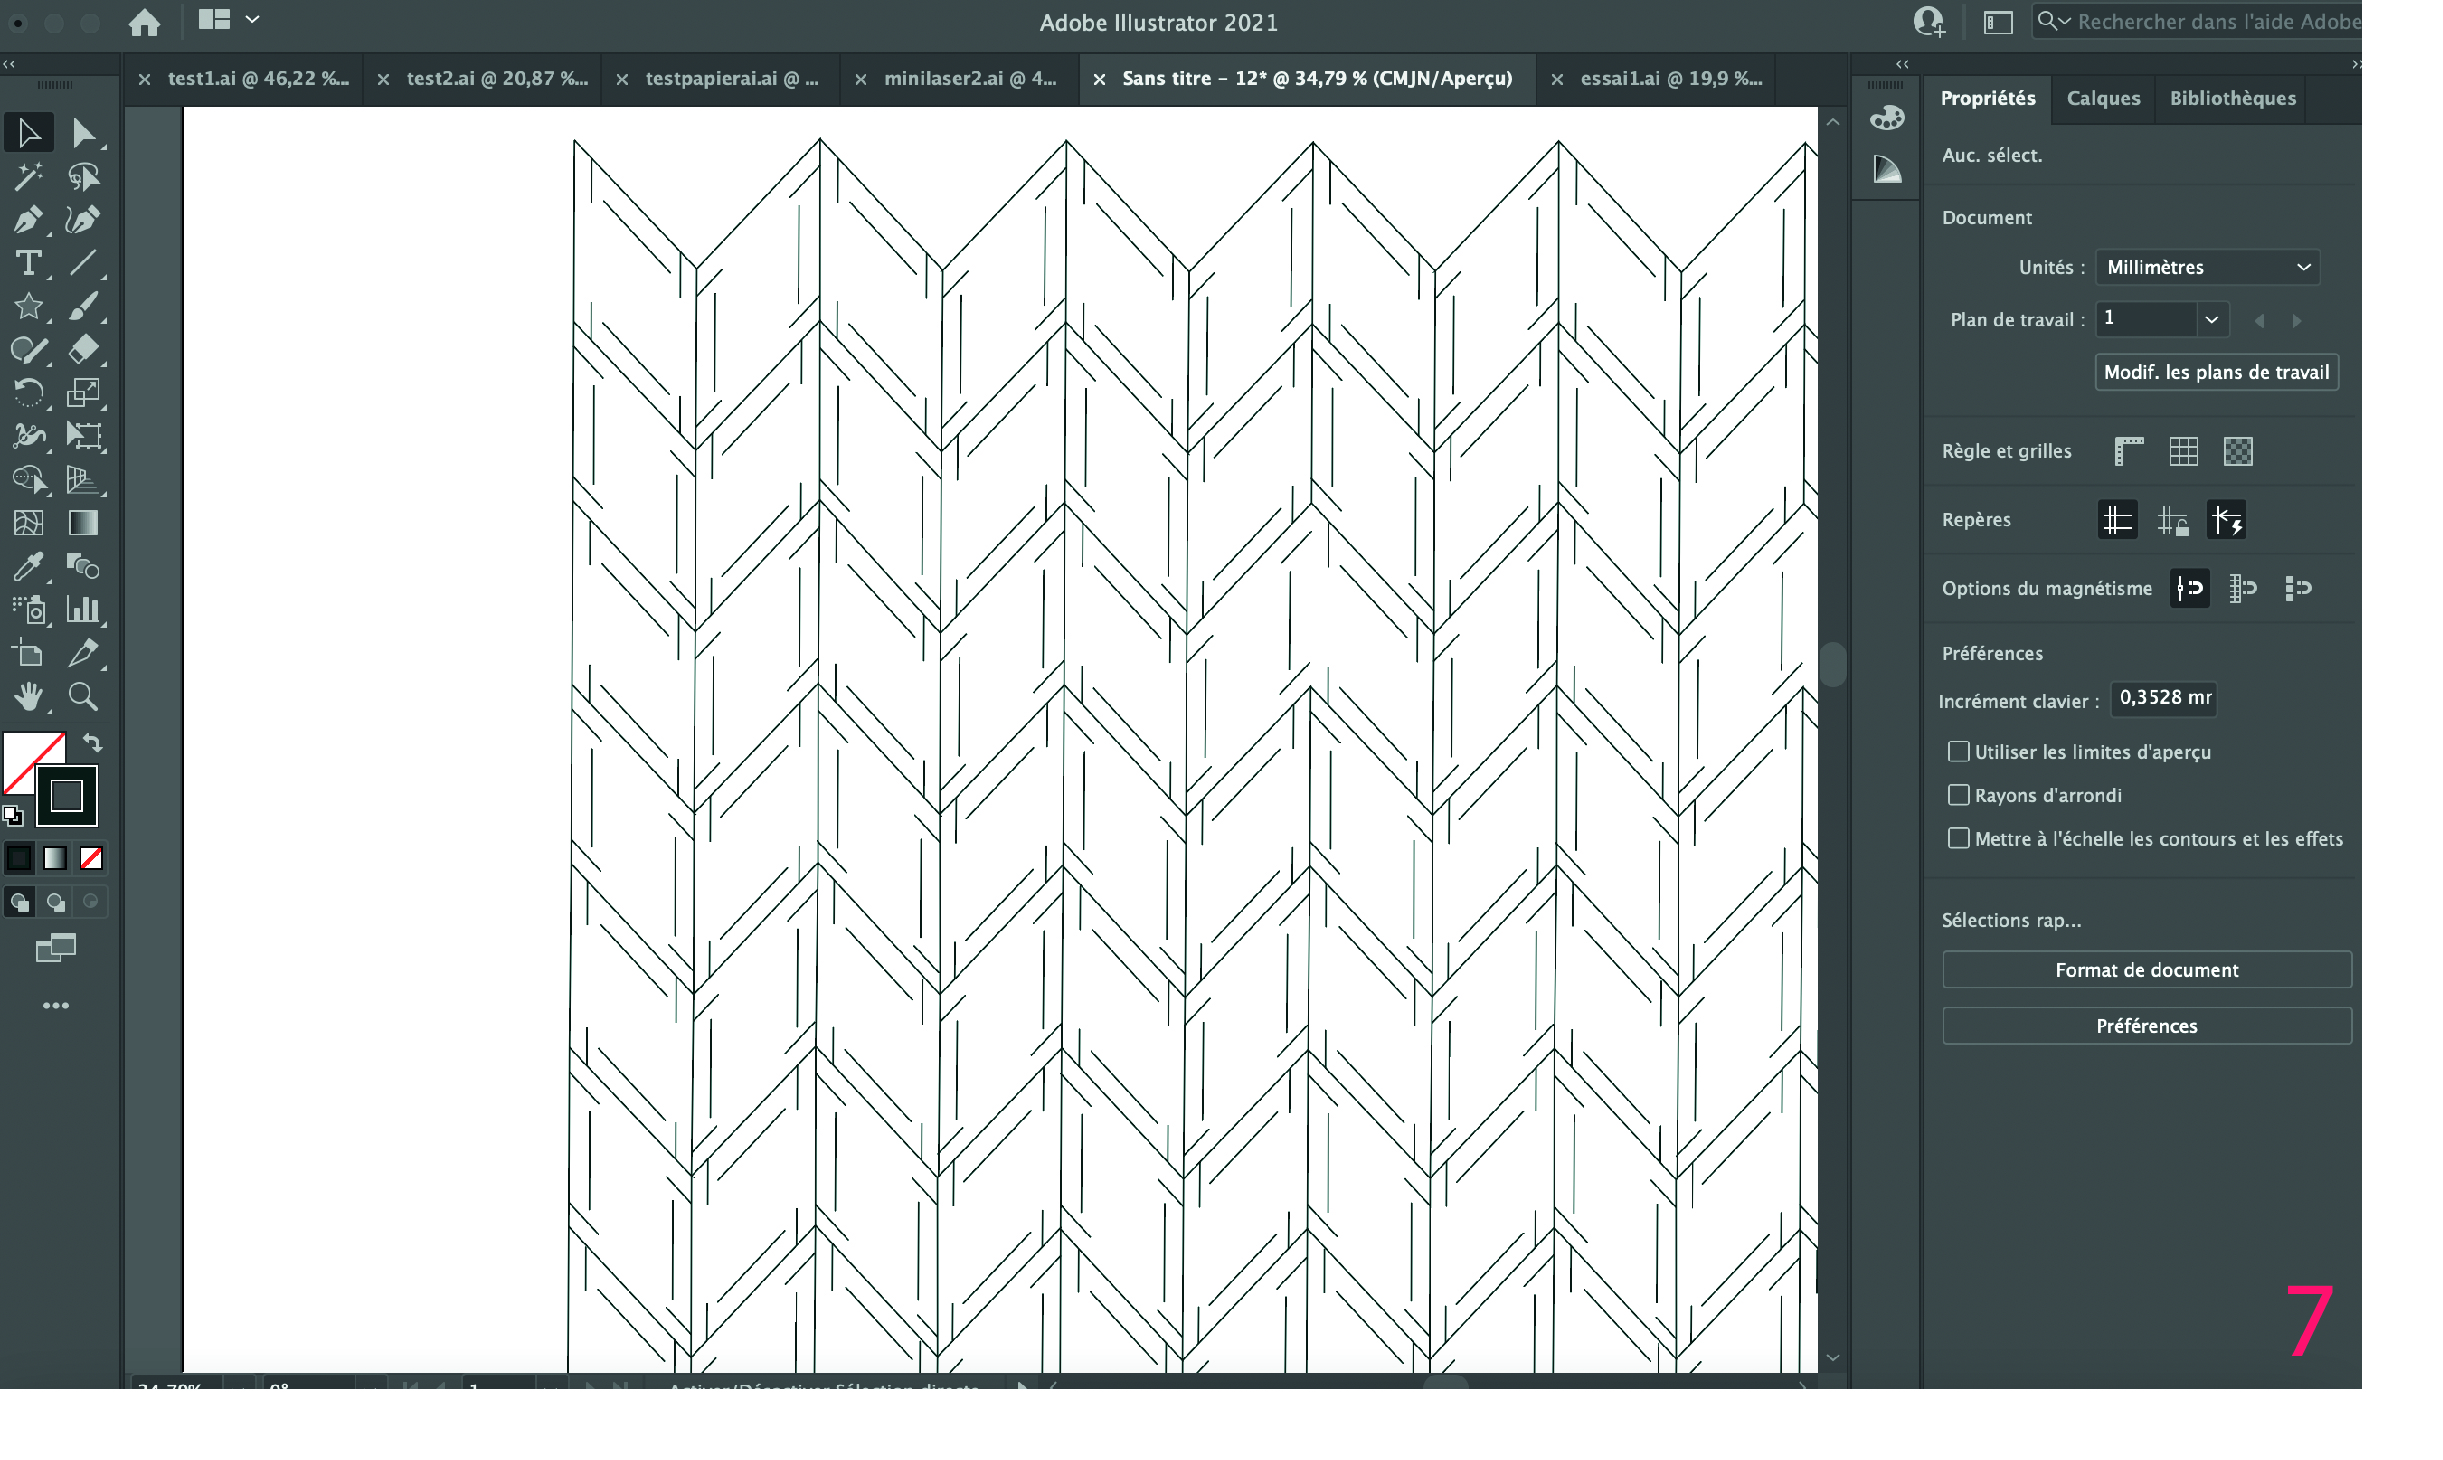
I made paper tests to try the notches together. Once I found a pattern that works I tested it with textile. First, I drew it on Illustrator.
Drawing with Illustrator
I drew the final pattern on illustrator.
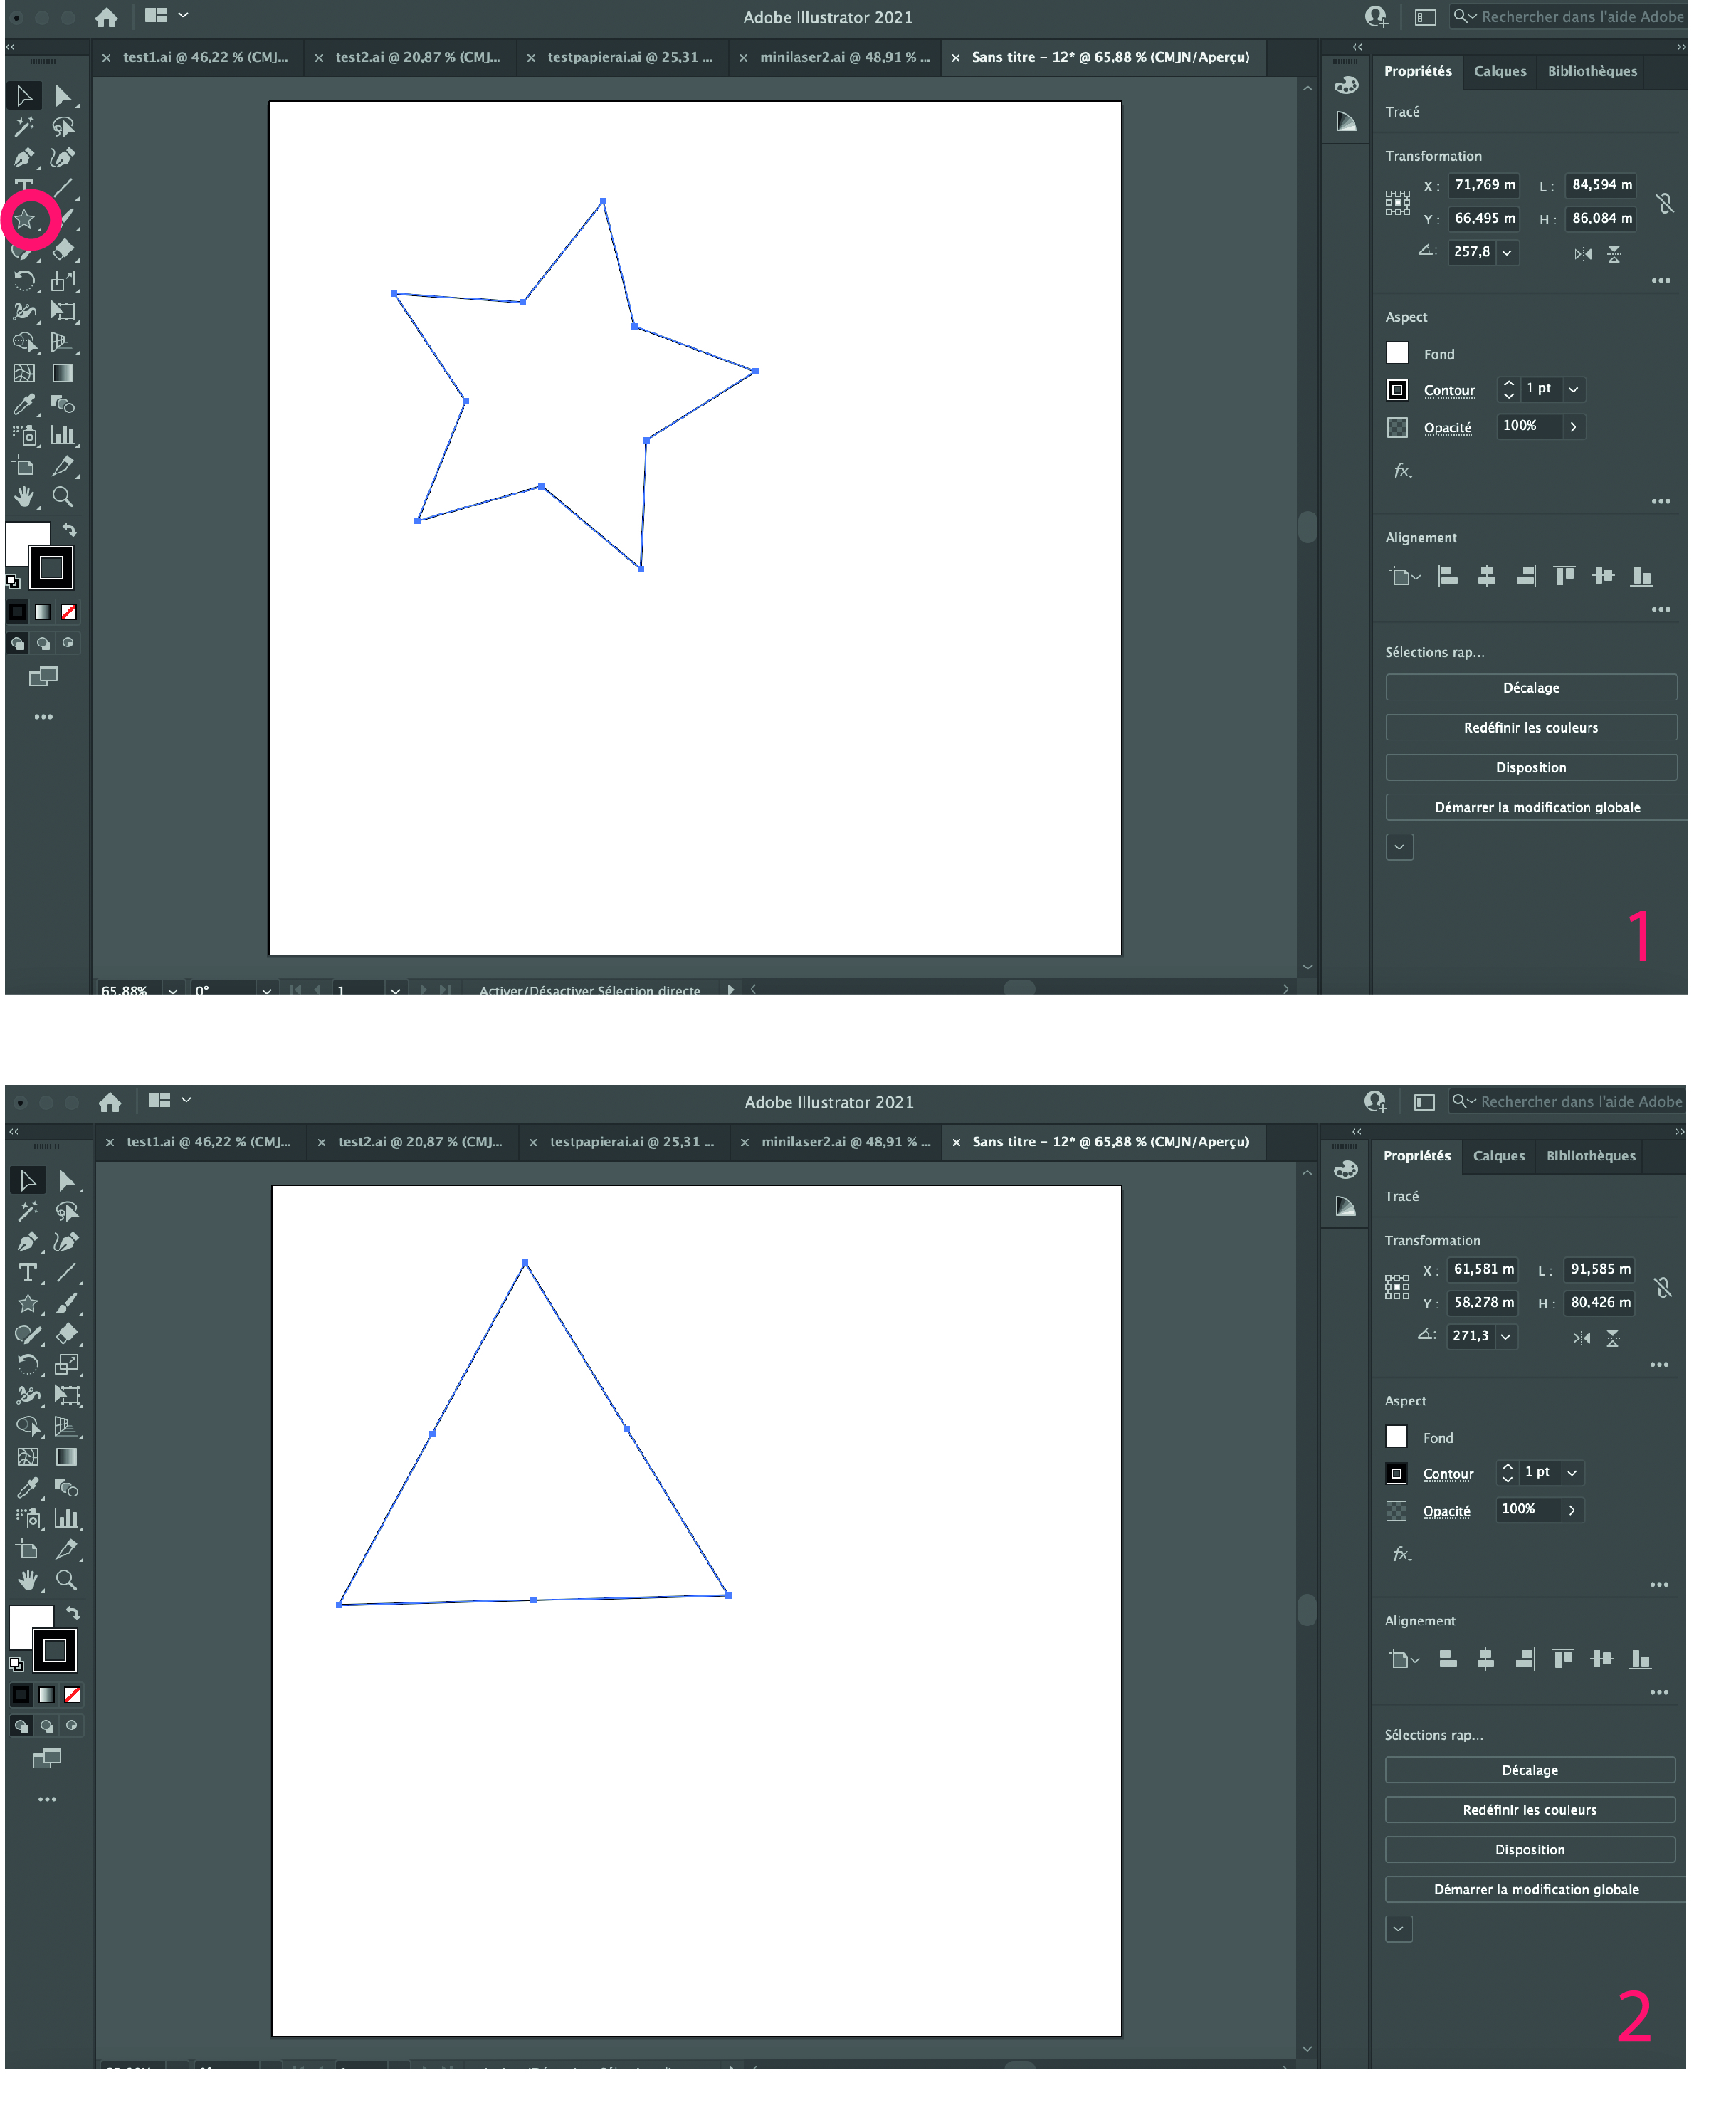 1. To make a triangle, make a star end press together the keyboard keys "option and down arrow".
 4. Click on the white arrow and erase the line in between.
 6. Copy/past the triangle. Draw lines to make notches.
 7. Copy/past the pattern.
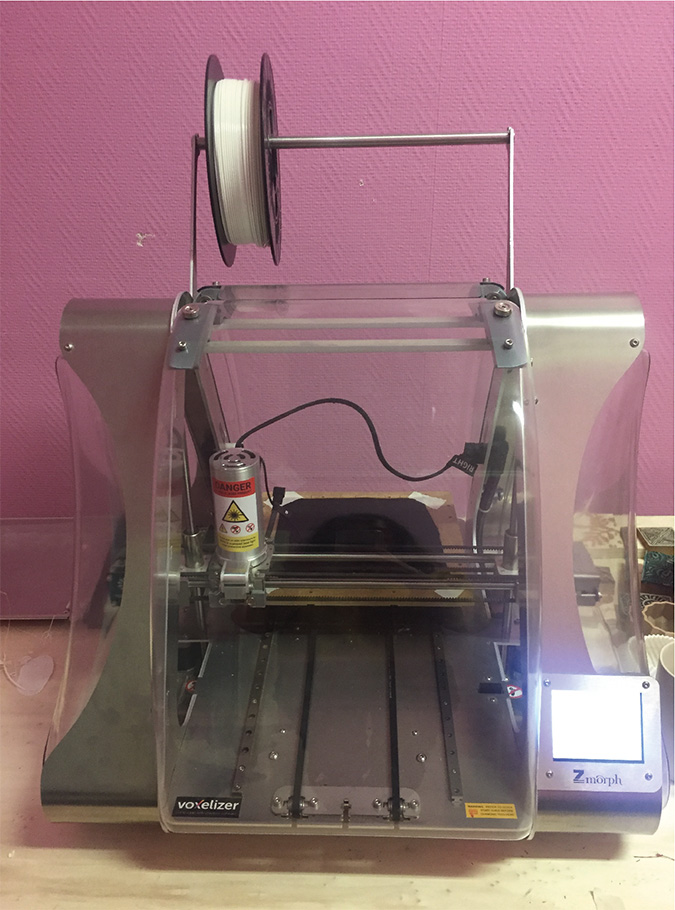
Textile tests with laser cut
This machine is a Z-morph, it can both 3D print and laser cut. I used it as a laser cut. About the settings, I could only change the speed. The software used for the machine is called Voxelizer. I took pictures that explain the steps for using the machine. Be careful to always wear special glasses ! They protect from laser.
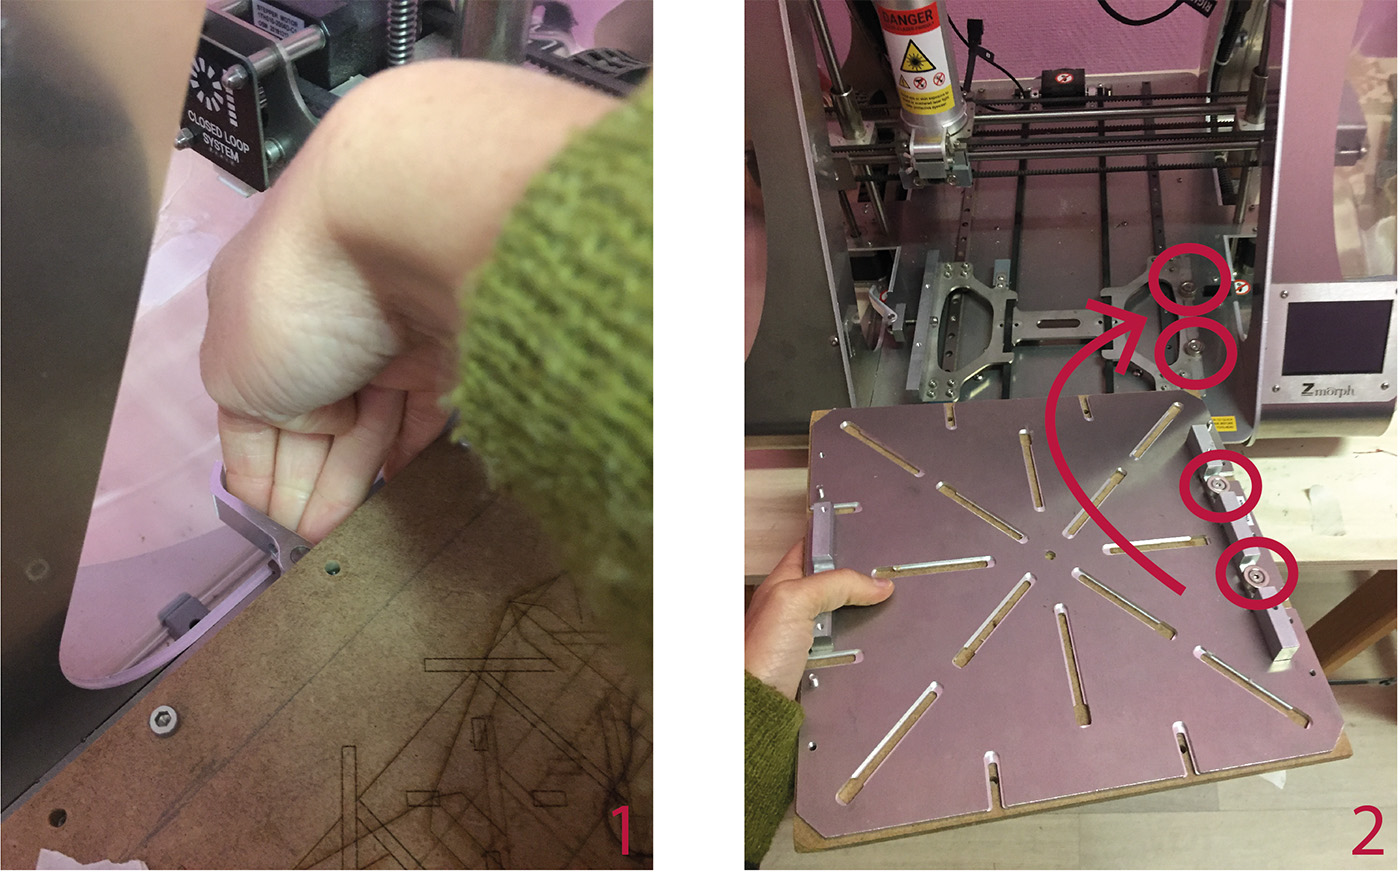
- Open and close
- Magnets help to fix it properly
- Put tape on textile to keep it from moving
- Set up the machine
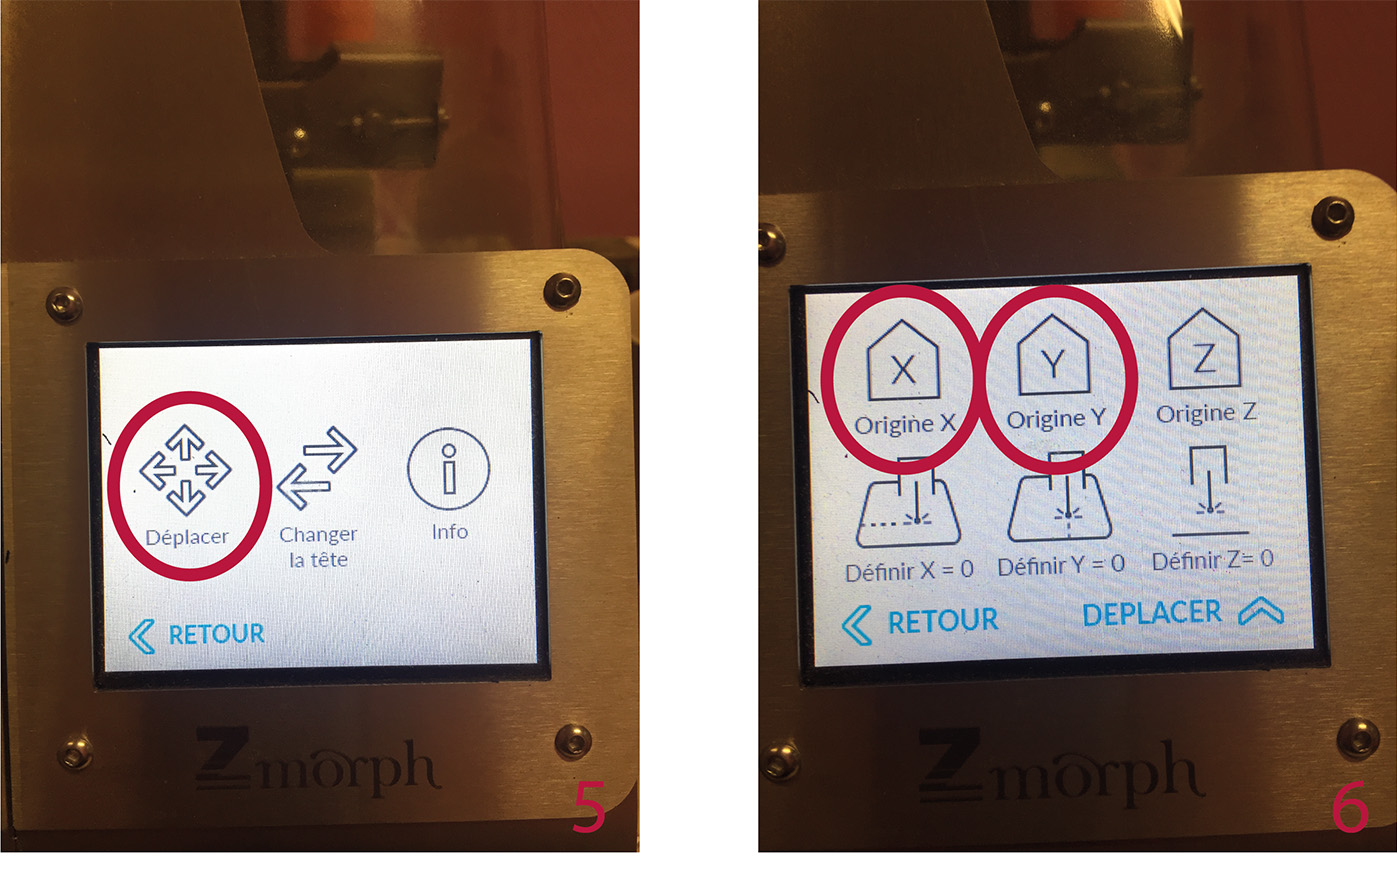
- Move the head
- Click here to put the head at the origin
- For the "z" origin, set it manually, millimeter by millimeter
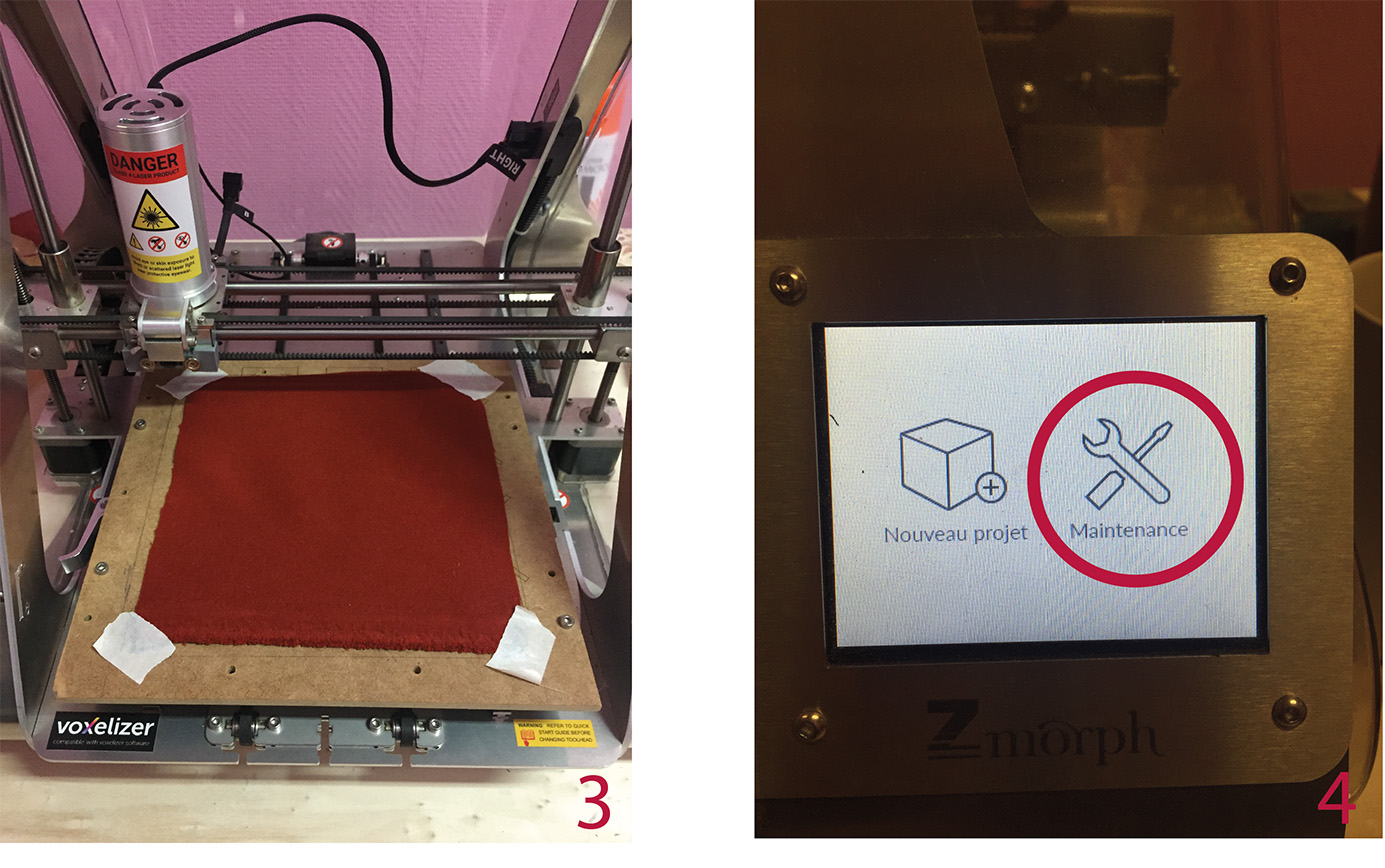
- Start a project
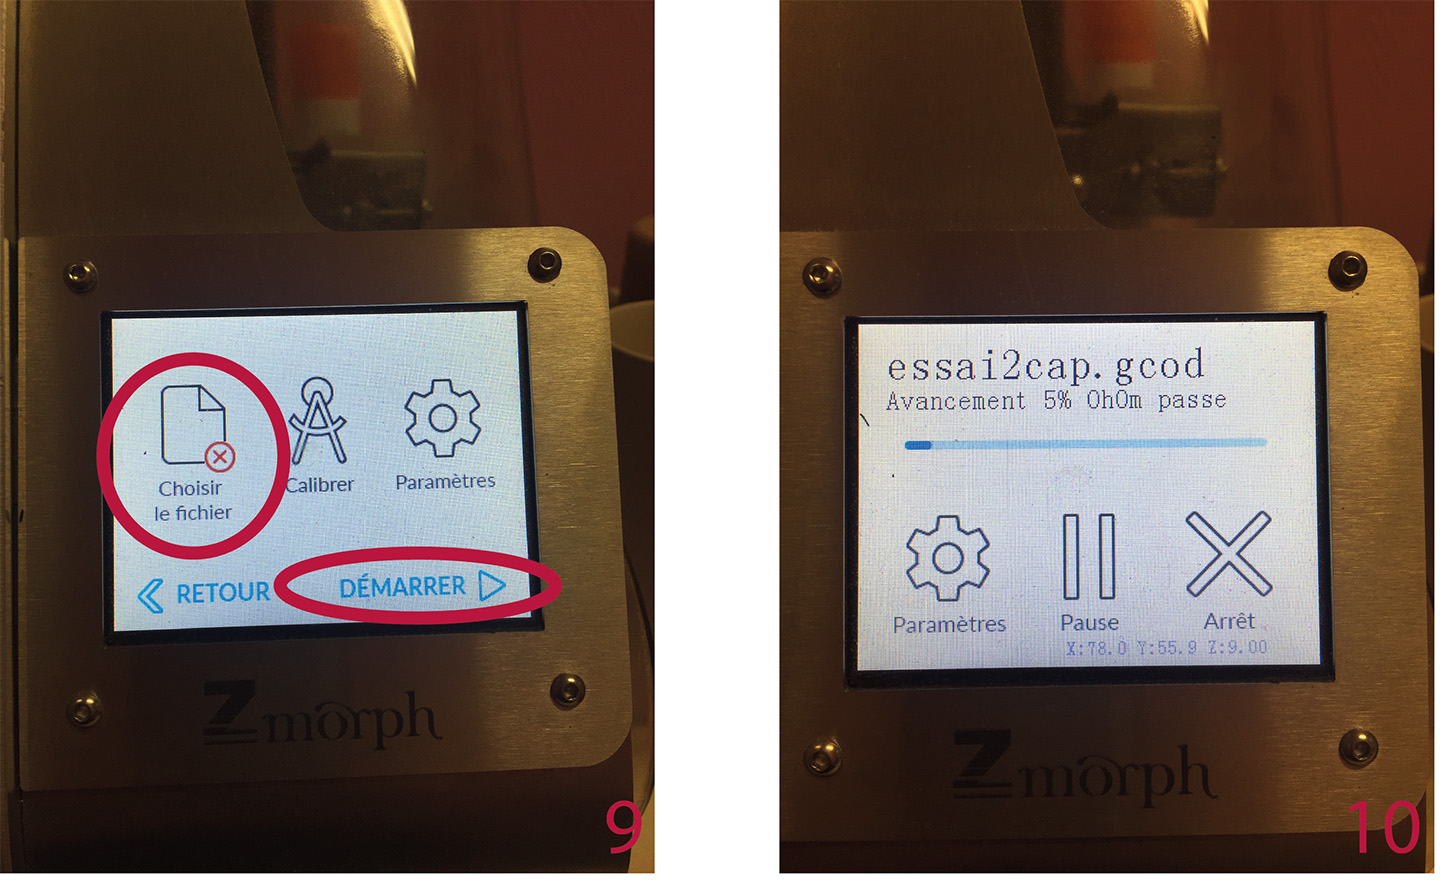 9. Choose a file, a start
real time : it's quite slow
I tried with neoprene (1mm). Speed -> It wasn't the right setting because the edges are not sharply cut. The notches were to thin and the surface too fragile. So I decided to arrange the notches by making them bigger. I found that the slit should be at least at 5mm from the edge of the module.
Then I used a woolen-aspect synthetic textile (2mm) which is the one in the tutorial pictures. Speed -> 20mm/s.
Trotec showroom
We went to Trotec showroom to have access to a bigger laser cut. There were 3 laser cut :
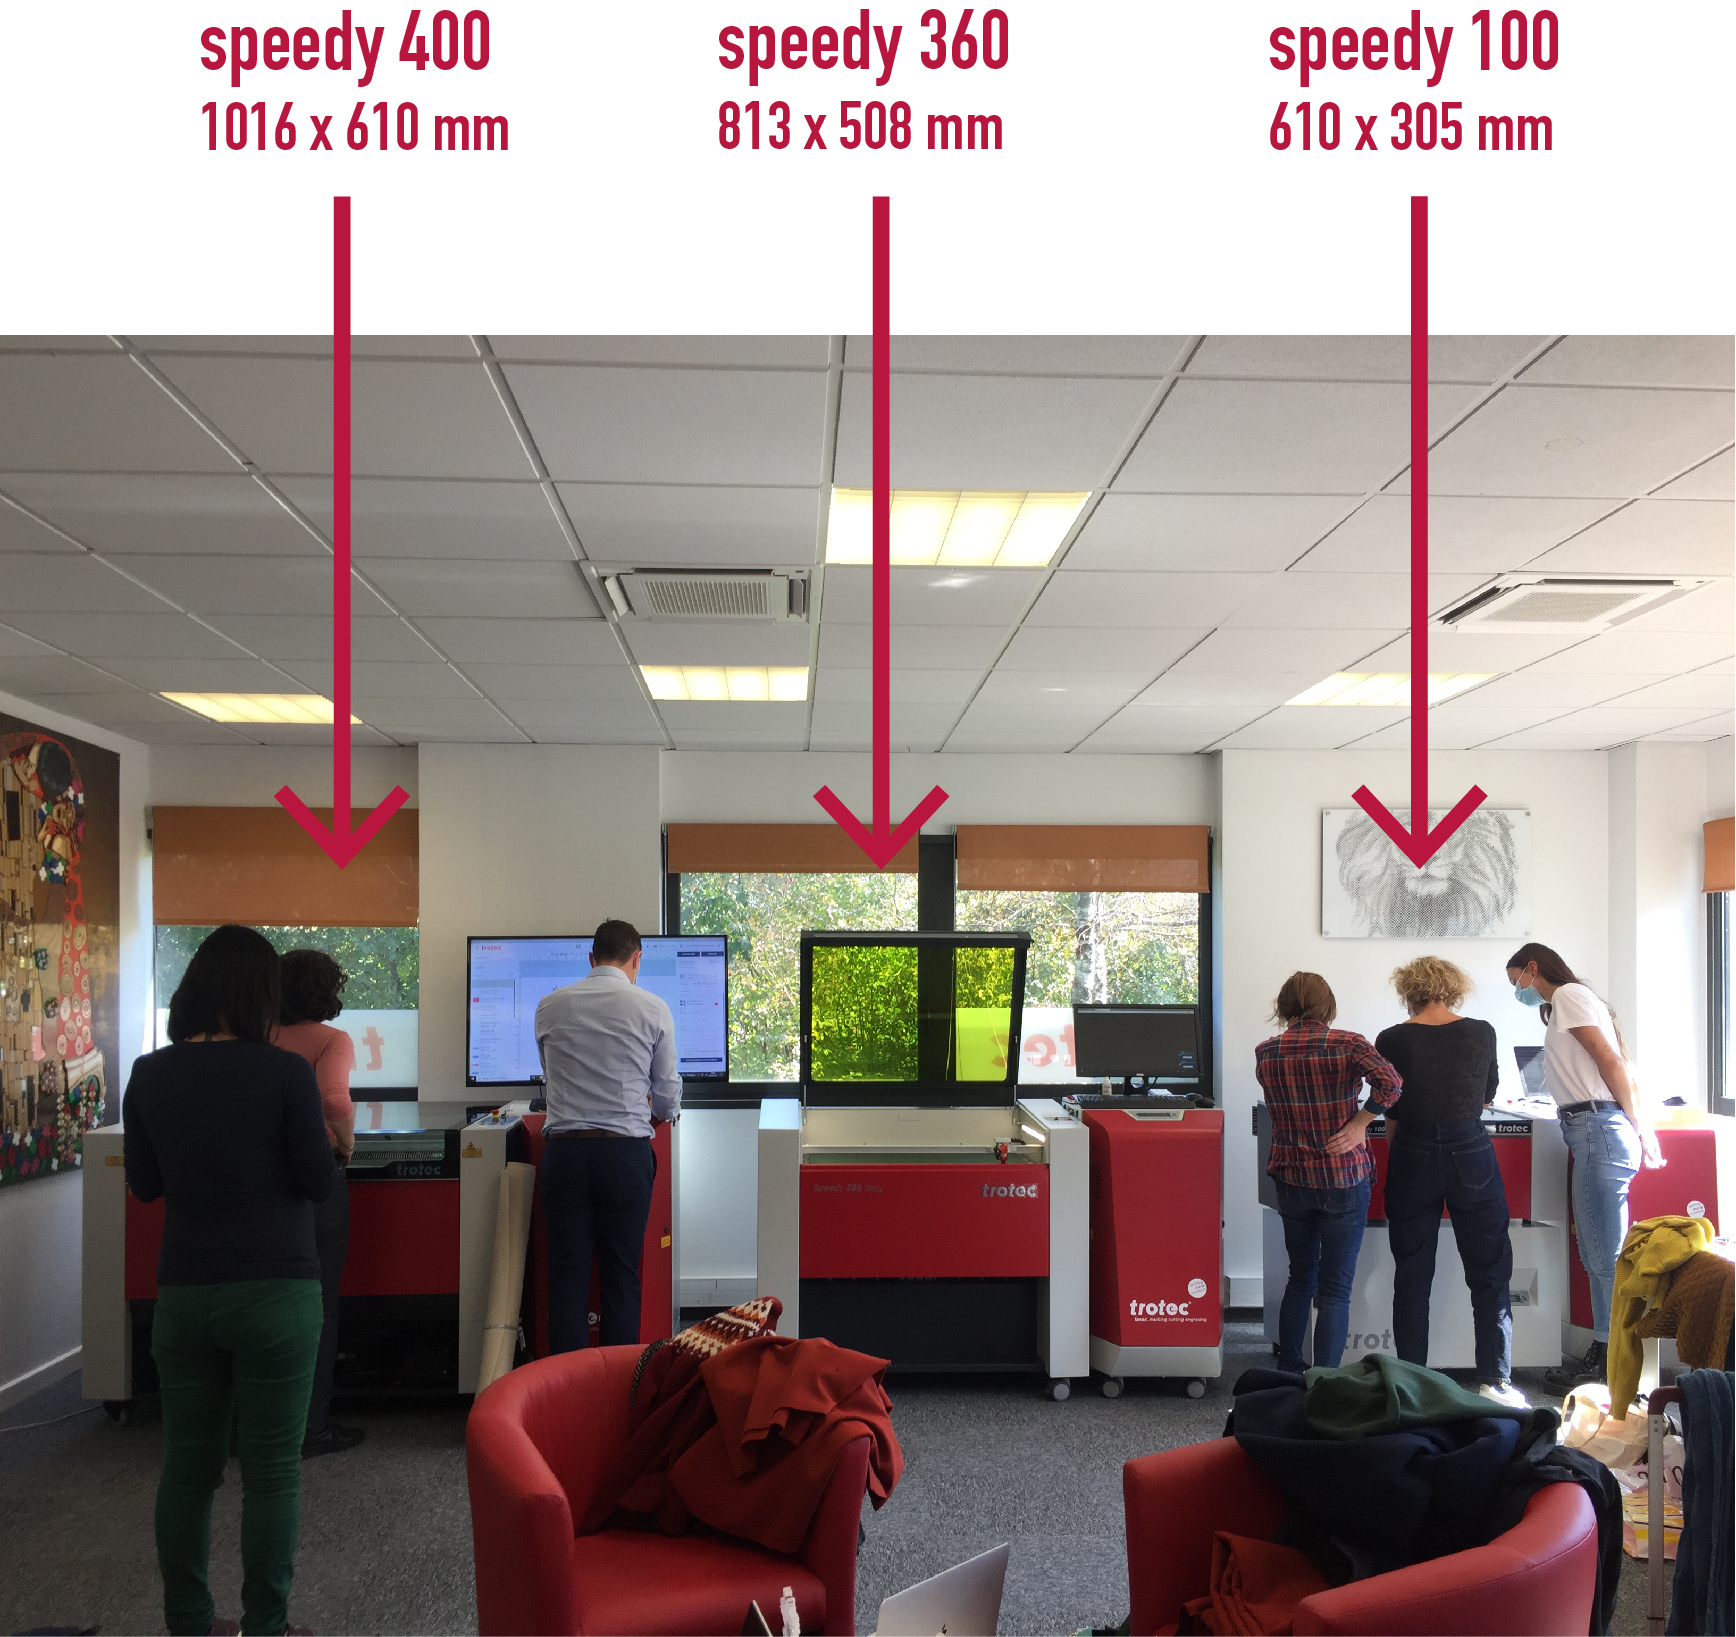
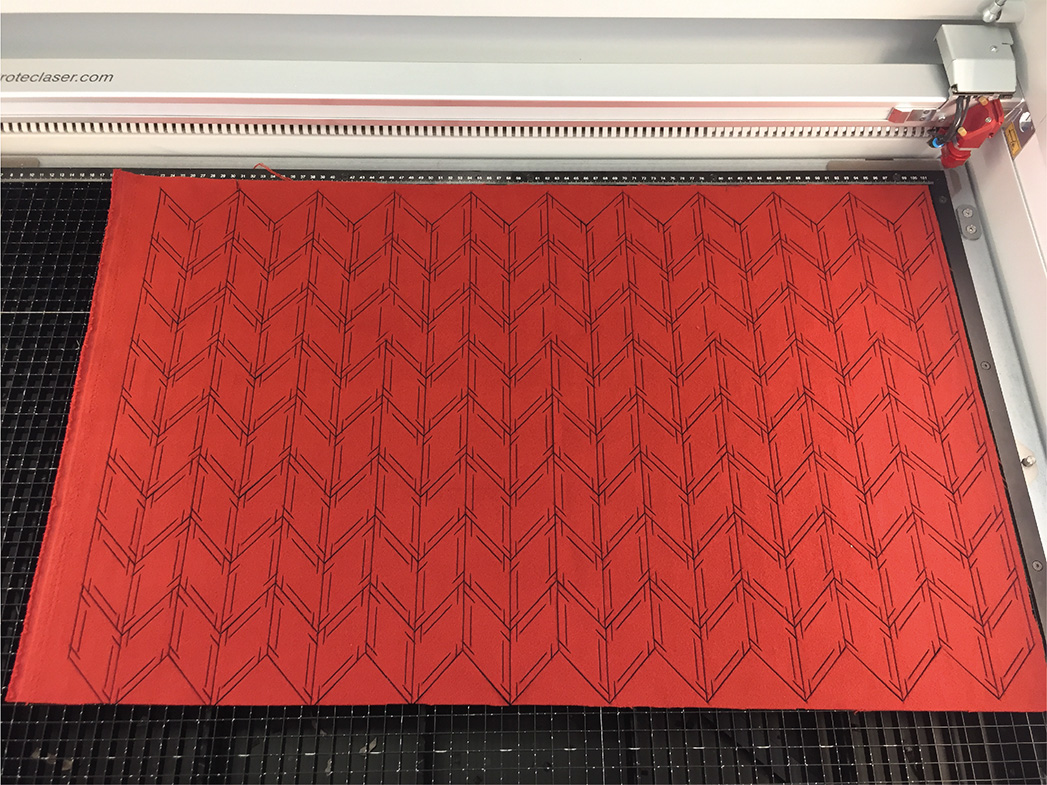
I used Speedy 400. The settings for my textile :
- power : 45
- speed : 5
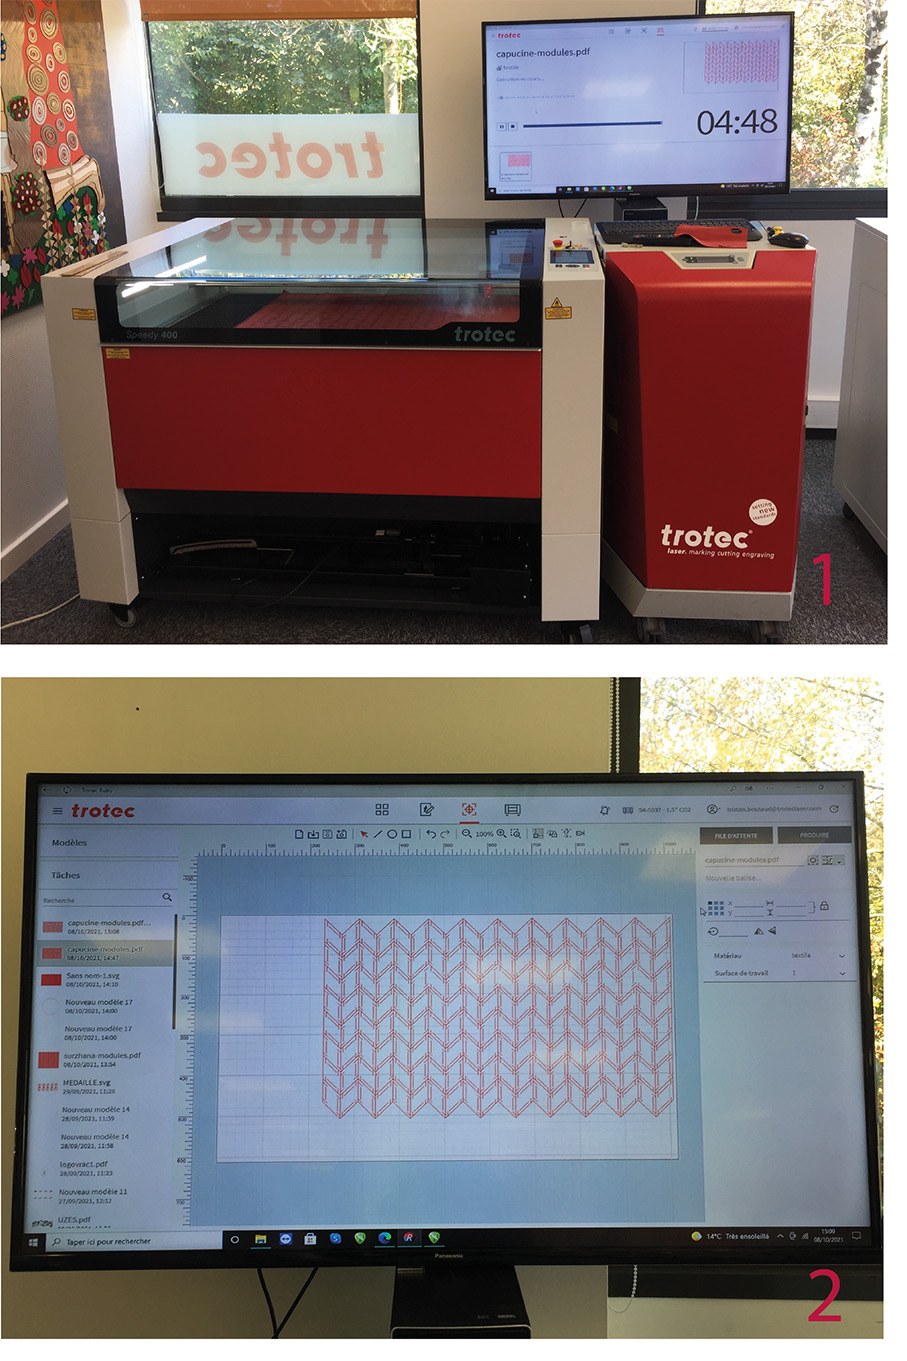
The software was "Trotec Ruby". Unfortunately, we didn't get to do the settings by ourselves.
real time : super fast
The difference of timing between this laser cut and the one in Oullins :
- 20 x 20 cm cut in 15 minutes
- 813 x 508 cm cut in 6 minutes
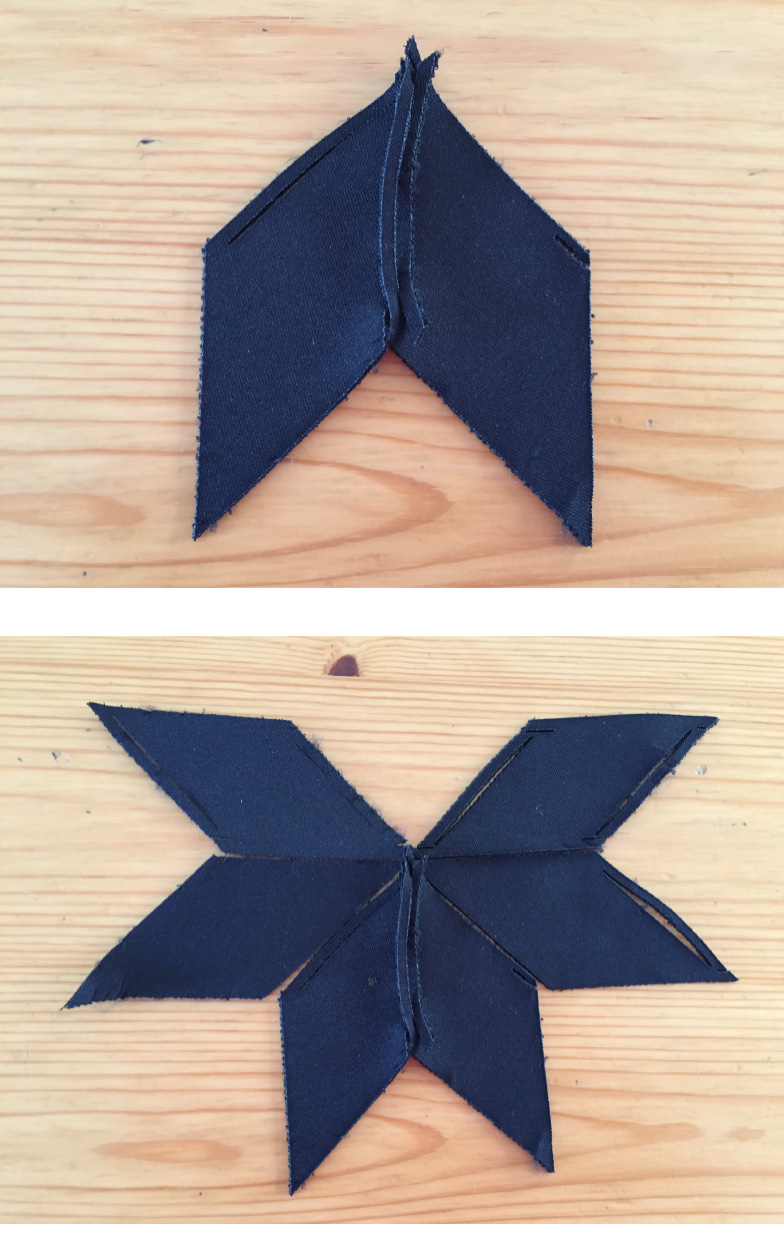
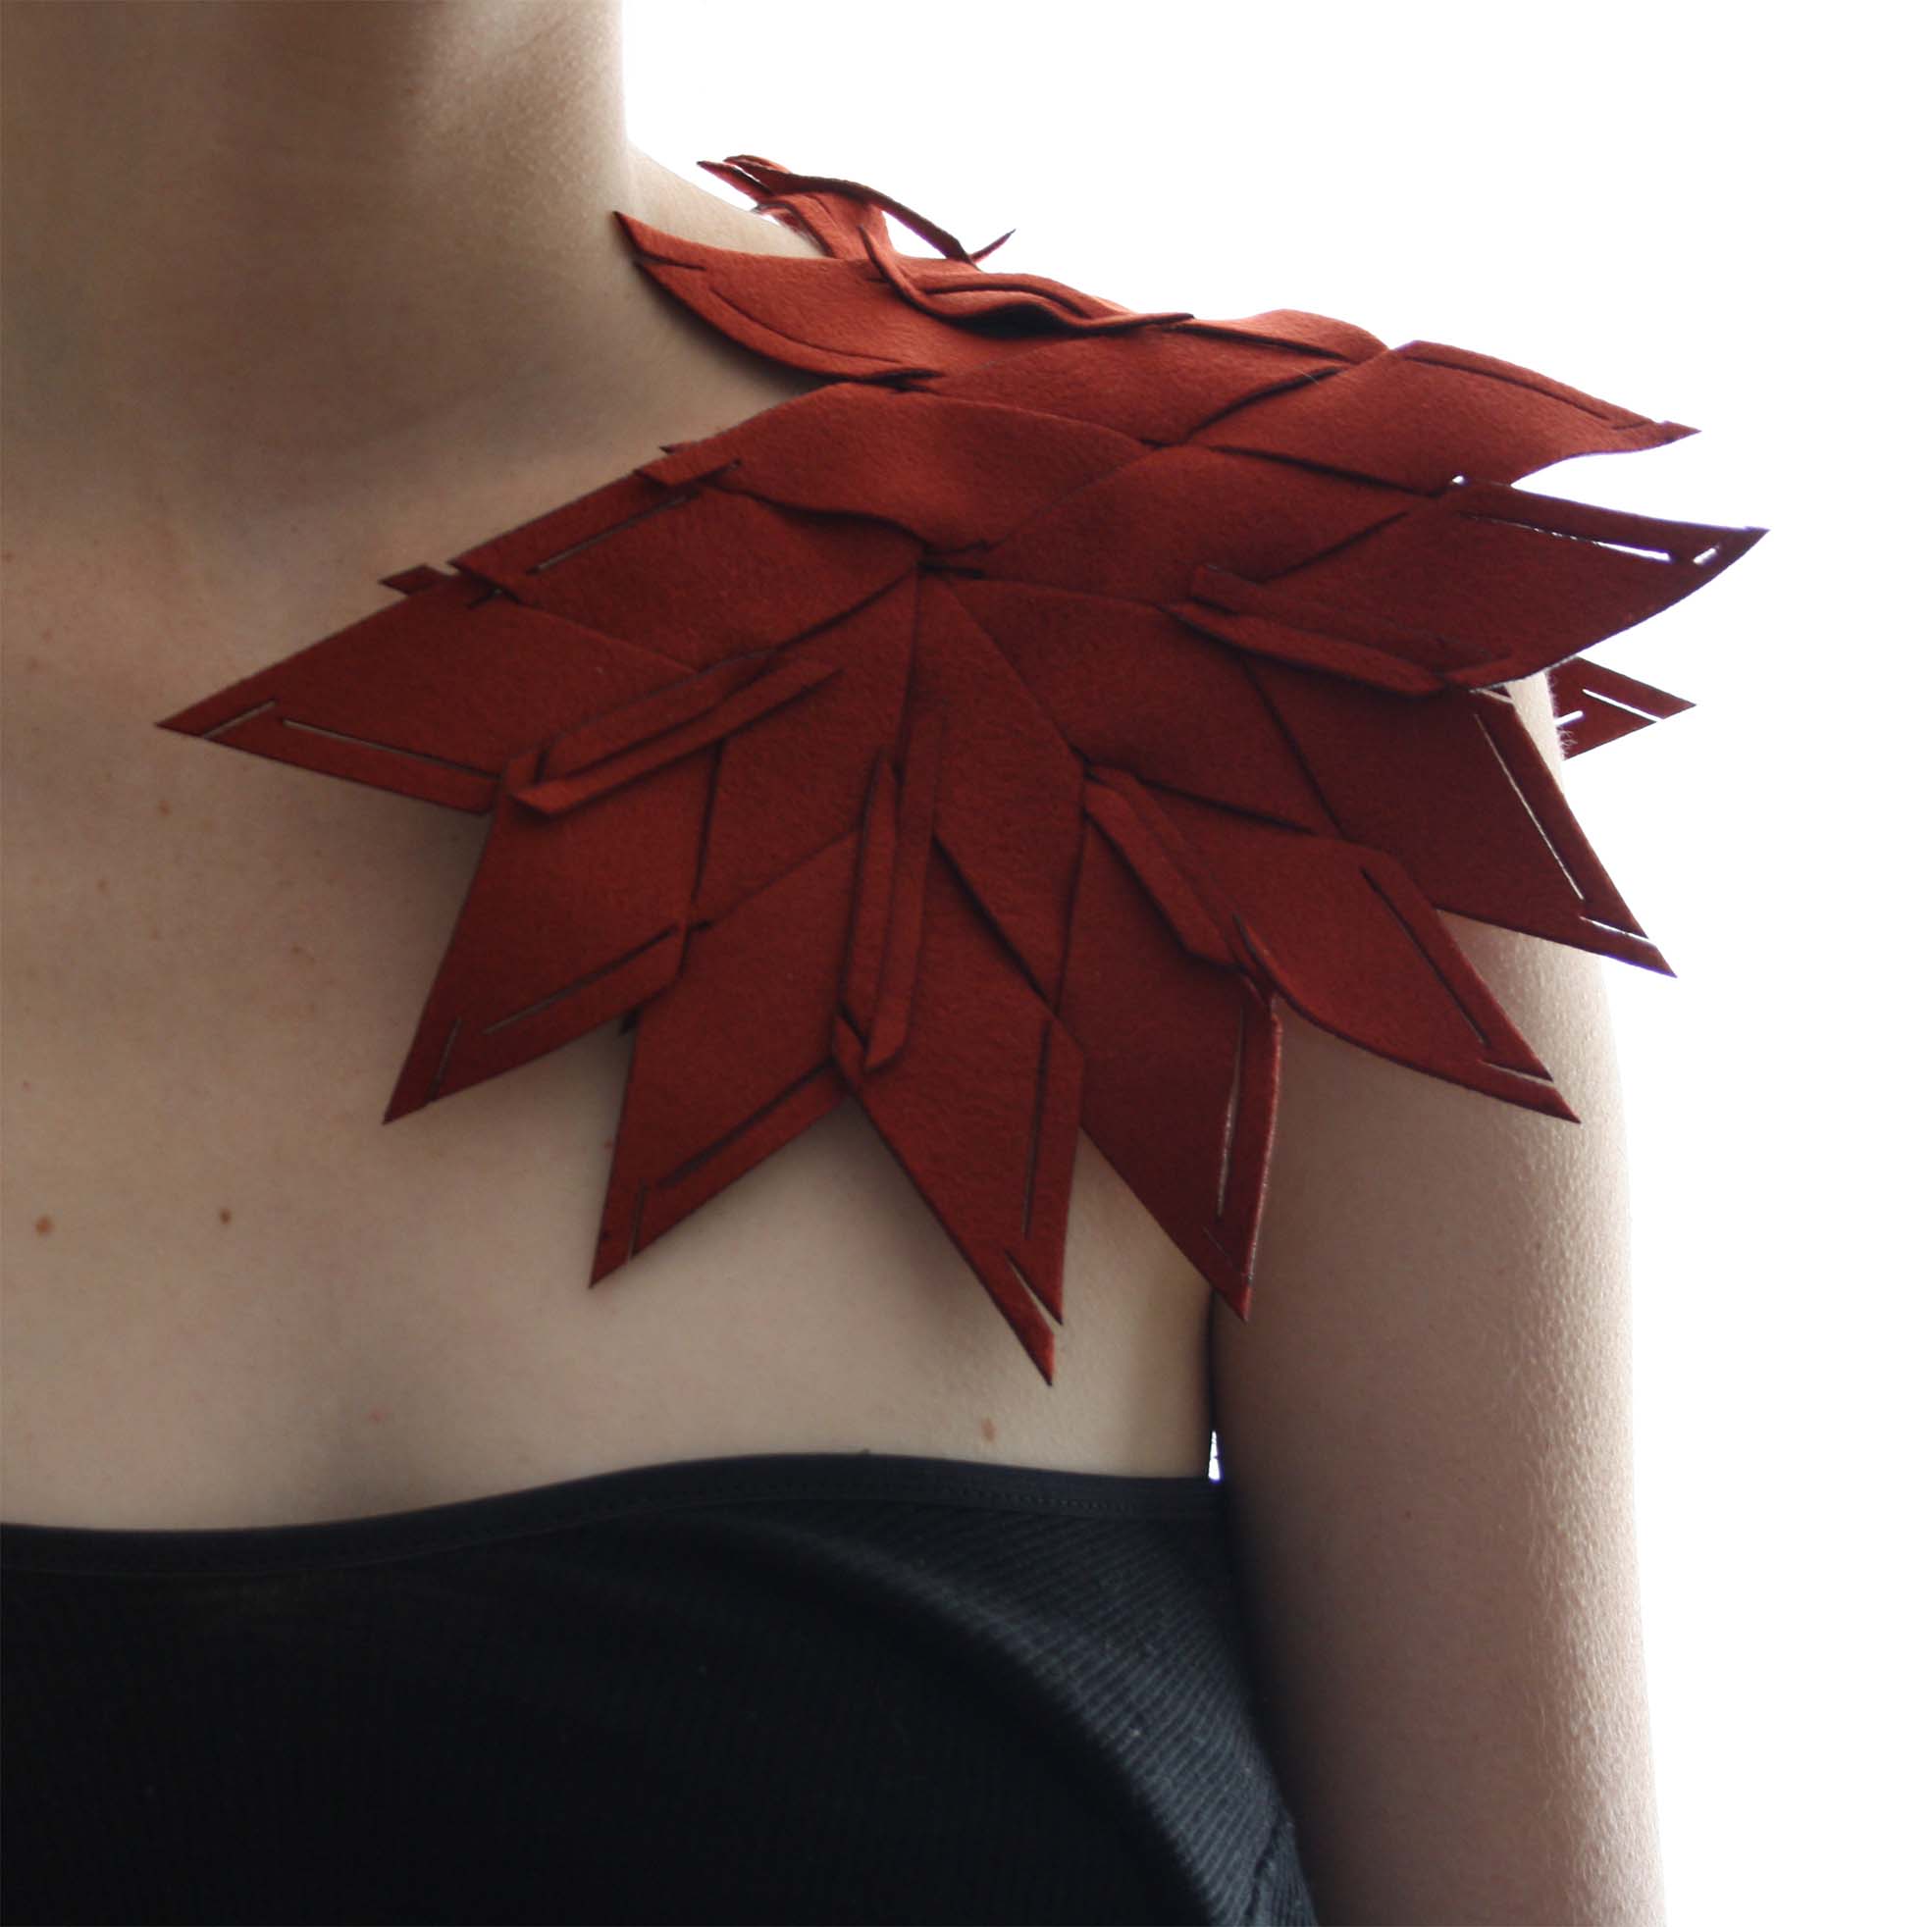
Modules
There are many ways of assembling it :
I made my first idea which is an "epaulette". It makes me think of a costume in Moonrise Kingdom (Wes Anderson) a movie I love. He creates geometrical spaces and plans in his movies. He inspired me a lot.
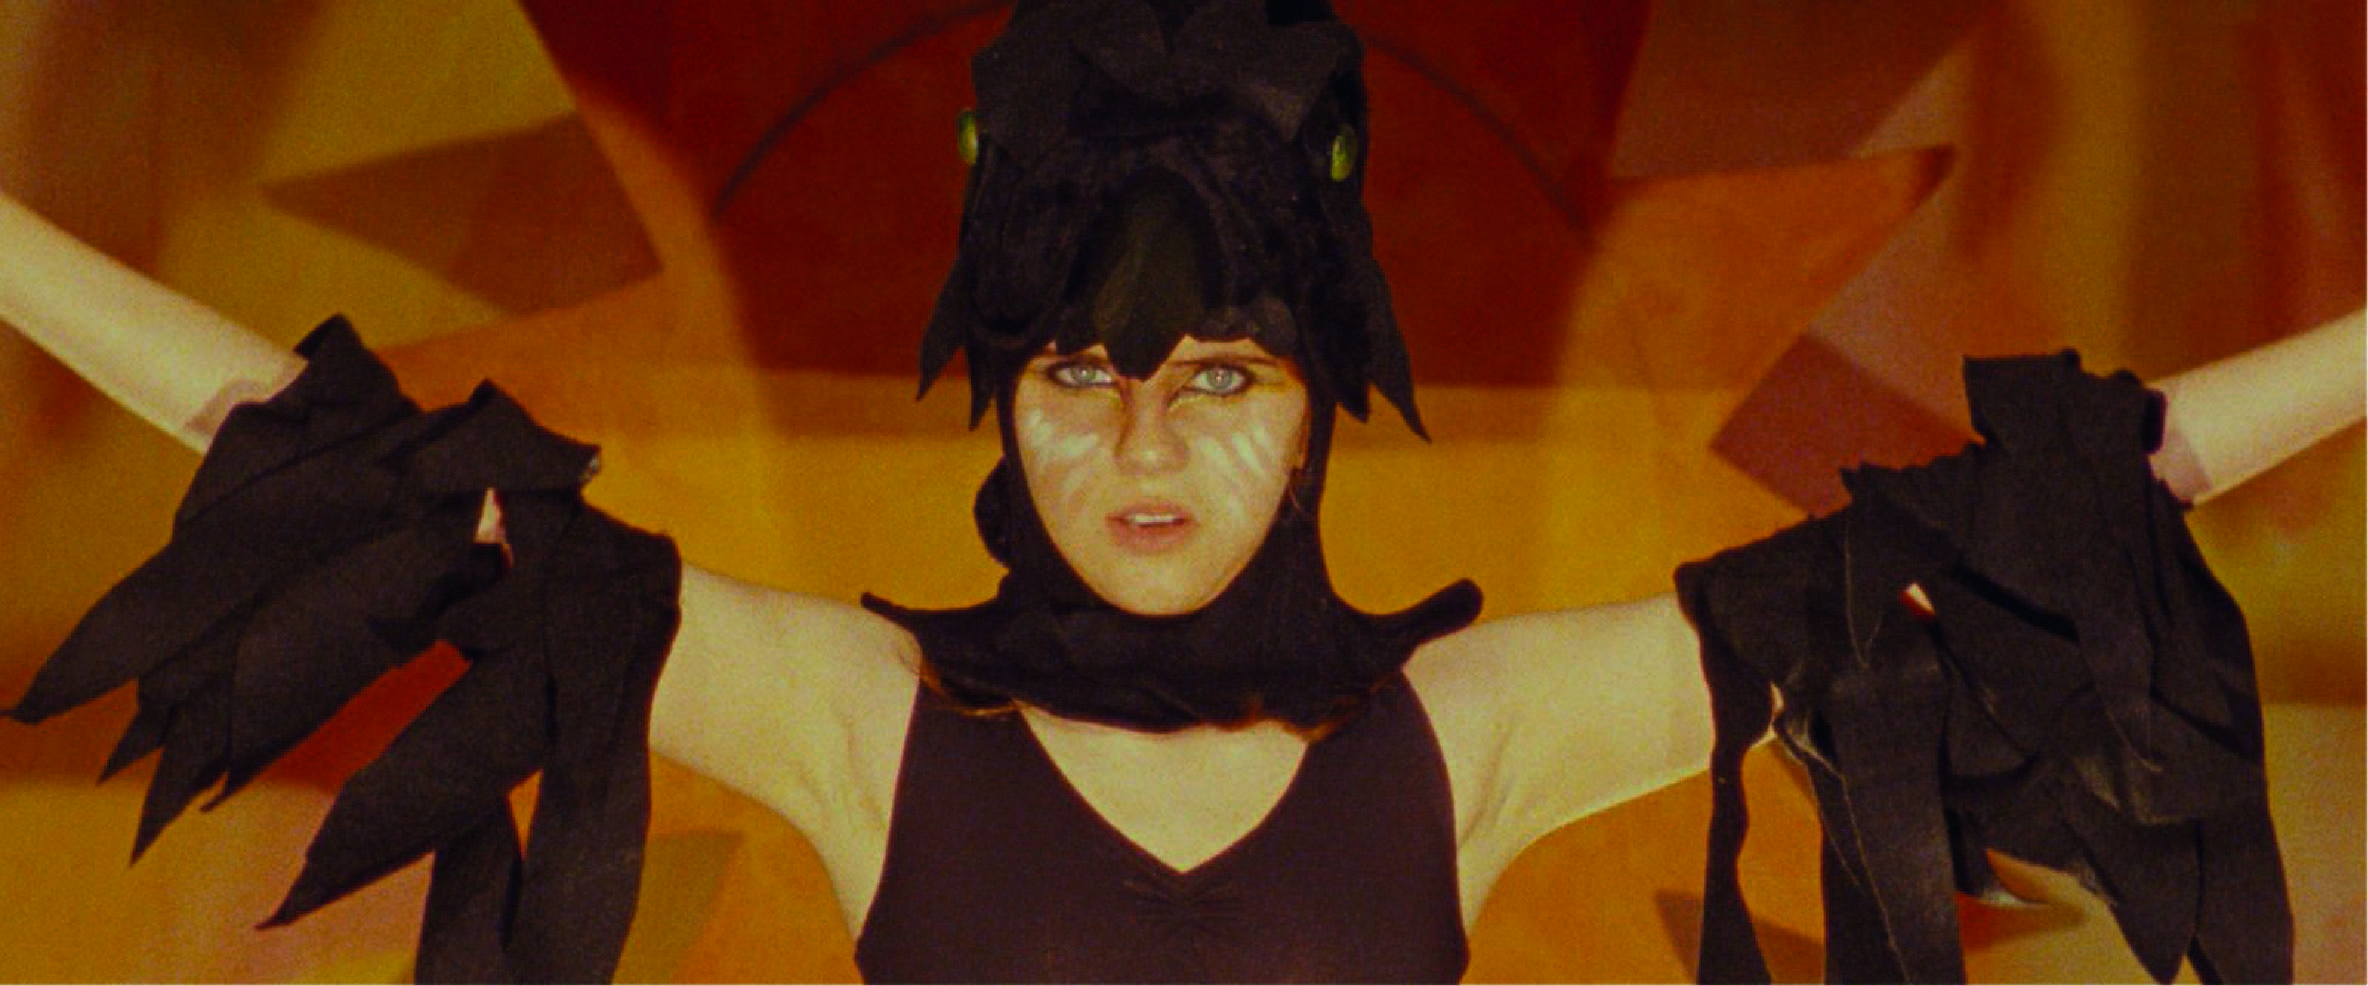
I should now try with different colors.