1. State of the art, project management and documentation
This week I was introduced to the fabricademy team, my designated lab and took a tour to better understand the working process, materials and machinery. I also worked on my markdown writing skills and the documentation process by starting with making my website page.
Research and studying
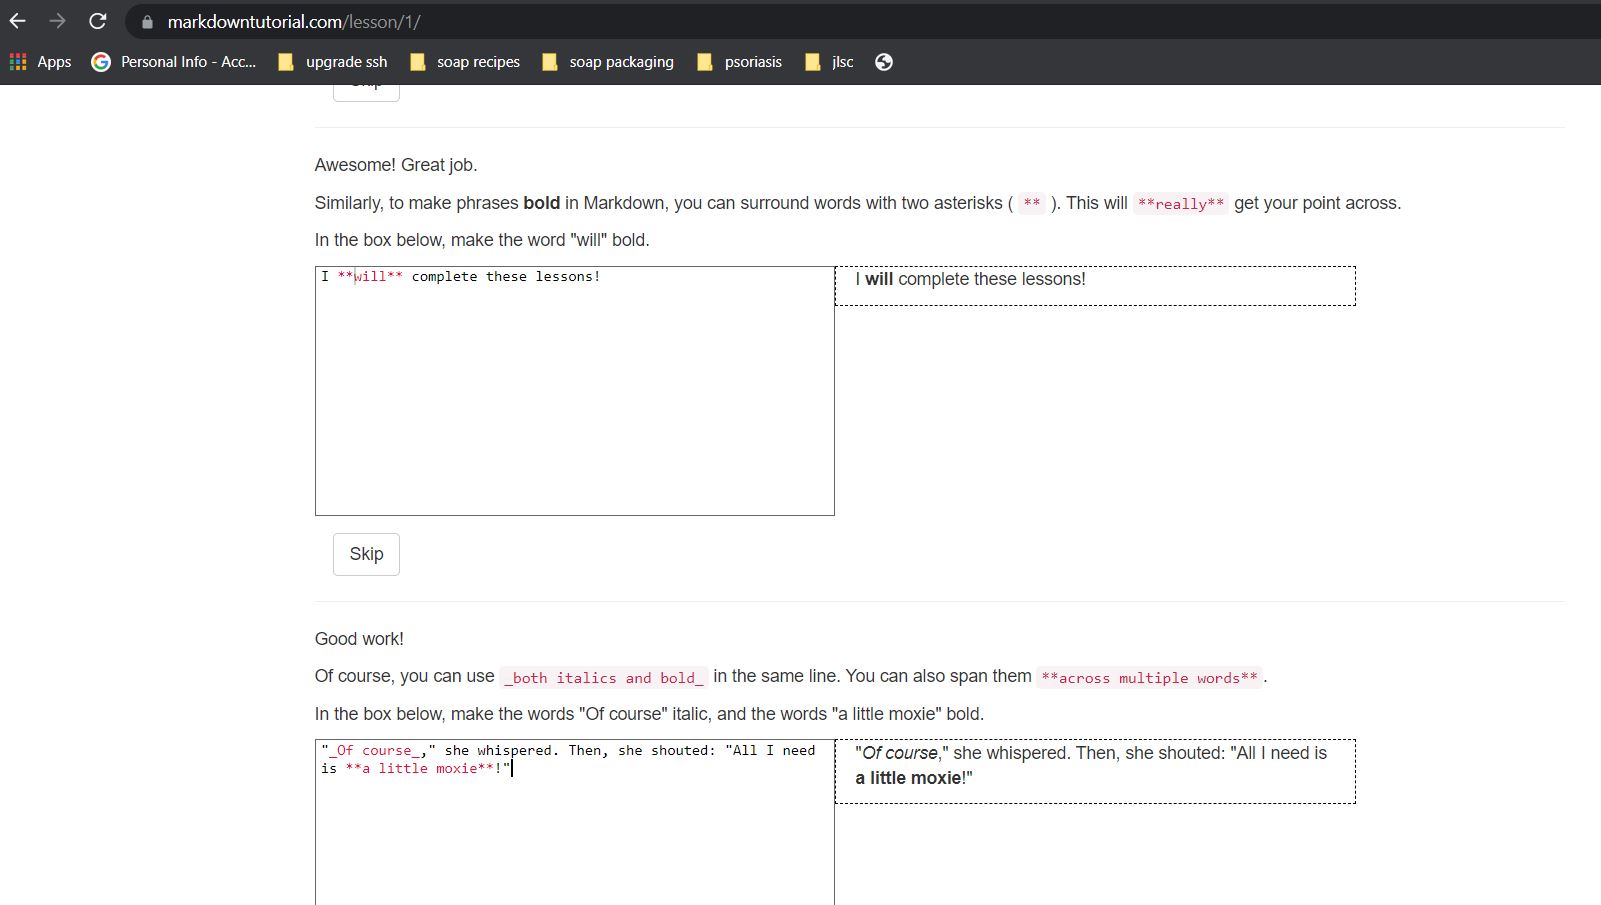
- I started with a tutorial of markdown that can help you practice and correct your mistakes. Take a look at the picture below. You can also use this link to start your first lesson.
- I also took a look at inspirational photos for a better idea of what I want my website to look like.
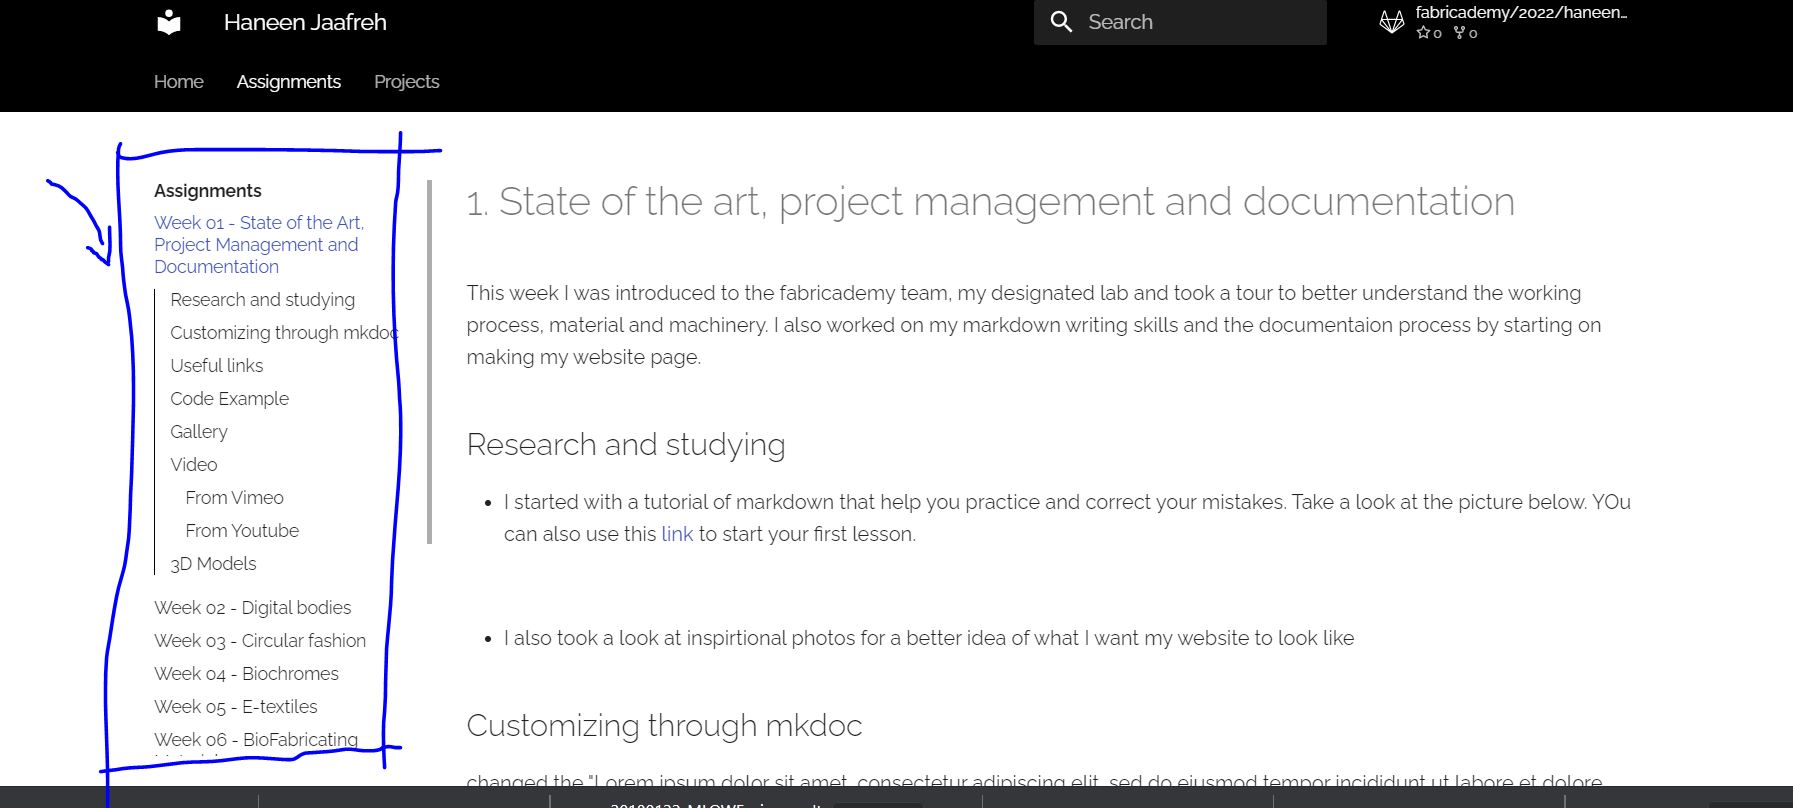
Customizing through mkdoc
With the code below being added to the mkdoc file, I was able to link all assignment pages to the desired numbered image for easy navigation experience. An after rendering image is included after the code.
CLICK THIS FOR CODE.
In the mkdoc file I added this code.
    nav:
     - Home: index.md
     - Assignments:
      - Week 01 - State of the Art, Project Management and Documentation: assignments/week01.md
      - Week 02 - Digital bodies: assignments/week02.md
      - Week 03 - Circular fashion: assignments/week03.md
      - Week 04 - Biochromes: assignments/week04.md
      - Week 05 - E-textiles: assignments/week05.md
      - Week 06 - BioFabricating Materials: assignments/week06.md
      - Week 07 - Computational Couture: assignments/week07.md
      - Week 08 - Open Source Hardware - From Fibers to Fabric: assignments/week08.md
      - Week 09 - Textile as scaffold: assignments/week09.md
      - Week 10 - Wearables: assignments/week10.md
      - Week 11 - Implications and applications: assignments/week11.md
      - Week 12 - Soft robotics: assignments/week12.md
      - Week 13 - Skin Electronics: assignments/week13.md
     - Projects: projects/final-project.md
I also added the following code lines to stylise the navigation section and table of content
for more info check this Link
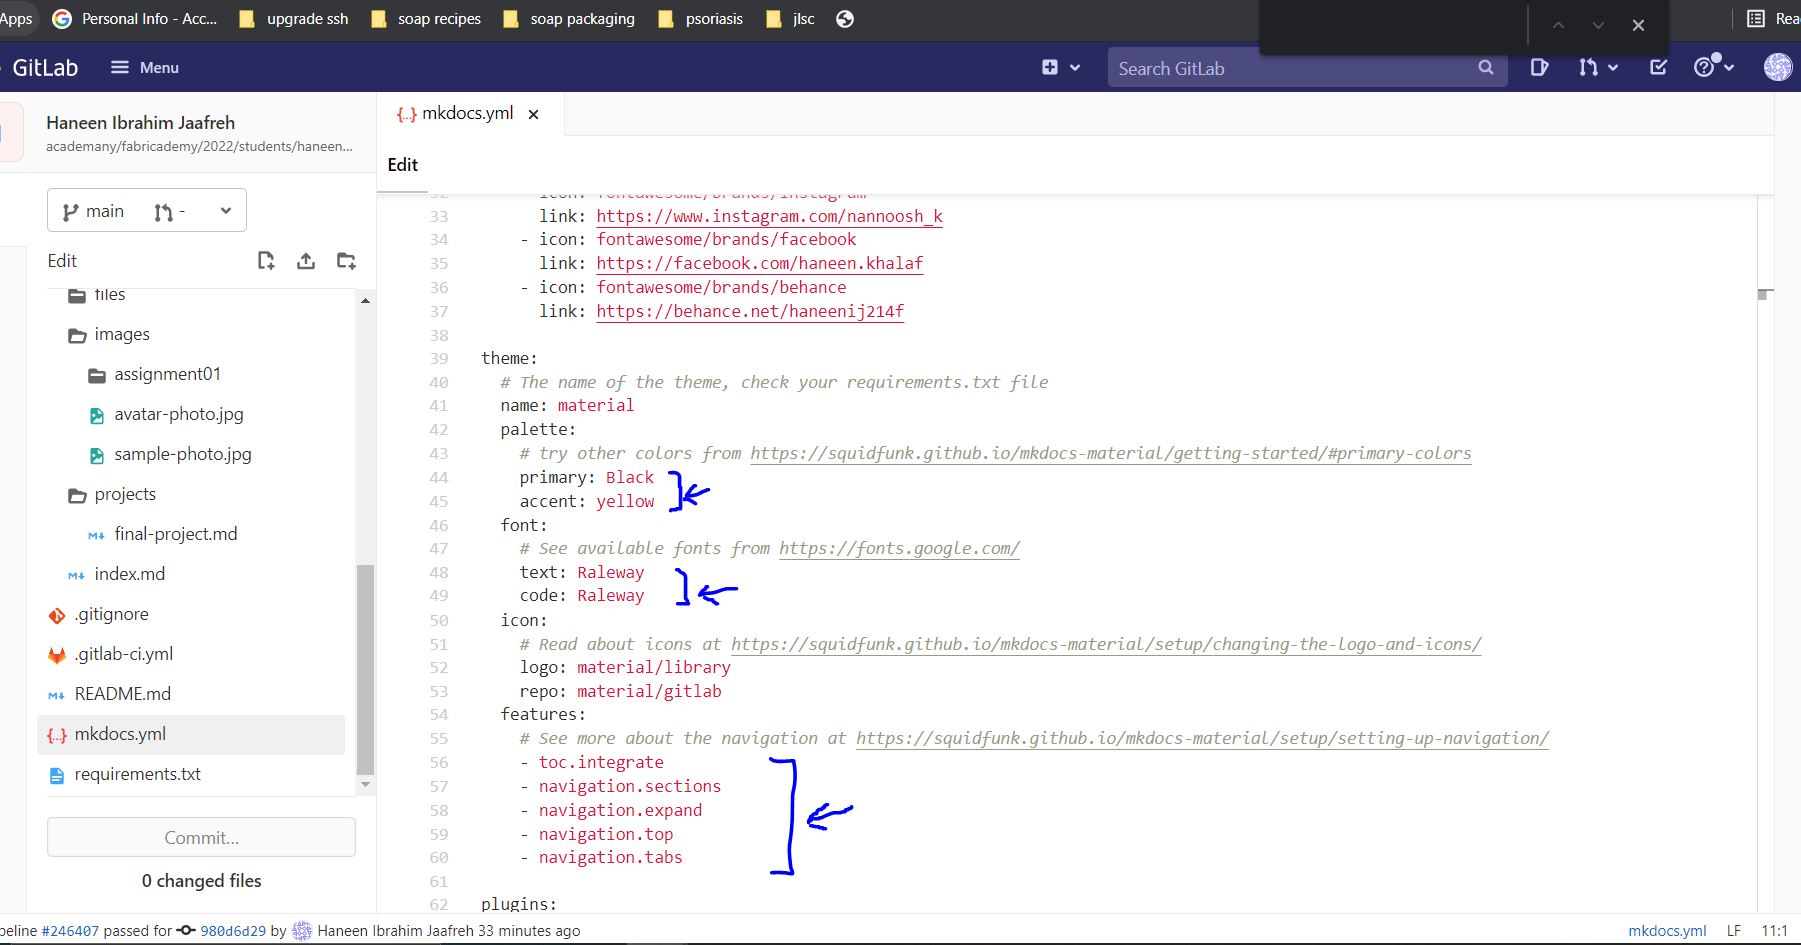
Furthermore I changed the colour and font of the text , choose raleway through the website Google Fonts
Don't forget to change the names and the links as the mydocs.ml file suggest
Index.md File
'The first step in solving a problem is recognizing there is one' - Will Mcavoy
-
Adding Links
I used the following lines of codes to link texts and images:
#To link text ex.
[](../images/assignment01/canva.JPG)

#To link image ex.
[<img src="images/assignment01/week11.jpg" width="13%"> ](./assignments/week11)
-
Adding Images & Giffs
-
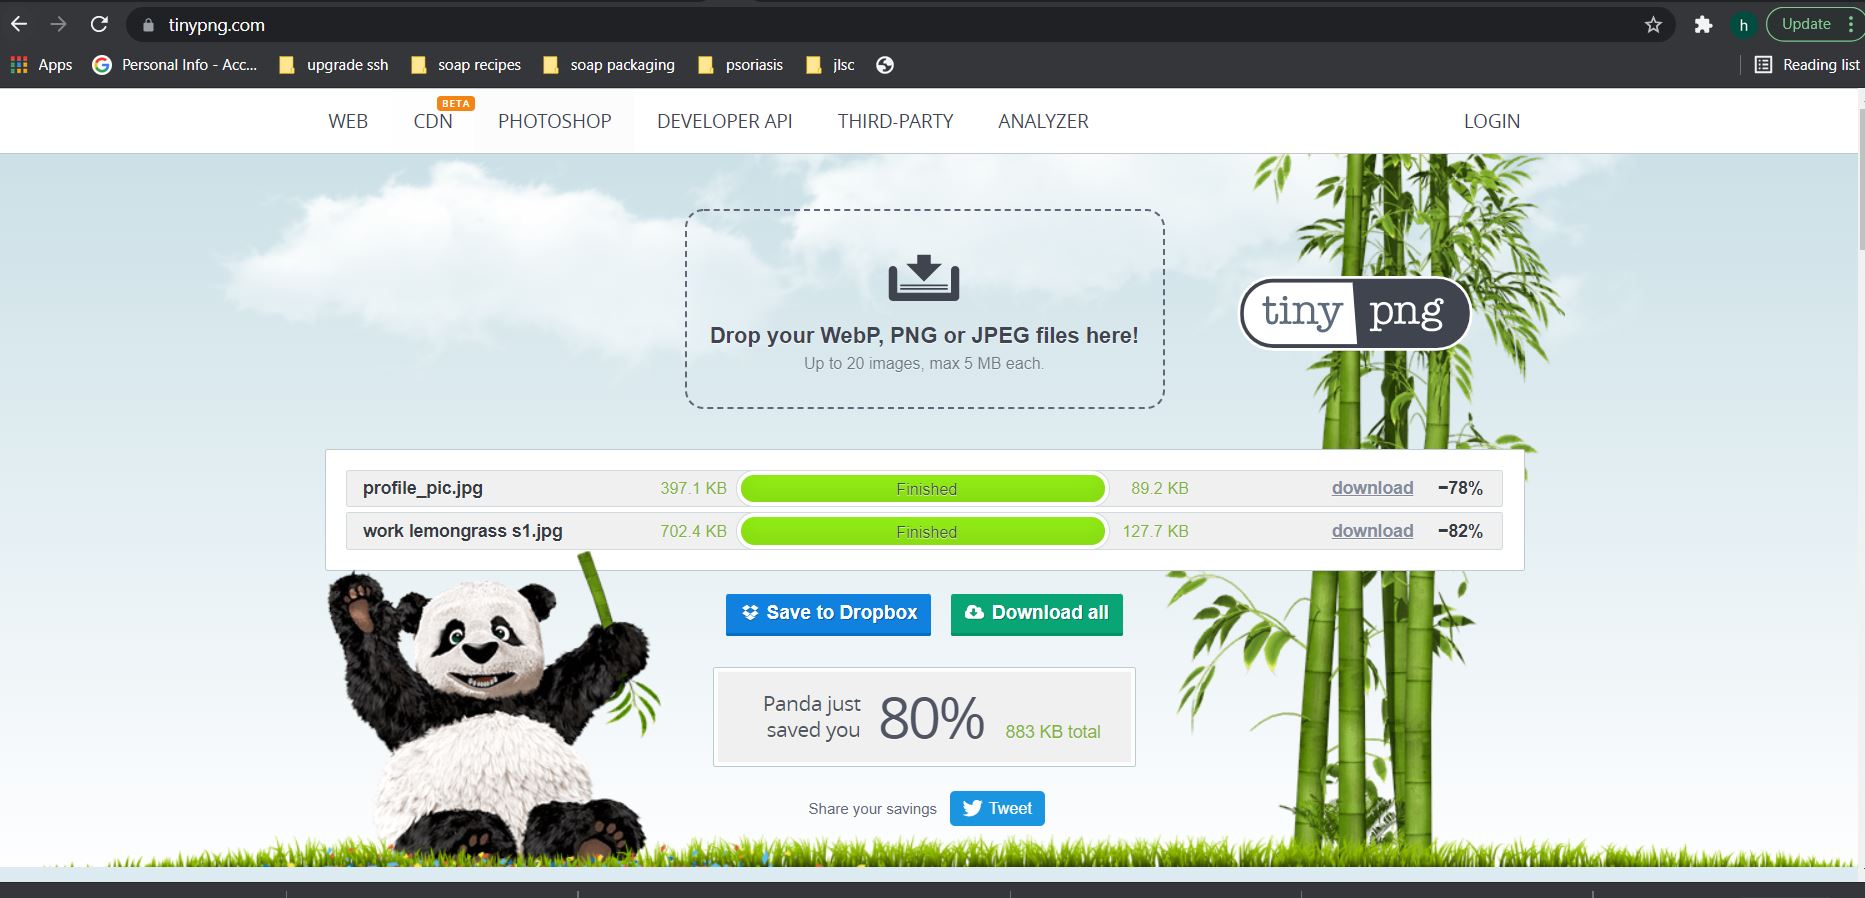
I used the website TinyPNG to reduce the image size without lowering the quality
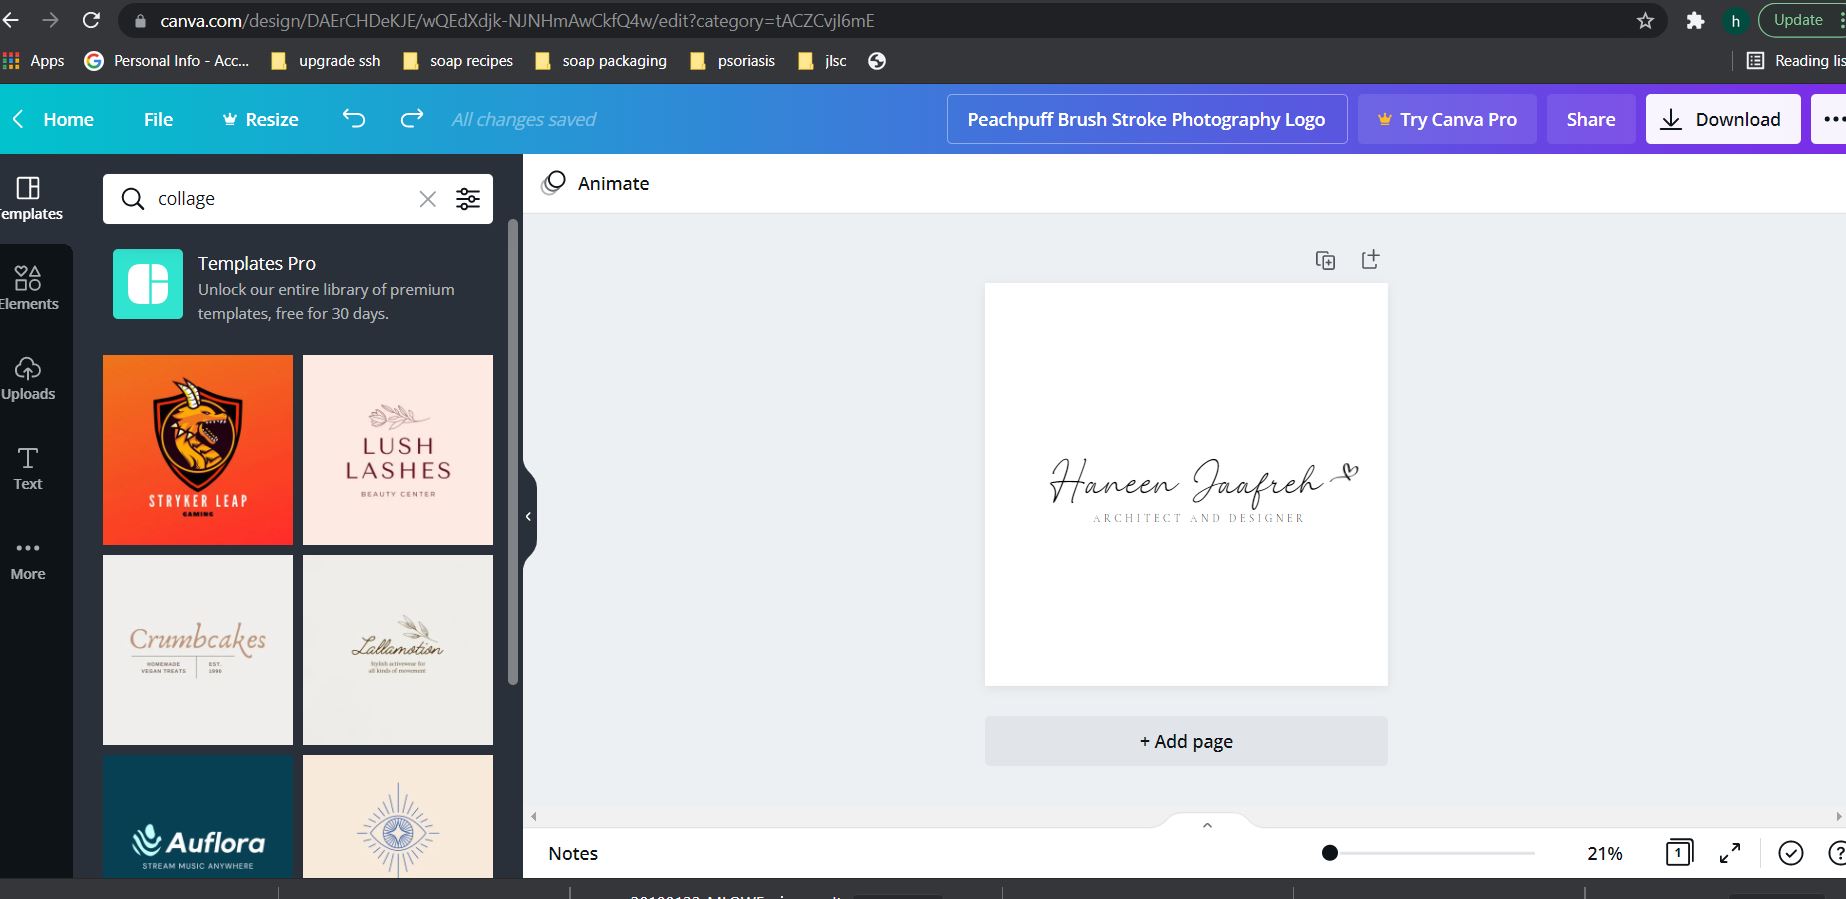
- I used the website Canva to create the logo and the inspiration collage
- I used the following code lines alternatively based on needs :
#For general image insert

#To adjust width and alignment.
<img align="right" src="images/assignment01/work_lemongrass_s2.jpg" width="50%">
#To insert giff and align it.
<div style="text-align:center"><img src="https://media4.giphy.com/media/w8aAQgvElP2uvMnRia/giphy.gif?cid=790b7611c13f8f8c7106969f6563a59f9430389a382b1dcf&rid=giphy.gif&ct=g" /></div>
-
Linking Google Slides
I used this easy Guide to link my google slides of previous work images and ended up with a code that looks like this
<figure class="video_container">
<iframe src="https://docs.google.com/presentation/d/e/2PACX-1vRLVBKaY5DpzXG4fjcOpP7leJtk_lXfzg-bb_7qLW0hDB28IedilmO3knI59LvVTqeFTclDlk63js9R/embed?start=false&loop=true&delayms=3000" frameborder="0" width="960" height="569" allowfullscreen="true" mozallowfullscreen="true" webkitallowfullscreen="true"></iframe>
</figure>
-
Linking assignment pages to a series of images
-
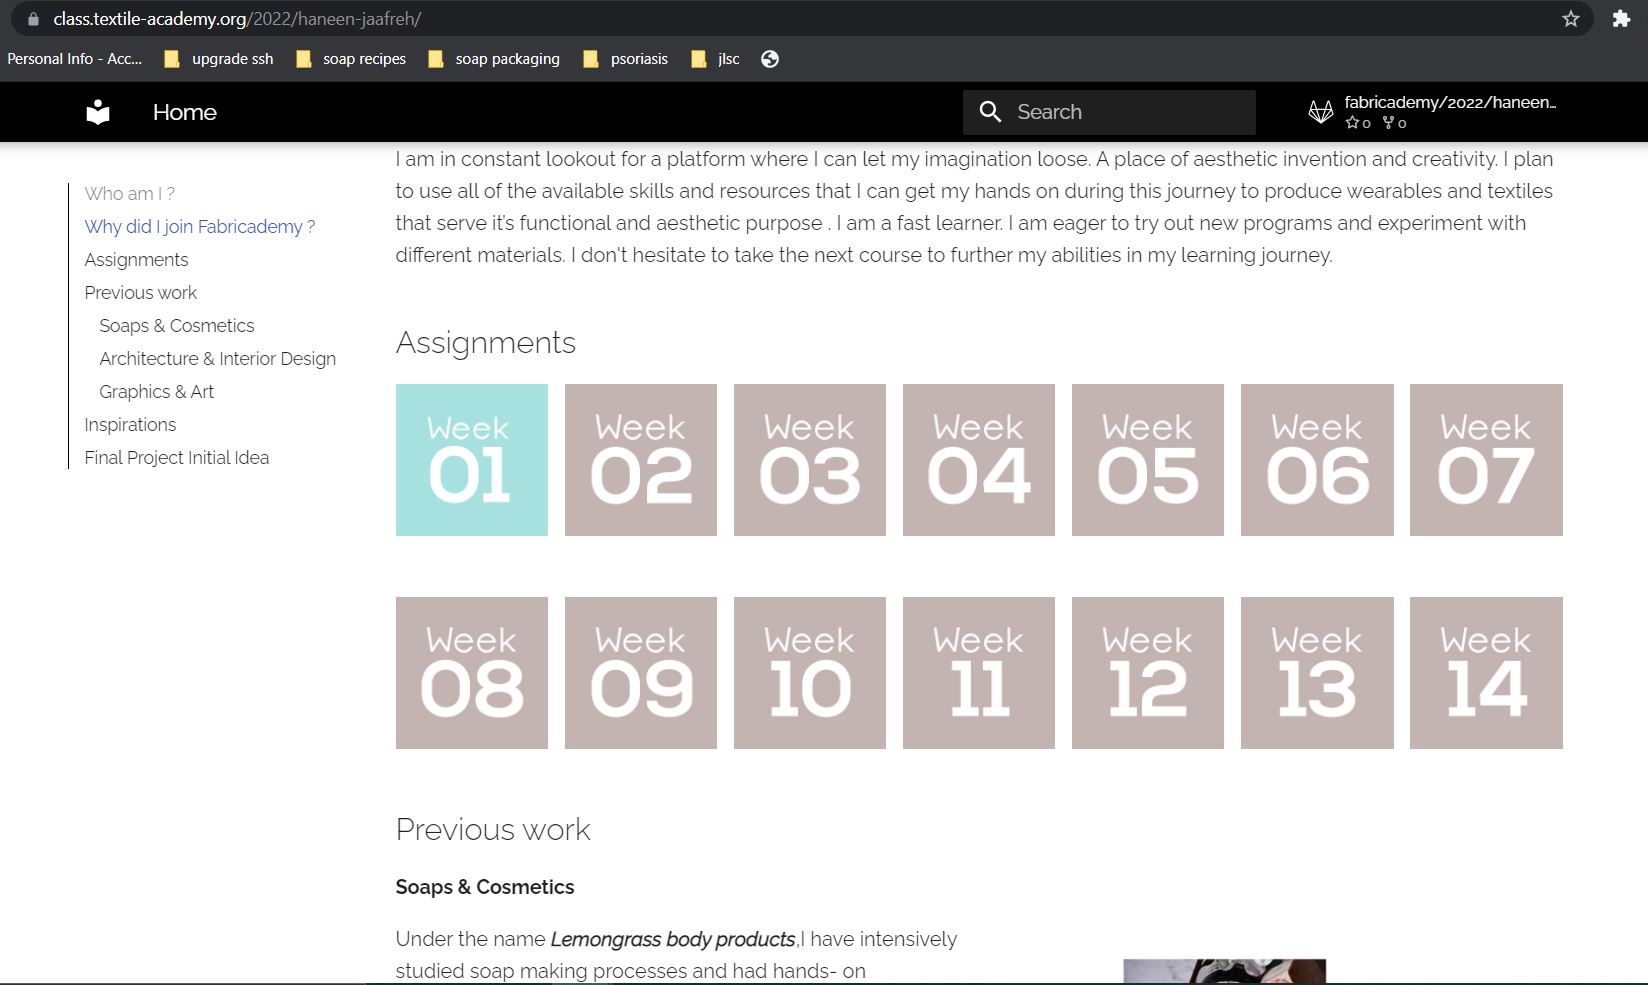
I designed numbered icons through photoshop which will represent the 14 weeks of assignmemts
- To insert and link them while being seperated, I used the following codes
CLICK THIS FOR CURRENT CODE.
In the Index file I added this code and it worked well.
[<img src="images/assignment01/week01.jpg" width="12%"> ](./assignments/week01) [<img src="images/assignment01/week02.jpg" width="12%"> ](./assignments/week02) [<img src="images/assignment01/week03.jpg" width="12%"> ](./assignments/week03) [<img src="images/assignment01/week04.jpg" width="12%"> ](./assignments/week04) [<img src="images/assignment01/week05.jpg" width="12%"> ](./assignments/week05) [<img src="images/assignment01/week06.jpg" width="12%"> ](./assignments/week06) [<img src="images/assignment01/week07.jpg" width="12%"> ](./assignments/week07) [<img src="images/assignment01/week08.jpg" width="12%"> ](./assignments/week08) [<img src="images/assignment01/week09.jpg" width="12%"> ](./assignments/week09) [<img src="images/assignment01/week10.jpg" width="12%"> ](./assignments/week10) [<img src="images/assignment01/week11.jpg" width="12%"> ](./assignments/week11) [<img src="images/assignment01/week12.jpg" width="12%"> ](./assignments/week12) [<img src="images/assignment01/week13.jpg" width="12%"> ](./assignments/week13) [<img src="images/assignment01/week14.jpg" width="12%"> ](./assignments/week14)
the result looked like this
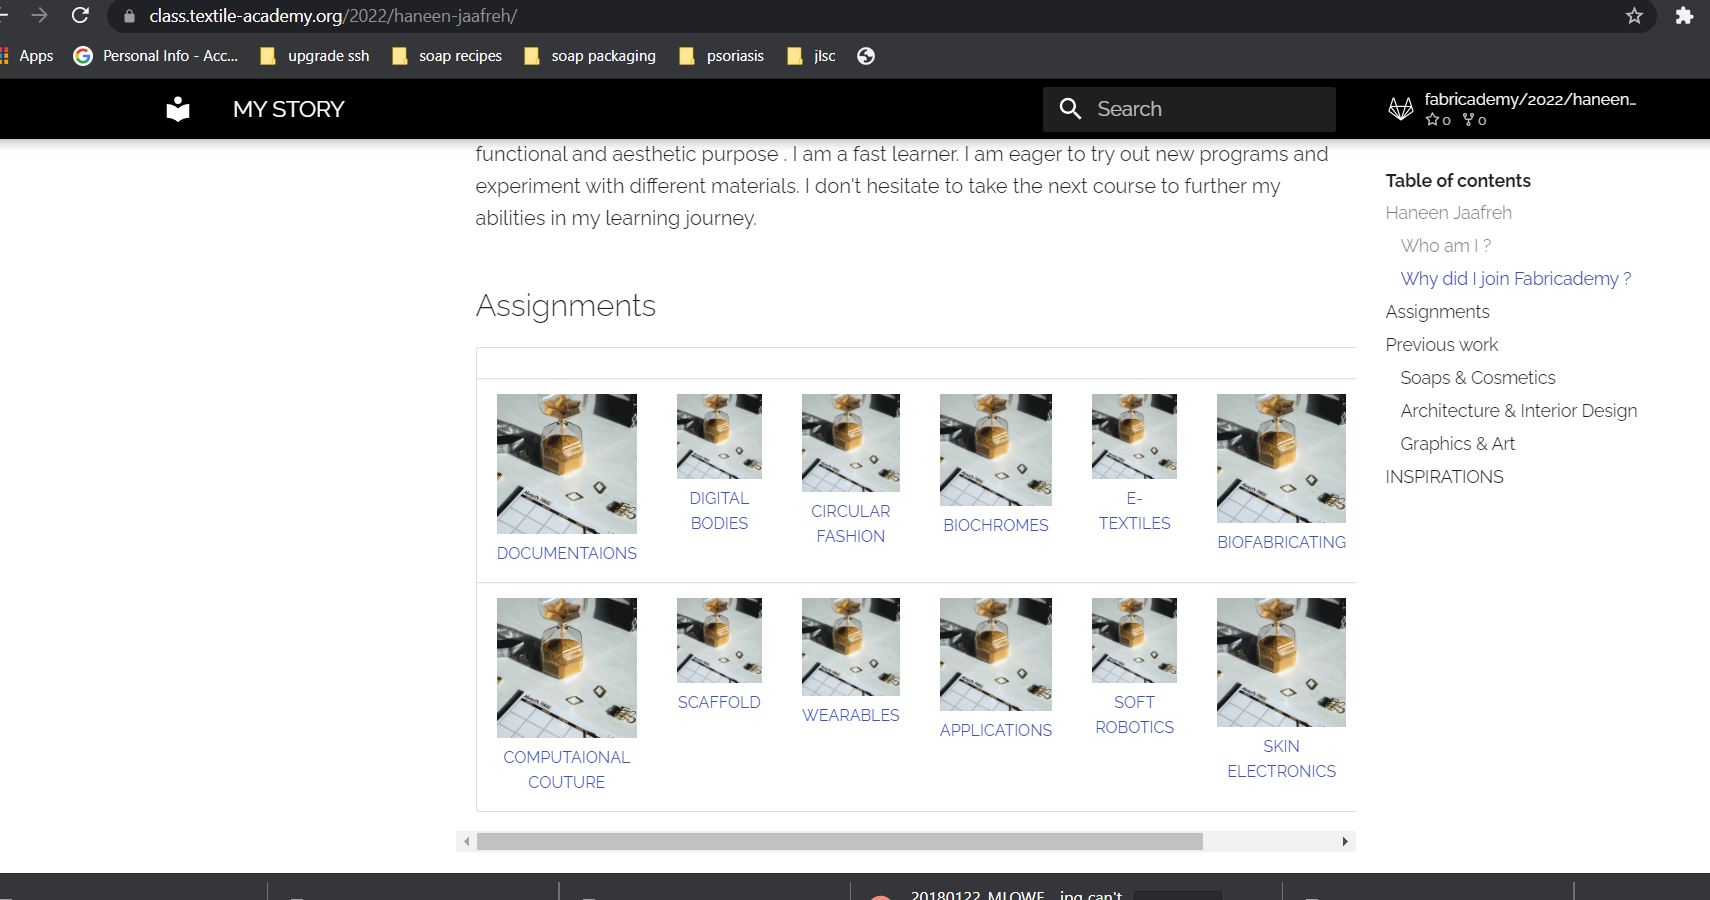
- initially i used the code below (inspired by leos coding which you may take a look at through this Link) but things got out of hand with adjusting coloumns width to match since the text attaches to the pictures vary in length, I also didn`t like the table header and border look. Therefore, I chose to ditch the table idea and went for linked images with spaces in between using the code above.
CLICK THIS FOR PREVIOUS CODE.
In the Index file I added this code but it failed to achieve a coherent look.
    ||||||||
    |:---:|:---:|:---:|:---:|:---:|:---:|:---:|
    | [ <img src="images/assignment01/project_management.jpg" width="90%">DOCUMENTAIONS ](./assignments/week01) | [ <img src="images/assignment01/project_management.jpg" width="90%">DIGITAL BODIES ](./assignments/week02) | [ <img src="images/assignment01/project_management.jpg" width="90%">CIRCULAR FASHION ](./assignments/week03) | [ <img src="images/assignment01/project_management.jpg" width="90%">BIOCHROMES ](./assignments/week04) | [ <img src="images/assignment01/project_management.jpg" width="90%">E-TEXTILES ](./assignments/week05) | [ <img src="images/assignment01/project_management.jpg" width="90%">BIOFABRICATING ](./assignments/week06) | [ <img src="images/assignment01/project_management.jpg" width="90%">OPEN SOURCE HARDWARE ](./assignments/week07) |
    | [ <img src="images/assignment01/project_management.jpg" width="90%">COMPUTAIONAL COUTURE ](./assignments/week08) | [ <img src="images/assignment01/project_management.jpg" width="90%">SCAFFOLD ](./assignments/week09) | [ <img src="images/assignment01/project_management.jpg" width="90%">WEARABLES ](./assignments/week10) | [ <img src="images/assignment01/project_management.jpg" width="90%">APPLICATIONS ](./assignments/week11) | [ <img src="images/assignment01/project_management.jpg" width="90%">SOFT ROBOTICS ](./assignments/week12) | [ <img src="images/assignment01/project_management.jpg" width="90%">SKIN ELECTRONICS ](./assignments/week13) | [ <img src="images/assignment01/project_management.jpg" width="90%">FINAL PROJECT PITCH ](./assignments/week14) |
the result looked like this (using the first attempt)
Useful coding tips
- Code blocks
To add a code block I used the following
I also syntax highlighted functions by adding "ruby" after
```ruby
[](../images/assignment01/canva.JPG)
[<img src="images/assignment01/week11.jpg" width="13%"> ](./assignments/week11)
```
For more information about notes and code blocks use this Link
- Collapsible notes with written code included
I used this code to achieve that as other methods failed me.
 <p>
 <details>
 <summary>add your block Name.</summary>

 add your description.

 <pre><code>

```
# your code to mention
```
</code></pre>

</details>
</p>

<br>
- Notes
!!! Note
    Your text
- Spacing paragraphs
I used the HTML code line <br> to create spaces between paragraphs which can also be used to start a new line
using the codeline <br>
- Adding a space between images or text
You can use any of the following code lines:
*
*  
*  
Notes
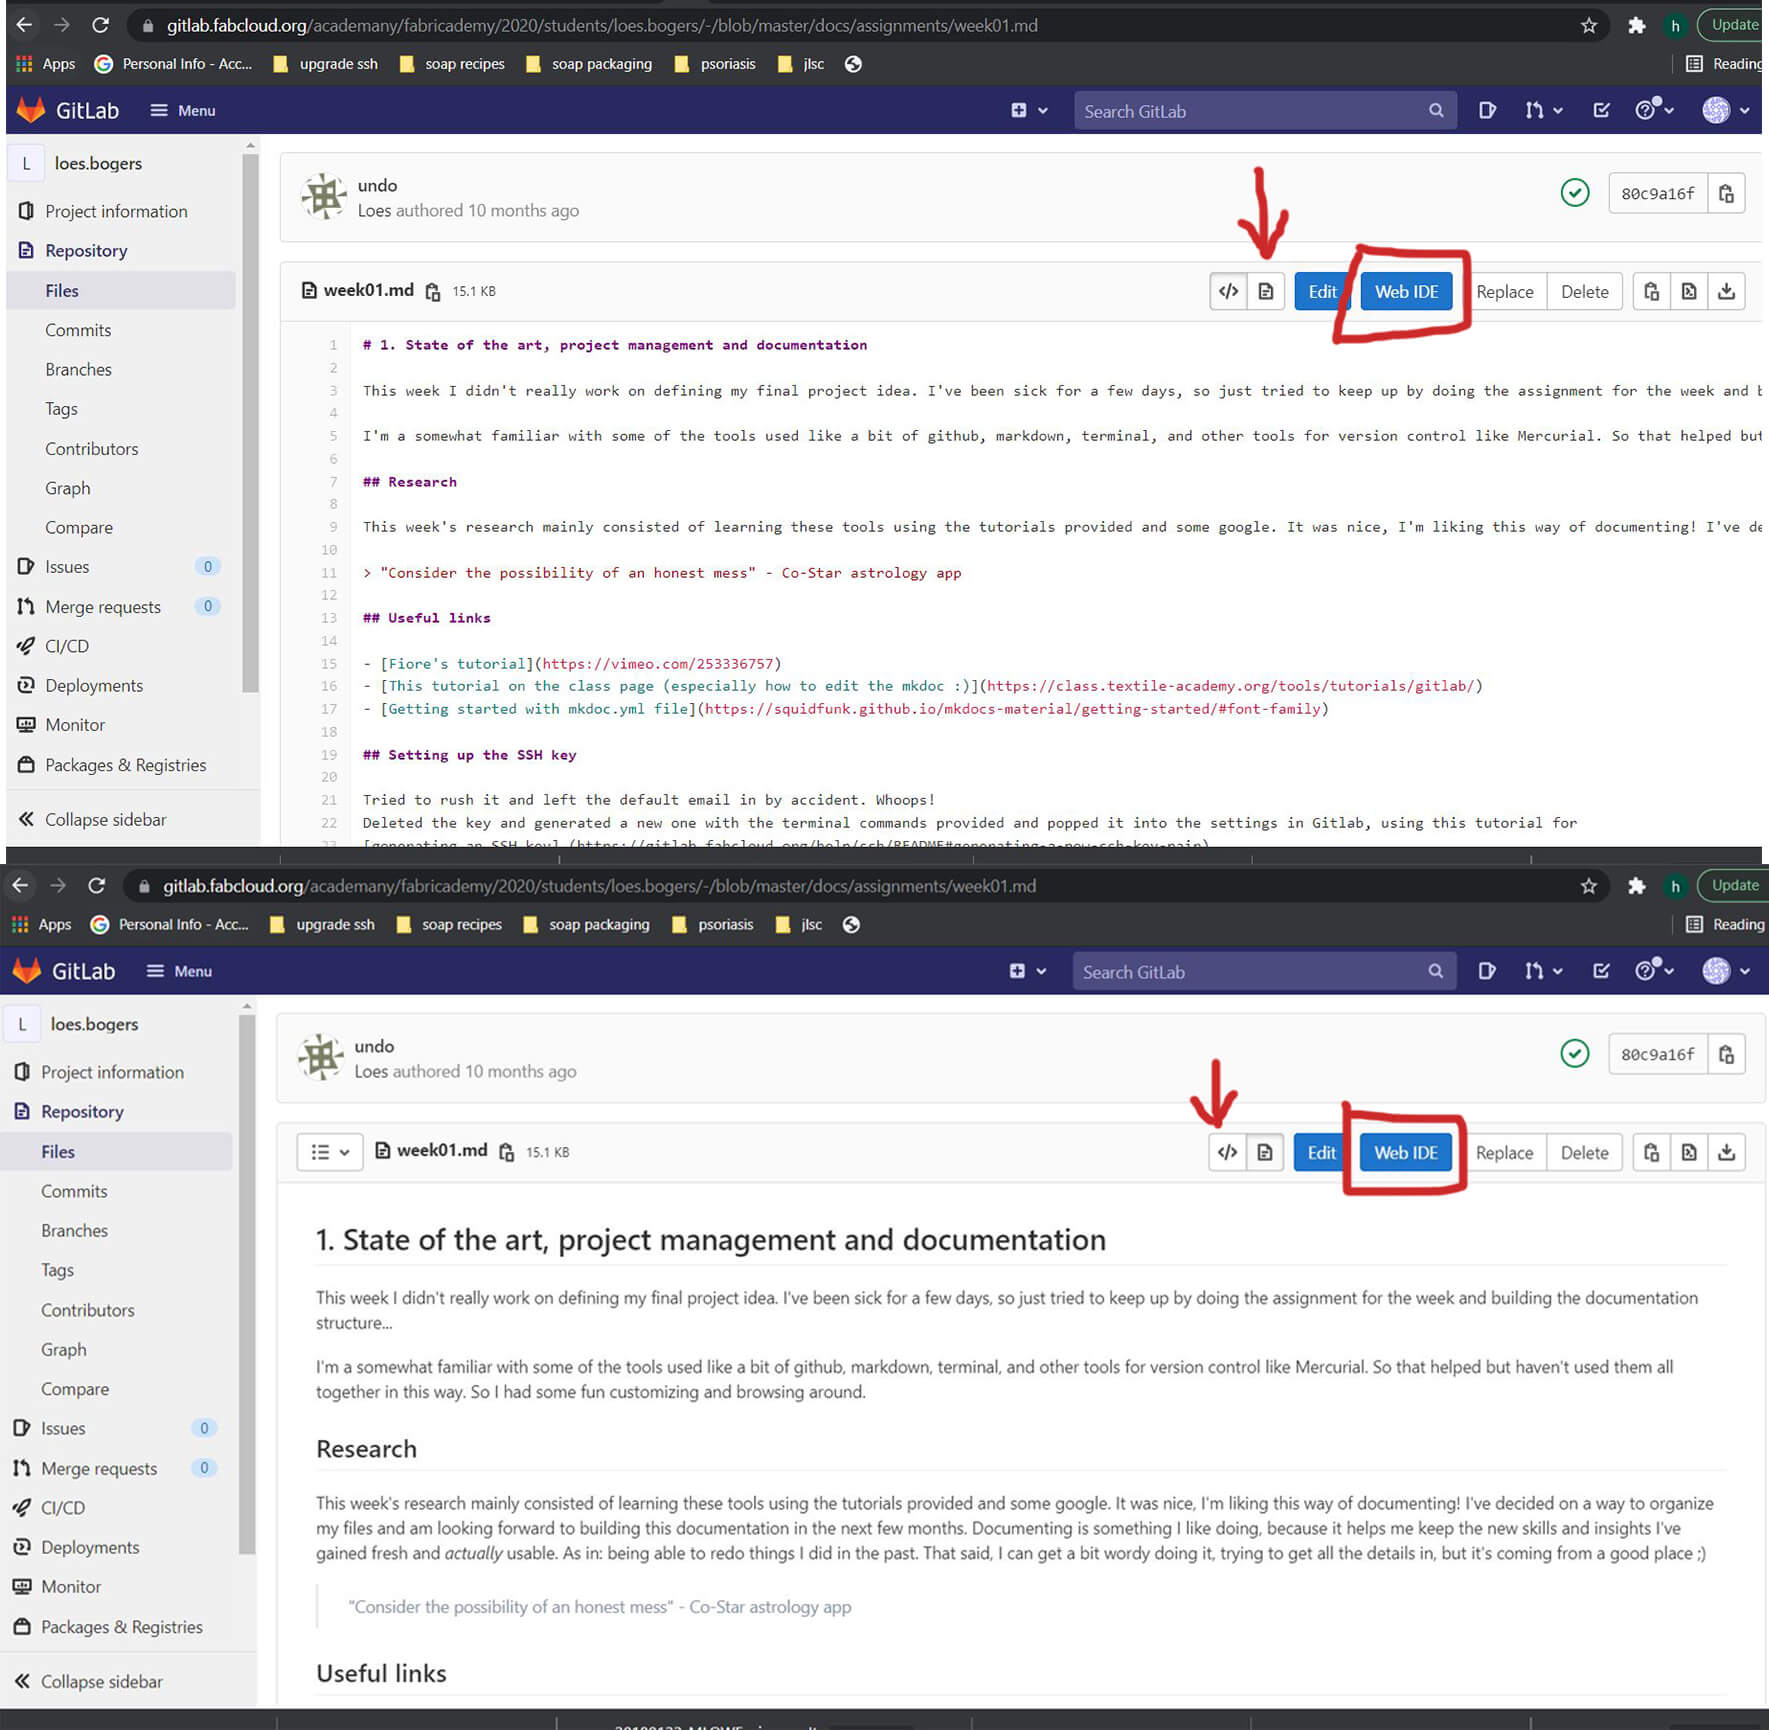
- Going back to the work of previous students and using "the referred to button" to alternate between lines of codes and preview, turned out to be very helpful with code writing
For example, I used Leo's code lines to better understand their coding method just like the picture below
Useful links
- Markdown Handbook
- Markdown Lessons
- TinyPNG
- Canva
- Material for MkDocs github
- Material for MkDocs gitlab
Markdown is hard.Just give it a couple of hours and you'll get the hang of it. That's when things become exciting.