1. DIGITAL BODIES
Inspiration
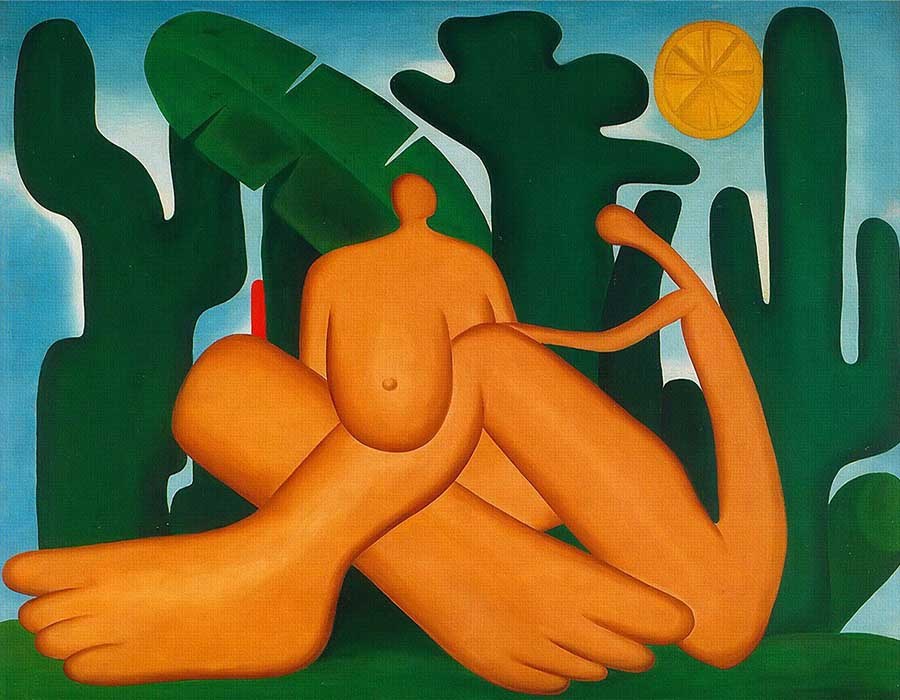
Tarsila do Amaral
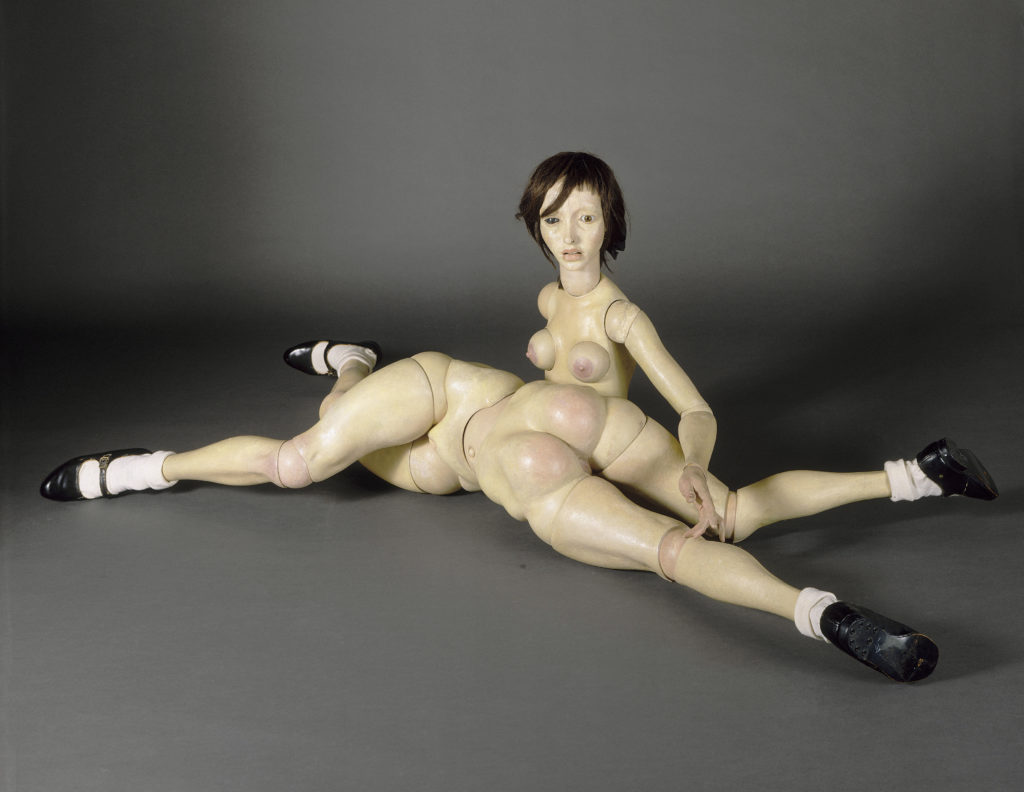
Hans Bellmer
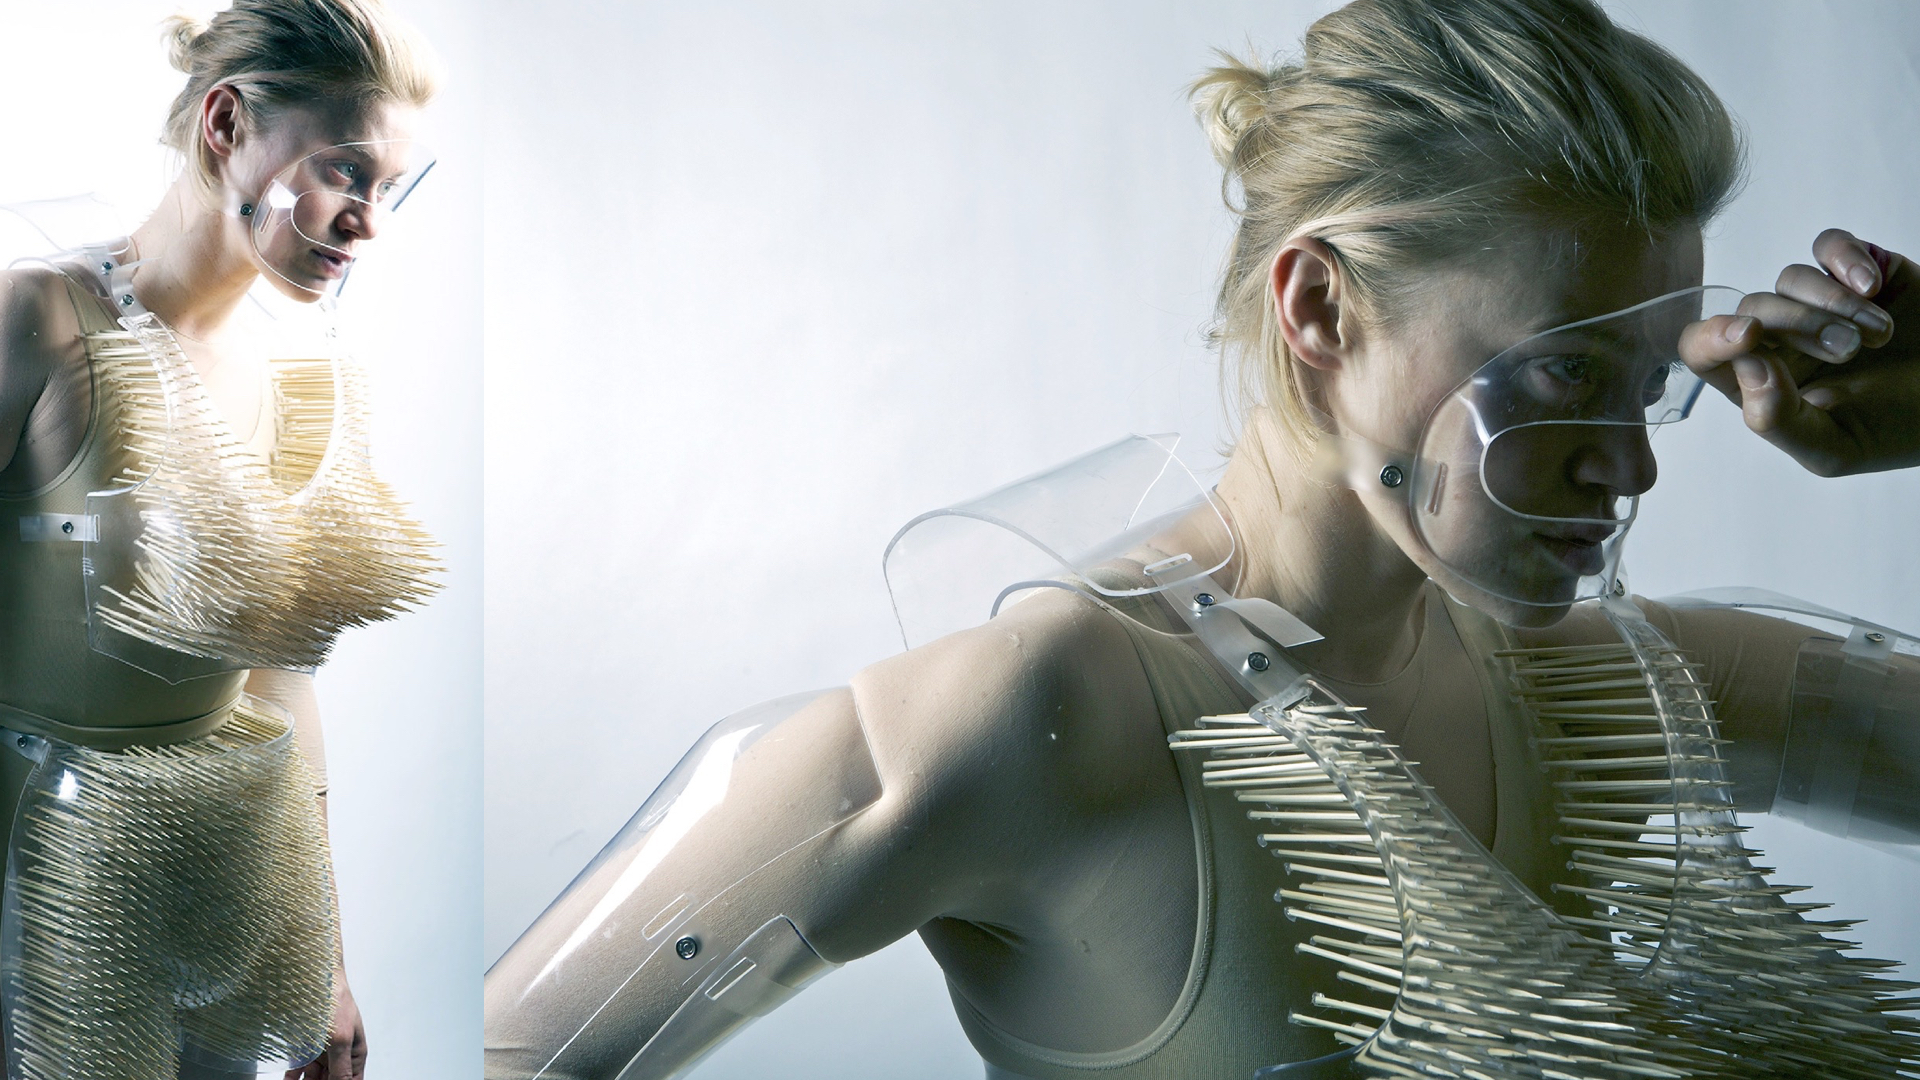
Lucy McRae
Aun Helden

3D model process
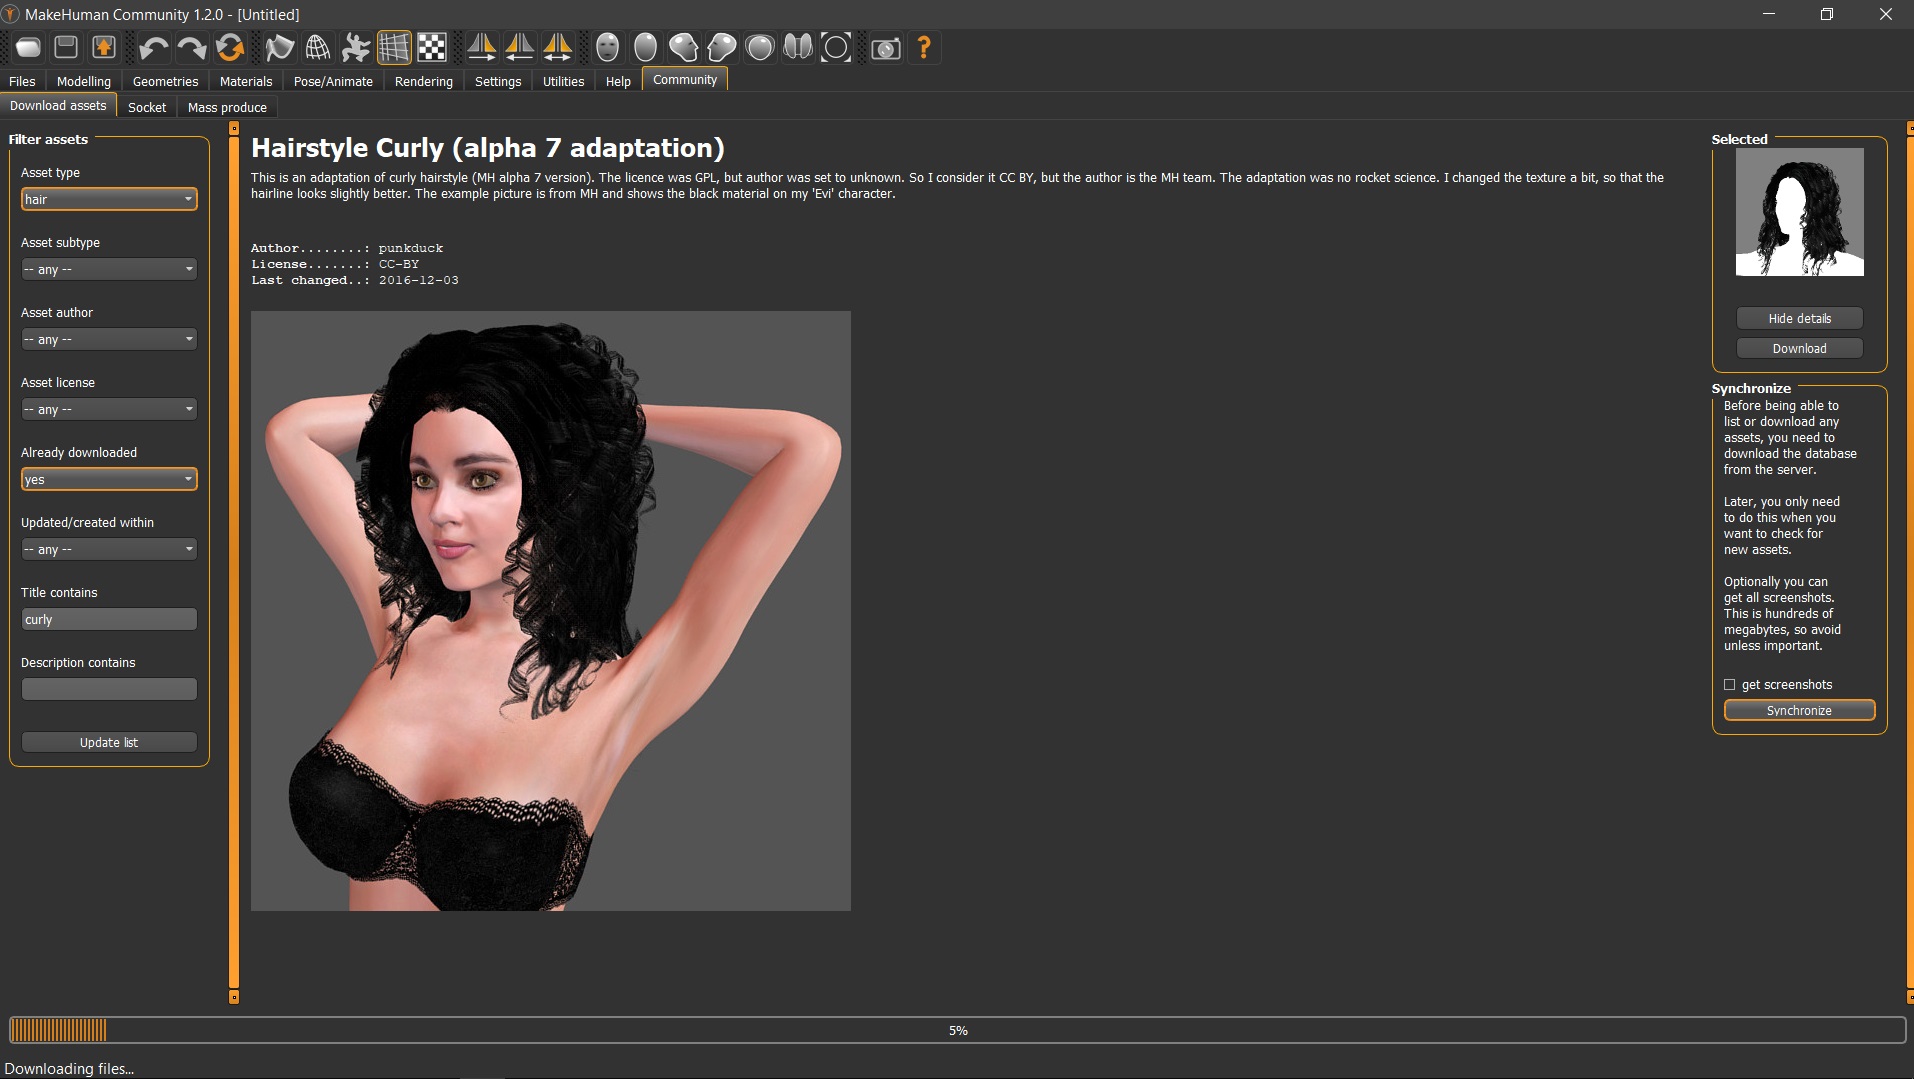
Make human
The first attempt to create my digital version was using the Make Human software. Its user-friendly graphical interface and the wide variety of tutorials make it easy to create in just a few minutes.
Interface User
| Tool | Function |
|---|---|
| main tools | displays a variety of options including viewing angles, model wireframe, save options and more |
| modeling | provides options for defining a model's gender, age and body proportions |
| geometries | used to define external features such as hair, teeth and clothing |
| materials | used to set the character's skin type and eye color. For reference, it also reiterates what the user has selected for eyelashes, eyebrows, teeth and hair in the main Geometries tab |
| animate pose | used to manipulate the character's skeleton according to what the character will be used for, the character's pose and the character's facial expression |
| rendering | used to set the resolution of the model to be rendered. If the resolution is too low, the anti-aliasing checkbox can be checked to make the rendering cleaner and smoother |
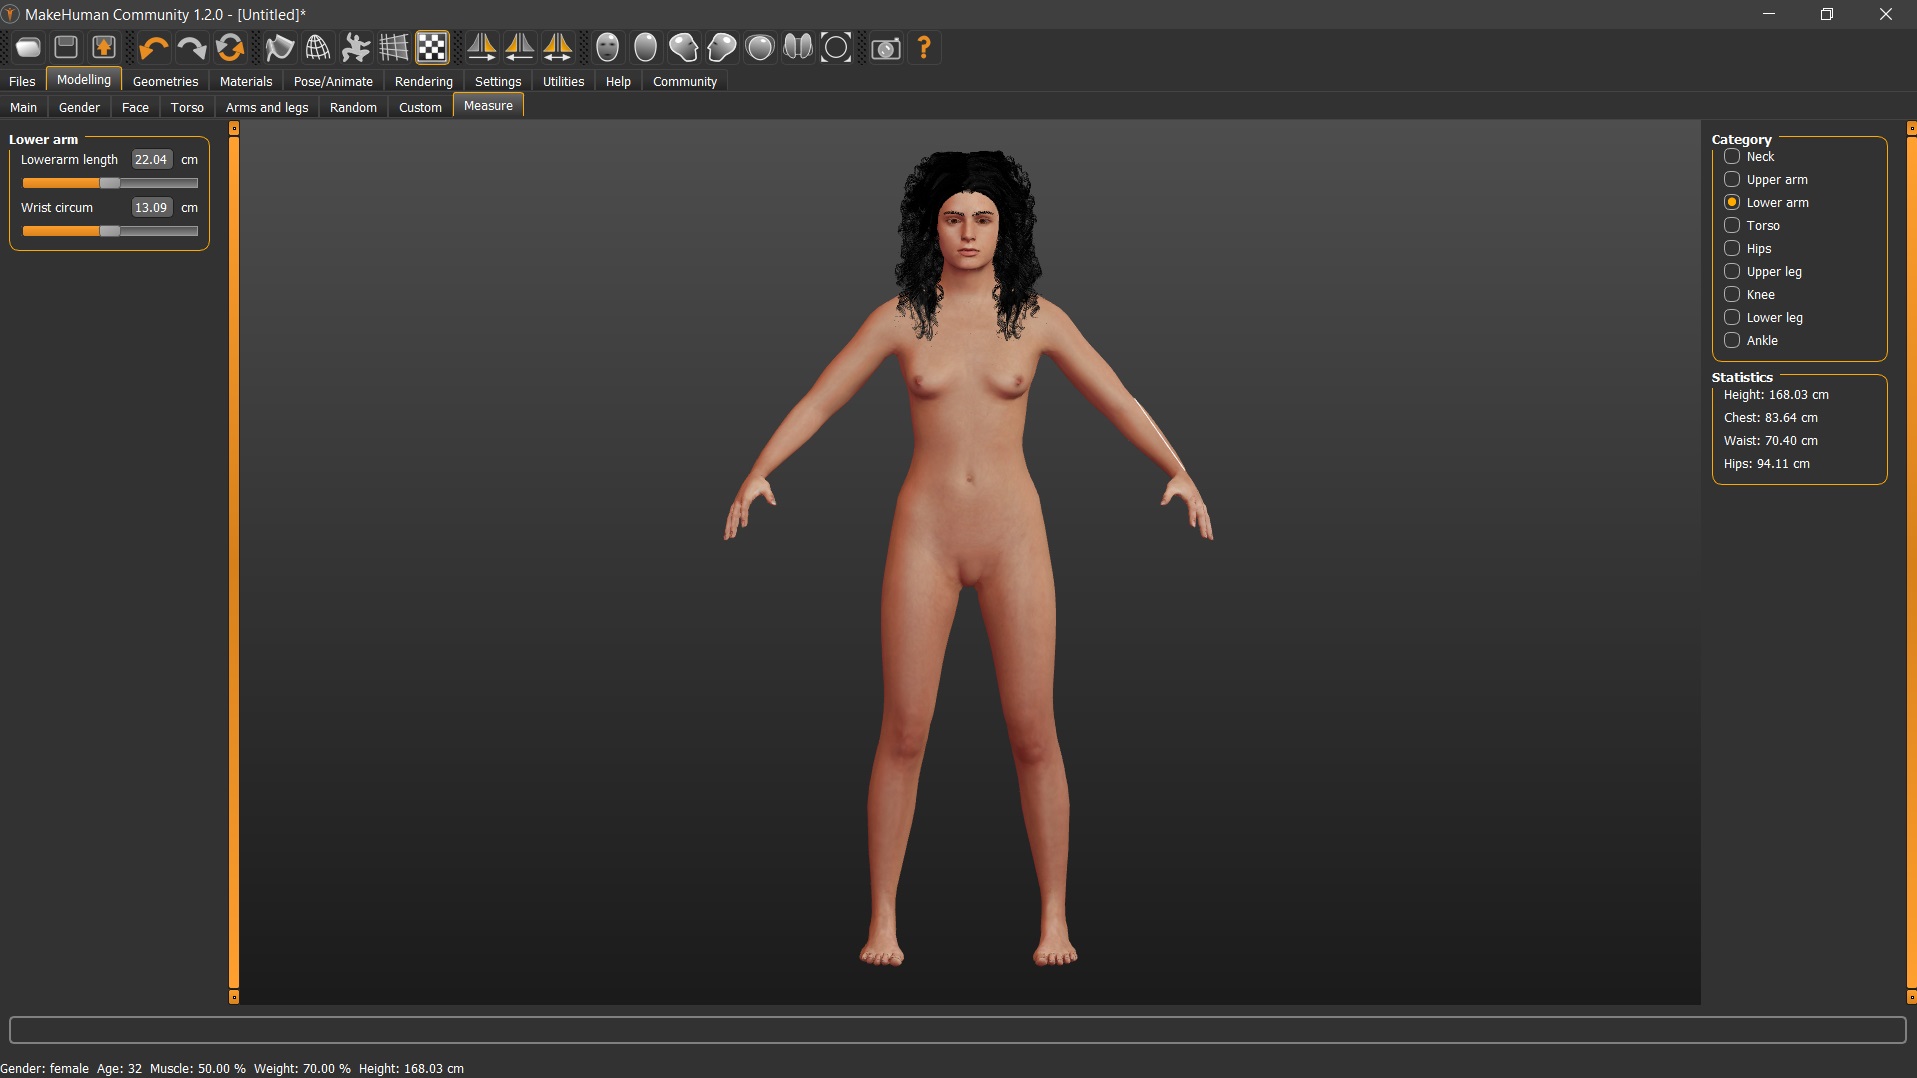
The software doesn't have the option "curly hair" and when choosing straight hair I realized that I lost my personality. I ended
up discovering that you can download assets (hair, clothes, poses) from Make human community . This tutorial explains in a simple way how to do this.
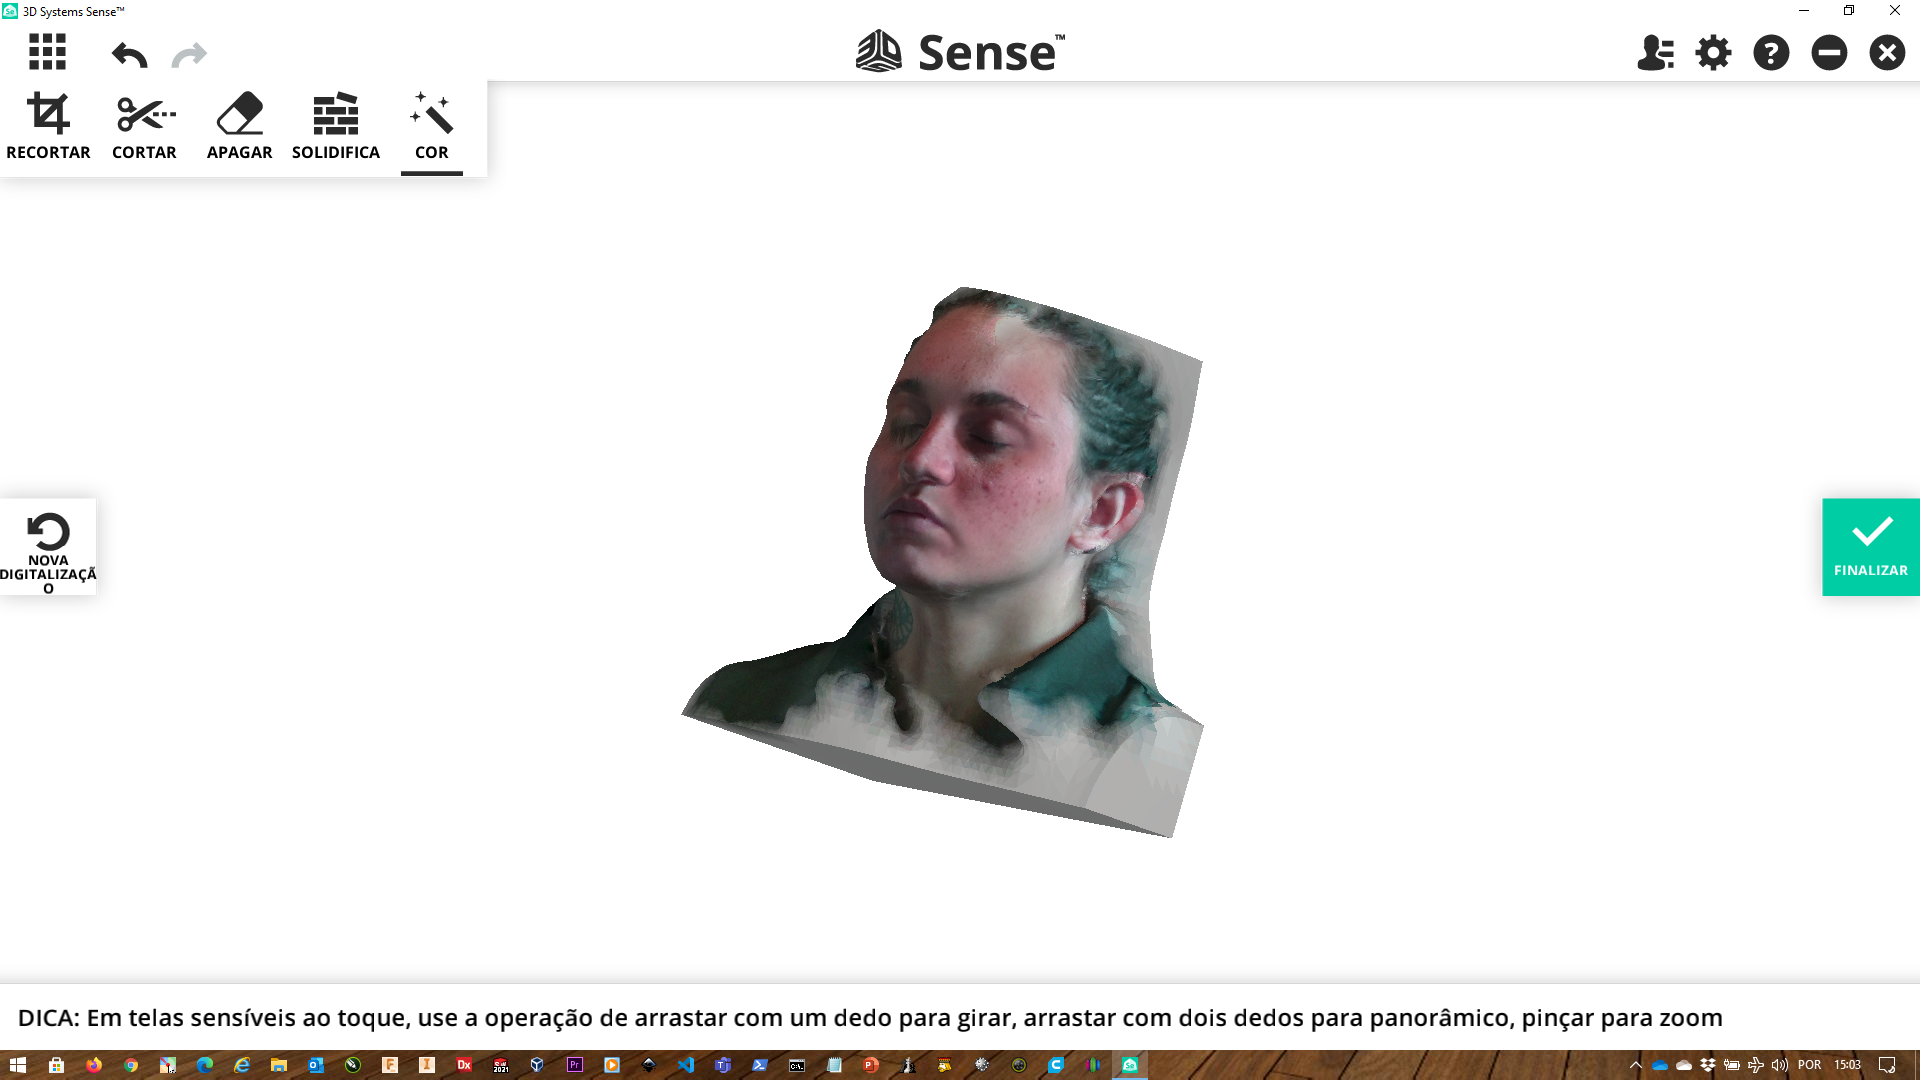
3D scanning
To scan my face I went to Fablab Resende and used the SCANNER 3D STRUCTURE device. The process is very simple. You need software Sense 3D Scan that will guide you through the process and scan the object or body part.
I chose to scan most of my face because scanning the entire head would have trouble editing the hair. After the scanning process I was able to visualize the result through the scanner software. I saved the file in OBJ format to later be able to edit it.
3D file manipulation
Meshrepair tool
I imported the OBJ file into the software Meshmixer. To cut some parts that I didn't find aesthetically interesting I used the tool Plane CUT :
| STAGE | STEP |
|---|---|
| 1 | Select Edit – Plane Cut |
| 2 | An airplane will appear. You can move it using the three axis gizmo |
| 3 | set a plane by holding down the left mouse button and moving the mouse |
| 4 | Select one (cut) from the Cut-type drop-down menu |
| 5 | Select the hole filling method from the Fill-type drop-down menu. I used the Remeshed Fill. |
| 6 | Accept the cut. The model will still look like a part. Repeat the process for the other parts. |
After editing the 3D file, I selected “Export” and chose to save as STL.
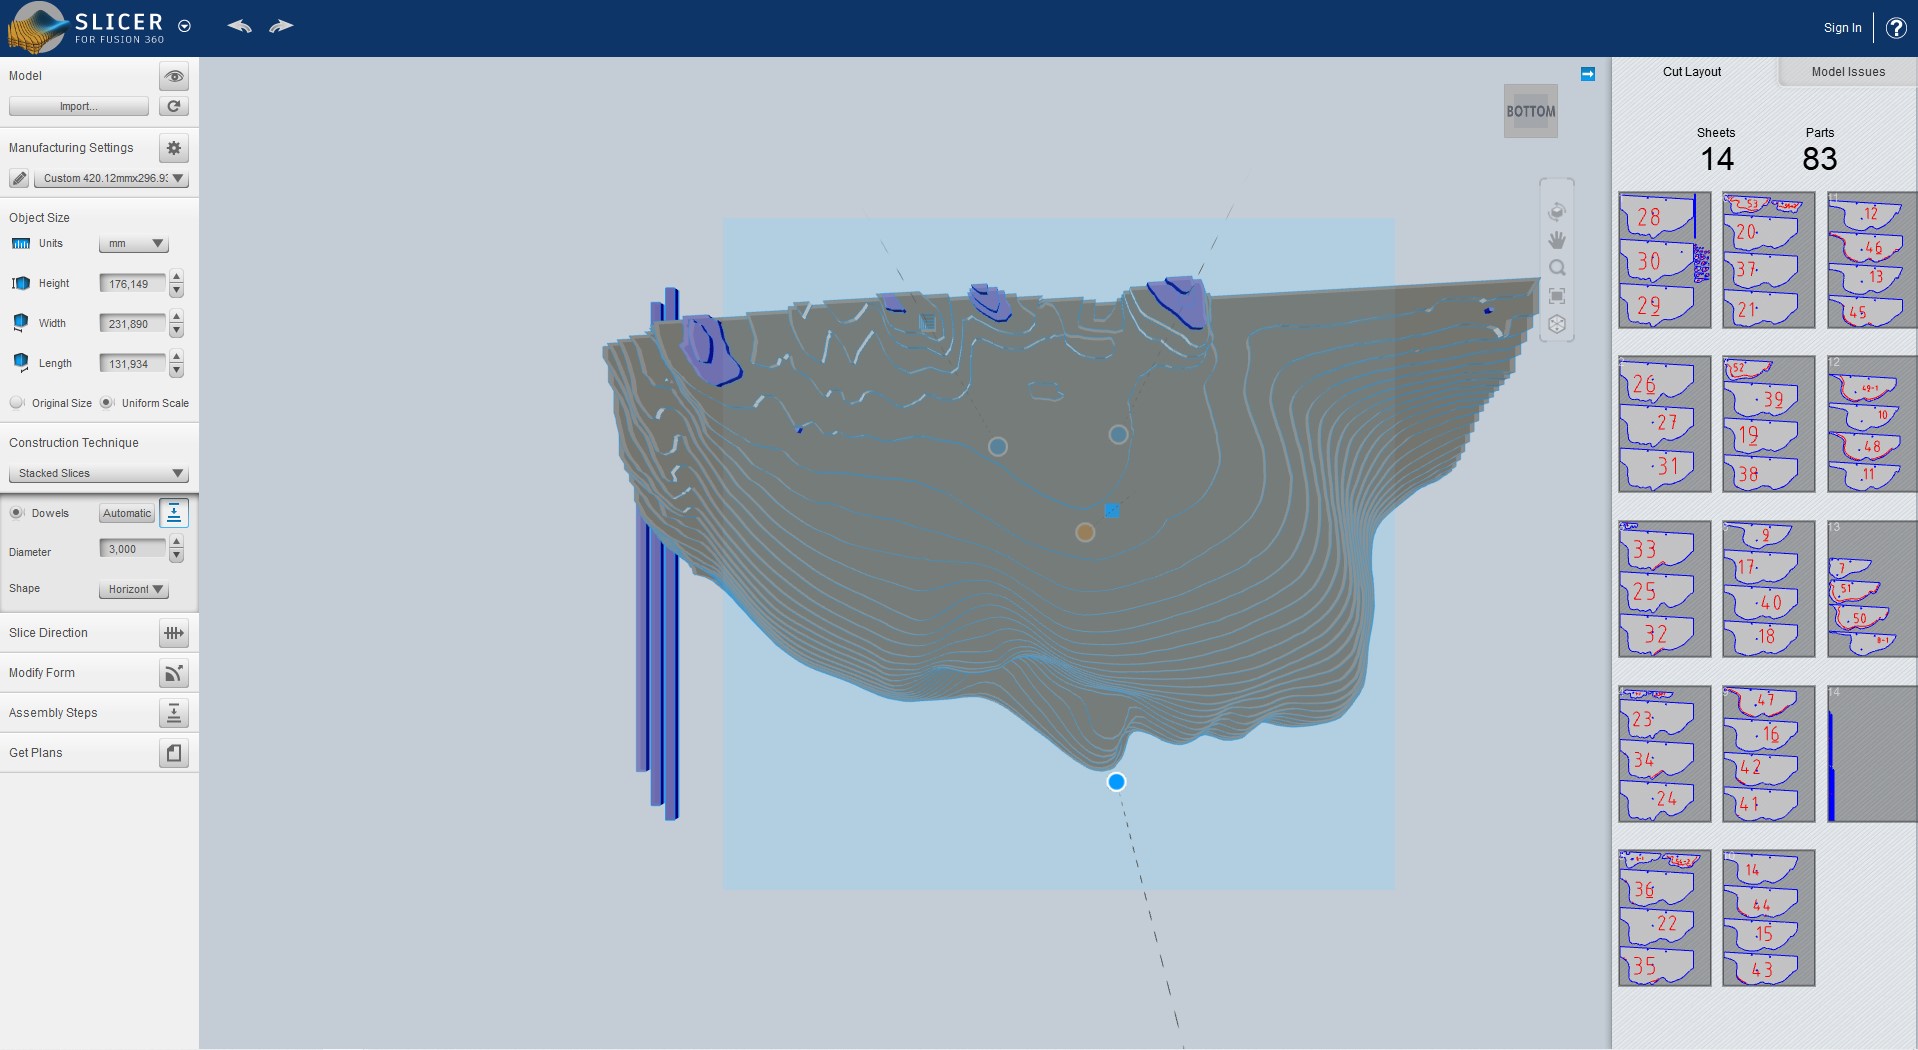
Slicing
Laser cutting is a manufacturing method that is limited to only cutting flat surfaces, so I used the slicer Slicer for Fusion 360 to convert my 3D model into slices suitable for laser cutting.
Preparation for laser cutting
| STAGE | STEP |
|---|---|
| Import and file setup | Import the STL file into Slicer through the Menu on the top left. After Importing, the material dimensions and thickness is set through the Manufacturing ettings tab. Click on the pencil icon to open this menu: Units: mm / Width/Length: 297x420mm/ Thickness: 3mm and lastly, tick the “Original Size” Option |
| Construction techniques | Below the Object Size controls, a construction technique is selected. I Clicked on the drop down menu and select Stacked Slices |
| Slice direction, Modifying form, | I didn't change |
| Assembly steps | This panel simply shows an animated process of the pieces coming together in the model. After the pieces have been cut, use the slider to see the step by step. This helps with the assembly process. |
| File export | Click the Get Plans tab and select the file that will be exported to your computer as DXF in mm. |
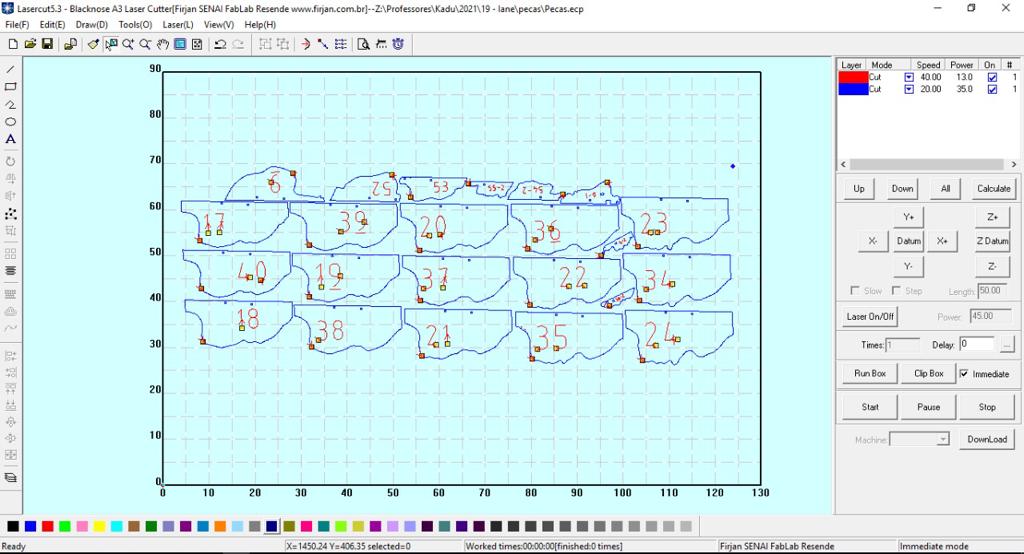
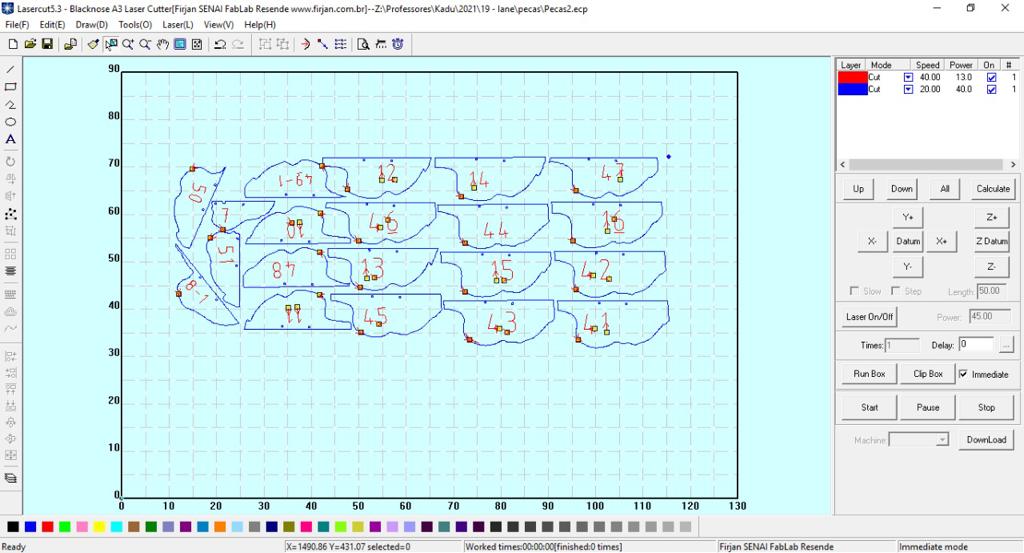
Machine Settings
Resende's laboratory has a WL 1290HS laser cutter. Kadu "fablab guru" helped me configure in the software the power I should use to cut a 3 mm thick MDF sheet. The laser cutting machine software only reads lines, so I just had to open the dxf file and arrange it on the desktop.
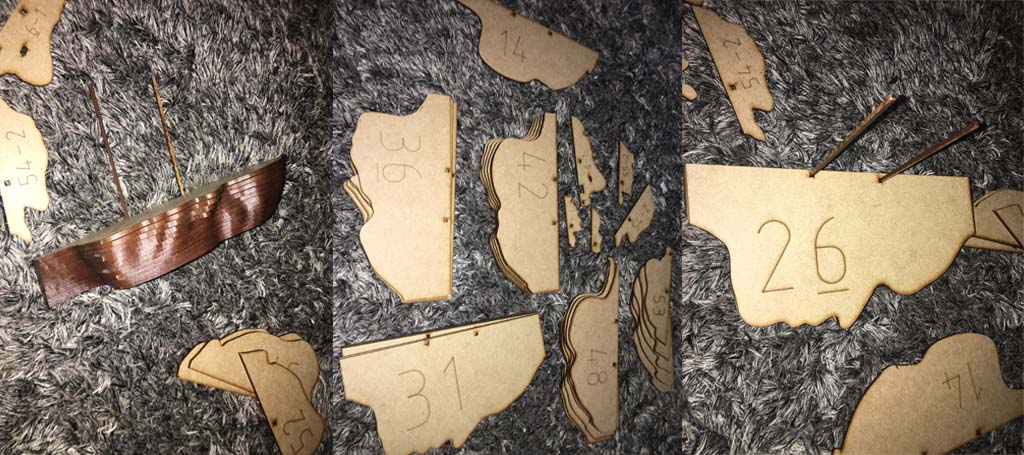
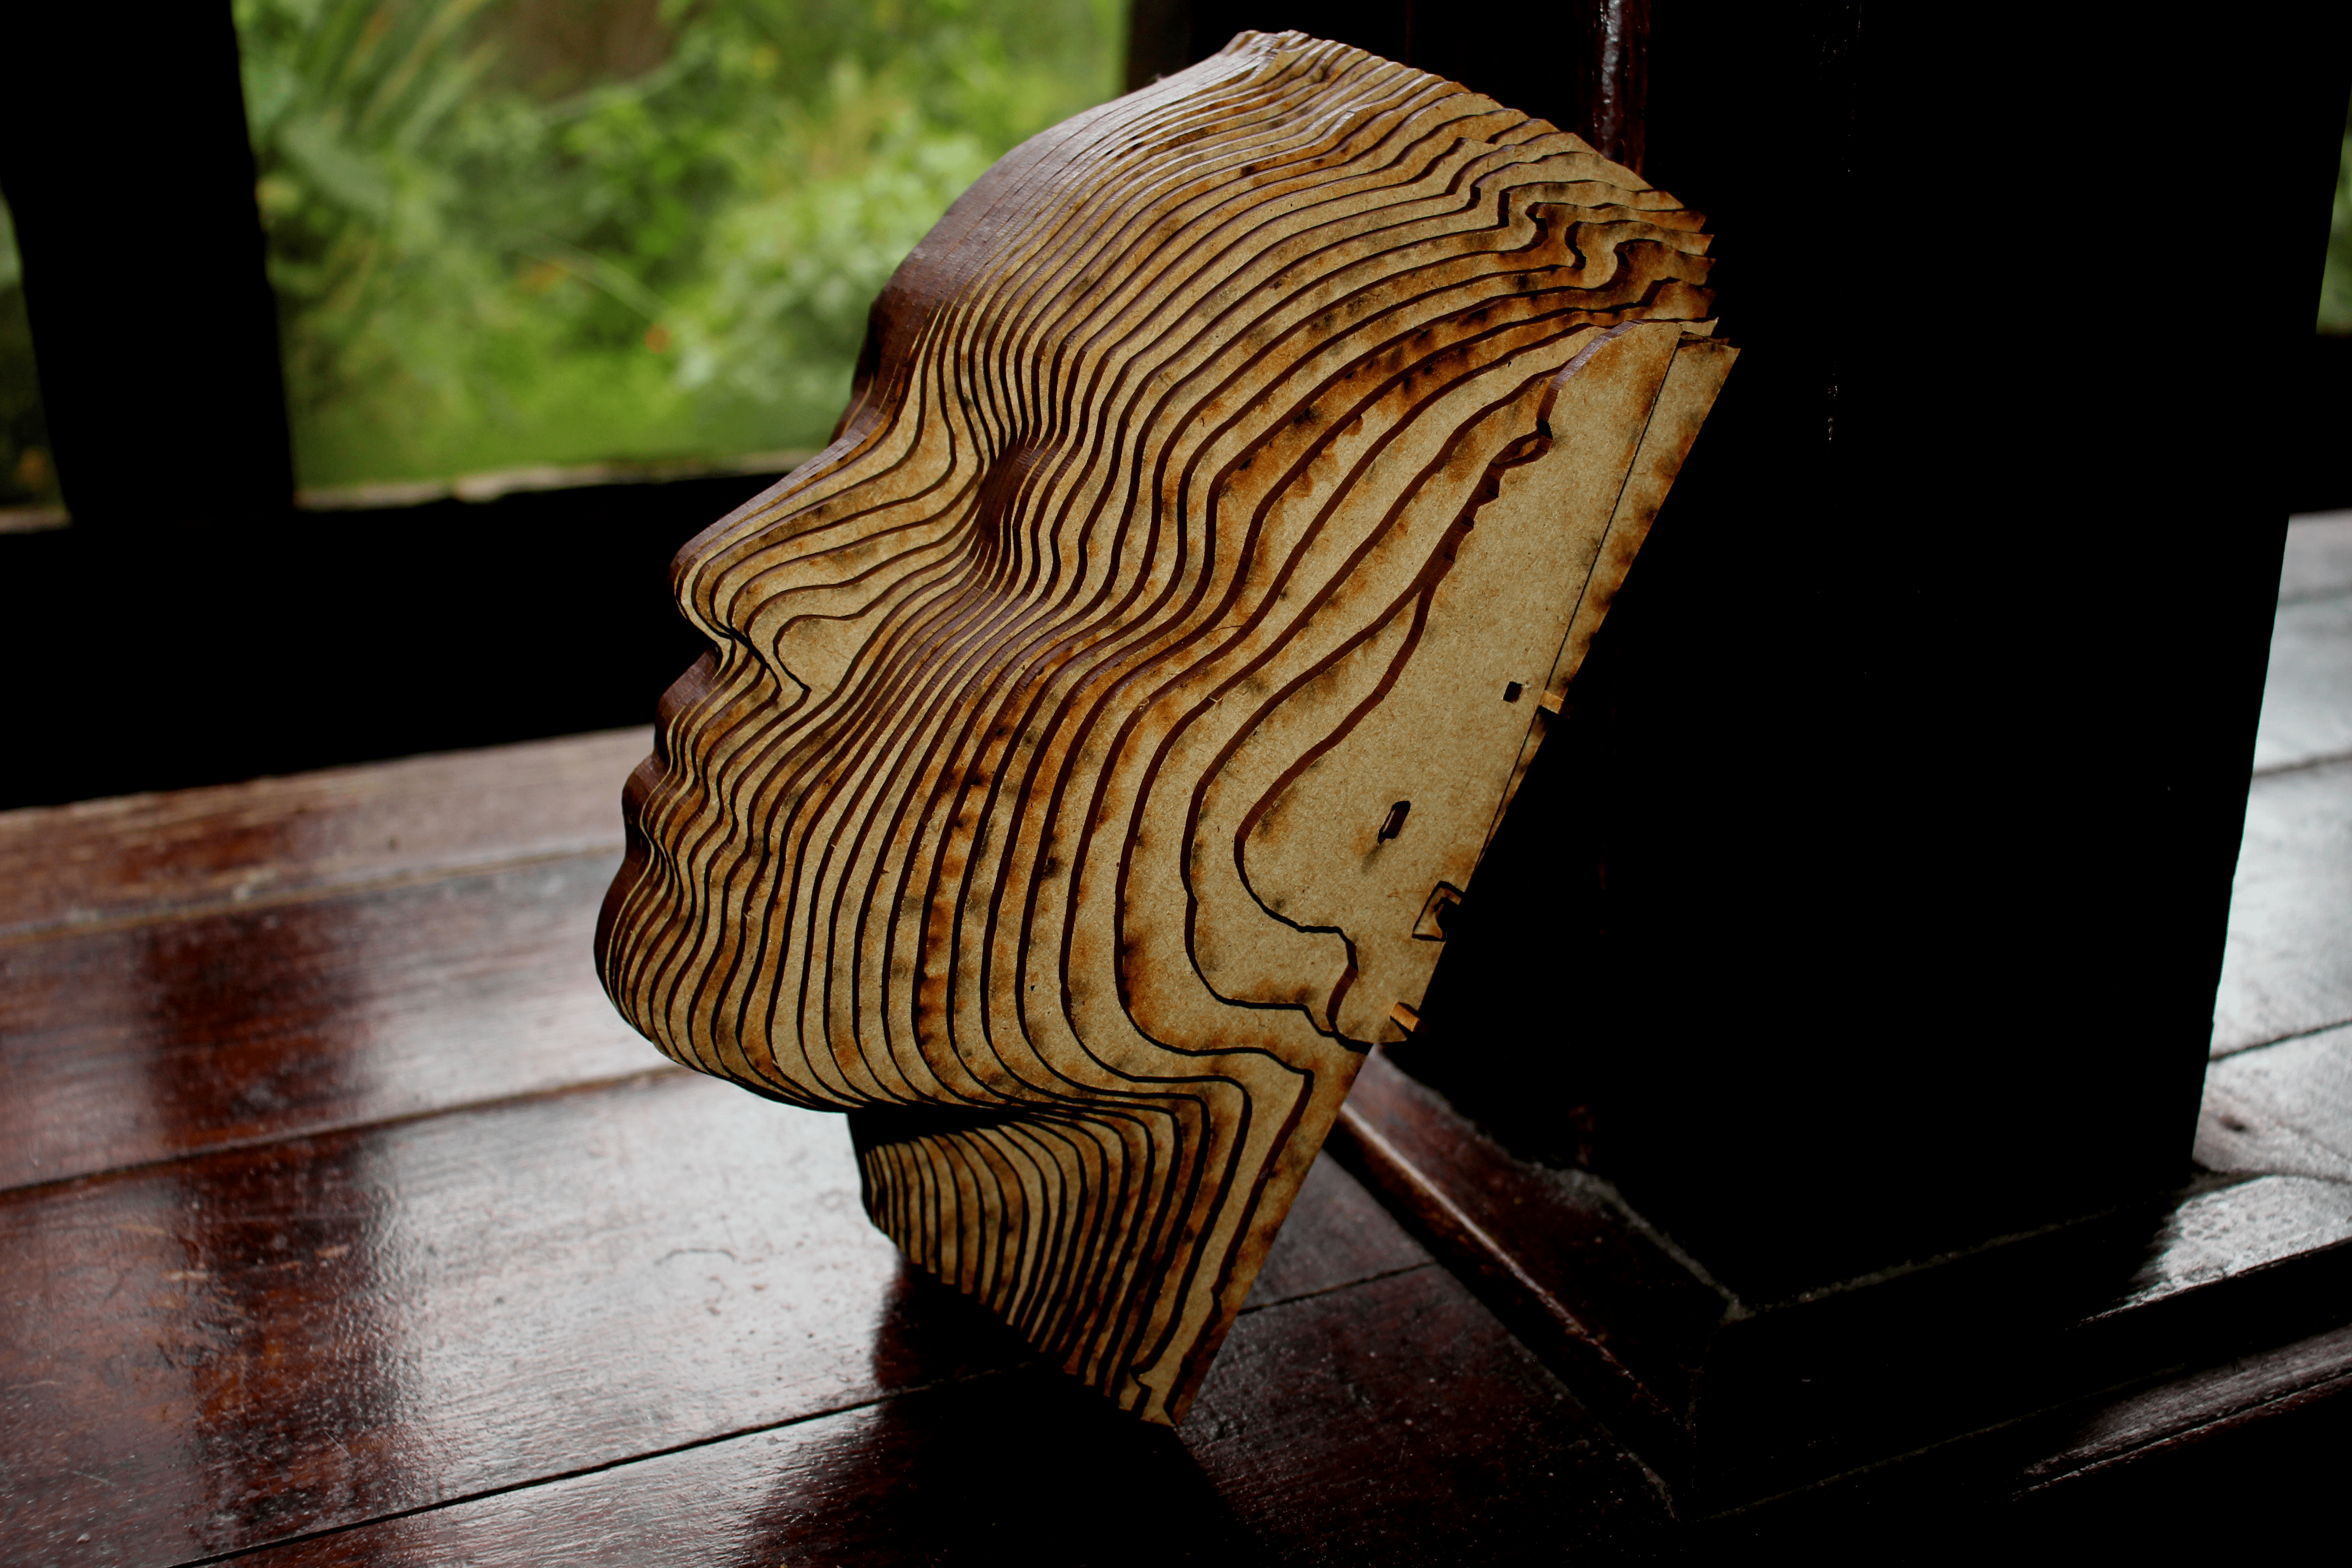
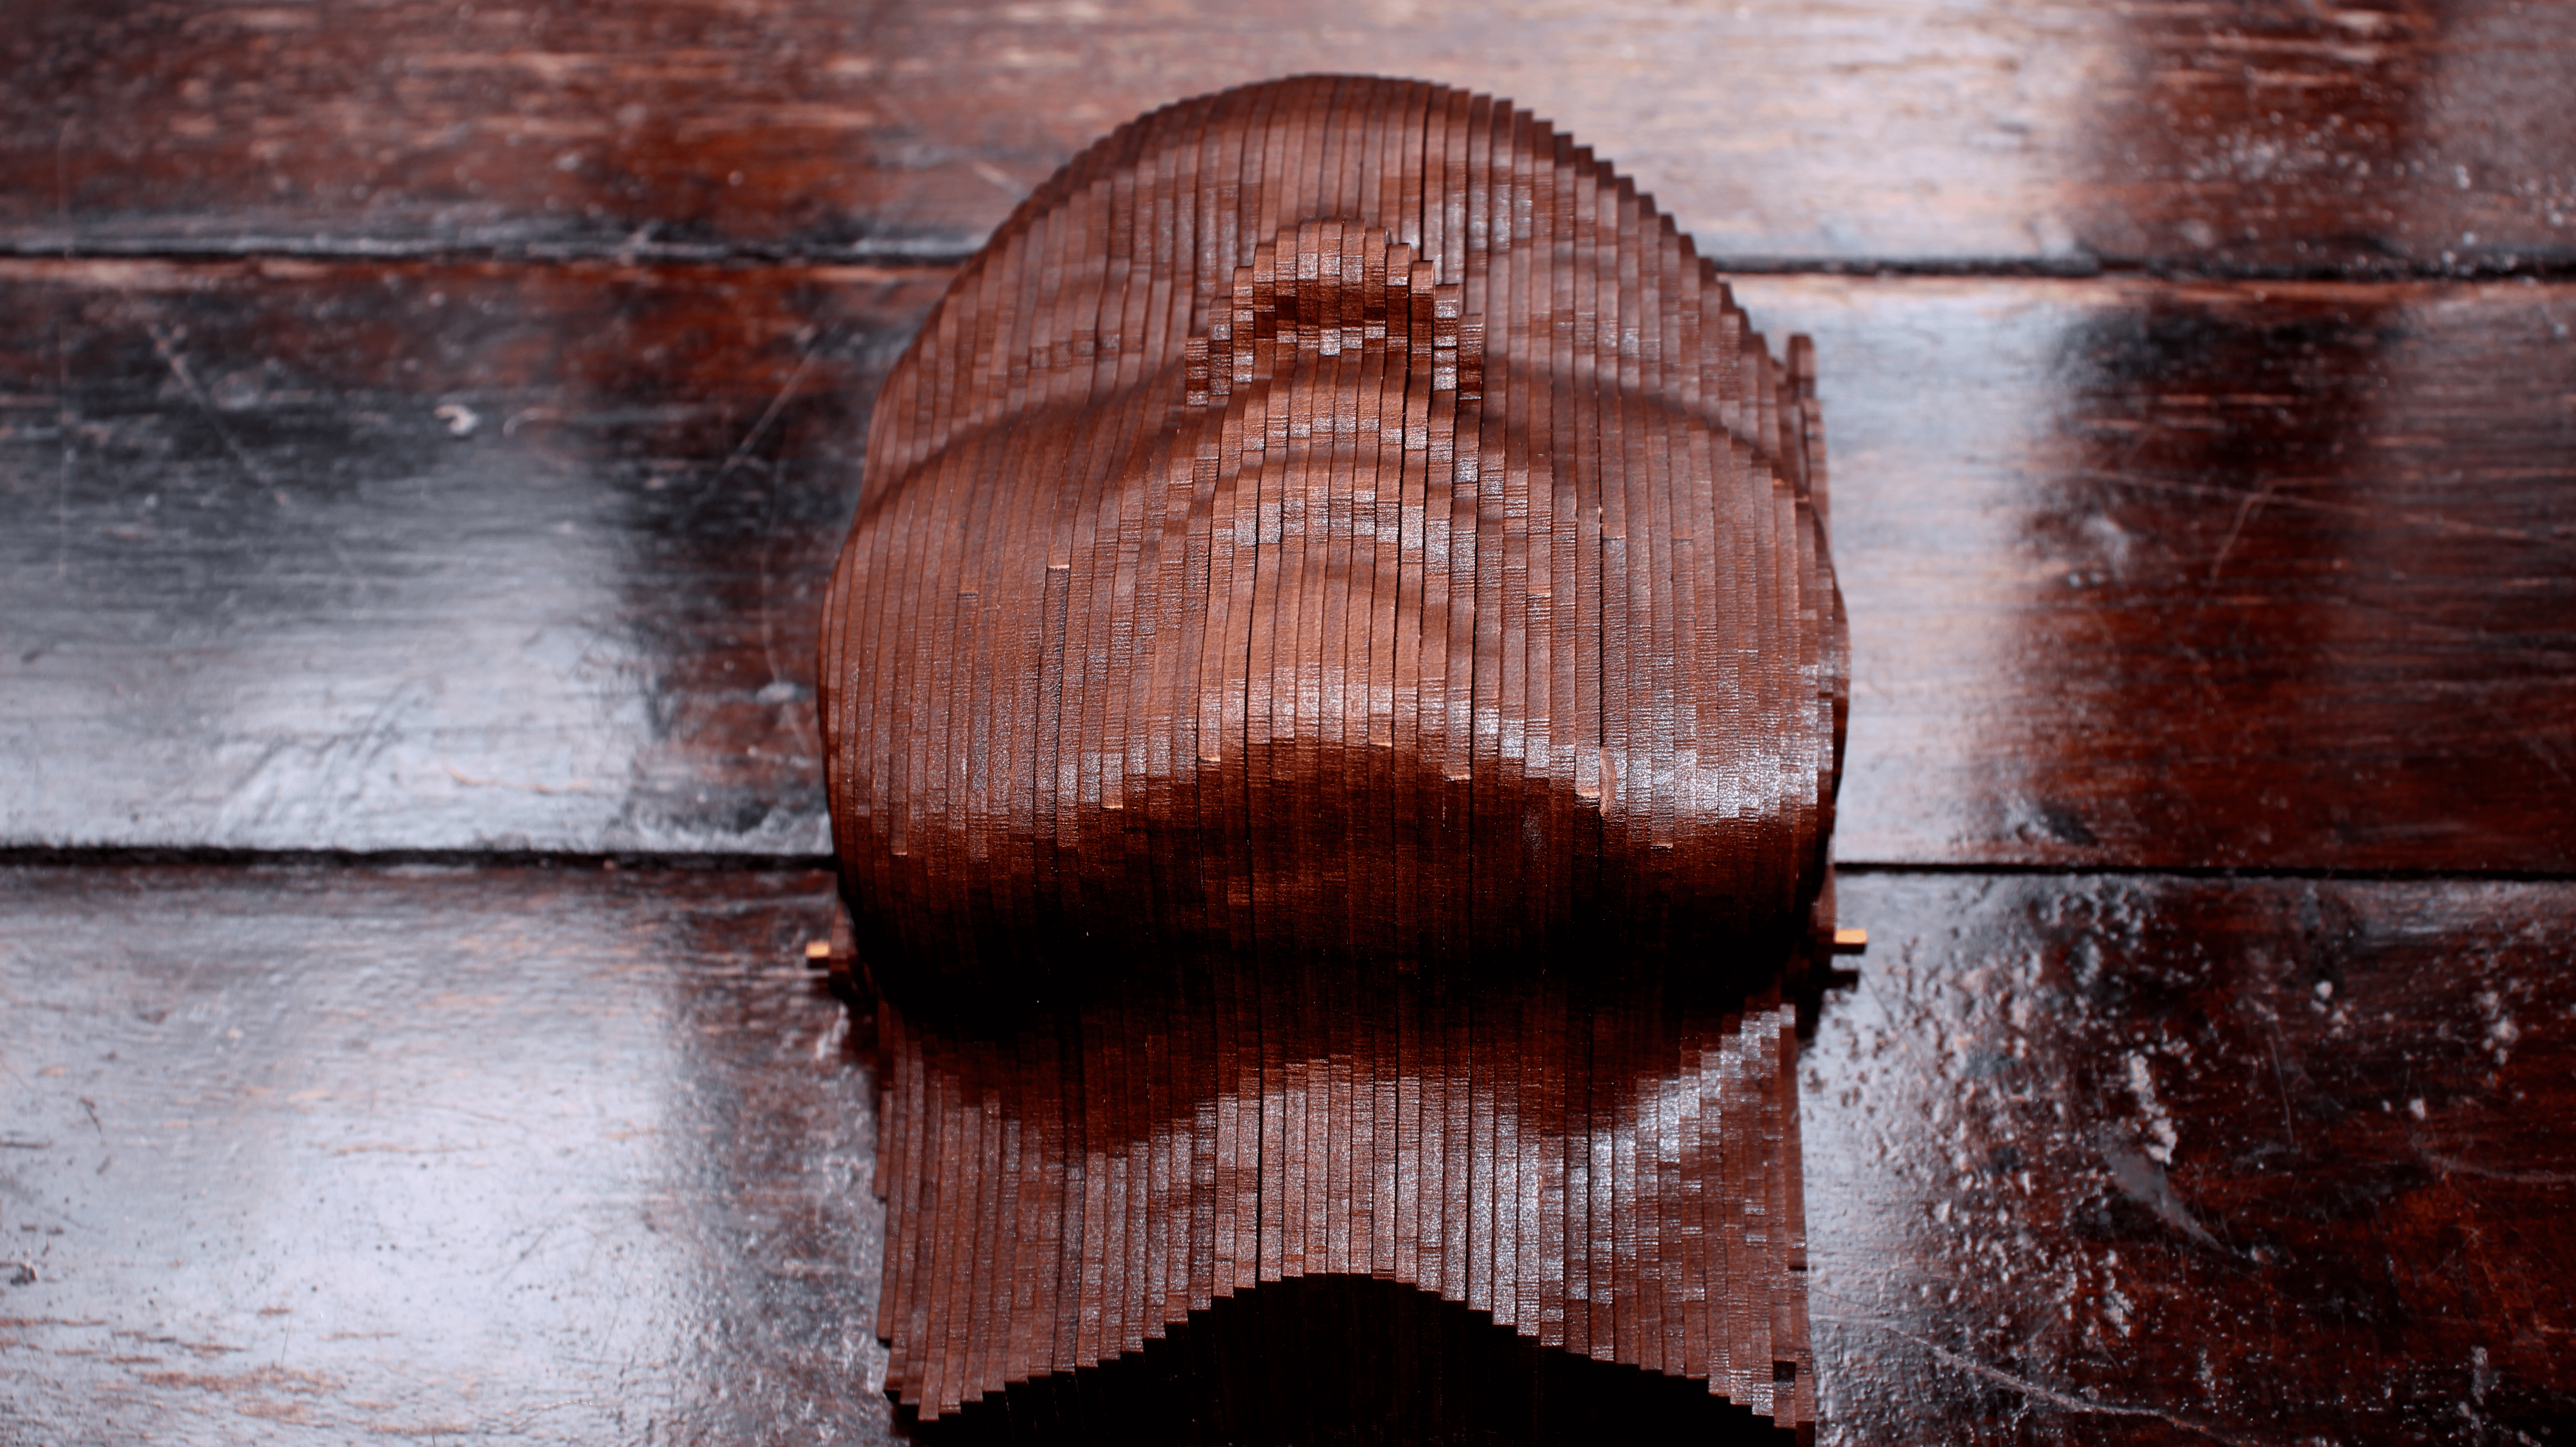
Assembly
After the pieces were cut I used the slider to see the assembly steps on the panel. I organized by numbering and assembled by fitting the support sticks.
Head
Files
References
Fabricademy 2021-22 Tutorial Slicer 3D
Slicer for Fusion 360 Software