10. Open Hardware
CONCEPT
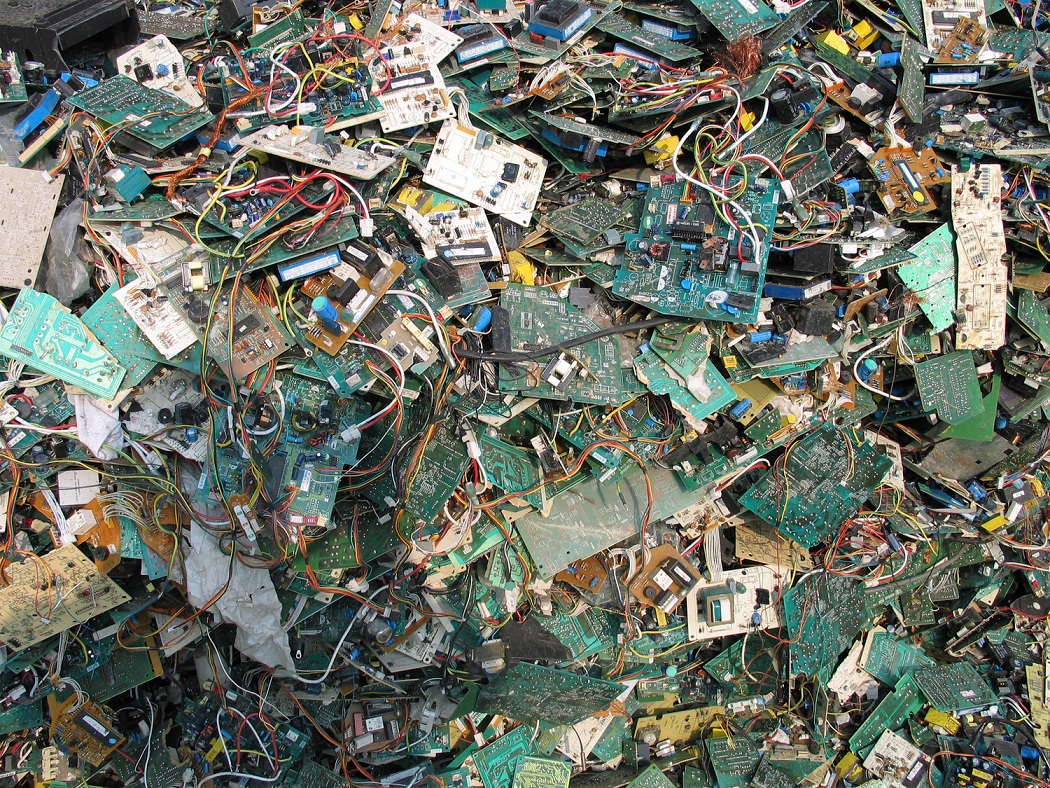
Brazil is the fifth largest producer of electronic waste in the world. According to the survey Electronic Waste in Brazil – 2021, by Green Eletron, most Brazilians (87%) have heard of electronic waste, but a third (33%) believe that it is related to digital media, such as spam, and emails, photos or files.
Lead, barium and other heavy metals present in broken TVs, monitors and cameras dumped on the ground have the ability to reach the groundwater in the environment, contaminating them.
Mercury, cadmium, brominated dioxin, among other elements present on printed circuit boards emit polluting gases both into the air and into rivers. The chips, and other gold-plated components, still contain substances, such as hydrocarbons, that acidify rivers, their fauna and flora;
The burning of equipment composed of hydrocarbons, such as copper wires used in computer machines, reaches the air, water and soil, also through the emission of acid gases. The crushing of these equipment for reuse generates emissions, again, of brominated dioxins, hydrocarbons and toxic heavy metals.
The lack of information and consequently the non-specialized disposal are the main causes of these problems, but little is discussed about the form of production. Understanding how the production of these boards works and replacing them with non-harmful materials I thought about using my printer adapting a brush pen loaded with conductive ink to create circuits. I know it's a very beginner's thought but it makes me think about e-textiles and wearables and how they will also be electronic waste in the future.
Fabrication methods
PROCESS
Initial setting
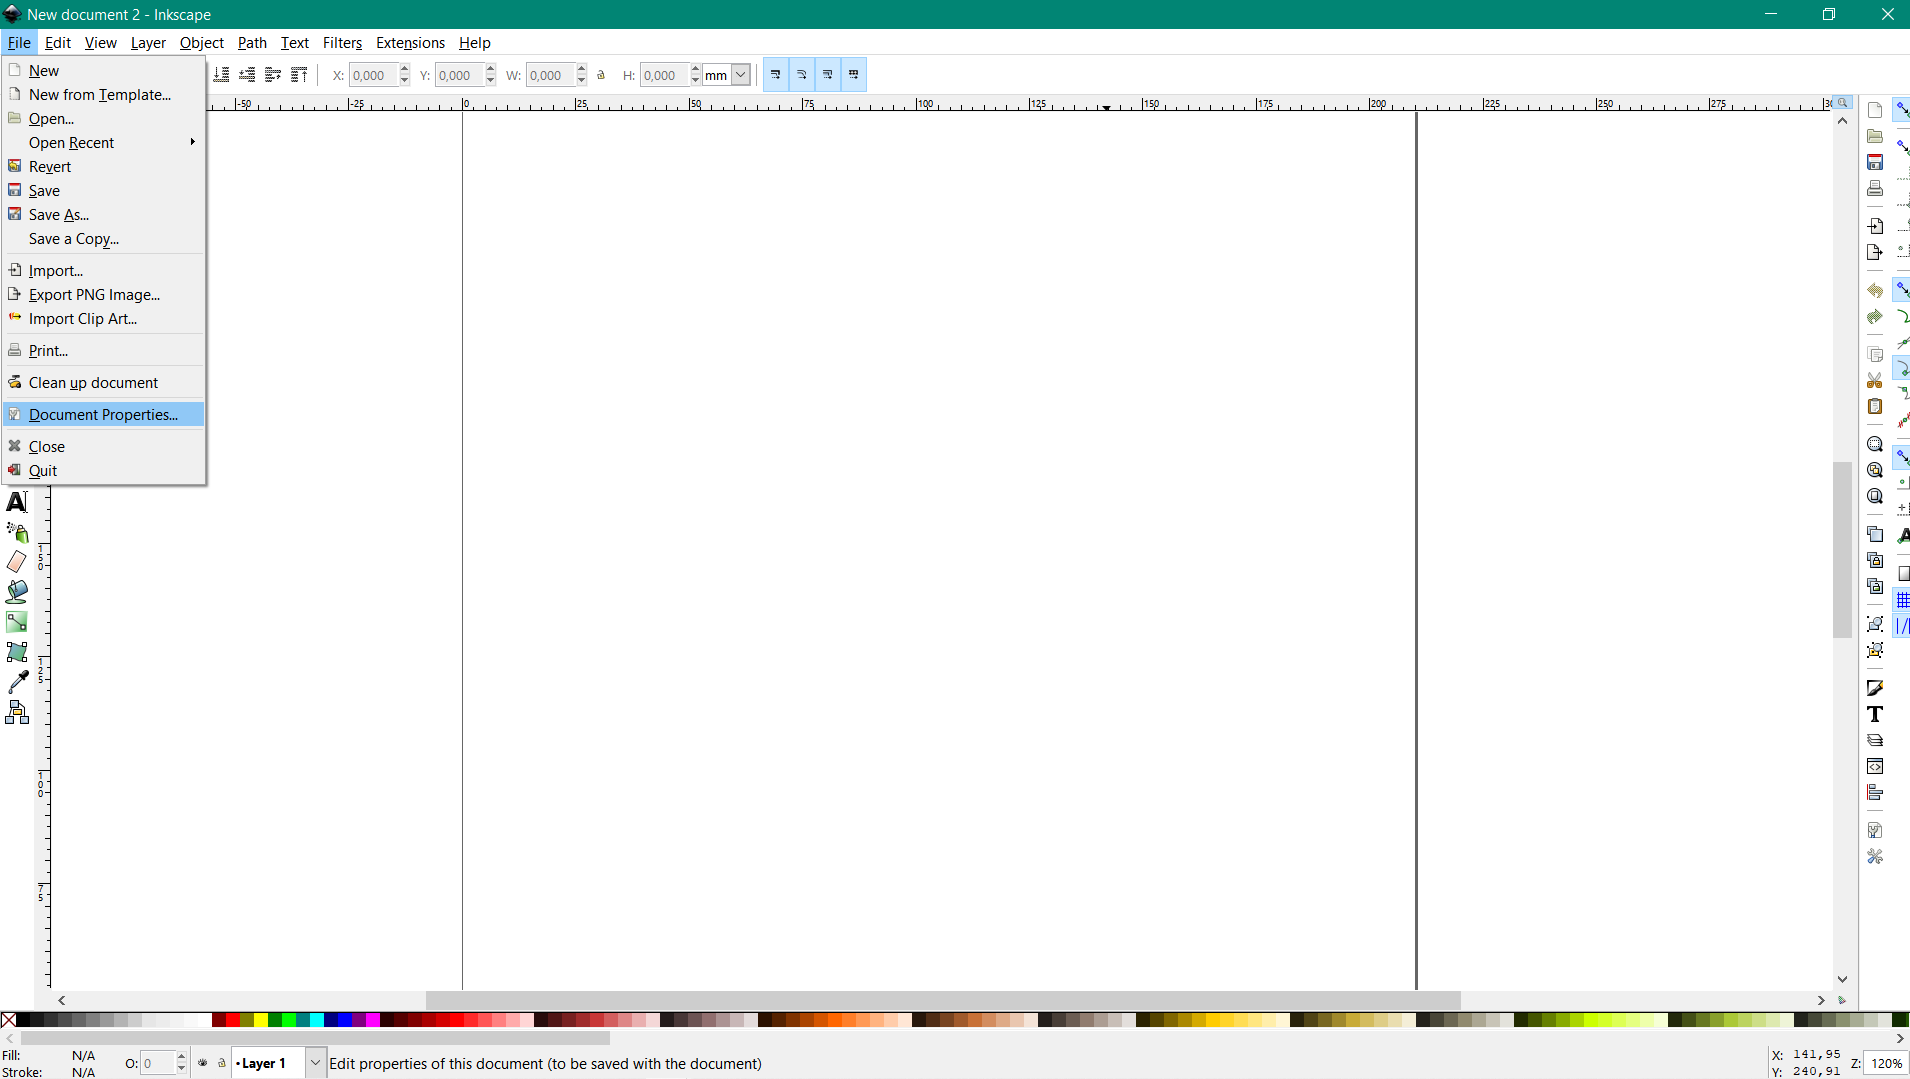
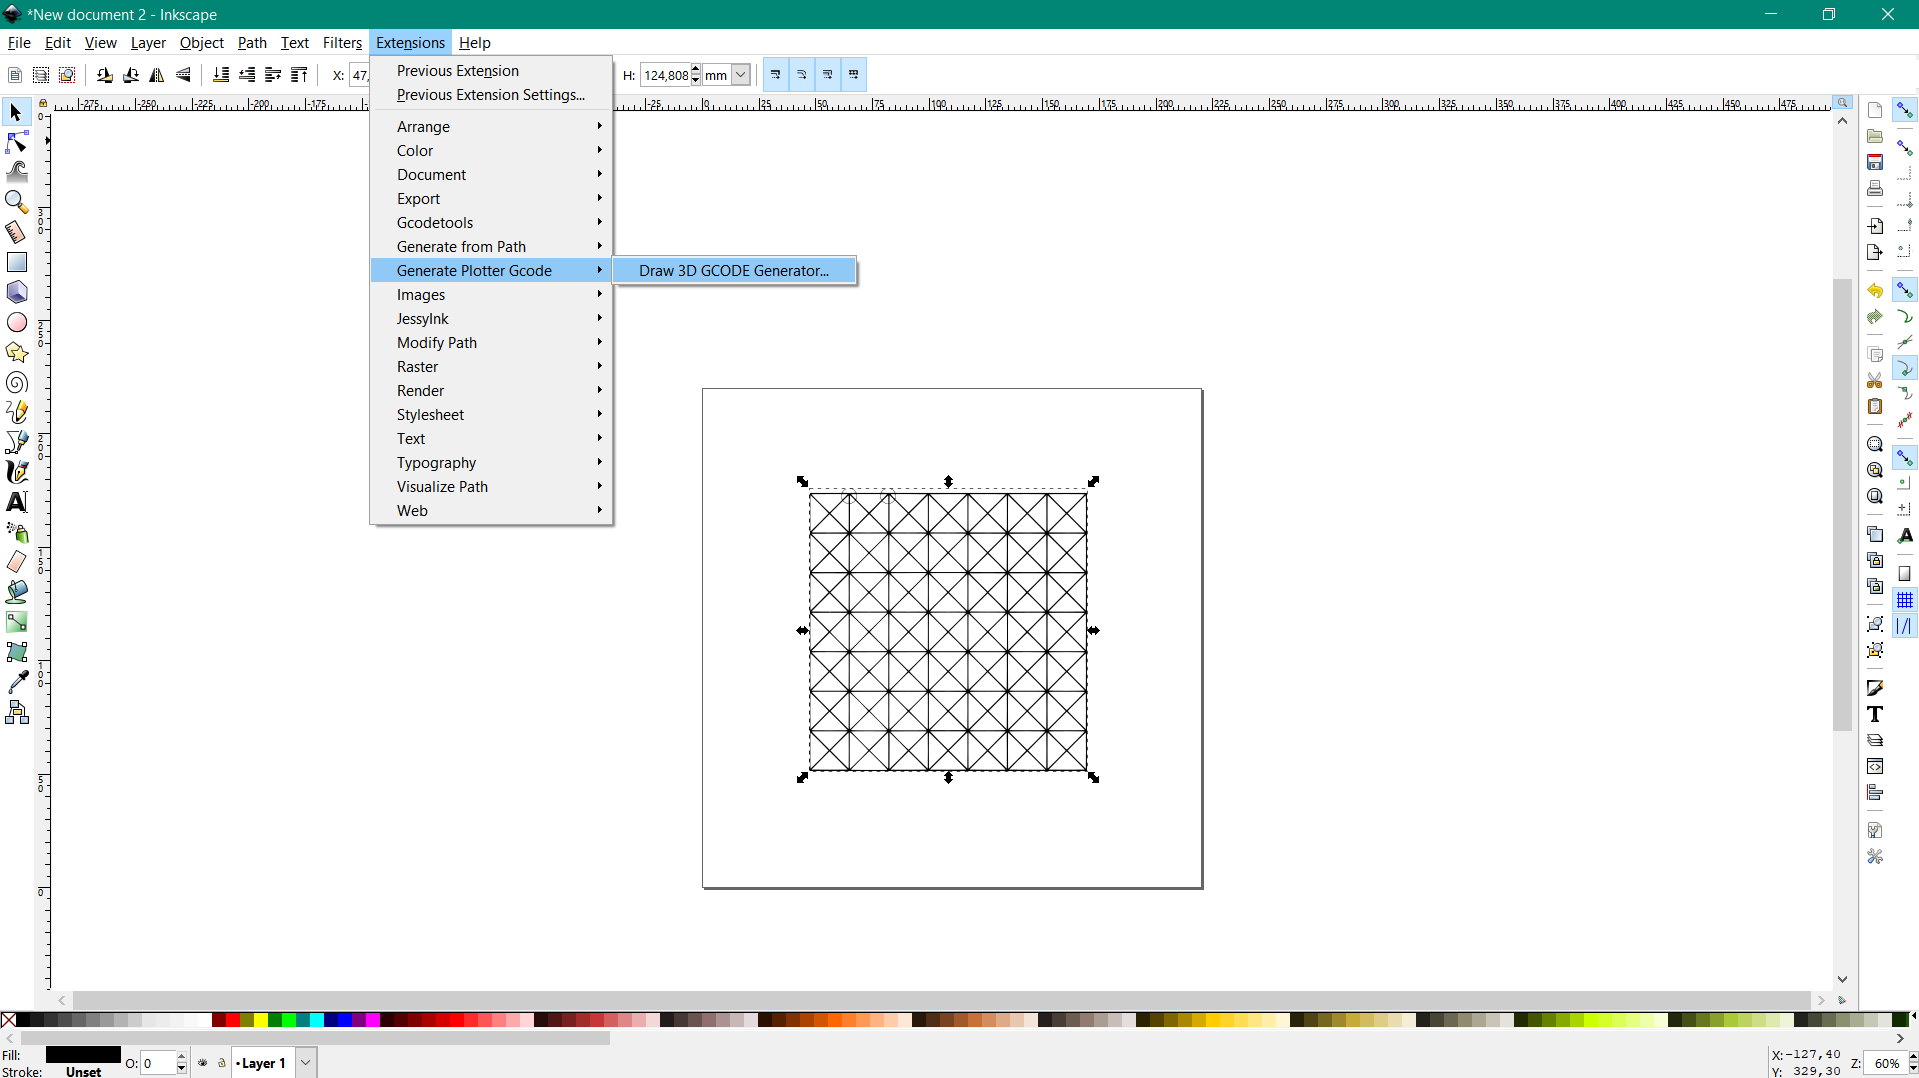
To convert the drawings to GCODE I had to install the version Inkscape 0.92.4 because the current one is not compatible with this extension. Then I returned to the 3D DRAW project's github and downloaded the code as a zip. Extract the zip file and copy the two files umer_plotter.inx and umer_plotter.py and paste it into the extensions subfolder of the inkscape installation folder.
ASSEMBLY
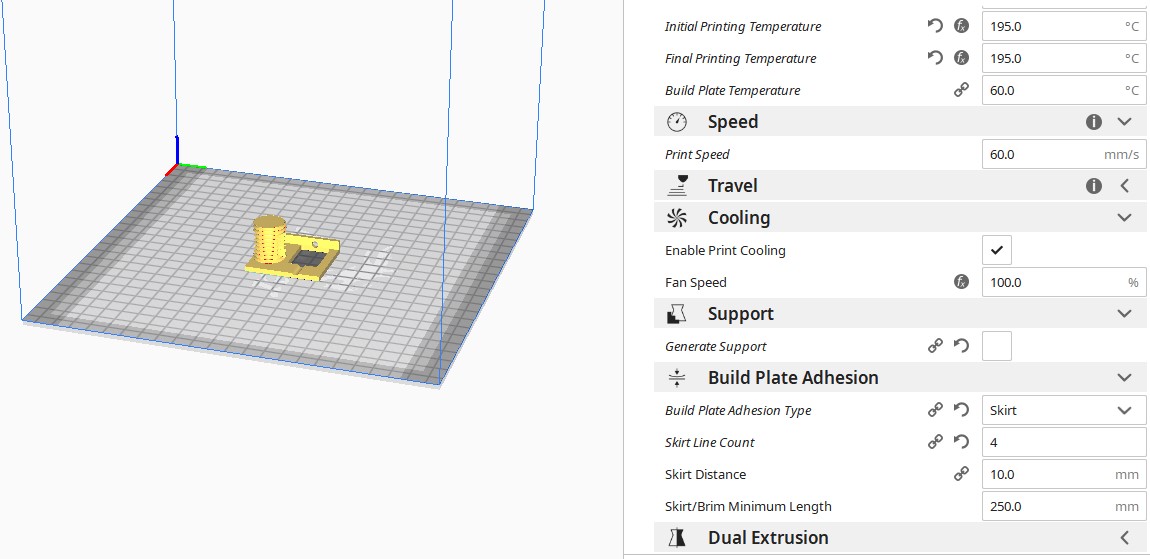
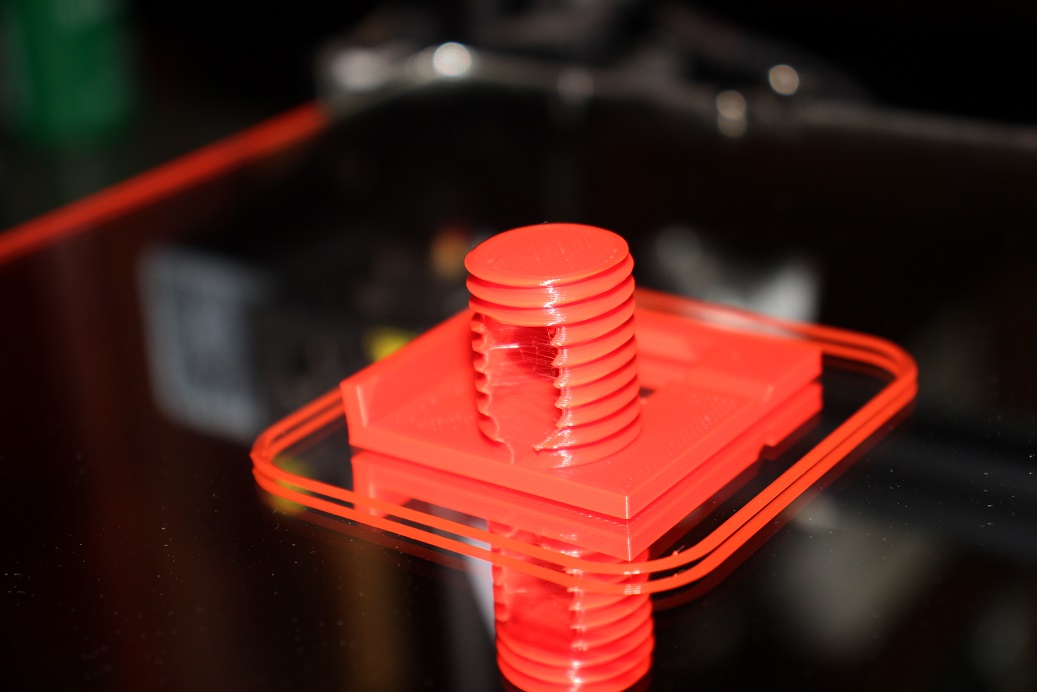
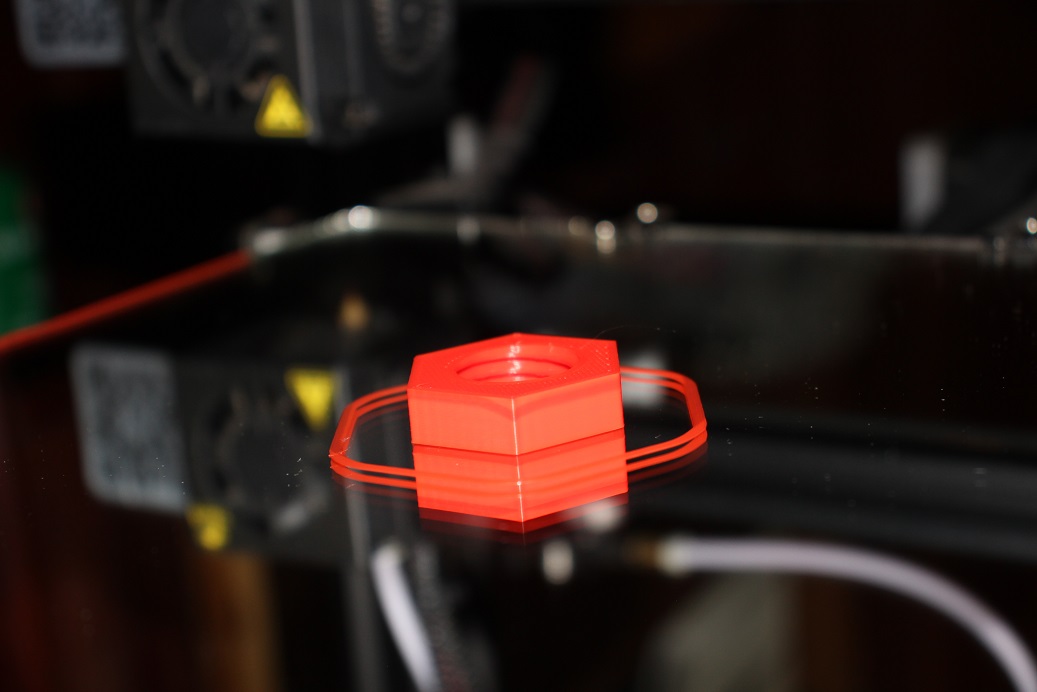
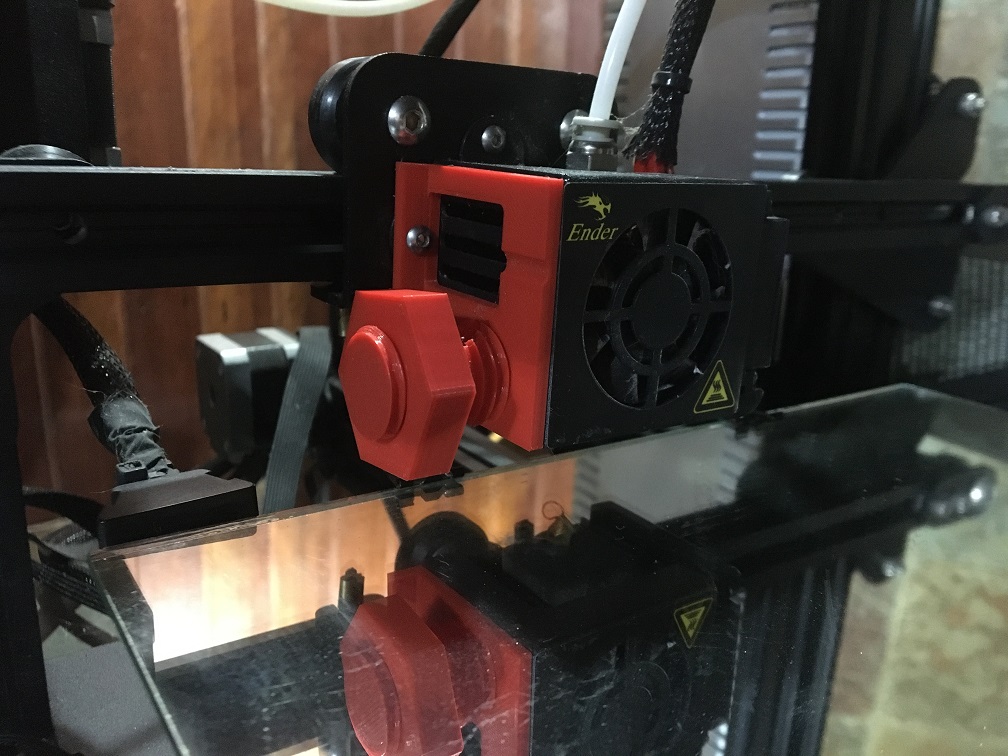
My intention is to be able to draw sensors using a watercolor pen with conductive ink. To attach it to Ender 3 I had to print a bracket. I downloaded the files from thingverse and printed them with the settings below:

With the support ready, I attached the side of the extruder.
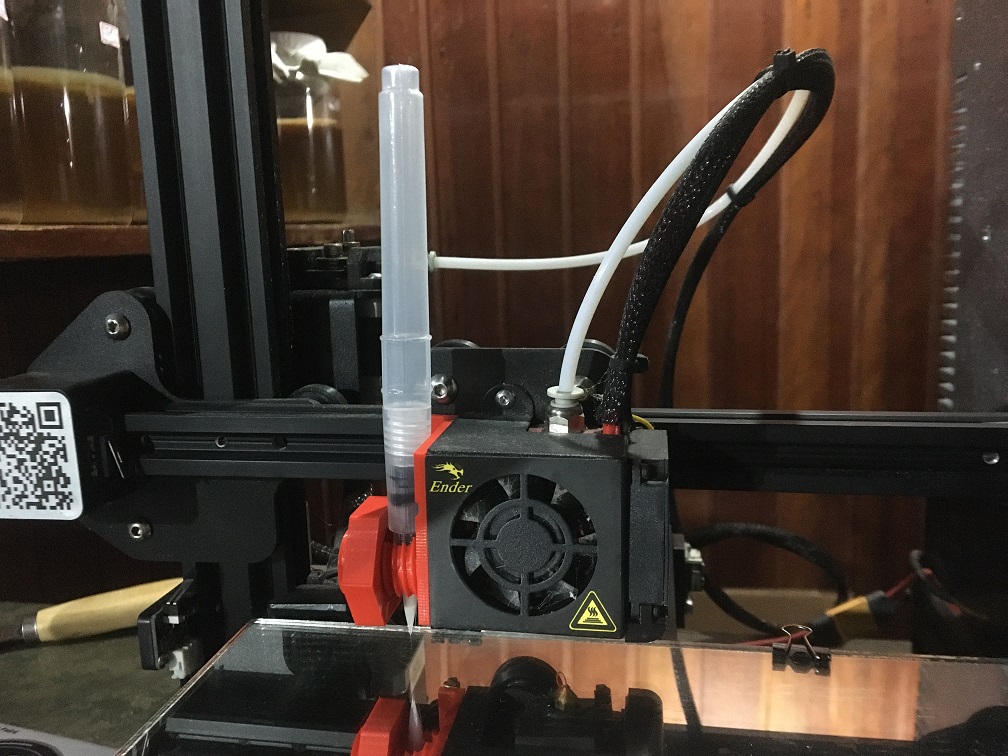
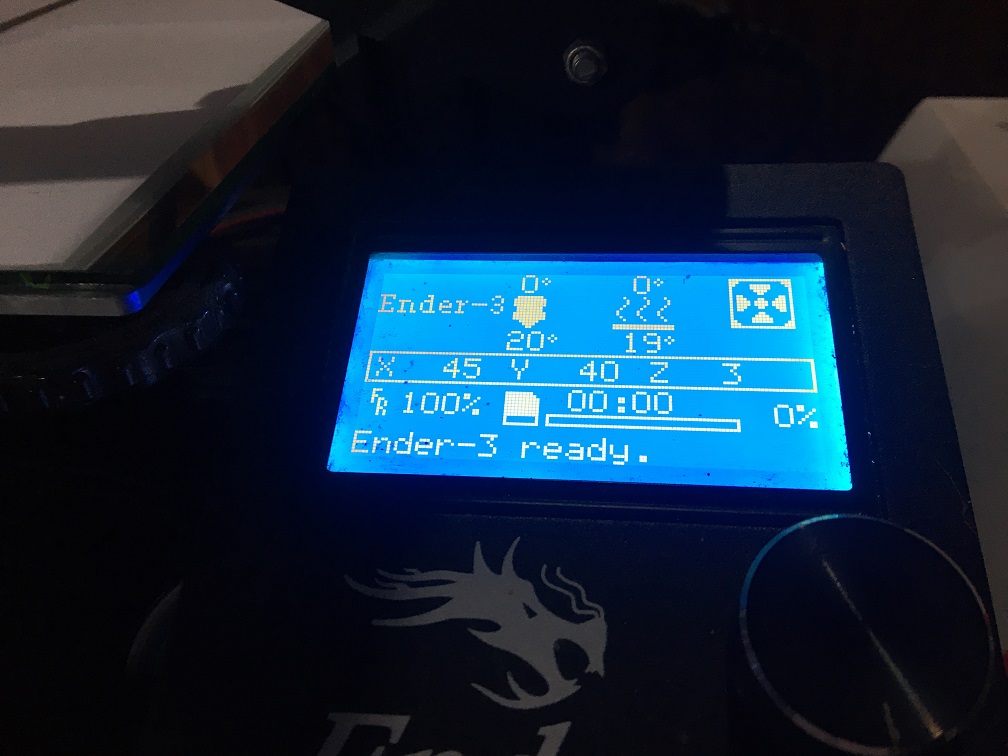
With the support attached to the Ender I put the pen and moved it to where I wanted the drawing to start. I directed the Z axis until the pen tip touched the table. I wrote down the numbers of X, Y and Z that appeared on the display because I will use them later.
Converting drawing to GCODE
First I set the size of the drawing area in Inkscape according to my printer table, which in this case is an Ender 3.

I was inspired by one of the standards that bare conductive uses for proximity sensors. After creating the pattern in inkscape I started the configuration to generate the code for "printing" the drawing.
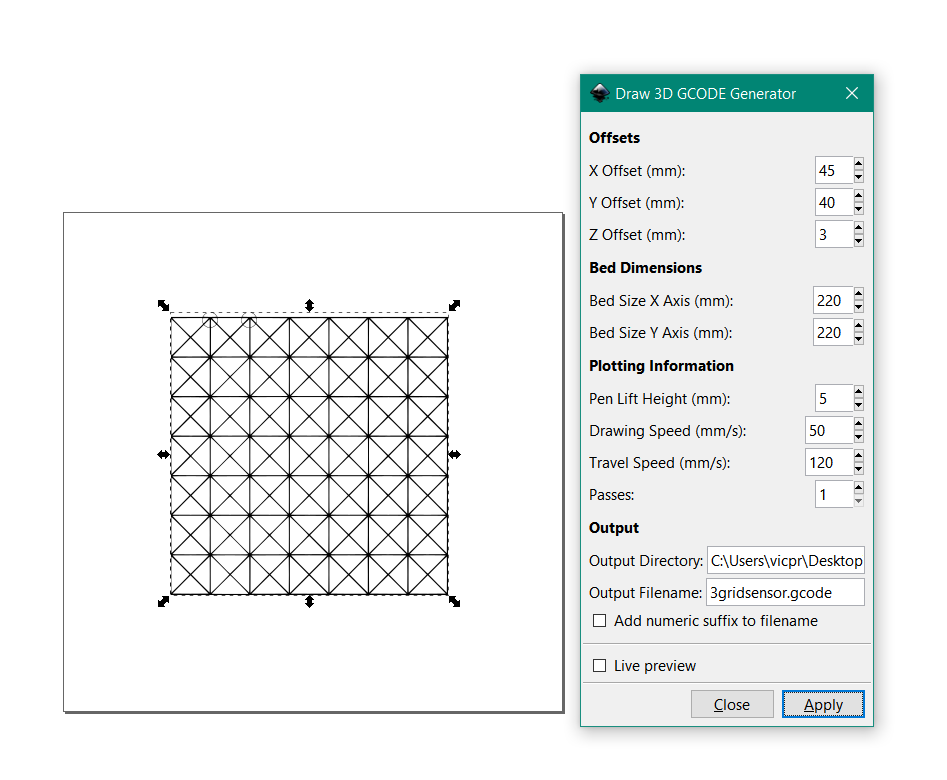
I filled in the data according to these tips:
*Offsets*
X Offset is the position of the x axis when the pen is just at the bottom left corner of the drawing area
Y Offset is the position of the y axis when the pen is just at the bottom left corner of the drawing area
Z Offset is the position of the z axis when the pen is just touching the bottom left corner of the drawing area
*Bed Dimensions*
Bed size X axis is the total size of the bed in x axis
Bed size Y axis is the total size of the bed in y axis
*Plotting Information*
Pen Lift Height is the height in z to lift the pen so that it stops drawing
Drawing Speed is the speed with which the pen moves when it is pushed against the paper
Travel Speed is the speed with which the pen moves when it is lifted.
Passes is the number of times it is going to draw the complete drawing. You can increase this value from 1 if the pen does not draw well in one pass.
*Output*
Specify the path of the output folder in Output Directory
Specify the name of the output file in Output Filename option
Checking the Add numeric suffix to filename will add a 3 digit number at the end of the file so that it is not overwritten by the new one.
Drawing
Before printing with conductive ink, I did some tests with India ink to understand how it worked. When I went to put the ink in the pen I found it difficult because of its thickness because despite diluting it in water it was not as fluid as the drawings with nankin.
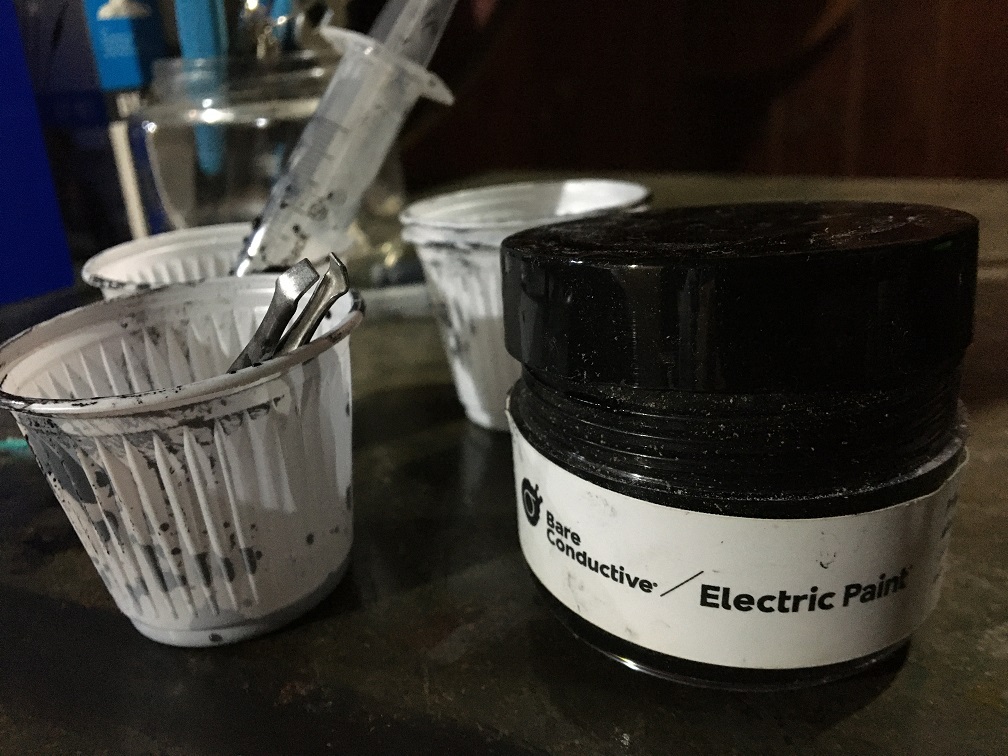
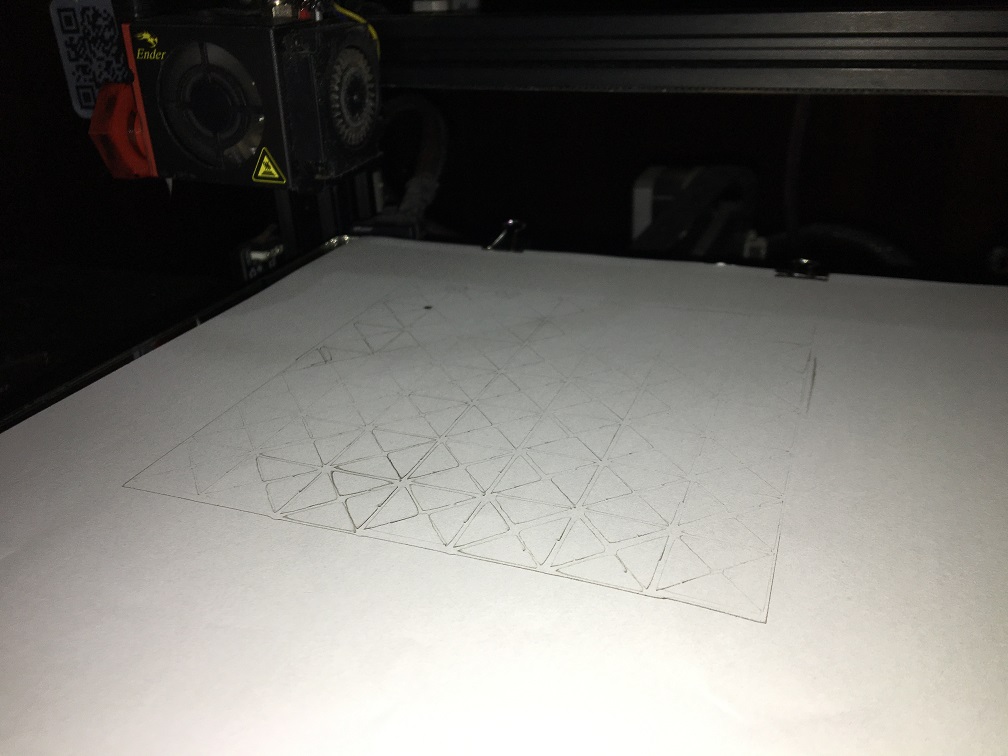
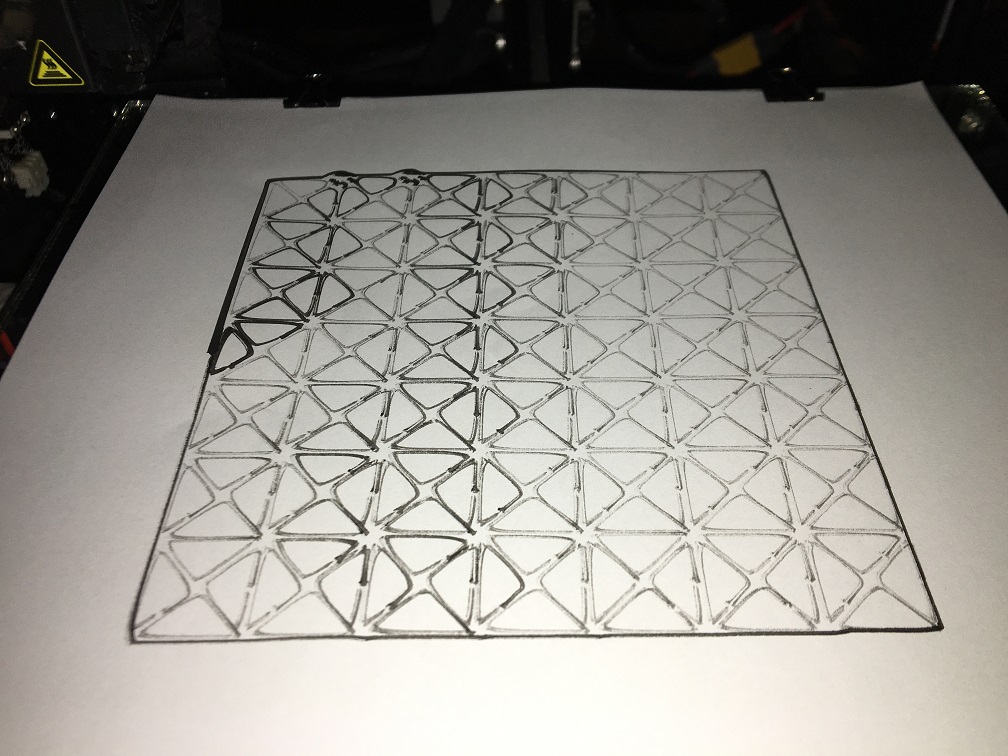
The first attempt with conductive ink was a little weak. On the second try I felt it got stronger because maybe there was more time for the ink to run through the pen tube.
First attempt with conductive ink
Second attempt with conductive ink
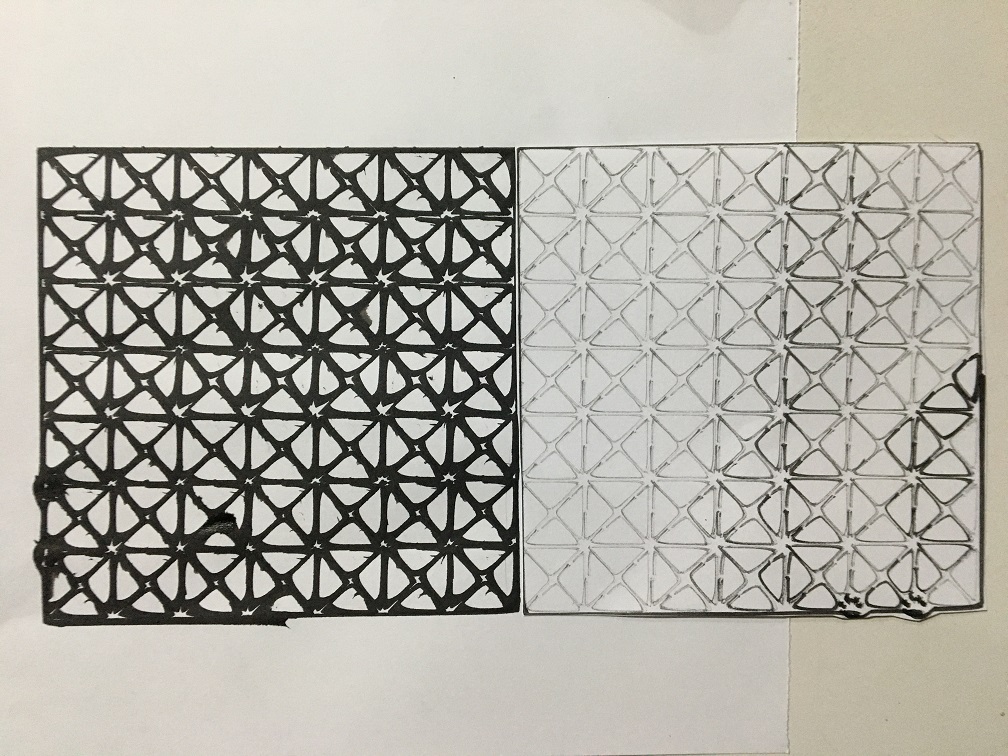
India ink x Bare Conductive
RESEARCH
3Pen Holder for Ender 3 / Ender 3 pro/CR 10/Ender 5
Electronic waste in Brazil: Green Electron Report 2021