12. SOFT ROBOTICS
Soft robotics is the subset of robotics that focuses on technologies that more closely resemble the physical characteristics of living organisms. Experts describe the soft robotics approach as a form of biomimicry in which the traditionally linear and somewhat stilted aspects of robotics are replaced by much more sophisticated models that imitate human, animal and plant life.
INSPIRATION
SOFT GRIPPER
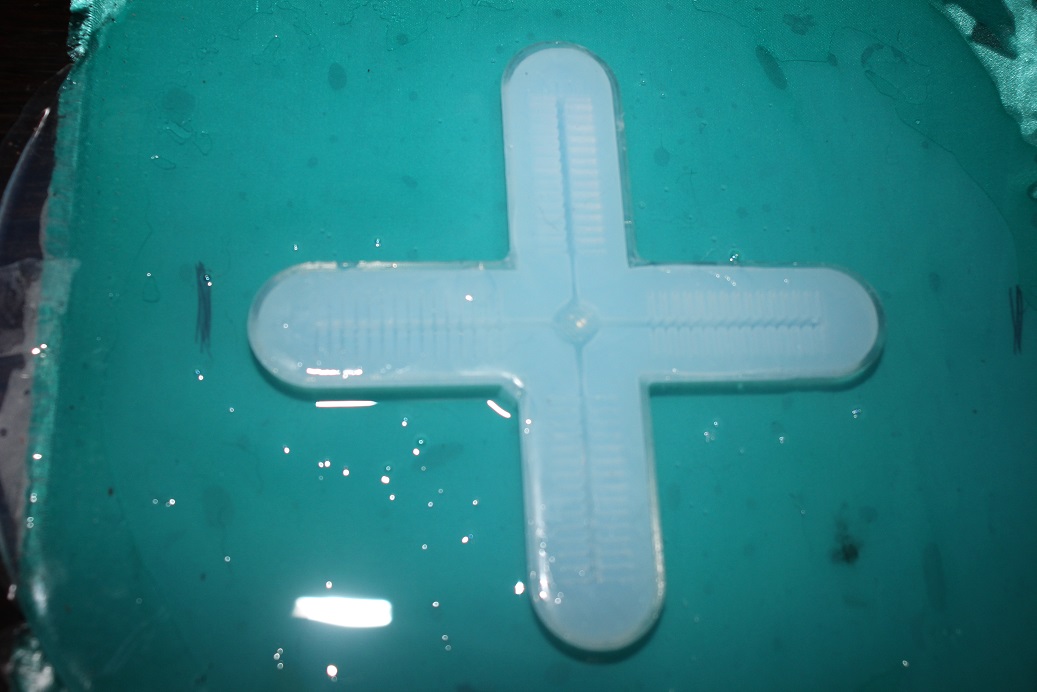
3d Printed Mold
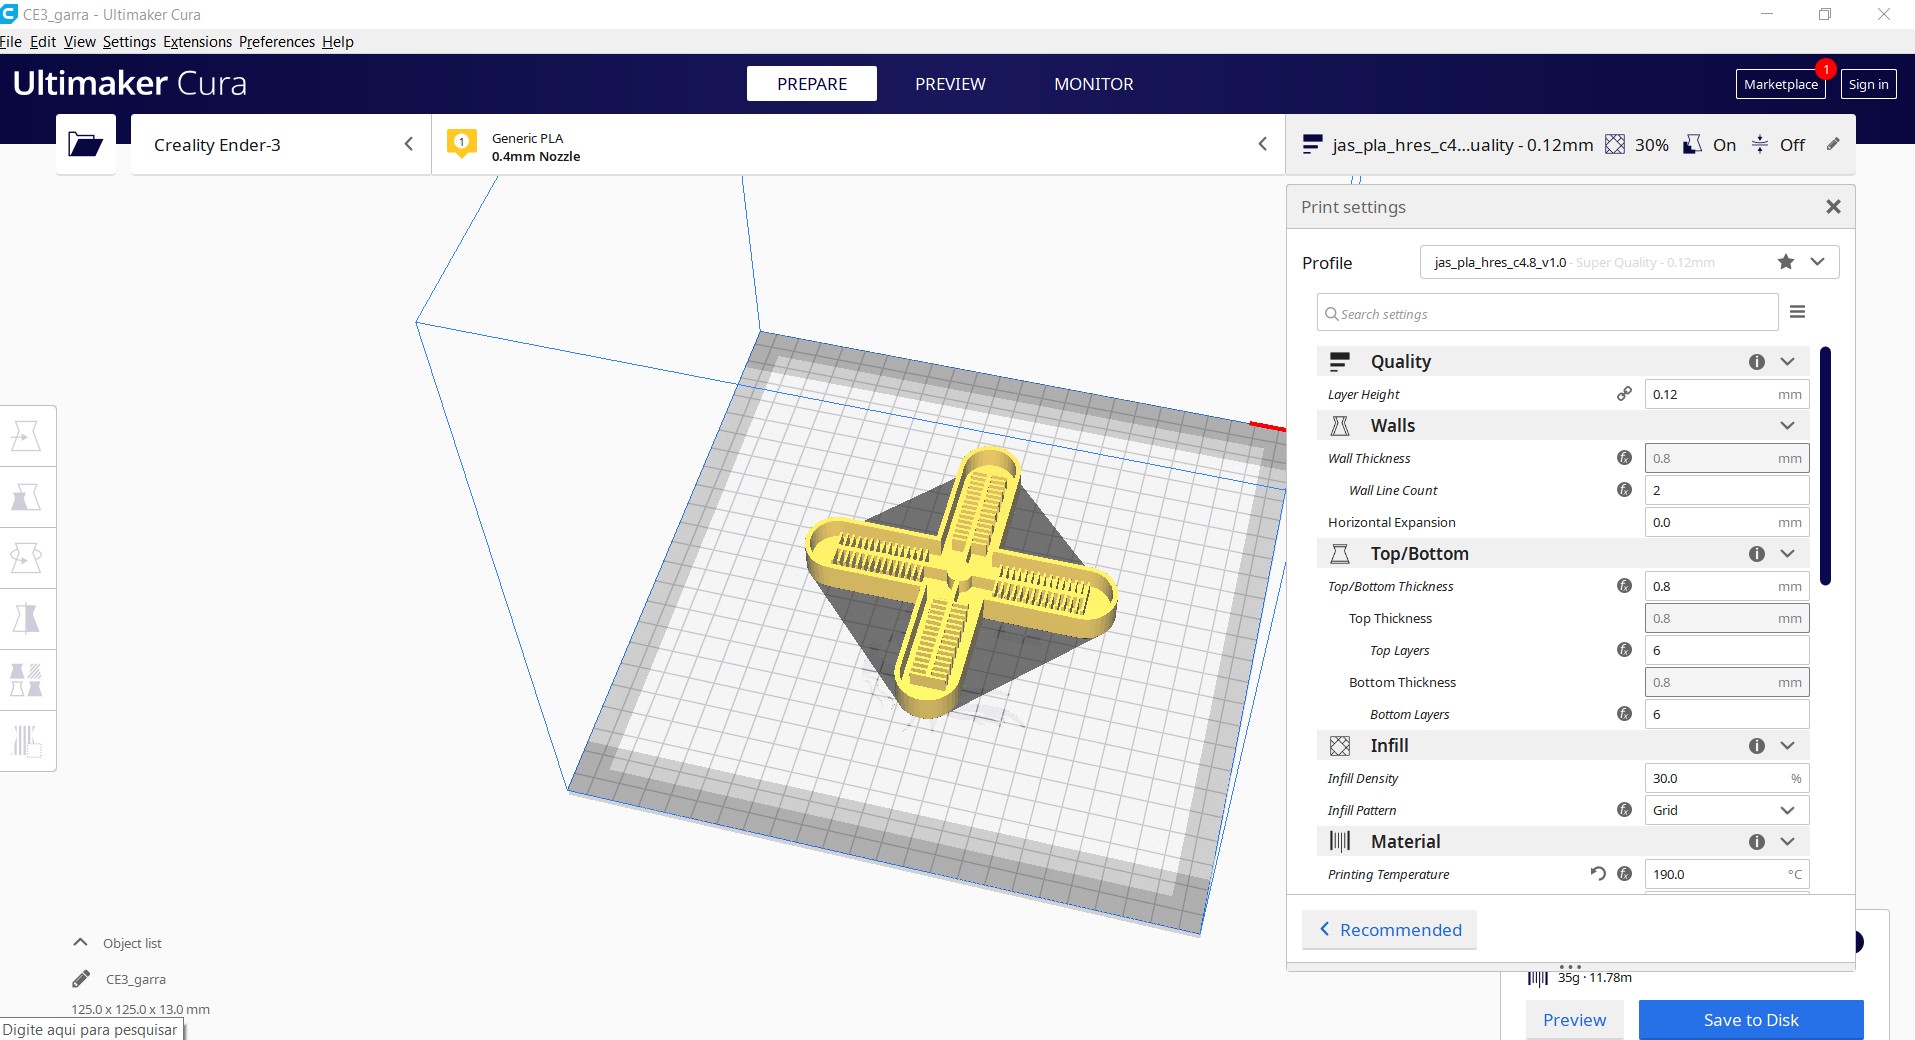
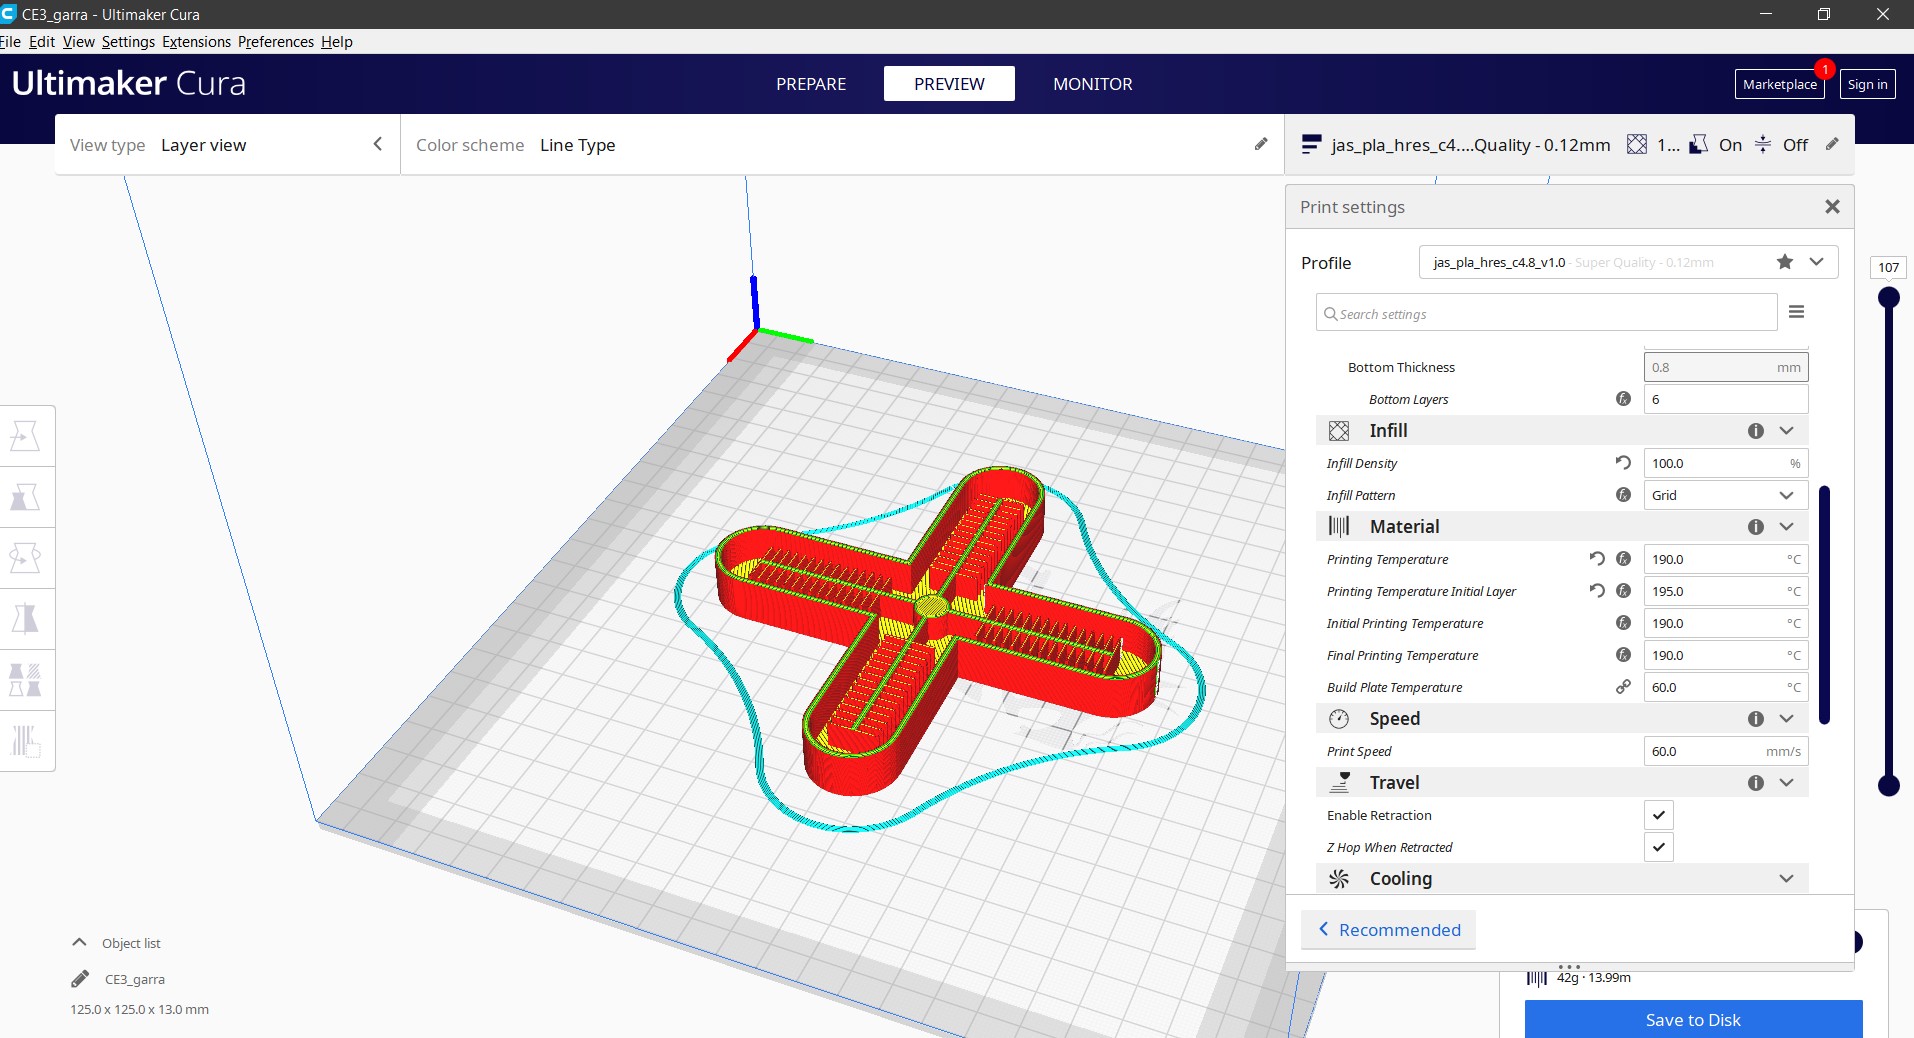
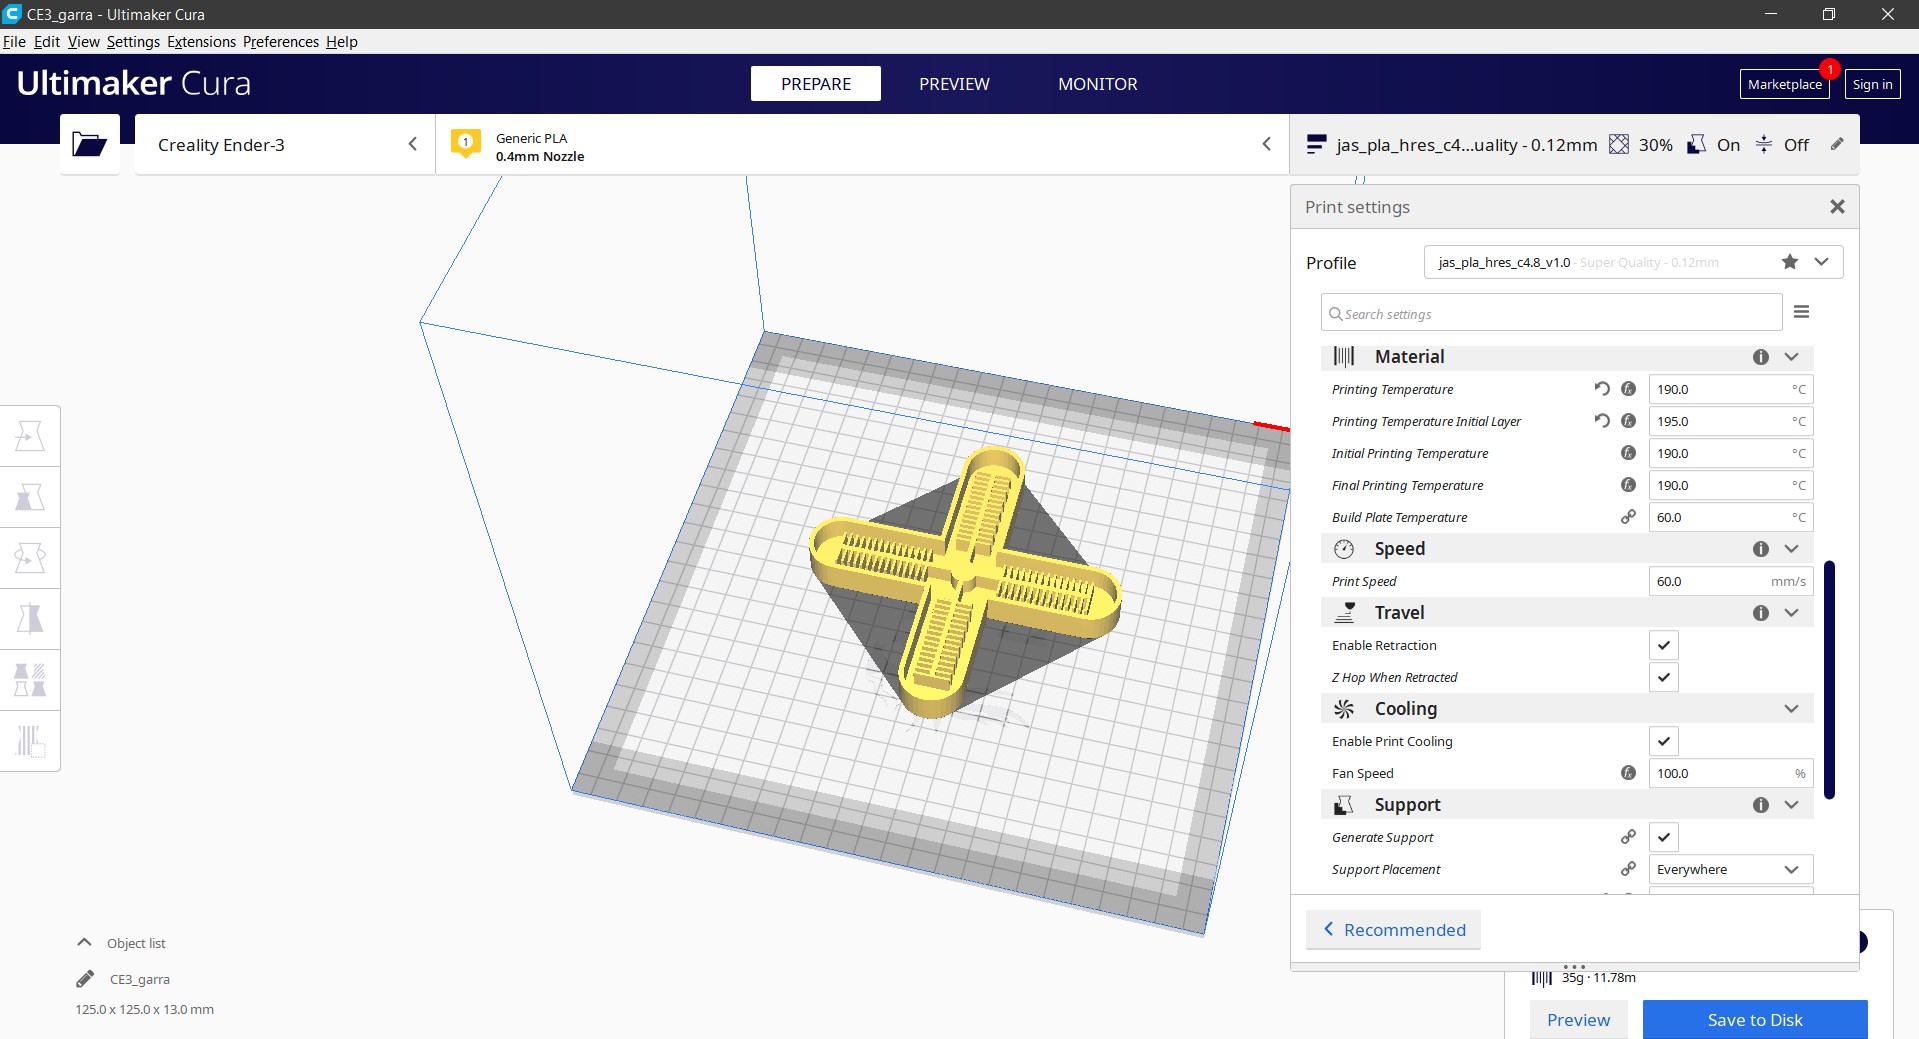
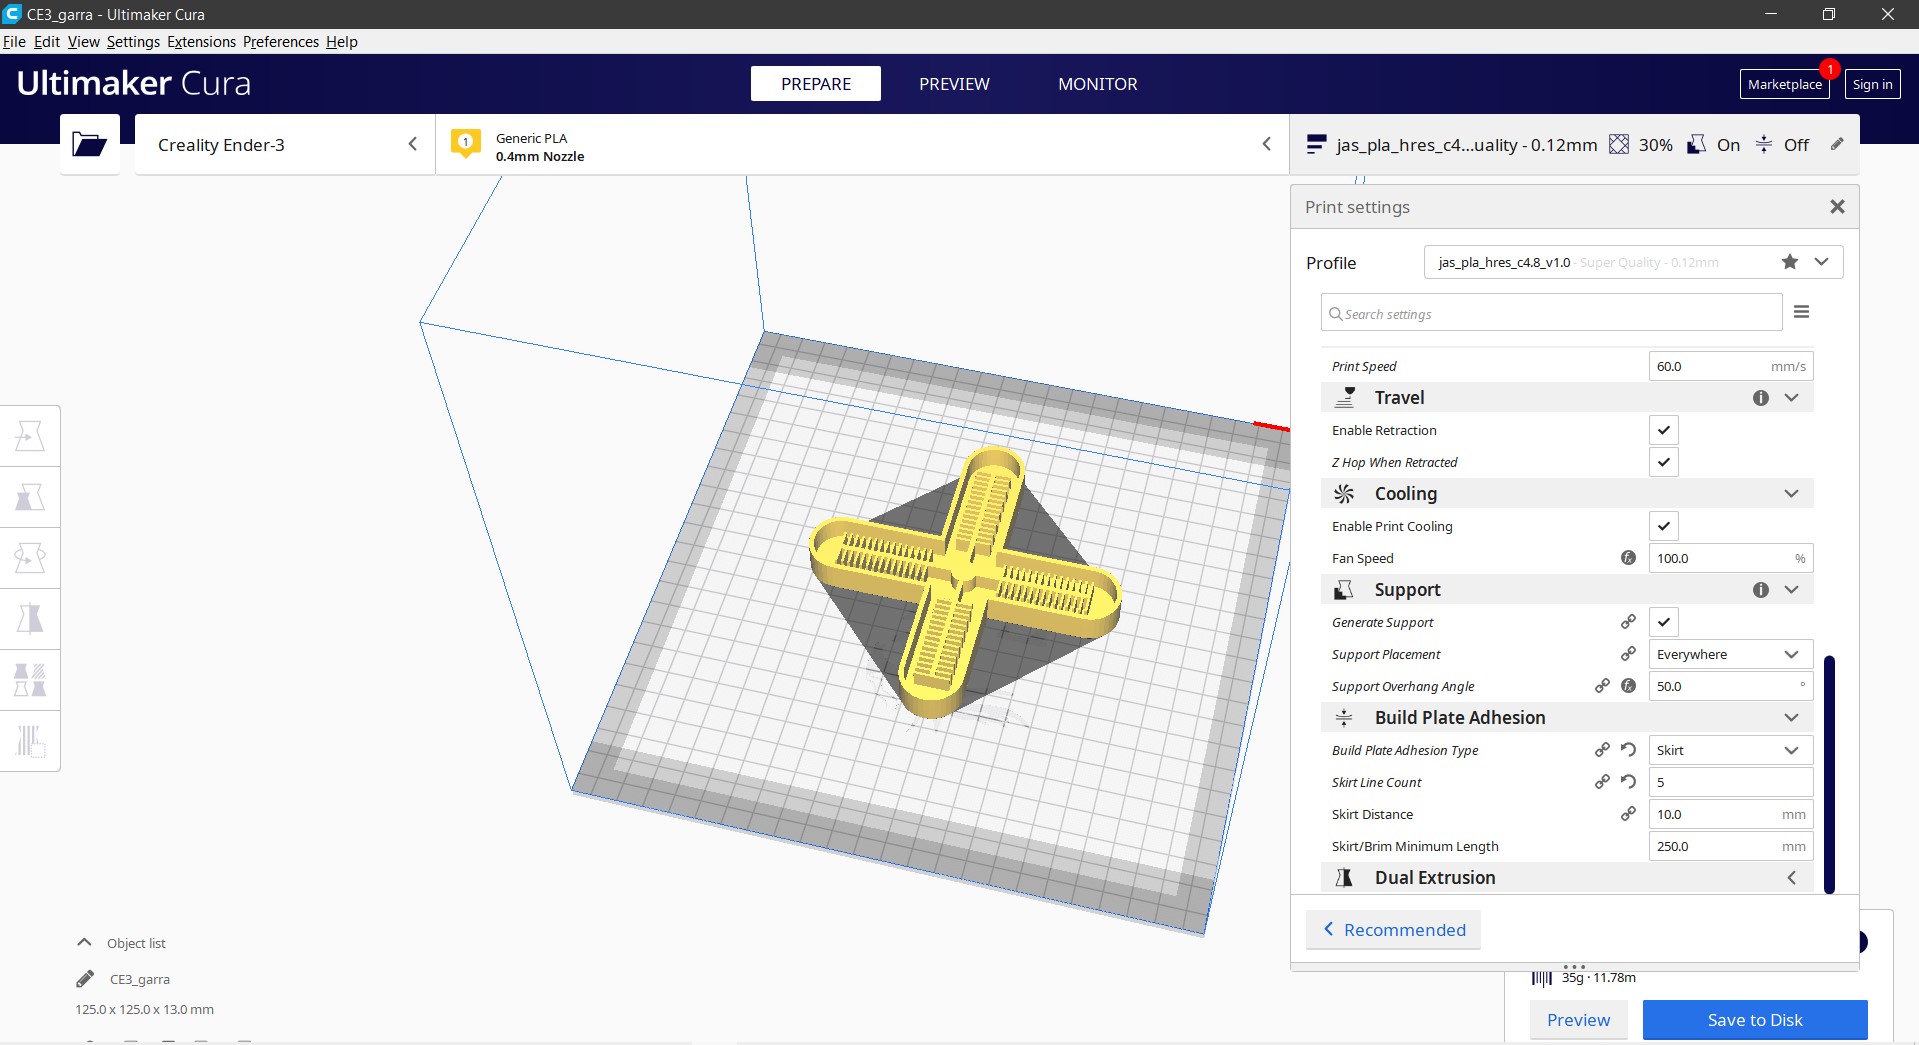
Using the "Air Powered Soft Robotic Gripper"instructable as a reference, I downloaded the MiniGripper.stl file to use as a template. I opened the stl file in the Cura software and configured it as shown in the images below. Then I saved it as a g.code file and sent it to print using an Ender 3 3D printer with eSUN PLA+ filament.

Prepare Silicone Rubber Mixture
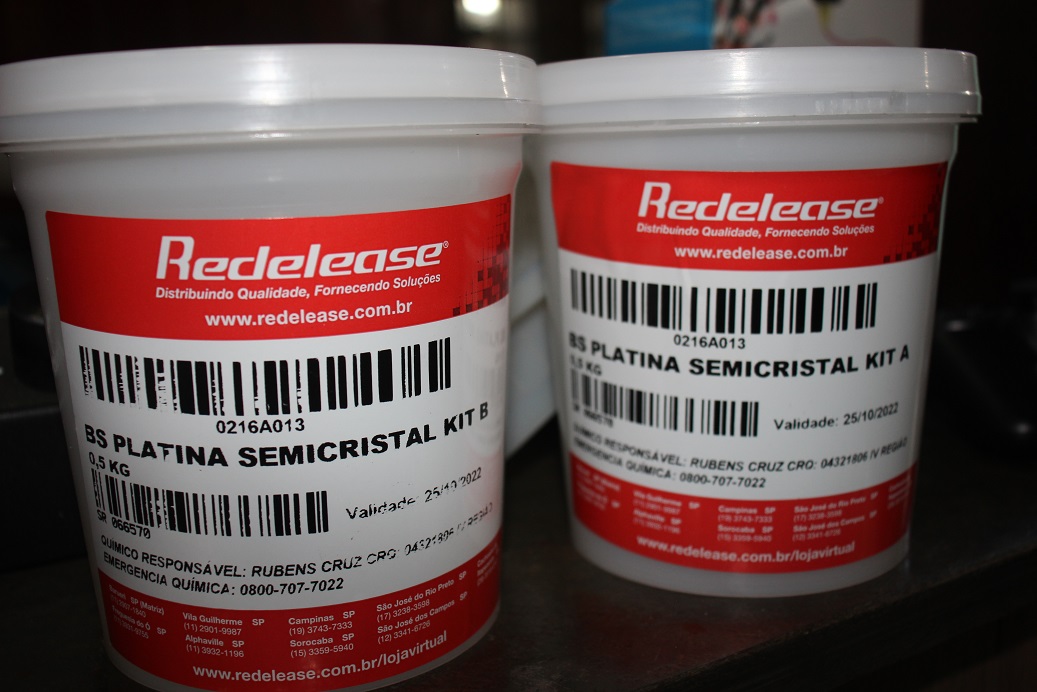
Semi-Crystal Platinum Rubber is a two-component elastomer, vulcanizable at room temperature, which results in an elastic and extremely resistant product, in addition to being non-toxic, suitable for making flexible and super-resistant models.
Hardness after healing: Shore A 12 Working time: Up to 60 minutes
Partial curing time: About 10 hours
Total curing time (when it may suffer more aggressions): About 24 hours (room temperature)
Mixing Ratio, A:B 1:1
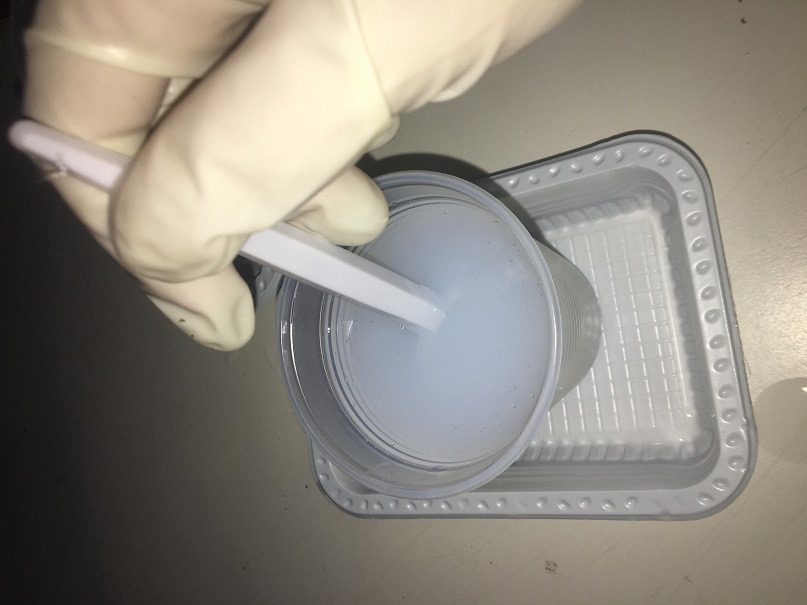
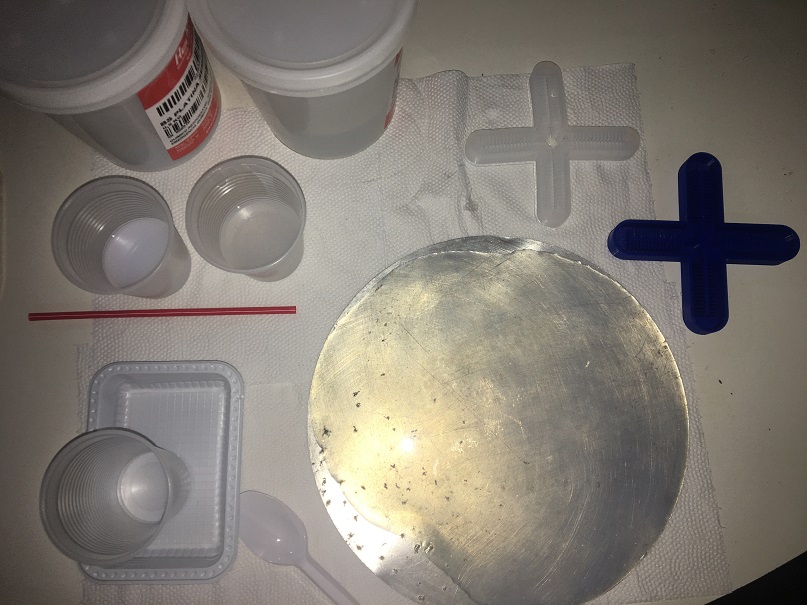
I separated the Semi-Crystal Platinum Rubber A and B in different plastic cups and in equal proportions. Then I slowly mixed parts A and B of the Semi-Crystal Platinum Rubber in a ratio of 50/50 by volume, using a third plastic cup.
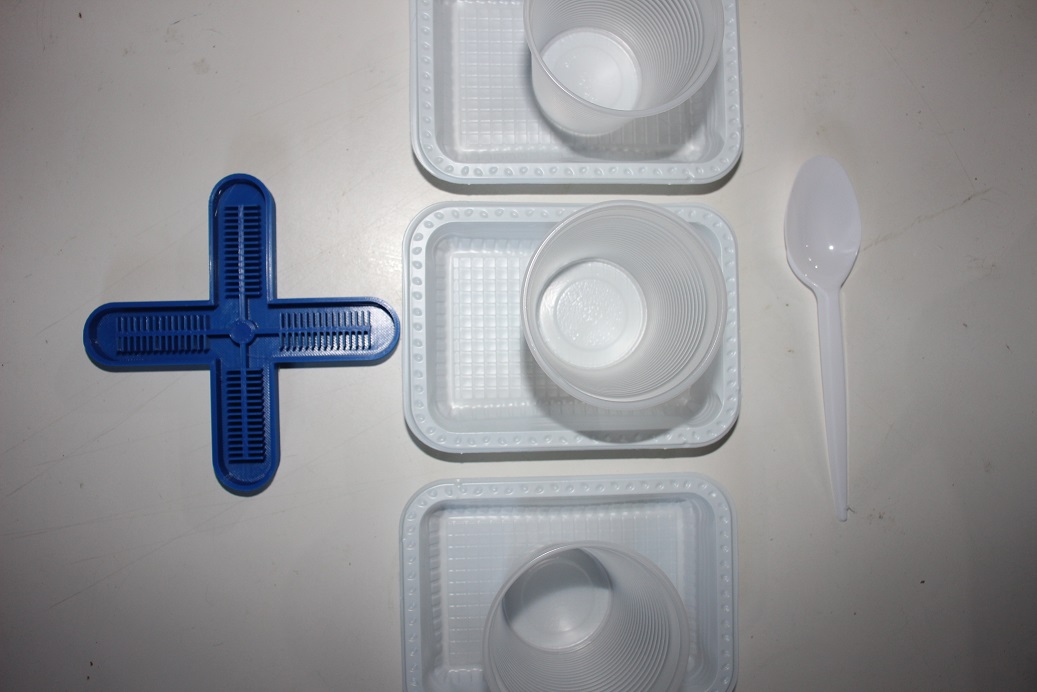
With a plastic spoon, stir the mixture for four minutes
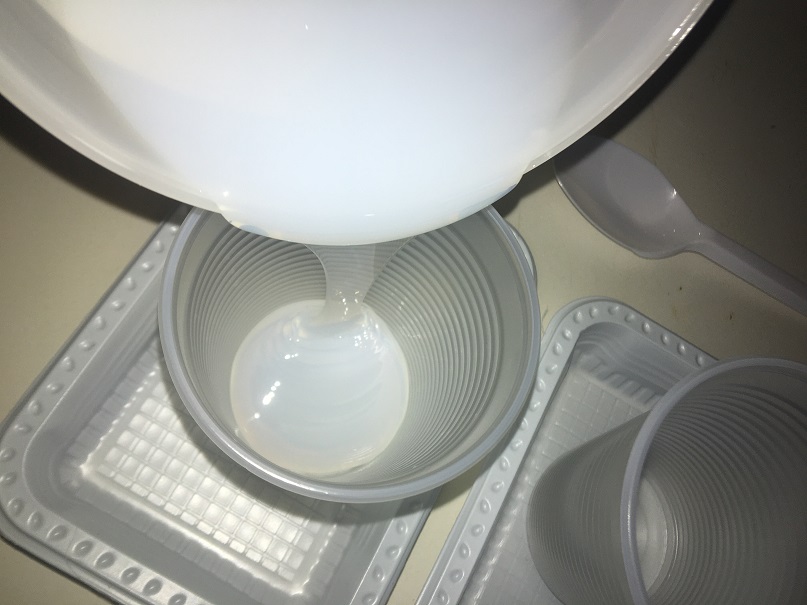
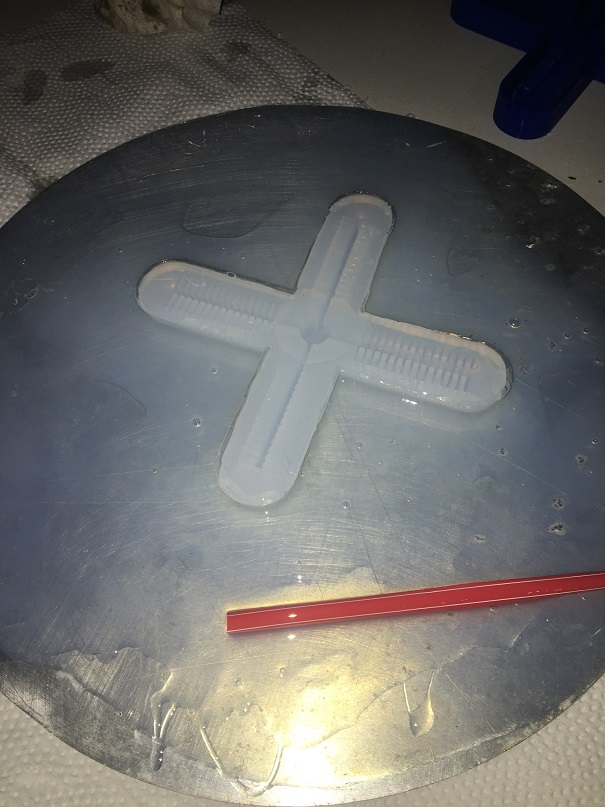
I slowly poured the mixed silicone into the mold that I printed on the 3D printer. The material is very viscous, so it flows slowly - no need to pour quickly. I filled the mold to the top edge. Once filled, I waited about five minutes for the air bubbles to come out of the mixture.
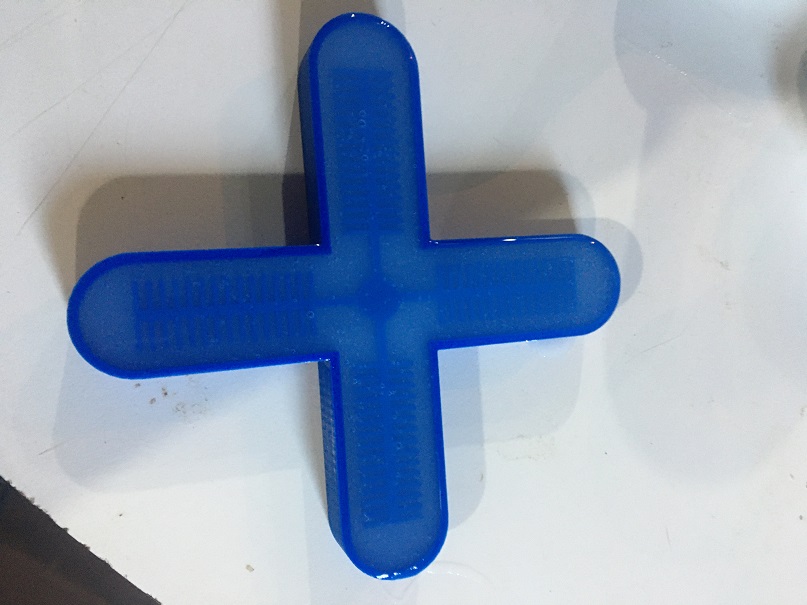
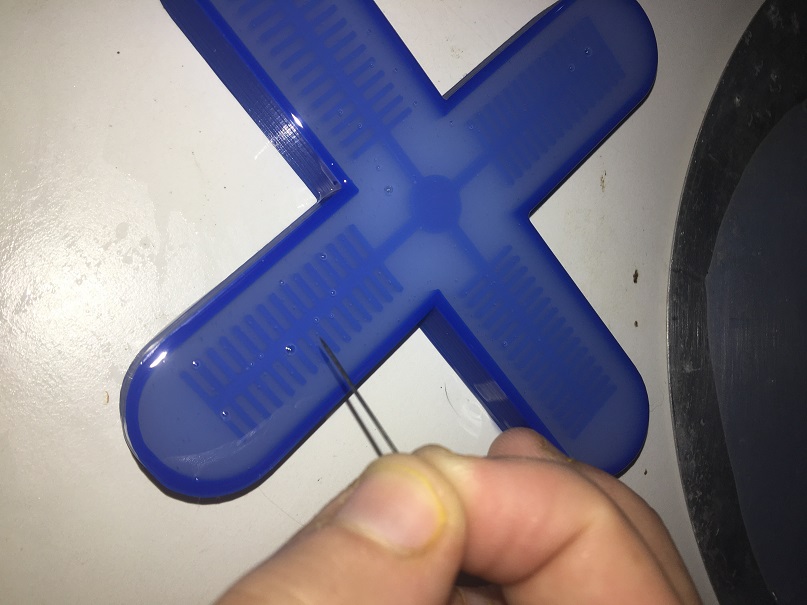
I used a pin to pop some bubbles that appeared after 5 minutes.
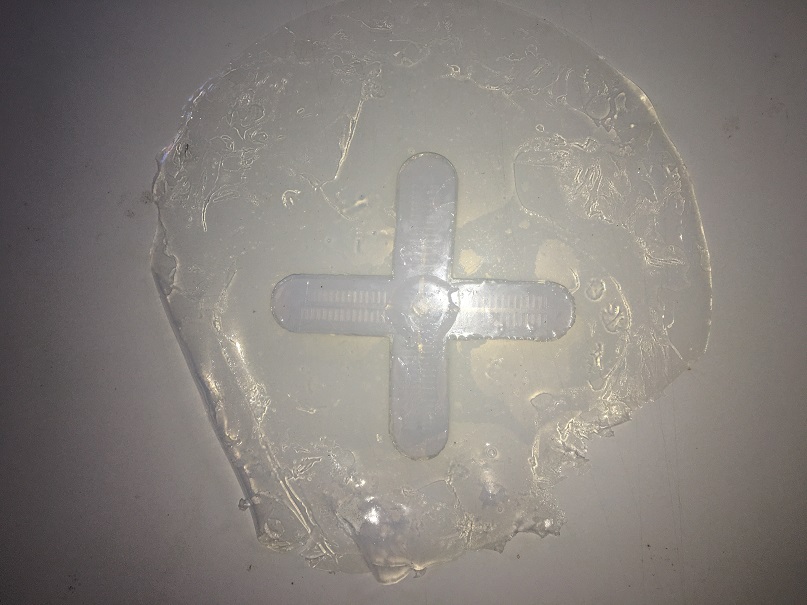
To prepare the bottom half of the robot I used the rest of the silicone mixture and poured it on a baking sheet. The amount of material is enough to form a puddle a little bigger than my plastic mold.I let the material sit for 24 hours and it will cure (solidify) at room temperature
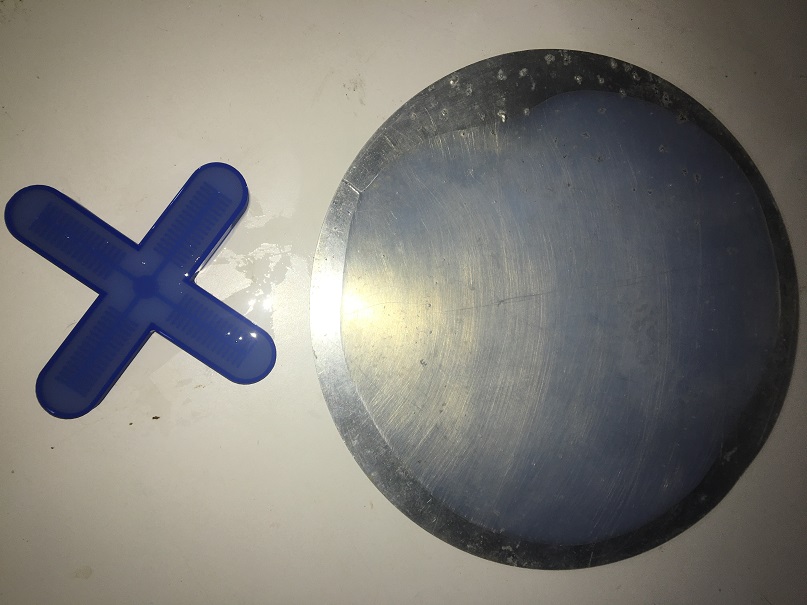
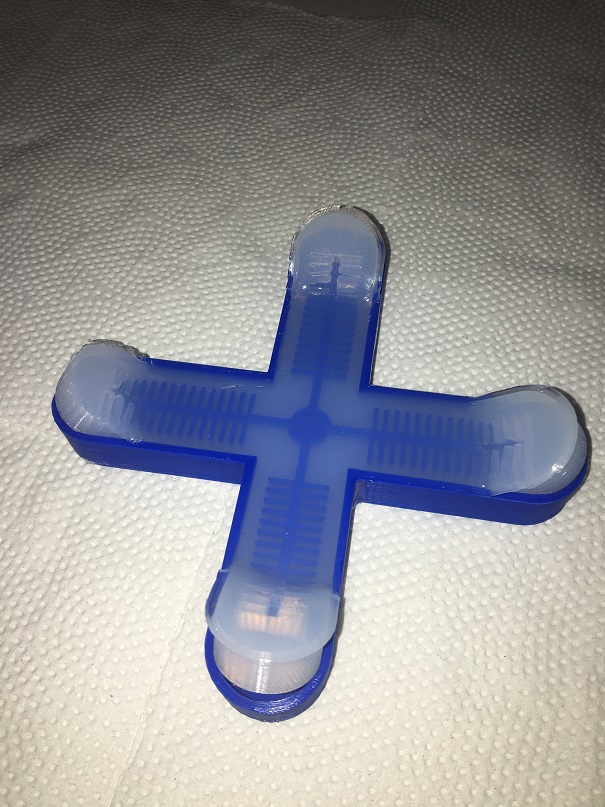
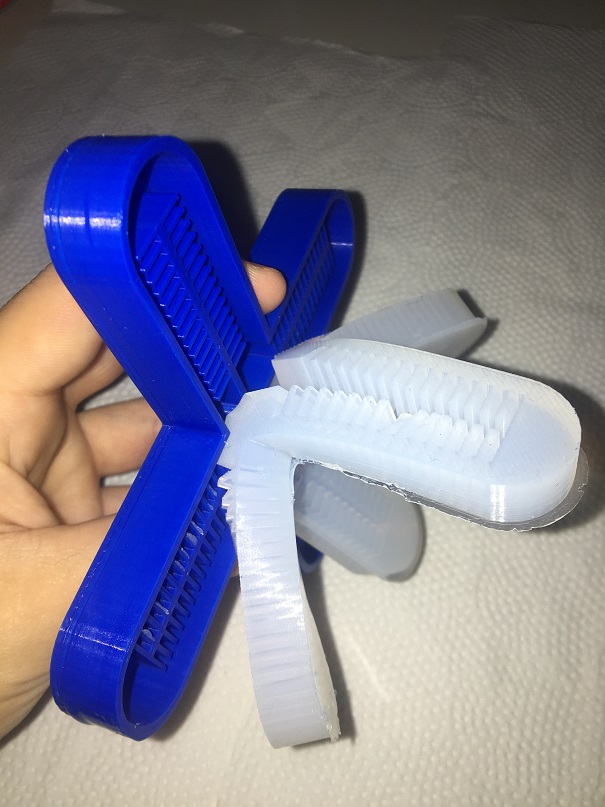
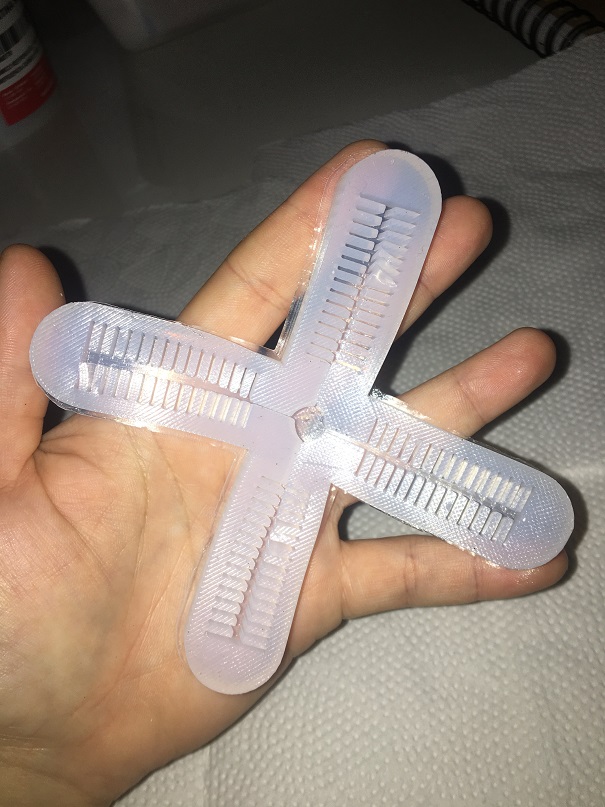
After twenty-four hours at room temperature, I checked that the silicone rubber had solidified. The sweet spot is when it's soft and rubbery, but if it's still sticky or sticks to your finger, it needs more time for the curing process. To remove the cured material from the mold I started from the outside of each ´´claw´´ pulling up and in towards the center of the robot. It was important to pull the material slowly and with little force so as not to tear.
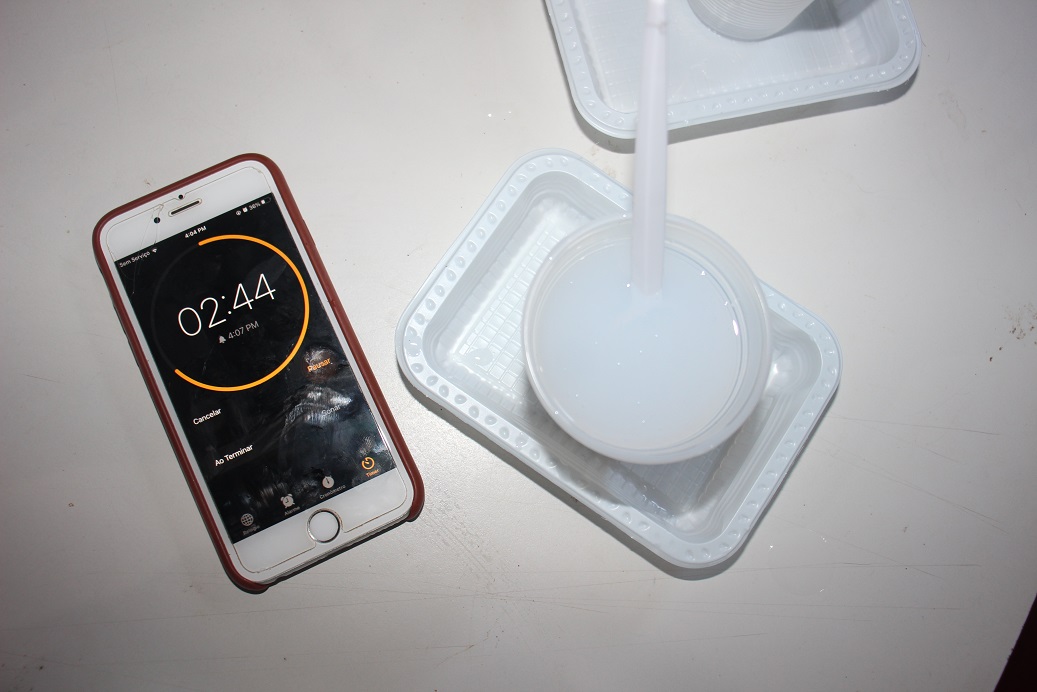
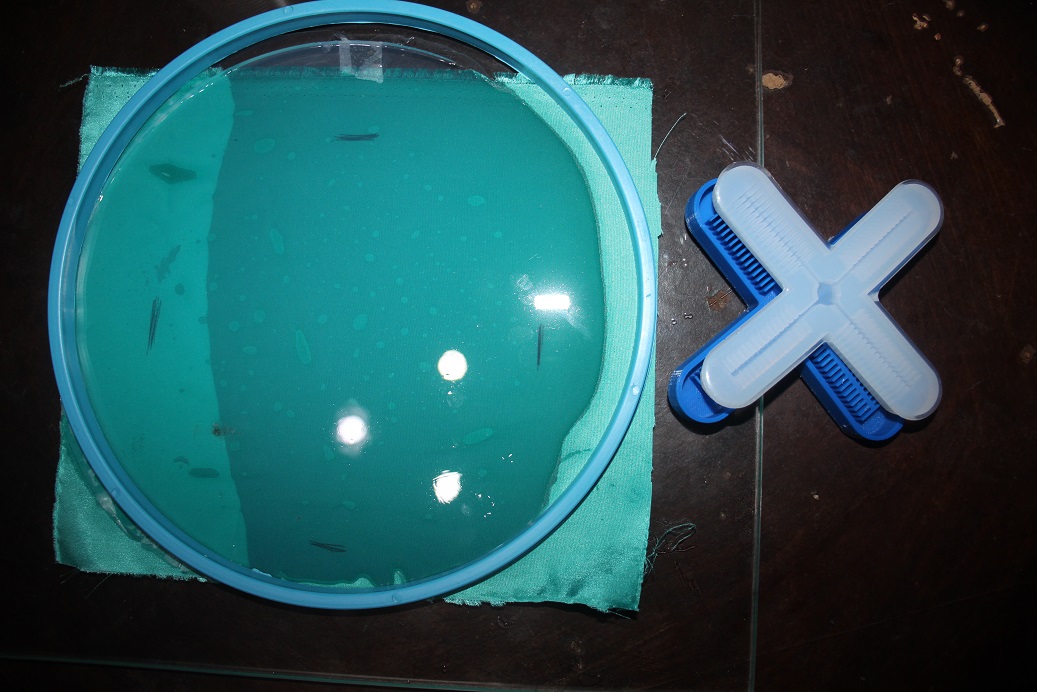
I mixed a new batch of Semi-Crystal Platinum Rubber in a 50/50 ratio of Parts A and B. The amount was enough to apply a thin, uniform layer of about 1 mm thickness over the flat solidified "sheet" of the baking tray.This forms a layer of "glue" to hold the top and bottom halves of the robot together.To get a thin layer I spread the material using a plastic straw and waited about two minutes for it to settle before moving on to the next step.
I carefully placed the top half of the mold (one side should be smooth and one side should have exposed grooves that will form the robot's internal air channels) into the new silicone layer with the air channels facing down. With the help of the plastic straw I applied an additional layer of fresh silicone rubber around the outer perimeter of the robot to prevent air leaks and a reinforcement layer directly above the large circular central chamber on the robot.
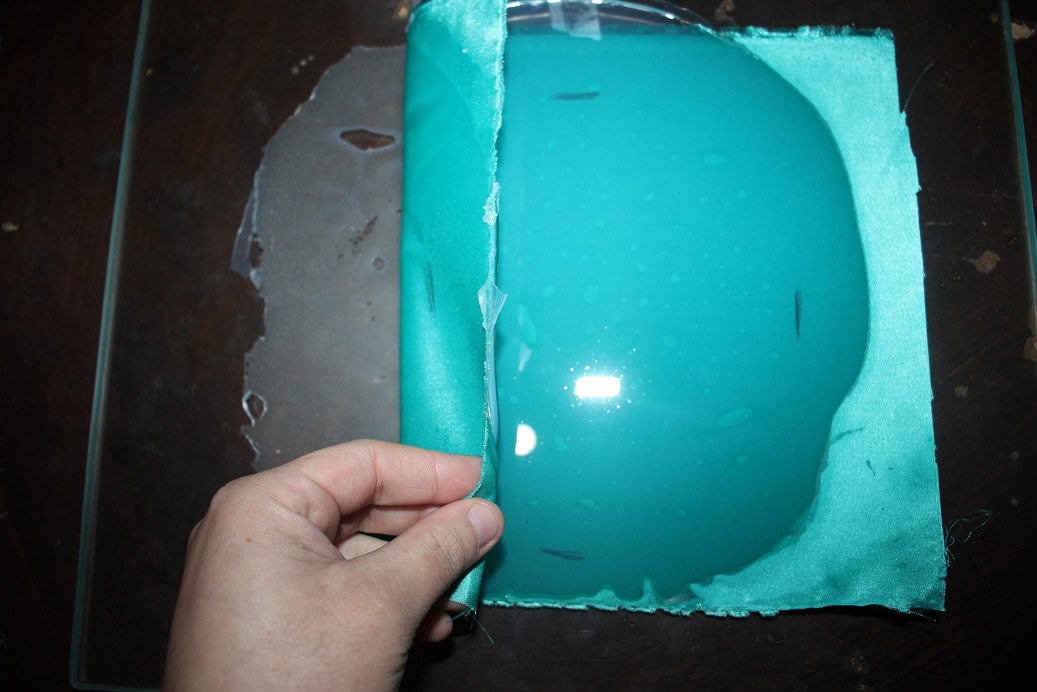
I waited 24 hours at room temperature for the "glue layer" to solidify and bond the robot's upper and lower layers, and carefully removed the entire sheet from the tray.
When I went to test it, it unglued all the sides. So I decided to redo it with the fabric base. I redid the whole process and waited for it to dry again.
RESULT
In the end, it didn't work =(