6. BioFabricating Materials
Learning outcomes
- References and Concept development
- Master techniques for growing and crafting personalised materials
- Documentation: Anyone can go through the process and use the recipes
- Final outcome: create a material or color chart
- Originality - Aesthetics: Has the design been thought through and elaborated?
Student checklist
- Include some inspiration: research on artists, projects, platforms that work with biomaterials, local ingredients and resources
- Produce at least one crafted and one grown material:
- Crafted material - explore the different recipes and understand how to adjust them based on the ingredients:
- Grown material - explore the different recipes and understand how to adjust them based on the ingredients
- Document your recipes, the ingredients and process and if there have been changes, document your unexpected discoveries
- Name your materials, classify them by typology and display them in a systematic order of samples
- Submit some of your swatches to the analog material library of your lab. (20cm x 20cm approx.)
Inspiration
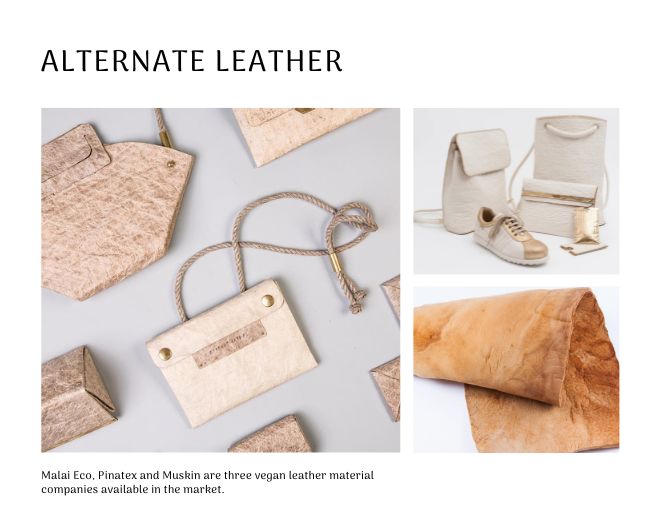
- Malai Eco leather from Coconut water, hemp etc
- Pinatex from Pinapple leaves
- Muskin from mushroom
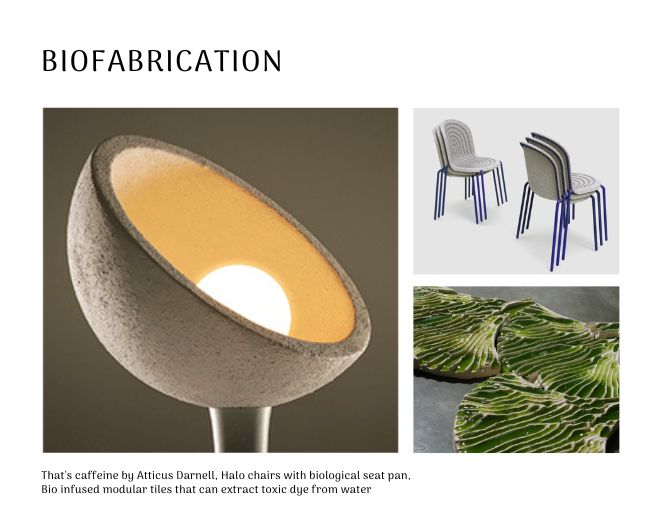
- That's Caffeine by Atticus Durnell
- Halo Chairs by Philip Hainke
- Algae infused modular tiles that can extract toxic dye from water
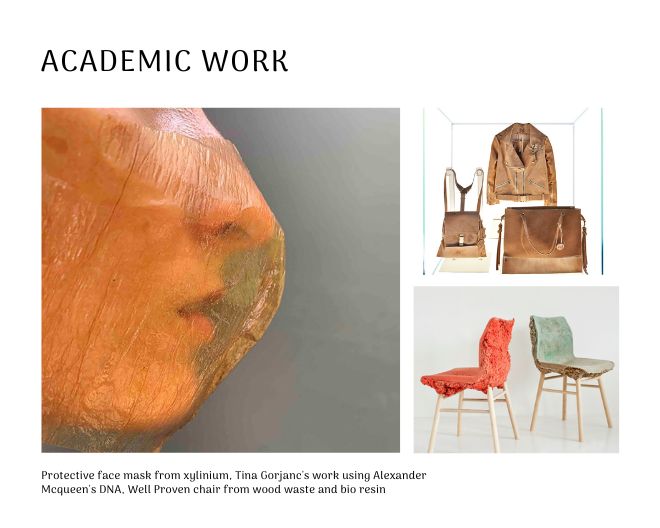
- Protective face mask from xylinium
- Tina Gorjanc's work using Alexander Mcqueen's DNA
- Well Proven chair from wood waste and bio resin
Crafted Material
Gelatine Bioplastic
Grown Material
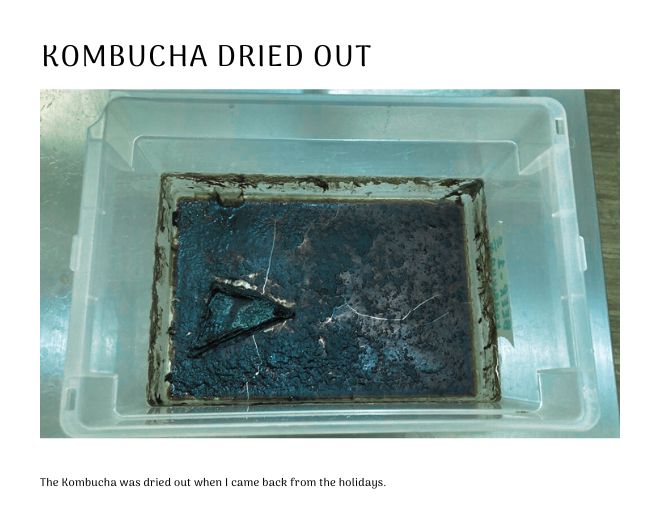
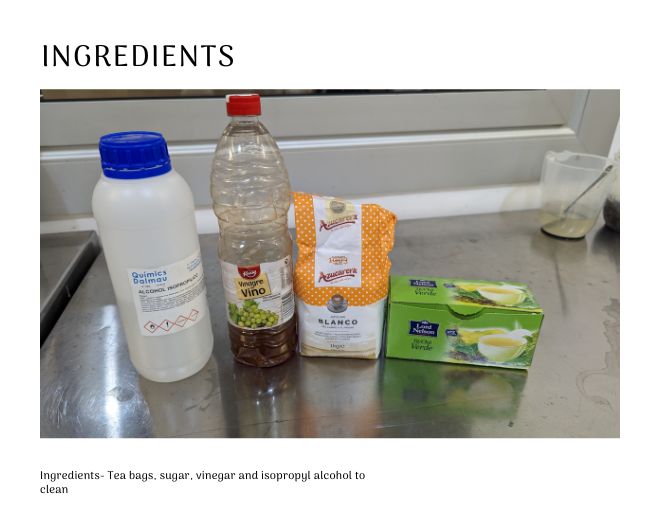
Kombucha
Kombucha Leather/ bacterial cellulose
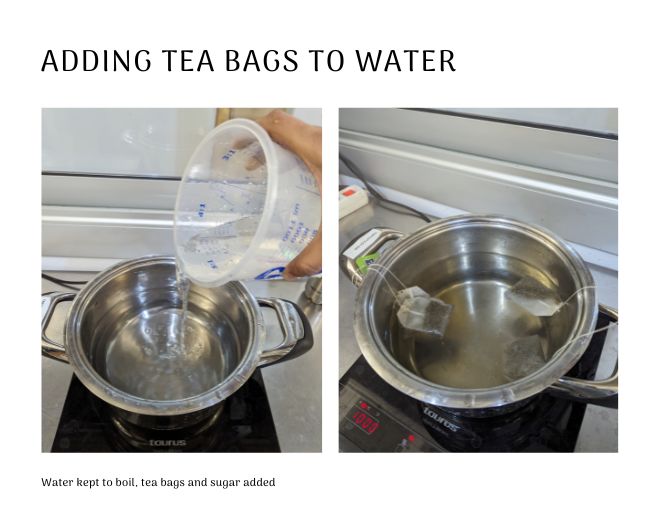
Step 1: Take a pot of water from the pipe and boil it, add the tea bags and let the tea be cooked for till the water is coloured, i.e. almost after twenty minutes.
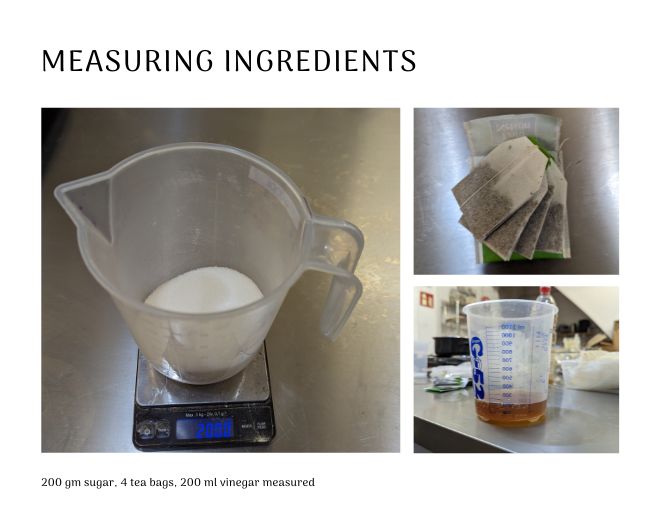
Step 2: Add the sugar, stir it and let it dissolve
Step 3: When the temperature is at 90ºC, keep the pot away from the stove so it will cool down.
Step 4: Add the vinegar solution into the mix.
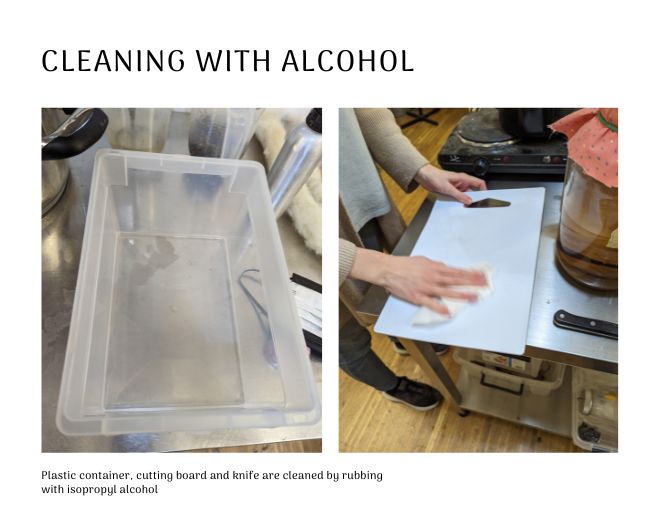
Step 5: Clean the plastic container, cutting board and the knife with ethanol to keep the bacteria away.
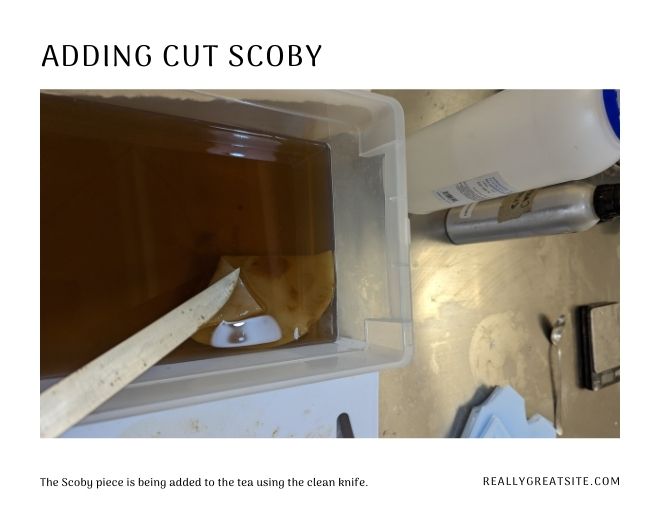
Step 6: Take the mother scoby and cut a large piece of it.
Step 7: When the tea bath is 30ºC, pour the tea bath into the cleaned plastic container.
Step 8: Add the mother scoby piece into the tea bath.
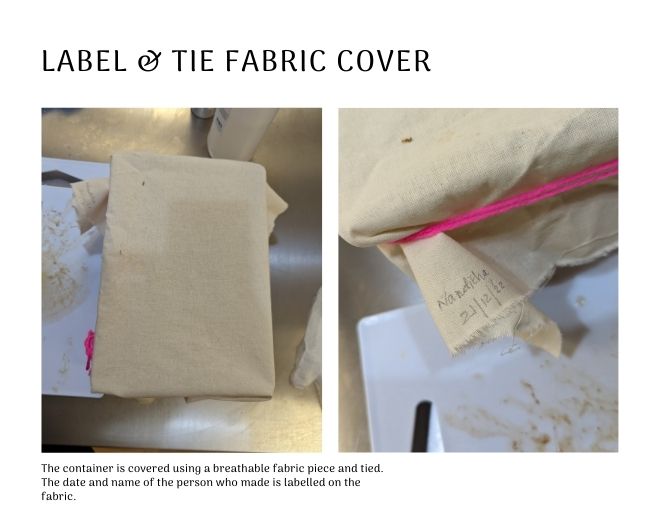
Step 9: Cover the plastic container with a woven fabric and close it with a cord. Label it with the name of the person who made it and the date.
Step 10: Let the Kombucha bath grow for 3 months. It is better to let it sit and grow in a dark place without moving it. In the colder climate, better to keep it near the heater.
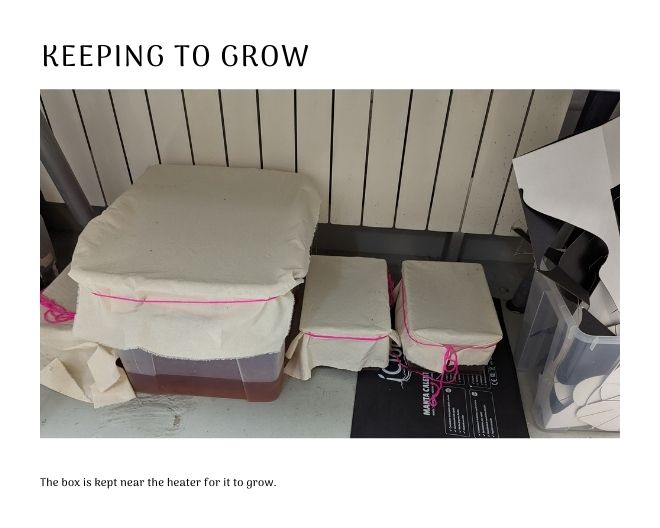
Kombucha grew well for a while, but when I came back from the holidays my Kombucha had dried out.