12. Soft robotics
Learning outcomes
- References and Concept development
- Design: Sketch, 2D and 3D modeling, Parametric modeling and electronic skills, simulation
- Fabrication: Capable of executing from file to production workflow, molding and casting, vinyl cutting, laser cutting
- Documentation: Anyone can go through the process, understand it and reproduce it
- Final outcome: Is the project assembled, functioning and complete
- Originality - Aesthetics: Has the design been thought through and elaborated?
Student checklist
- Document the concept, sketches, references also to artistic and scientific publications?
- Make a soft robotic sample, develop the pattern for the Inflatable and draw a sketch of the air flow: build a pneumatic wrist brace (basic level) or build a Soft Gripper (intermediate level) or build and document a Pneumatic, digitally controlled system, electronics schematic, electronic control and code (advanced level)
- design your own version of an inflatable / soft robot
- Experiment with different materials, such as silicones, 3d printing, parchment paper, thermo adhesive vinyl, TPU fabrics, bioplastic, document your achievements and unexpected outcomes
- Make a small video of your inflatable/soft robot working
- Upload your digital design files (if any)
- Build the electronic circuit to control your inflatable/soft robot (extra credit)
References
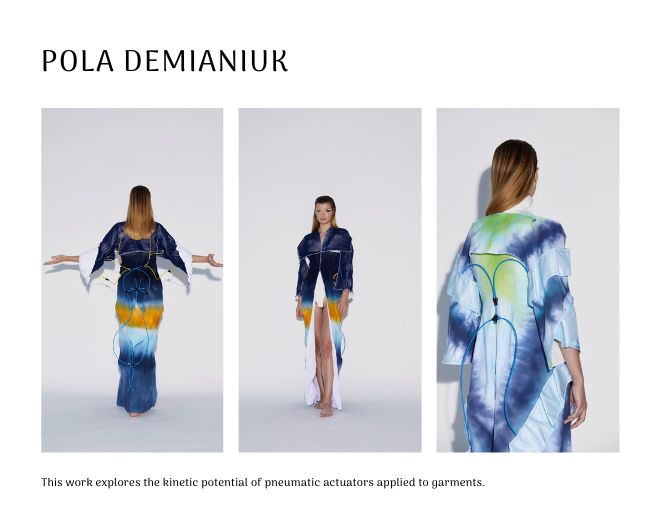
This work explores the kinetic potential of pneumatic actuators applied to garments. Based on soft-robotic principles, the clothing embedded with the wearable structures acquires a property of self-assembly on the body, without or with minimal intervention. The design development investigates how to relate body and fabric form to the movement performed by the robotic actuators made of laminated woven fabrics of elastic but airtight materials. This project questions the reality where the garment is static, and the body is an active agent in the dressing-up process. Through this speculative approach, the work introduces a fresh relation between body form and clothing in the service of wellbeing. In other words, the garment design assists the body in being dressed.
** From Planetary Rovers to Microsurgeries-Soft Robotics: Shaping the Future**
Read how IIT Indore has created a robotic jellyfish to observe marine life and IIT Delhi and Madras has utilized the concept of soft robotics to implement human-robot interaction. (Article written jointly by Gargi Das and Jasmine Jerry A)
Jasmine Jerry Aloor published this article in Medium
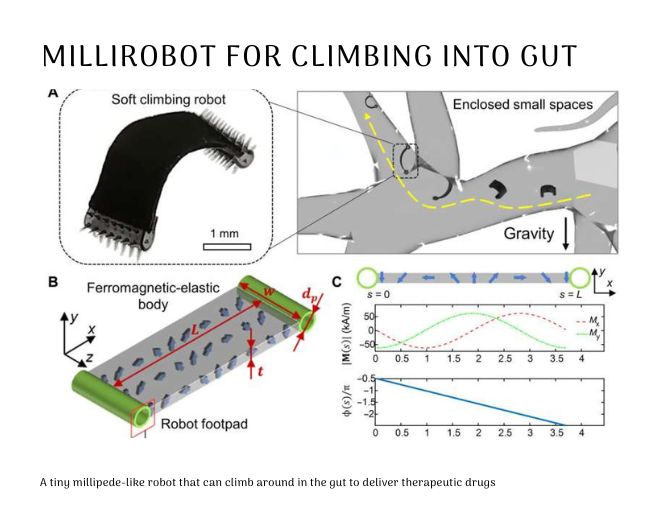
** A millirobot for climbing around in the gut to deliver drugs **
A team of researchers at the Max Planck Institute for Intelligent Systems, has designed and built a tiny millipede-like robot that can climb around in the gut to deliver therapeutic drugs. In their paper published in the journal Science Advances the group describes the inspiration for the robot, how it was built and how well it worked when tested on animal tissue.
Concept development
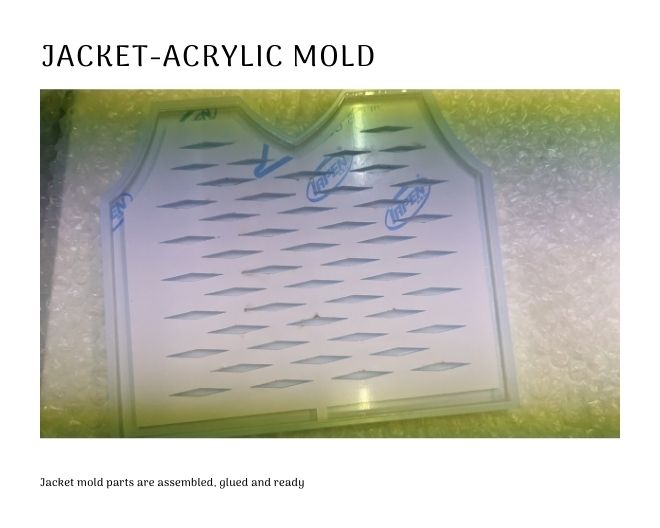
Shirts that hugs - Compression Clothing to support Autism
A jacket or a shirt that is made from an inflatable material and has an actuator attached to it. The wearer can feel the hug by pressing the actuator that lets the air flow into the shirt, increasing the pressure and giving the feeling of a hug machine.
I watched the movie Temple Grandin almost a decade ago and the concept of Hug Machine and making it simple, user friendy has always been on my mind. In fact, during my Fabacademy I initially considered this as my assignment for Week 17 Wildcard week. But was unable to find the materials although Nishtha Kaushik, Fabricademy alumni tried to help me.
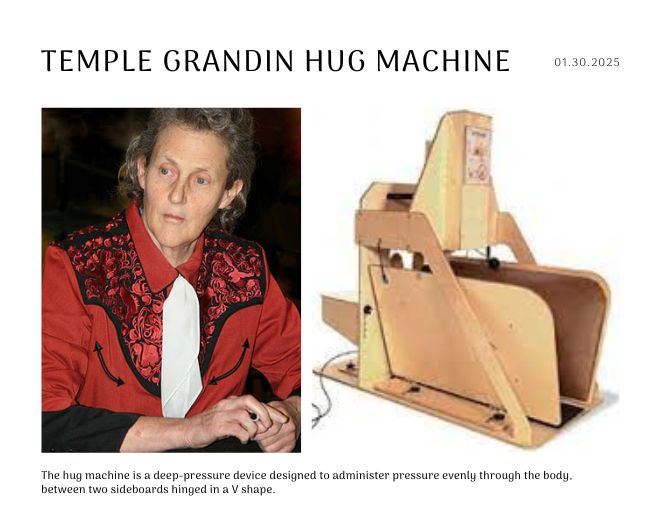
The Temple Grandin Hug Machine
Temple Grandin, Ph.D., is a gifted scientist, a trailblazer in autism research, and one of the first people to document her experiences living with autism — and the fruits of her decades of research have an interesting connection to the Bancroft School.
Although she had trouble verbally communicating until the age of 3, Dr. Grandin has gone on to become a renowned professor, author & rights advocate. Her experience on the autism spectrum led her to become a pioneer in deep-pressure stimulation with her invention of The Temple Grandin Hug Machine.
Dr. Grandin was born in 1947 and was not diagnosed with autism until she was well into her 40s. She received her doctoral degree in 1975, and has focused much of her career on animal science and behavior, and animal rights activism. Her advocacy for the humane treatment of livestock led to the 1965 creation of The Temple Grandin Hug Machine, a device designed to calm hypersensitive individuals.
Also known as a hug box, squeeze machine, or a squeezebox, the hug machine is a deep-pressure device designed to administer pressure evenly through the body, between two sideboards hinged in a V shape.
The idea first came to Dr. Grandin while observing cattle chutes on her aunt’s farm. She noticed the chutes — which function similarly to what eventually became the hug machine — helped to noticeably calm the cattle as they passed through. It was after this experience when Dr. Grandin realized that the cattle were coming out of the chute calmer than when they went in.
She hoped to create a similar effect with the hug machine, which she originally constructed to alleviate her own symptoms. She never intended to share her design publicly but decided to expand her research to determine whether others could benefit in the same ways she had, and the modern hug machine was born.
Today, the machine is an essential tool in helping to provide sensory benefits to children and adults with autism — and its design allows them to adjust the amount of pressure the device delivers on their own.
- Text from Bancroft Organisation for Autism Support, New Jersey
- The calming effect-Temple Grandin
- Sensory Friendly Clothing and Why Shirts That Give Big Hugs Can Help
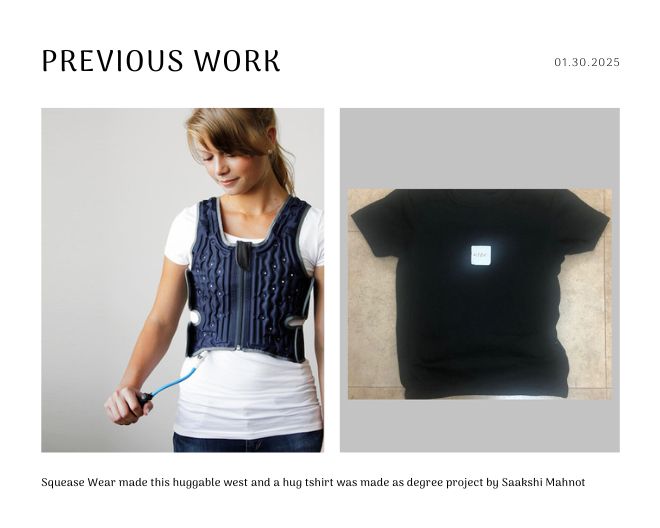
Previous Works in the same line
- Squease Wear
- Autism Friendly Tshirts designed by a young Indian Fashion Design StudentSaakshi Mahnot
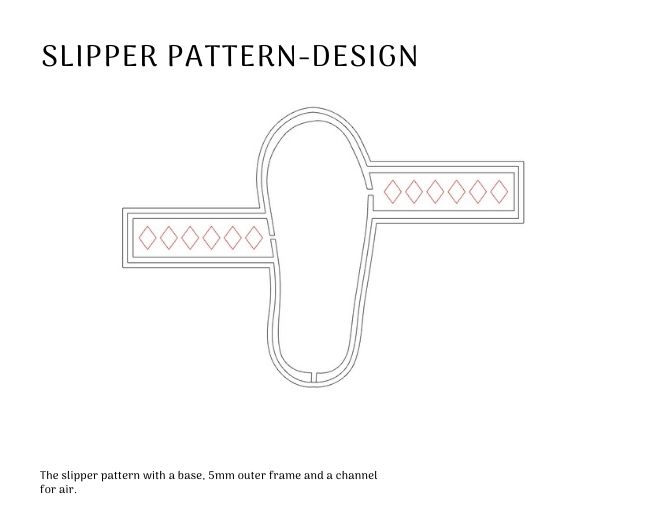
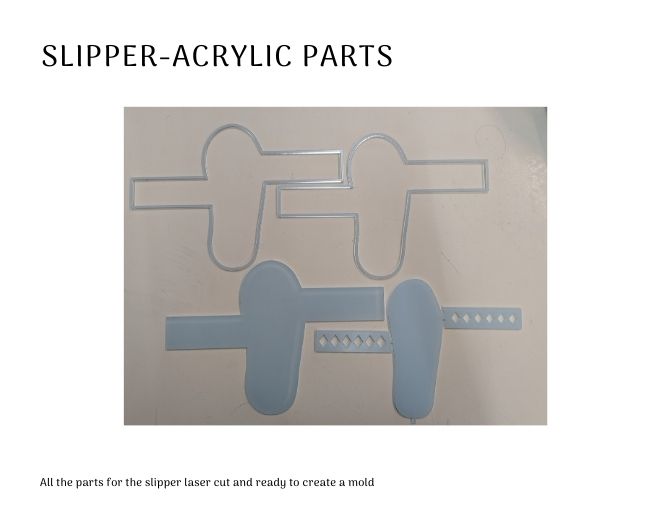
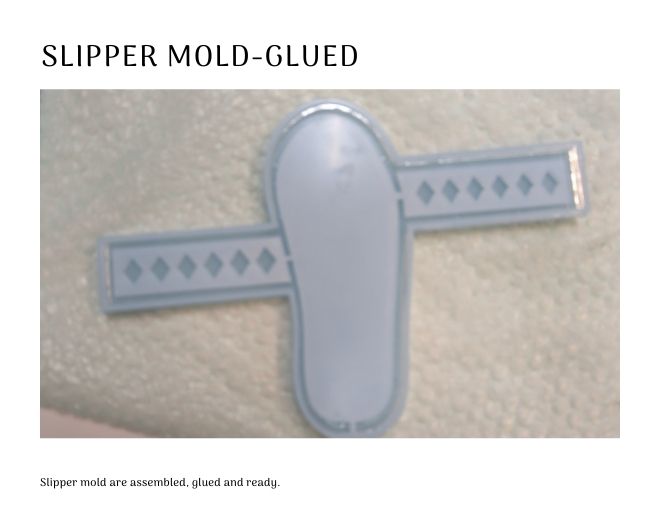
Soft Slippers
I want to make a soft slipper that will close on it's own upon pressing the foot. Basically, the air will flow into the wings making it move inward causing the slipper to close.
Fabrication
2D molds: thermovinyl inflatables
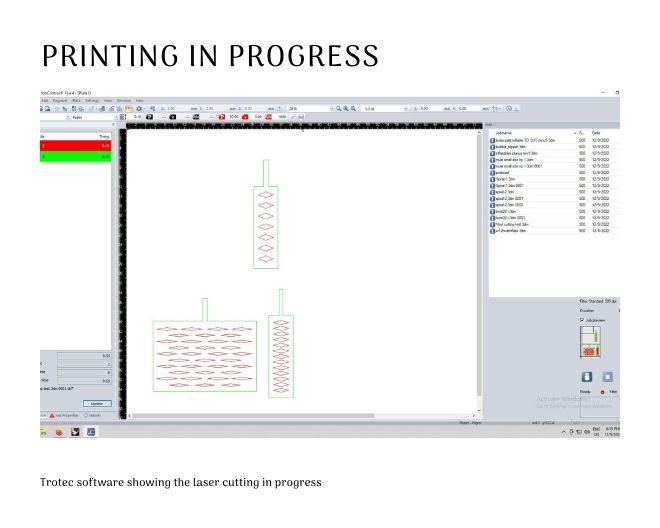
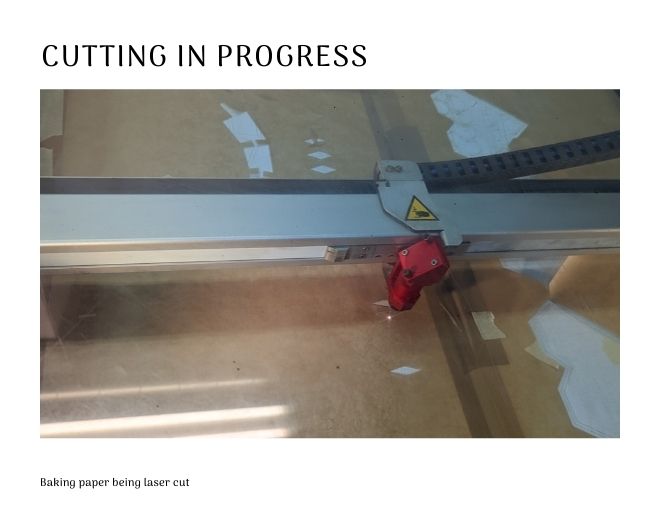
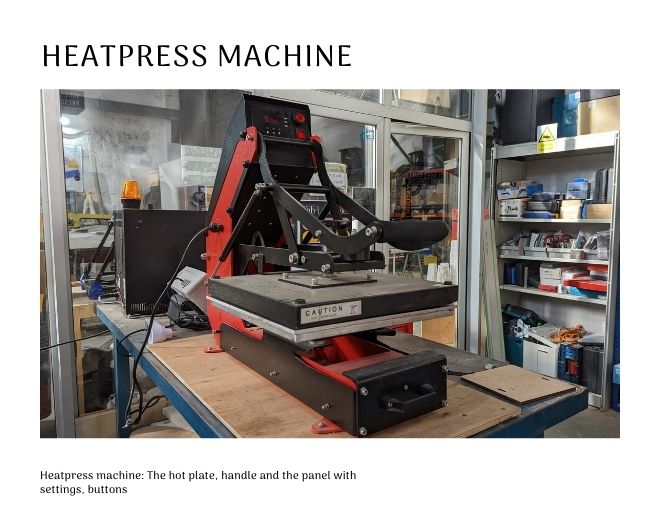
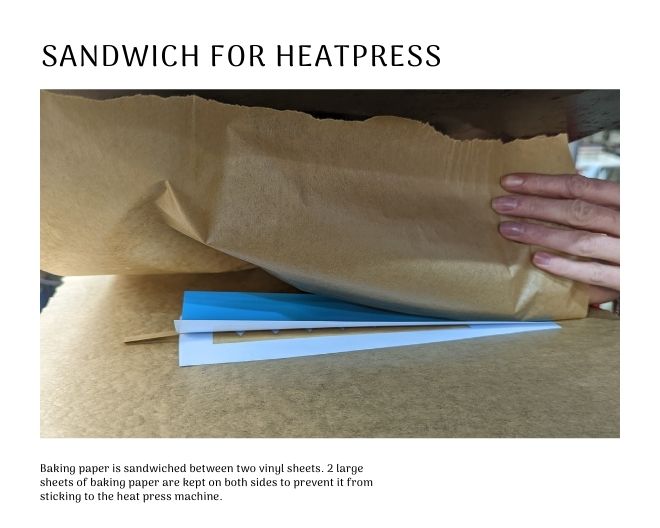
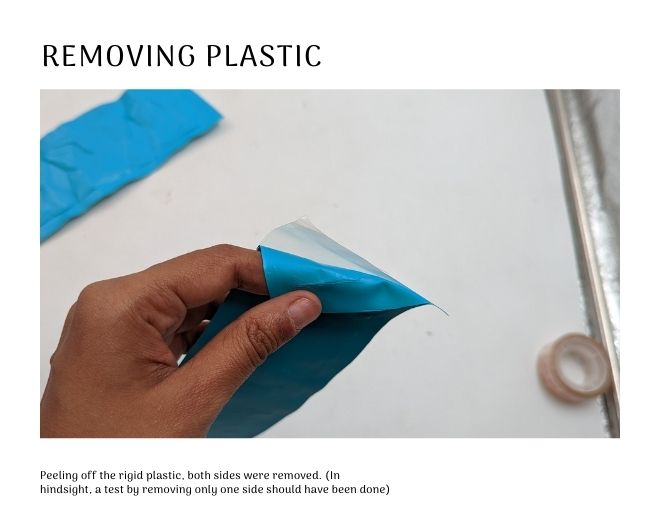
In my initial experiment, I used basic materials such as thermovinyl, parchment or baking paper, and heat. I cut air channels on the baking paper using a laser, and created pockets by welding two vinyl parts together with heat, either through a heat press or iron. This allowed me to experiment with different movements and dynamics. The vinyl layers were fused together, except in areas where baking paper was placed, creating air channels for air circulation. However, it was difficult to predict the behavior of the shapes, so I needed to experiment with different designs first.
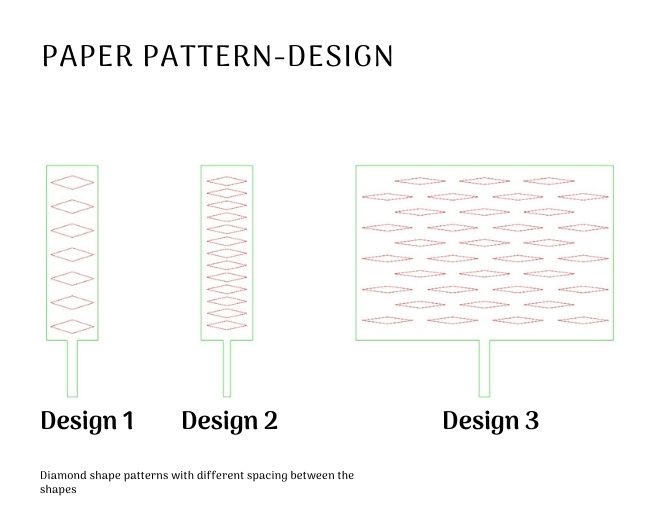
Design:
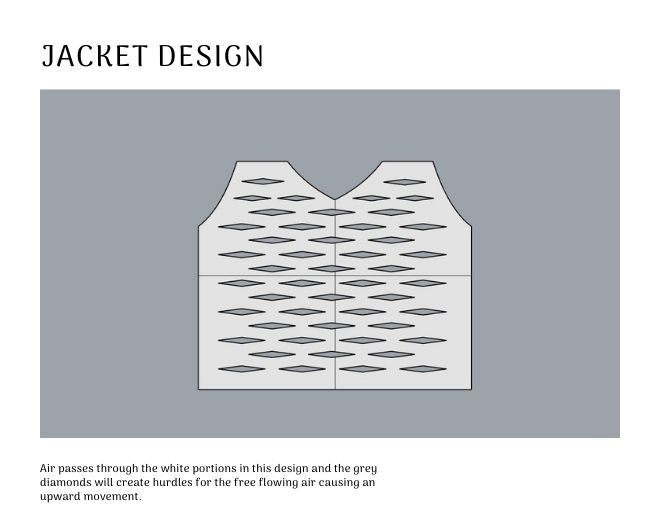
I decided to test out what movement a shape can create when the distance between the shapes are changed. I decided to first try out with a diamond shape.
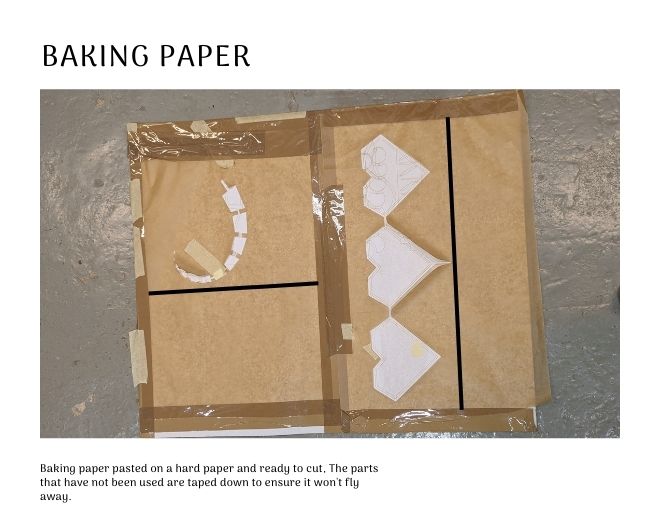
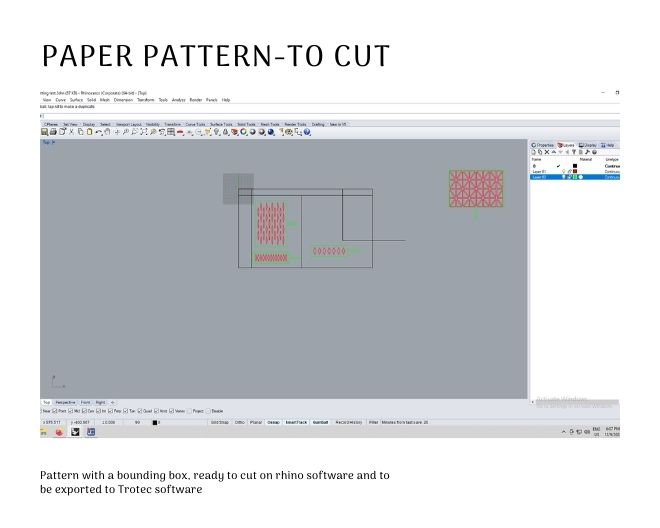
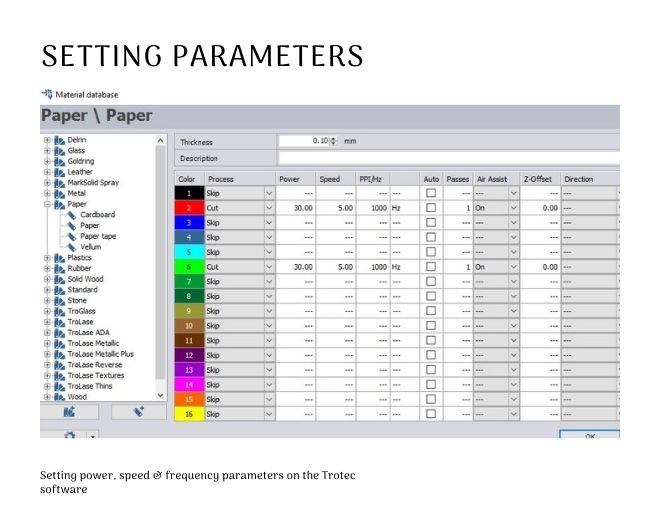
Cutting baking paper

2.5D Molds for silicon inflatables
** Design**
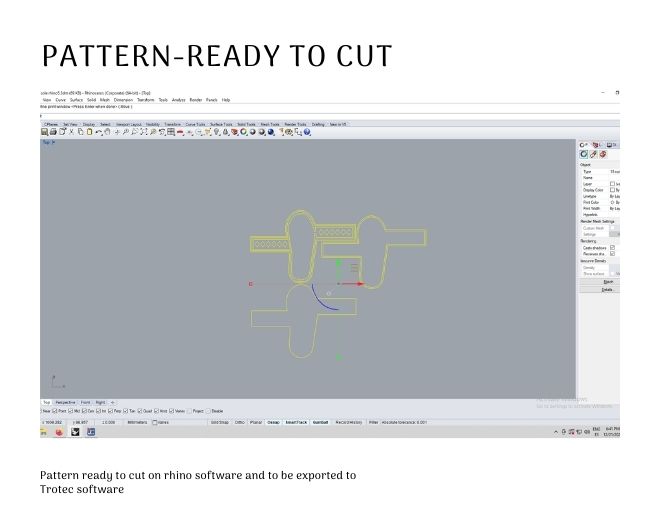
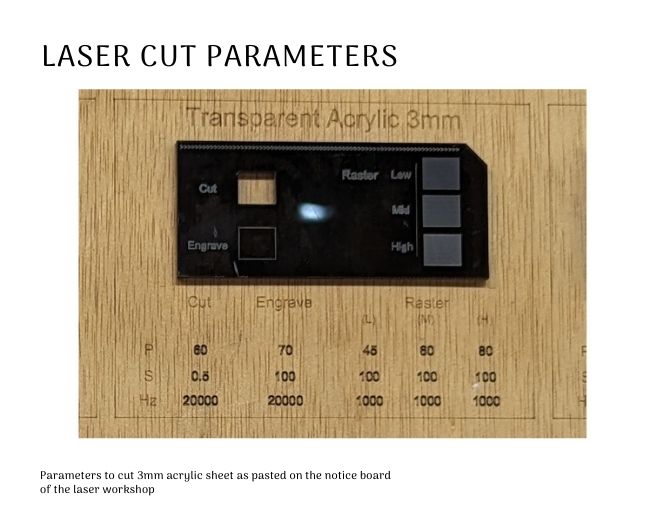
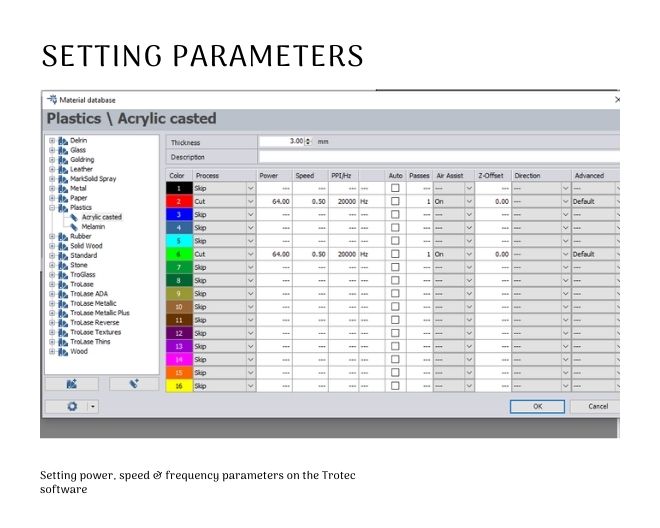
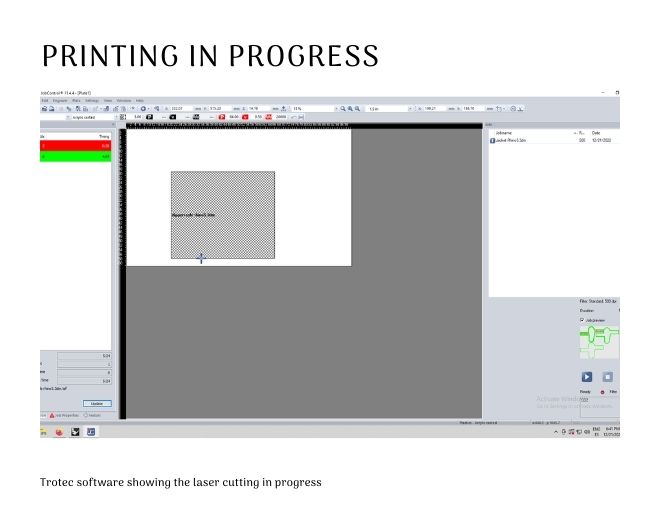
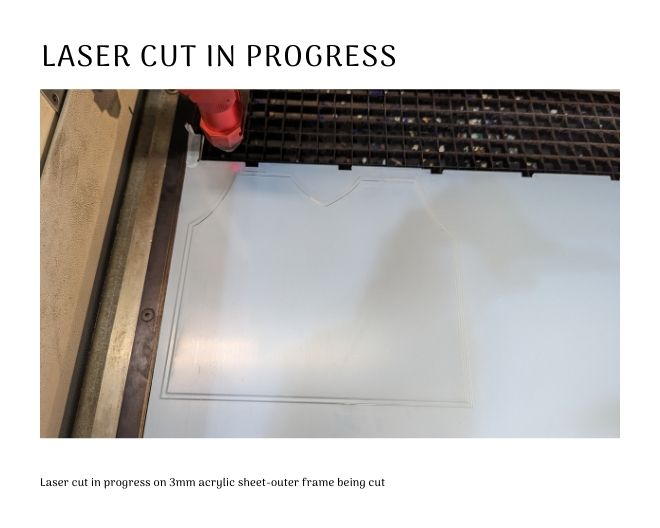
Laser Cutting
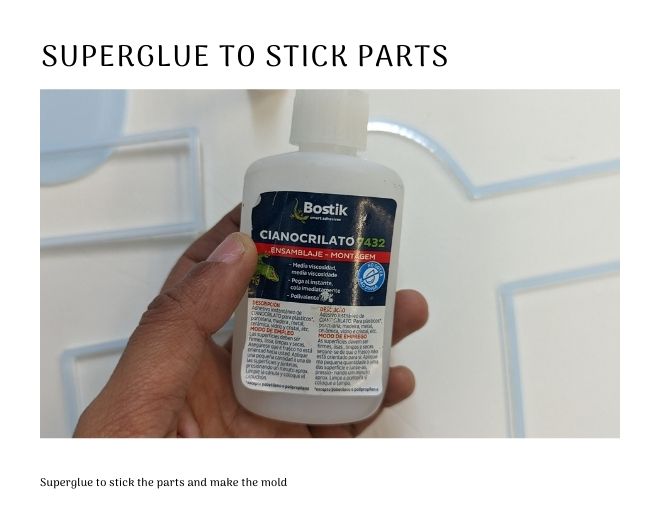
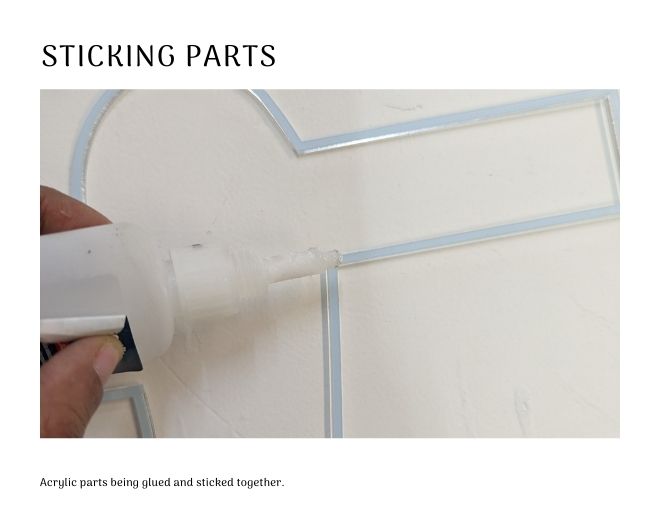
Acrylic sheets give beautiful shine. They are easy release, easy to lasercut and glue together. It was hard to glue large surfaces with glue that dries in seconds is a challenge though!
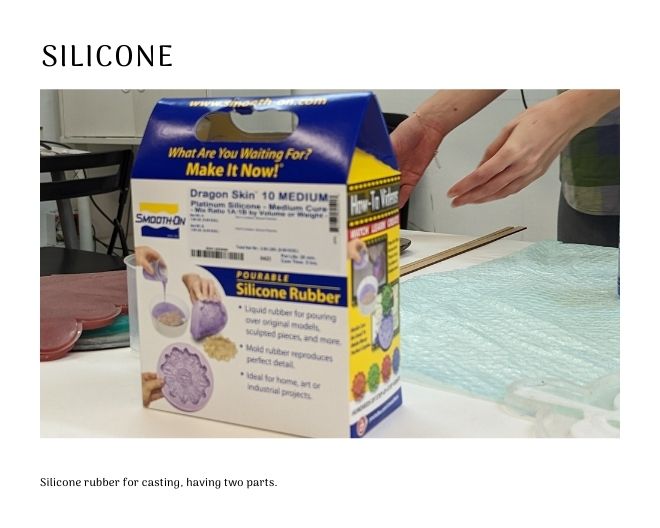
Elastomer
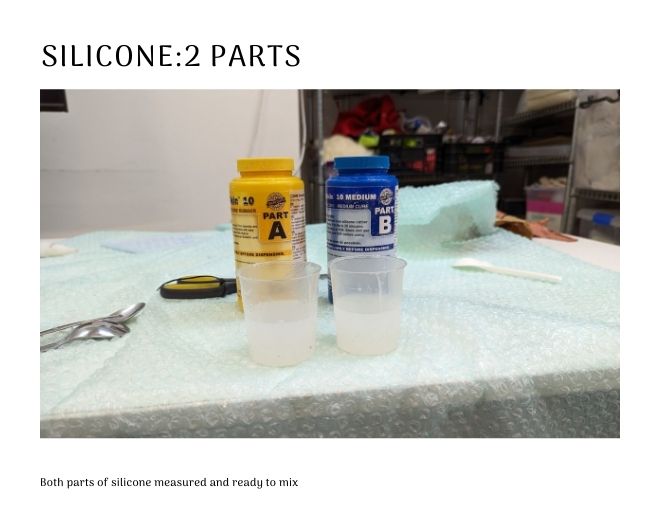
EcoFlex 00-30 from SmoothOn is employed as an elastomer. This particular type of elastomer is translucent and has a shore hardness of 00-30, indicating that it is highly flexible, which is ideal for inflatable structures. The parts are mixed in a 1:1 ratio, with a pot life of 45 minutes and curing time ranging from 30 minutes to 4 hours. It is important to wear vinyl gloves and work in a well-ventilated area as the elastomer emits toxic fumes during the curing process.
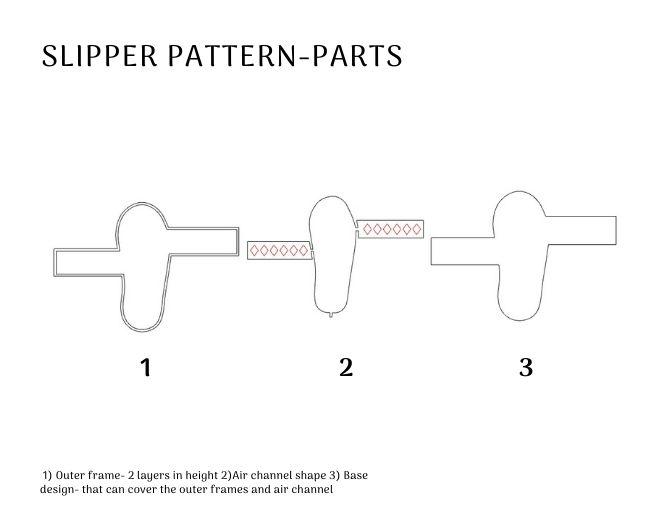
Parts list
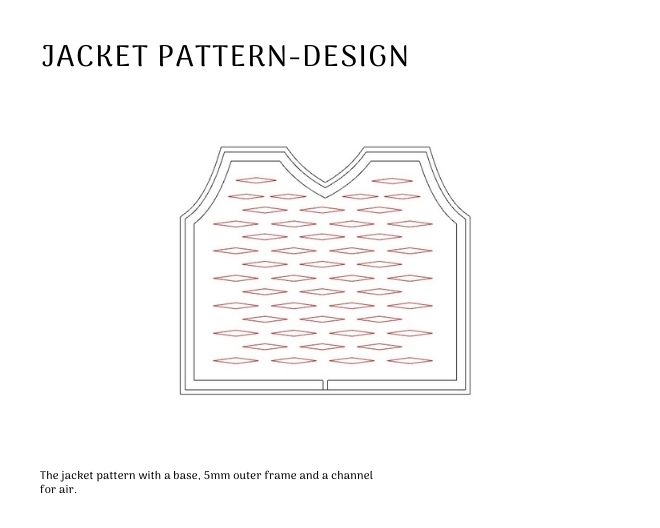
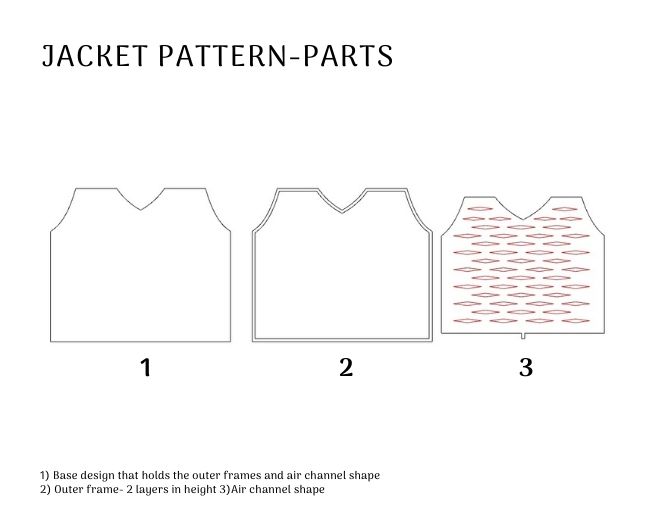
The mold consists of two parts that are glued together with a little bit of silicon after:
- A base
- Air channels in the required shape
- An outer frame of 2 layers high
And the second part of the mold with a flat on top of it is made by constructing a mold of:
- A base sheet- I used a plastic sheet lying around in the lab
- The outer frame of 1 layer high
** Casting the inflatable**
- Place plastic covering over the table top to prepare for potential spills. Select a spot where the silicon can set without being moved.
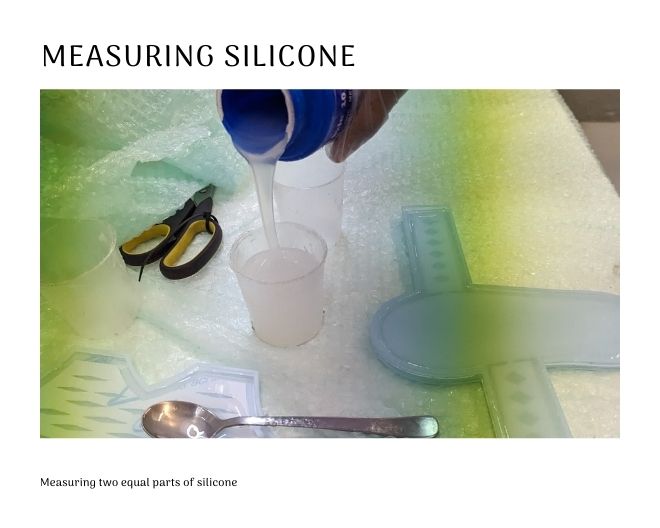
- Determine the necessary amount of silicon to be used through rough measurements or calculations of the shape's dimensions.
- Mix part A and part B together slowly to prevent the creation of bubbles that can create holes in the cast.
- Ensure that the mold is placed completely level to avoid variations in thickness that may lead to large bubbles in thinner areas and no airflow in thicker areas.
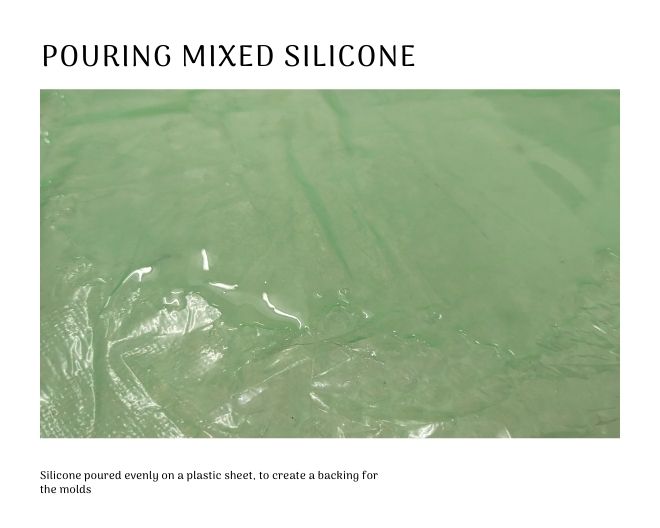
- Carefully pour the silicon into the mold from one side and allow gravity to handle the remainder of the process.
- I also casted on the flat sheet of plastic to get the second part
Curing and releasing
Curing takes 12 hours, but I left it to cure for a weekend and came back to find it completly ready.

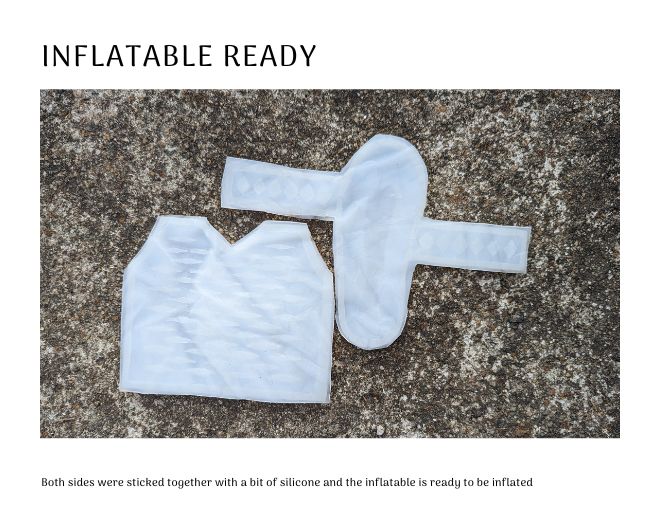
Gluing the two sides together
Both parts were glued together using the remaining silicon. But by then the silicone was almost finished and my gluing was not proper. So I used some super glue to glue the open edge.
Inflating the inflatables
To inflate the inflatables with air I need a large syringe. I tried to buy it from the medical store but Syringe is not given without doctor's prescription. Although I told them I don't want the needle they were not ready to give me. In a few days I would be able to procure it from the veterinary hospital as they use such syringes for cows and baby elephants. In the mean while I tested inflating by blowing air into into with my mouth. It didn't exactly work the way I expected but it's okay for now.
Files
All the files for 2D and 2.5D mold can be downloaded from here