2 Digital bodies
This week is about digital bodies, scaning, manipulating and translating flat pieces to a 3D model. Related to this week's theme 'Digital Bodies', I was inspired by contemporary dance, as I am a dancer myself. Actually I thought about dance since week 1 for my final project.
Research and inspiration
-- I felt inspired by the quote during the lecture: "the body is the canvas of the tailor, the same way a painter uses a canvas"
-- How to capture a body moving, dancing, performing, Alejandro Jimenez Dance videos are inspiring
-- Do butterfly remember being caterpillars is a dance performance of a performer called Lazy Legs
-- Sara Alvarez digital body seems to be drowning, it's a mannequin full of emotions
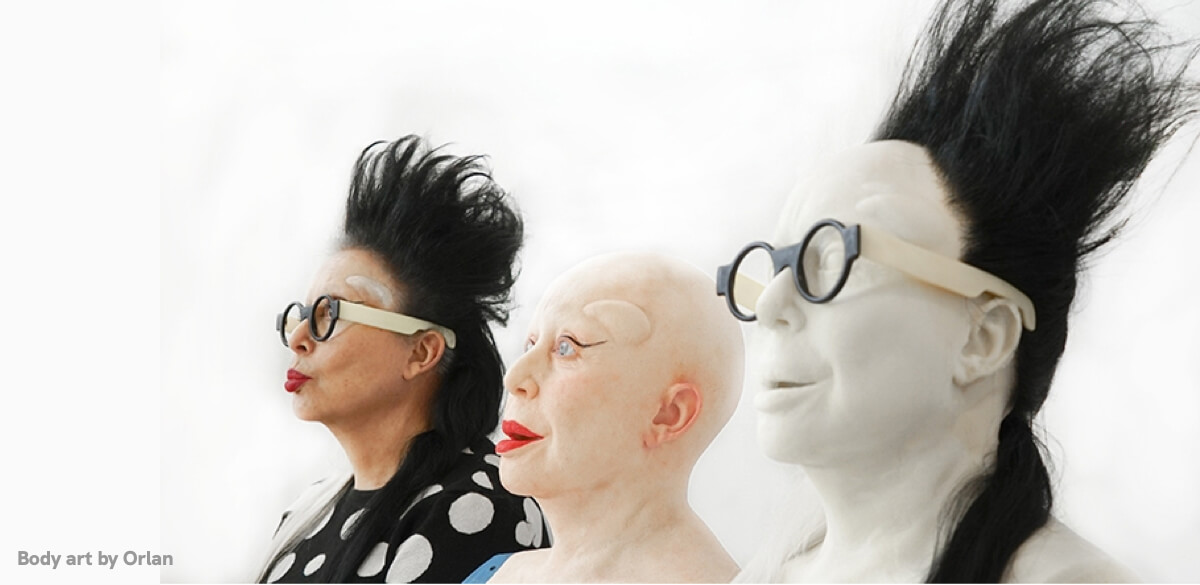
-- Orlan body art and performances, Orlan plays with stereotypes and protest against them by remodeling her own body, it's a powerful statement.
-- Inspired by the body stereotypes throughout the decades, and what will be the 2020 stereotype body? Post-apocalyptic body: maybe the 2020 stereotype body are skeletons or zombies because humanity has failed. Will the 2020 body stereotype be a skeleton?
-- Inspired by the idea of creating a model that will be of use at échofab, maybe a mannequin on which we can use to display creations from the textile lab.
-- Inspired by death, skeletons, skulls: is a dead body still a body? what about dead bodies? This reflexion led me to the vanitys in Renaissance art I'm very fond of. So I thought maybe doing a skull, a dead body would be an interesting personal angle. A vanity is an allegorical representation of death, of the passing of time, of the emptiness of human passions and activities. The vanity represents human life by means of symbolic motifs intended to highlight its inconsistency and fragility.

3D tools
-- First a useful quote I will stick to: design twice and cut once
-- I have experience with Blender, when I was studying in multimedia, but my skills in 3D are near to nothing. Same for the scanning techniques and laser cutting. All new tools to learn this week. I went through the tutorials and asked tips to my local instructor.
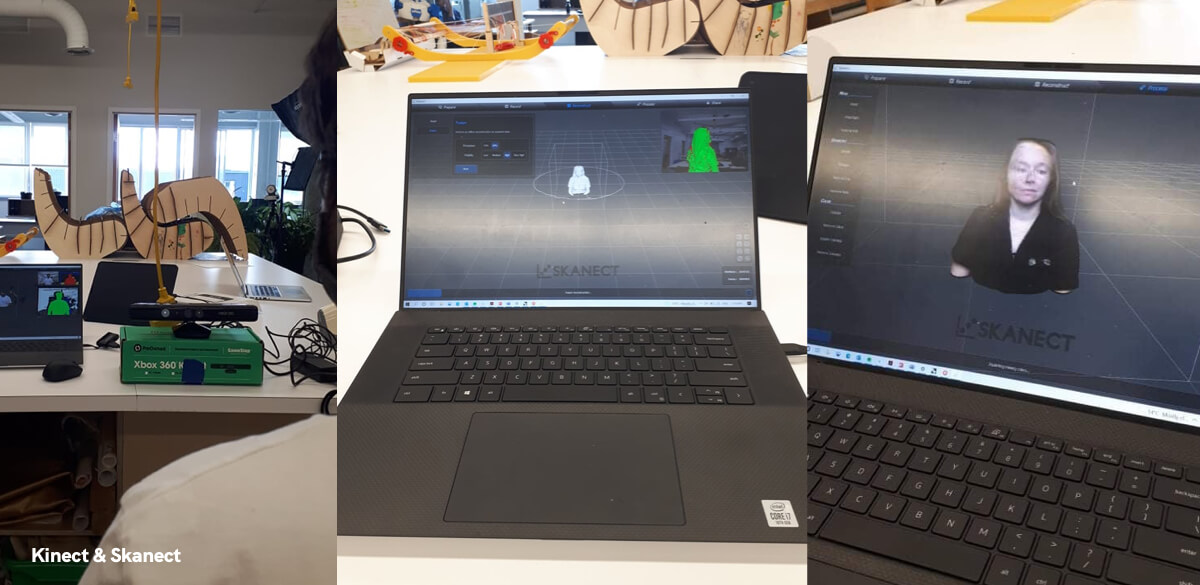
3D scanner
-- Kinect from Xbox with Skanect
We tried a 3D scan with a Kinect and the software Skanect. But the Kinect cannot be moved, so the model must turn on itself to be scanned. Or the Kinect must be placed on a turning table.
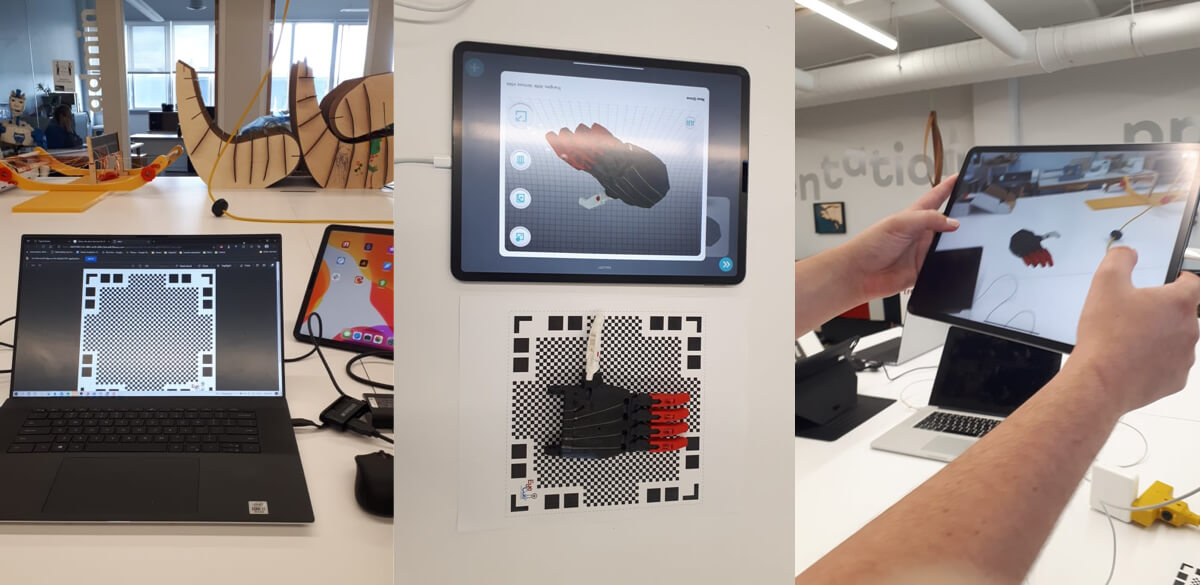
-- Scanner 3D Qlone
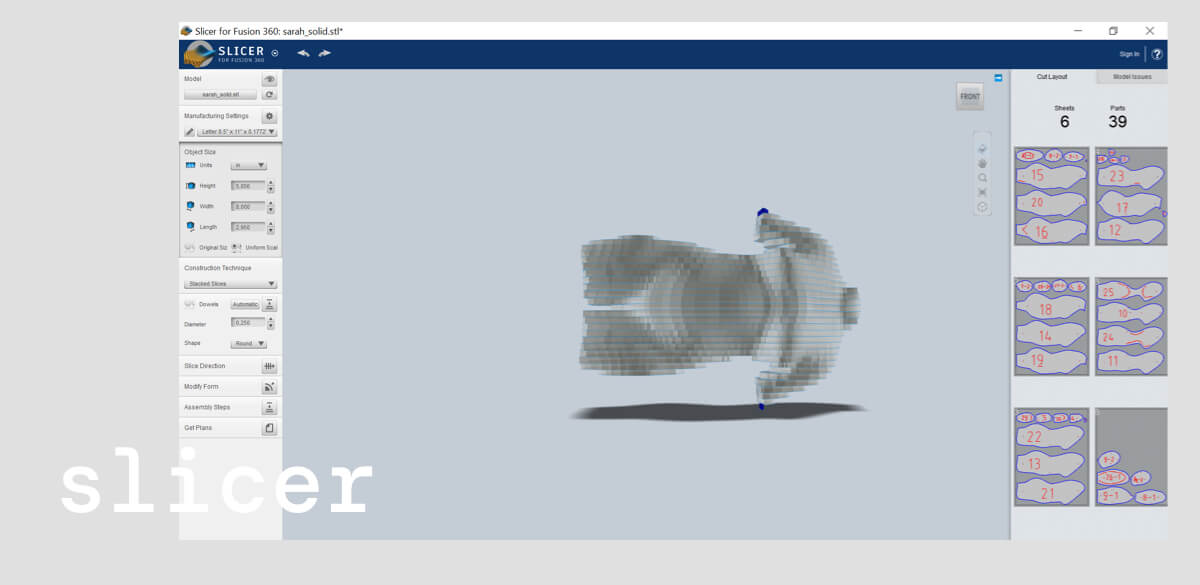
An app available on phones and tablets.Needs a sheet of paper to work. So it's more appropriate for small objects, we tried scanning my hand but didn't work. So we scanned a 3D printed prostetic hand.
-- Artec 3D scanners
The most expensive one, with a software that is very user friendly. Can't be epileptic, lost of flashing lights.
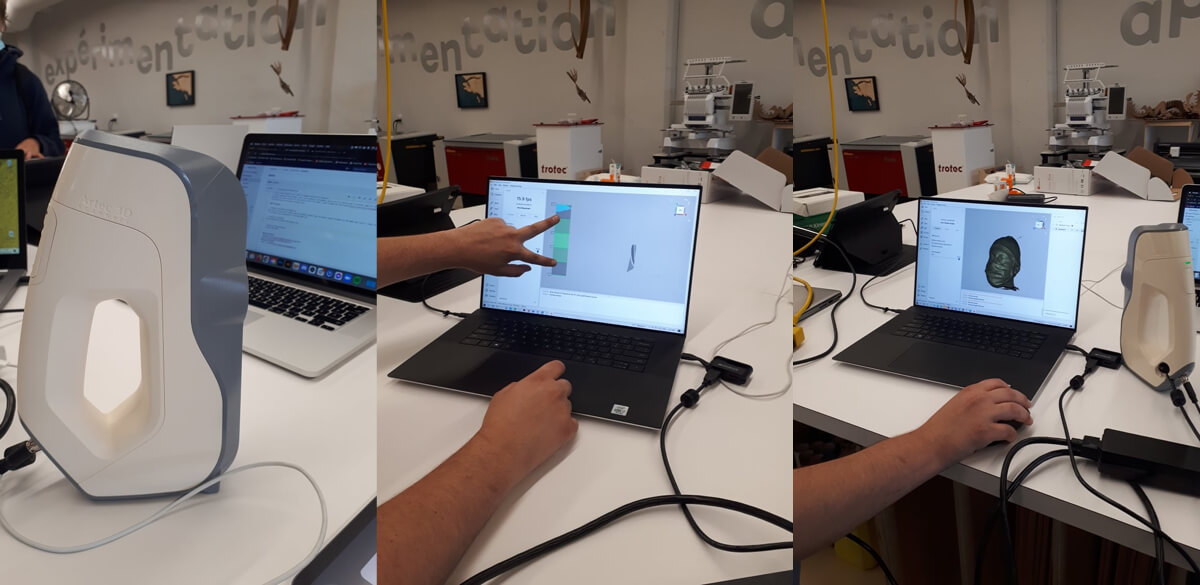
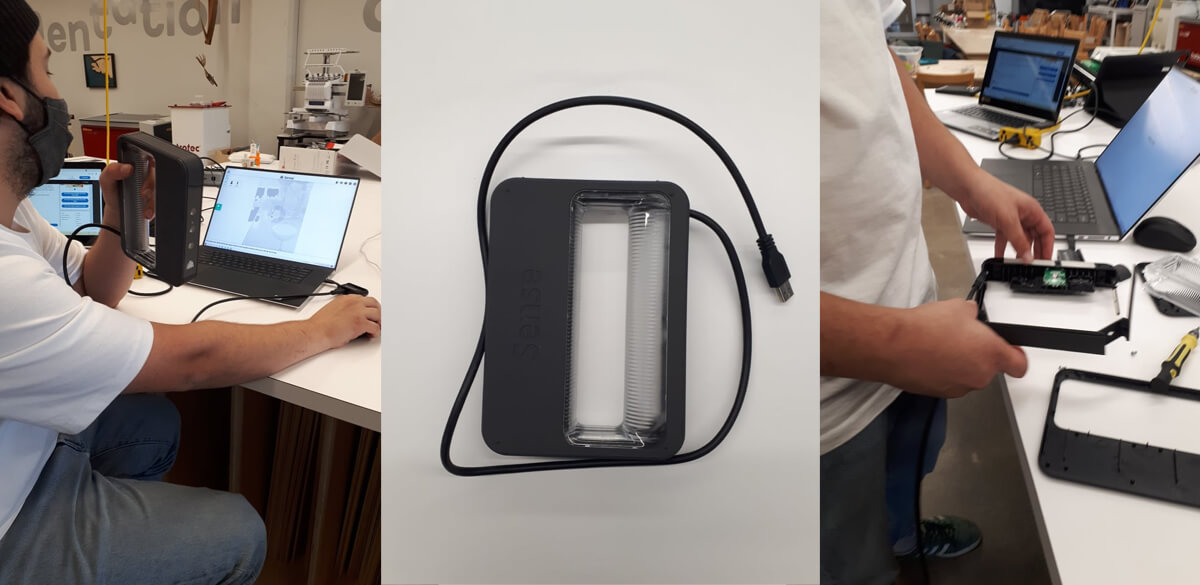
-- Sense by 3Dsystems this one is a great option, not so expensive and great results. We hacked the tool to add a longer USB cable, because it was difficult to properly scan with a short cable.
3D softwares
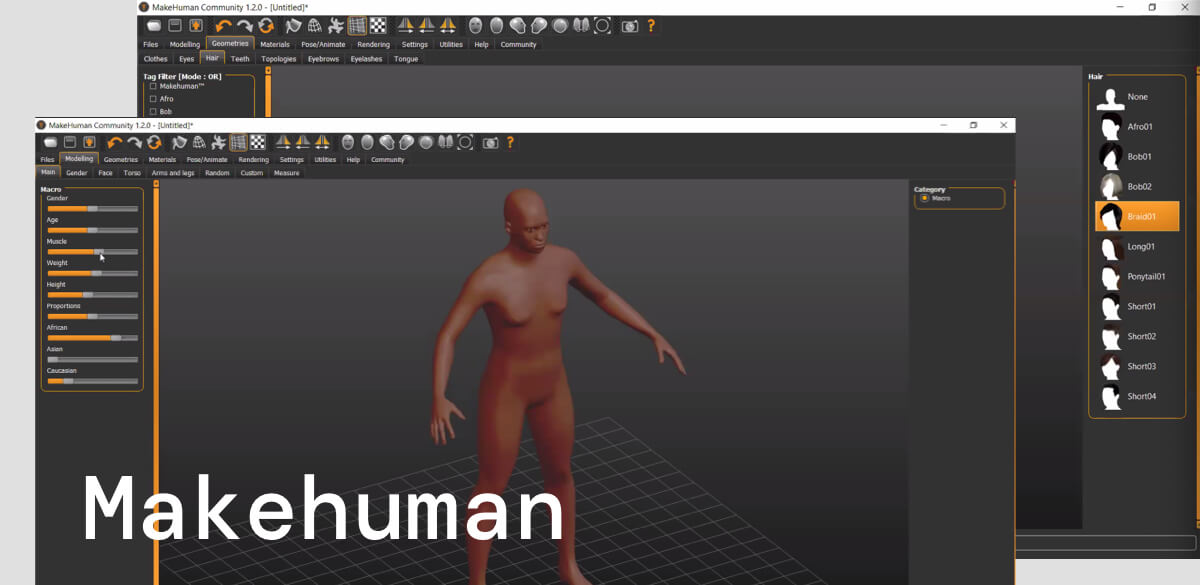
-- Makehuman open source program for creating animated characters, possible to import in Blender. Strong community => download assets a fun open source library.
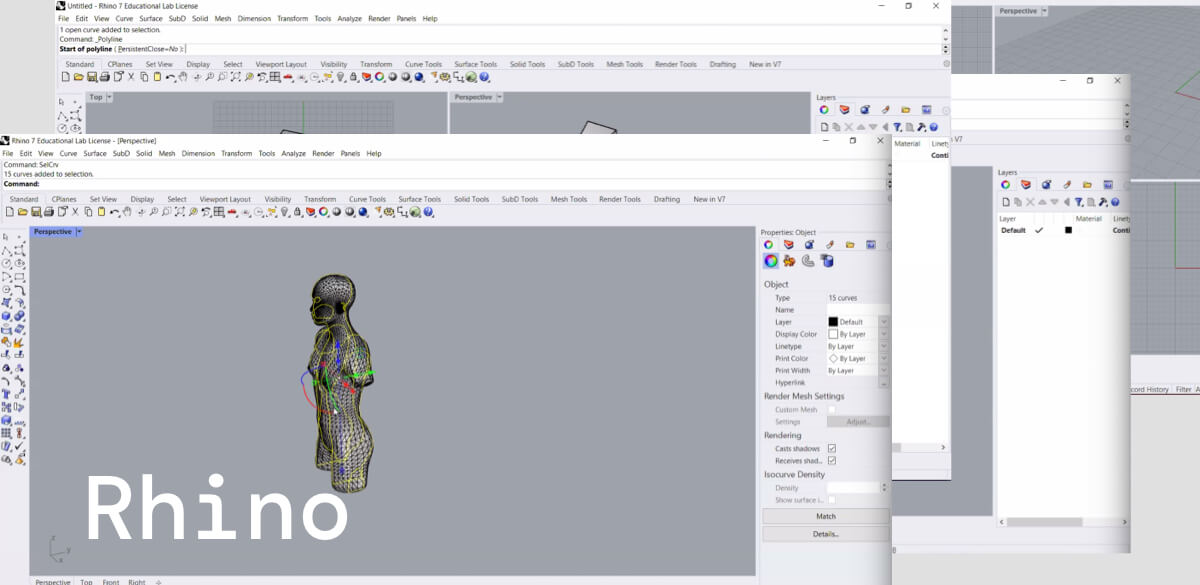
-- Rhino 3D industrial design software, used by many industries, designer and artists. Possible to add a grasshopper plugin.
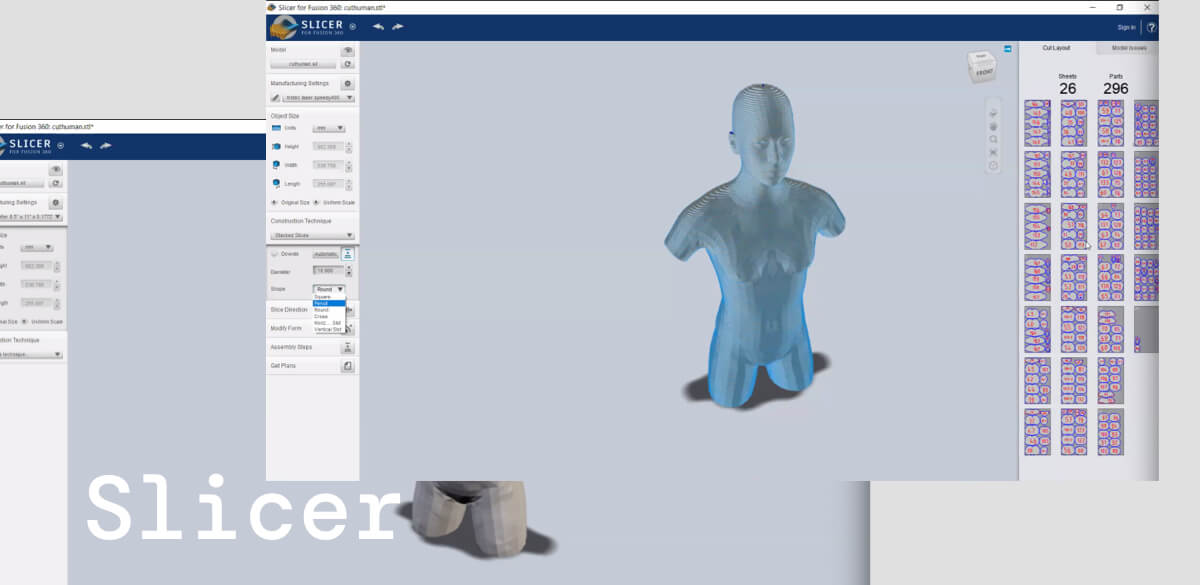
-- Slicer is a tool to slice a file and export it for laser cutting
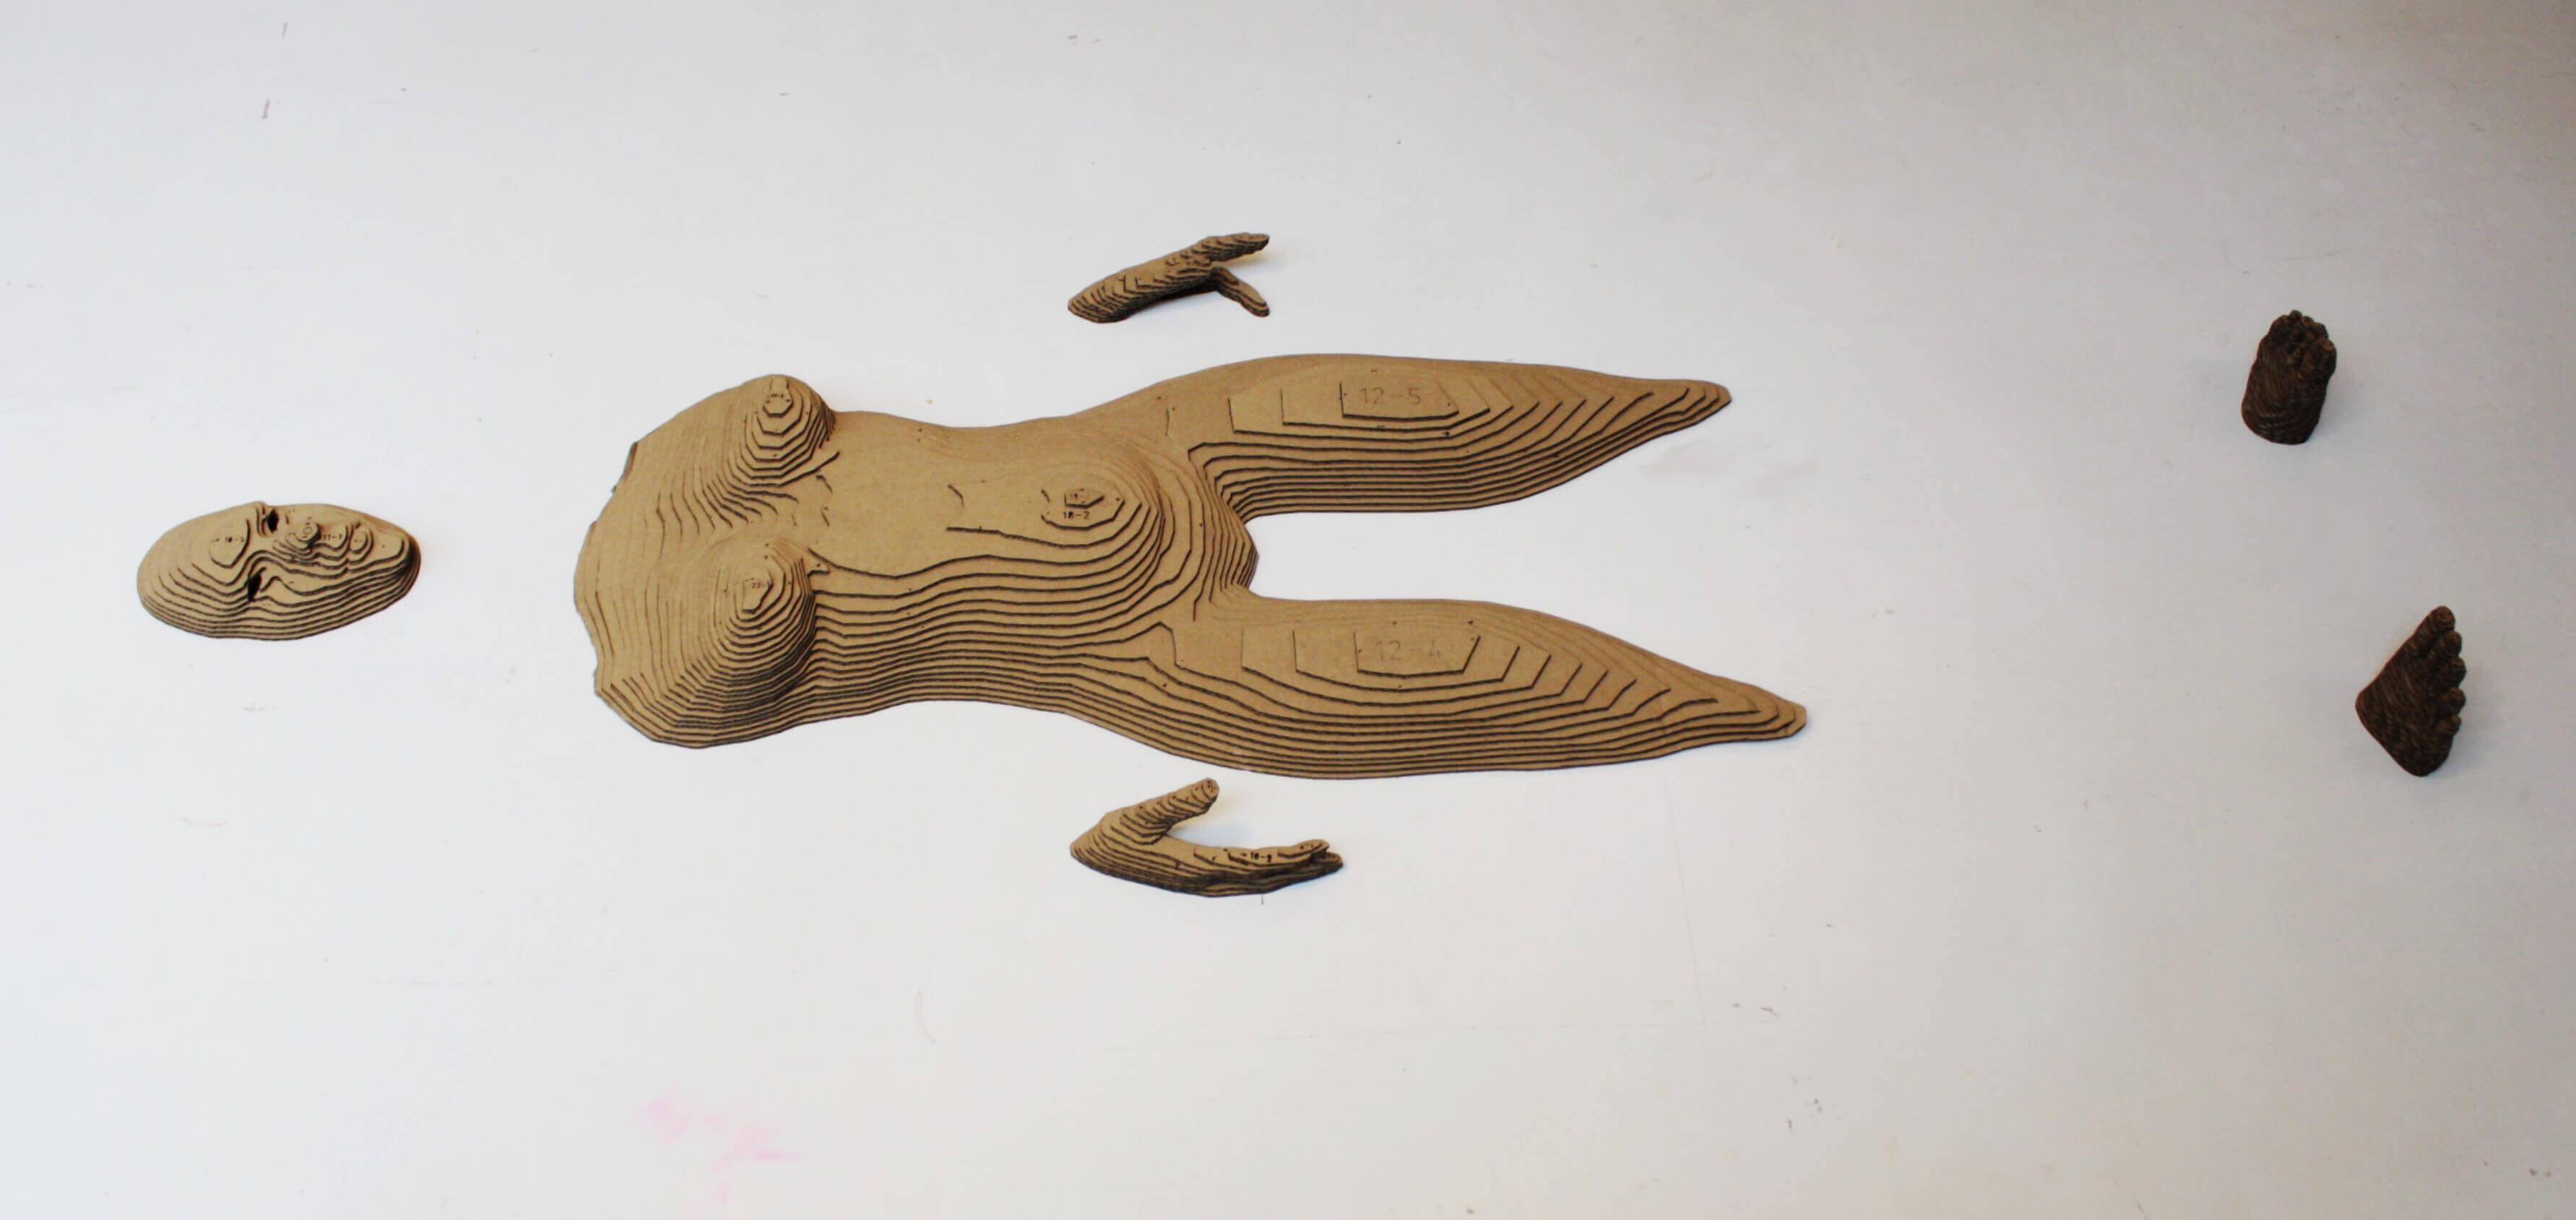
Project
3D torso
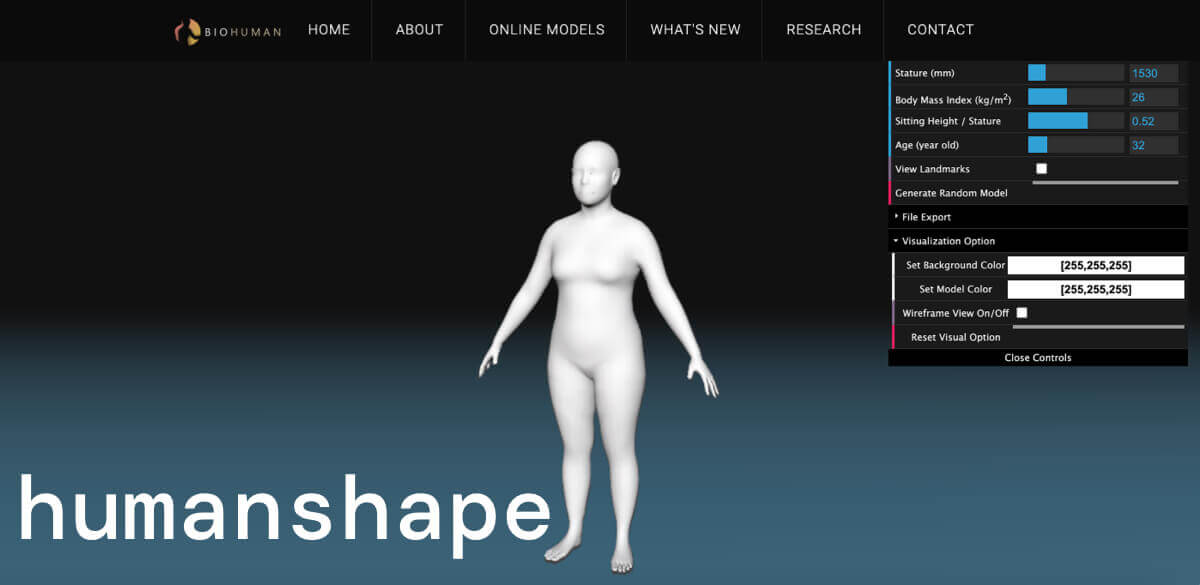
-- I used Humanshape.org to create a female figure based on my proportions, to create a mannequin I can use to display clothing.
Rhino
-- I imported the .stl file in Rhino, first to measure the object I used the command: Bounding Box
-- To cut Mesh I used the top menu in Rhino > Mesh Tools > Delete mesh faces

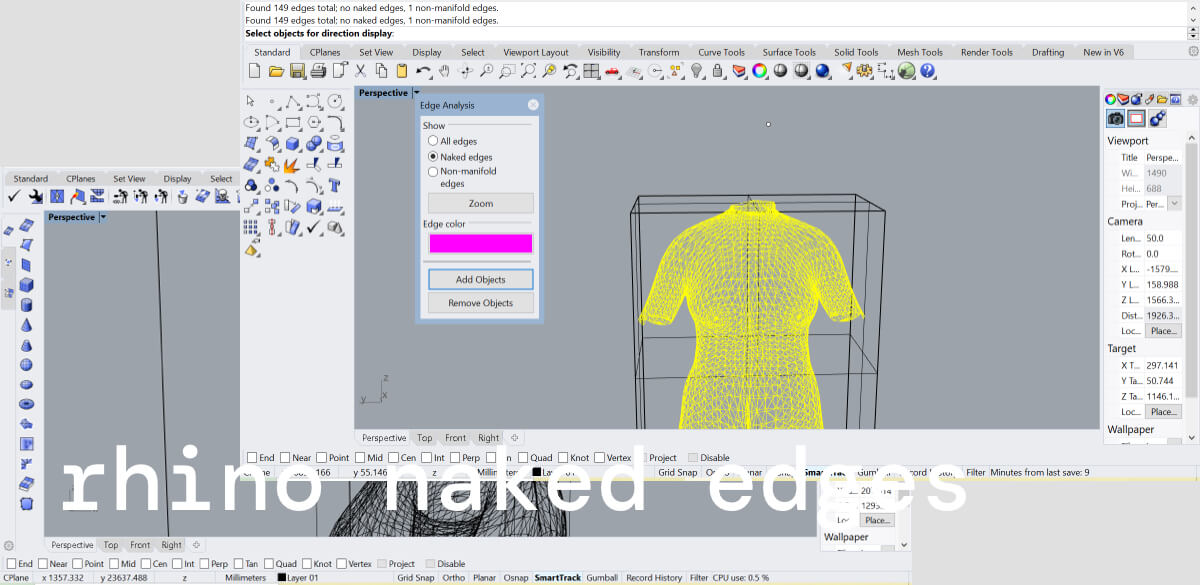
-- Once my object was cut I needed to fill it to make it watertight, I watch a tutorial and filled all naked edges.
-- Commands in RHINO
ZS to zoom
Mesh tools + delete mesh faces
Bouding box to measure
trouble how to create a solid ready to be printed, found a tutorial on making objects watertight and filled naked edges
trouble positioning my objects on the X Y Z (command rotate)
Slicer
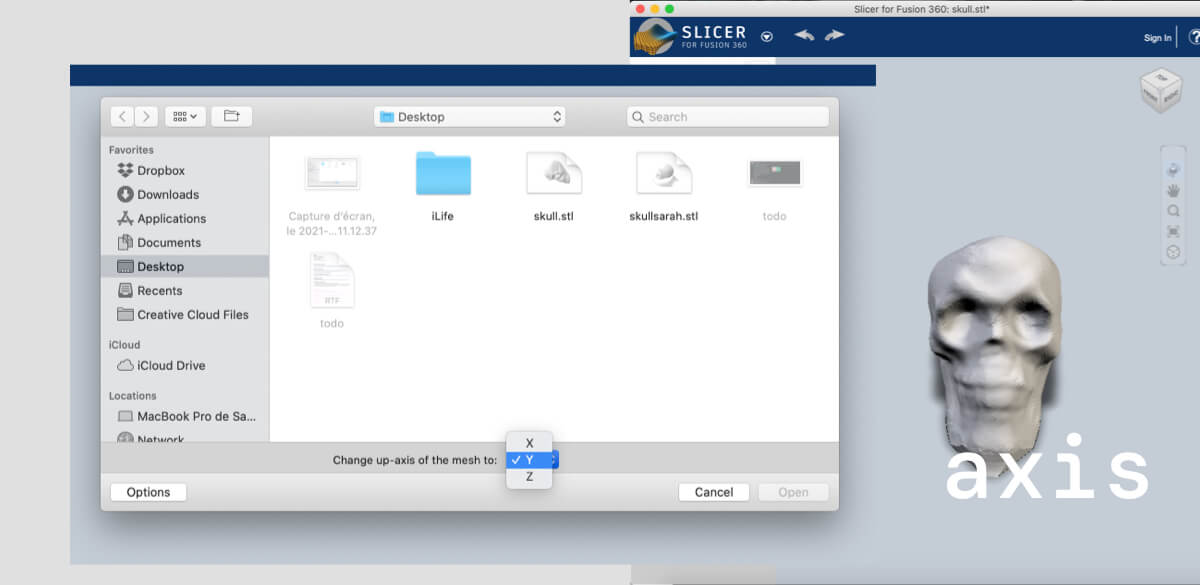
-- Once my object was filled I exported it in .stl imported it in Slicer, to find out that my model was not properly axed, but found out how to change the axis in slicer, when importing a file select axis: Z
Skull scan
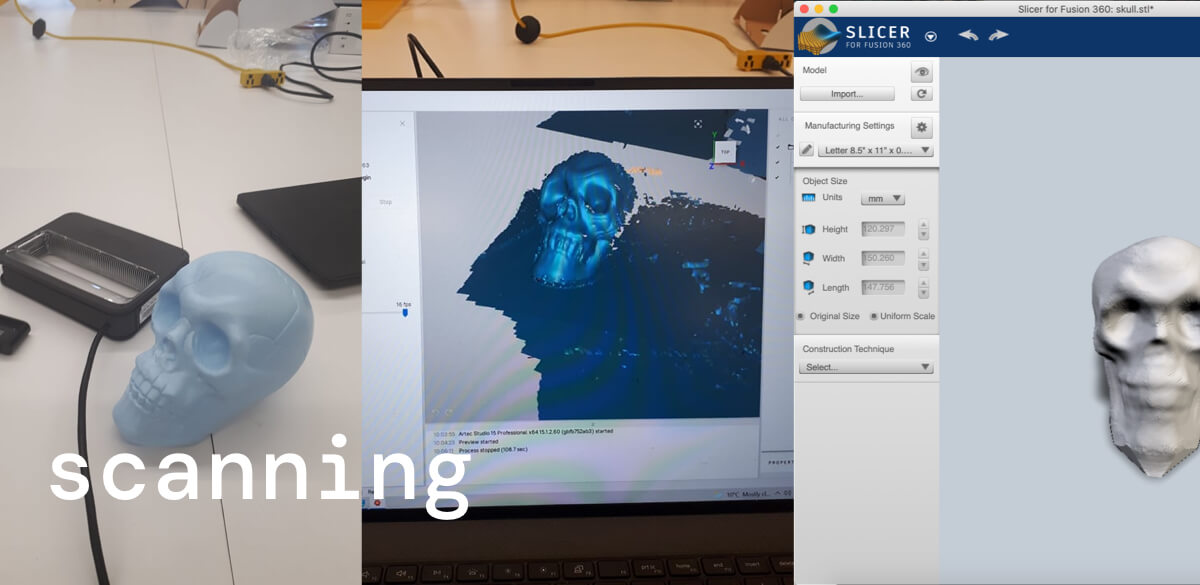
-- While experimenting on Rhino, I had another idea of final product, scanning a skull and laser cutting. So we tried scanning my skull with Sense, but the results were not great:
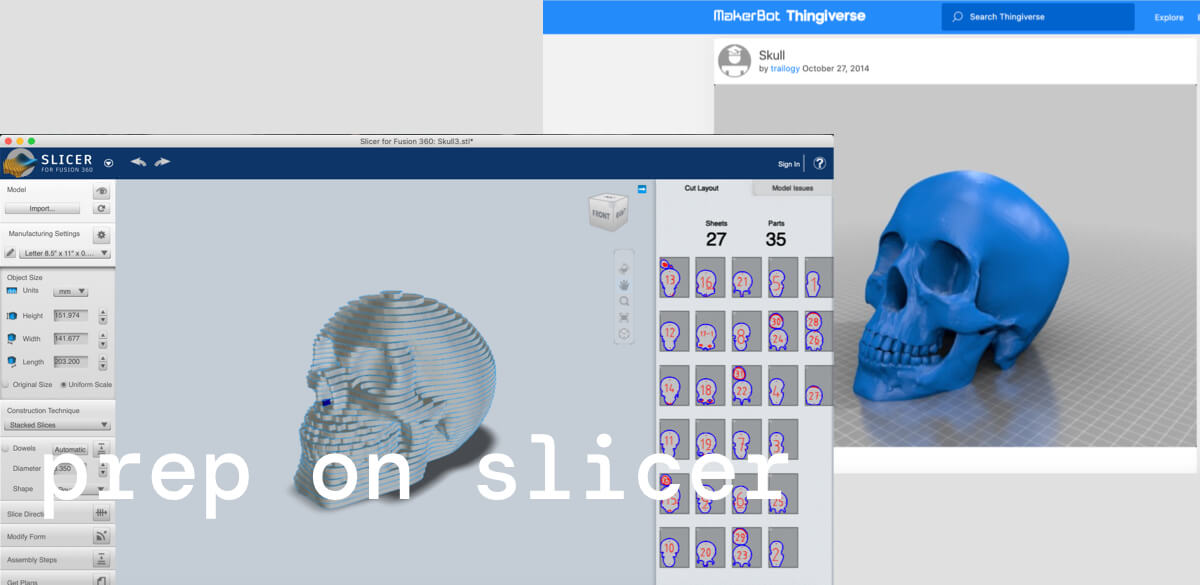
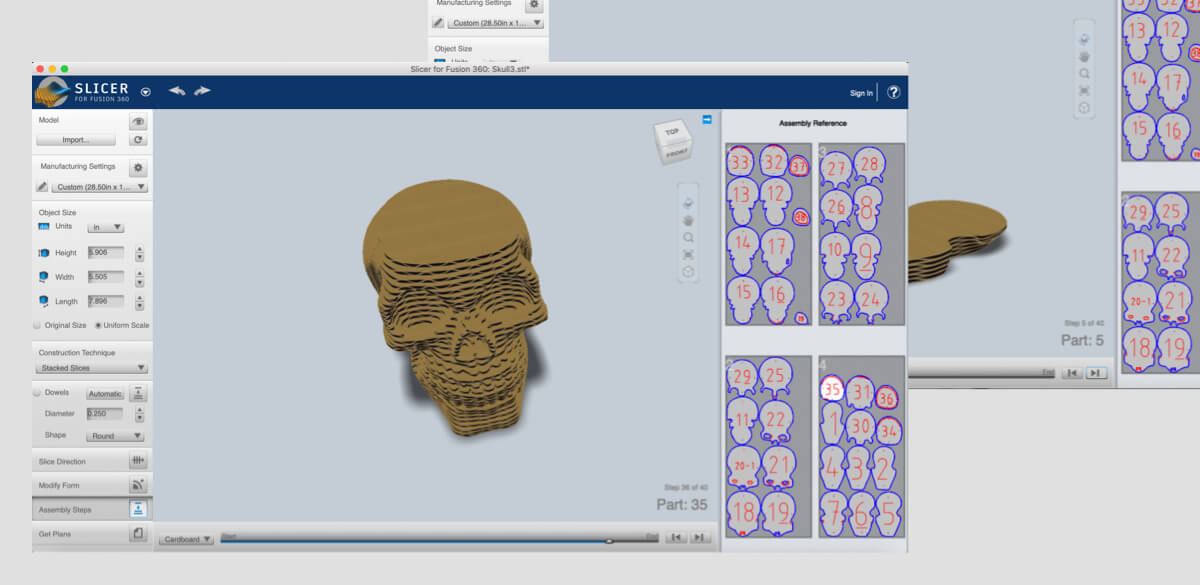
-- Running out of time I had to quickly jump into having a 3D file and preparing it for the cutting. So I decided to find an .stl file of a skull on Thingiverse, import it on Slicer and prepare it for the laser cutting. Which I did quite fast, having the dimensions of the laser cutter, the thickness of my material, and exporting the plans for illustrator.
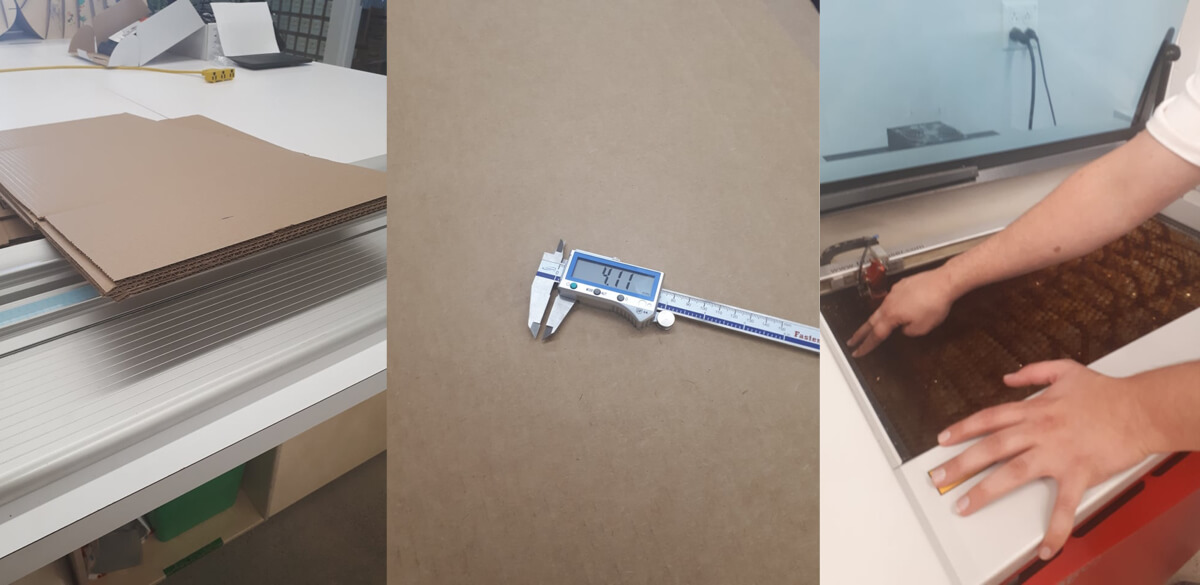
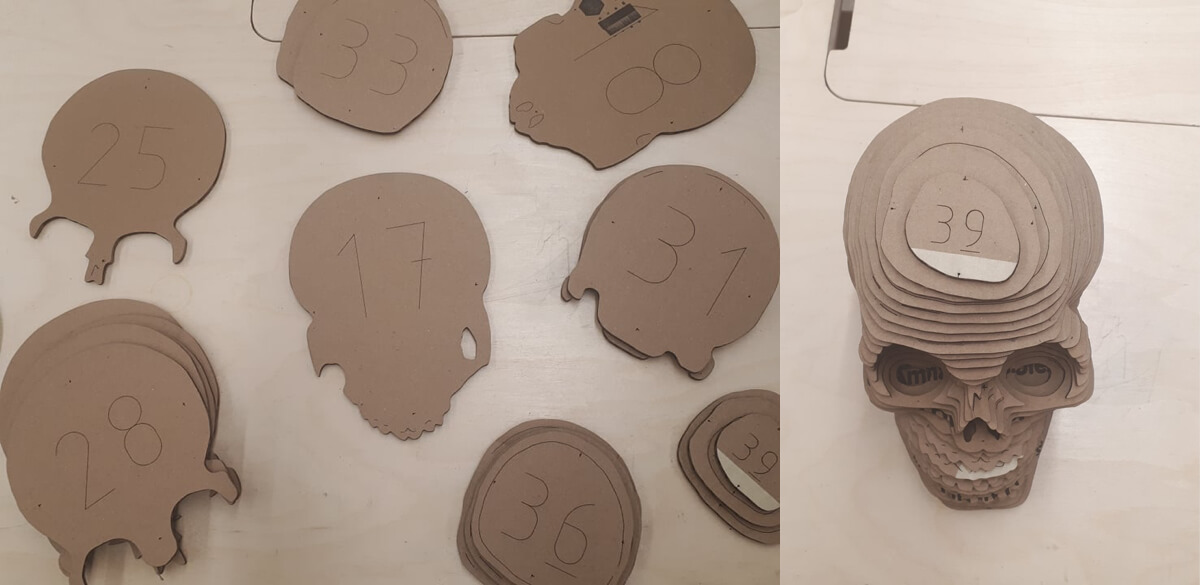
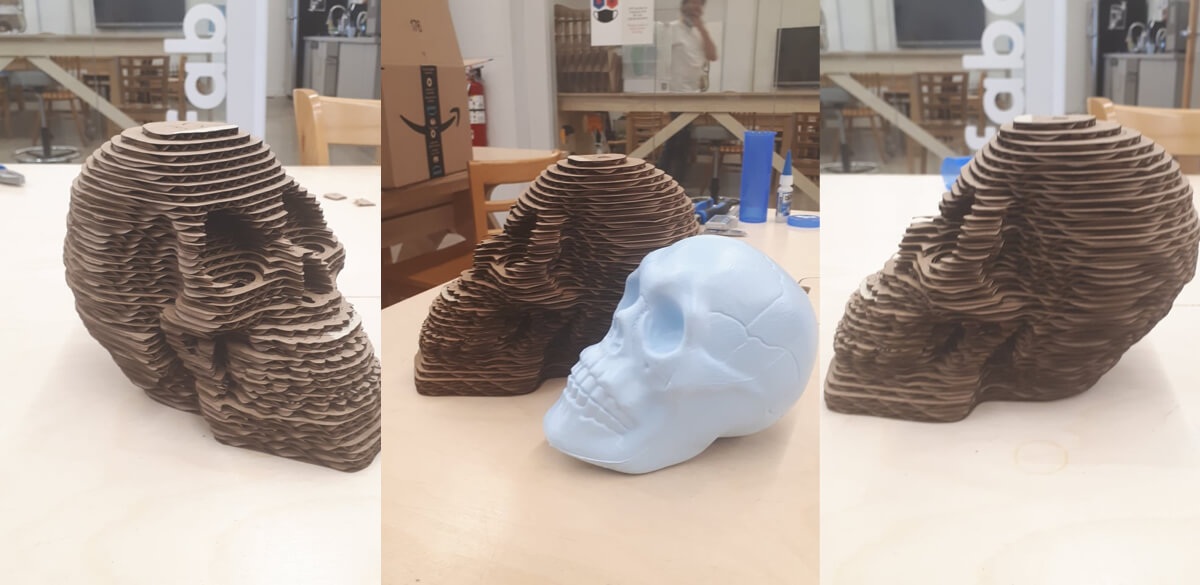
-- Once my plans on Illustrator, I learned how to properly print with the laser cut, it's quite simple as it is the same as a 2D printer. I had 4 sheets and 40 pieces to assemble, I followed the step by step guide on Slicer and voilà:
Files
Torso STL
Scanned skull
Thingiverse skull
Plans ready to print