8. WEARABLES

RESEARCH
During this week we had amazing workshops and tutorials with Emma, Liza Stark, Gerard Montaño and Citlali Sánchez. Some of the facts and notes I give are drawn from a presentation by them.
WEARABLES
Wearables" refer to electronic devices that can be worn as accessories, embedded in clothing, or even implanted in the body.
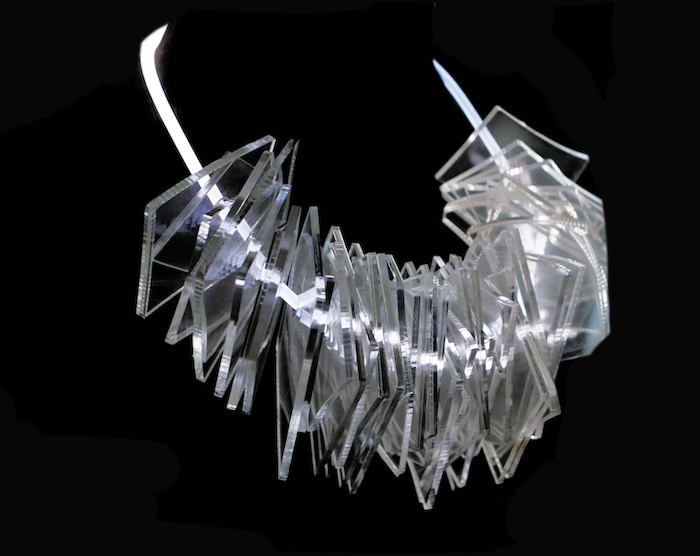
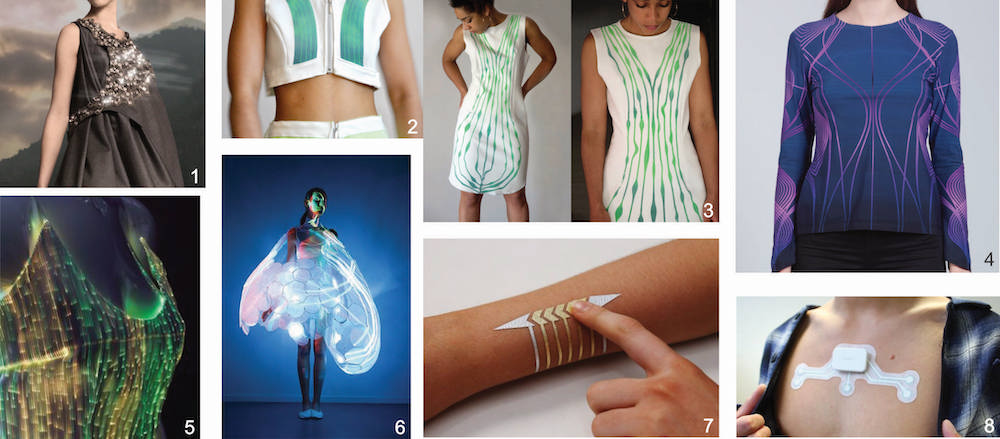
INSPIRATION RESEARCH
1) Climate Dress, 2-3) Thermochromic inks, 4) Hugshirt, 5) Luminous costumes, 6) Futuristic fashion, 7) DuoSkin temporary tattoos 8) Wearable Patch
Alumni's pages as an inspiration
TOOLS
I describe them in more detail in the E-textiles section.
-
Software: Arduino IDE
-
Hardware: Seeed Studio XIAO ESP32C3
LIBRARIES
Libraries can expand the capabilities of the Arduino environment, which is similar to most programming platforms. By using libraries, extra functionalities such as hardware usage or data manipulation can be added to sketches. To include a library in a sketch, you can select it from Sketch > Import Library.
BIOMATERIAL Flexible capacitive sensor
During the biofabricating week, we created several materials to which we added activated carbon to make them conductive. I tested the agar with conductive charcoal.
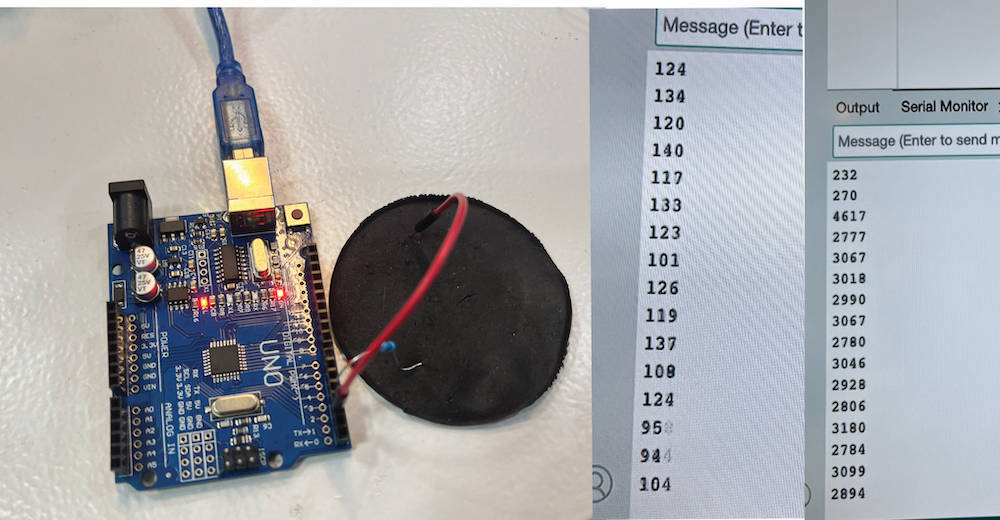
We've been having problems with the "CapacitiveSensor" library and compatibility with the XIAO ESP32C3. So I tested the sensor with an arduino.
Capacitive sensing is a technology based on capacitive coupling that can detect and measure conductive or dielectric materials.
CONNECTION
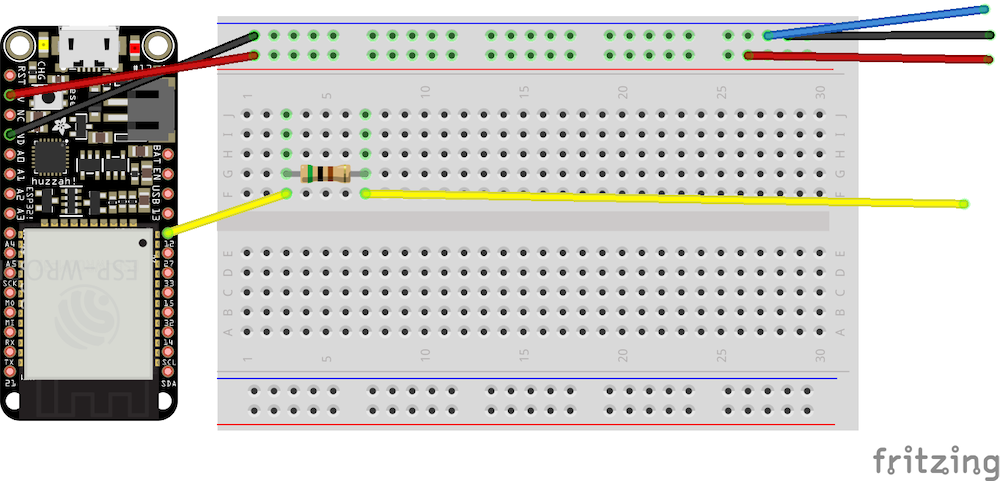
- 300 Ohm resistor
- Software: Arduino IDE
- Hardware: Seeed Studio XIAO ESP32C3
CODE
#include <CapacitiveSensor.h>

CapacitiveSensor   cs_4_2 = CapacitiveSensor(D4,D6);        // 10M resistor between pins 4 & 2, pin 2 is sensor pin, add a wire and or foil if desired

void setup() {
   Serial.begin(115200);
}

void loop() {

    long sensor =  cs_4_2.capacitiveSensor(30);
    Serial.println(sensor);

//    if (sensor > 2000) {
//        Serial.println("Touching!!!");
//    } else {
//          Serial.println("Nothing there!!!");
//    }

    delay(10);
}
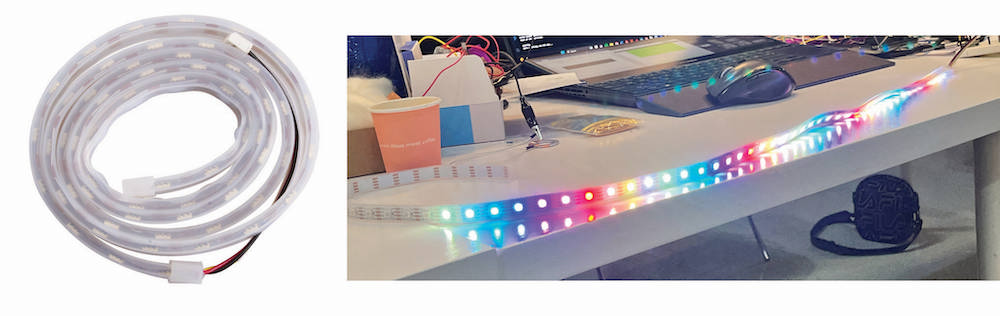
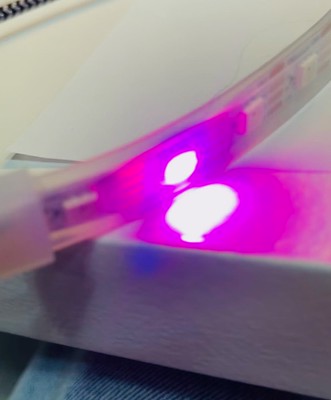
LED STRIPE
LED: light emitting diode
-
VISUAL actuator (An actuator is a component of a circuit that moves or controls another part based on input.)
-
LED stripes do not light up on their own with just a battery. You have to connect them to a microcontroller and program them to light up.
-
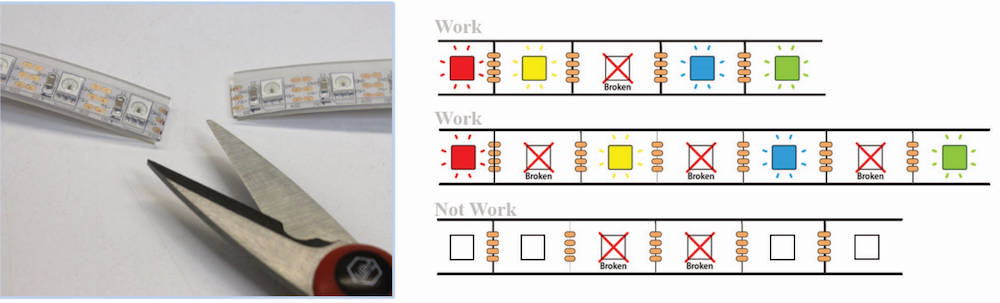
Neopixels - Neopixels are RGB LEDs with drivers embedded in the chip. This allows them to be addressable - you can control individual LEDs on a longer strip.
-
RGB LED strips come with controllers that allow users to customize the color output, brightness, and even program dynamic color-changing effects. Very nice app to find requested color: HTML Color Picker.
-
Adafruit NeoPixel: Arduino library for controlling single-wire-based LED pixels and strip.

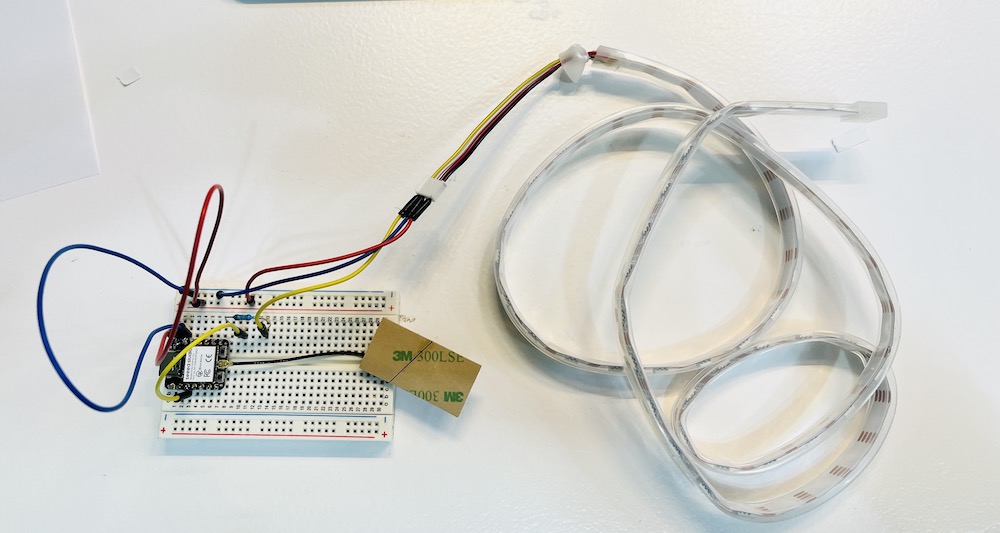
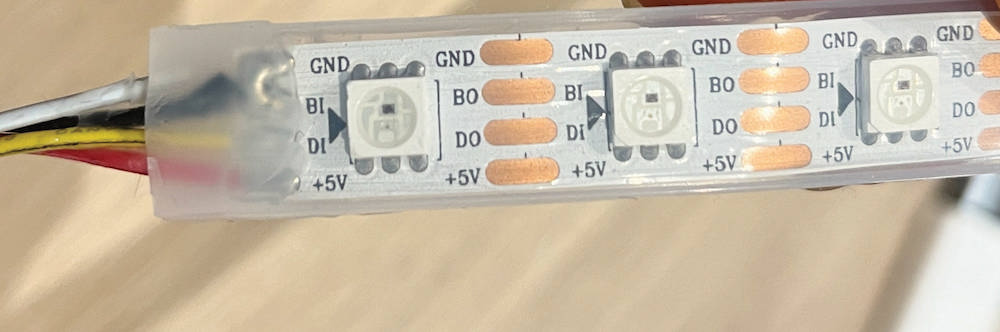
CONNECTION
| Voltage | Operating Current | Max. Power |
|---|---|---|
| 5V | 3.6A per meter / 0.06A per LED | 18W per meter / 0.3W per LED |
-
XIAO can give 5V, but the input/output pins can only sink 20mA per pin. An XIAO powered via USB port can only give 500mA.
-
Amperage at 60mA per neopixel = full brightness.
TOOLS
- RGB LED Strip
- Software: Arduino IDE
- Hardware: Seeed Studio XIAO ESP32C3
- 100K resistor
CODE - FLASHING LIGHTS
- Using this code, the lights can be individually triggered (any number) and each one can be set to the desired colour. The resulting effect is flickering.
#include <Adafruit_NeoPixel.h>

#define LED_PIN    D2
#define LED_COUNT 20

Adafruit_NeoPixel strip(LED_COUNT, LED_PIN, NEO_GRB + NEO_KHZ800);

void setup() {
  strip.begin();
  strip.show();
}

void loop() {

    strip.setPixelColor(0, 225, 0, 191); //(position, color,,,)
    strip.show();
    strip.clear();
    delay(20);

    strip.setPixelColor(1, 225, 0, 64);
    strip.show();
    strip.clear();
    delay(20);

    strip.setPixelColor(2, 225, 0, 191);
    strip.show();
    strip.clear();
    delay(20);

}
CODE - STATIC LIGHTS
- Using this code, the lights can be individually triggered (any number) and each one can be set to the desired colour. The color palette below is my favourite.
#include <Adafruit_NeoPixel.h>

#define LED_PIN    D2
#define LED_COUNT 20

Adafruit_NeoPixel strip(LED_COUNT, LED_PIN, NEO_GRB + NEO_KHZ800);

void setup() {
  strip.begin();
  strip.show();
}

void loop() {

    strip.setPixelColor(0, 225, 0, 191); //(position, color,,,)
    strip.setPixelColor(1, 225, 0, 64);
    strip.setPixelColor(2, 225, 0, 191);
    strip.setPixelColor(3, 0, 225, 64);
    strip.setPixelColor(4, 225, 0, 191);
    strip.setPixelColor(5, 225, 128, 0);
    strip.setPixelColor(6, 225, 0, 64);
    strip.setPixelColor(7, 225, 0, 191);
    strip.setPixelColor(8, 0, 225, 64);
    strip.setPixelColor(9, 225, 0, 191);
    strip.setPixelColor(10, 225, 128, 0);
    strip.setPixelColor(11, 225, 0, 64);
    strip.setPixelColor(12, 225, 0, 191);
    strip.setPixelColor(13, 0, 225, 64);
    strip.setPixelColor(14, 225, 0, 191);
    strip.setPixelColor(15, 225, 128, 0);
    strip.setPixelColor(16, 225, 0, 64);
    strip.setPixelColor(17, 225, 0, 191);
    strip.setPixelColor(18, 0, 225, 64);
    strip.setPixelColor(19, 225, 0, 191);
    strip.setPixelColor(20, 225, 128, 0);
    strip.show();
    delay(20);

  // for(int i=0; i<strip.numPixels(); i++) {
  // strip.clear();
  // strip.setPixelColor(i, 0, 50, 255);
  // strip.show();
  // delay(20);
}

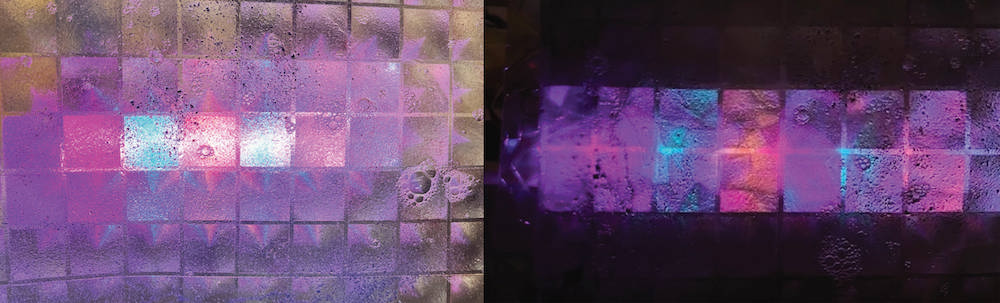
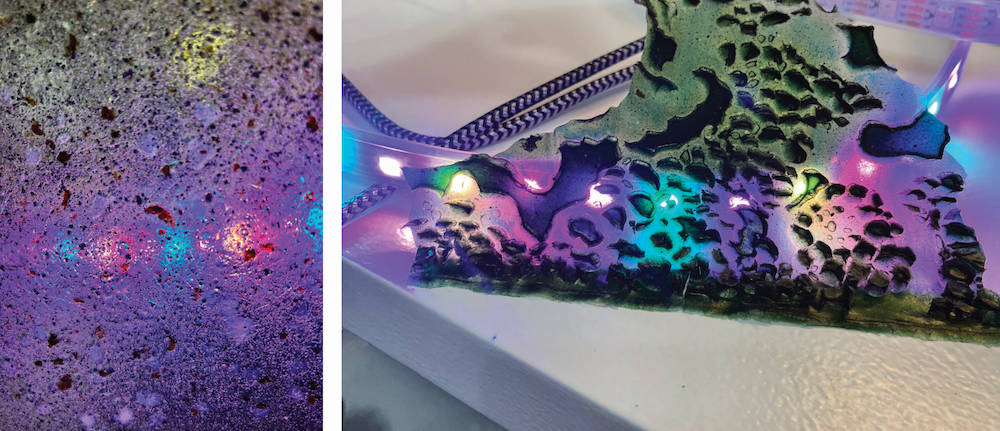
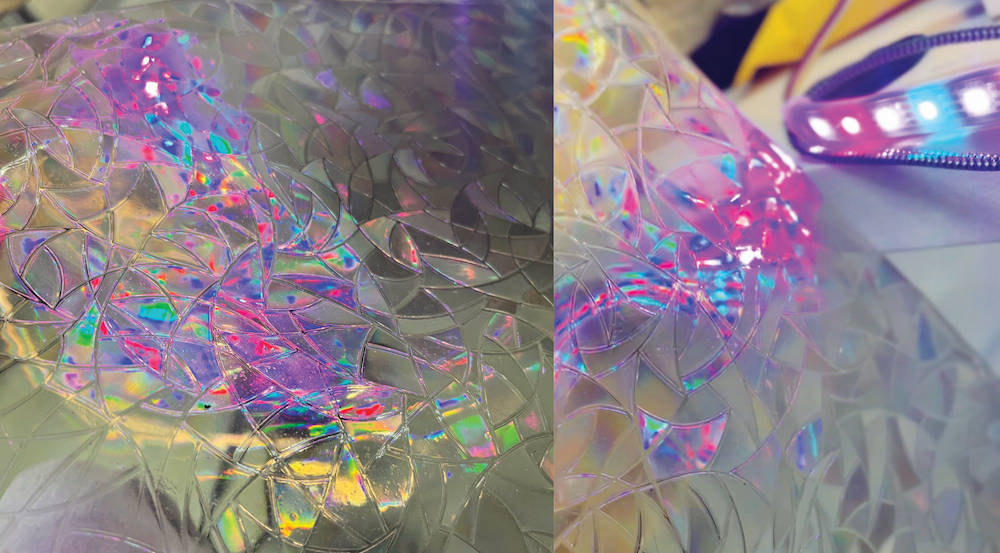
- I tried to combine the LED strip with holographic biomaterials made of gelatin.
THERMOCHROMIC PIGMENT
At FabLab BCN we had an awesome workshop with Citlali Sánchez.
Thermochromic inks or pigments are substances that change their color or turn colorless when exposed to a certain temperature. Pigments can be mixed with different materials such as paint, glue, and polymorph, among others. For instance, Sparkfun's thermochromic pigment becomes transparent at 33°C while SFCX's pigment becomes clear at 27°C. These companies also offer pigments and screen printing inks for textiles and paper. You can use your body heat or a hair dryer to cause the state change, or with an Arduino by increasing the current to generate heat.
REFERENCES
THERMOCHROMIC PIGMENT RESEARCH
- Visual actuators - observations when we are designing...
- How long does it take to change?
- How would you describe the color change?
-
How dramatic is the change?
-
Once they reach a temperature, the inks become colorless (always check datasheet).
-
Pigments can be mixed with different substrates - paint, glue, Polymorph...
LAB TOOLS
-
Thermochromic Pigment from SFCX - Thermochromatic Pigment - Sapphire Blue
-
Tools for screen printing:
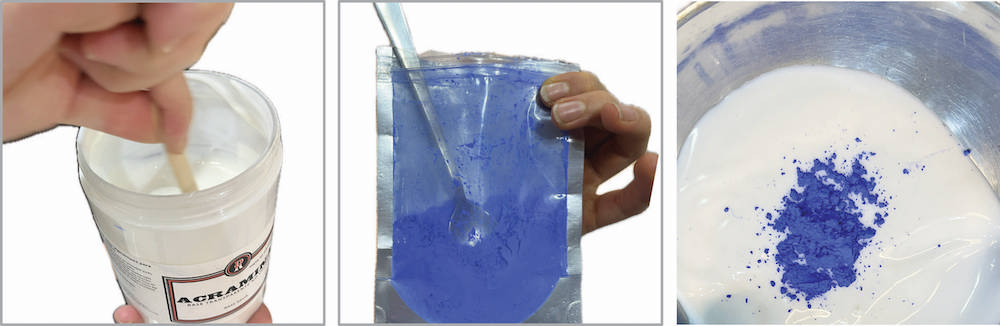
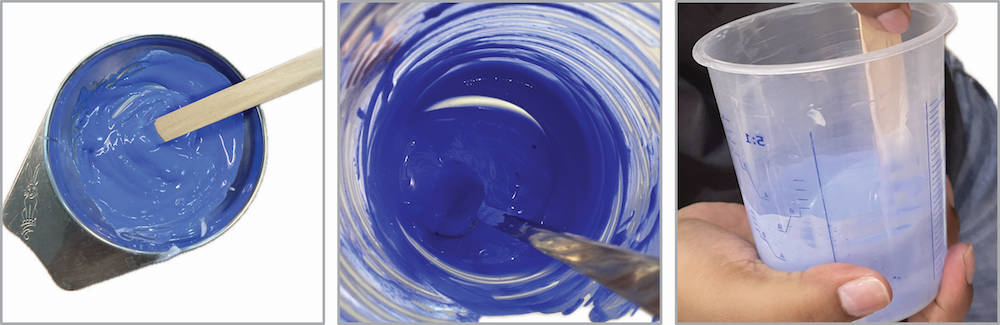
- LACA tinta textil, Base agua / Acramina Textil Transparente (tetxil color to mix the pigment)
- screen, squeegee
- stencil material (own design)
-
textile
-
conductive - resistive threads (For making a heated circuit , the thread needs to be RESISTIVE, so that the current goes through ¨more difficult¨ and it makes the thread heat up.)
| Thermochromatic Pigment - Sapphire Blue | Color - heating | Room Temperature |
|---|---|---|
 |
Turns Clear at Around 92°F (33°C) | Blue |
| THREAD | APPEARANCE |
|---|---|
| High Flex 3981 7X1 Silver 14/000 | 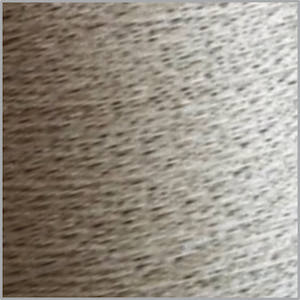 |
| Shieldex thread | 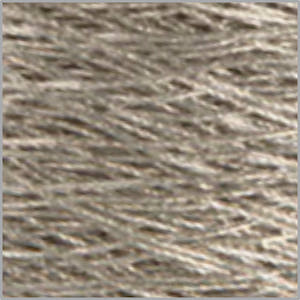 |
| Bekinox VN 14/2 - Continuous 100% stainless steel filament yarn | 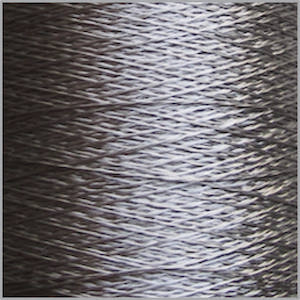 |
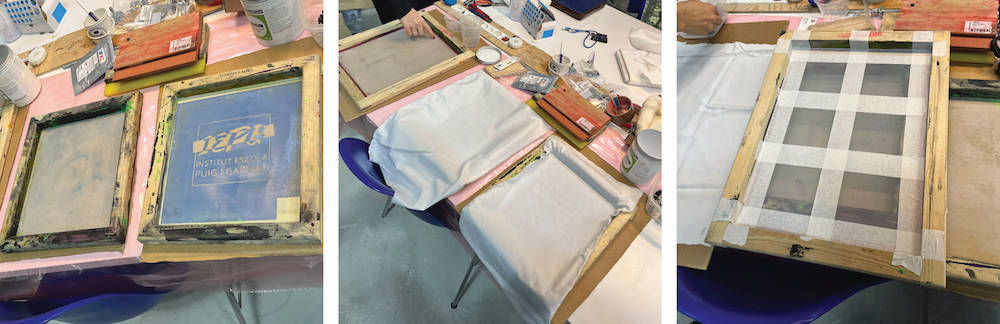
SCREEN PRINTING Step by step
-
Prepare Your Design: Create a design - Use tape to make frame / vinyl cutting (as we did with our lovely Mila )
-
Prepare the Screen:
-
Prepare the Printing Area: Set up your fabric on a printing board or flat surface. Make sure it's smooth and stretched.
-
Set Up the Screen: Place the screen over the fabric, ensuring it's aligned properly. Secure it in place.
-
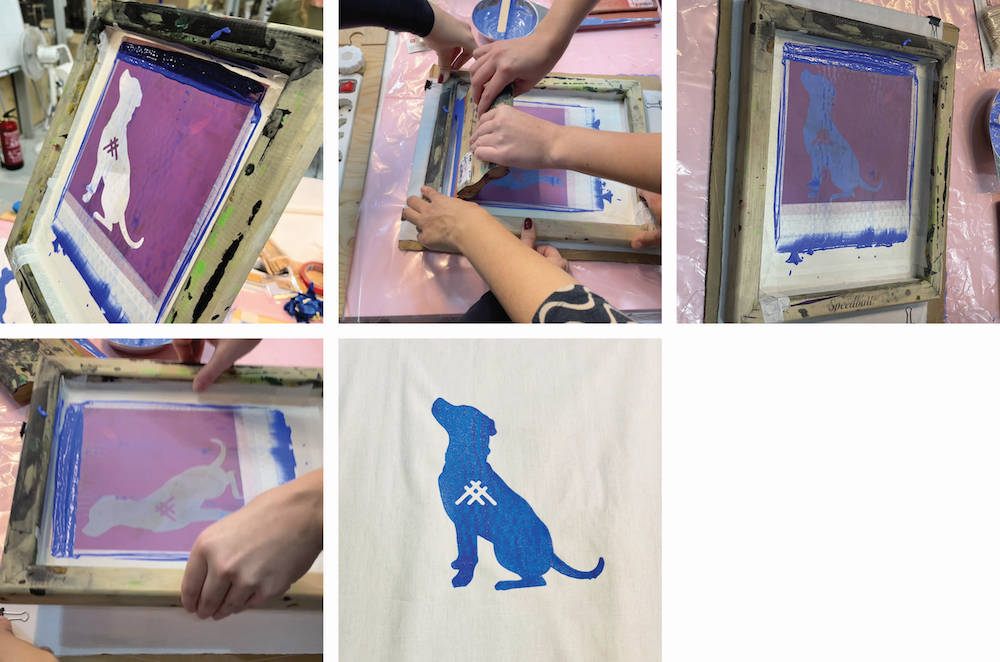
Apply Ink (first dissolve the pigment to make the ink): Put a line of ink at the top of the screen. Use the squeegee to pull the ink down, forcing it through the open areas of the screen and onto the fabric.
-
Print the Design: Run the squeegee across the screen, applying even pressure. This transfers the ink onto the fabric. Lift the screen carefully to reveal the printed design.
-
Dry the Print: Allow the printed fabric to air dry or use a heat source to cure the ink, depending on the type of ink you are using.
-
Clean the Screen: Clean the screen immediately after printing to prevent the ink from drying and clogging the mesh. Use water-based cleaner (if using water-based color).
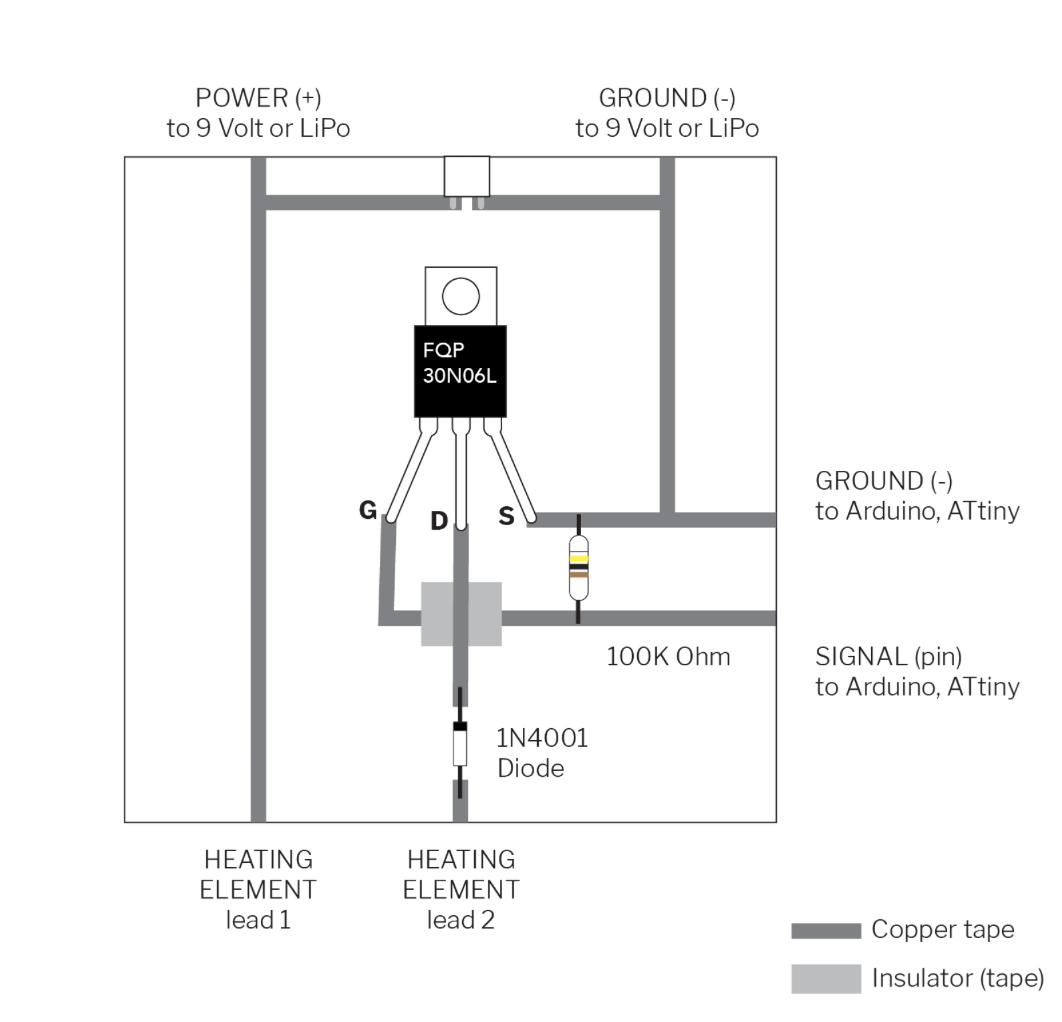
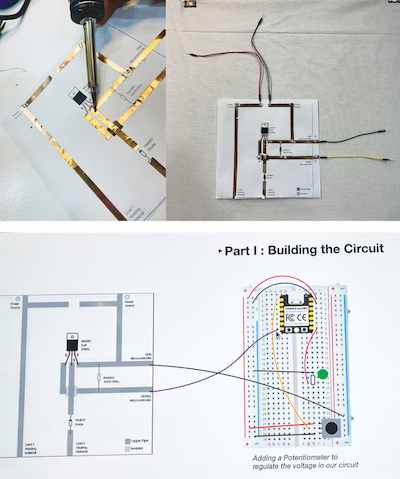
CIRCUIT
-
The circuit to control heating elements.
-
Heating requires a significant amount of electrical power, specifically current. Unfortunately, XIAO pins are not capable of providing the necessary power to warm a heating element, as they have a maximum output of 40mA. Therefore, we need to build a circuit that allows us to use a secondary power source. Thanks to transistors, we can achieve this.
-
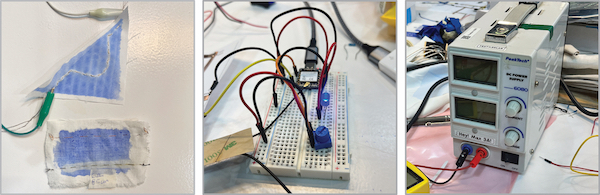
To make a heating element, you'll need a conductive material that can handle a lot of current and heat. It's important to determine the resistance of both the pattern and materials you are using. If the resistance is too high, the current will be lower, and the element might not heat up properly.
-
I was experimenting with three types of conductive threads. I am mentioning the characteristics in the table above. All conductive threads have different properties, and their resistance per meter varies. Steel or copper conductive threads are ideal for building a heating source.
-
I chose the darker shade of our pigment ink to test.
-
Ohm's Law formula can be used to calculate voltage easily. We know our conductive thread resistance (measured with the multimeter).
-
The final circuit includes a POTENTIOMETER - The Potentiometer acts as a voltage divider. By adjusting the position of the sliding contact, you can vary the voltage output between the middle terminal and either of the outer terminals. We used it to adjust the voltage according to the needs of the conductive thread. We could visualise the intensity by the luminosity of the LED diode.
Voltage equals Current times Resistance or V = I x R
COLOR CHANGE
| CONDUCTIVE THREAD | RESISTANCE (R) | CURRENT (I) | VOLTAGE (V) |
|---|---|---|---|
| HIGH FLEX | 1 ohm | 9 A | 9 V |
| SHIELDEX | 9.7 ohm | 0.9 A | 9 V |
| BEKINOX | 50 ohm | 0.18 A | 9 V |
CODE HEATING CIRCUIT
int valPoten;
int poten= A0;
int led = D7;
int heat = 21;
int mapPot;

void setup() {
  // put your setup code here, to run once:
   pinMode(poten, INPUT);
   pinMode(led, OUTPUT);
   pinMode(poten, OUTPUT);
   Serial.begin(9600);
}

void loop() {
  // put your main code here, to run repeatedly:
  valPoten= analogRead(poten);
  mapPot=map(valPoten, 90, 4095, 0, 255);

  Serial.println(valPoten);
  delay(250);

  analogWrite(led, mapPot);
  analogWrite(heat, mapPot);

}
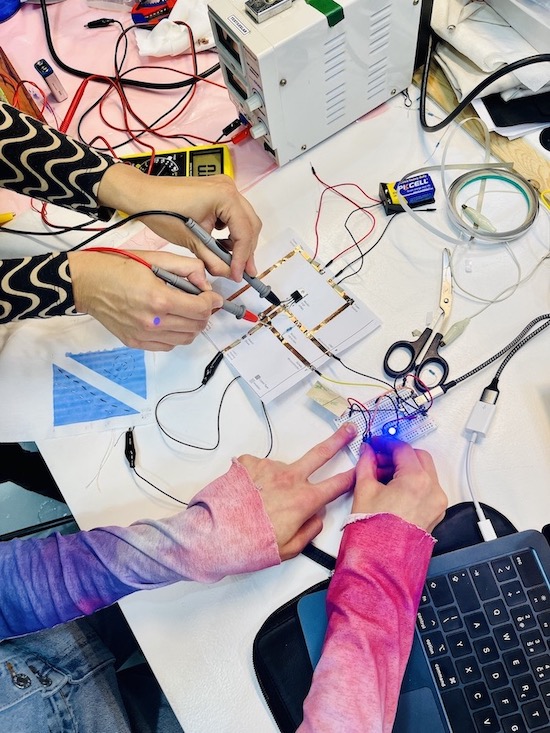
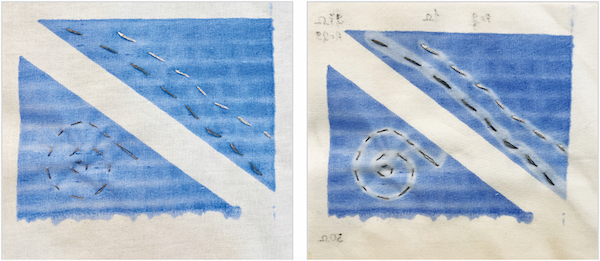
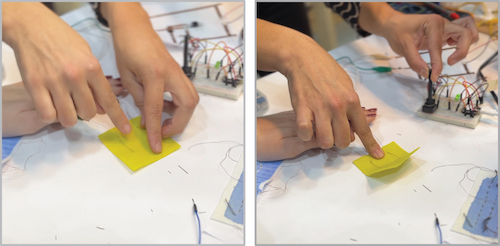
- Final results of the changing color.
MOTION
- During the workshop we also tried to use the same circuit with the Shape memory alloys (SMAs) - metals that change shape when heated. They behave like regular metals when cool and return to preset shape when heated.
- We can use the same heat-controlling circuit we used with thermochromic inks.
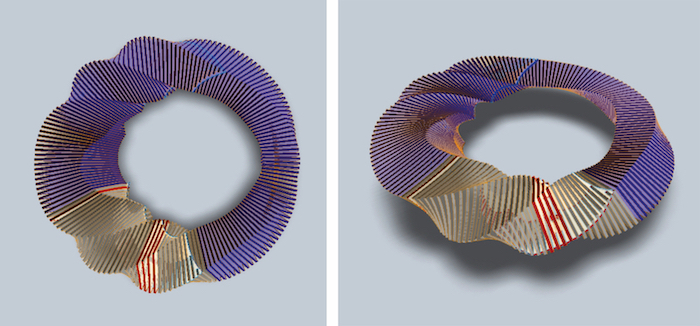
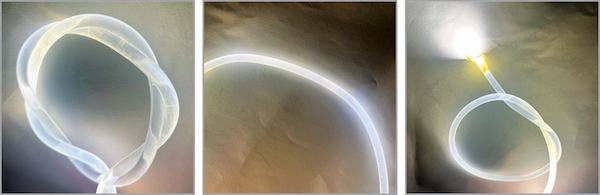
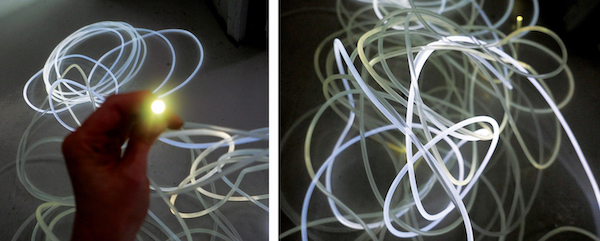
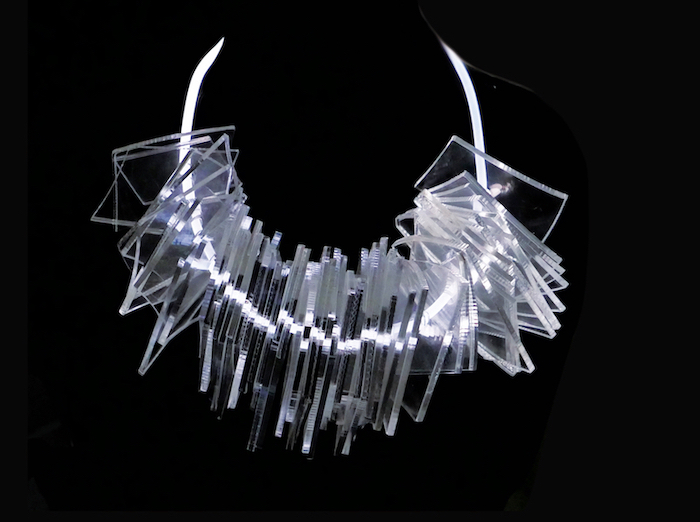
OPTIC FIBERS
- Our future project with Julija Karas.