2. Digital bodies

References & Inspiration
I had different fields of inspiration for this assignment.
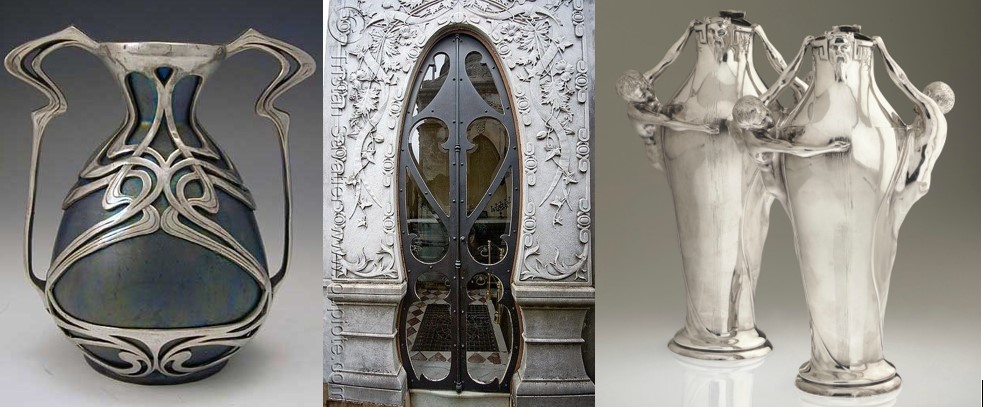
I had some inspirations coming from the ART NOUVEAU. I really like the curves used in 'Art Nouveau' metalwork; I think many of them have the shapes of a woman's body. I wanted to integrate some of these curves in my 3D body part.
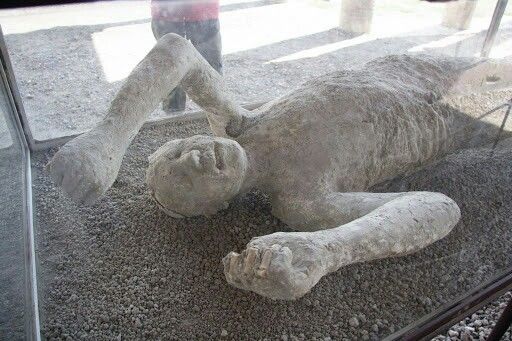
I remember the ASH MUMMIES when I visited Pompeii near Naples. When the ash from the eruption of the Mount Vesuvius covered the people trying to run away from the city, ; it formed a protective shell around their bodies. Later the left voids where filled with plaster and are now a beautiful 3D testimony about the people and how they lived in 79 BC.
The famous Belgian singer-songwriter STROMAE made a fascinating clip for his song 'Tous les mêmes' where he incarnated a man and a woman at the same time. He transformed one side of his face in a woman and the other side in a man.
Niki de Saint Phalle's 'NANAS' large-scale and colourful dolls represent women with well-rounded forms. They always make me feel very happy.

Process and workflow
Step 1. 3D scanning
I had fun with my children trying out to scan with my phone (iPhone 11) with the app Scaniverse. The scans were not of a very good quality and I could not figure out how to transfer the scans to my computer.
So I wanted to try the 3D Sensescanner we had temporary in our fablab. I could install the software for Sense 2 but was not able to make the scanner work. When plugging in the scanner in the USB port, the computer did not detect the device. We tried on different computers but on none of them we succeed to make it work. Maybe it is because the software support ended in December 2022.
Step 2. Making a 3D model
I decided to make a model of a torso in Make Human.
Here you can find my file.
Step 3. Cleaning and preparing my 3D model
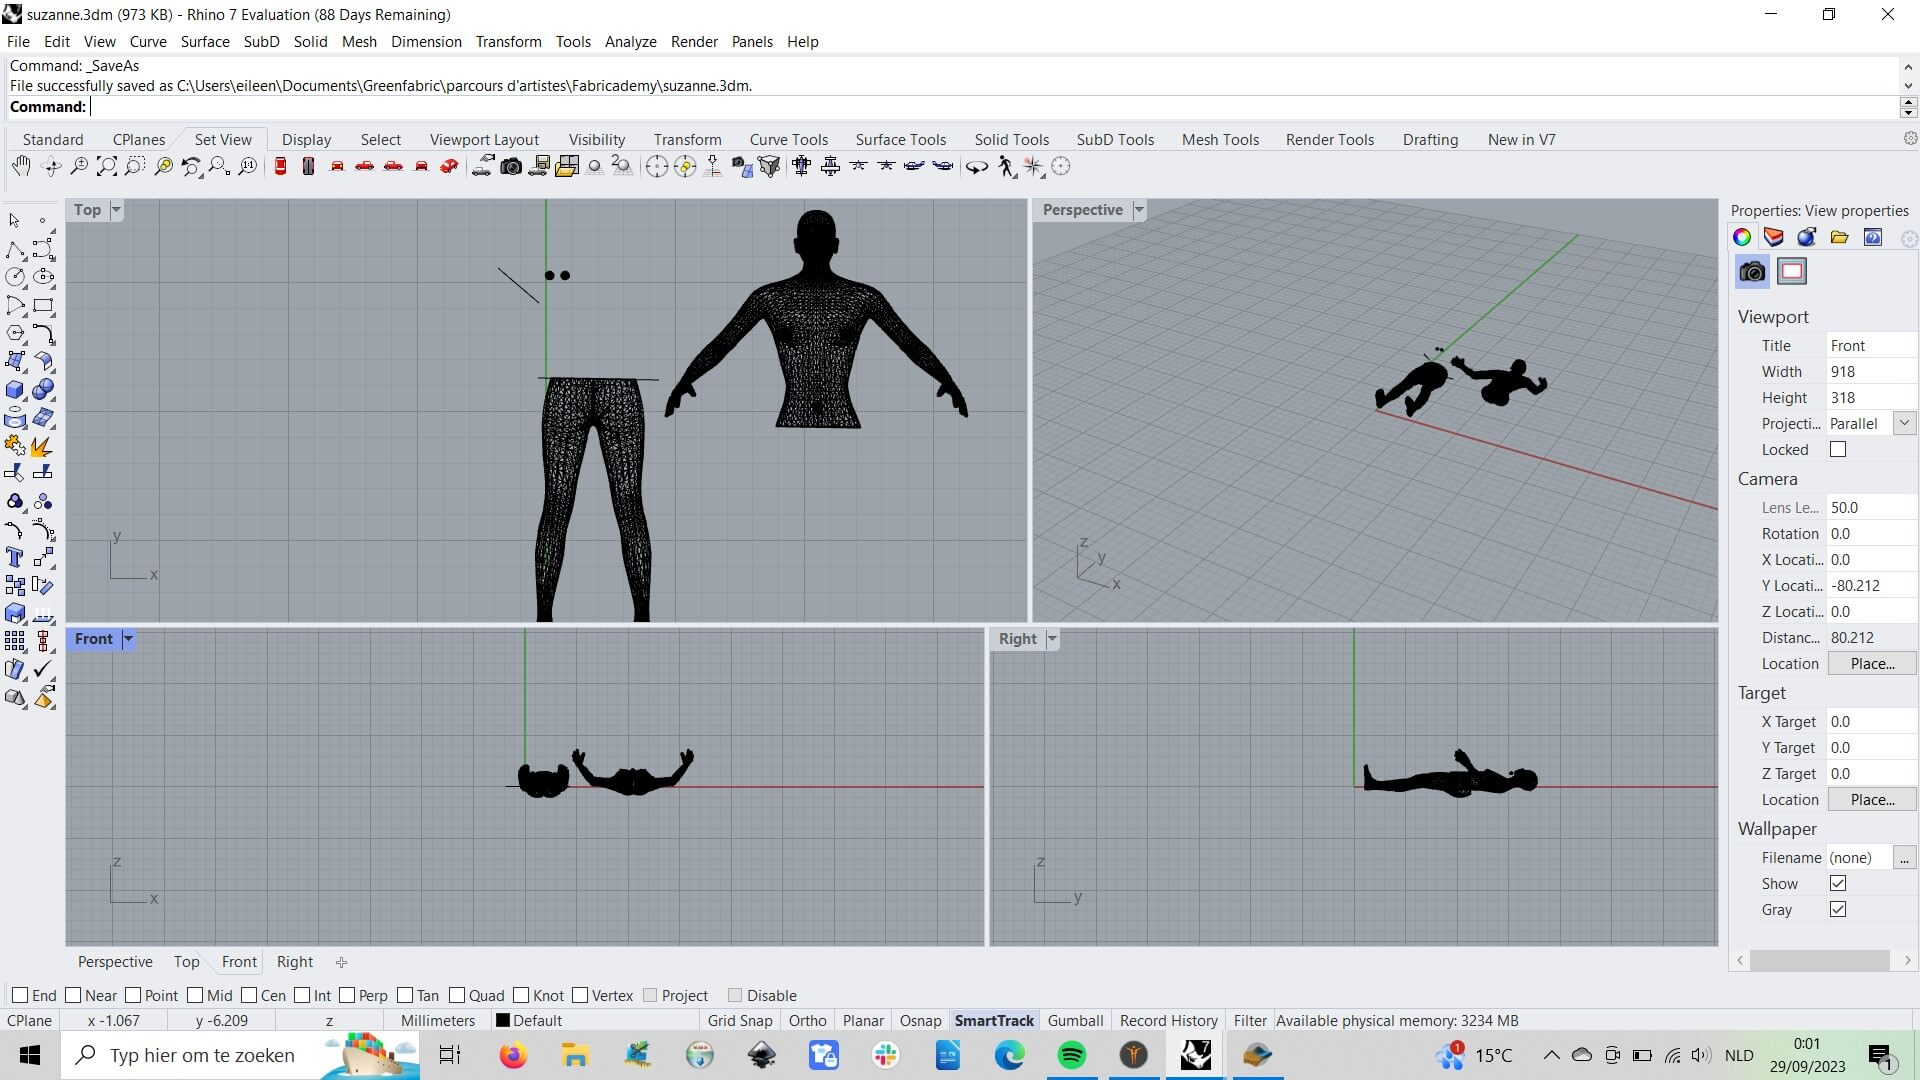
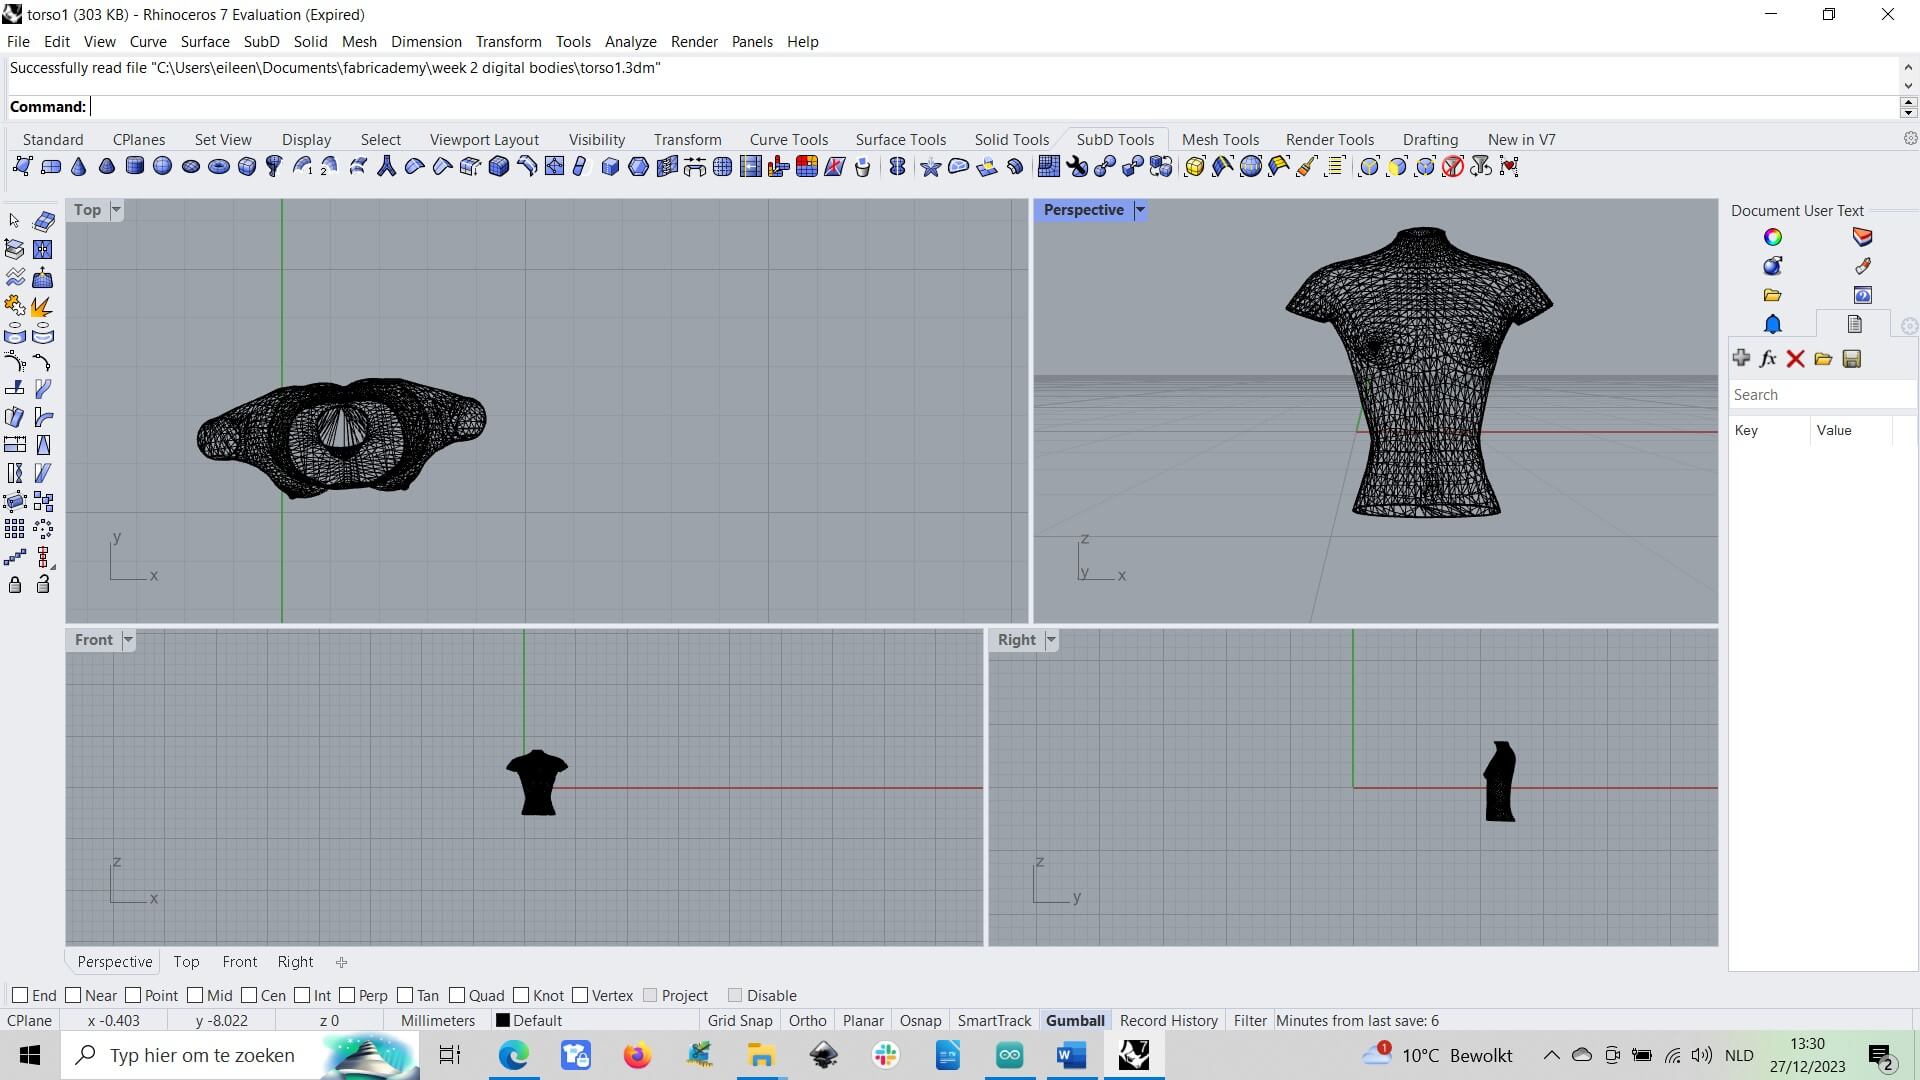
I then exported my Makehuman 3D model to the 3D software Rhinoceros7 to clean and prepare my 3D object. I cutted off the legs and the arms to only have the torso. Because of that there were open spaces at the end of the shoulders and underneath the torso, so I had to close them because otherwise I couldn't do the slicing.
Here you can find my file.
Step 4. Slicing
For the 3D modeling I worked with the Slicer of Fusion360. I changed the manufacture settings and I chose interlocked slices. I also changed the slice distribution and the slice direction because I wanted the horizontals slices not to be horizontal but have a slope of 45 degres.
Here you can find my file.
I exported the file to Inkscape so that it could be prepared for lasercutting.

Step 5. Preparing the files in 2D Inkscape.
I uploaded the files in Inkscape so that I could send them to the lasercutter.
Here you can find my file.
Step 6. Lasercutting
I lasercutted my torso in 3mm acrylic with lasercutter Flux Beambox.
The parametres I used where power at 22 and speed at 7. After the first time lasercutting I got all the pieces.
Here you can find my files.

Here you can see the pieces being lasercutted:
Step 7. Assembling
I assembled the different parts following the assembling steps from Slicer for Fusion.
Here you can see the steps to follow for assembling the different parts of my torso.
Because of the slope of the slices of 45° and because of the acrylic material, some of the slices felt out downwards when I was assembling the torso. I had to use a little bit of glue to fix the slices at the intersection to prevent them to slide of the torso.
It would have been better if the slope was not as steep to prevent the acrylic slices from falling out (e.g.30°). Or to make the slope downwards to the back. Or to use cardboard as the material for my torso.