3. Circular Open Source Fashion
Research & Ideation
This year I had already experimented with modular fashion and felt but I mainly staid in 2D tapestries. I always worked with the simple geometrical forms such as a circle and an hexagon.
So this time I wanted to create a 3D object made in a modular way, if possible footwear made from felt for have warm feet during wintertime. In addition I also wanted to create an funny modular shape (I was a little bit bored always working with geometrical shapes).
References & Inspiration
I got in touch with modules in textile through a Domestica course given by 2 mexican textile artists who founded DEJATE QUERER, a workshop that transforms felt into nomadic textile objects of woven assemblages. They mainly design tapestries and rugs.
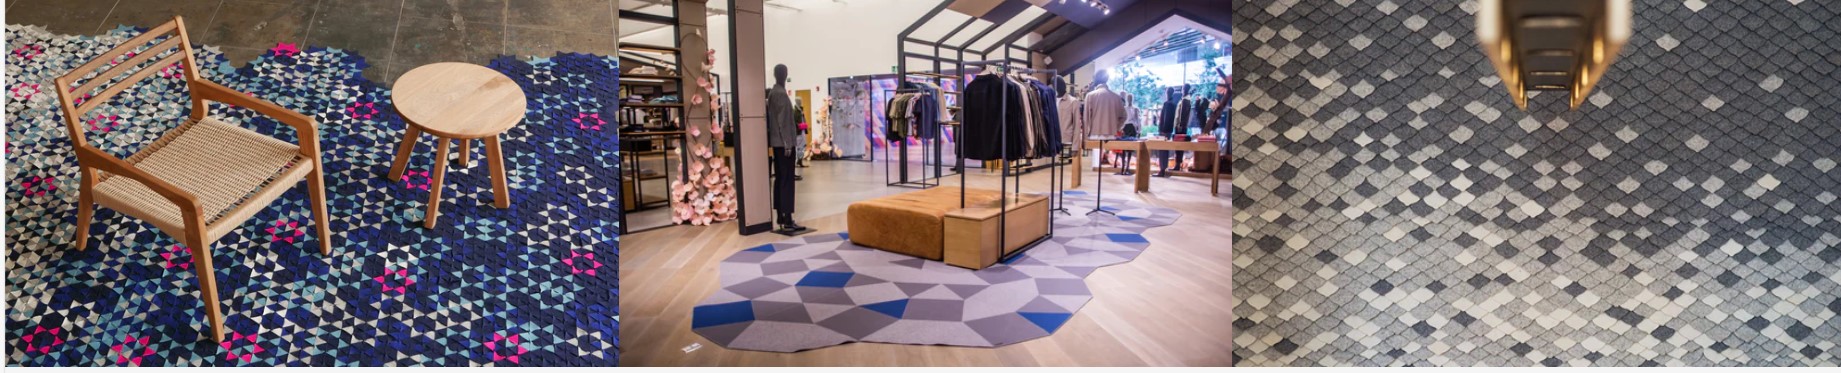
Designer MIA CULLIN inspired me with her acoustic walls because of the simplicity of her geometric shapes and handcrafted details.

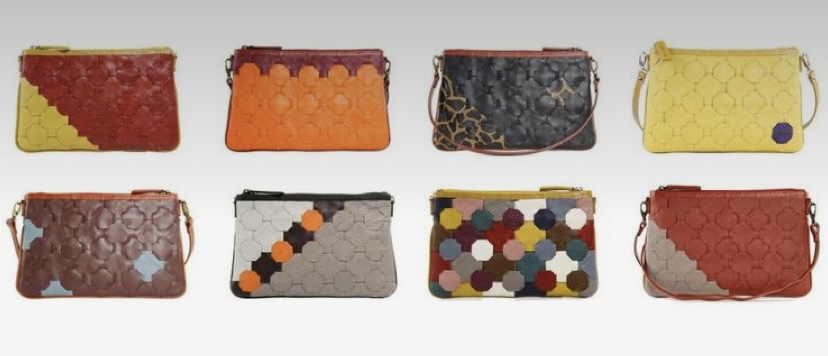
ELVIS and KRESSE have made bags made with modules in leather.
I really liked the funny Mickey Mouse modules designed by TAKEHIRO ANDO.

The idea of going more 3D came from last year’s alumni OLIVIA CUEVA. She created a garment with volume that was really beautiful. I liked the way she give volume to a single module by inserting a module of another shape on top of it.
My main inspiration for the footwear in modules came from alumni JUAN FELIPE ENRIQUEZ. For this assignement he also experimented with making a shoe.
Process and workflow
Project 1: Modular slipper
First I experimented a little bit with giving relief to plane area’s of hexagonal modules (modules I lasercutted a few months ago for another project). I liked the way how it looked like mountain structures.
For developing the 3D footwear I decided to work with a simple shape module. I decided to work with the shape of a circle. My objective was to make a closed slipper in felt.
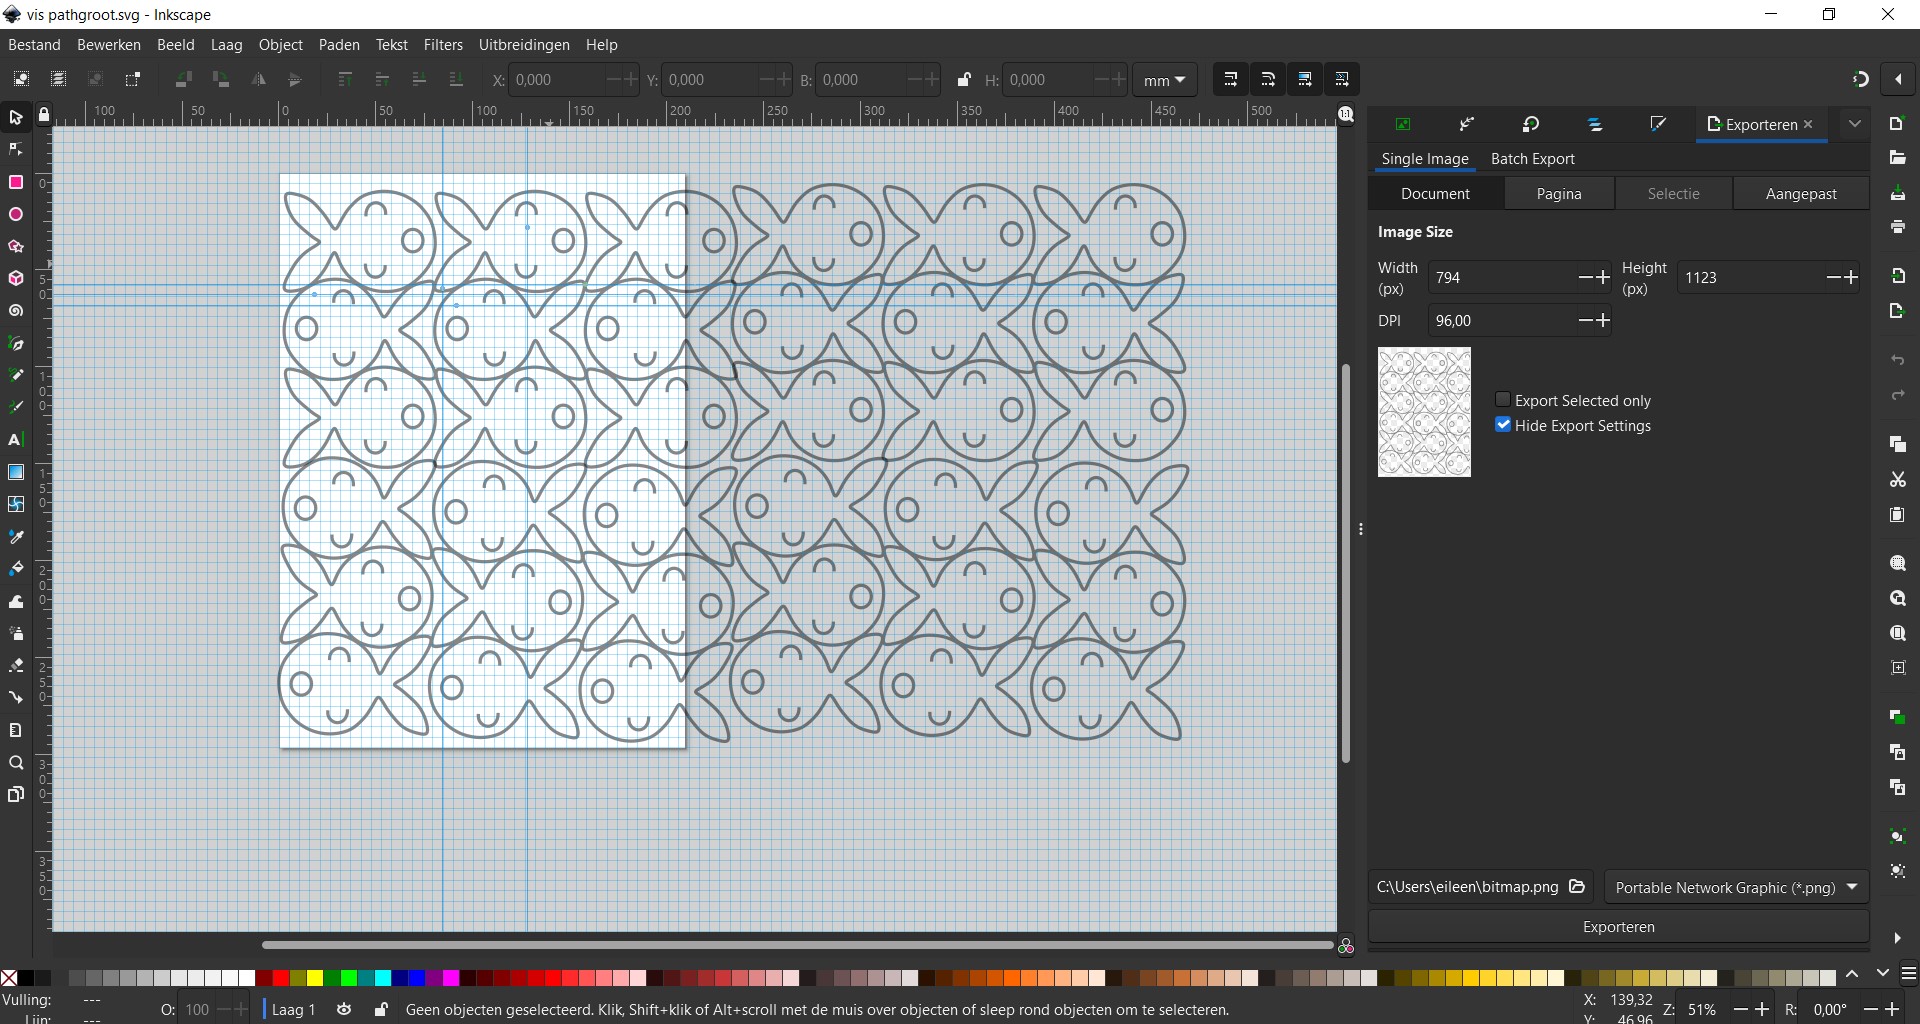
I designed the module in Inkscape but at first the slit was not large enough for the 4mm felt I used so I had to adjust it. The circle module has a diameter of 63mm. When the single module had the right fit, I made a path of it. I exported this file to the lasercutter Fluxlaser Beambox.
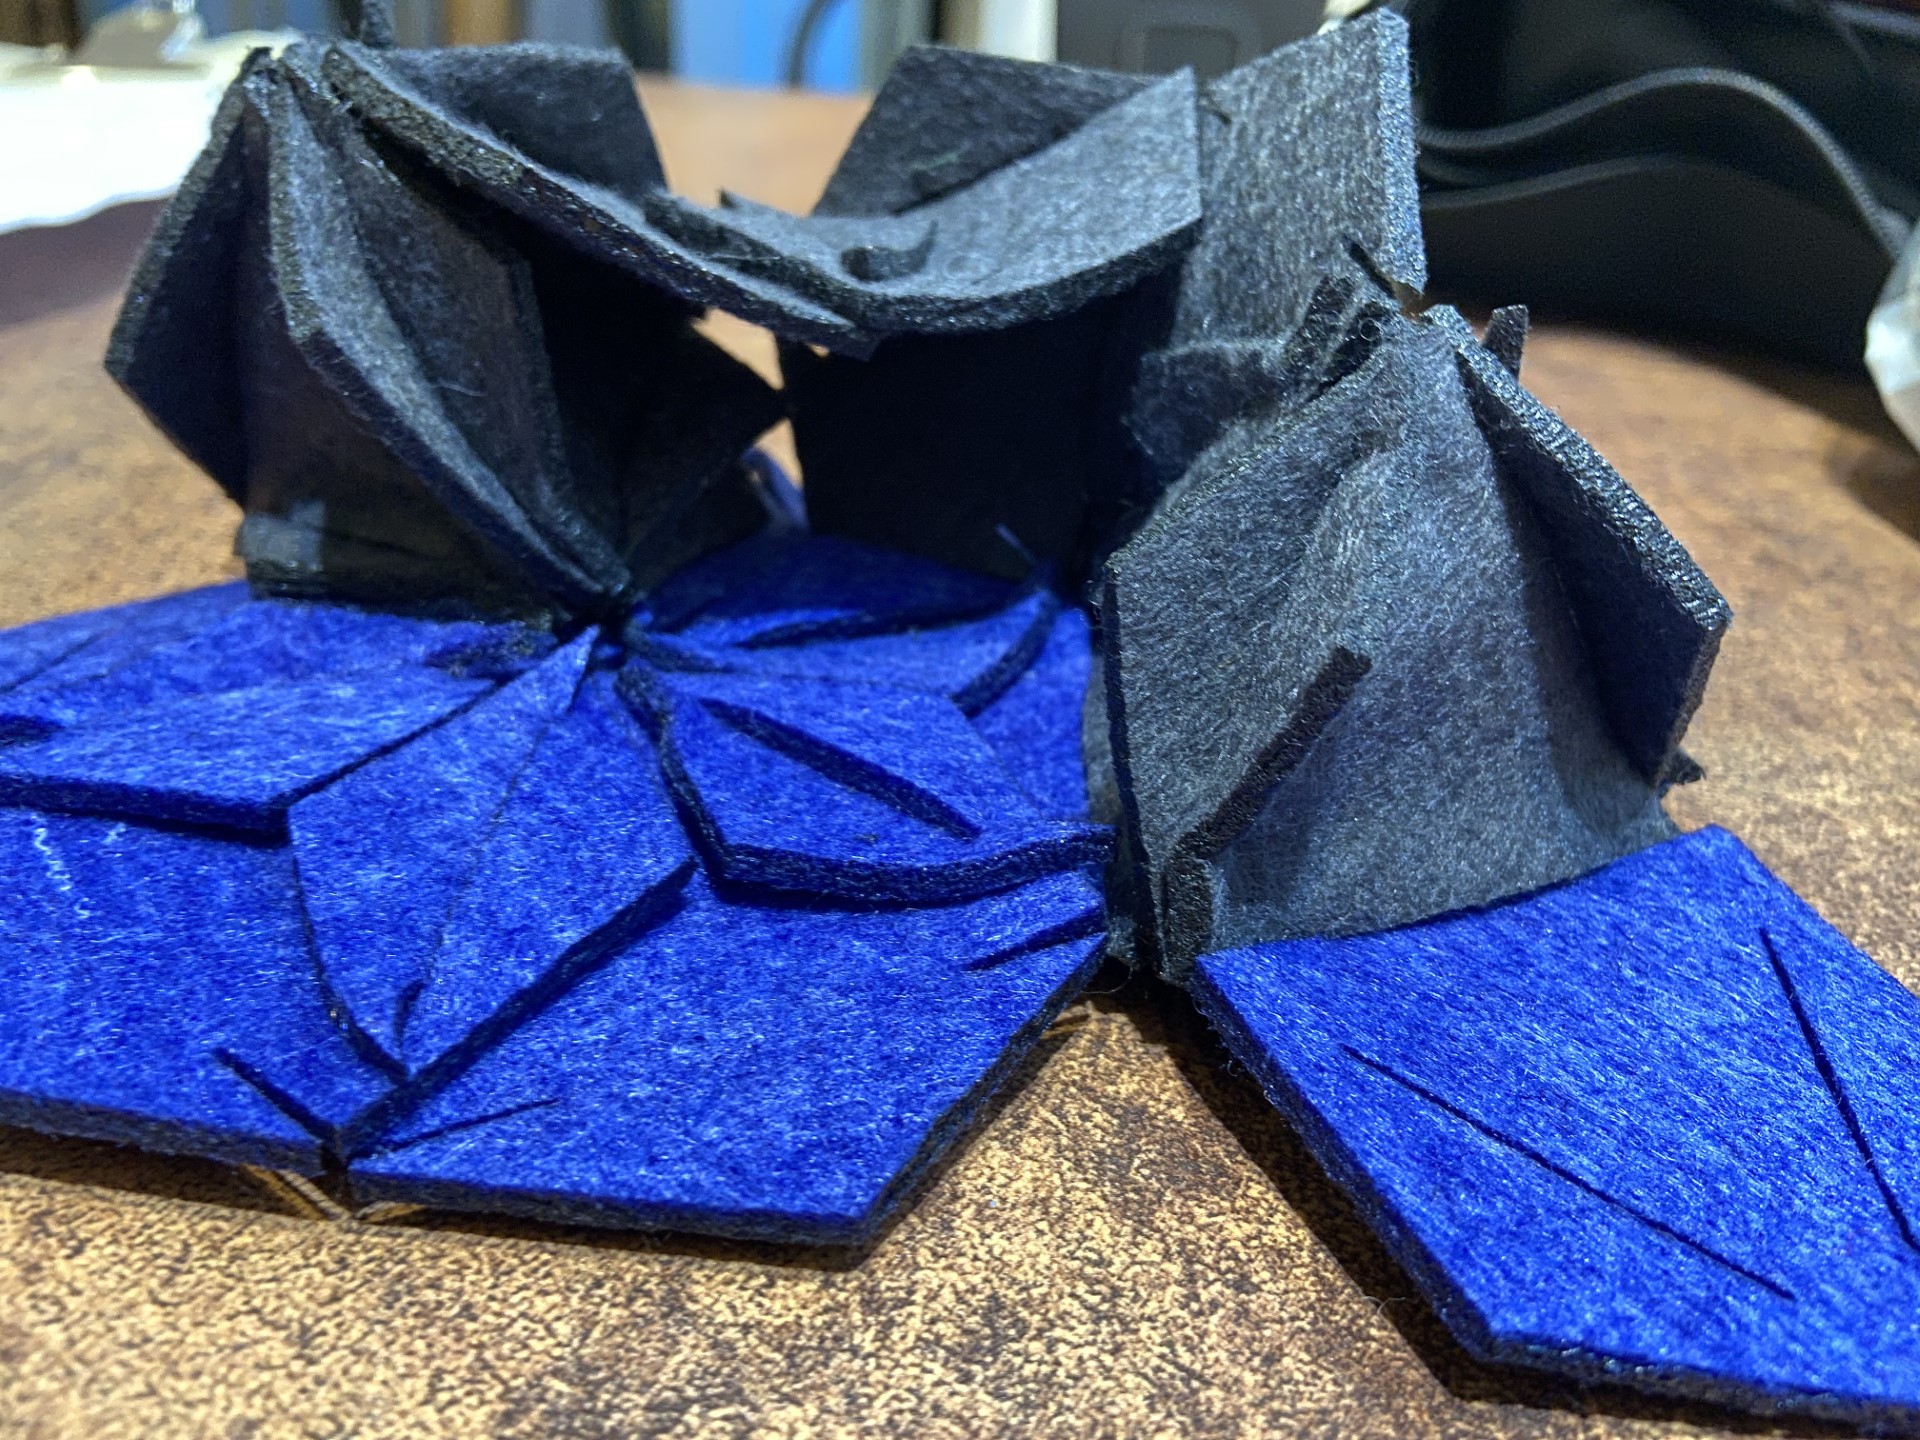
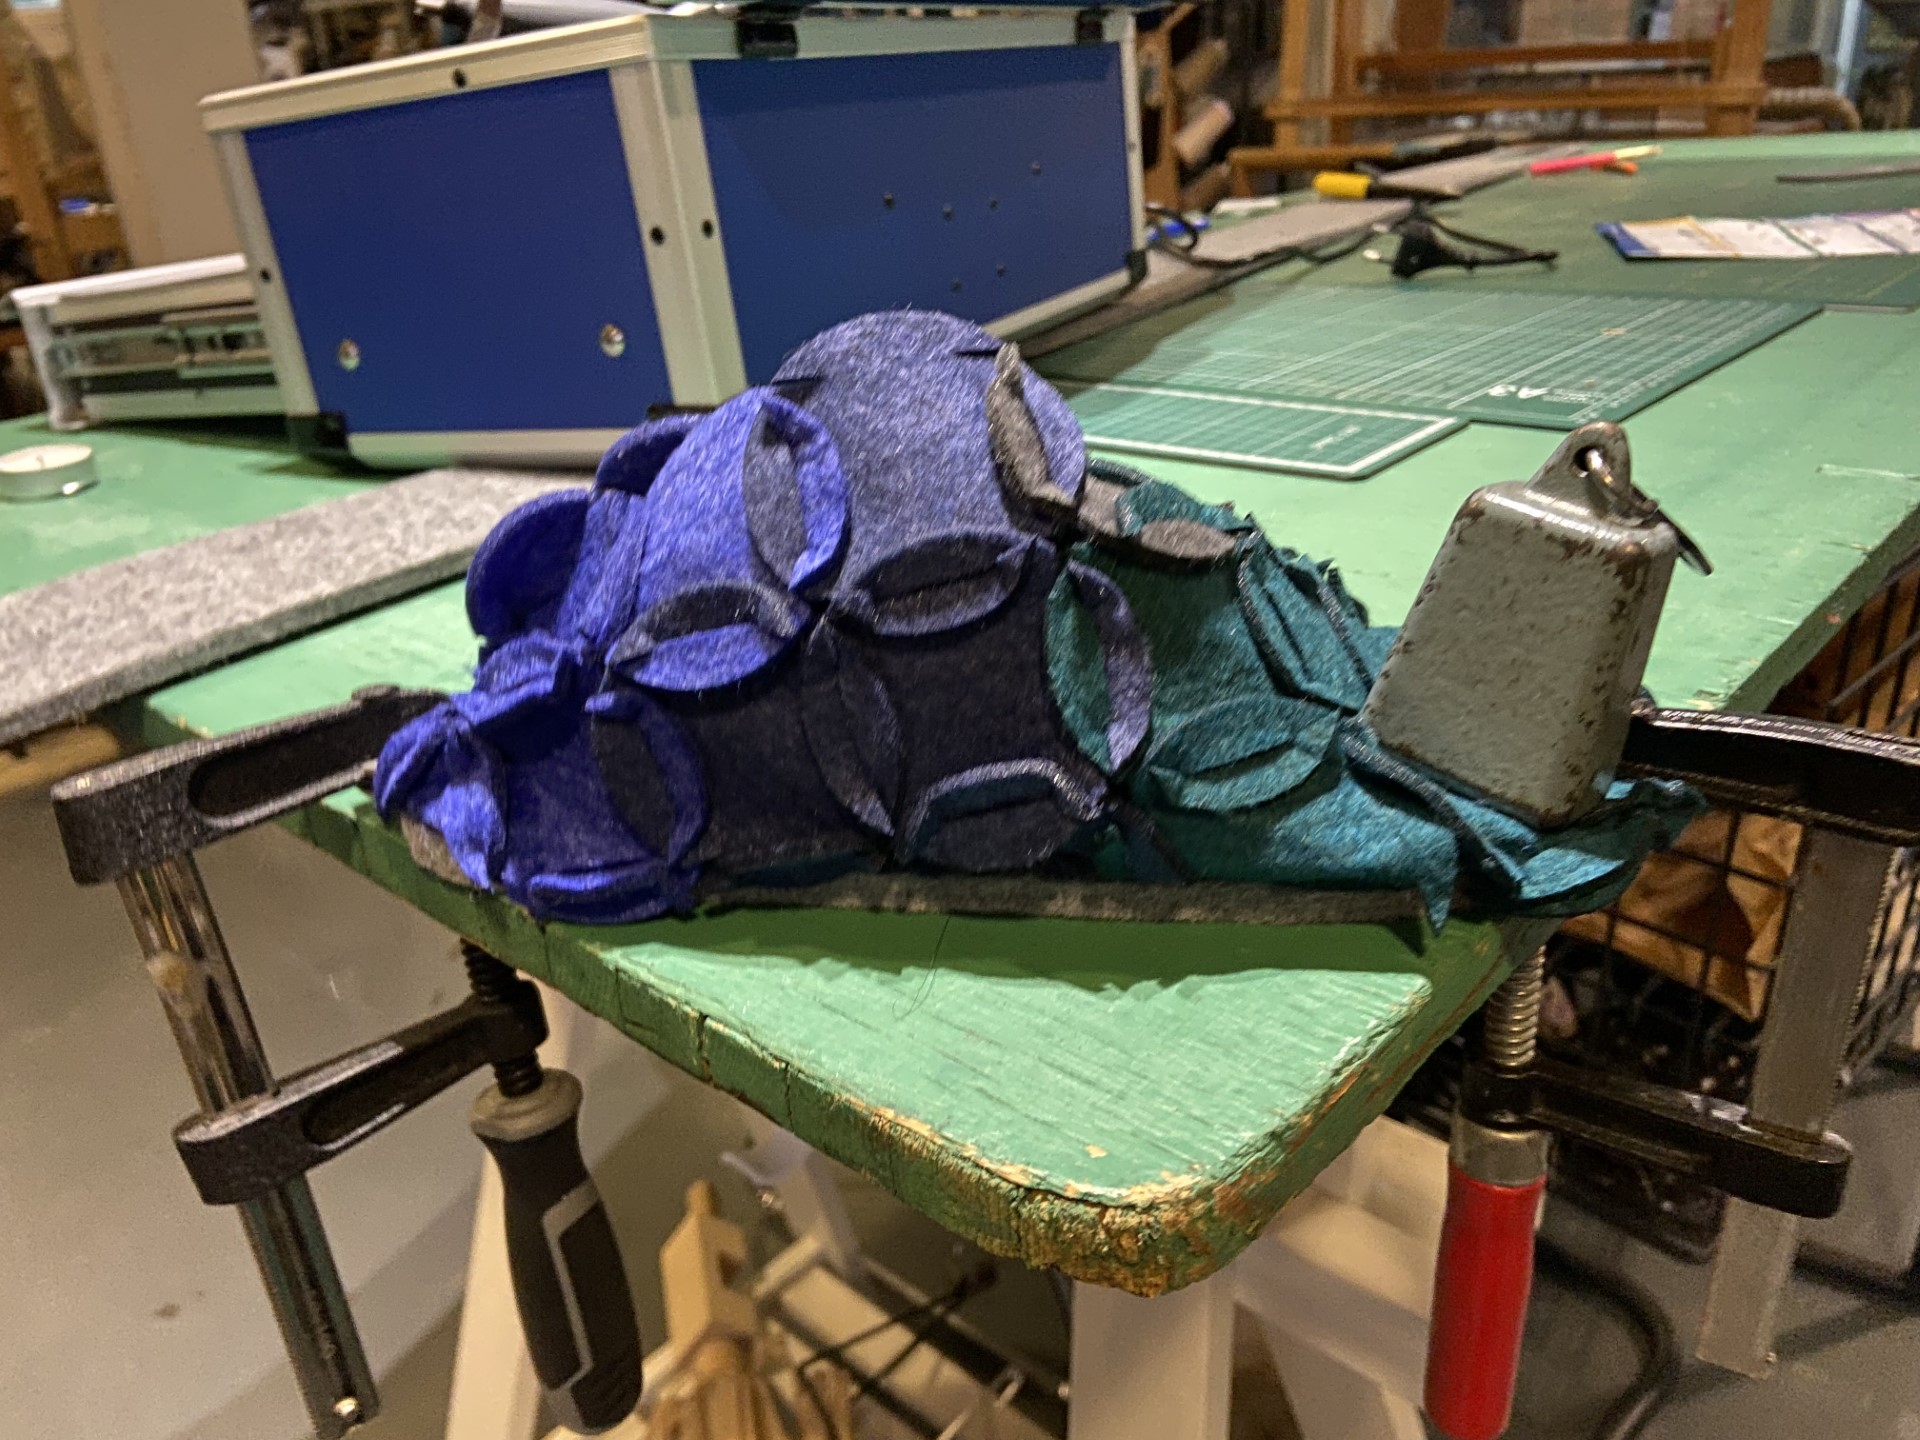
I lasercutted my modules in different colors (blue, grey, green-blue) and started to assembly working around my own foot. At first I thought that it would be impossible to make the whole slipper with these circular modules. But by trial and error I discovered that I could make the perfect shape around my foot. I could close the slipper at the sole side with the modules. It was possible to insert my foot in it, although I had to be careful not to stretch the felt modules too much because then some modules clicked out.
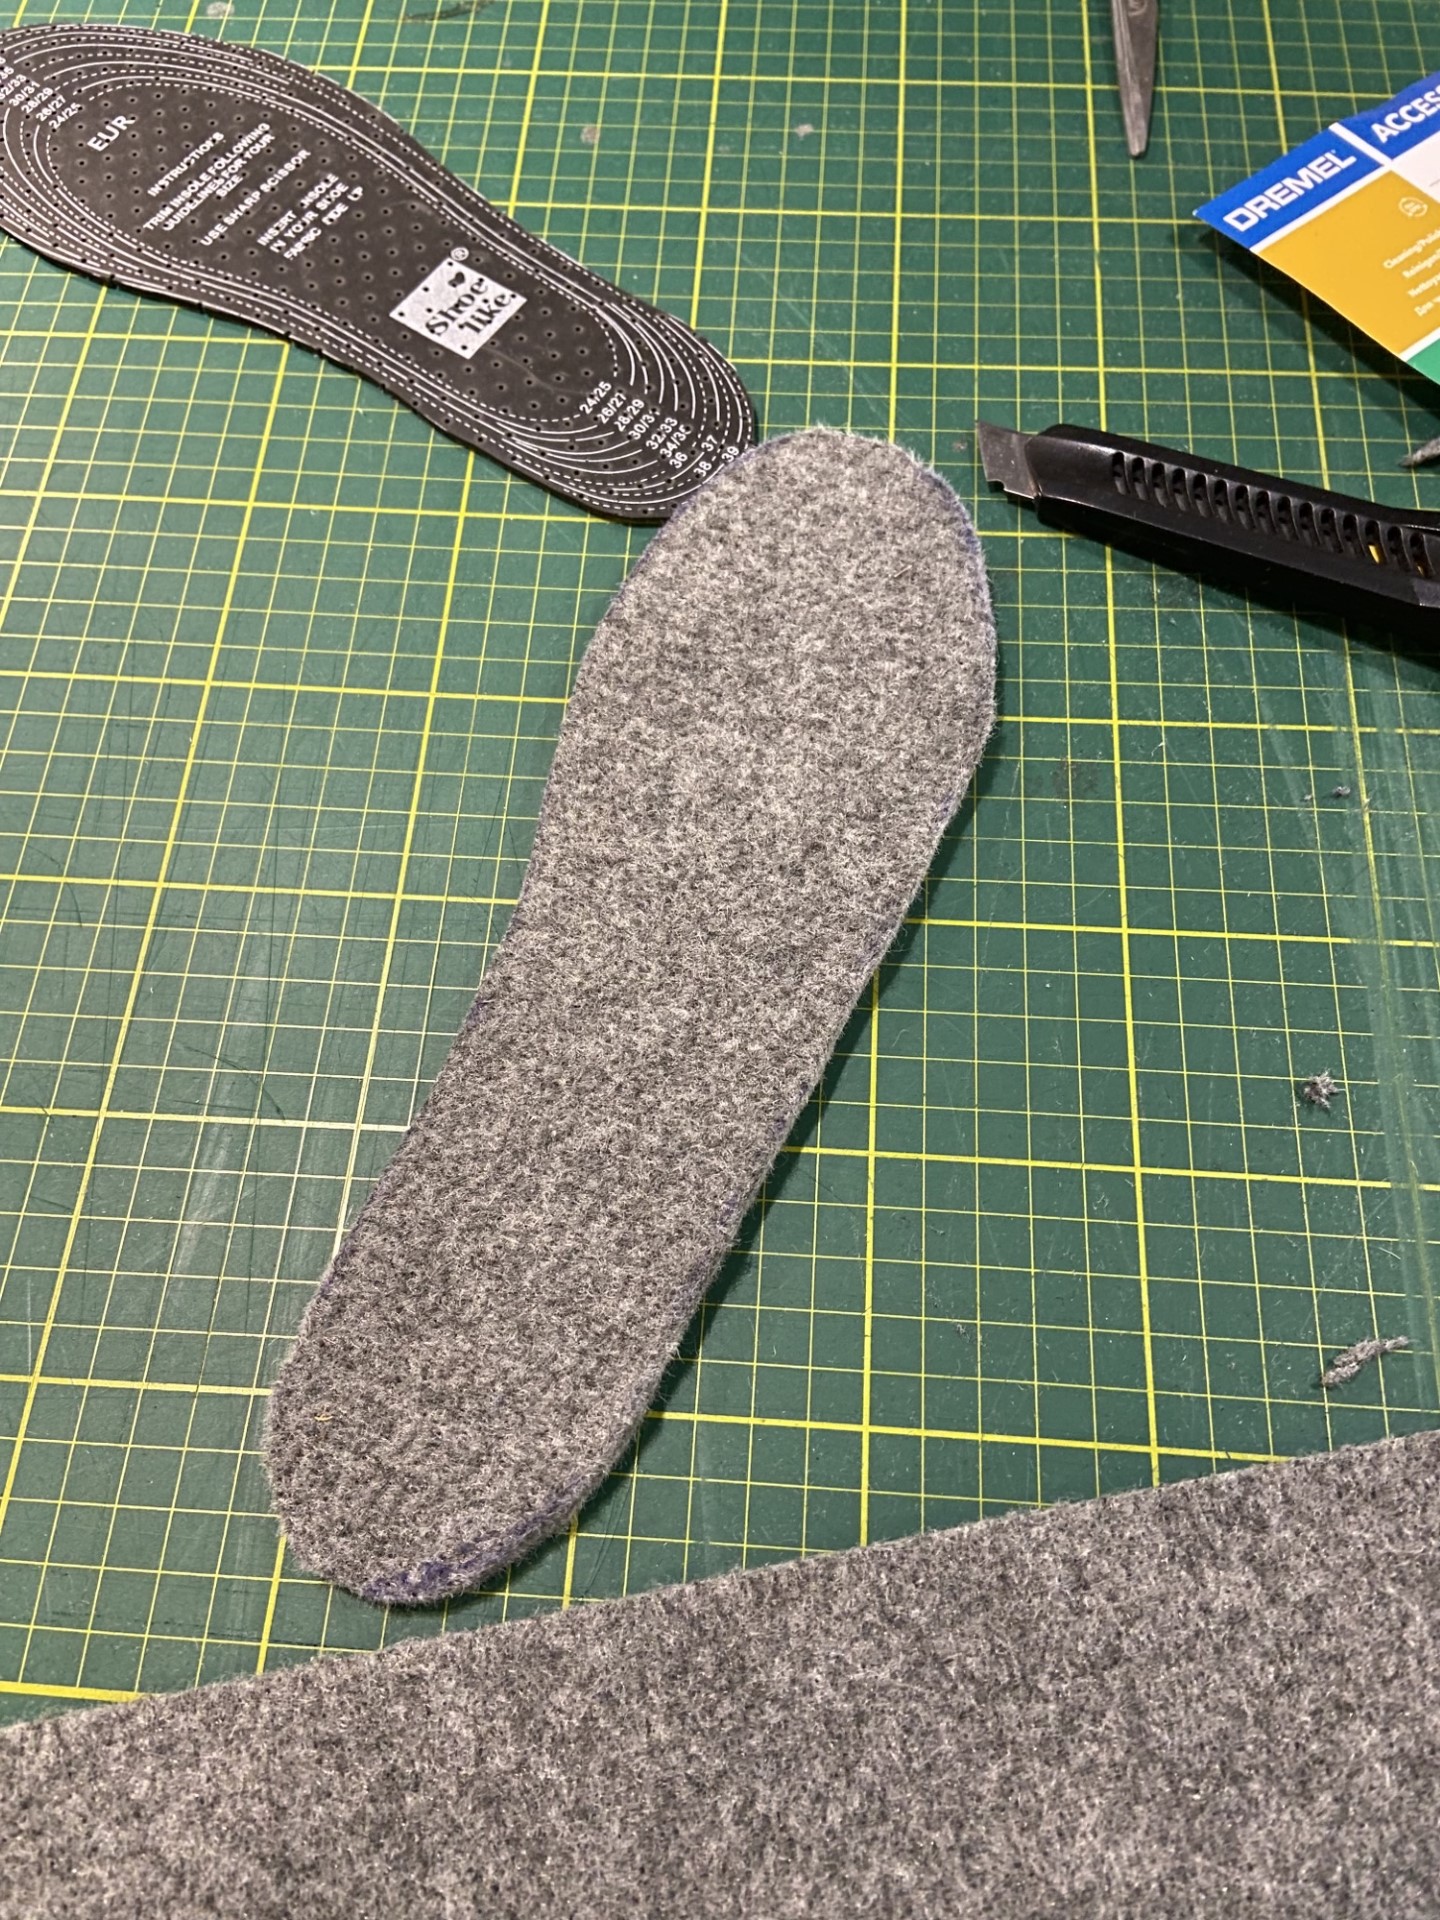
I wanted to add an additional sole underneath the sole modules because otherwise it would not be strong enough.
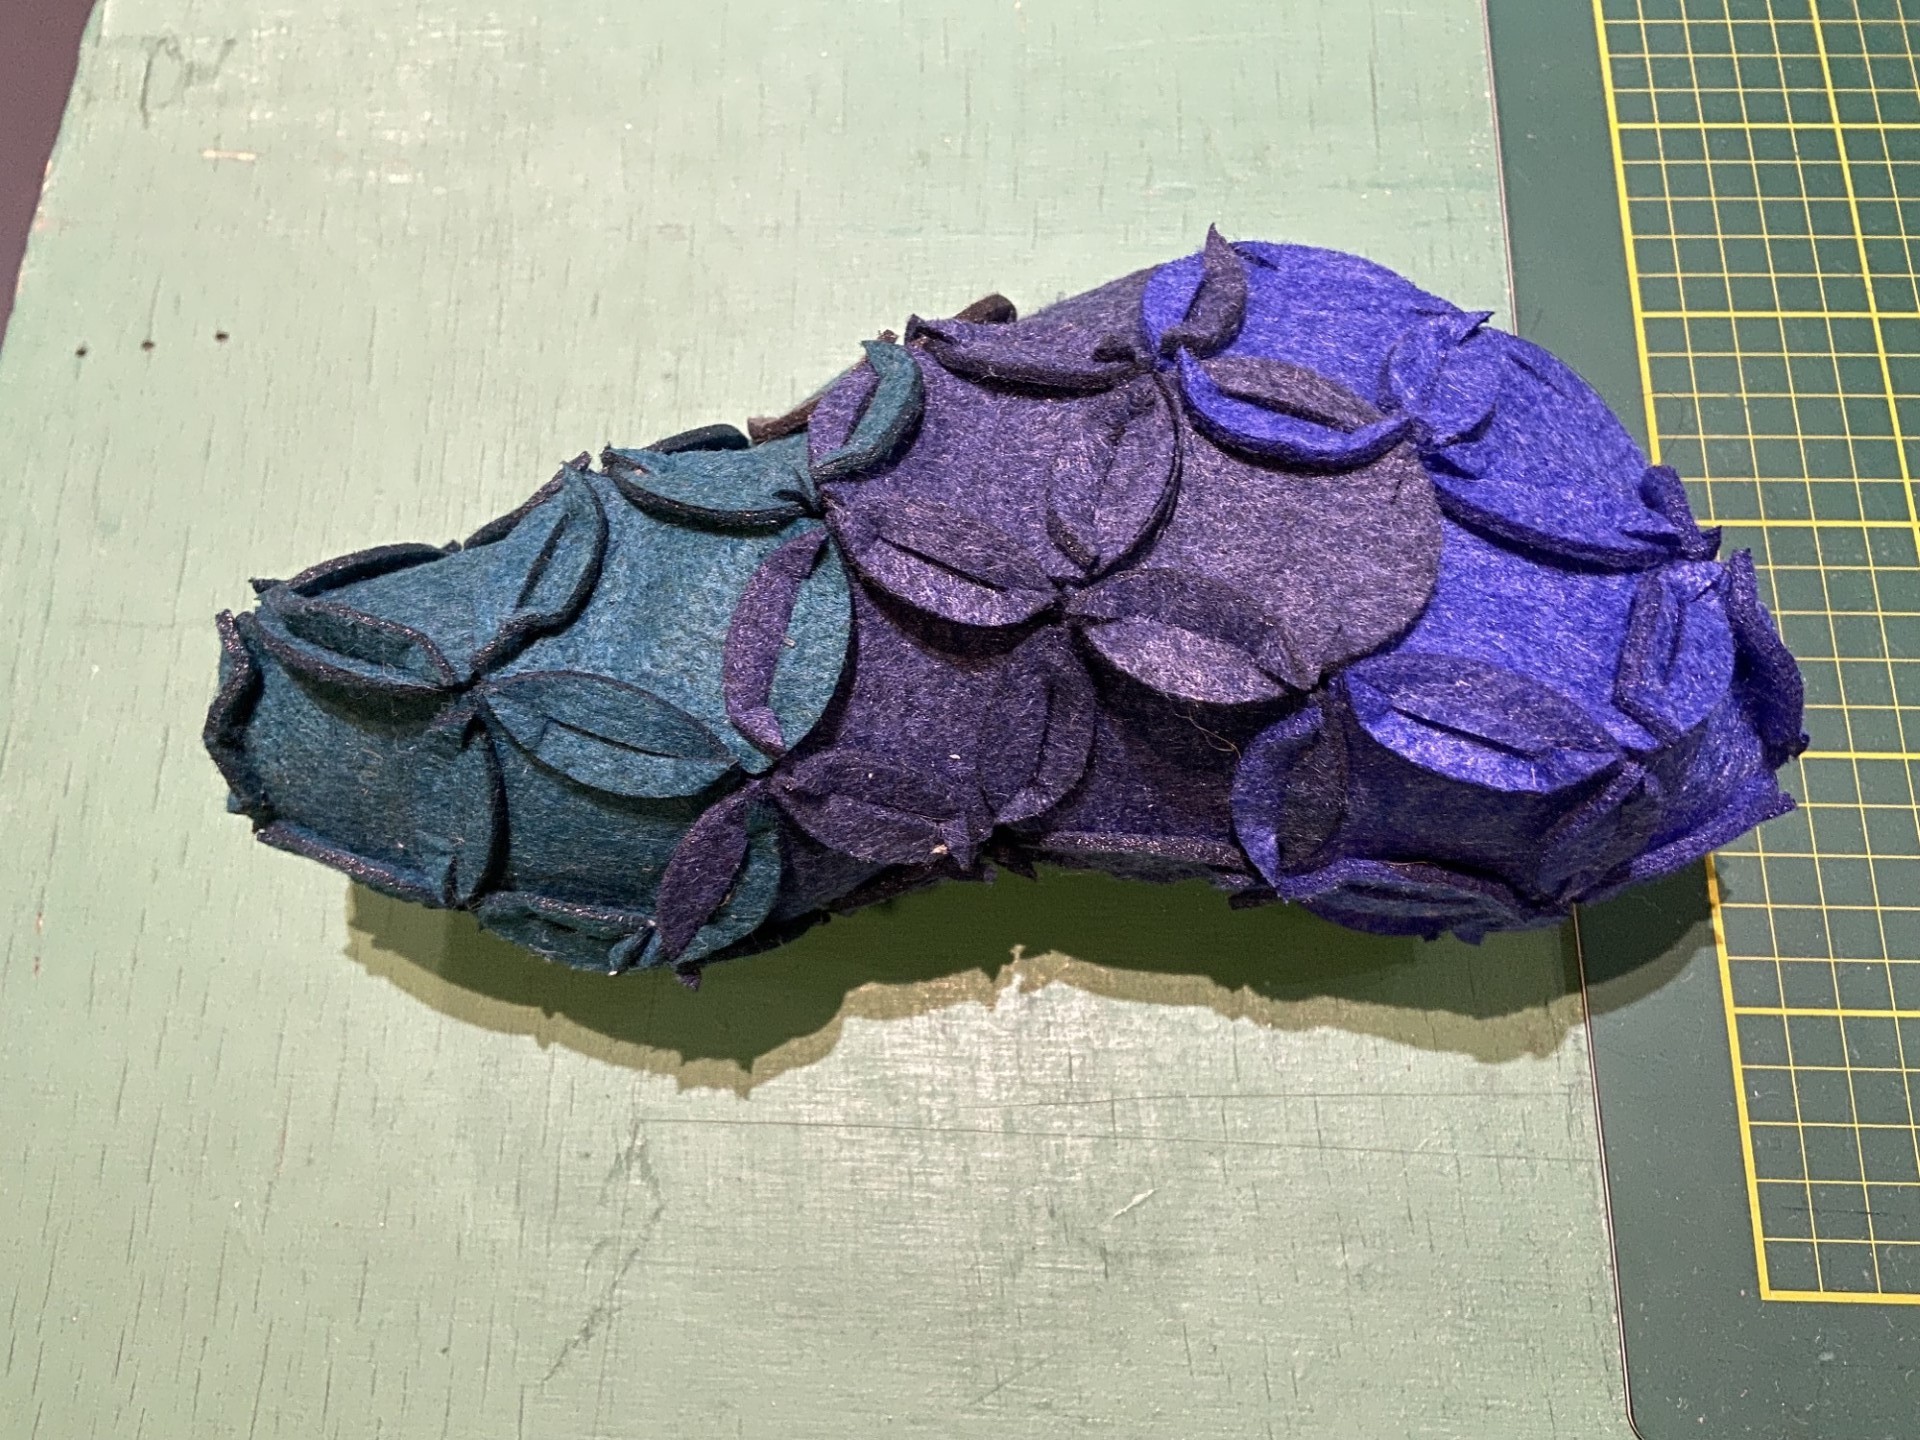
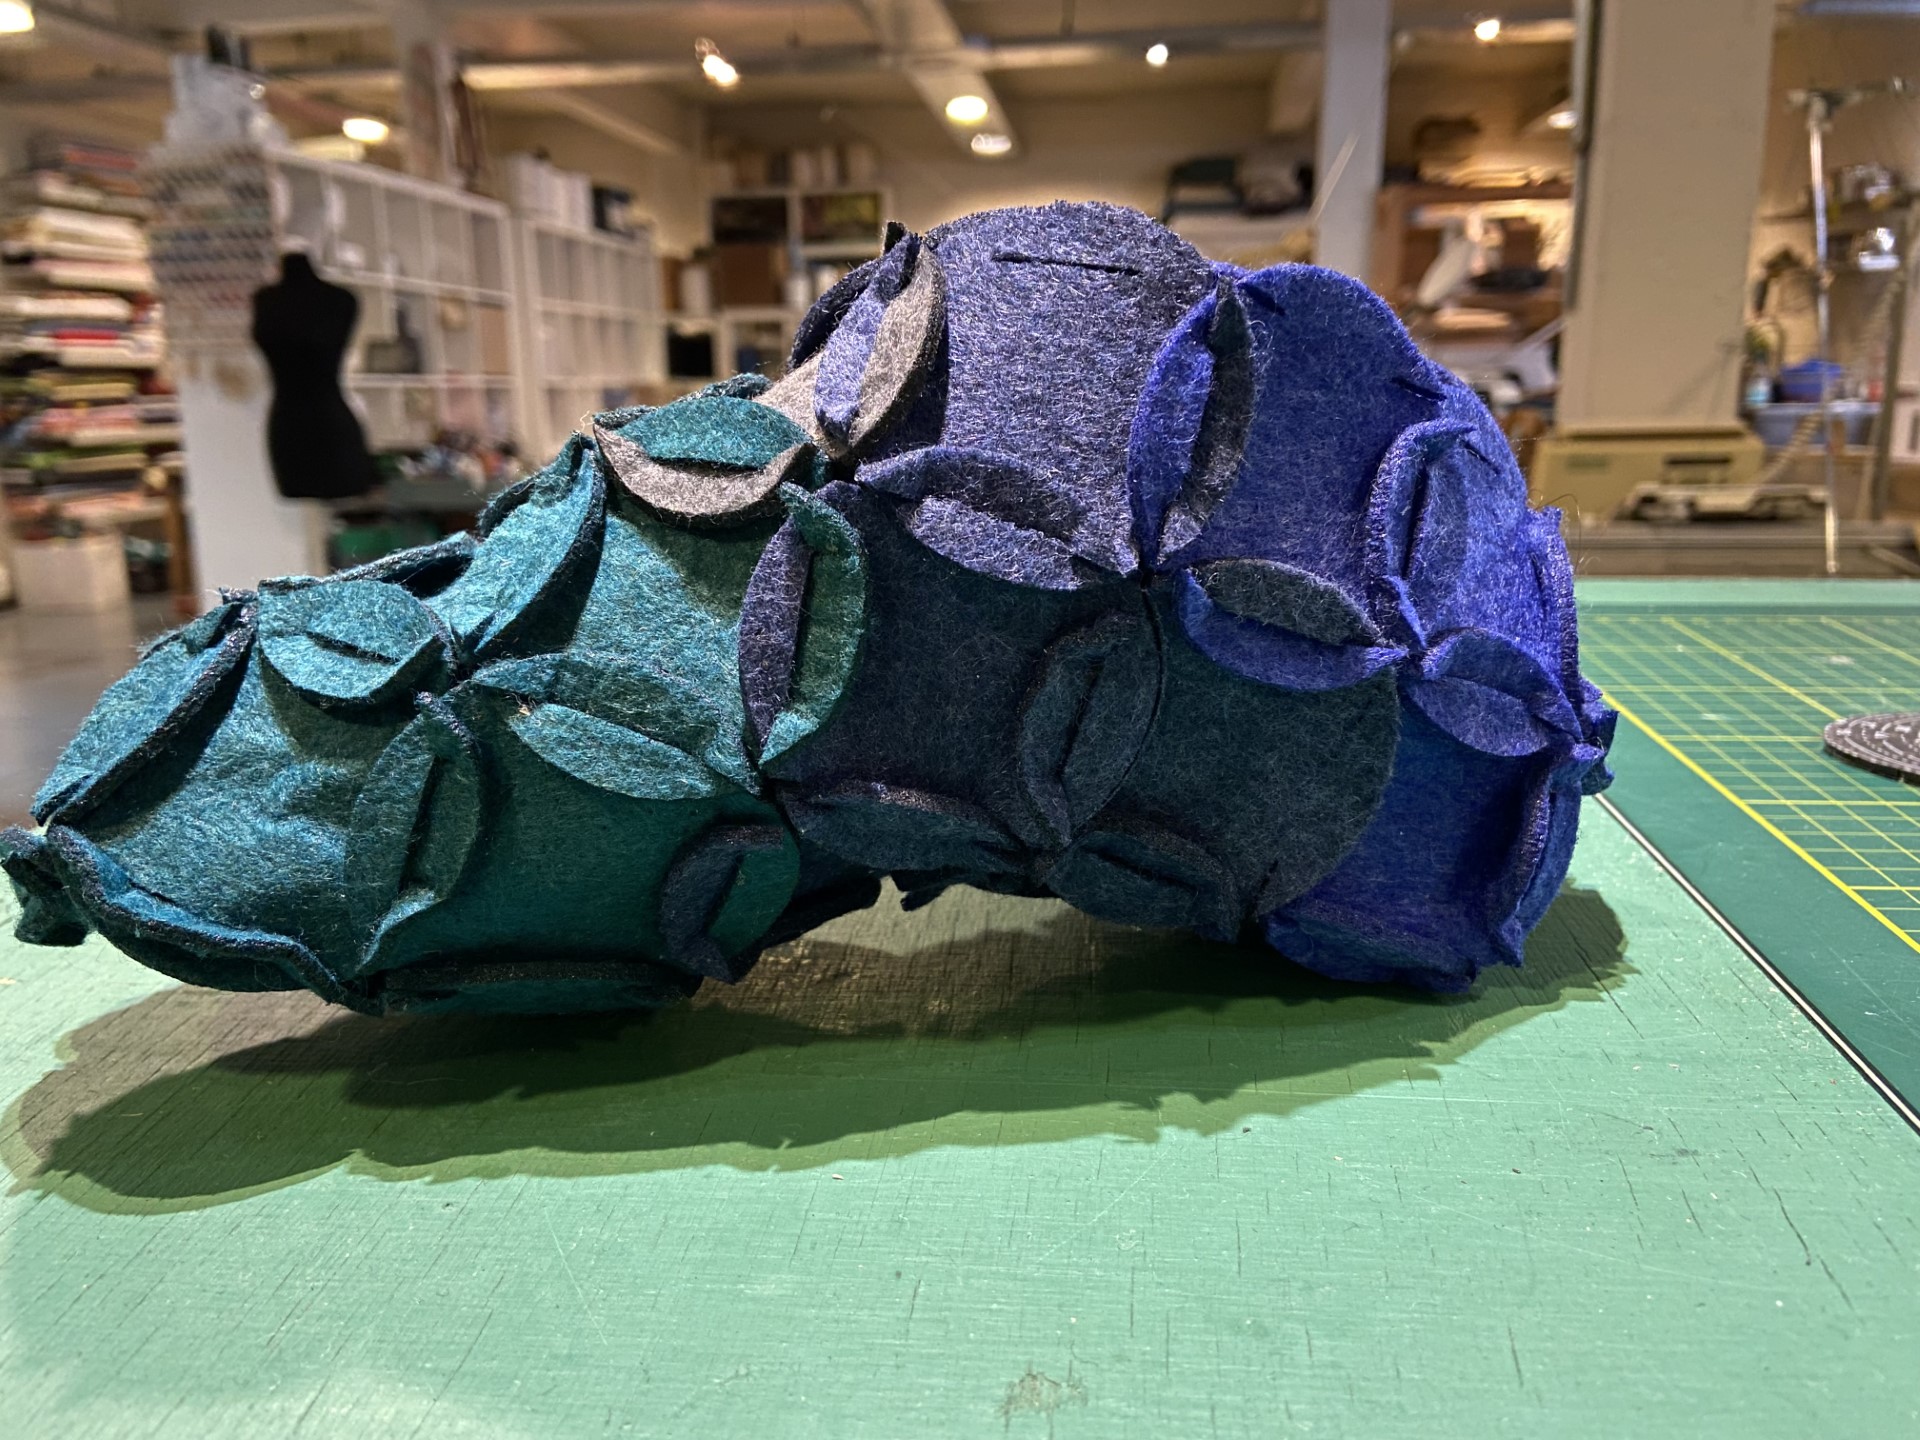
At the end the result looked like this:
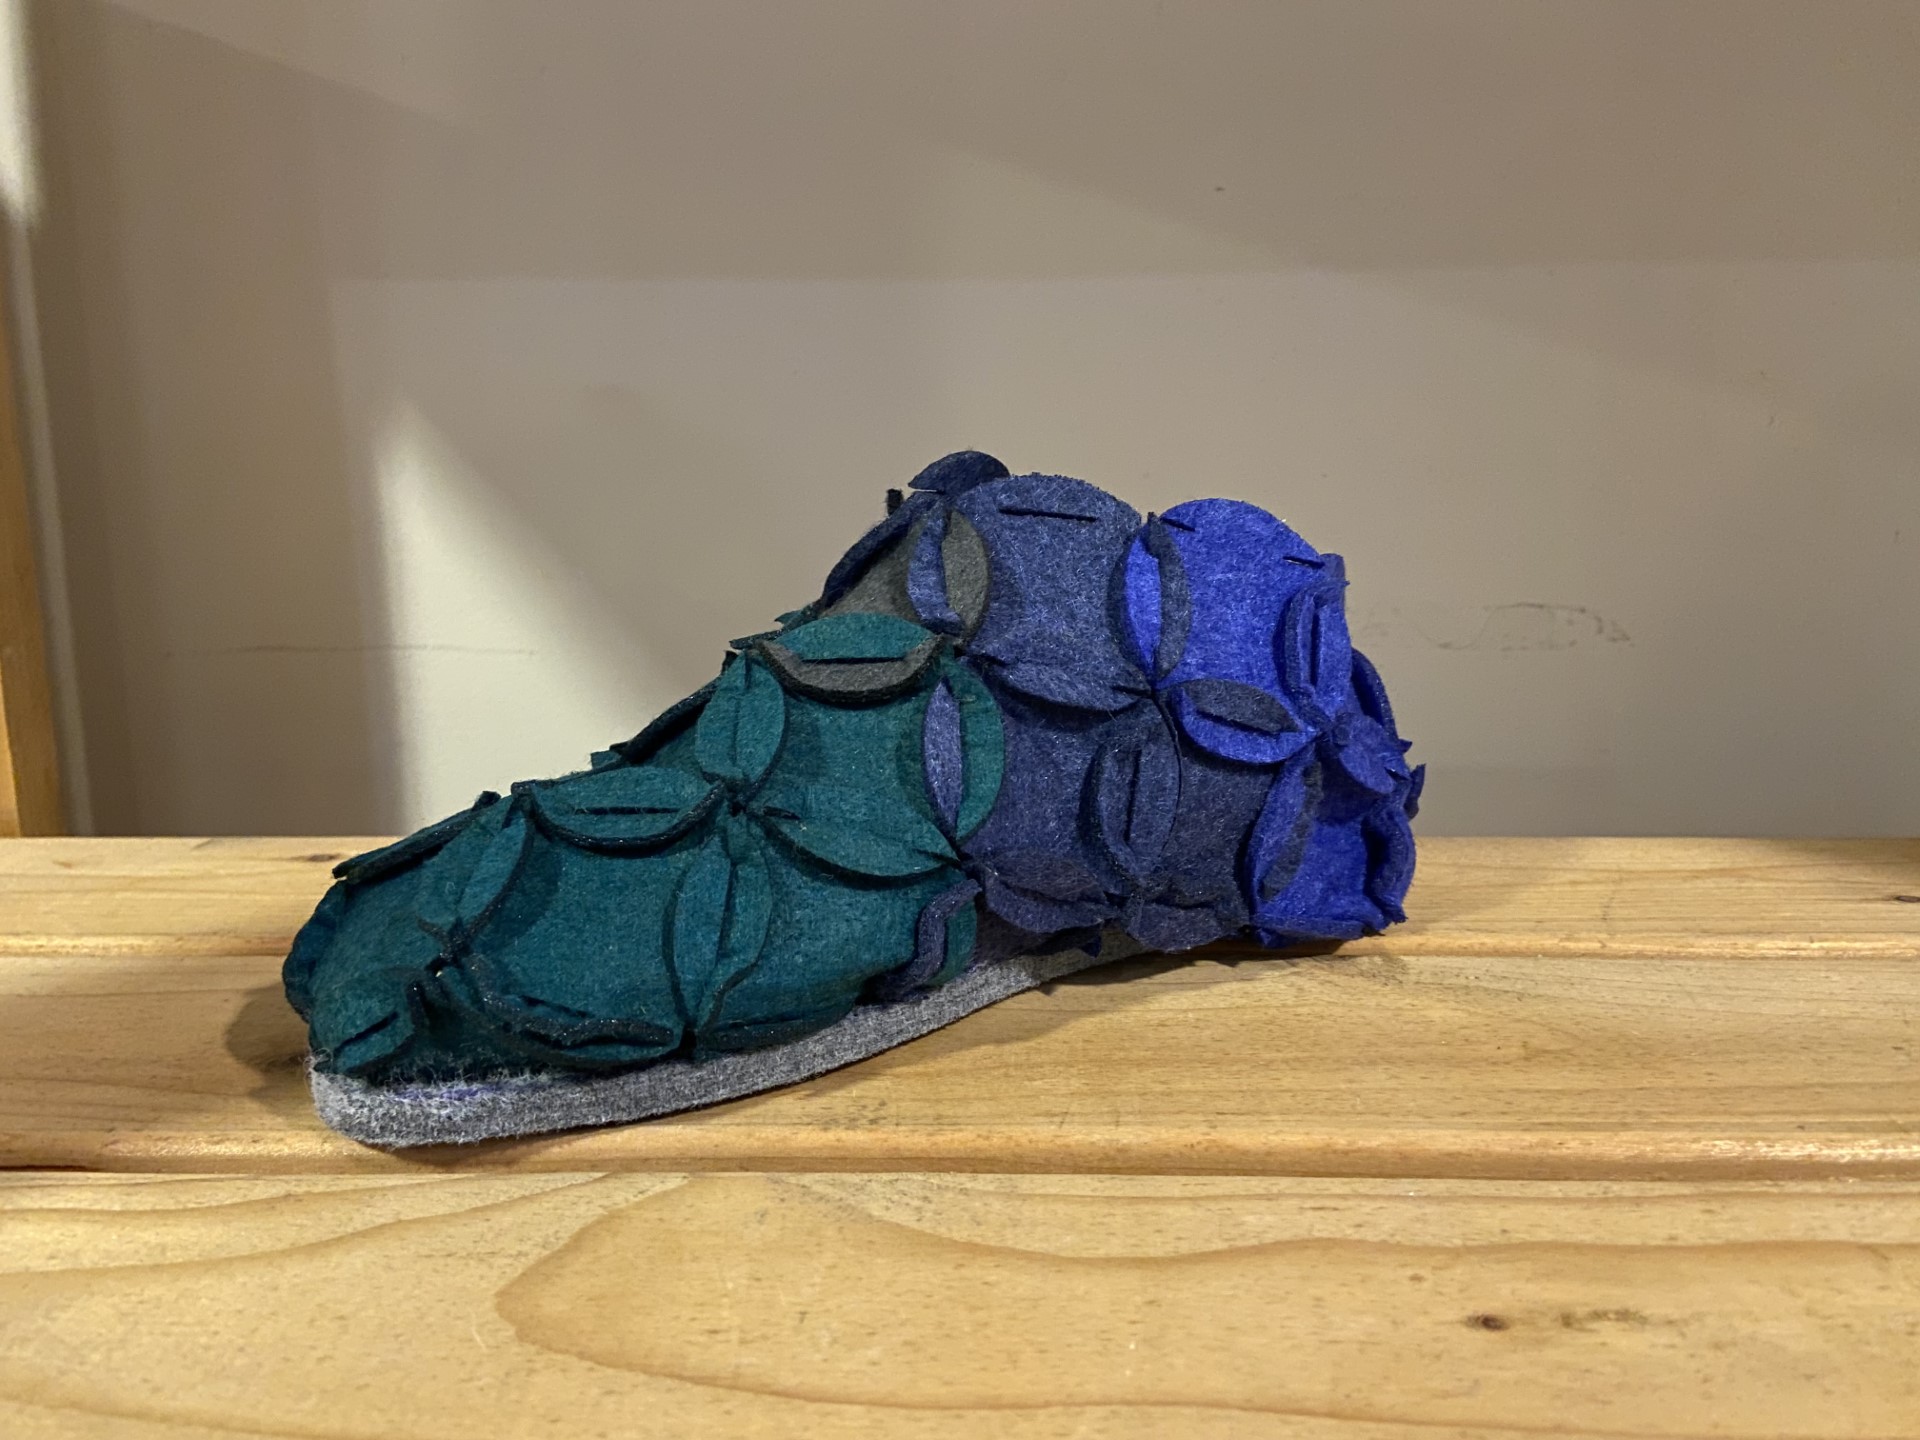
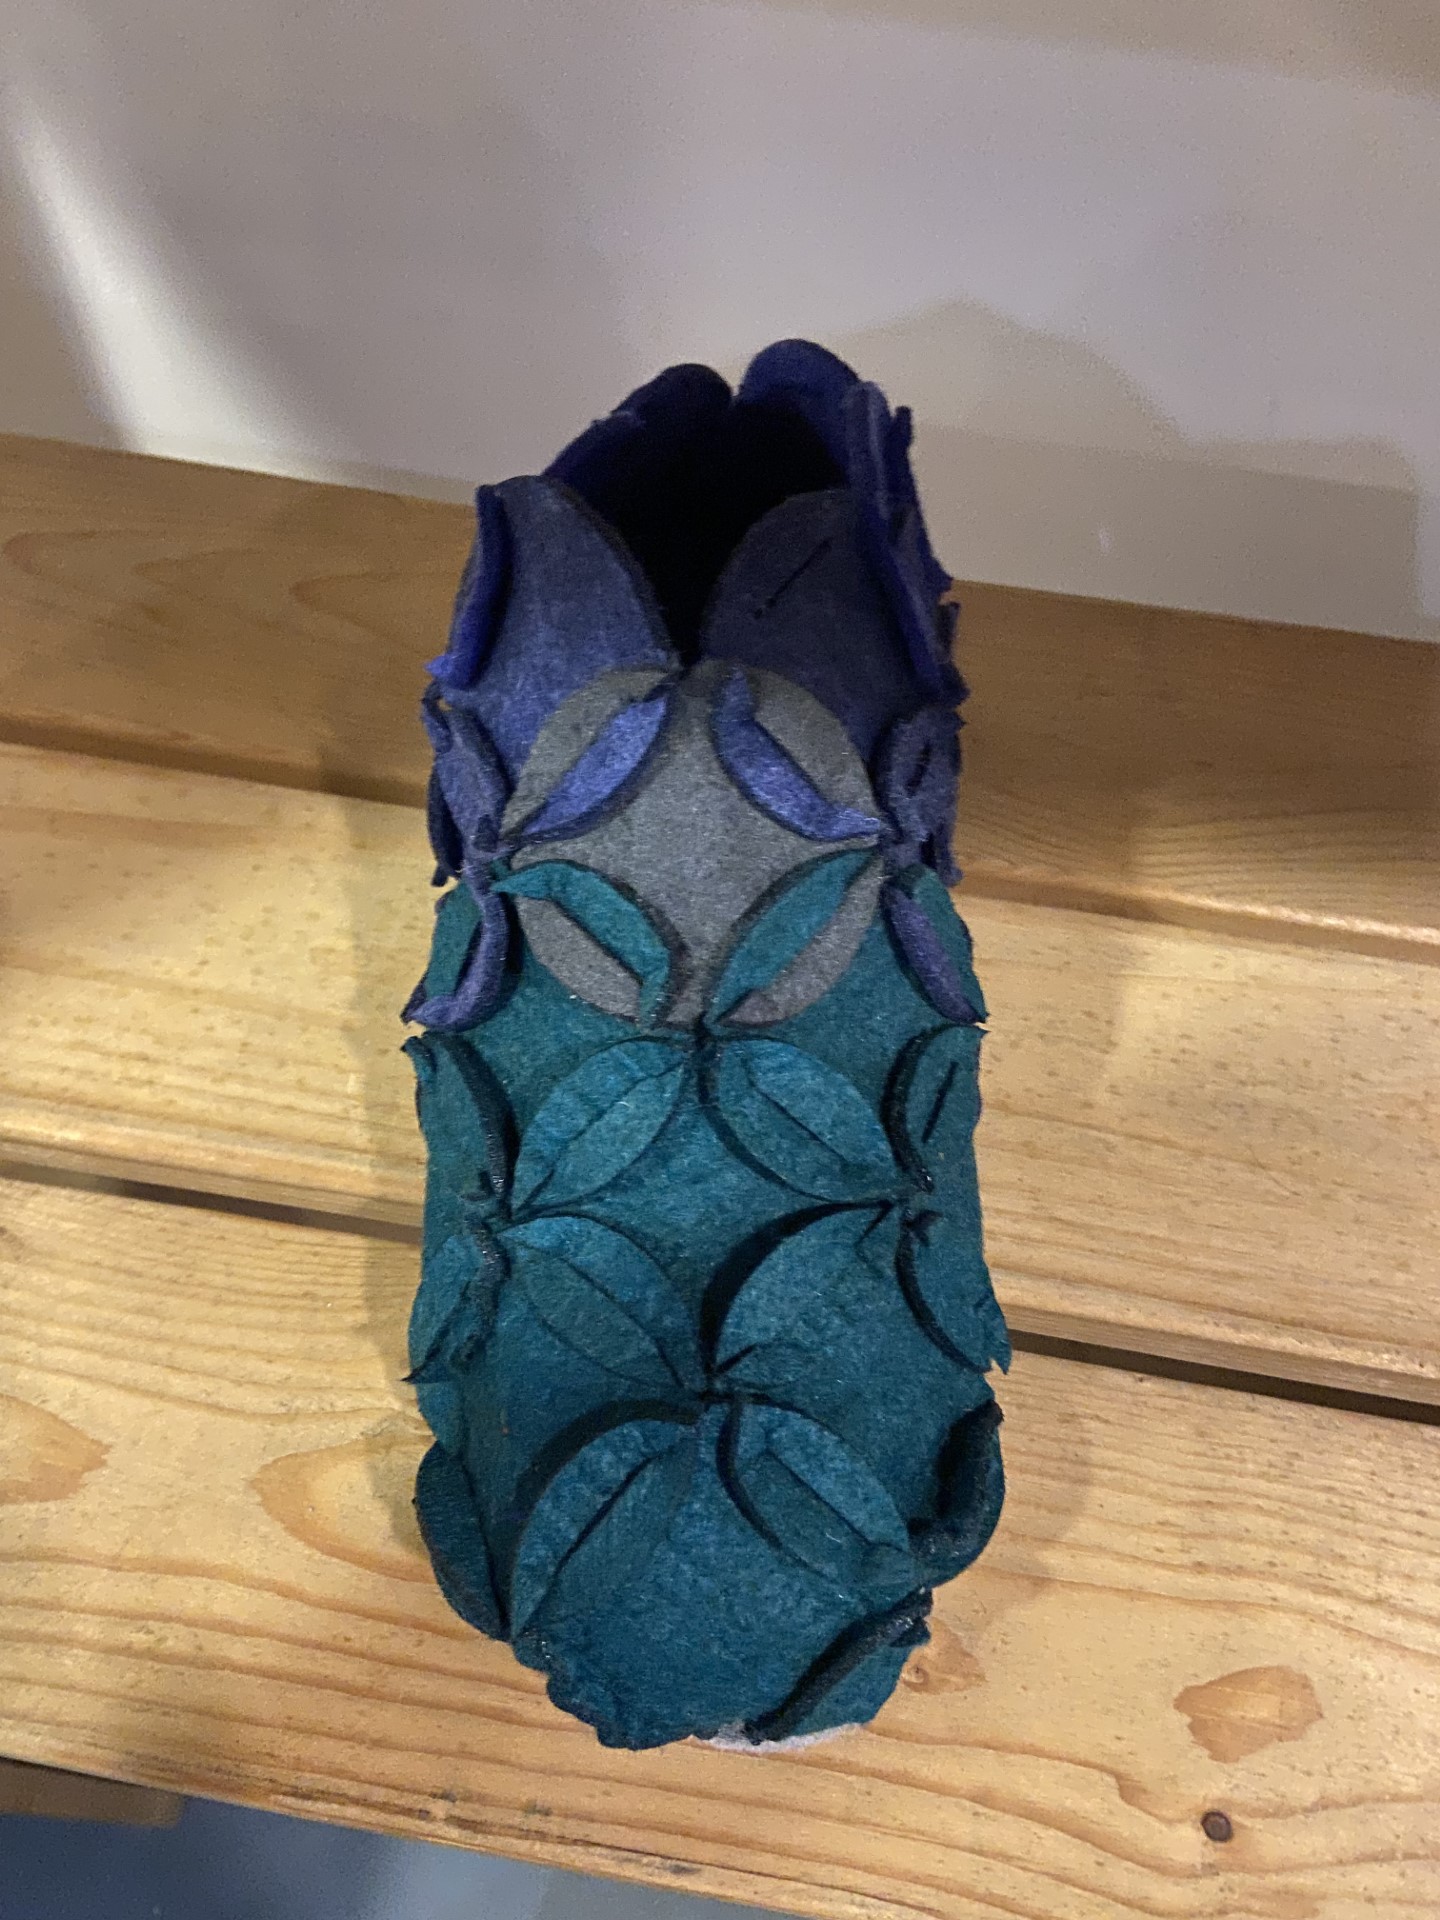
I don't know if I really like the design of my slipper, especially the shape of it. But overall I am quiet satisfied with the way it was possible to make a closed slipper out of these modules in such a short amount of time.
Project 2: Top with open back
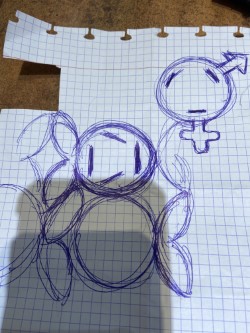
Next, I wanted to design a less serious module. I handsketched a fish on paper. I designed it as a fish but other people saw immediately a rabbit in it.
Again I designed it in Inkscape. I made a path of it and then exported my file to the lasercutter.
I lasercutted a test:
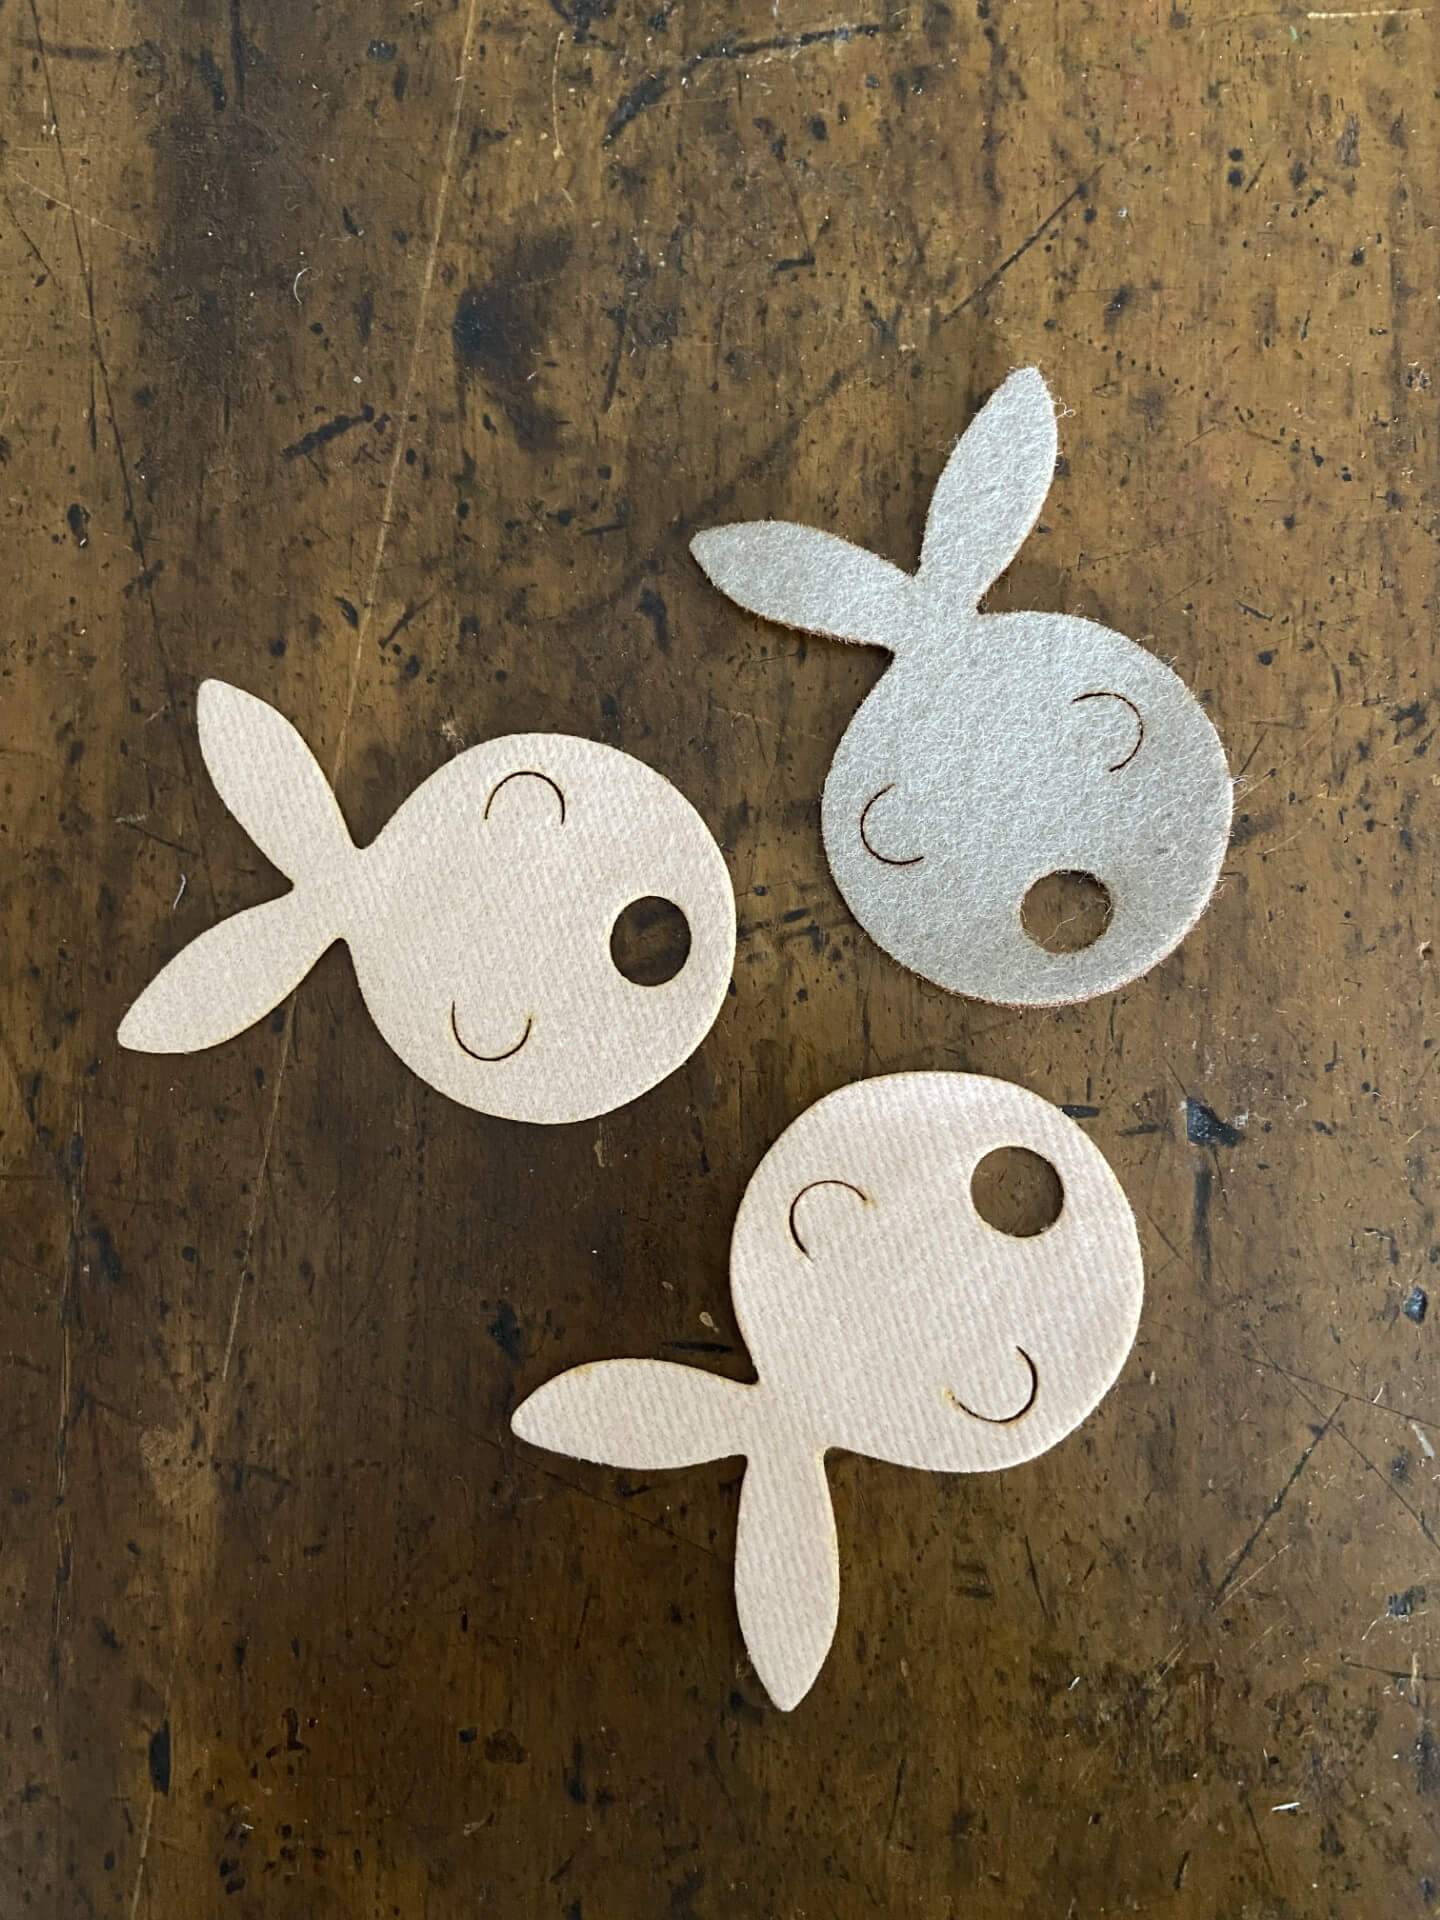
It showed that I had to make the circle of the mouth of the fish a little bit smaller because the fishtail of another fishmodule could easily flip out of the mouth. Here you can find the file
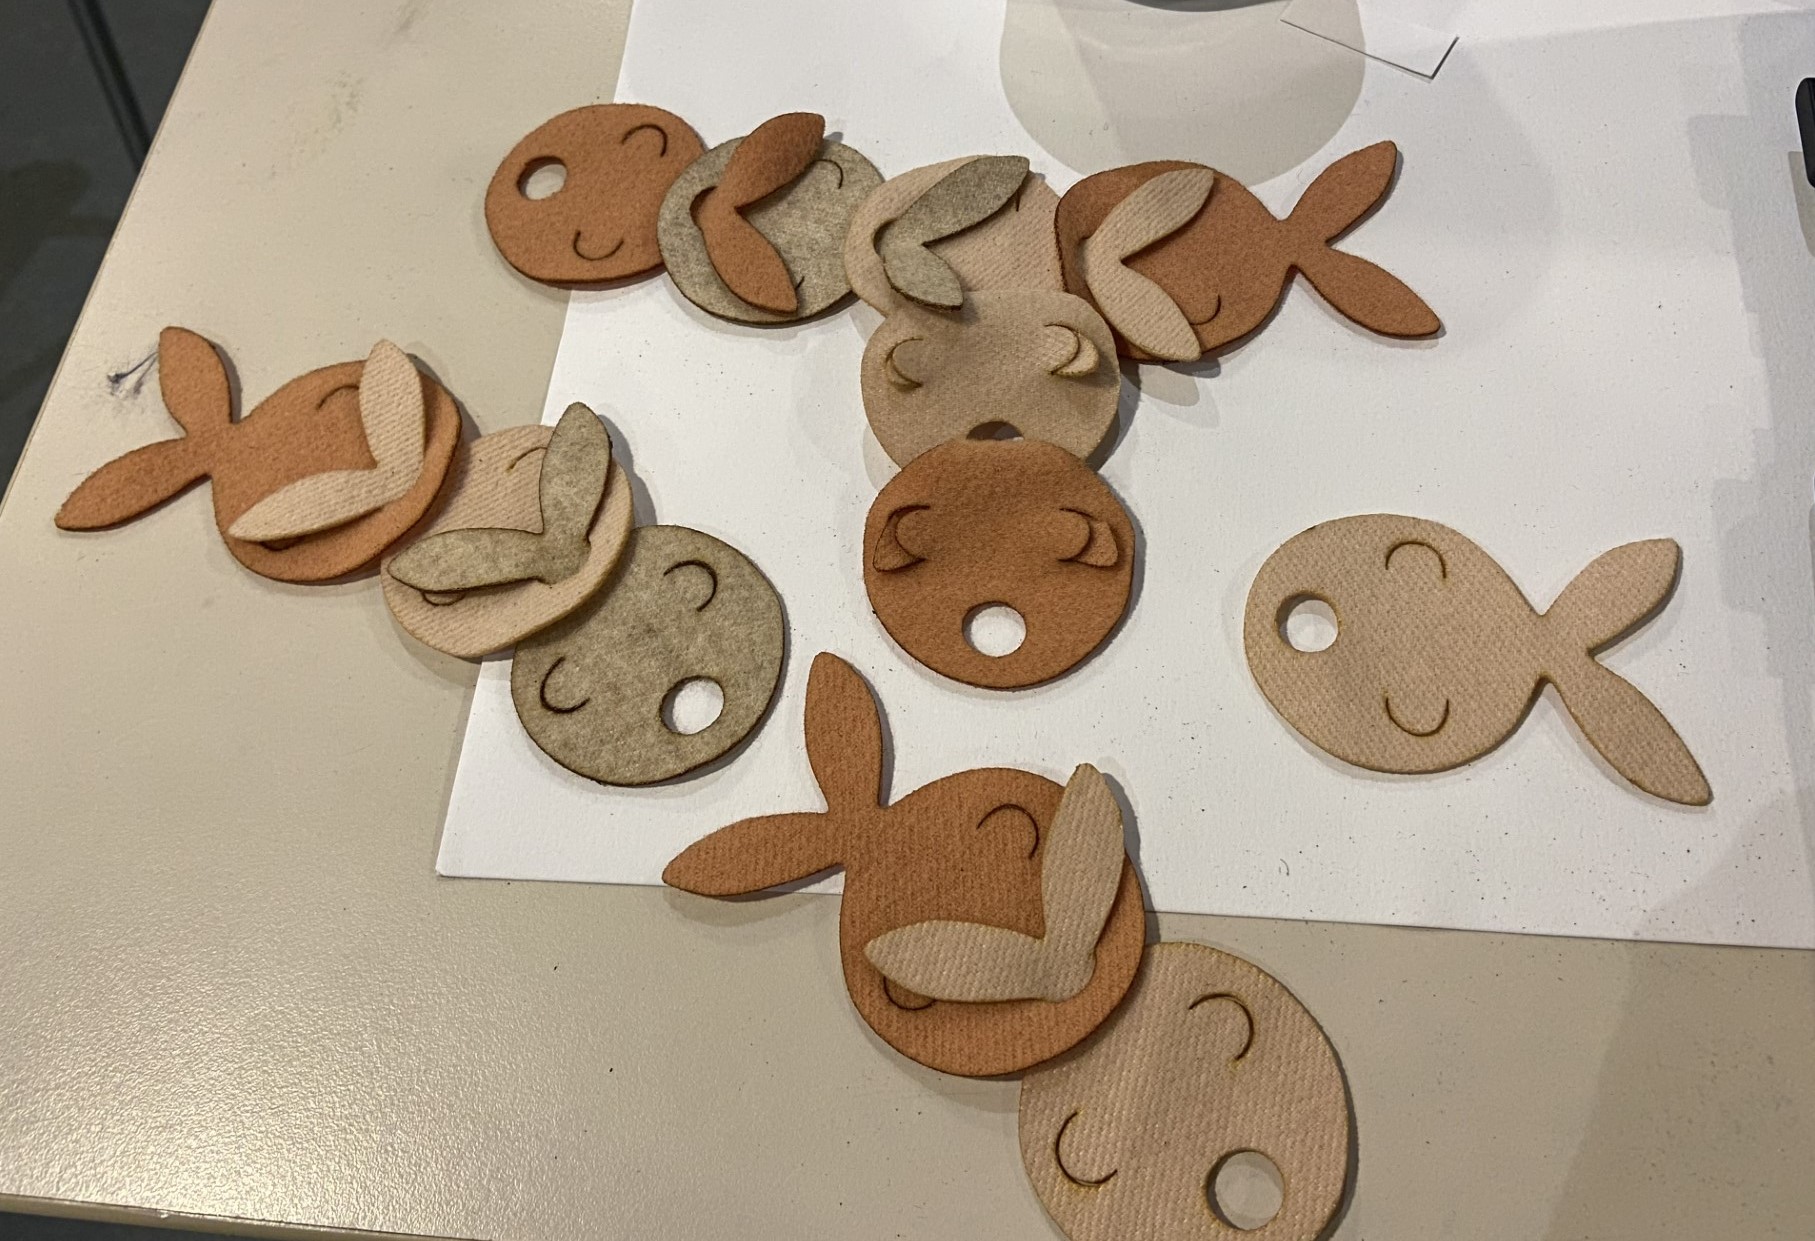
I lasercutted in 3 different colours (pastel pink, pastel orange and beige) in soft wool fabric of 1,5 mm thickness.
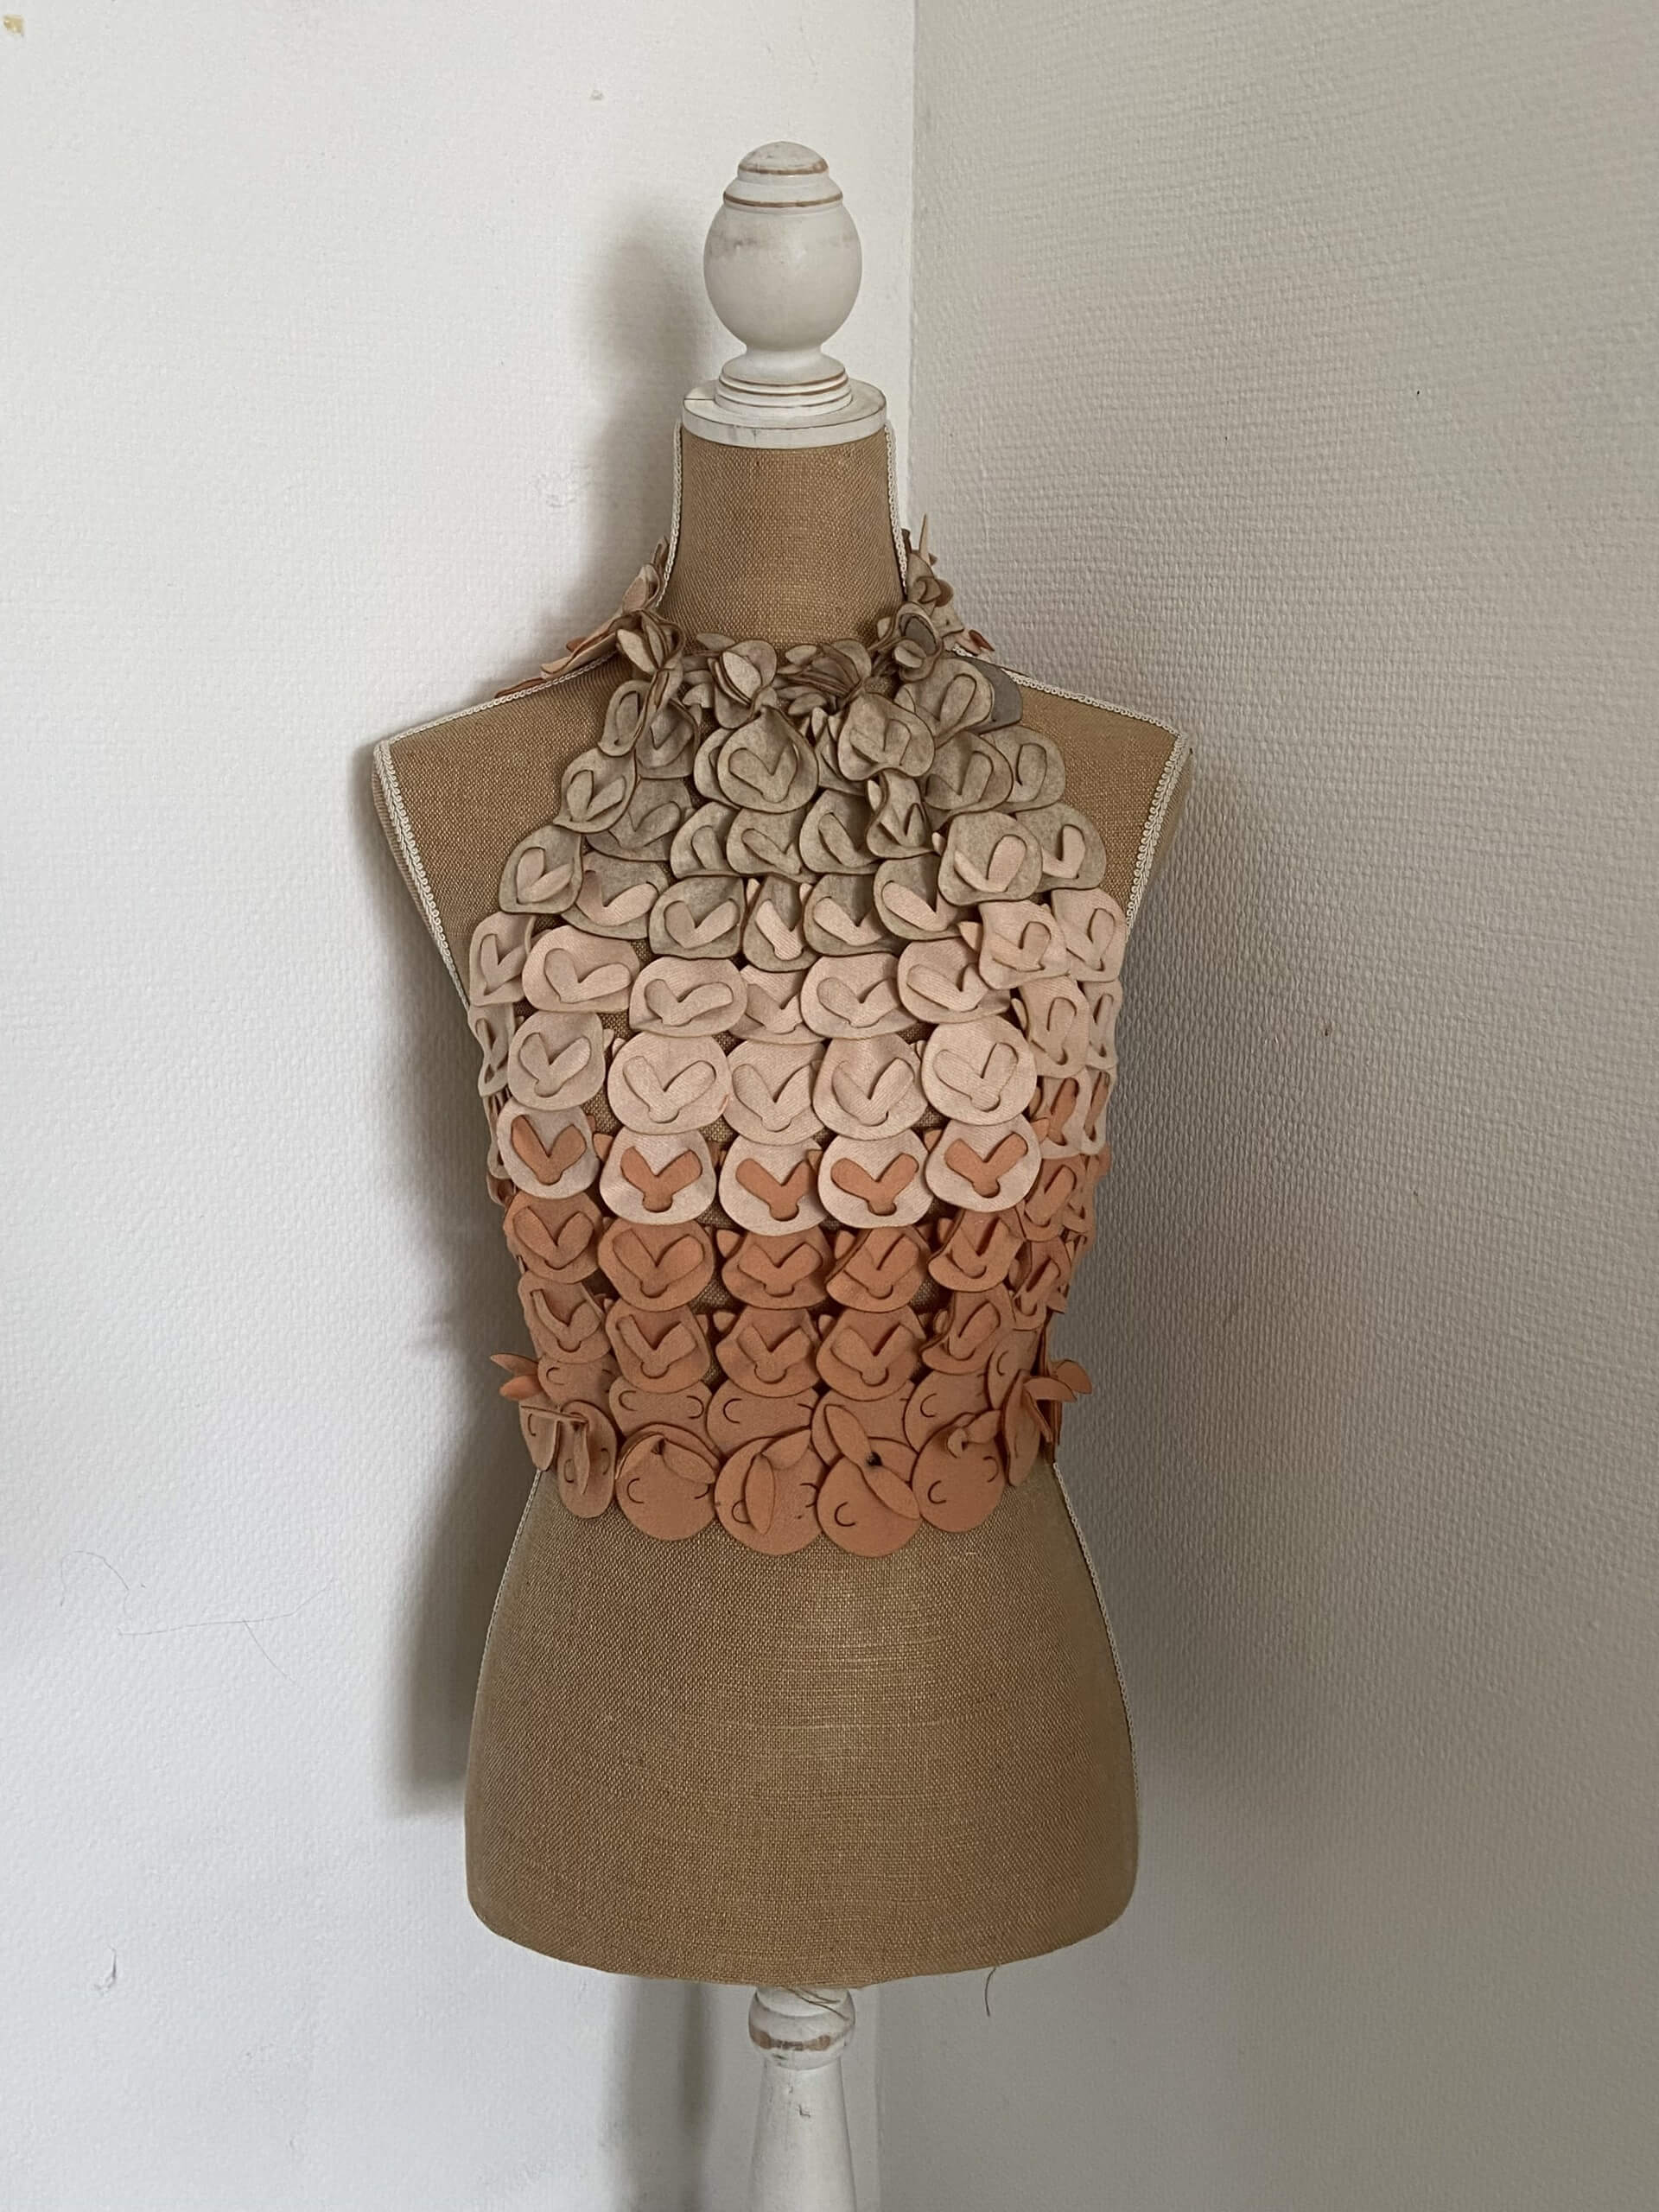
I wanted to make a top out of it with an open back and attached around the neck and the waist.
I first made a trial with a garland of 10 fishes to calculate how much fishes I would need to lasercut.
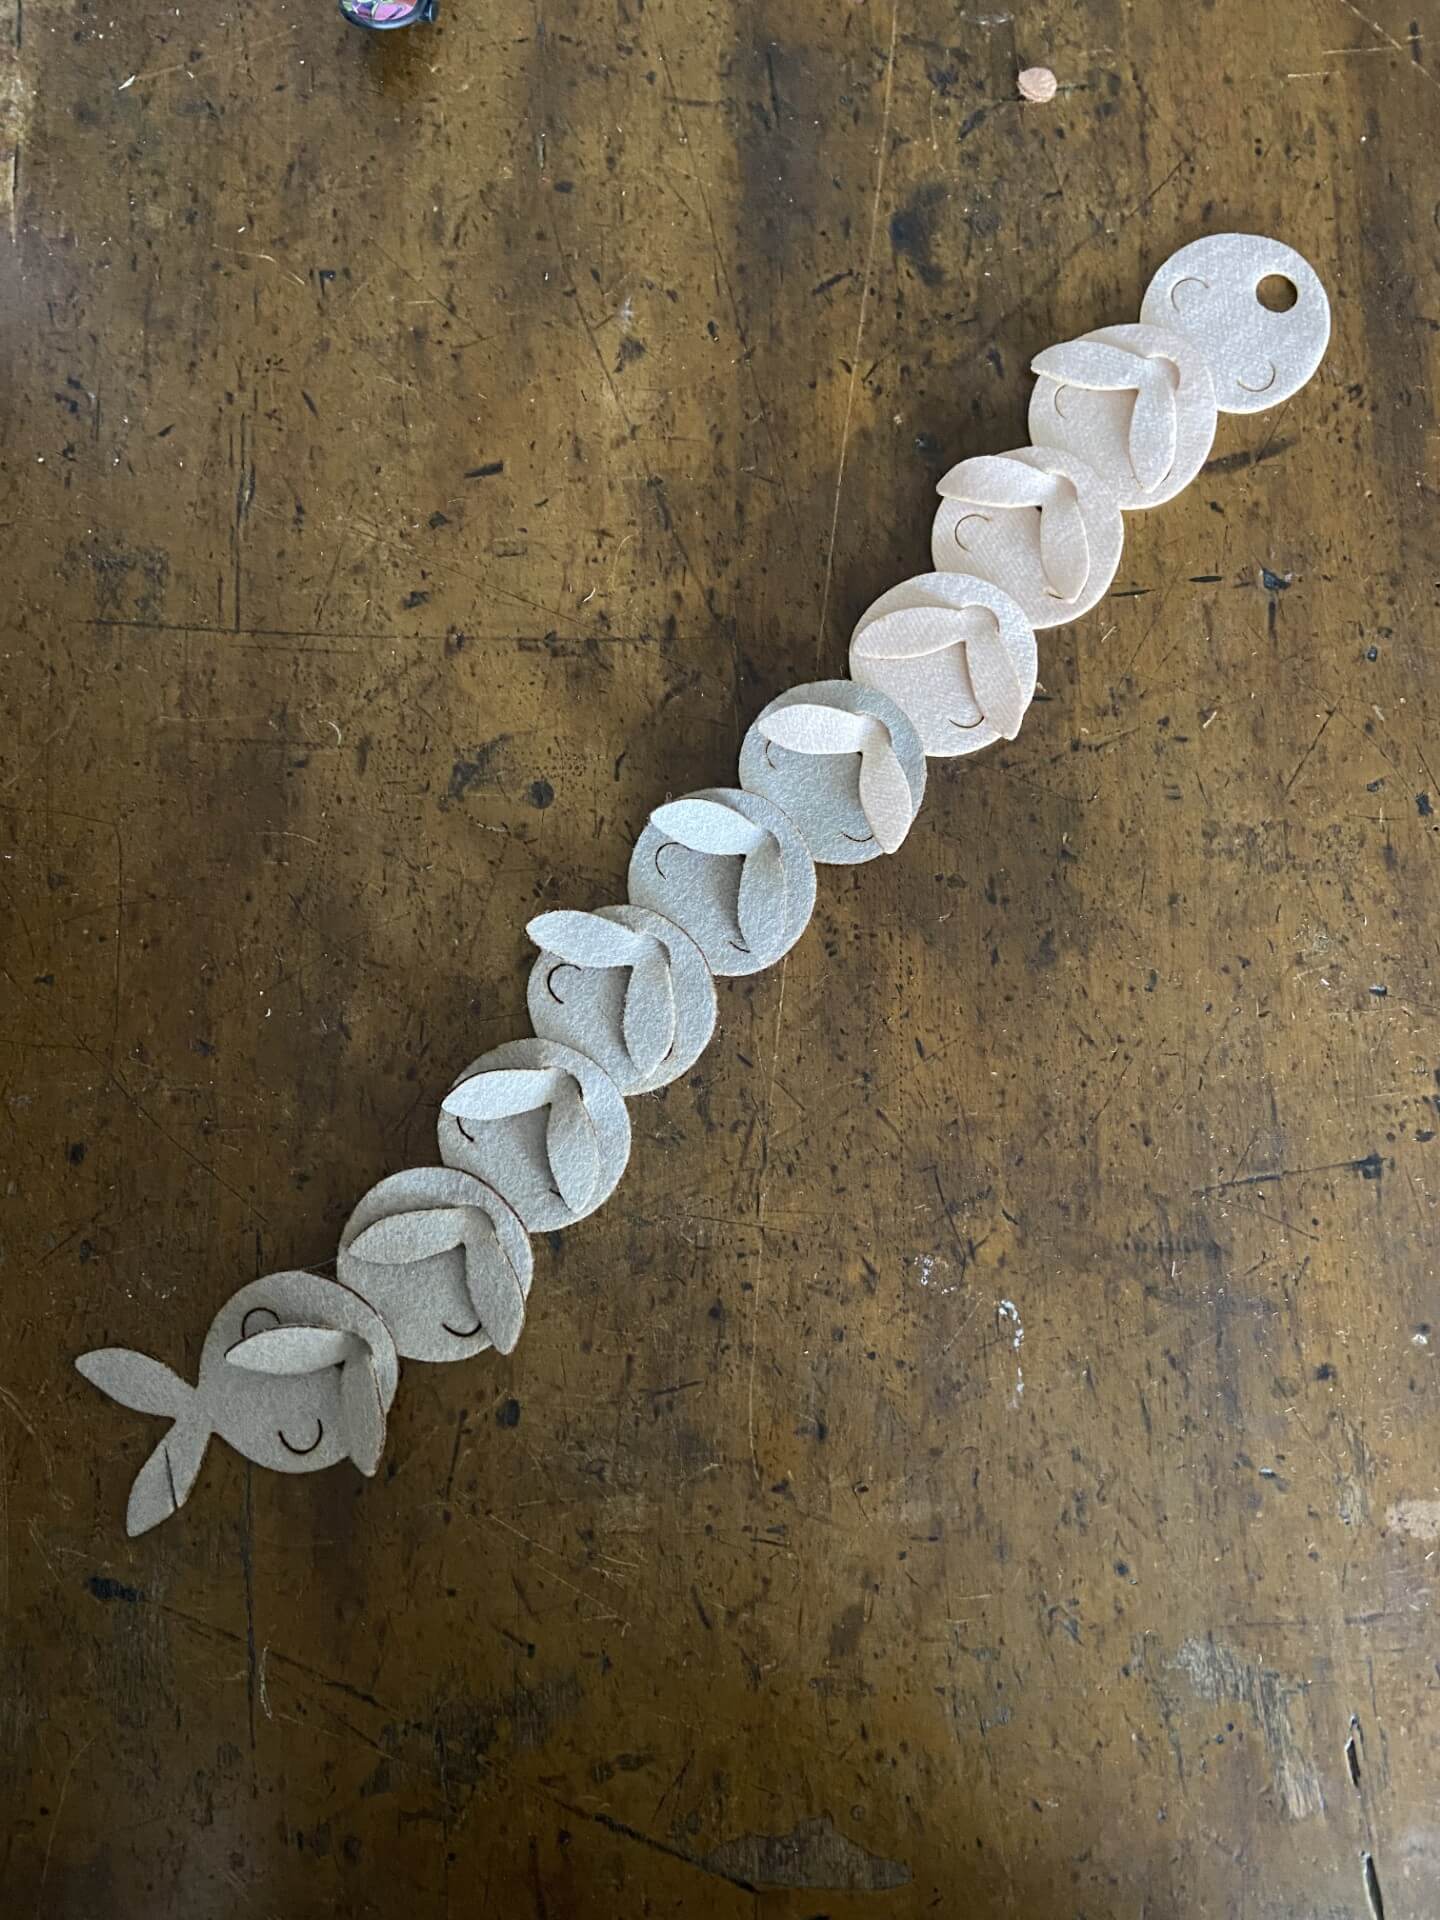
With this garland I could also make the collar on which the top will be attached.
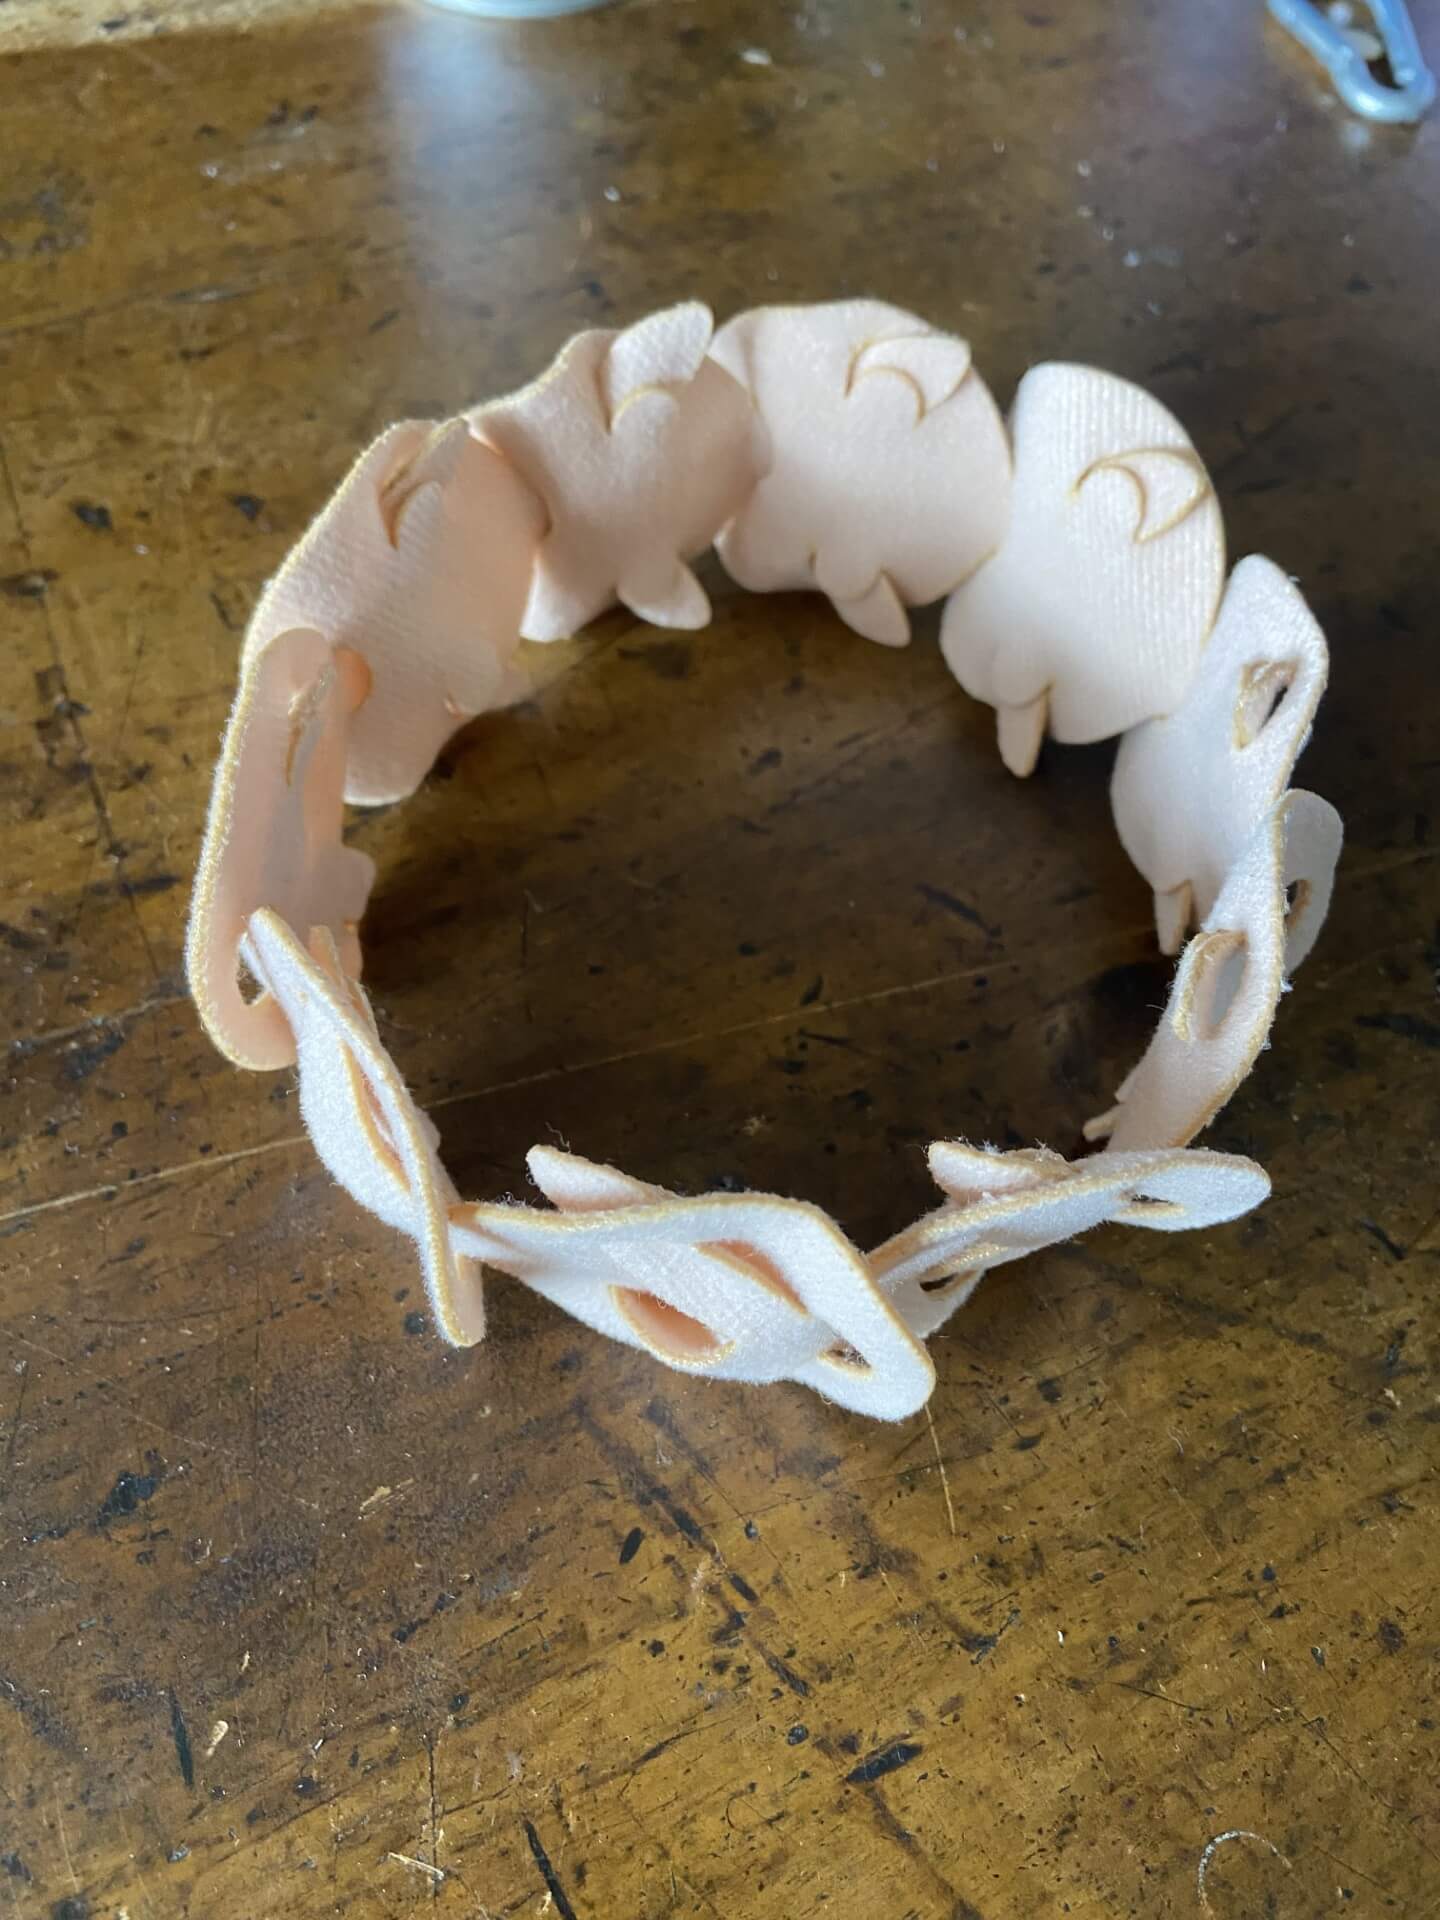
I needed eight garlands to cover vertically the frontside of the upperhalf of the body, one garland for the neckcollar and four times a garland to make the waistband. So this was in totally 130 pieces of little fishes.
Finally I lasercutted 150 pieces to be certain to have enough of them.
I assembled the pieces. First the neckcollar and the eight garlands. I attached the garlands to the neckcollar.
Then I made the waistband and I attached the eight garlands to he waistband.
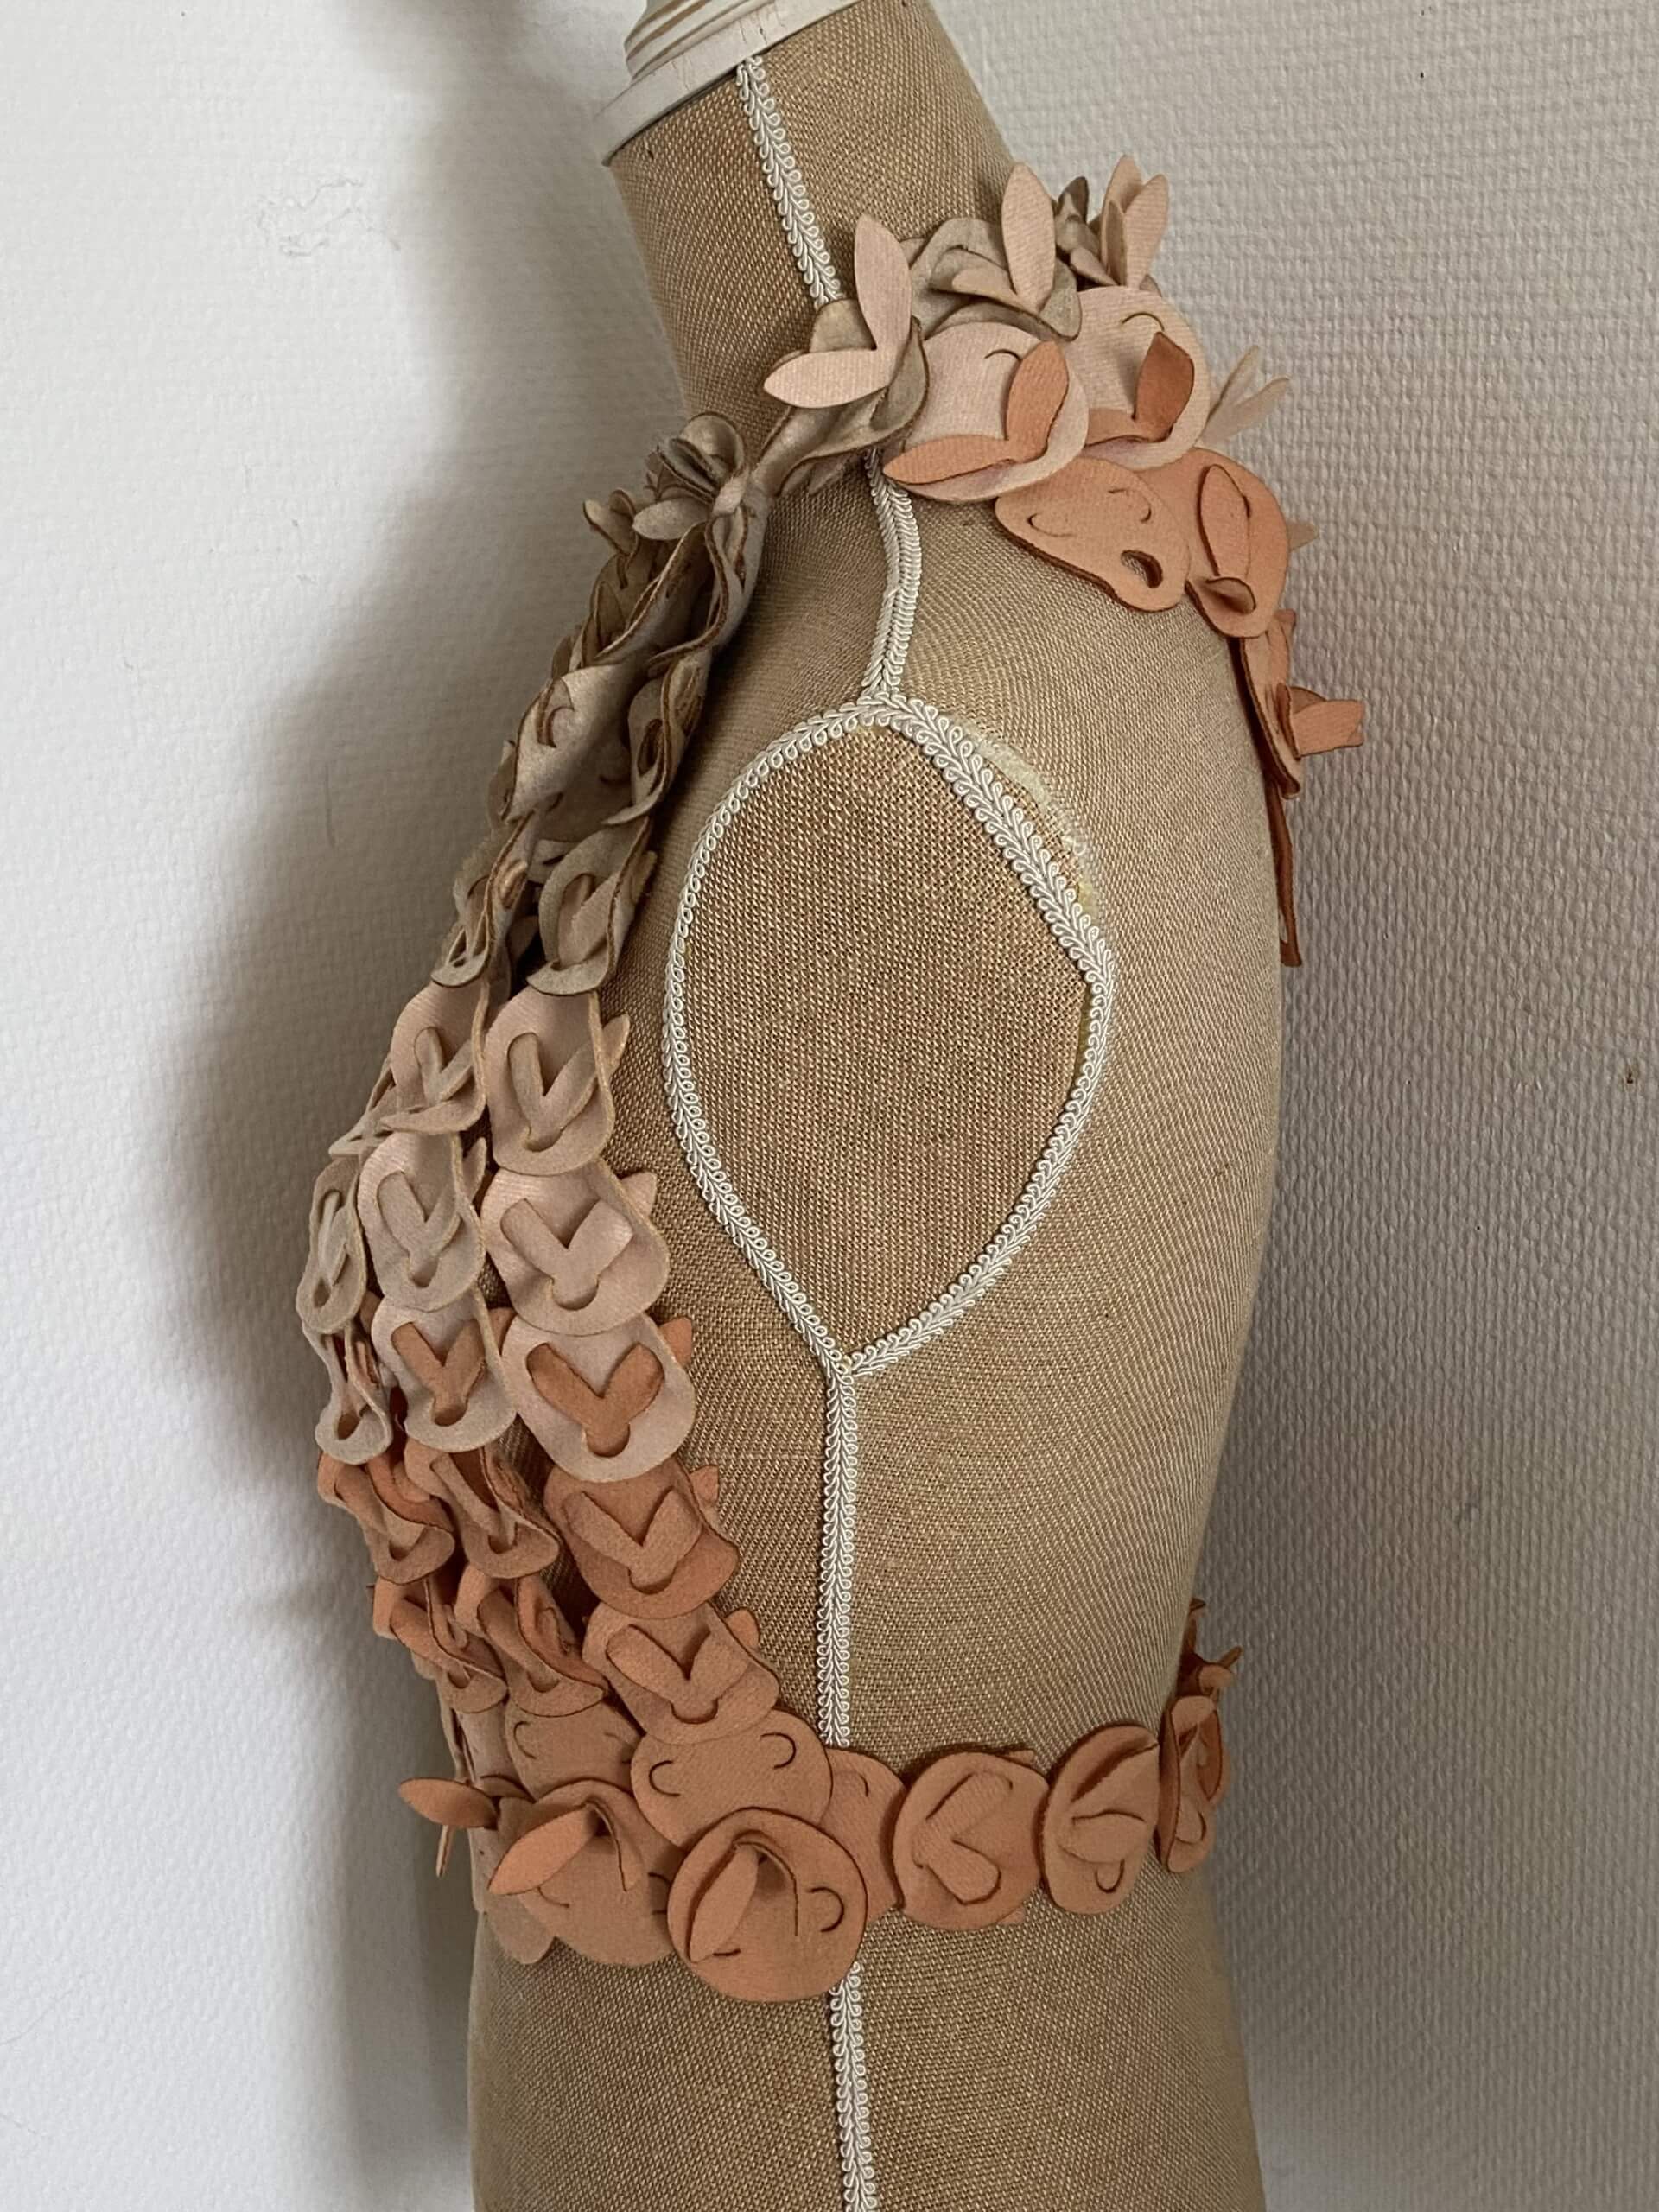
This is the result of the frontside:

With the leftover of the fishpieces I could make a kind of ornament for the backside, attached to the collar:
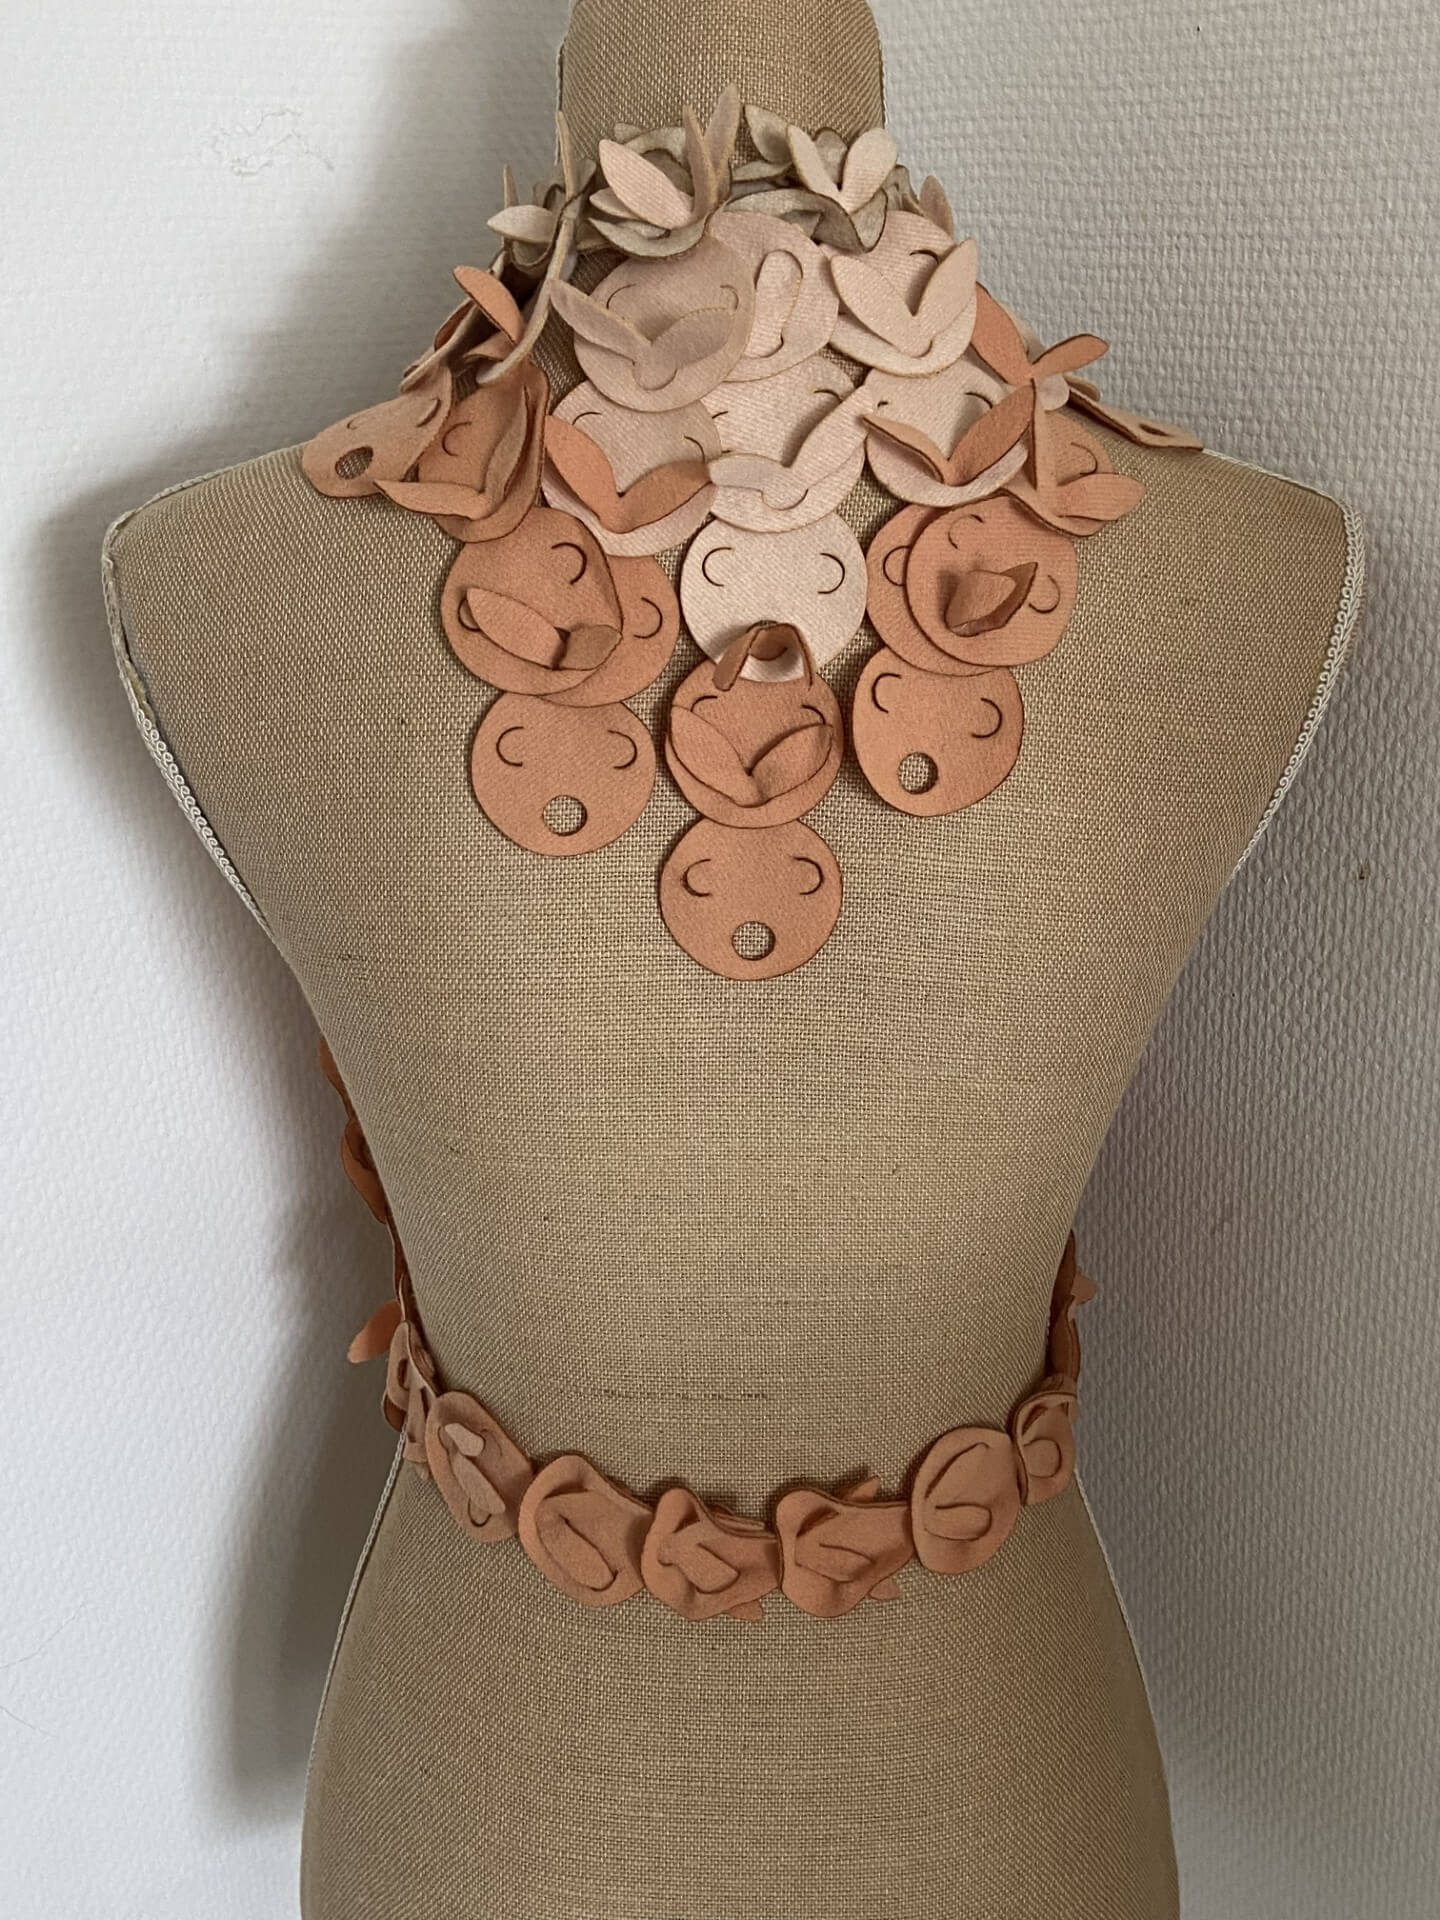
Here you can see how it looks from the side: