10. Open Source Hardware - From Fibers to Fabric
References & Inspiration
Visiting the TEXTILEMUSEUM in Utrecht in 2022 left a deep impression on me.
I was then already fascinated by the different circular knittingmachines they have overthere.
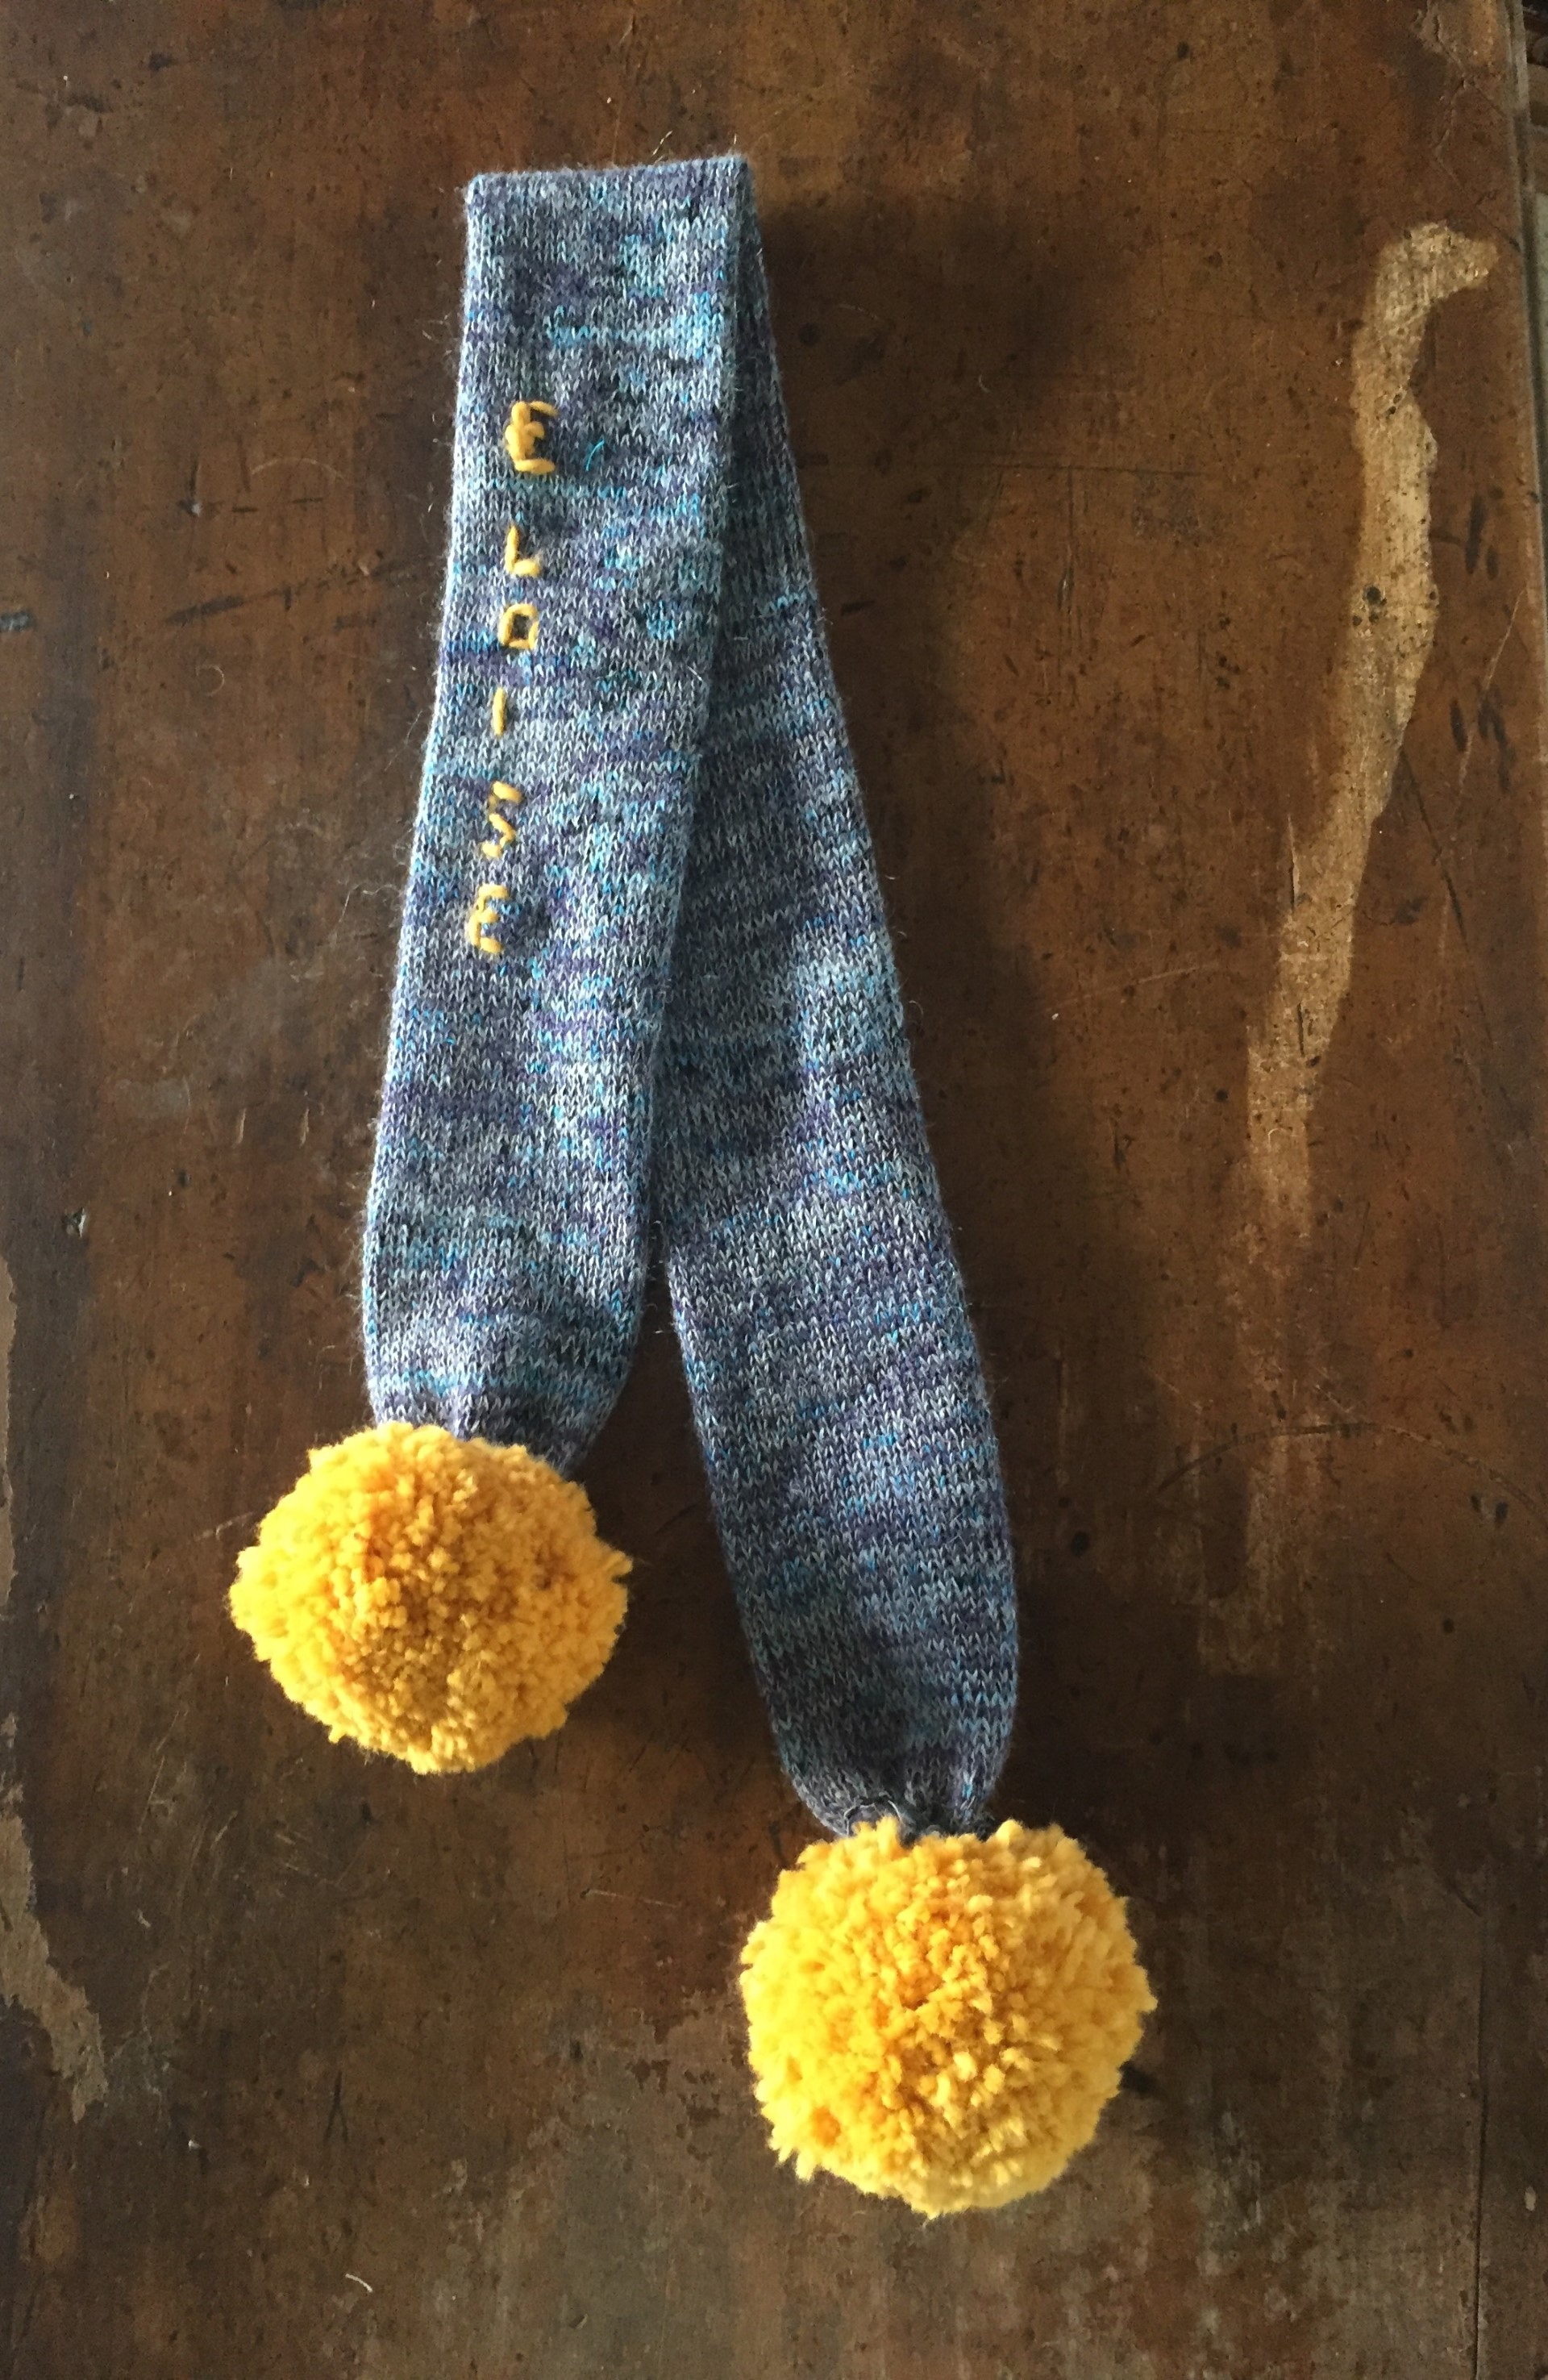
- manual CSM
My children were allowed to work a little bit on the manual CSM of the Textilemuseum and they received each a piece of the knitted tube.
Back home we made a scarf of it.
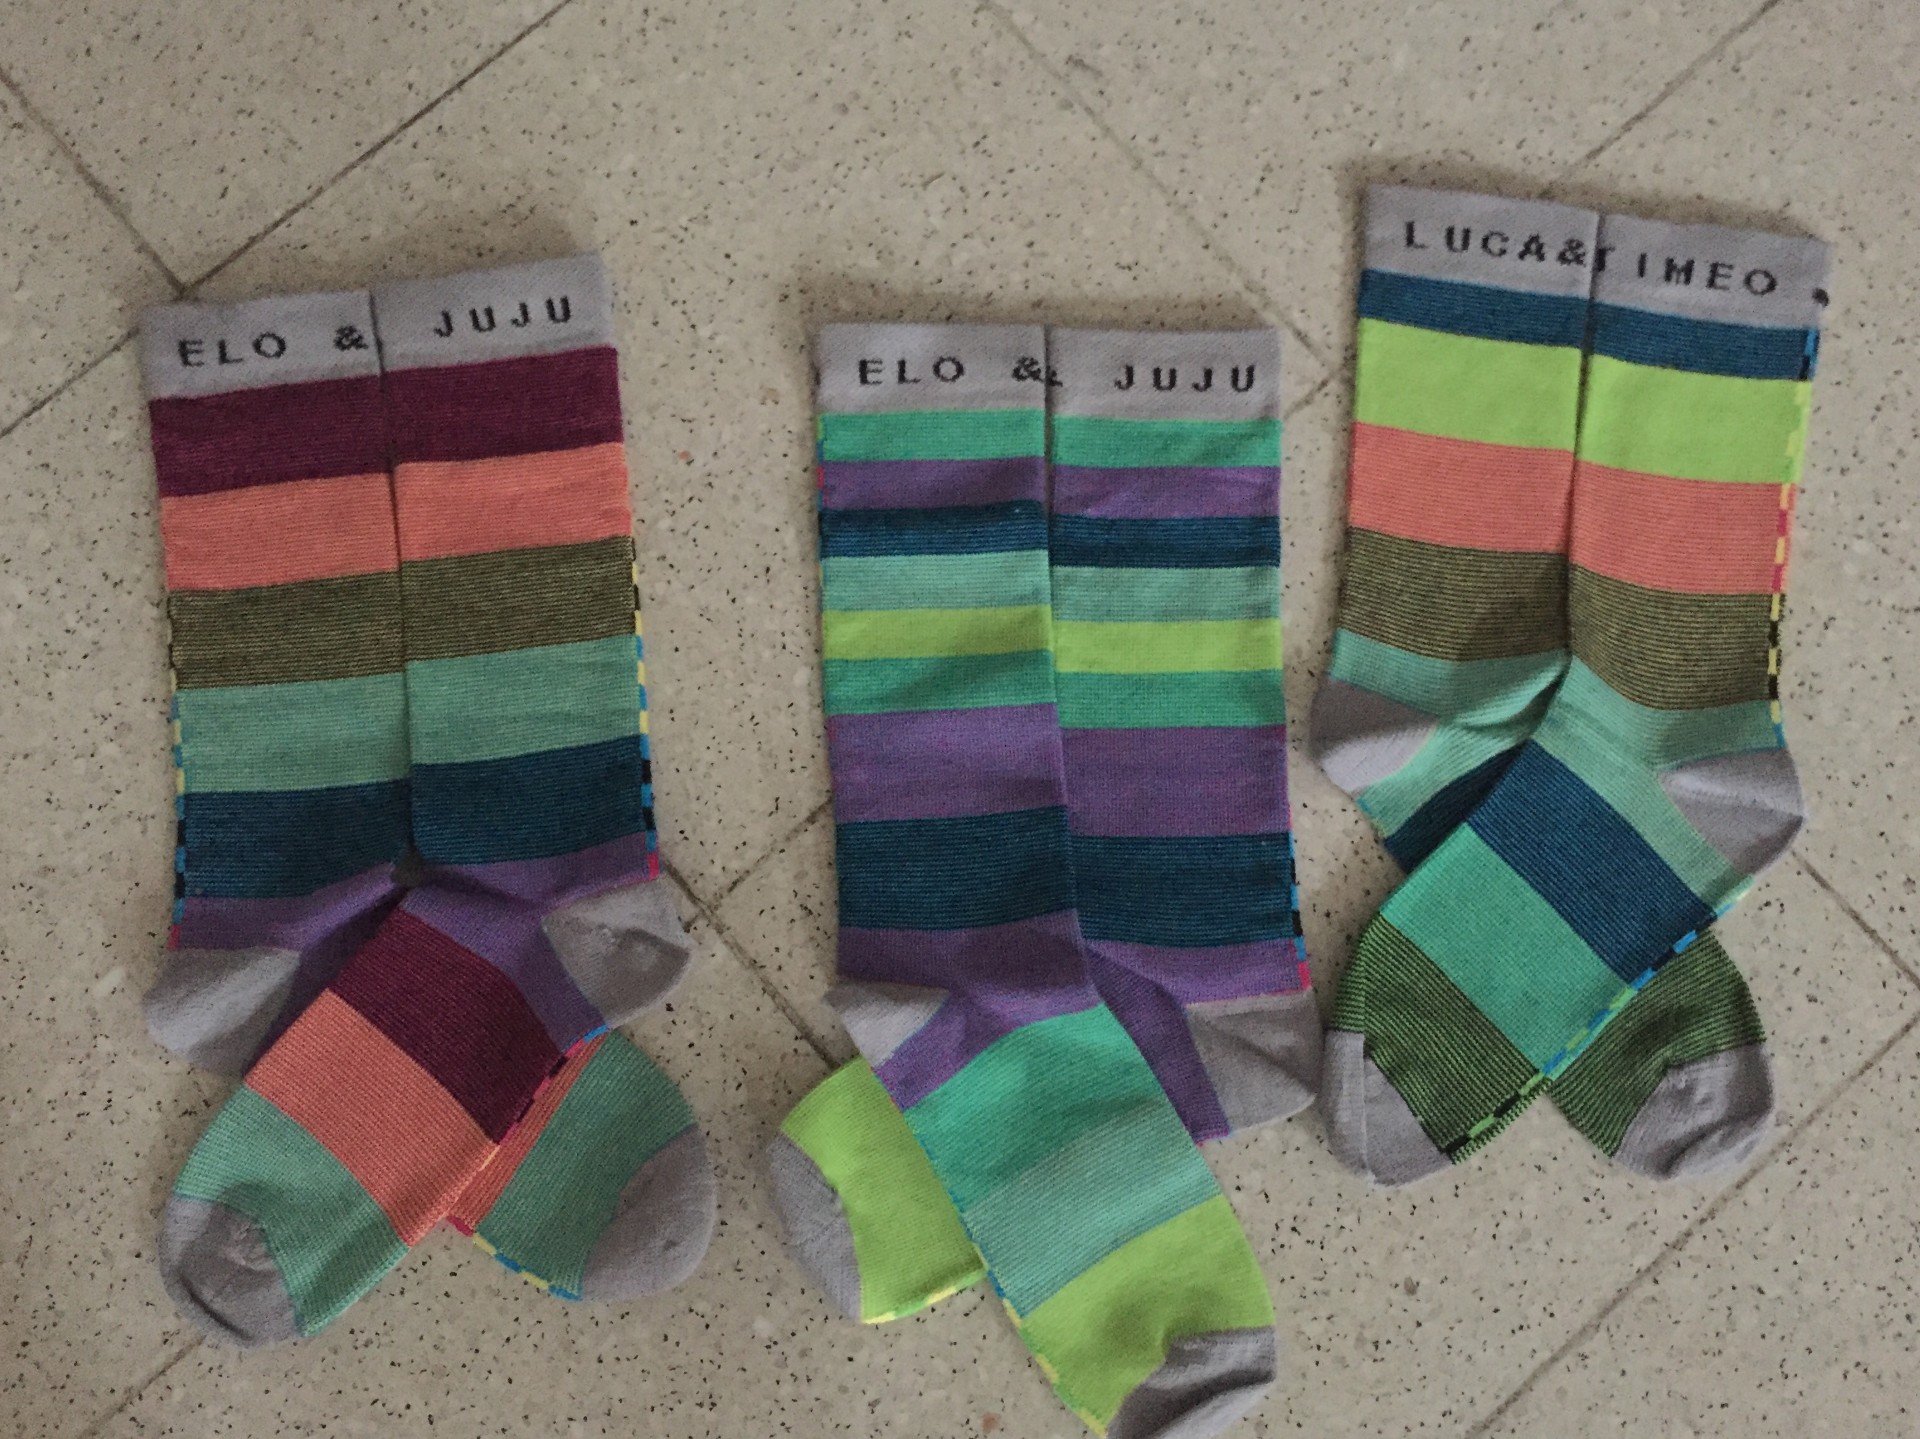
- digital CSM
The Textilemuseum also has a hightech circular knittingmachine.
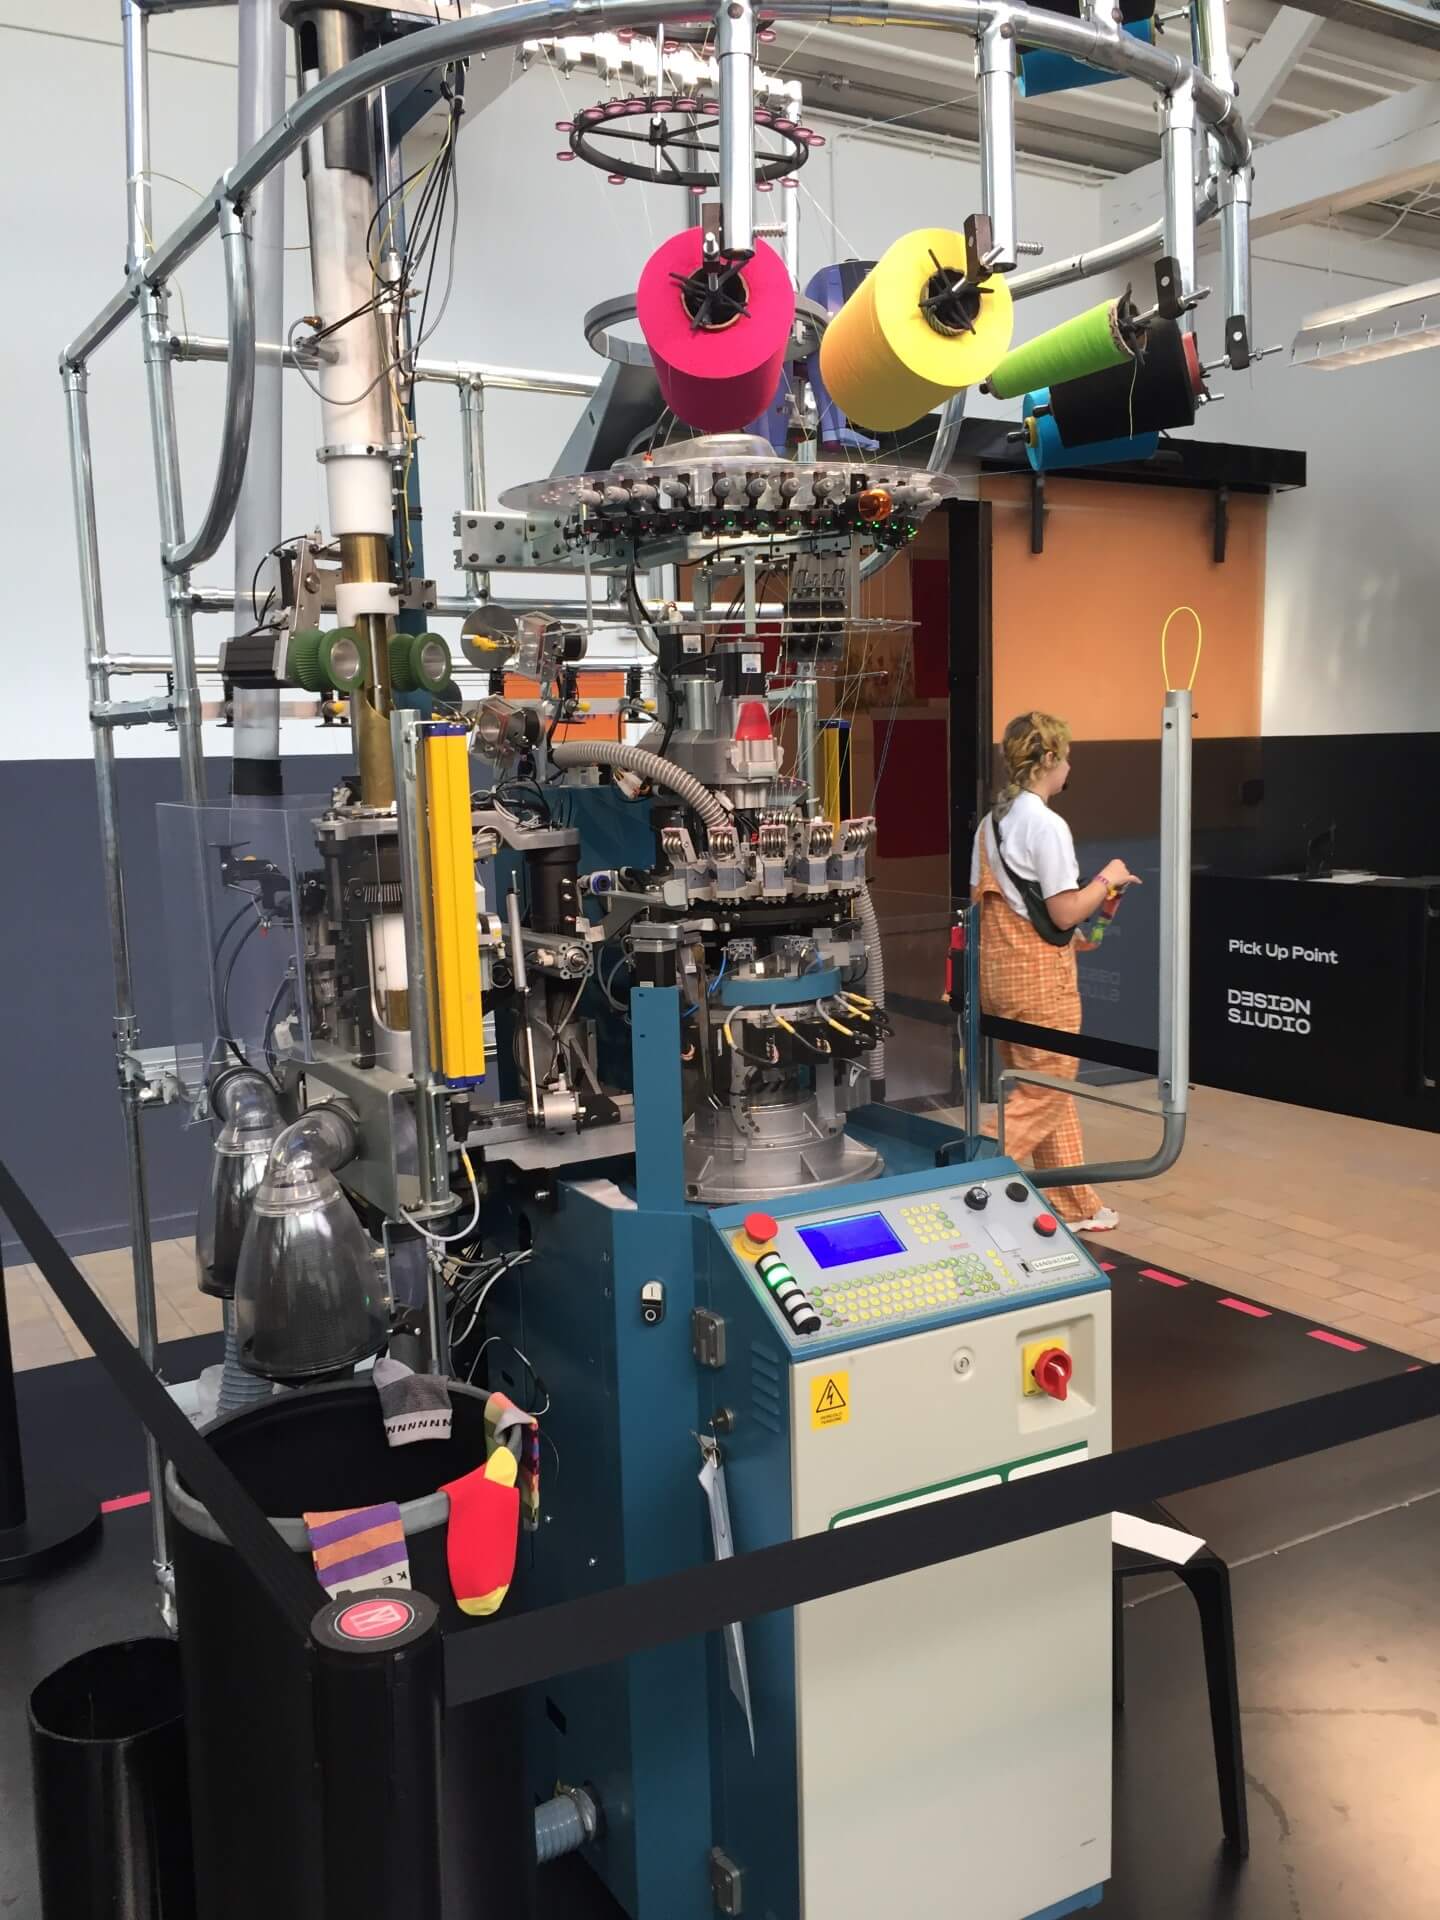
We had the opportunity to design some nice socks that were instant knitted on the machine.
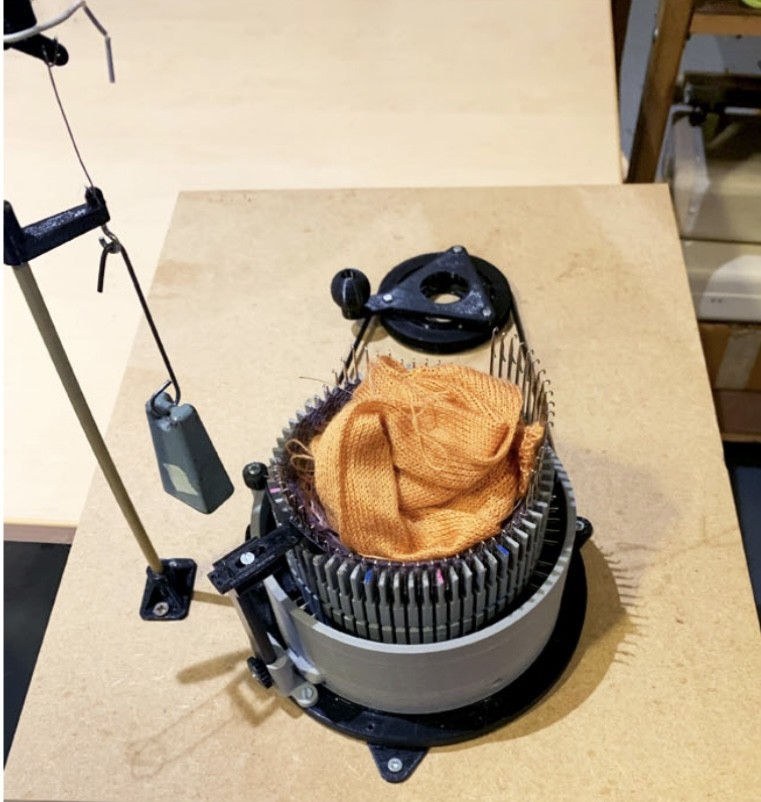
Greenfabric's opensource circular knitting machine
Because a circulat knitting machine would be a useful machine to have at Greenfabric, we (Stephanie, Charlotte and I) decided to fabricate one as our opensource hardware project. We used this tutorial from Thingiverse to upload the different files in STL format.
Process
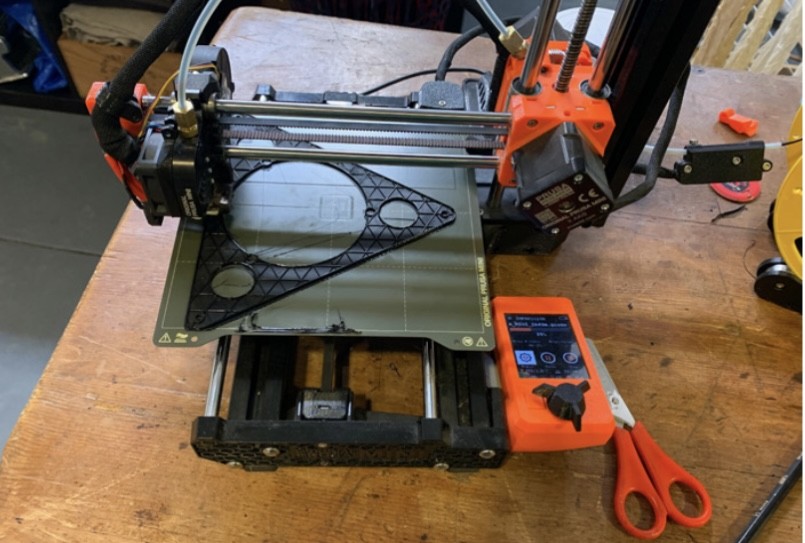
Step 1: 3D printing
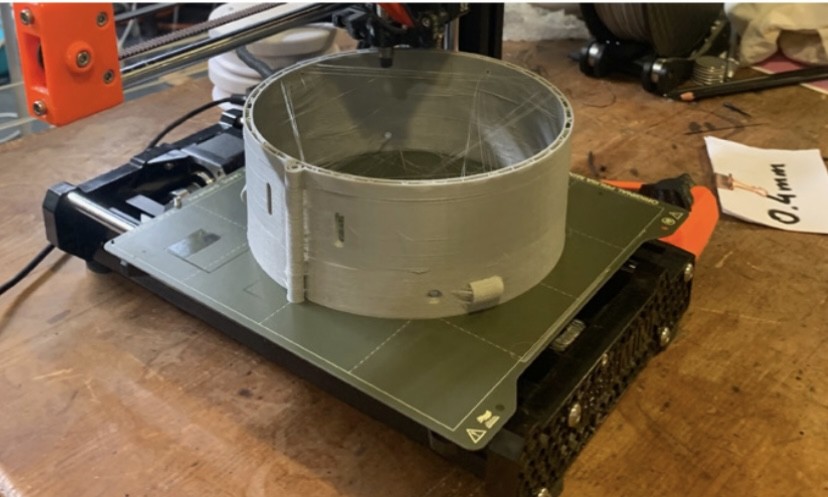
We started the 3D printing in advance because e.g. the biggest part needed like 13hours to print it. We used the PRUSA printer to print the different parts. We imported the files into the PrusaSlicer software.
We used the Fused Deposition Modeling printing process. Because this is a quite timeconsuming process we changed some printing parameters, such as increasing the printed layer thickness from 0,1 to 0,2 and 0,3 and by reducing density of internal meshes inside our parts.
We printed with a 0,4mm nozzle and a standard PLA filament.
We had to buy some additional parts like piano wire, screws, hooks, metal balls, weight and a spring.
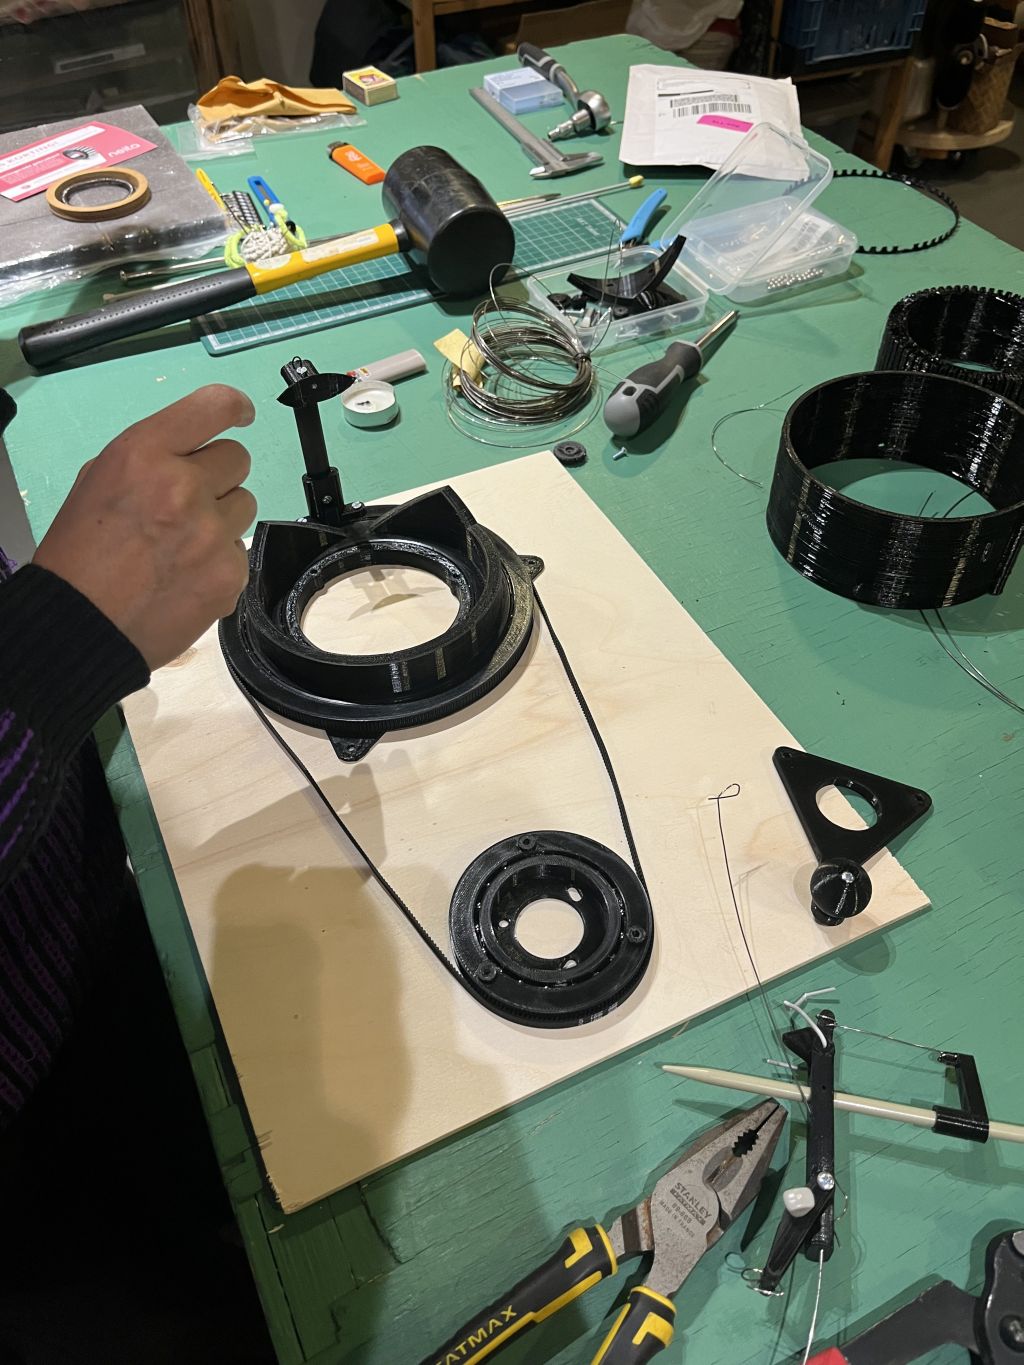
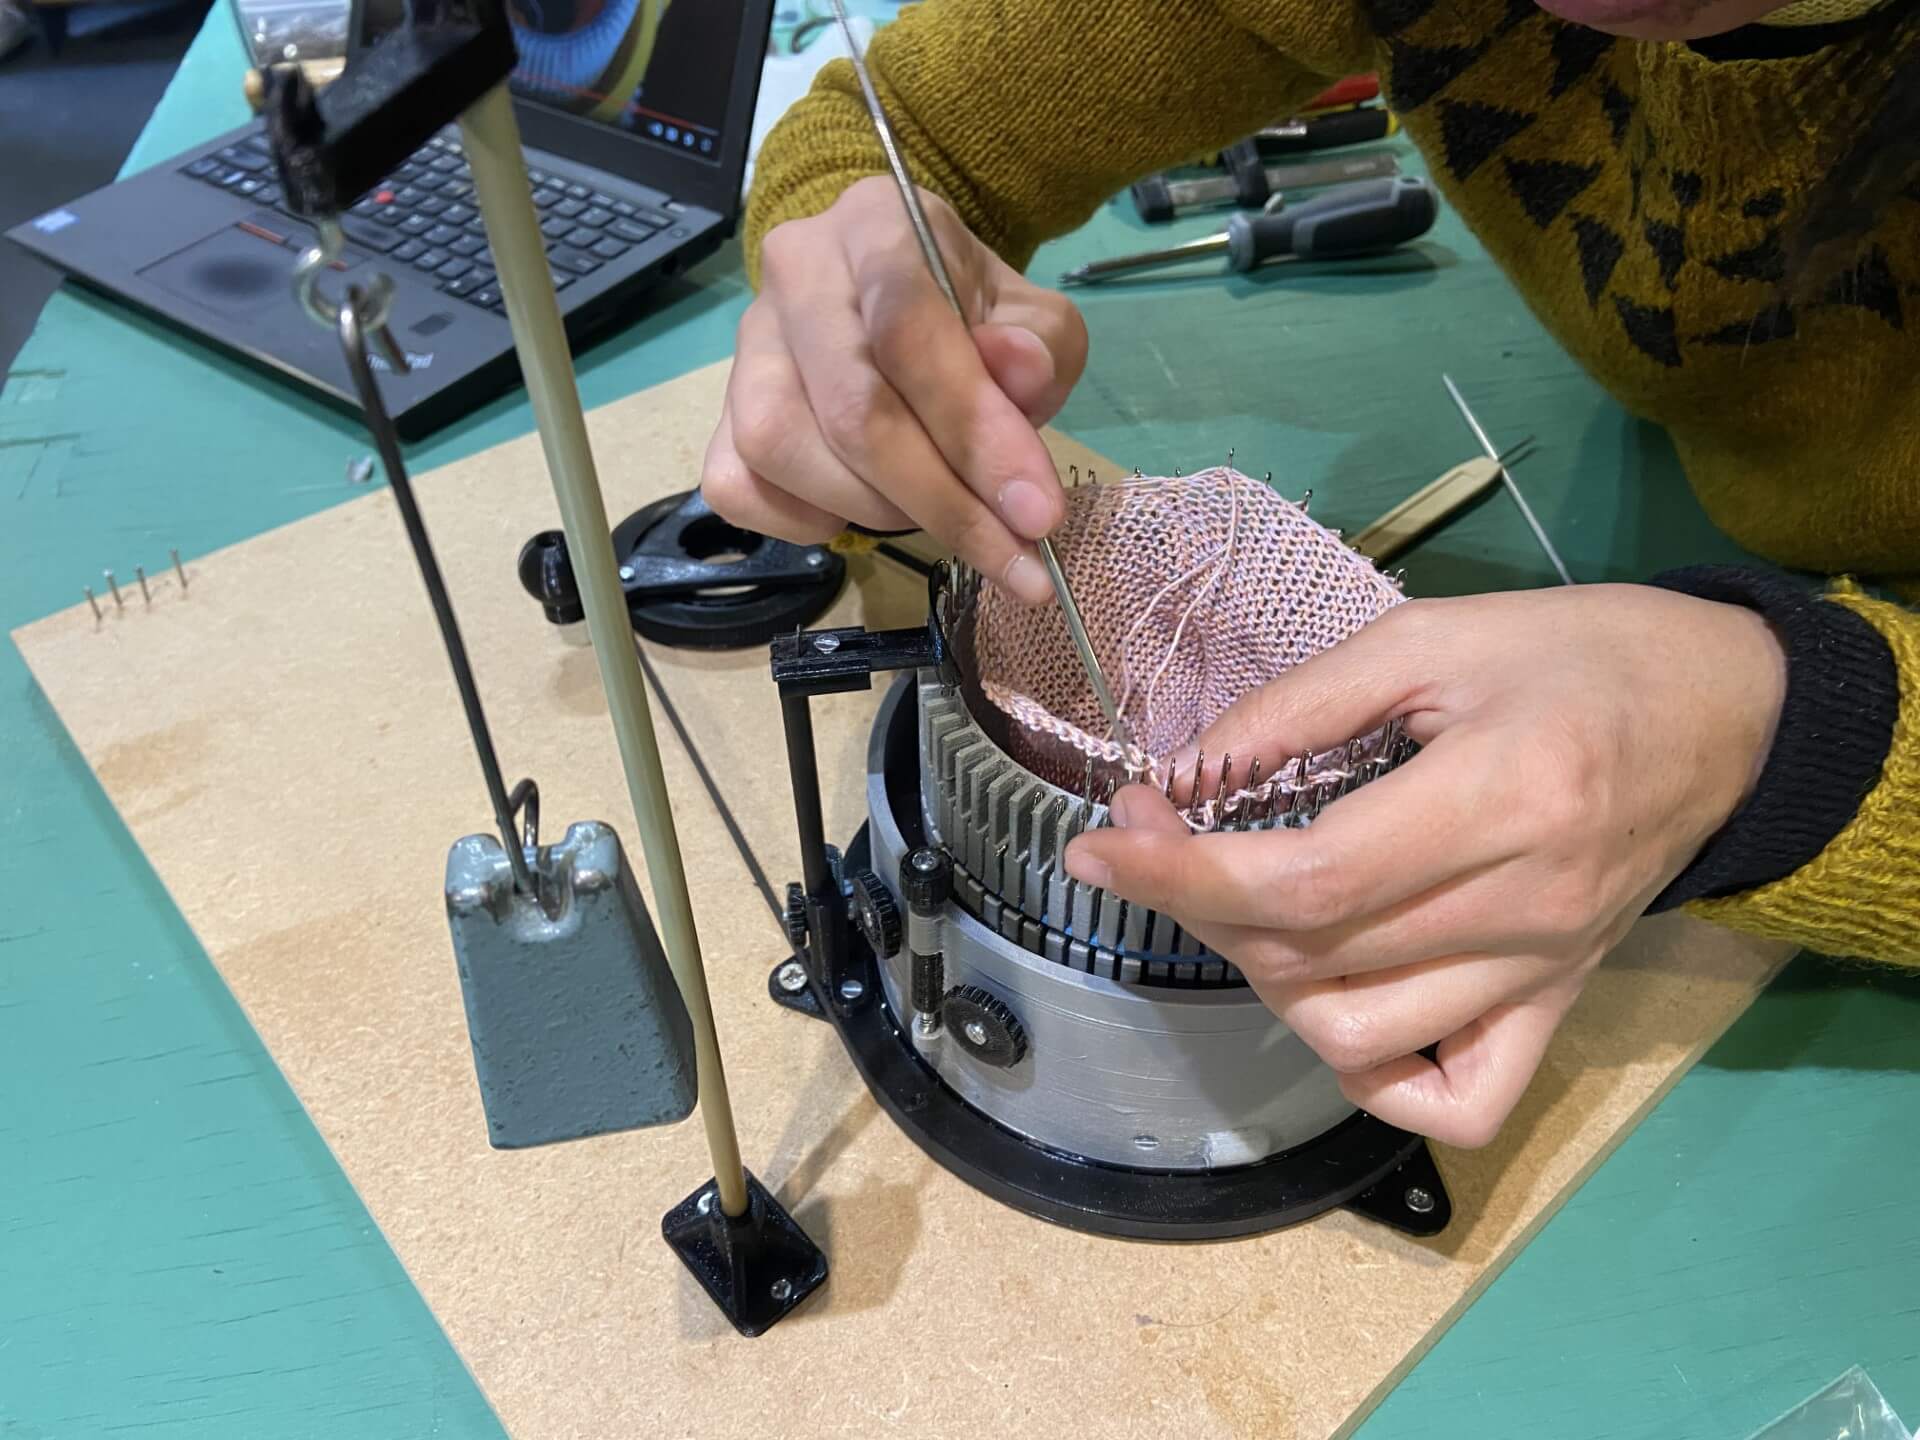
Step 2: Assembly
I helped Stephanie with assembling the parts. We followed the instructions of the tutorial but a lot of explanations where missing.
The metal balls were integrated into the printing parts.

The assembled parts where fixed on a wooden plate with a thickness of 1,5 cm.
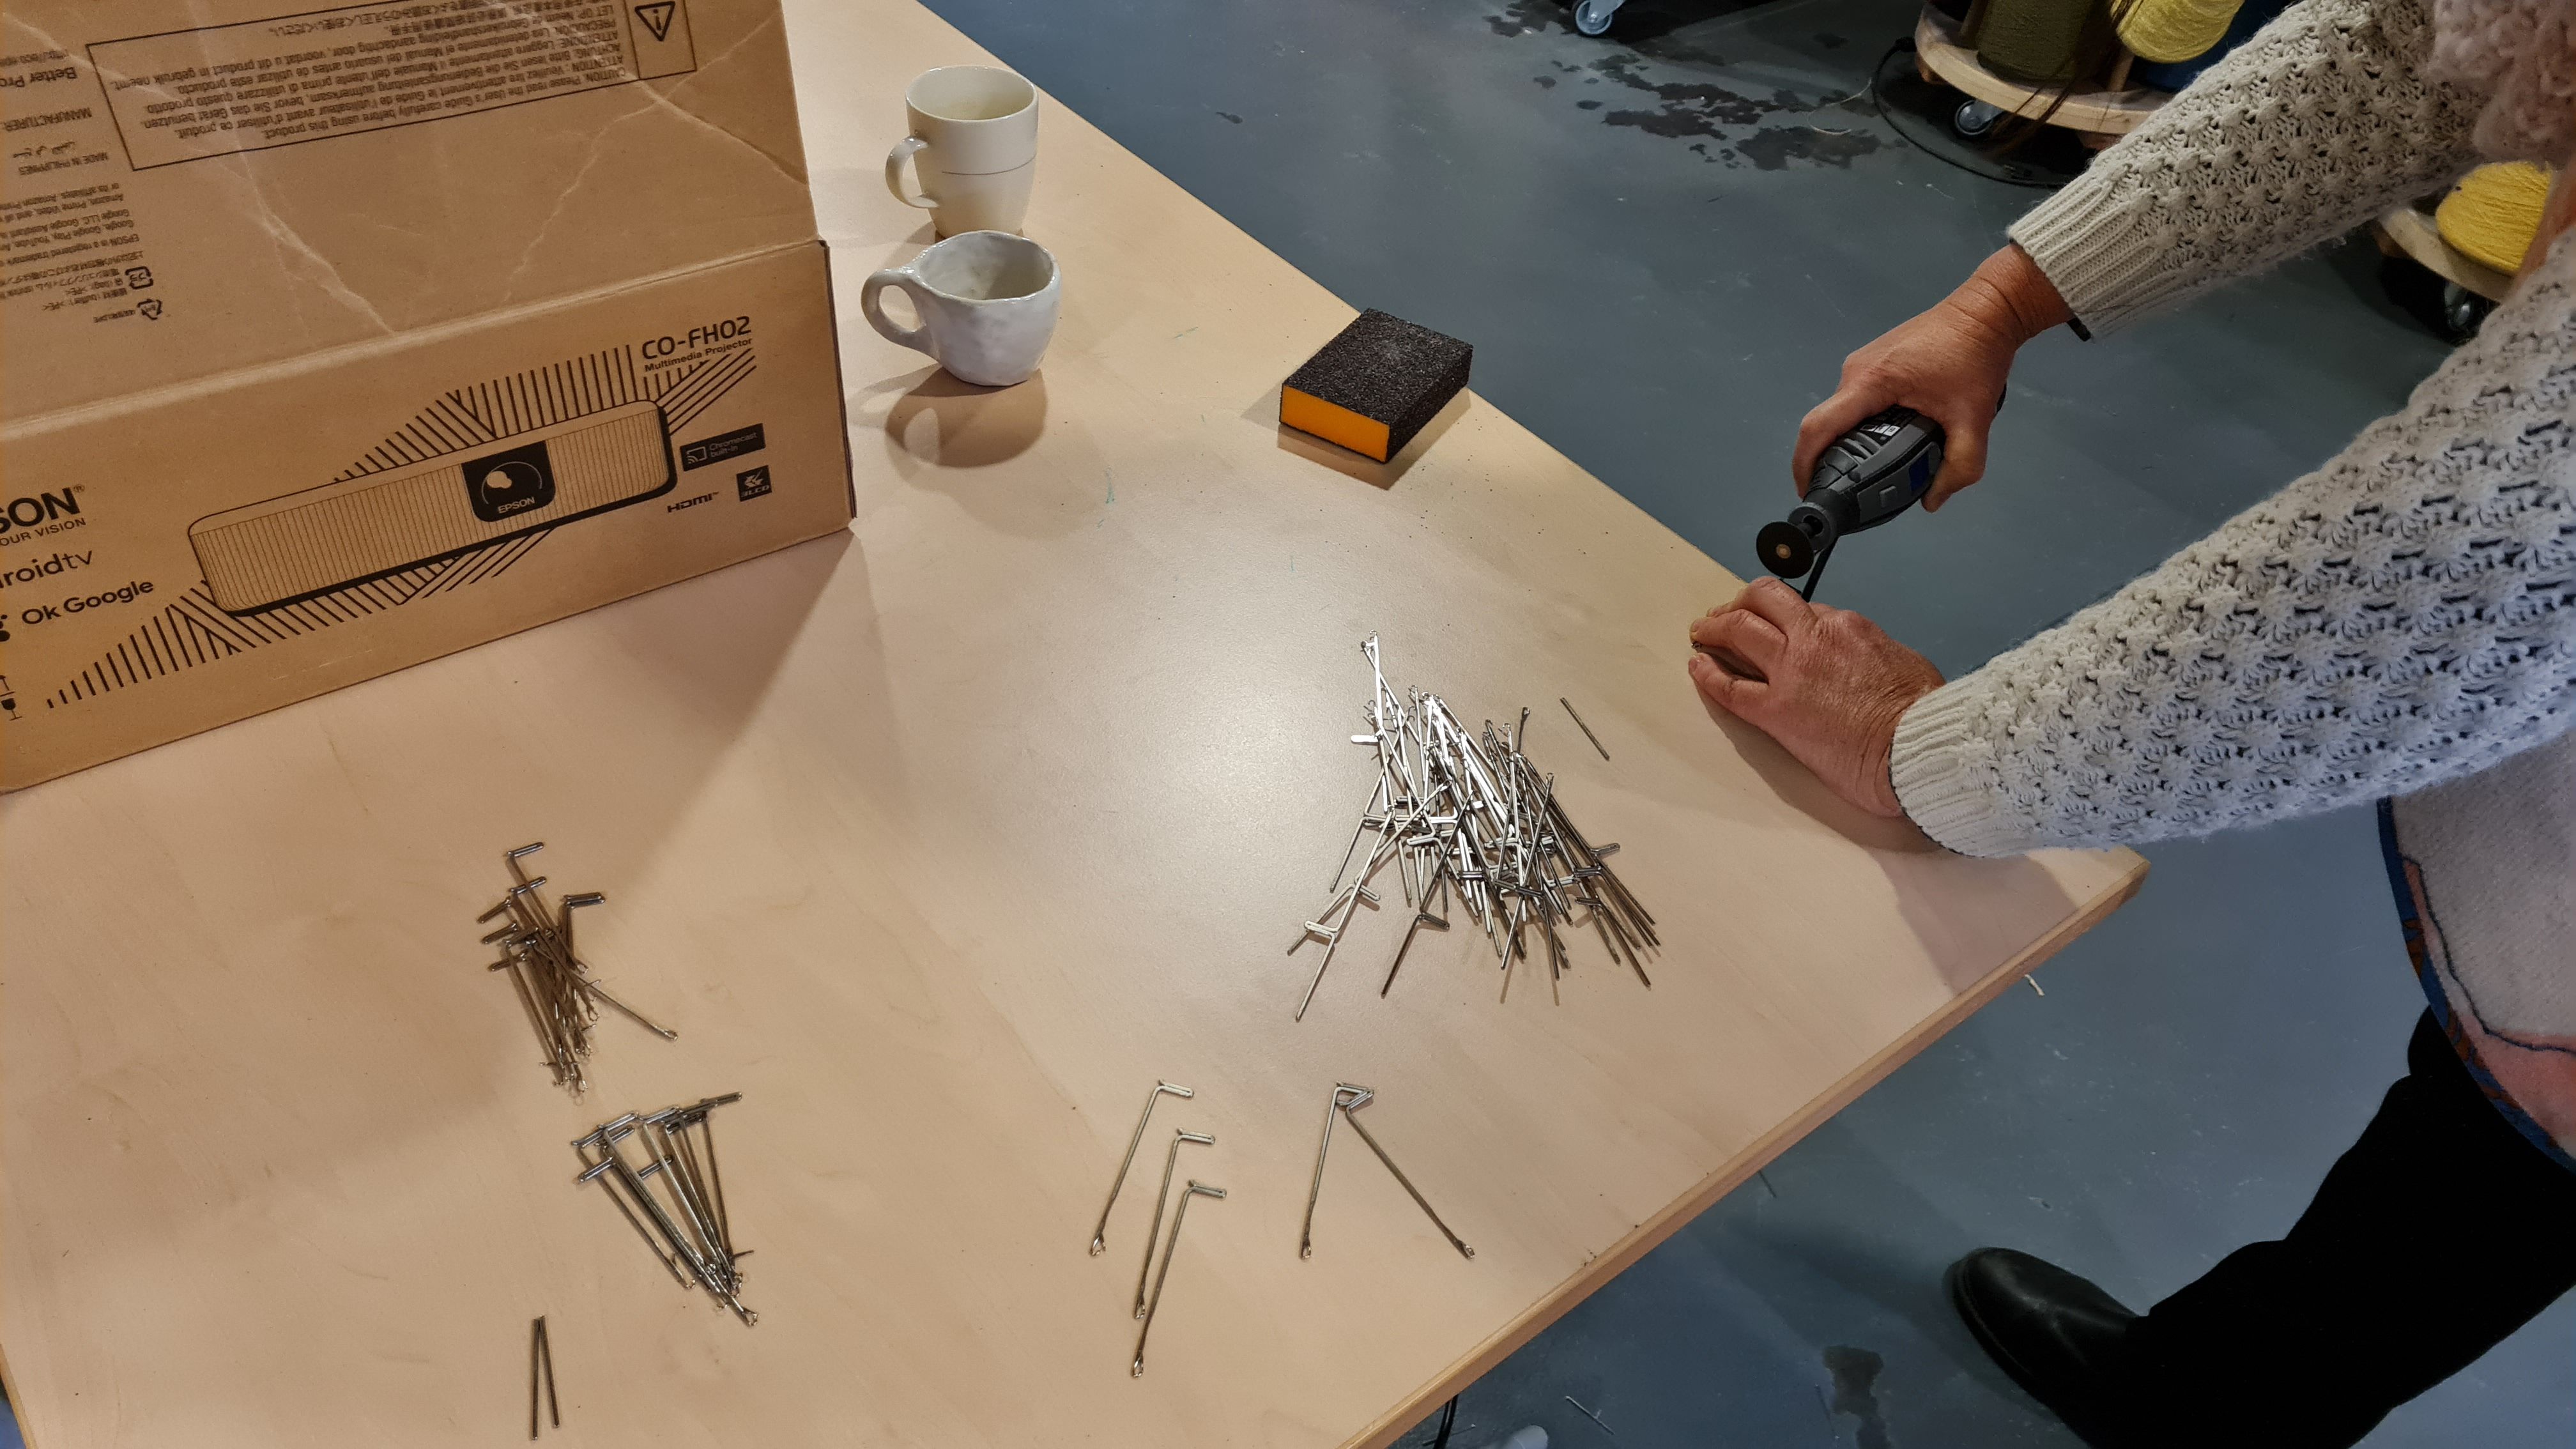
We had to shorten the knitting needles by sawing off a few centimeters.
A hole was drilled in the wooden plate so that the sock, while being knitted, would fall into it.
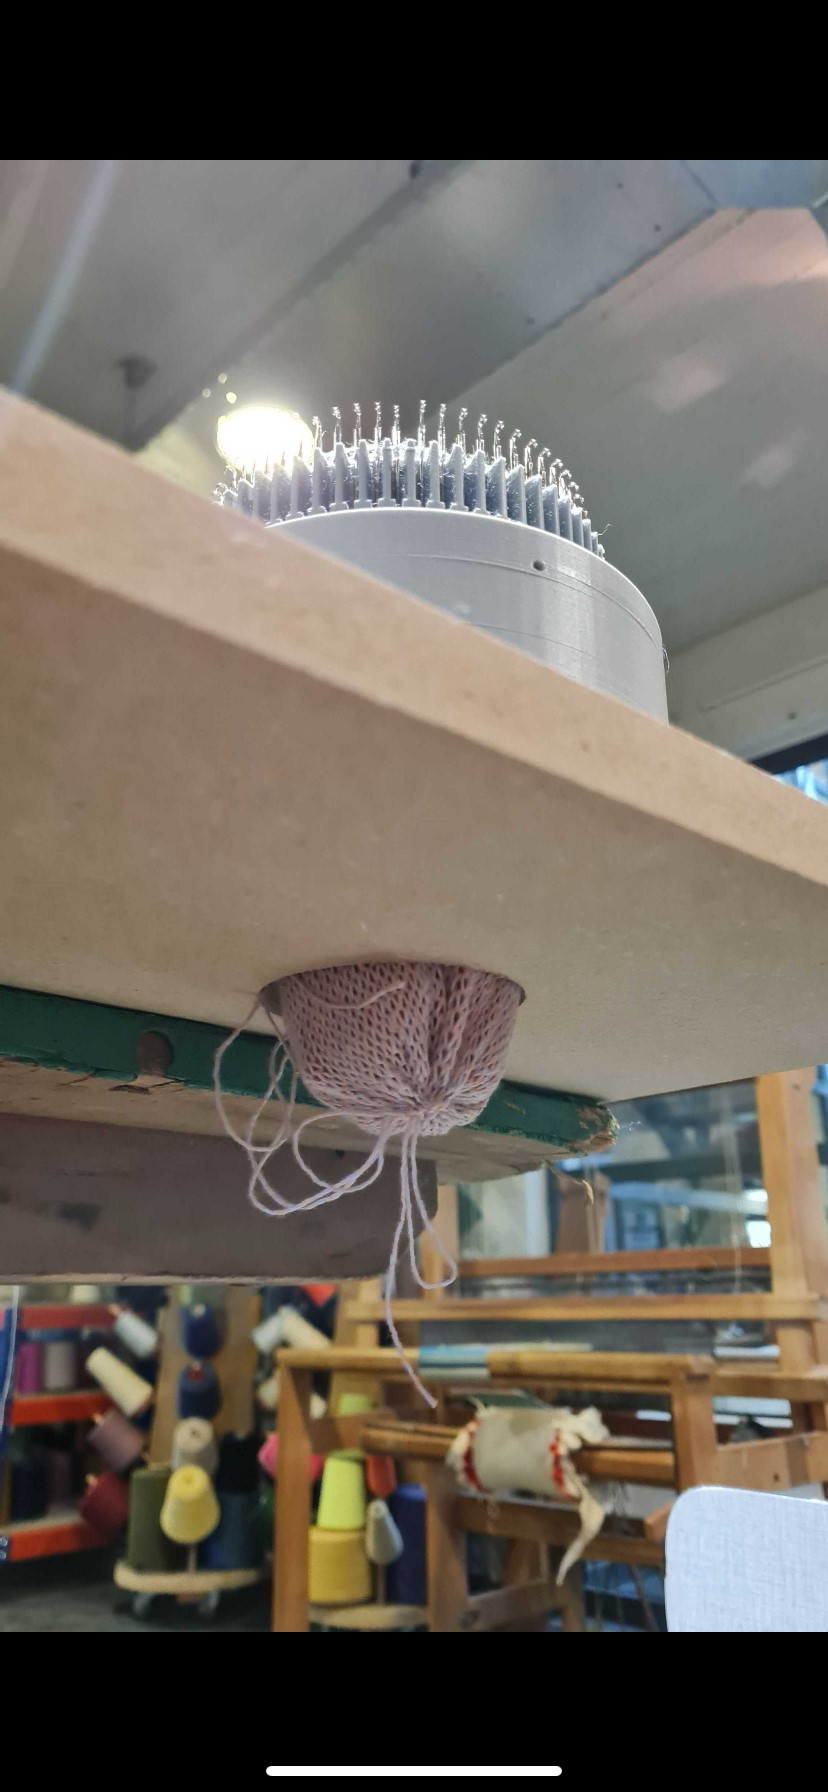
Step 3: Testing
We first knitted the beginning of the sock on a regular knitting machine. Then we had to integrate this piece of sock on our circular knitting machine.
While testing, a fragile printed part (the one who holds the totem) broke down. So Stephanie had to print it again.
Test 1:
Test 2:
Final result
Pleating loom
I had the oppurtunity to follow a workshop with DEWI BRUNET, artist in textile pleating. He designed an opensource pleating loom to make the cardboardmoulds more accessible.
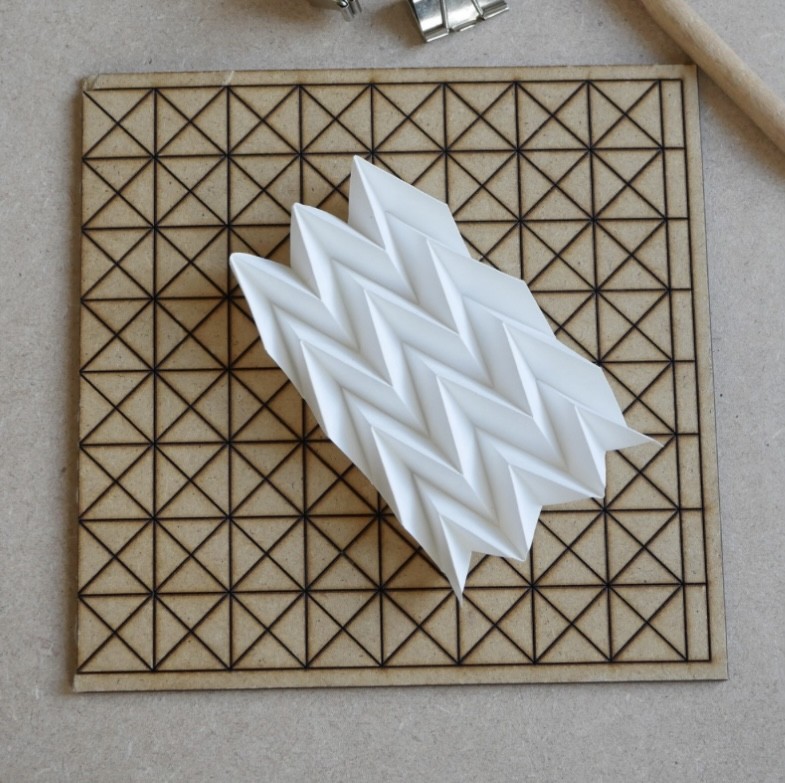
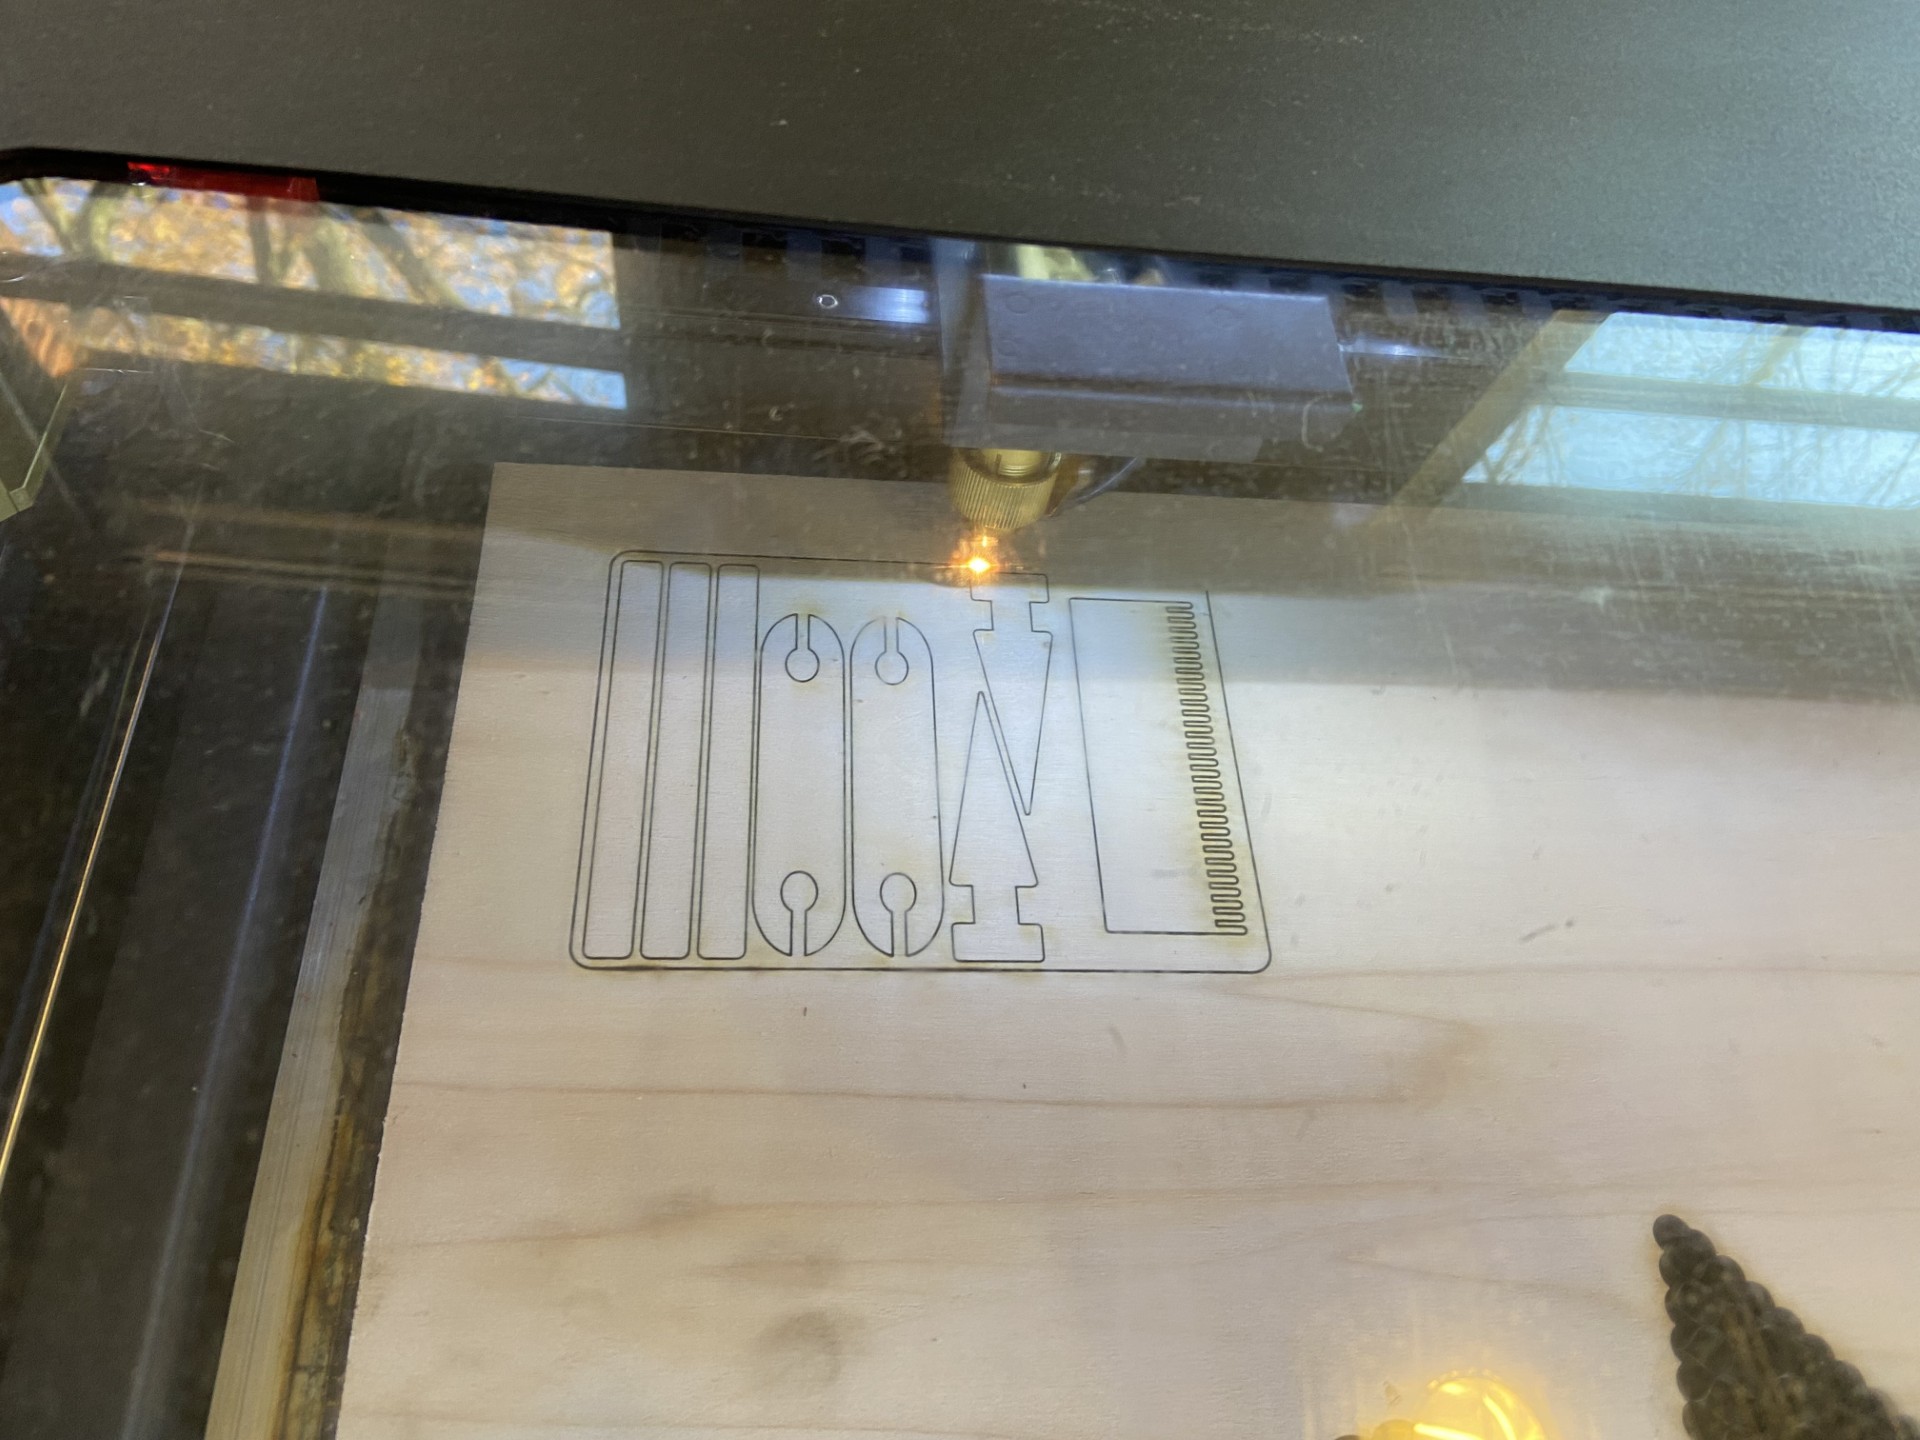
The pleating loom consists of a wooden plate engraved by a laser with a specific pattern. The pleating loom is then used to emboss the pattern on a paper making it easier, faster and more precise to fold complex folds.
Here I found the PDF-file for lasercutting the folding loam; I used the medium one - 26x34 cm.
I engraved on a wooden plate with 4mm thickness with the lasercutter Flux Beambox and I used these laser settings: power at 20 and speed at 150.
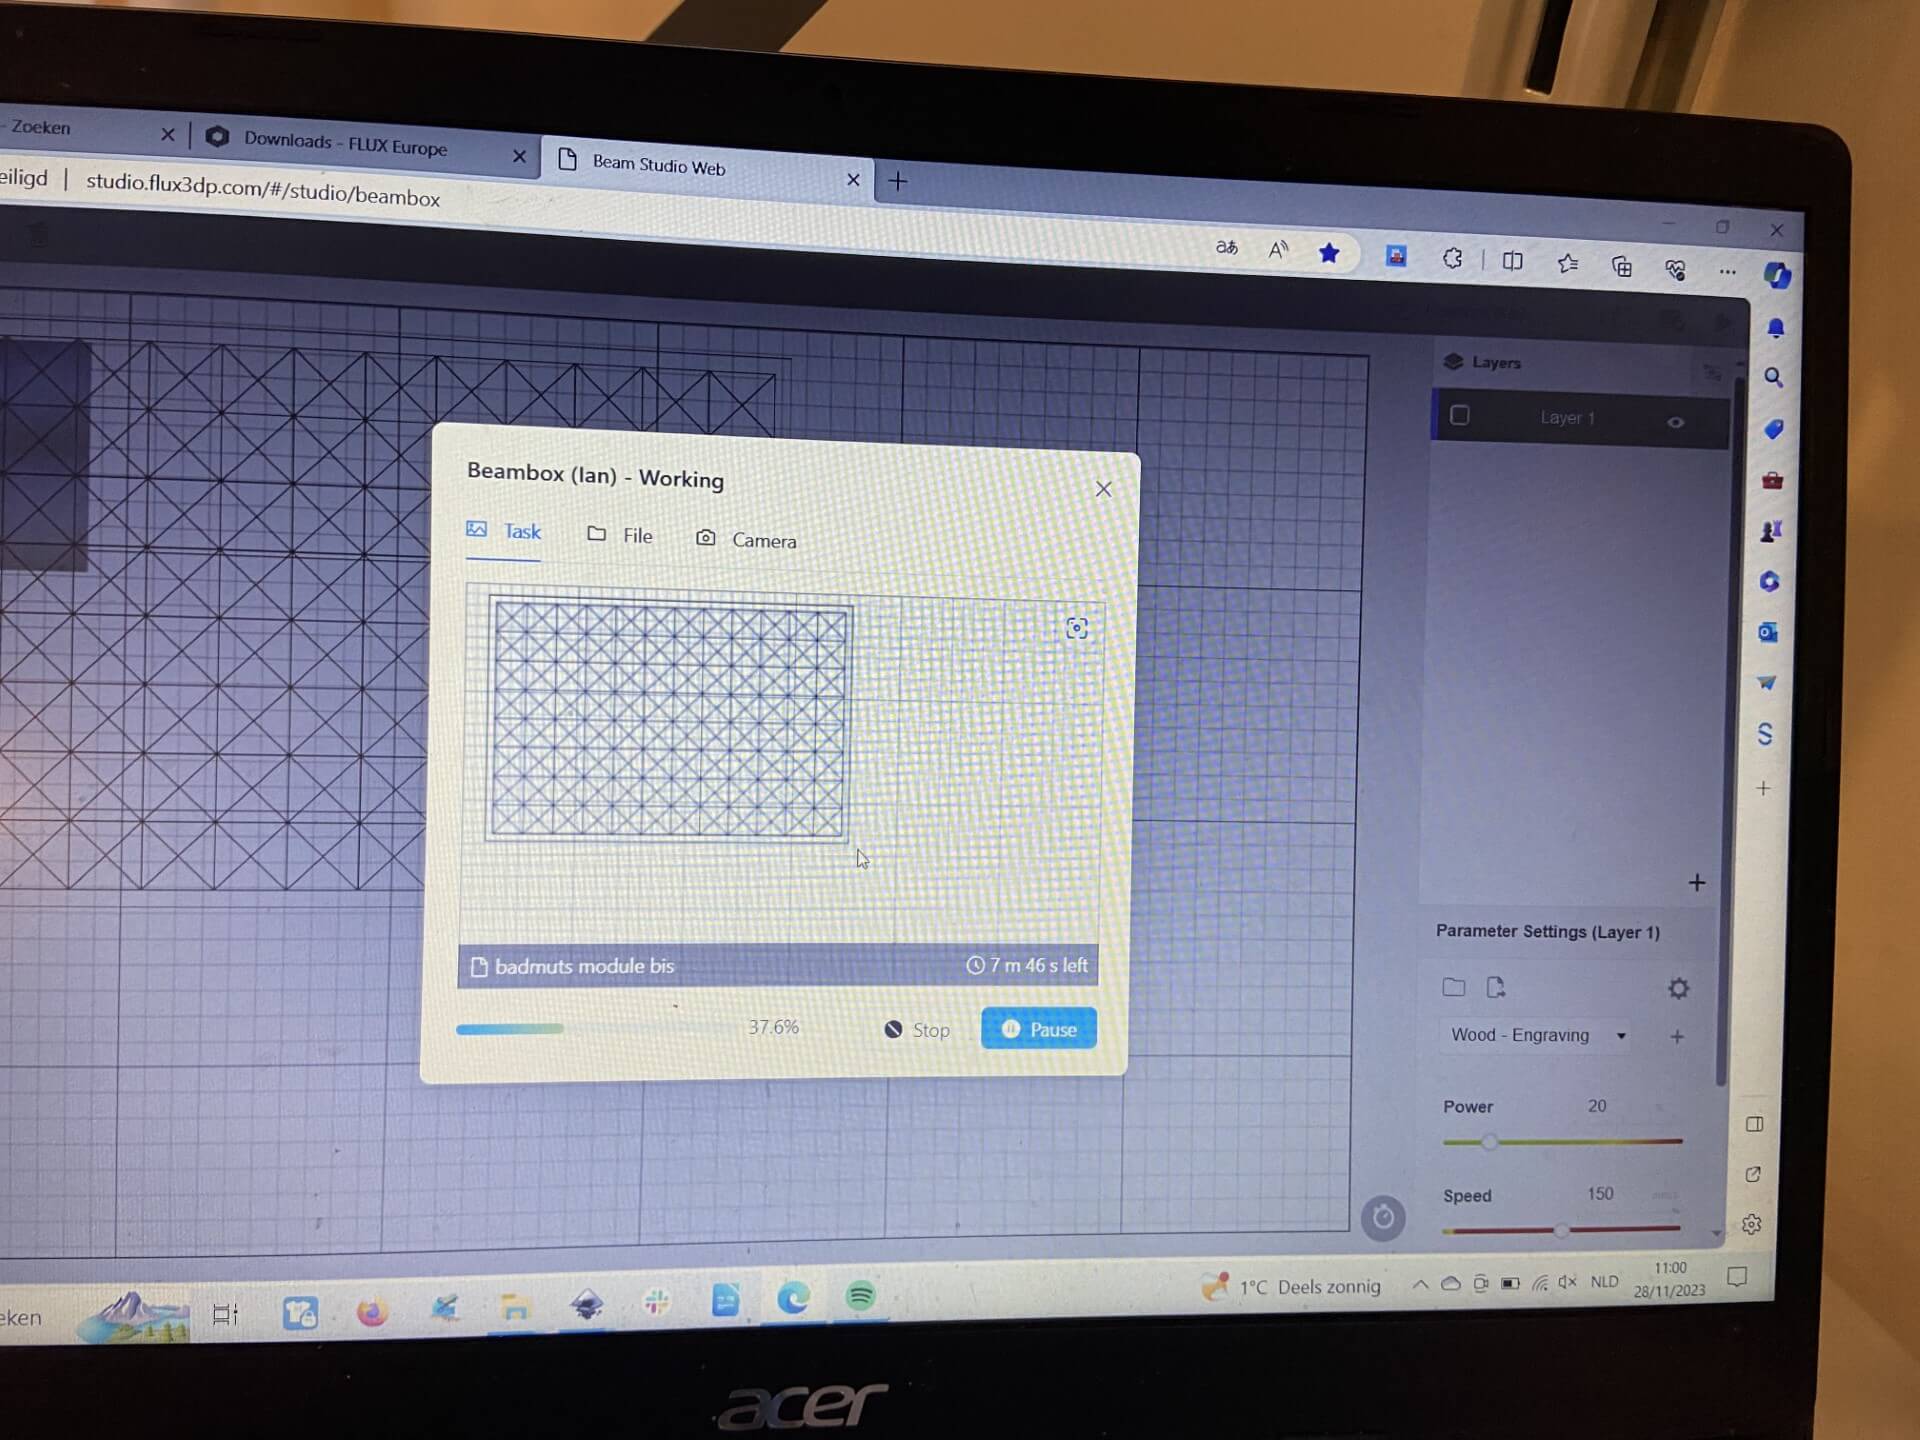
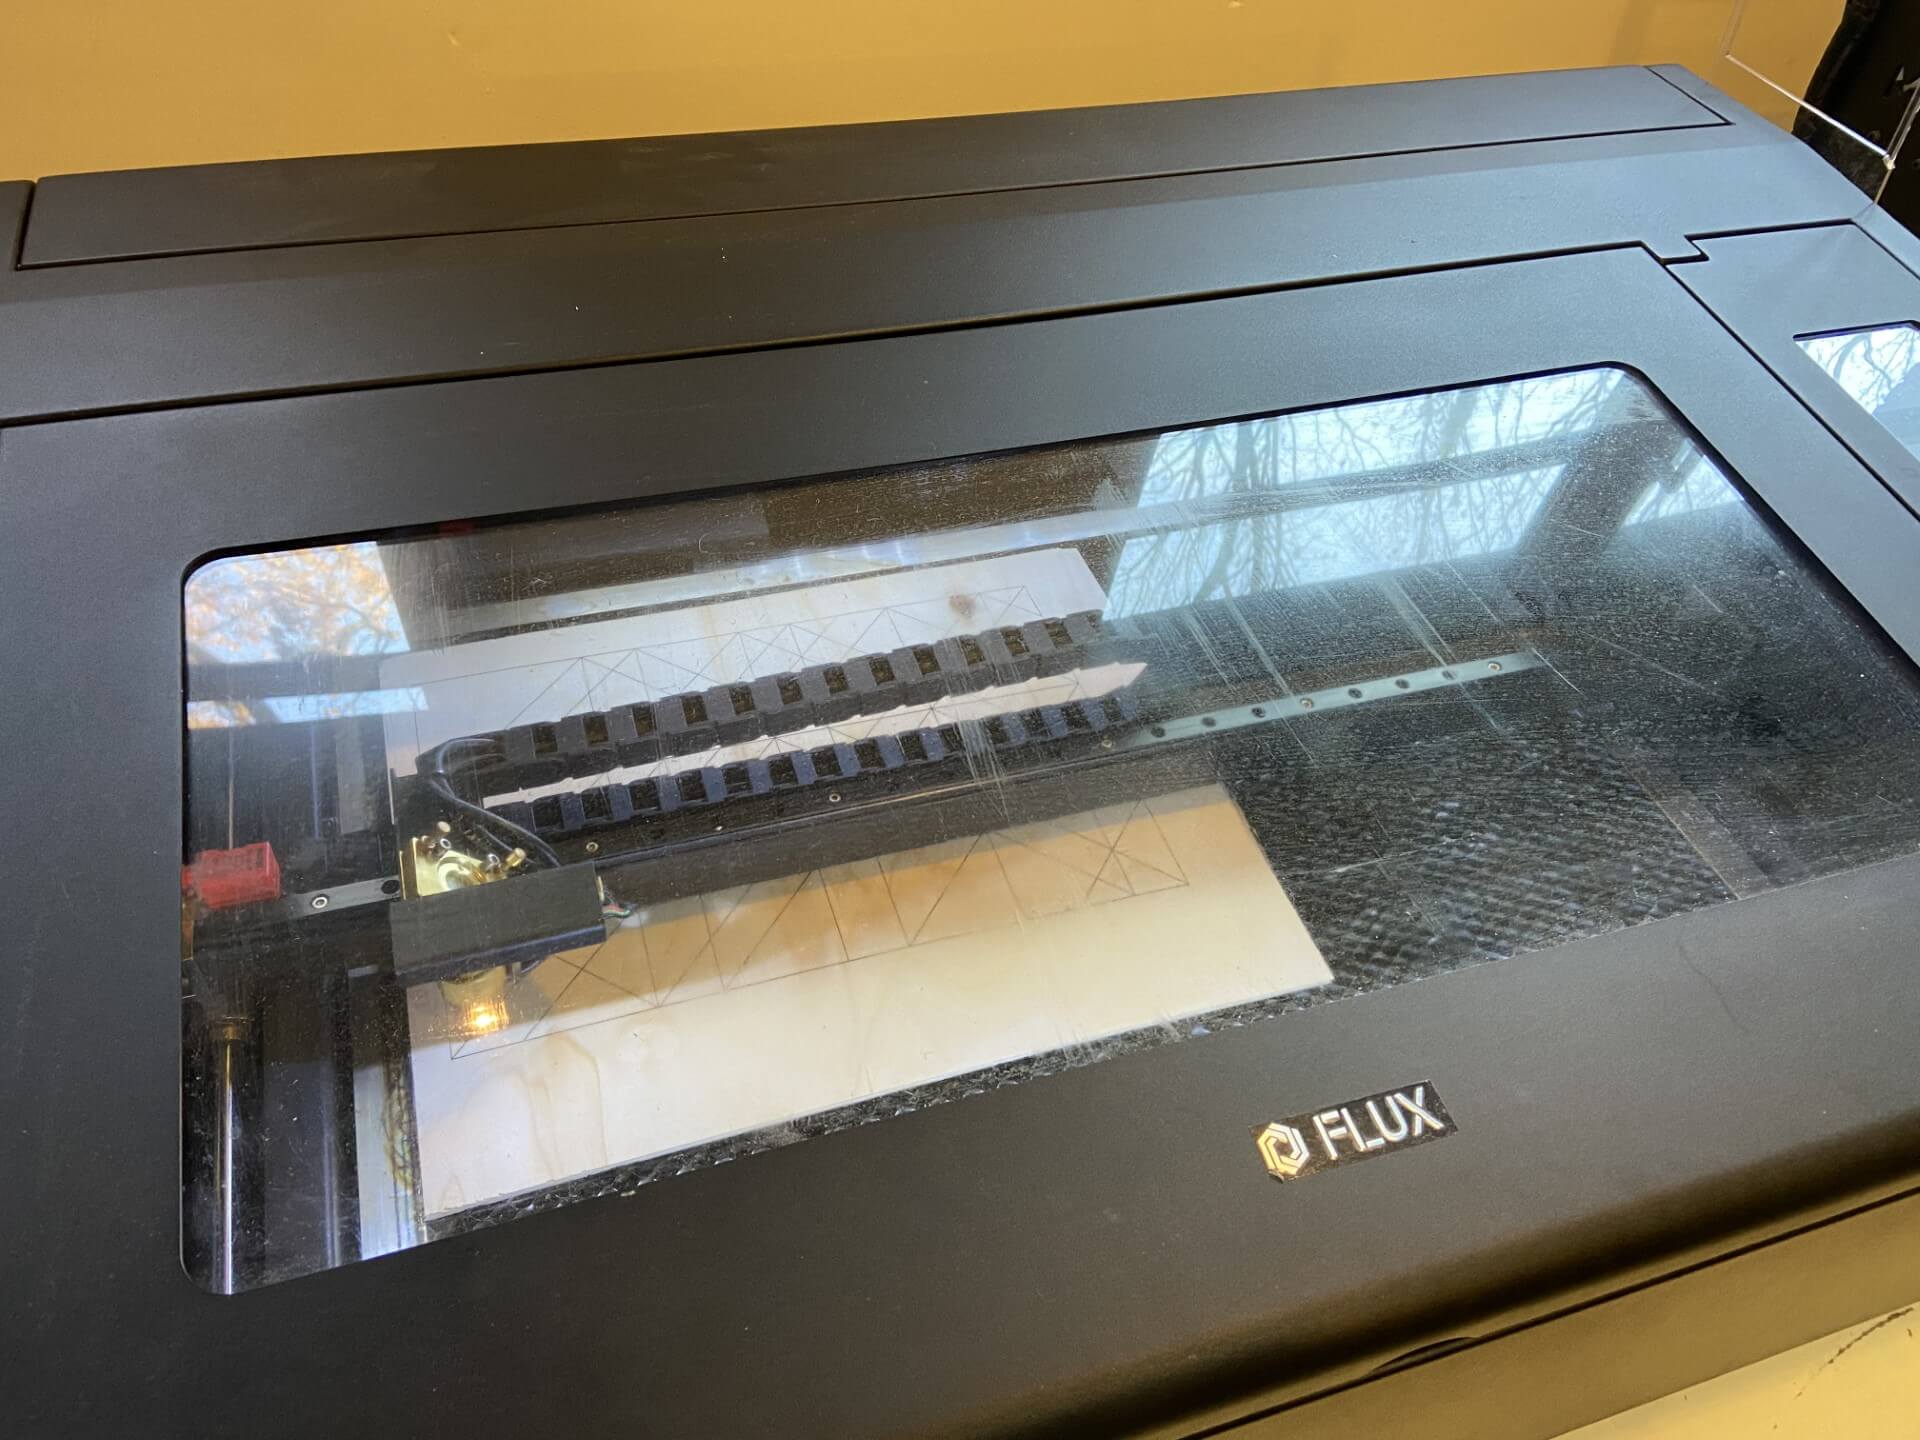
The final result after lasercutting was not very clean, probably because the filter of the lasercutter had to be changed.
So in the near future I will lasercut another one.
Mini-weaving loom
I was inspired by the opensource miniloom alumni and our fablabmanager Valentine Fruchart fabricated a few years ago, because it is very accesible tool for kids.
The project is open source under creative common licence, which means that everybody is free to share and adapt the design, even commercially, but should give the appropriate credit, provide a link to the license and indicate changes. Creative Commons is a nonprofit organization dedicated to building a globally-accessible public commons of knowledge and culture.
The licence can be find on the instructables page on the top left of the mini loom frame page.

At a certain point I decided to stop working with the lasercutter because the wood was burning too much.
