11. Textile scaffold
For this week assignement I wanted to try out several techniques.
1.Composite
For the composite, I was inspired by Dominique's Vial Fabricademy's final project TWIST_AGAIN:
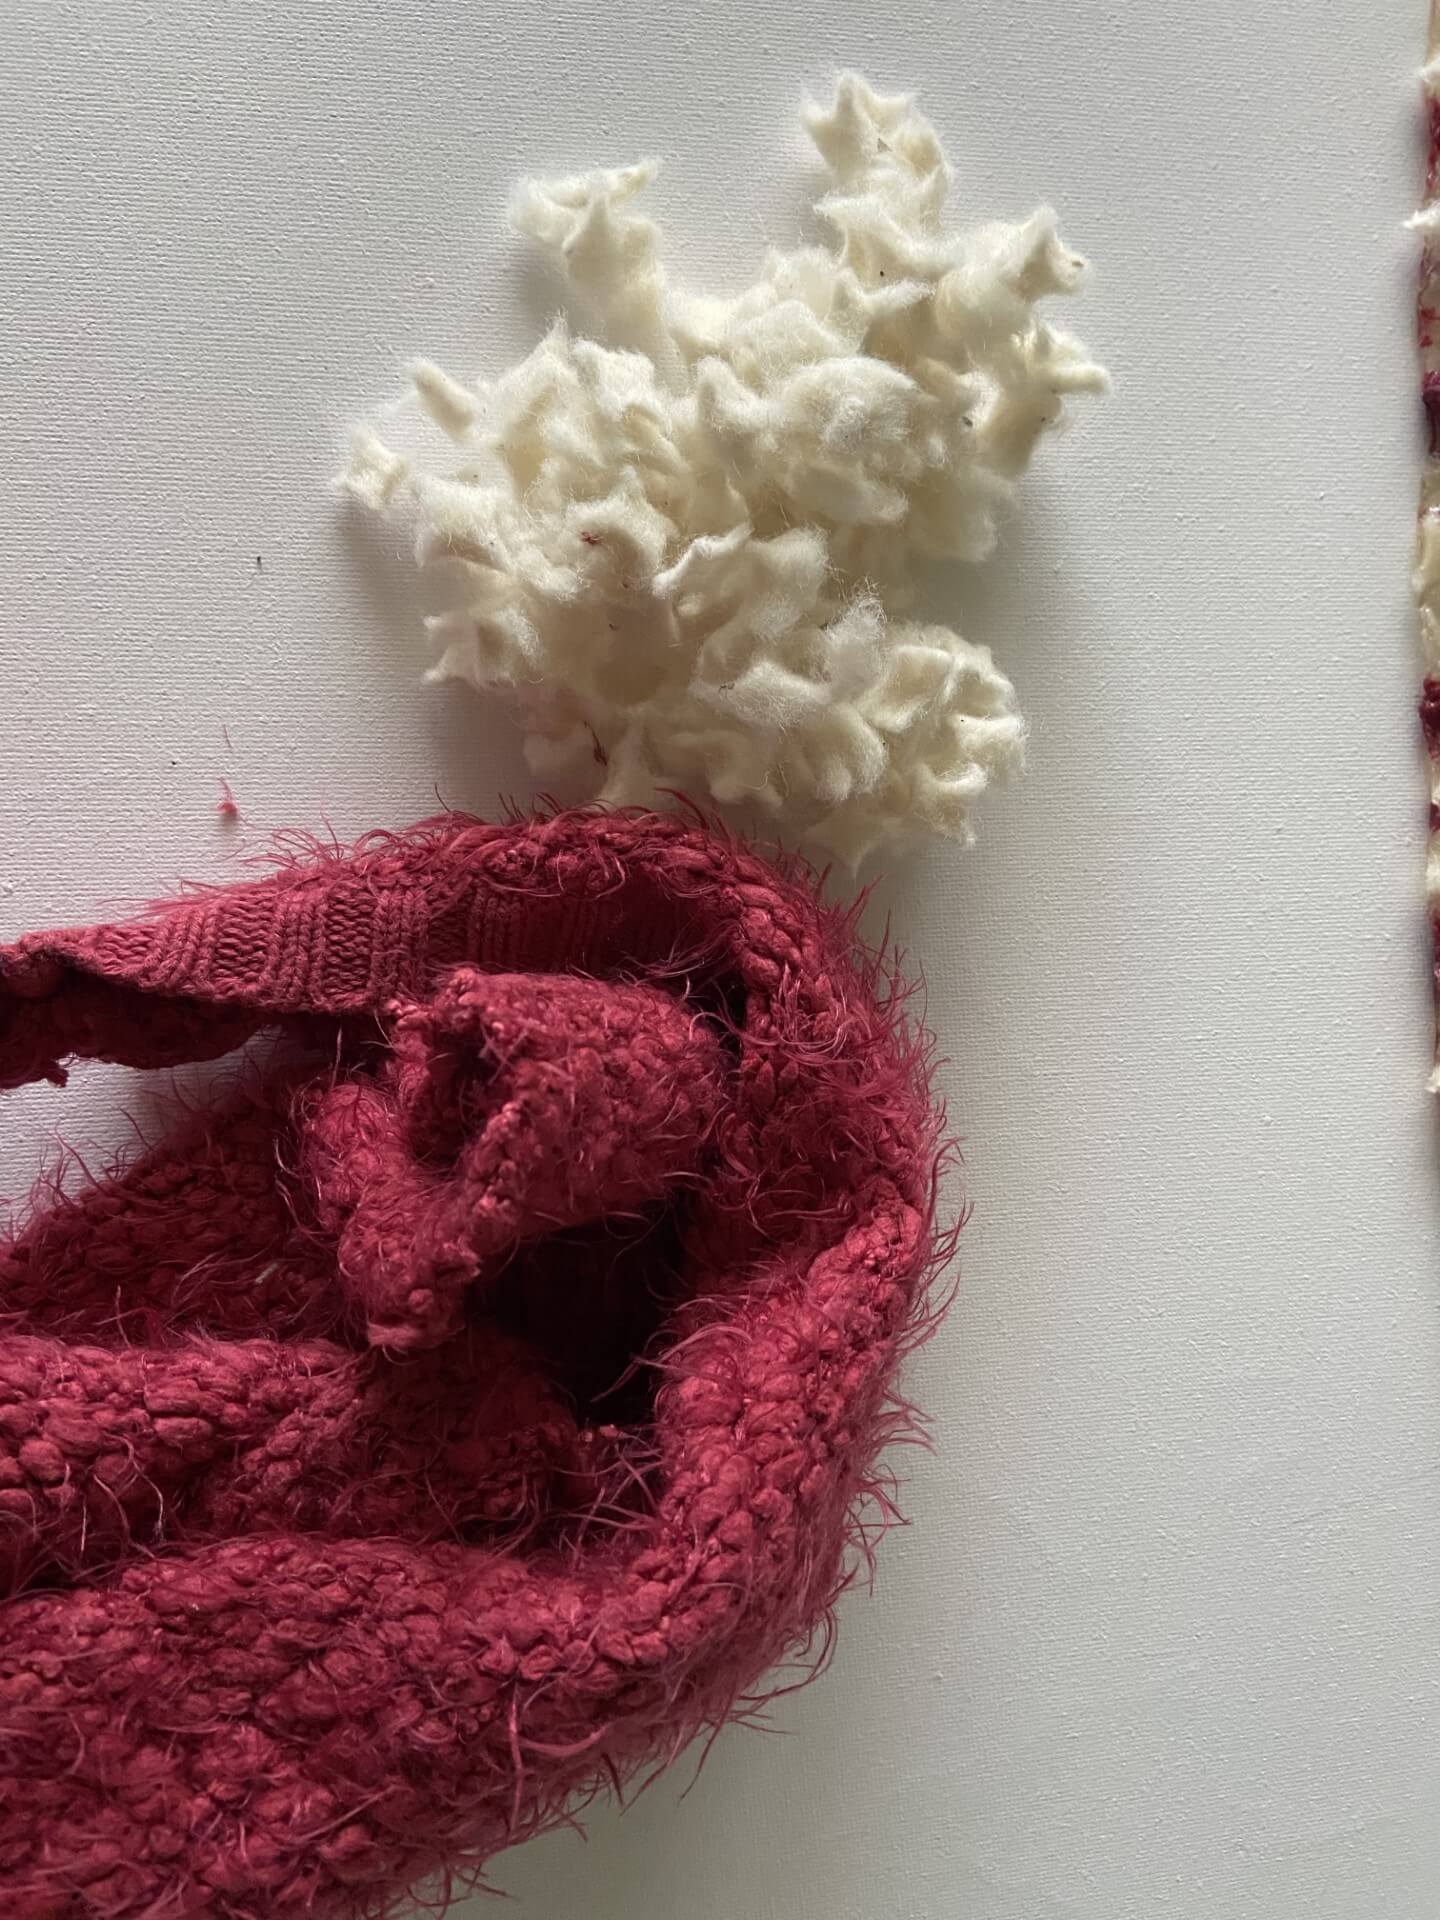
I made a composite of gelatine, fibers and bioplastic. For this I used the following recipe:
* 48gr of gelatine powder
* 240 ml of water
* 48 gr of glycerine
* Some drops of Cosguard + old textile in little pieces
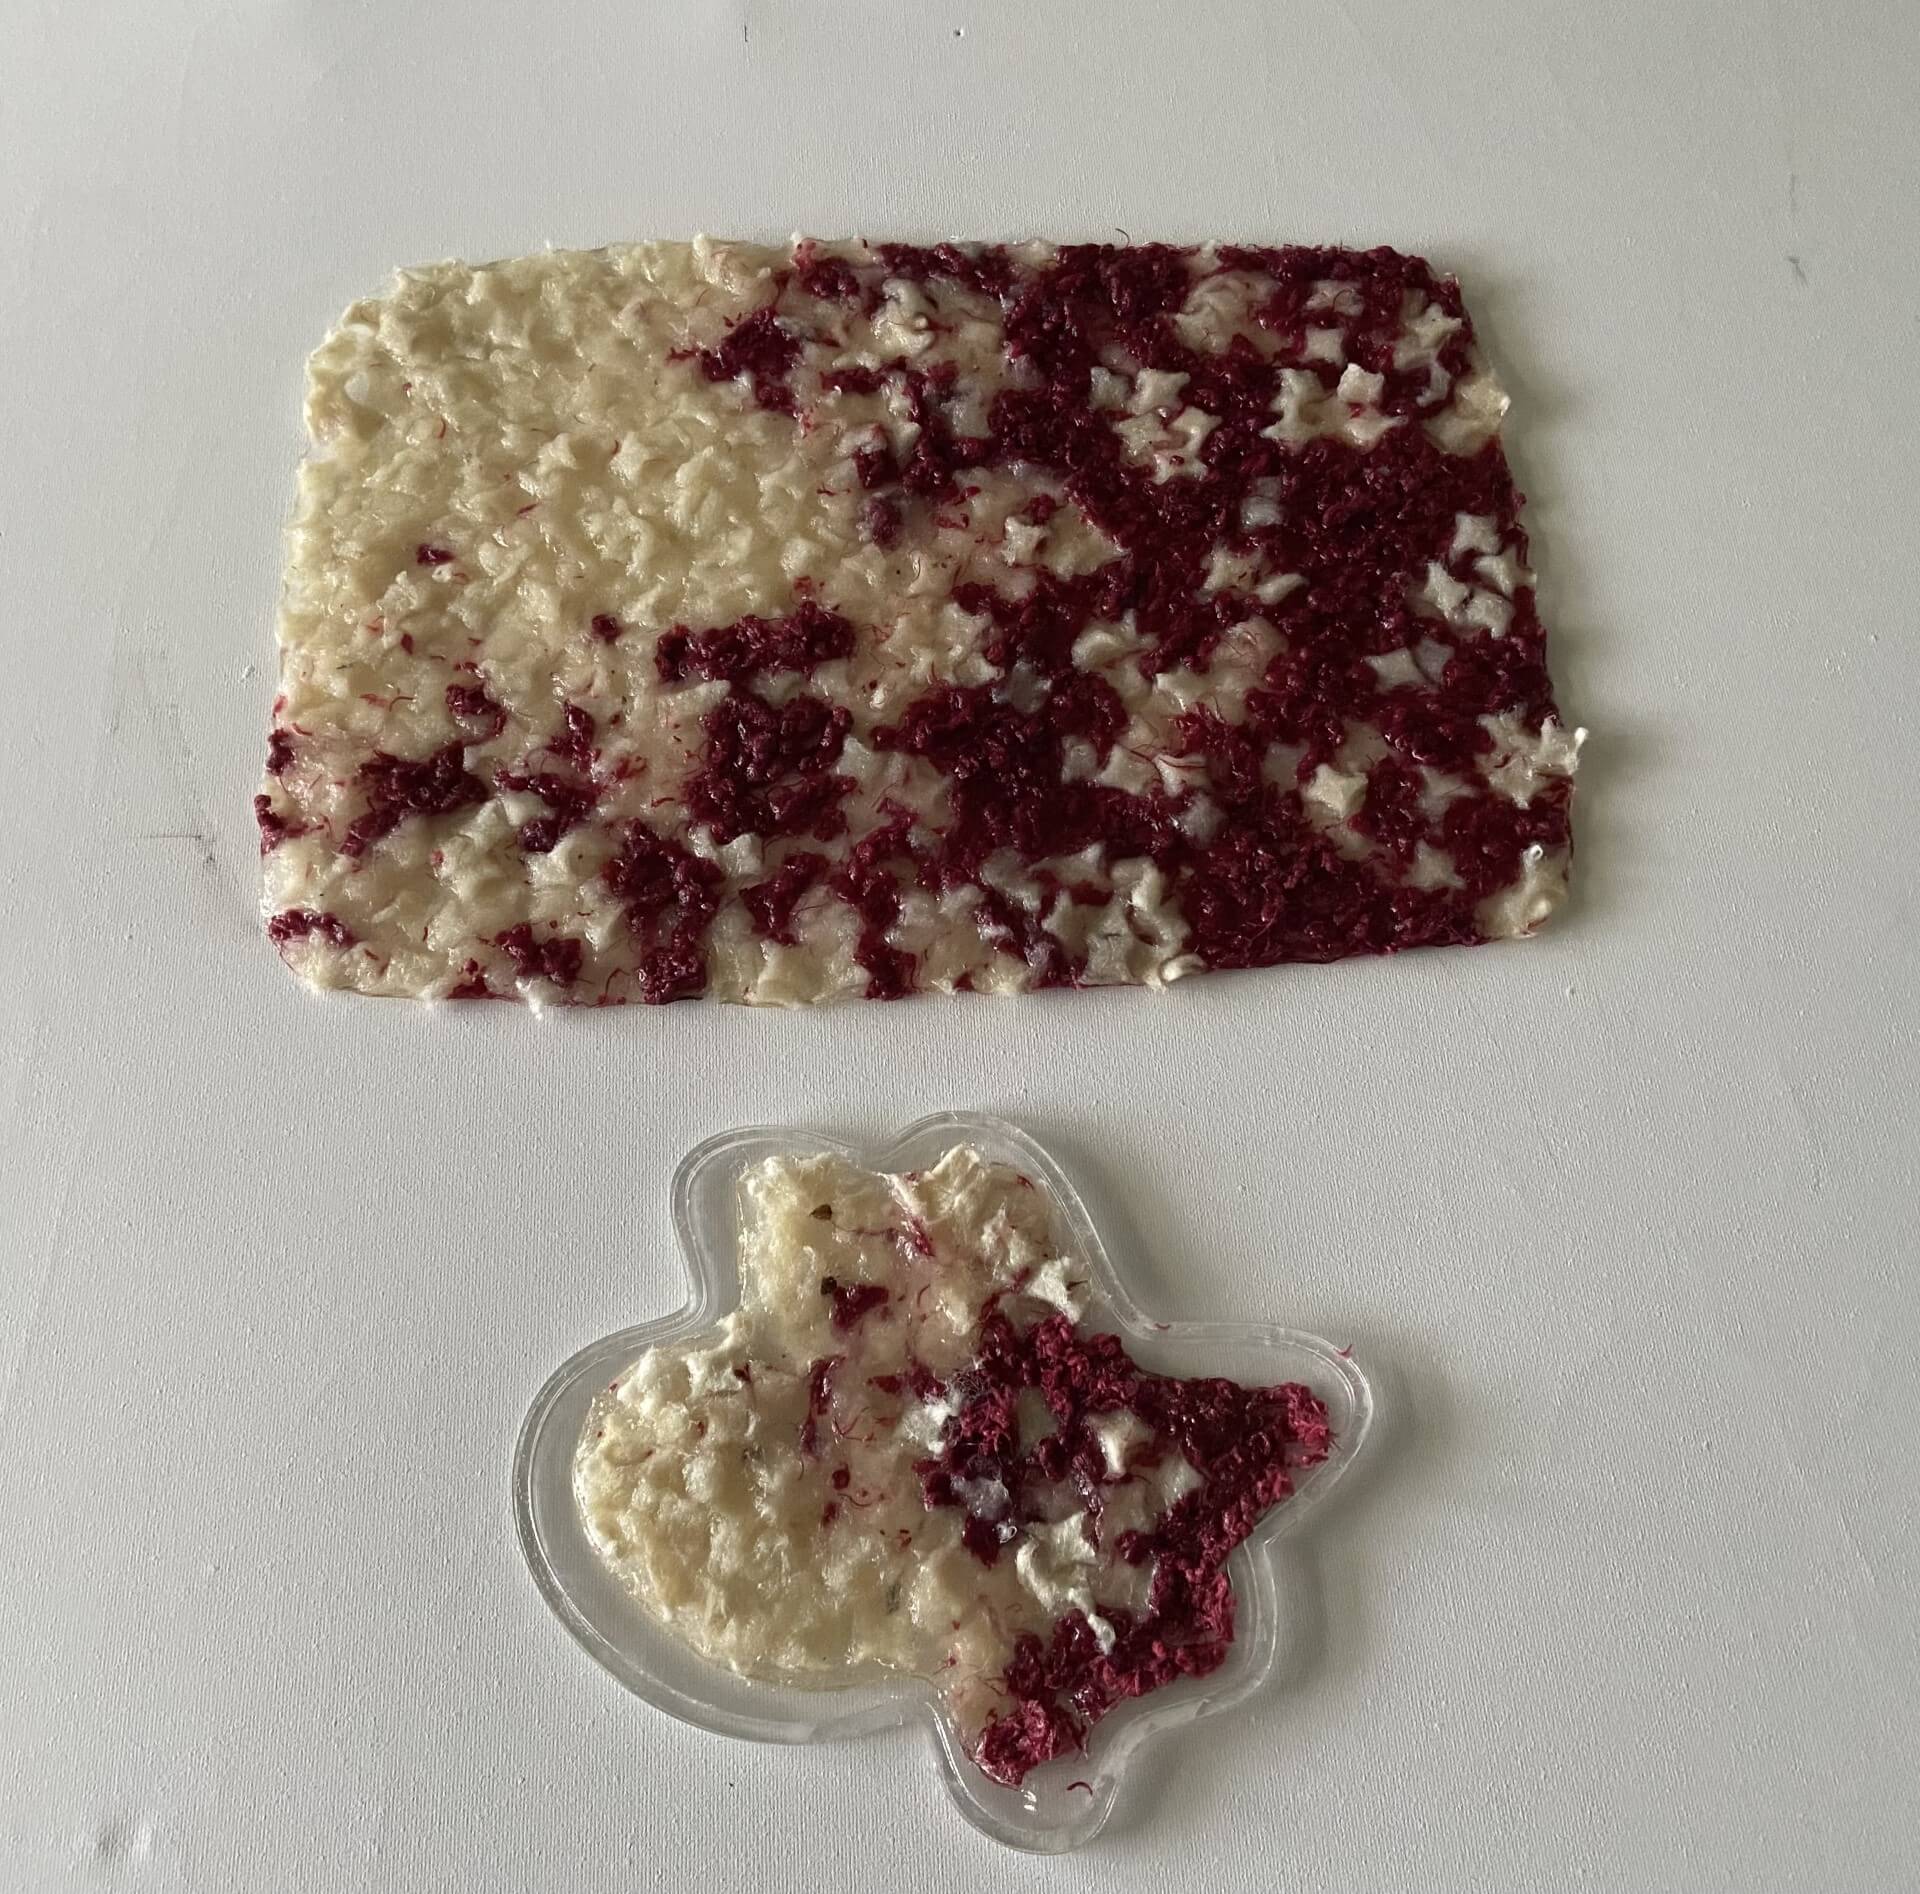
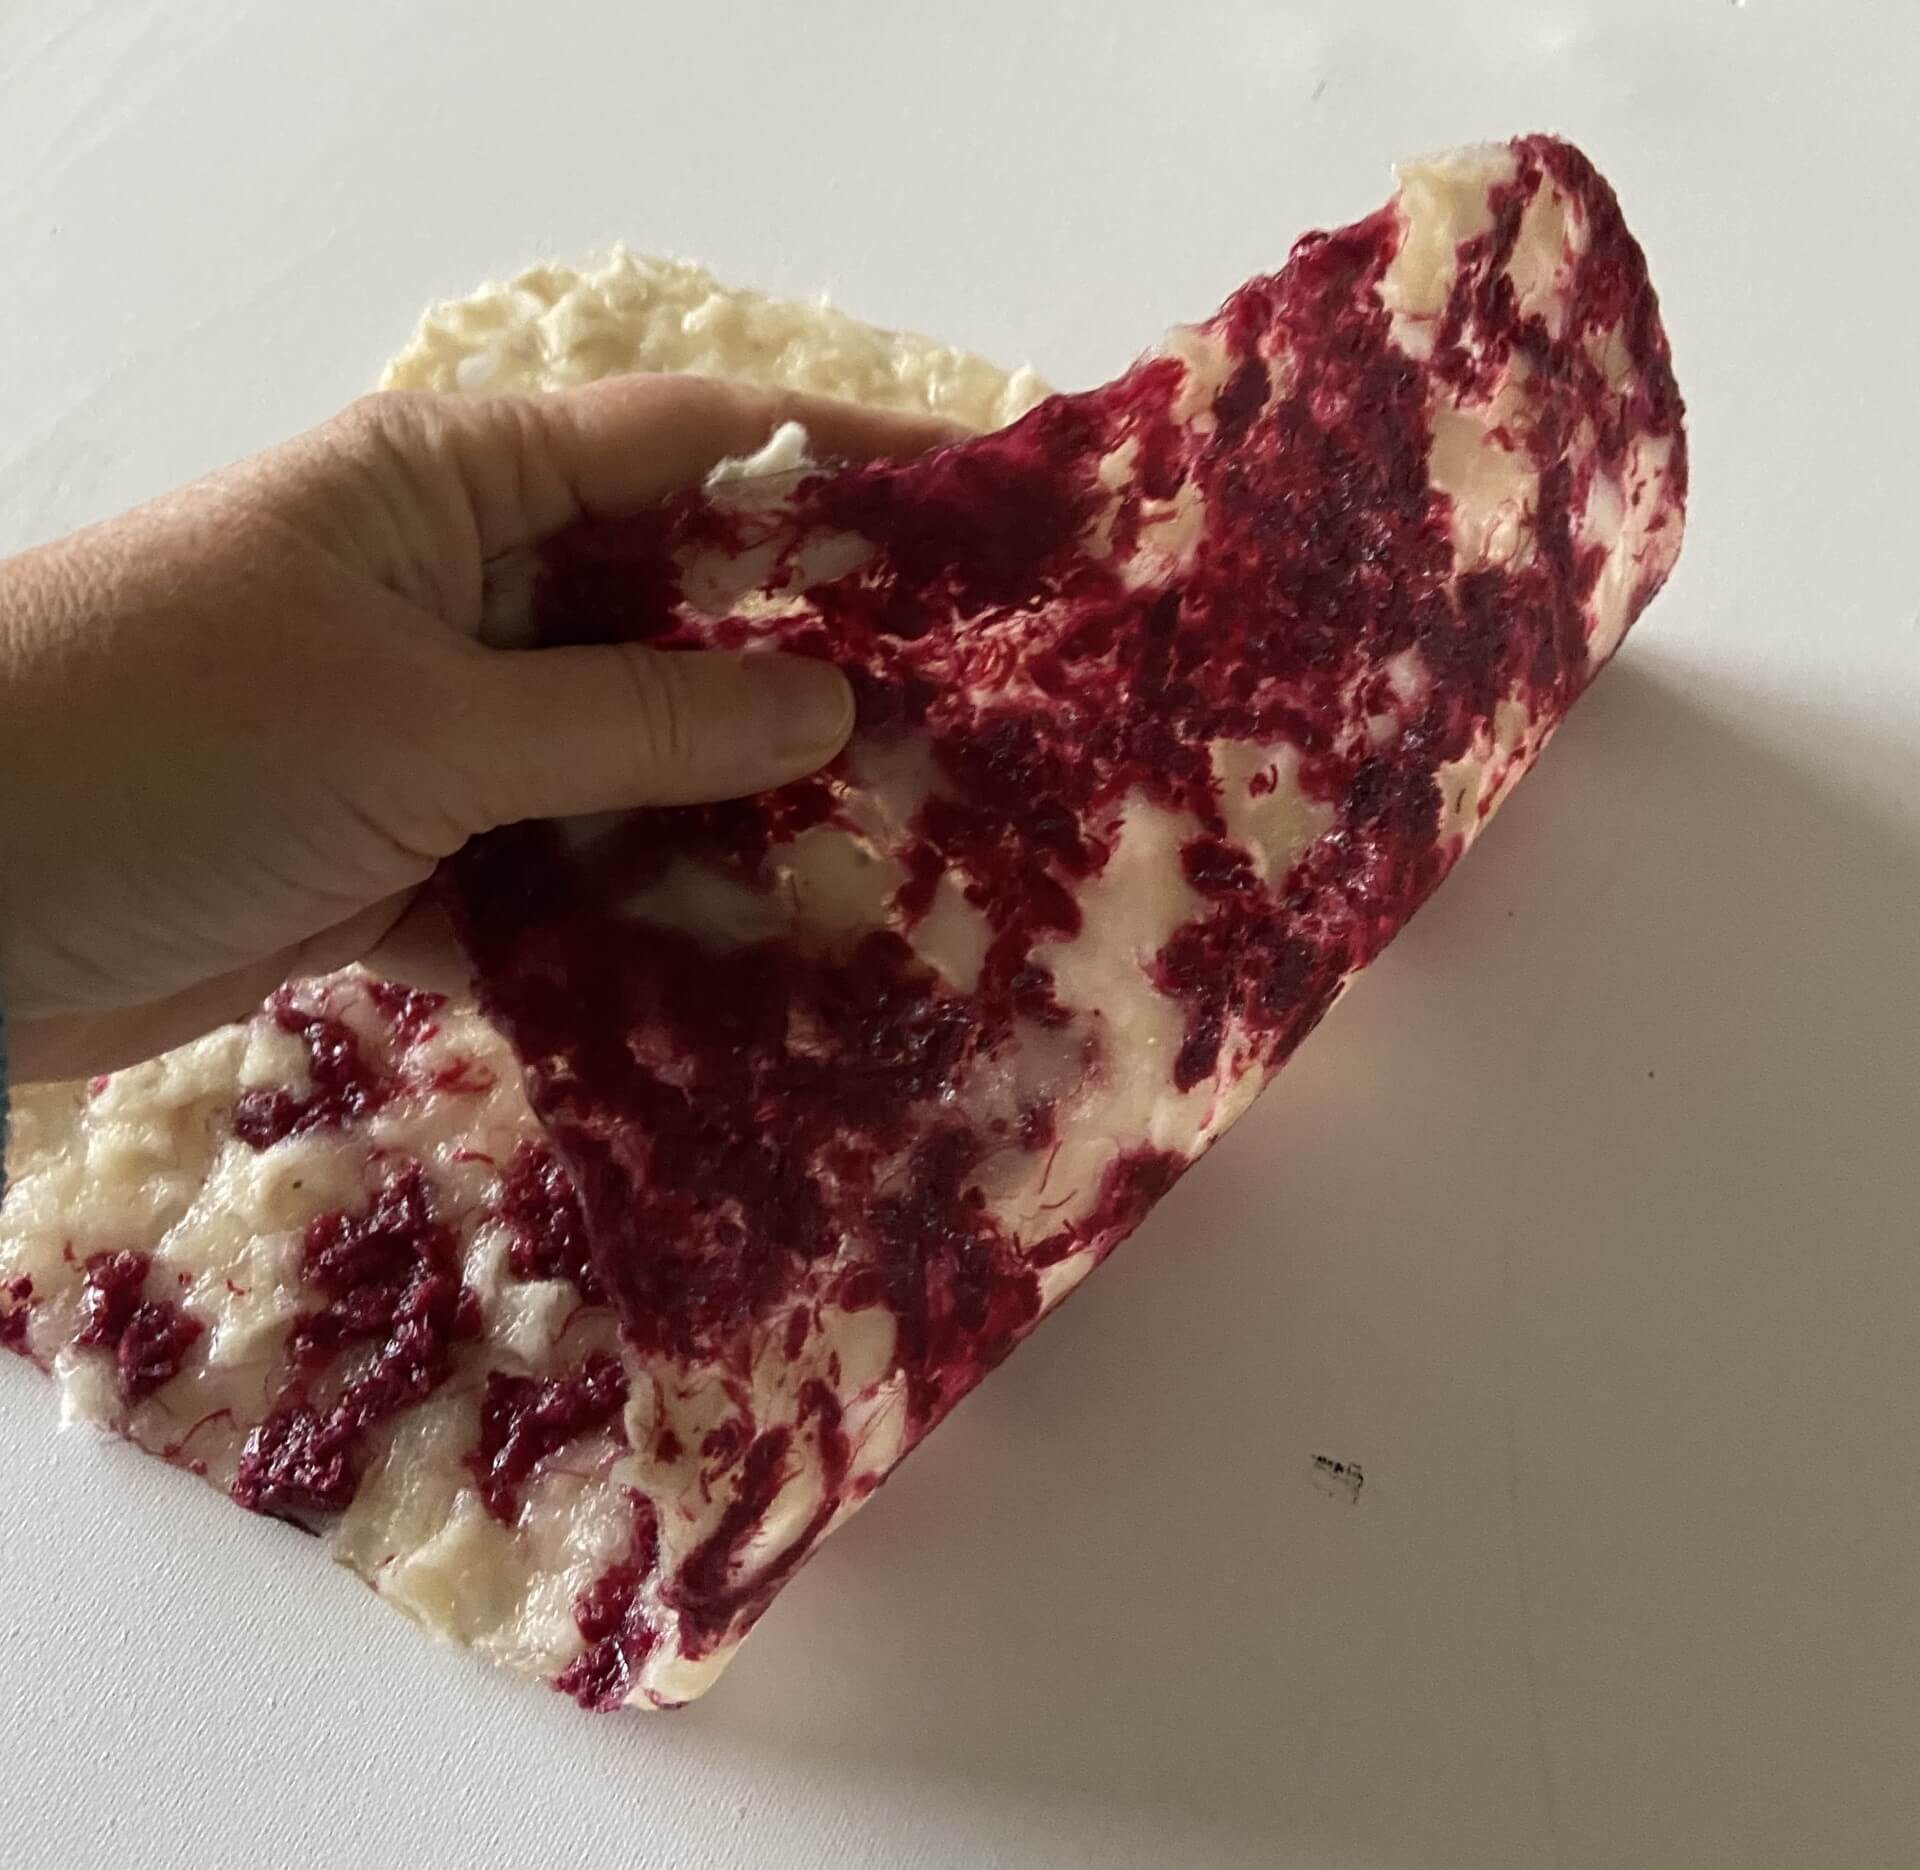
I casted the composite in the mold I made in the softrobotics week and in a rectangular mold.
2. Fabric formwork
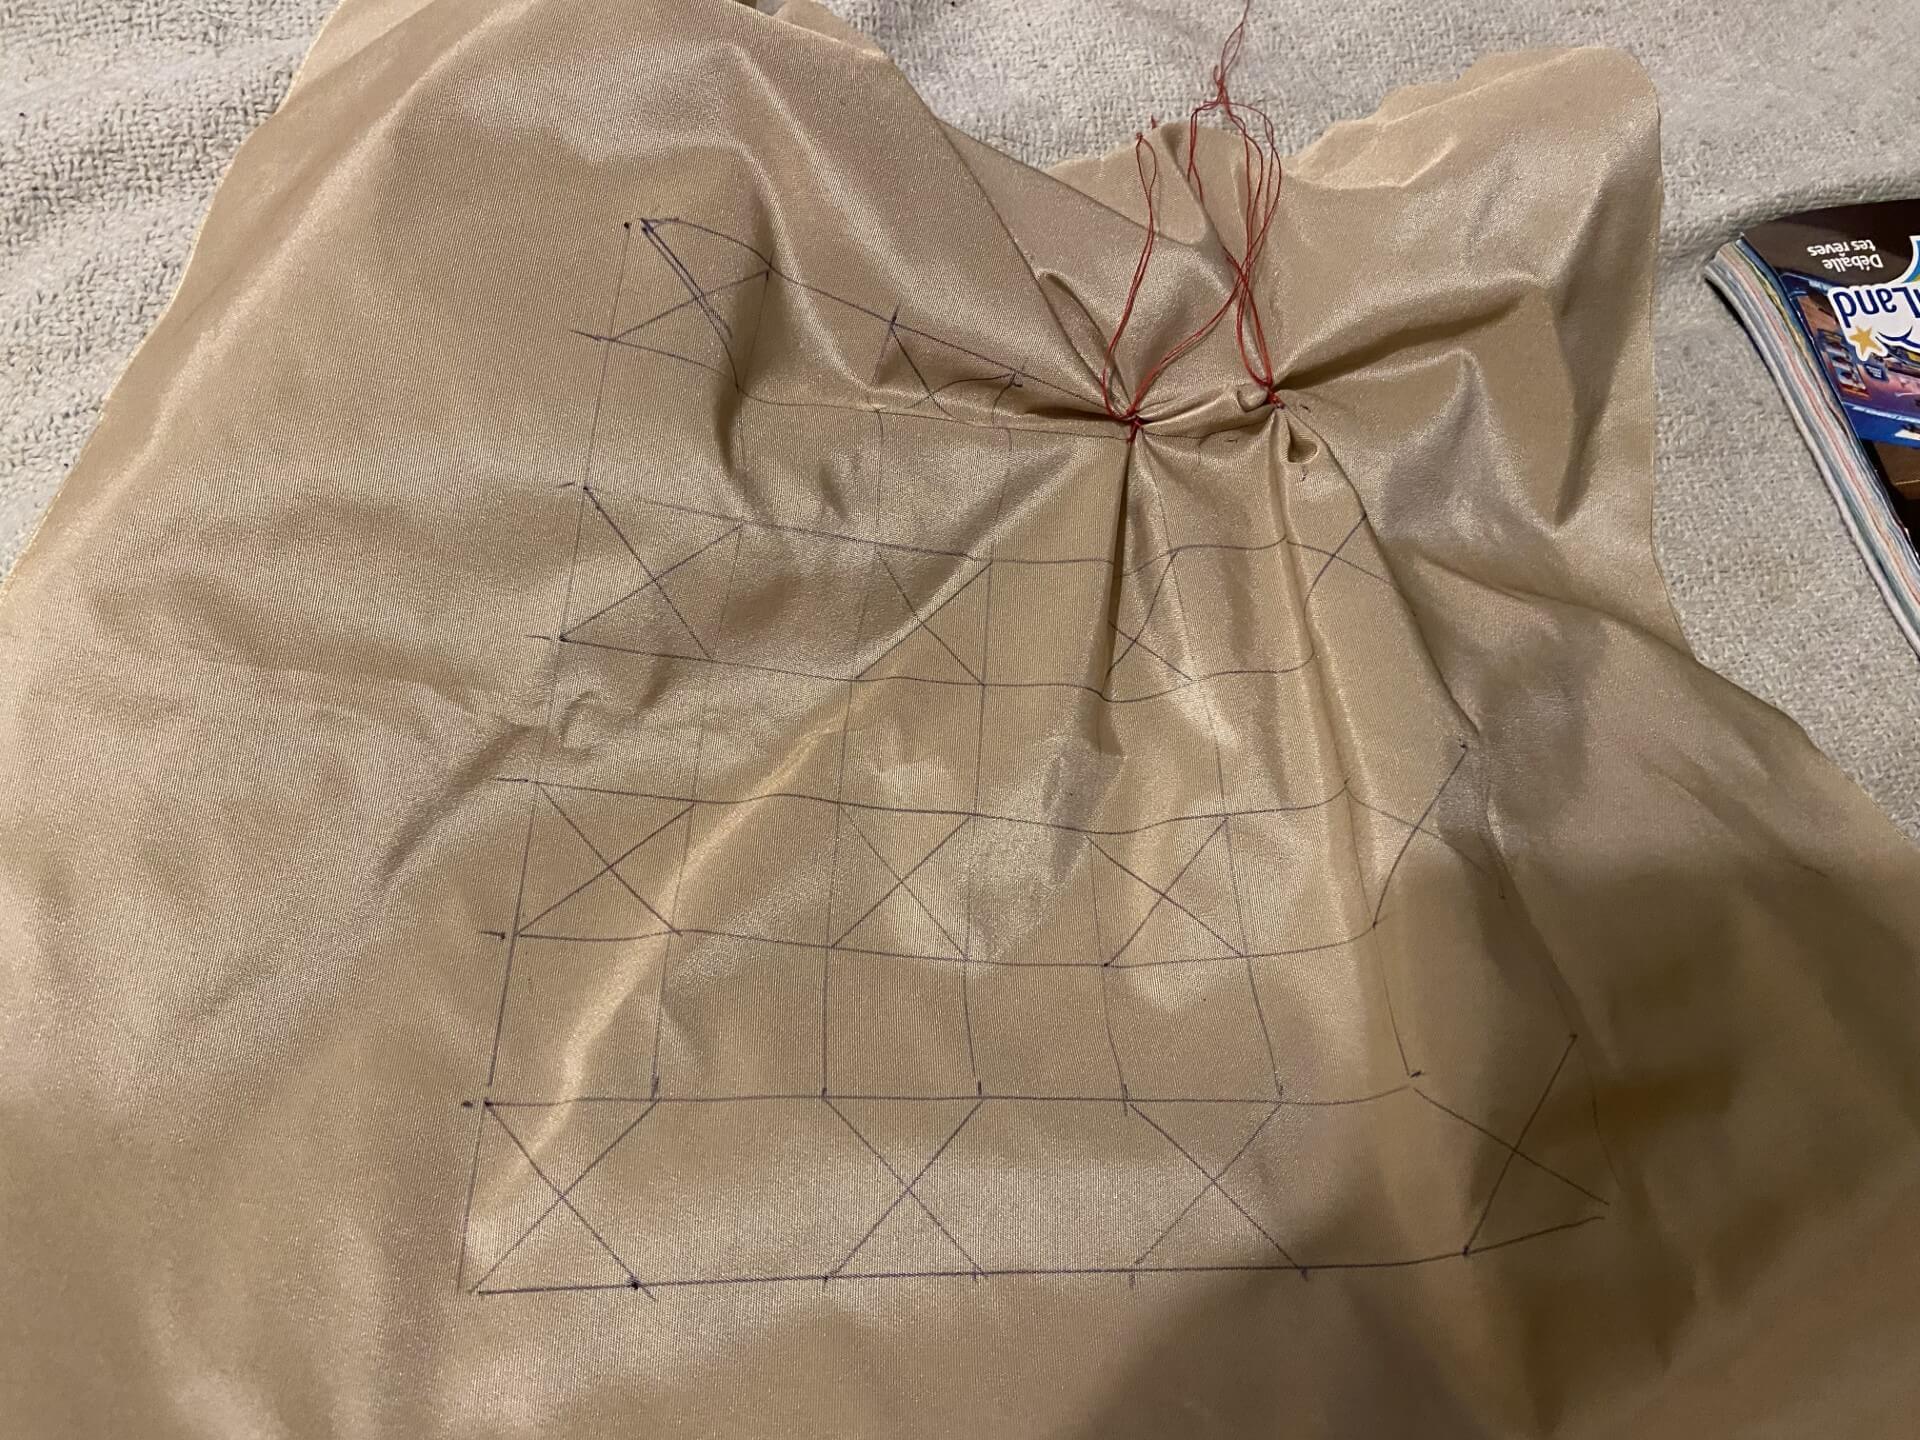
For the fabric formwork, I first made a sample of Canadian smock.
I used the guide of Floriane Schmitt to make the smock. The grid I used was the Flower or Neosmock pattern.

I drew the grid on the back of my fabric and then sewed the pattern.
Backside:
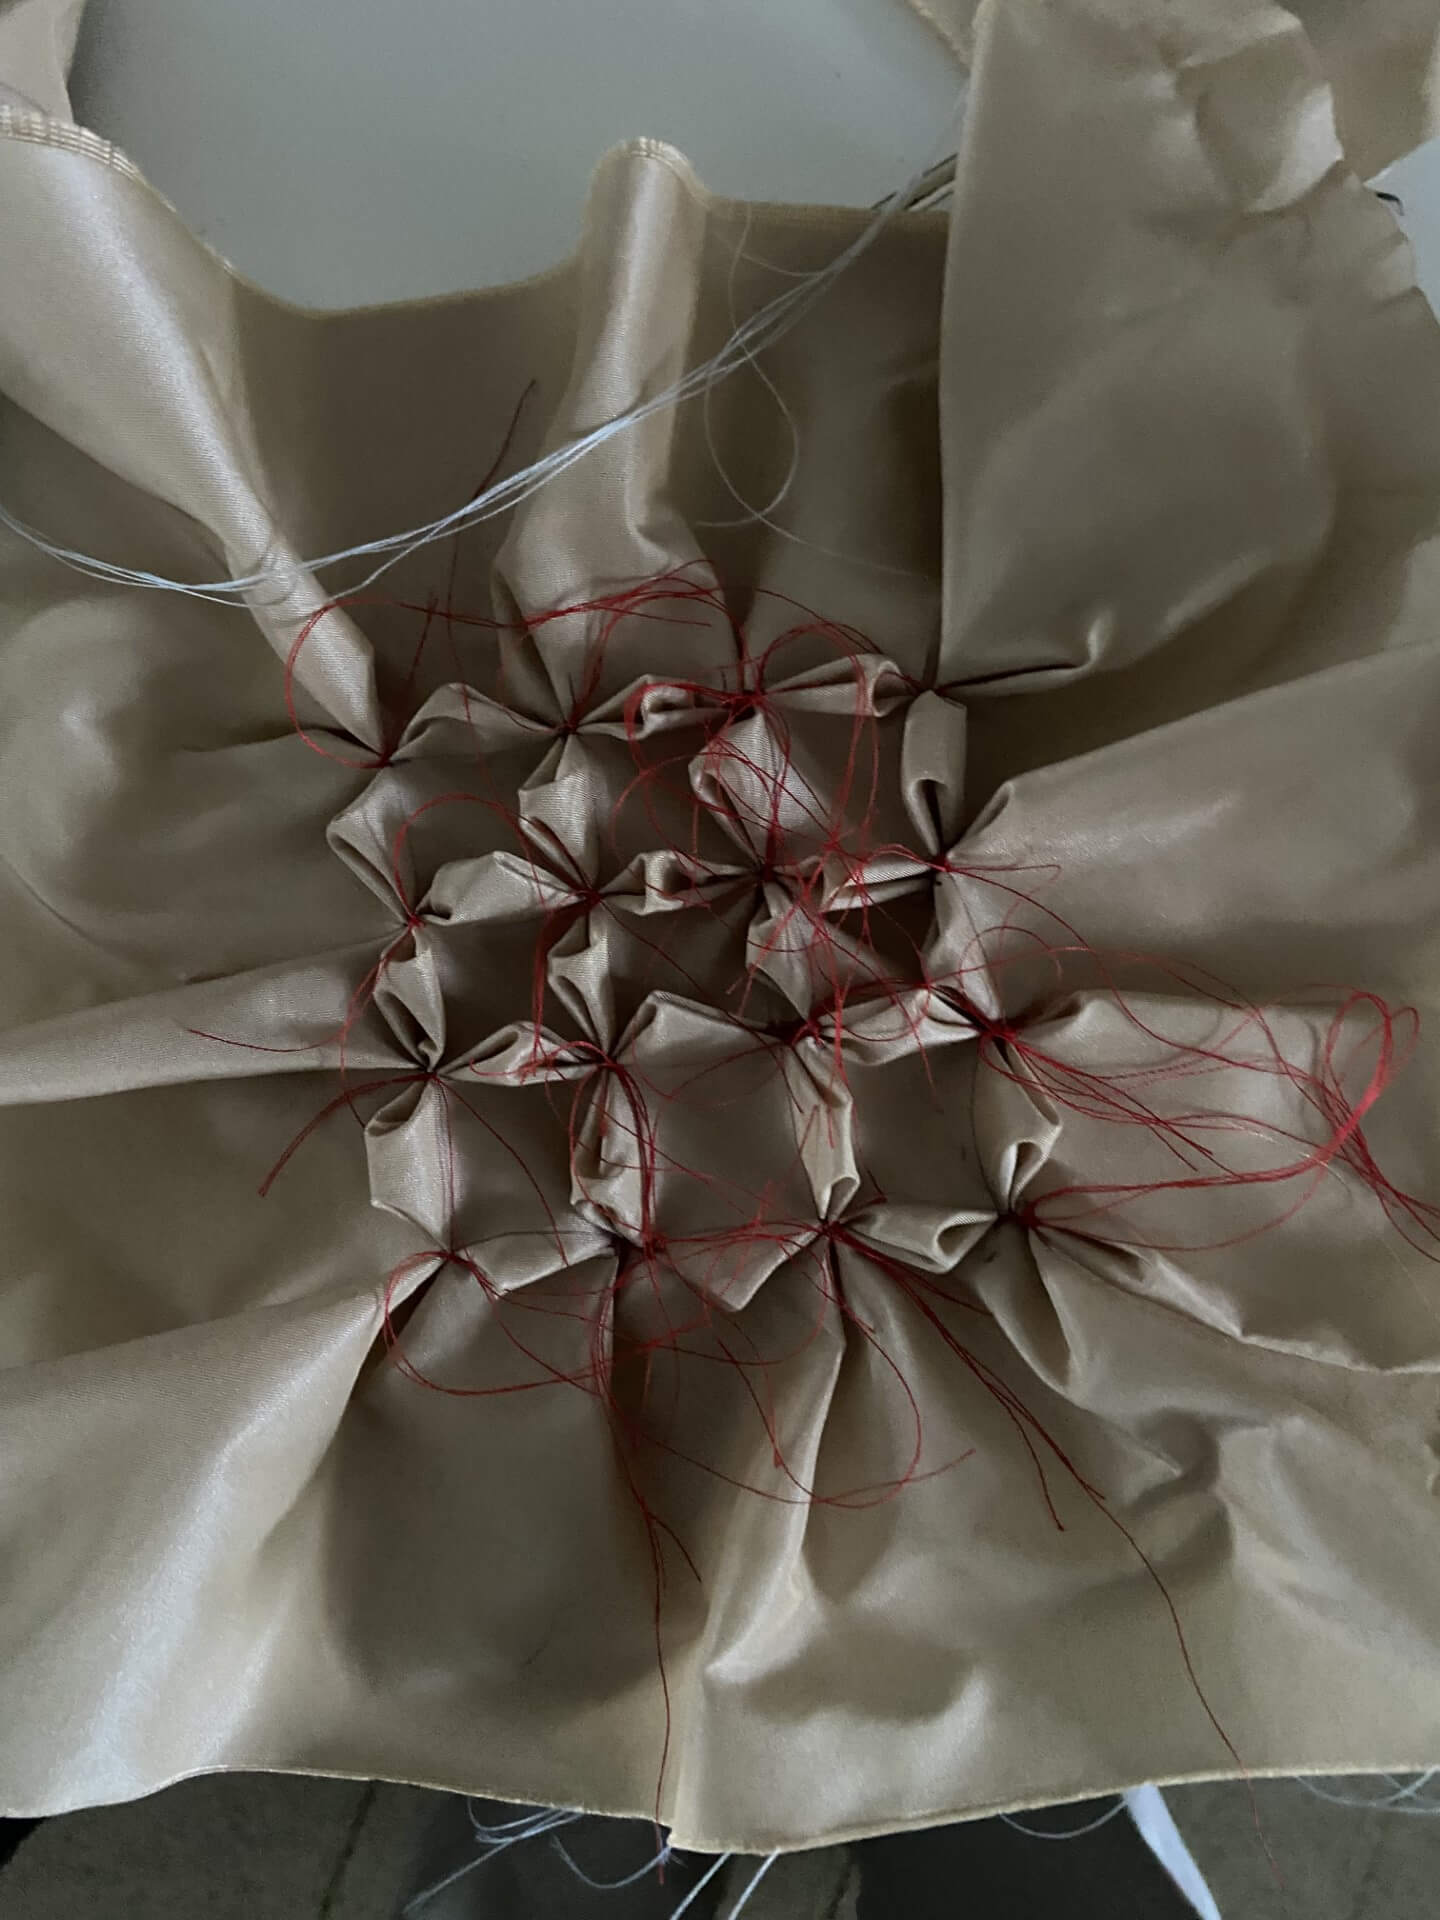
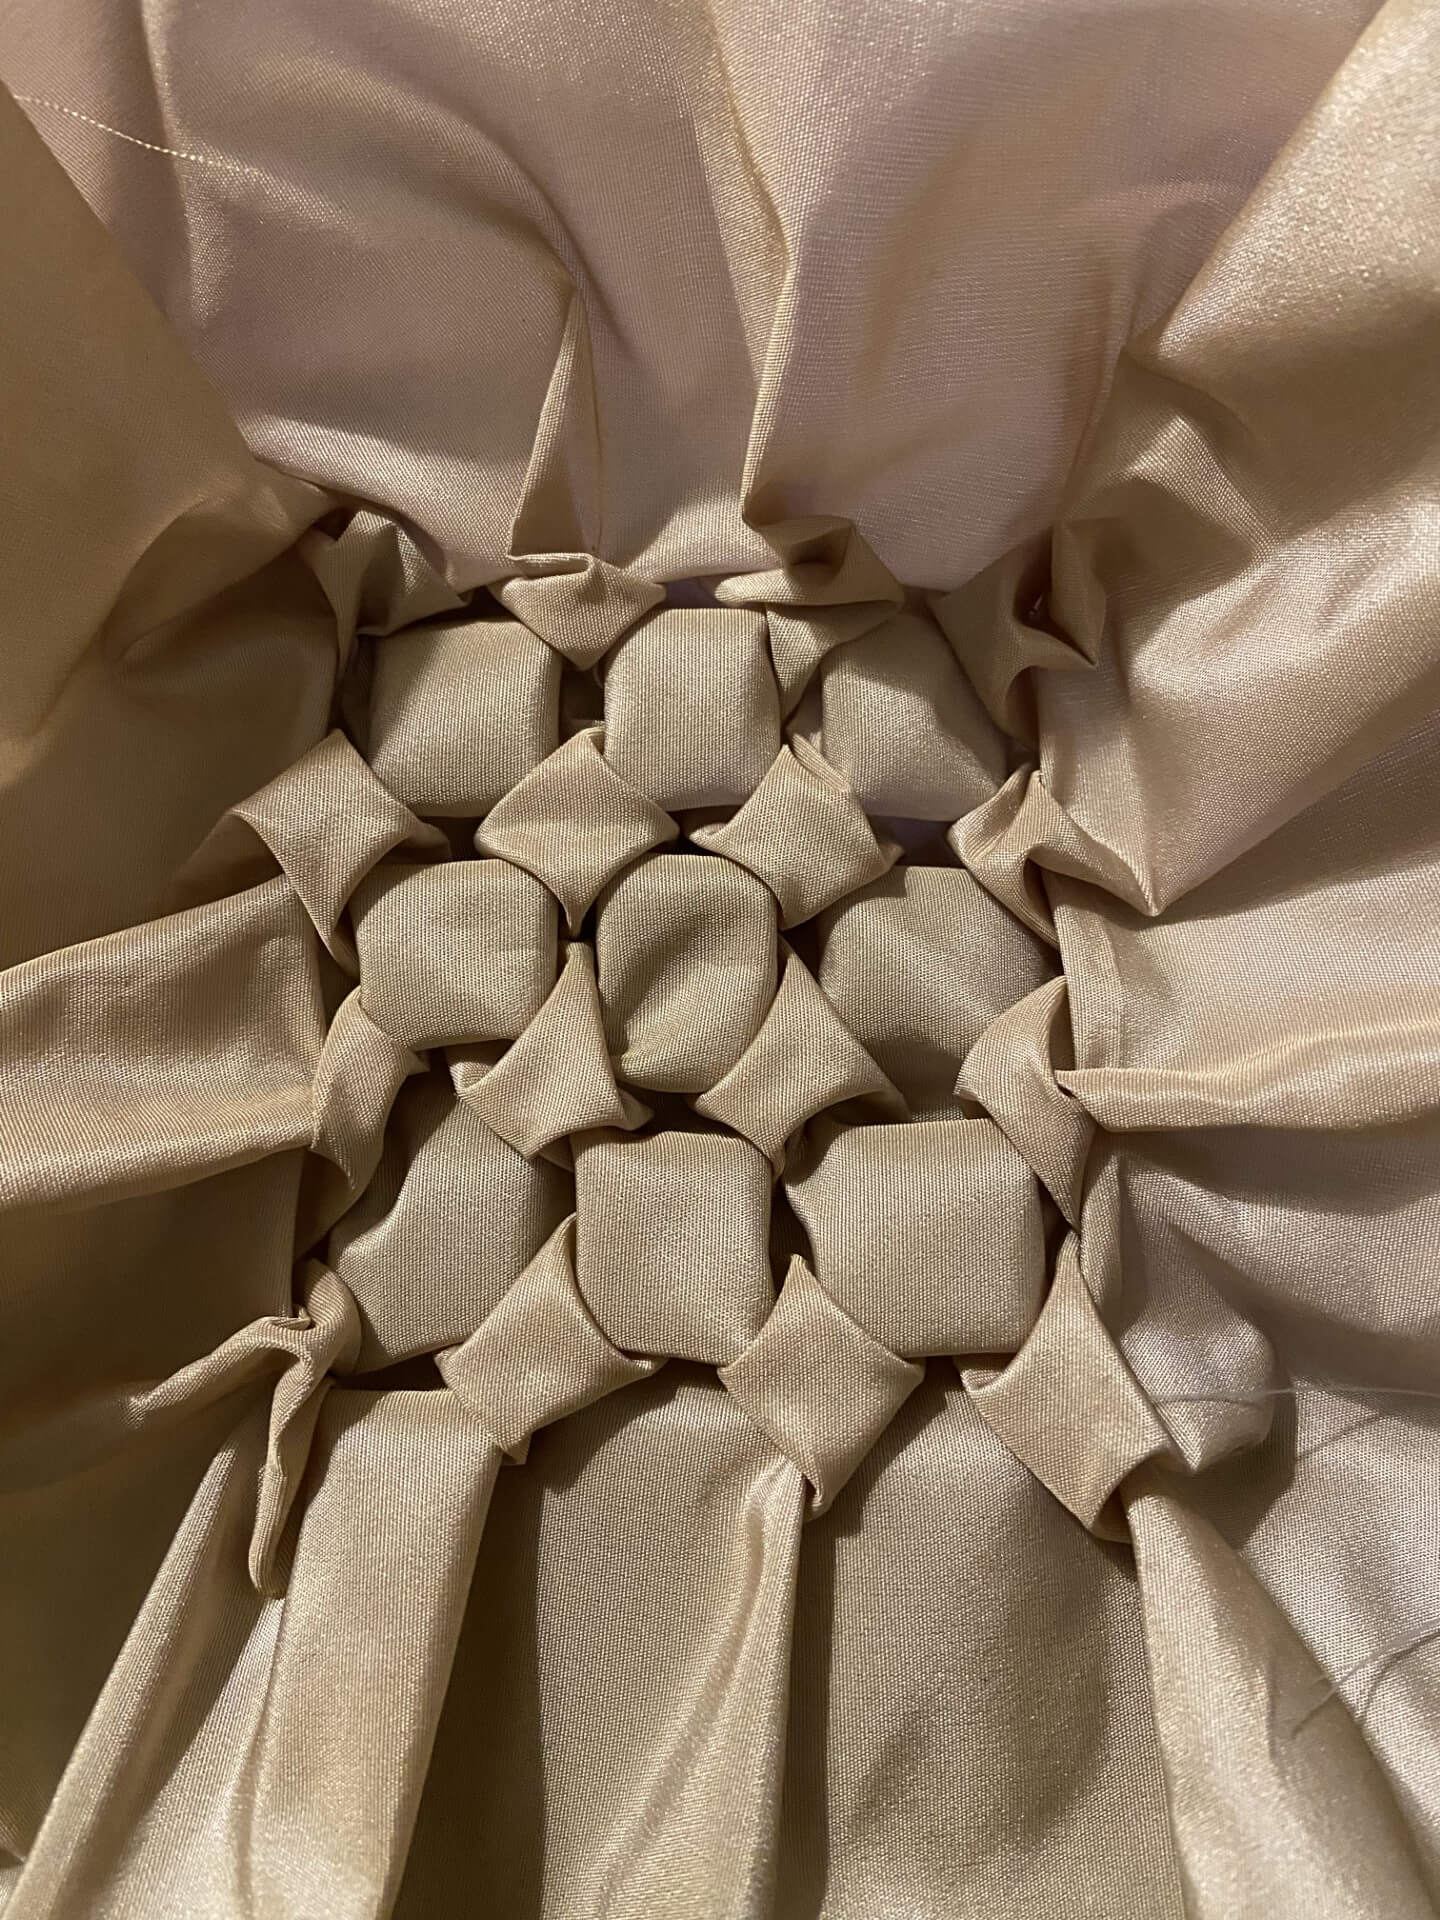
Frontside:
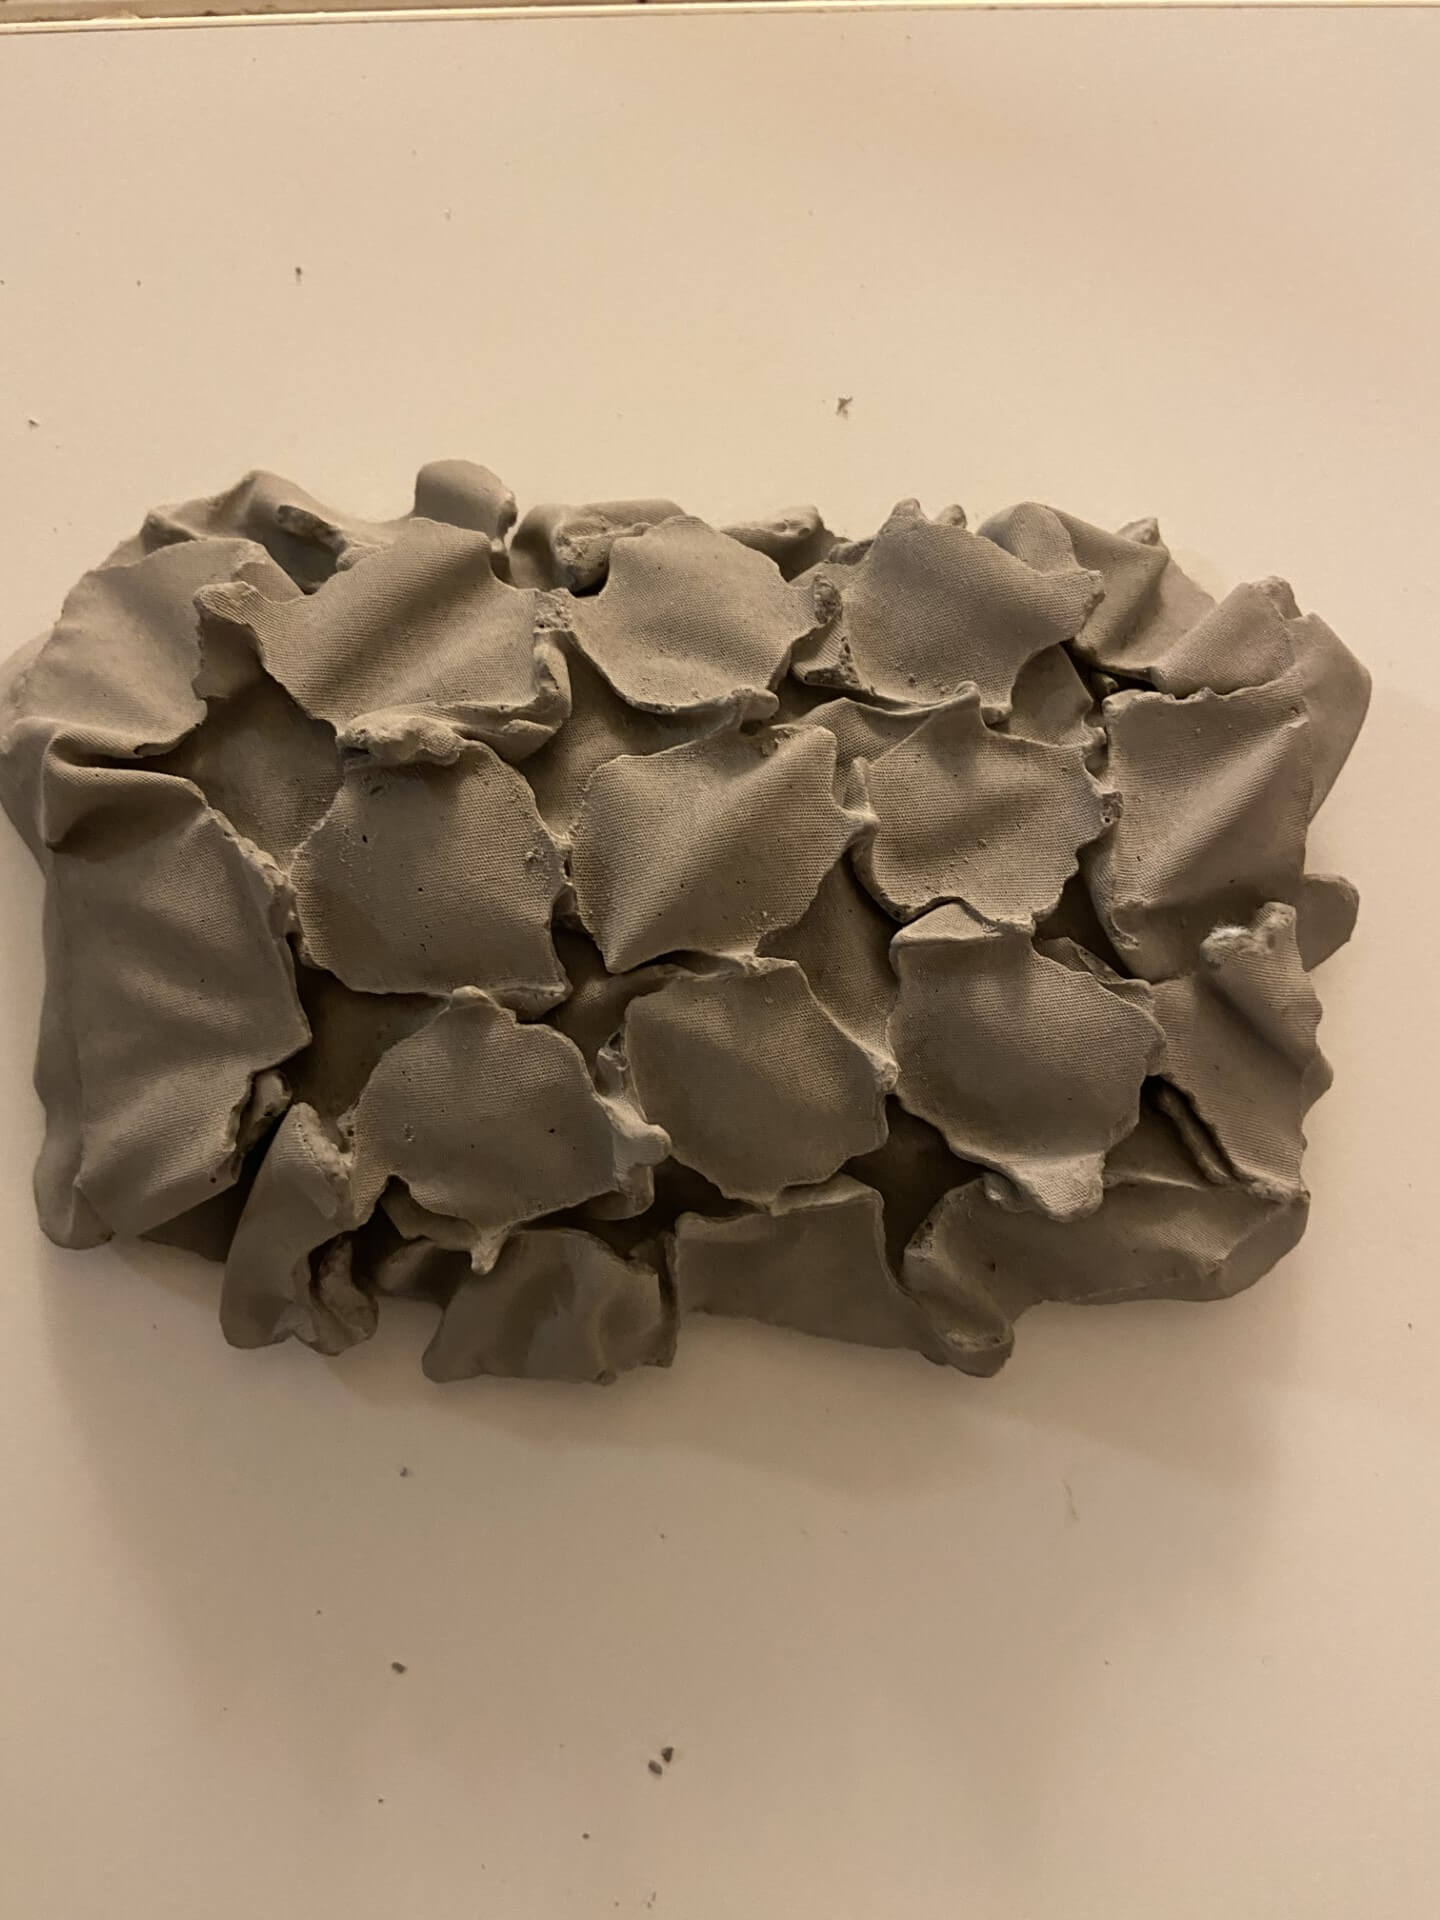
When then pattern of canadian smock was finished, I made a structure to do the casting with concrete. I found a chair from which I took off the seat.
I fixed the fabricsample in the structure of the chair.
Then I made the concrete to cast in the fabric mold. This is the concrete I used.

I casted the concrete in my canadian smock mold.
And this is my final result. I am quiet happy with it.
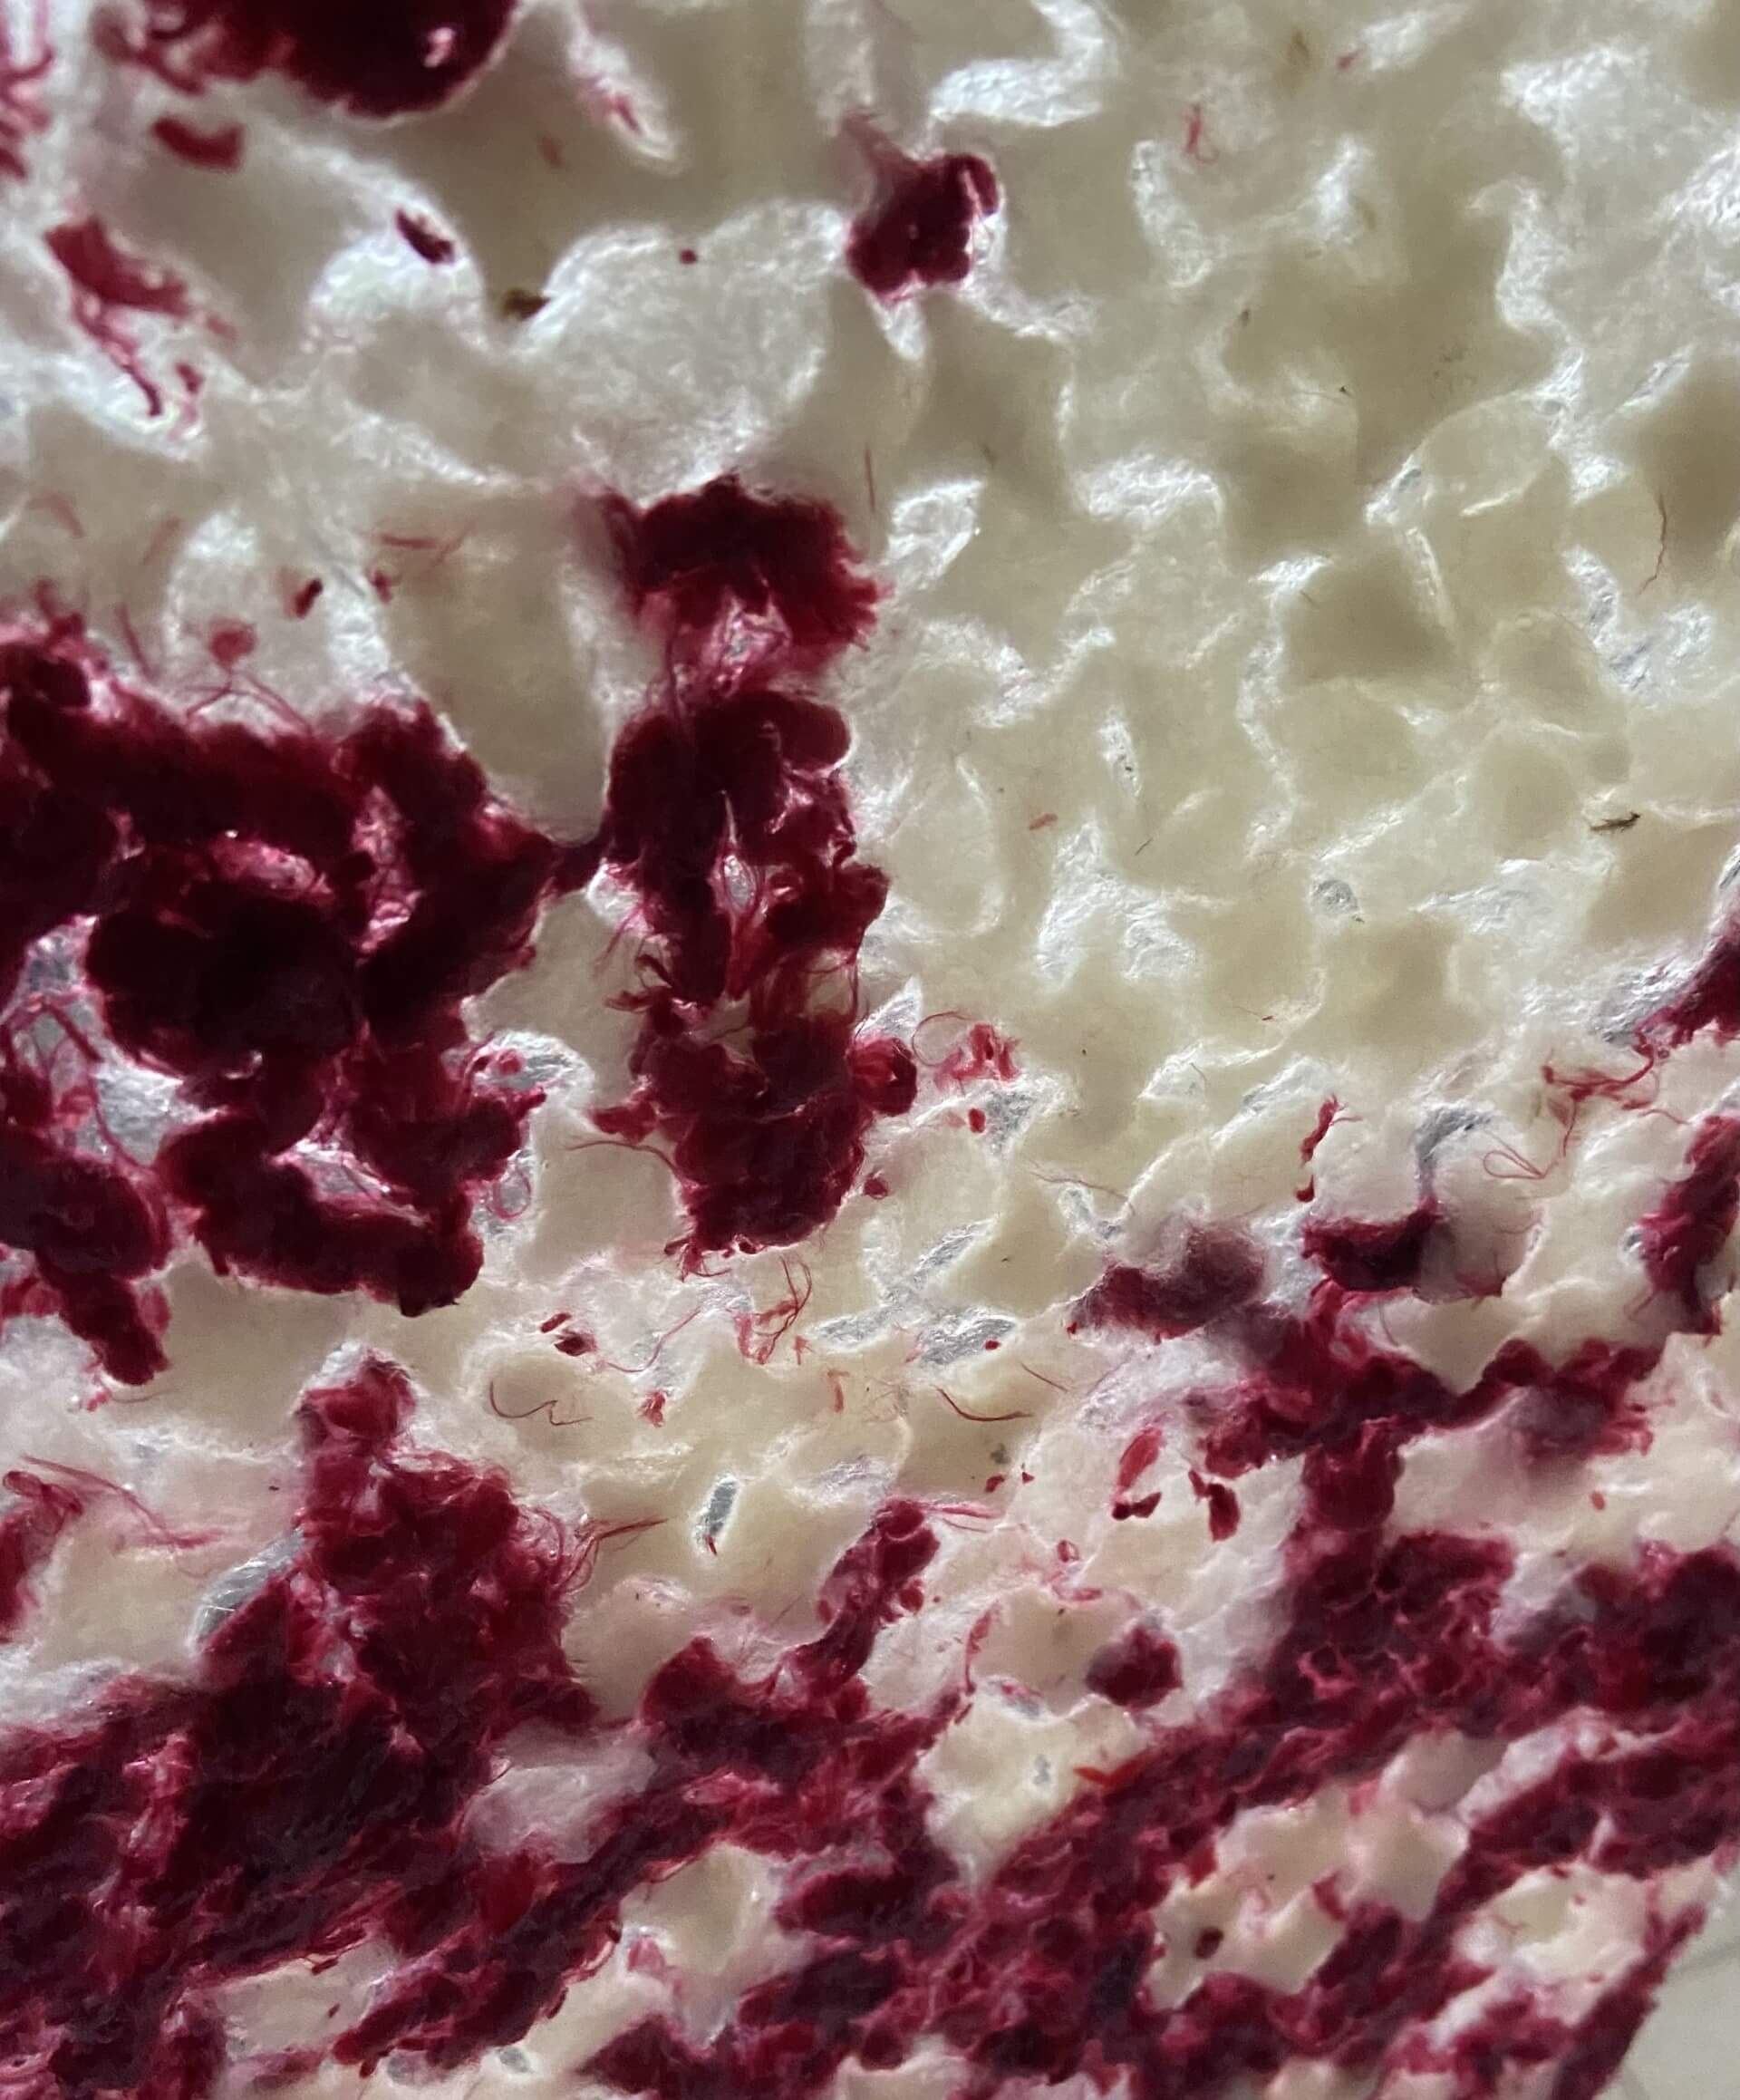
3.Crystals grown on fabric
I was inspired by the alum crystals Loes Bogers made.
This is the source of the recipe I used.
Tools needed:
Alum
Water
Clean beaker
Pencil
Fabric
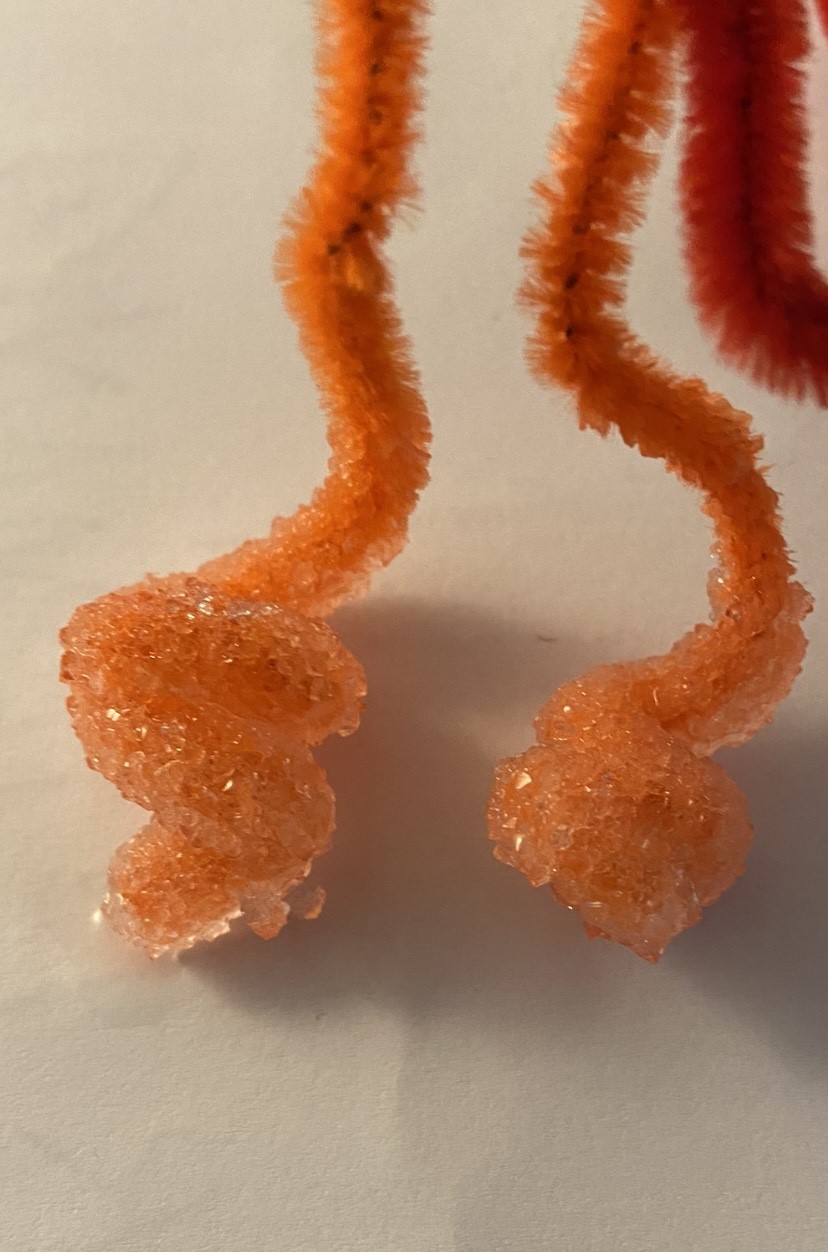
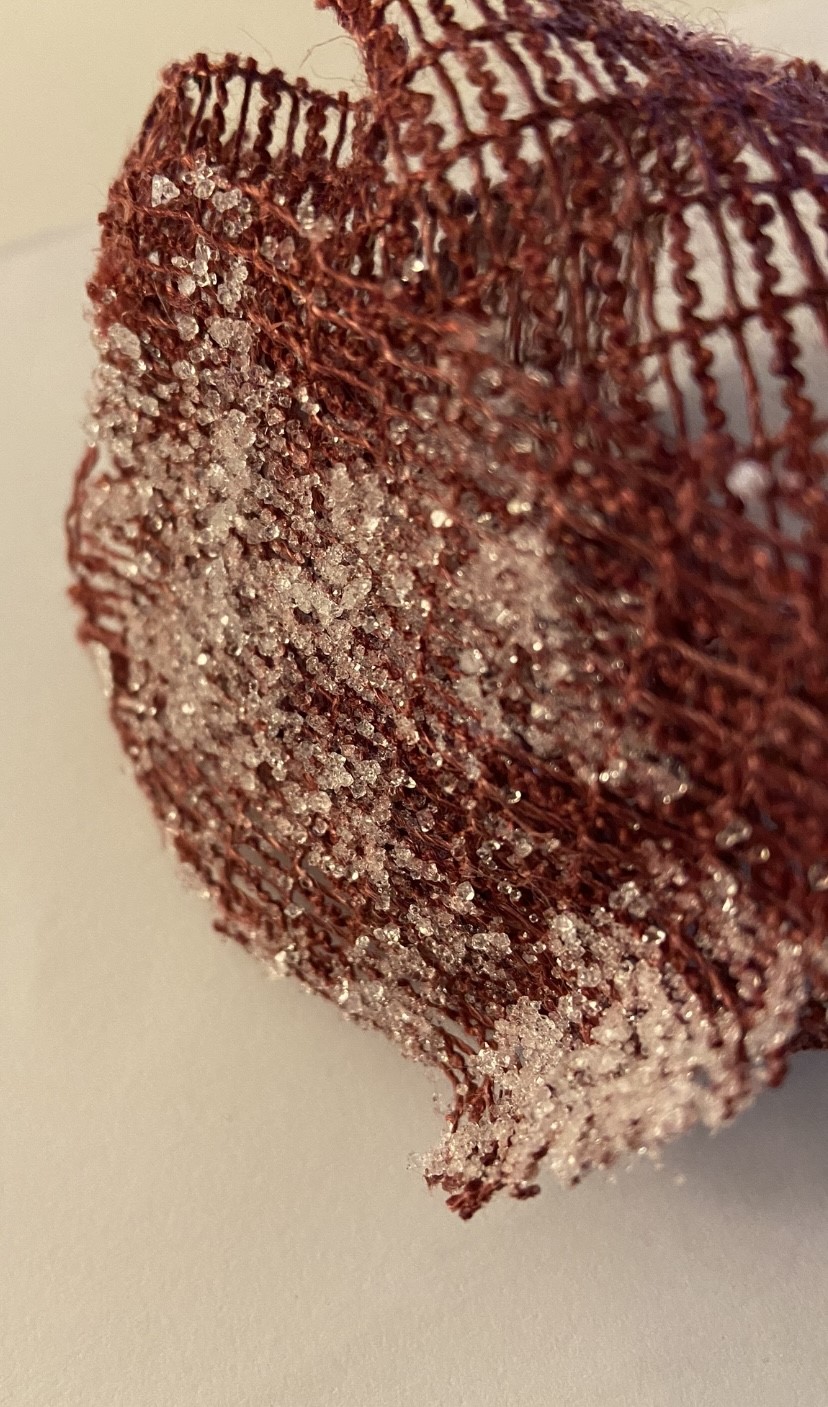
In the recipe they made loose crystals but I used loosely woven fabric and hairy pipecleaners to let them grow on.
This was my result after 5 days of growth. I think there was a little bit too much aggitation for them to growth because I had to replace the jars a few times.
4.Leather moulding
I also wanted to try leather moulding but I was not able to go to the fablab to make a mold so I tried to find a solution for it at my home.
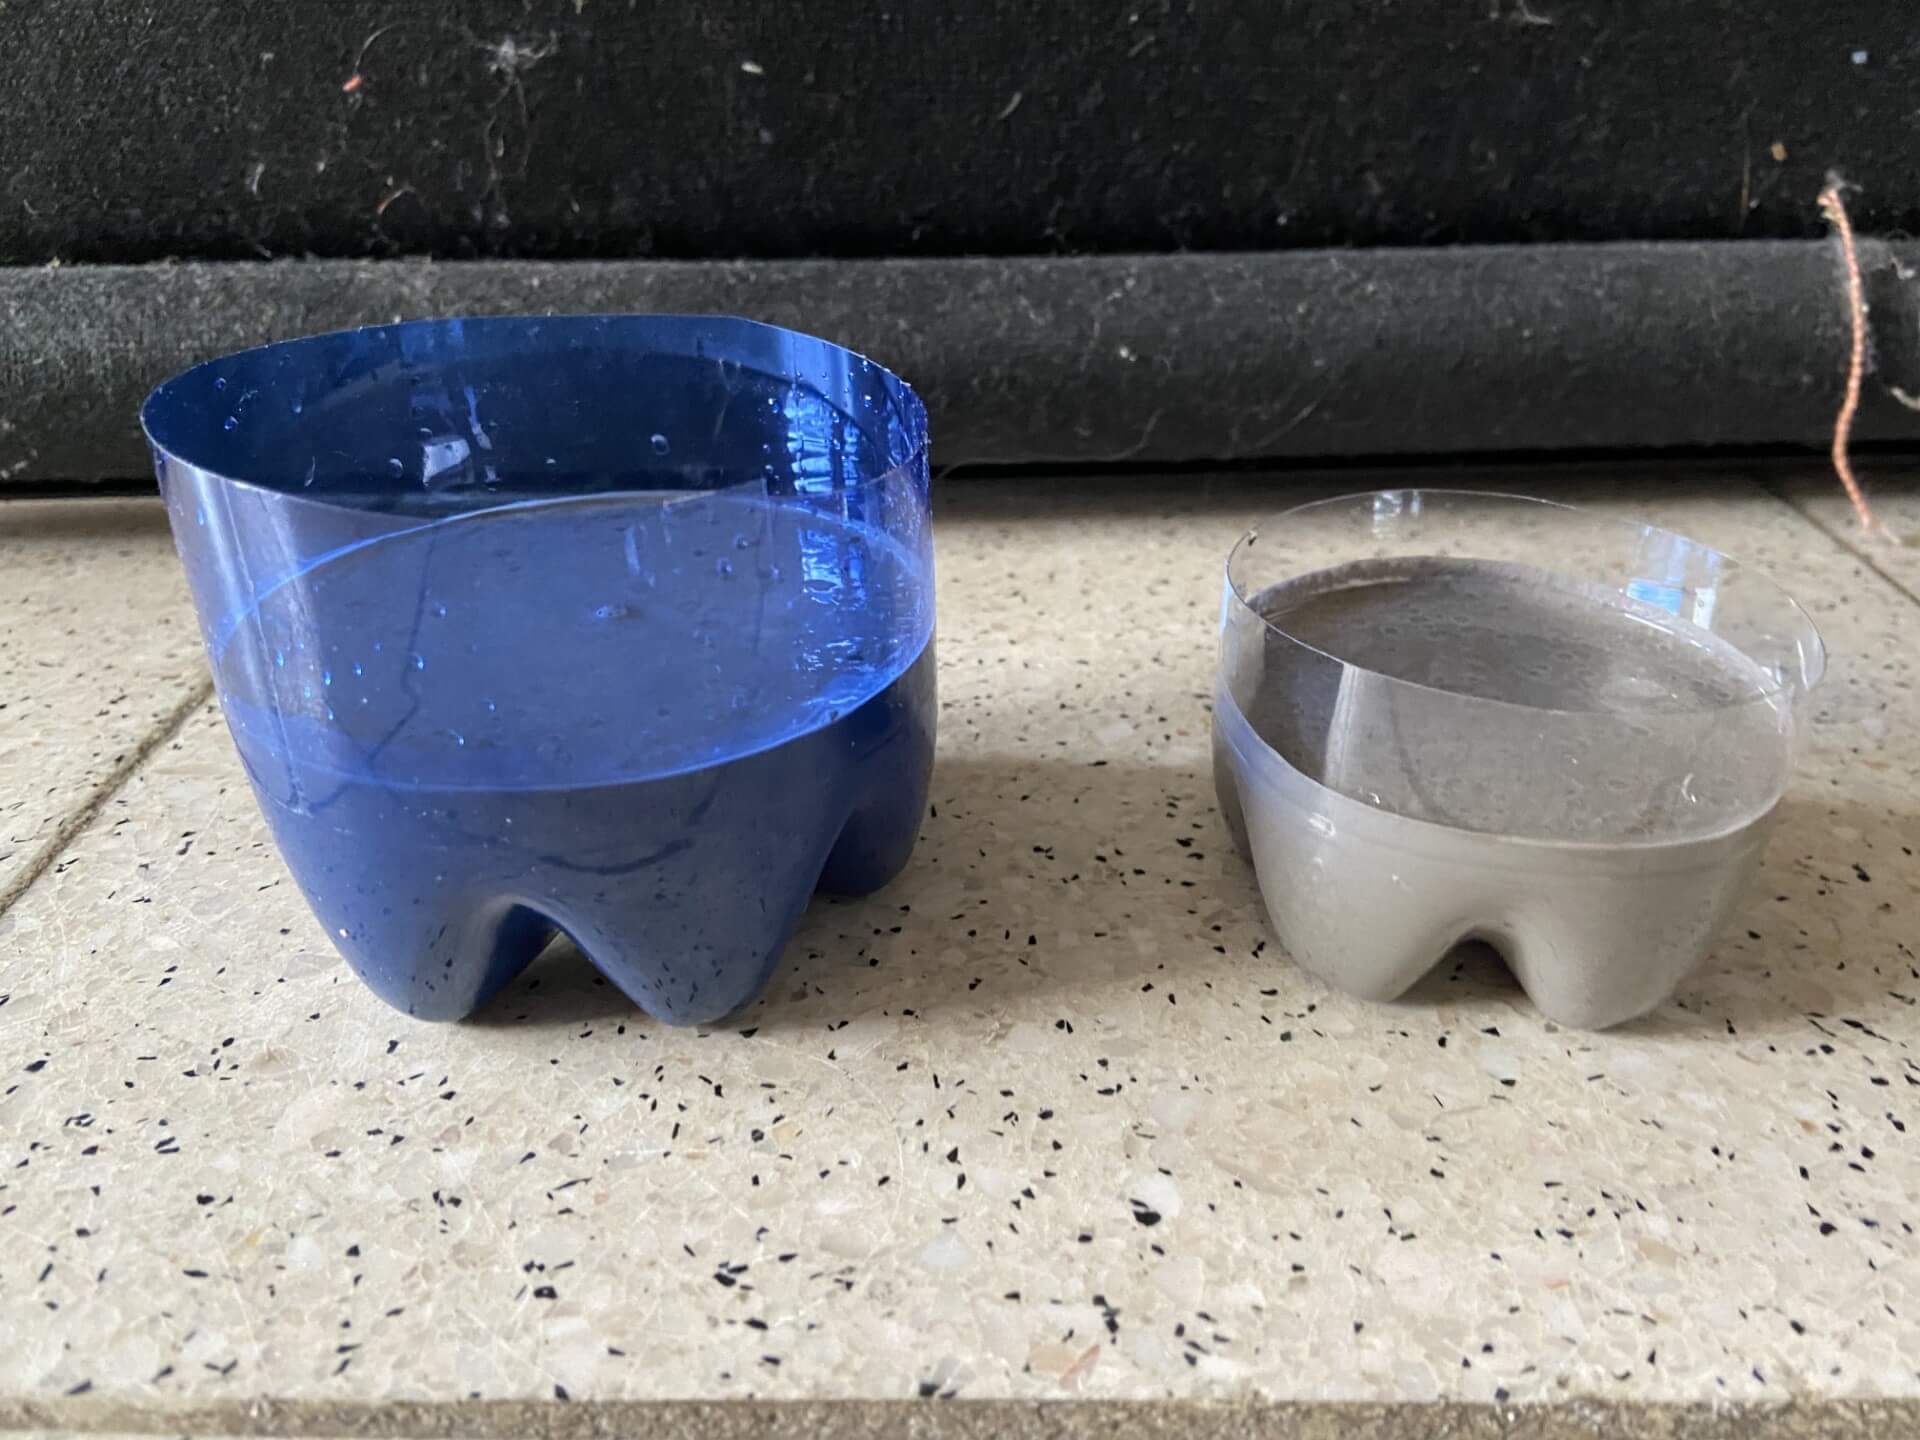
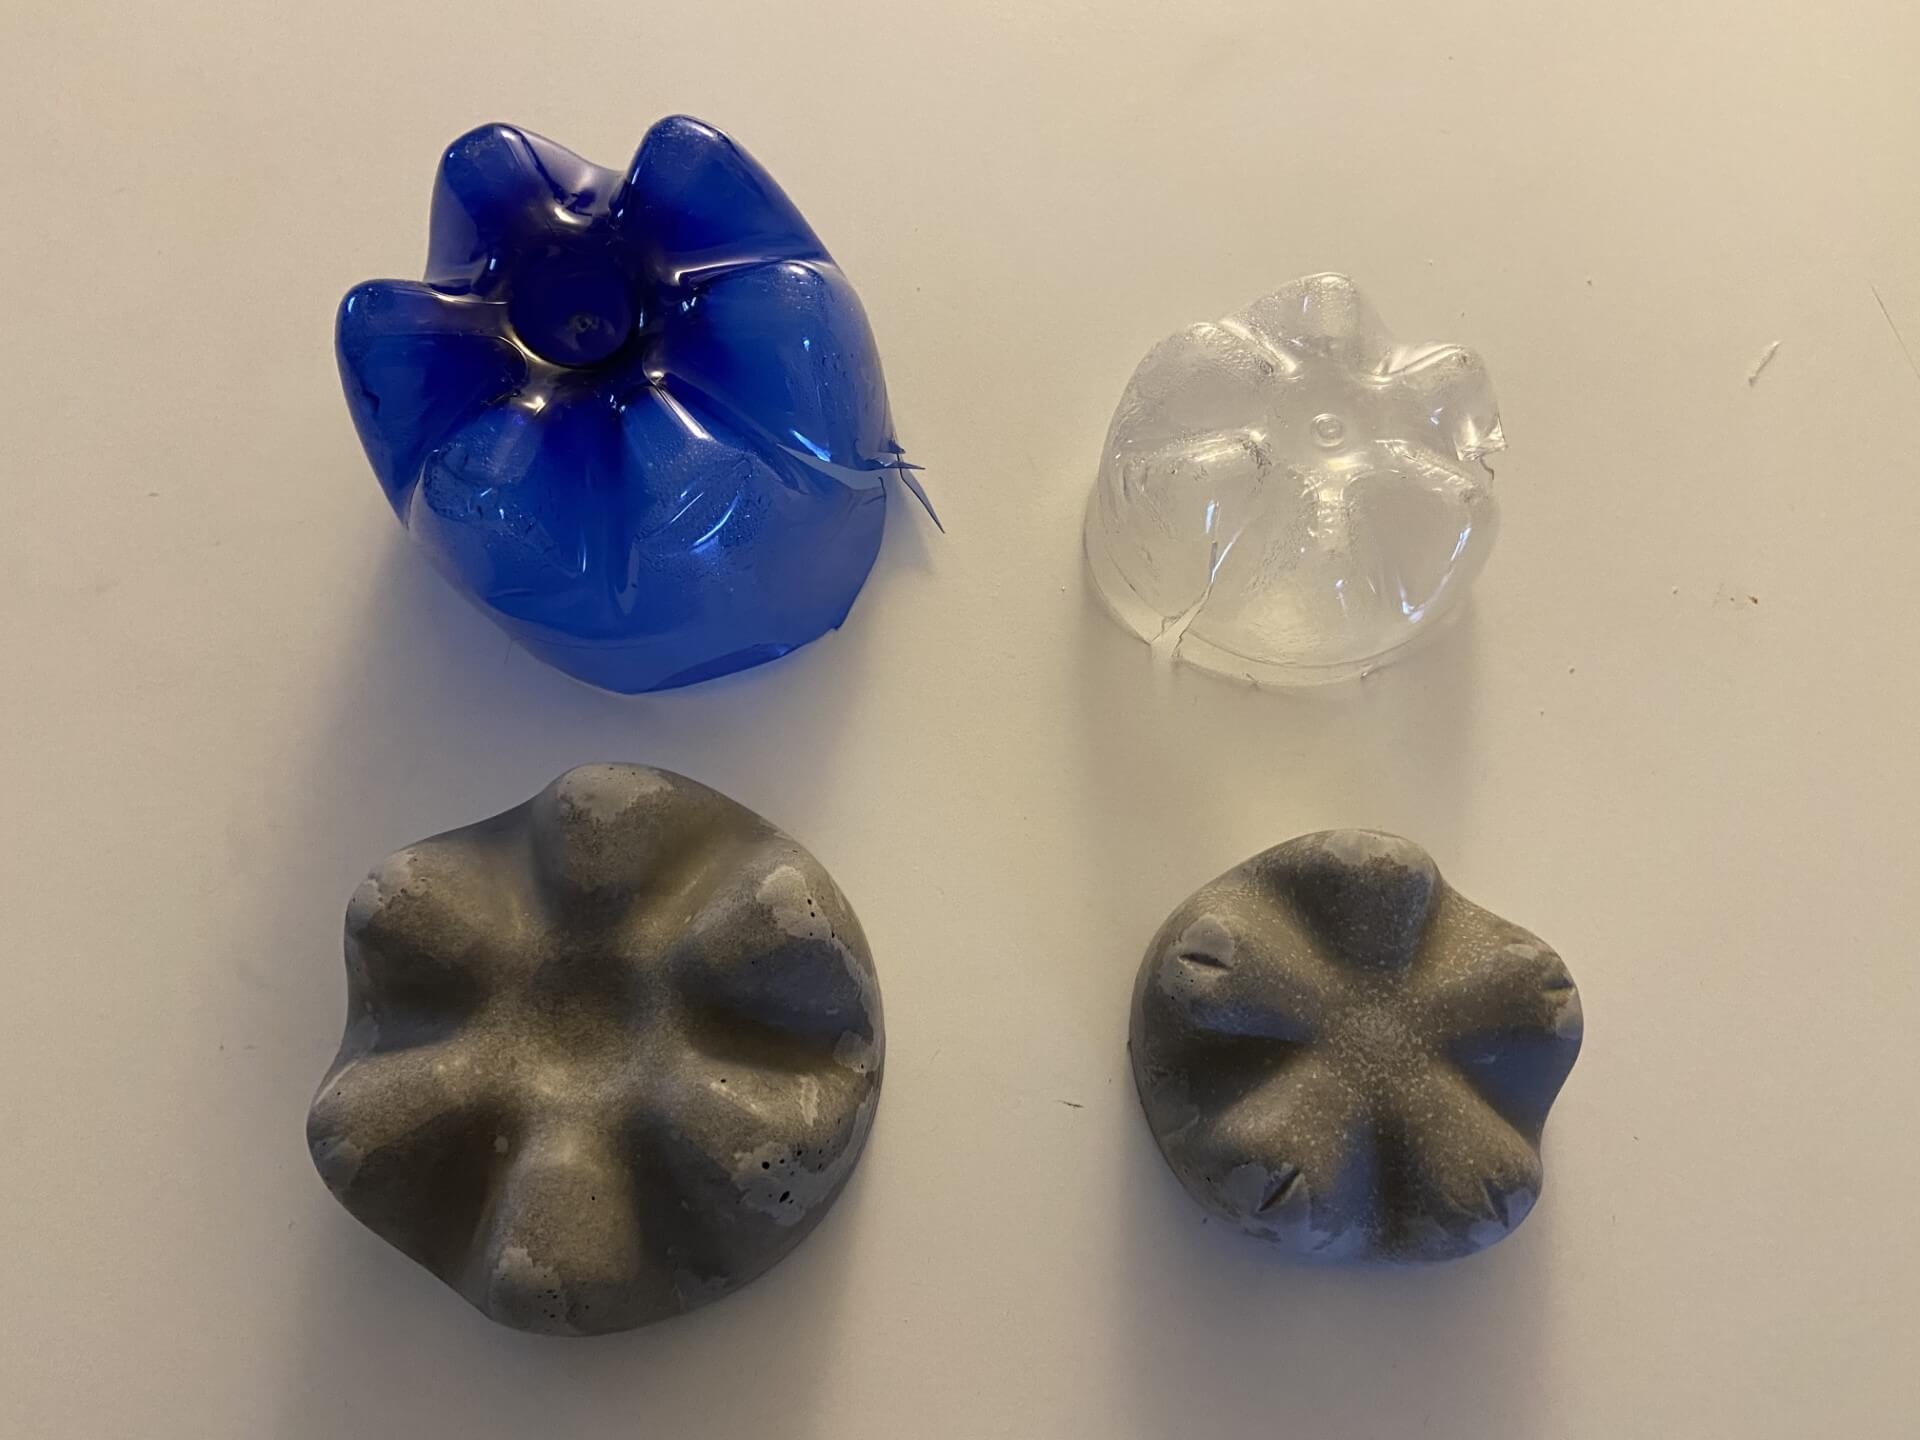
So I made two molds from concrete.The bottom of plastic water bottles was used to cast the concrete in it.
I then prepared the leather. During 10 minutes I then stretched and massaged the leather with my hands to open the pores of it.
After that I put the leather in hot water (hot water helps the leather to dry faster afterwards) for a few minutes.
I then stretched the leather over my 2 concrete molds and I used the bottom of empty bottles as a negative to put over the leather.
So we had different layers:
1. under: concrete mold
2. in between: leather
3. on top: bottom of plastic bottle used as a negative
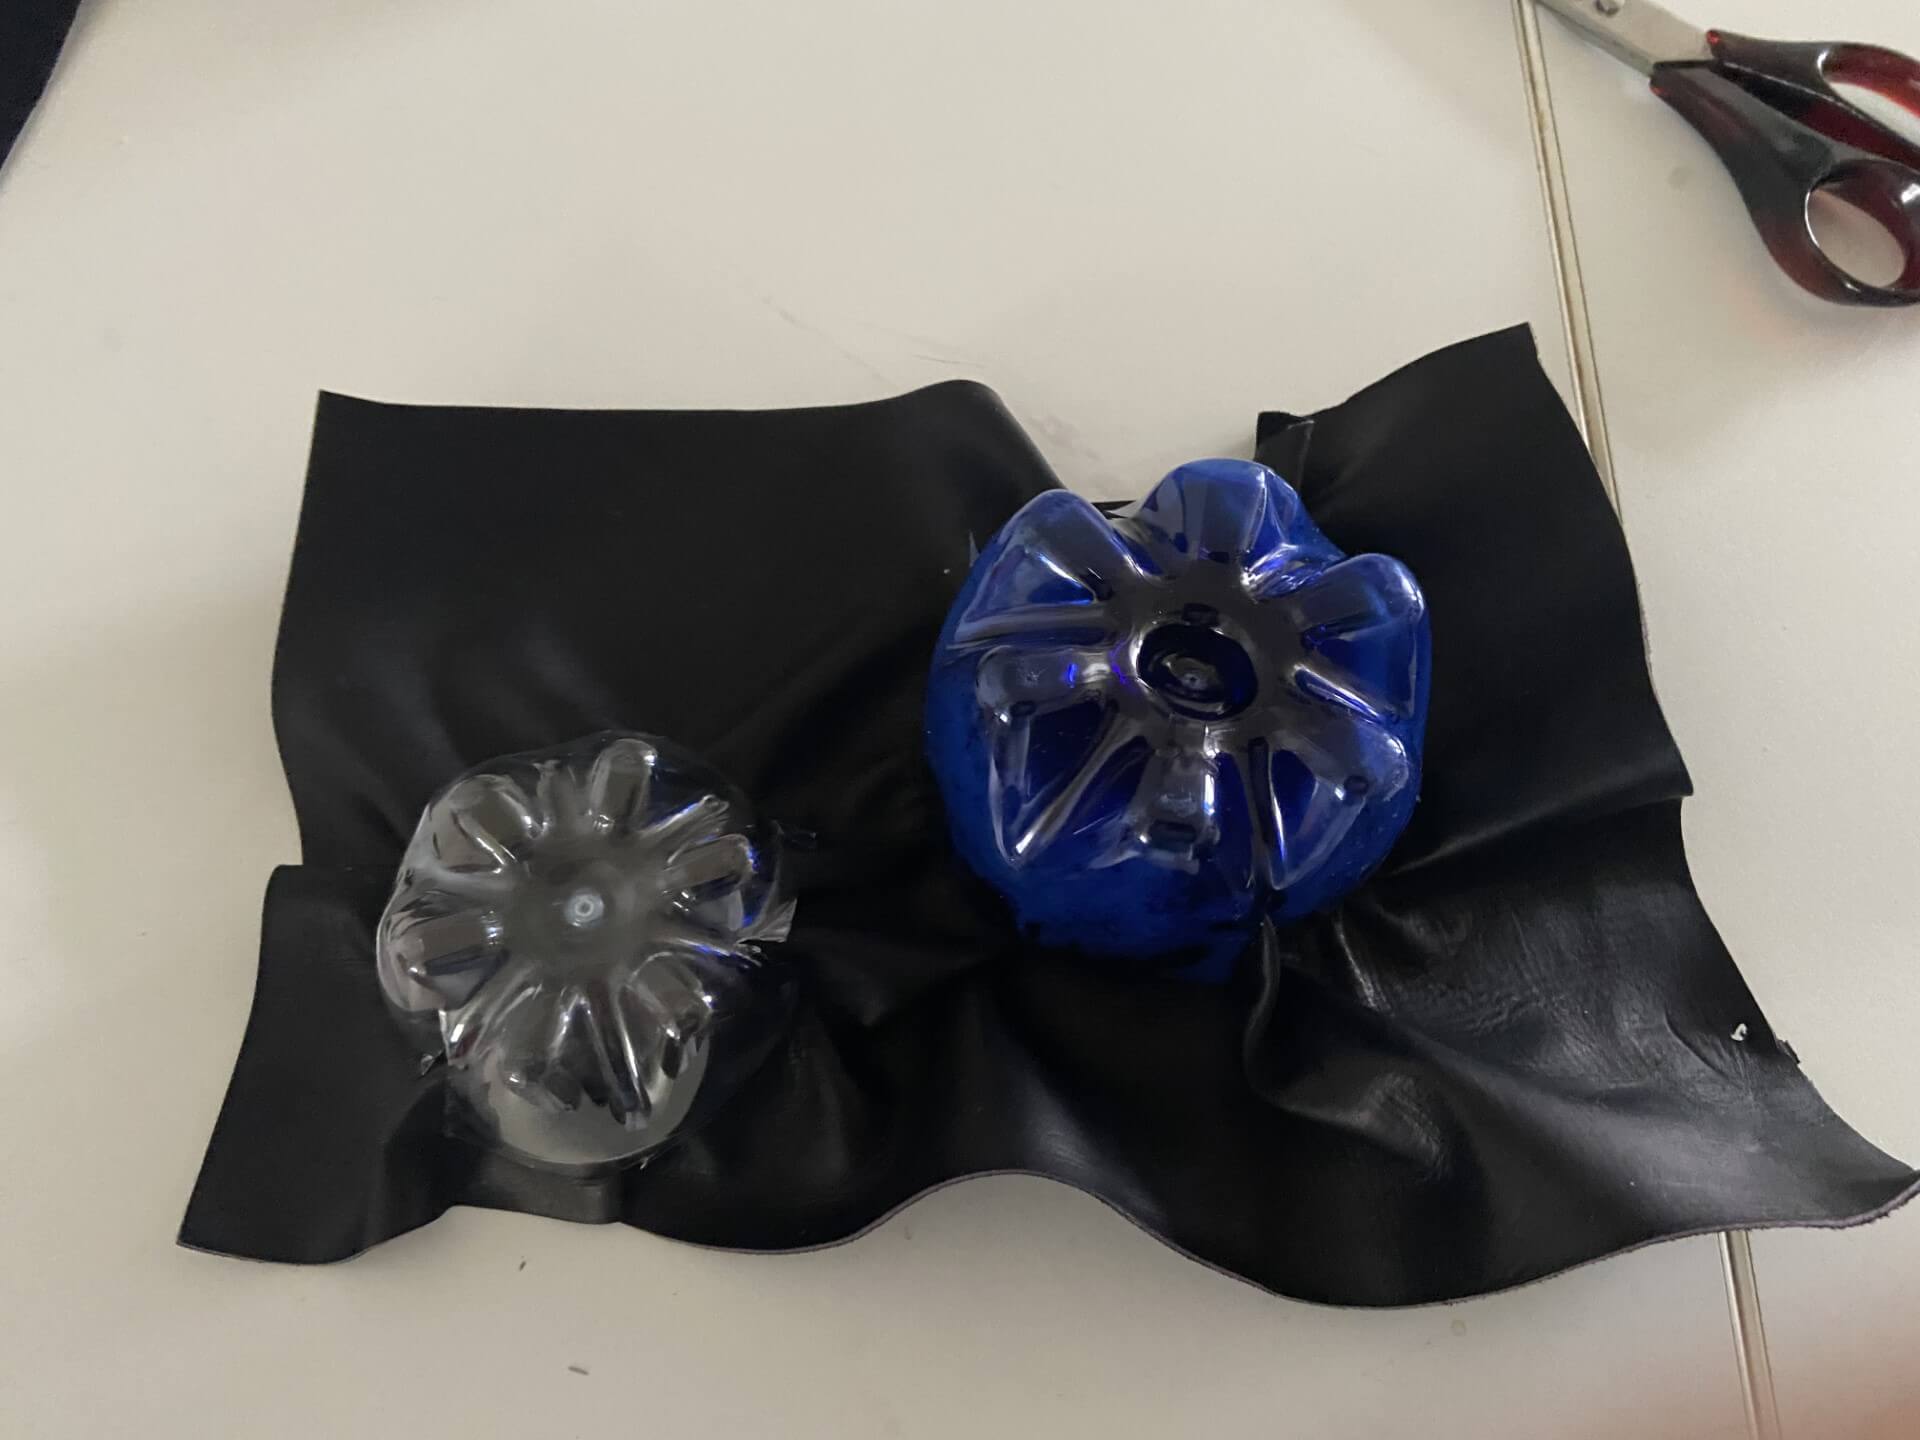
I wanted to put weight over it so that the negative mold could be pressed over the leather:
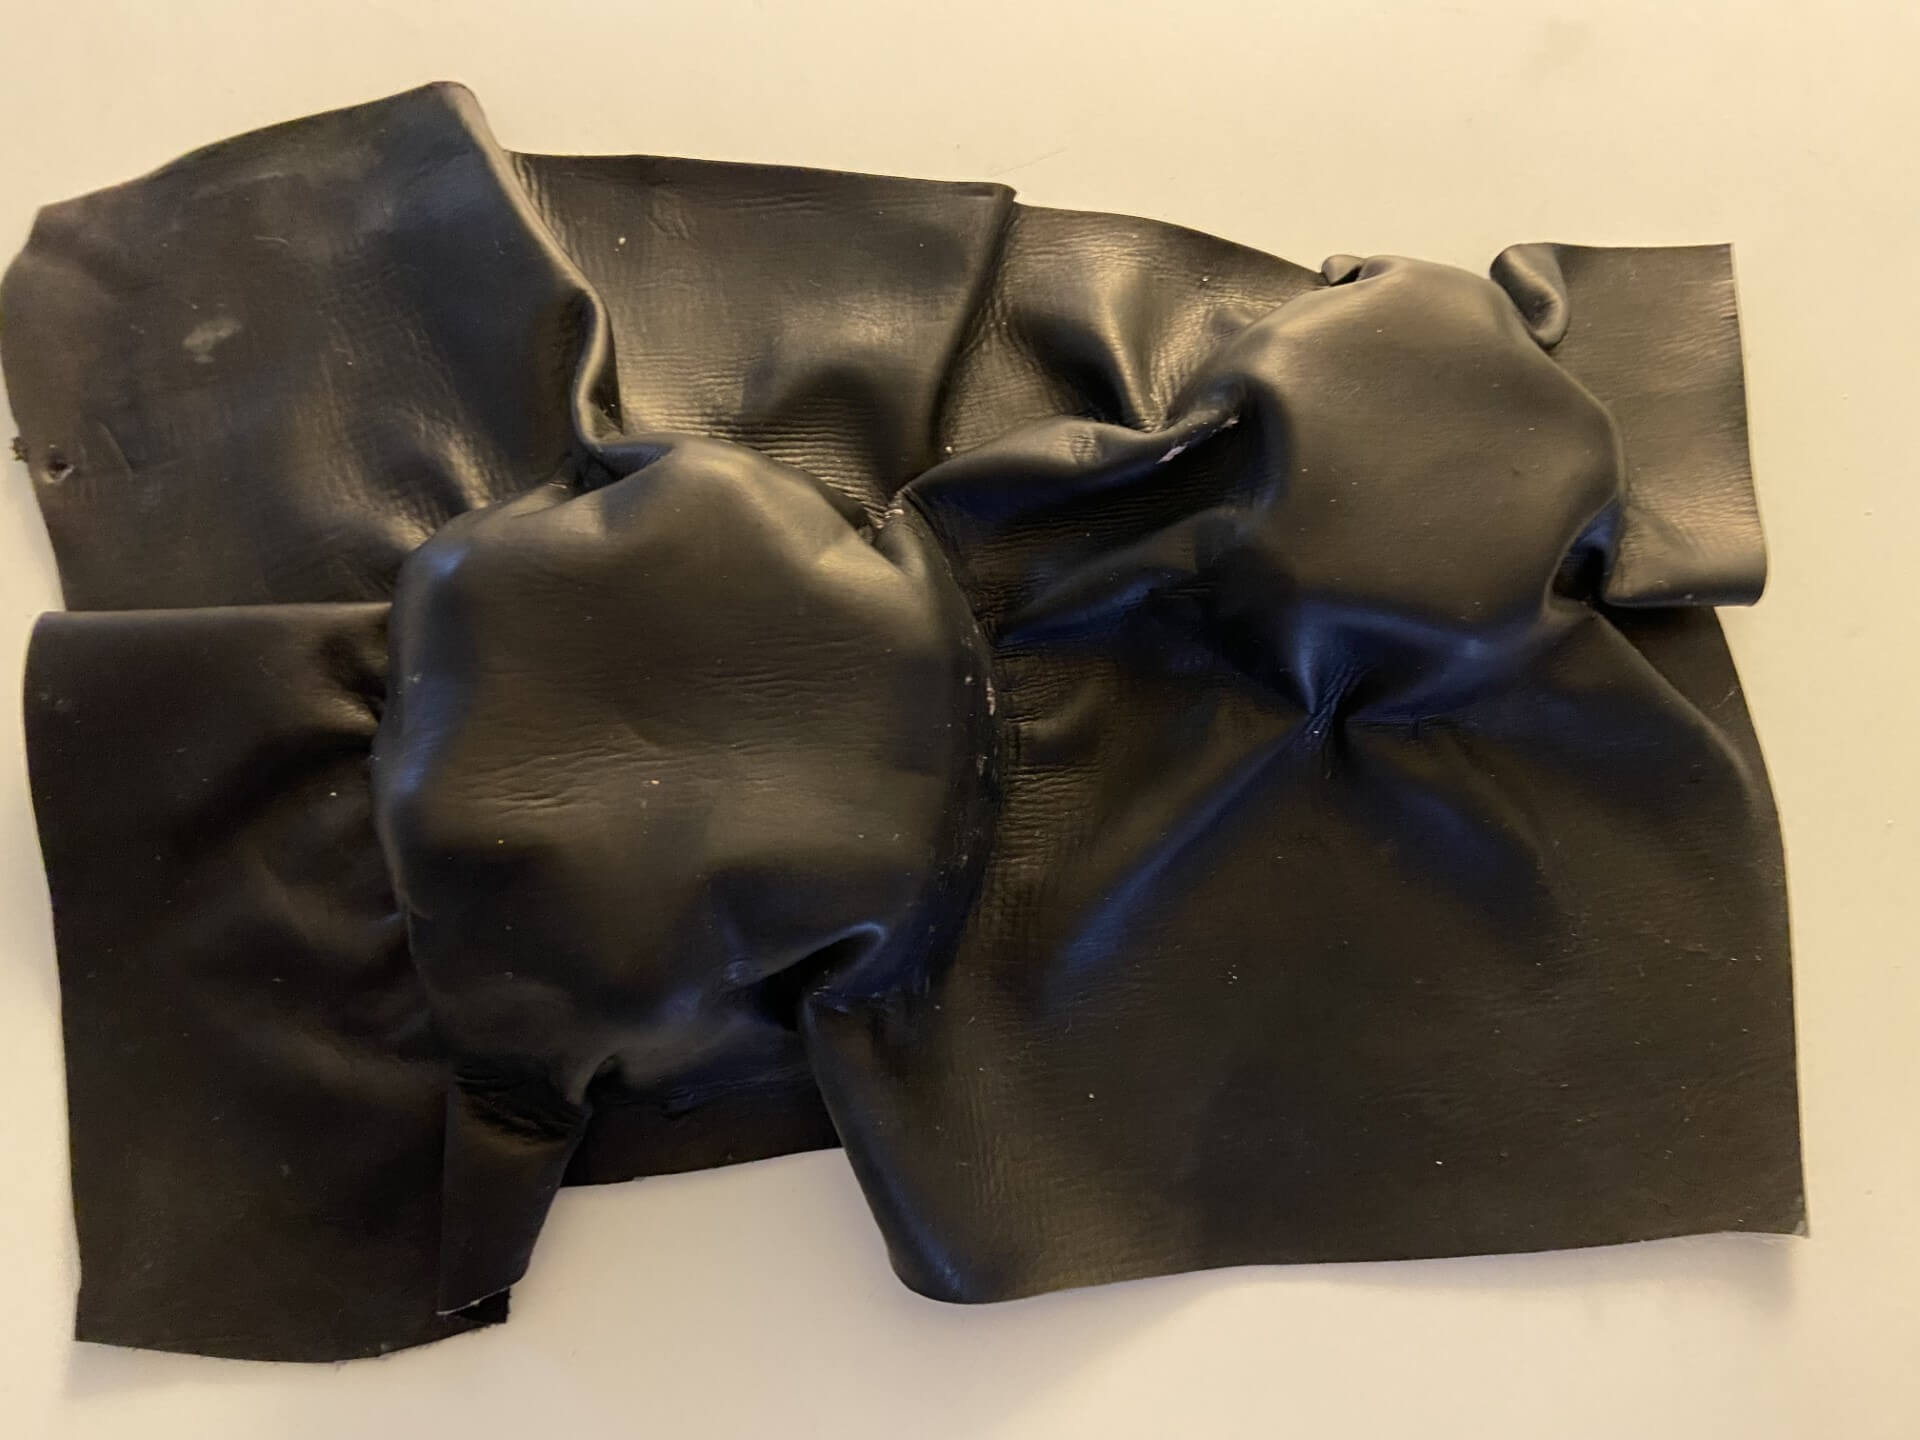
This is my final result for my cuir bouilli experiment after 2 days of drying. I was quiet satisfied with the relief I obtained but with a more pressing negative mold I think it would have a nicer result.
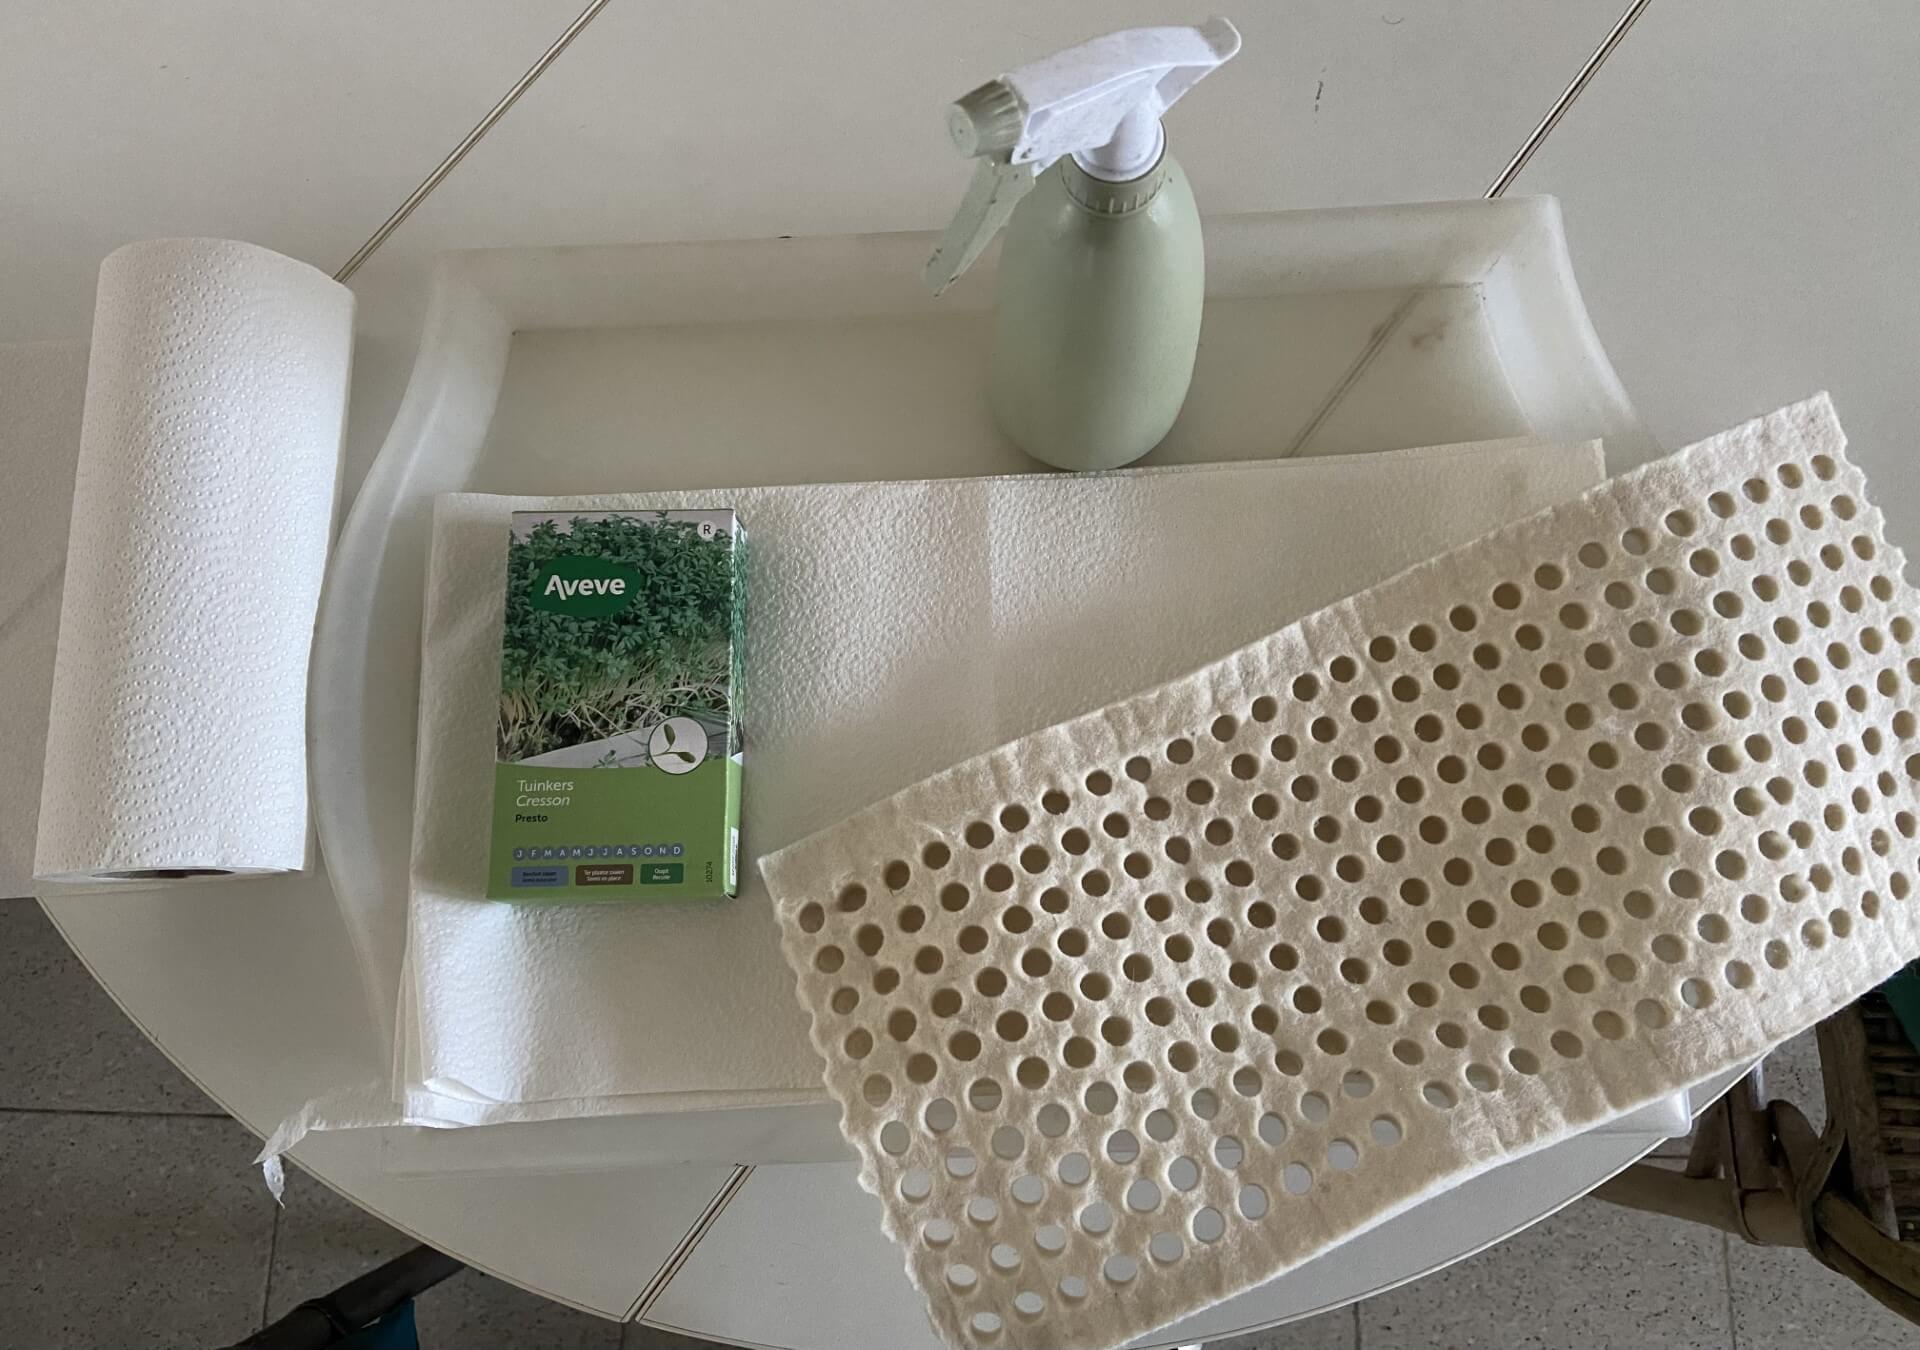
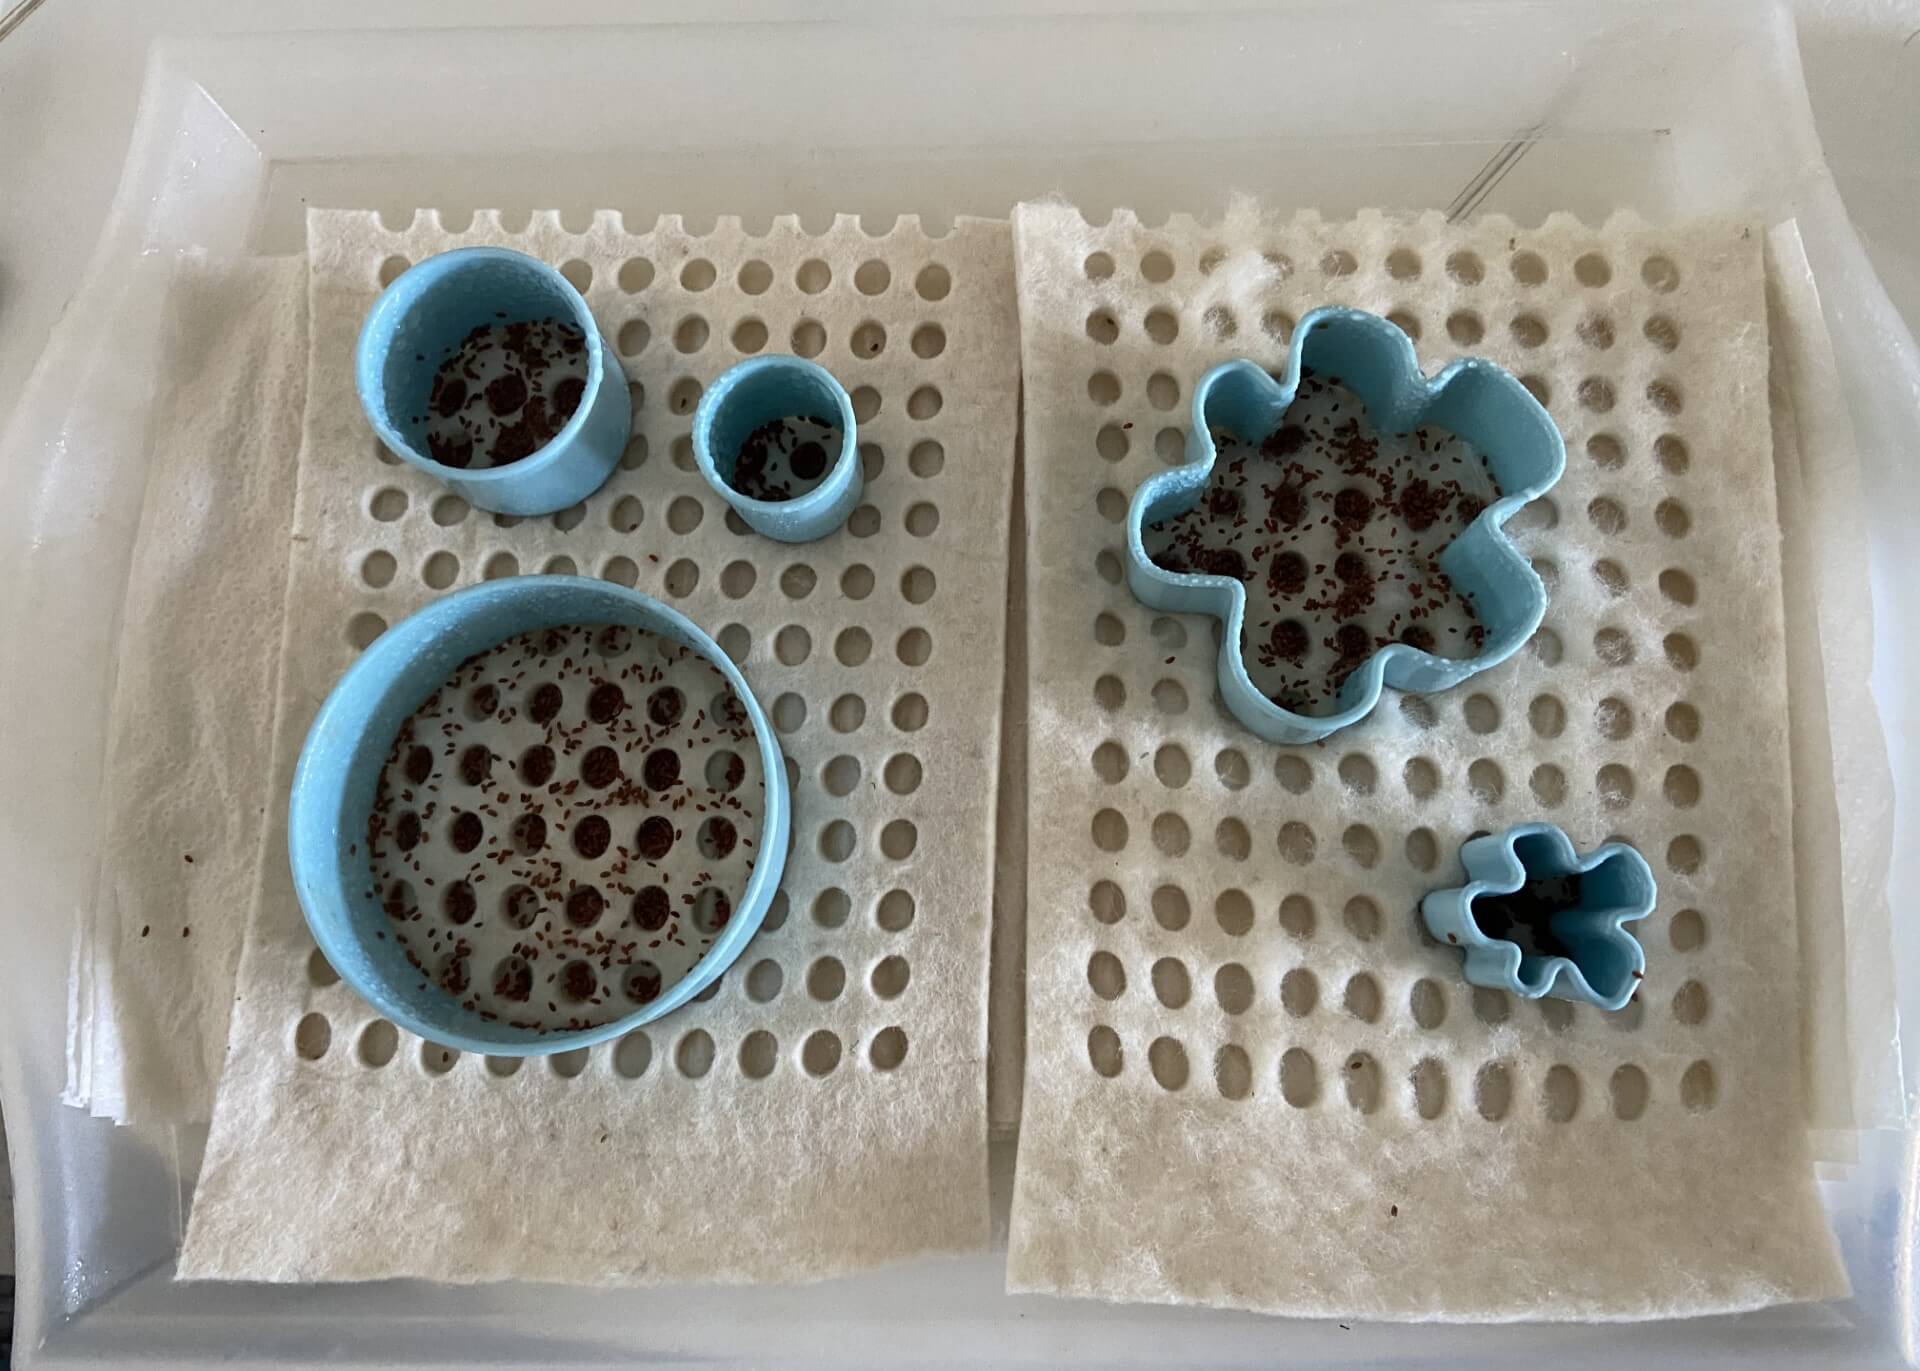
5.Biological fabrication
I tried to let grow seeds of watercress inside felt. I used cookies-molds to let the seeds grow in a well-defined pattern.
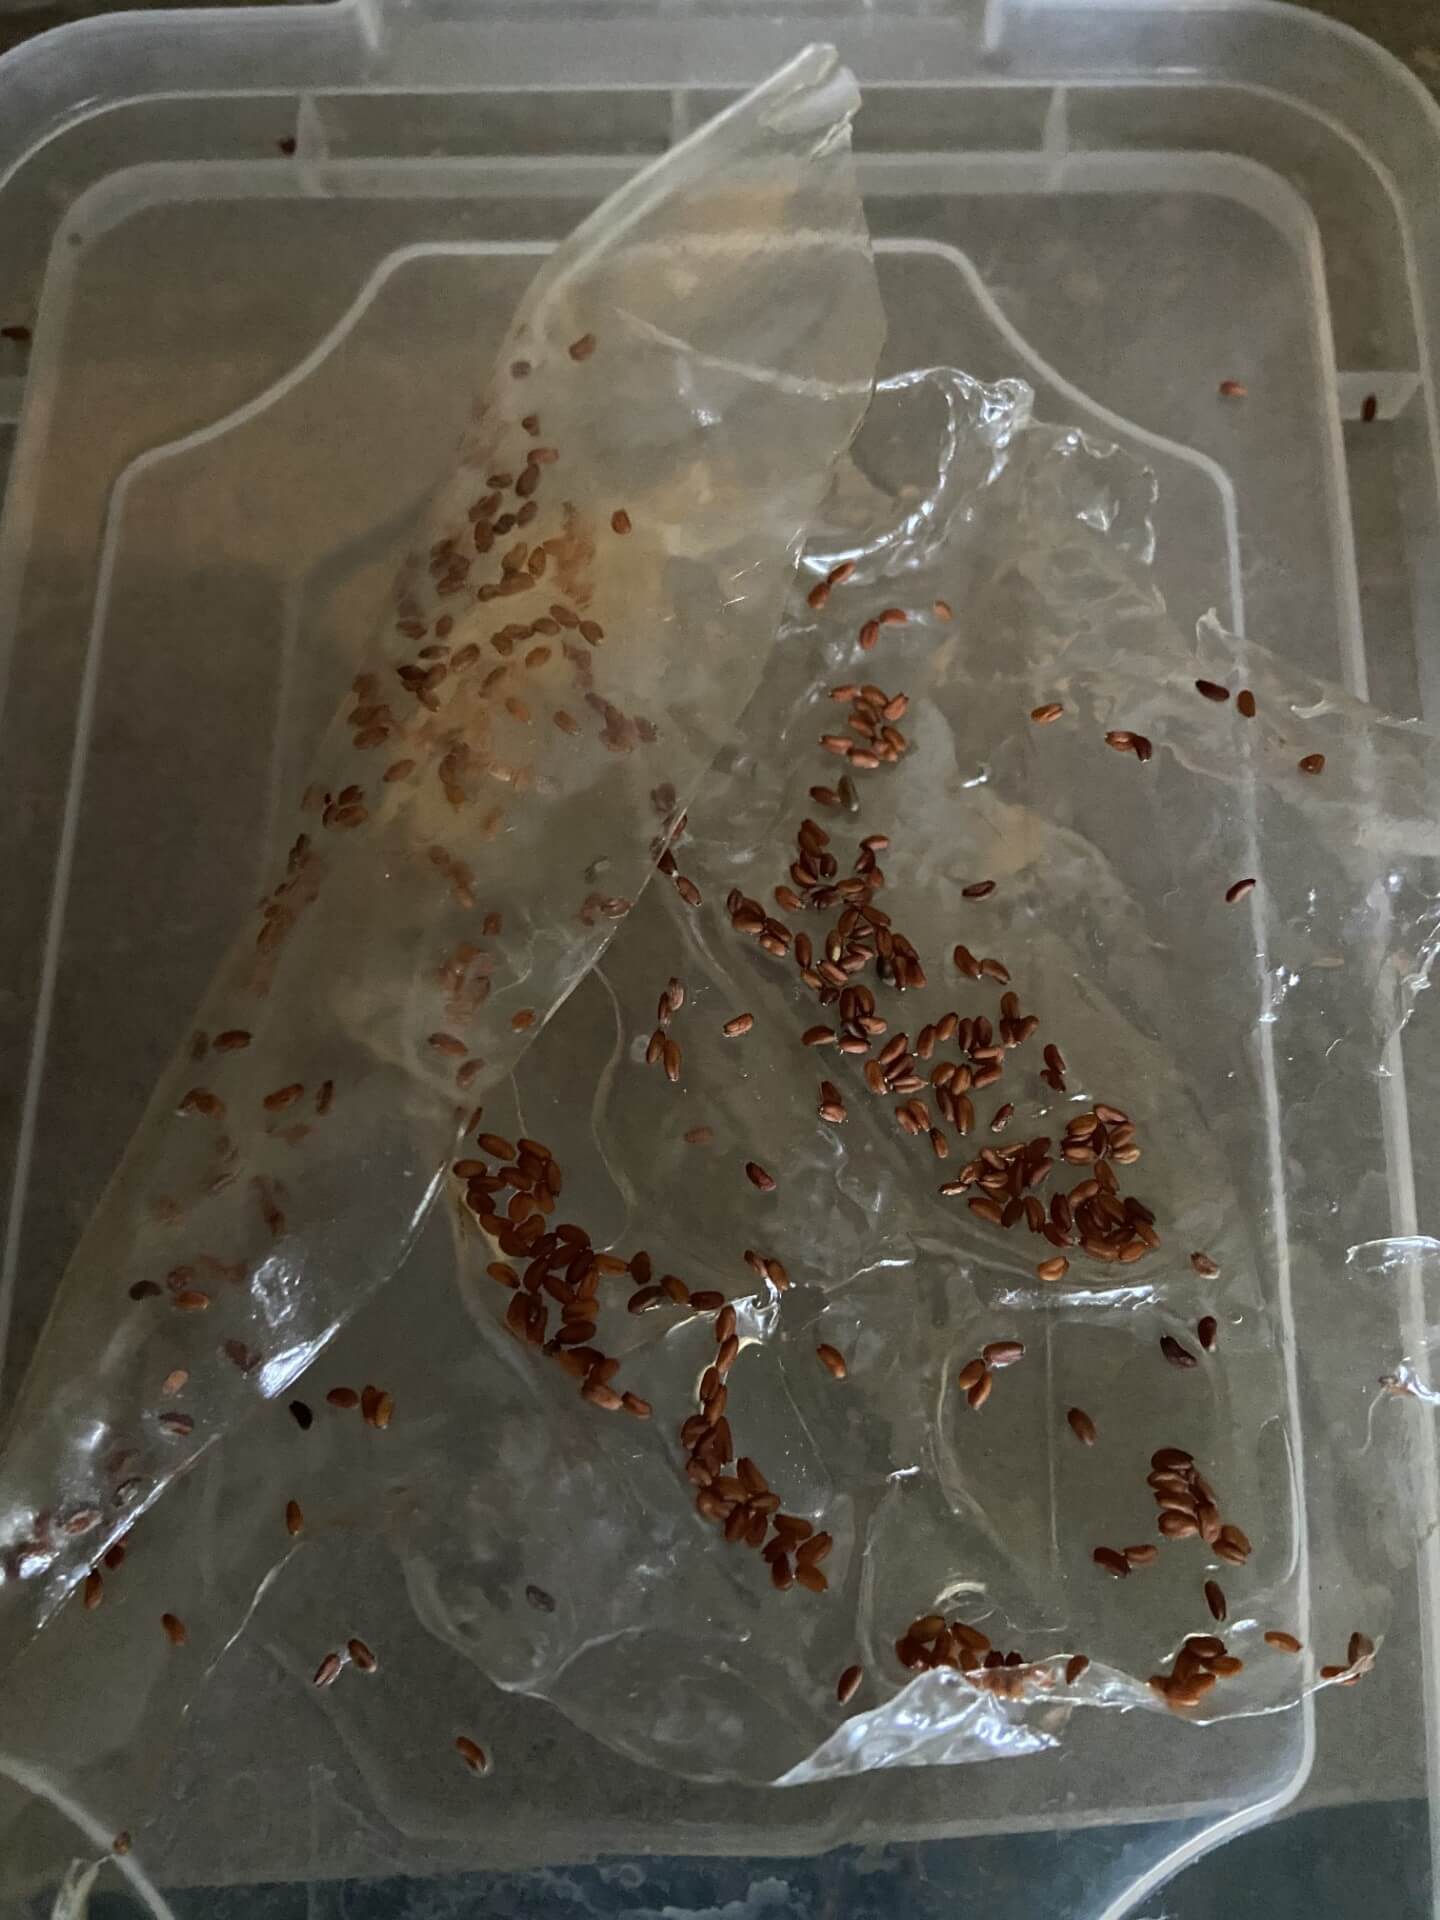
I also tried to grow on a leftover sheet of bioresin I made in the Biomaterials Week, but it didn't grow on it.
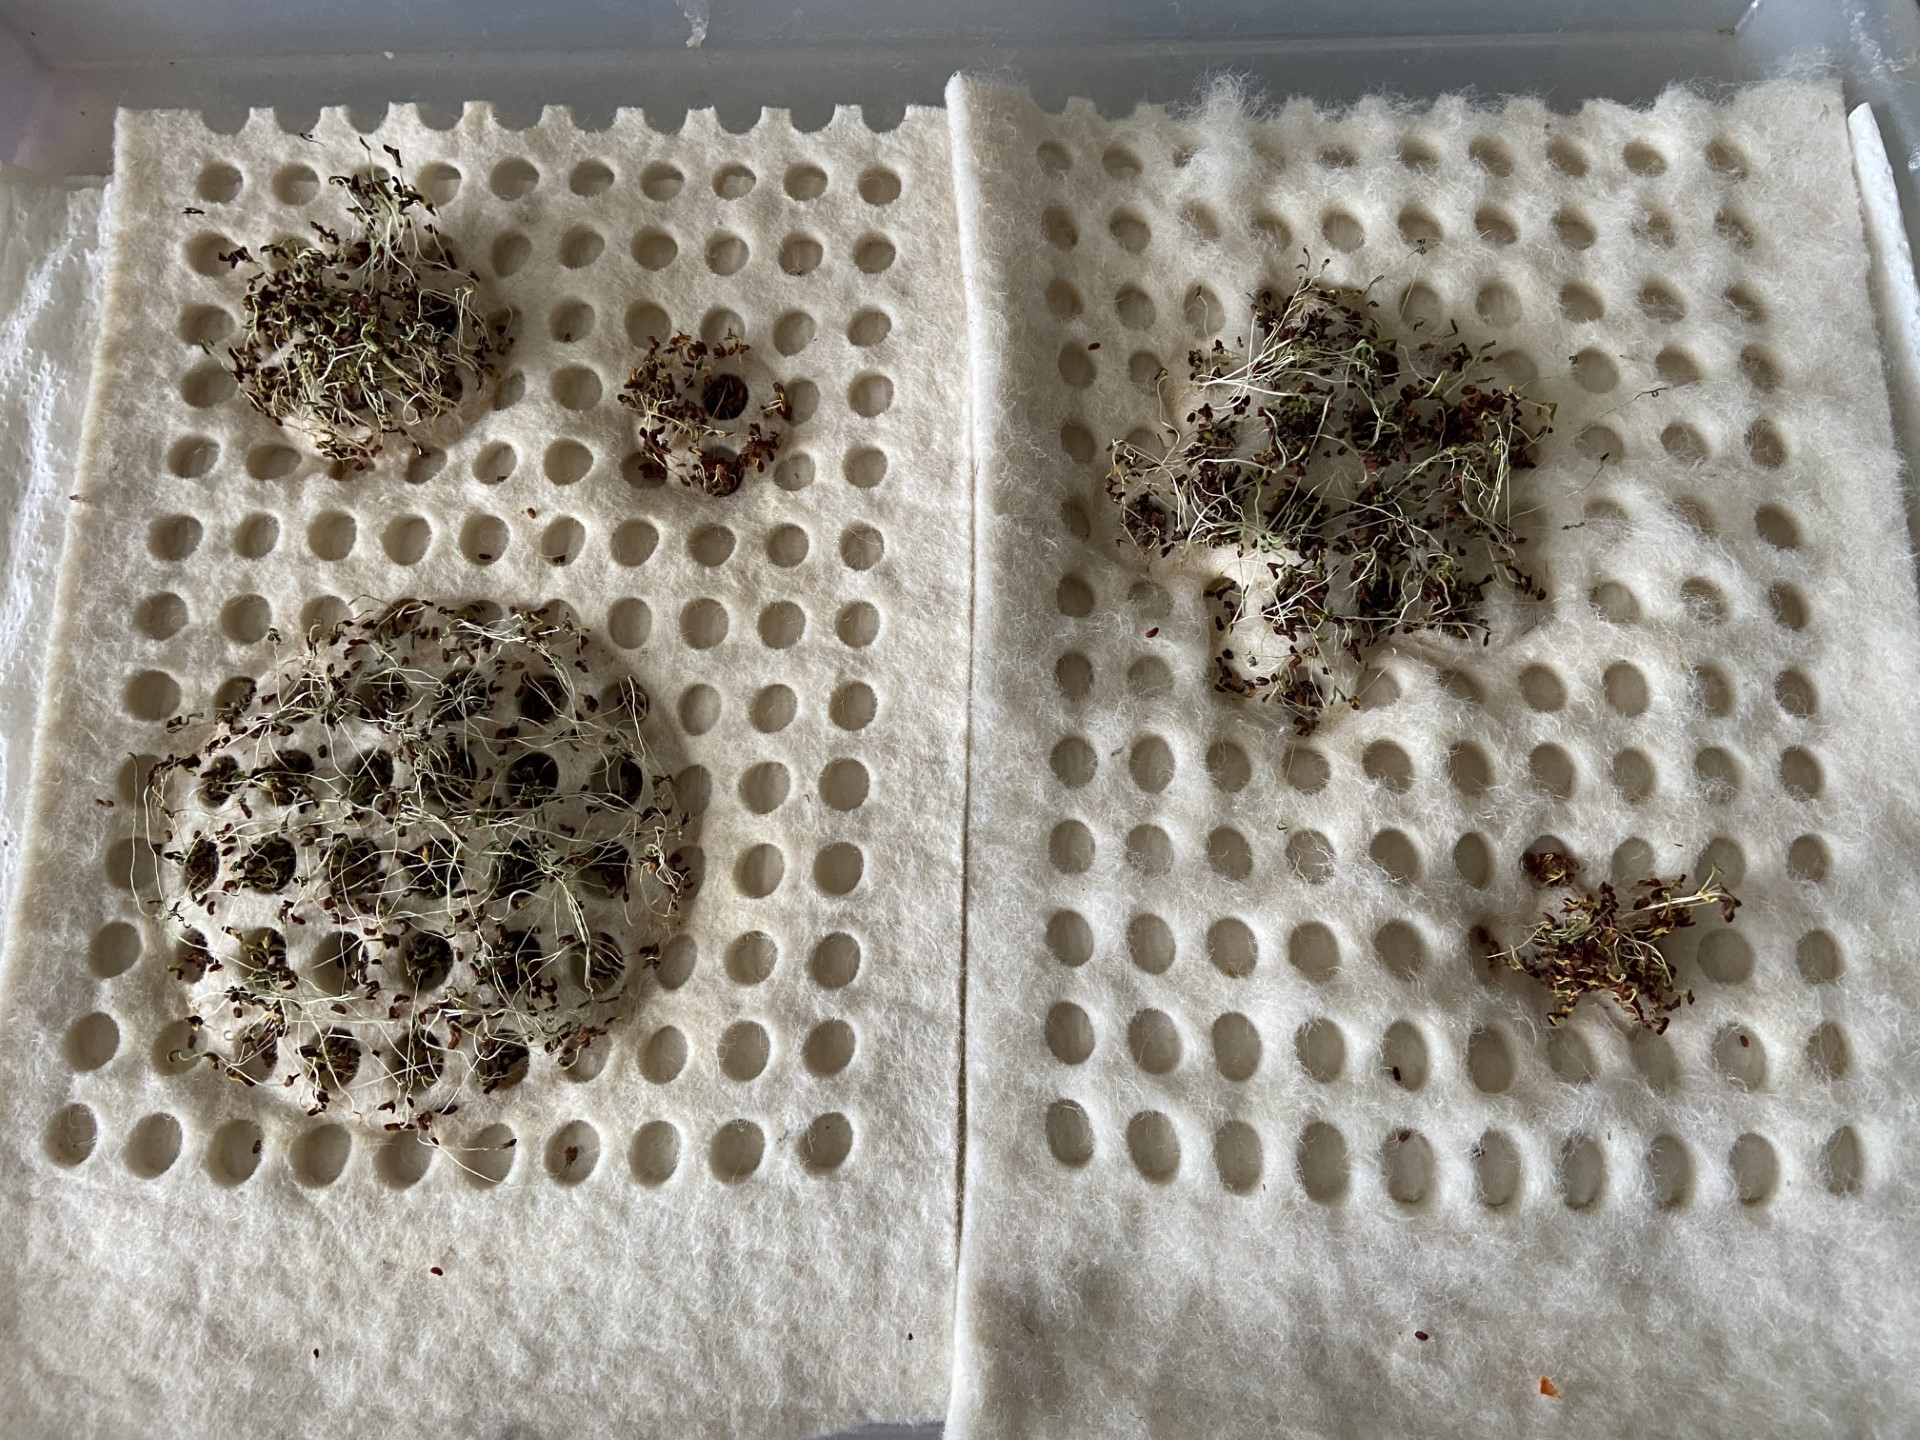
After 1 week this was my result:
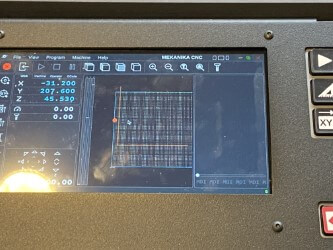
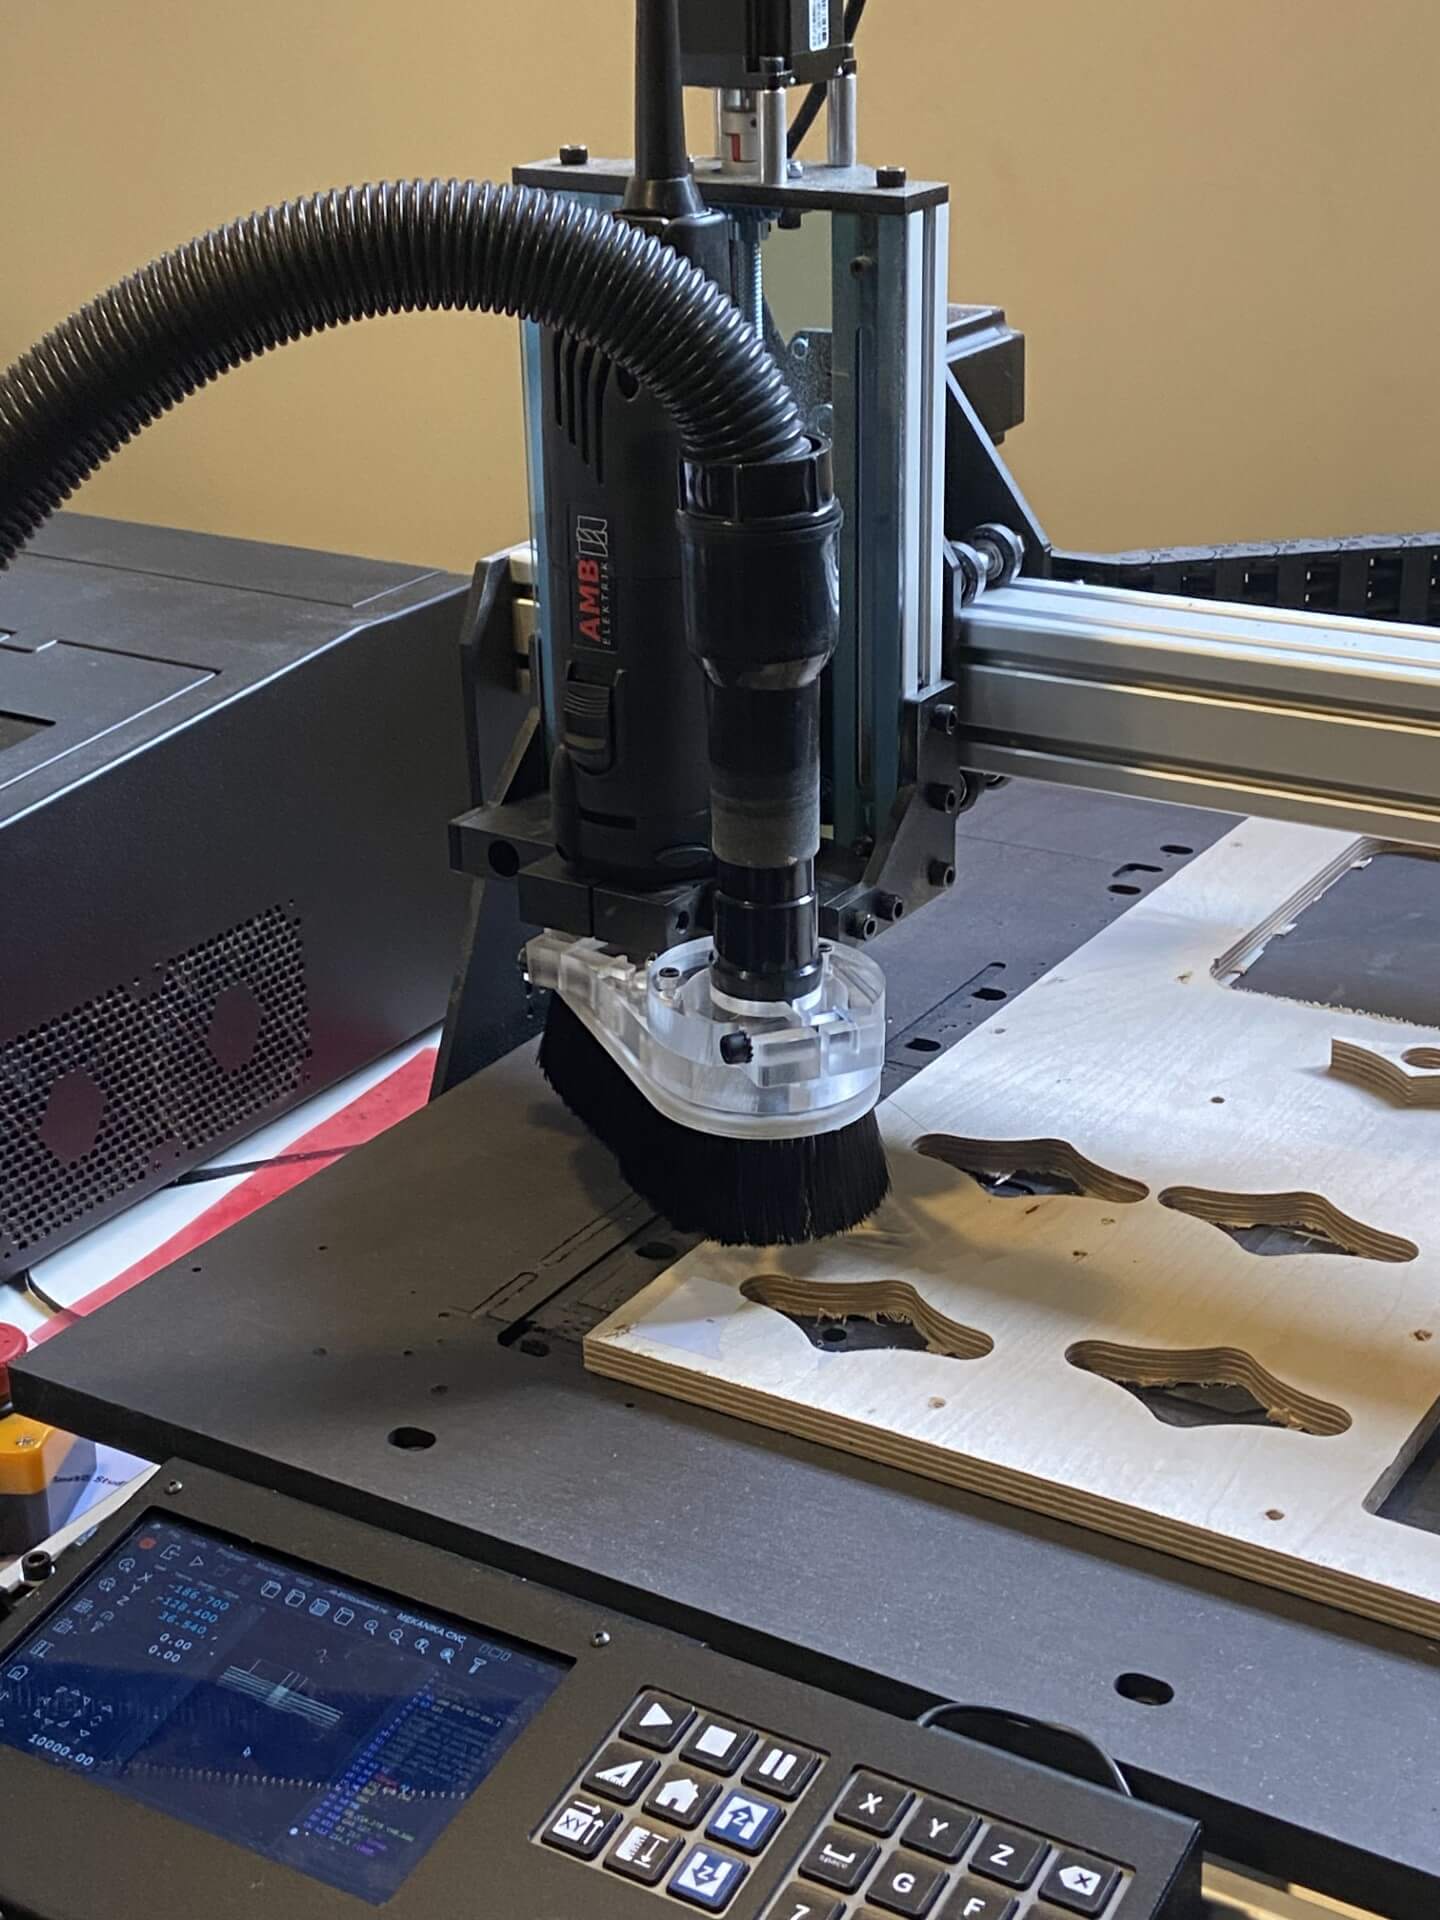
6.CNC milling
We had a training on the CNC machine of our fablab in the week where the assignement 'textile scaffold' was initially planned.
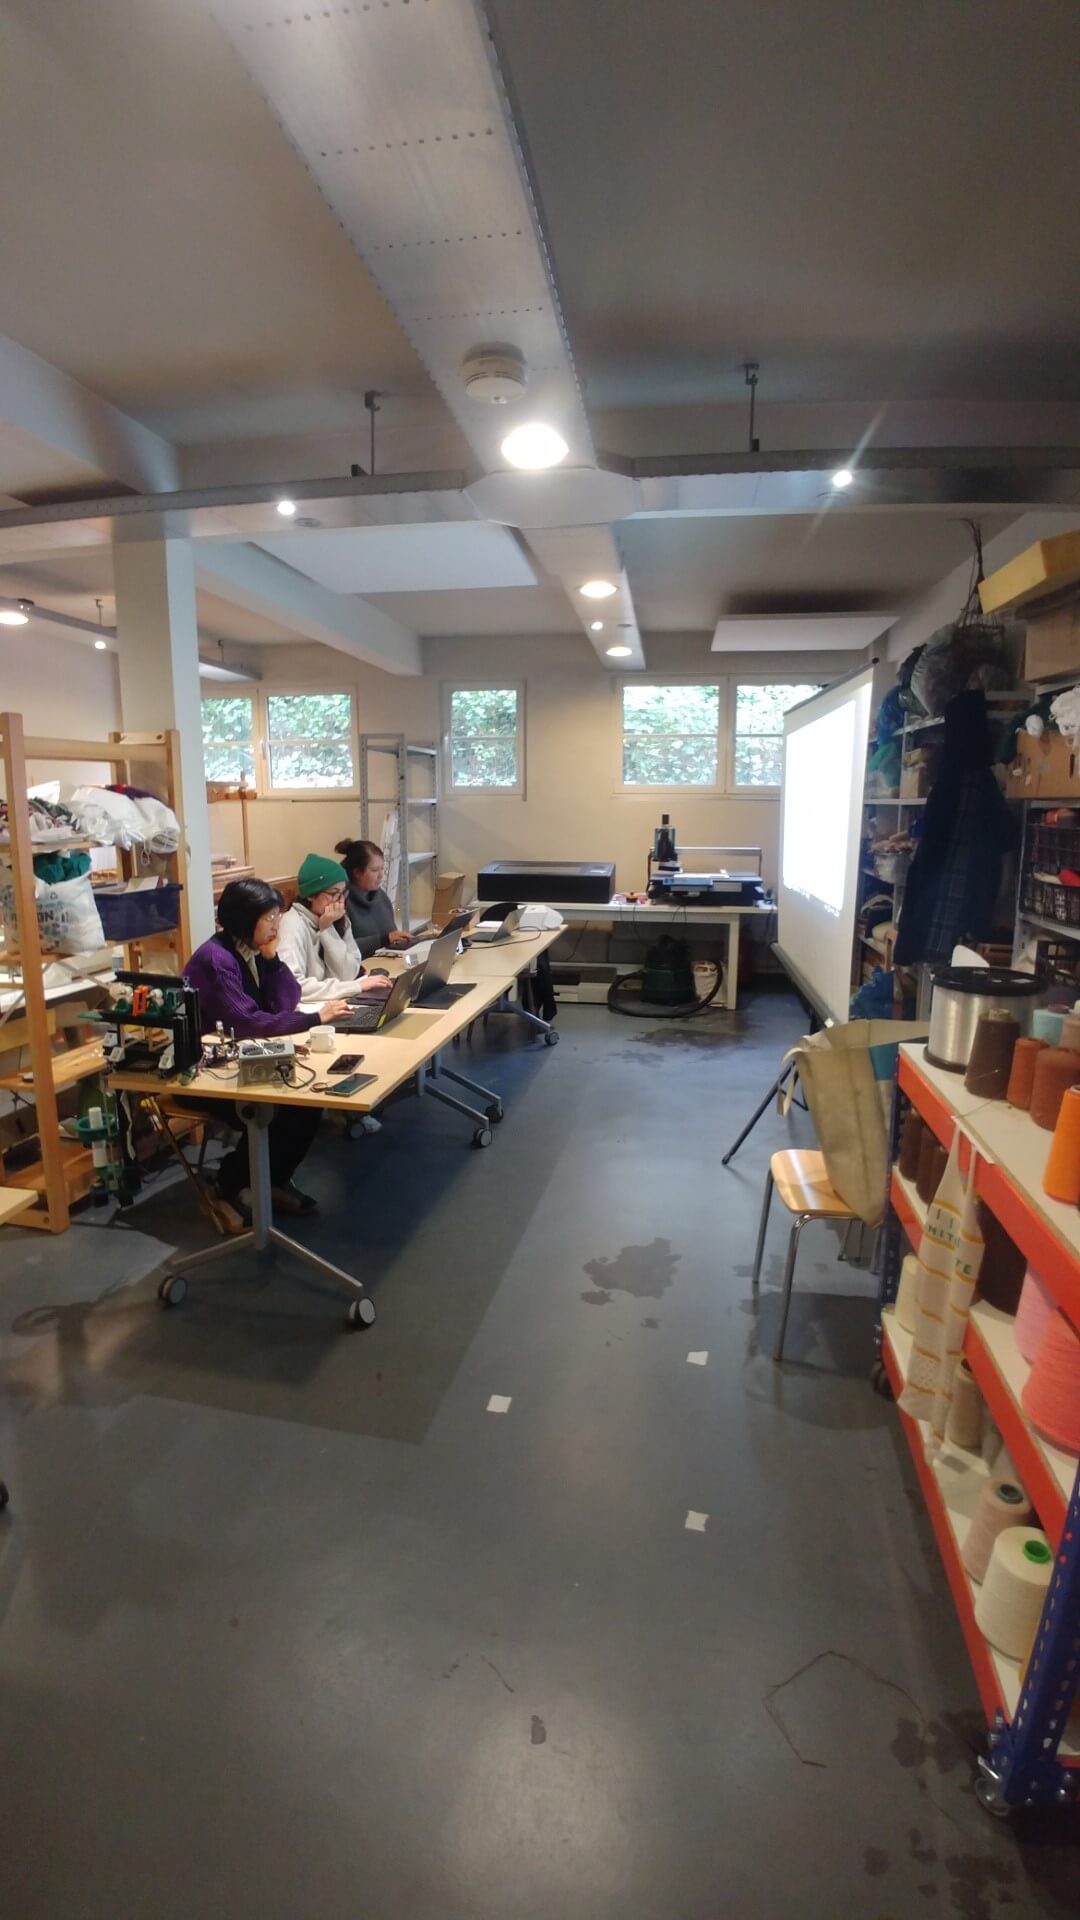
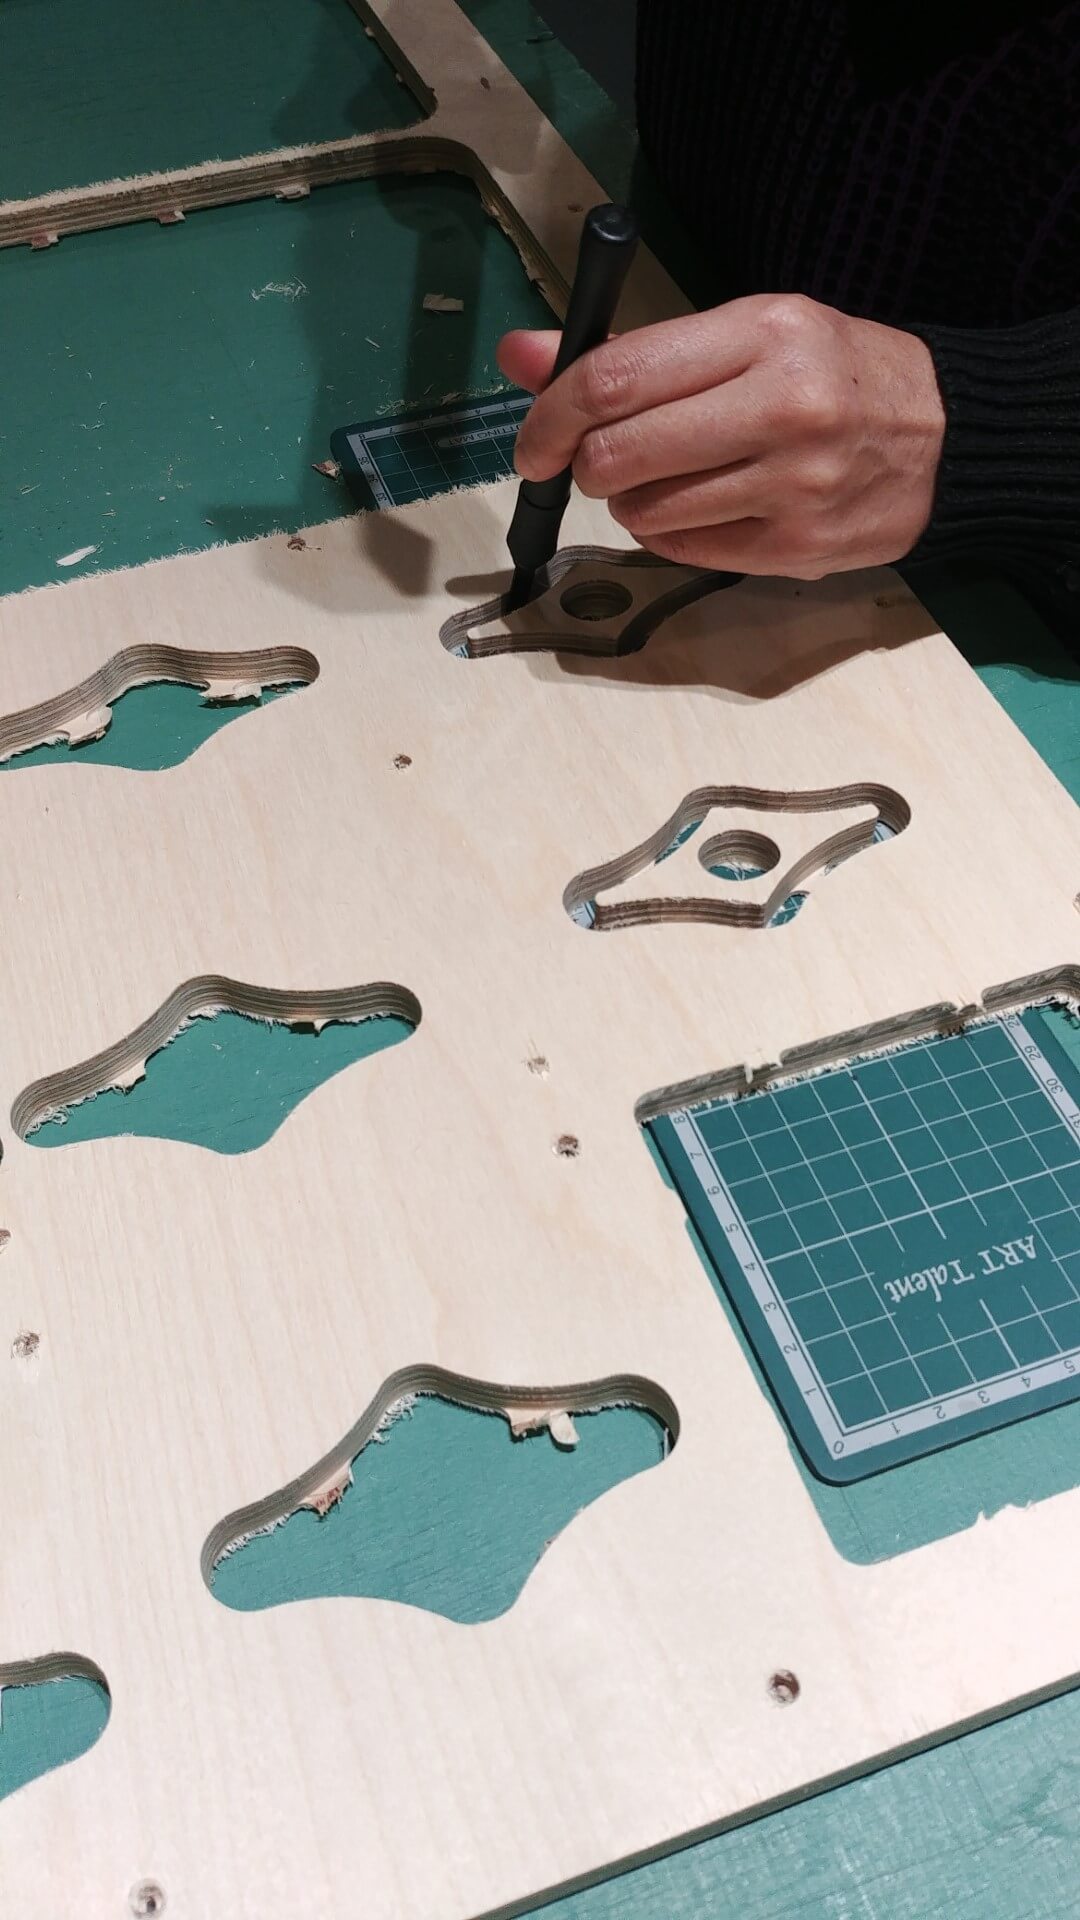
As an exercise we then made a tool that helps you to hold the pages of a book while reading it.
Here you can find the file
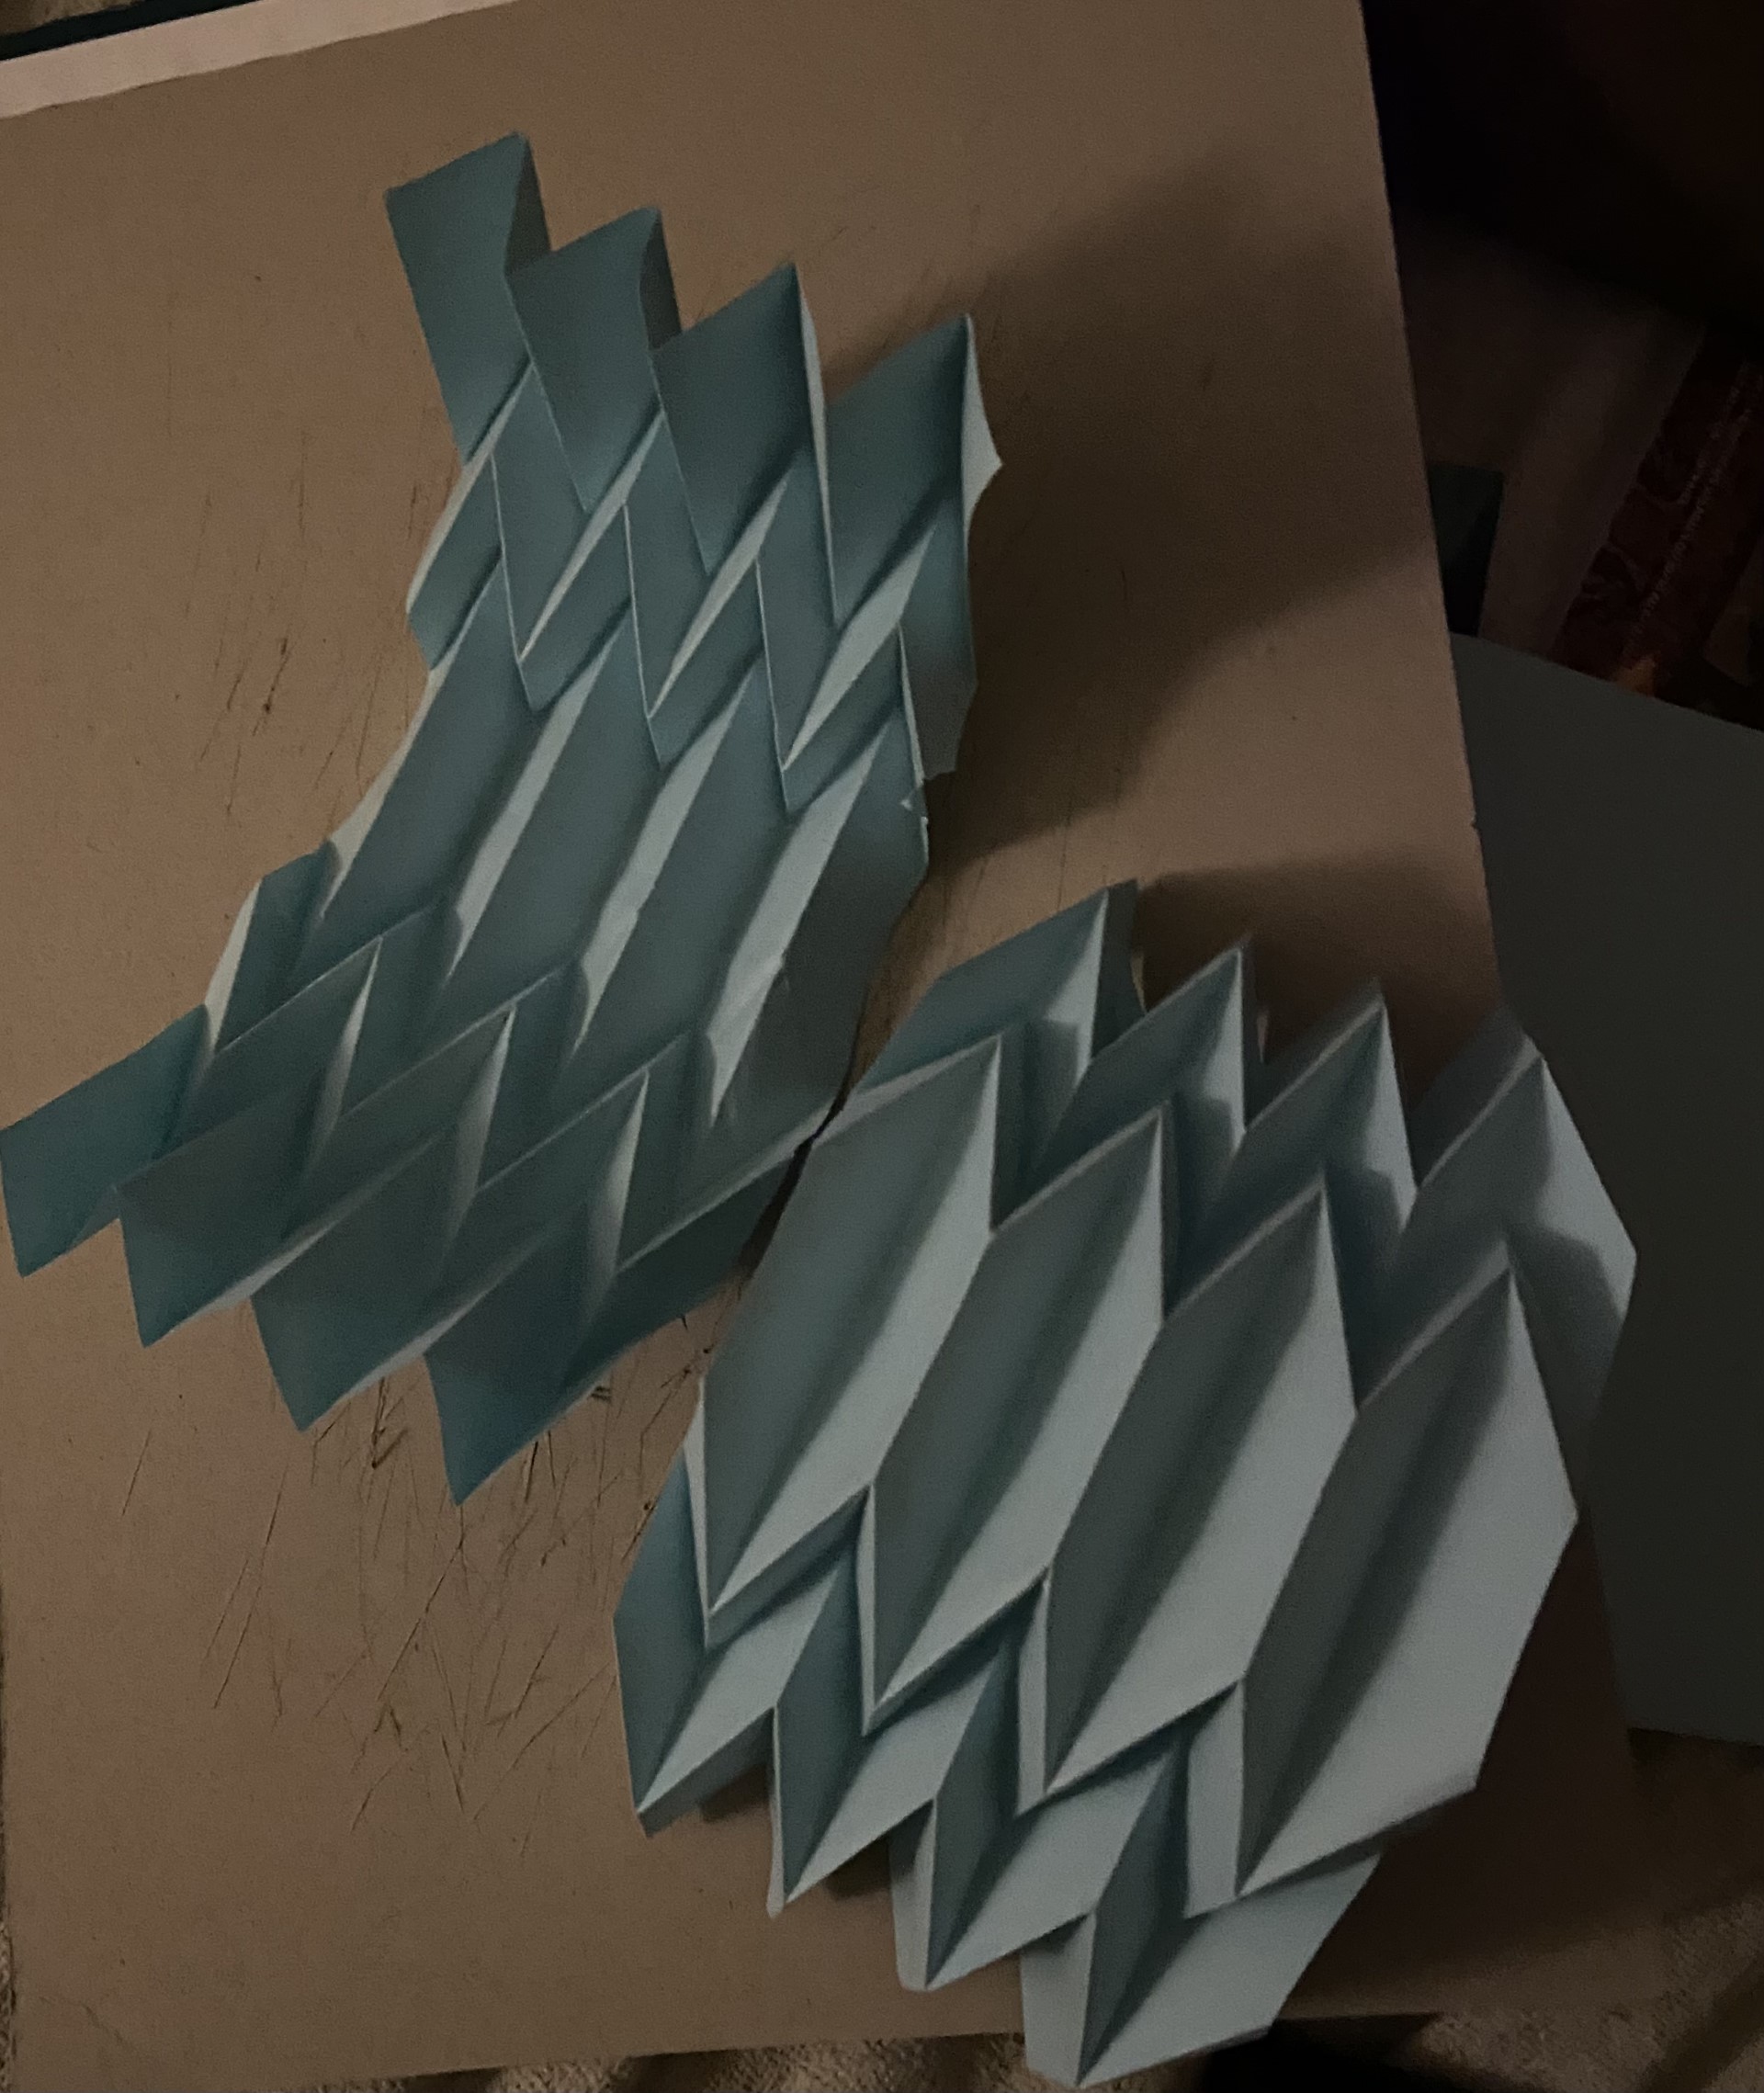
7. Textile plissage with paper mold
Finally, I made a paper mold to make textile plissage.
I folded two times exactly the same papermold to sandwich my fabric in between them.
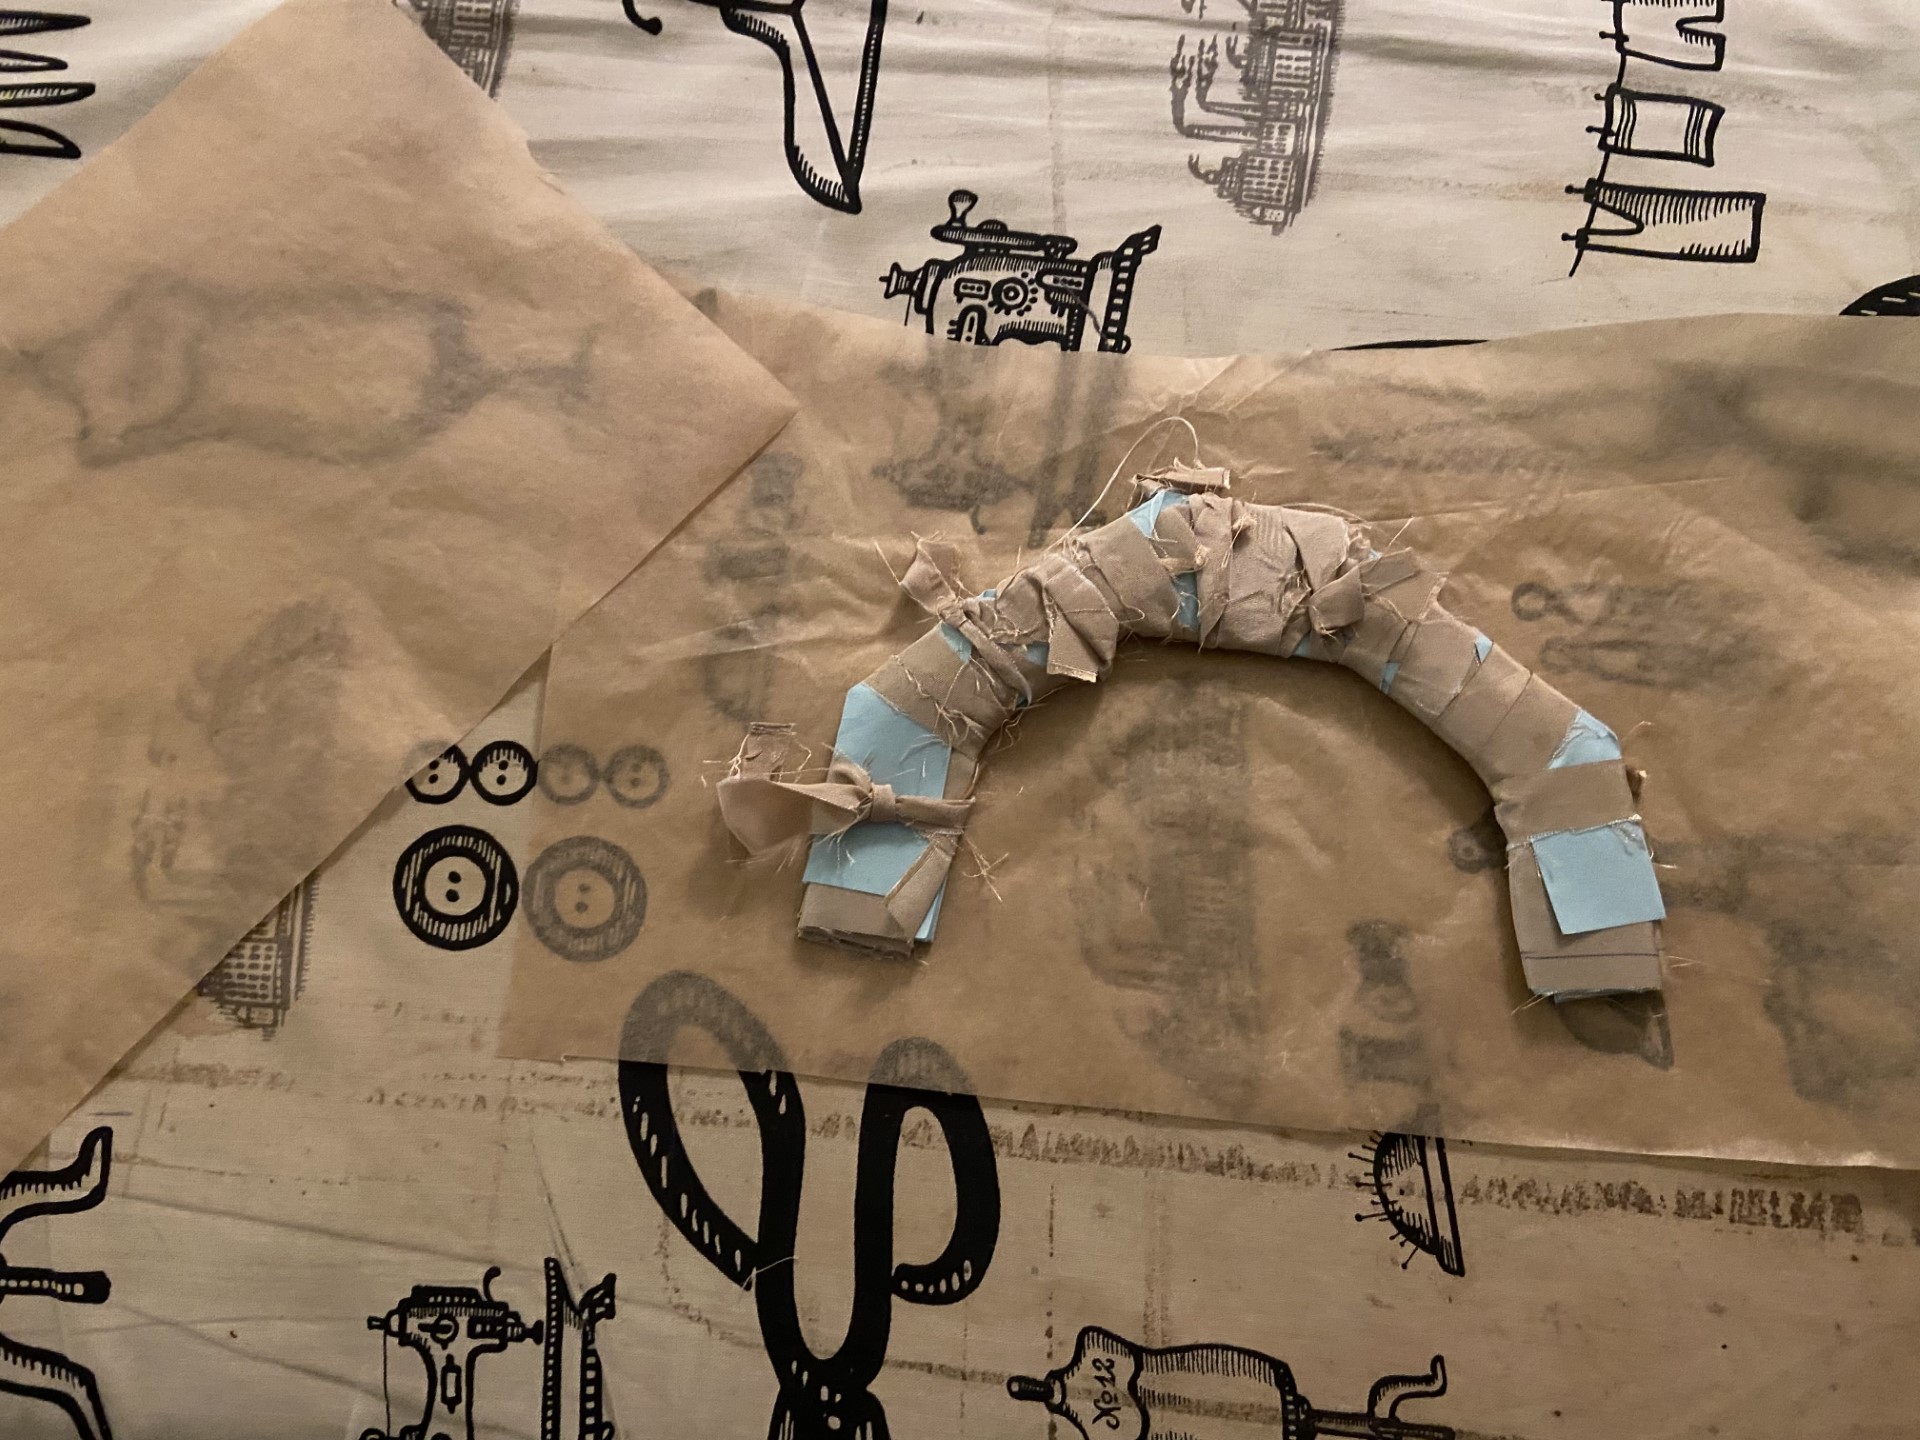
I then firmly tied the papermolds with the fabric in between. After that I had to iron it (with bakingpaper under and upon the tied object).
I unwrapped everything when after cooling down.
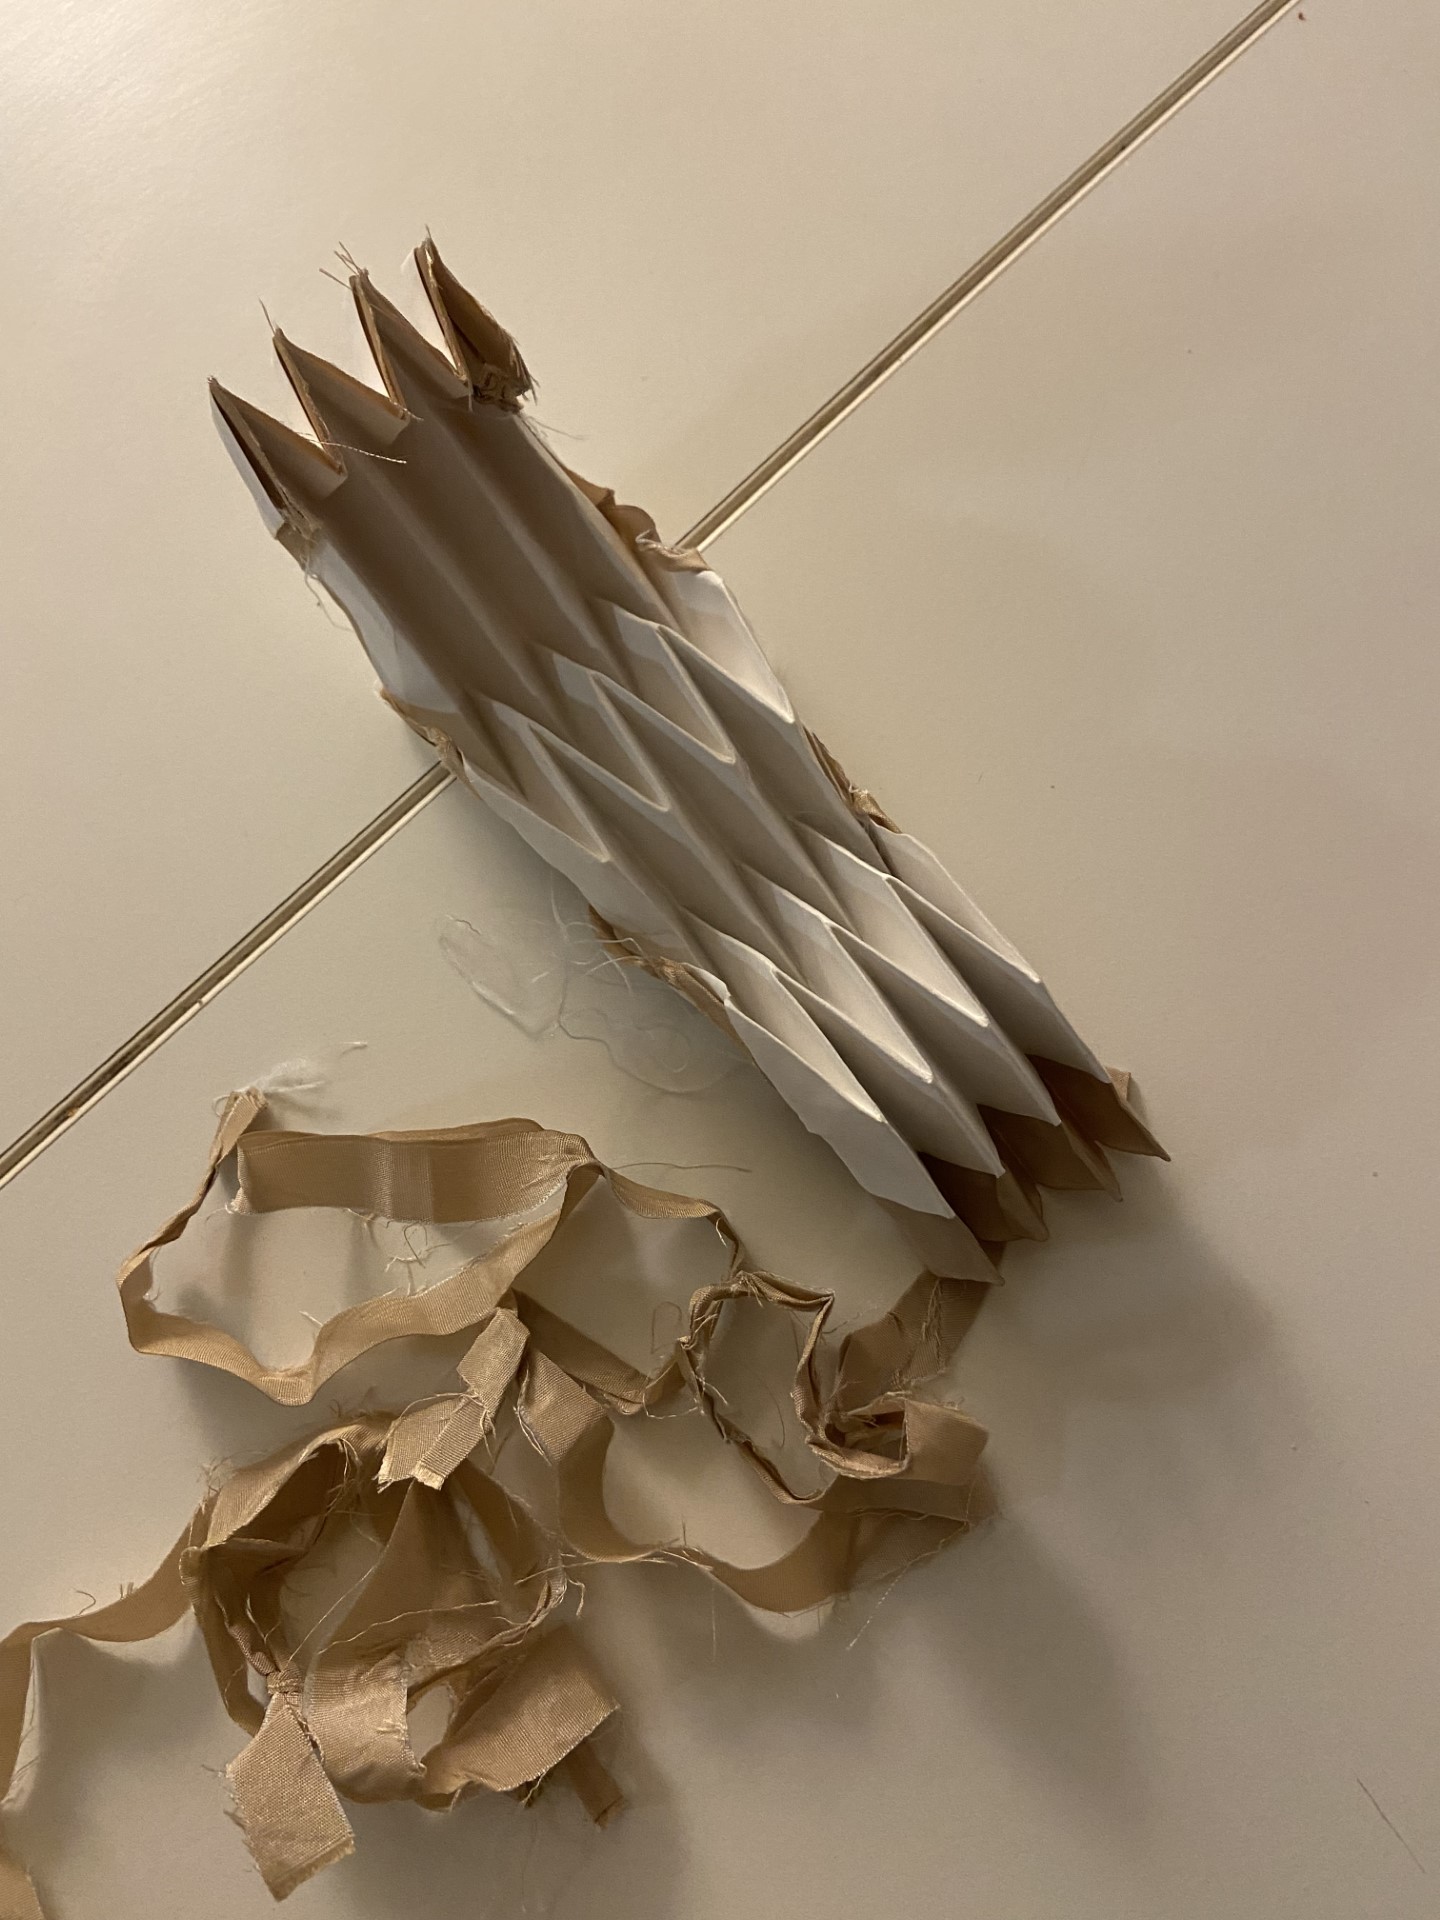
And this was my final textileplissage!
