5. E-textiles
I have almost no experience with electric circuits so I started by looking at the documentation of alumni of past years to get in touch with the topic of E-textiles.
In our fablab we made together the different digital switches and analog sensors from Emma's tutorial.
Testing
Testing hard circuits
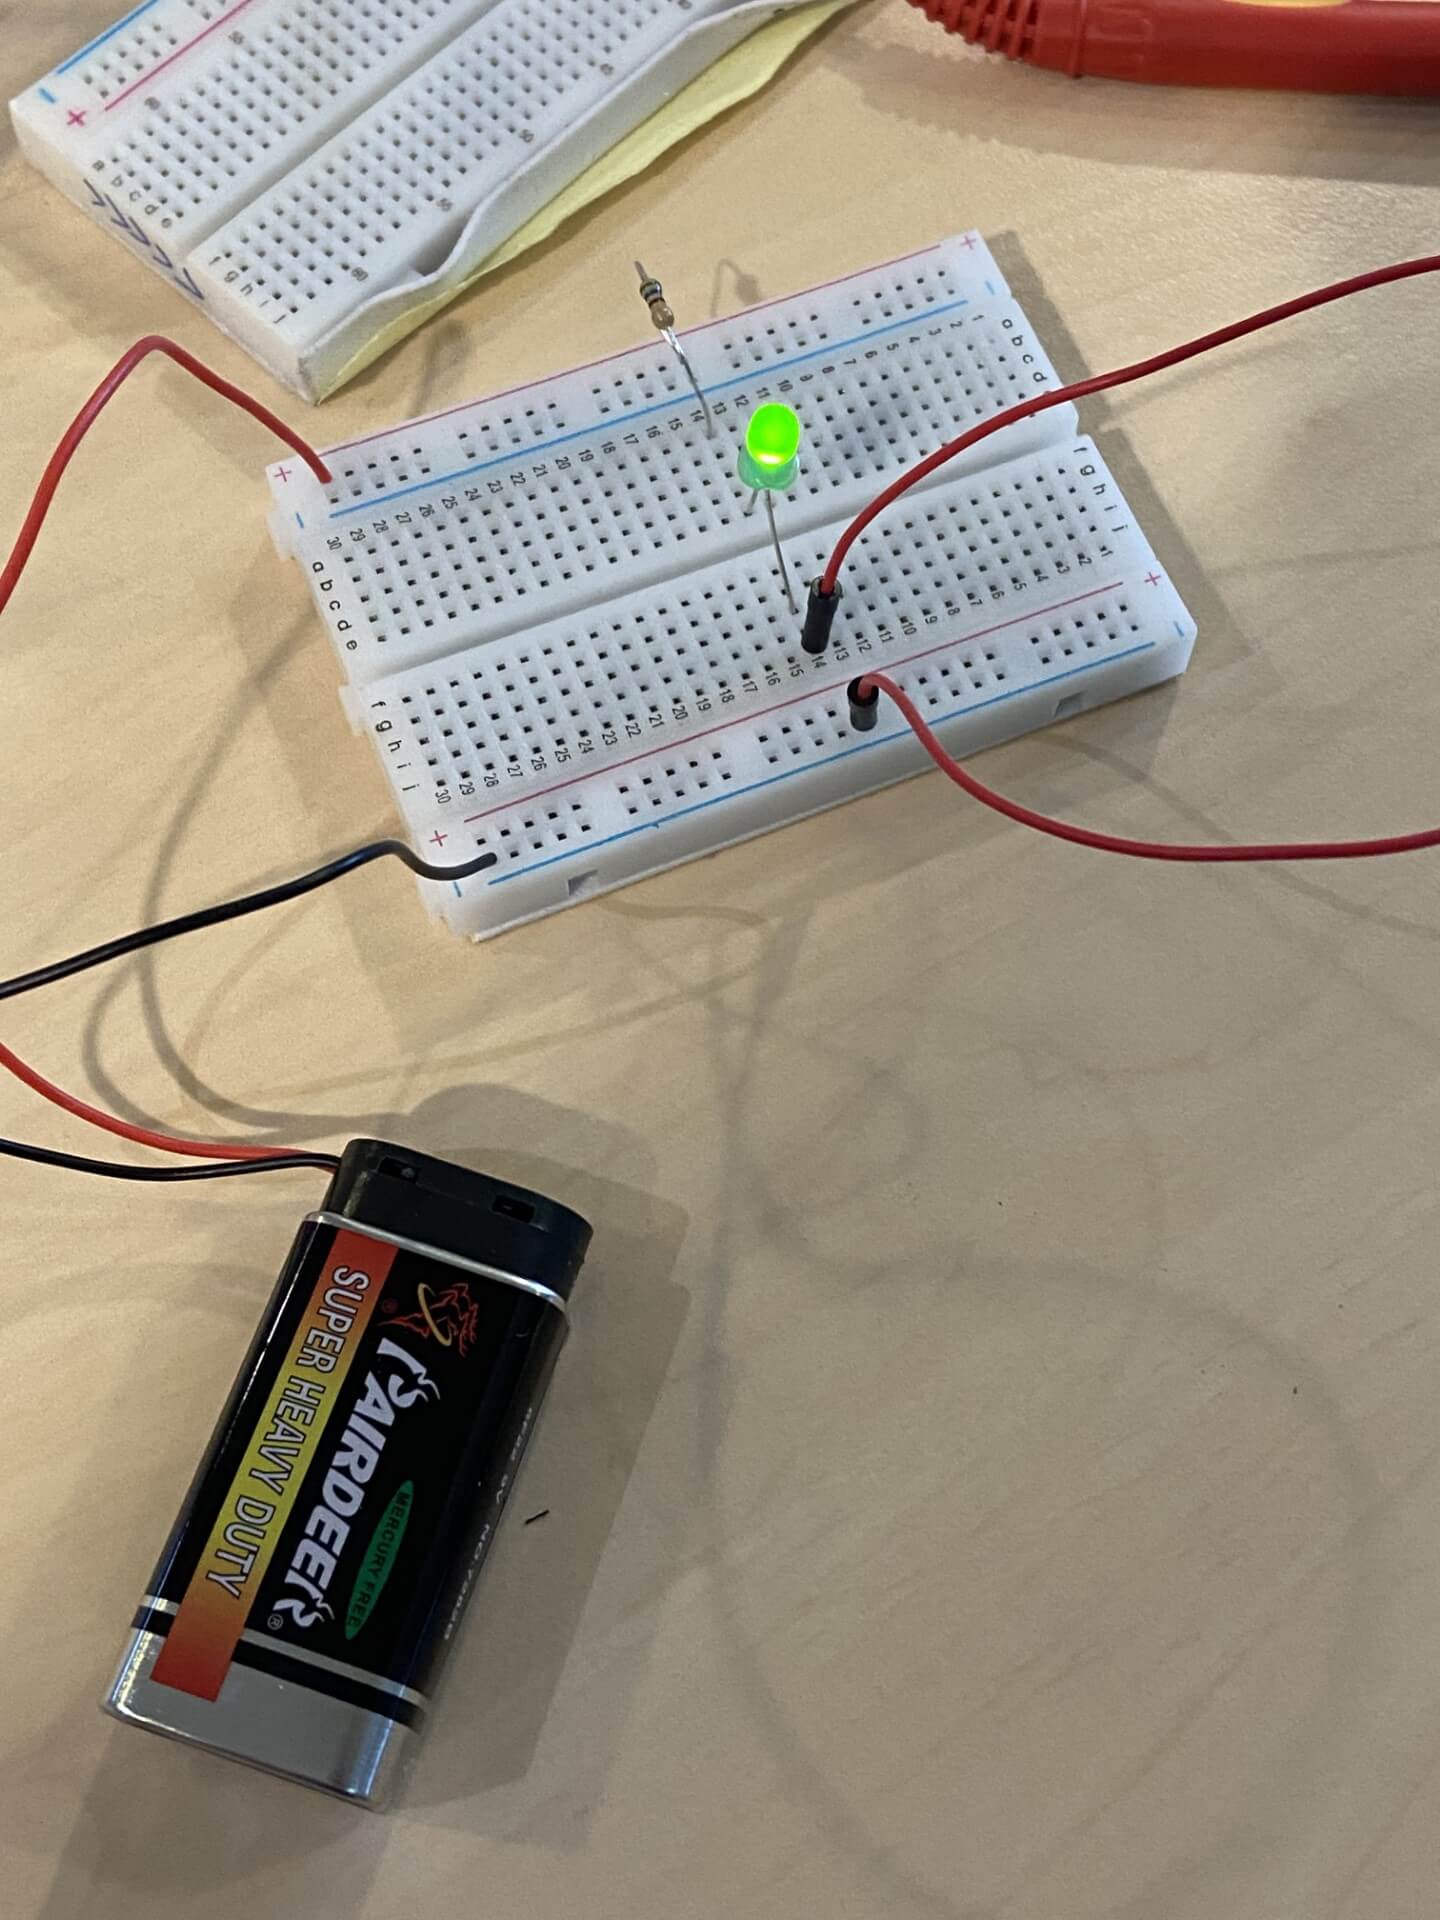
First we made hard circuits. We experimented with the 9 Volt battery (with resistor integrated in the circuit) to let the LED shine.
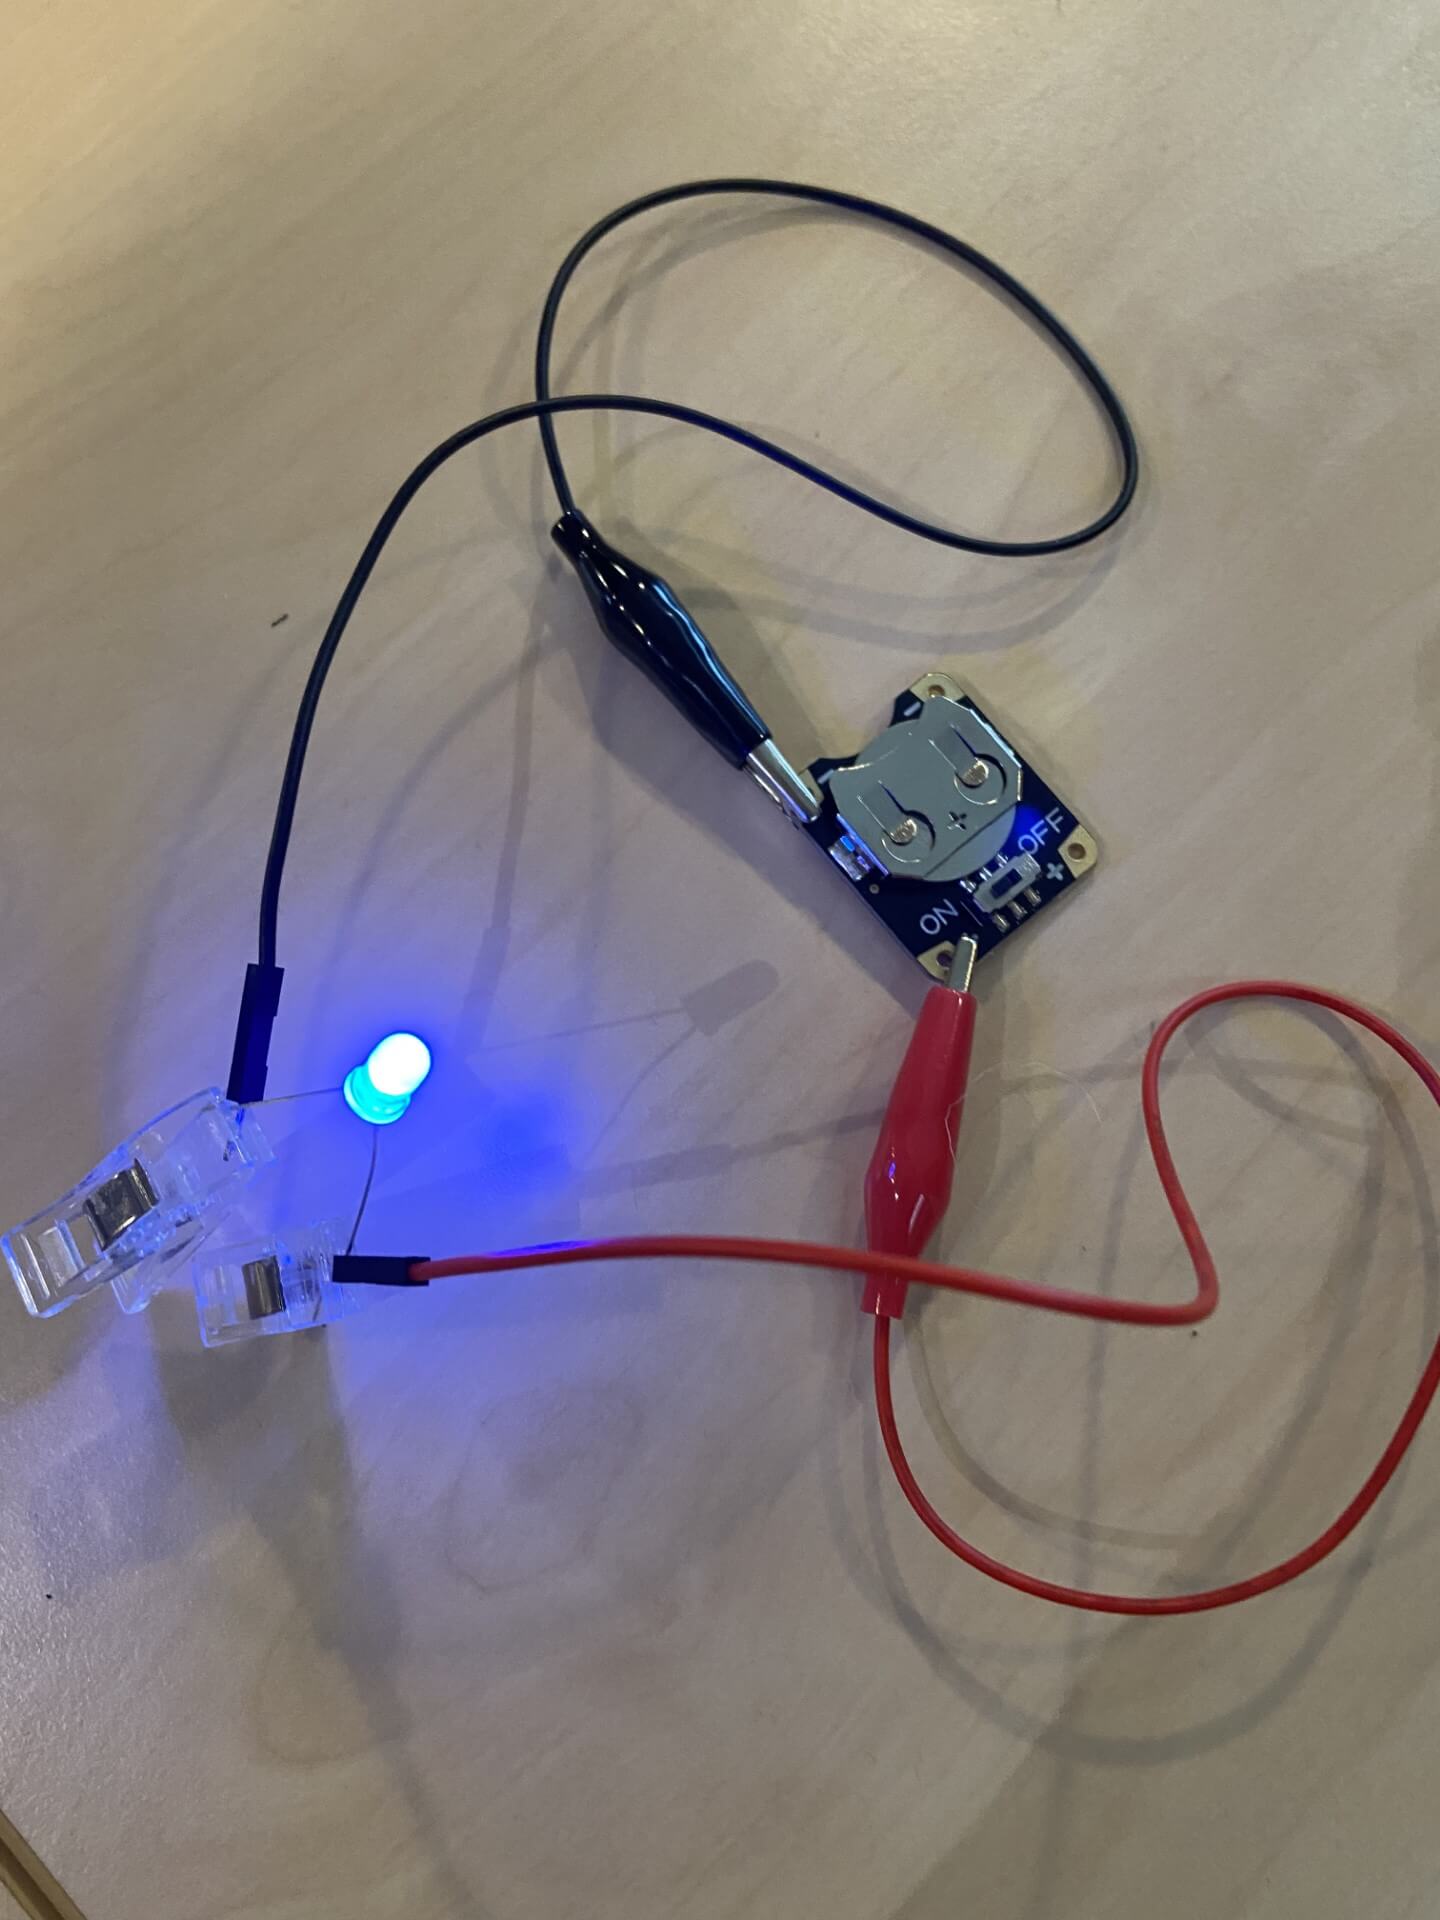
Then we tried the circuit with a 3 Volt battery to let the LED work.
Testing soft circuits
- Digital switch
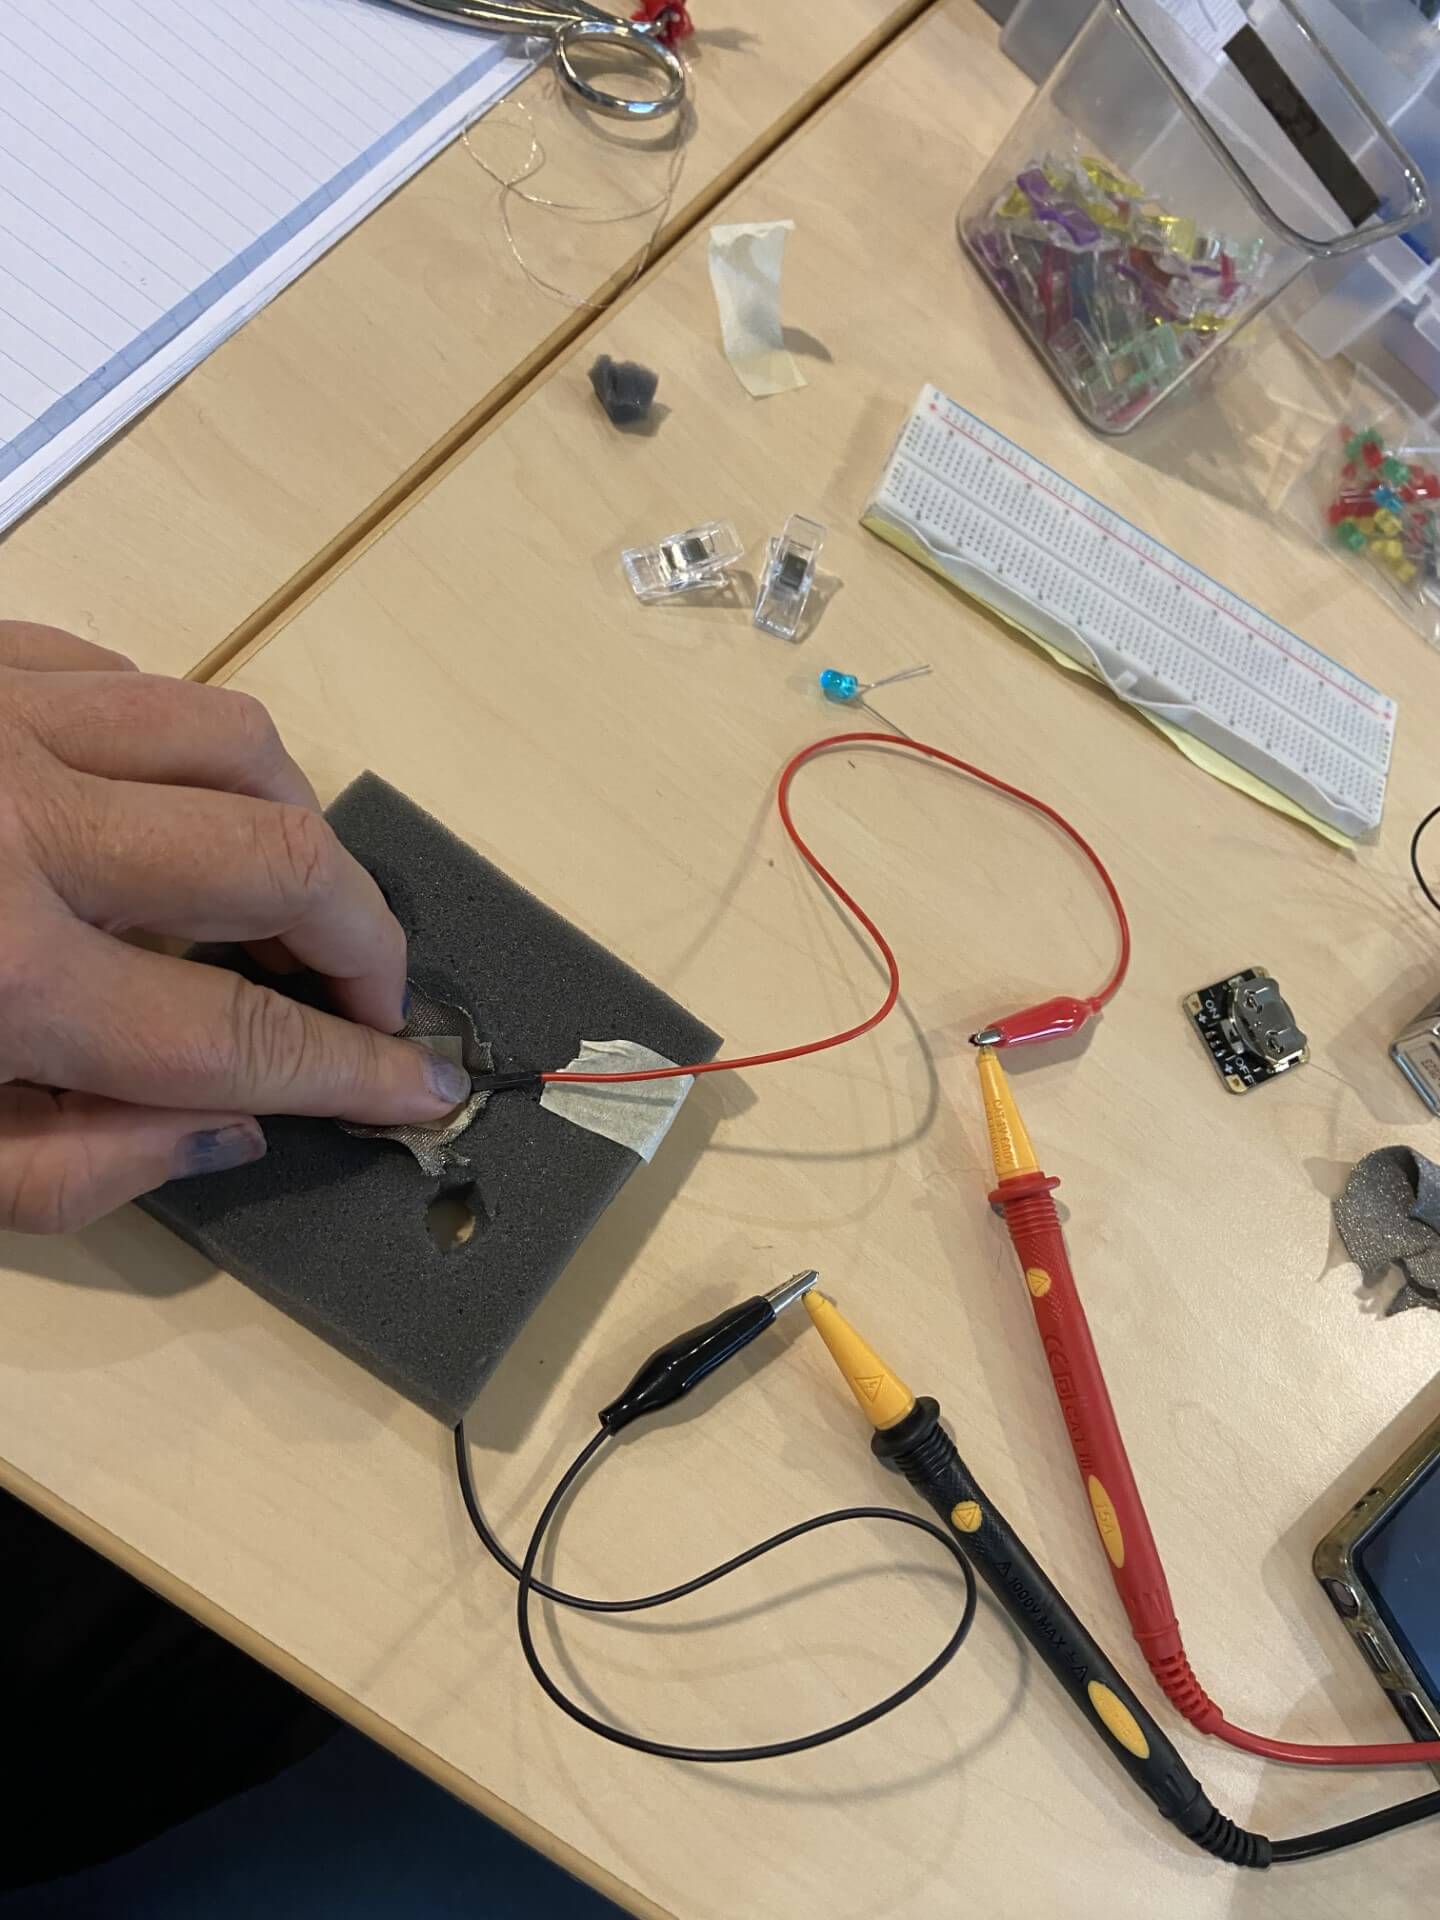
First, we made a digital switch with conductive tricot and foam sandwiched in between. We made holes in the foam. When we pushed on the tricot, the current could pass through our circuit. We used the multimeter to verify if it was working.
We also made a second digital switch with conductive tricot and a little bit of wool in between. We used a LED to verify if the current was passing through it.
- Analog sensors
Then we made the analog switches. We first experimented with the conductive fabric Eeontex and a silver conductive thread. We taped 2 pieces of conductive thread on 2 small pieces of Eeontex fabric. By bringing the 2 pieces of fabric to each other the LED started shining brighter and brighter.
We also tried a analogue sensor with Velostat conductive fabric. First it didn’t work because the piece of conductive thread we taped on the fabric was not taking in enough surface of the fabric (it didn’t make a little loop) so there was not enough conductivity. Then we used a longer piece of thread to tape on the fabric (we let it make a little loop), so then the conductivity was high enough.
My soft circuits
I made a little project where a digital switch and a analog sensor were integrated. I was inspired by some little Halloween crafting projects made by my children, so I made a little bat in felt that can stand on his own with some LEDs integrated.
- Digital switch
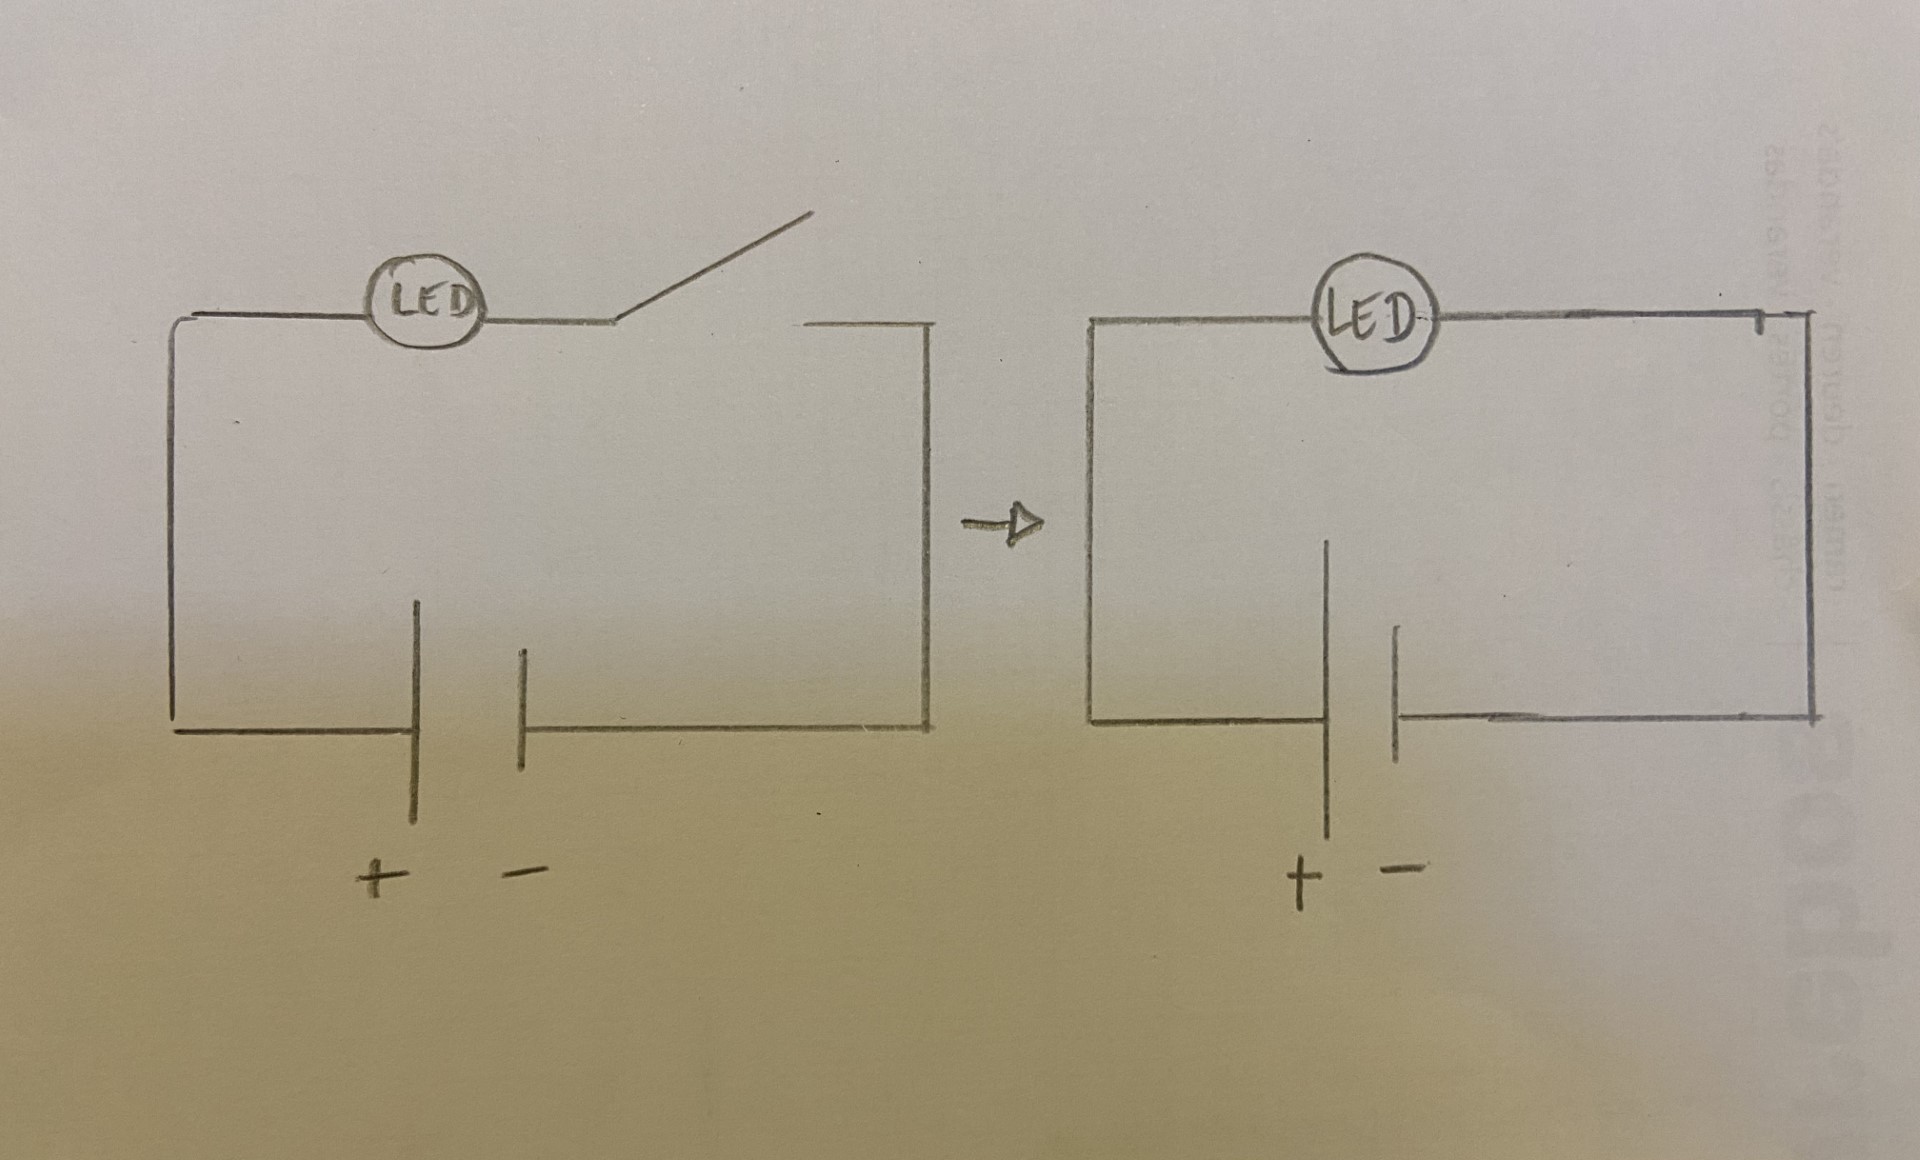
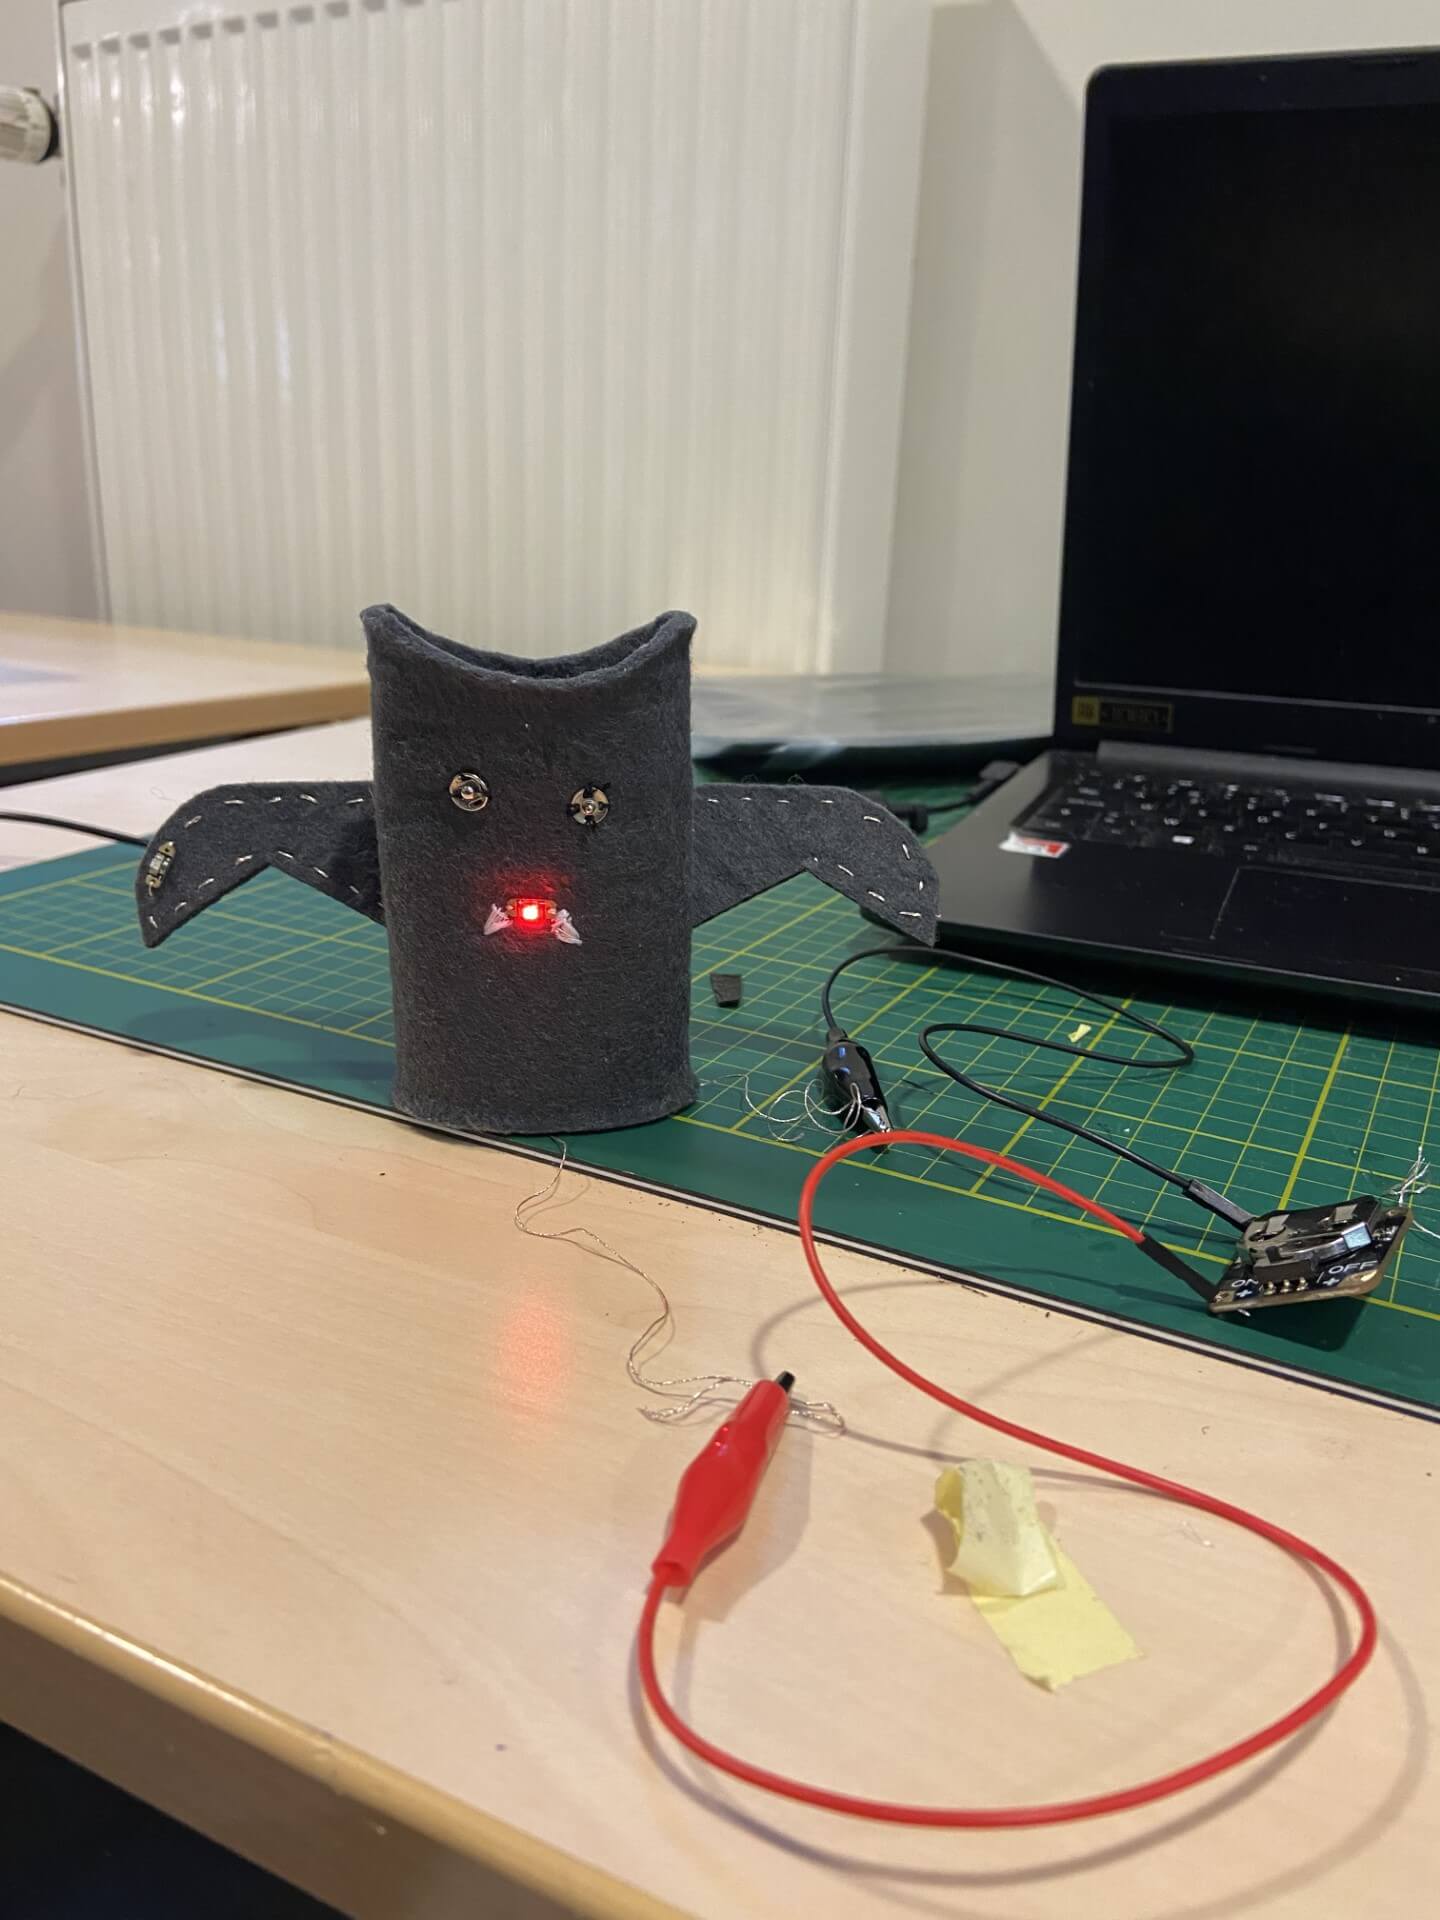
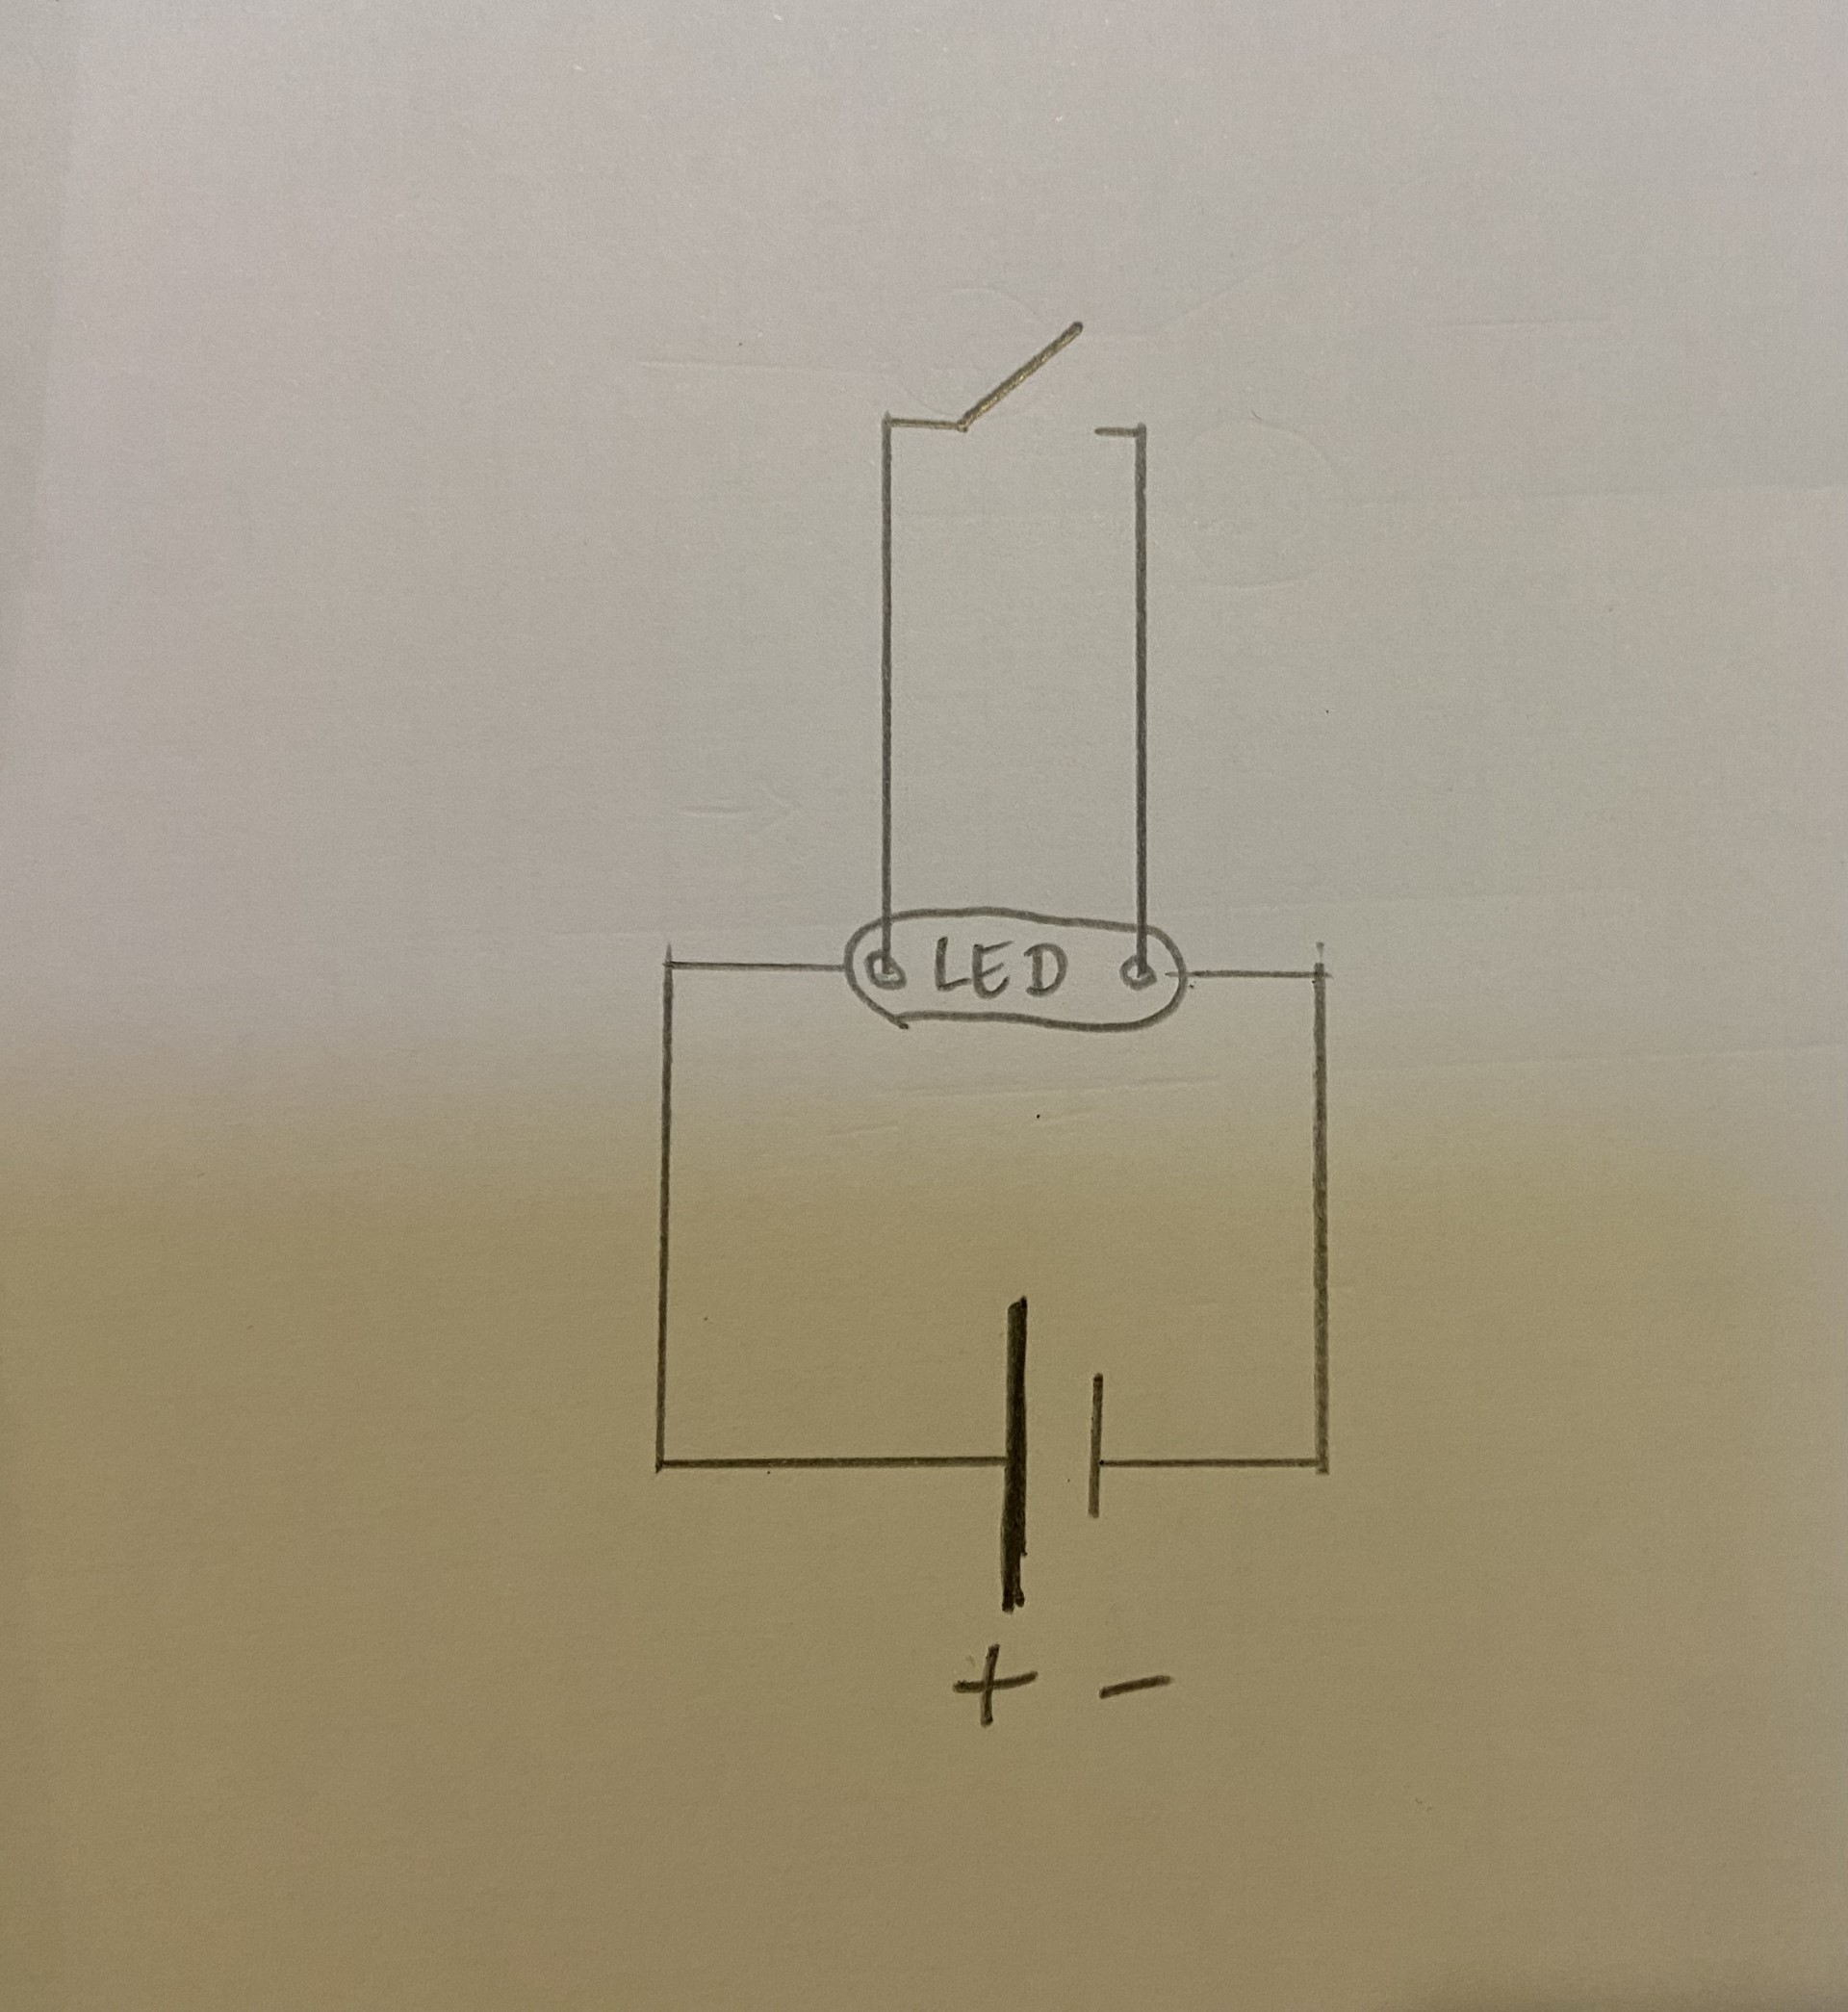
For the digital switch I wanted to make a red little LED shine by closing a pressure button at the inside of the bat (between his ears). I first tried it on a hard circuit with a bigger LED and that worked. For this I used the following scheme.

Then I tried to integrate it as a soft circuit on my felt.
I worked with a Adafruit Led sequins that can easily being sewed on fabric. I used silver conductive thread to sew on the felt and a big pressure button to make a digital switch.
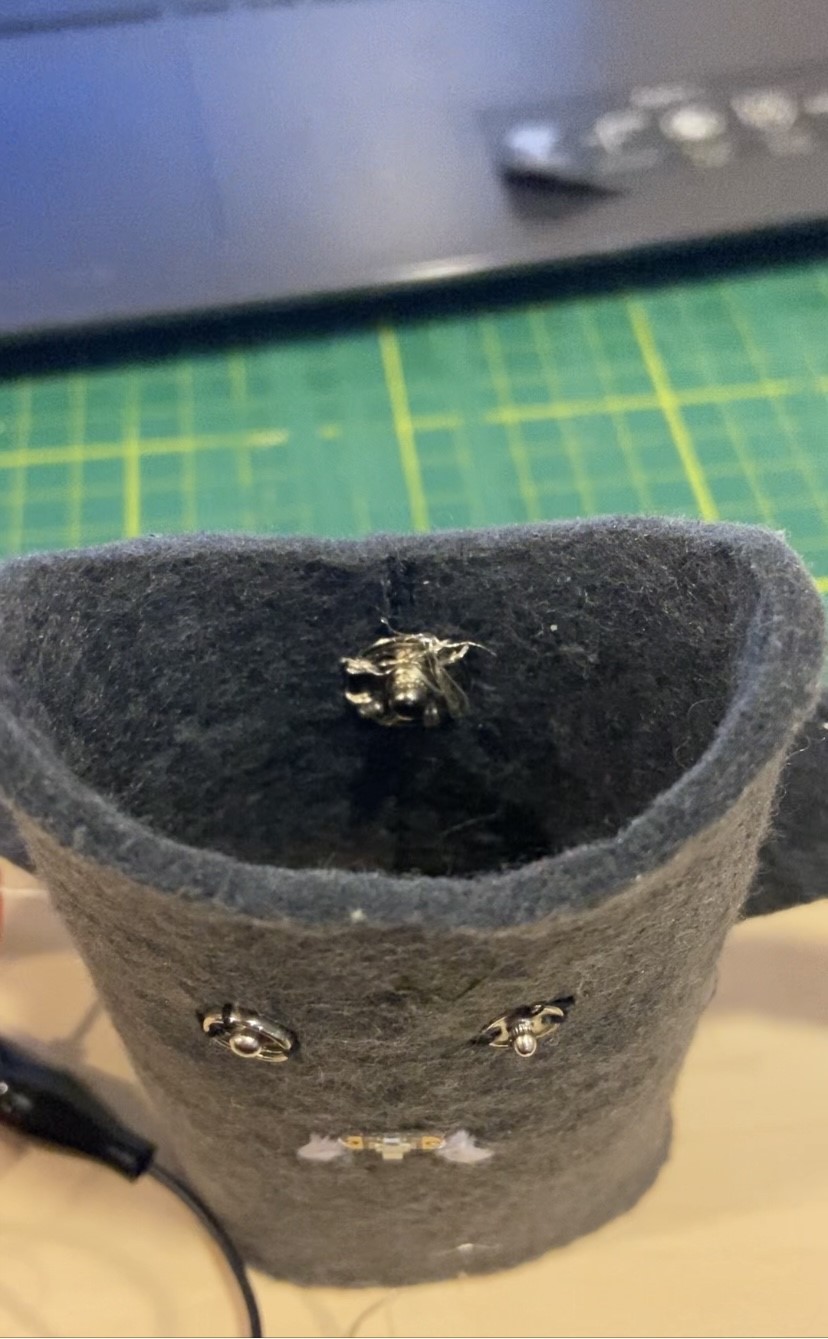
The eyes made by little pressure buttons have just the function of decoration and are not connected with the whole circuit.
I never used this kind of LED and I actually sewed it in a wrong way so my circuit was not working as it should be. What happened was that the LED only shined when the pressure button was NOT closed. So when I closed it, the LED stopped shining. At first I did not know what went wrong so it was really frustrating because it took me a lot of time sewing everything nicely on the bat.
I realized I sewed everything in another way (read:another circuit) than I had planned to do it in scheme 1. Here you see schematically how I sewed it.
I found my mistake and because of the limited time remaining for finishing this whole assignment, I decided to leave the circuit as it was and to continue to work on the analog sensor.
- Analog sensor
My analog sensor works as follows: when you push the wings of the bat against his back, a small blue LED light will shine. It shines brighter when you push harder.
I used this schemes:
But again I encountered a problem when making the soft circuit on the felt. I first finished sewing everything, then I saw that it was actually not working!
I detected what was wrong by making the whole circuit again on the table by connecting the little LED with conductive thread.
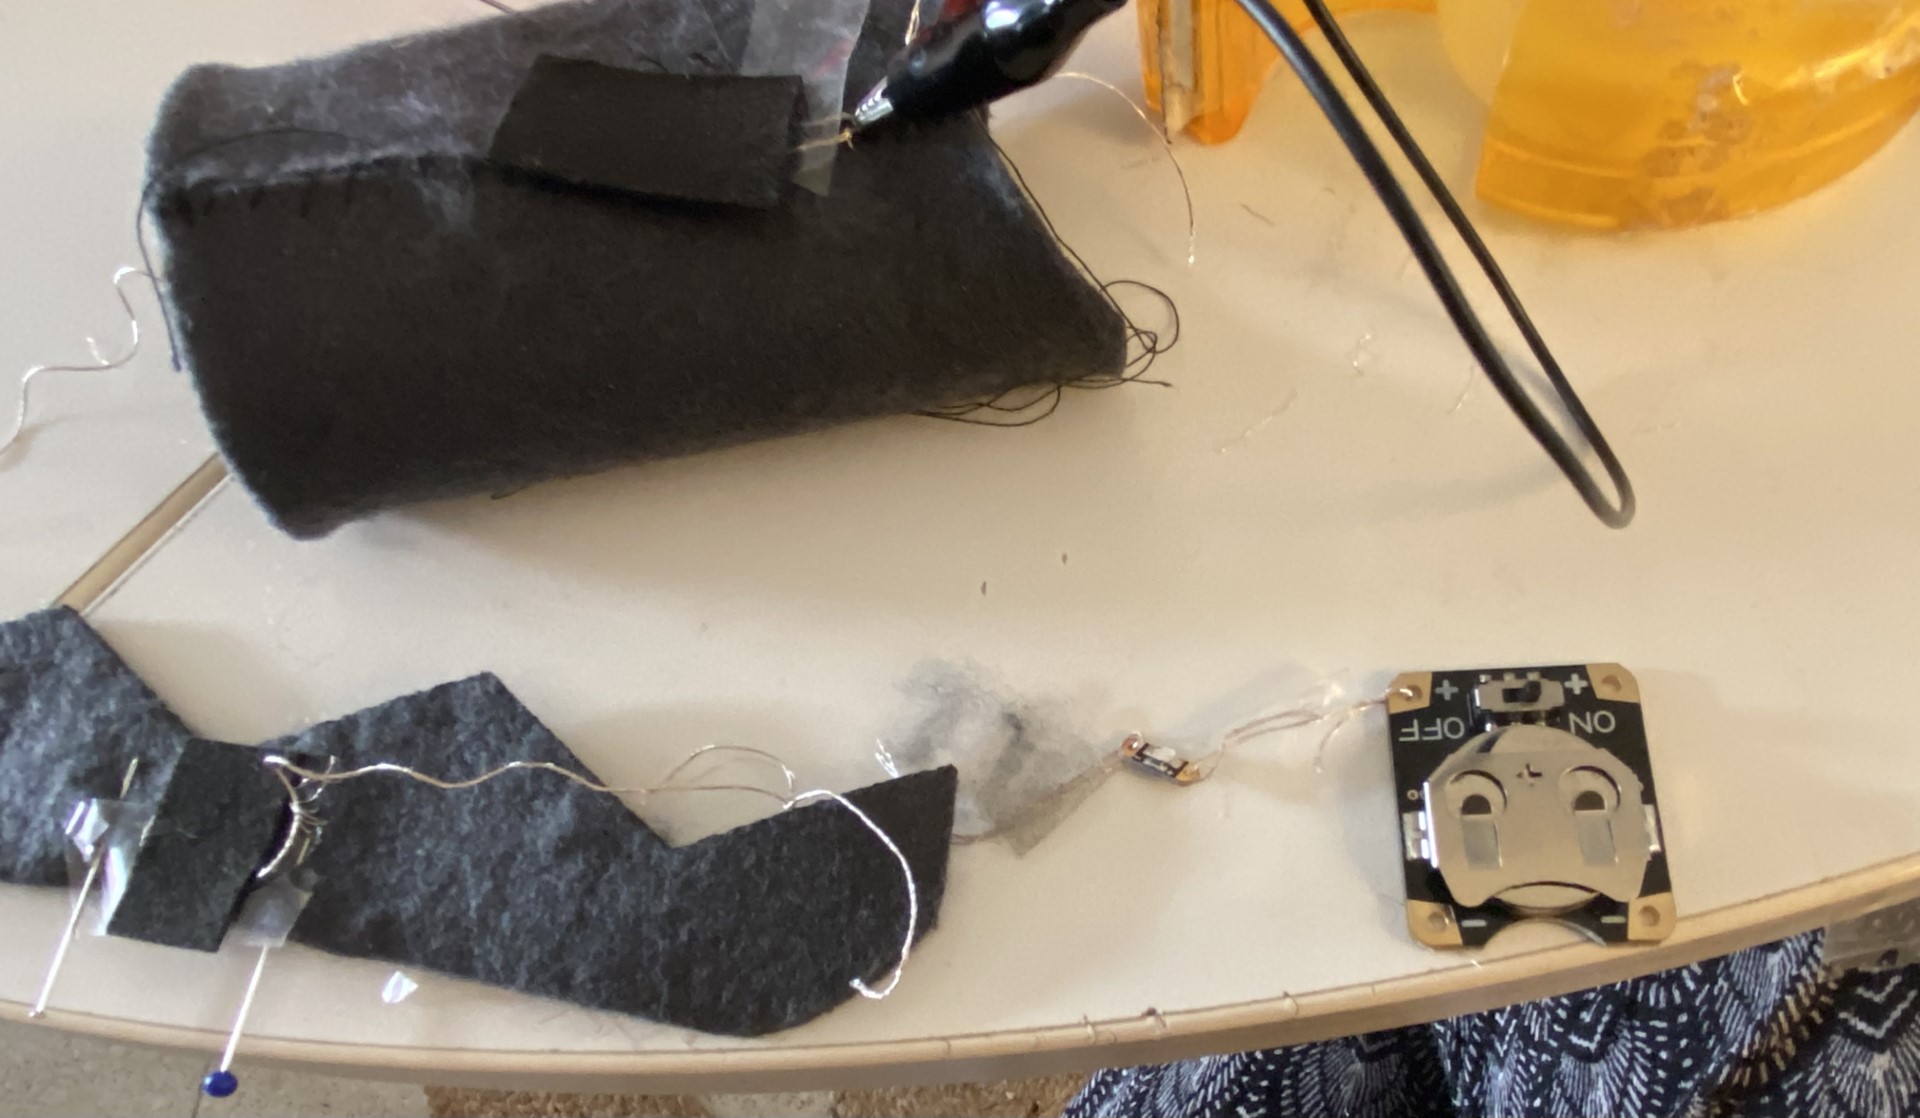
I discovered my mistake: first I sewed my small LED light with my conductive thread by going through the positive whole on the LED. That was OK.
But then I connected the positive pole with the negative pole by bringing the conductive thread under the LED (making a bridge under the LED). That was causing the mistake.
So I resewed everything in a correct manner and finally it worked!
Arduino
I connected my little bat to the Arduino board. We coded in Arduino for using the AnalogRead, so we could read the different measurements when using the analog sensor on the bat. Here you can find the file.
- Arduino code used
// the setup function runs once when you press reset or power the board
void setup() {


int sensorPin = A5;
int sensorValue = 0;

void setup() {
Serial.begin(9600);
pinMode(sensorPin, INPUT);
}

// the loop function runs over and over again forever

void loop() {
  // put your main code here, to run repeatedly:
sensorValue = analogRead(sensorPin);
Serial.println(sensorValue);
}
Conclusion
I made a lot of mistakes but now at least I know how to make soft circuits with small LED on fabric and how to sew them correctly on a surface.
I am used to sew small things on fabric but now I had to use another logic while sewing the soft circuits and using conductive thread. So at times it was a little bit frustrating because it took much more time than I expected.
Tools
- Velostat
- Eeontex
- TinyPNG
- Giphy
- Arduino UNO
- Adafruit Led sequins
- Multimeter
- 3V battery
- 9V battery