4. BioChromes
Research
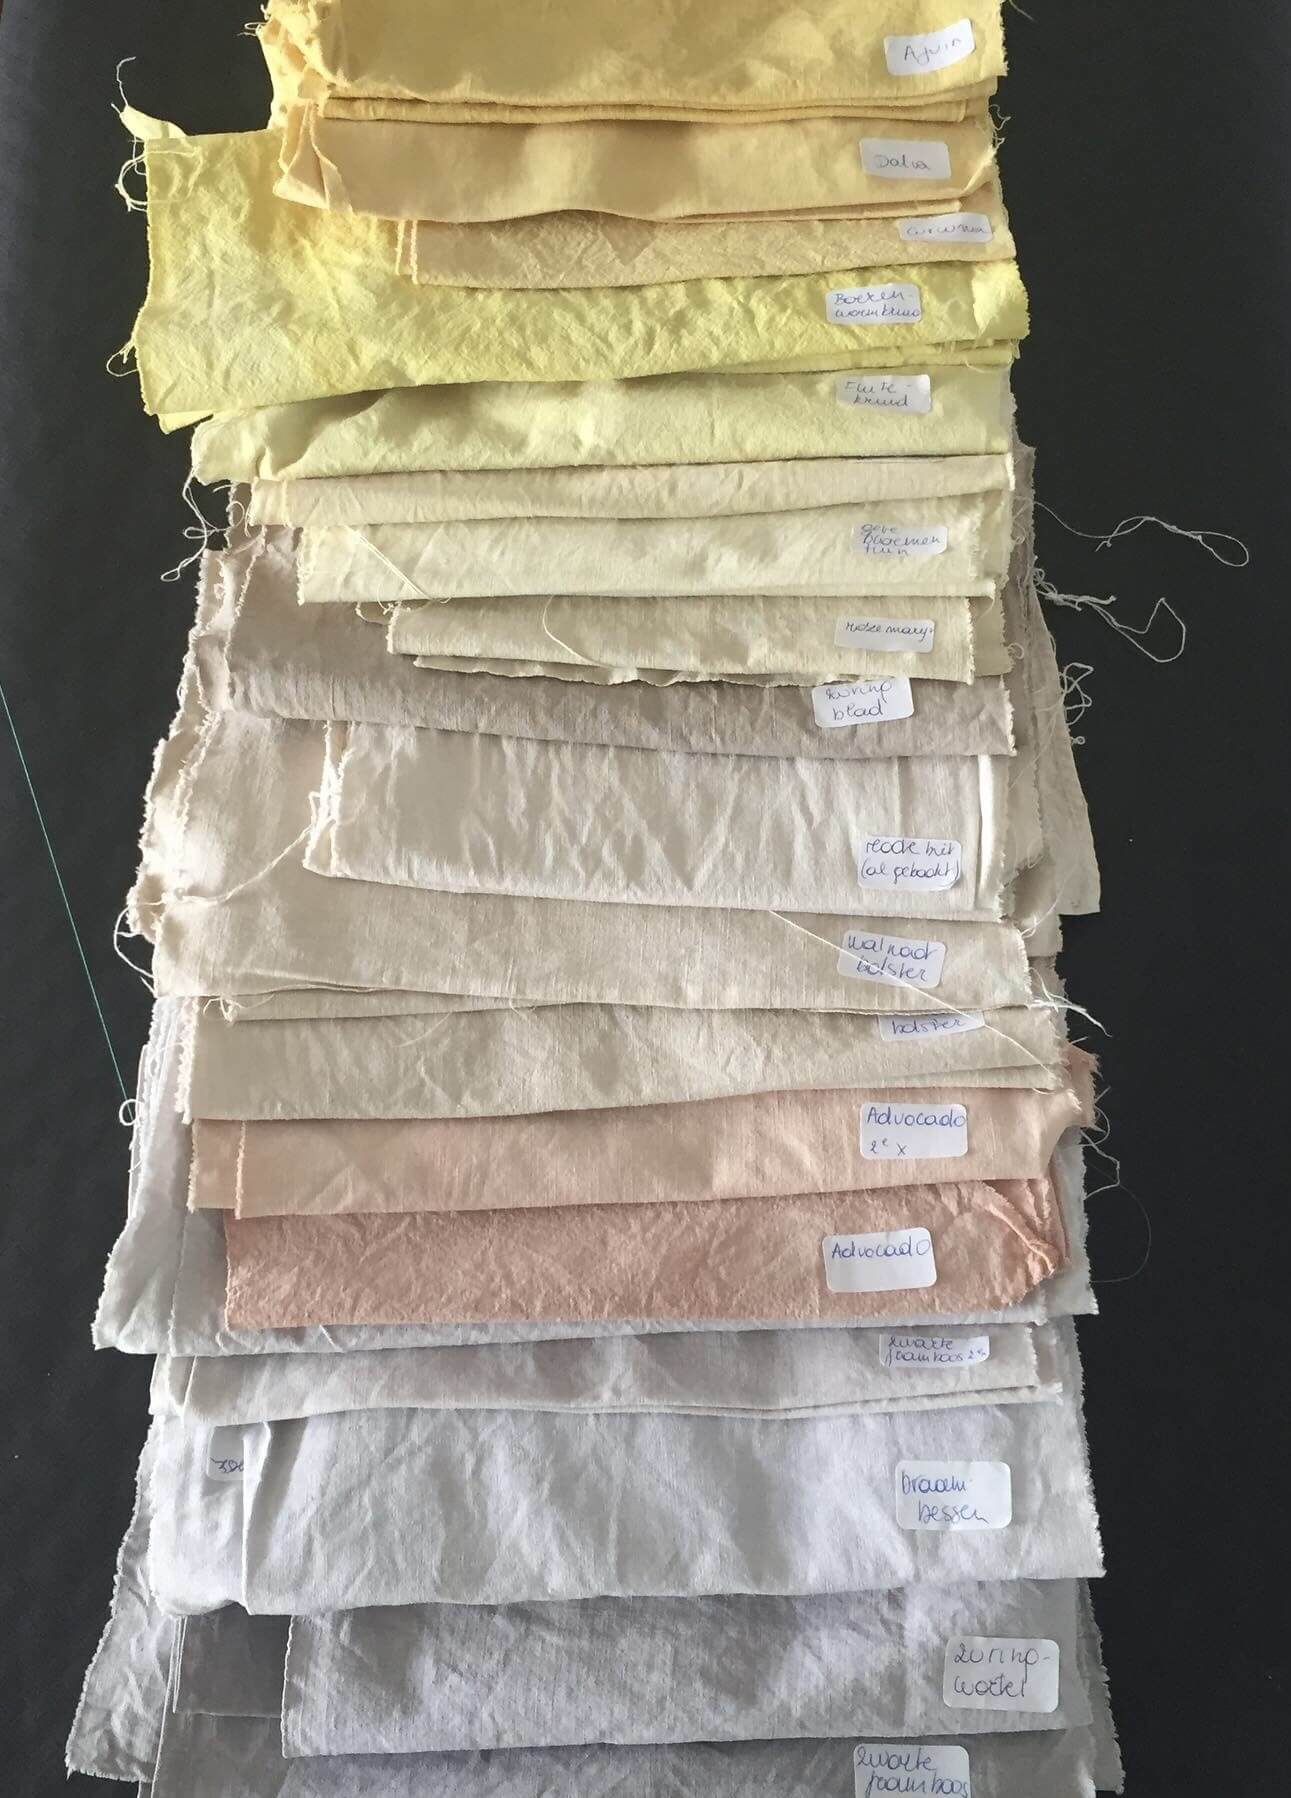
Last years I dyed already a little bit with plants I found in my garden and in my neighbourhood. But this resulted often in clear pastelcolours, altough I had used alun as a mordant.
A few months ago I had the chance to follow a workshop of natural dyeing with AMANDINE BRUNSAUVANT (@atelier brunsauvant).

Together we dyed fabrics with very concentrated dyes (powders), such as from madder root, and the colours were not at all pastelcolours but much darker, brighter and deeper coloured.
Last year I visted the exhibition TO DYE FOR about natural dyeing at the TEXTIELMUSEUM in Utrecht, which inspired me a lot.
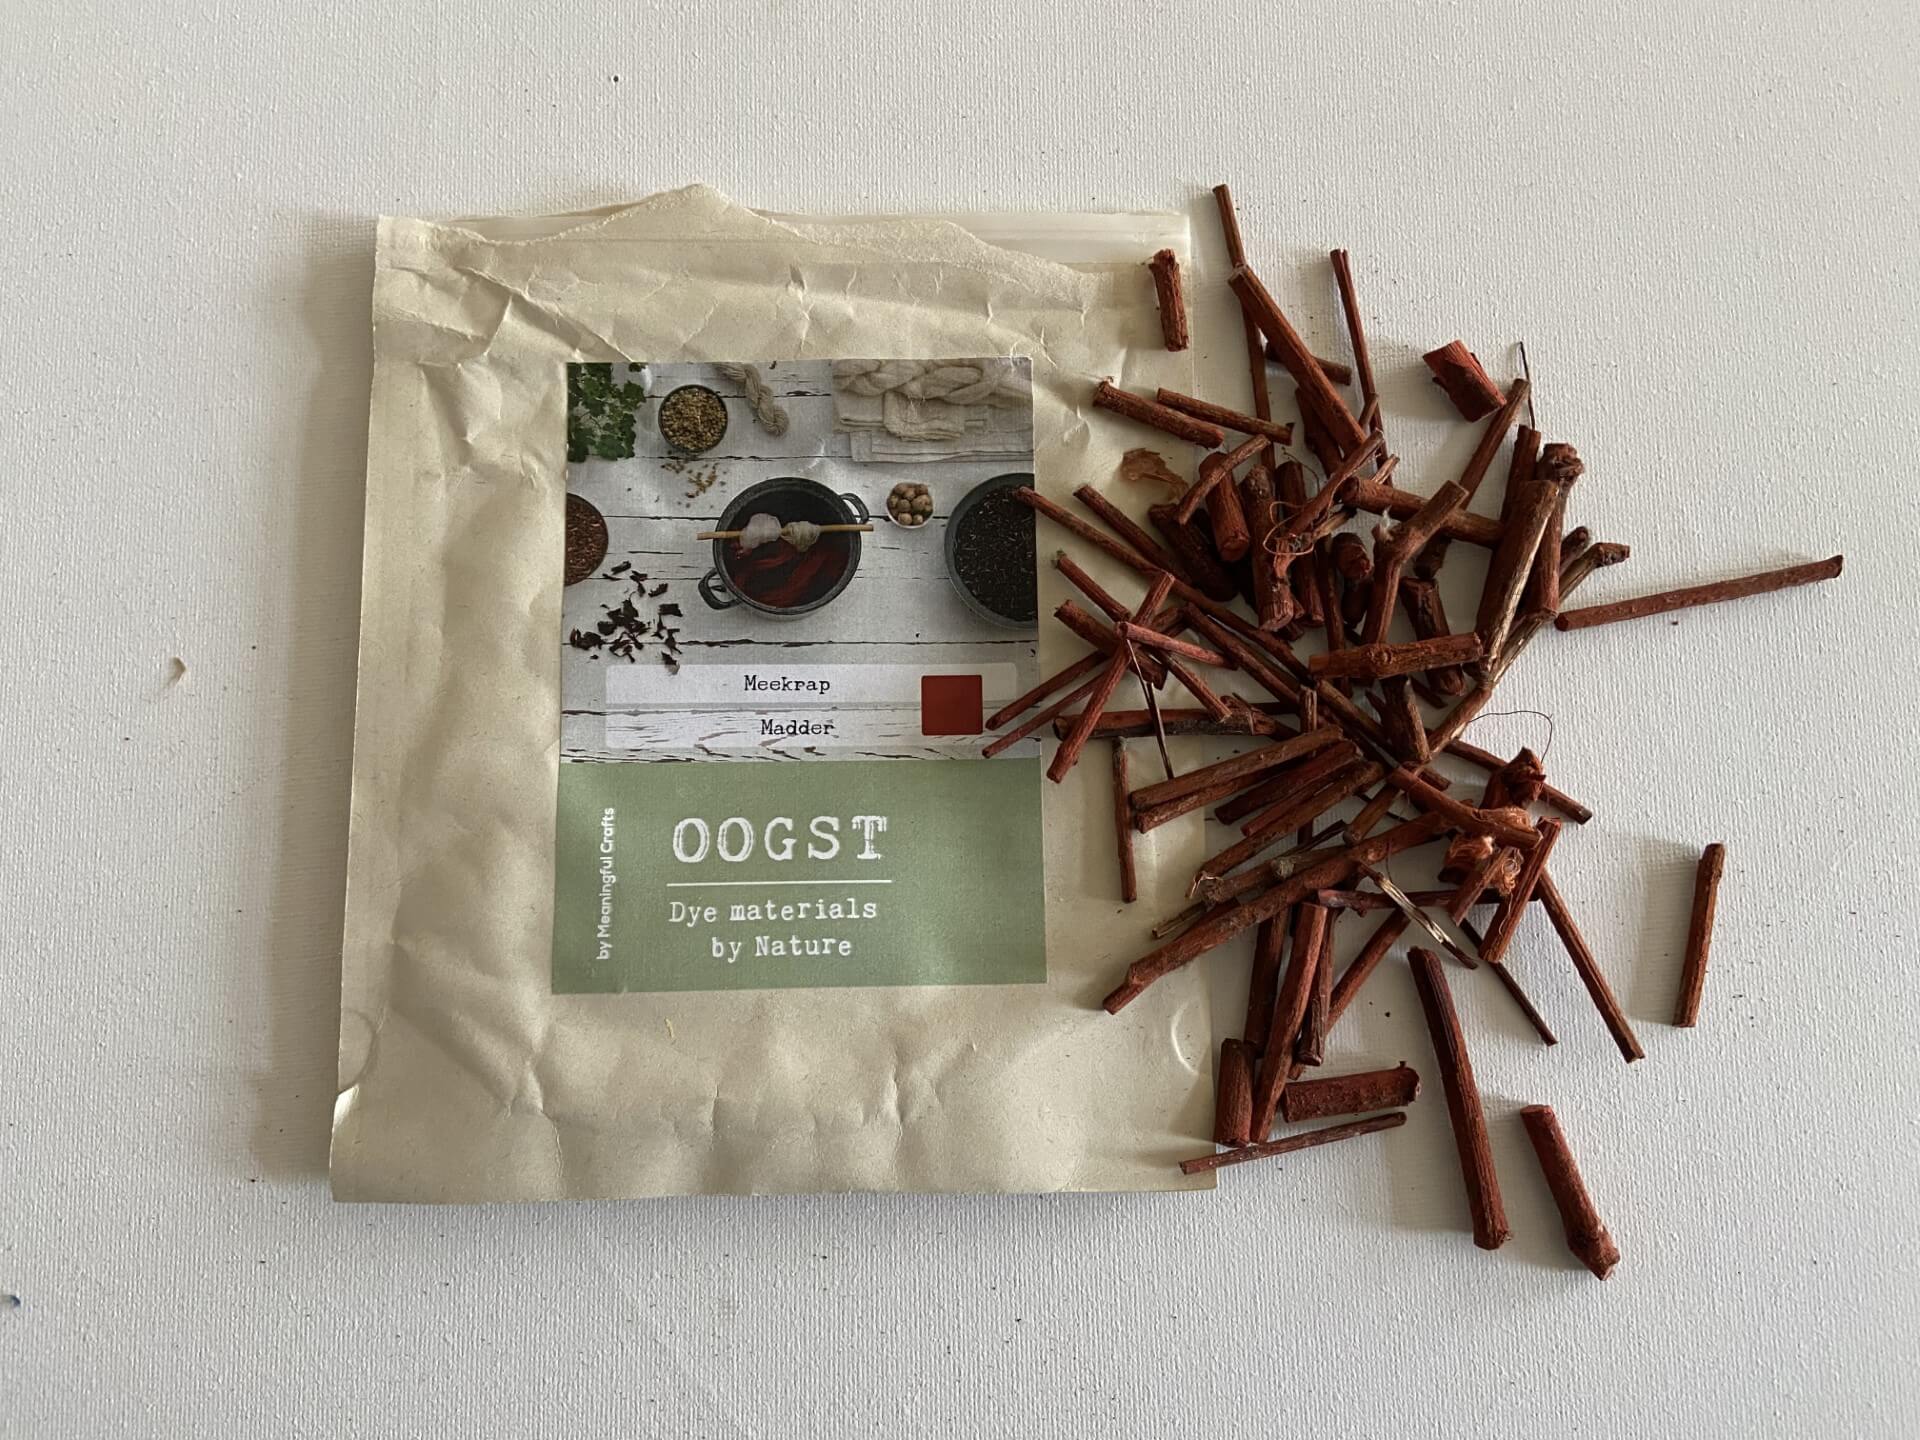
There I bought a little package of madder (pieces of wood) for dyeing fabric. So now I wanted to explore if this sample of madderroot is enough concentrated to get very bright colours.
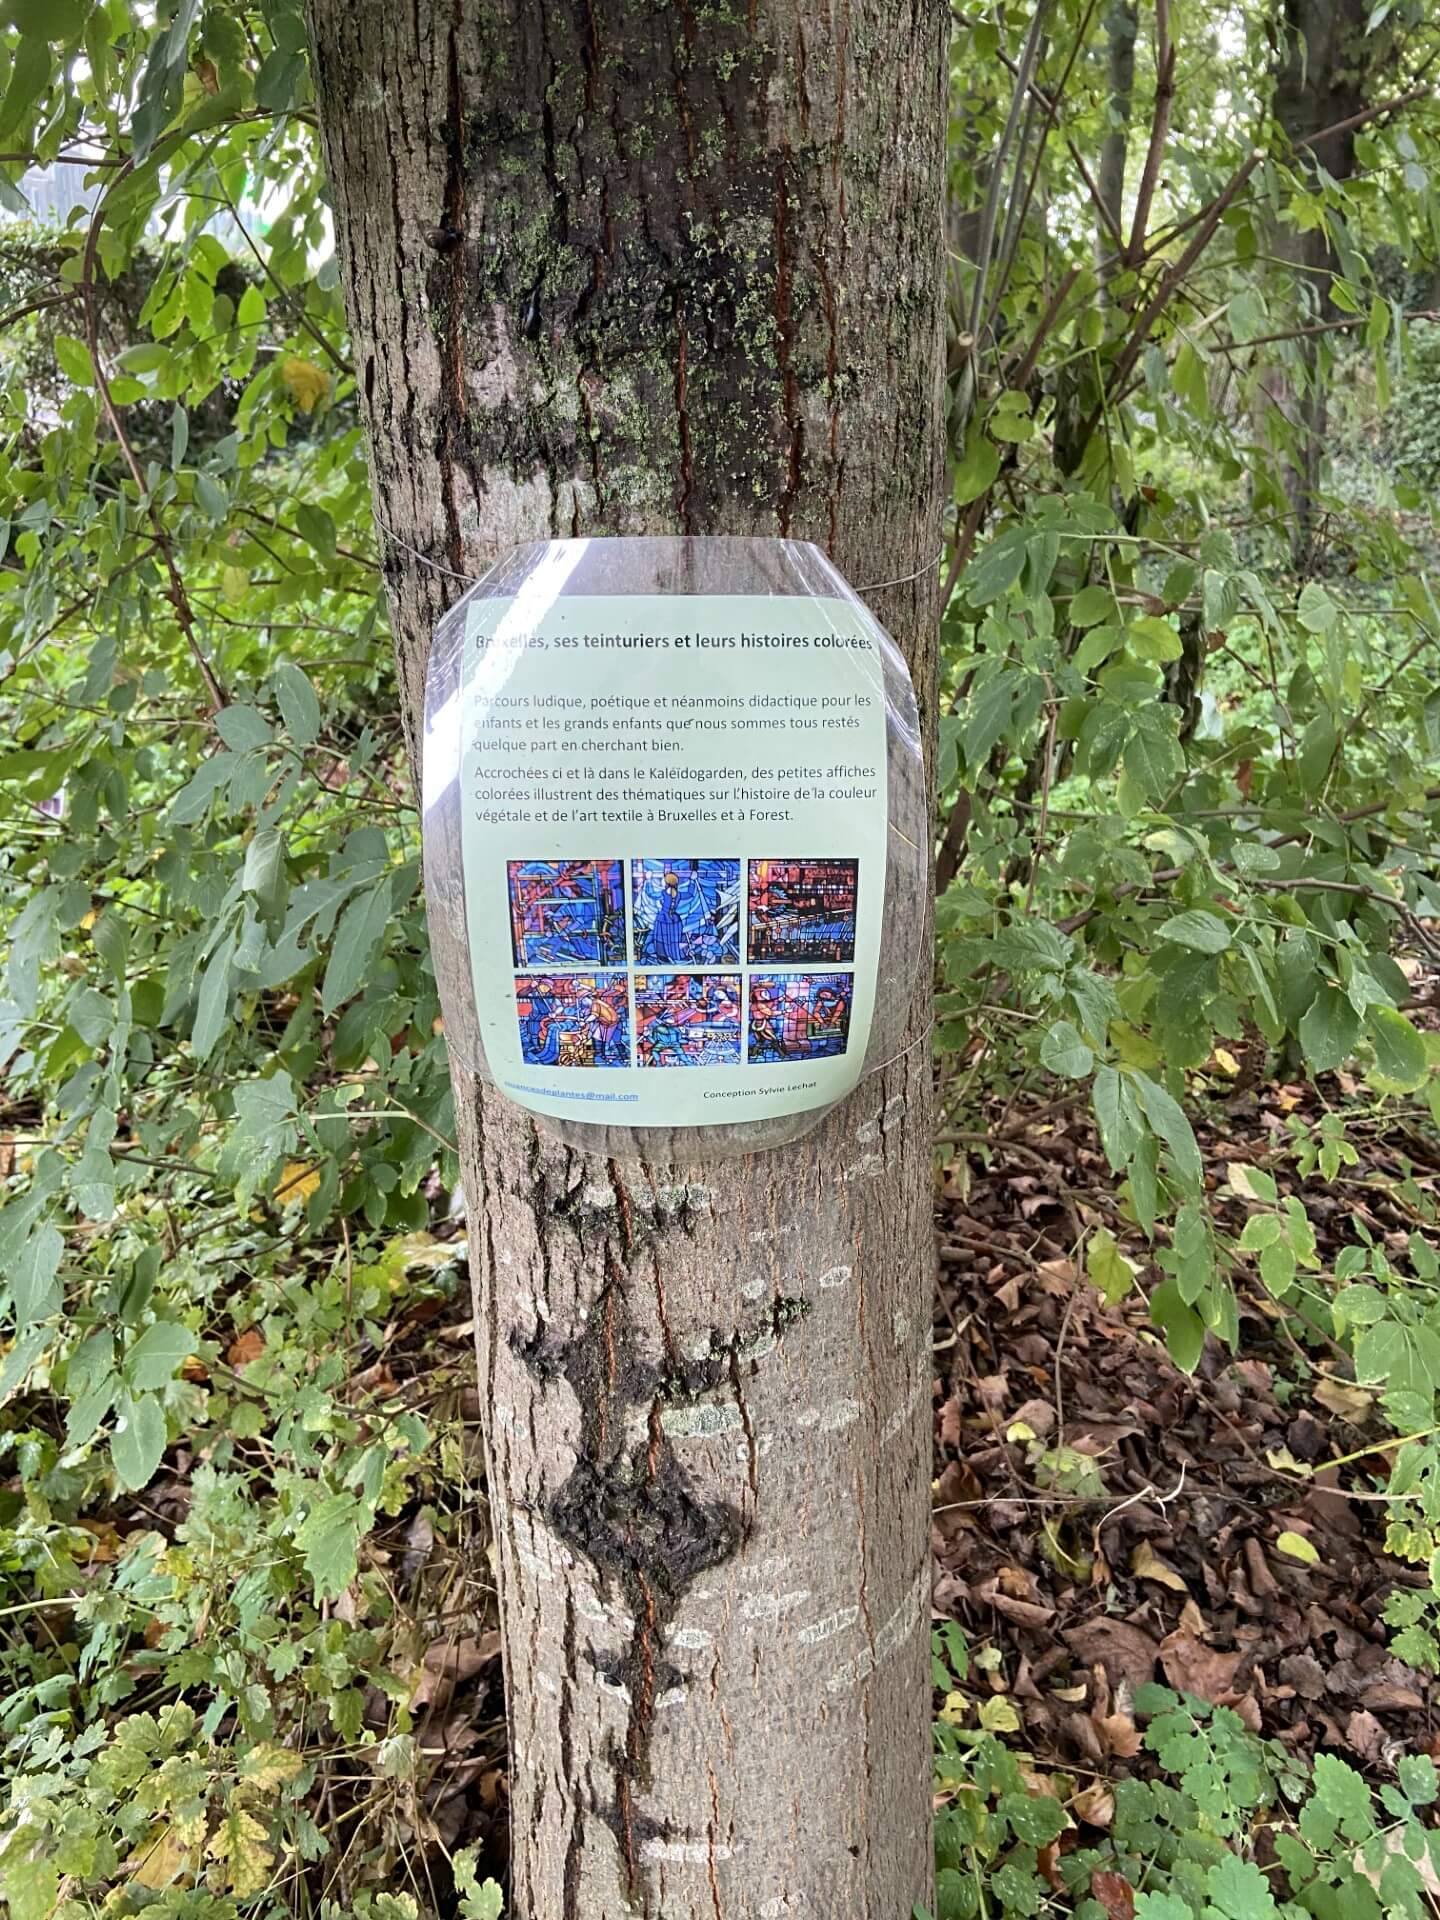
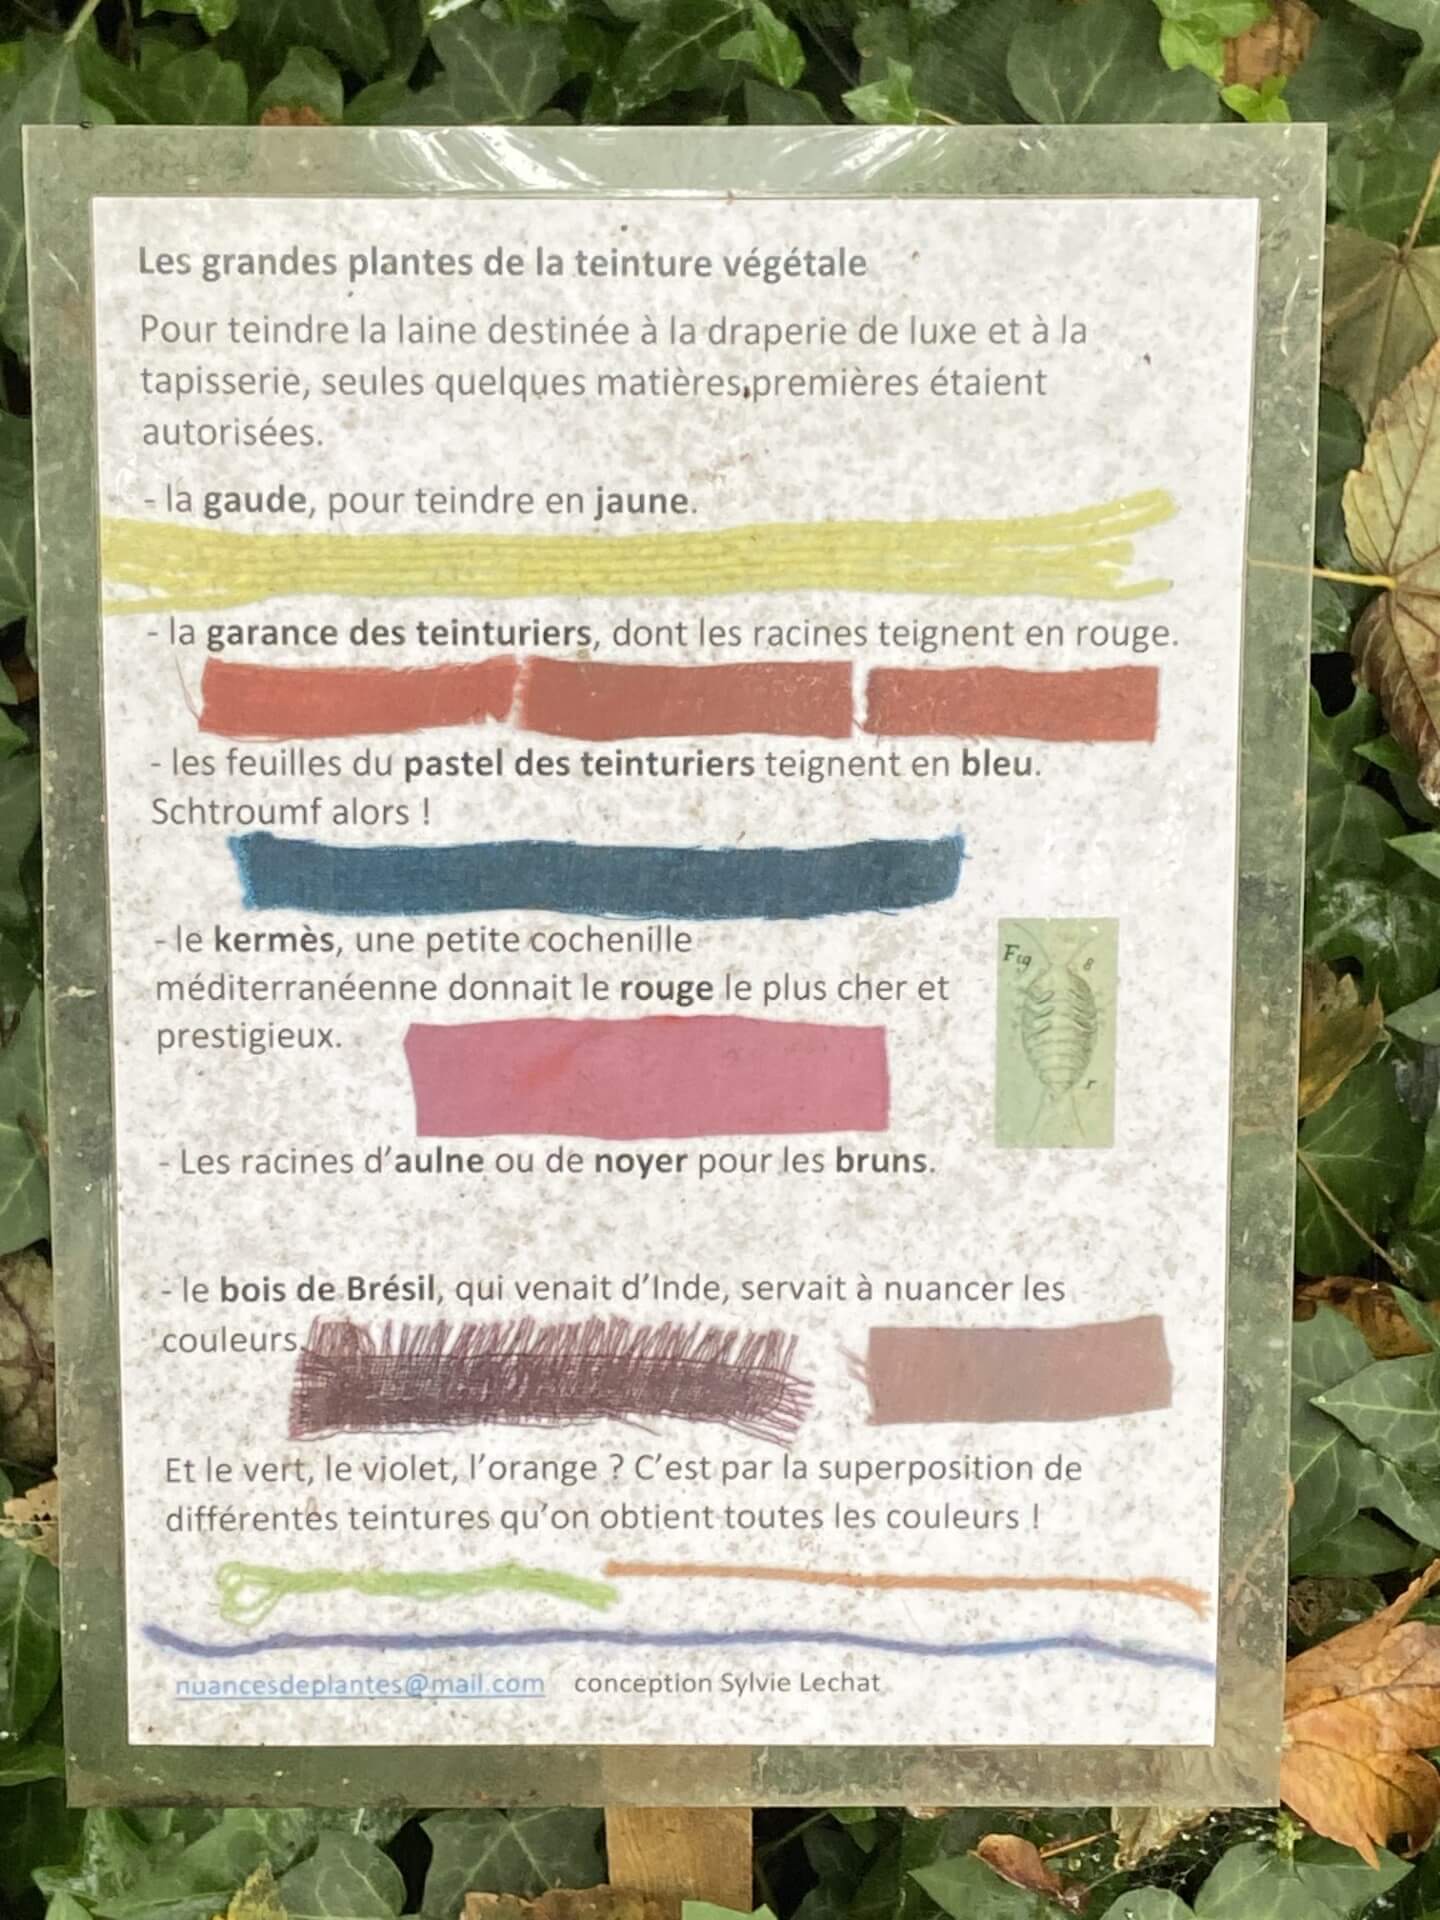
This week I also visited the garden KALEIDOGARDEN at 500 metres distance of our fablab. In this garden information is given about which kind of local plants for dyeing fabric can be found in Brussels. It also highlights which role Brussels played in the previous natural dyeing tradition.
I found this short visit very inspiring to kick-off this dyeing week.
References & Inspiration
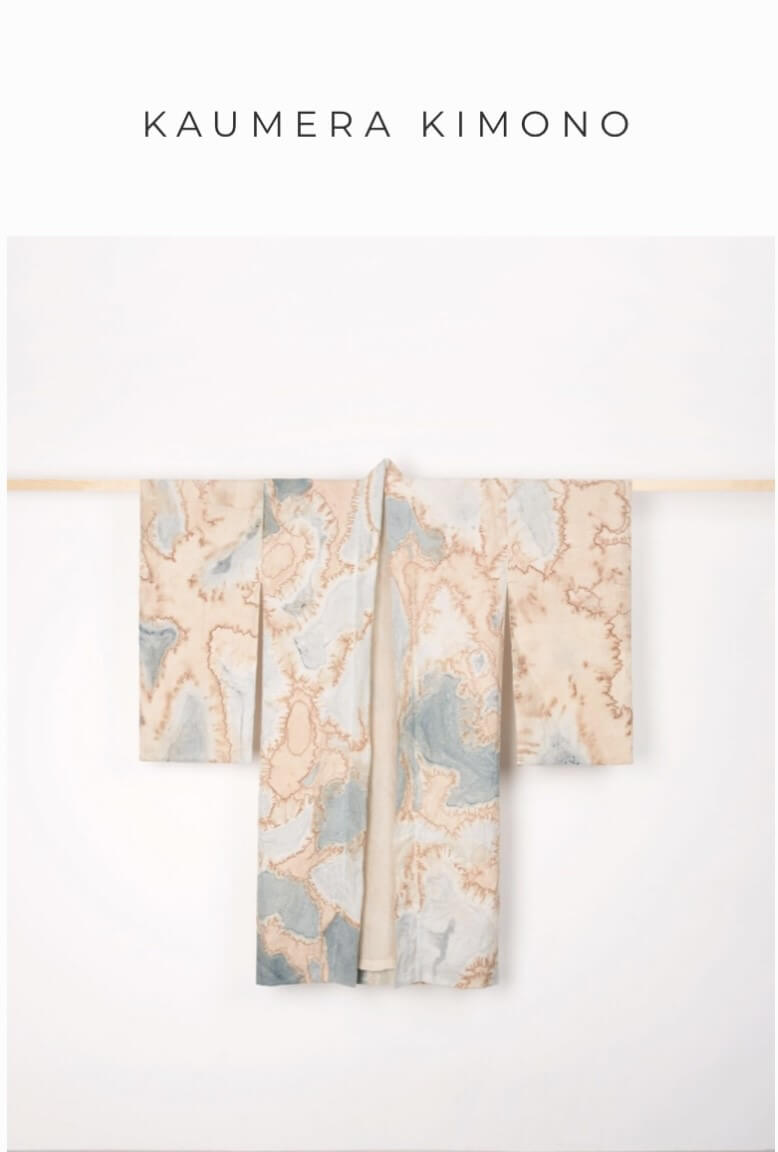
I like the approach of the Dutch textiledesigner NIENKE HOOGVLIET because she explores al lot of projects related to natural dyeing such as dyeing with herbs and seaweed. But also projects related to how to regenerate wastewater from dyeing industries, for which she made her Kaumera kimono.
DYEING WITH MADDER ROOT
Step 1. Mordanting fibres.
I started by mordanting proteïn (wool) and cellulose (cotton and linen) fibres.
This is the recipe I used for the woolen fibres:
Recipe mordanting wool

Always first wet the fibres in water so that they have absorbed enough water before bringing them into the mordanting liquid.

Mordanting liquid:
* water
* 84 gr woolen fibre
* 16,8 gr alum (20% of the weight of the fibres)
* 5,0 gr cream of tartar (6% of the weight of the fibres)

Put the woolen fibres in the water and let it heat up untill it boils.
Then let it stay for 1 hour while boiling.
Let the water cool down with the woolen fibres still inside.
Take the fibres out when the water has cooled down to avoid a thermique shock (because this can cause the wool to shrink).
This is the recipe I used for my cotton and linen fibres :
Recipe mordanting cellulose fibres

Always first wet the fibres in water so that they have absorbed enough water before bringing them into the mordanting liquid.

Mordanting liquid:
* 1l vinegar
* 100 gr alum (20% of the weight of fabric)
* 50 gr soda
First dissolve the alum in the vinegar.
Then add the soda little by little.

Put the fibres in the mordanting liquid.
Let them stay for 1 hour.
Then take them out, rinse the fibres and let them dry.
I also put 100 gr of madder in water so that it could stay overnight to absorb water. This would make the woodpieces less dry. The madder coloured the water already without heating it up.
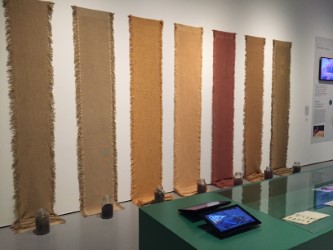
Step 2. First bath - heated up without madder
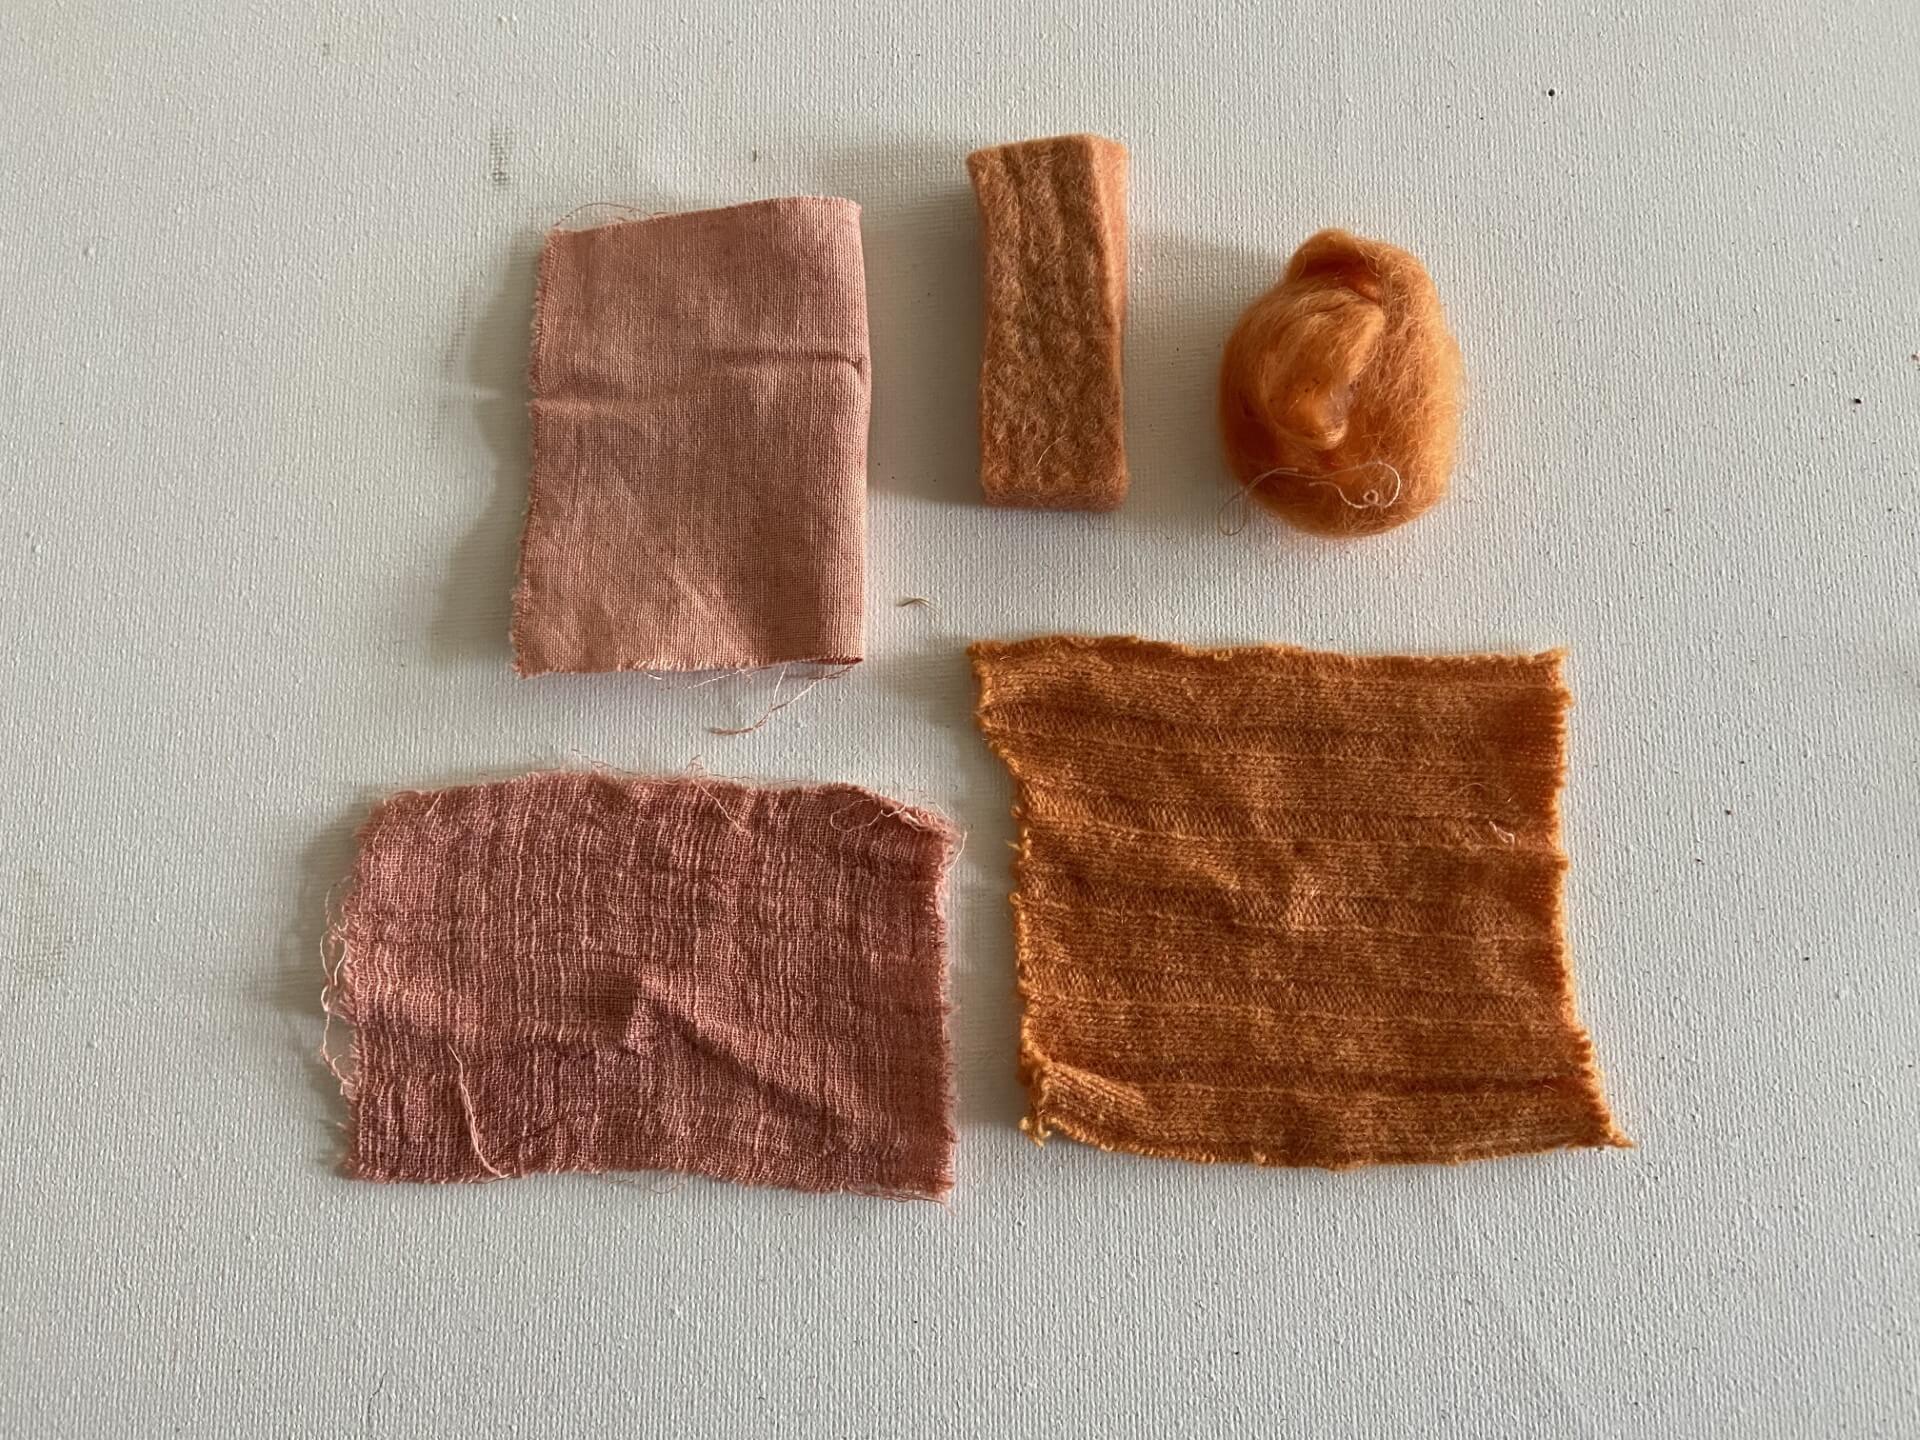
This first bath with a batch of protein and cellulose fibers was a little bit a failure because by mistake I took out the pieces of madder that had staid in the water overnight. So I heated my water up until 60° but without madder, with my fabric samples in it. I then let stay the samples in the water of 60° for around 1 hour.
So the result were very light pastel-salmon coloured fibres. The wolen samples absorbed more colour and had a darker colour.
Step 3. First bath - heated up with madder
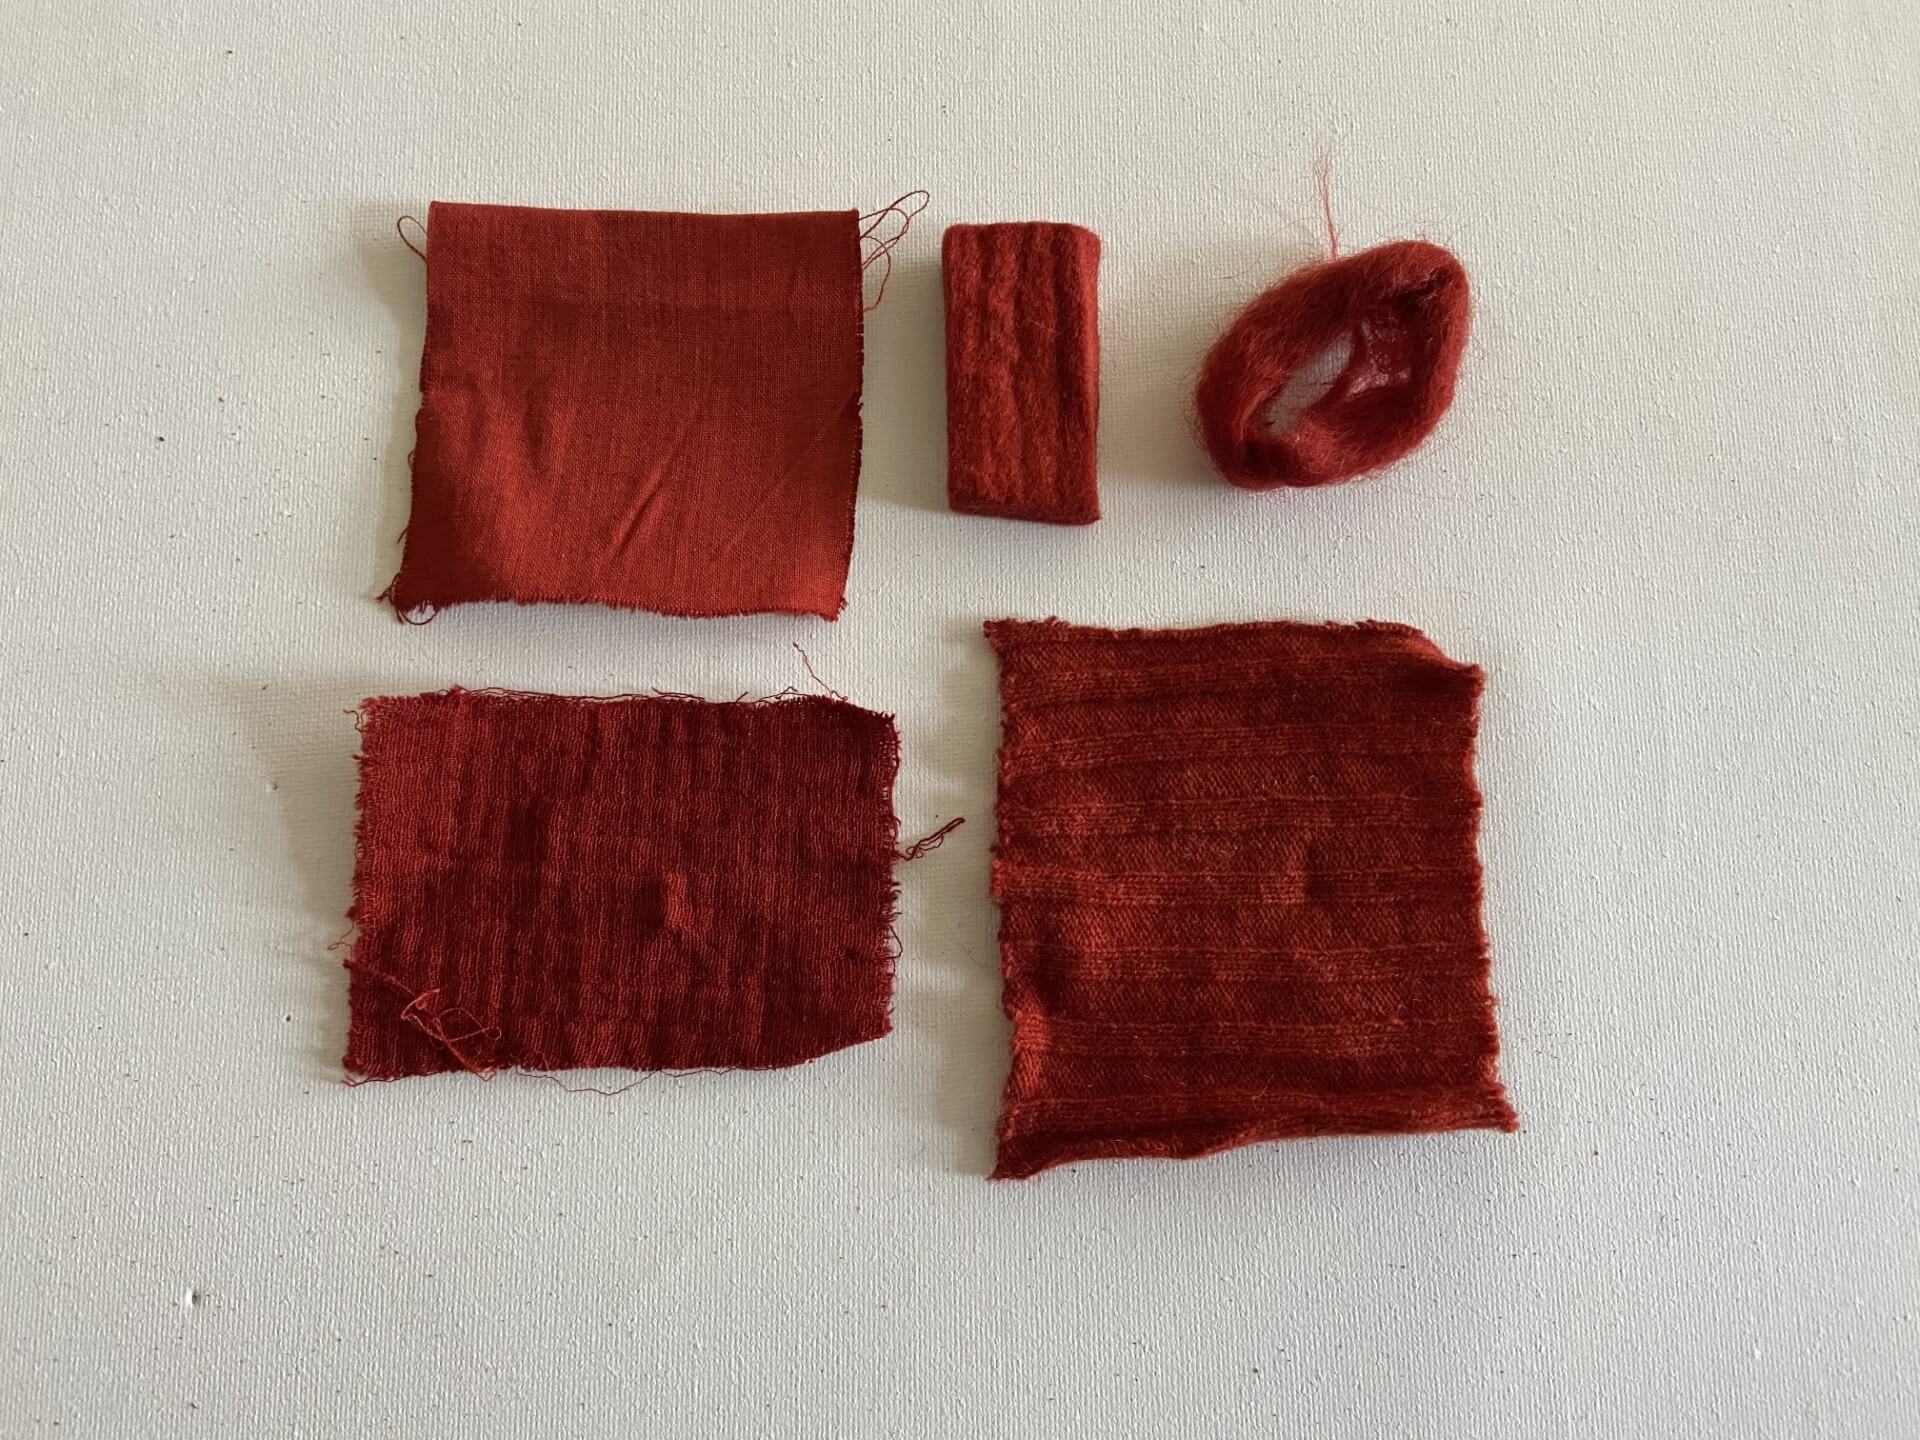
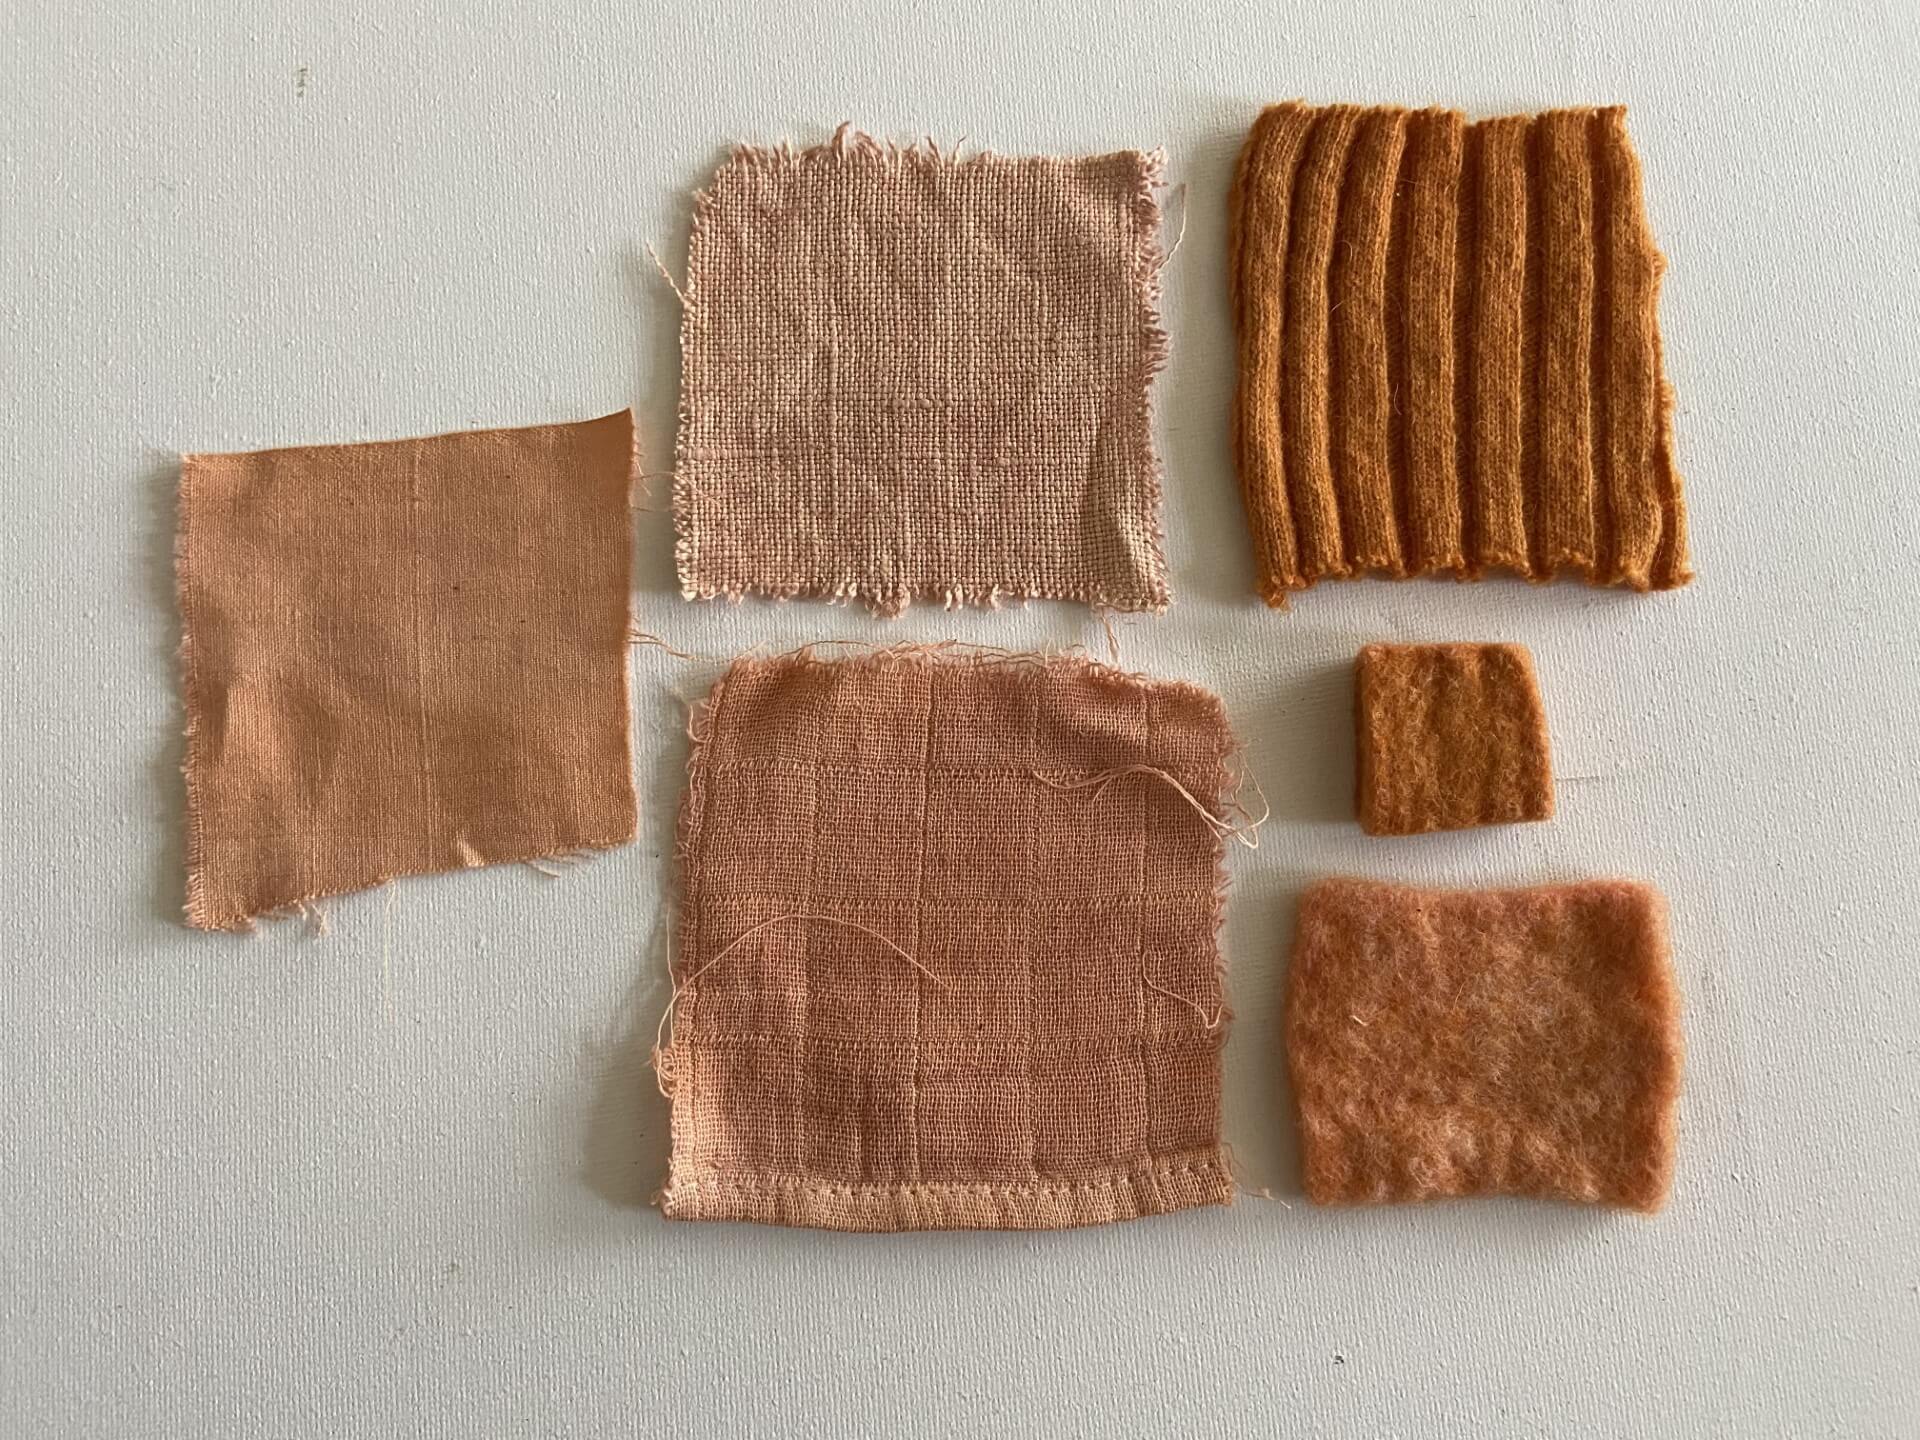
This time the madder was left in the already lightly teinted water and I heated it up until 60°. I added a batch of samples that received the first bath of step 1 and then let them simmer for 1 hour. The result was a nice orange colour.
Step 4. Second bath with the same protein and cellulose fibers.
I did a second bath with a batch of samples that got already a first bath of step 1.
The result this time is a lighter orange.

Step 5. Third bath with aluminum sulfate
I added 1,5 gr aluminum sulfate to 500 ml of leftover water of the previous bath and I let the fabric samples staid for 2h.
As expected the result is greyer coloured orange.
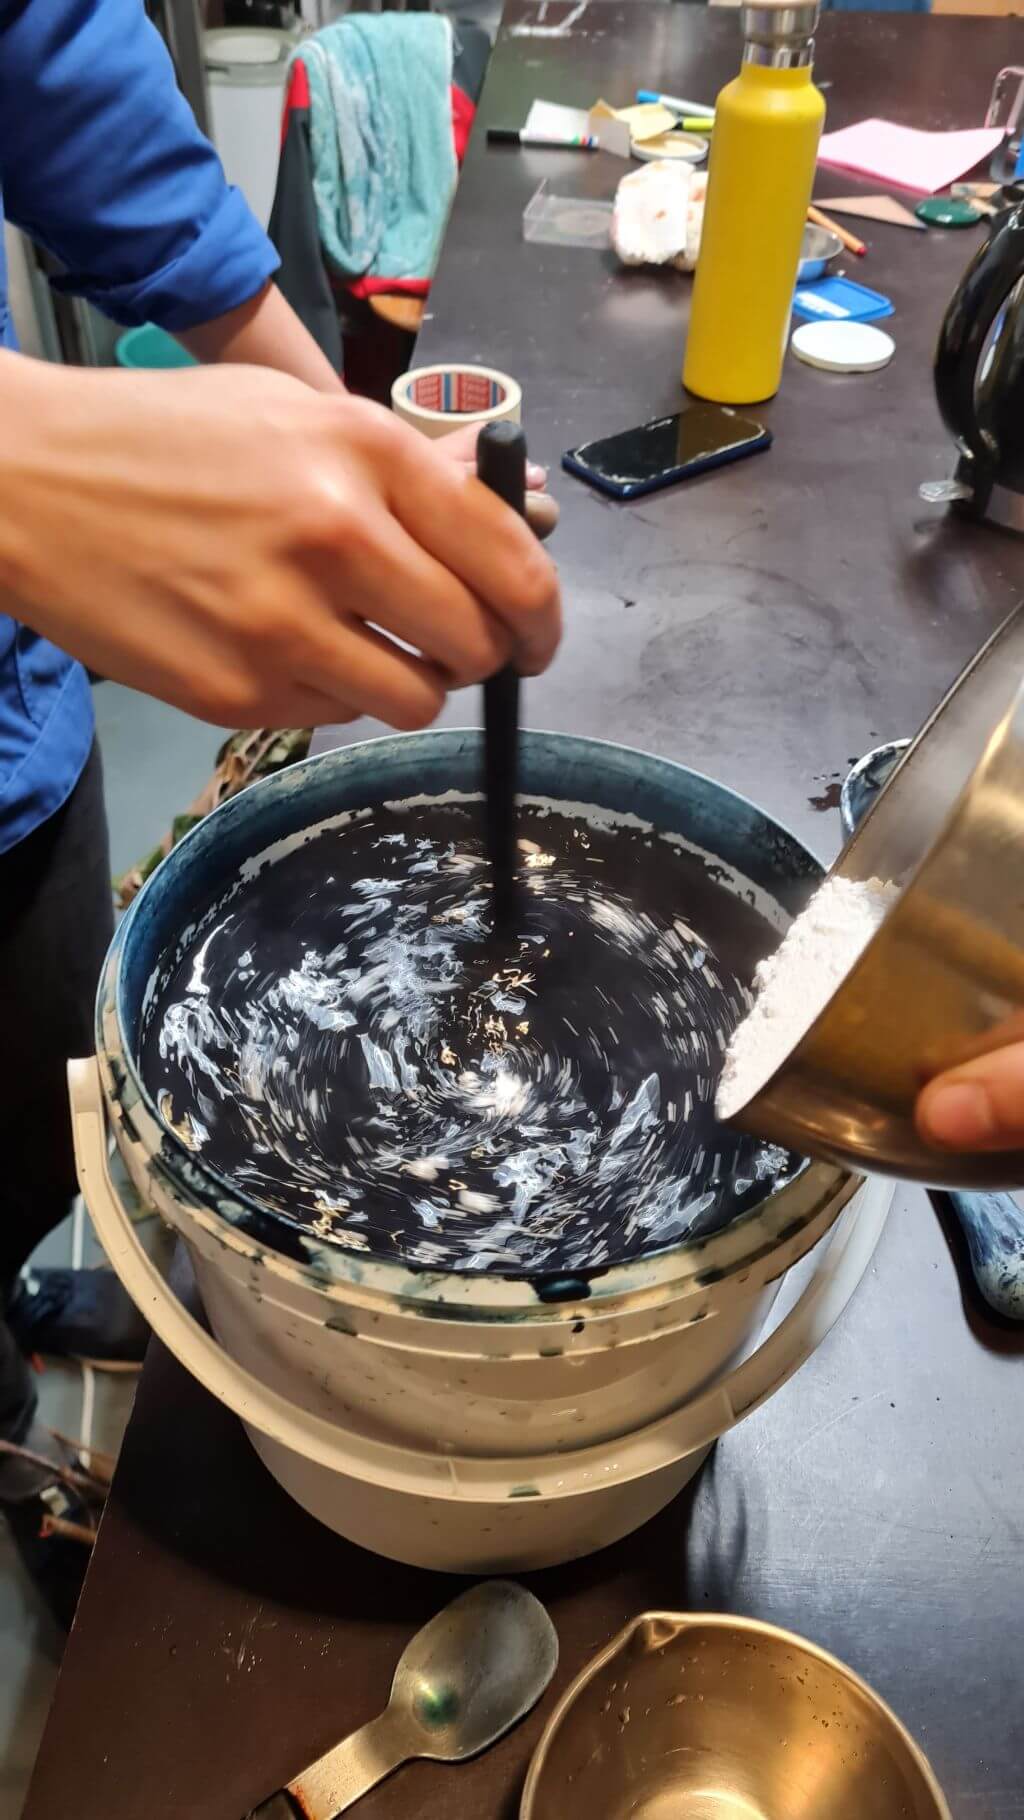
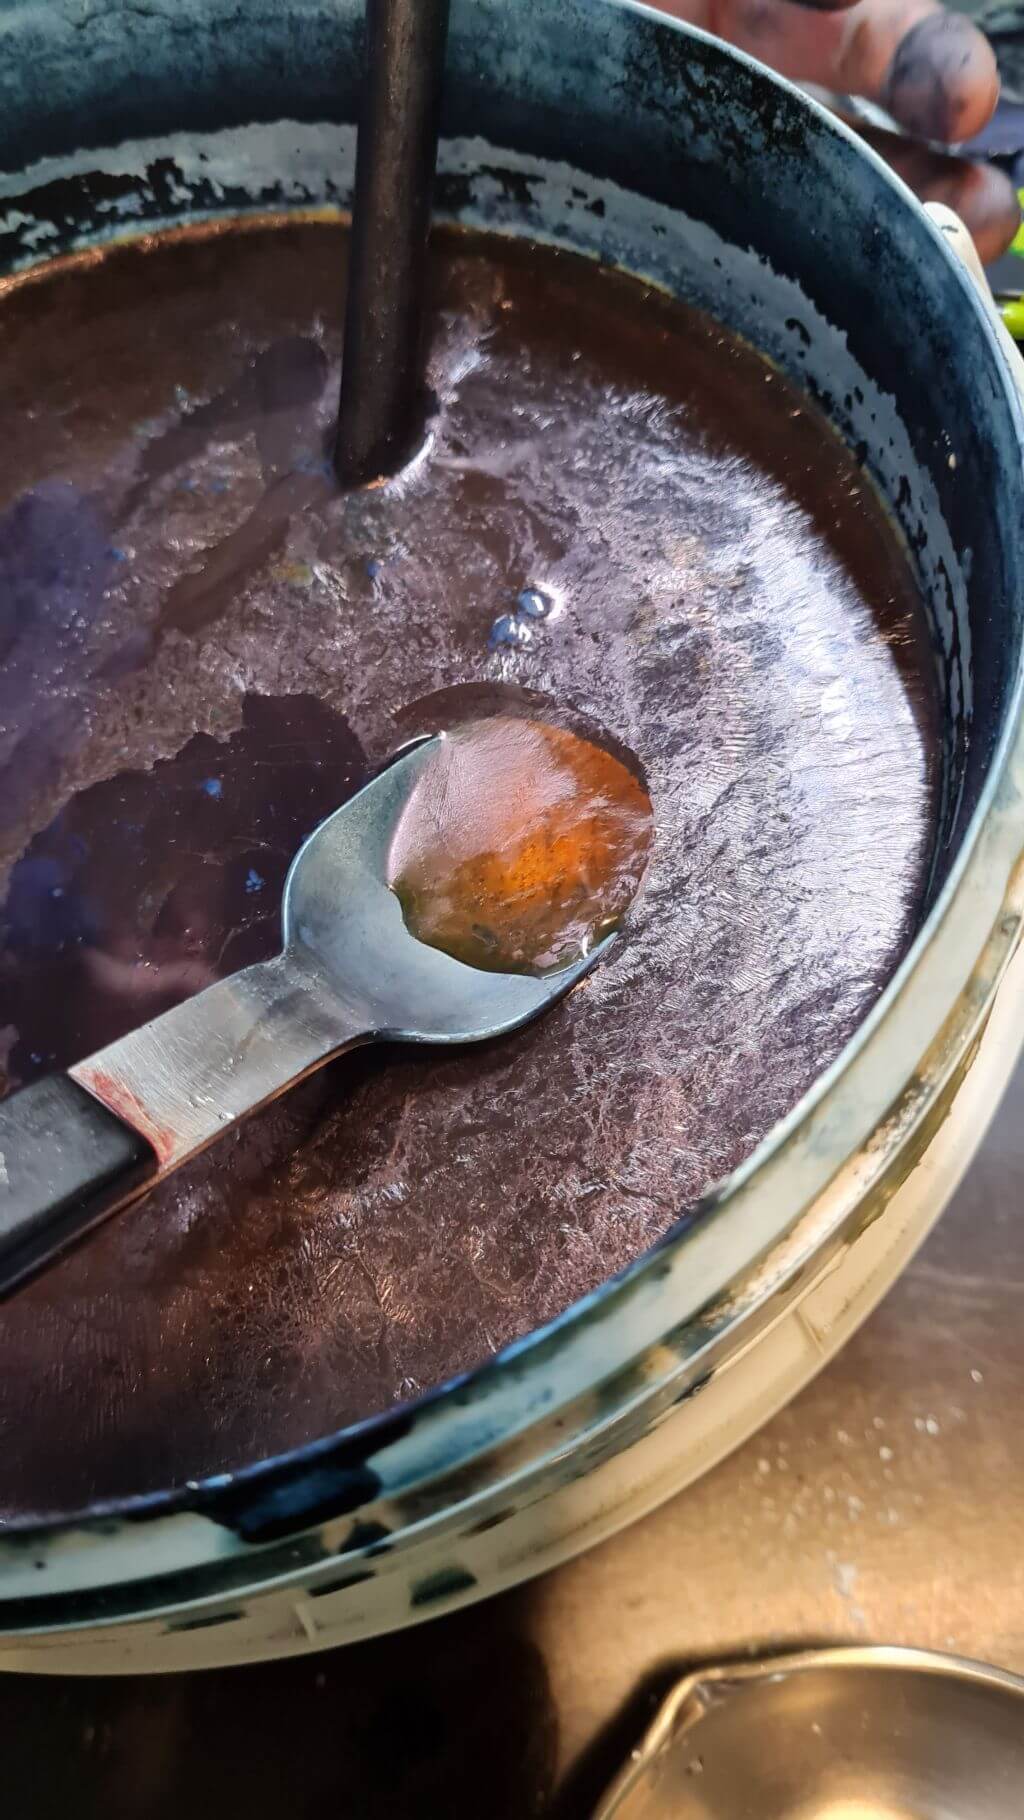
Step 6. recycling the dye into an ink.
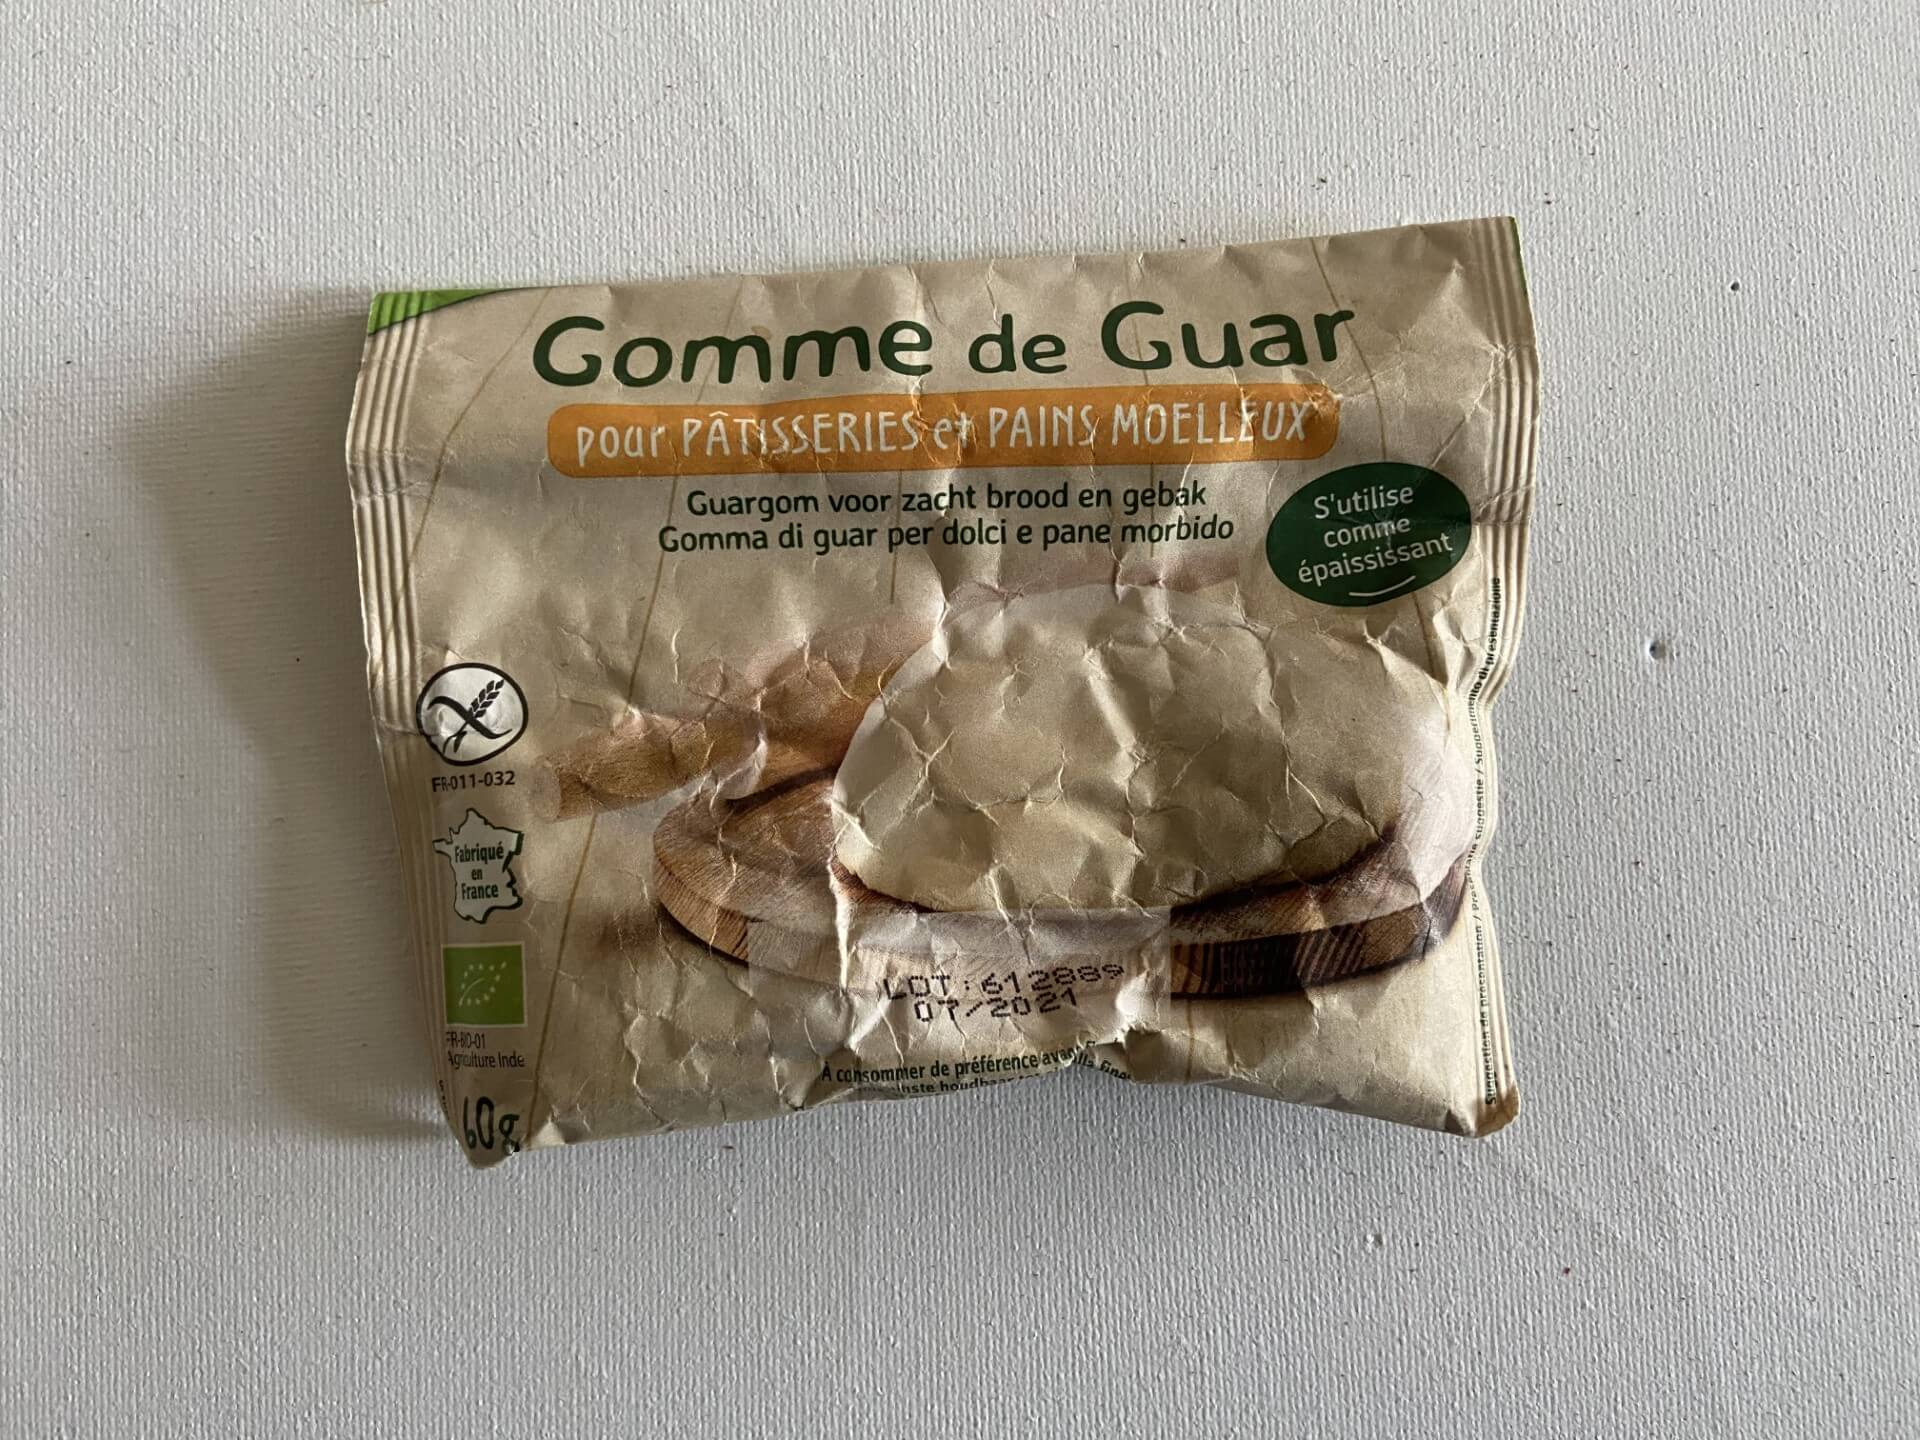
I made an ink with a left-over of the second bath. The leftover was put on a low fire and was left simmering until the remaining was a very concentrated liquid. In a small recipient with just a little bit of this liquid I added 2 gr of guargom to make it a little bit thicker.
This is the result of my ink when I painted with it.
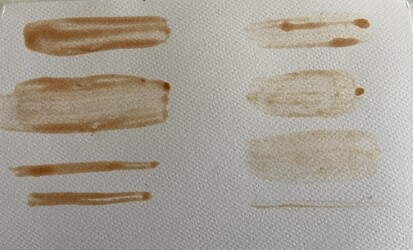
I stored my ink and weeks later I can still use it by adding just a few drops of water.

I would like to dive deeper into the proces of making ink and pigments so that I can make pigments to do serigraphy with.
Conclusion
Colours are not as bright as when we worked with the concentrate powder I would like to dive deeper into the proces of making ink and pigments so that I can make pigments to make serigraphy with.
DYEING WITH INDIGO
We received a workshop in dyeing with indigo from Amandine Brunsauvant. She showed us how to make an indigo, warm, bath from scratch and how to use an existing, cold, bath. The warm indigo bath works better for woolen fibres, the cold bath for cellulose fibres.
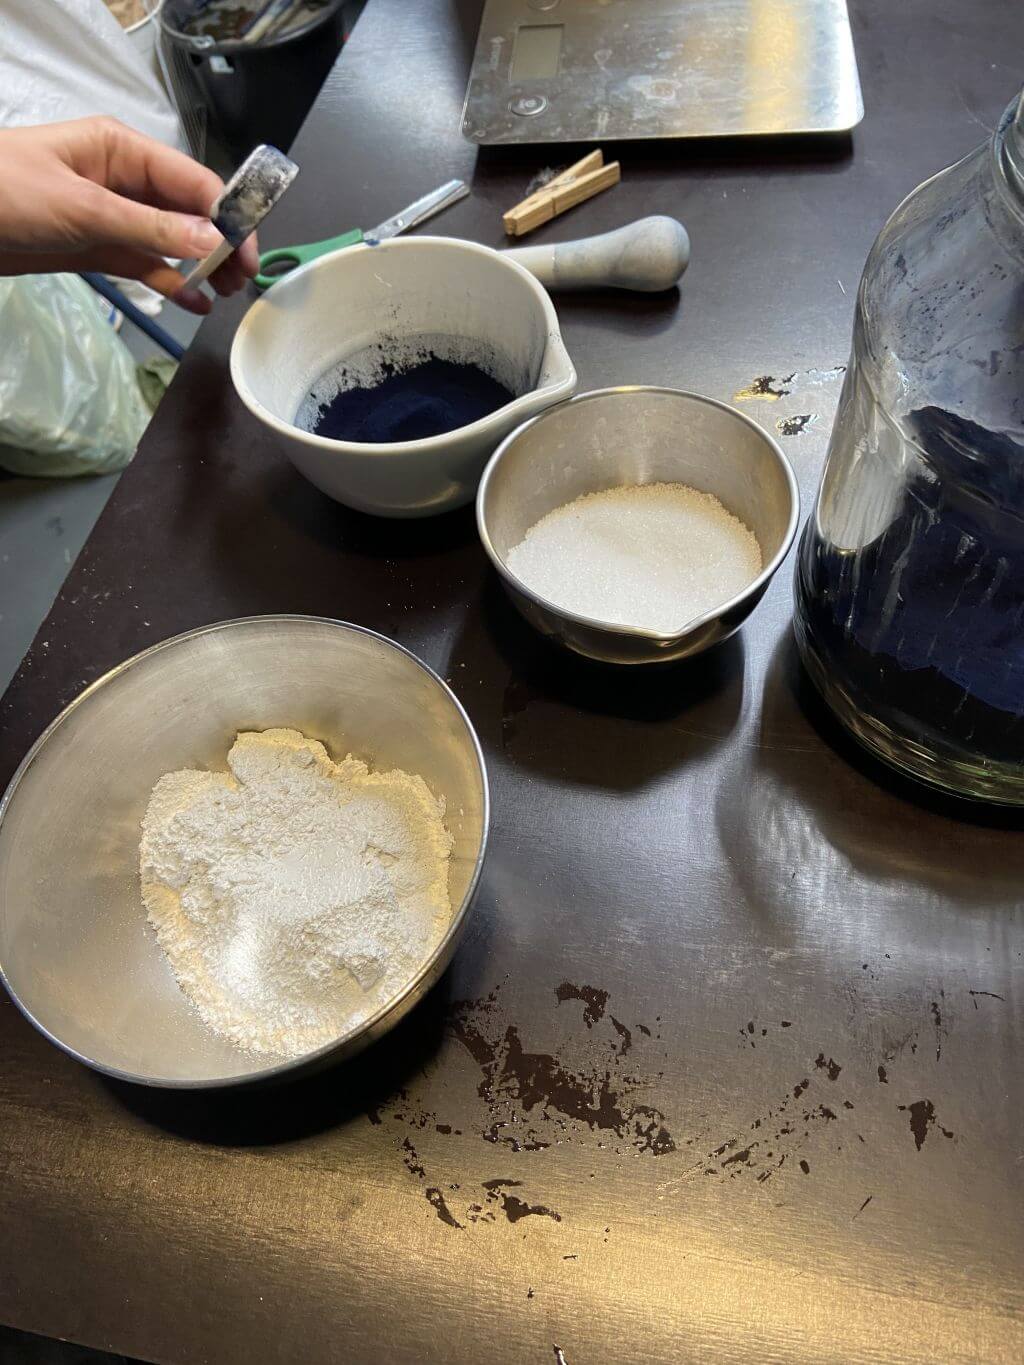
This is the 1/3/2-ratio recipe we used for making the warm indigo bath:
*  4l water
* 1 quantity of indigo or 32 gr (ratio = 8gr indigo/litre water)
* 3 quantities of fructose or 96 gr
* 2 quantities of slack lime or 64gr

First bring in the indigo.
Crush it little by little with a pestle and add a little bit of water.
Then bring in the fructose and continue crushing. If necessary add a little water.
Then bring in the lime, add a little water and continue crushing.
You should obtain a smooth, shiny paste.
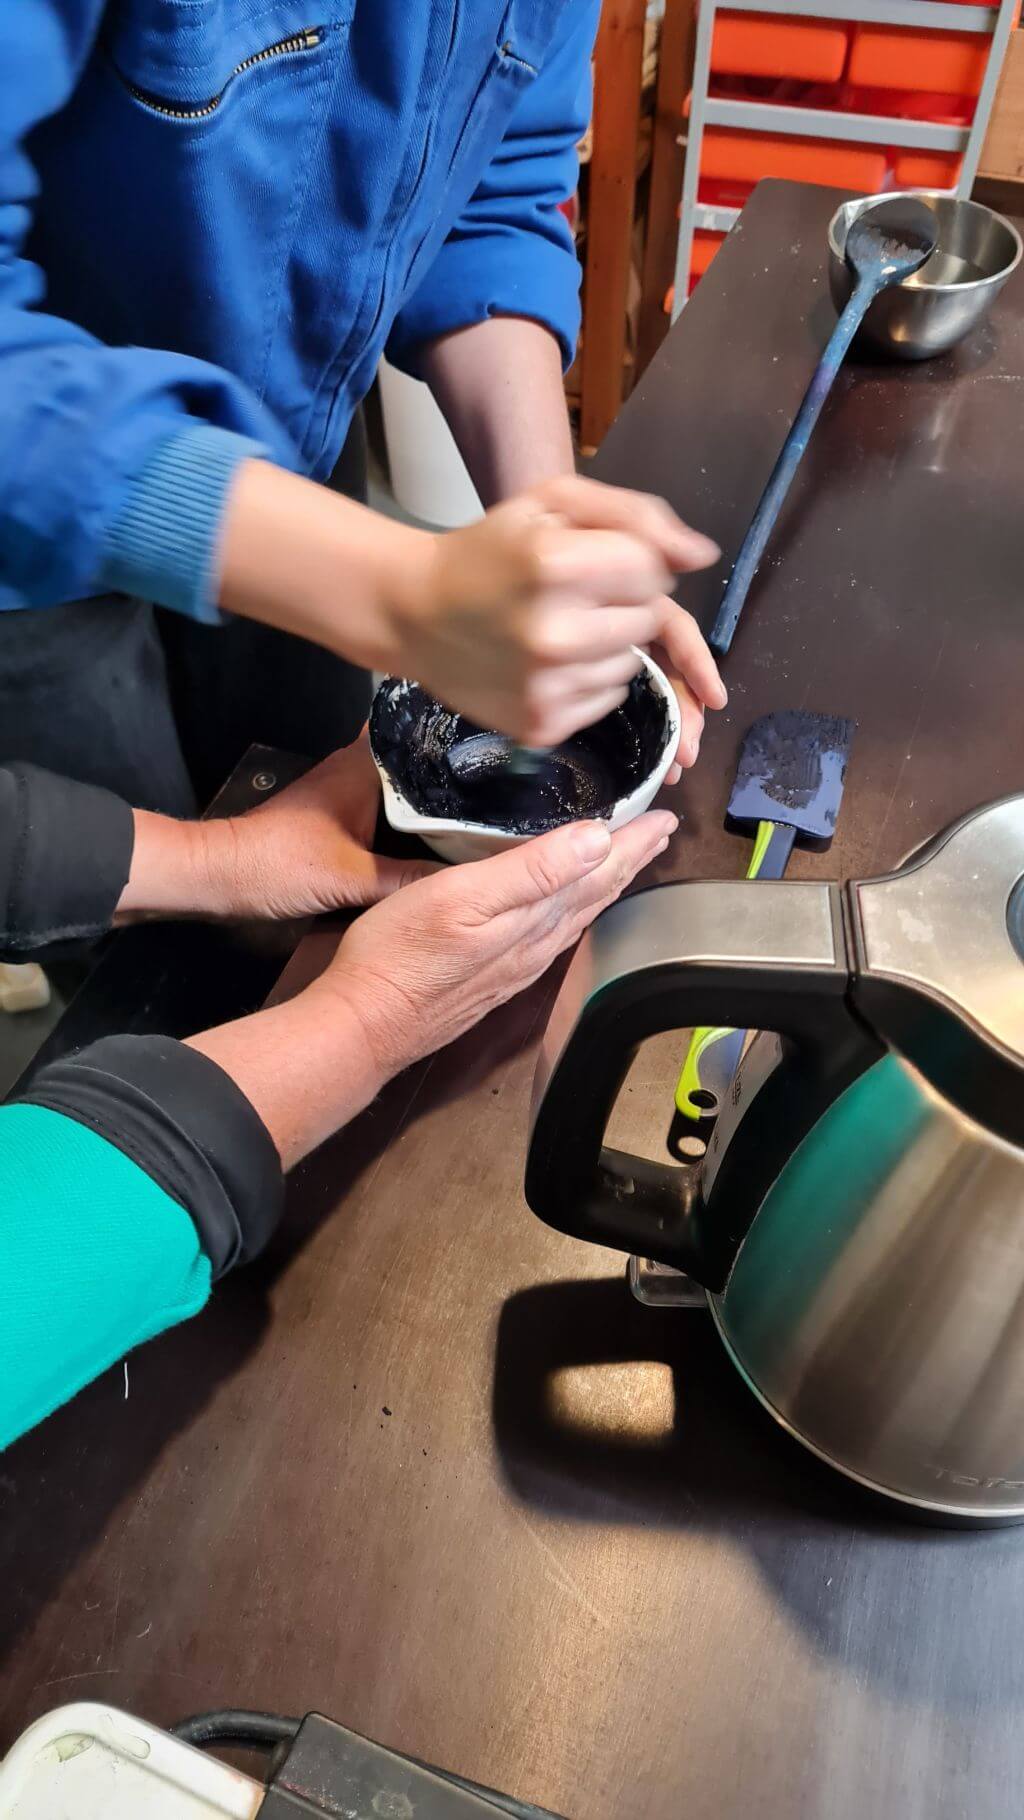
We added this paste to the 4 litres of warm water and looked at the colour of the indigo bath.
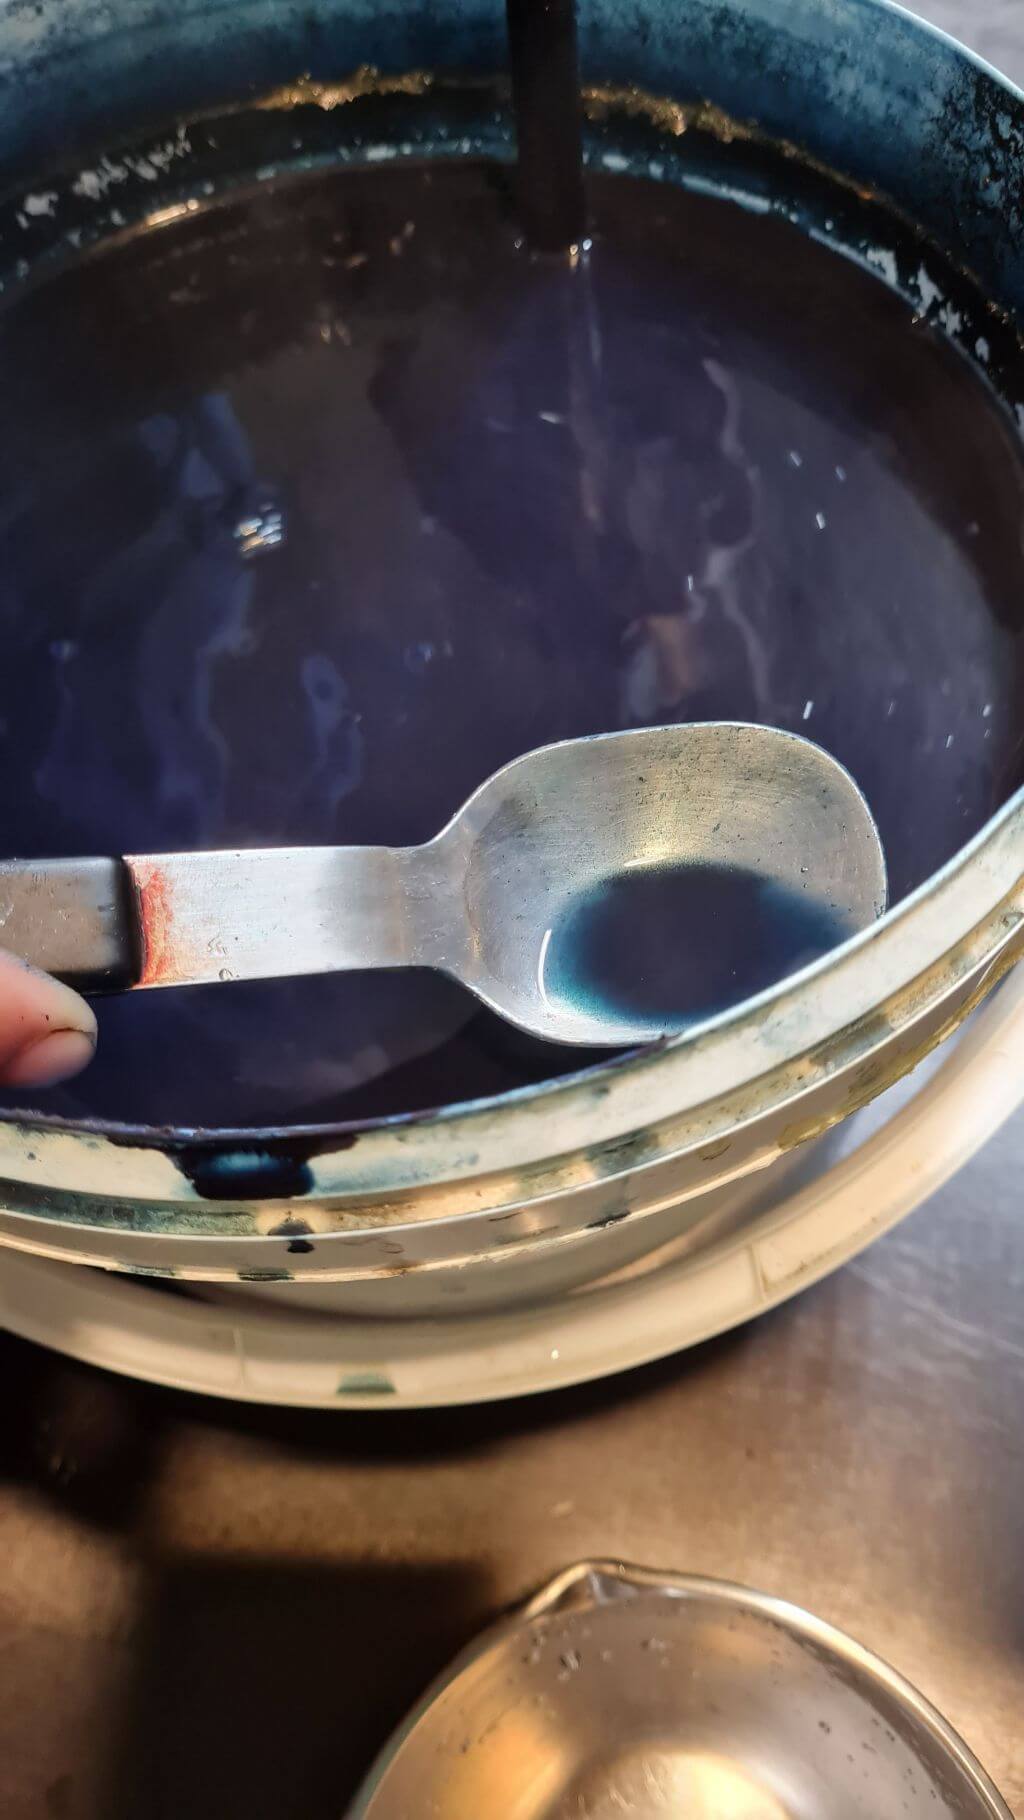
Because this was still too blue we added some more lime.
The colour was already better but needed to have a more copper shine.
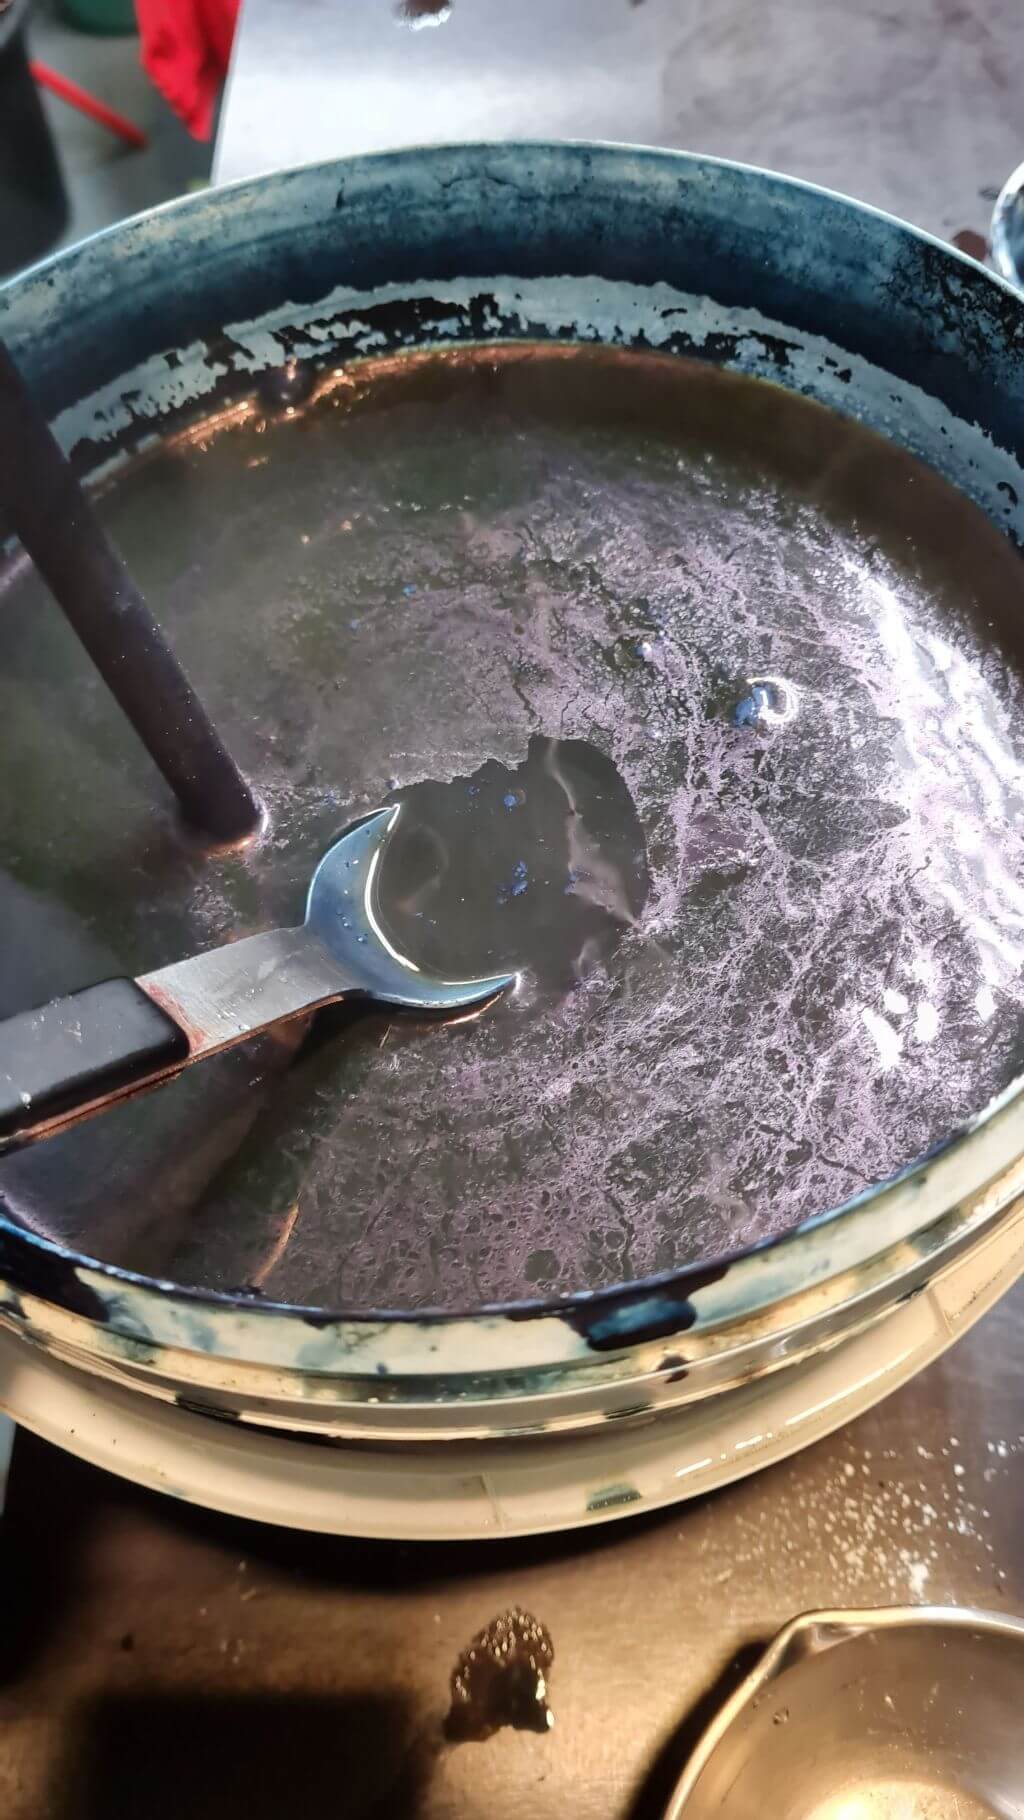
Finally it was ok.
We soaked well are samples of fibres in water.
Then we made are first bath by soaking the samples into the indigobath for a few minutes. We took the samples out, wrung them out and rinced them in clear water. We wrung them out again and left them to dry.
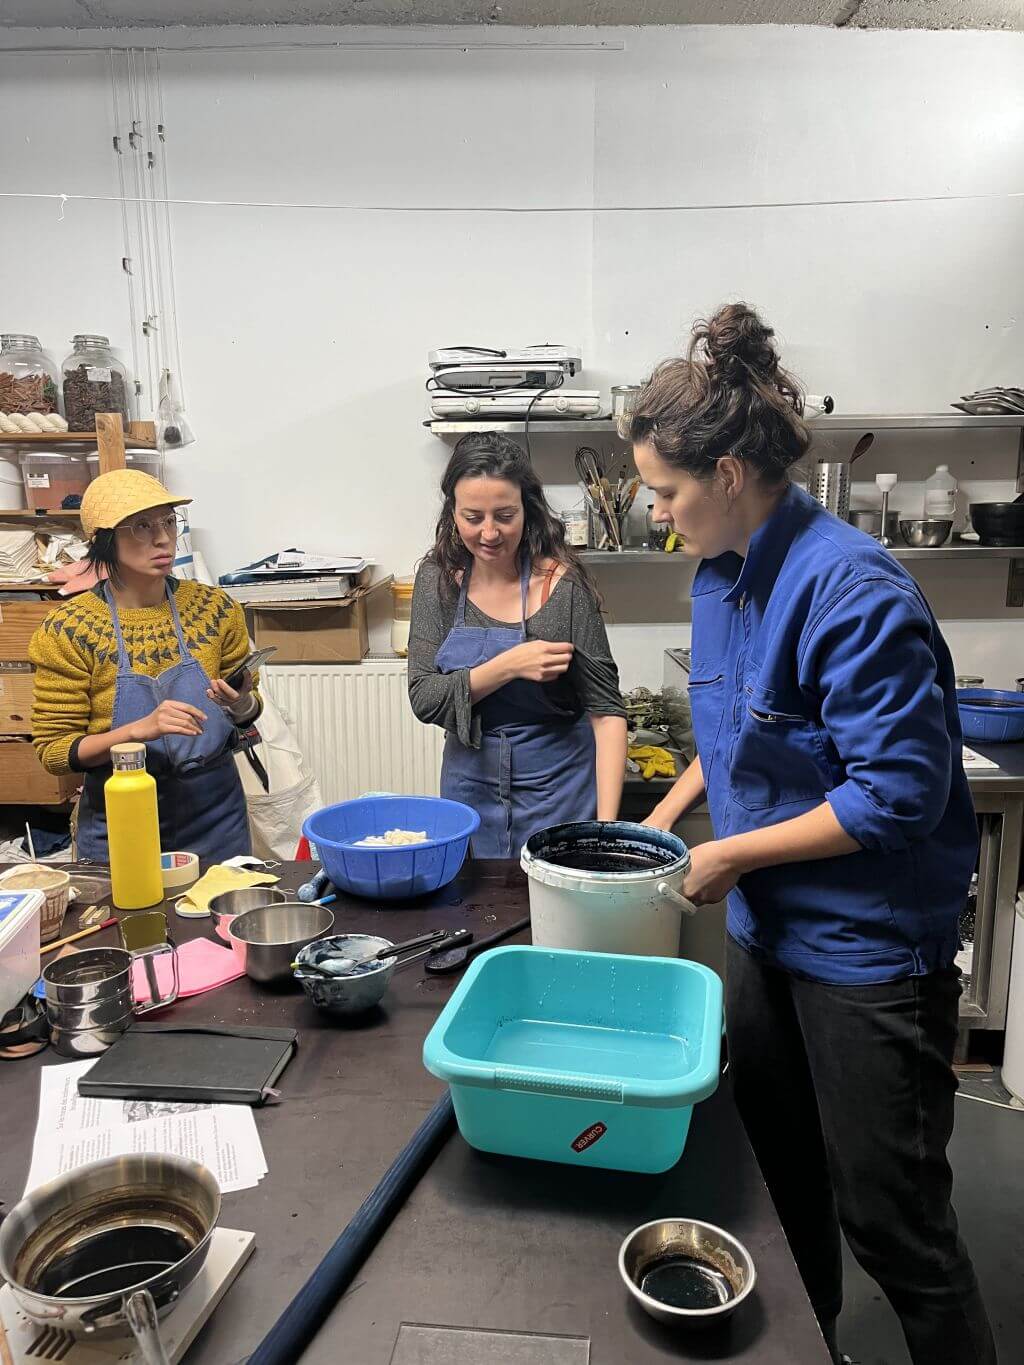
We then did the second bath; we soaked them this time for 10 minutes in the indigobath. Same procedure after taking them out the bath.
Finally we did the last bath; the samples had to stay for 30 minutes this time.
Because I had to leave earlier, I could not do the last bath with my samples.
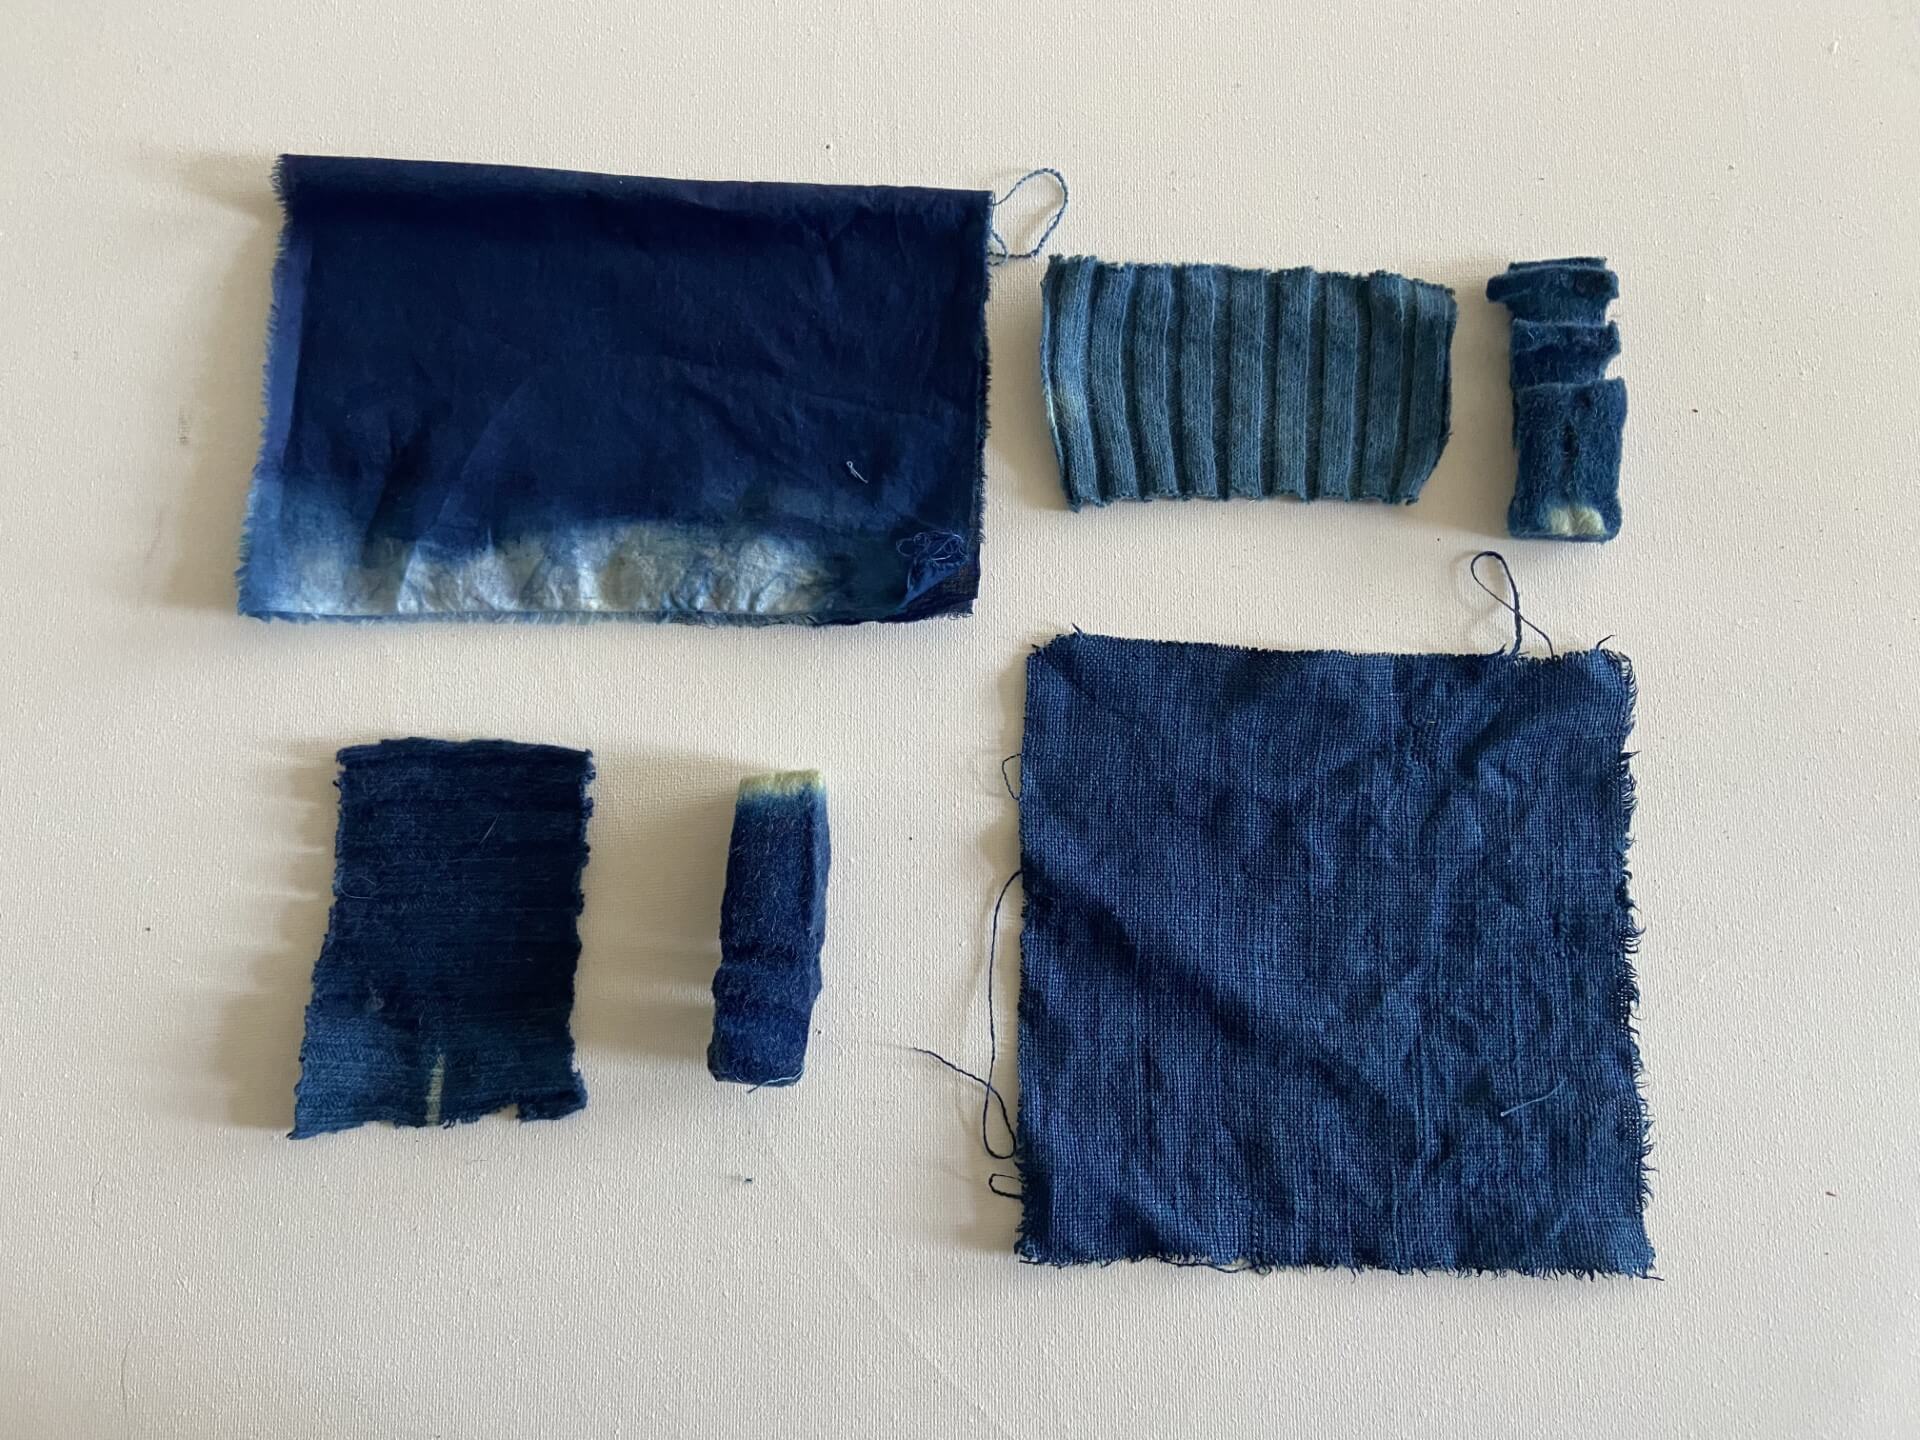
Results indigo dyeing
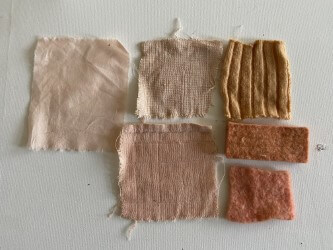
These are the results after the first bath:
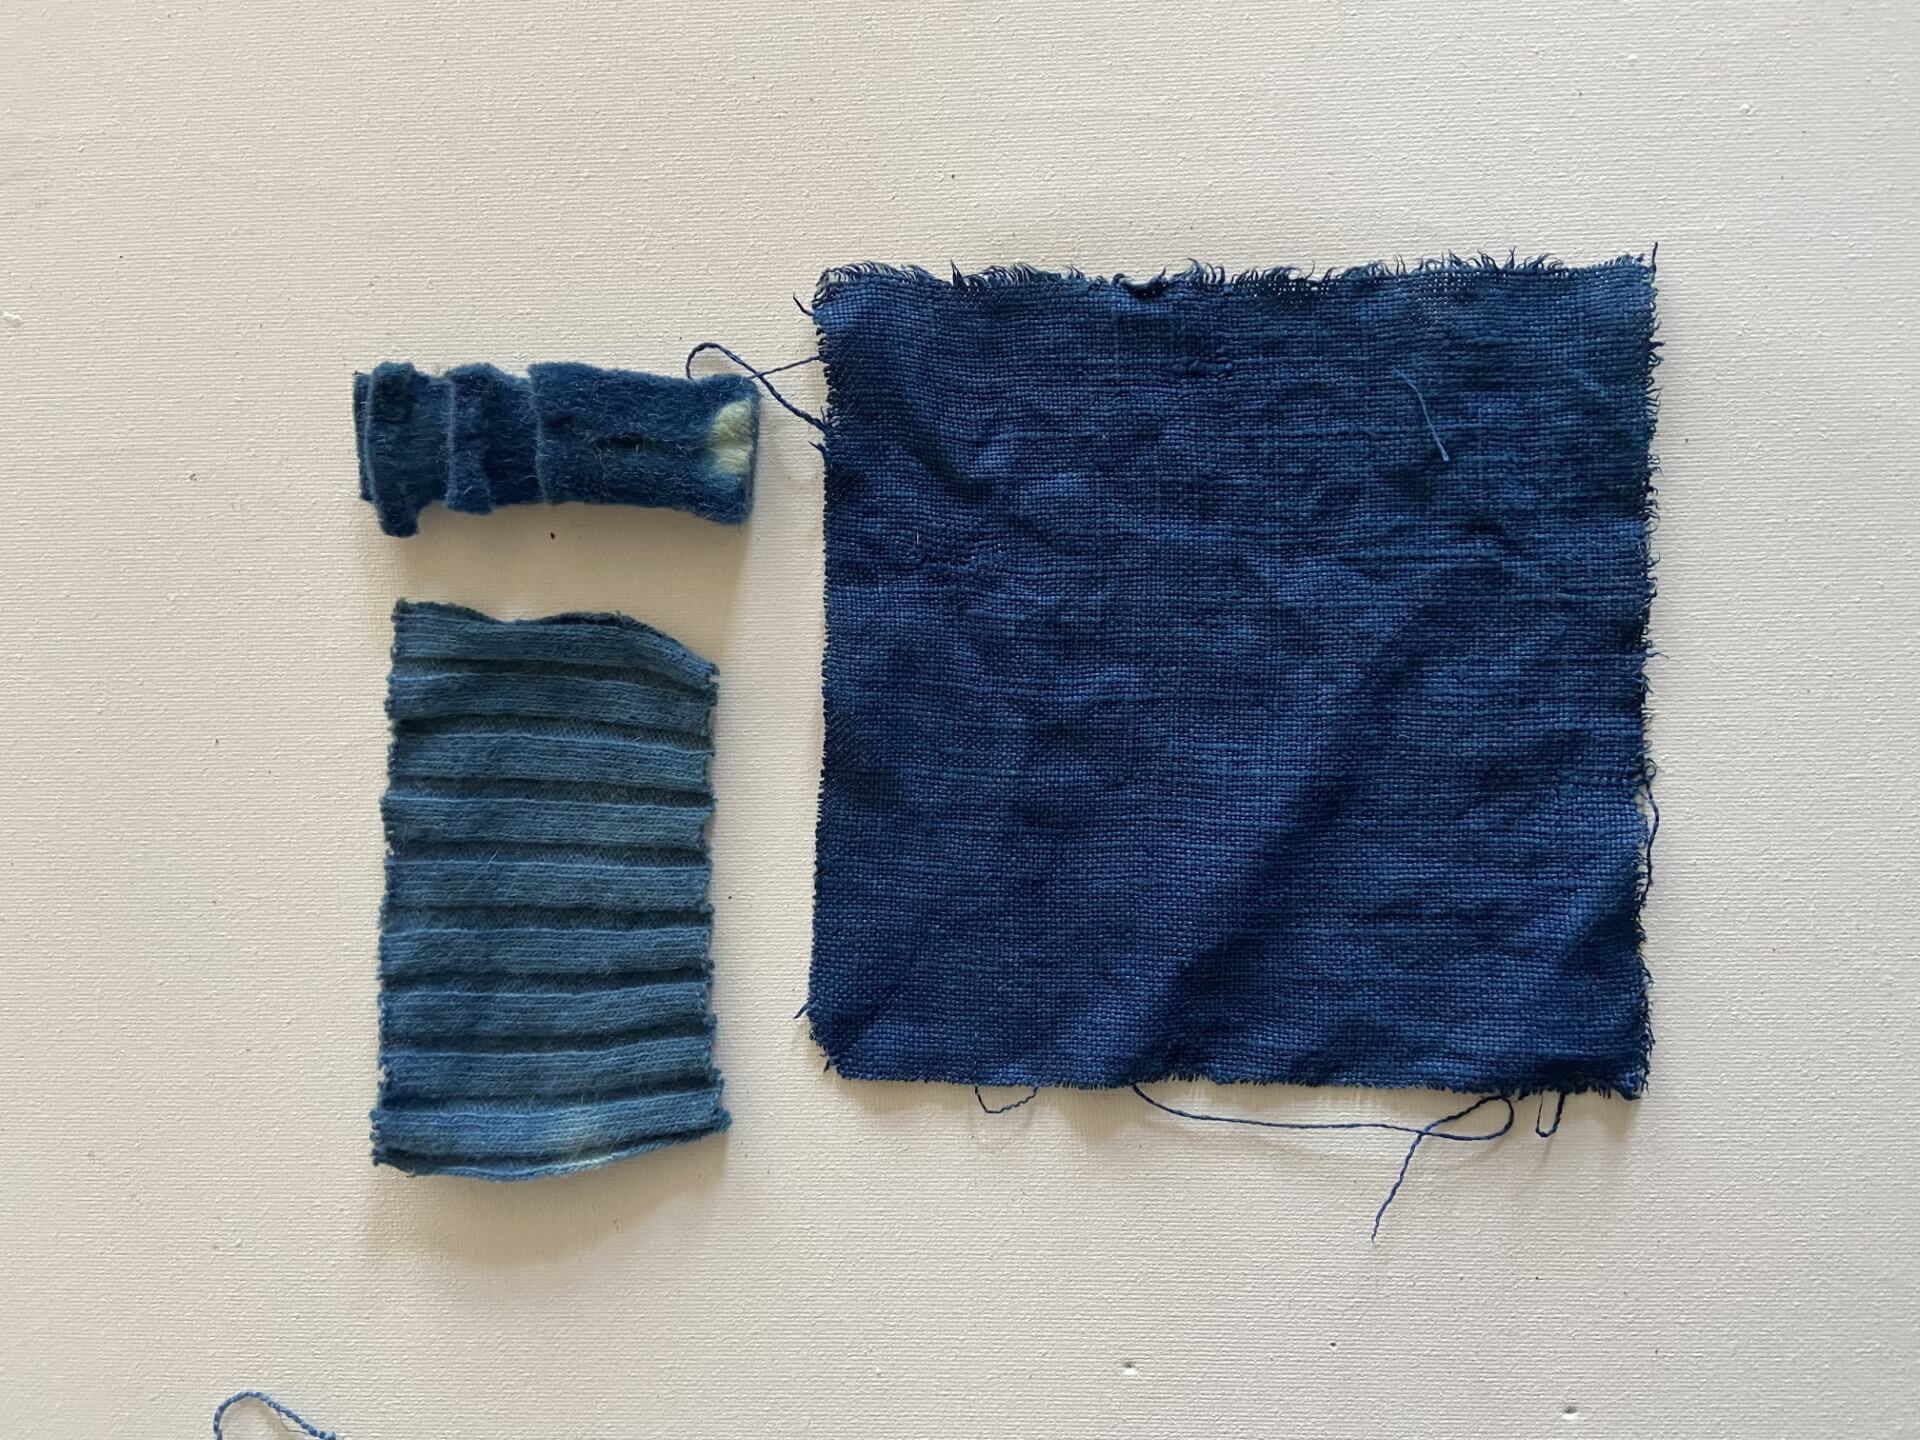
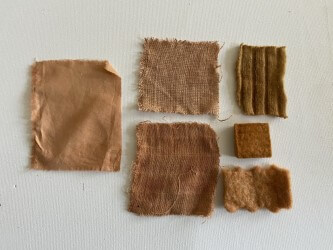
And these the ones after the second bath:
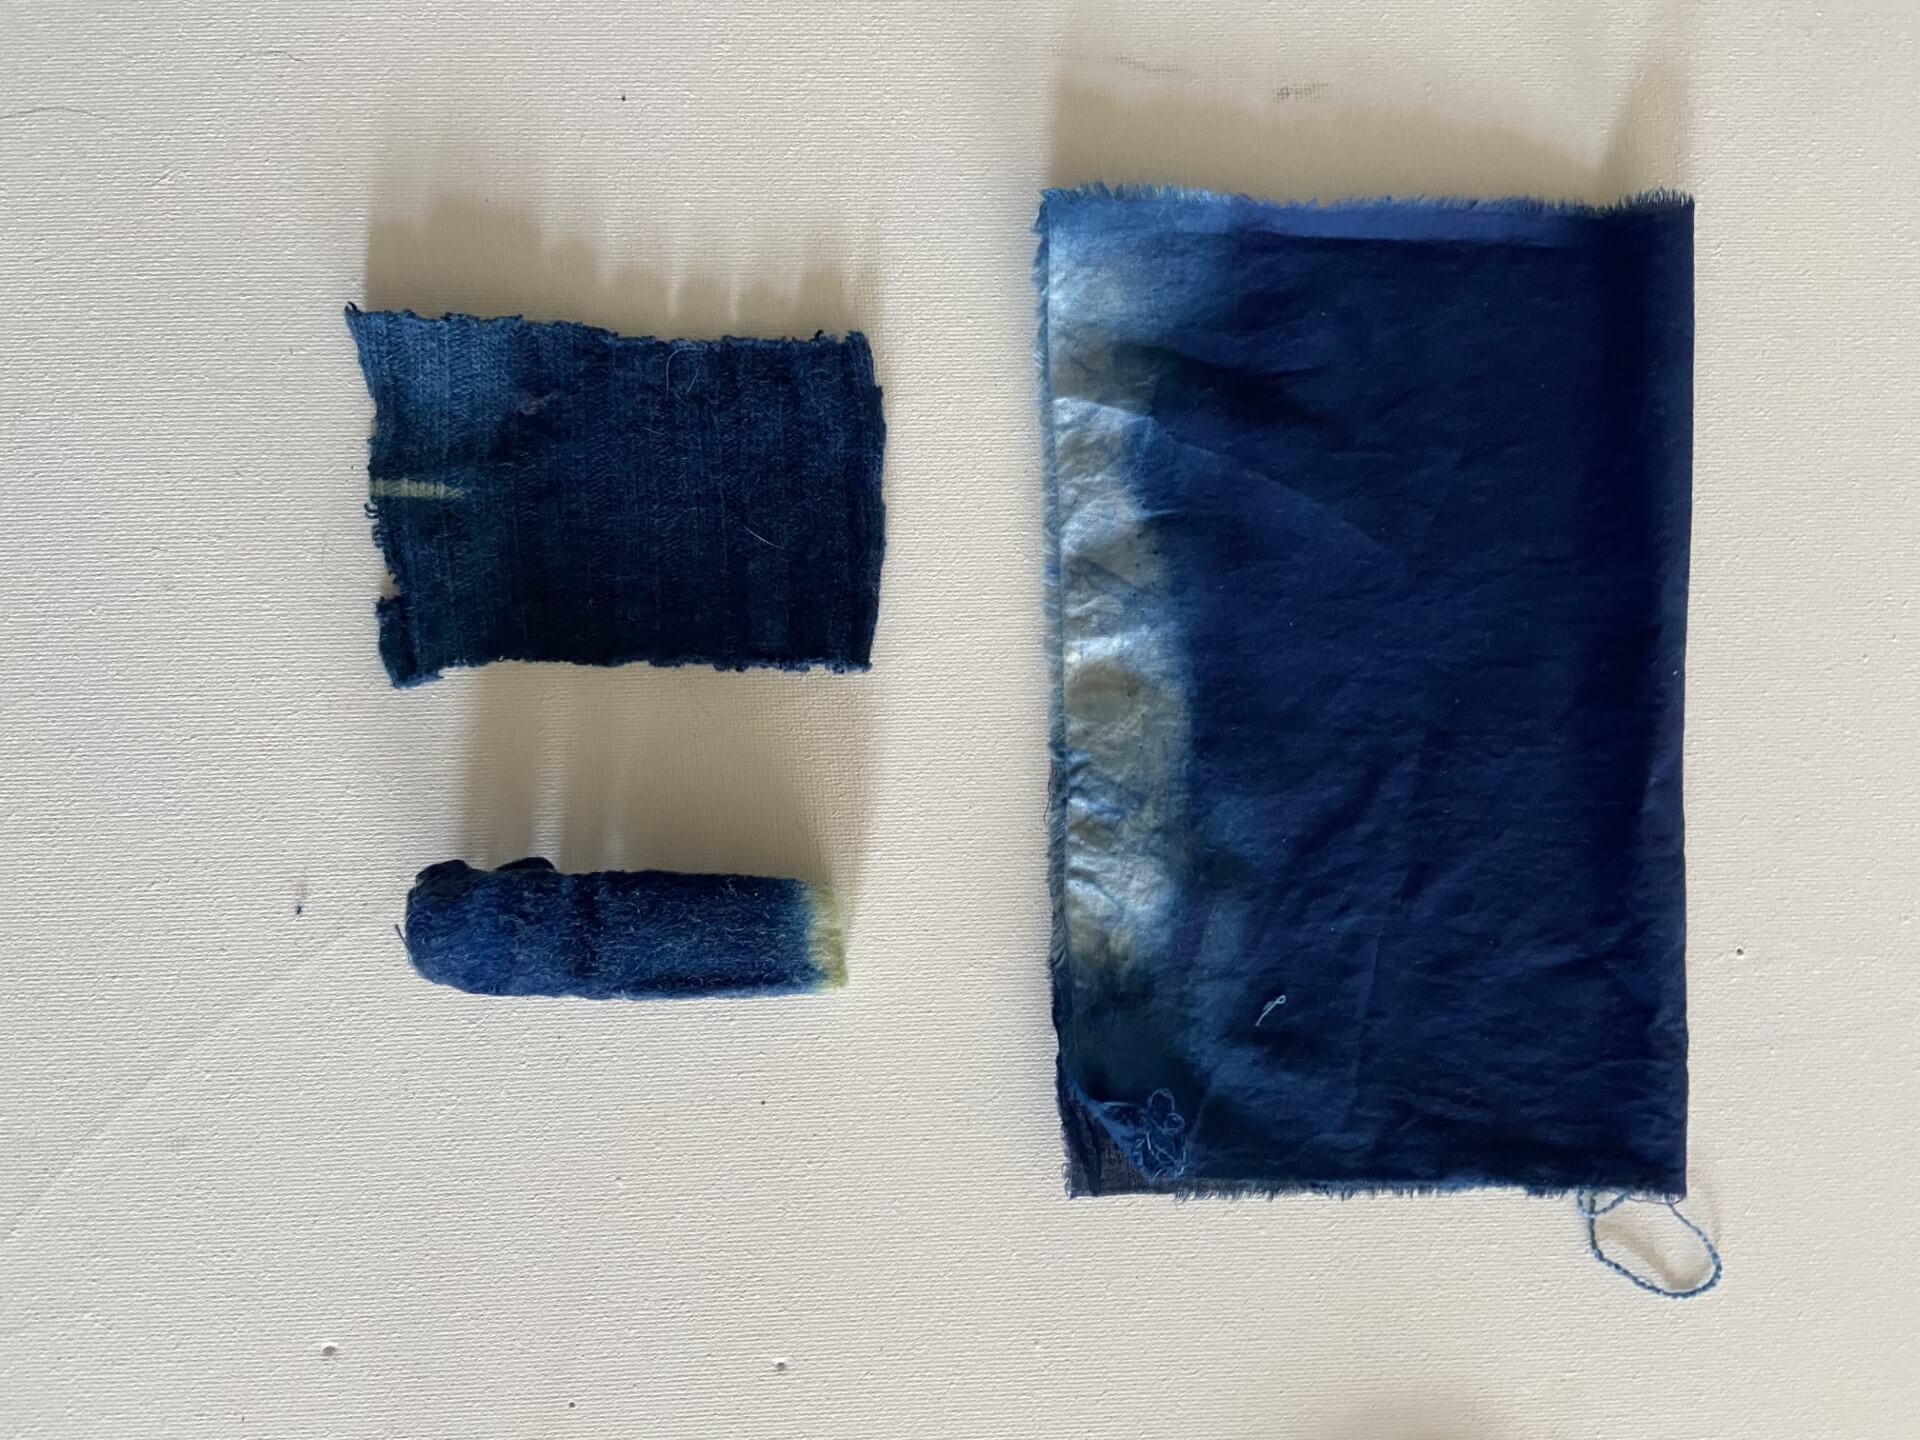
Here are the first and the second bath results together: