7. Computational Couture
This computional couture week was a nice week of experimenting with 3D printing and fabric. I learned a lot of new techniques and I am eager to explore more of it.
After the Fabricademy lecture of Brigitte Kock of @variable seams, I kicked off the week with looking at some of her tutorials.
Together with some videos of Sew Printed, I got inspired for trying ‘the infill method’ for 3D printing fabric. I really enjoyed those tutorials because they were to the point DIY and gave a lot of practical tips and trics.
Infill method
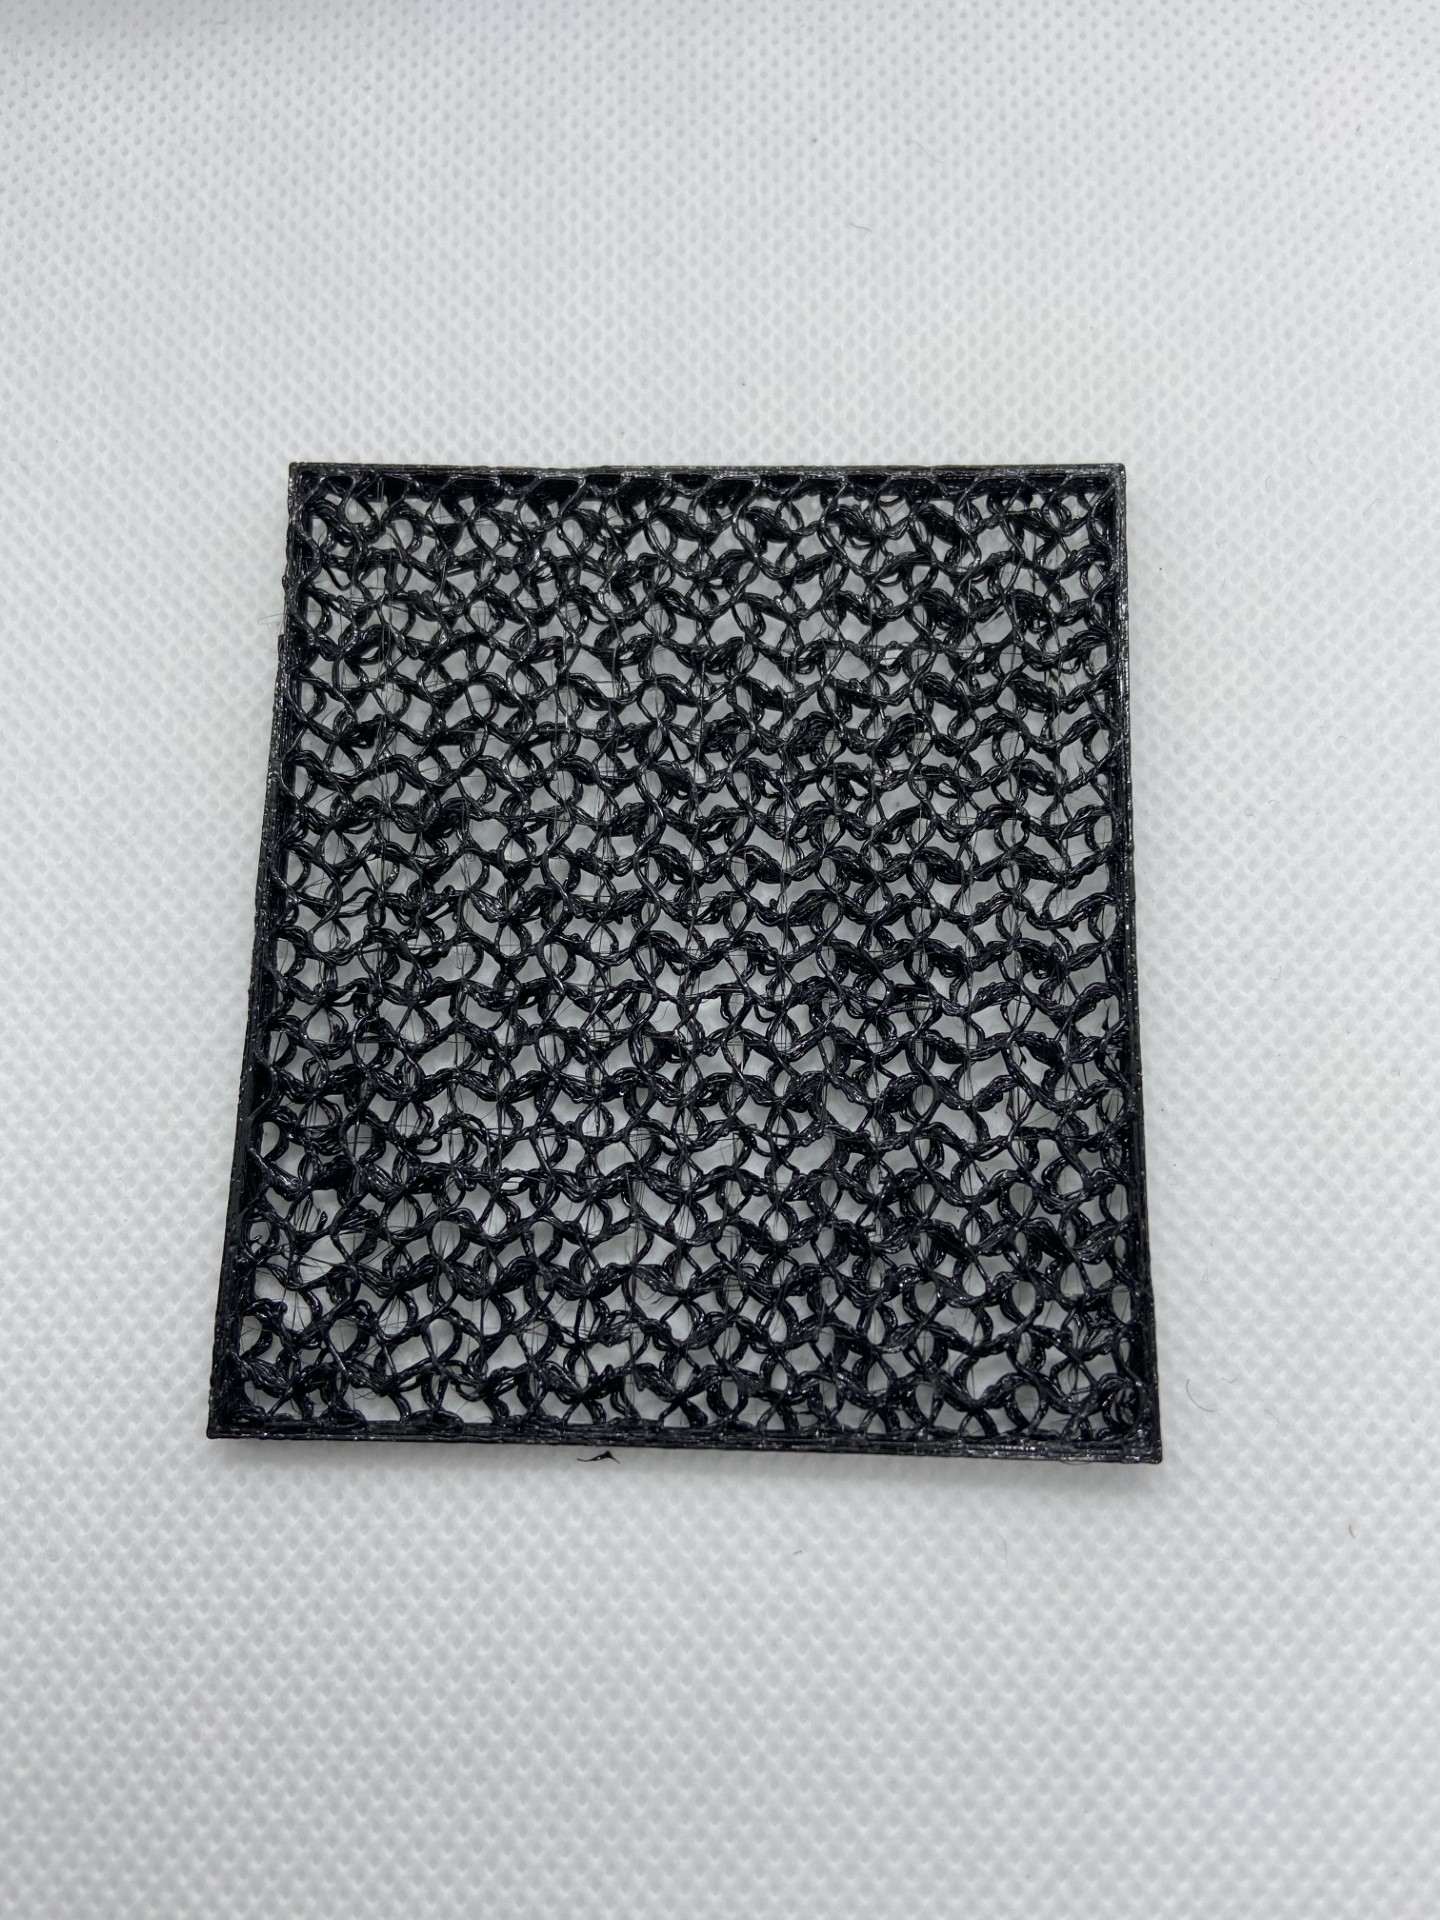
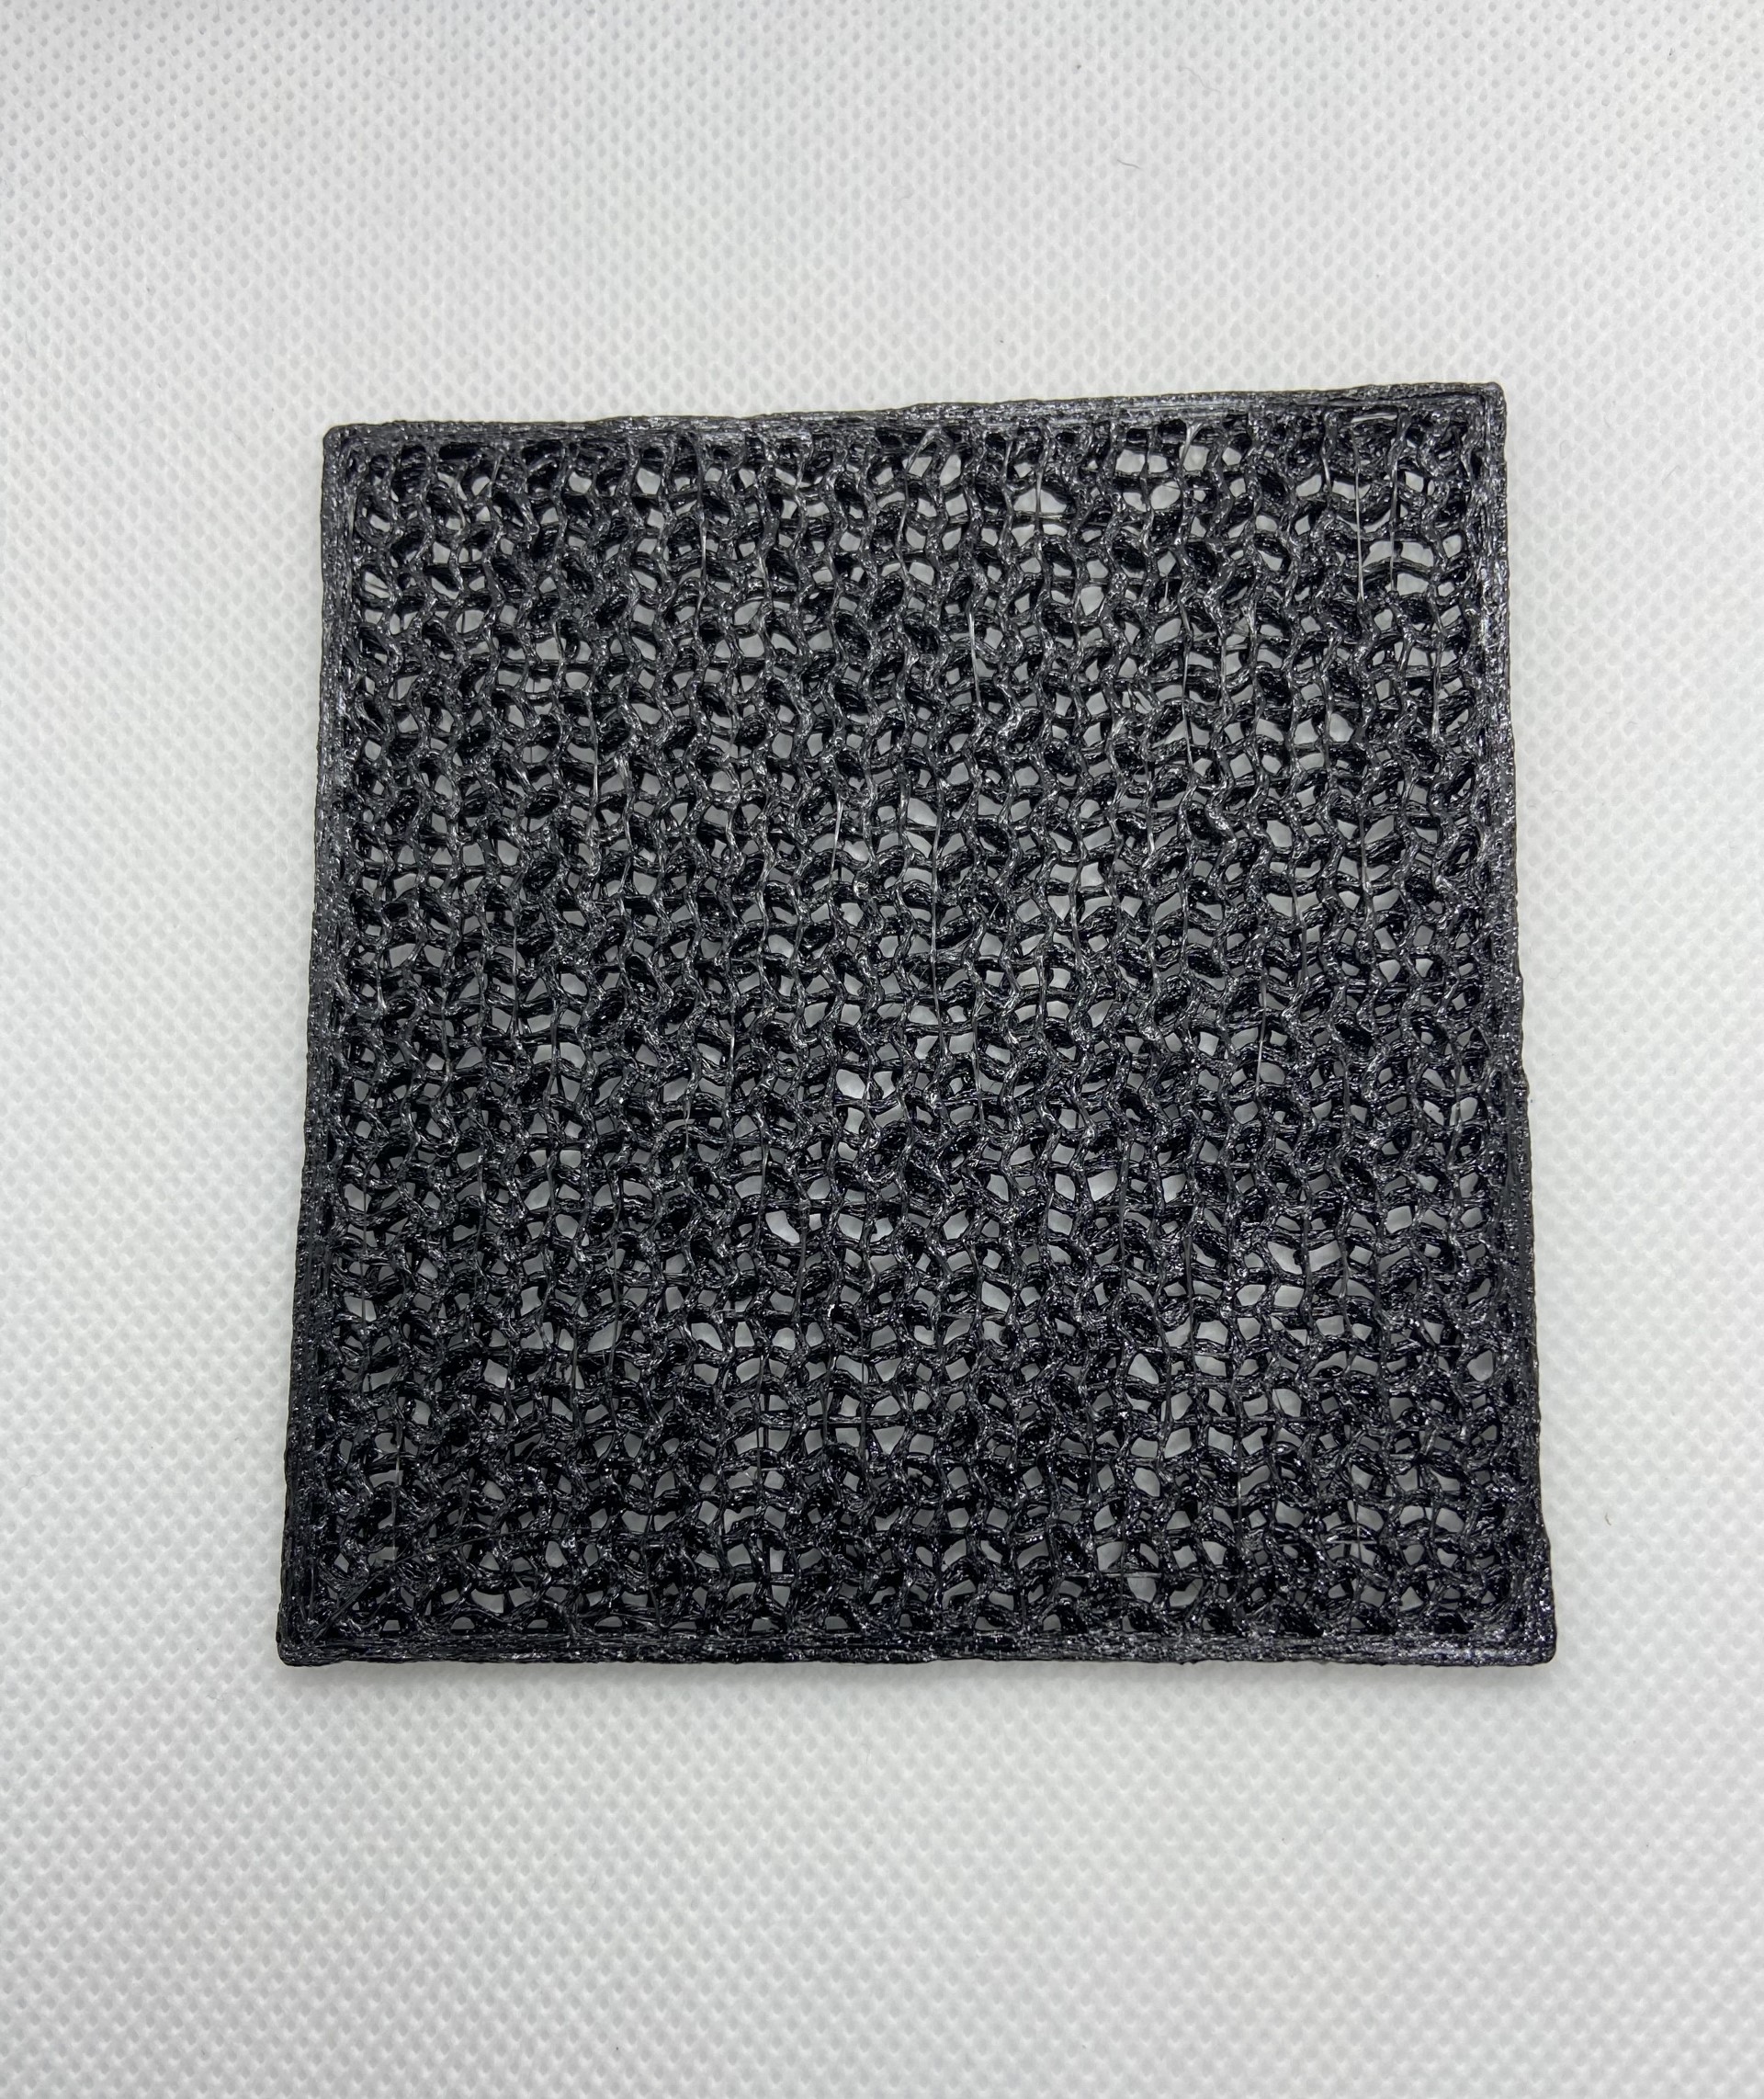
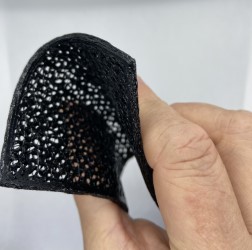
The essence of the ‘infill method’ is that you can print 3D printed fabric by designing a 3D solid but printing it without the top and bottom of the solid.
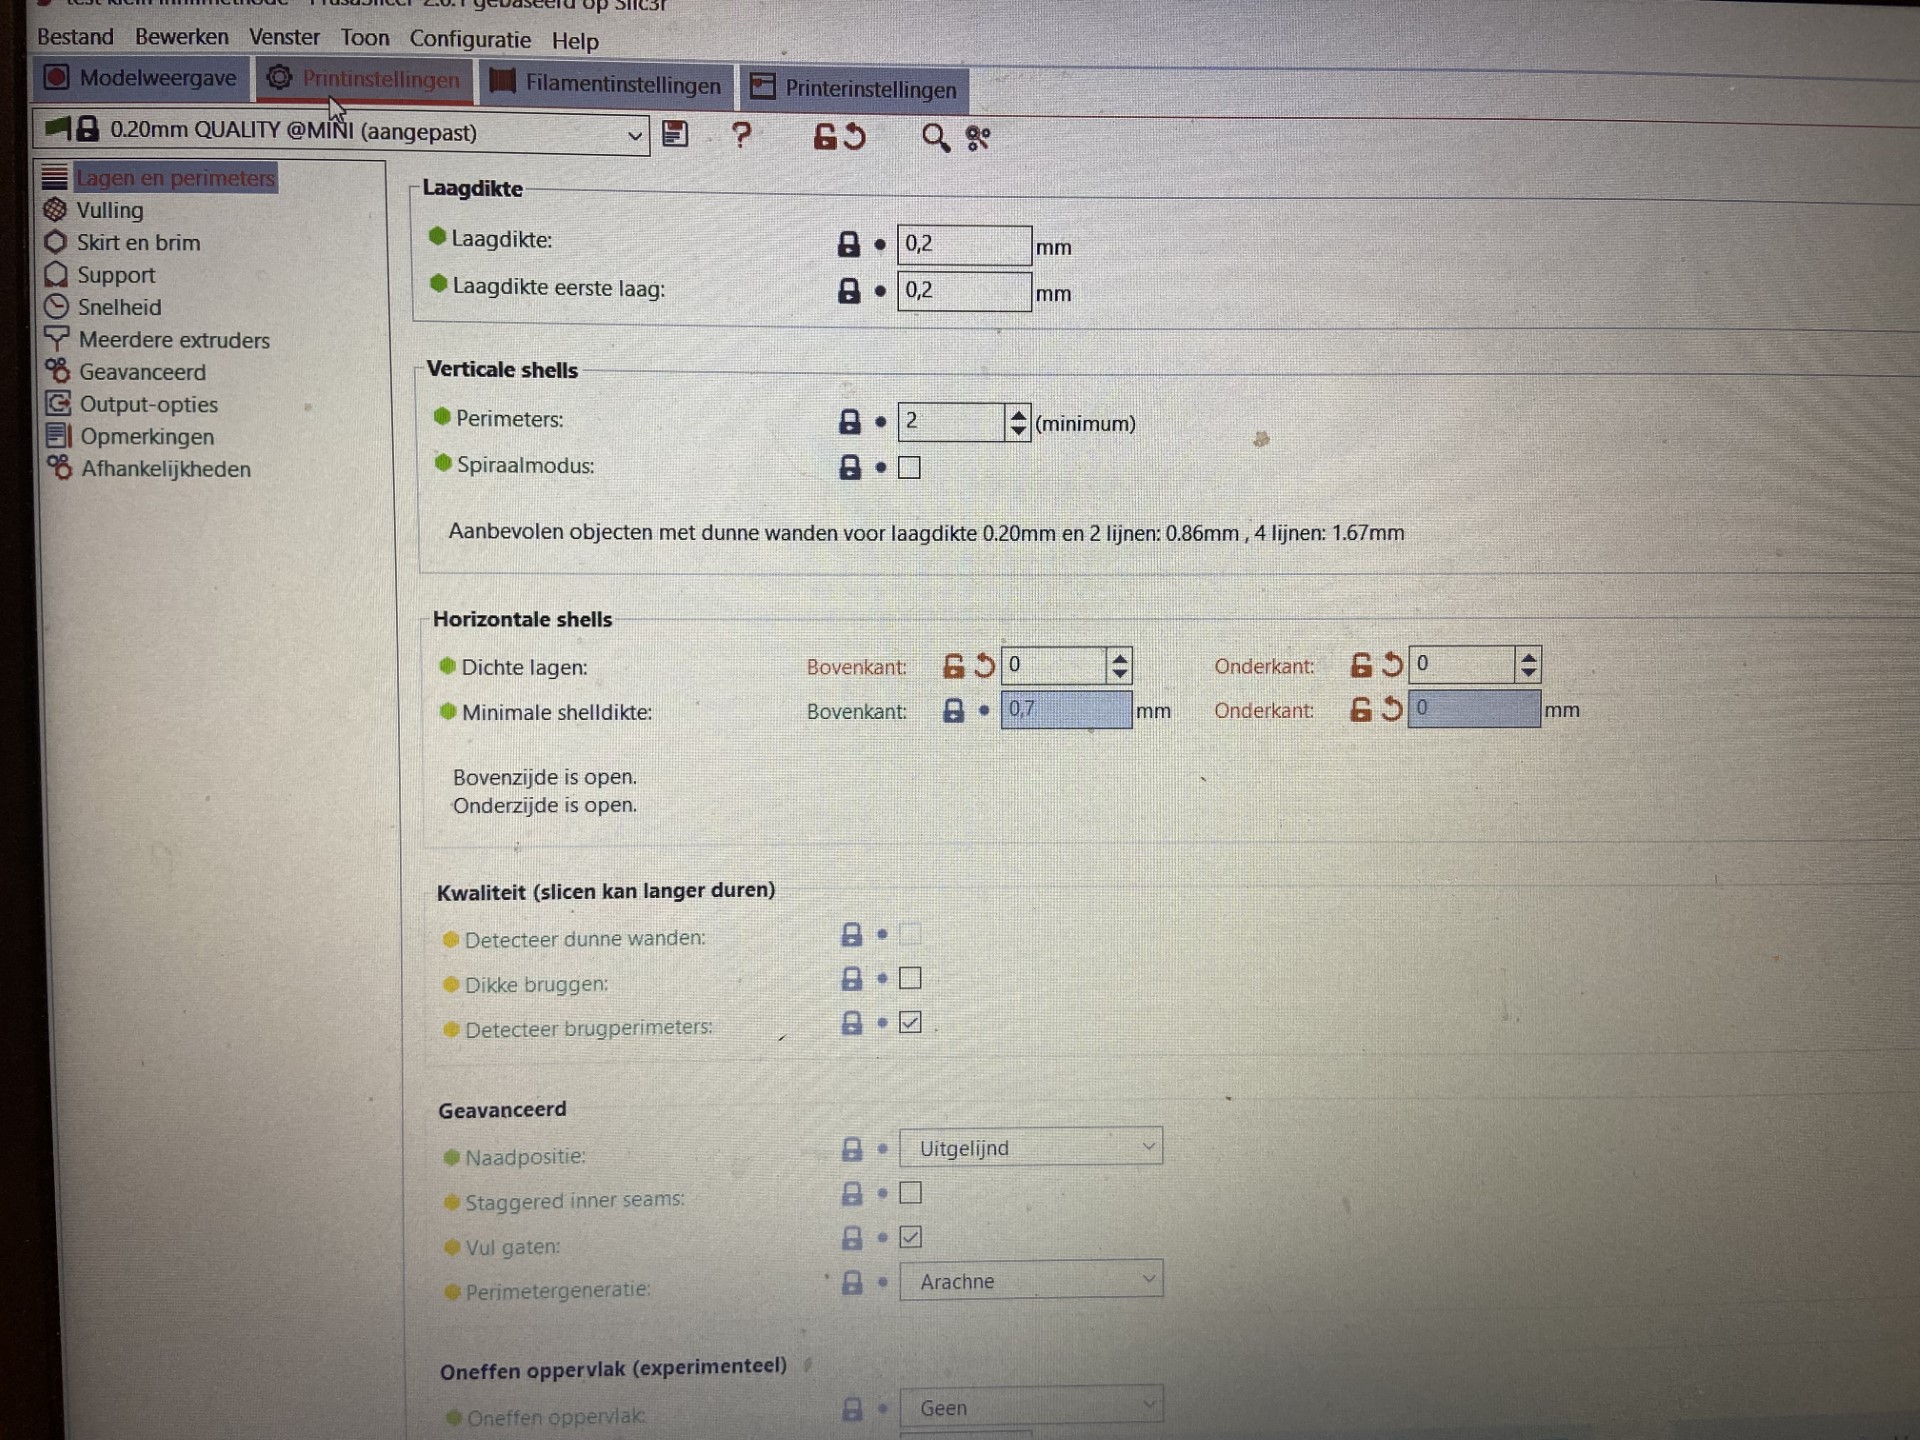
I designed a flat box in 3D design softwareTinkercad and exported it to the software of our fablab’s 3D printer PRUSA. Here you can find the file
I changed the settings to eliminate printing of the top and bottom layers.
The filler I used was Gyroid and the density 15%. It gave the visual aspect of a woven fabric.
I first printed it with the PLA filament. The swatch felt rigid.
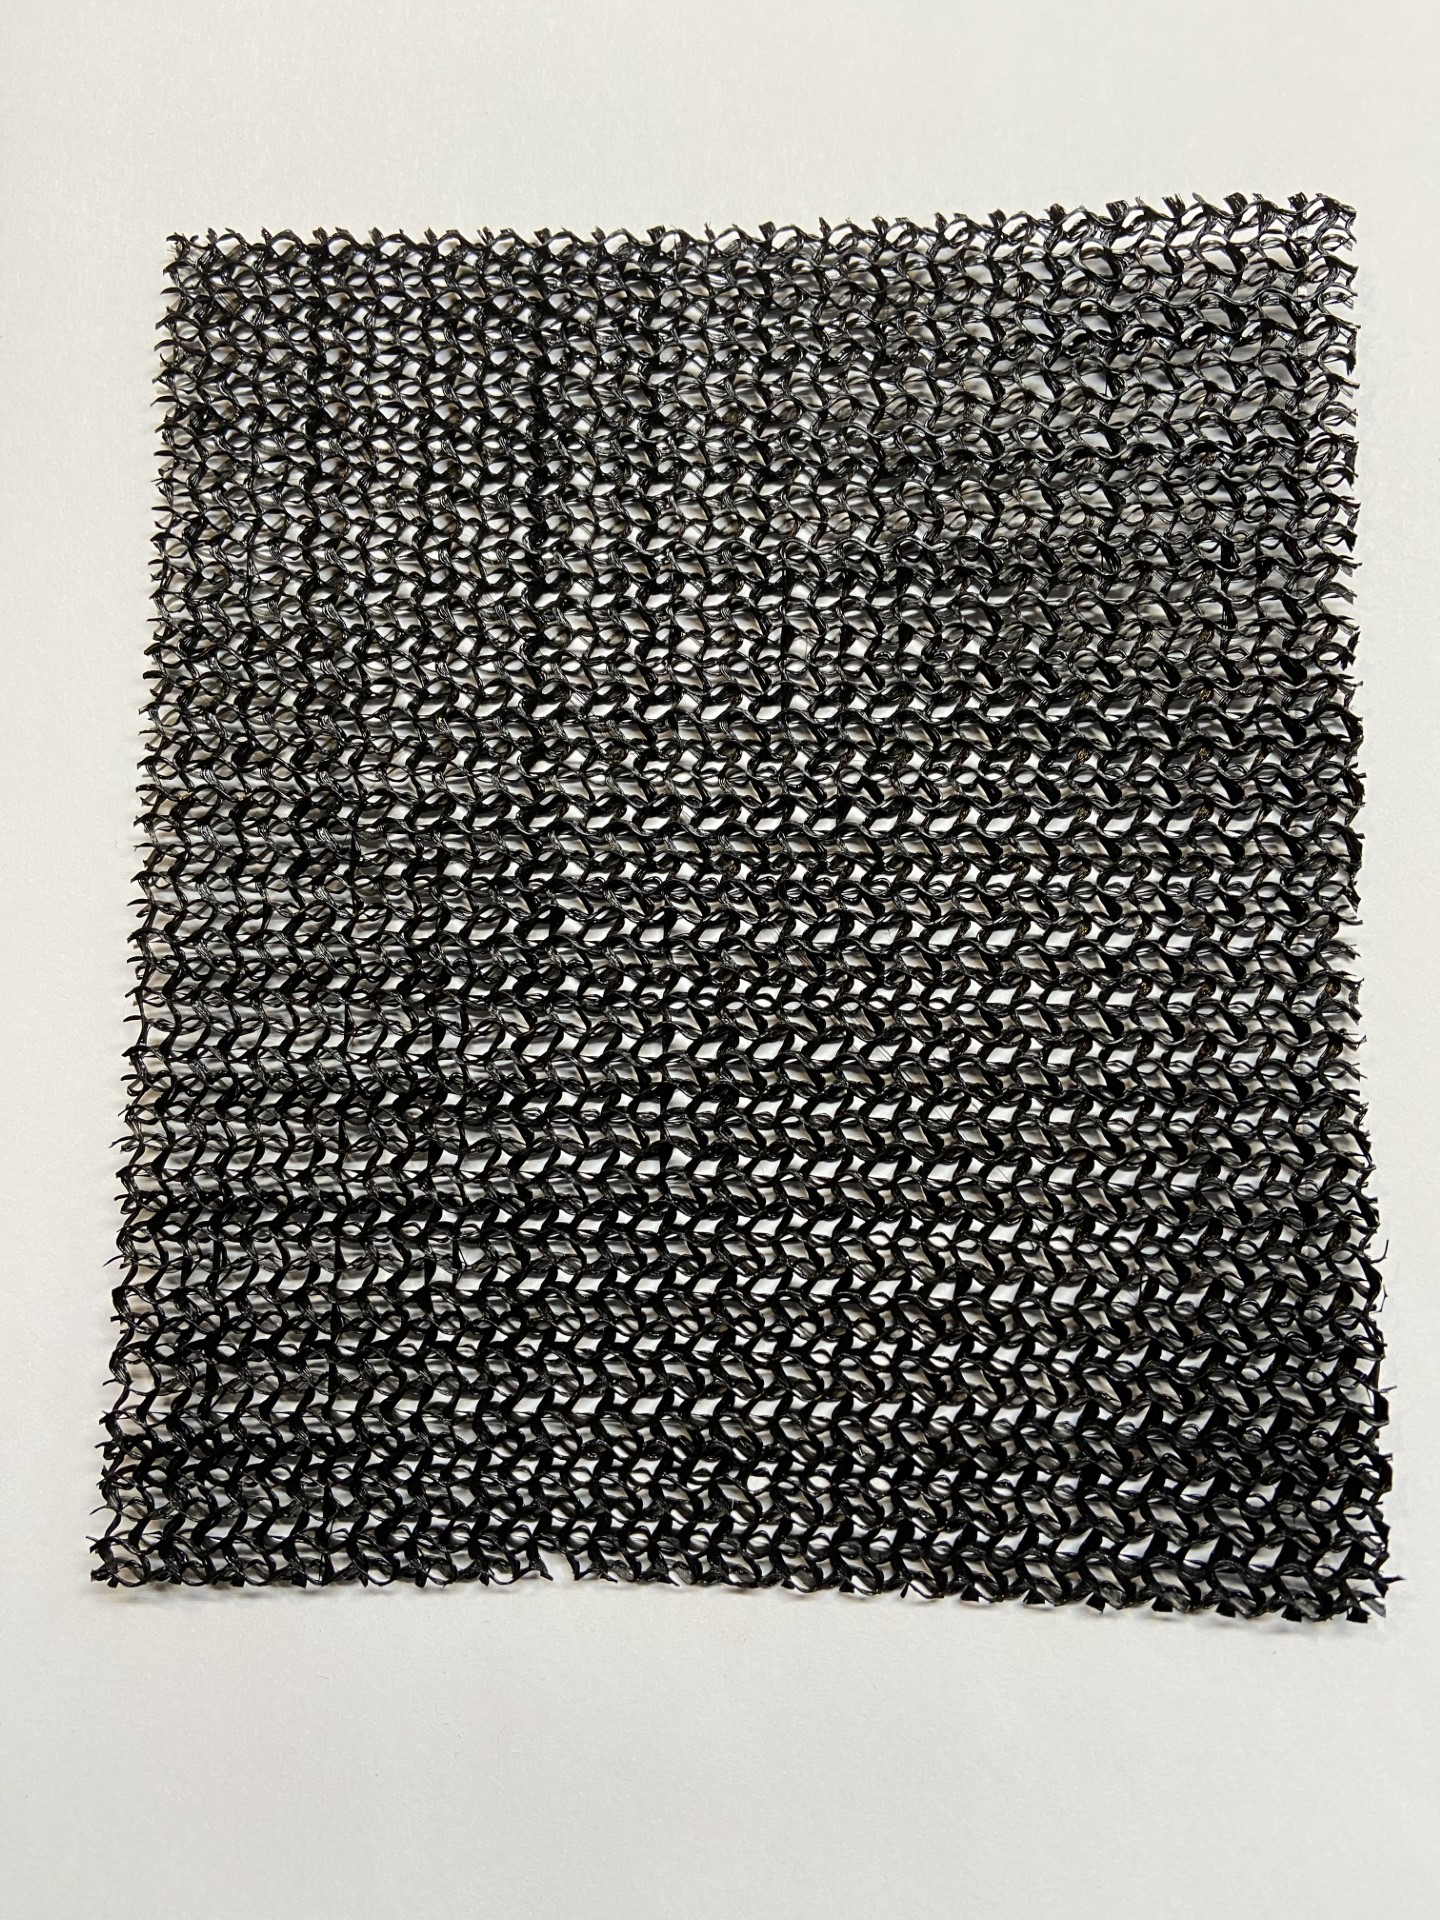
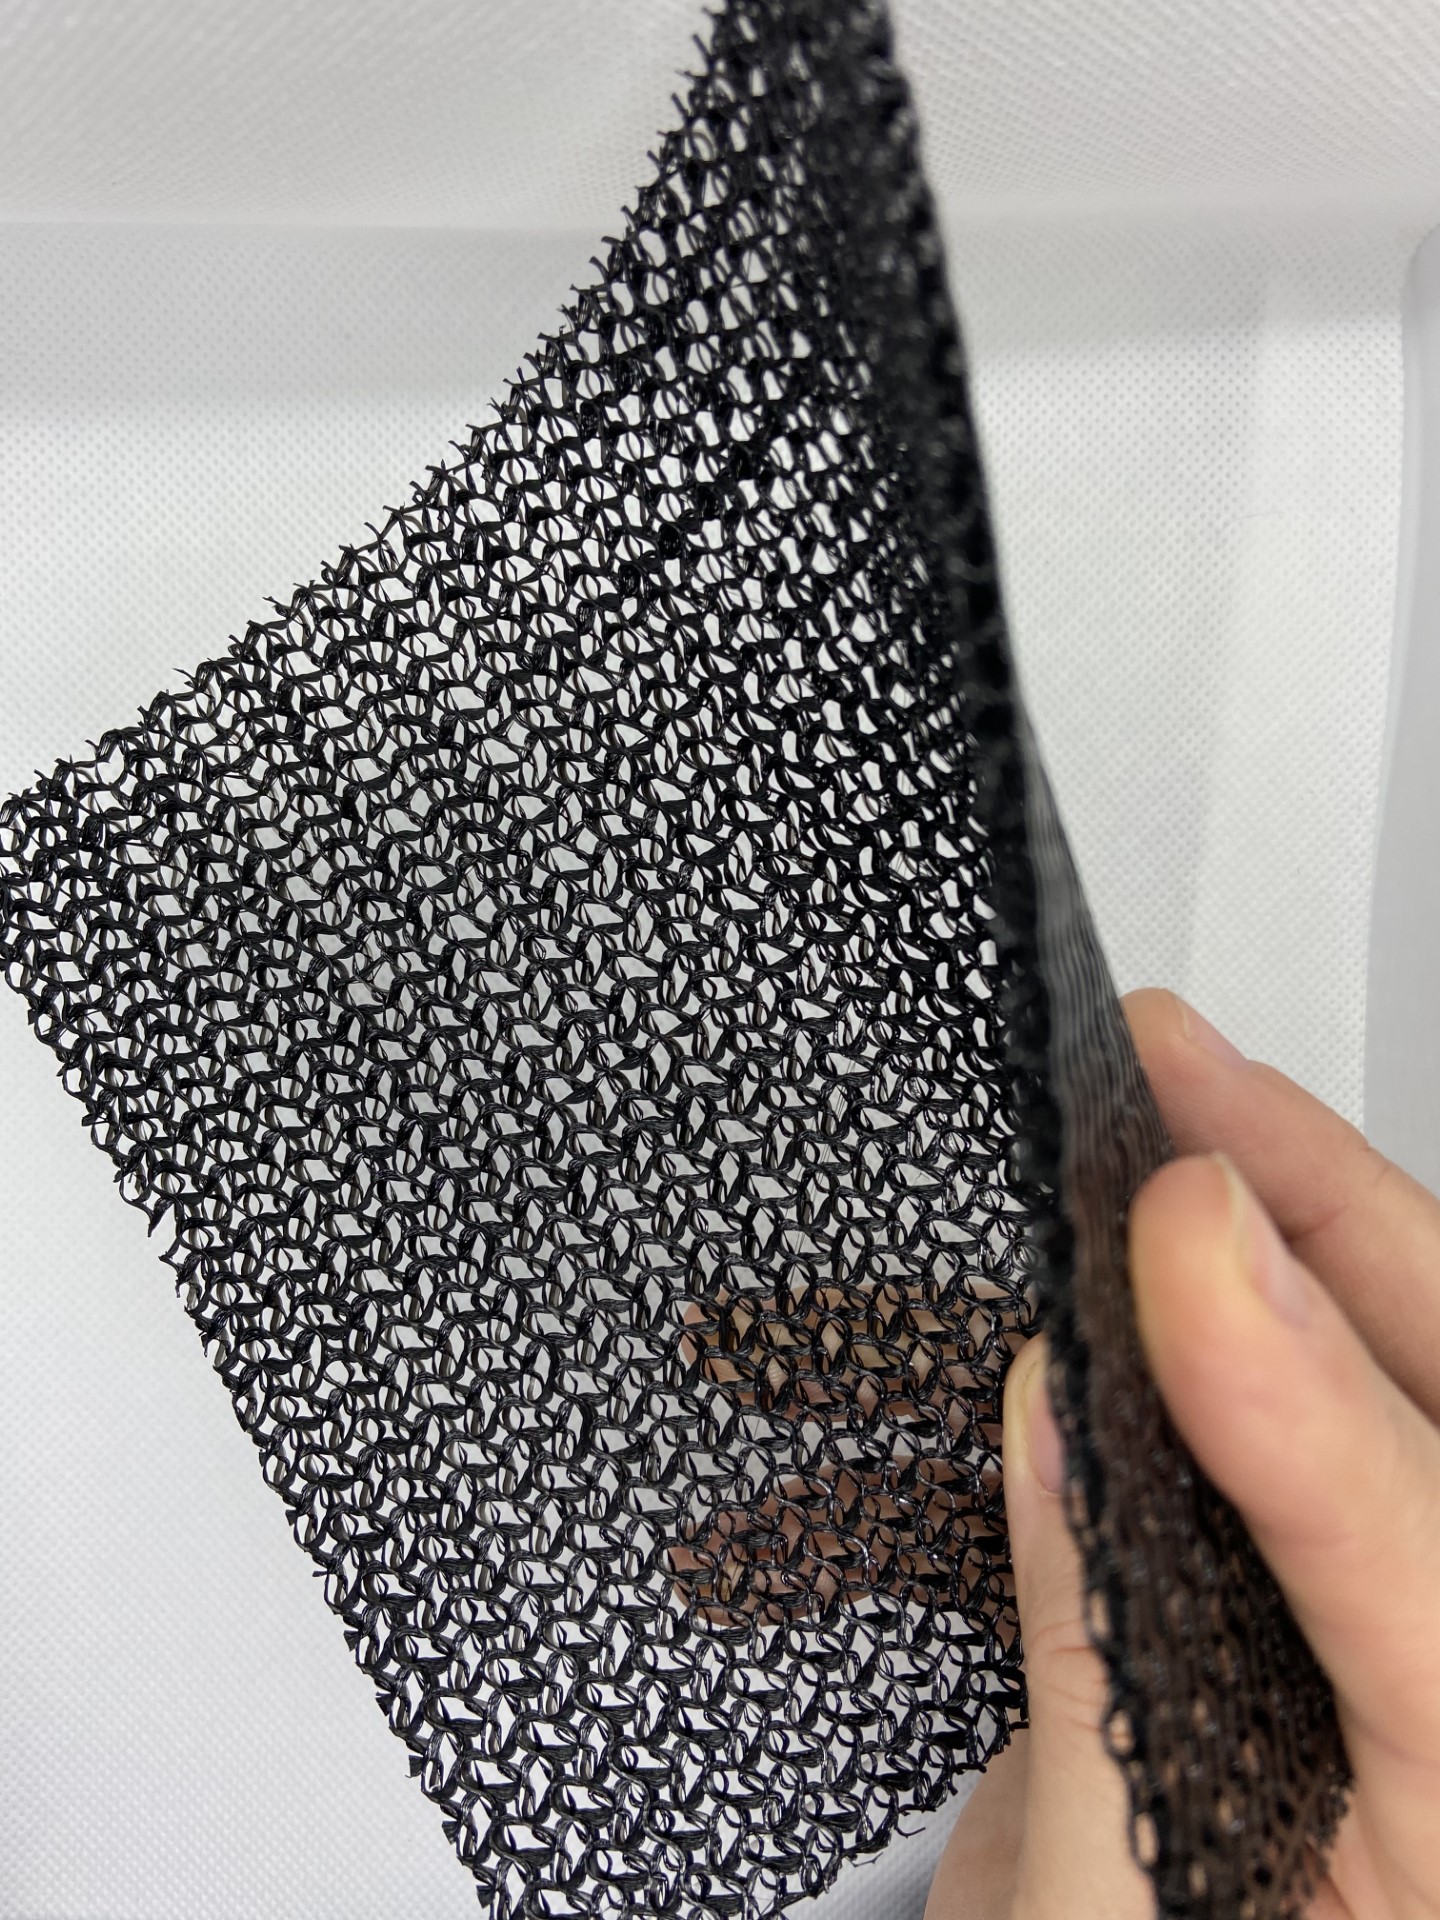
Then I used the flex filament Python Flex Black. I obtained a much more flexible swatch.
Finally, I tried the flex filament with a larger nozzle (0.8 mm). This was the most flexible one but at a visual aspect it was less precise as my second sample with a smaller nozzle and the same flex filament.
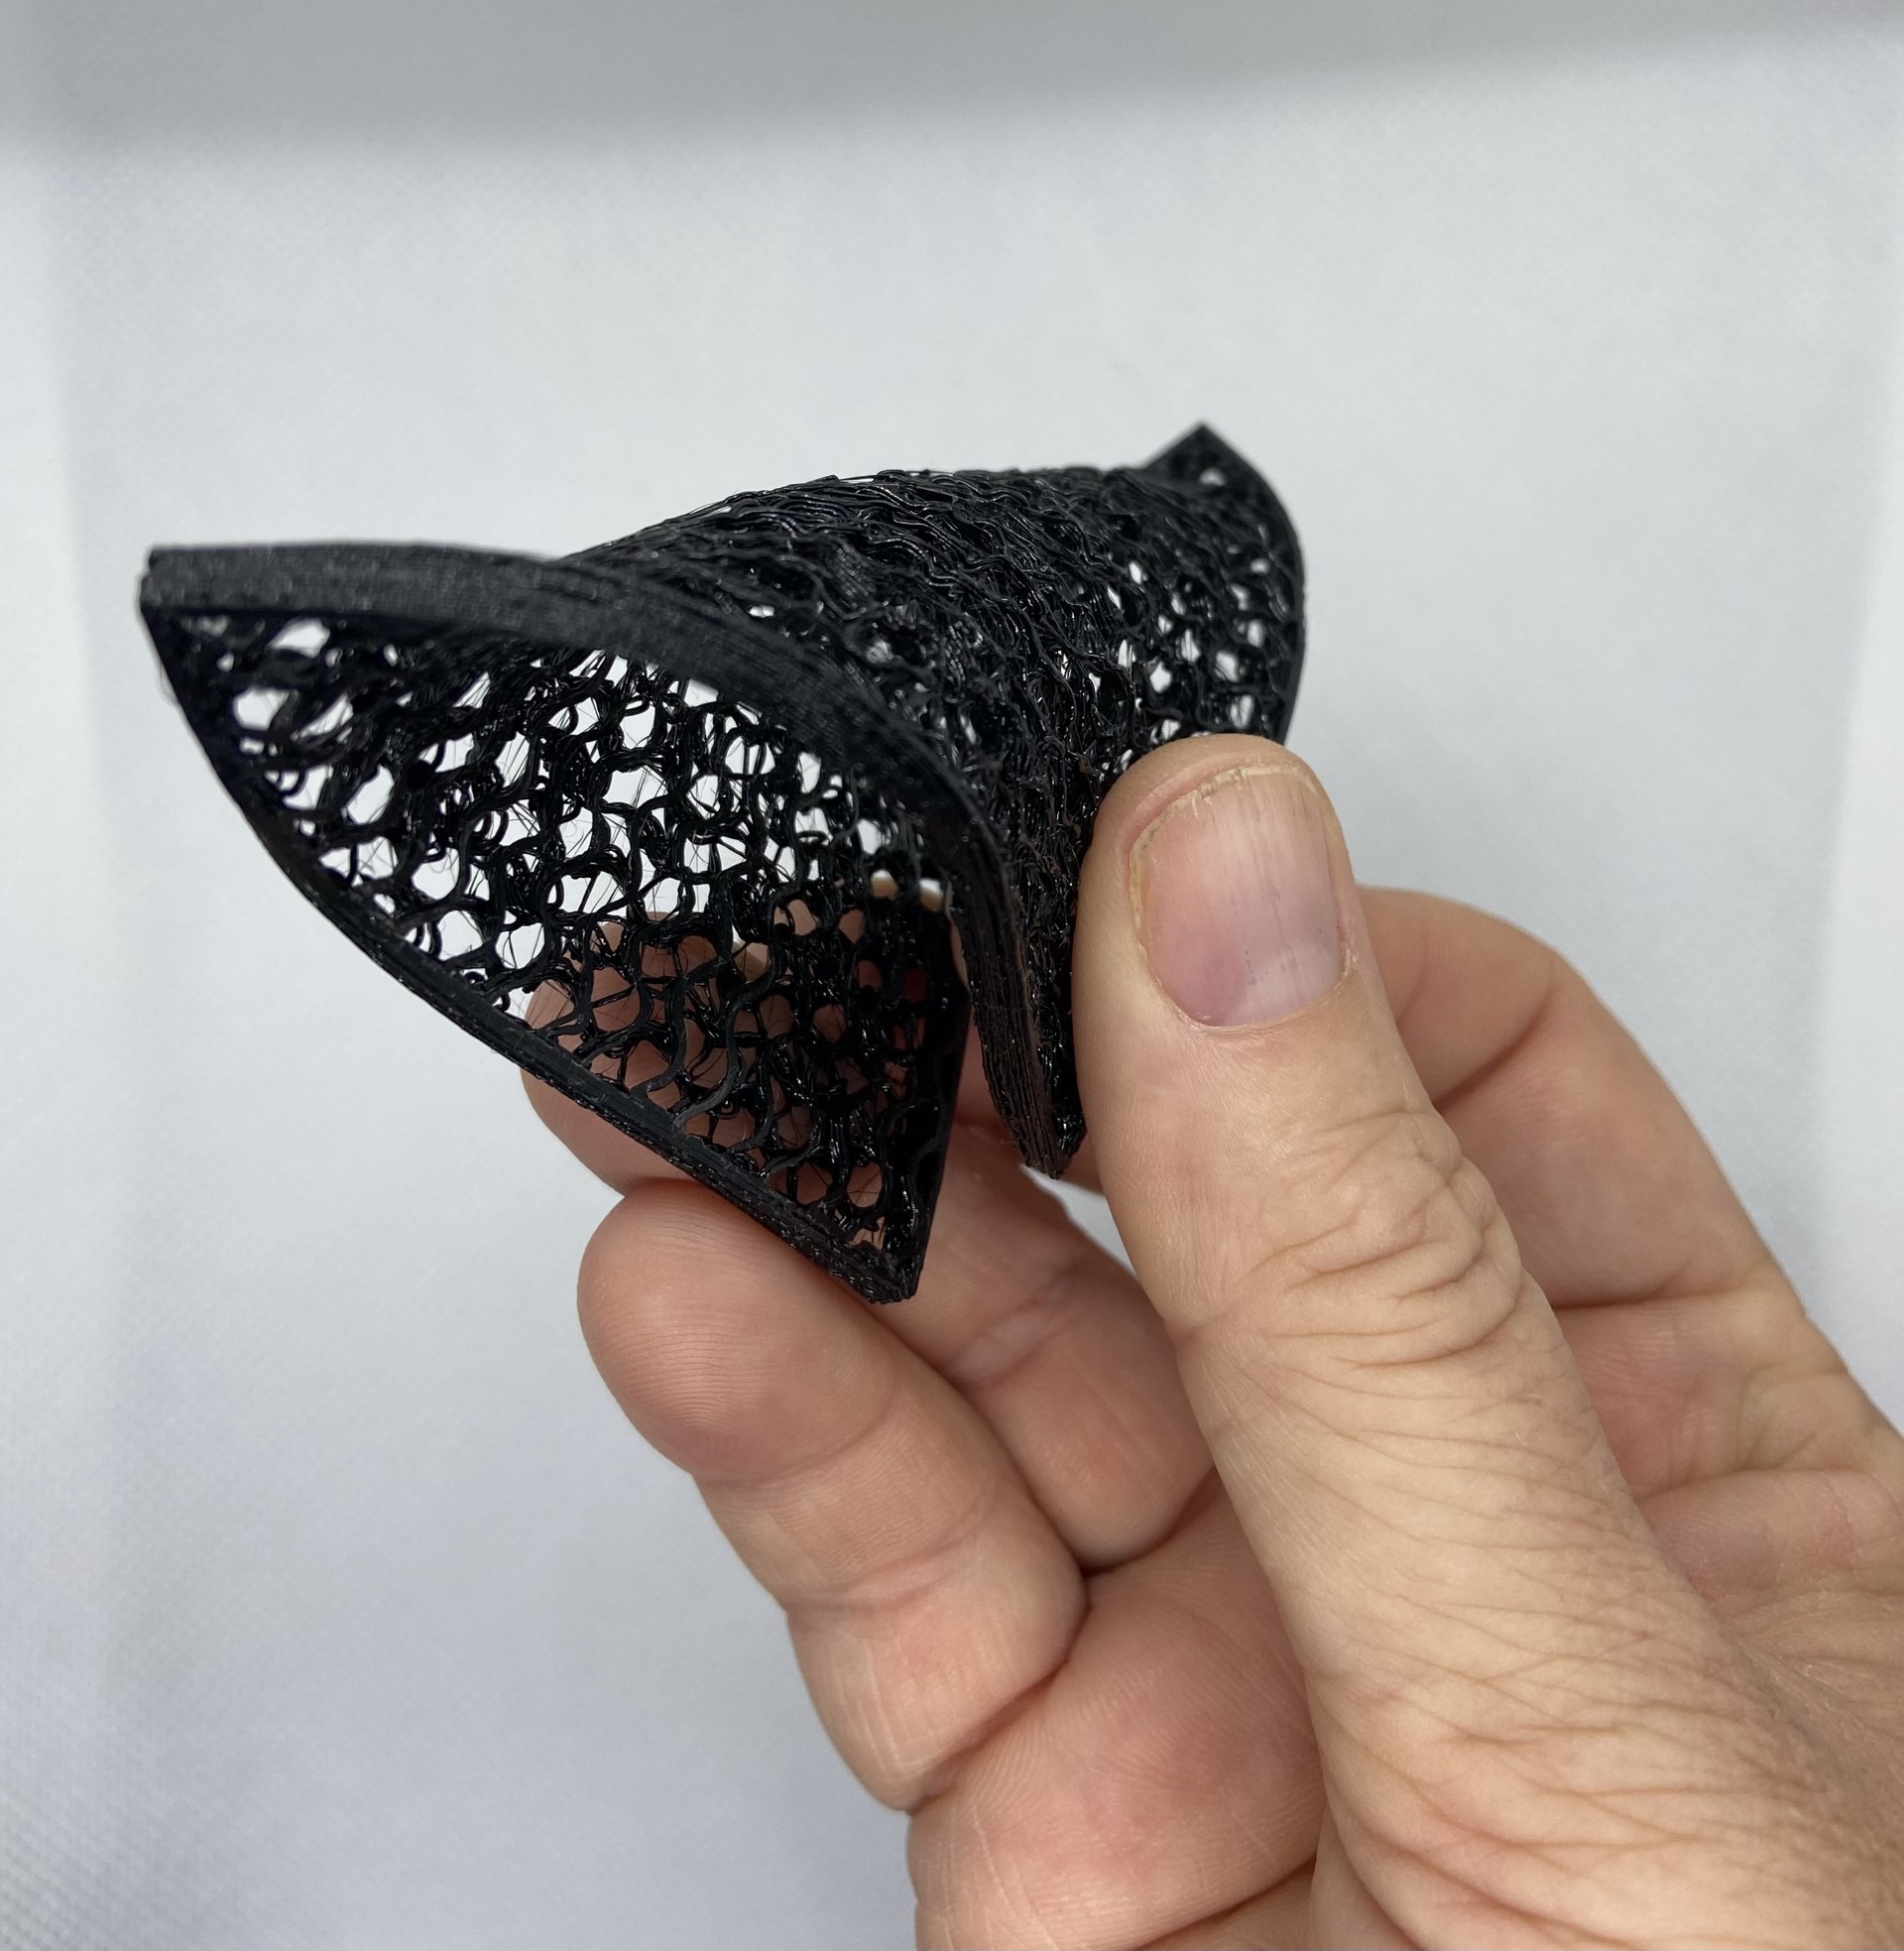
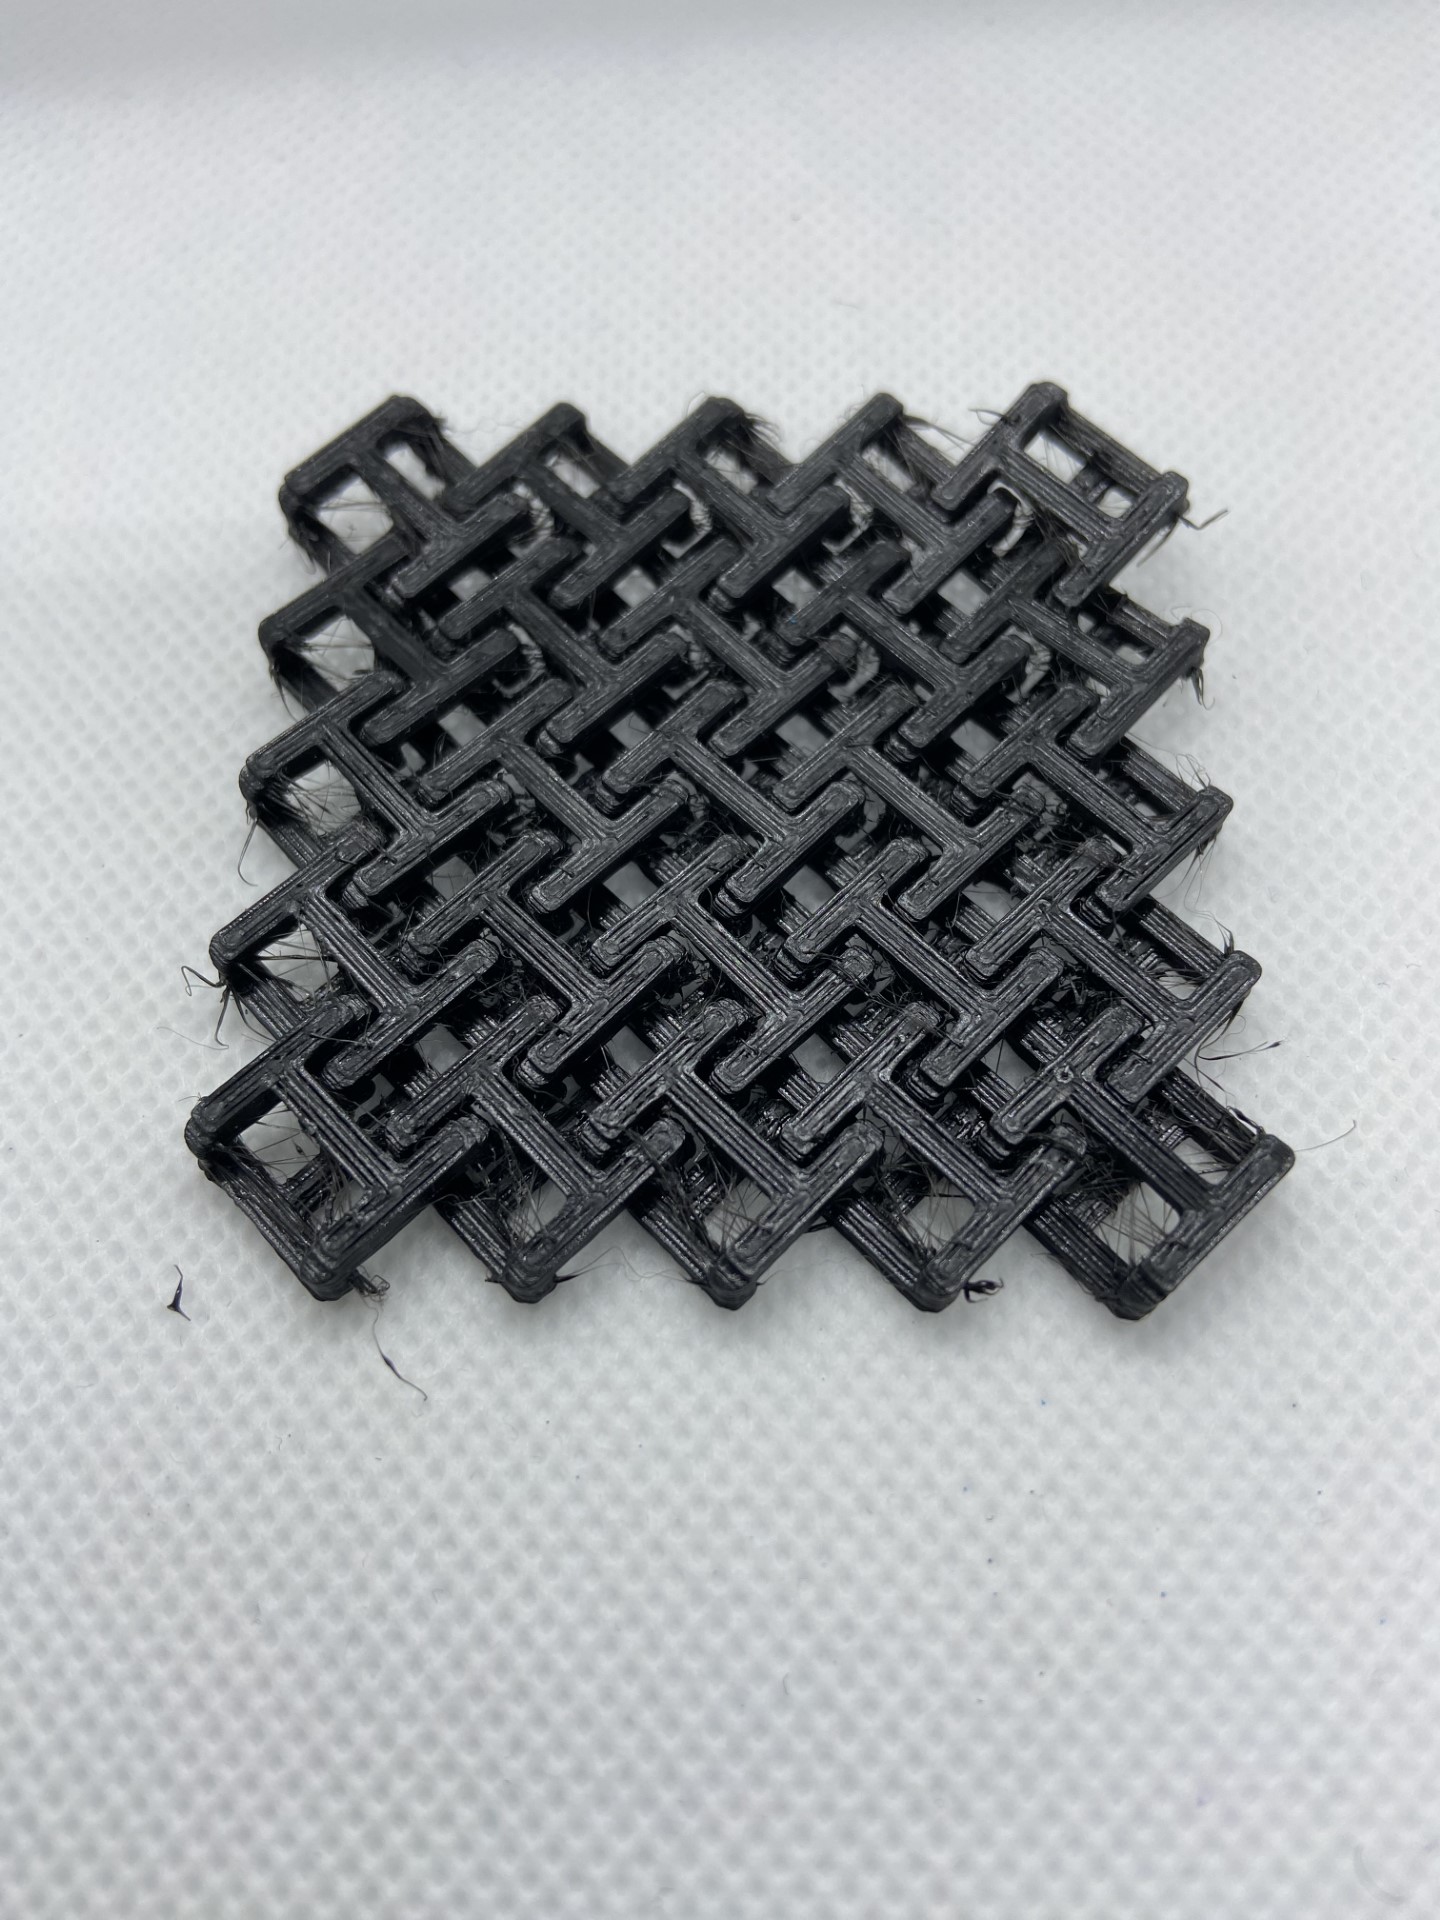
Chainmail method
Our fablabmanager Valentine showed us the chainmail 3D printed method with an example taken from Thingiverse.
We used the PLA filament to 3D print it.
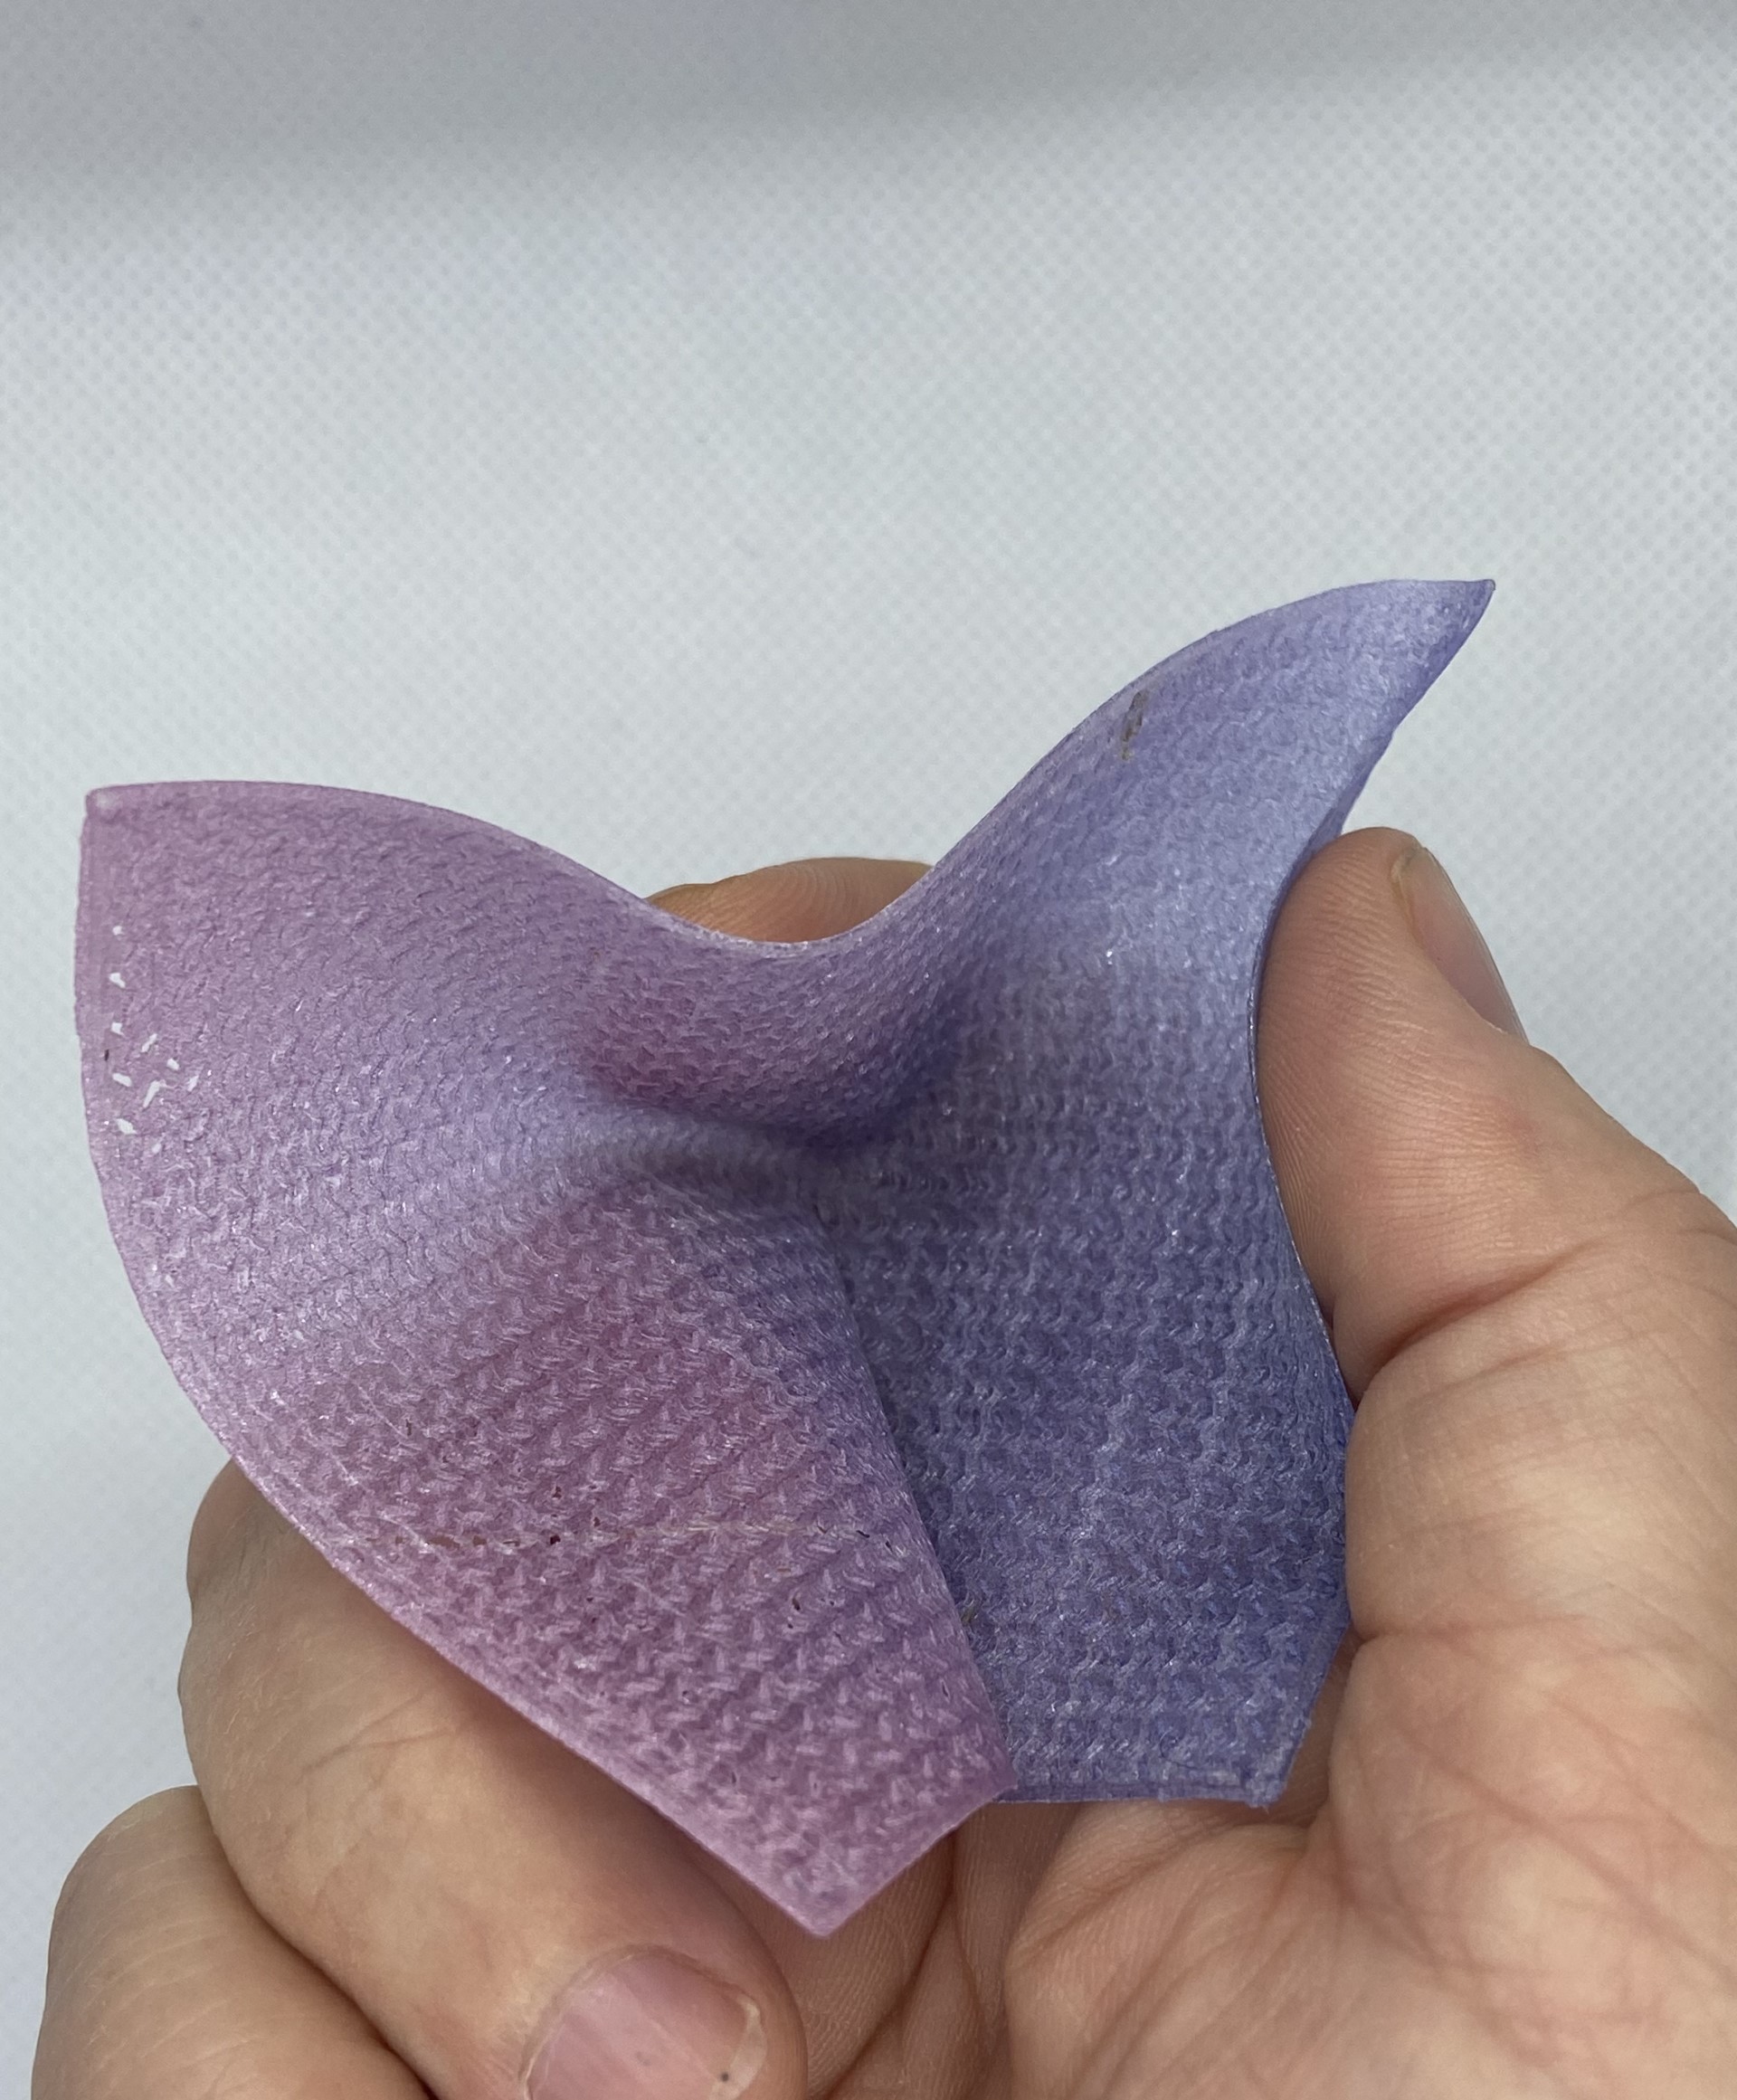
3D printing on sublimation paper
I was eager to try 3D printing on sublimation paper as I saw in the posted reels of Brigitte Kock.
So together with Stephanie we first printed a colourfull background on sublimation paper with a normal printer. We then put this sheet on the bottom plate of our 3D printer, we attached it with tape on the sides of the 3D printer plate.
On top of it I 3D printed a square shape that I designed in Tinkercad. Here you can find the file. The thickness of the square was 2 mm and I used gyroid as filling.
Because of the heat of the 3D printed square, the colour of the sublimation paper attached to the square.
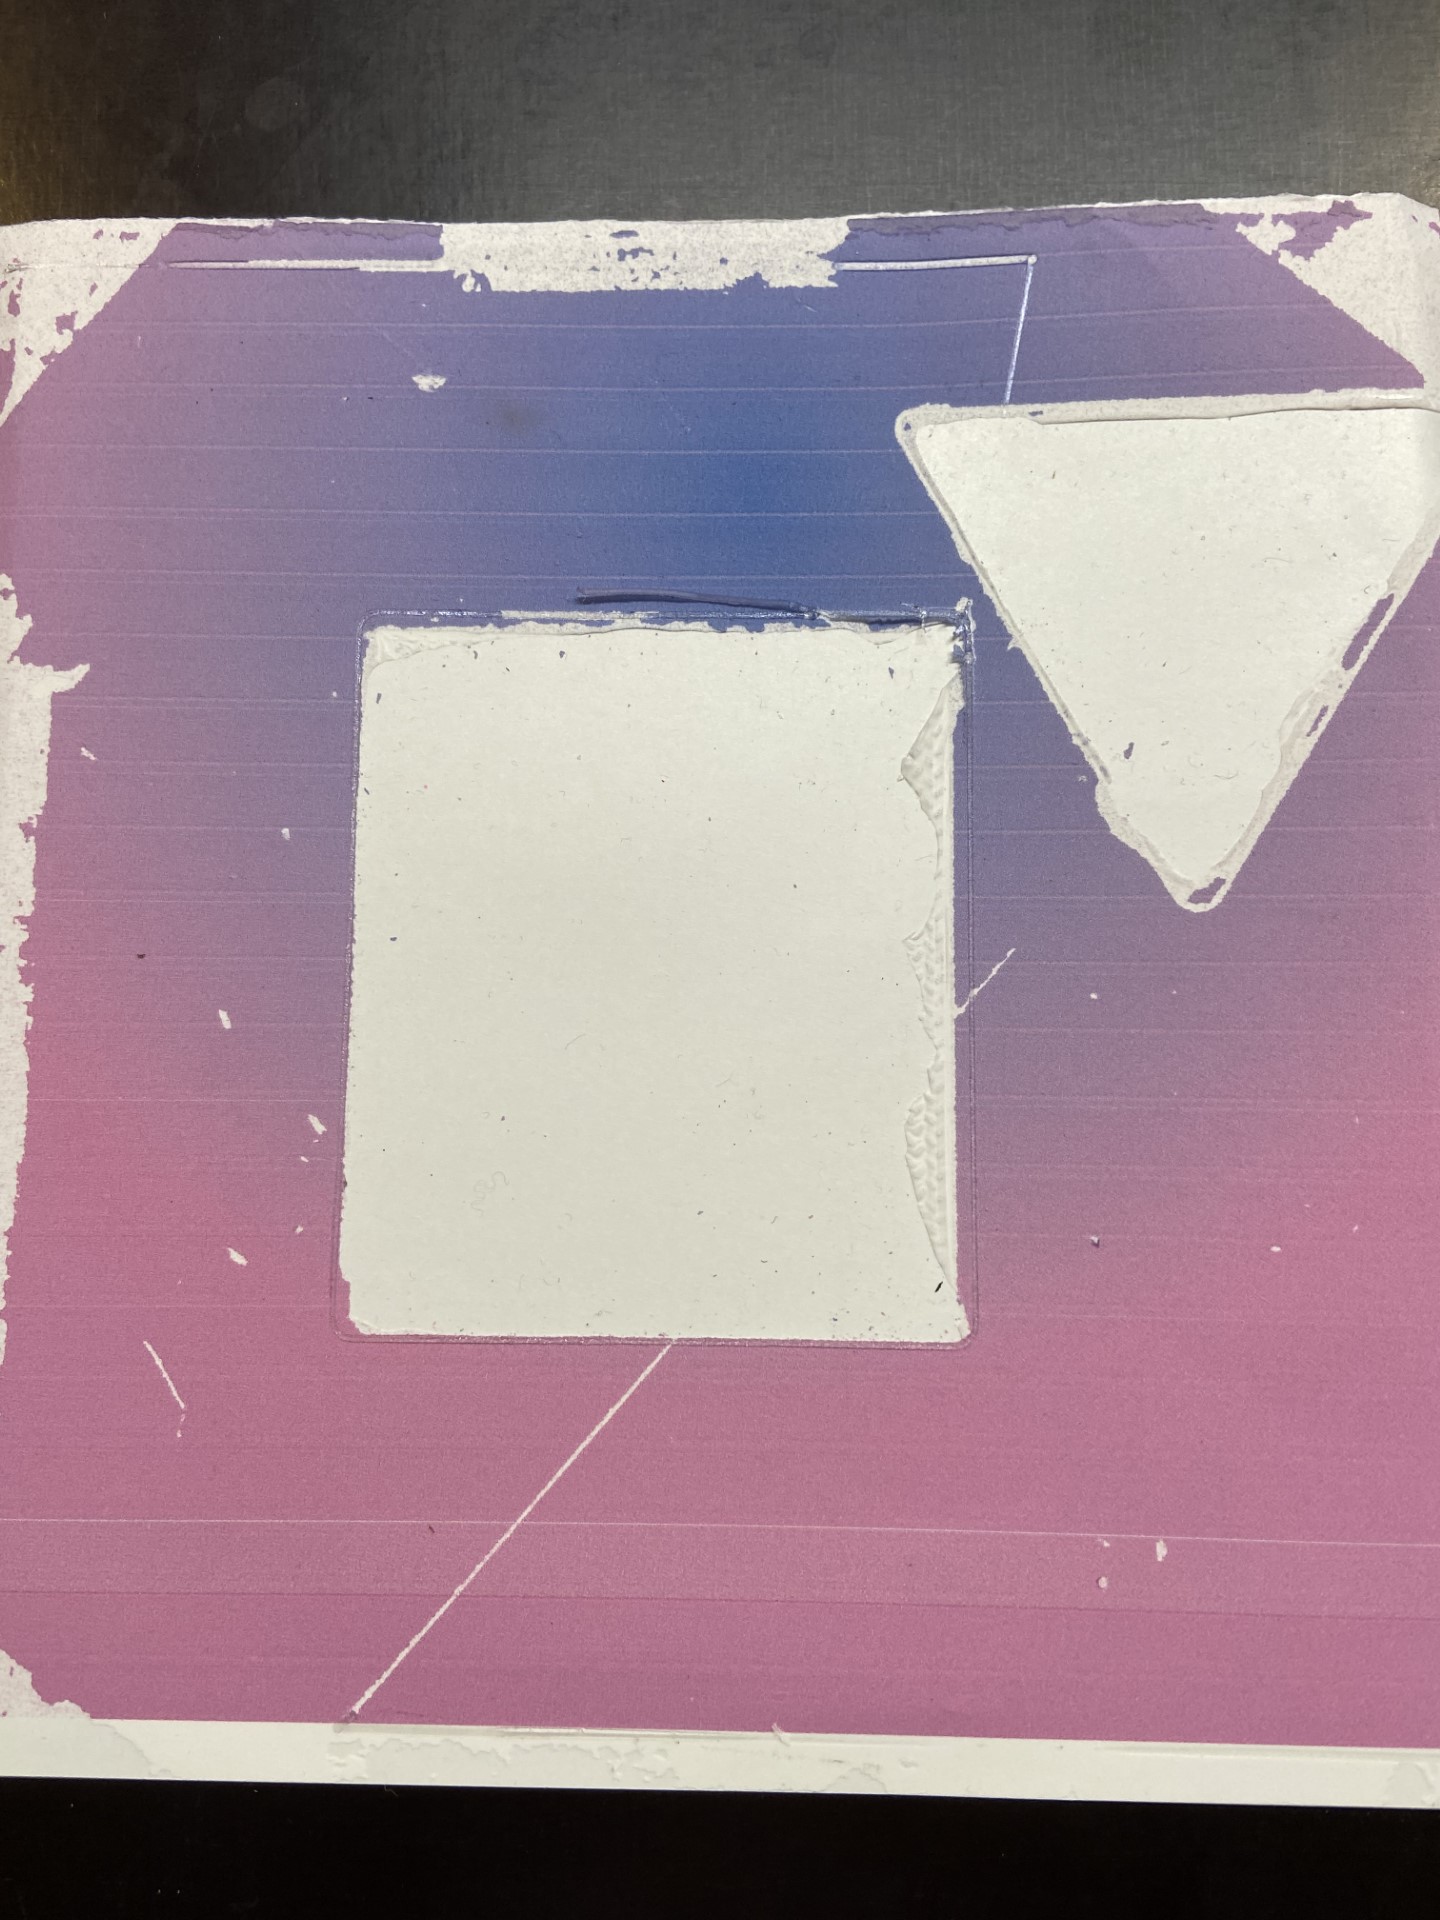
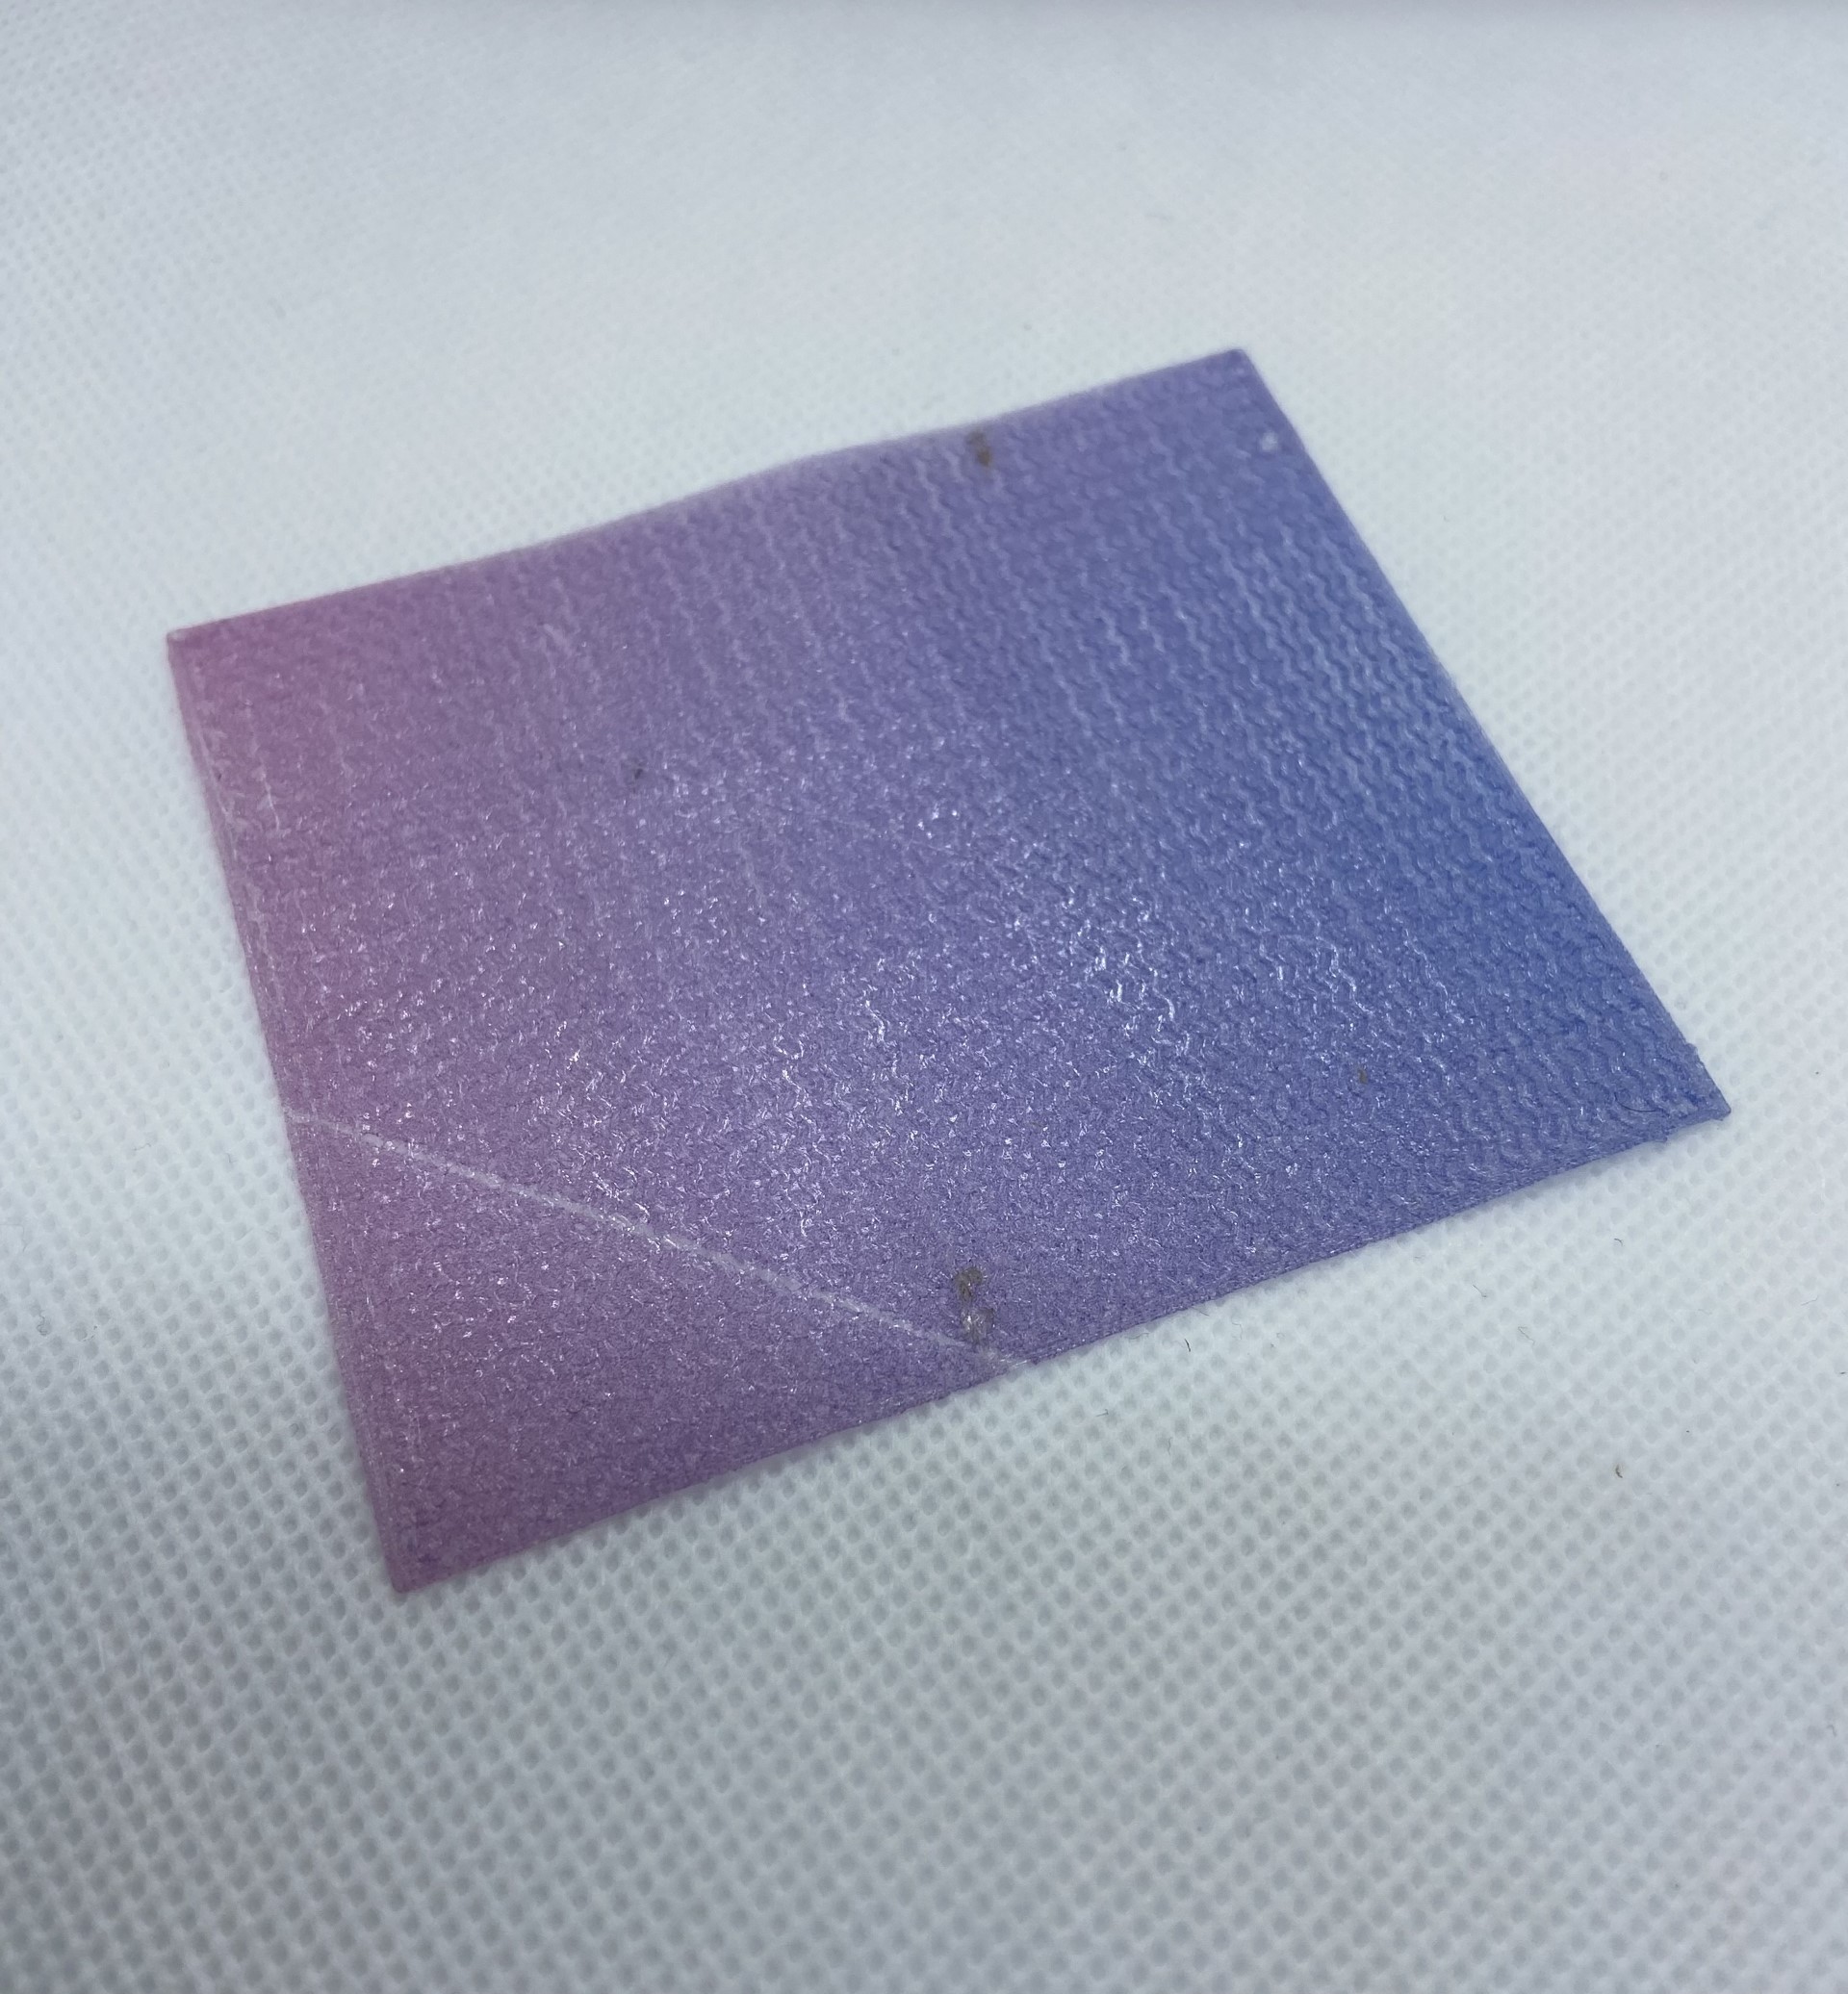
The result looked like a rigid fabric that can be bend very easily.
3D Printing on fabric
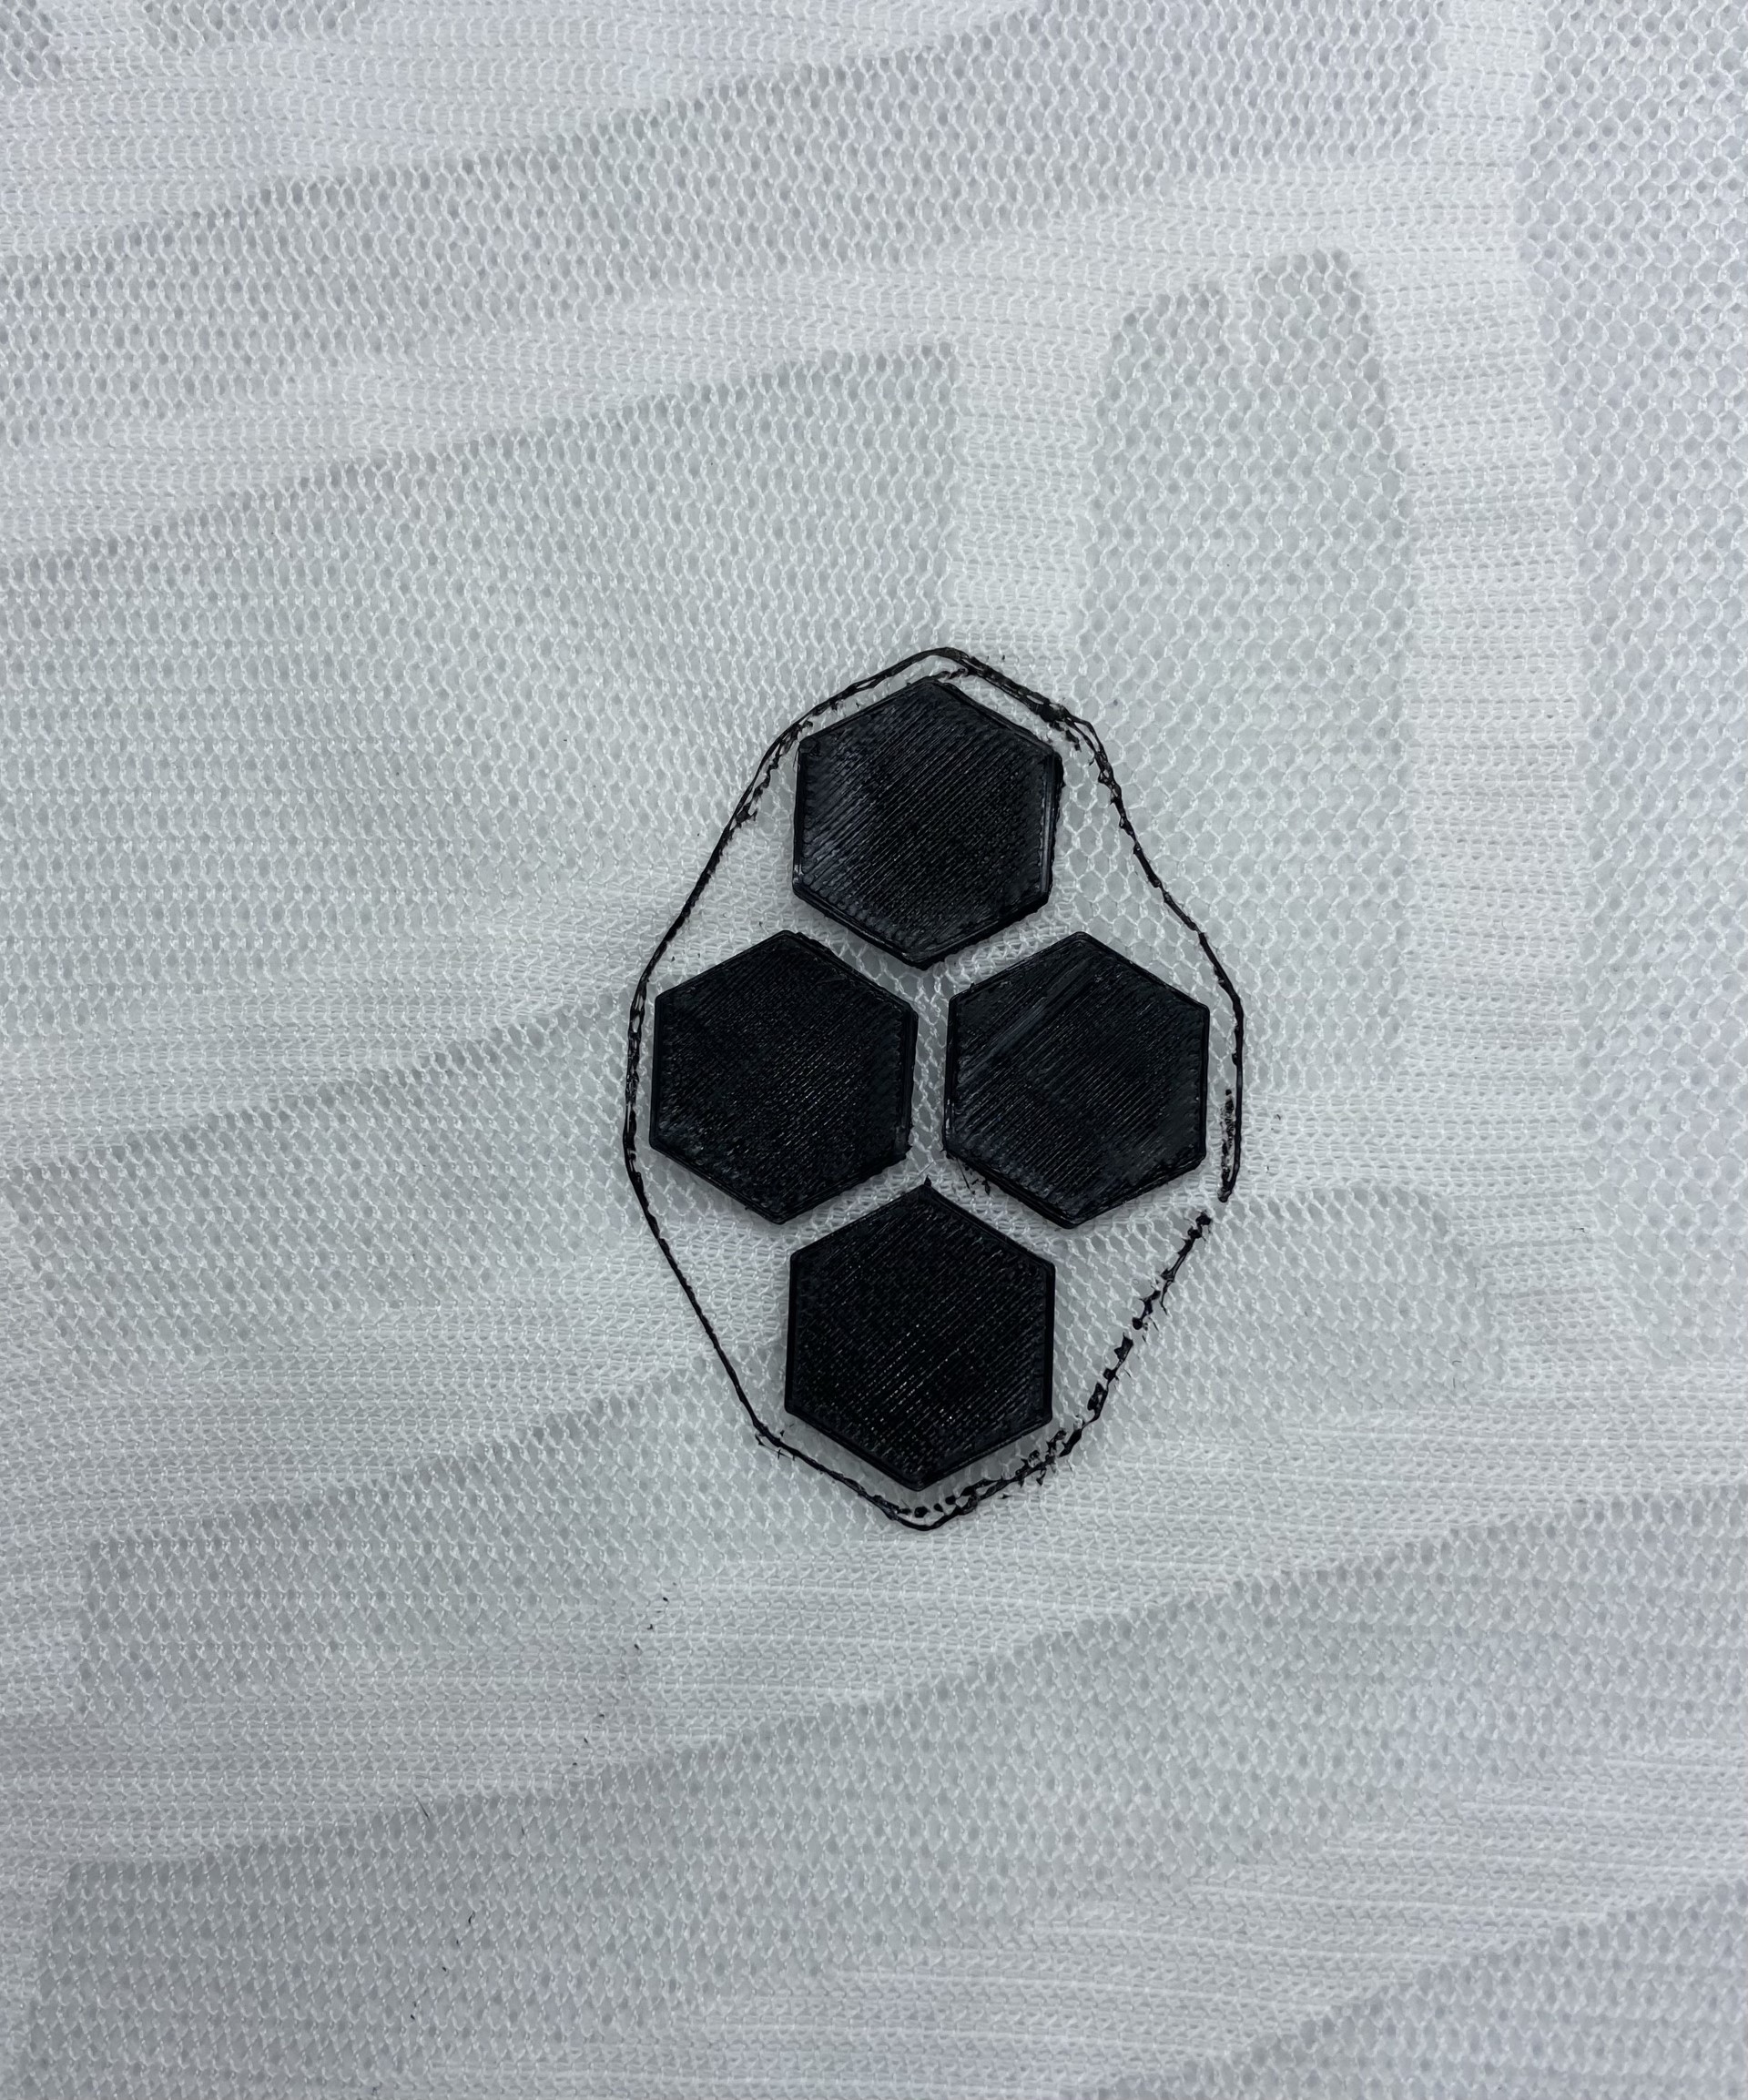
I wanted to try the 3D printing technique on fabric. I designed some hexagons in Tinkercad which I exported to Prusa slicer.Here you can find the file.
I printed on a light tricot fabric.
The result was satisfying although the height of the hexagons was a little bit to high (2,5mm).
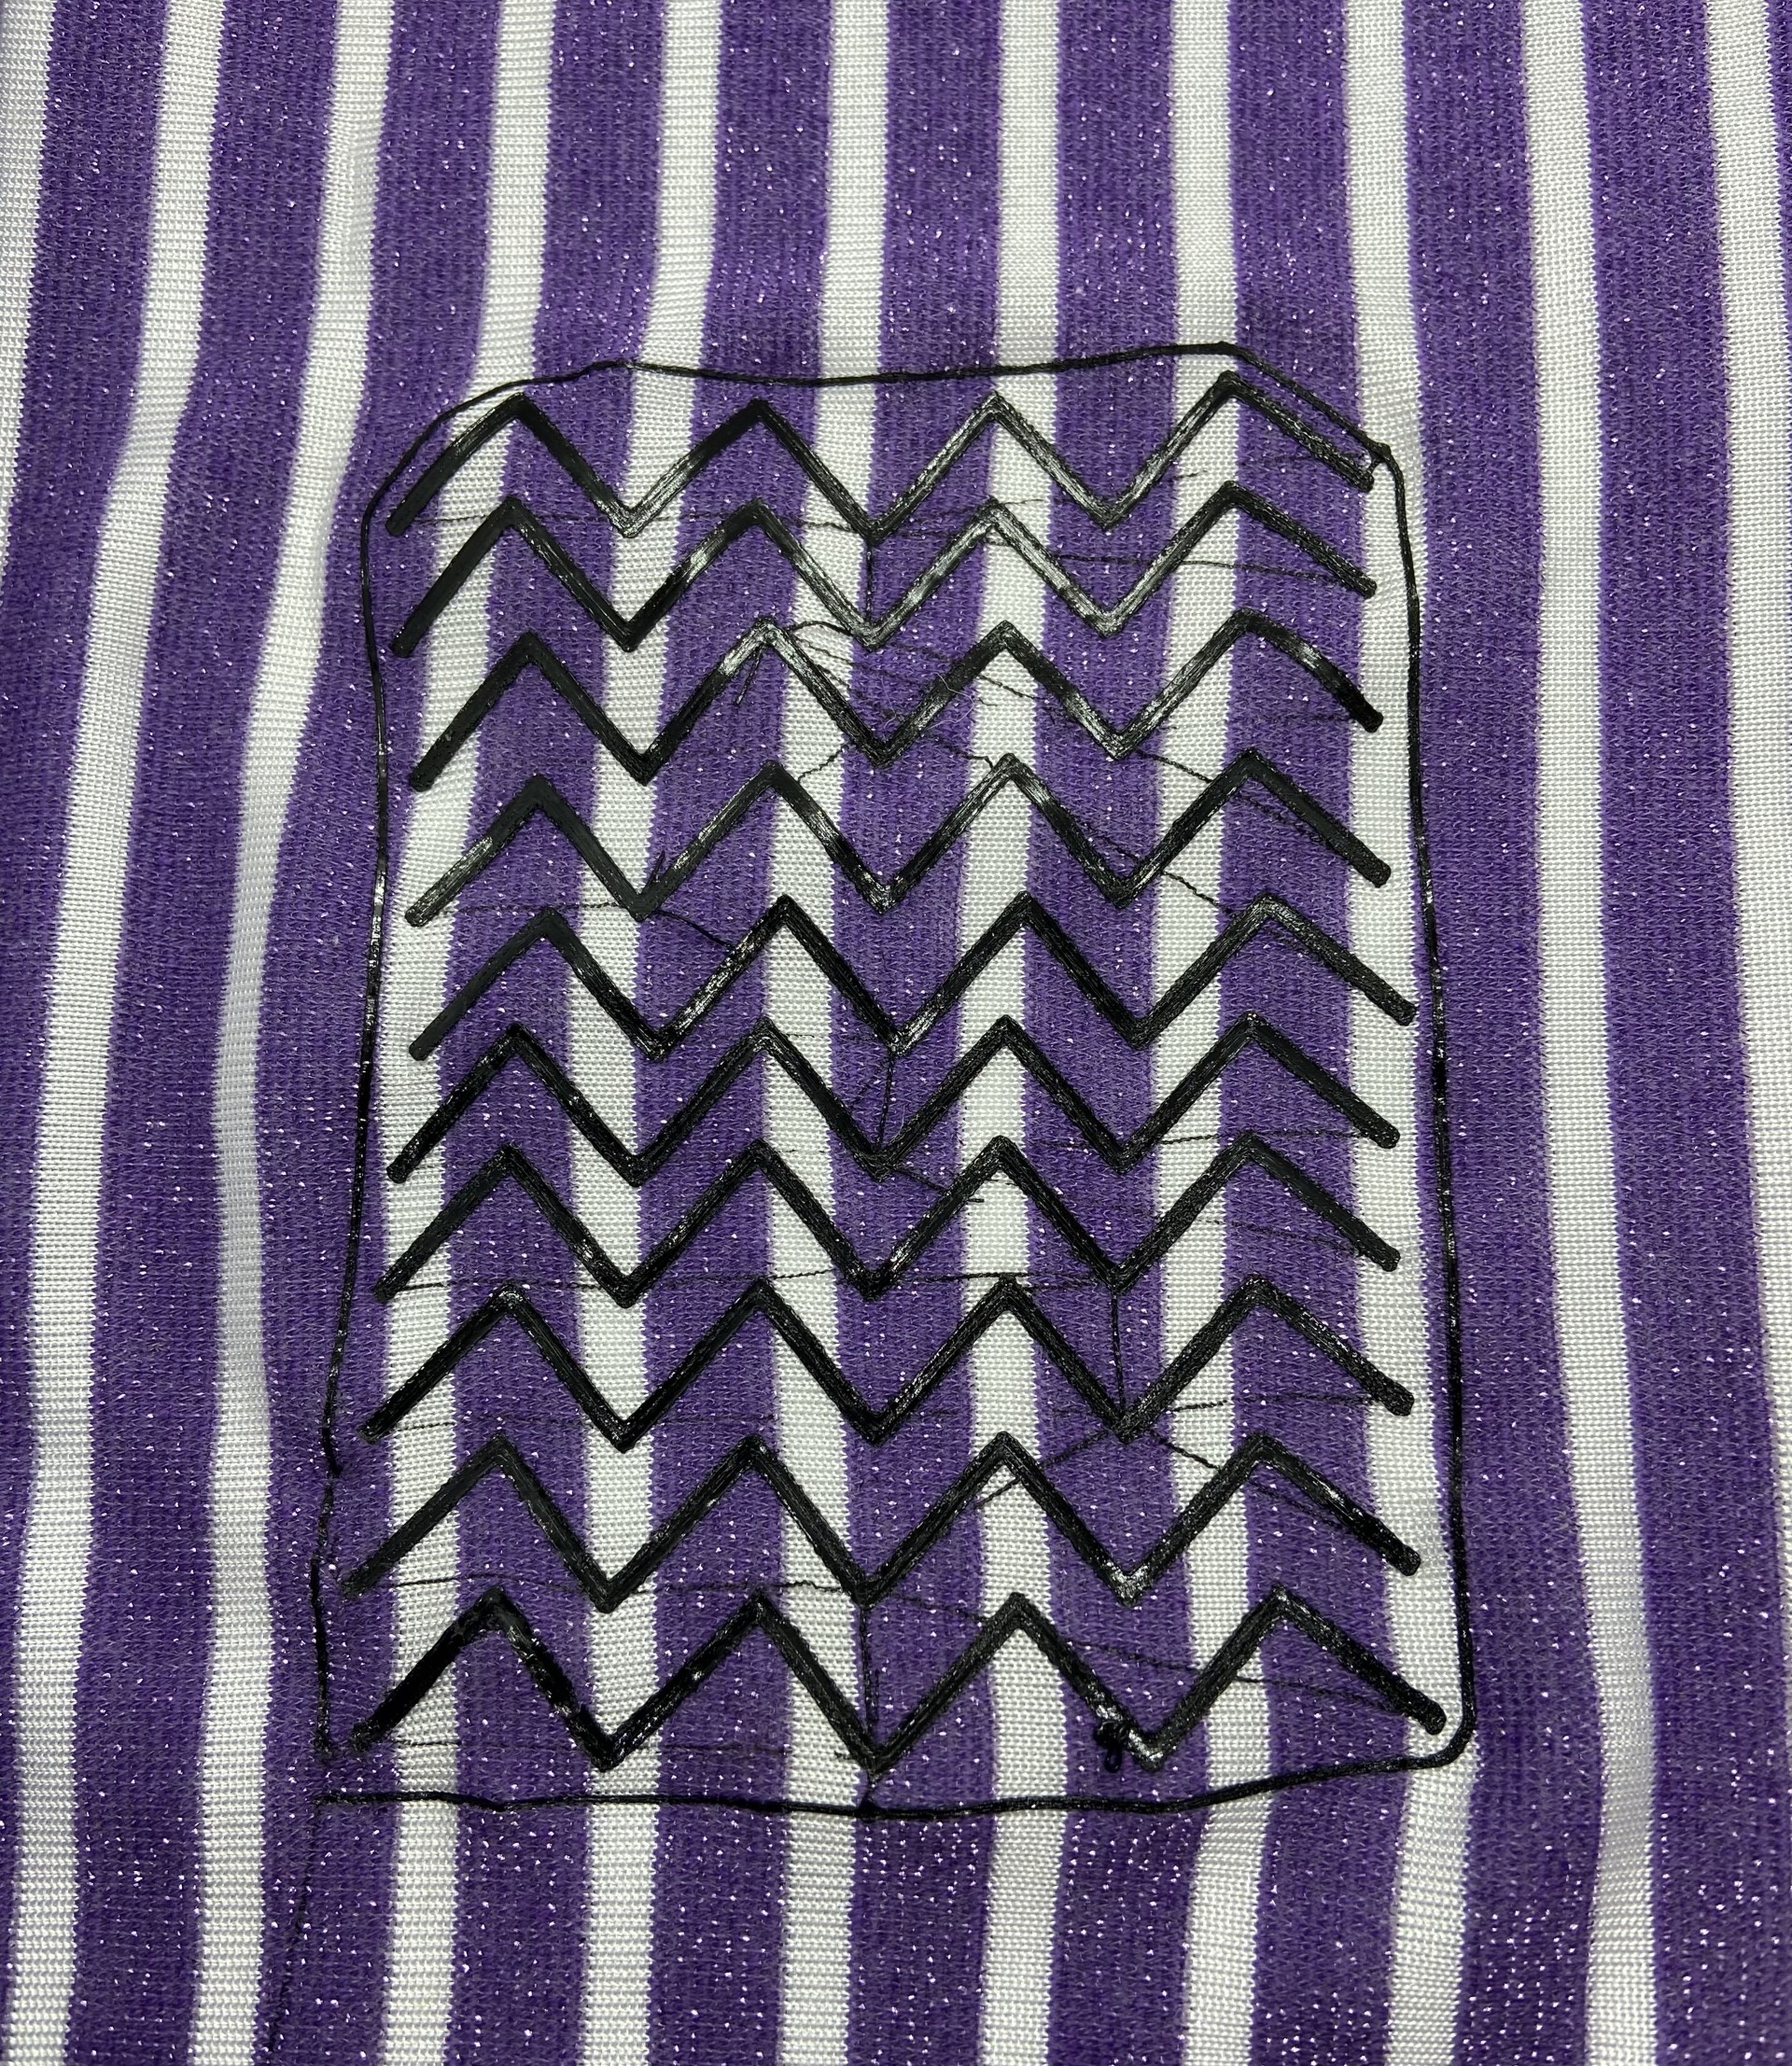
Inspired by the 3D printing project Sonogrid, I wanted to print a design (made in Tinkercad) on a stretched tricot fabric and see if the result would give a smocking effect.
Here you can find the file
But actually when printed it was not at all smocking. Propably the design I have chosen was not able to give a smocking effect, or maybe I printed it too dense and too high.
Grasshopper
I followed the Grasshopper introduction tutorial given by Eugenio Bettucchi. I struggled a lot with it. On one hand because the level was too high and too fast for me, on the other hand because the Grasshopper software is too heavy for my (old) computer.
So I decided to watch the Grasshopper Domestika course, given by Arturo Tedeschi, because I have the experience that these Domestika courses are for me very comprehensive. This time the level of the course was better for me but again my outdated computer made it very difficult for me to dive deeper into specific exercises.
After that I could use the computer of our fablabmanager, but I really struggled with making some simple exercises, even when using some exercises from Parametric House.
Because of the lack of time to sort it all out, I decided to give it up with Grasshopper.
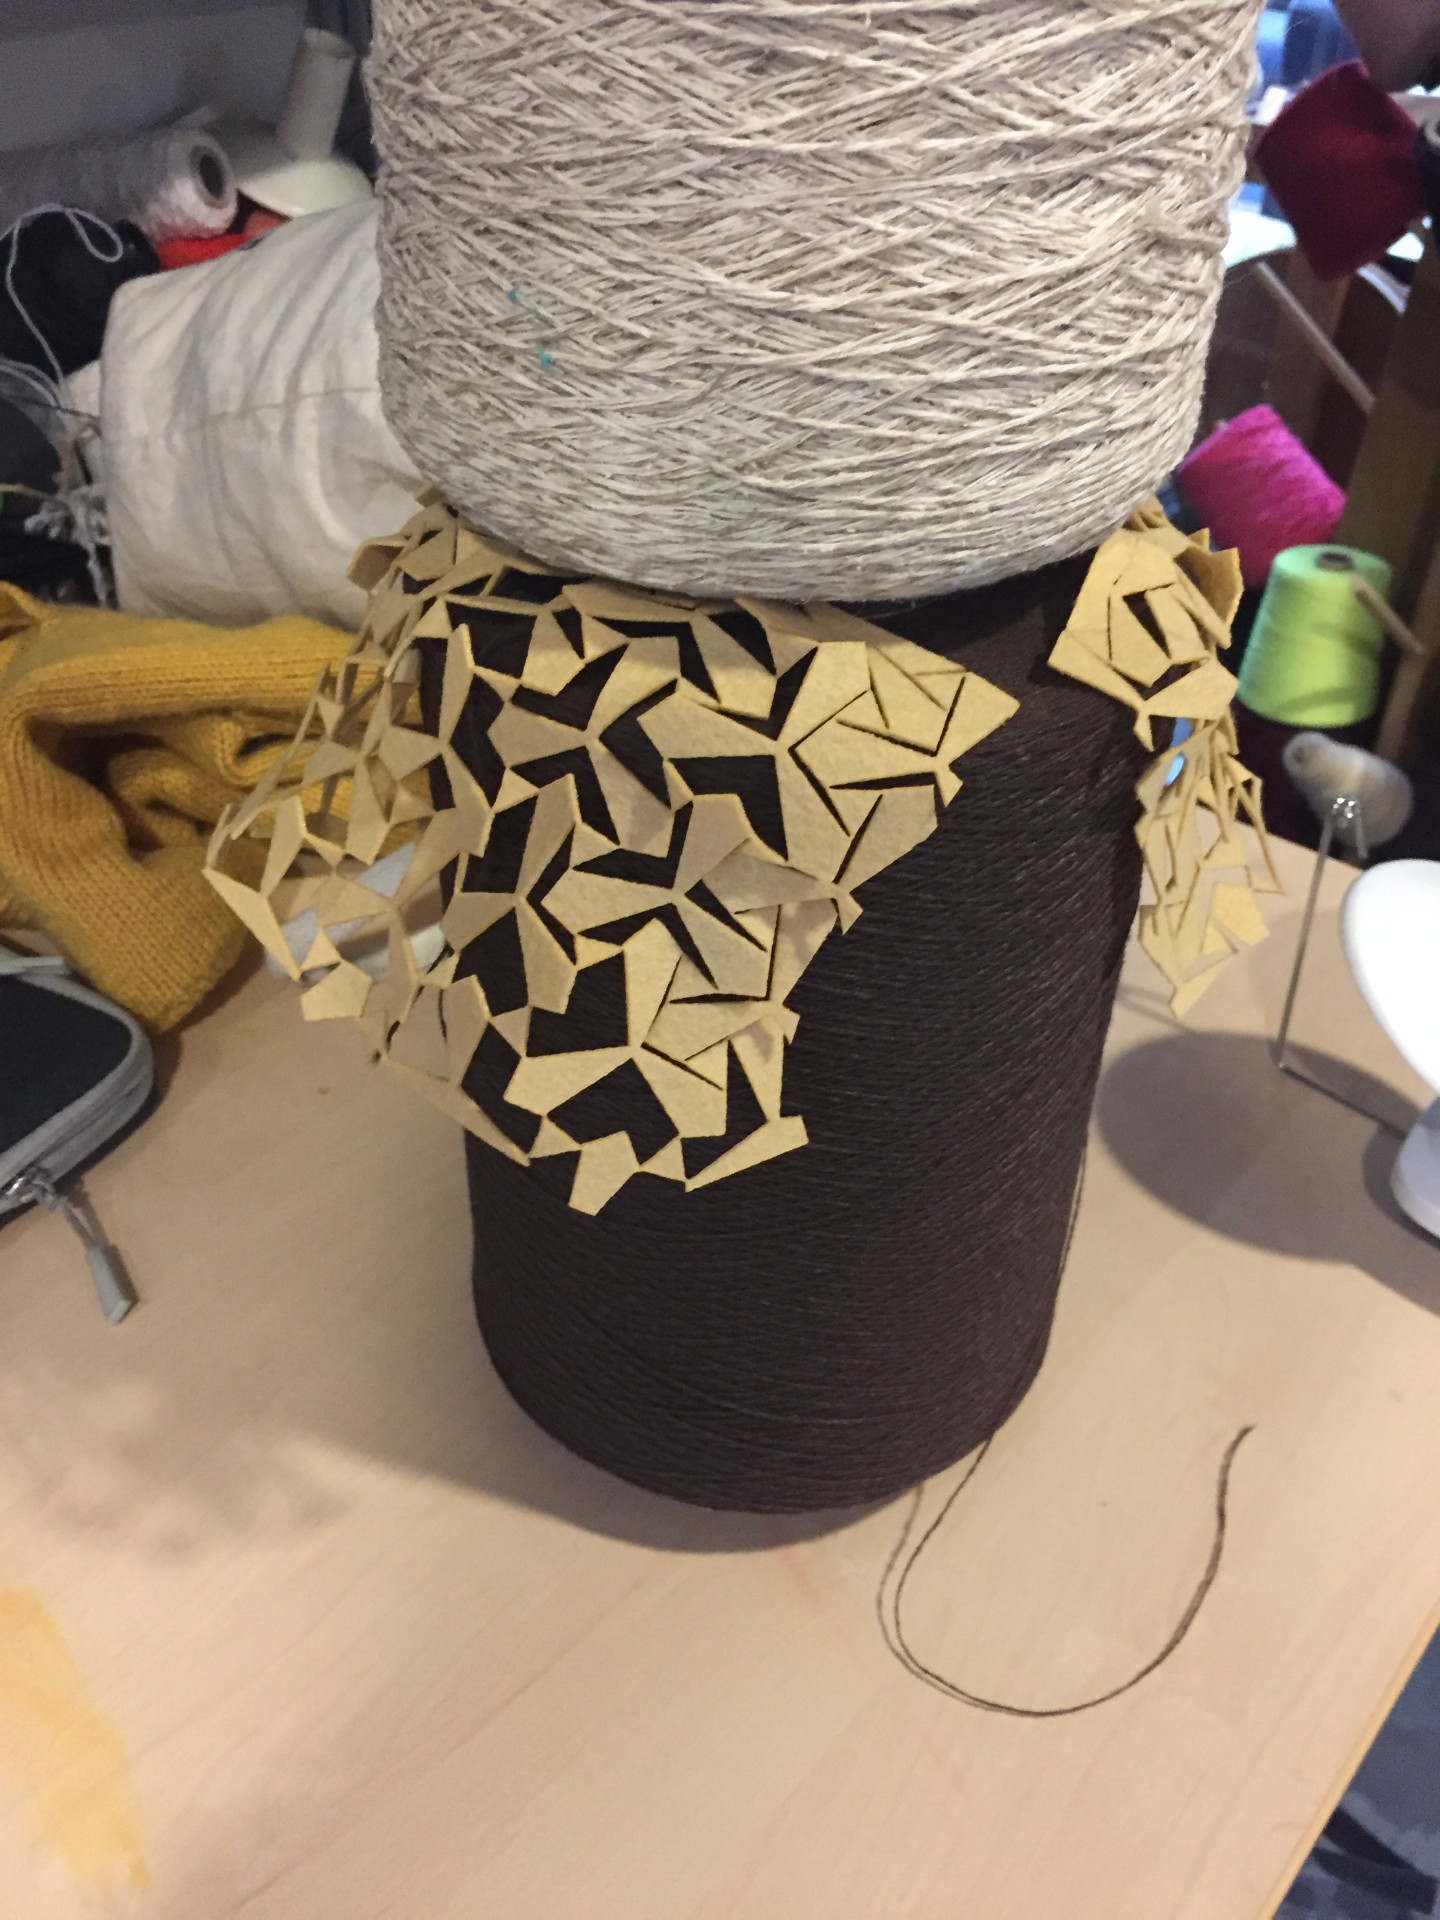
Bistable Auxetic Kirigami
Thanks to the blog of our fablabmanager I discovered Bistable Auxetic Kirigami. Bistable means that the structure can take different stable structural geometries.
Denis Terwagne and Nicholas Decoster of the Université Libre de Bruxelles have developed a Bistable Auxetic Pattern Generator to modelise auxetics with personalised dimensions.
These patterns in SVG format can be cut with the lasercutter.
I used the following parametres in the Pattern Generator:
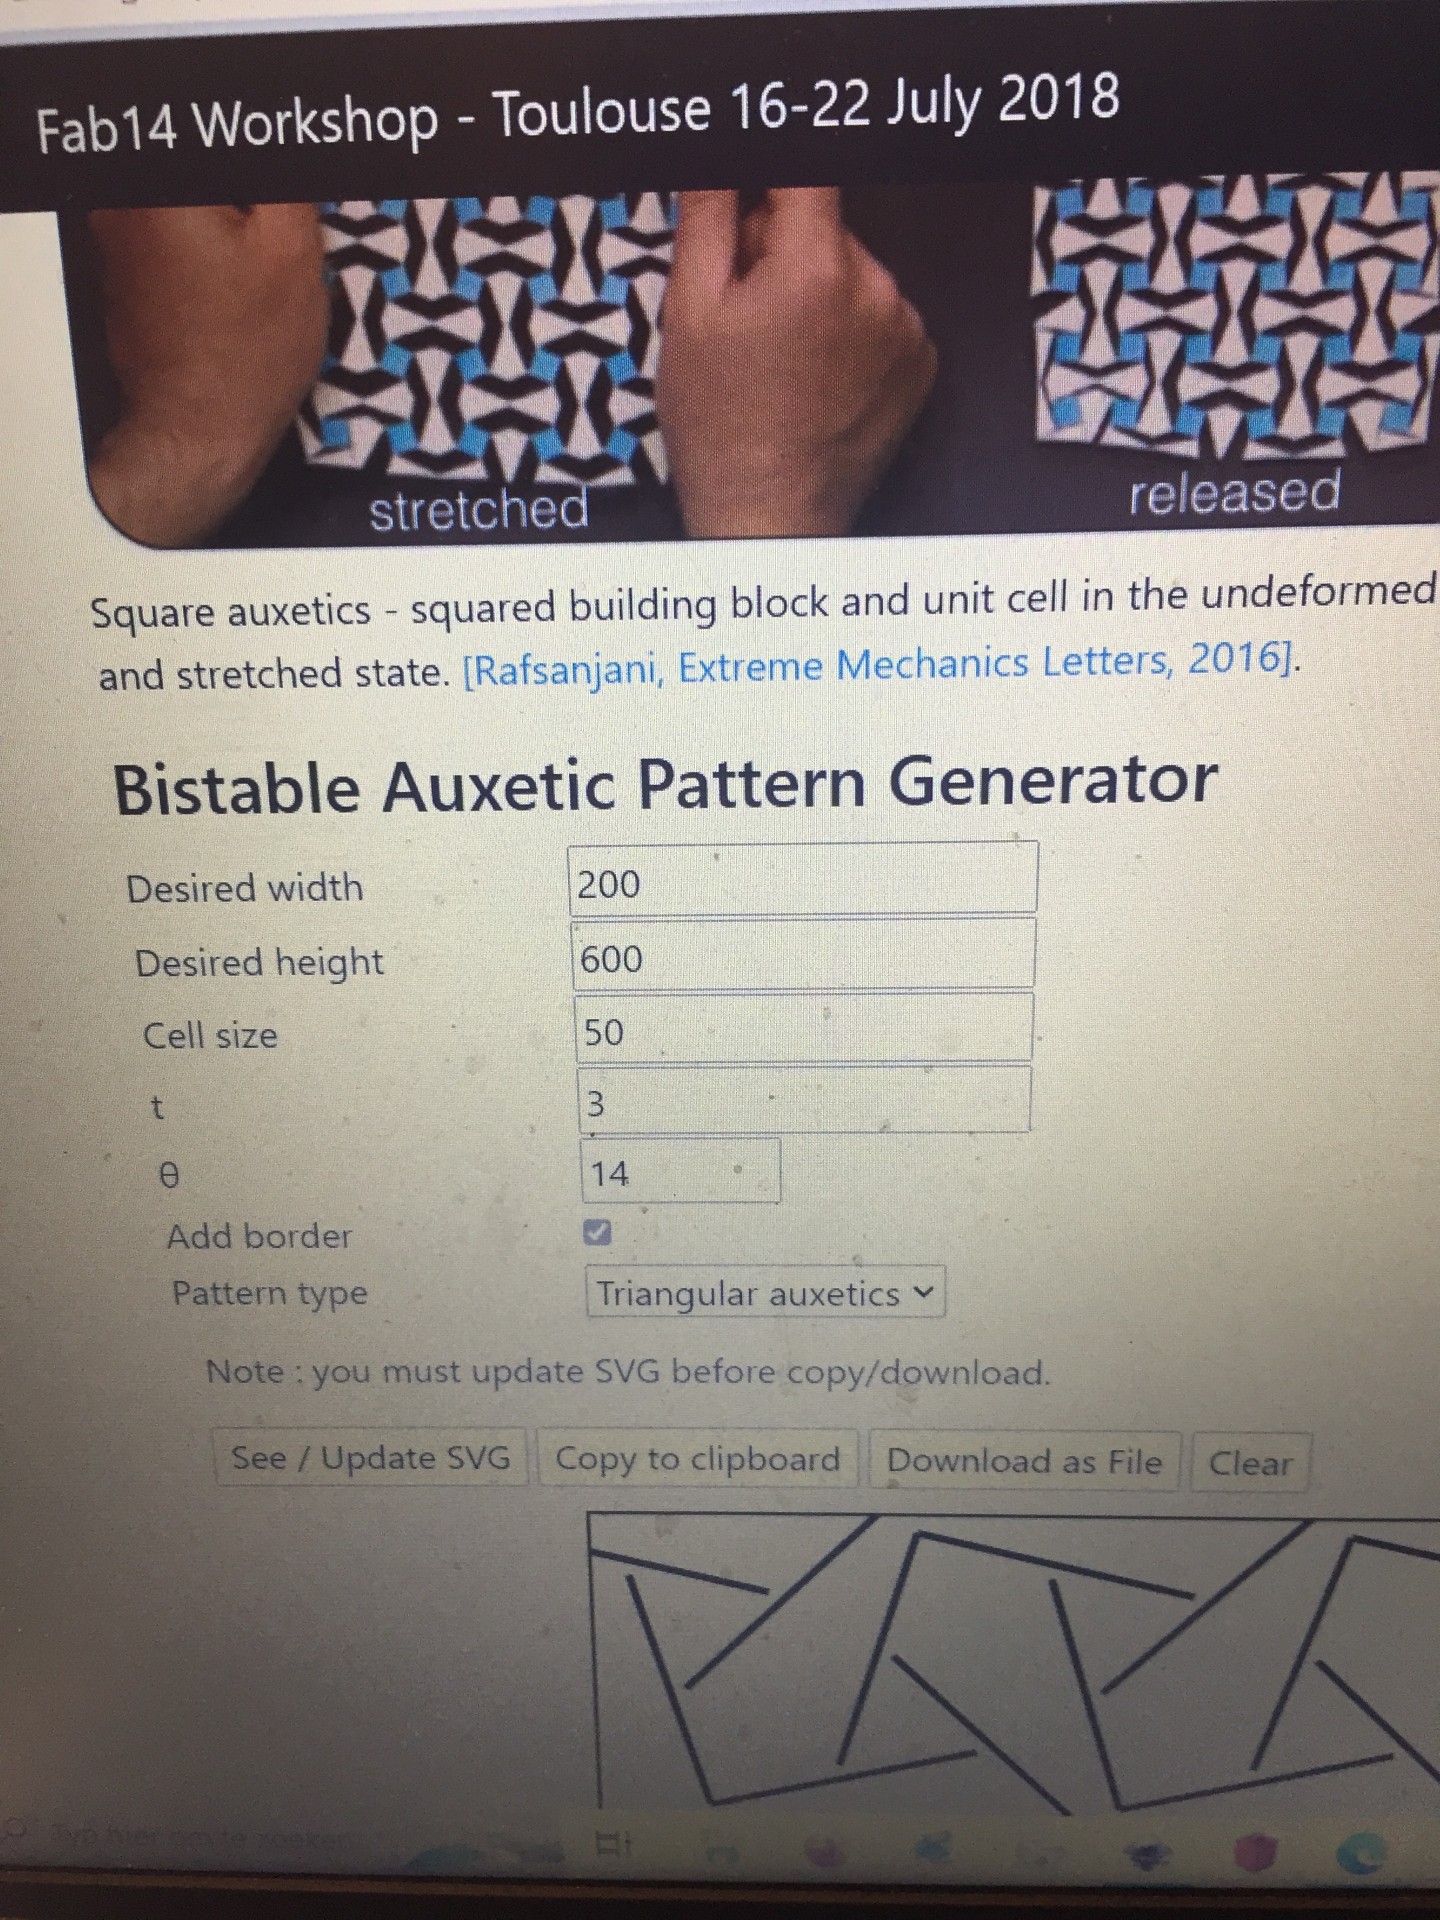
It generated this file.
I used felt of 2mm to cut out my pattern.
Here you can see the result: