1. State of the art, project management and documentation
Tools
Documentation workflow
Beginning to work on the website, I edited through WebIDE without cloning the repo and using it on my device. I find this to be much faster to start off with as I have always had some issues linking to the repo after cloning.
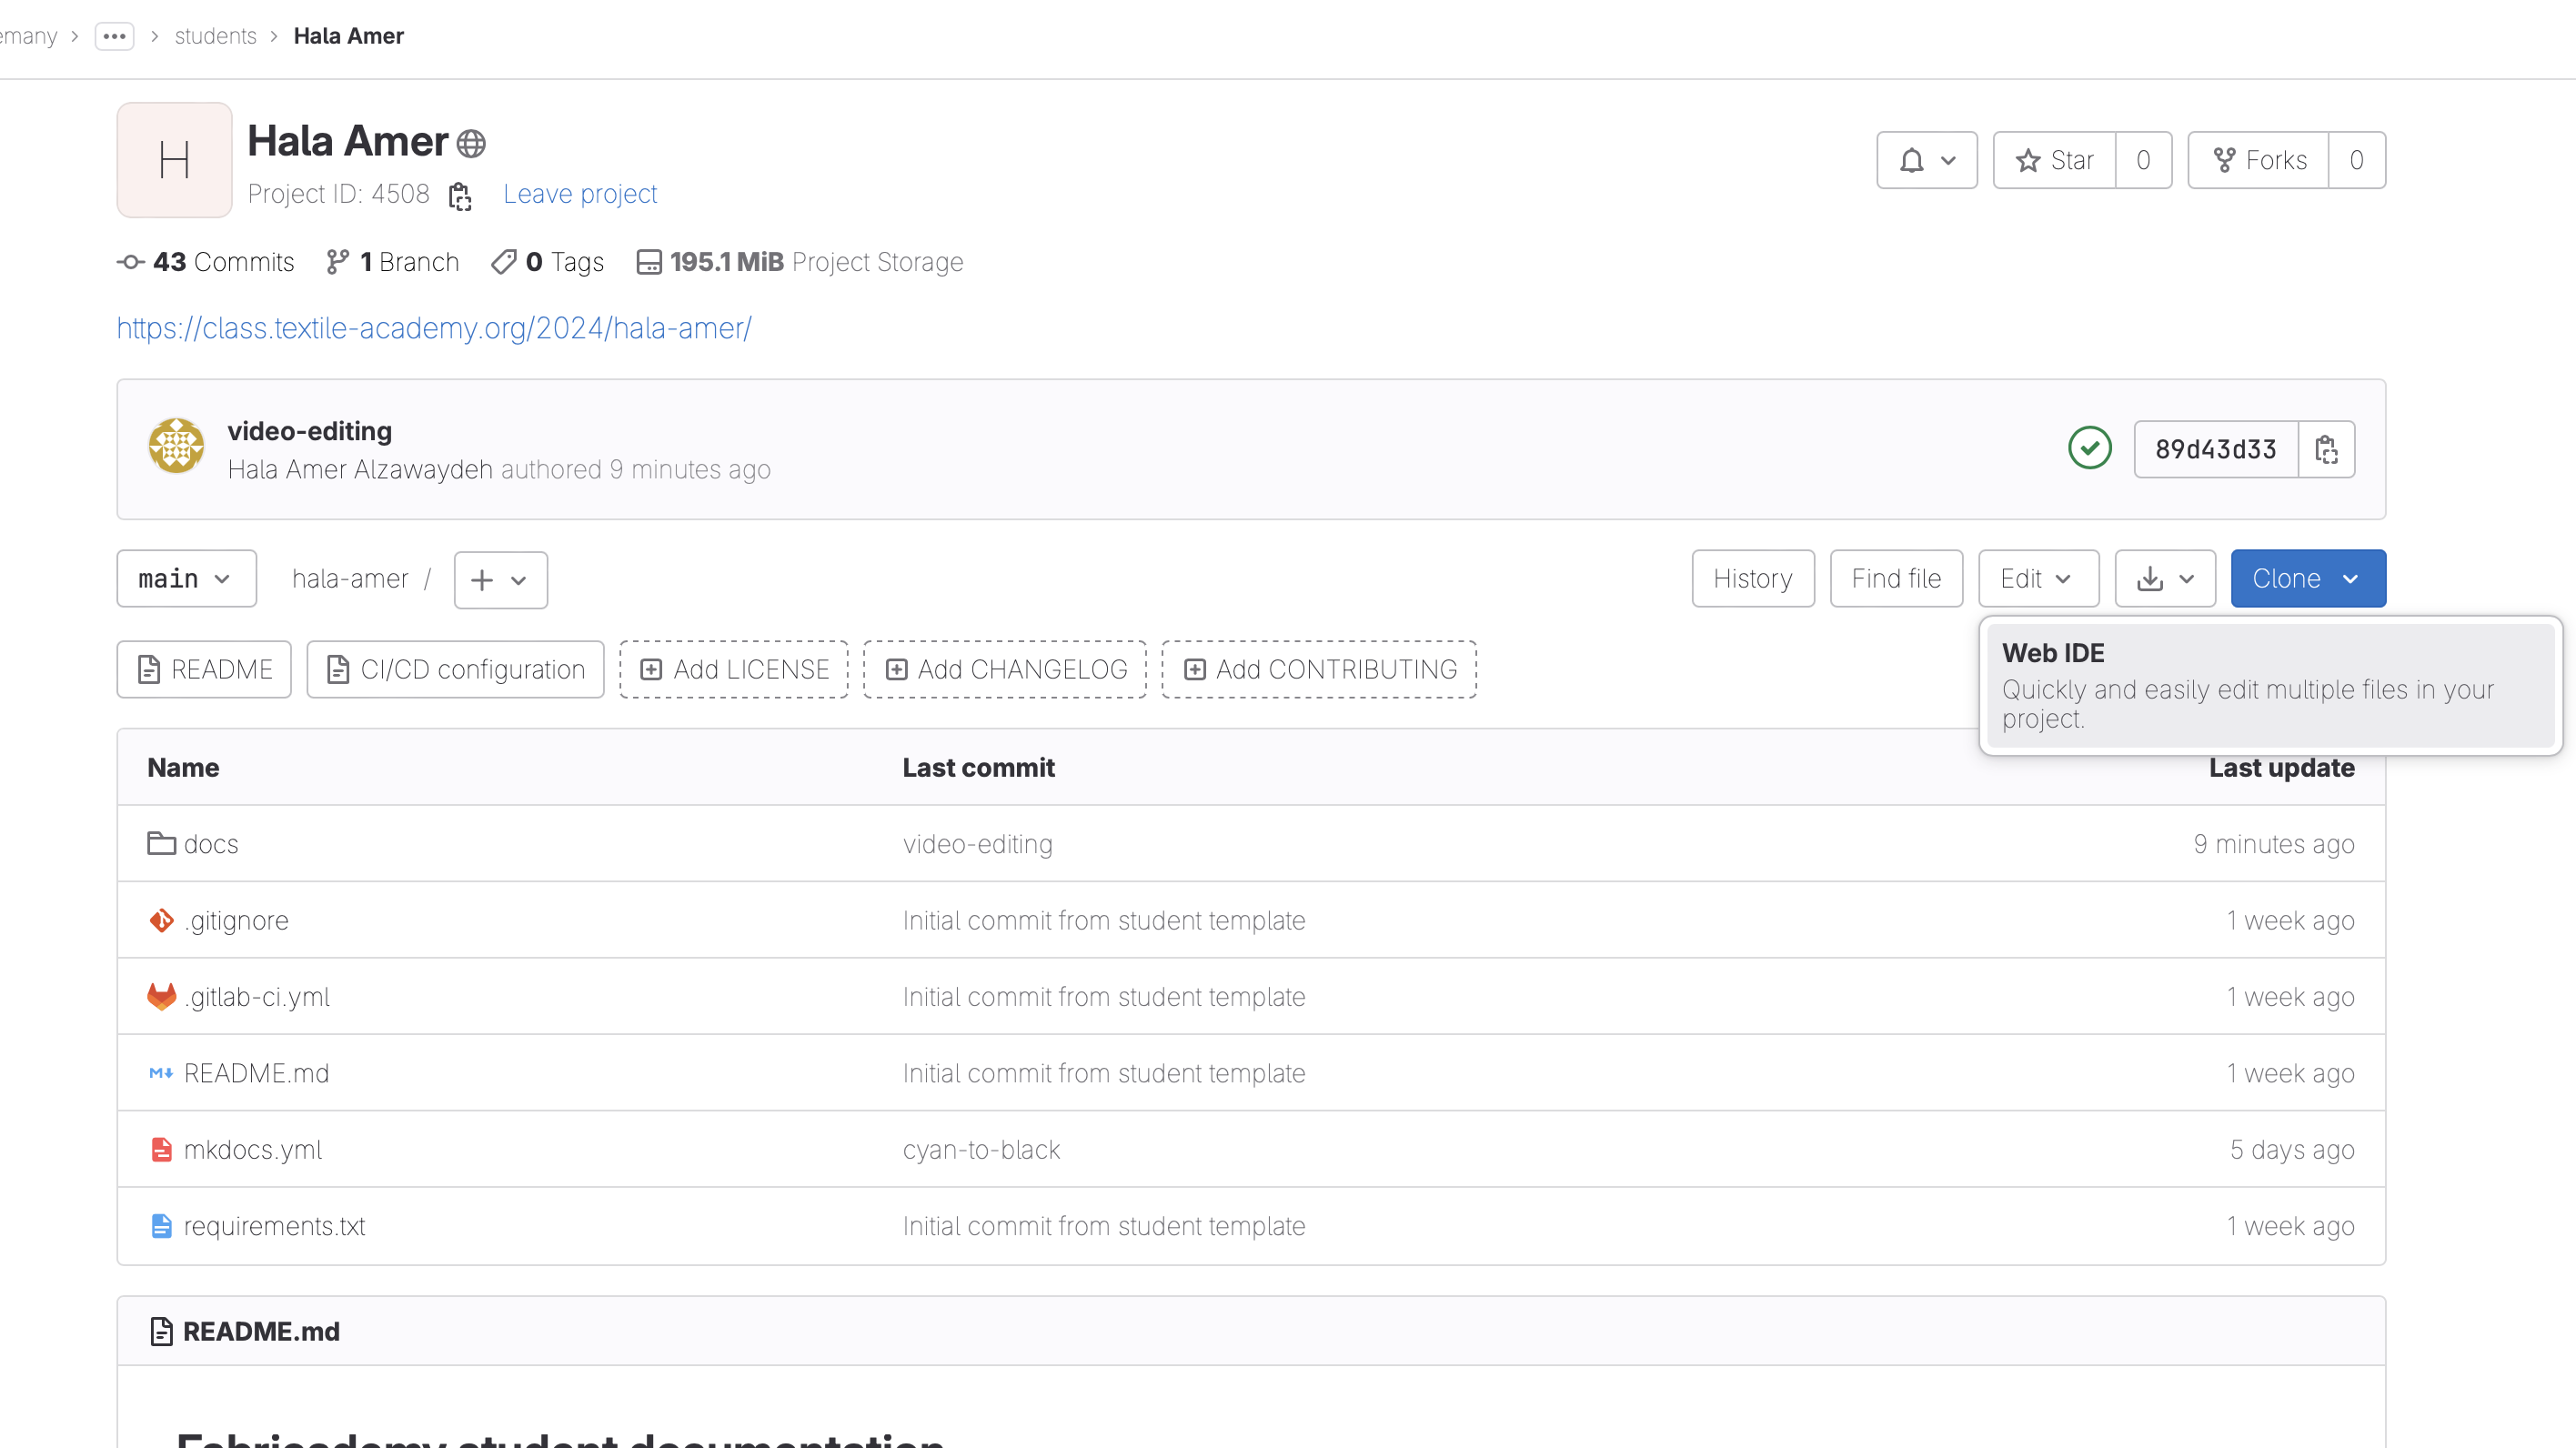
In the Web IDE, I began to slowly edit section by section with the text I wanted and then testing out the images, videos, and styles. My plan is to work with the 'Materials' style until I get more comfortable and then move on to editing it overall to match my personal aesthetic. In my MDEF website, I had a habit of using too many gifs that made the website almost impossible to open! Through this website, I would like to find the balance between aesthetic, personality, and functionality.
During the lecture with Julien, I screenshot this image to go back to when typing.
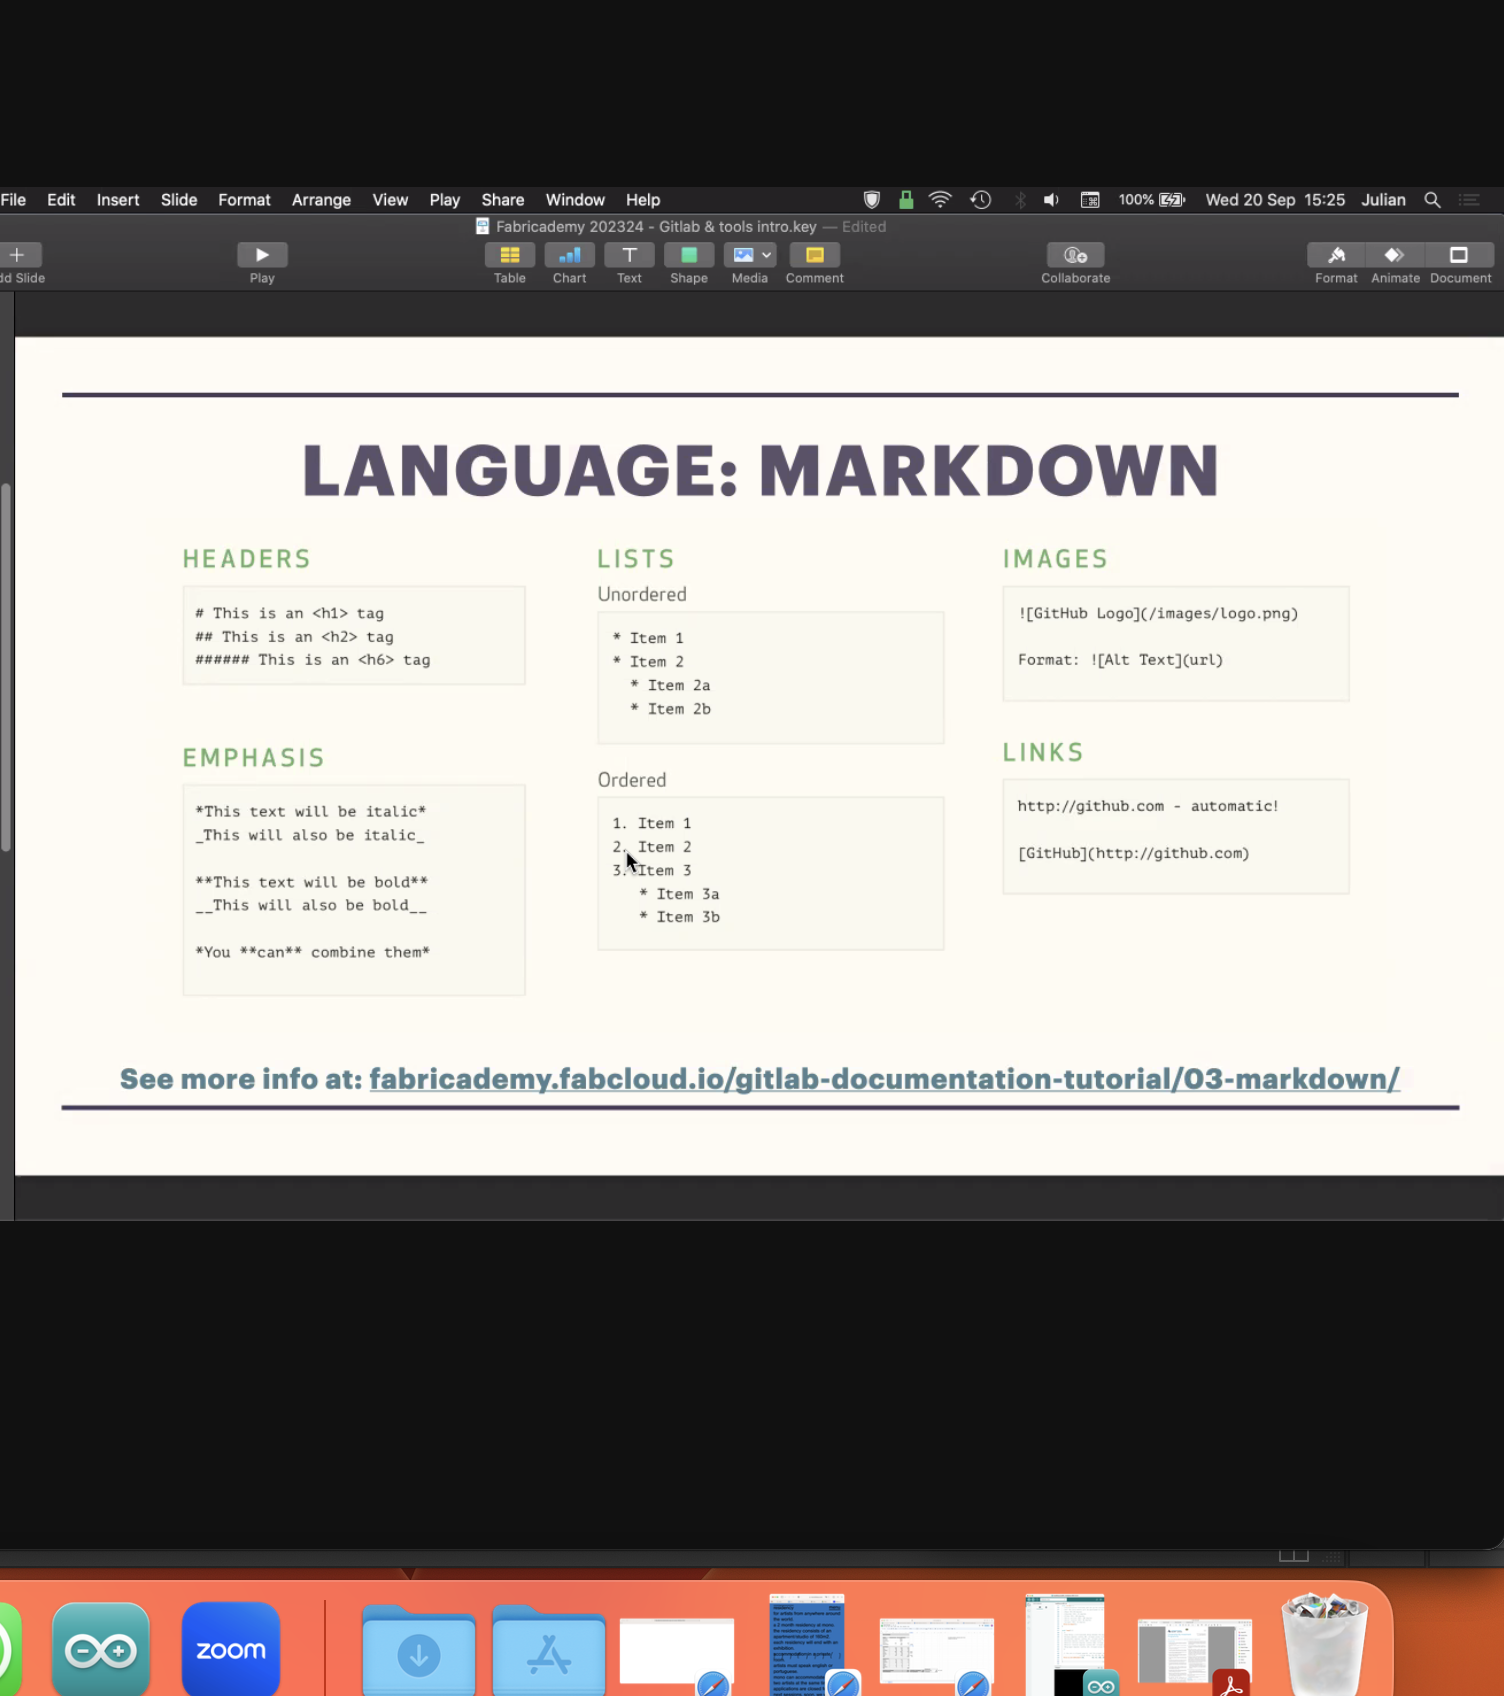
Then, I found the Markdown Style Guide that lays out everything so clearly!
Some important points to remember that will be used on the regular are:
Headings
One # gives you the title headings
Then increasing the number of # will decrease the size and give you smaller headings and subheadings.
Paragraphs
It took me a second to understand that if you don't leave a full blank link between one paragraph and the next, it will wrap the text. Another way to have breaks between text is to use < br > and '/' at the end.
Horizontal Lines
You can get horizontal lines by typing 3 dashes (- - -) or 3 underscores (_ ) or 3 asterisks ( ) without spaces between them*.
Bold, Italic & Strikethrough
If you place one asterisk before and after a word it will be italic. If you place 2 asterisks before and after a word it will be bold. If you place 3 asterisks before and after a word it will be bold & italic.
Tables
You can create a table by placing | straight lines before and after each category in the first row. Then a spacebar and enter, moving on to the second row. For example: |Category 1|Category 2|Category 3| |Row 2|Row 2|Row 2| |Row 3|Row 3|Row 3|
| Default aligned | Left aligned | Center aligned | Right aligned |
|---|---|---|---|
| First body part | Second cell | Third cell | fourth cell |
| Second line | cell | cell | cell |
| Third line | cell | cell | cell |
Links
To link, place a square bracket and then parenthesis. In the square bracket type the text and in the parenthesis place the link. text
Images
Just like the links, use a square bracket and then parenthesis but with an excalamation point right before.
! [text for when image is broken or for visually impaired users] (link of image or direction to image in file).
Diagrams
I stumbled upon something in the same link that assists in creating diagrams directly from Markdown. none of it has worked yet, im still to spend more time understanding how it is to be used
!define ICONURL https://raw.githubusercontent.com/tupadr3/plantuml-icon-font-sprites/v2.1.0
skinparam defaultTextAlignment center
!include ICONURL/common.puml
!include ICONURL/font-awesome-5/gitlab.puml
!include ICONURL/font-awesome-5/java.puml
!include ICONURL/font-awesome-5/rocket.puml
!include ICONURL/font-awesome/newspaper_o.puml
FA_NEWSPAPER_O(news,good news!,node) #White {
FA5_GITLAB(gitlab,GitLab.com,node) #White
FA5_JAVA(java,PlantUML,node) #White
FA5_ROCKET(rocket,Integrated,node) #White
}
gitlab ..> java
java ..> rocket

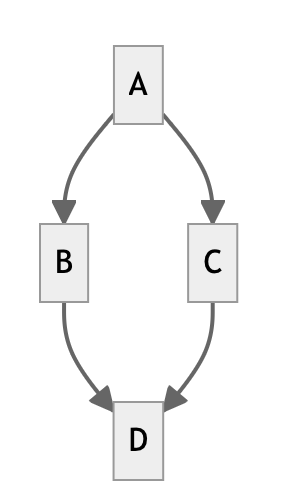
Which then led me to a page titled 'GitLab Flavored Markdown' which had many interesting tips. I am yet to test and see if these GLFM work for this website. One thing they mentioned is Mermaid which allows you to generate diagrams and flowcharts.
graph TD;
  A-->B;
  A-->C;
  B-->D;
  C-->D;
Documentation that inspires me includes
still to be added
 |
 |
 |
| Setae by Julia Koerner | Orange Tote by SEWPrinted | OCTOPUS II by Hashem Joucka |
 |
 |
 |
| Terroir by Abeer Seikaly | Raumtaster by Johannes Langkamp | Byeond Matter by Lavi Van Veluw |