9. Soft robotics
Past Works
During the summer Fabricademy Bootcamp, May/June 2023, in Jordan our group's final day project revolved around soft robotics. The project was about recreating human wamth with inflatables.
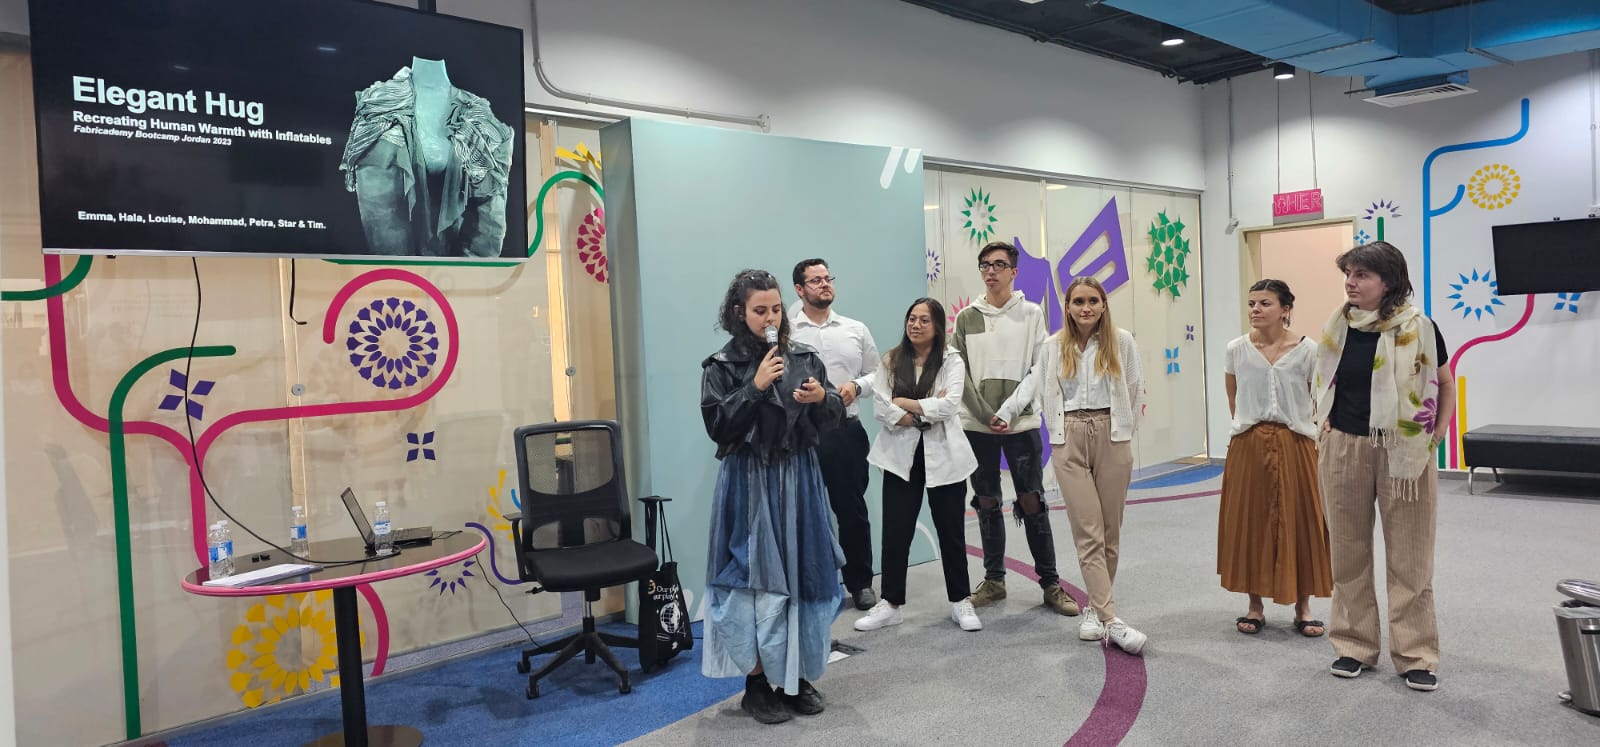 Collaborators: Mohammad Rashdan, Destarte (Star) Prieto, Timothy, & Petra
The main interest of the group was to utilize soft robotics, inflatables, and electronics. We drew inspiration from a project by Saskia Helinska from her Fabricademy documentation and designed around her mechanisms.
Input // Matrix: Touch Sensor // Microcontroller
 Worked on by Mohammad Rashdan
Output // Air Pump // Soft Robotics using Vinyl
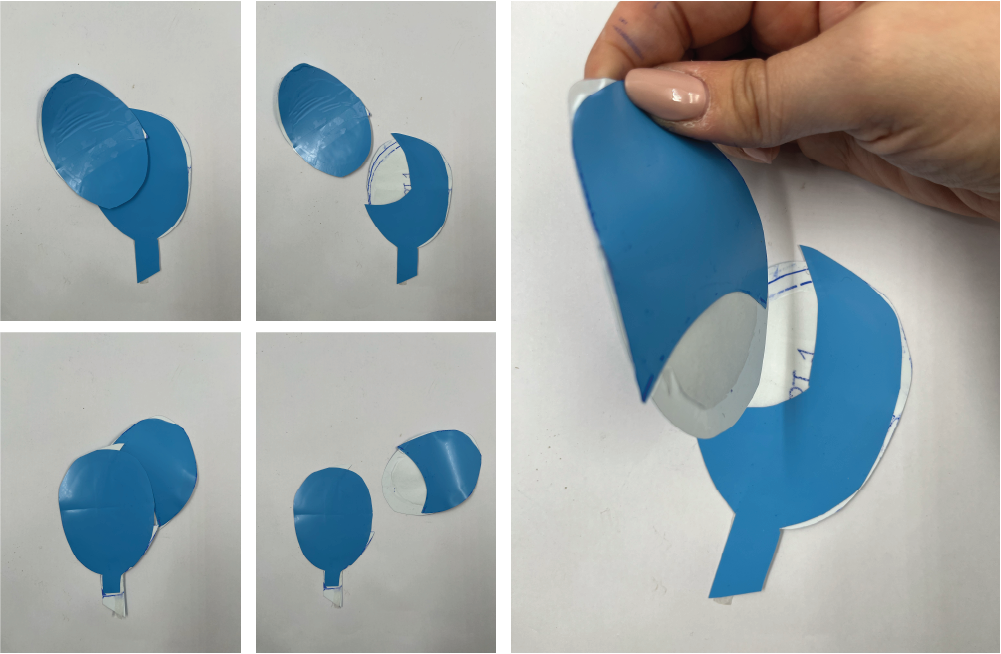
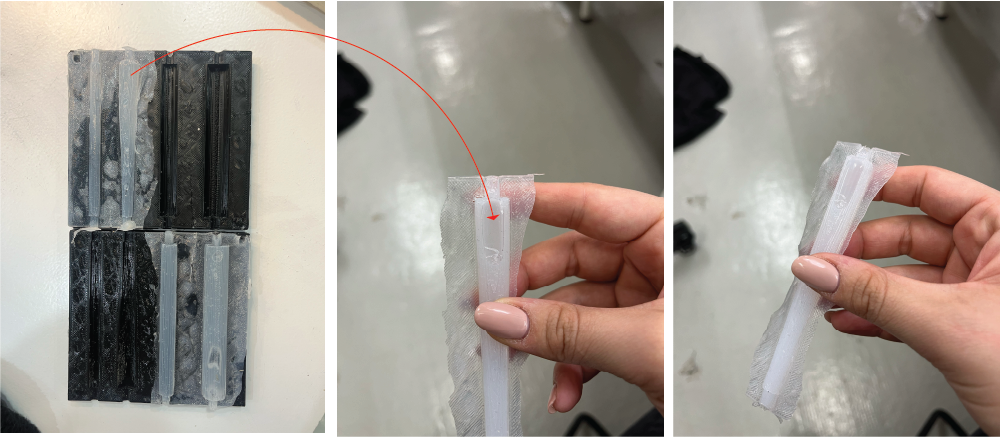
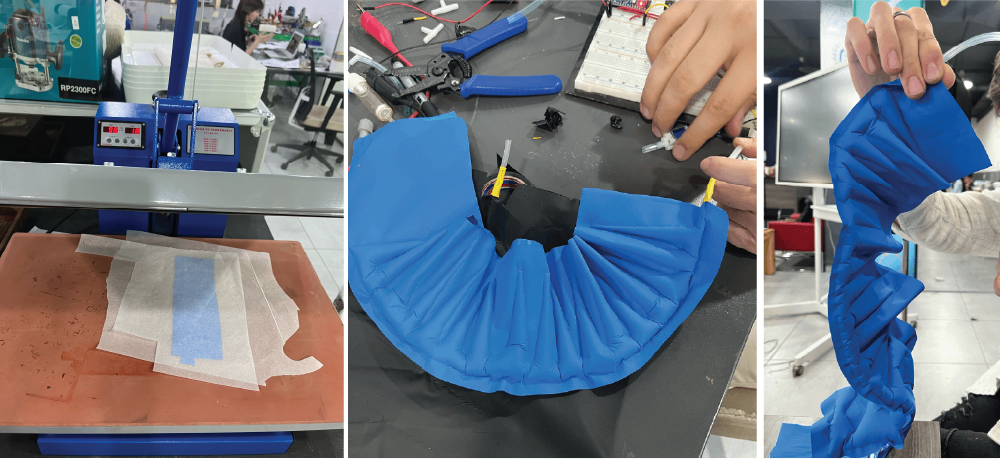 We used heat transfer vinyl and tested out the different movements separately before merging them into one shape. The heat press was at 160 degrees celsius and 20 seconds. We made sure to place baking paper below and above the vinyl and in between to create the shape. Make sure to remember to include the air path and have the baking paper extend all the way to the outside.
An indicator on which side to place with the heat transfer vinyl is usually the shiny side is on the outside and the matte is on the inside. That is because the extra film is on the outside. Once it is fused together then you can peel the transparent film off.
The photo to the far right shows the twisting mechanism with the folding at the bottom. Placed on the body, the twisting would go around the body to the opposite waist and the folding would fold over the waist.
Video to the left shows the folding technique using the diamonds. Center video shows how the parts and the pump are connected to one another. The video to the right shows how the 'hugging' motion is implied by the twisting and bending.
Current Research & Interests
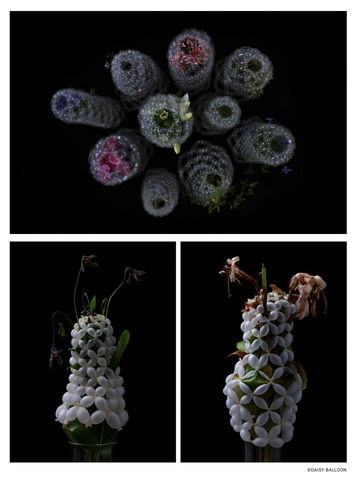
Daisy Balloos // Rei Hosokai & Takashi Kawada
A Balloon artist Rie Hosokai and art director/graphic deisgner Takashi Kawada works. They produce balloon art works, balloons dresses, installations, etc. The idea of inflatables in general and balloons has really interested me recently and I find their works inspiring at how intricate and detailed they are, using such a fragile material.


Vinyl Tests
For this experimentation, I did not place all my energy into it and hope to continue with it in the upcoming weeks. For the time being, I wanted to figure out a technique to be able to have flat pack multiple balloons that inflate all together.
I first tried having two parts and having a hole between them with baking paper. However, I did not unwrap it well enough and did not find a good connection at the point between the two parts.
To fuse the two together I joined them into one part with a gap in the middle that sticks to itself:

However, with this technique it lost the ability to look like two separate pieces.
Testing the bend design from Saskia Helinska's documentation with the heat transfer vinyl and baking paper inside. The test did not bend as Saskia's did. I believe it is the size and will need to test it a little bigger to check if that affects the bending.
Fluid // Silicone
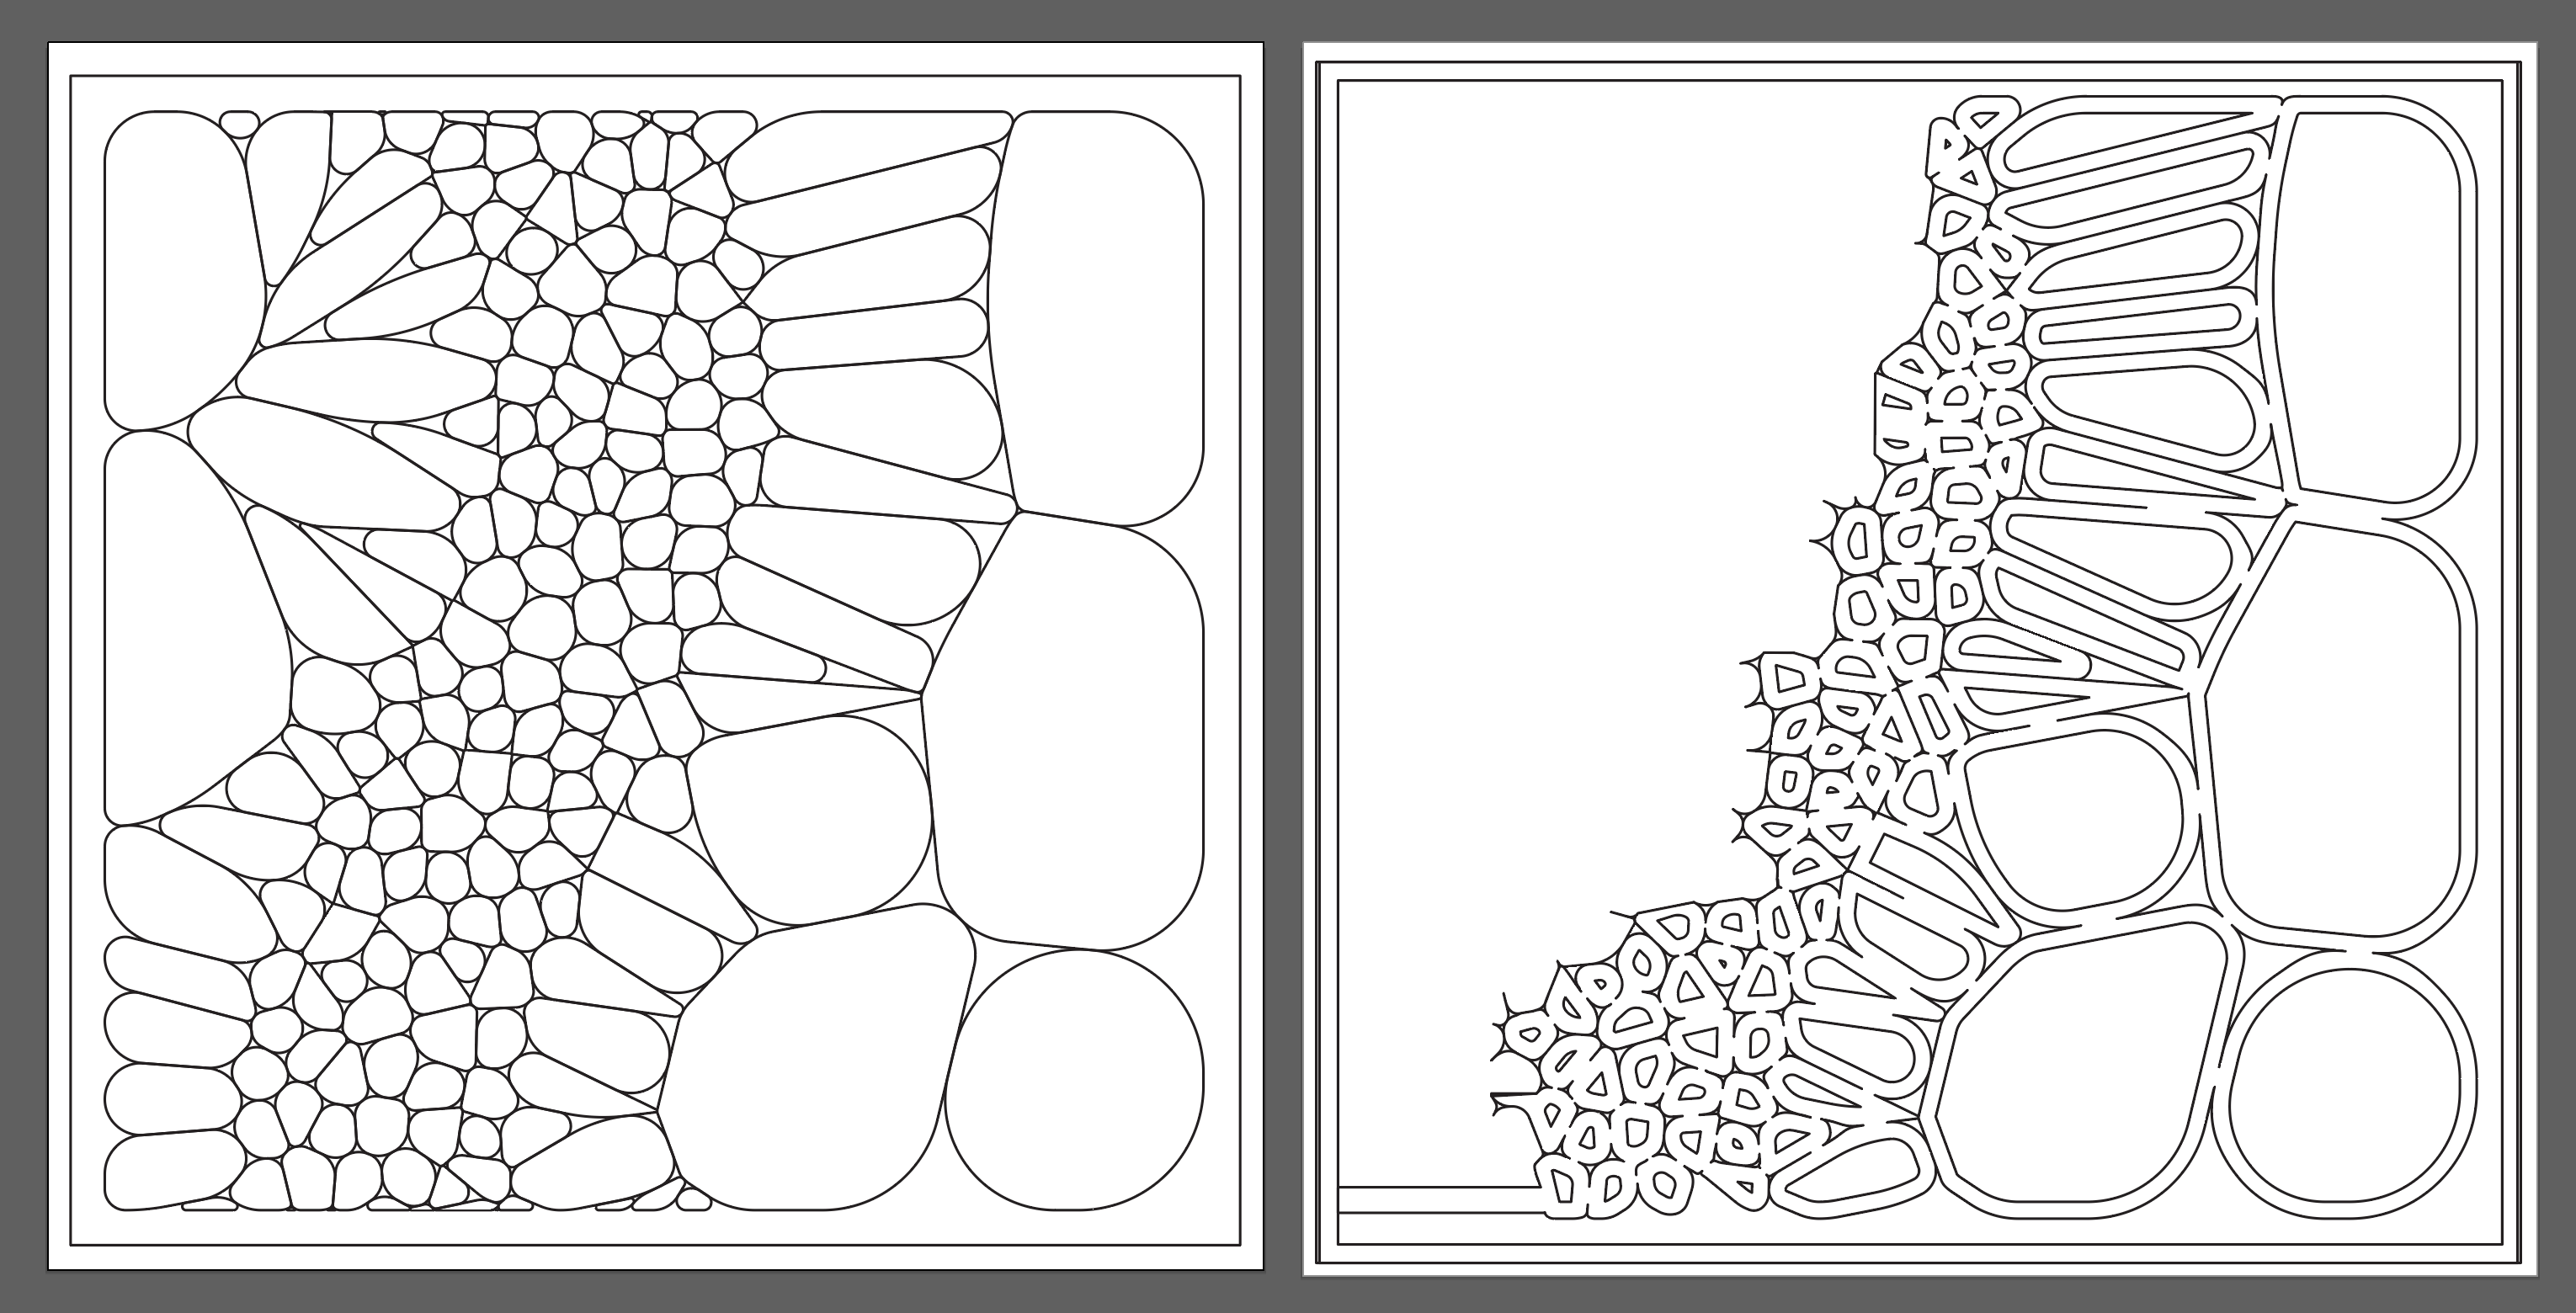
To test out pumping fluid into a mold, I used the pebble design from Week7: Computational Couture. I exported it and brought it into illustrator where I began joining the spaces to create channels for the fluid to pass through.To do so, I offset all the curves inwards and then began joining all the overlaying edges.
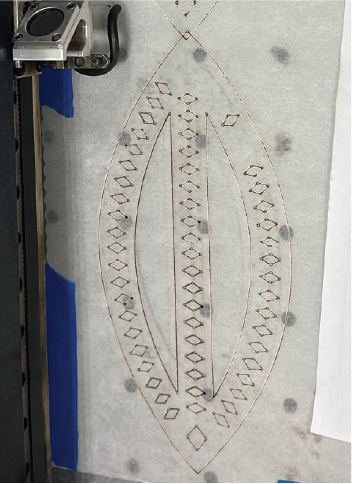
I lasercut the channel, frame, and base from 3mm and 5mm acrylic. Then glued them together with spray-mount glue in preparation for silicone pouring as it was the fastest available glue. Make sure to keep a path from the channel to the edge of the frame.
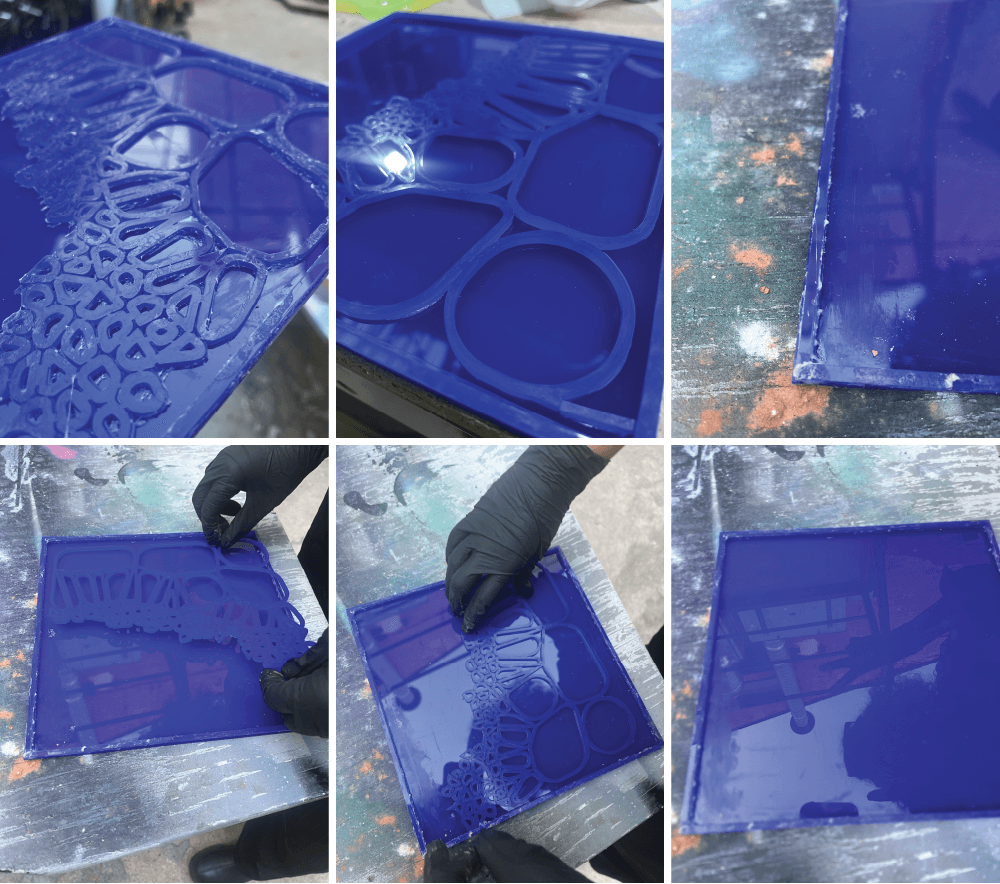
| Using Dragon Skin, I mixed equal parts A & B and poured into the mold. | |
| Working Time | 20 minutes |
| Curing Time | 5 hours |
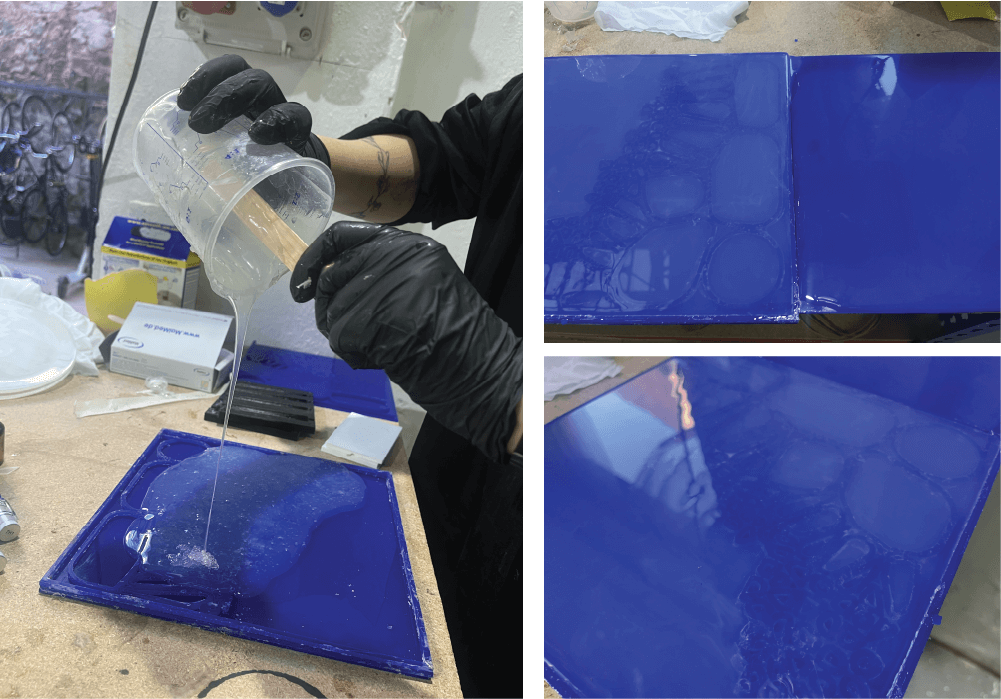
The table I placed it on was not flat and so there are parts that are much thicker than the other parts.
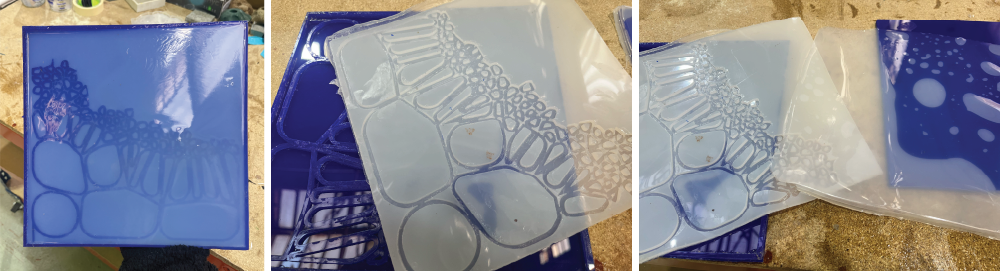
To close the mold, I poured another square the size of the inner frame and let it sit for an hour before placing the model above on it. That way it will glue only the top parts and does not get into the channel as it is a little more viscous.

Unfortunately, when it cured and I pulled it out I realized that some of the channels got blocked. I believe I needed to pour a much thinner layer so it does not get into the channels.
Regardless, I wanted to see if I could see how it would have looked like so I found a section that was fully opened, poked a hole into it, and injected into it a mixture of water with mica powder.

Air // Silicone
Bubble Casting Soft Robotics
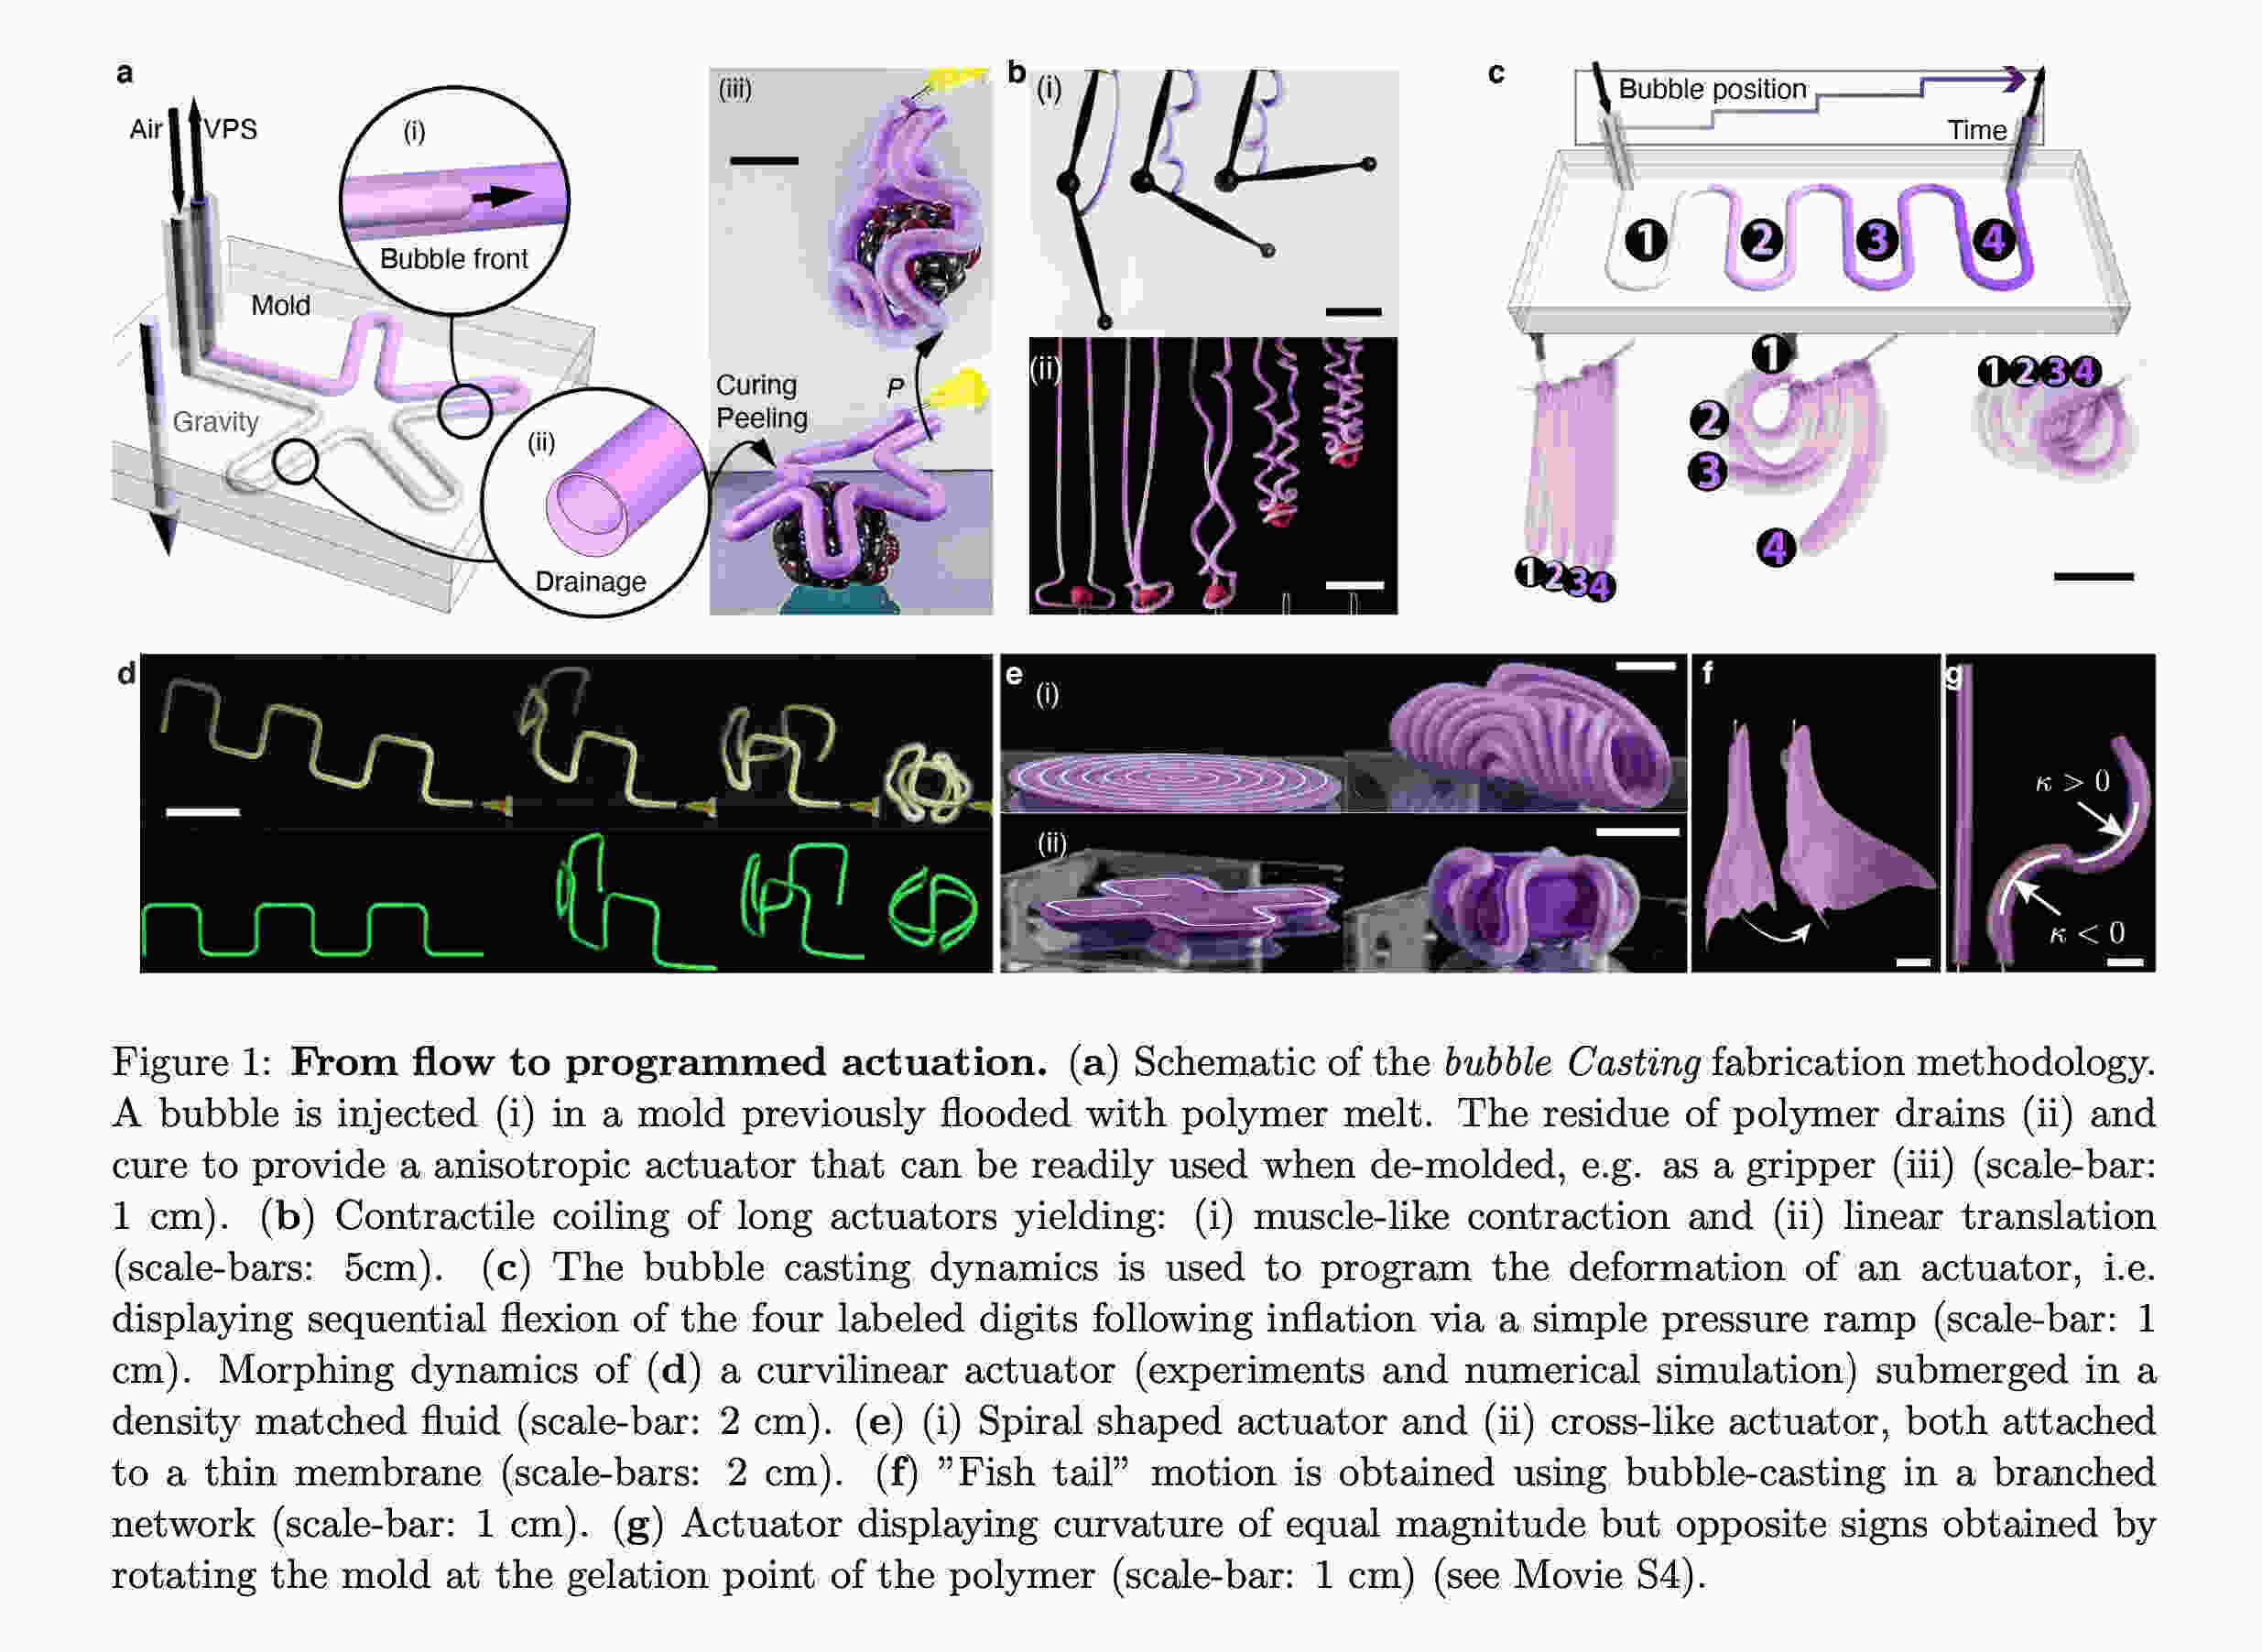
While researching more about inflatables in general, I came across this paper on Bubble Casting Soft Robotics by researchers in Princeton University. Video found here.
"The kinematics of such robots encoded in the actuator flesh, i.e shape or material, such that a change of internal pressure is mechanically converted into a specific motion." This point is part of the reason I'm interested in inflatables. By changing some small points you can change the whole motion once assembled. In this paper, 'bubble casting' was introduced as a new technique using fluid mechanics.
Material: elastomers (elastic polymers). rubbery material composed of long chainlike molecules, or polymers, that are capable of recovering their original shape after being stretched to great extents.
Technique:
- Fill a tubular mold by injecting uncured elsatomer melt.
- While the melt is still liquid, inject air to form an elongated bubble that creates the inner void of the actuator.
- Gravity then sculpts the actuator by draining the polymer film and allowing the bubble to rise.
- Eventually, as the melt solidifies this shape is frozen and the actuator can be readily used when de-molded.
Experimenting
I began by 3D printing two 2-part molds to test out different ways to achieve this technique of bubble casting. I tested placing an air tube into the mold and also tested injecting air into the mold at different timings to see the outcome.
Material: I used the Dragon Skin 10 Medium that we had available in the Lab.
Techniques:
- Technique 1: I 3d printed a 2-part mold of different size cylinders with openings on both ends. I poured silicone into it and placed an air tube then closed the two parts.
- Technique 2: I poured the silicone melt into a closed 2 part mold. Placed it flat on one side and then inject air into one end using the air compressor. I tried to be as steady with the air stream as possible.
- Technique 3: Same as technique 2 but with varying timings before injecting the air.
- Technique 4: Pouring one side of the mold only to have a final concaved shape and once cured sticking it to a different flat surface.

Modeling and Slicing files
Air Tubes
Using 2mm PTFE Tubes below:
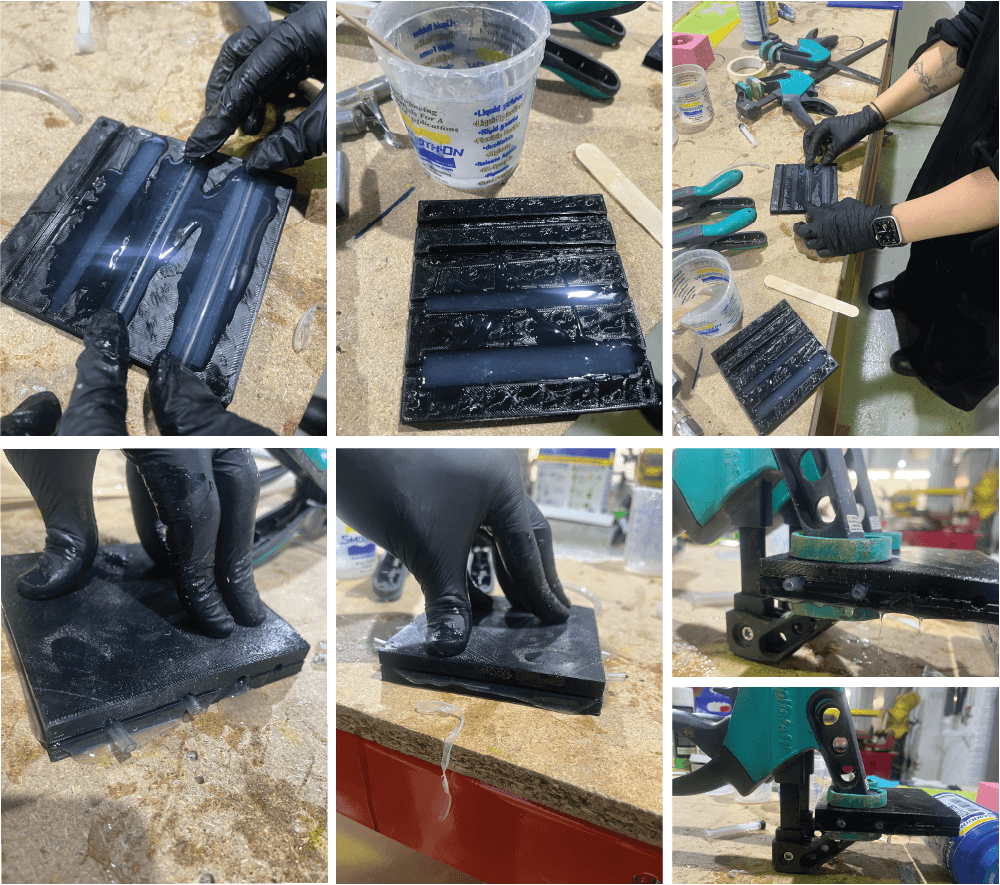
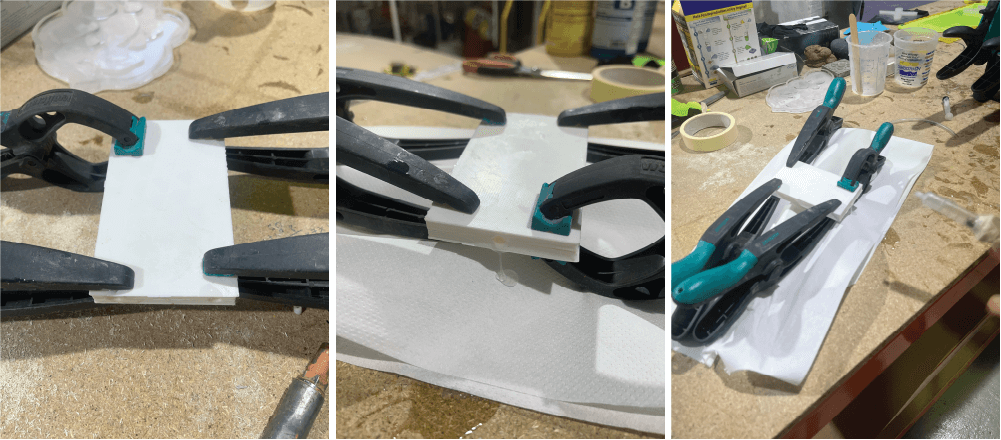
In part a of the mold, I poured silicone fully and then placed the tube inside. In the other side I poured out silicone 3/4 of the mold size and then closed the two parts. I then clamped them and layed it out flat to one side. In the research, the air floats up a little which is why the motion of the actuator happens. In this case, even though I'm using a fixed tube to create the air channel, I still wanted to try and see if gravity would play a role.

By pulling the parts the silicone sometimes rips, especially if an air bubble has formed. For future reference, it would be best to 3D print at a fine level to have less visible layers as I have noticed the silicone gets stuck on it.
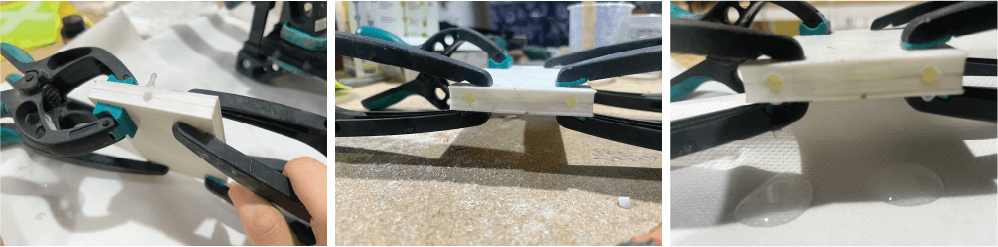
The thickest diameter, found on the left of the mold above, was the most successful. Even though by judging it based on texture, it felt like it would be too thick to inflate. However, when inflating, this thickness created the most expansion. This model expanding around 3 times its size before exploding due to silicone pouring human errors.

In this diameter, the bubbles played a big role. When pouring, there seemed to be some air bubbles and when I tried to pump air into it, the air bubbles leaked. Next step would be to patch the air bubbles. Maybe I could just dip the tube into the silicone and leave it out to dry.
Air Injection
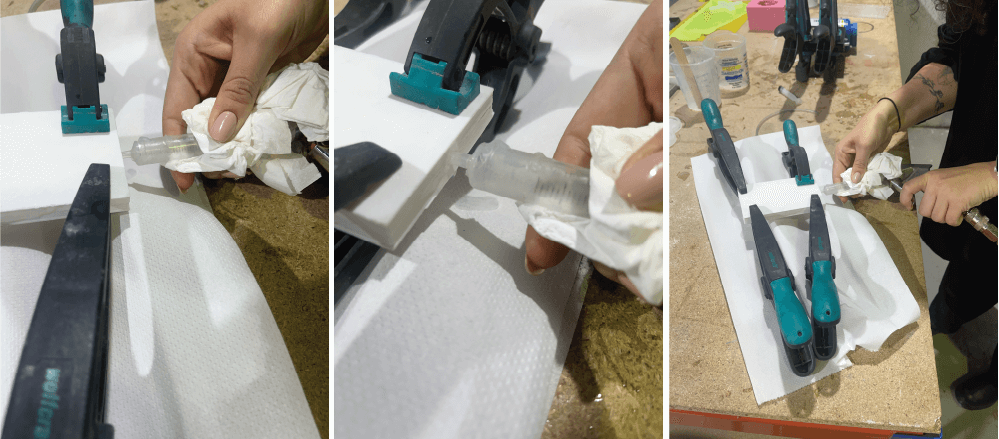
I injected a steady stream of air into one side to see how it would split into two the two channels and if it would allow for the shell around it to be formed.
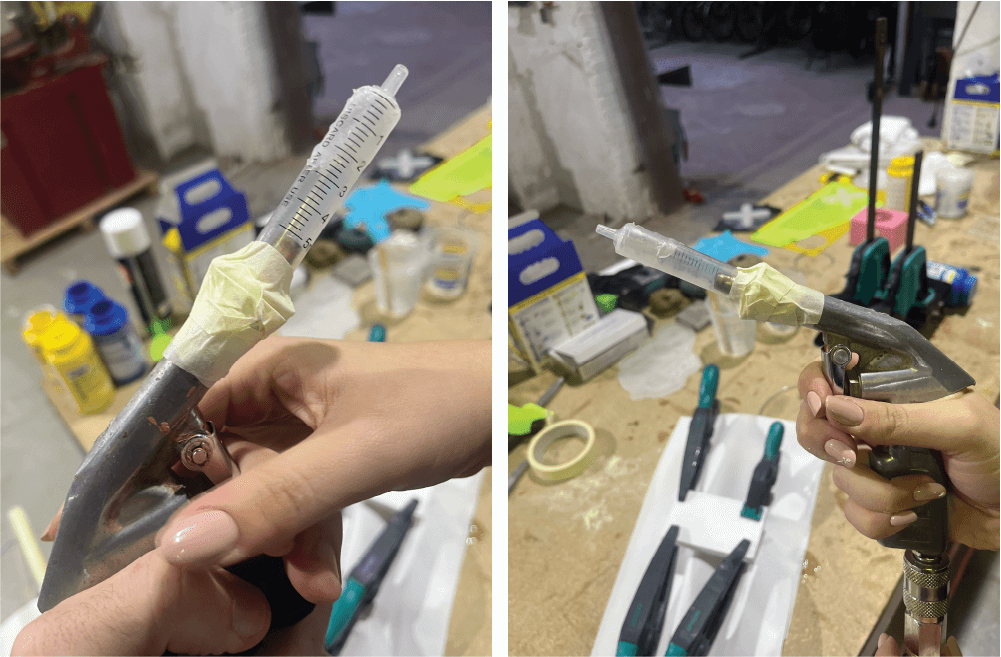
The DIY air injector with the compressor. I taped a mini syringe to the compressor head.
I made sure to lay the molds flat until they fully cured before changing it position. When air is injected into the one side, the other end leaks out silicone that is being drained with the air.


Once it fully cured, I began to open the molds and unfortunately they ripped. The top layer of the mold, when it was curing, was extremely thin due to the air channel and gravity causing it to detach from the bottom layer when pulled. However, I believe this was an almost successful experiment as we can see that it created a correct air path, it didnt create any unwated air bubbles, and we see the effect of gravity. I would try two different factors to test this technique further. Firstly, I would print a new mold in the finest settings. Secondly, I would wait an hour before pumping the air through it to control how thin the top layer is.
I tested the first mold with the air injection technique changing the time factor. I poured the silicone into the mold and then closed it and clamped it. In one hour I injected air into one, in an hour and a half into the second, and then in two hours into the third. Each time I injected the air into it for 20-30 seconds consistently.

When I pumped the air in with the compressor, it looks like the air bubble went through but then it got filled in again.

With this thickness, it looks like it the air path went through well and consistently but then when I opened it it ripped again.
By the two hour mark, I believe it had already cured enough that it did not allow the air through.
At the end of this week, I do not have a 'finished final' outcome. I placed my focus more on experimenting with the silicone and air bubbles and understanding the technique with what we had in the lab.
-
File: ↩