3. Circular Open Source Fashion
Topics // Inspiration
There are two trains of thought throughout this assignment that I wanted to explore. The first was using a square piece and having one continuous pattern and the other was deconstructing symbols from the Arab bedouin Sadu patterns and tesselating them or creating segments from them.
The projects I was most interested in are:
 |
 |
 |
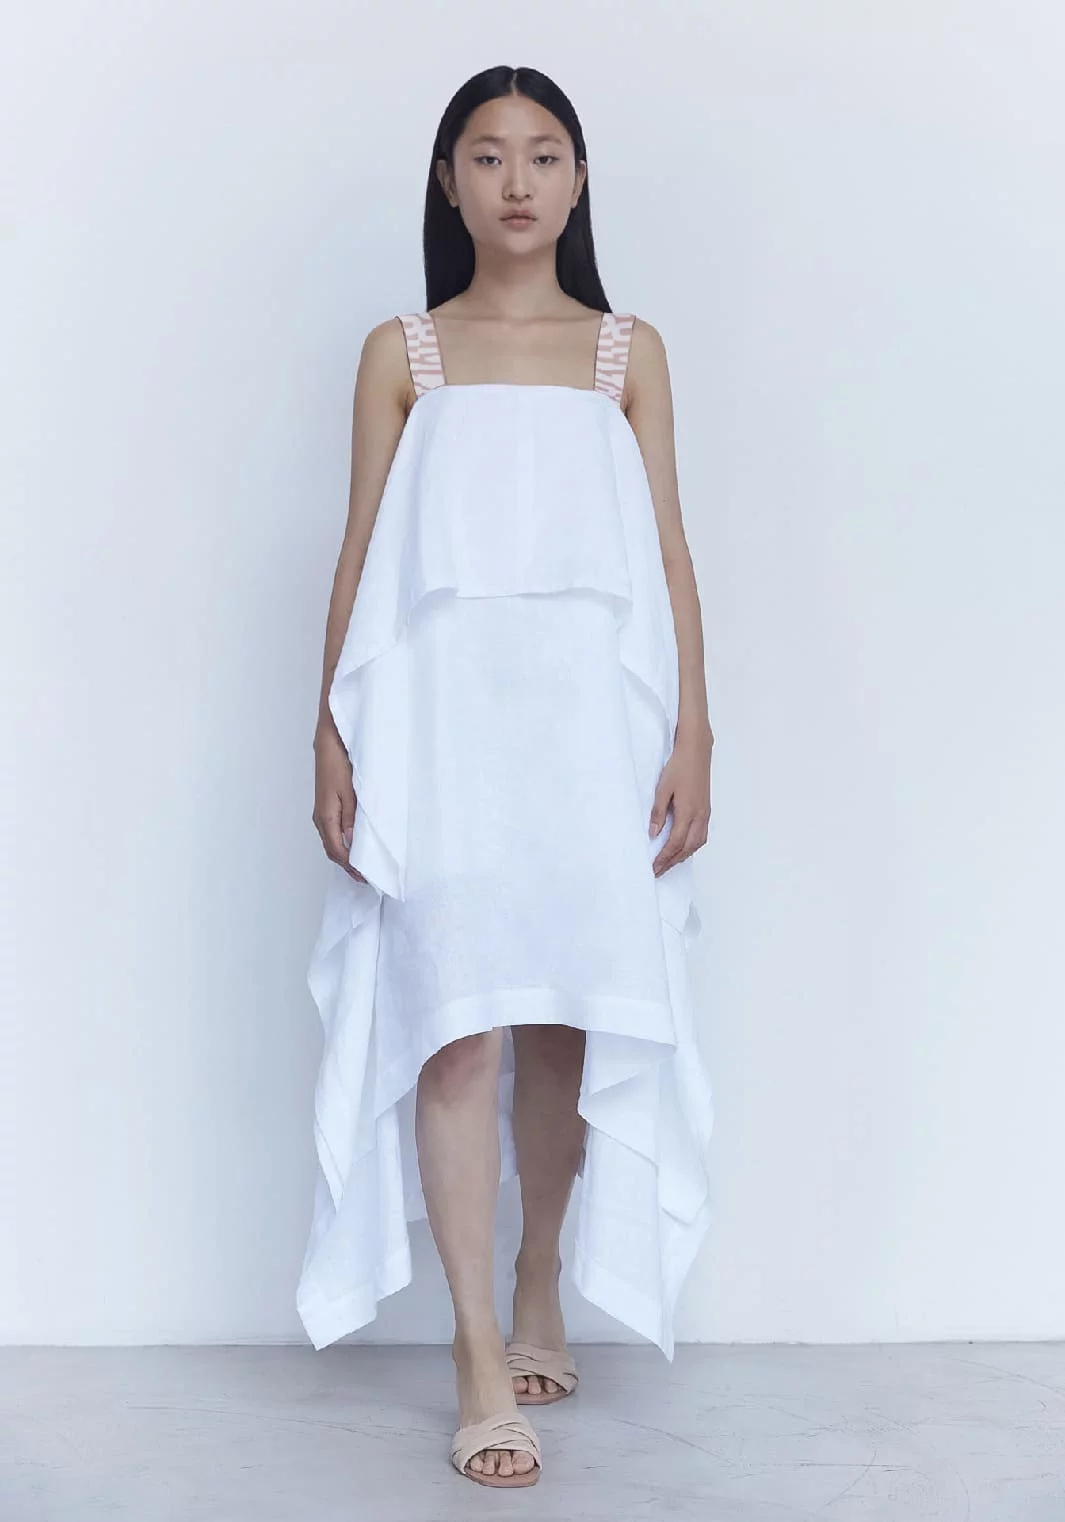
| Kerfing Dress | Mini Beams | Ea Floria |
| What I found interesting in this design is that it only utilizes single cuts. | The simplicity in this design inspired my ideation for the Sadu patterns. I also found it quite interesting how the same shape can be used in many different orientations to give different results. | I found it genius how the thin strip is cut and can hold the shapes |
 |
 |
|
| Mica Clubourg | Subliprinting by Brigitte | |
| Mica showed us how she utilizes the full roll of fabric to make patterns with zero waste. | 3D printing is one of my interests and skills but have never tried Sublime printing on flexible materisl! waiting on the sublimation prints to test 3d printing on it |
Ideation
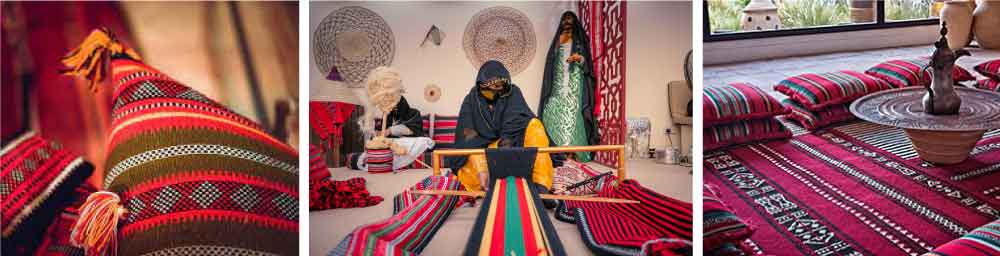
From the inspiration above, I began working on a number of options simultaneously. The main concept is the Sadu patterns from the Gulf region in the Middle East. "Traditional weaving of Al Sadu refers to the traditional woven textile made by Bedouin women: in Arabic, ‘Al Sadu’ means weaving done in a horizontal style. The weaving is a form of warp-faced plain weave made on a ground loom. The cloth forms a tightly woven, durable textile and the weavers make use of natural fibres found in their natural environment. The patterns found in Bedouin weaving reflect the desert environment in its simple, pure form, featuring geometric designs combined to flow in rhythmic repetition and symmetry. Weavers also use bright colours such as reds and oranges to liven up the surroundings."(UNESCO, Traditional Weaving, Al Sadu)
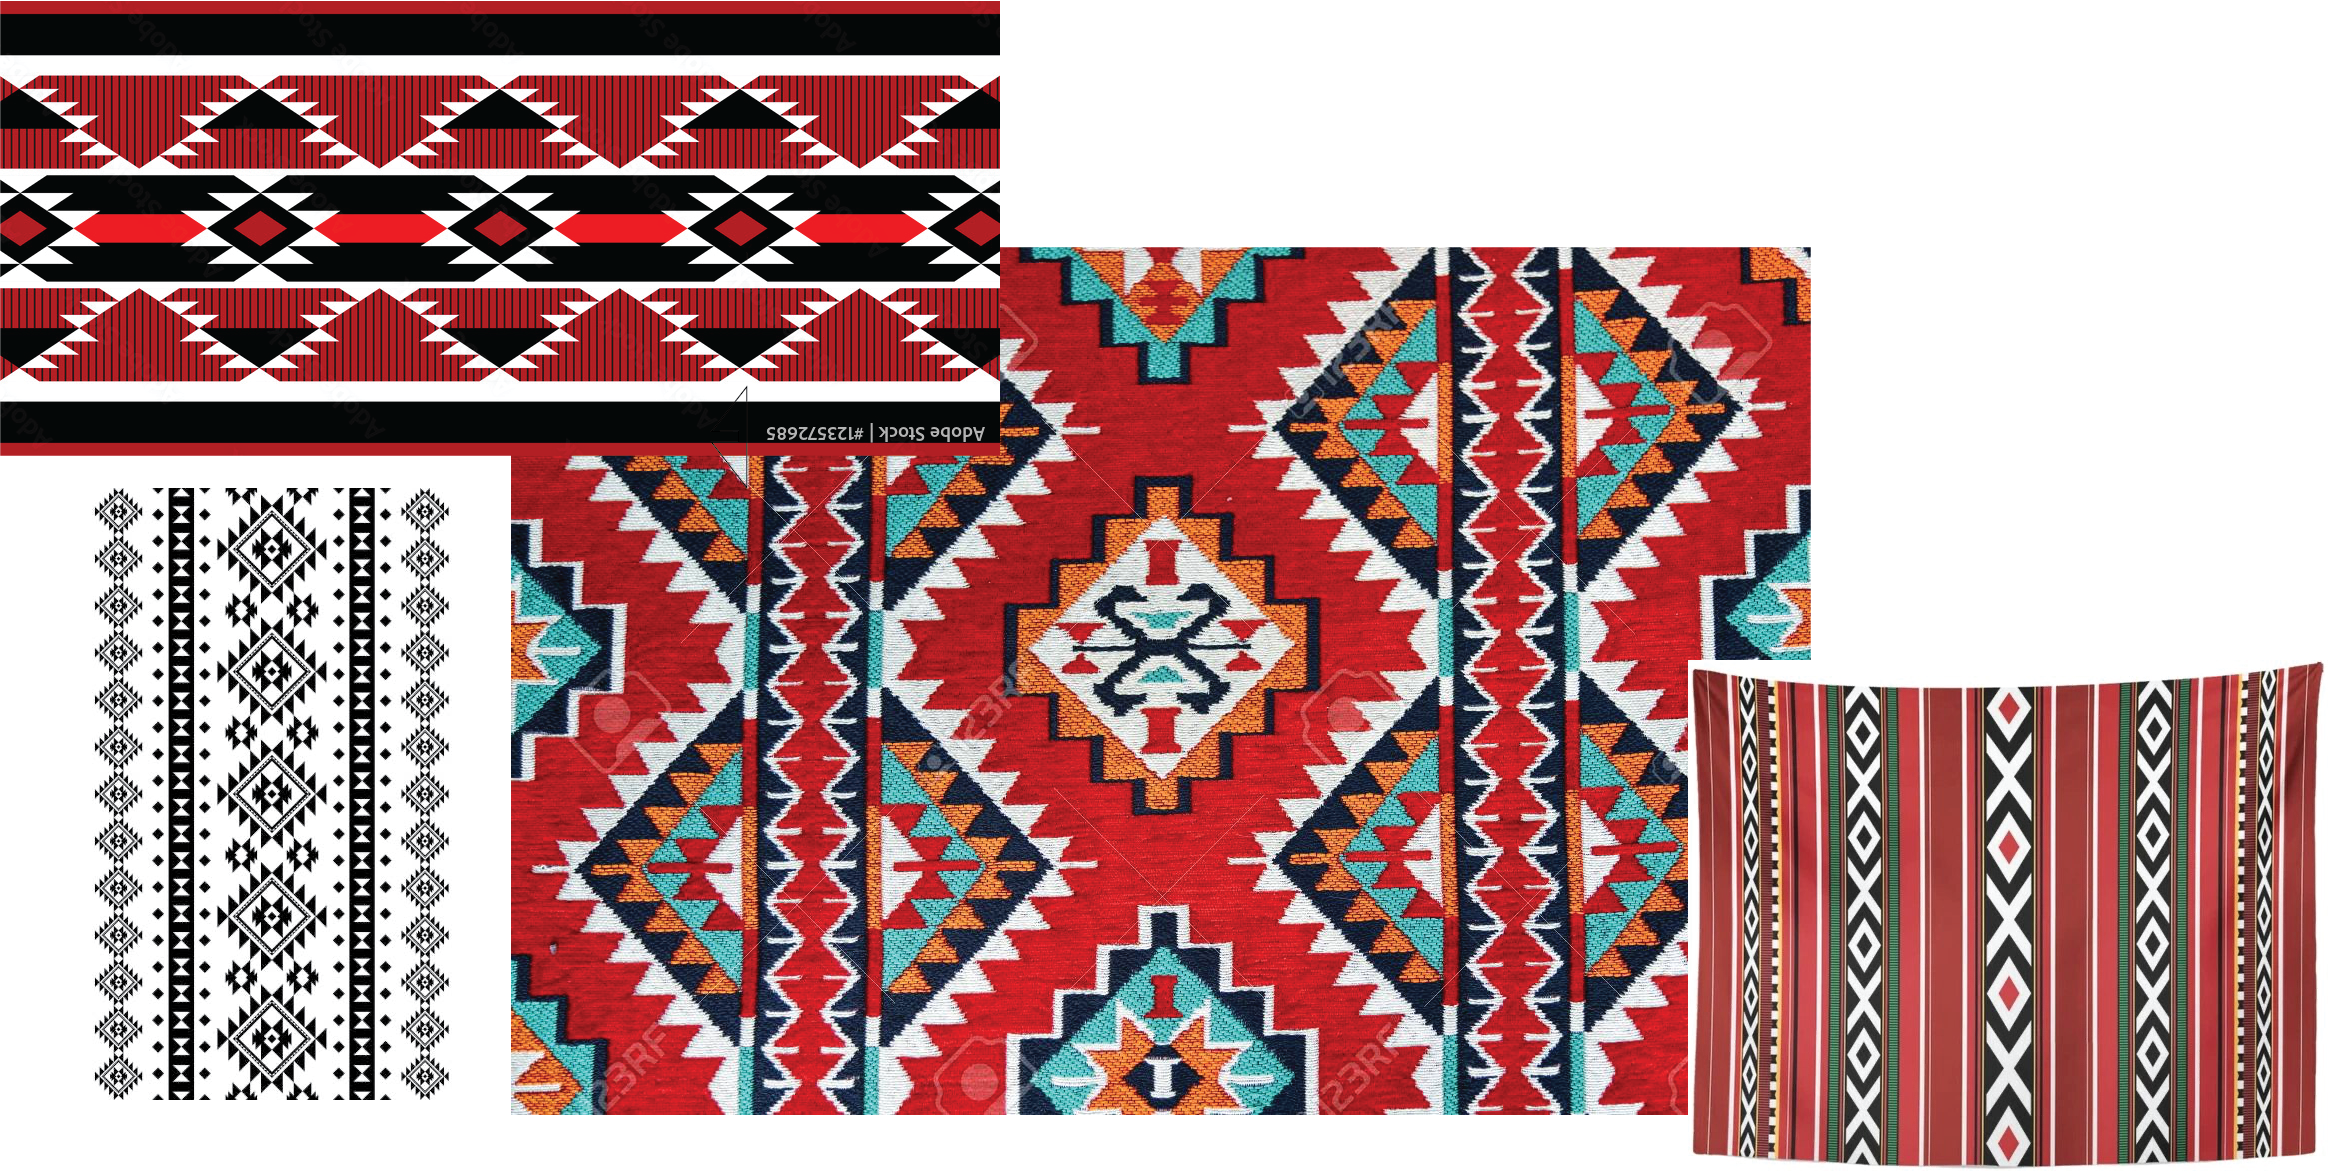
Extrapolating from the patterns and isolating the different elements in it, I was able to identify some shapes I wanted to explore further. The symbols were:

I selected these three shapes to begin prototyping with:
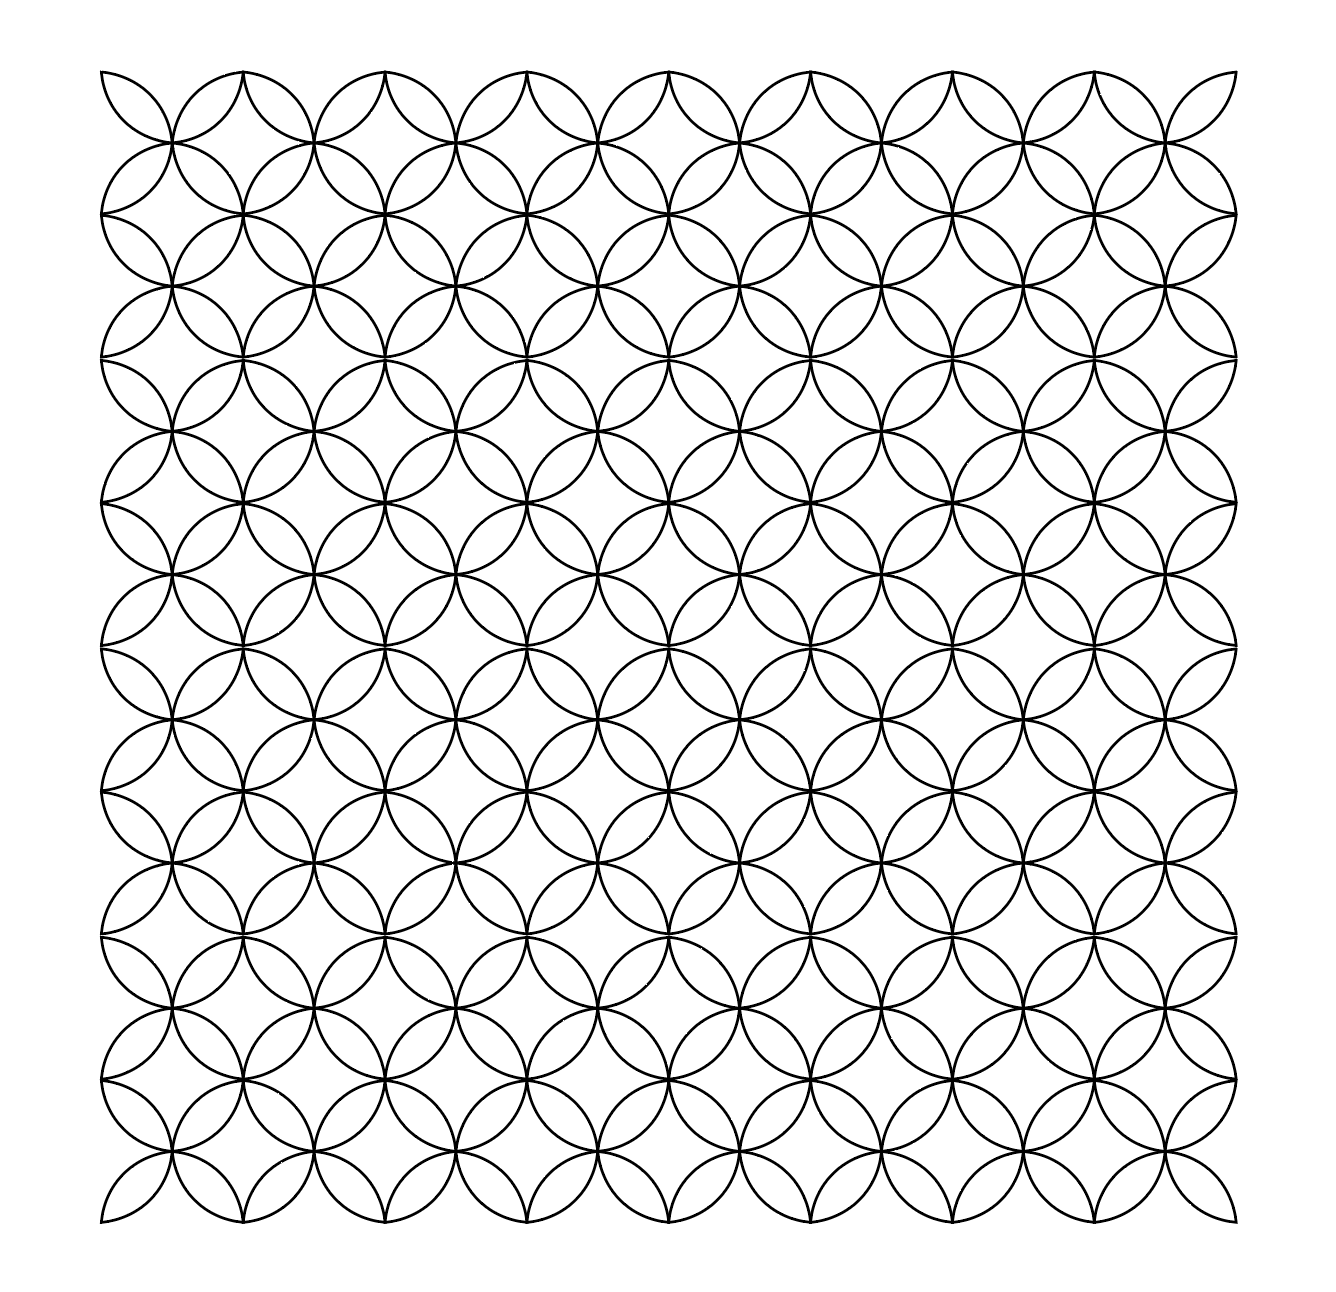
 decided to focus on the petals and triangles
All of the design below is made on Adobe Illustrator by creating the shapes and either subtracting them from one another or joining them to each other. Once I am satisfied with the shape, I then duplicate it to fit the material I selected. Then I export it to Rhino and edit the lines for lasercutting.
Petals
First Iteration

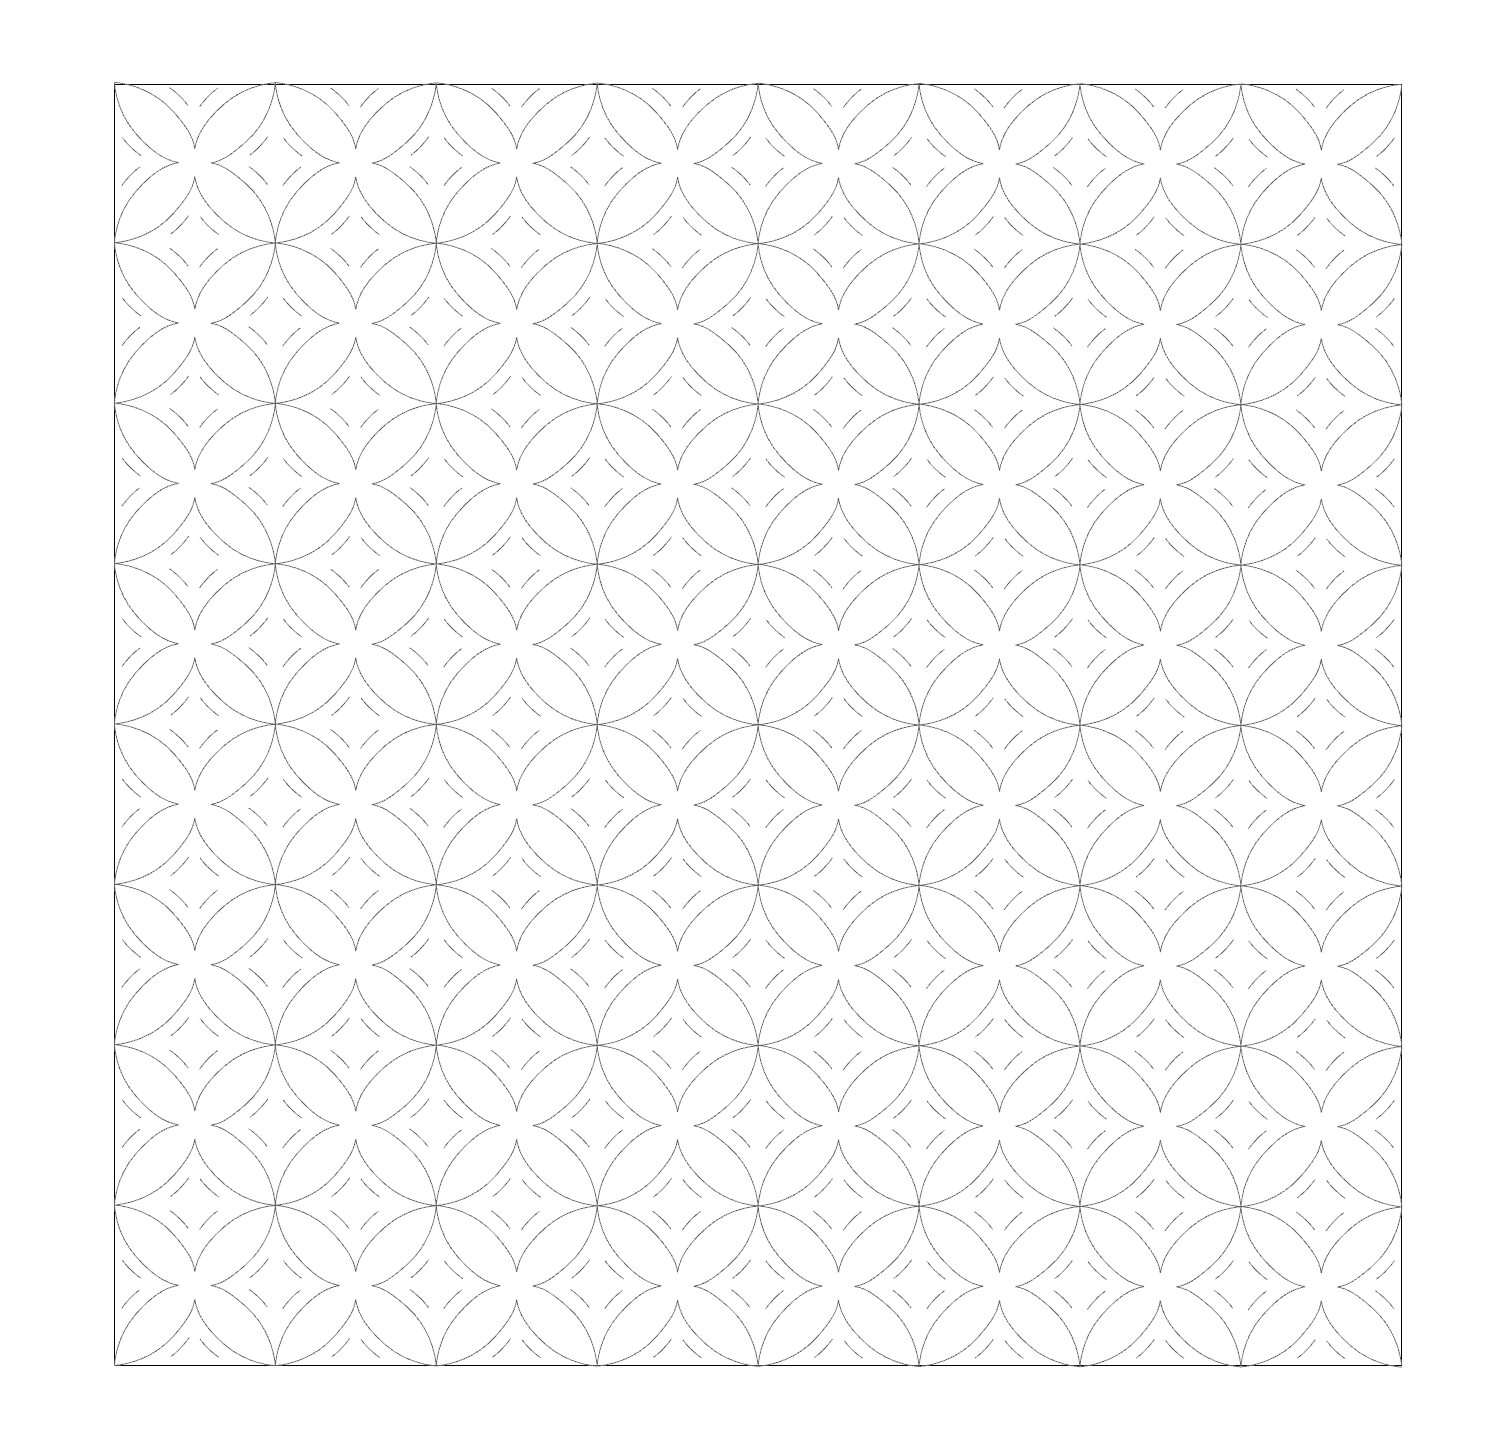
Because of its symmetry, this shape is quite simple to tesselate and to utilize the negative spaces as well. I used this shape to experiment with and understand how the fabrics will react as I do not have any experience with soft materials.
Lasercutting
Before lasercutting, its best to iron the fabric so that it is flat on the laser cutter bed.
In FabLab BCN, we are using a Trotec lasercutter.
The settings used for this material, 0.5mm thickness denim, are power: 25, speed: 2, ppi: 1000.
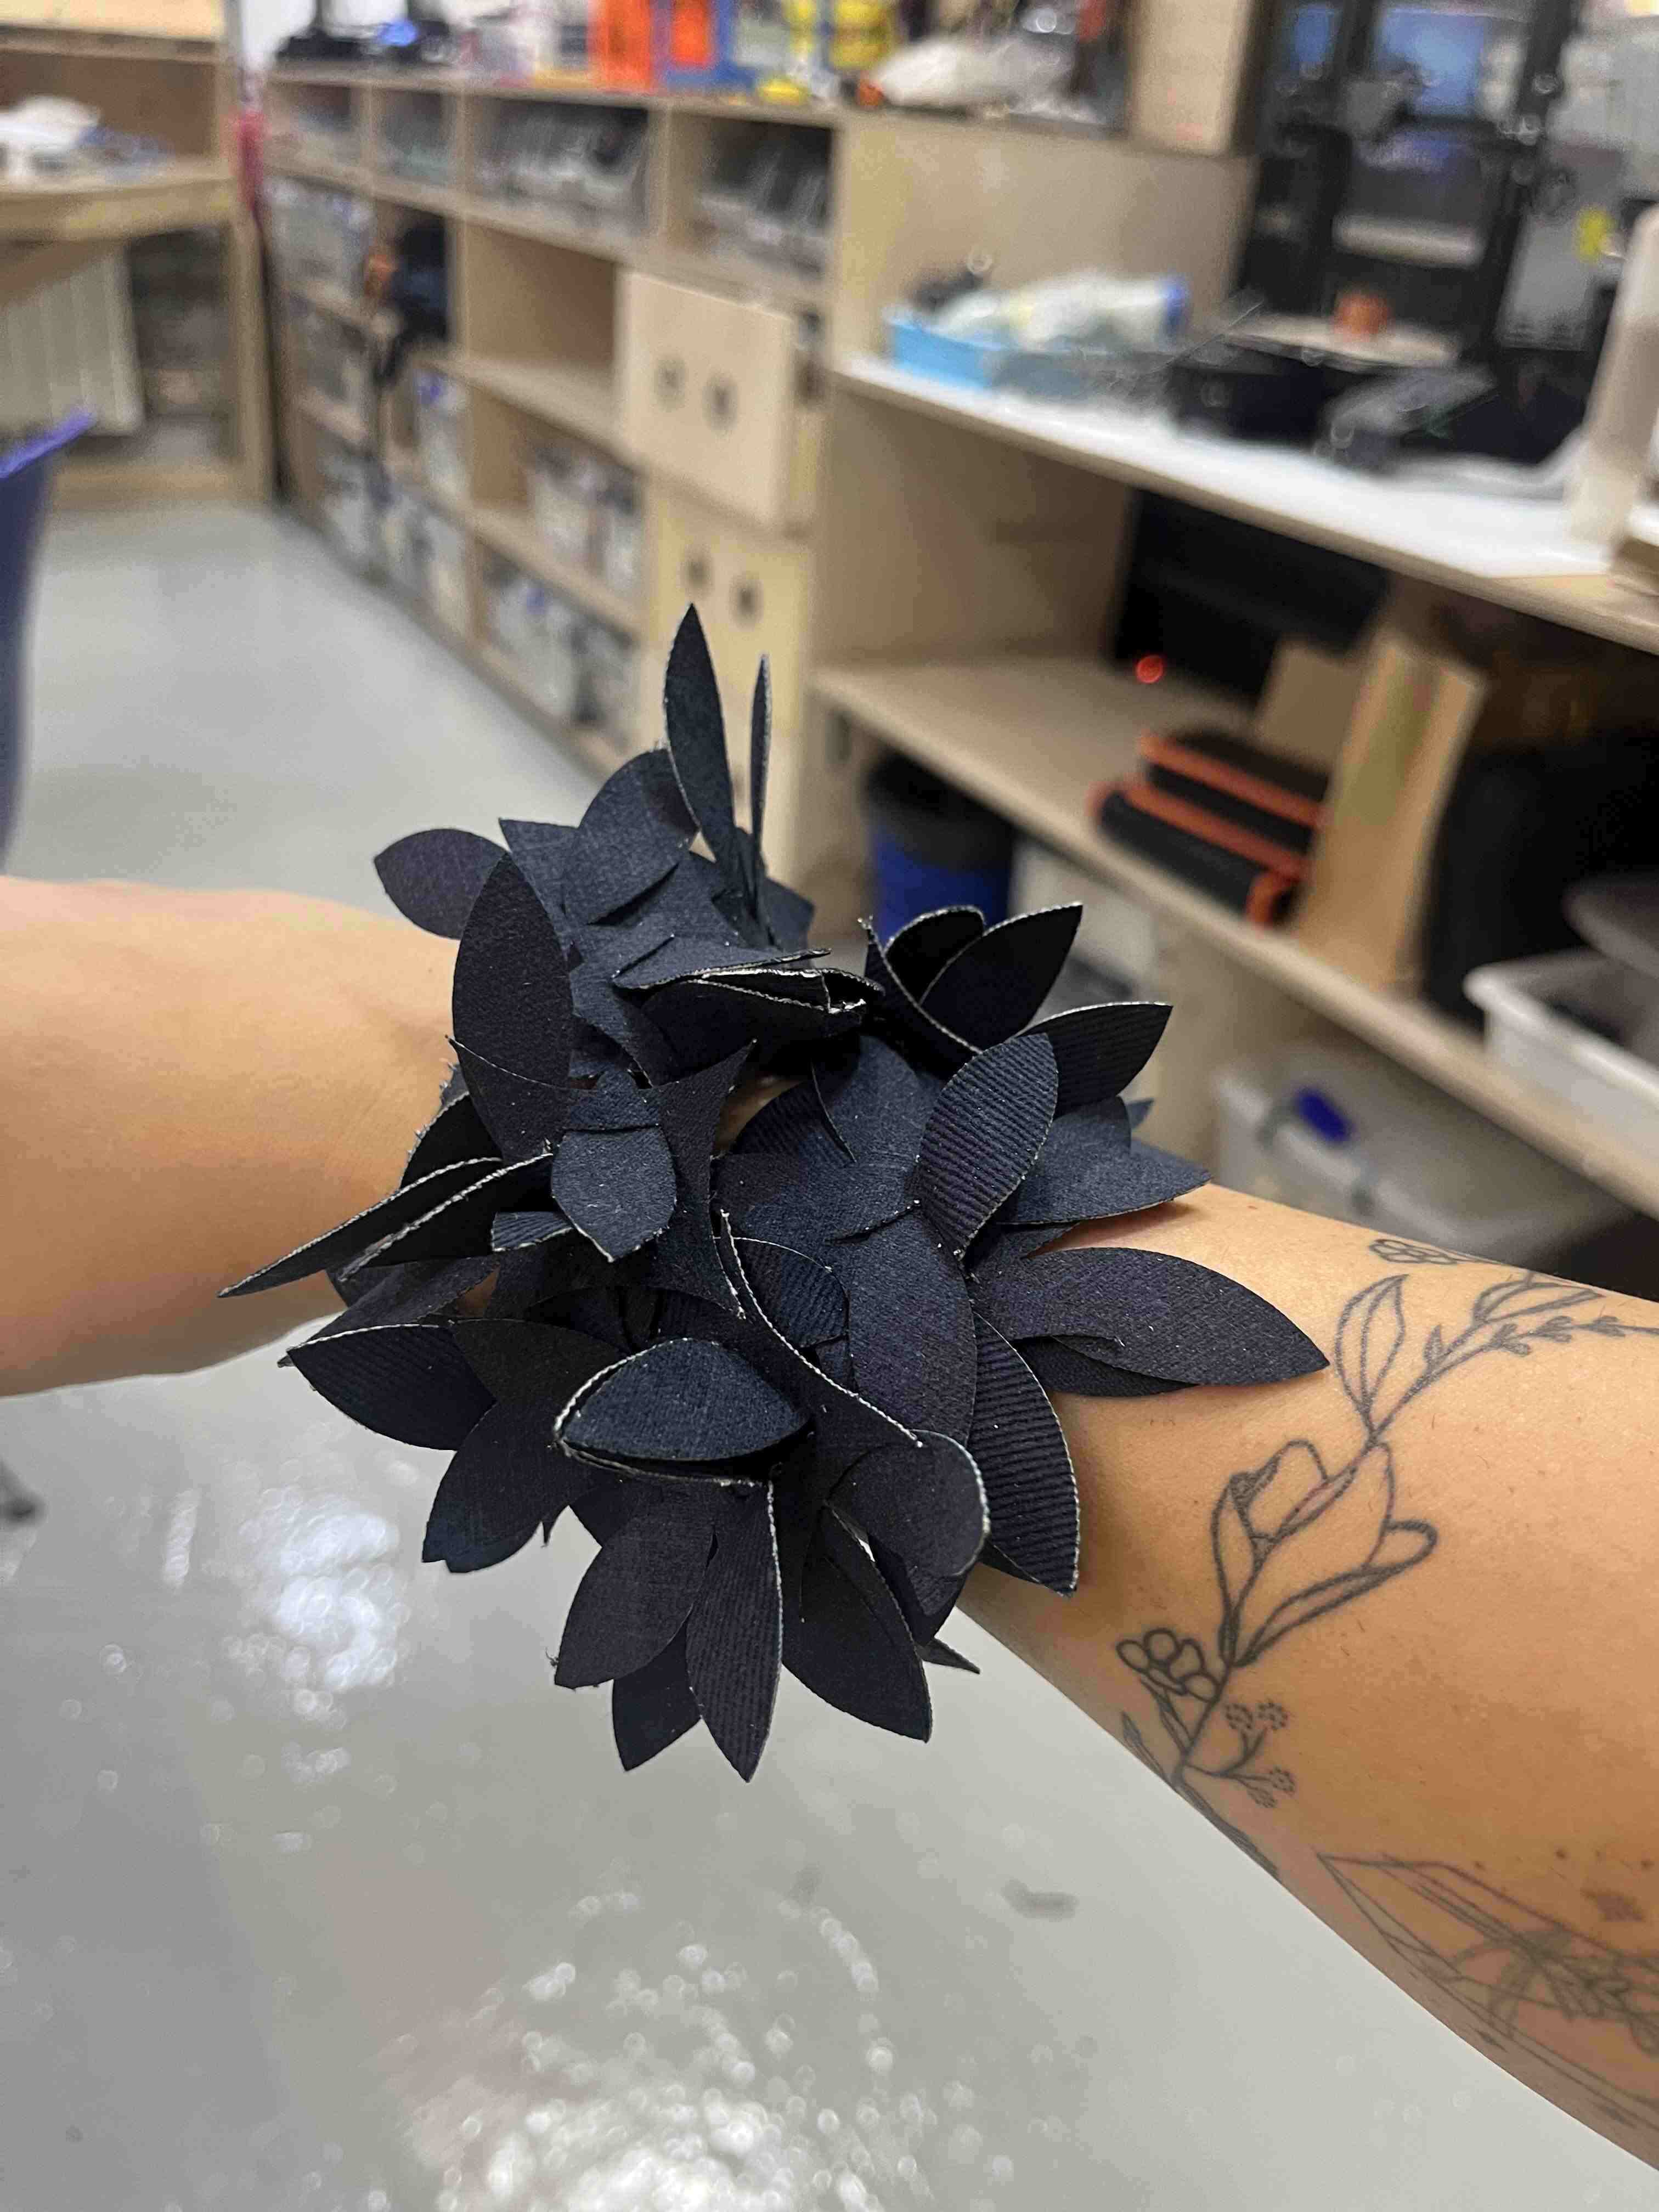
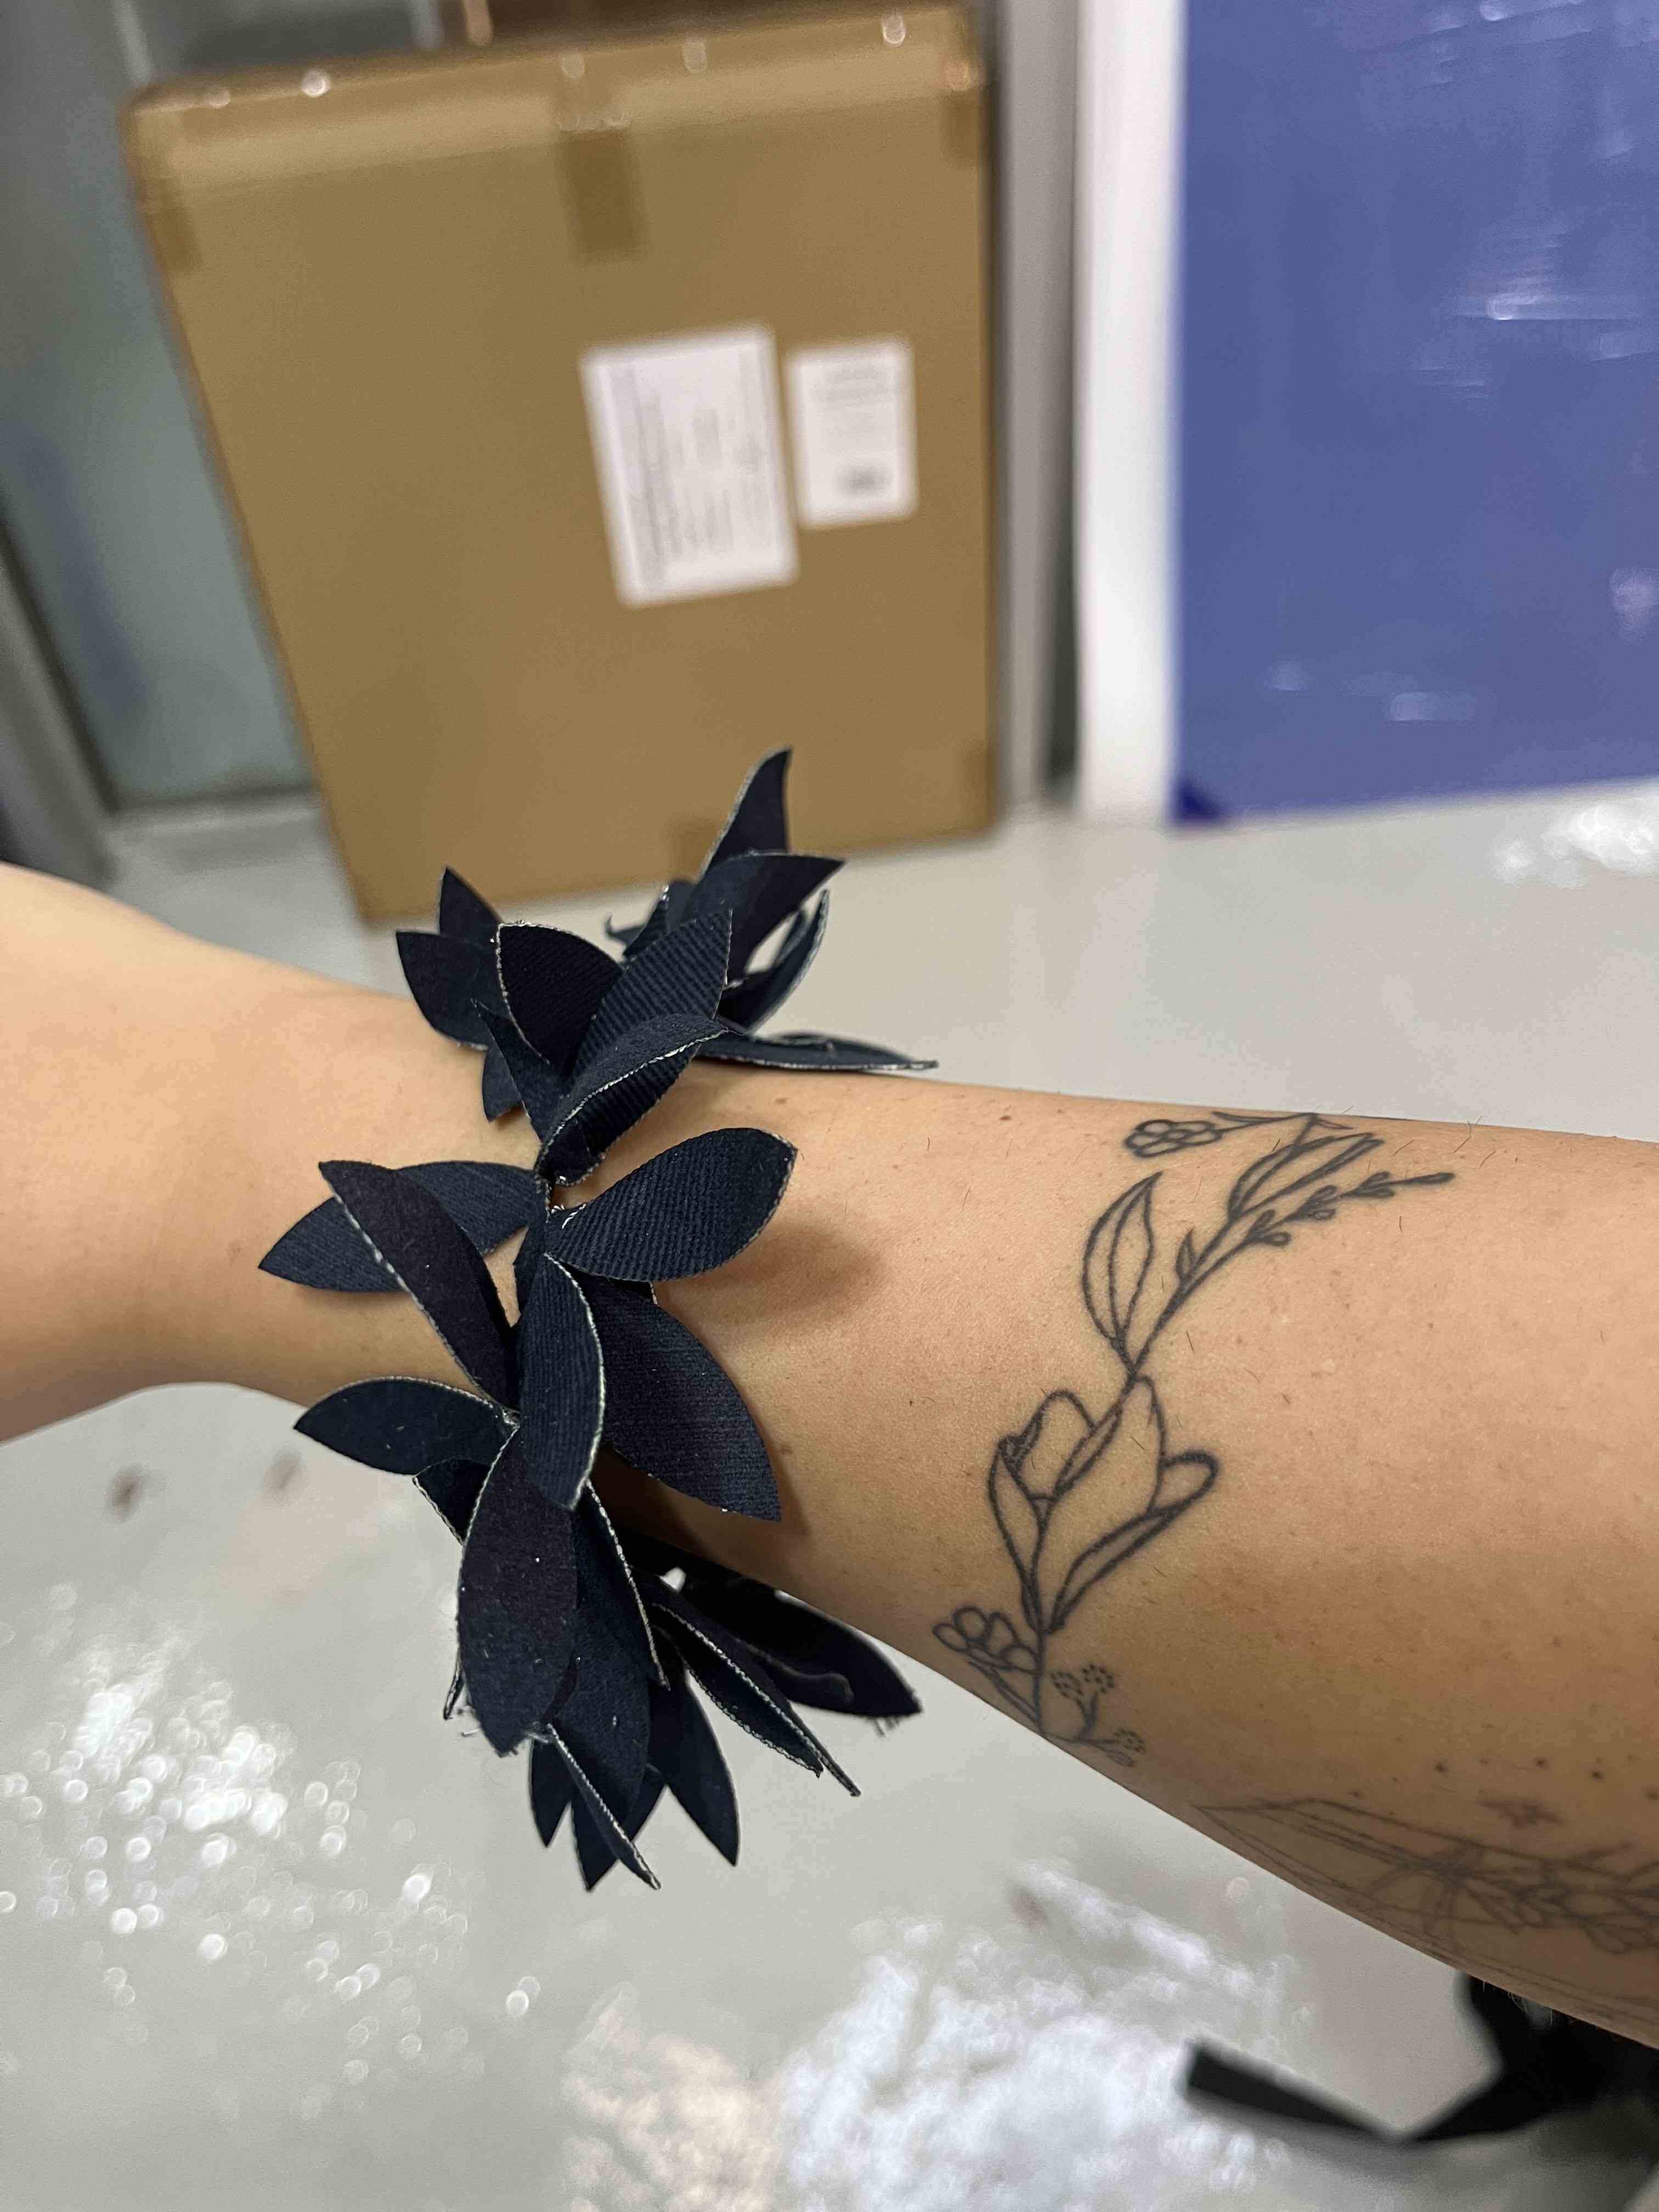
For this bracelet, I used 25 petals and alternated between connecting each 2 petals to one diamond or each 4 petals to one diamond. After testing it out, it was not very sturdy as the cut in the diamonds was a little larger and allowing the petals to come out when pulled.

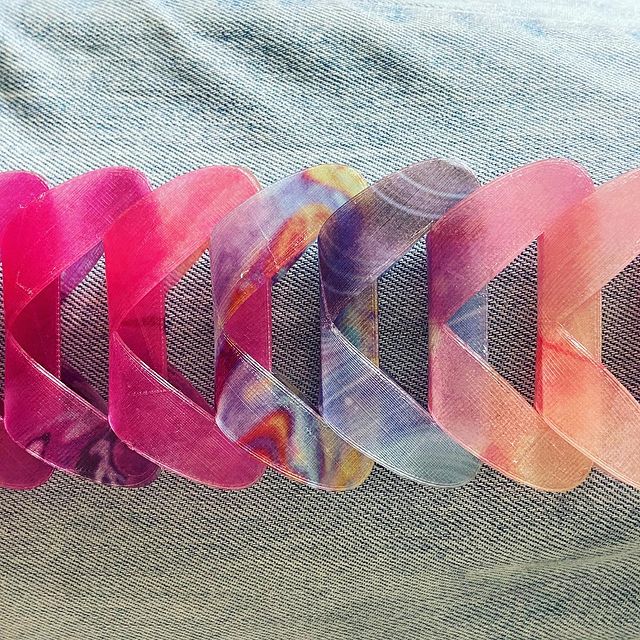
Second Iteration
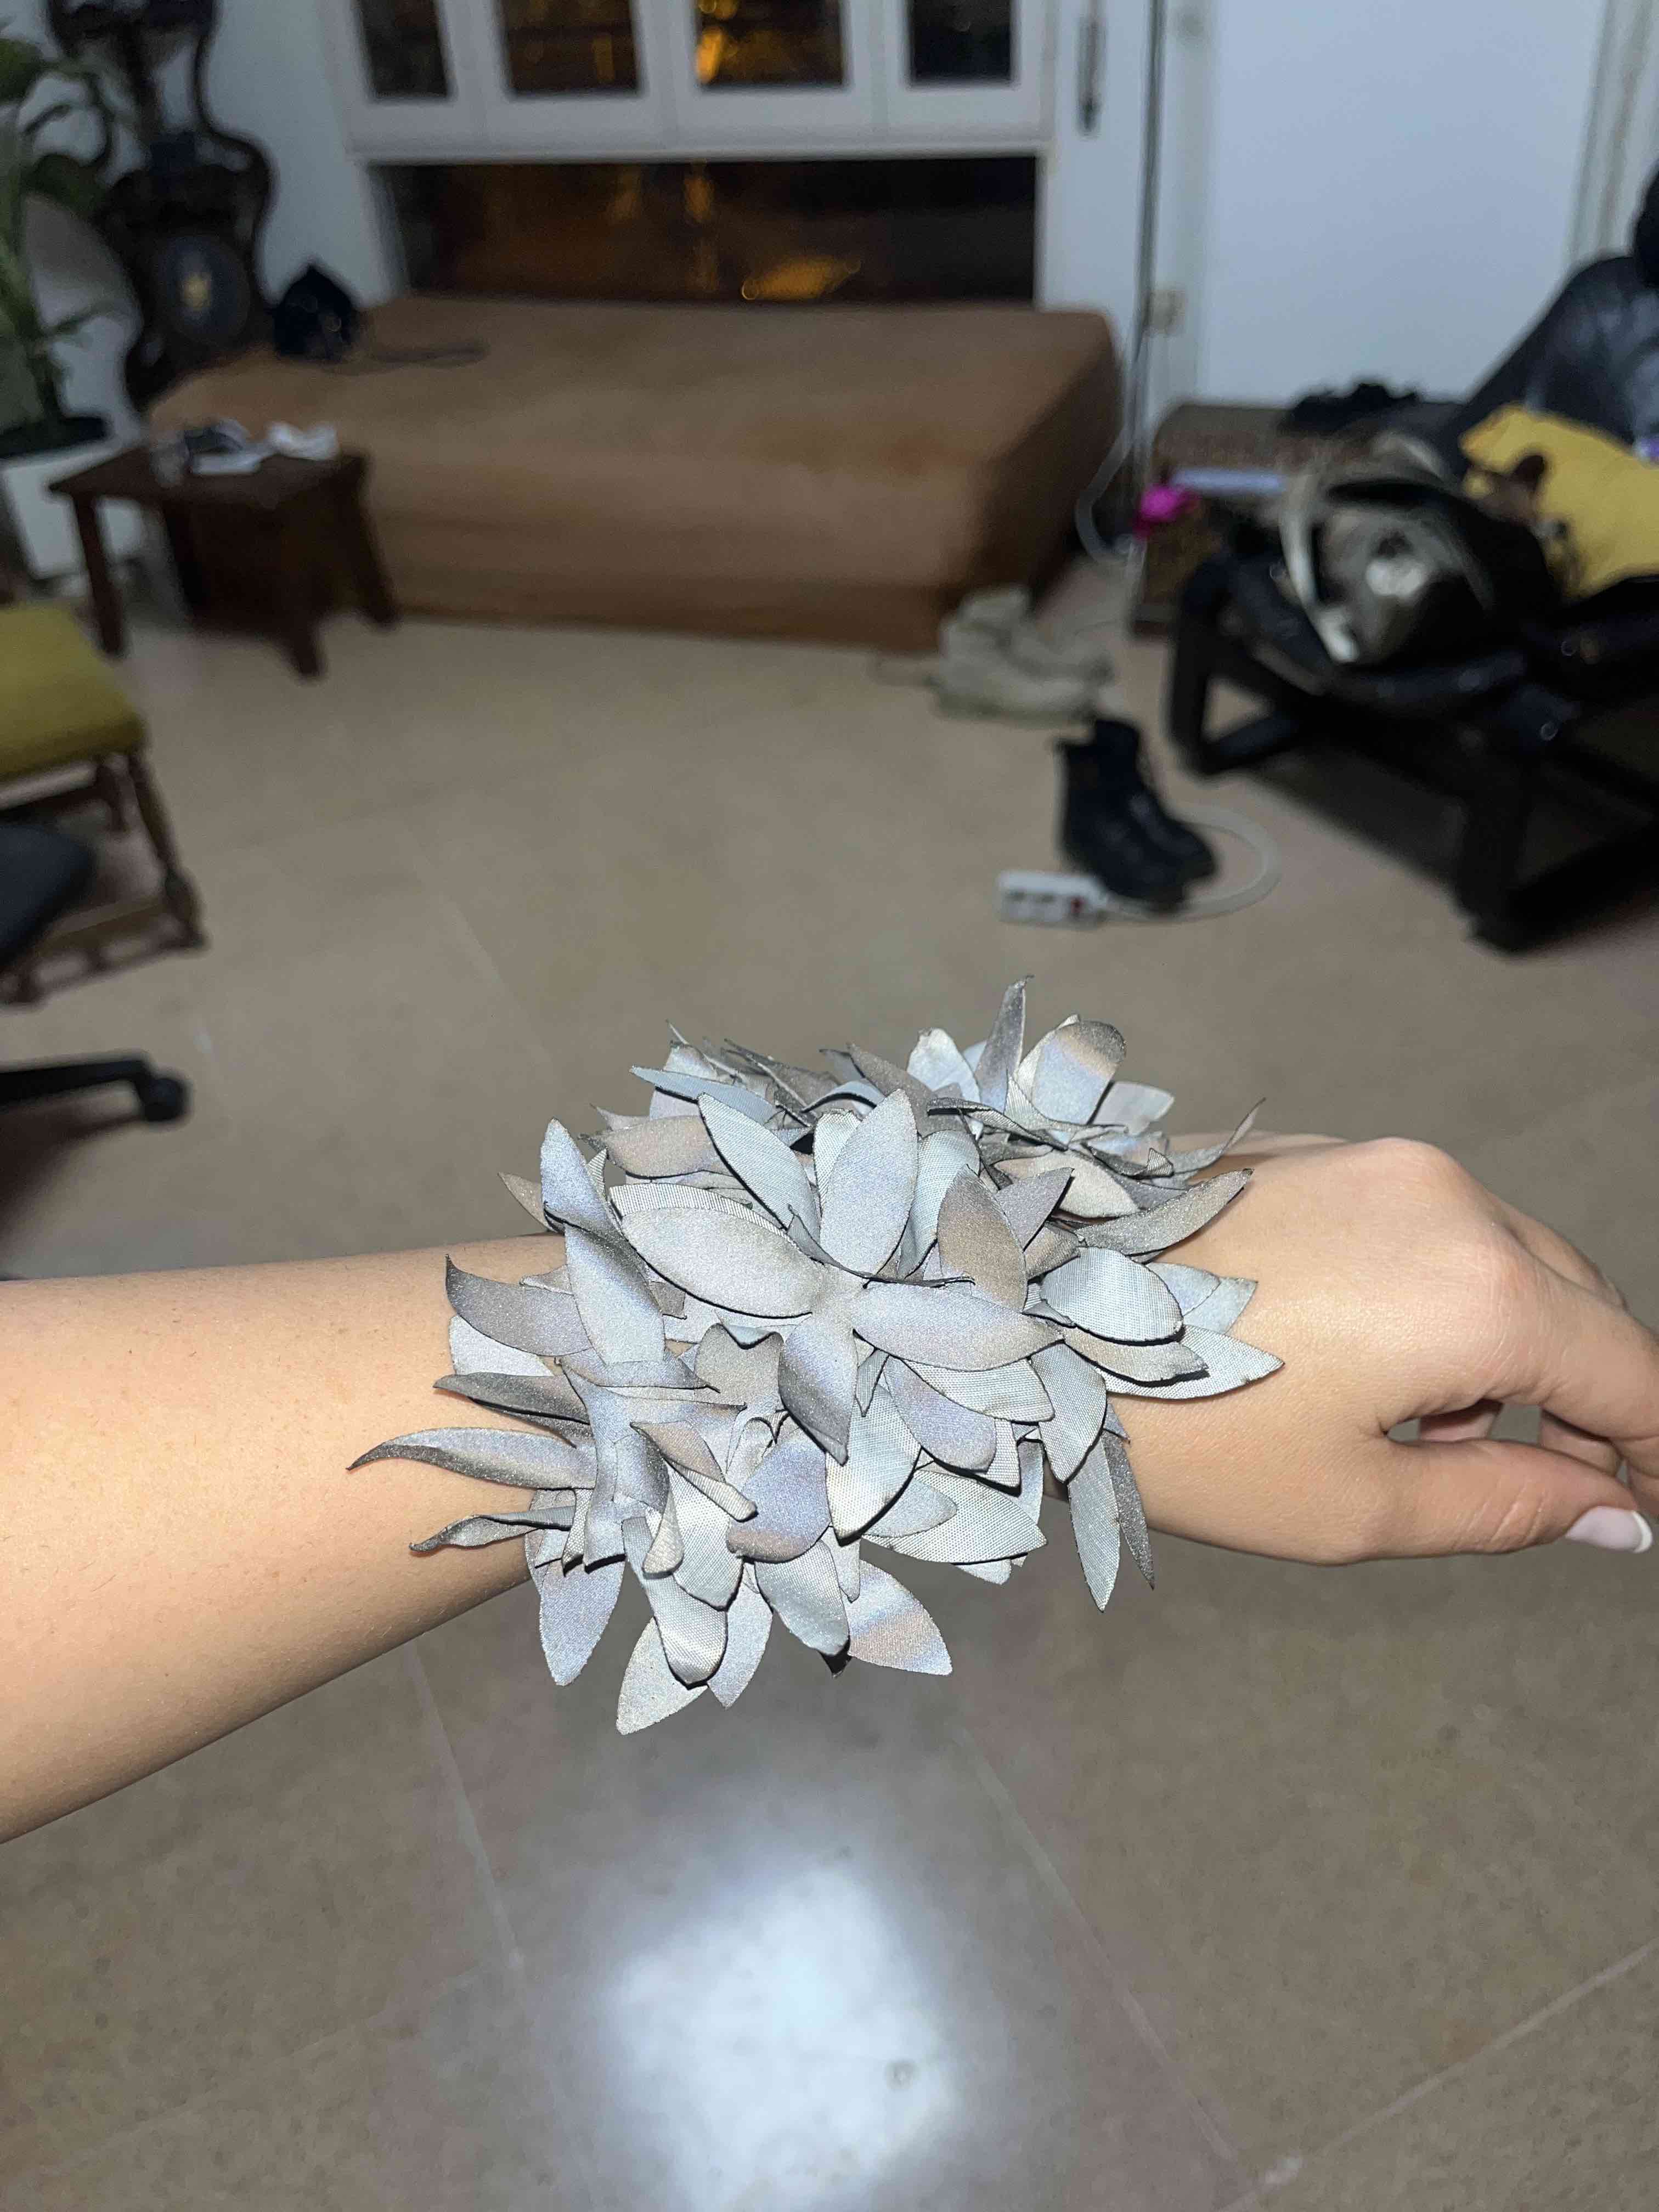
To make it sturdier, I began by changing the material to something with no stretch and stiffer. This material is thinner and is reflective, it glows when there is a flash on it.
I also edited the sizes by increasing the gap in the center of the petal as well as making the cuts smaller.
Different ways to attach the petals:
- One petal to one diamond
- Two petals to one diamond
- Three petals to one diamond
- Four petals to one diamond
and then alternate between connecting the different numbers to each other. There are the triangles that were the 'waste' that can be used to connect two four petals clusters to each other.
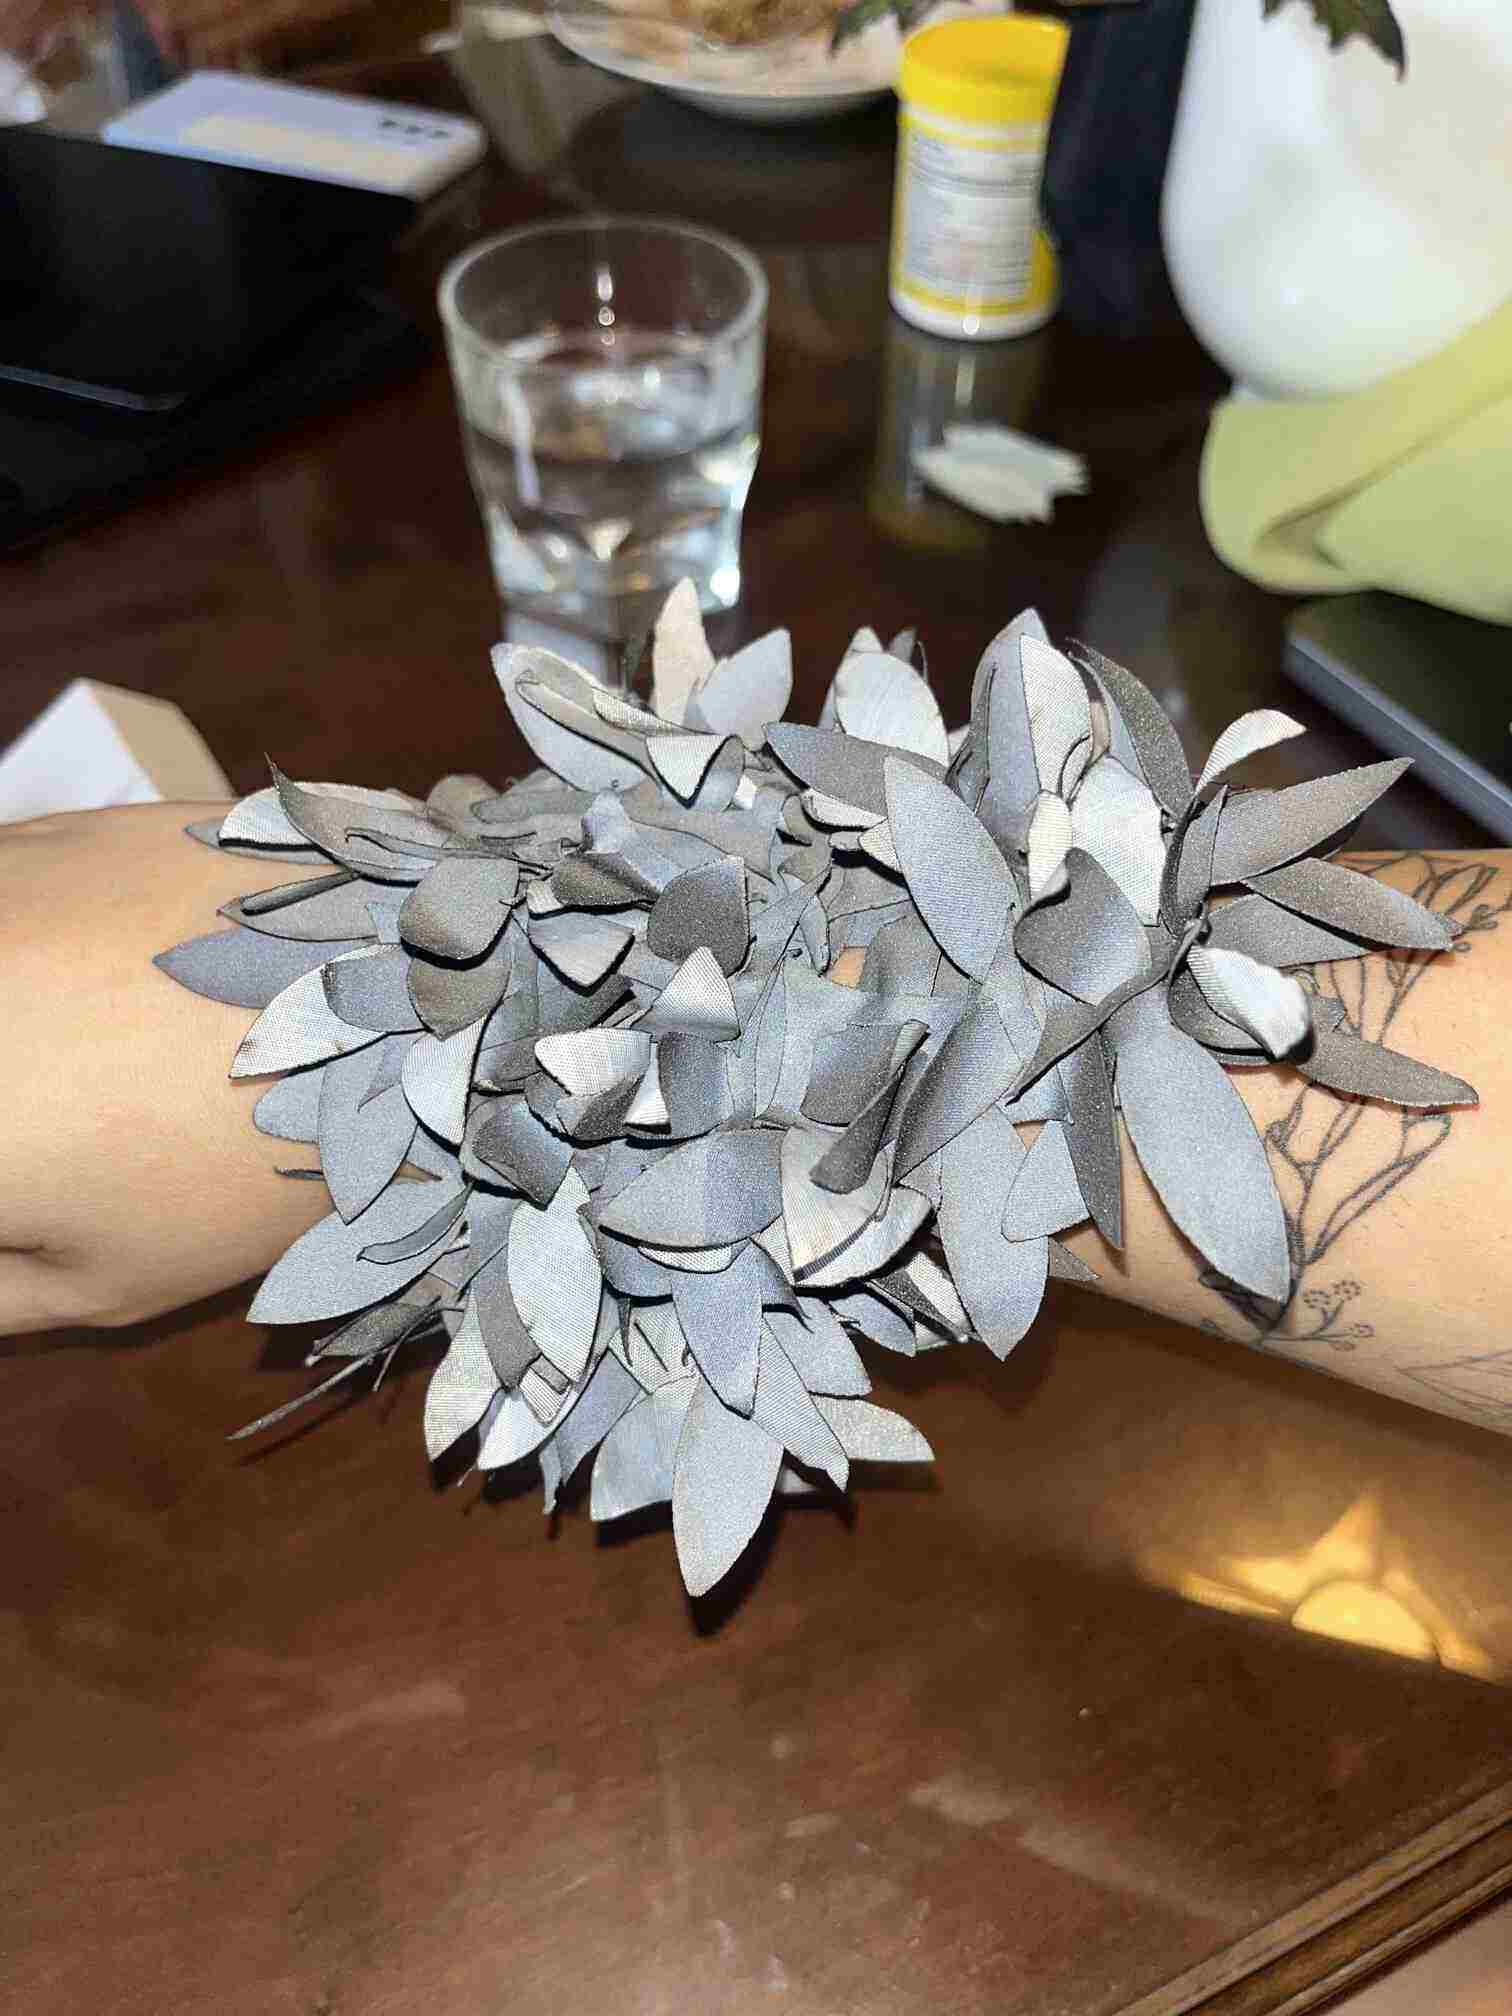
I would imagine using it as a decorative element on a piece of garment but not to make the structure of the garment itself.
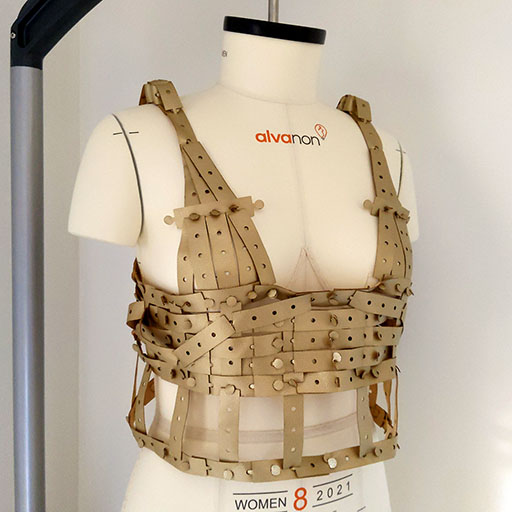
Triangles

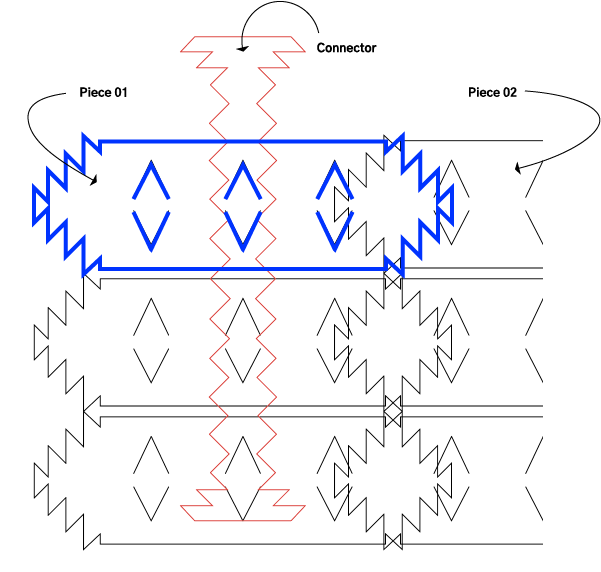
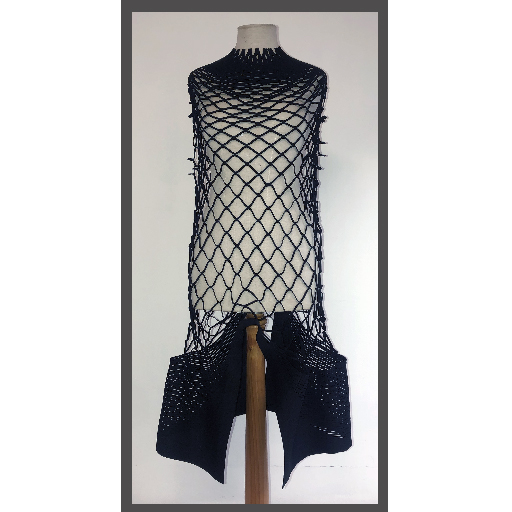
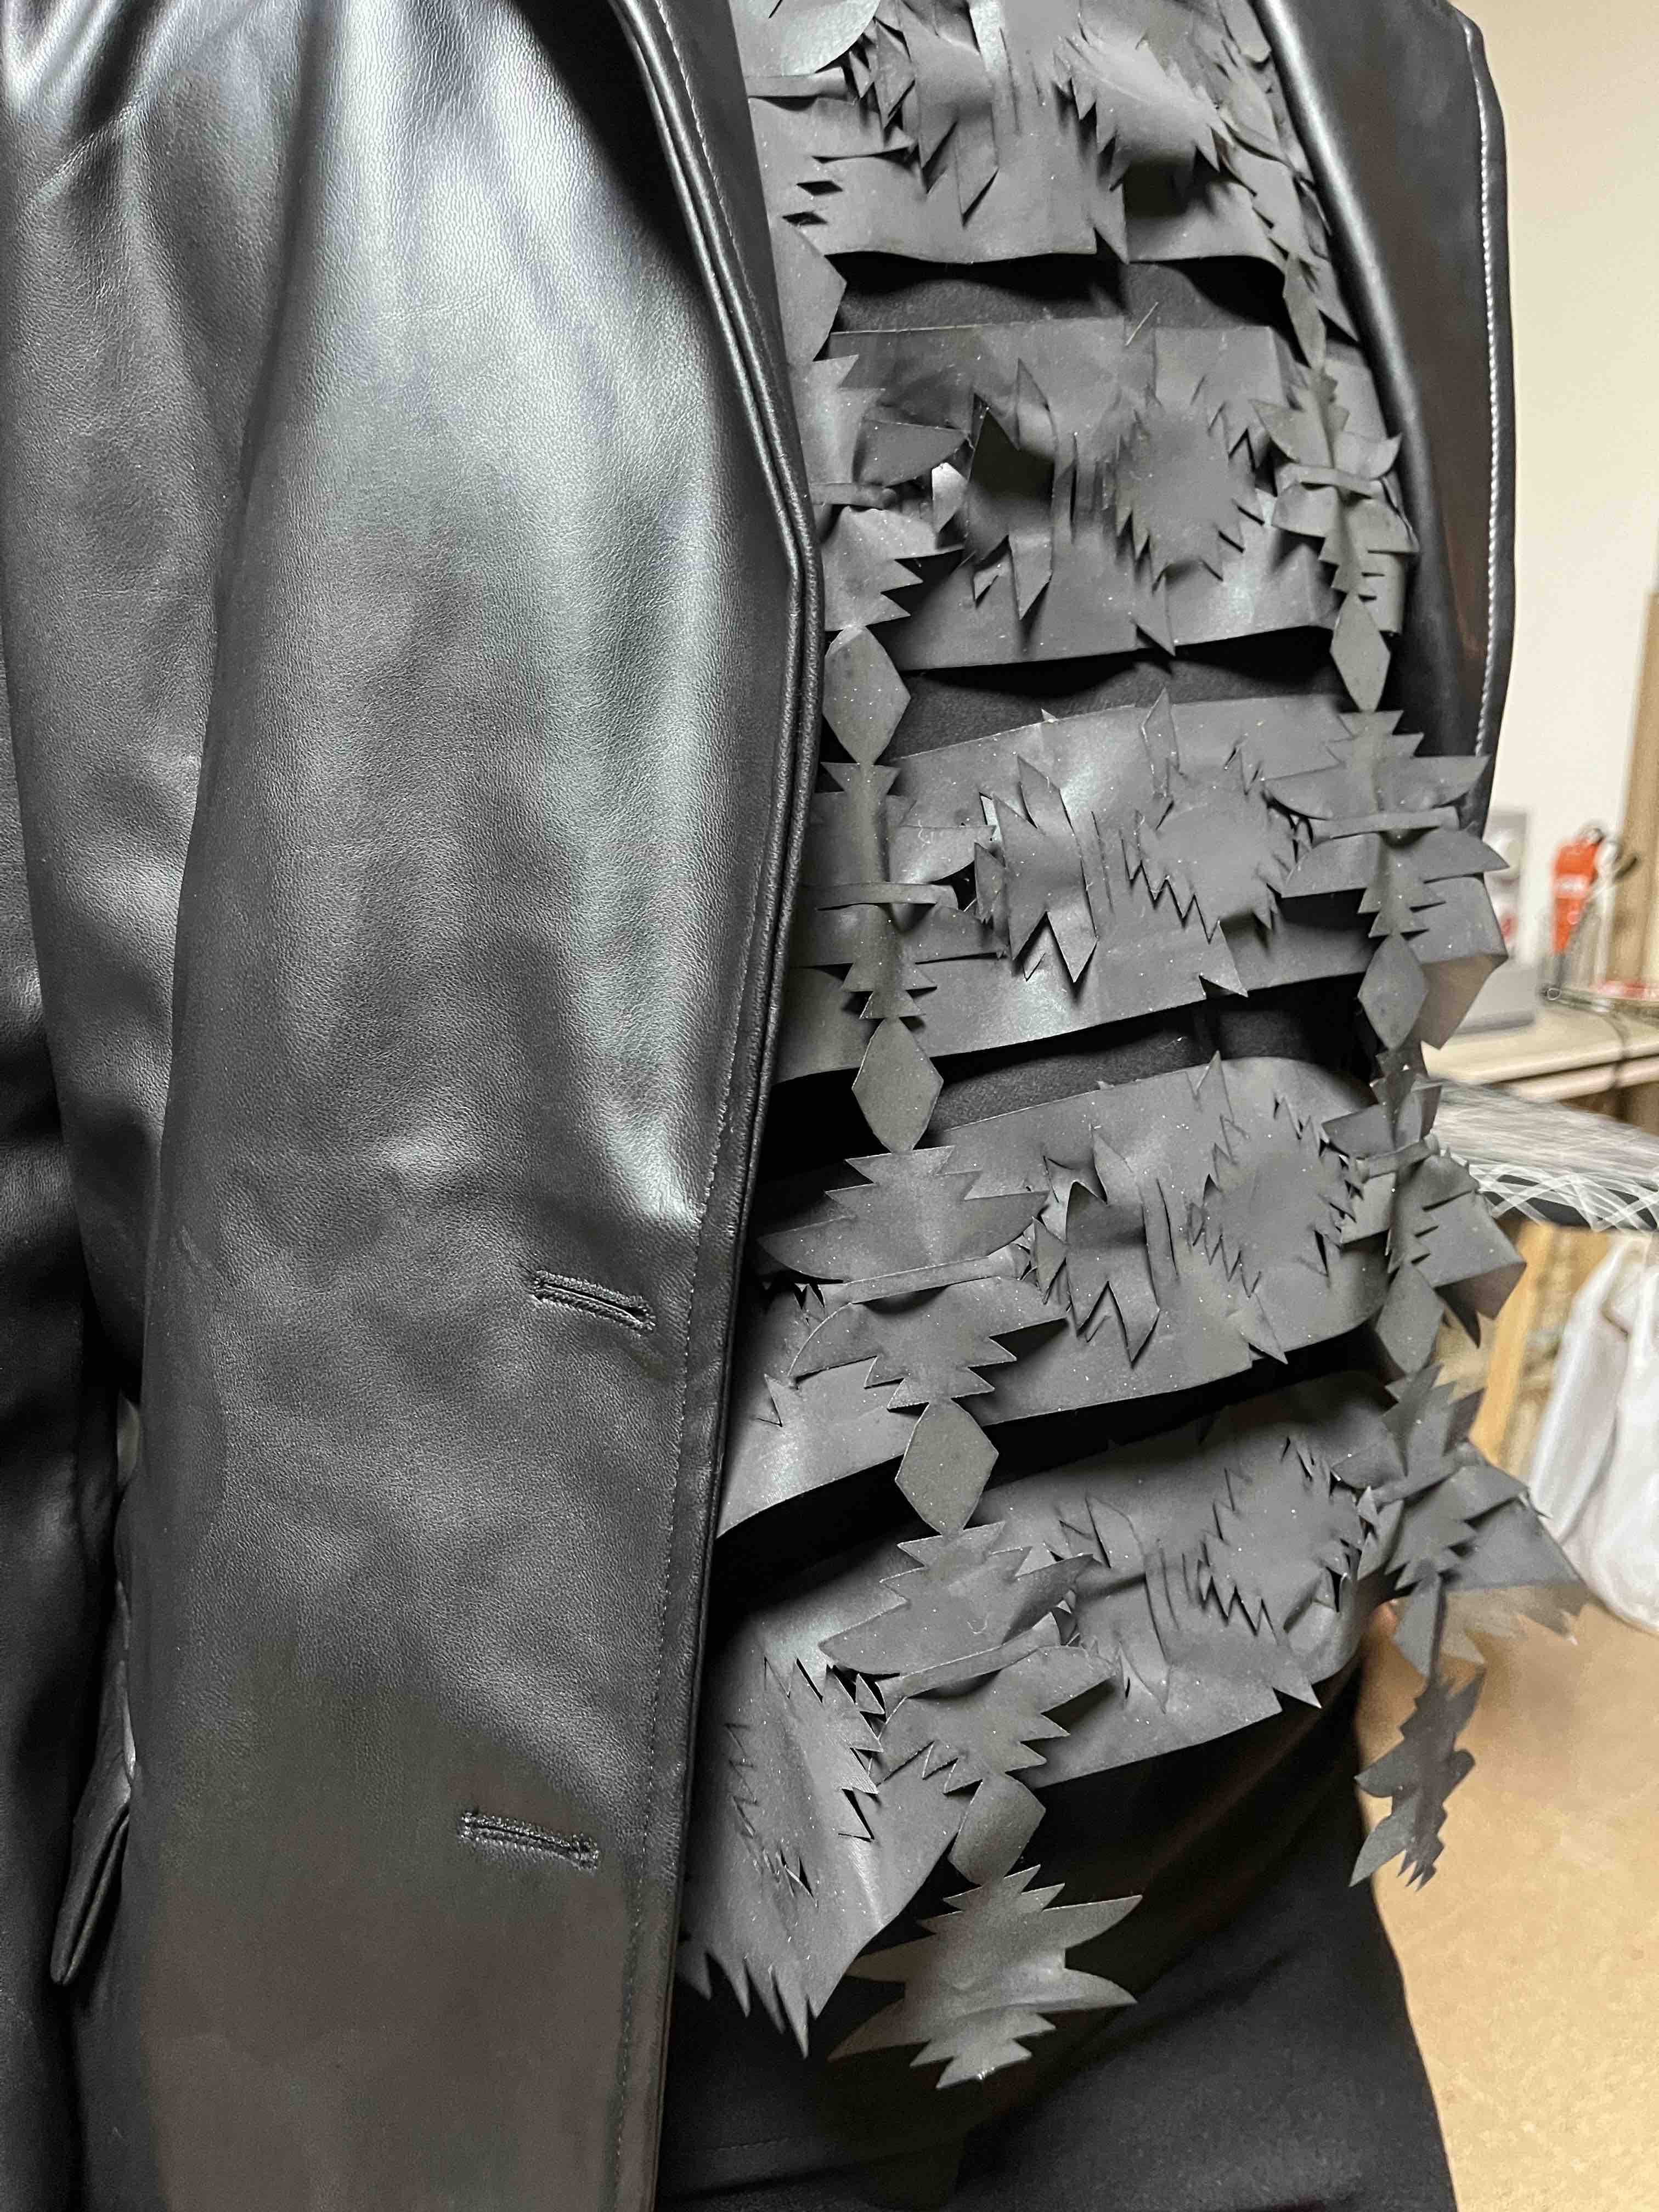
The triangles were a very interesting shape as all the negatives also give the same shape! So I wanted to explore this shape's potential and technicality further. Following Camille Barot's Mini Beams concept, I began to design 'pieces' to create 'strips' that will be connected together.
Iteration

While arranging the pieces together to make the strips for laser cutting, I noticed that they were creating very interesting shapes between them, shown in black above. I decided to utilize those shapes and added cuts in them which then ended up being used for connecting the strips together. In this way, there is almost no waste from the strips.

Because of how thin the points were (highlighted in red above), the connector was not holding anything in place and was easily moving out.

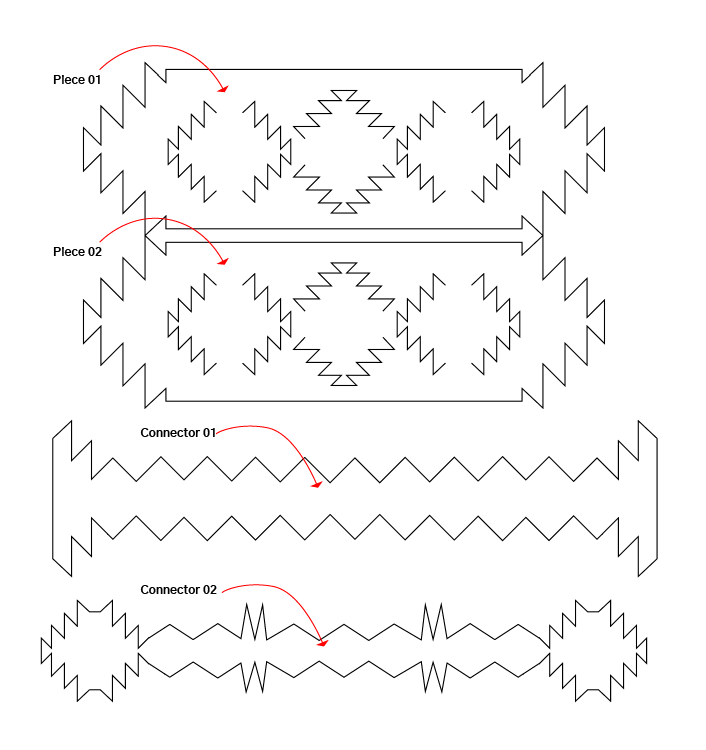
Connection Options
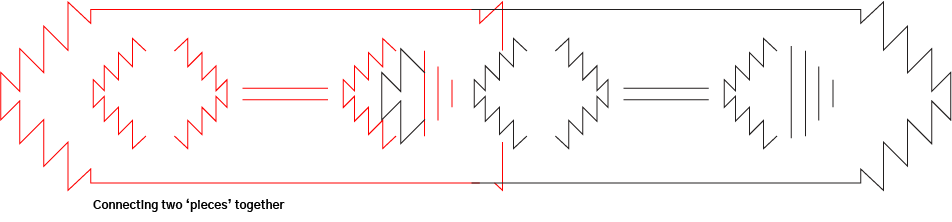
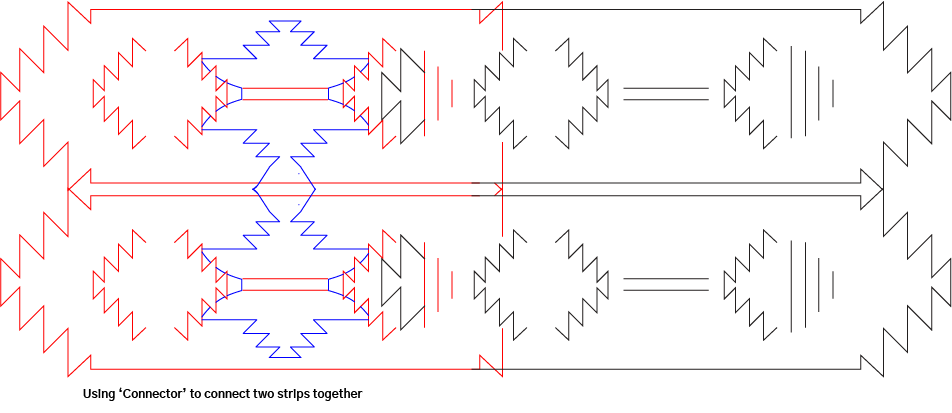
For the final garment, I used 18 pieces making 9 strips, 2 connectors, and 3 of the negative space correctors.
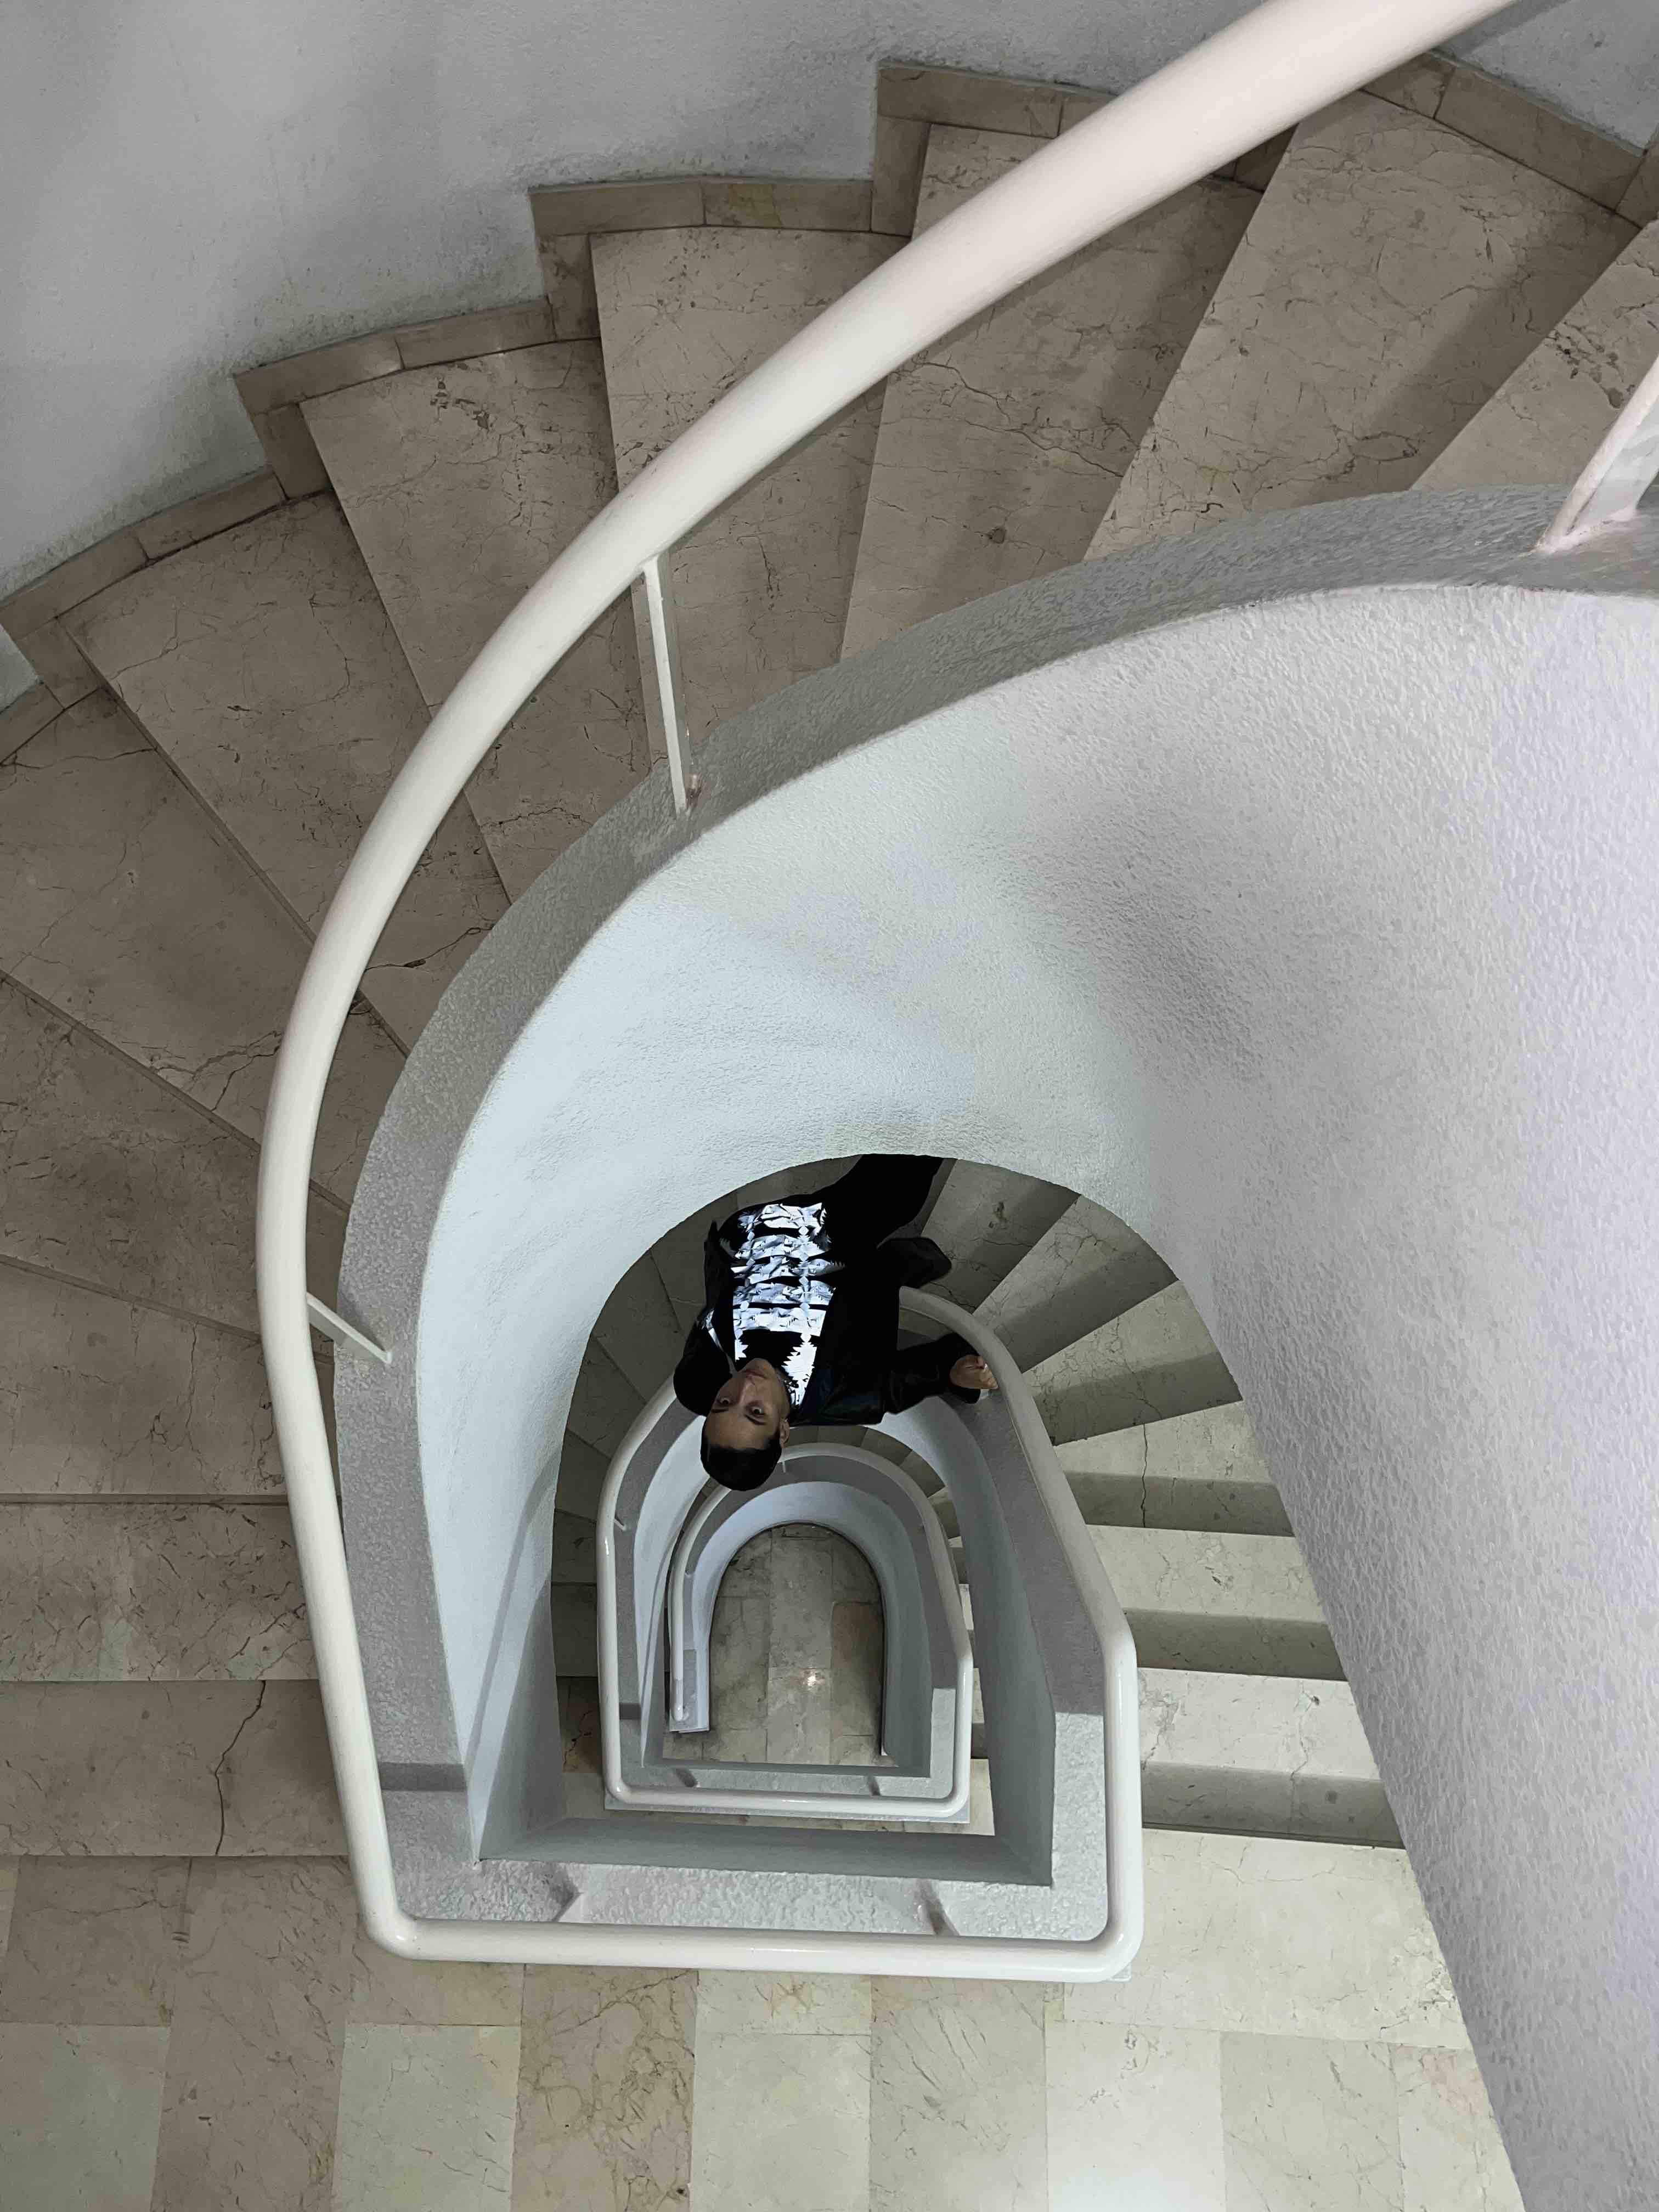
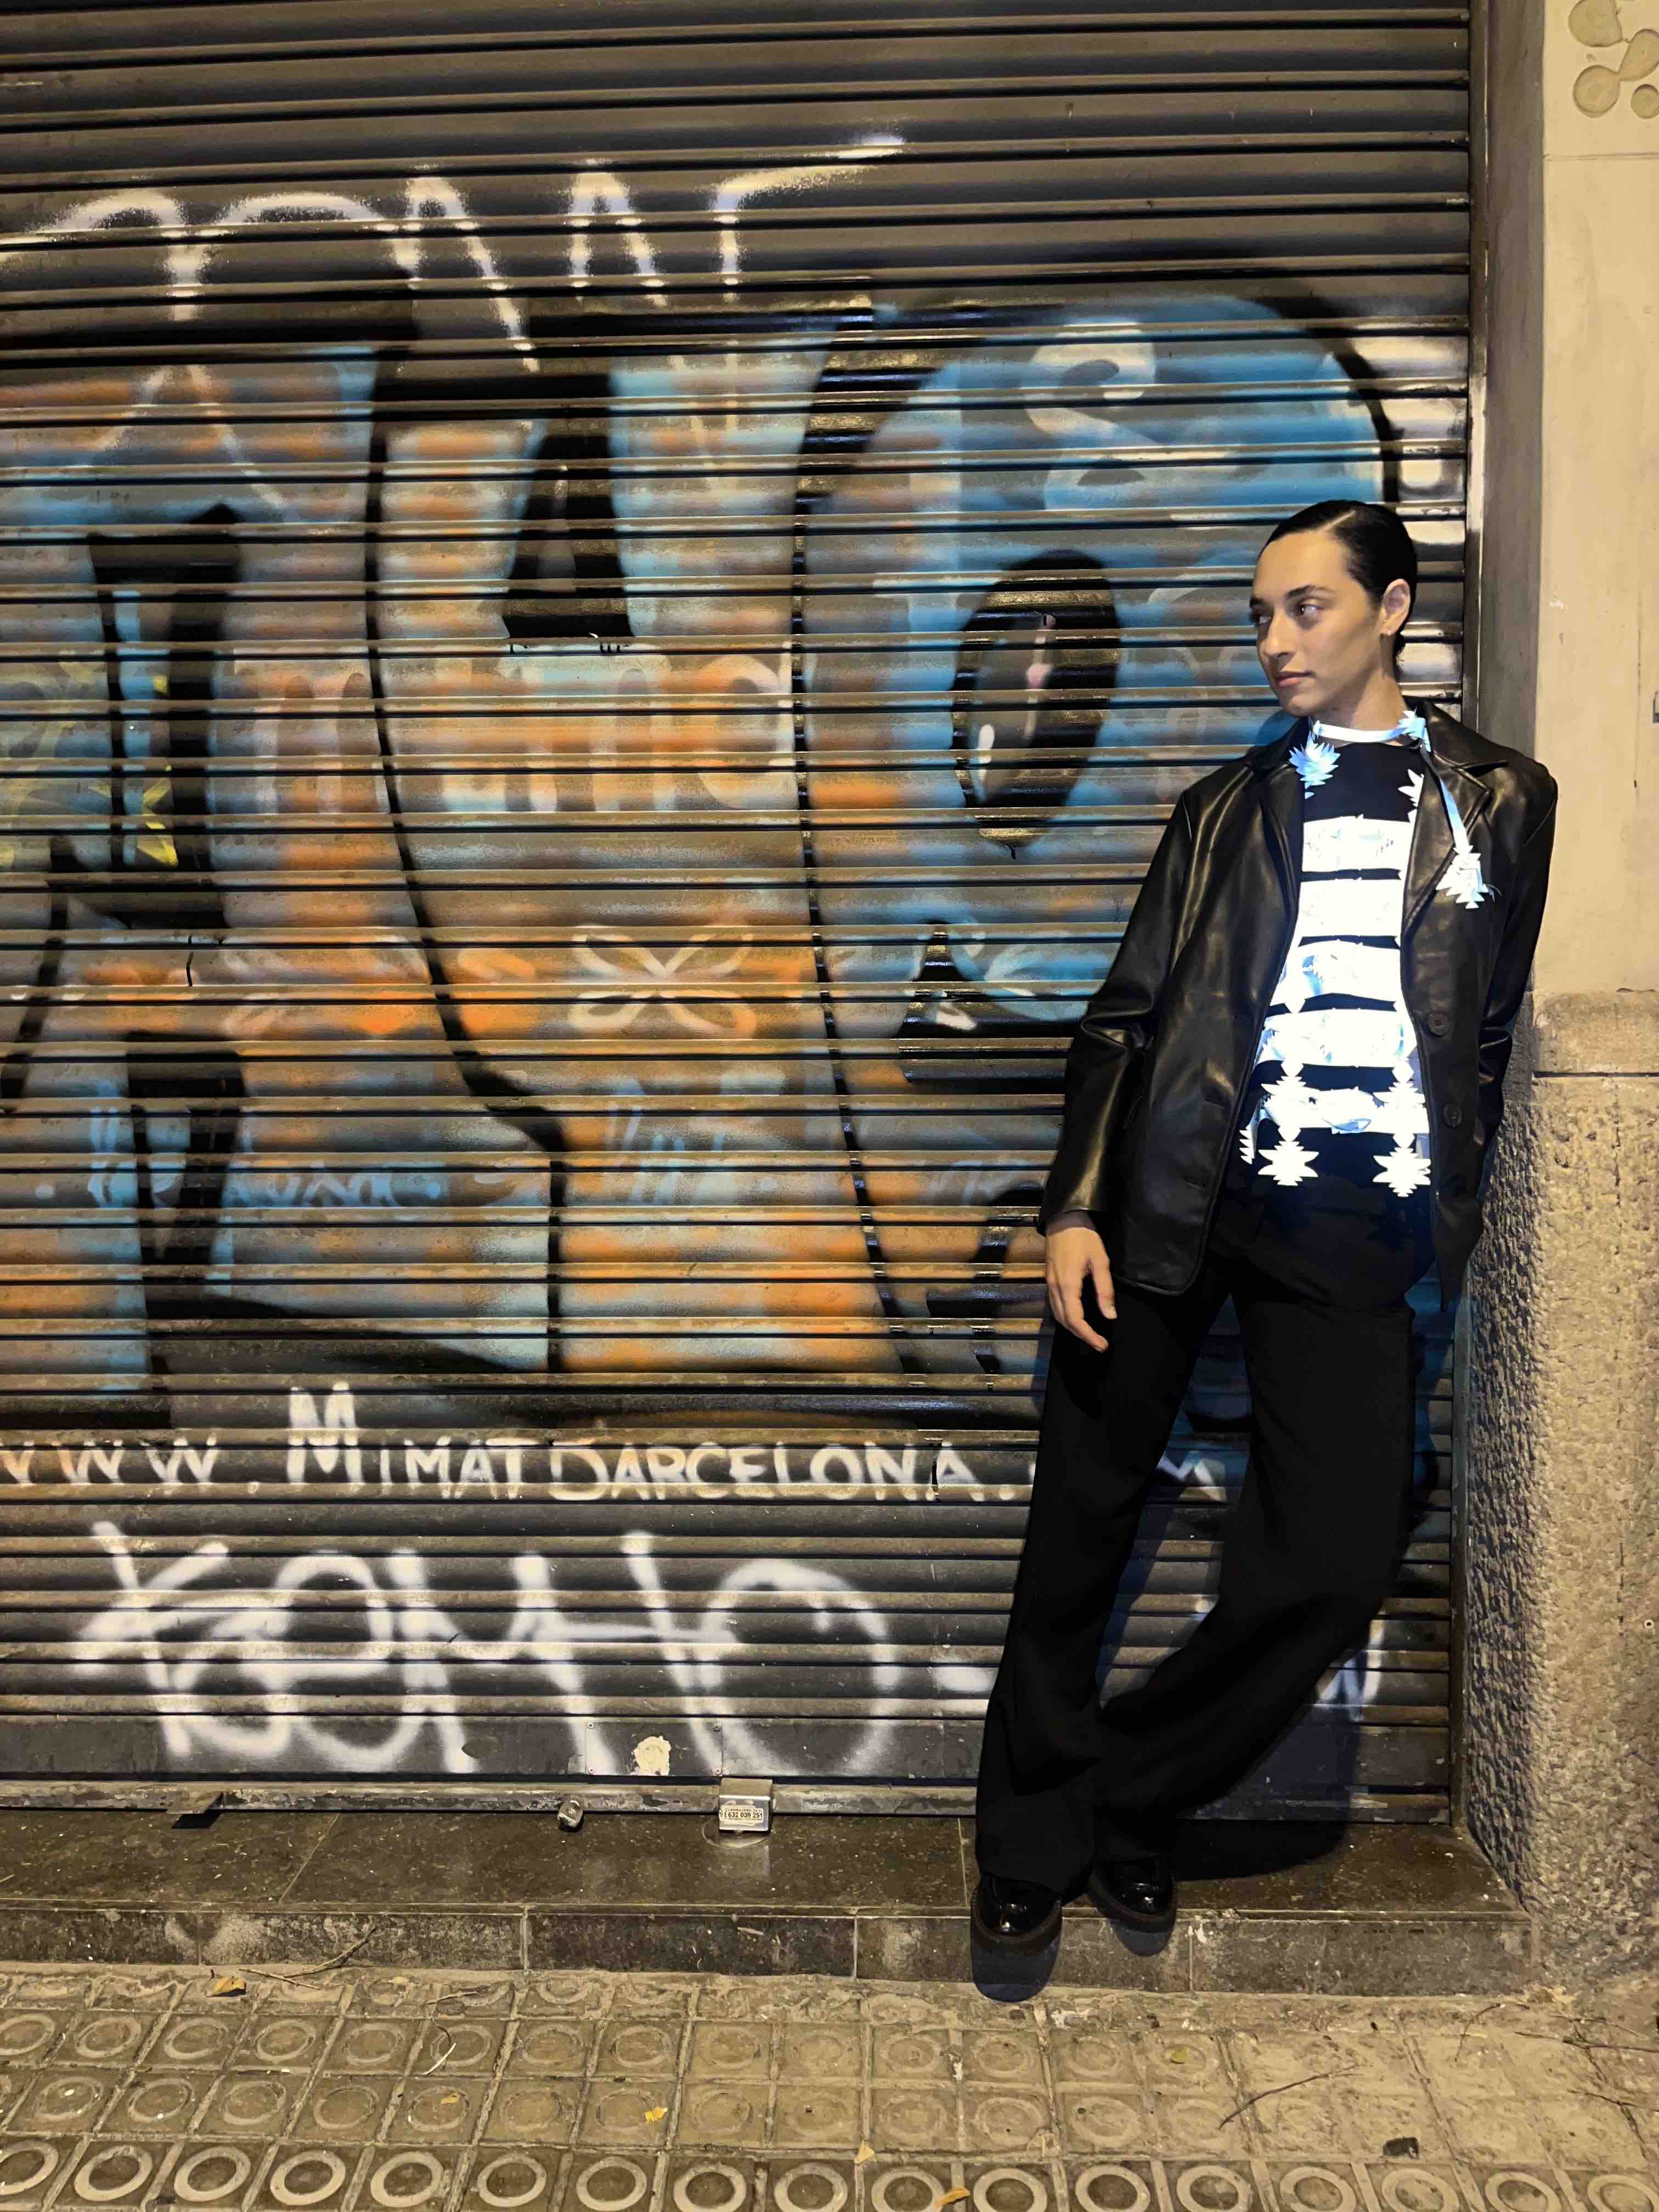
Final Photos
modeling and styling by Lupe Guerra Garcia


Fabrication files
-
File: Rhino Files Ready To Cut ↩
-
File: OS Circular Fashion Website ↩
-
File: All patterns illustrator ↩