11. Textile Scaffold
This week consists of seven parts that are outlined below.
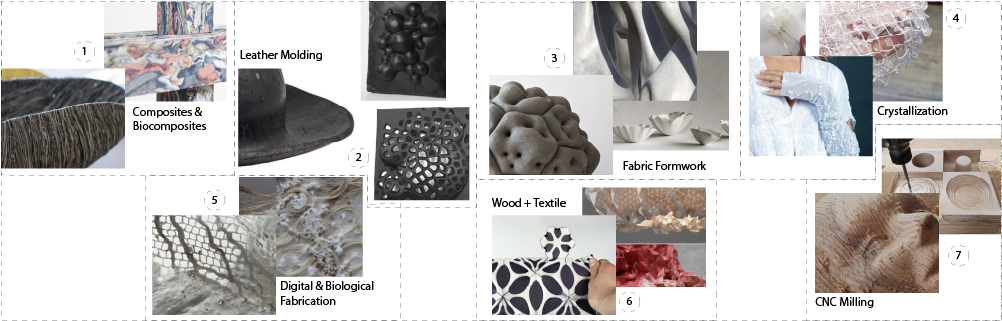 images from Fabricademy Global Class lecture presentation
Leather Molding & CNC Milling
CNC
CNC Milling is a 3-axis subtractive manufacturing process. It uses a cutting drill bit mounted on a rotating spindle and gantry. The gantry moves in x and y and the spindle controls the rotation in order to cut through different materials. Some materials include wood, foam, acrylics, and more. In FabLab Barcelona we use RhinoCam to set up the toolpaths and gcode for the machine to process. RhinoCam is a plugin for Rhino which is not free.
3D Modeling on Rhino
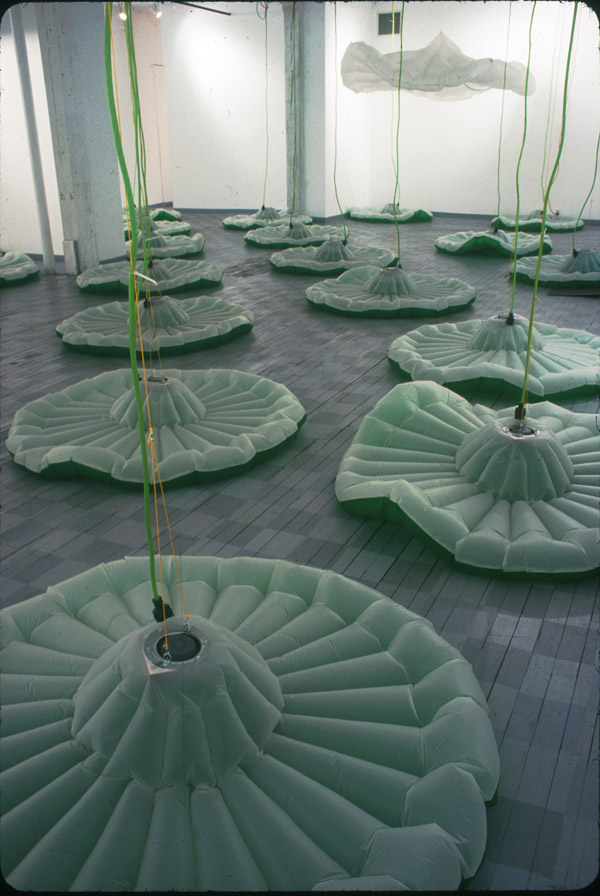
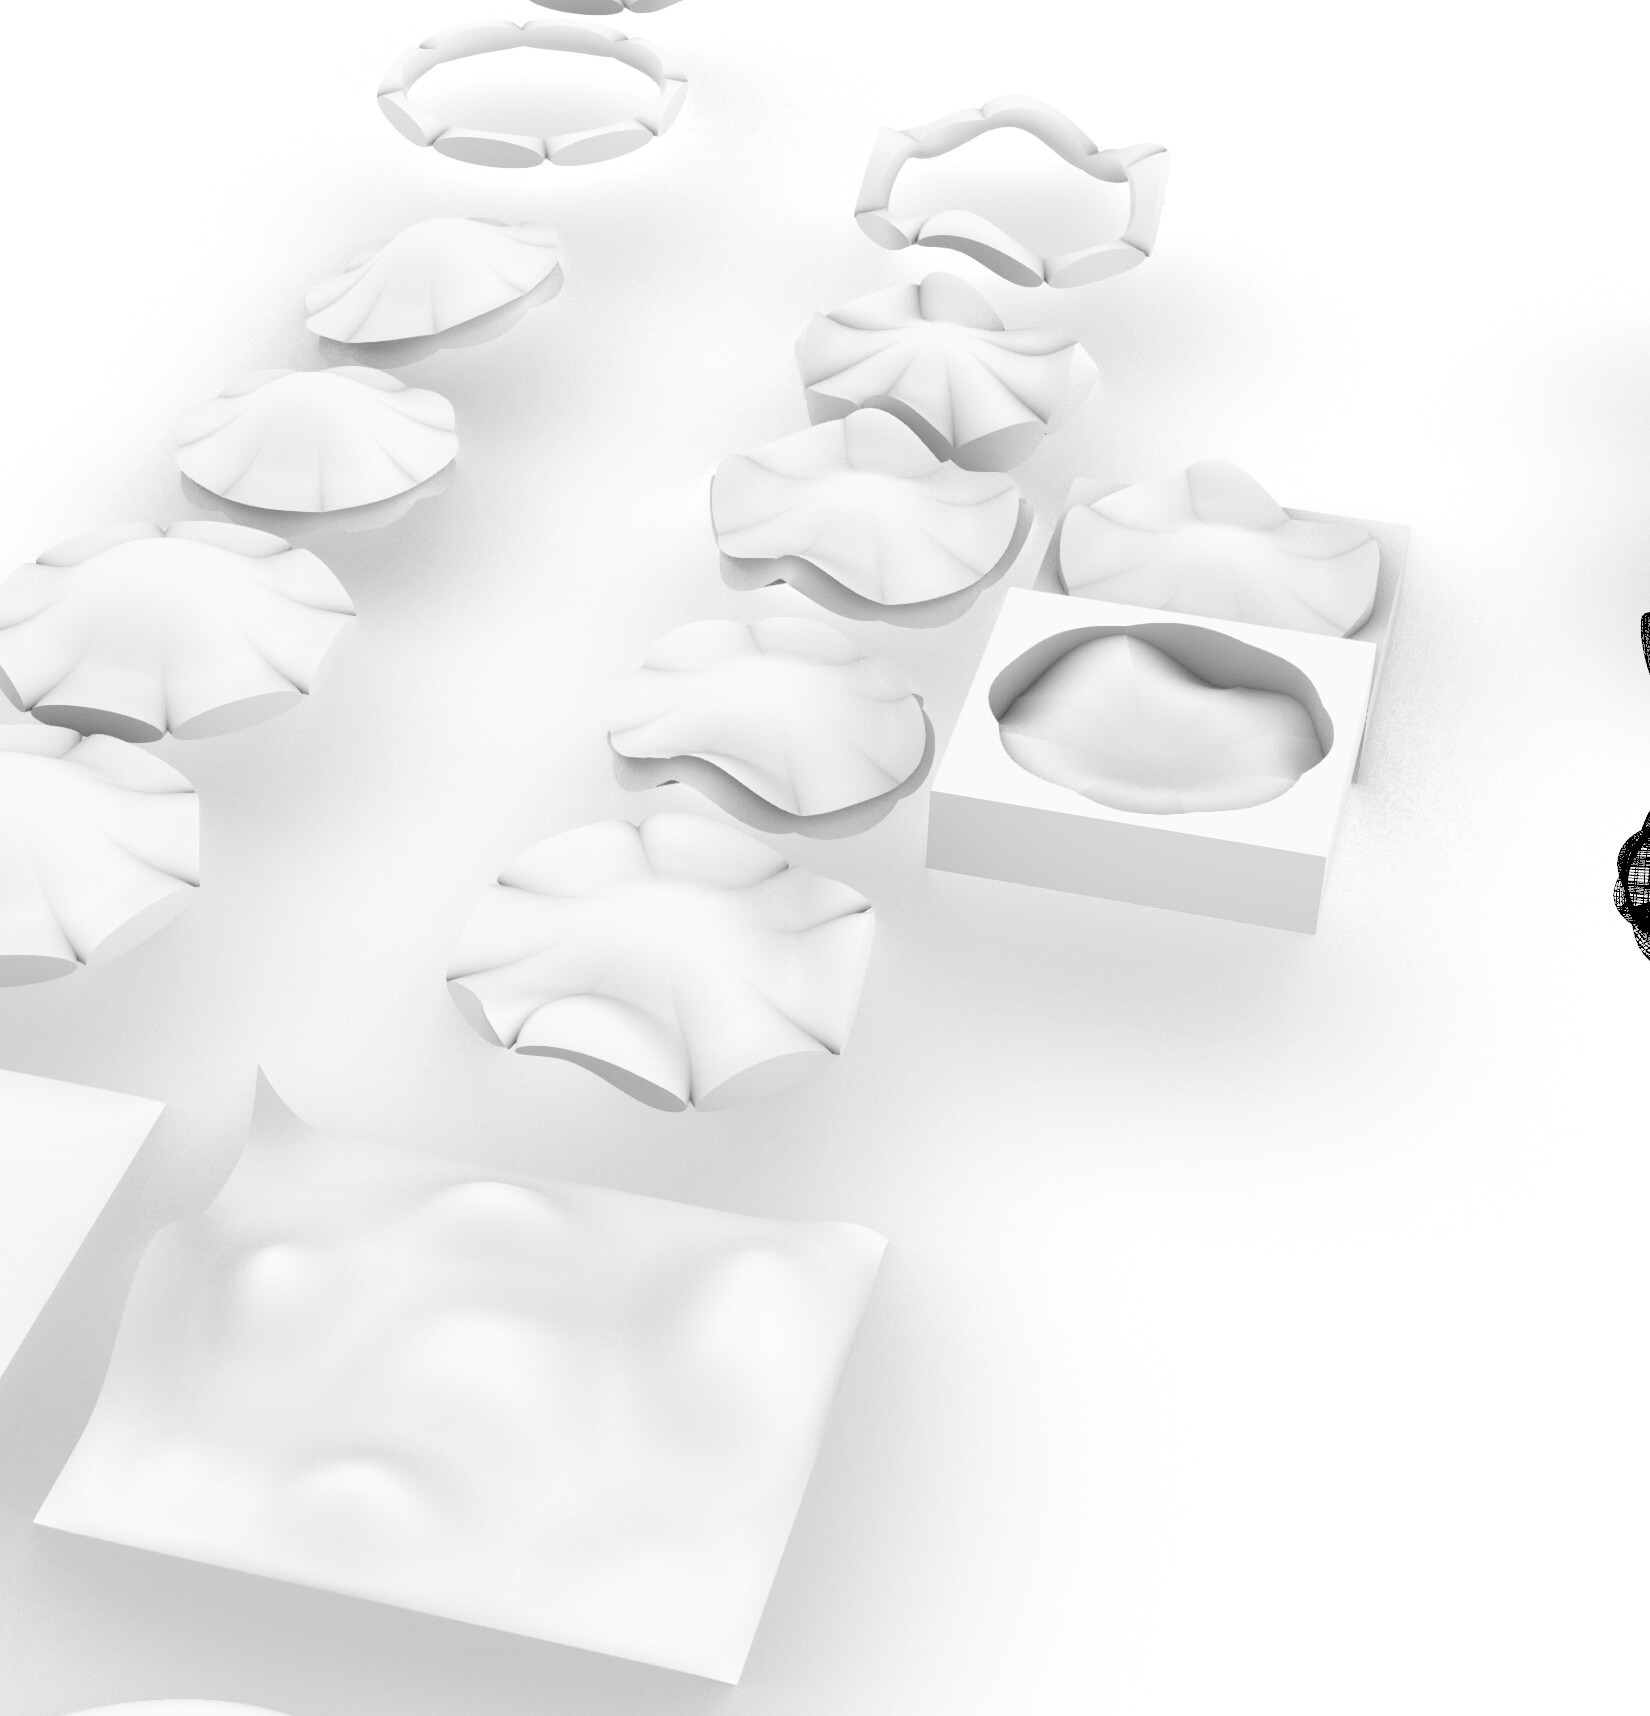
Taking inspiration from Lee Boroson's project, "Pleasure Grounds" I wanted to create a shape of a flower from the bottom.
I began the design and iterated it until reaching the final outcome.
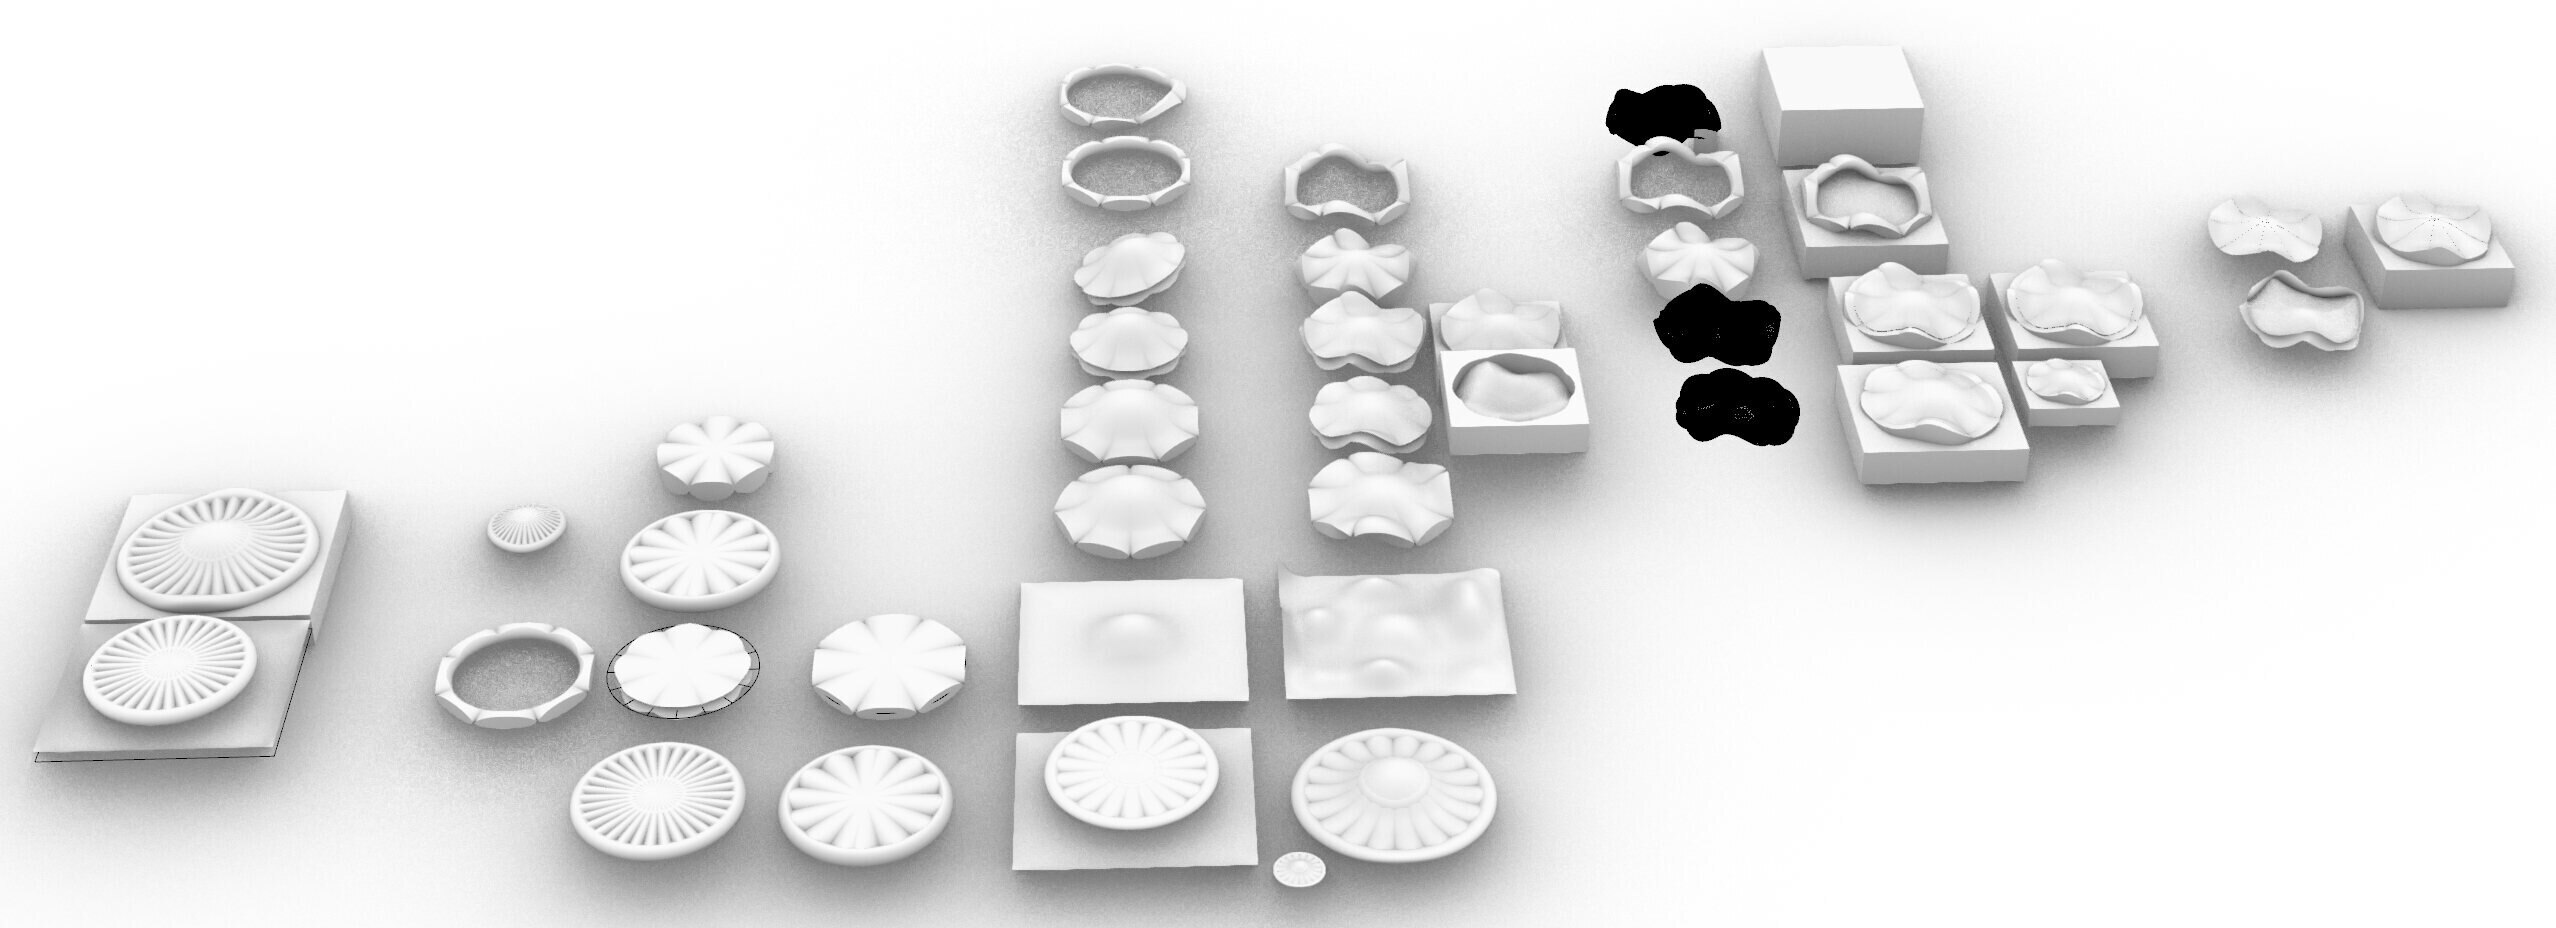
Below are the eight shapes I experimented with.
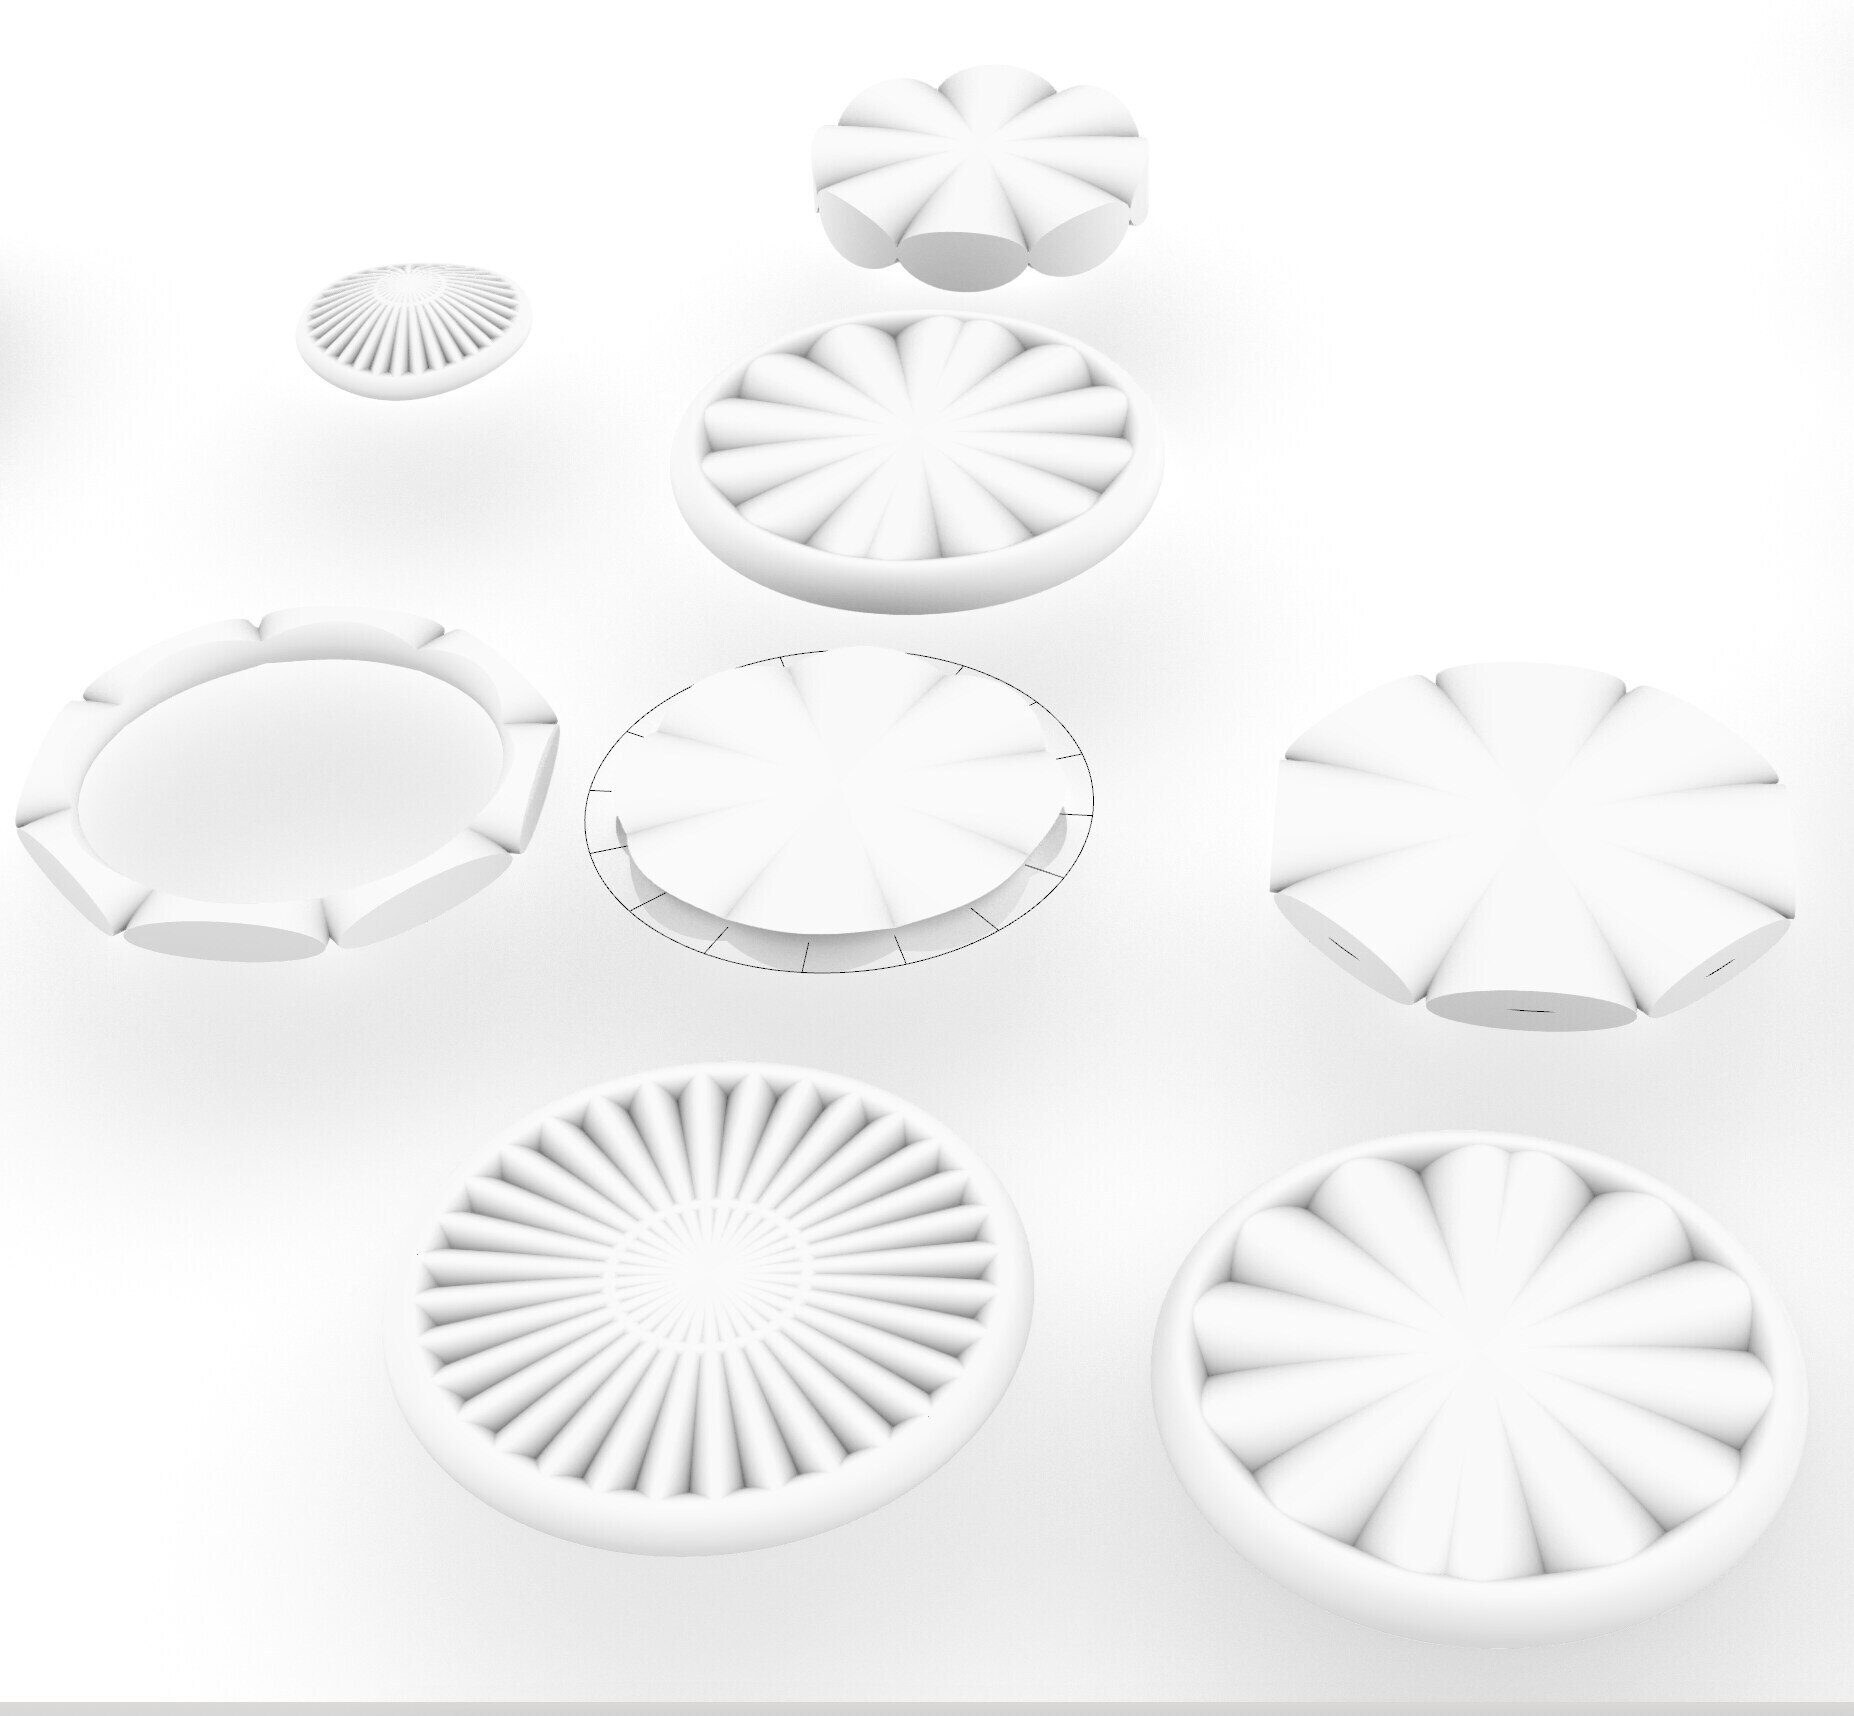
How To:
- I created a surface that I used as a base
- I used 'Splop' ontop of the base surface
- I projected each one on top of the surface and picked the shapes that worked best for the leather molding.
RhinoCAM

CNC Milling
My material is high density foam (usually used for insulation).
To fix the material to the bed, I used wooden pieces placed at an angle from the base to the side of the foam. Once screwed in, they press into the foam and lock it in place. I repeated that from the 4 sides.
As prepared on the RhinoCAM, the machine will first rough out the majority of the material, then finish the shape, and then profile cut out the tool.
We used a 12mm Ball End for the roughing and profiling. We used a 6mm Ball End for the finishing.

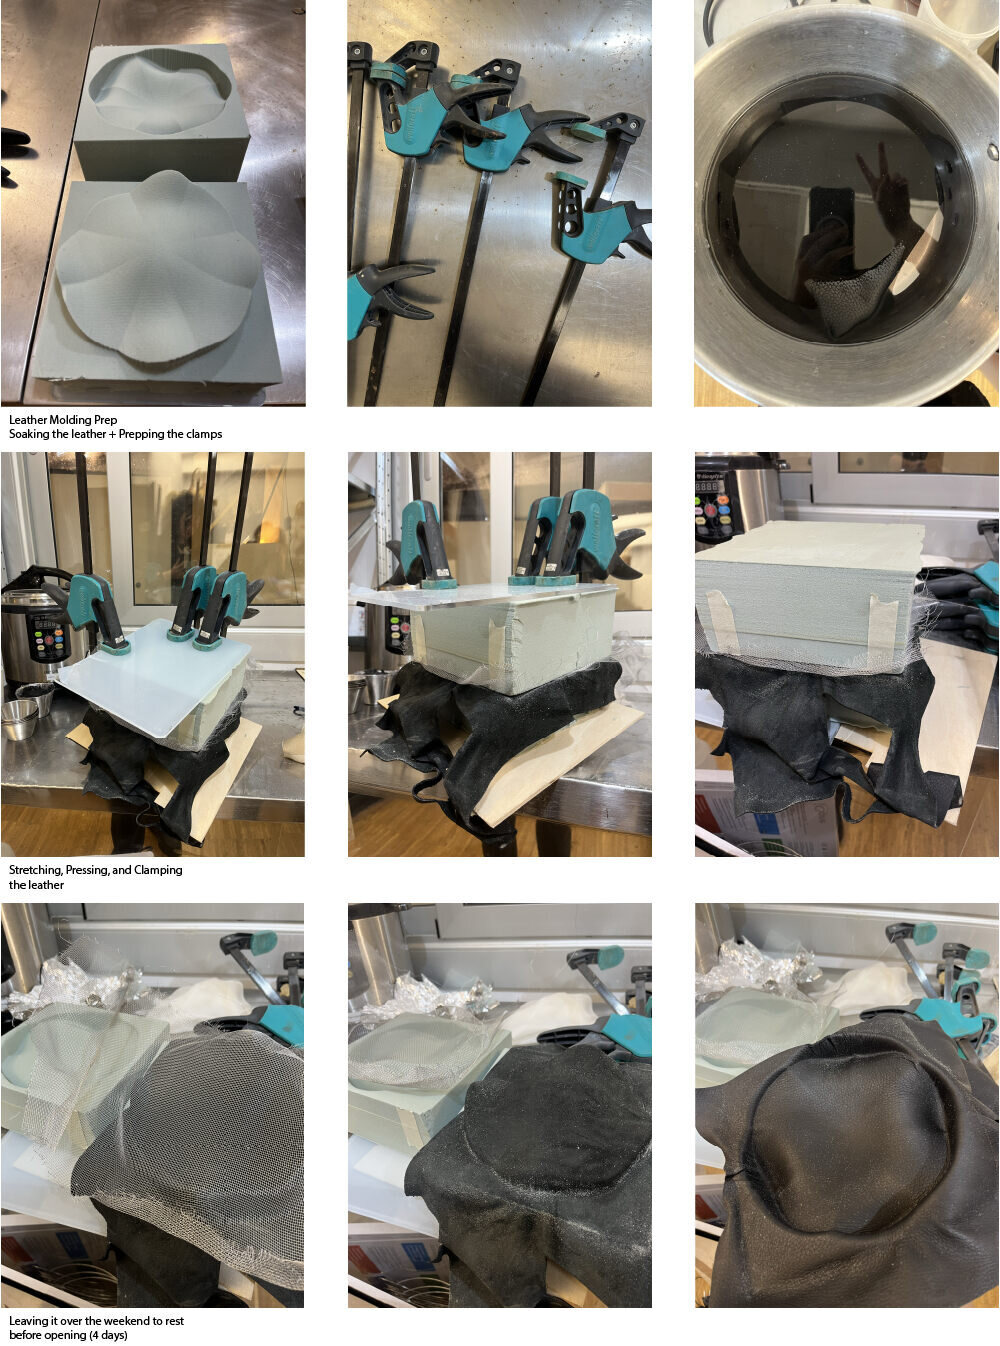
Leather Molding
I soaked the leather in water for three hours and then heated it for a while in a pot. Once it became a little stretchy I was able to put it in the mold and clamp it down. I left it to dry over the weekend (Friday to Monday) and opened it up on Monday. The leather kept its shape quite well and was also able to pick up the small details in the mold.
Results
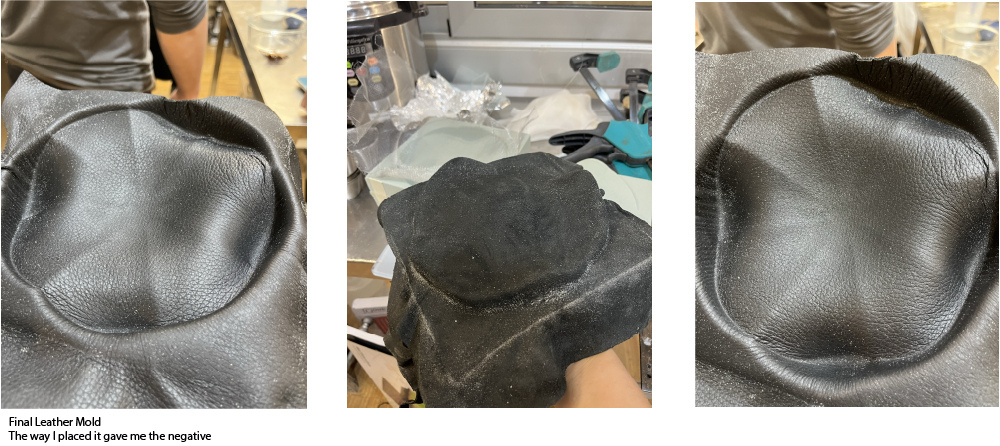
If possible, I would have liked to create a purse out of this mold which would have a beautiful shape!
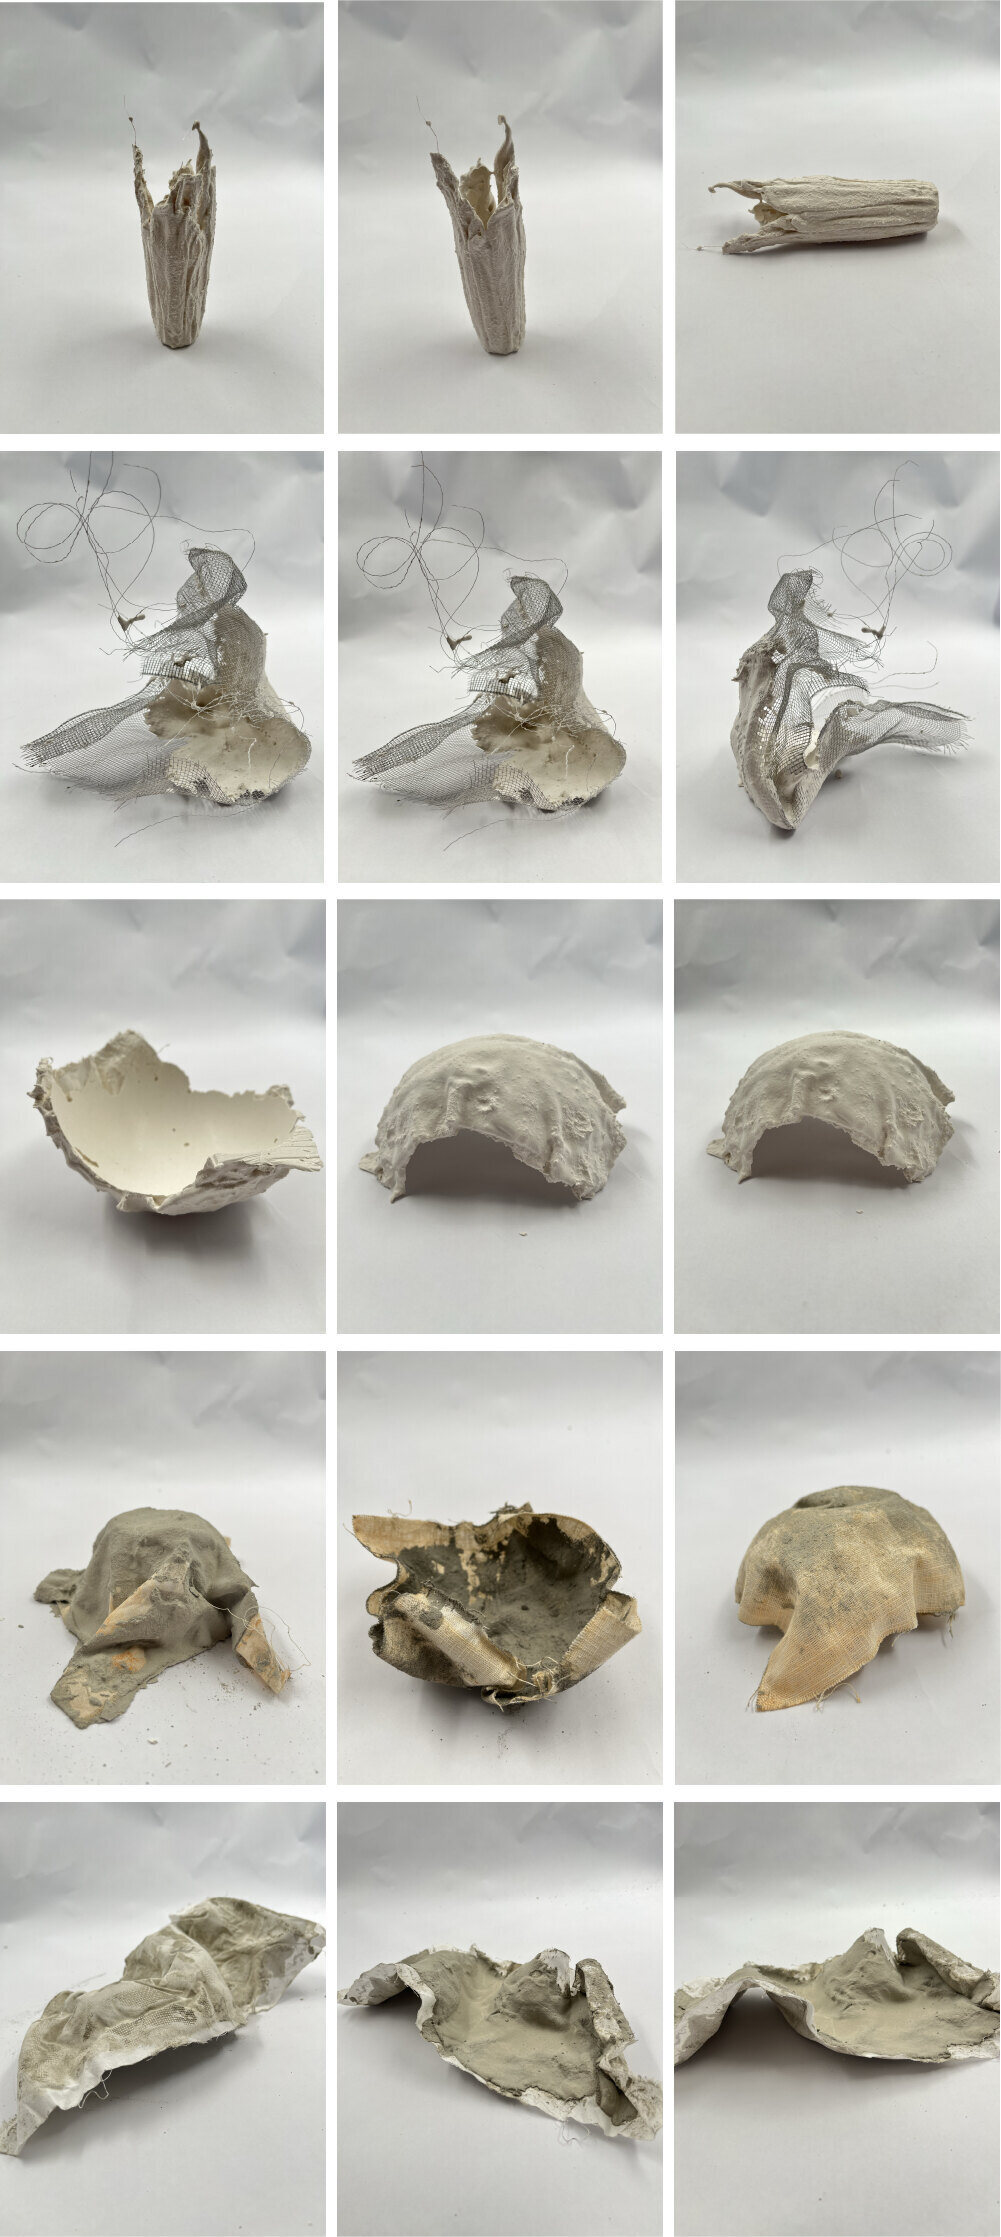
Fabric Formwork
For this section, I used Cement and Calcium Carbonate to see the how they differ in the end. In some cases, I dipped the textile in the material and in others I sort of painted it onto one side. I also used different tools to shape the cement and calcium carbonate.
As for the recipe, in this section it was very experimental and I decided on the correct mixture by touch.

Results
I left them out to dry over the weekend and on Monday they were cured very well. However, I do believe the Calcium Carbonate are more brittle than the Cement and on the edges already began to crumble.
Crystallization
I was inspired by the crystallization on electronic components and wanted to give it a go.
I used Allum and Copper Sulphate to crystallize the same elements in both as an initial trial. Then, with the correct technique, I used Alum to crystalize LEDs and Fiber Optics
Recipe
| Alum | |
| Alum Powder | 60 g |
| Water | 500 ml |
| Copper Sulphate | |
| Copper Sulphate | 200 g |
| Water | 300 ml |
Process
| 1 | Firstly, boil the water. |
| 2 | Add and dissolve the minerals/crystals. |
| 3 | Filter out any remaining crystals not dissolved. |
| 4 | Soak objects you want to crystallize into the solution and cover with aluminum foil. |
| 5 | Leave in a dark place. The longer you leave it, the more growth you will see. |
Experiments

| Alum+LED | 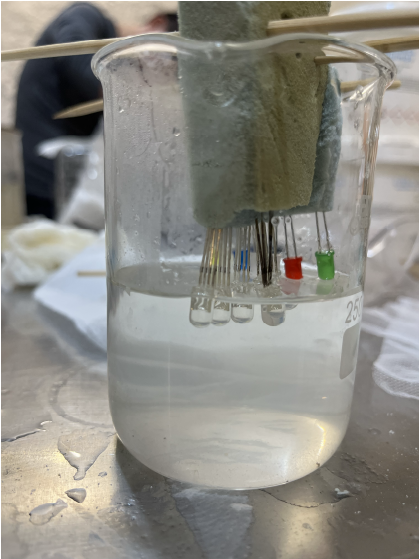 |
|
| Alum+Fiber Optics |  |
Unfortunately, the crystallization of the LEDs and fiber optic did not work even though they were boiled again with more alum. Anastasia mentioned that it might have been because the initial tools and liquid was contaminated.
Files
-
Files: 3D Model of the flower molds ↩