9. Soft Robotics
Inspiration
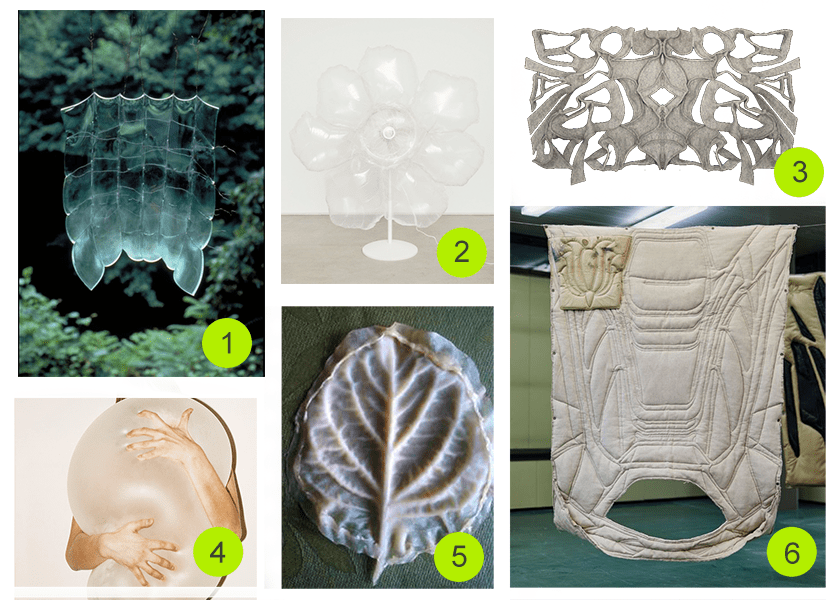
Research
Sentimental Soft Robotics Skin from Mia Hultgren on Vimeo.
Research in robotic goosbumps to express emotions
Origami inspired folding soft robotics
Soft robotics and post human entities
Heatpress Vinyl
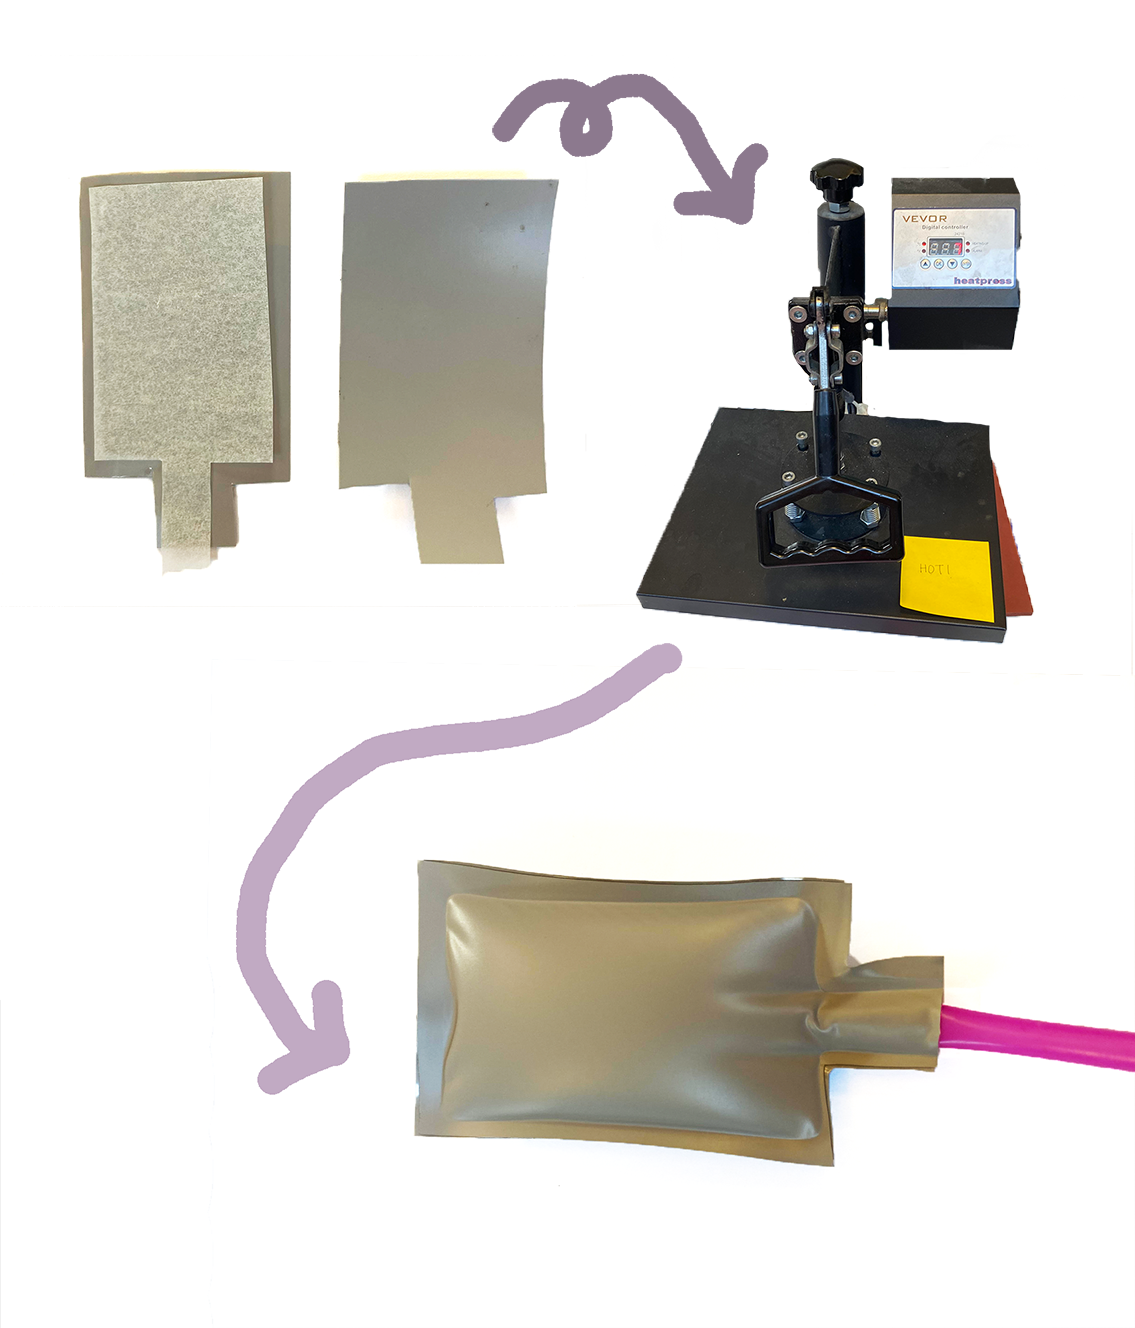
To begin prototyping for the week we played with heat press vinyl sheets to make inflatables.
Tools
- Heat press
- Heat press vinyl
- baking paper
- Scissors
- straws
- (optional: Cricut)
-
Start by cutting baking paper into whatever shape prefered with added channel for a straw
-
Place the baking paper between two sheets of heat press vinyl
-
Put the vinyl shape in the heatpress between two sheets of baking paper. The press should be set to 140 °C for 15 seconds.
-
Take out and peel off protective plastic layer
-
Let cool and then you can insert a straw and inflate!
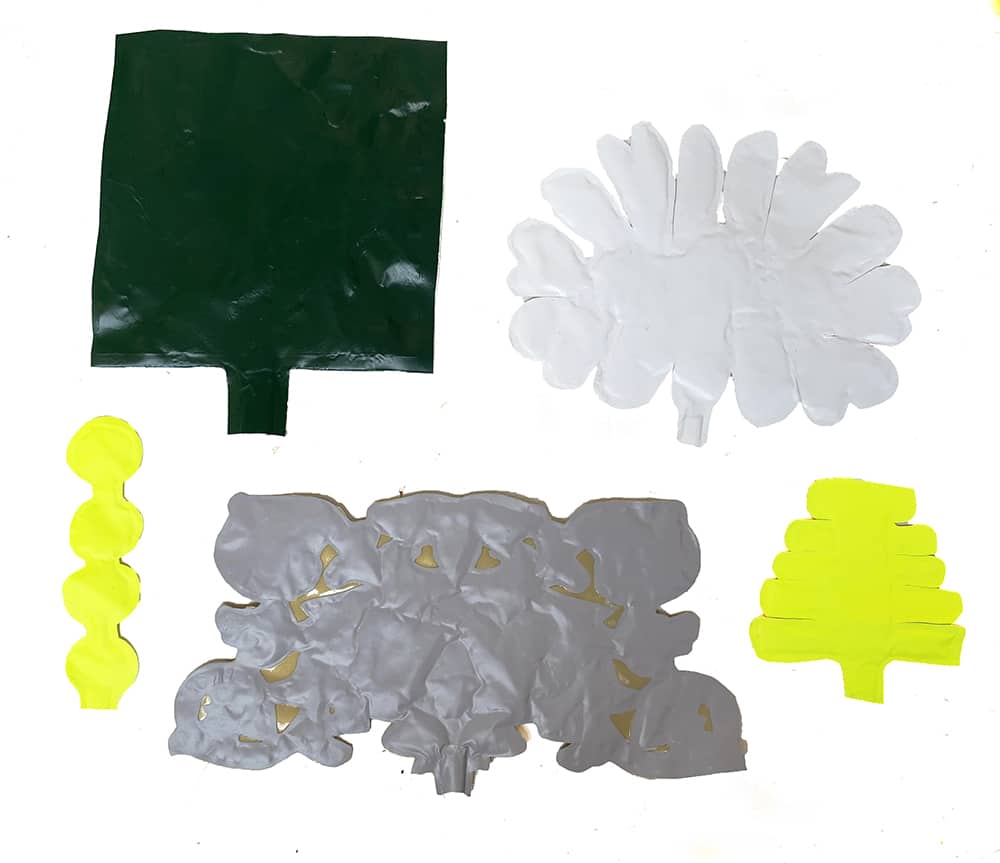
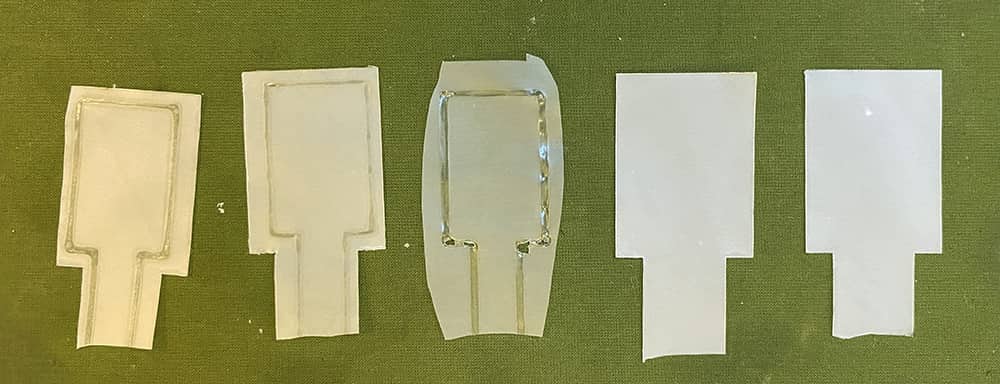
Inflation gifs
Overall the two yellow ones worked the best. I think the simpler shapes had the most sucess. If there was too many interior channels it would usually cause weird bubbles. The dark green was a more complex,folding shape inside a square but in the end just kind of became a weird lumpy form. The vinyl was super easy to use but had the most "fails".
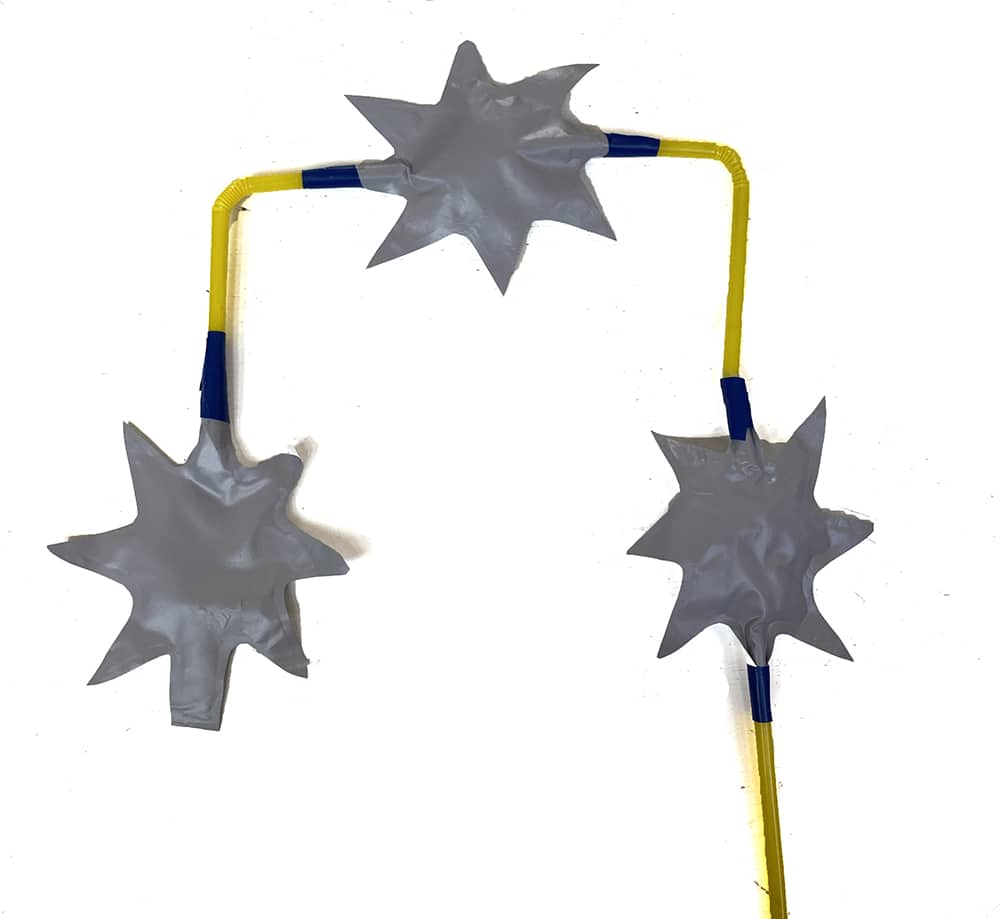
I also wanted to try to see if I could connect multiple inflatables as a soft circuit. This worked pretty well and could be interesting if it was combined with actuators with movement. The main problem to solve is creating good attachments to the air source. Electrical tape was alright as a temporary fix but maybe some sort of silicone cast attachment to bridge the gap between tube and inflatable would work for a more finalized project.
Soft Circuit
Cricut Expiriments
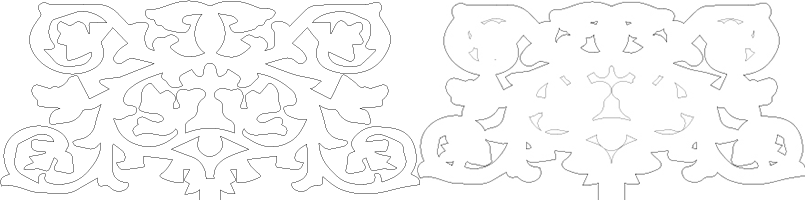
I was interested in using the cricut to see if I could get more intricate shapes for the heat press. I started by using the offset settings in illustrator to make an outline of a vector drawing. The smaller inner drawing would be cut out of baking paper while the outer, larger one will be the vinyl.
-
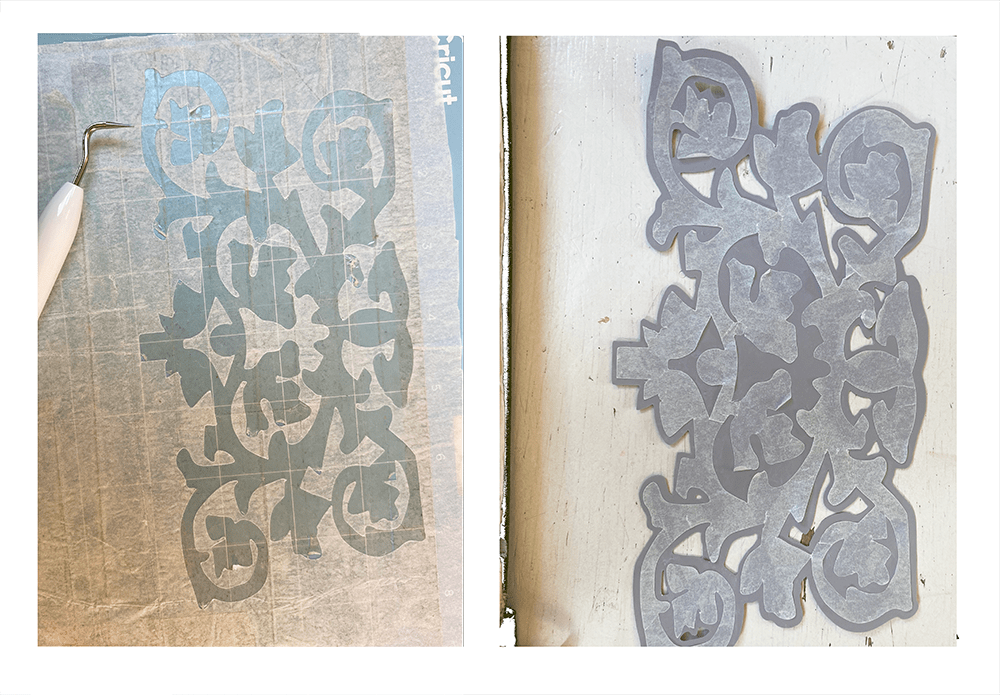
The baking paper was really delicate and at first was tearing. It worked well after laying down a layer of double sided tape to the cutting mat. We used the paper settings 120 g and to cut the vinyl we used 165 g.
-
Because my paper was so delicate I used a glue stick to secure it to the vinyl before pressing it.
- In the end did not really work as an inflatable :-( The channels were too small and air did not really travel well through the form. It did cut the material really well and made it possible to make more complex shapes. However,the vinyl was mostly good for simple prototypes that were not intricate. Complex shapes often got holes or didn't maintain interior air chanels. For more intricate shapes I think the laser welding worked better.
Laser Welding
By defocusing the laser, you can create a wider beam that is able to weld together two layers of TPU plastic.
Tools
- TPU sheet
- Laser cutter
- Light burn or other laser cut software
- Rhino/Illustrator
- straws
- tape
First we had to do some testing to find the right settings for welding and cuttig through the plastic.
-
To weld we used a distance of 29 mm away from the material
-
To cut we refocused the laser to the typical 8 mm distance and ran the cut lines twice to ensure it cut all the way through
-
The white TPU is slightly thicker so I used 70 speed and 50 power to weld and 90 speed and 45 power to cut (running the cuts twice)
-
The orange and green used 80 speed and 45 power to weld and 100 speed 35 power to cut (running the cuts twice)
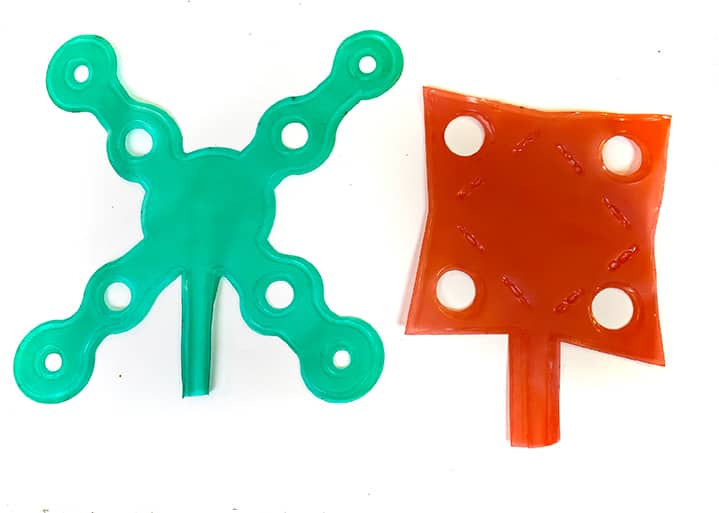
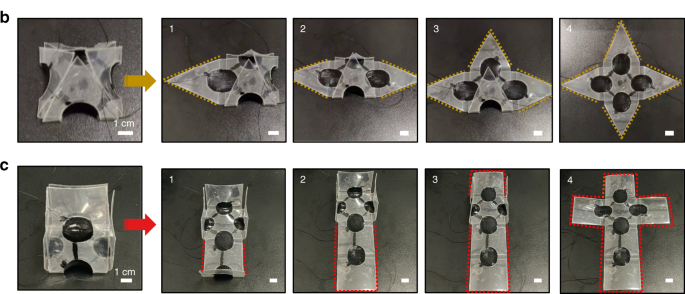
TPU trials
The green was meant to be a gripper actuator shape but the channels in the legs were too skinny to pass air through.
The orange inflatable was inspired by origami folding forms. I wanted to see if I could get it to fold but ended up just curling in slightly. I think if i welded an x shape in the middle it might help distribute the airflow better so its less heavy in the center to create more of a folding motion.
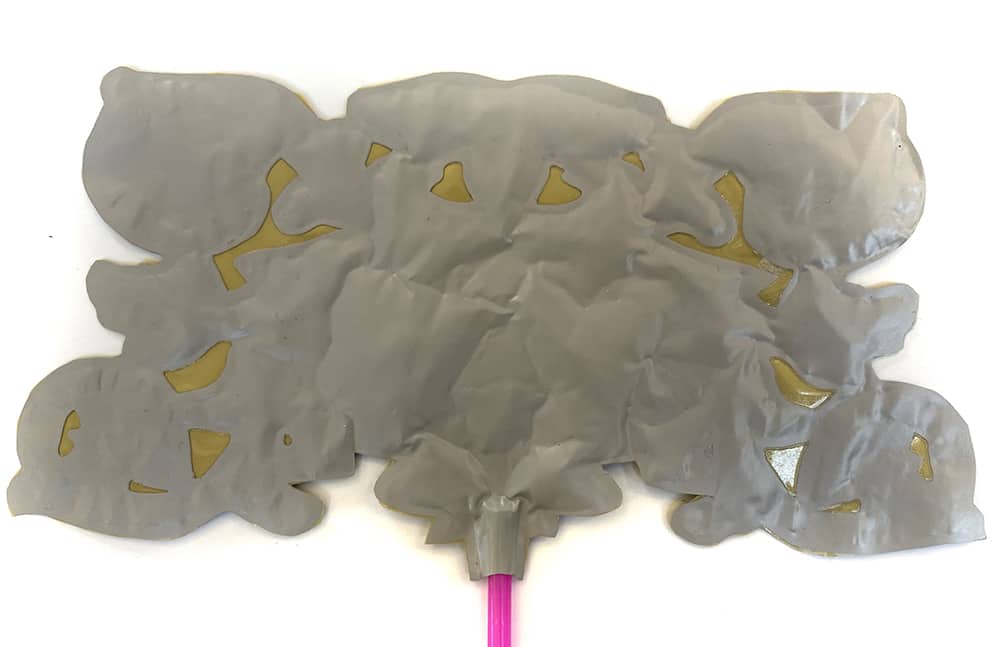
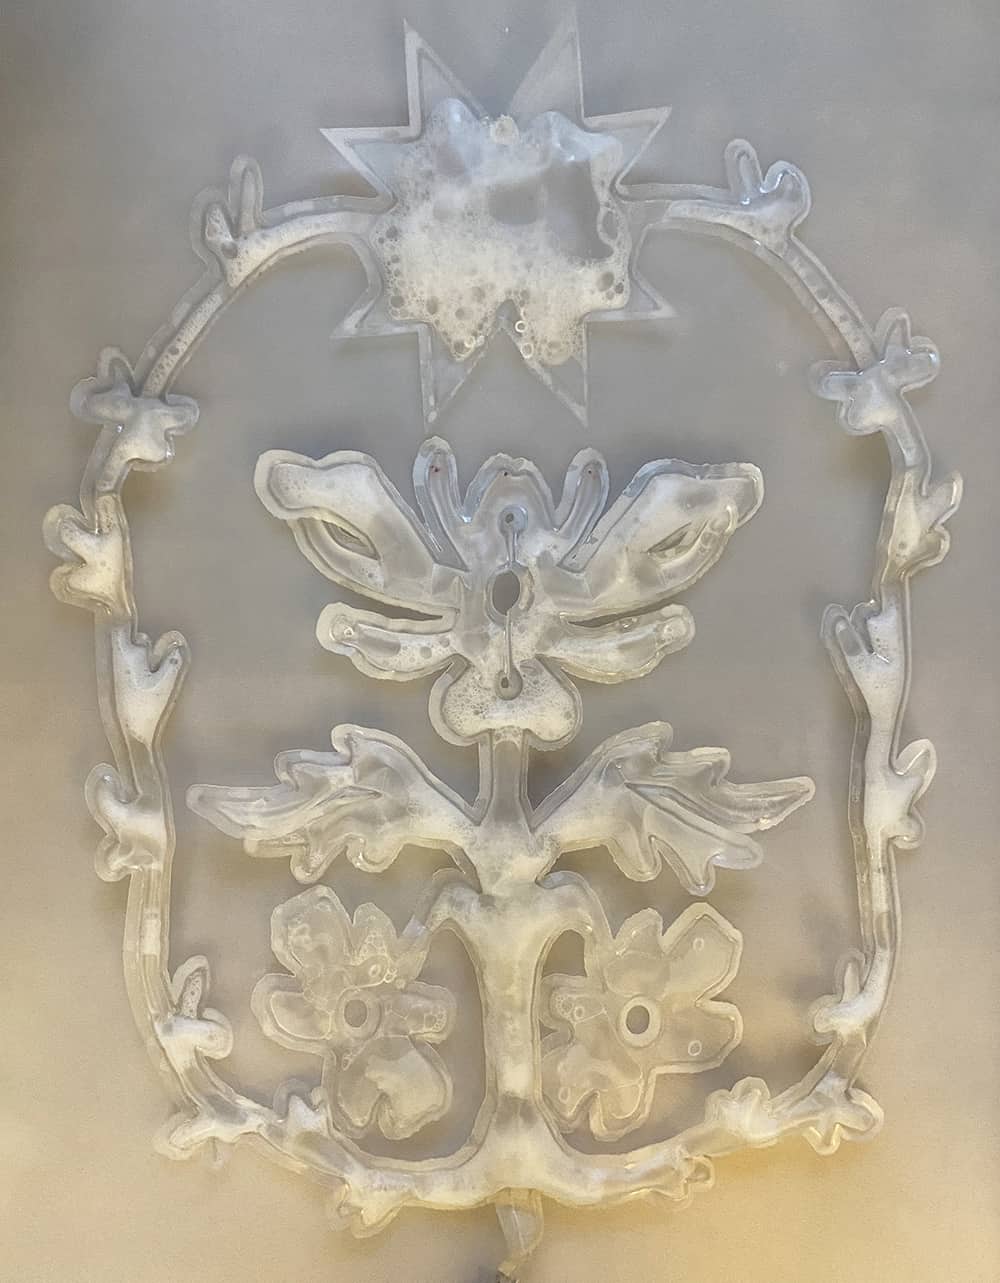
Floral Inflatable
I wanted to explore making a more intricate inflatable. This design didn't have much movement but I was mostly just interested in combining the futuristic, sci-fi look of tpu with traditional textile motifs
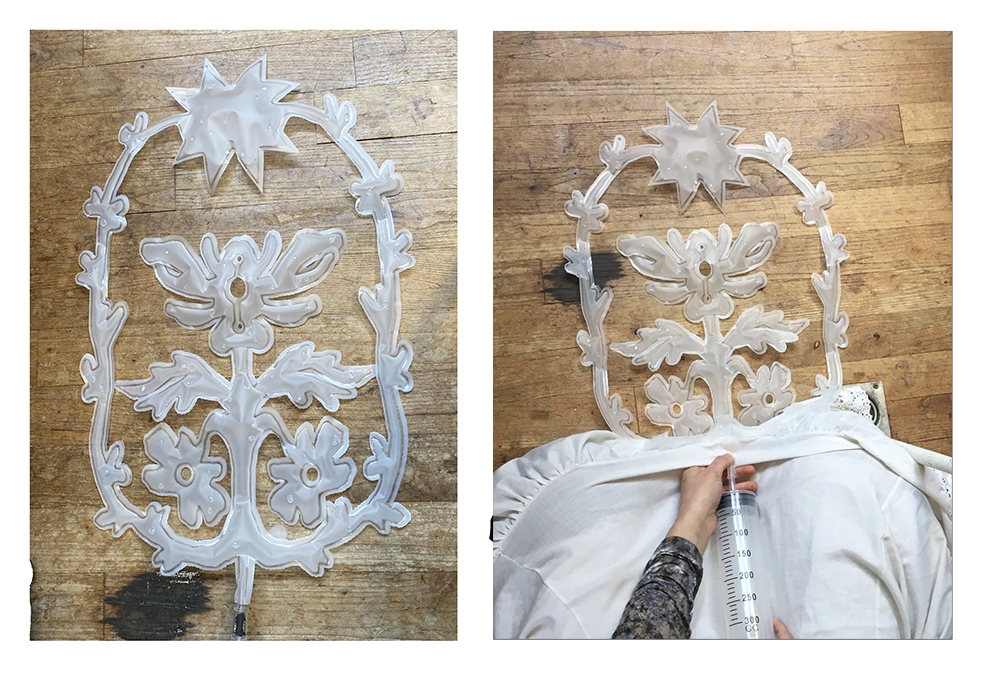
Also I really loved the look of liquids moving through soft robotics so I added some sopy water to pass bubbles through the inflatable. This ended up being a really good way to find holes to repair also.
Casting
Tools
- Molds (3D printed or laser cut)
- Silicone
- Bowl
- Scale
- Air pump
- tube
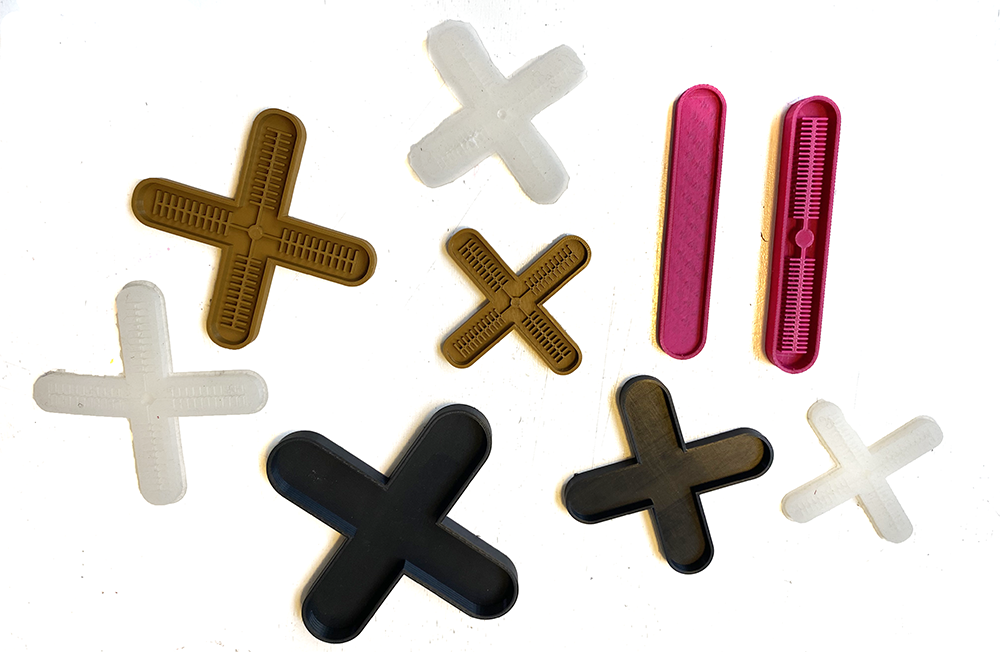
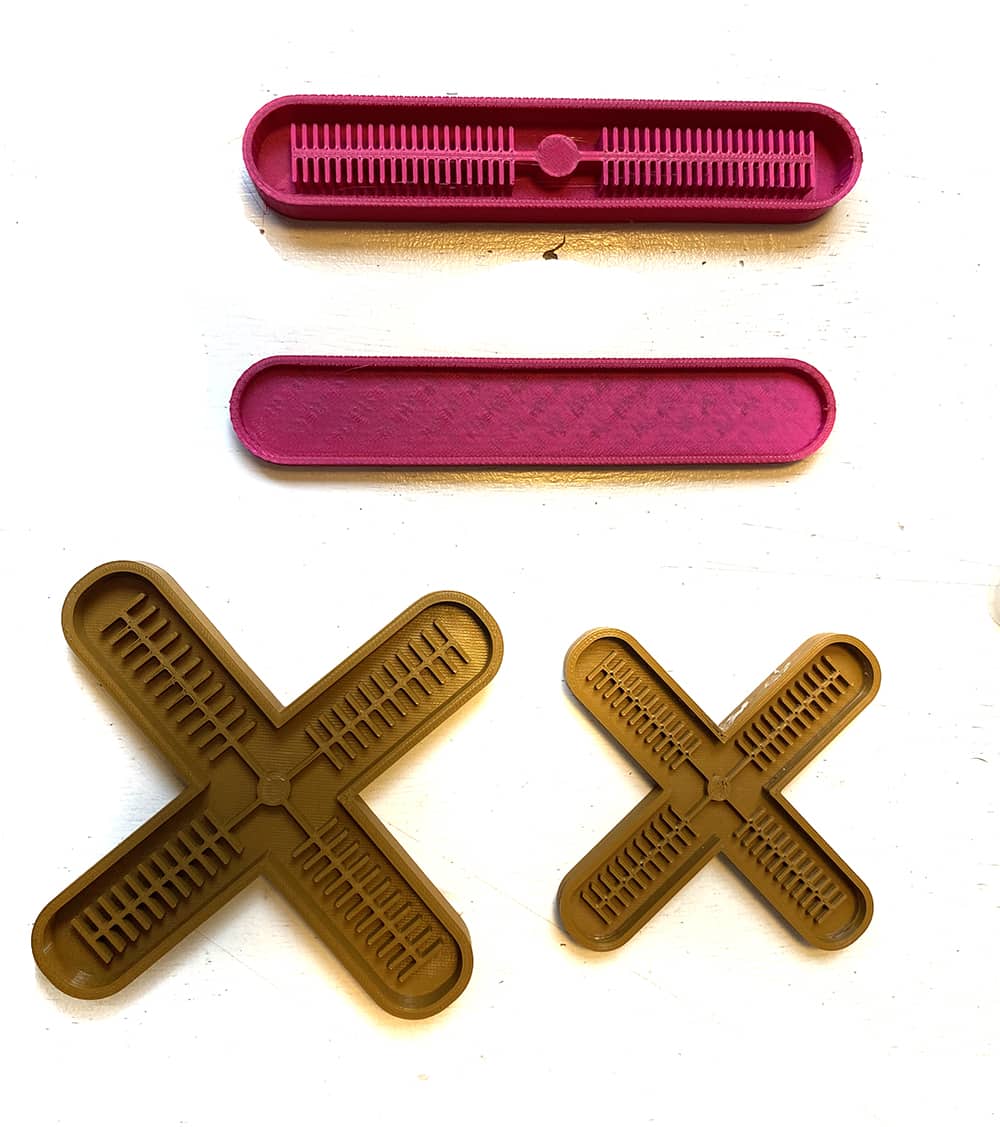
Prepare your molds using the 3d printers or stacked plexi glass laser cut layers. They should be in two parts that you can glue together with silicone layers.
Silicone
For Silicone molds mix equal parts of A and B. We measured out 50 grams of each and then folded them into eachother well. Omce fully mixed we vibrated the mixyure to help the air bubbles rise.
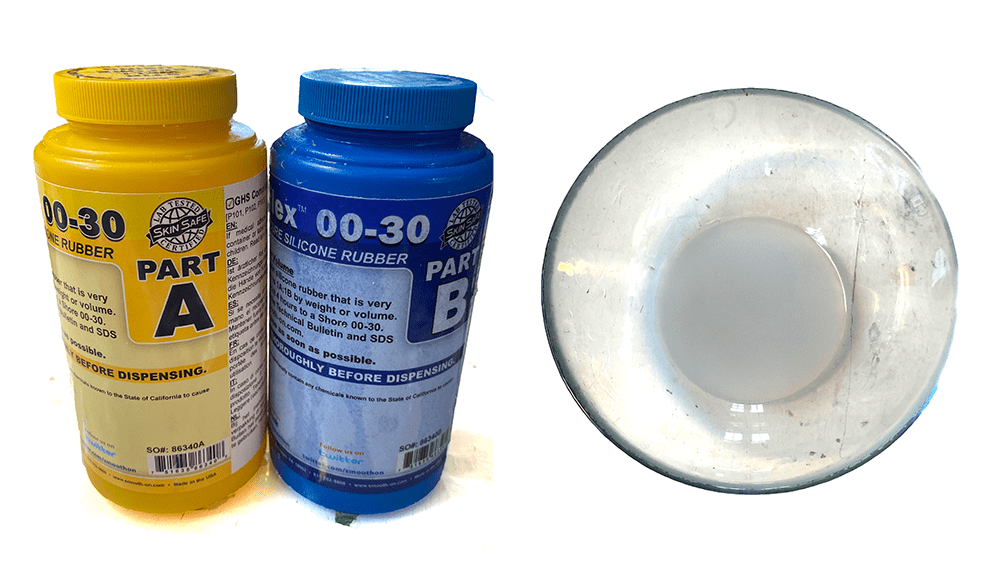
After pouring into the molds, you can use a needle to pop any bubbles that rise to the surface
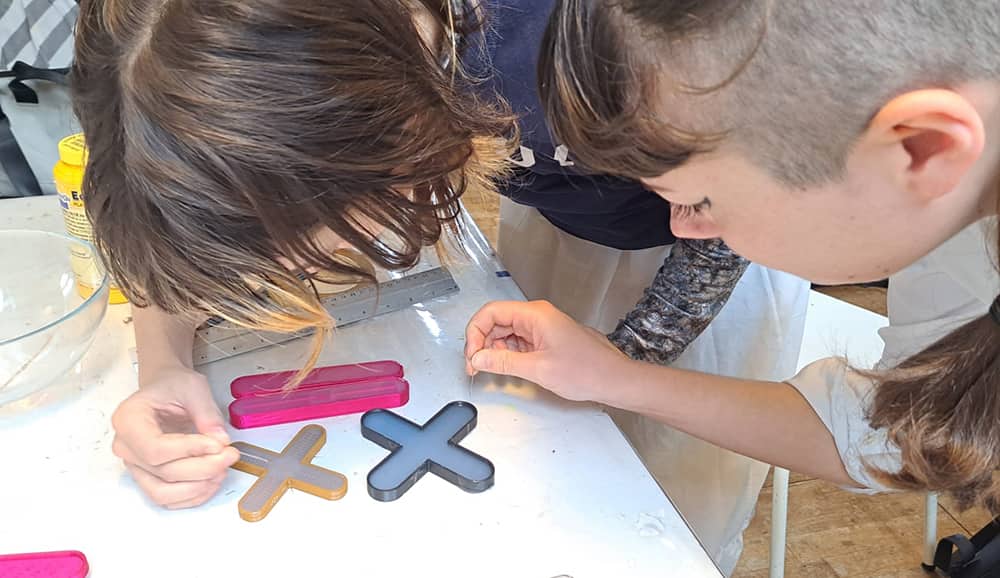
They take a few hours to fully cure. When they are done you can demold them and add a thin layer of silicone as a glue to connect the two pieces.

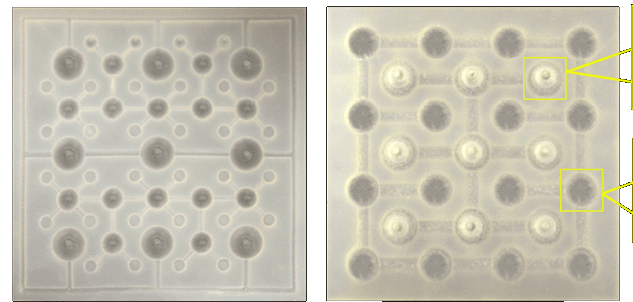
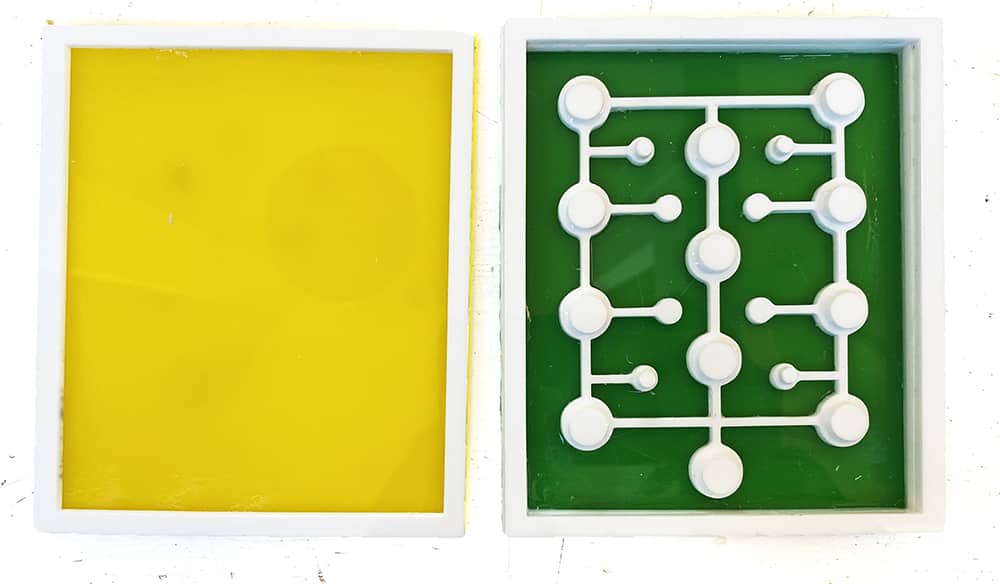
Silicone Goosebumps
I wanted to try to create a network of silicone goosebumps. I started by laser cutting layers in acrylic plastic to glue together to form a two part mold
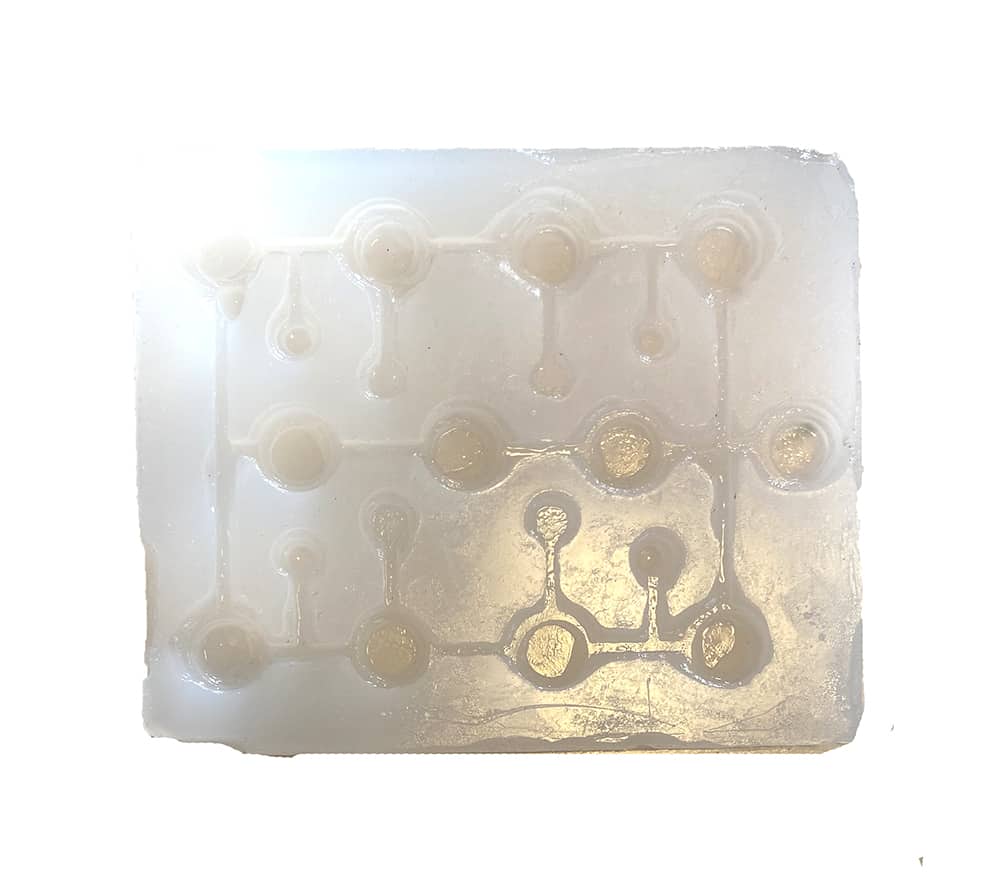
There's a bubble that wasn't sealed well but the texture shows up well with even a small amount of air. This cast was interesting because you can create a concave texture by vacuuming air out or a bubbly texture by pushing air in.
Gelatin Bioplastic
We used our gelatin recipe from week 6 to make a biomaterial for casting soft robotics actuators.
We also added in some additonal mica powder to color our gelatin
Tools
- Molds (3D printed or laser cut)
- Silicone
- Bowl
- Scale
- Air pump
- tube
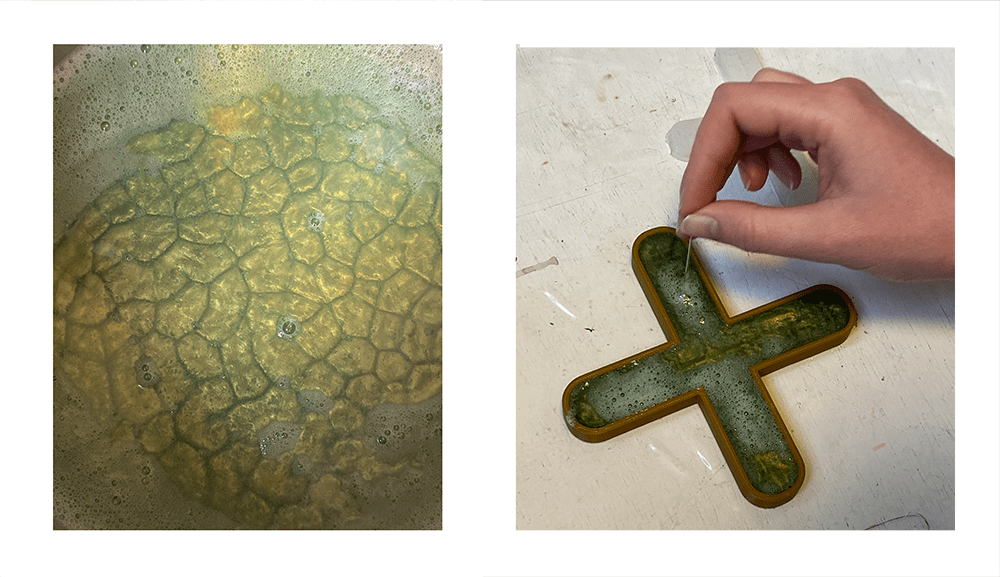
So far we havn't gotten a good sample yet because they are difficult to glue together using the gelatin. The casts came out great but din't want to restick together to form a full inflatable.
Future Exploration
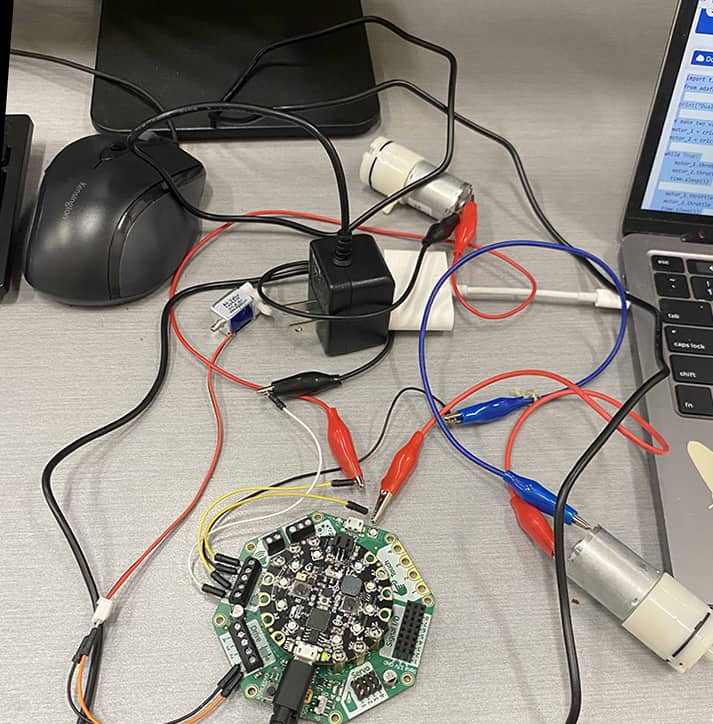
I would really like to delve more ito controling the airflow for the soft robotic actuators. In the past I've used a adafruit circuitplayground to control a vacuum and pneumatics motor to make an inflatable pulse. I would love to do this again now that I know more about actuators and am getting more comfortable using microcontrollers.
Files
All vector files can be found here