2 | Digital bodies
“MY BODY, MY CANVAS”
Today, I’m going to talk about the connexion between the physical world and the digital world.
The human body is a source of inspiration. Each one has a unique shape, which gives the opportunity to design new objects/products from this. Thanks to new technologies, there is a possibility where you can scan your body and transfer it to the digital world.
This technology is called 3D scanning, which consists of digitising an object using a scanner that generates a point cloud to be able to be materialised in the corresponding program.
Basque Design Center has a Handyscan scanner. For me, it was easy to use it because I used this type of scanner previously. All of them work similarly, however, the program was new for me. Betiana, the teacher, explained to us how she has scanned a piece to practice afterwards.
We started with a middle arm. It was placed on a rotating platform, to make its scanning easier. At the beginning, we could see how the figure was successfully virtualized.
Obviously, we spoke too soon…
We started to see the first failures. Well… In fact, I wouldn’t call it a failure. It was more like a digital abstract work of art.
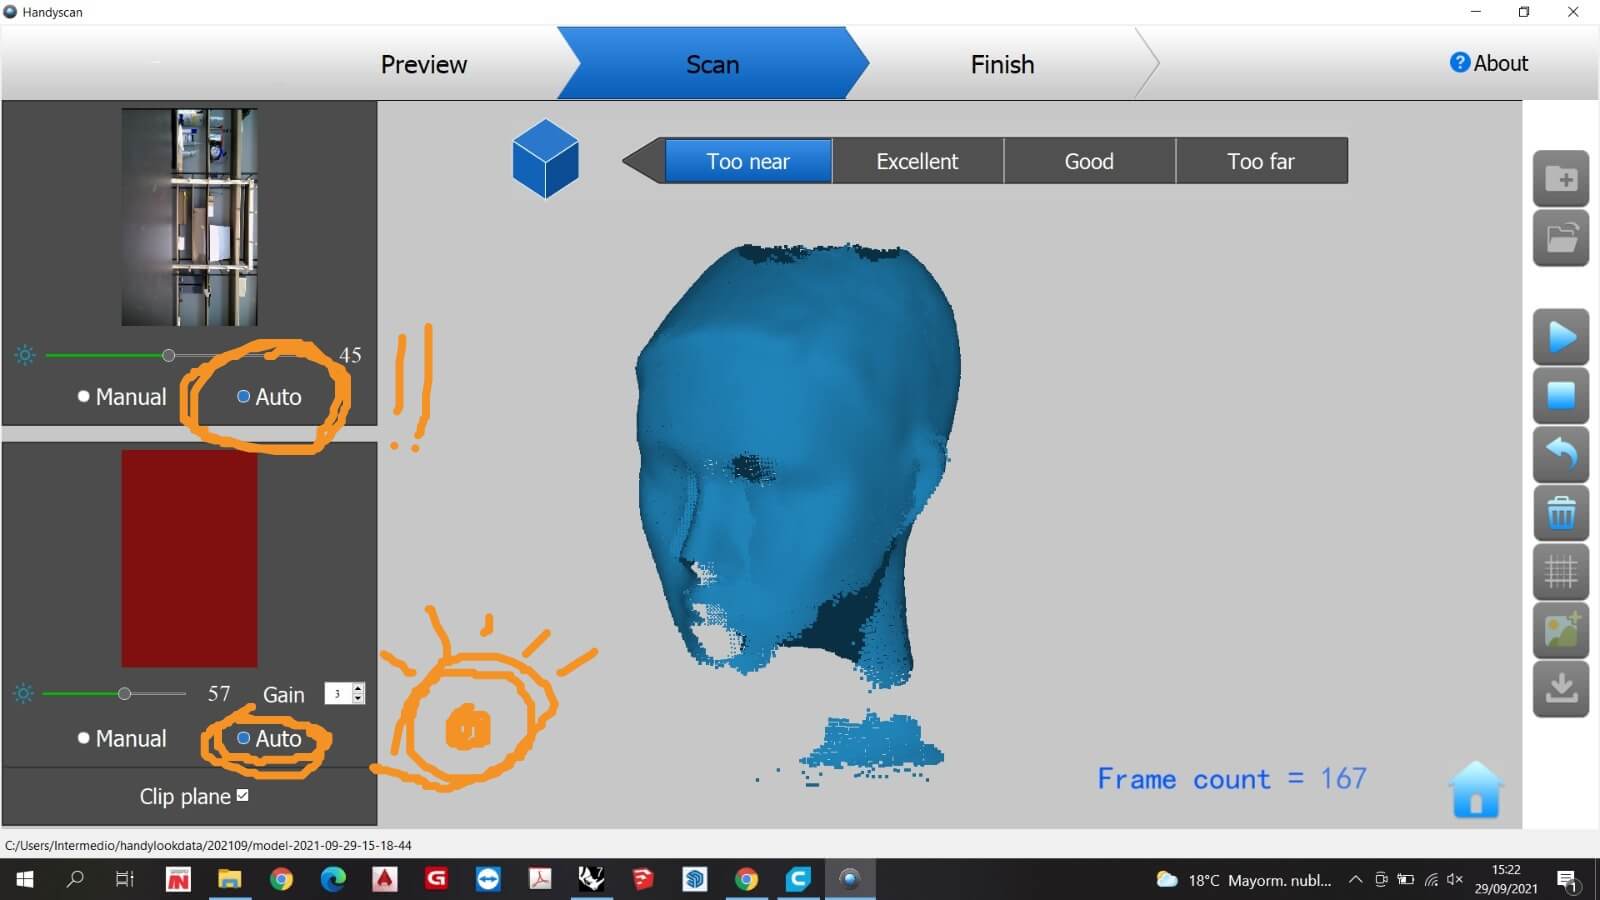
We repeated it a few tienes, because each time, the scanning failed by overlapping the geometry. Finally, we understood that it was necessary to have the “auto” option activated instead of “manual” option, which makes scanning easier and more precise.
Another detail that was very important was to scan “without colour”. It will be very useful when we pass the file to the Rhinoceros program. This function reduces the weight of it.
Taking into account these tips, I began the process of making my 3D digital body.
Creative Process
Brainstorming
The first phase was the brainstorming. I took inspiration from artists that work with the human body. This moodboard collects my vision for this project. Its title is “NI”, which in basque means “me”.
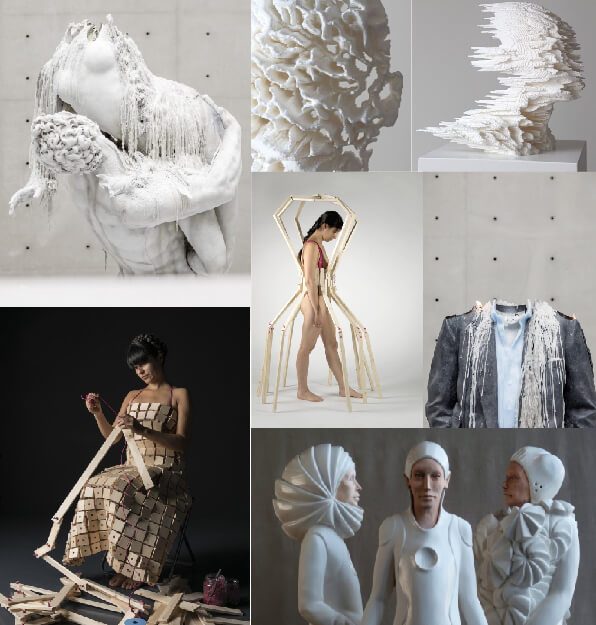
Inspiration links: Filippo Nassetti, Urs Fischer, Katharina Andress, Tamara Jacquin.
It’s a representation of how I feel after finishing my degree, that means, I am starting a new phase where I will gain new knowledge and I will keep it all in my head.
Furthermore, I have in mind to develop a collection of accessories or jewellery, so I will use the head as a showcase.
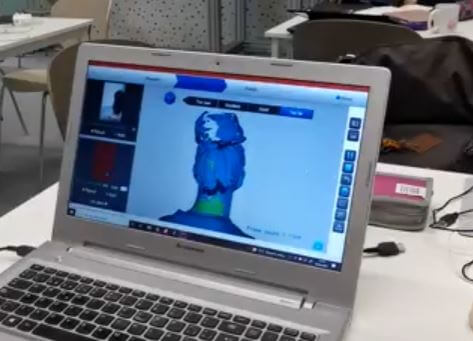
3D scanning: Handyscan scanner
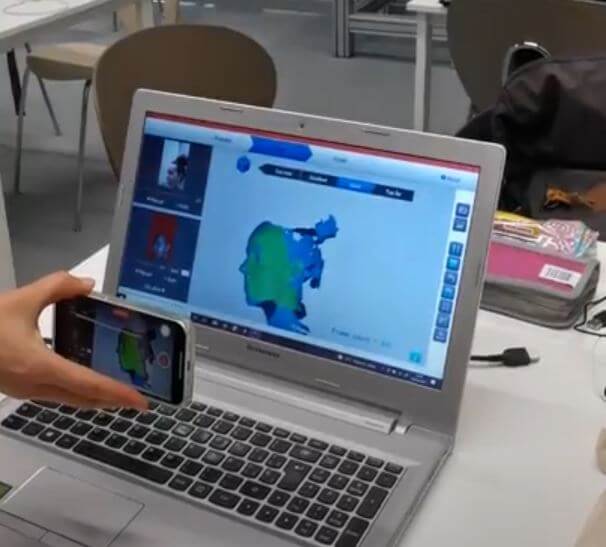
To use the scanner 3D I had to install its program: Handyscan. Once the program was opened and the scanner connected to the laptop, I could start scanning.
In this case, I was going to be the one who was going to be scanned. It’s more complicated to do it to someone because there are more details to analyzed and, usually, there are involuntary movements that difficulties the scanning.
I sat on a rotatory chair to make the scanning easier. So, with all the care in the world, I began to turn the chair very slowly.
Moreover, there is the problem of the hair. A part, that I’m like a lion (I have too much hair), the program has difficulties scanning it and I wanted to scan my big bun. As a result, the final model was incomplete.
We improvised a solution to this problem. We tried to “reduce” the details, so I put on a cloth that covered most part of my hair. Surprisingly, it worked! Well, more or less. Those parts that weren’t covered, confused the program, and it created empty areas.
I exported both files as .stl.
It was going to be very complicated to fix the mesh of the second file, so I decided to use the first one.
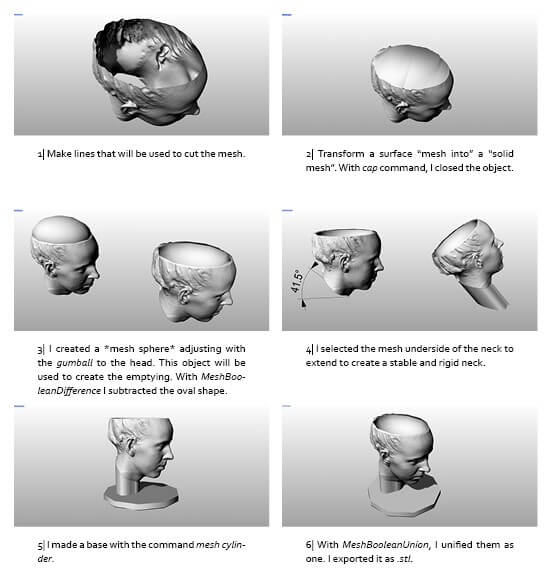
Rhinoceros
The model had to be repaired in this program: remove excess mesh, fill empty gaps, adjust edges…
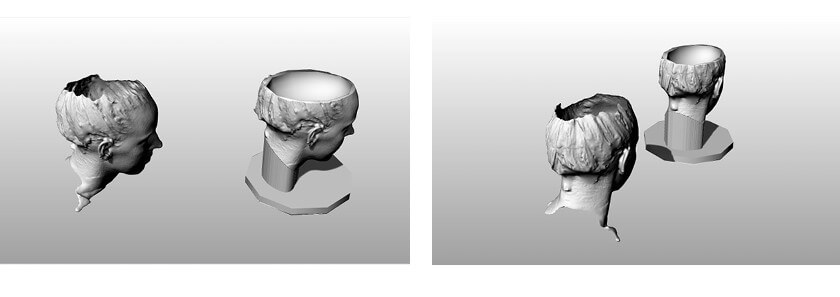
Here is a comparation between the scanning model and the final model.
The neck: Once selected the face that you want to extend, you have 4 directions options: Free, X axis, Y axis and Z axis. My best option was Free, however, I had to measure the cutting angle to make a line that later would be a guide.
The base: Before, our teacher had already done a mannequin head, cut and assembled. The head was too heavy and it hadn’t got stability, for that reason, I made a base.
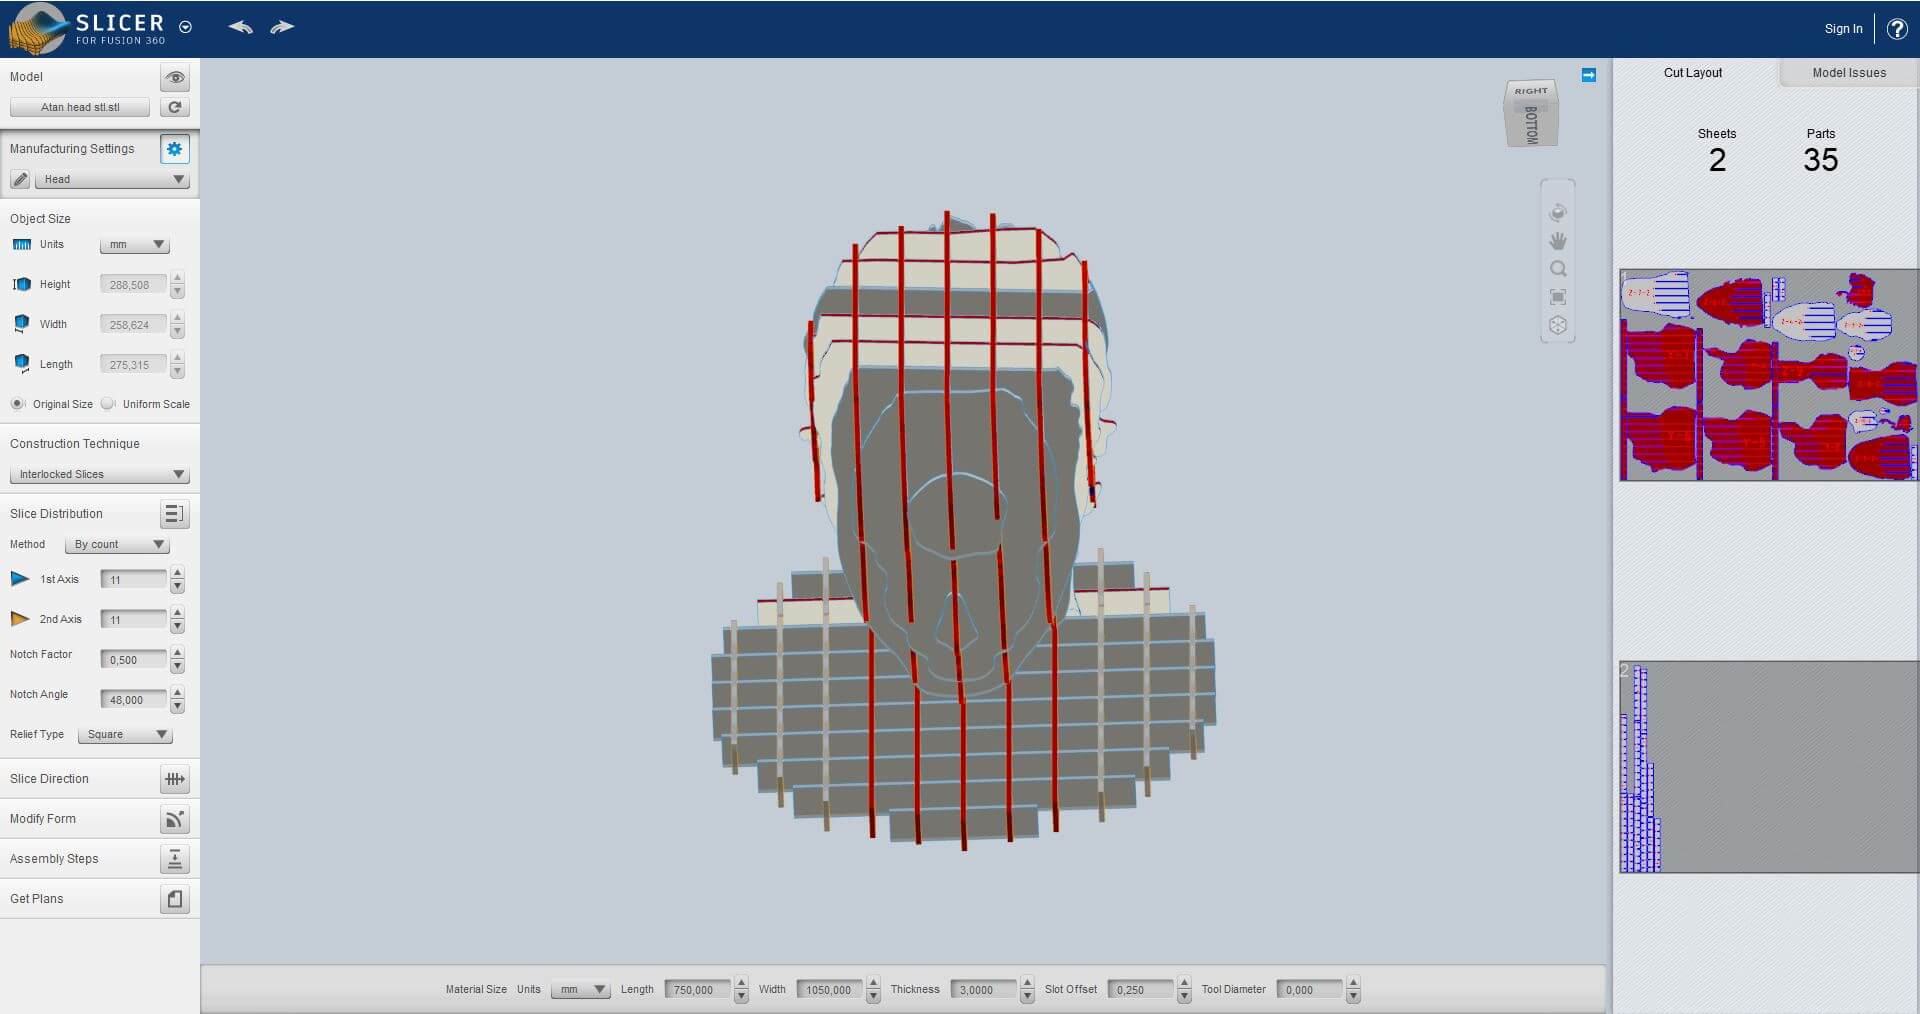
Slicer for Fusion 360
This program is a tool to turn your digital 3D models into appealing artefacts. It slices and converts 3D models into 2D patterns that you can cut out of any flat material.
- I imported the file in it.
- I customised the material settings by putting the material that we had in the center. It’s important to take into account the offset to be assembled later.
I selected the orientation and the number of slicers that I wanted, trying to reduce the number of sheets and minimising errors.
I saved the plans as .dxf to open them later in Rhinoceros to add the final details.
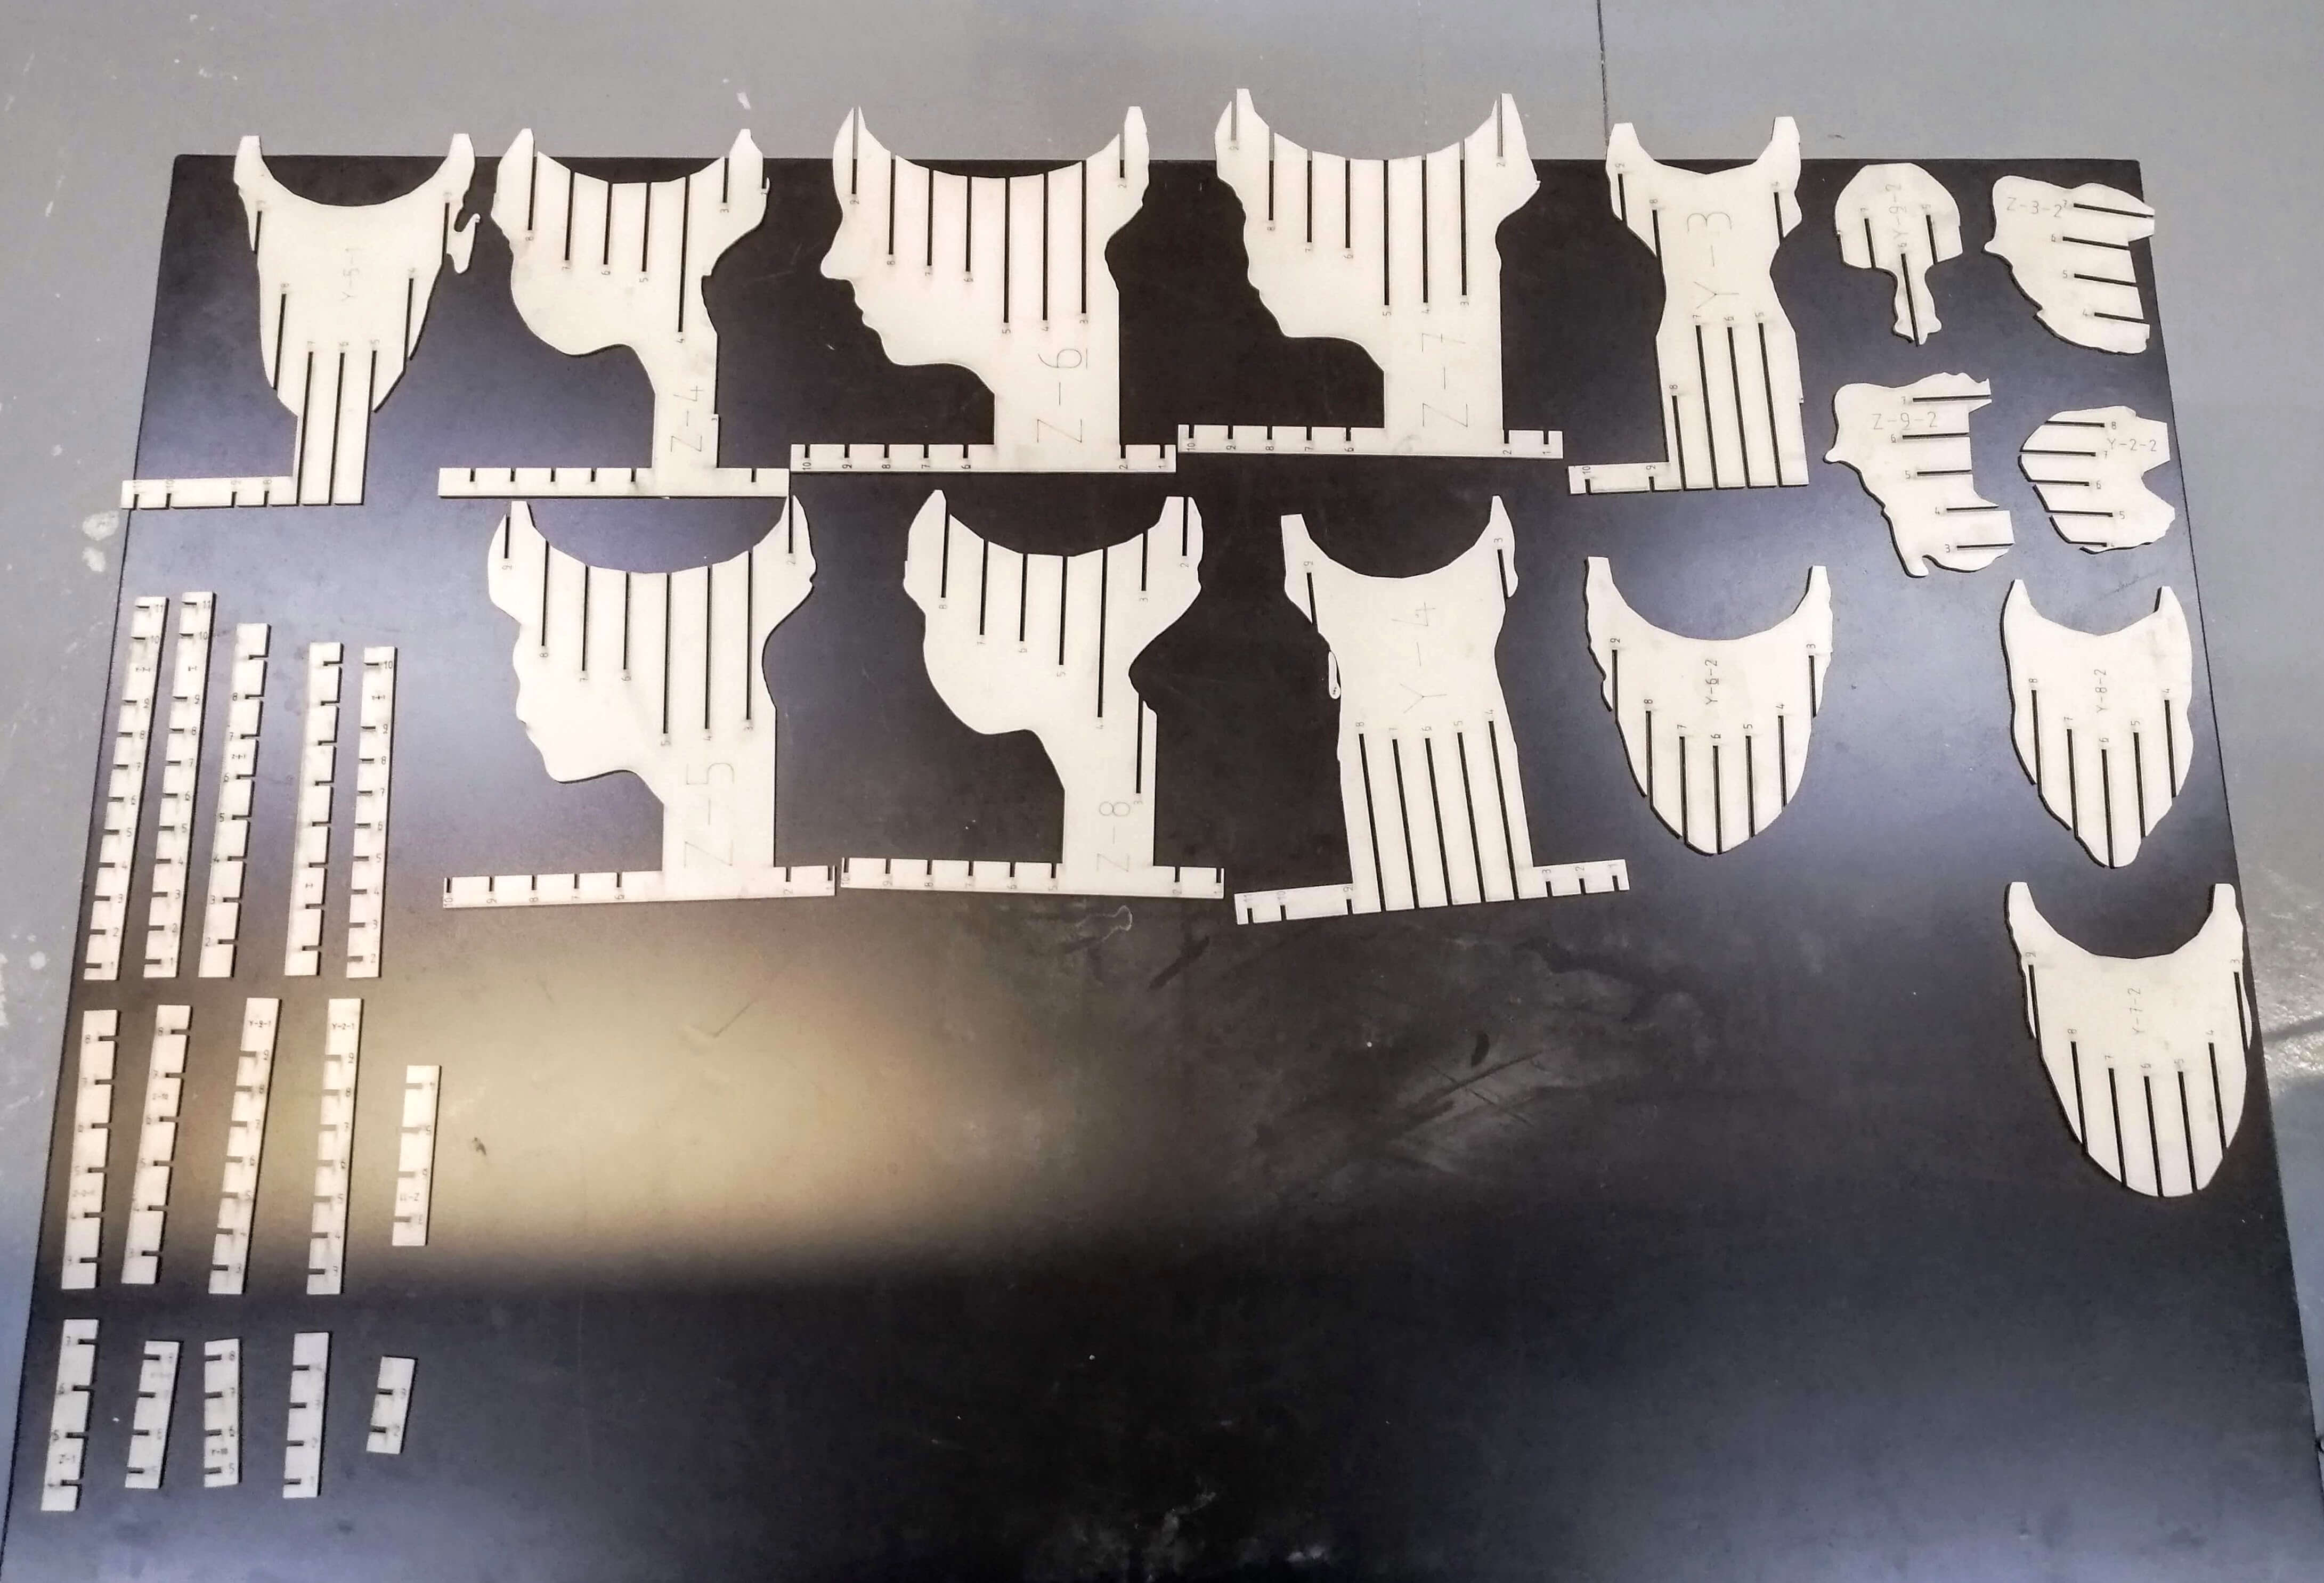
The program warns you if there is an error in any of the parts. In my case, most of them were in red (yippee!). With the help of the teacher, we tried to find why it was wrong. Finally, we decided to cut them.
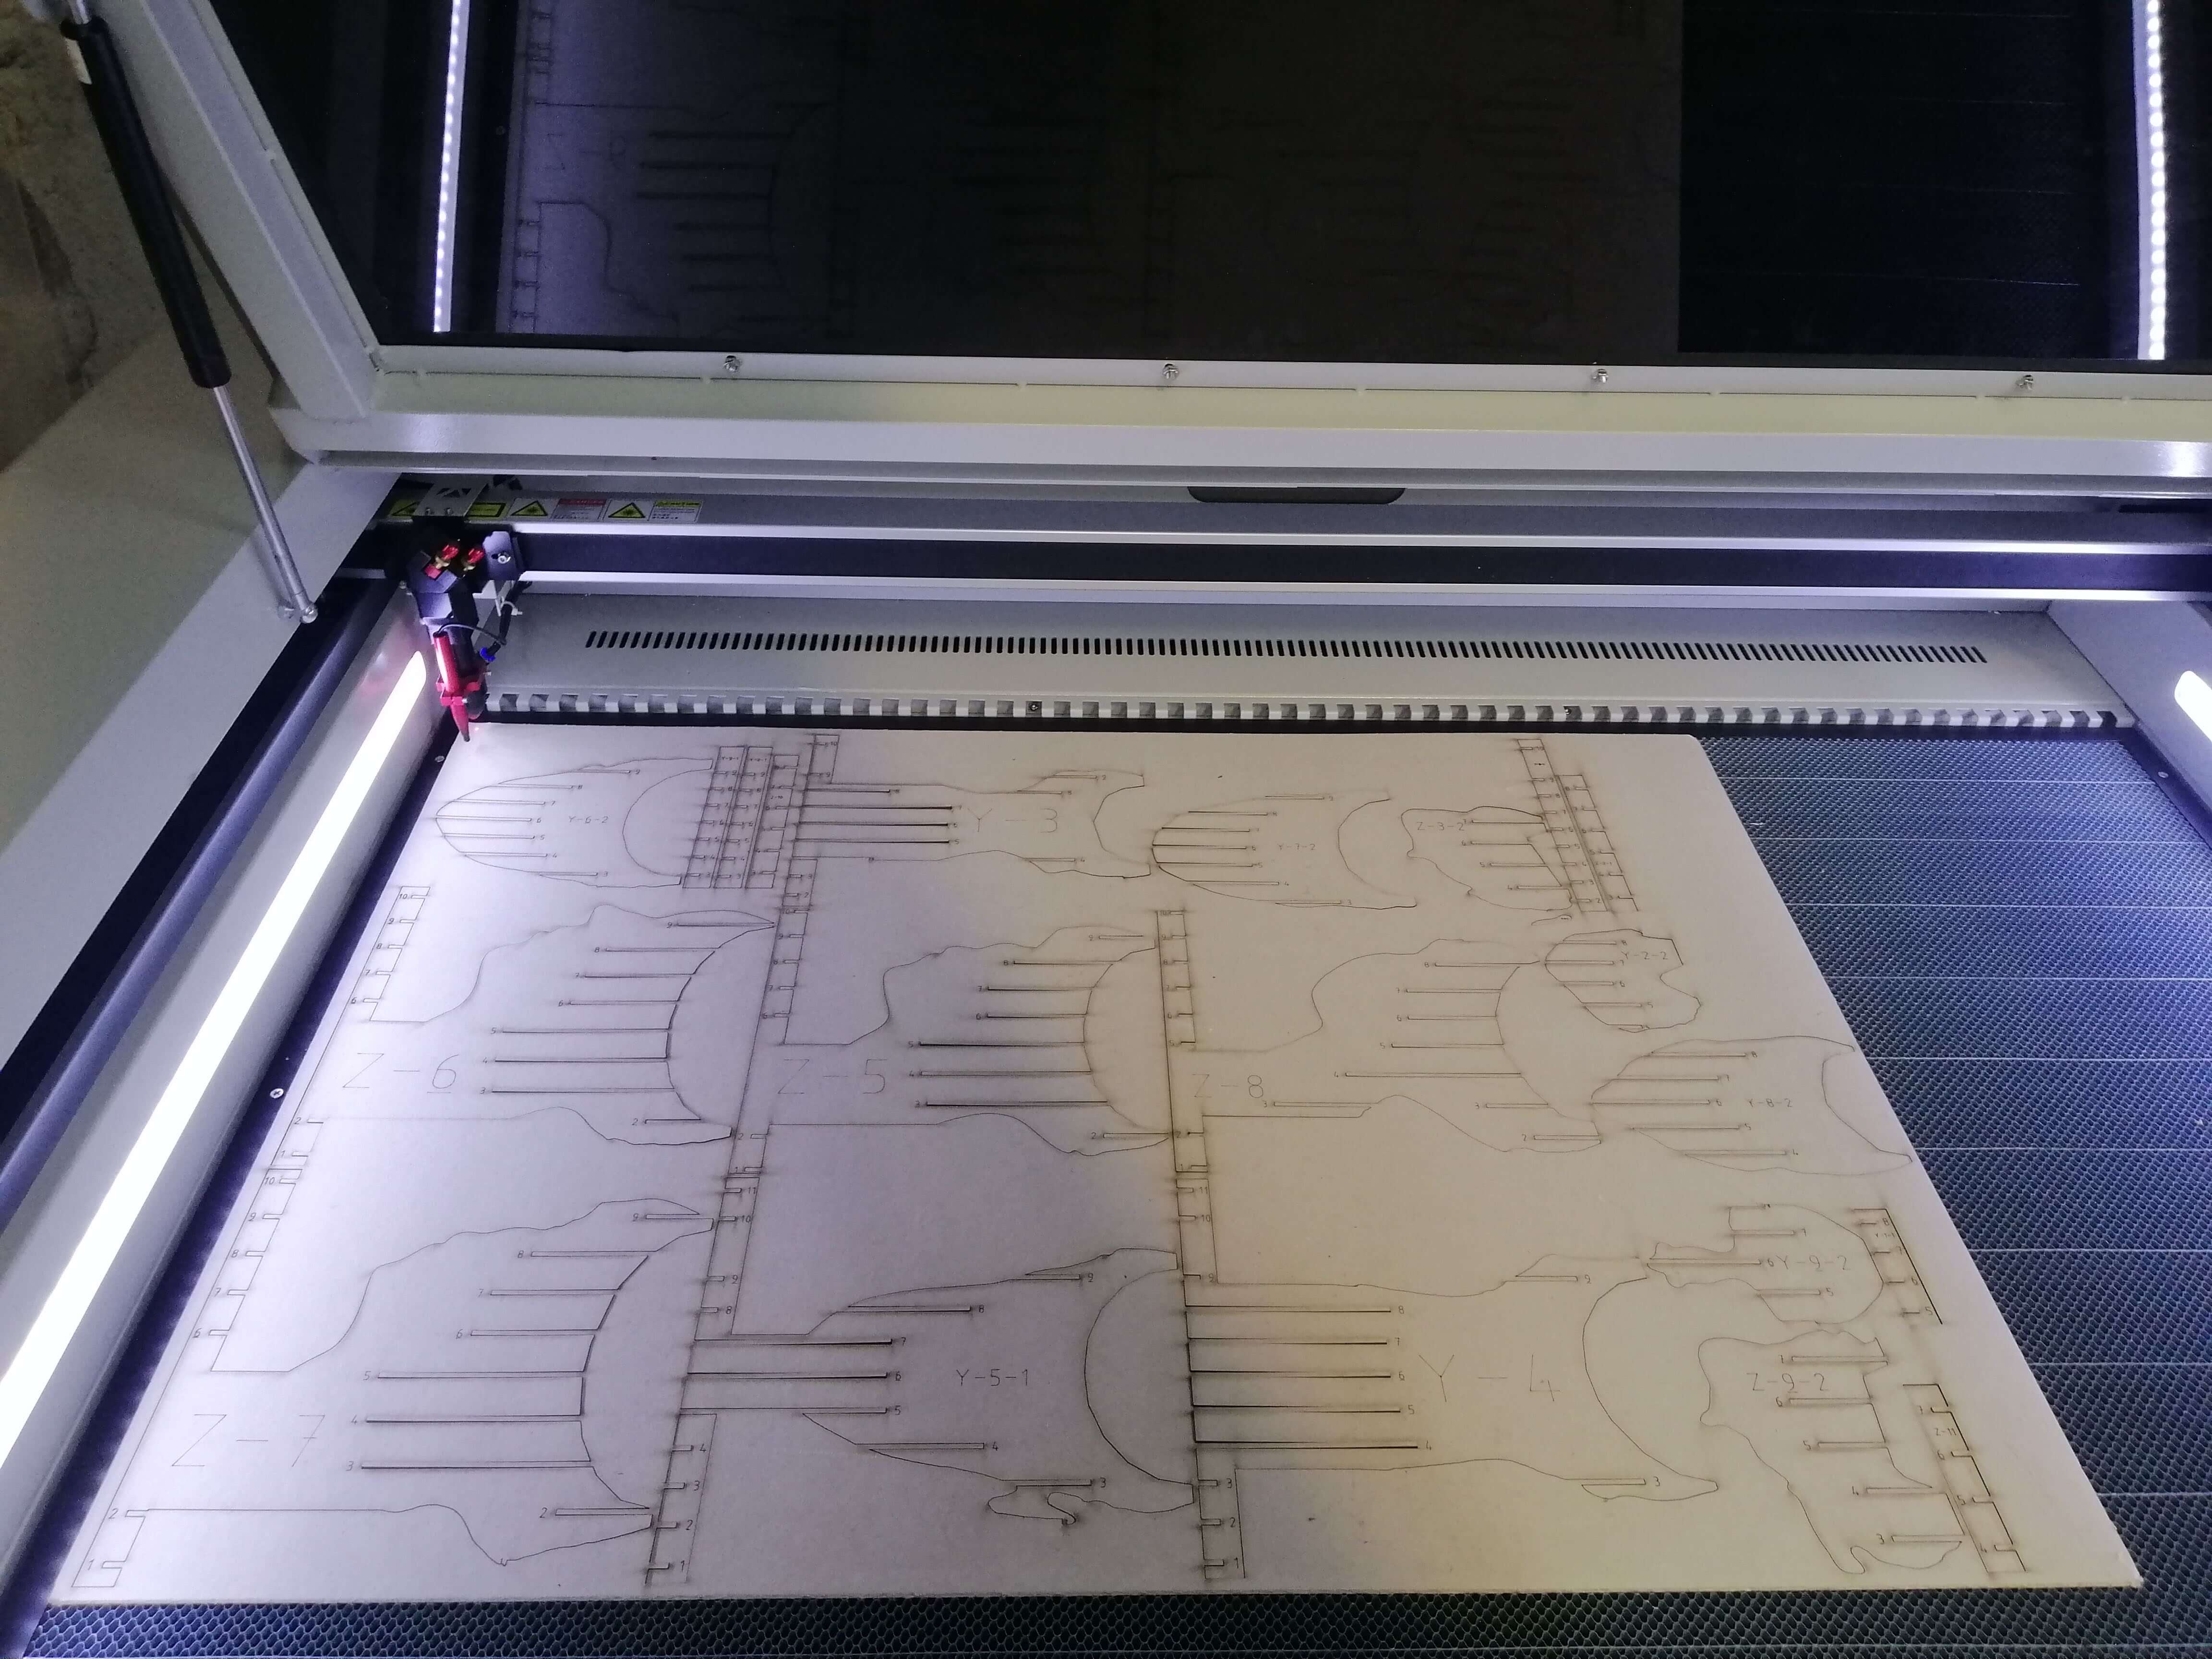
Laser Cutting:
With the final file, I uploaded it to the machine.
- Open the file in the machine.
- I put the material inside it, in this case, it was cardboard 3mm.
- With the arrows, I selected the origin, that means, the place where is going to start cutting.
- Frame. It shows the area to be used for the pieces.
- With a guide piece I checked that the distance between the laser and the material is correct.
- With the help of previously made samples, I adjusted the manufacturing setting.
Material: Carboard
Thickness: 3 mm

CUT
Speed: 35
Min. power: 70
Max. power: 74

ENGRAVE
Speed: 800
Min. power: 25
Max. power: 35
First the engrave and then the cutting is done.
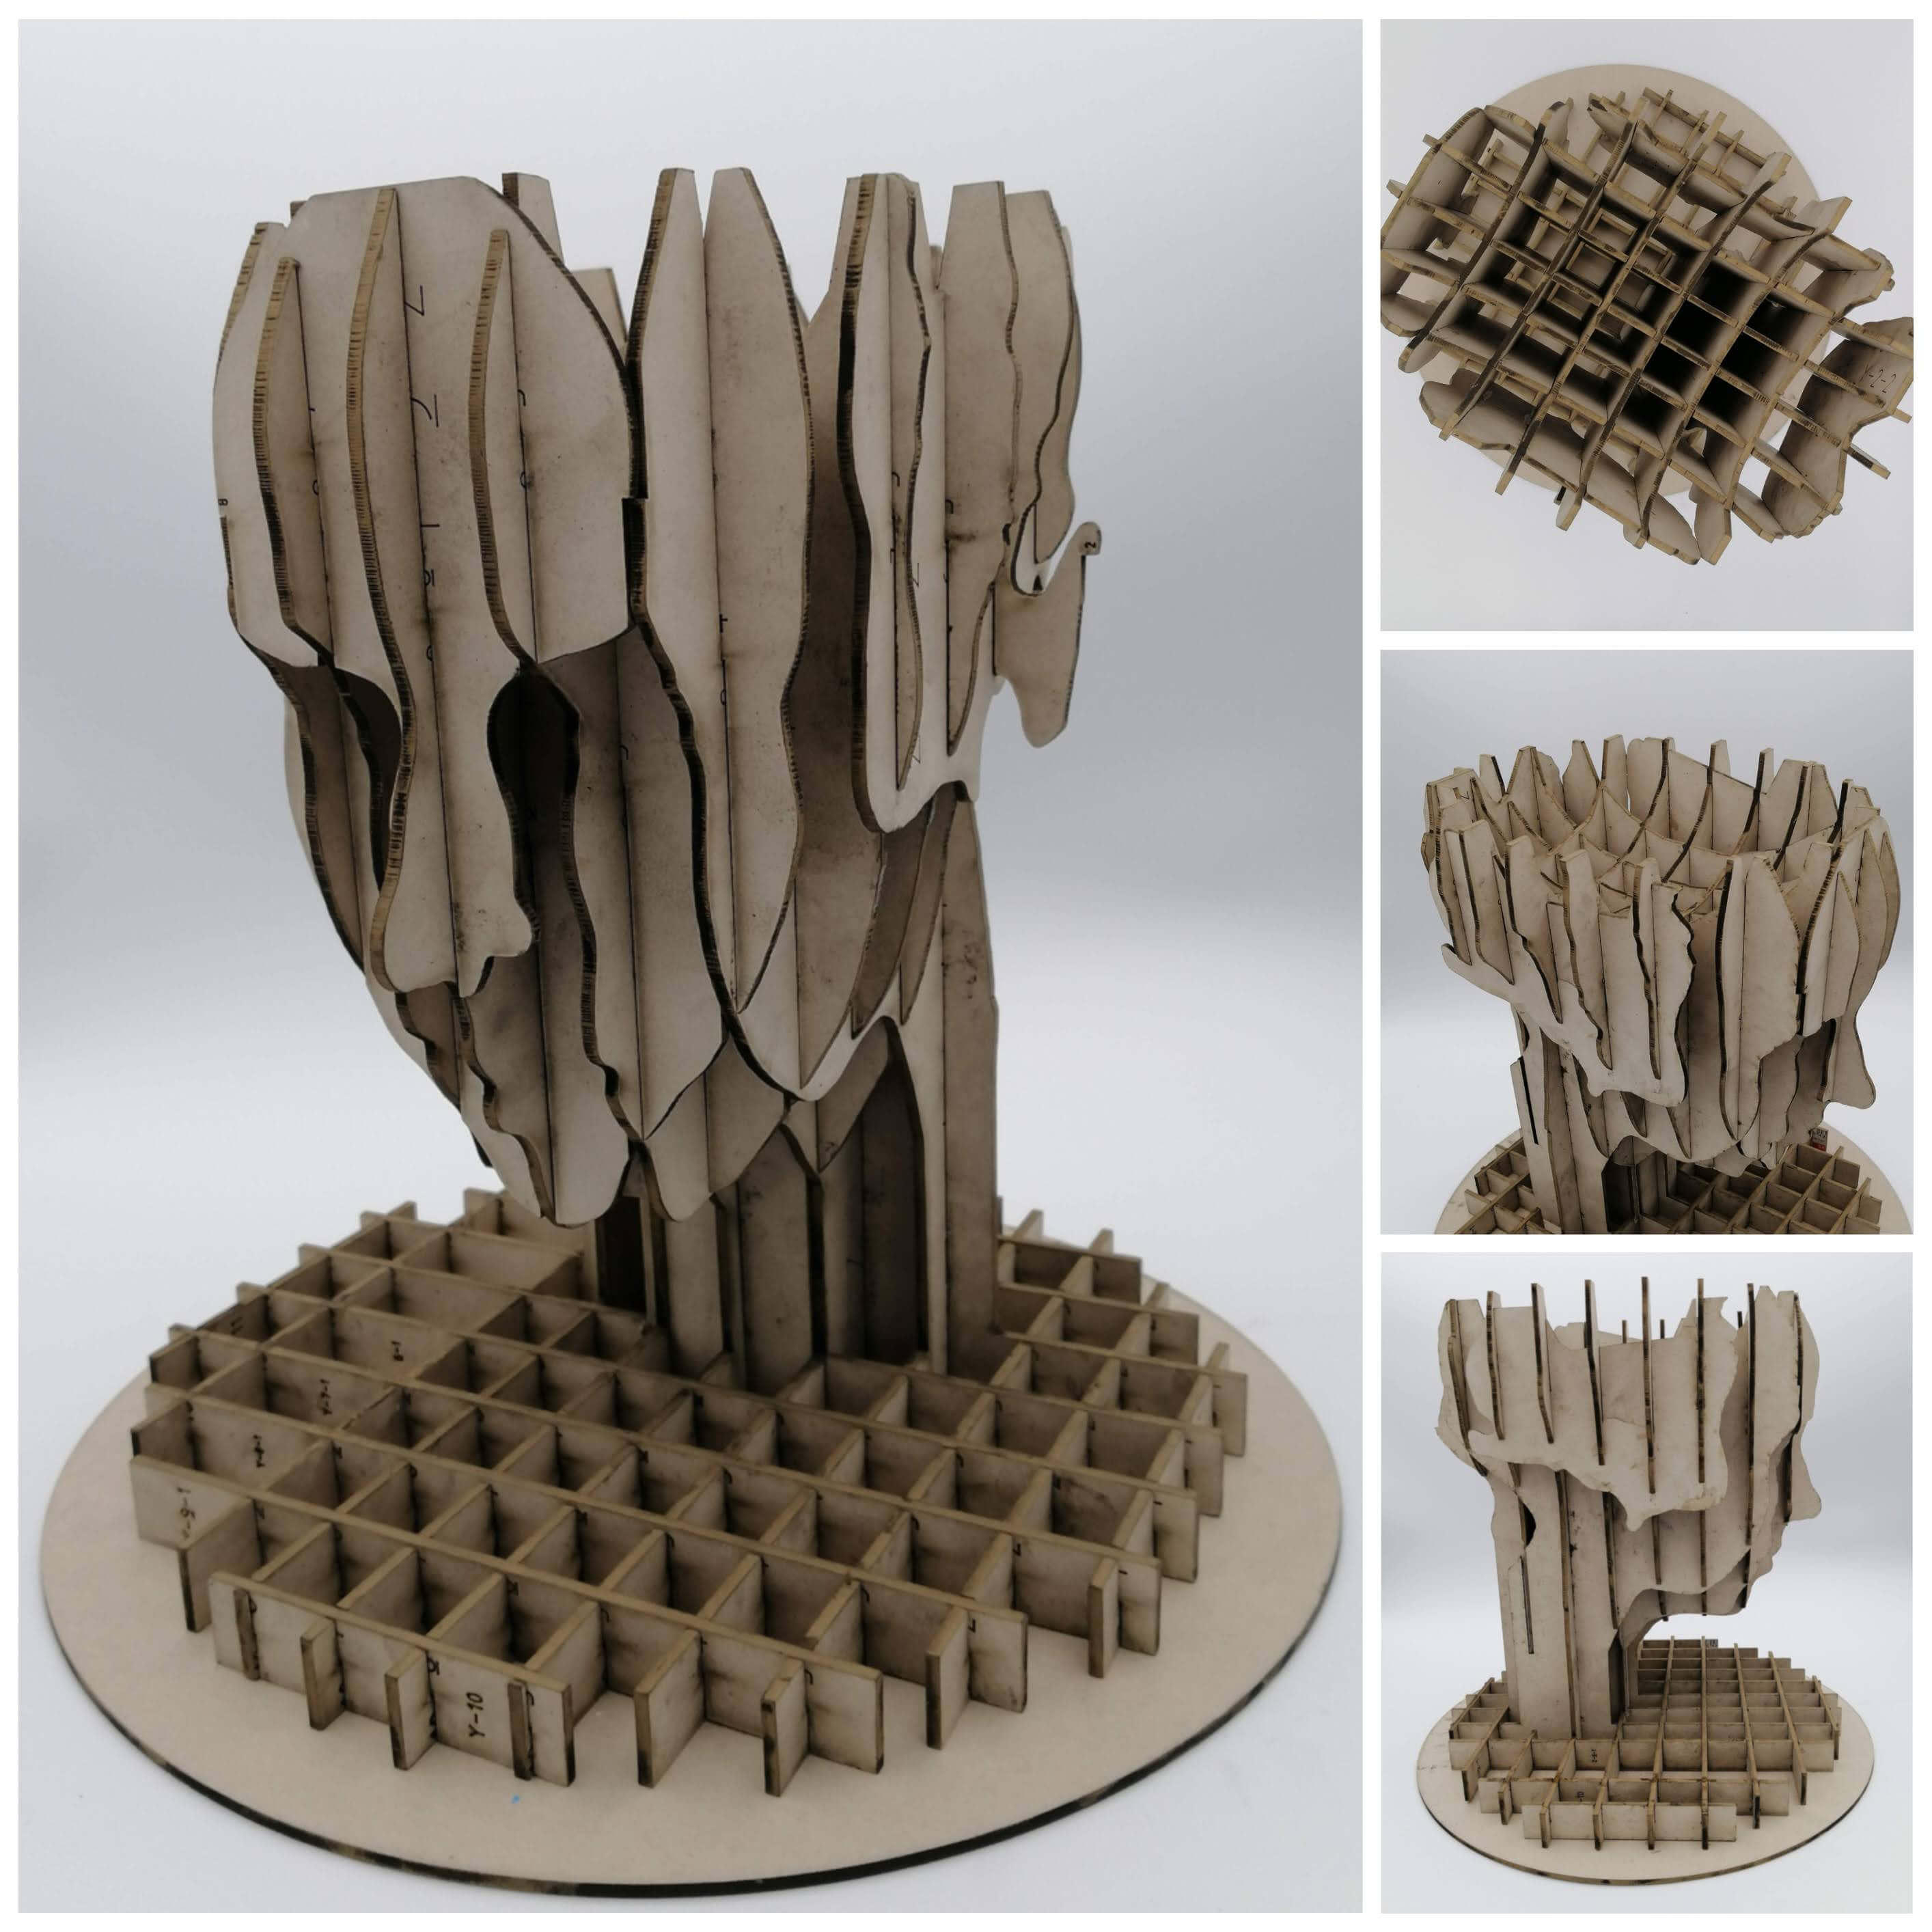
Assembly
The assembly was quite difficult due to the position of some pieces, so I asked help to my lovely friend Elsa. Last 4 pieces were the most difficult ones because they had to be assembled from bottom to top, so gravity plays its function.
Final Result
Observations
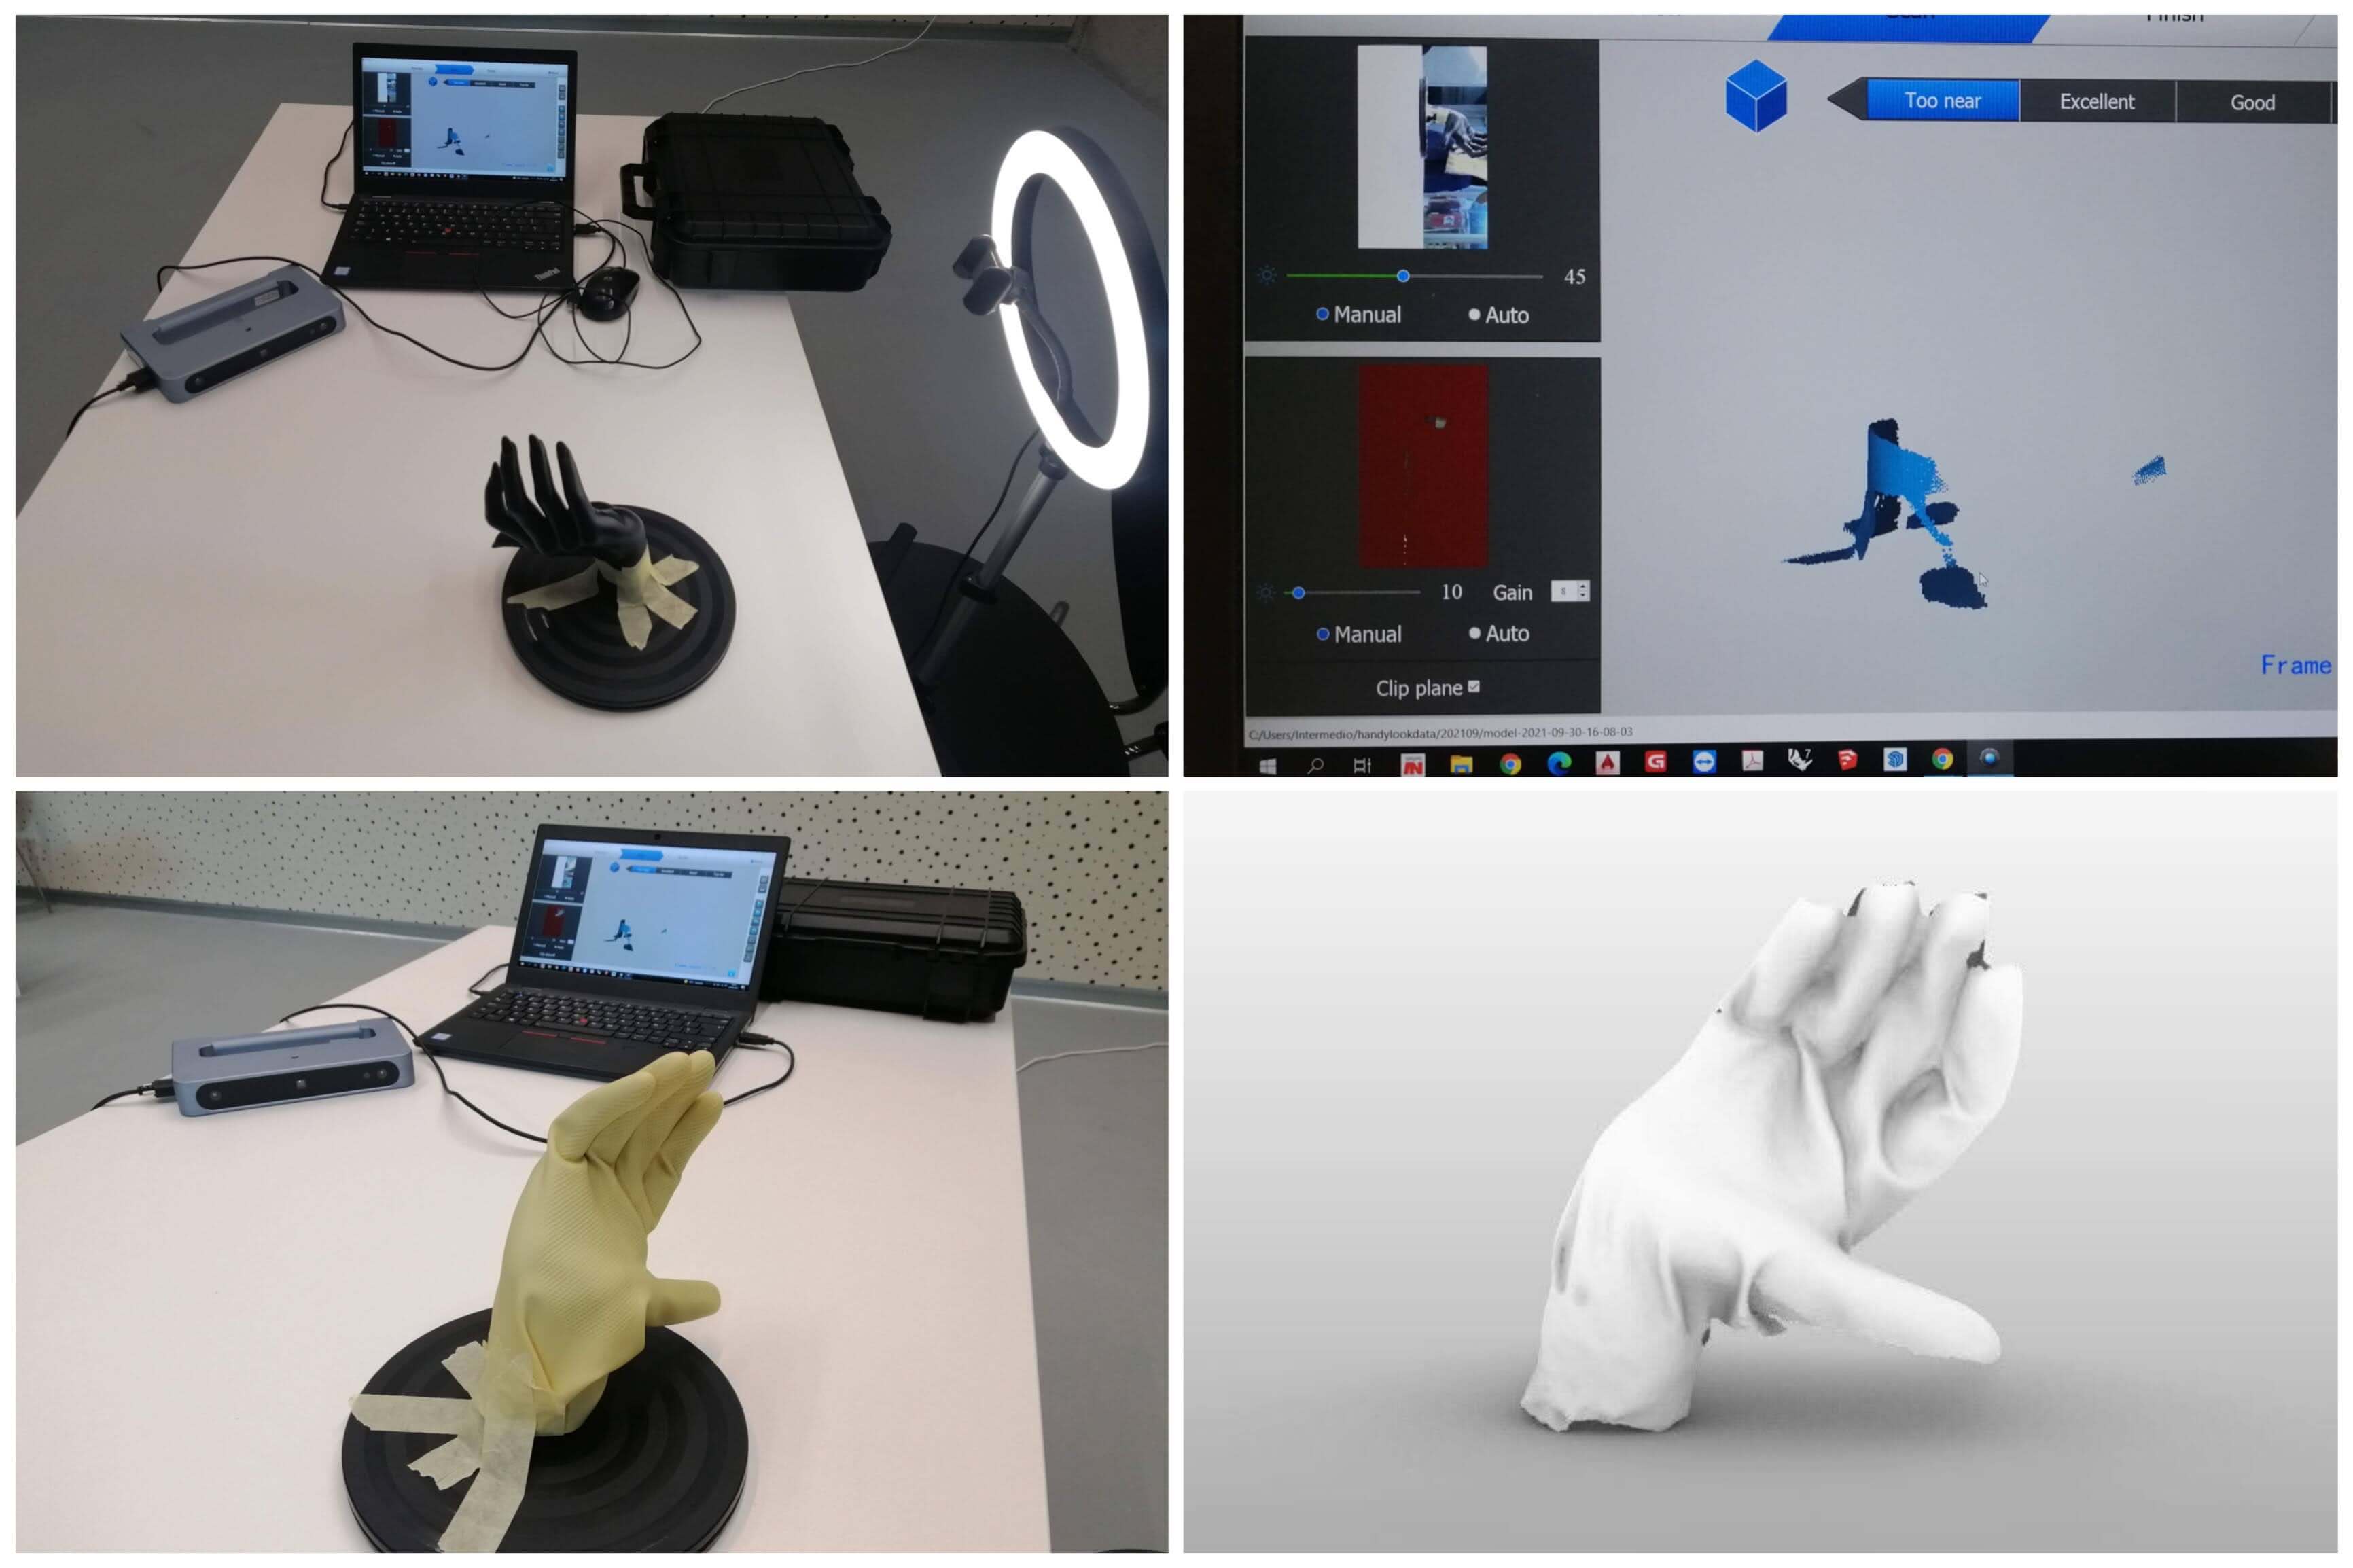
The color in the scanner
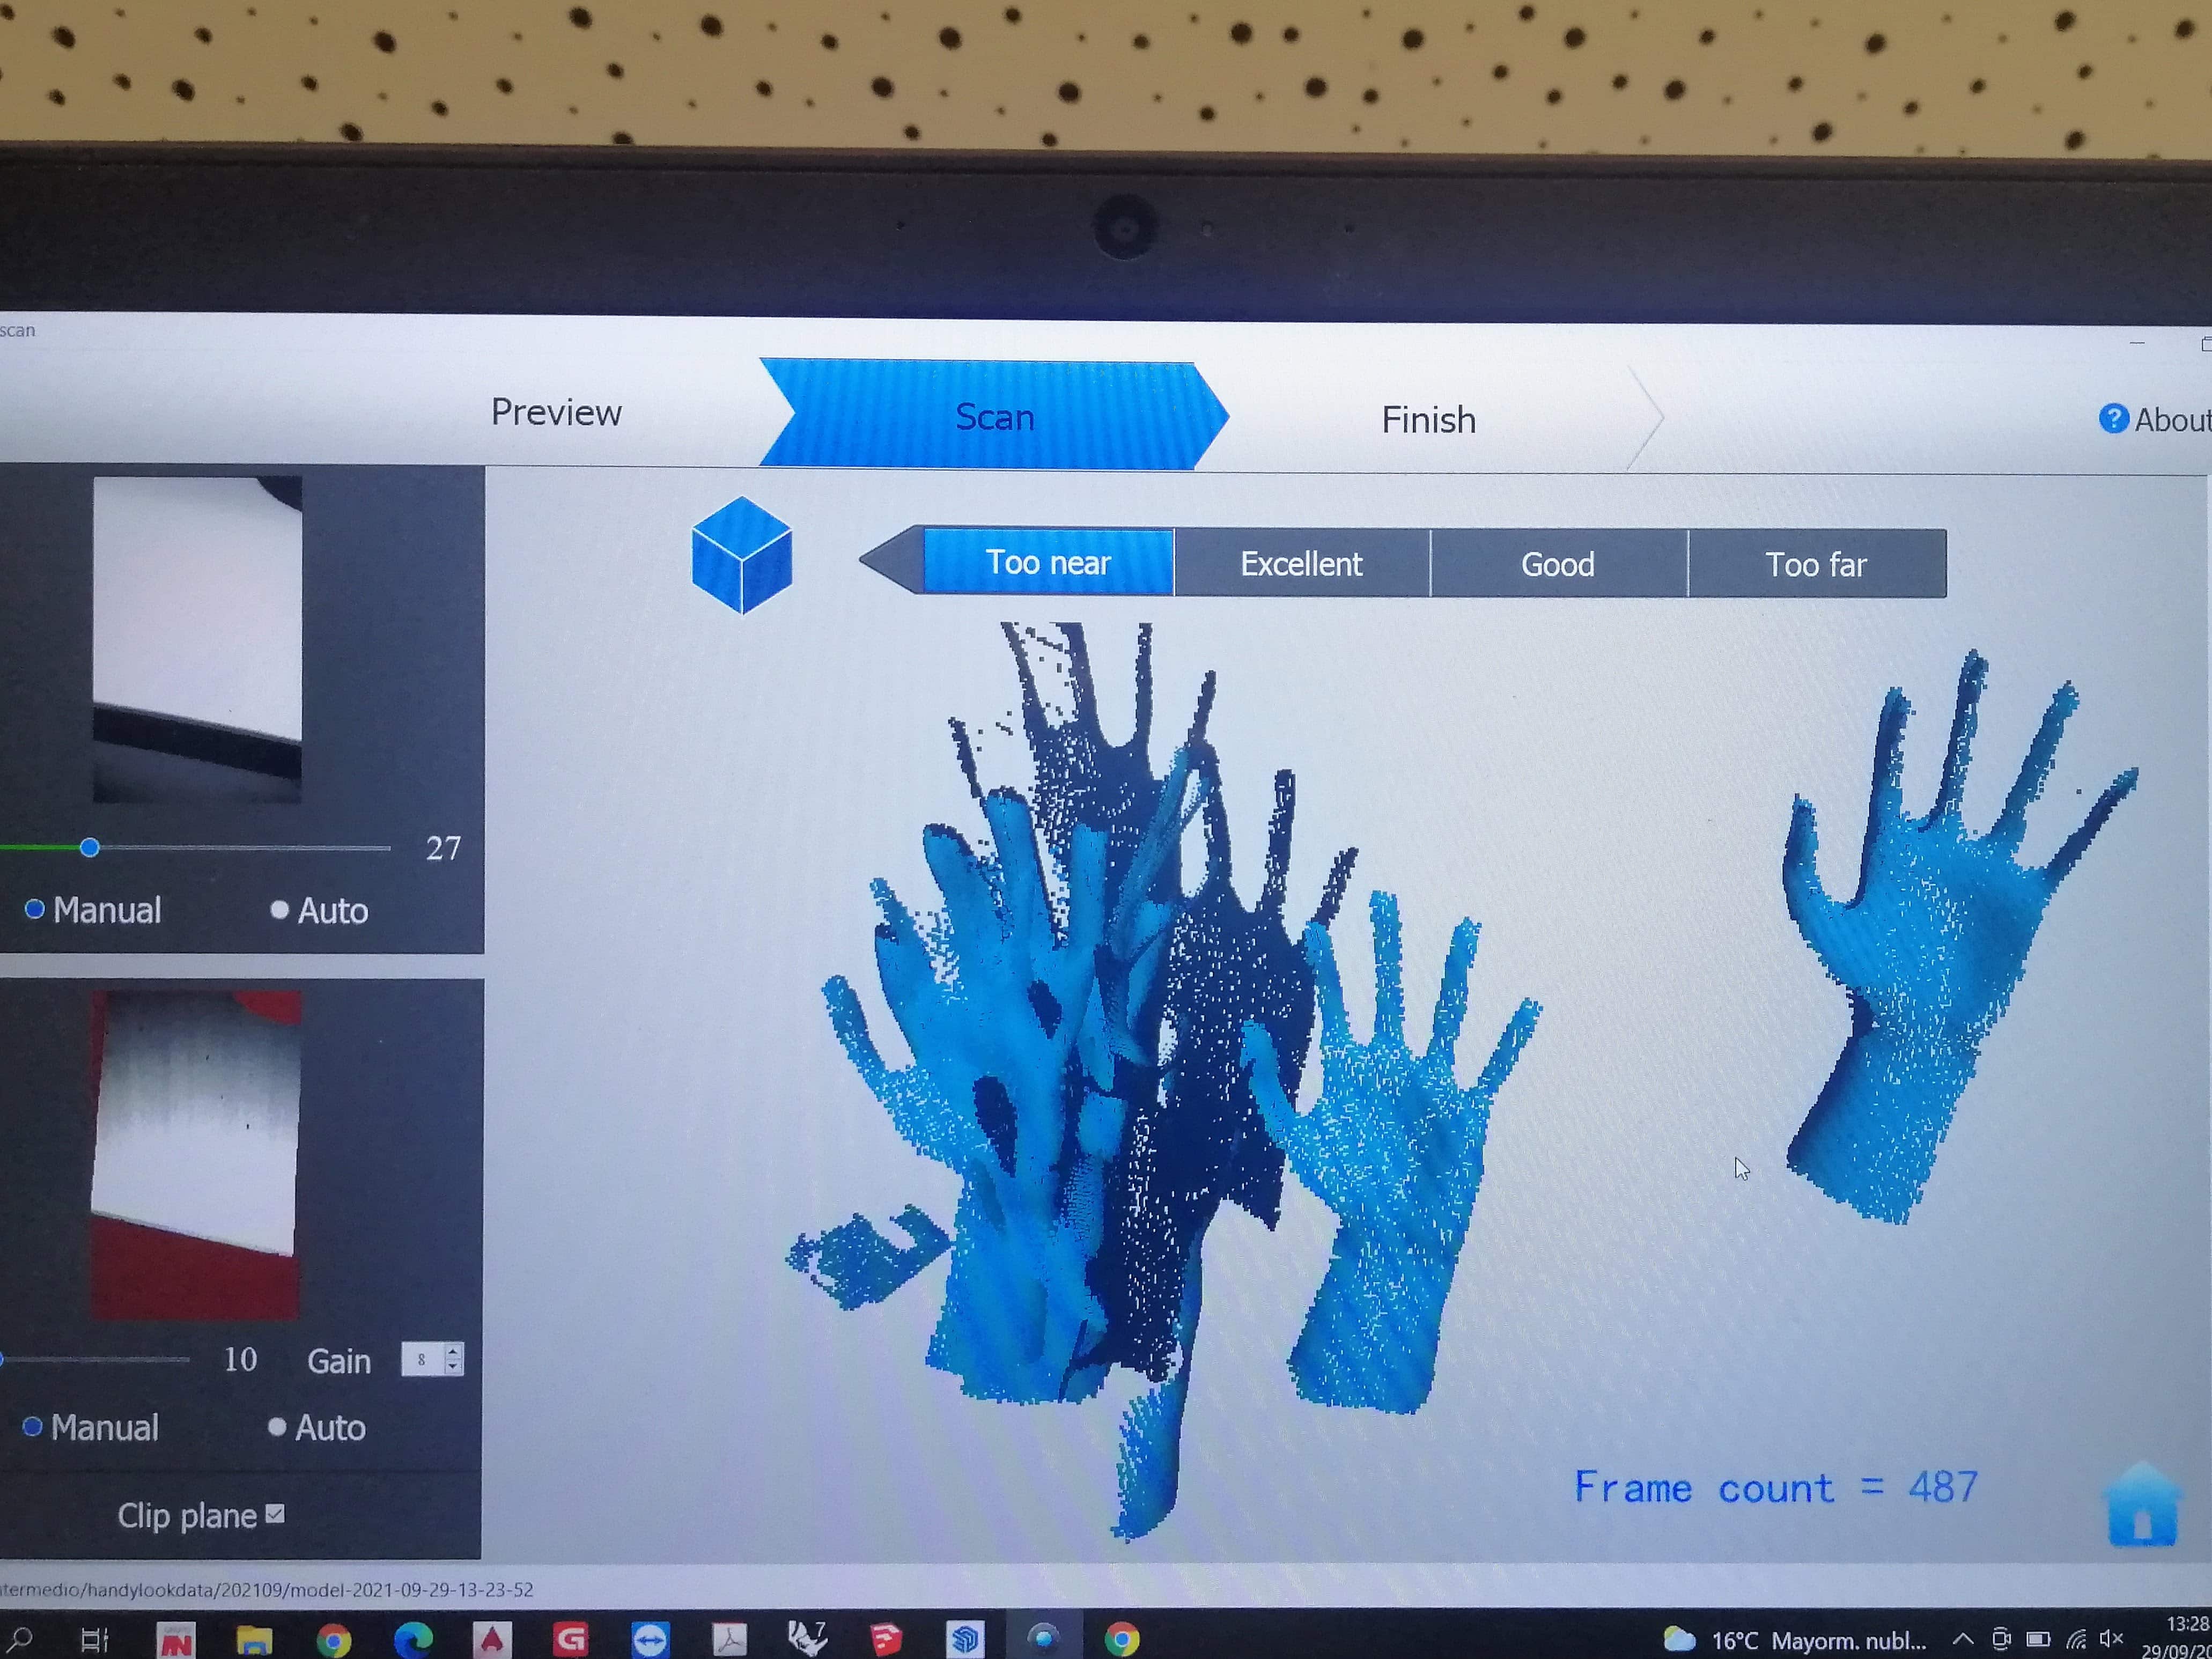
When I saw that the scanning wasn't as good as I wanted, I decided to do it with an object. We had a black hand mannequin. When I started scanning, it didn't detect the hand.
My theory is because the color black. As everyone knows, black is a colour that absorbs all other colours. The scanner emits waves, these bounce back when they hit the object, so as the black colour absorbs, it is as if no object exists.
Here is an image which supports my theory.
Download links
- Head slicer (.dxf file)