6 | BioFabricating Materials
"HAVE FUN, DREAM THE FUTURE" - Cecilia Raspanti
It’s a sentence from Cecilia Raspanti. For me, it makes a lot of sense in view of the big problem that is plastic. I already know about this issue, I read about new materials to avoid this situation, but I have never gone into the subject in depth before.
As a designer, we have the opportunity to make sustainable products by replacing plastic with natural materials. I’m not saying that it’s necessary to eliminate the plastic, I believe that it could be a good material for some products.
For example: A cup of plastic is used for at least 10 minutes and then it is discarded. However, it takes years for the material to “disappear” because plastic is a substance the earth cannot digest. Moreover, if the plastic is used for products that are going to be reused or it has a long life, it can be “justified”.
It was a week not only to experiment with new materials, but also by cooking them, because I’m not really good at it. So, l have tried to explain the recipes as easily as possible so that they can be followed correctly.
Mycelium
We had the chance to have a masterclass about mycelium by (my lovely friend) Elsa Gil. Her final project, called Ma-ka, explains how the design is adapted to the material, apart from the workshop to raise awareness of the importance of using biomaterials and caring for the planet.
I could see the evolution of Ma-Ka and its infinite possibilities of application. Mycelium is too versatile and only people who are involved in this world knows about it, but it is not known to the consumers.
World Wide Web is the name given to a network of mycelium that connects and enables communication between trees. They grow around their roots and generate a system of coexistence on a global scale: 60% of the world's trees are connected.
First generation
First mycelium obtained in a crop.
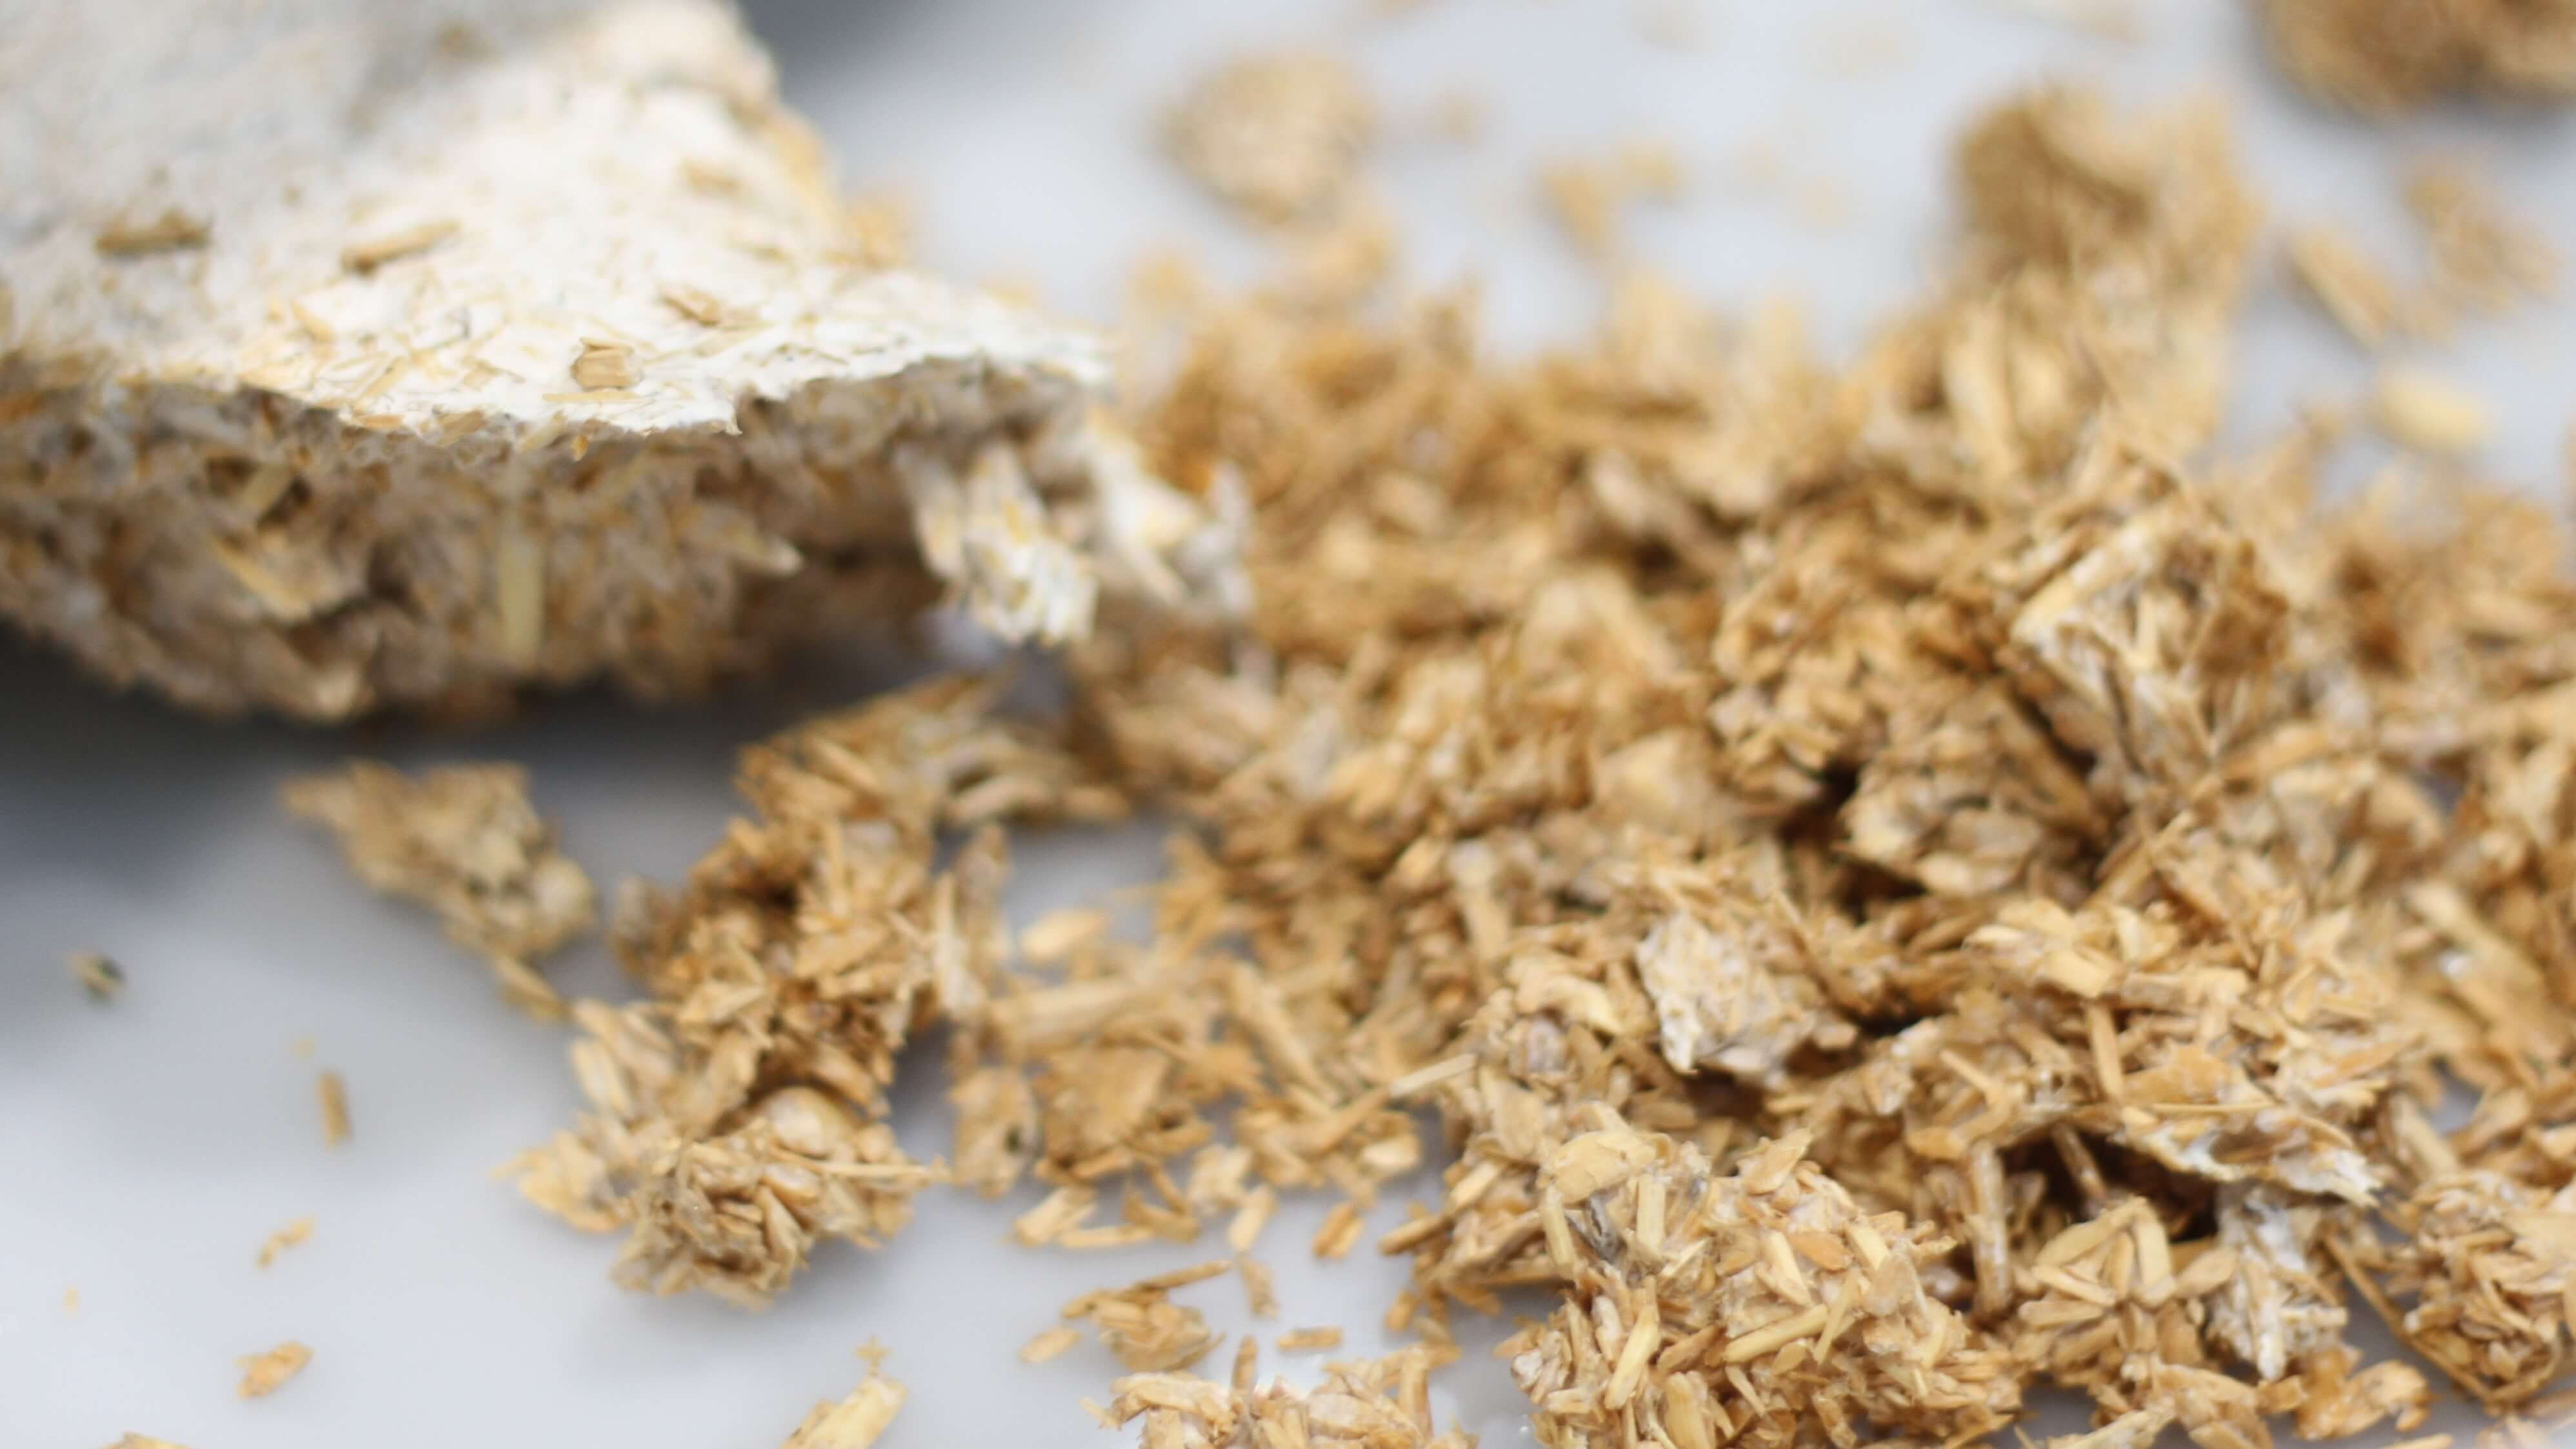
Second generation
The mycelium is already extracted from the root and mixed with agro-industrials and it’s ready to use it. This is when our workshop started.
Tools:
- Alcohol
- Flour
- Oil
- Paper
- Molds
- Wooden sticks (they are to separate the mold and the mycelium, it can be used another tool)
- Plastic bags
- Culture cabinet
Method:
-
When you receive the mycelium, it comes packaged in plastic wrap. If you are going to use it in the next 3-5 days, keep it in the fridge. If you are not going to use it, you have to open the plastic to let it breathe (for about 15 minutes) and then store it in the fridge.
-
Before doing anything, we had to clean very well the surface and our hands with alcohol because the mycelium is still alive and it could be contaminated.
-
The next step is to “break” the mycelium block and crumble it down. It’s really important to not have big pieces.
-
After crumbling, add some flour. This is to feed the mycelium. Mix them until all the mycelium turns white.
-
Take any mold. You have to clean with alcohol and then put some oil in it, in such a way that everything is an even layer.
-
Put the mycelium inside the mold. While it is being put in place, pressure must be applied to keep it compact.
-
When we finished doing it, we had to put inside the plastic bag (after sterilising them) because the mycelium has to be in a dark environment with 80% humidity between 20ºC and 25ªC for 2 days at least. For that reason, we left inside the culture cabinet, to maintain the atmospheric conditions.
-
Depending on the result you want, you can take it out earlier or later. Remember that the mycelium is still alive, so to finish the process it has to be “killed”. To do it, you have demould and to put it in the sun.
If you want a white surface, you have to leave it in the cabinet demoulded for, at least, for at least 3 days and then put it in the sun until it loses 70% of its weight. However, if you want a brown surface, you have to leave it for more days.
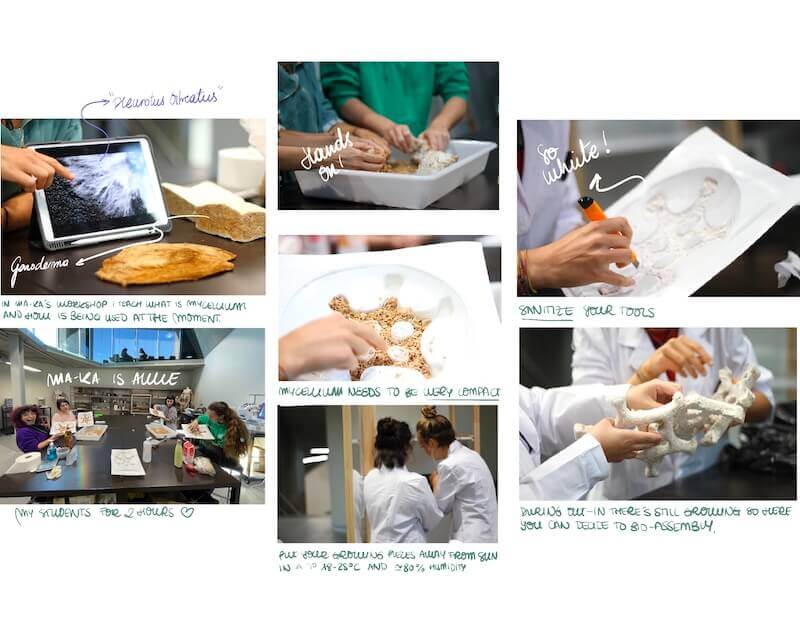
I couldn't take pictures of the process because if I touched my mobile phone or anything else, I could contaminate the mycelium.
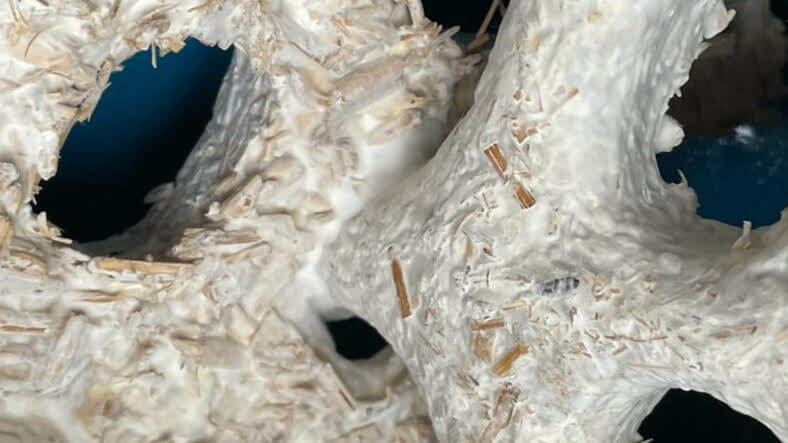
Bio-assembling
Before killing the mycelium, after removal from the mould, if you join two pieces together, it will grow mycelium that will bind them together. When it dries, it will be completely self-bonding.
Kombucha
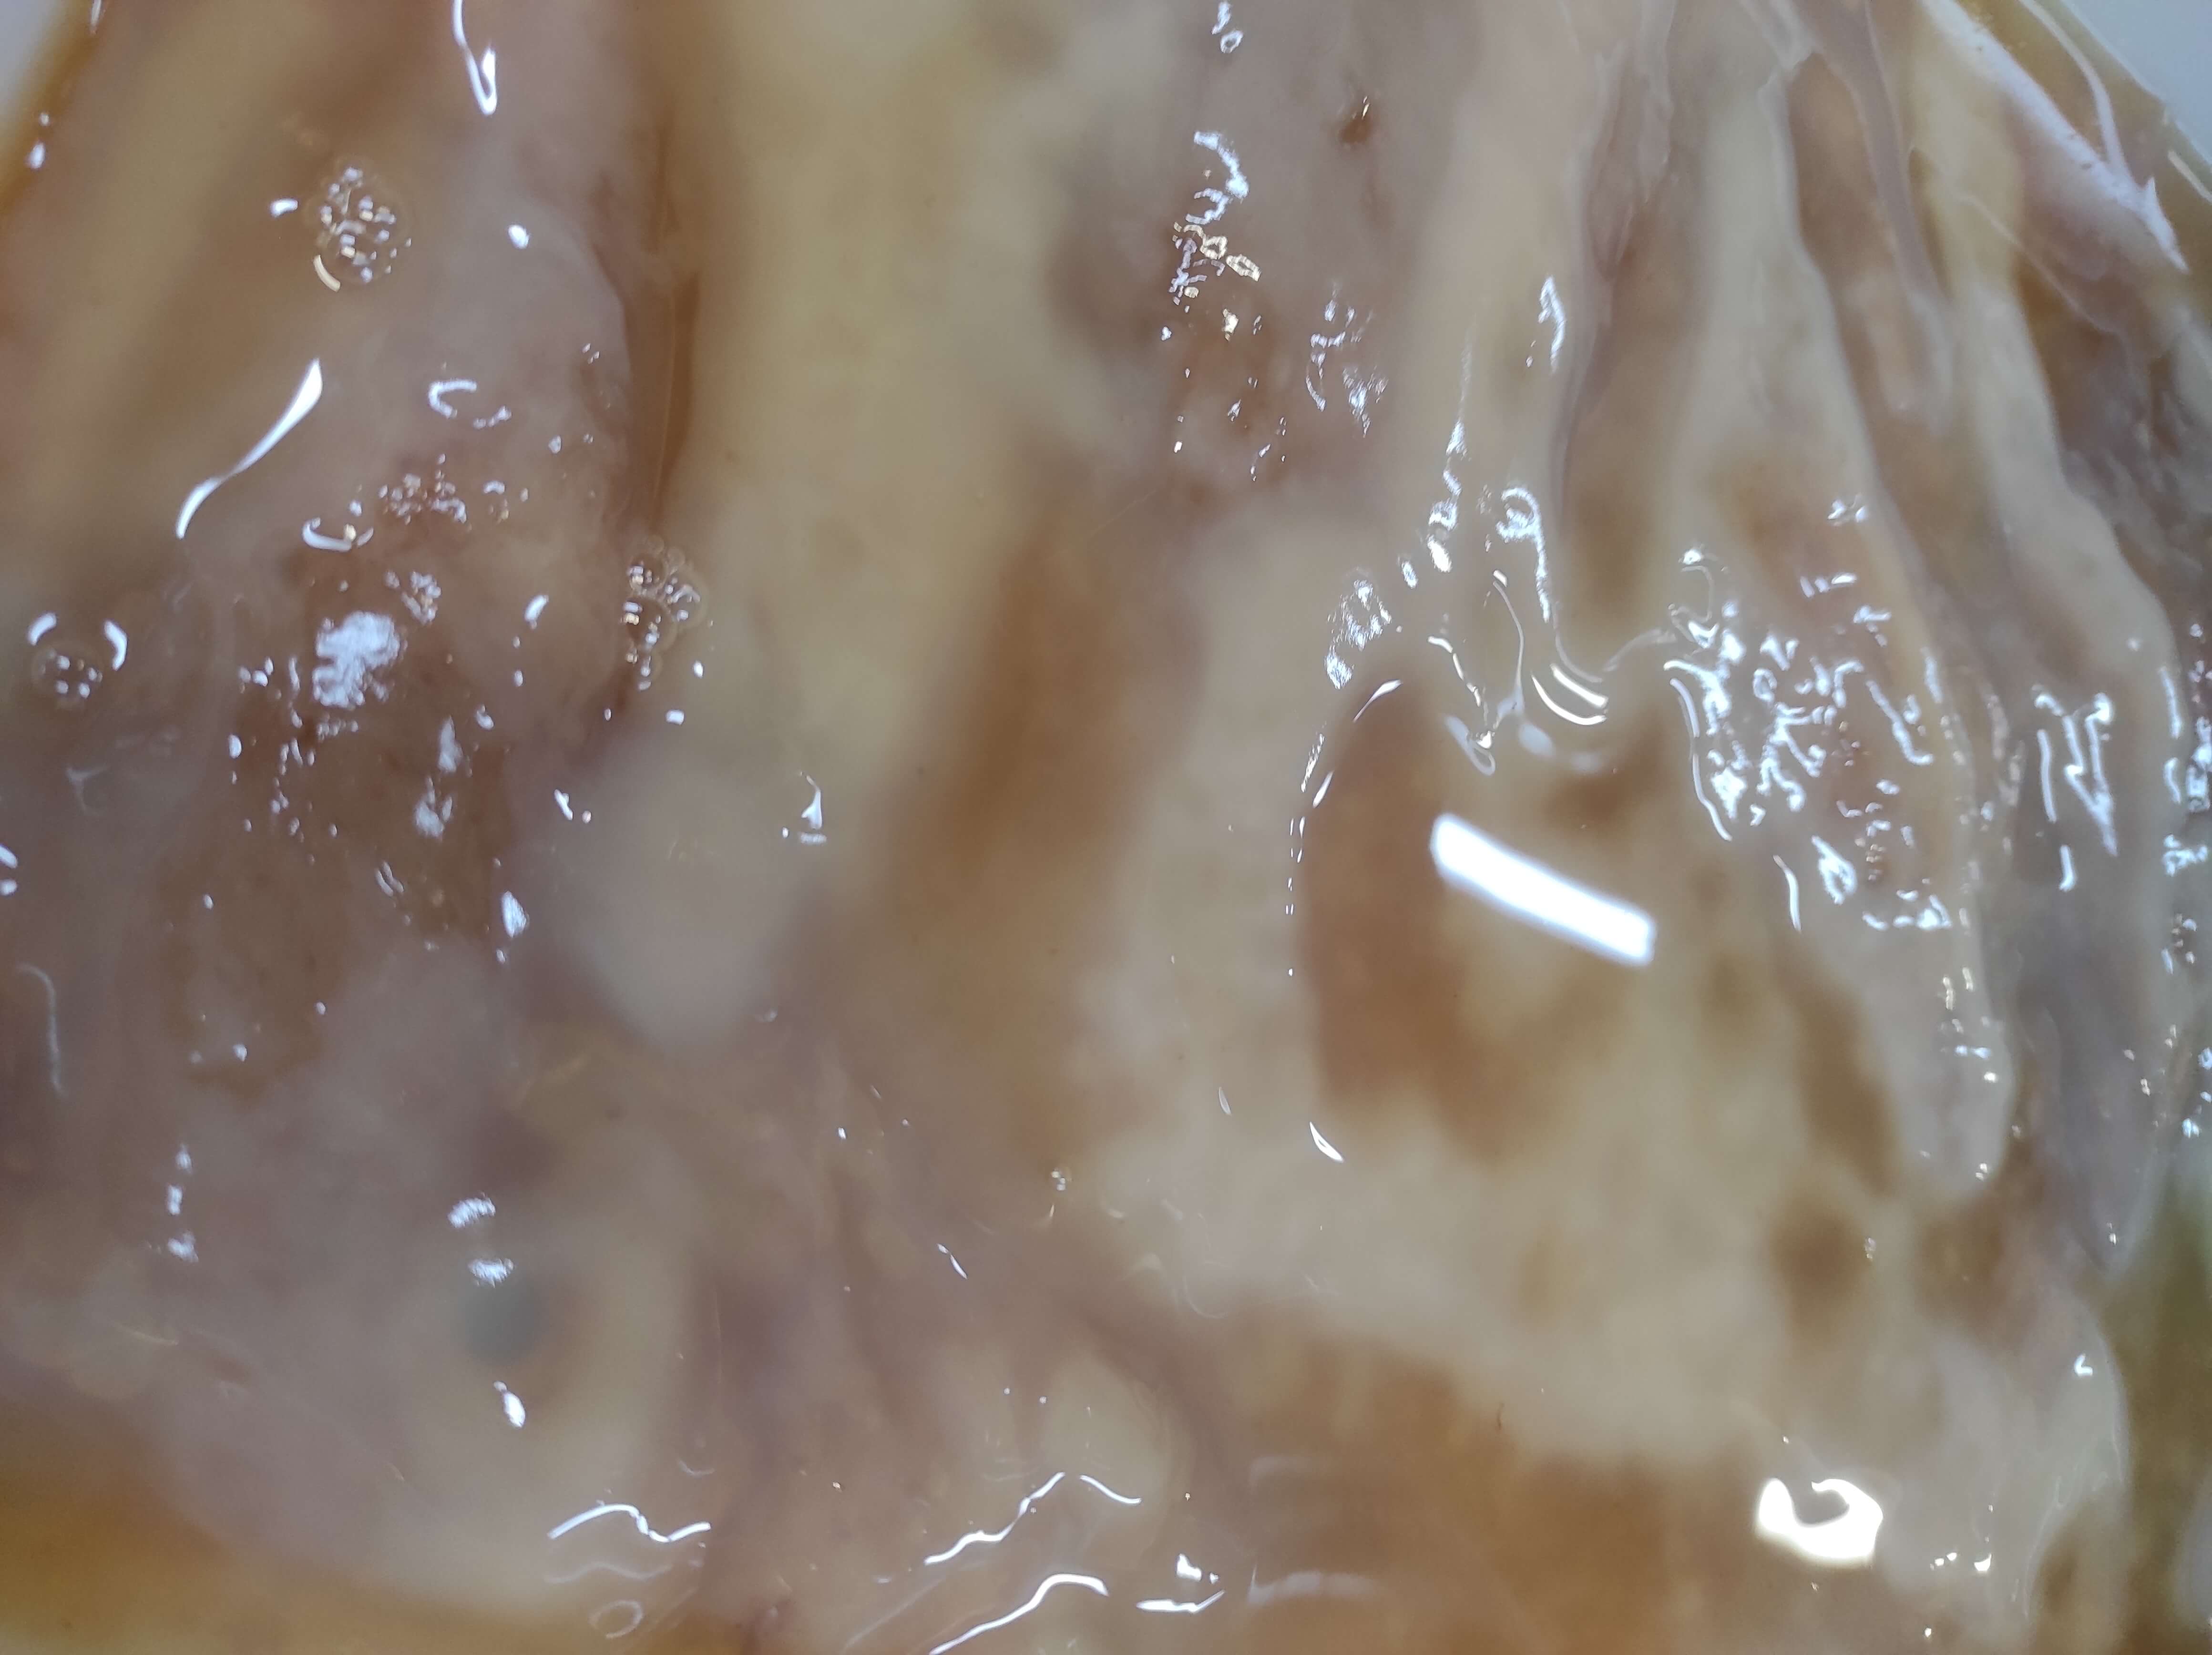 At Basque Design Center we had Fermina which is a one month old Scoby. It was created following this recipe:
Components:
- 1 cup of white sugar per 4 cups of water
- Growth medium. 4 teabags: it must be green or black
Tools:
-
Container (in this case, plastic or glass are the best materials)
The container’s shape is going to be the shape of the scoby.
-
Cloth
The scoby needs to breathe.
-
Scale
- Teapot
1.Method for growing scoby:
- Sterilise the container.
- Boil the water in the teapot.
- Add the teabags to infuse.
- Add the sugar and dissolve it.
- Let it cool down.
-
Introduce the mother of kombucha.
Be sure that the liquid is cool, because if not it won’t create any scoby.
-
Cover it with the cloth.
It can’t touch the liquid.
-
Leave it in a place at 25º - 35ºC.
-
The scoby will start growing.
when there isn’t much liquid, you have to feed it: add 1 cup of sugar per 4 cups of water.
Tips: If you want to color your kombucha you need to introduce it in the broth. It could be beetroot juice, hibiscus, wine, coffee grounds…
2.Method of obtaining the material:
To obtain the kombucha material we did a ceremony for Fermina's death (it was an emotional moment).
We had to take off from the container and clean it really well. We had to clean the leftovers of Fermina’s “sons”. We cleaned it just with warm water. Then, we put it on a wood piece to dry it (the wood would absorb the humidity, too). Also, we left it at sun to accelerate the process.
Here is part of the ceremony:
Eggshell
I've got a soft spot for potato omelette. I have to confess that I eat one whenever I can, so what better than to make a biomaterial with the waste I generate with the omelettes?
I found interesting projects where this material is used and the results are incredible. Here are some examples of it can be used and mixed with other materials, which I used as inspiration:
 Images taken from Future Materials Bank.
I found two recipes: one of them makes a flexible material and the other makes it solid (or that is the intention). I followed them, but (obviously) I had different materials.
Glycerol and gelatin
I took this recipe from Gülsüm Koç posted on Behance. Also it is posted on Materiom, where quantities are specific. The material I would obtain would be flexible and it would have the possibility to texturise it.
Components:
- Eggshell 30 g
- Salt 5 mg
- Gelatine 30 g
- Glycerol 5 mL
- Water 235 mL
- Cinnamon (optional, it’s only for the smell)
Tools:
- Stove
- Spoon
- Cooking pot
- Dehydrator or oven
- Scale
- Fabric
- Mold
- Grinder
Method:
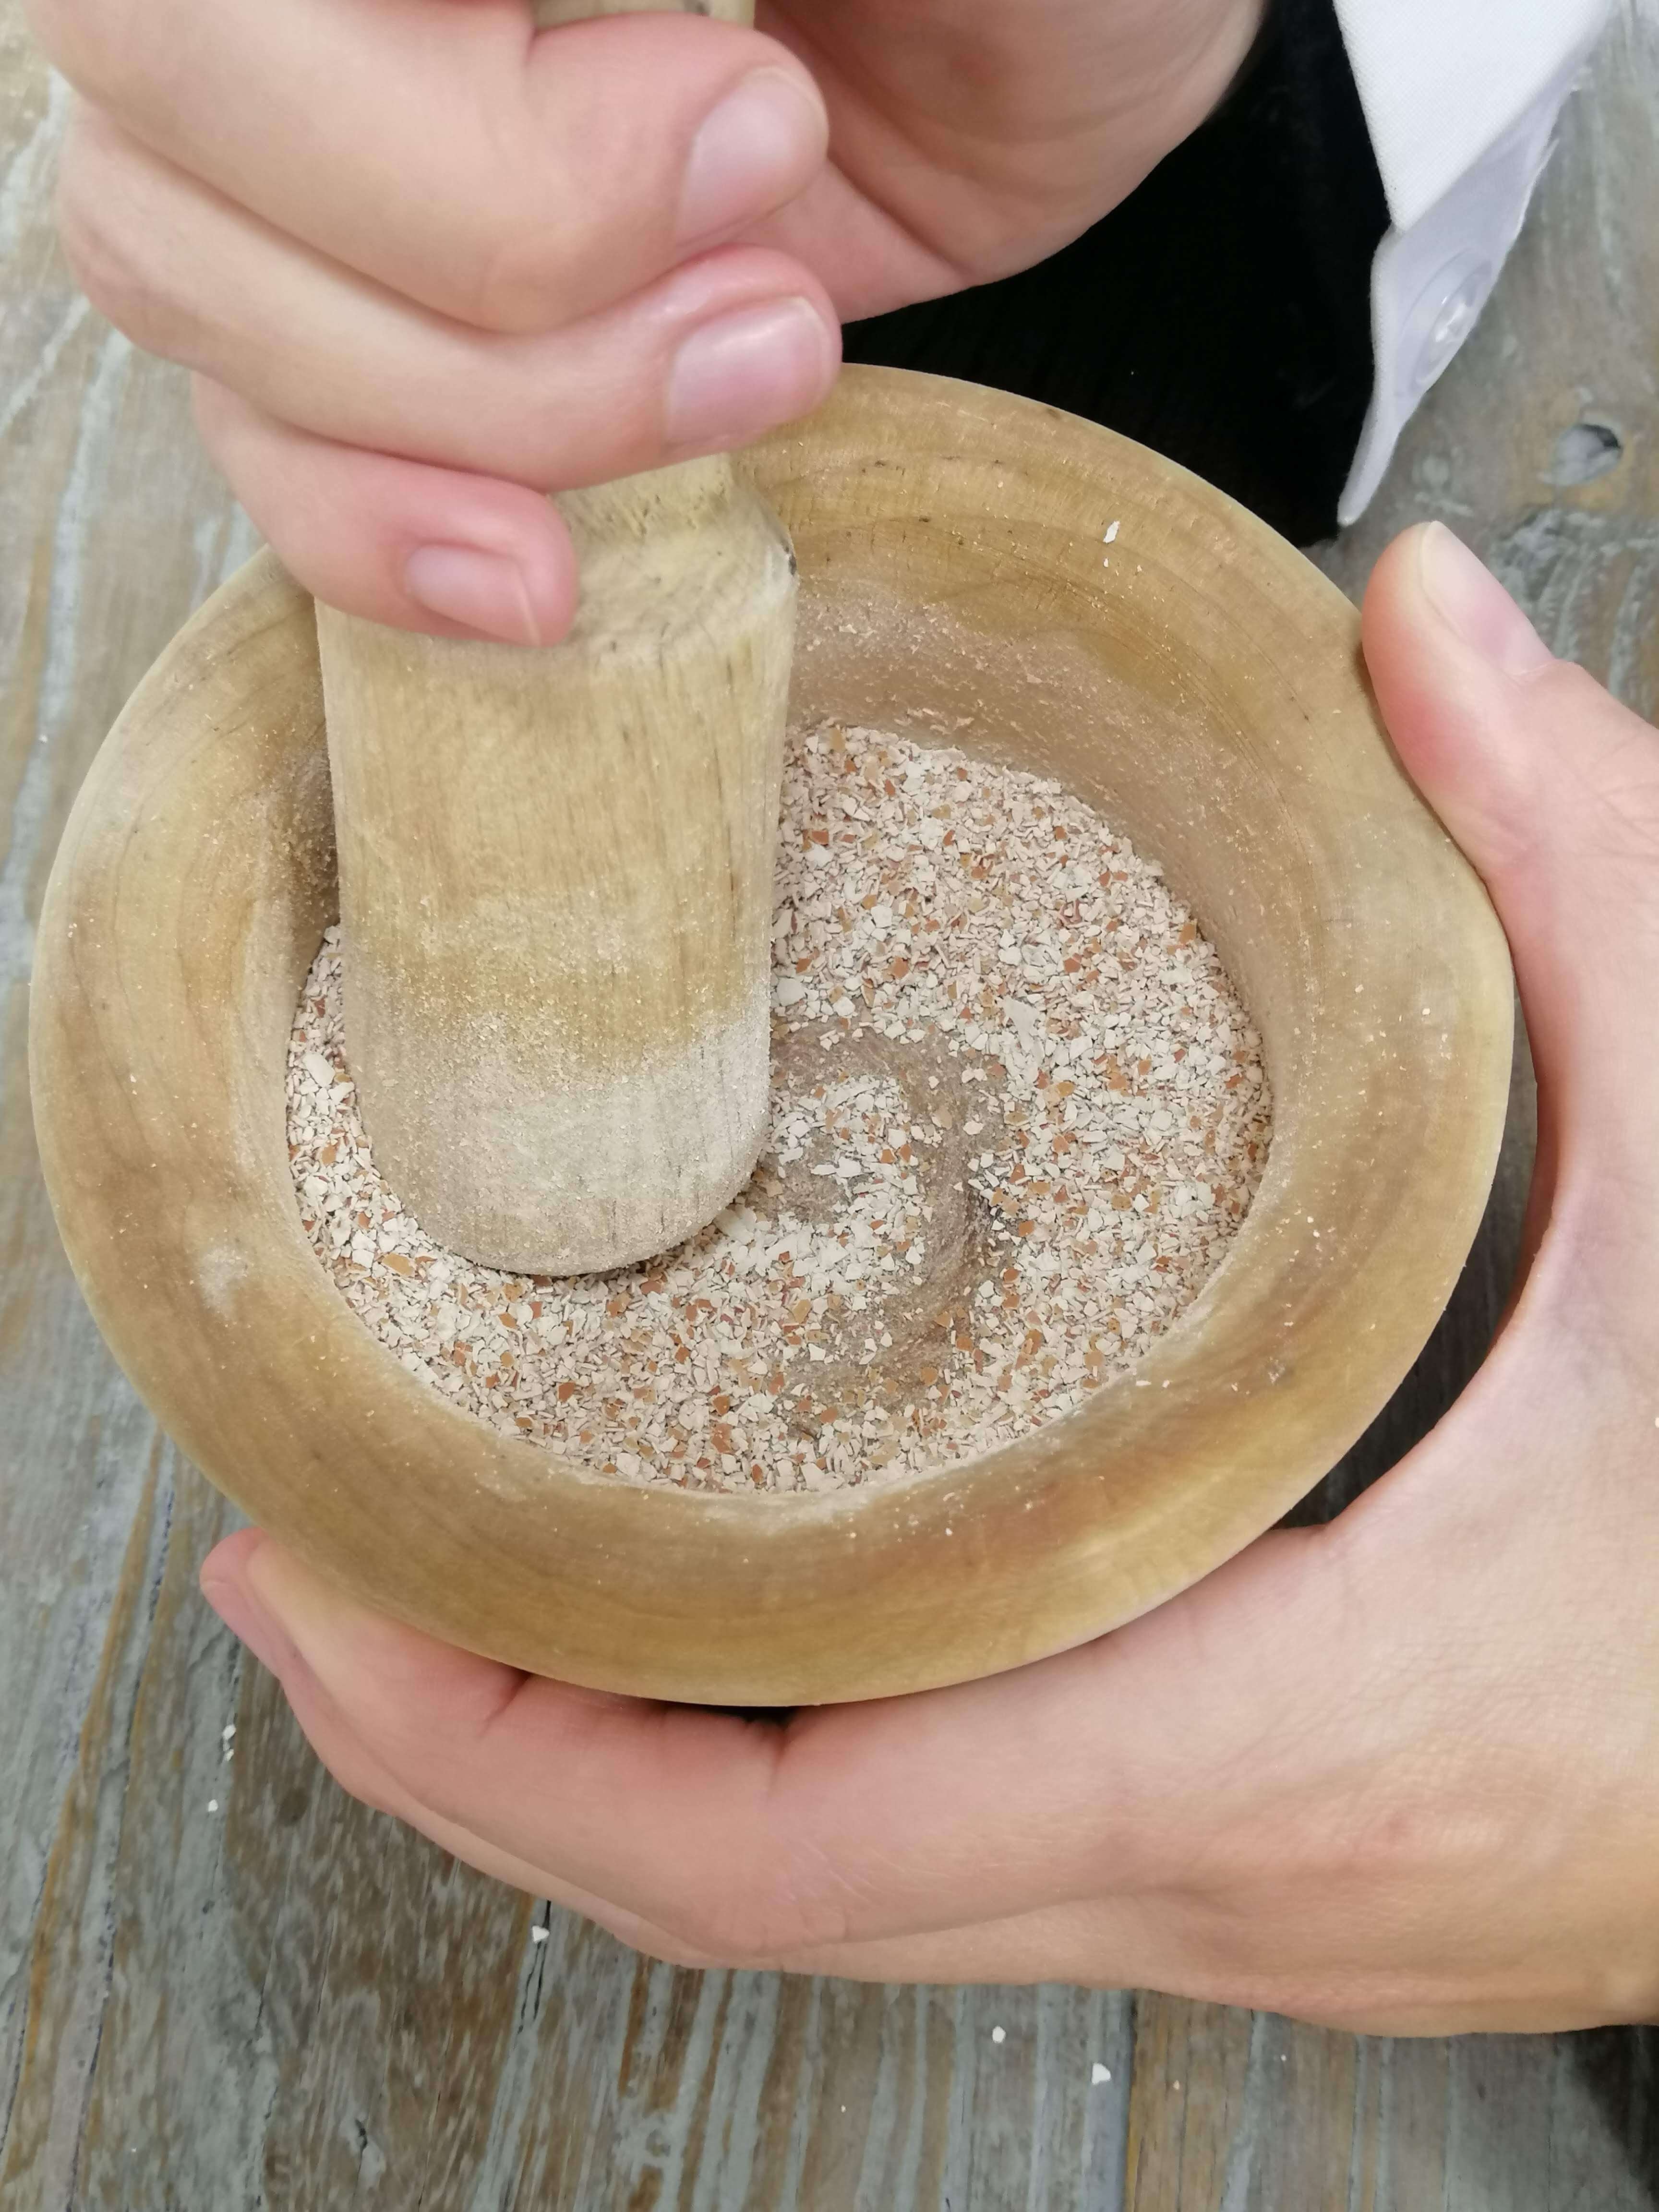
1.Eggshell powder
-
Wash the eggshell boiling for about 10-15 minutes. It’s to kill all bacteria.
-
Dry them in the dehydrator at 70ºC for 25 minutes.
-
Grind them as much as possible. It’s really important to obtain powder.
2.Eggshell biomaterial
-
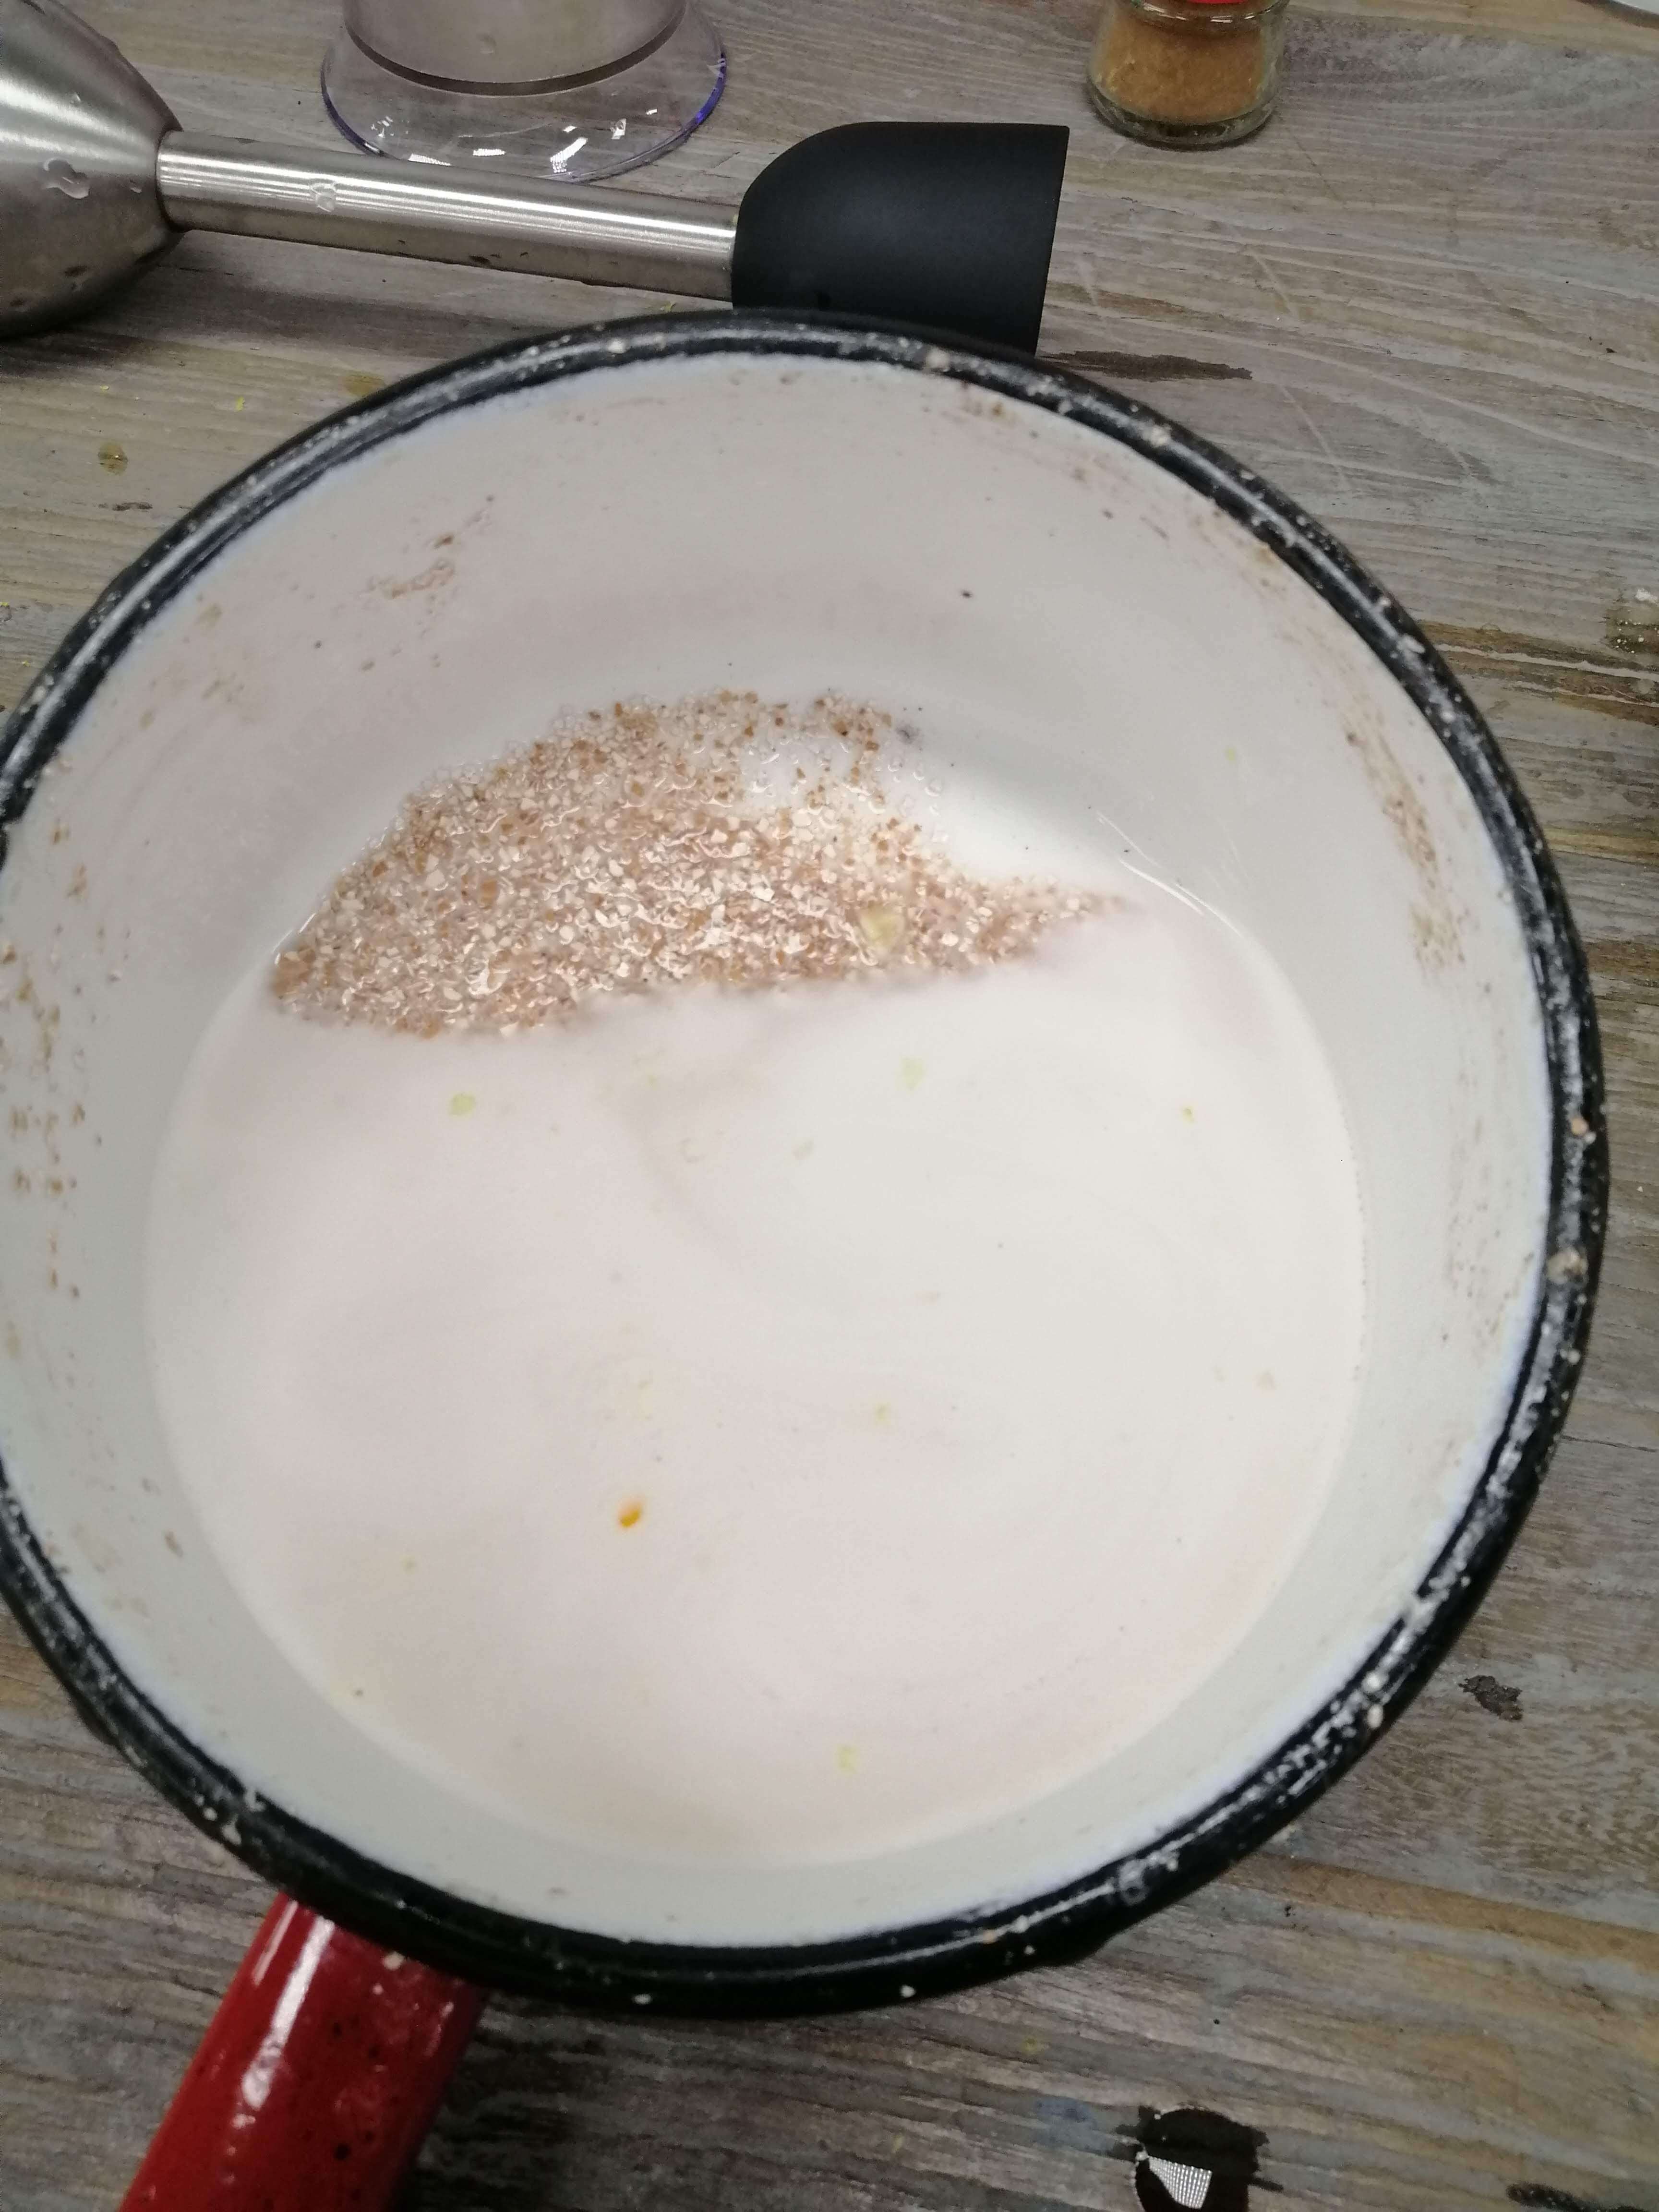
Mix the cold water with the gelatine. Mix them until it is a homogeneous mixture.
-
Heat the mixture for 2-3 minutes and add before the salt and the eggshells.
-
Mix for a minute and add the glycerin and the cinnamon as you wish.
-
Mix everything.
In my case, eggshells weren’t as powdery as they should have been and they remained at the bottom of the cooking pot without mixing with the liquid.
-
Put the mixture into a mold or a fabric.
When I poured it into the molds, the liquid was on one side and the eggshells on the other, so I tried different ways to pour it.
- With the help of a spoon, put the eggshells into the mold and add some liquid.
-
With a blender, stir it (I thought that the eggshells would mix more with the liquid, but in the end I only poured into the mold the liquid with foam and without any eggshells (super nice).
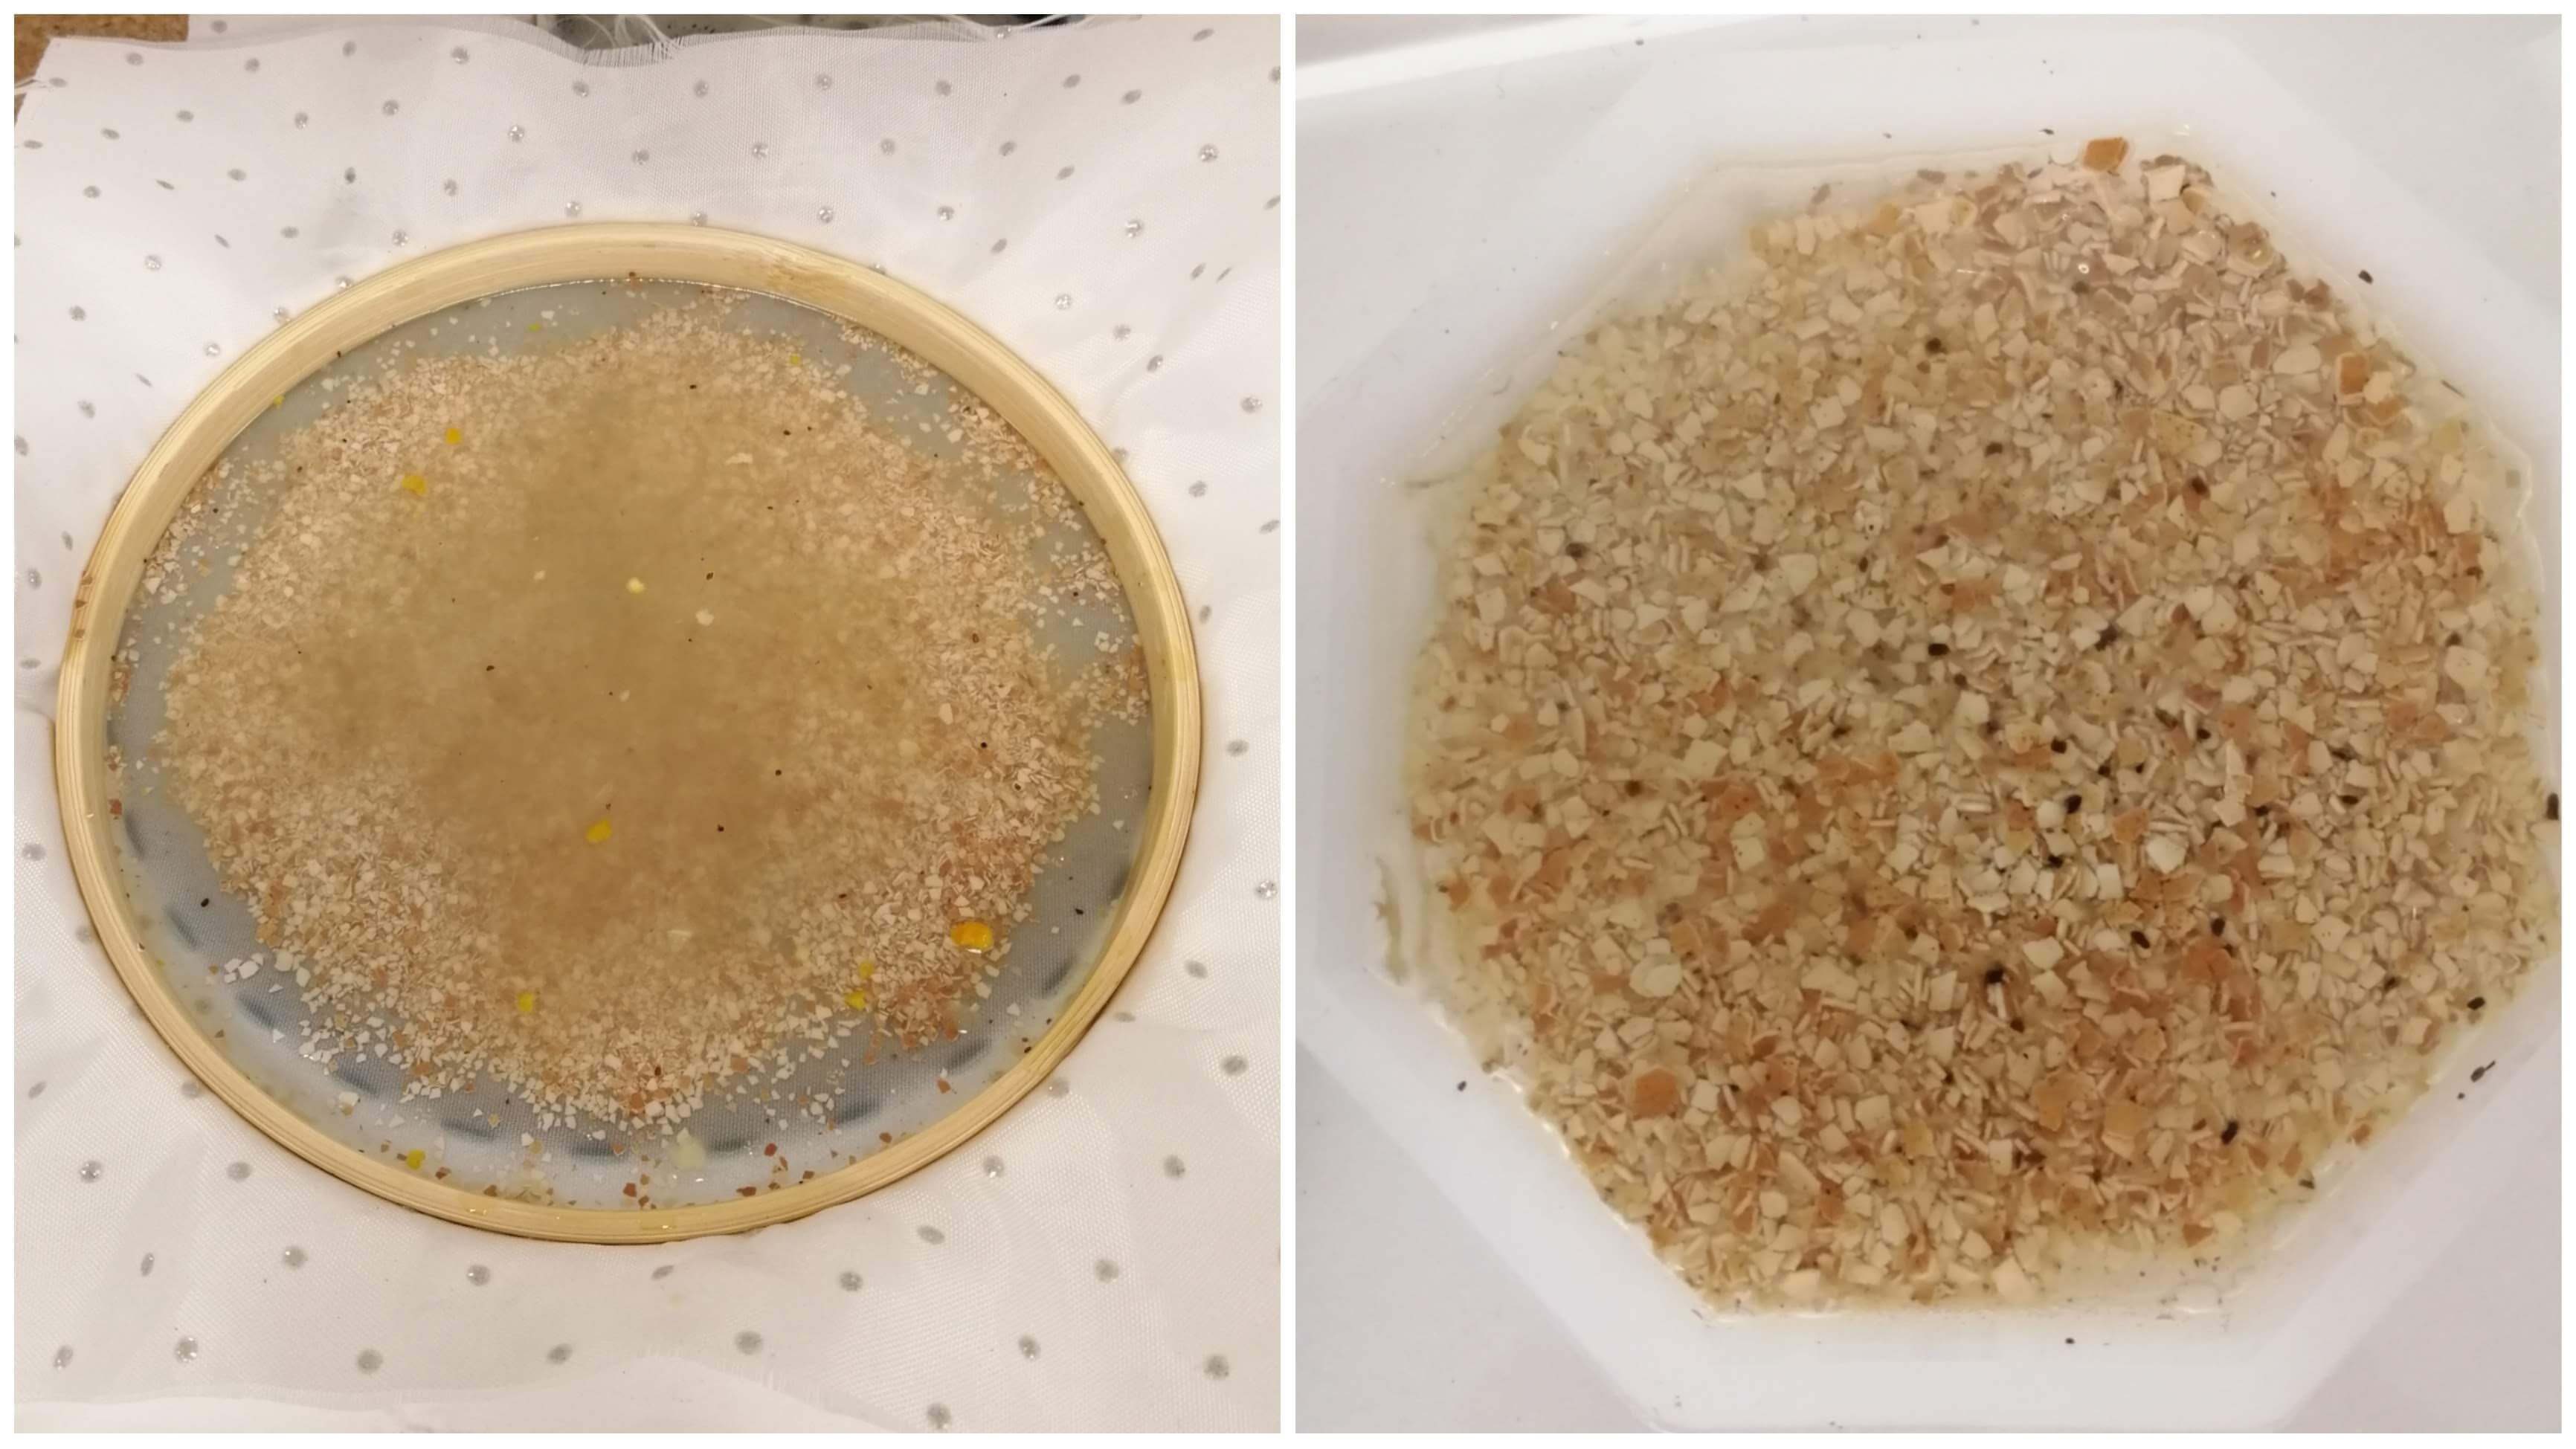
-
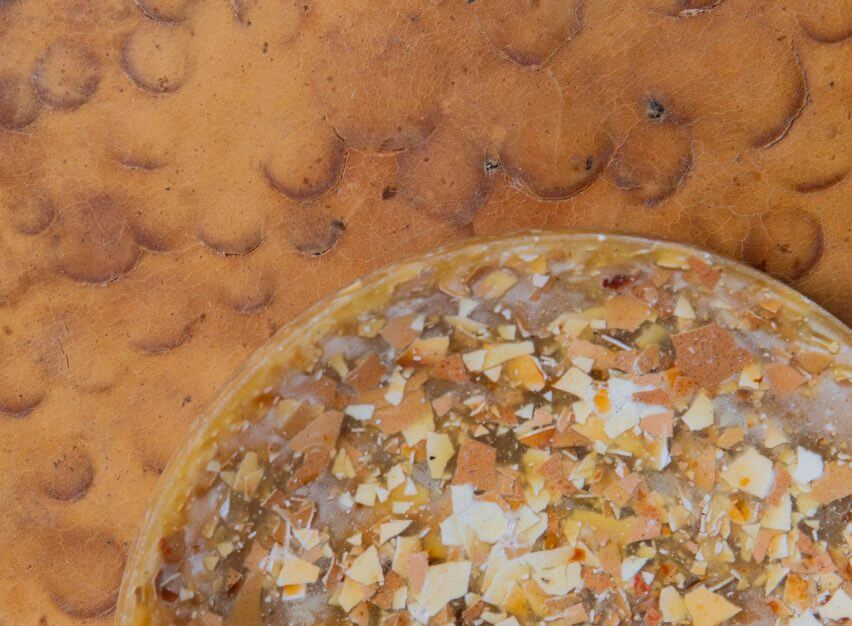
Let them dry.
Depending on the environmental conditions, it may take more or less time to dry. Mine took 4 days.
Characteristics:
-
Transparency ⚫️⚫️⚫️⚫️⚫️
-
Elasticity 🔘🔘⚫️⚫️⚫️
-
Smell 🔘🔘⚫️⚫️⚫️
-
Flexibility 🔘🔘🔘⚫️⚫️
-
Resistance 🔘⚫️⚫️⚫️⚫️
-
Texture 🔘🔘⚫️⚫️⚫️
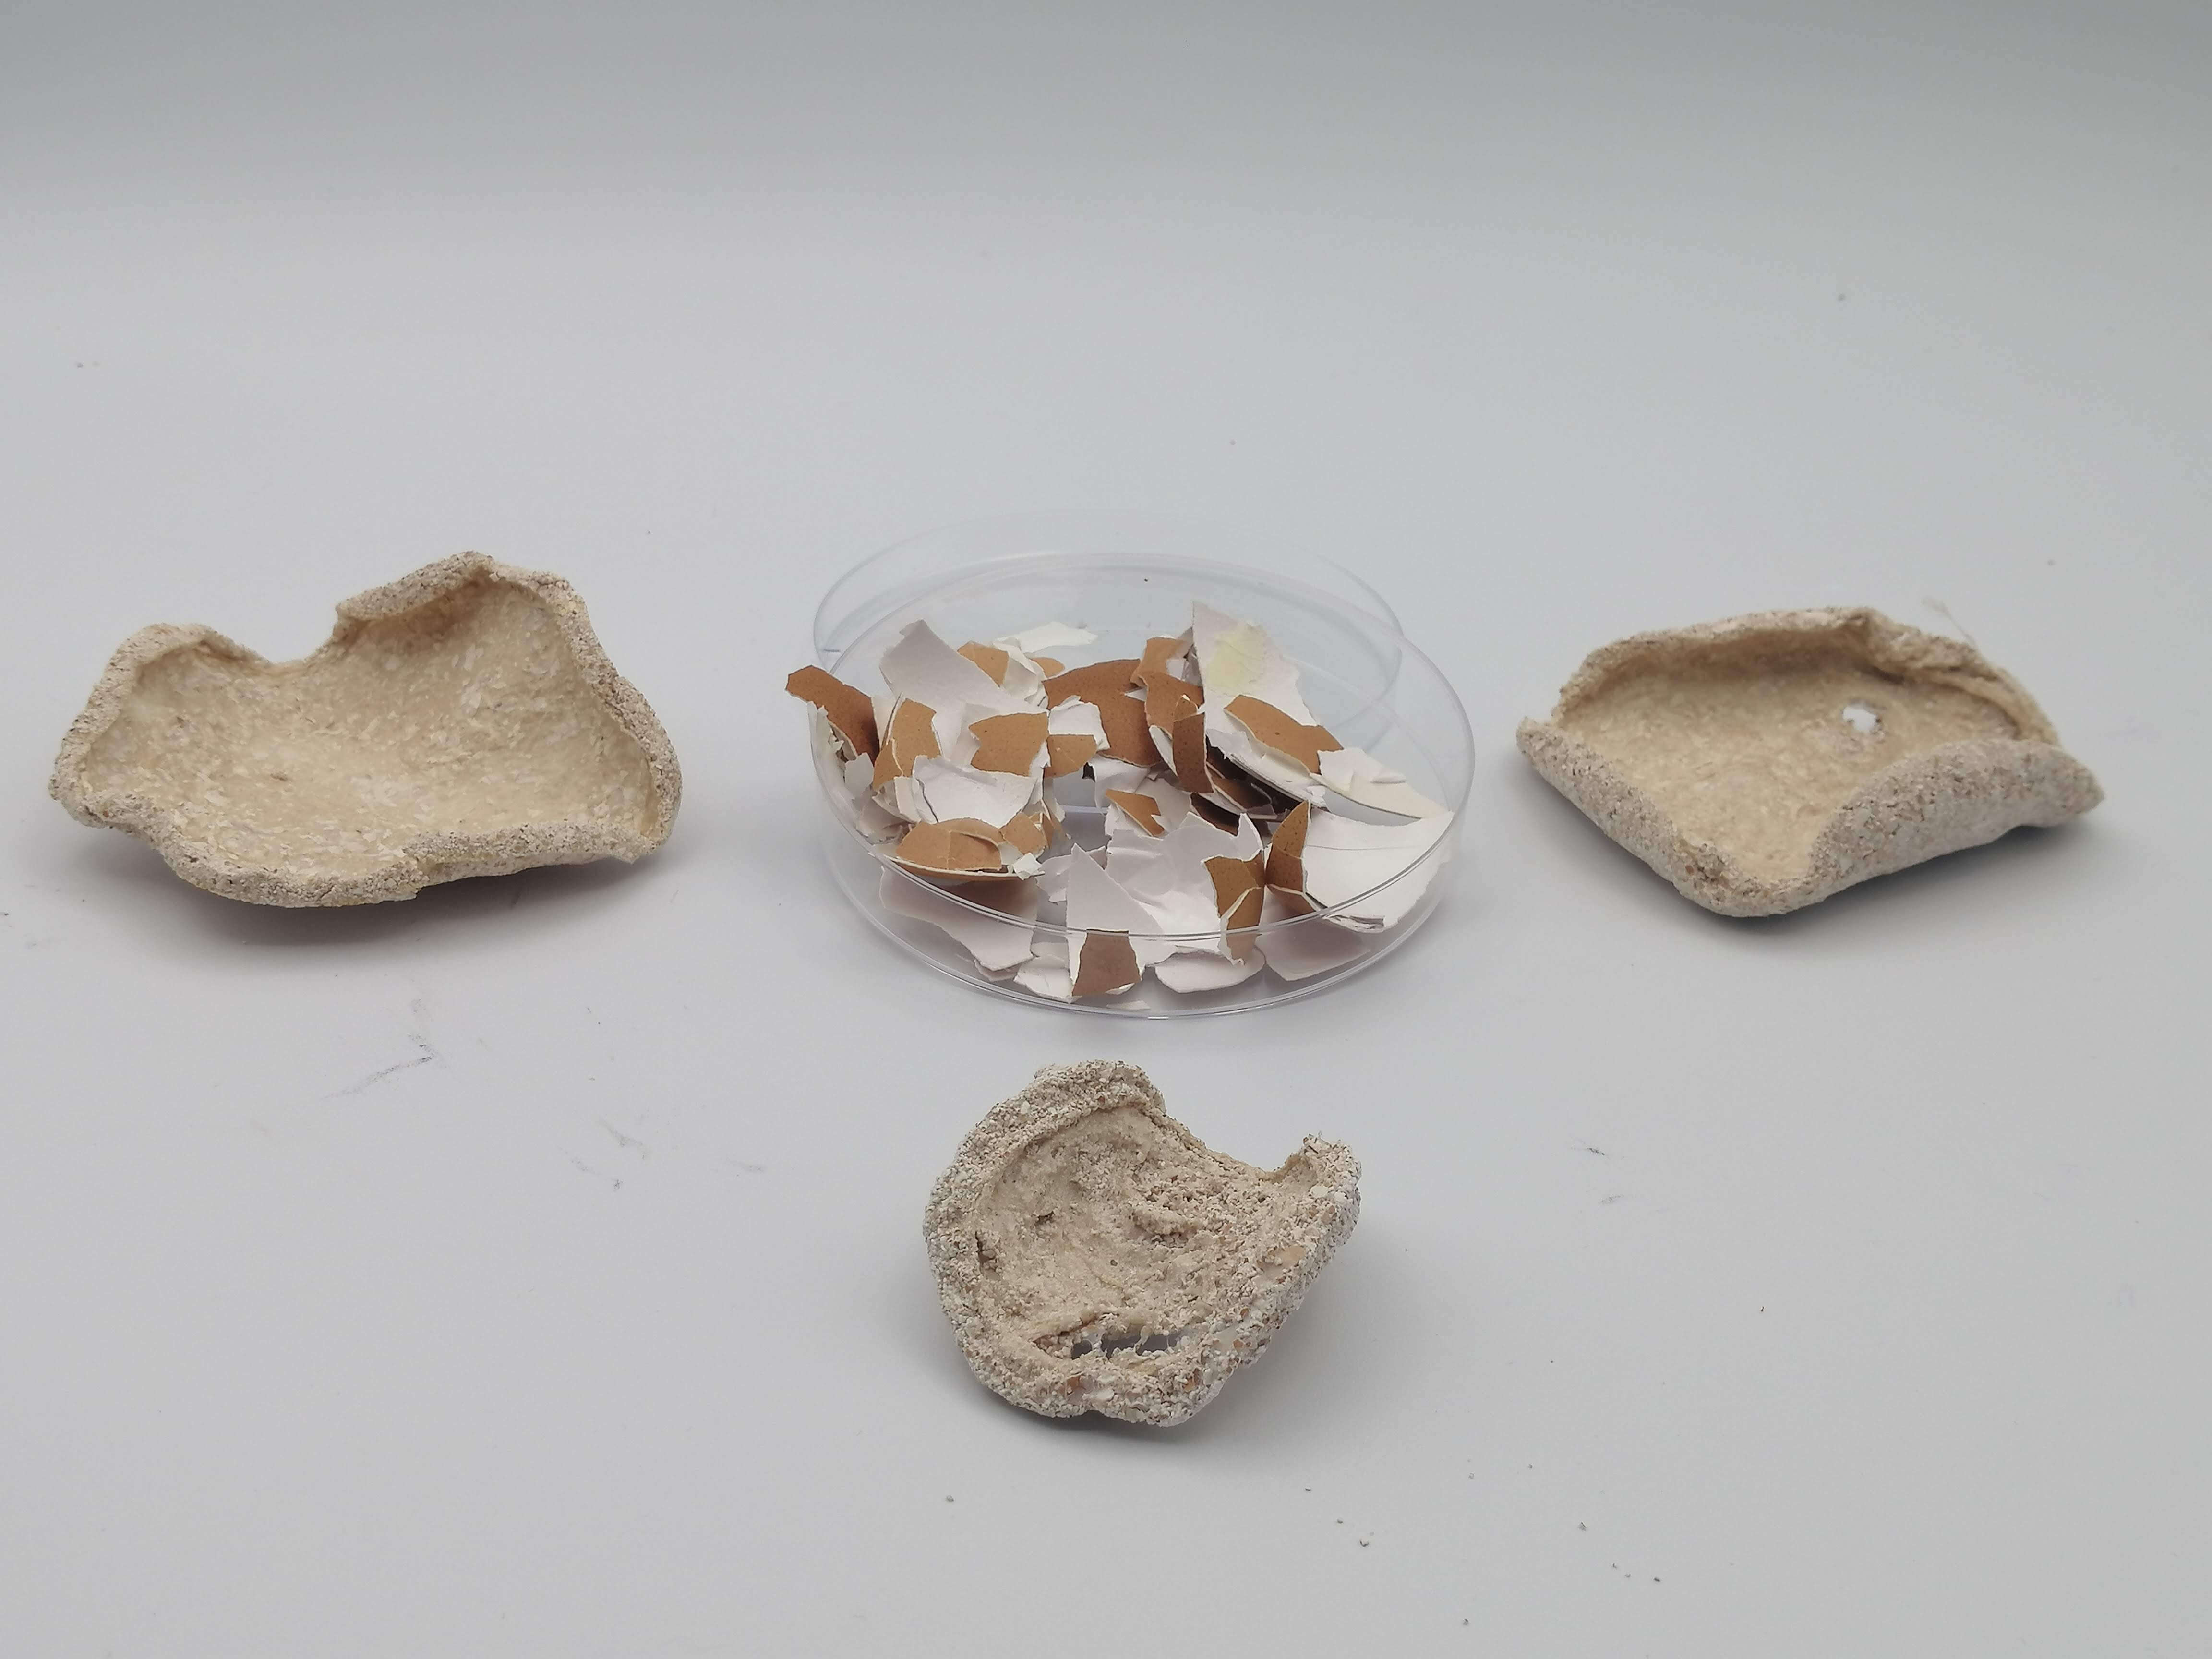
To sum up, I didn't like to work with this material but I've been spuring on to make a solid and flat plate, at least, because I've seen the project of Basse Stittgen that doesn't use eggshell powder, but slightly bigger pieces and had a good sample.
Alginato
I followed the recipe written in Meteriom, too. In this case, I would fabricate a solid material. This recipe takes two days to make.
Components:
- Eggshell 15 g
- Water 200 mL
- Vinegar 5-10 mL
- Sodium Alginate 4 g
Tools:
- Scale
- Grinder
- Spoon
- Container
- Mold or fabric
Method:
1.Eggshell powder
-
Wash the eggshell boiling for about 10-15 minutes. It’s to kill all bacteria.
-
Dry them in the dehydrator at 70ºC for 25 minutes.
-
Grind them as much as possible. It’s really important to obtain powder.
2.Alginate mix
- A day before, mix the alginate with water and leave it for 24 hours.
3.Eggshell biomaterial
-
Mix the eggshell with the alginate solution. Stir them until they mix. Try to avoid bubbles.
-
Put into a mold or a fabric.
-
Add vinegar carefully on the top. It will start reacting immediately.
-
After 15 minutes, try to separate the mix from the mold in order to leave space for the vinegar to spread.
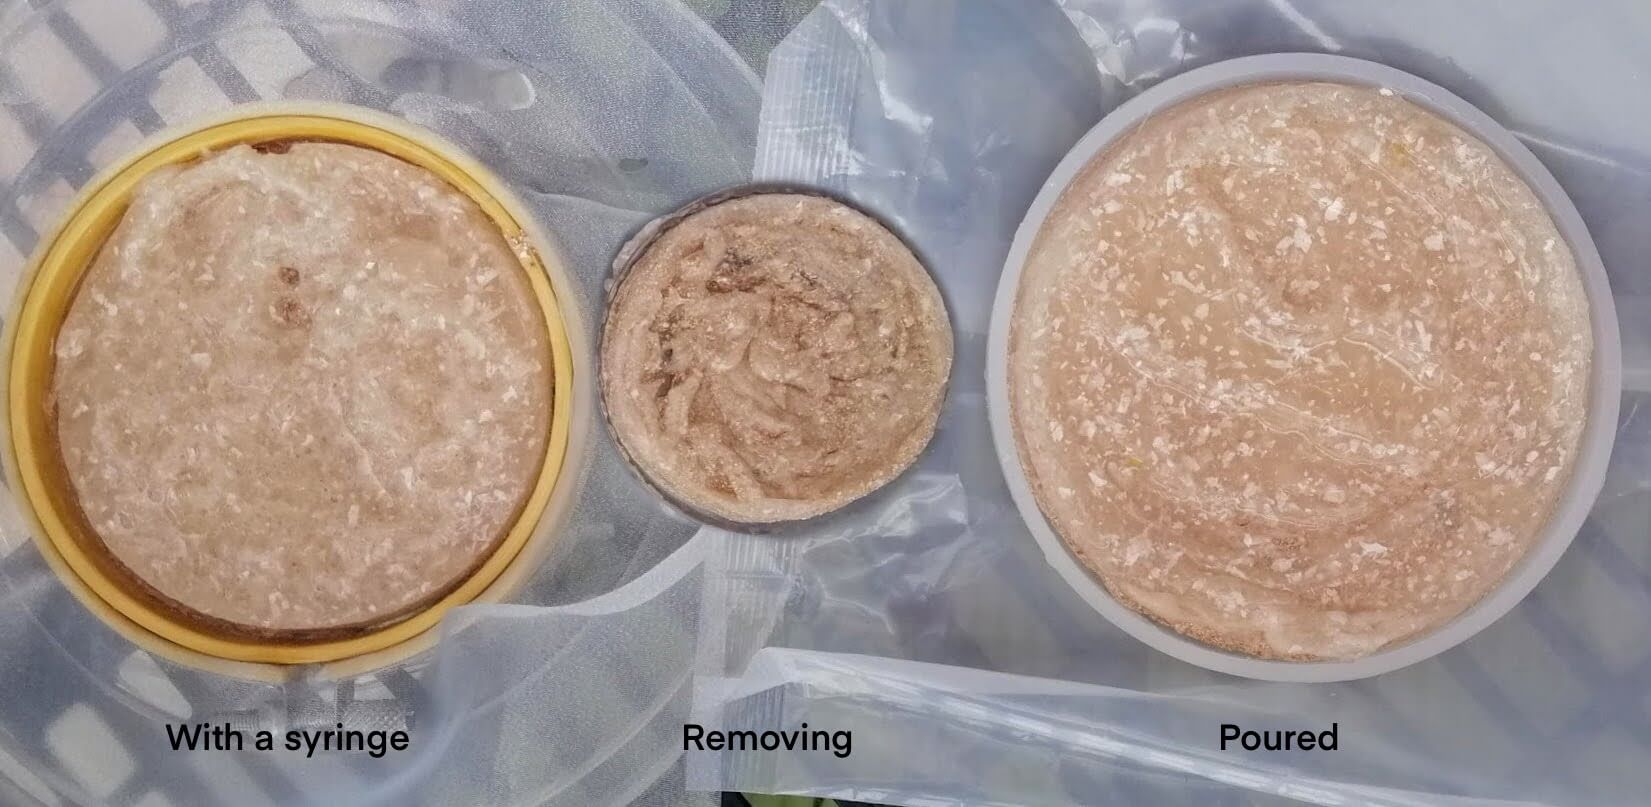
The coagulation happens really fast so I had problems pouring it. I tried different ways to pour the vinegar:
- With a syringe. The drops were quite noticeable.
- Removing while I poured the vinegar. It was coagulated immediately so I dragged the solidified and "destroyed" the sample.
- I just poured gently.
-
Leave it for an hour.
-
Take it out of the mold and rinse it.
This step I didn’t do because I felt my samples weren’t solidified enough so I couldn’t take them out. I just left it to dry.
-
Then leave it to dry.
-
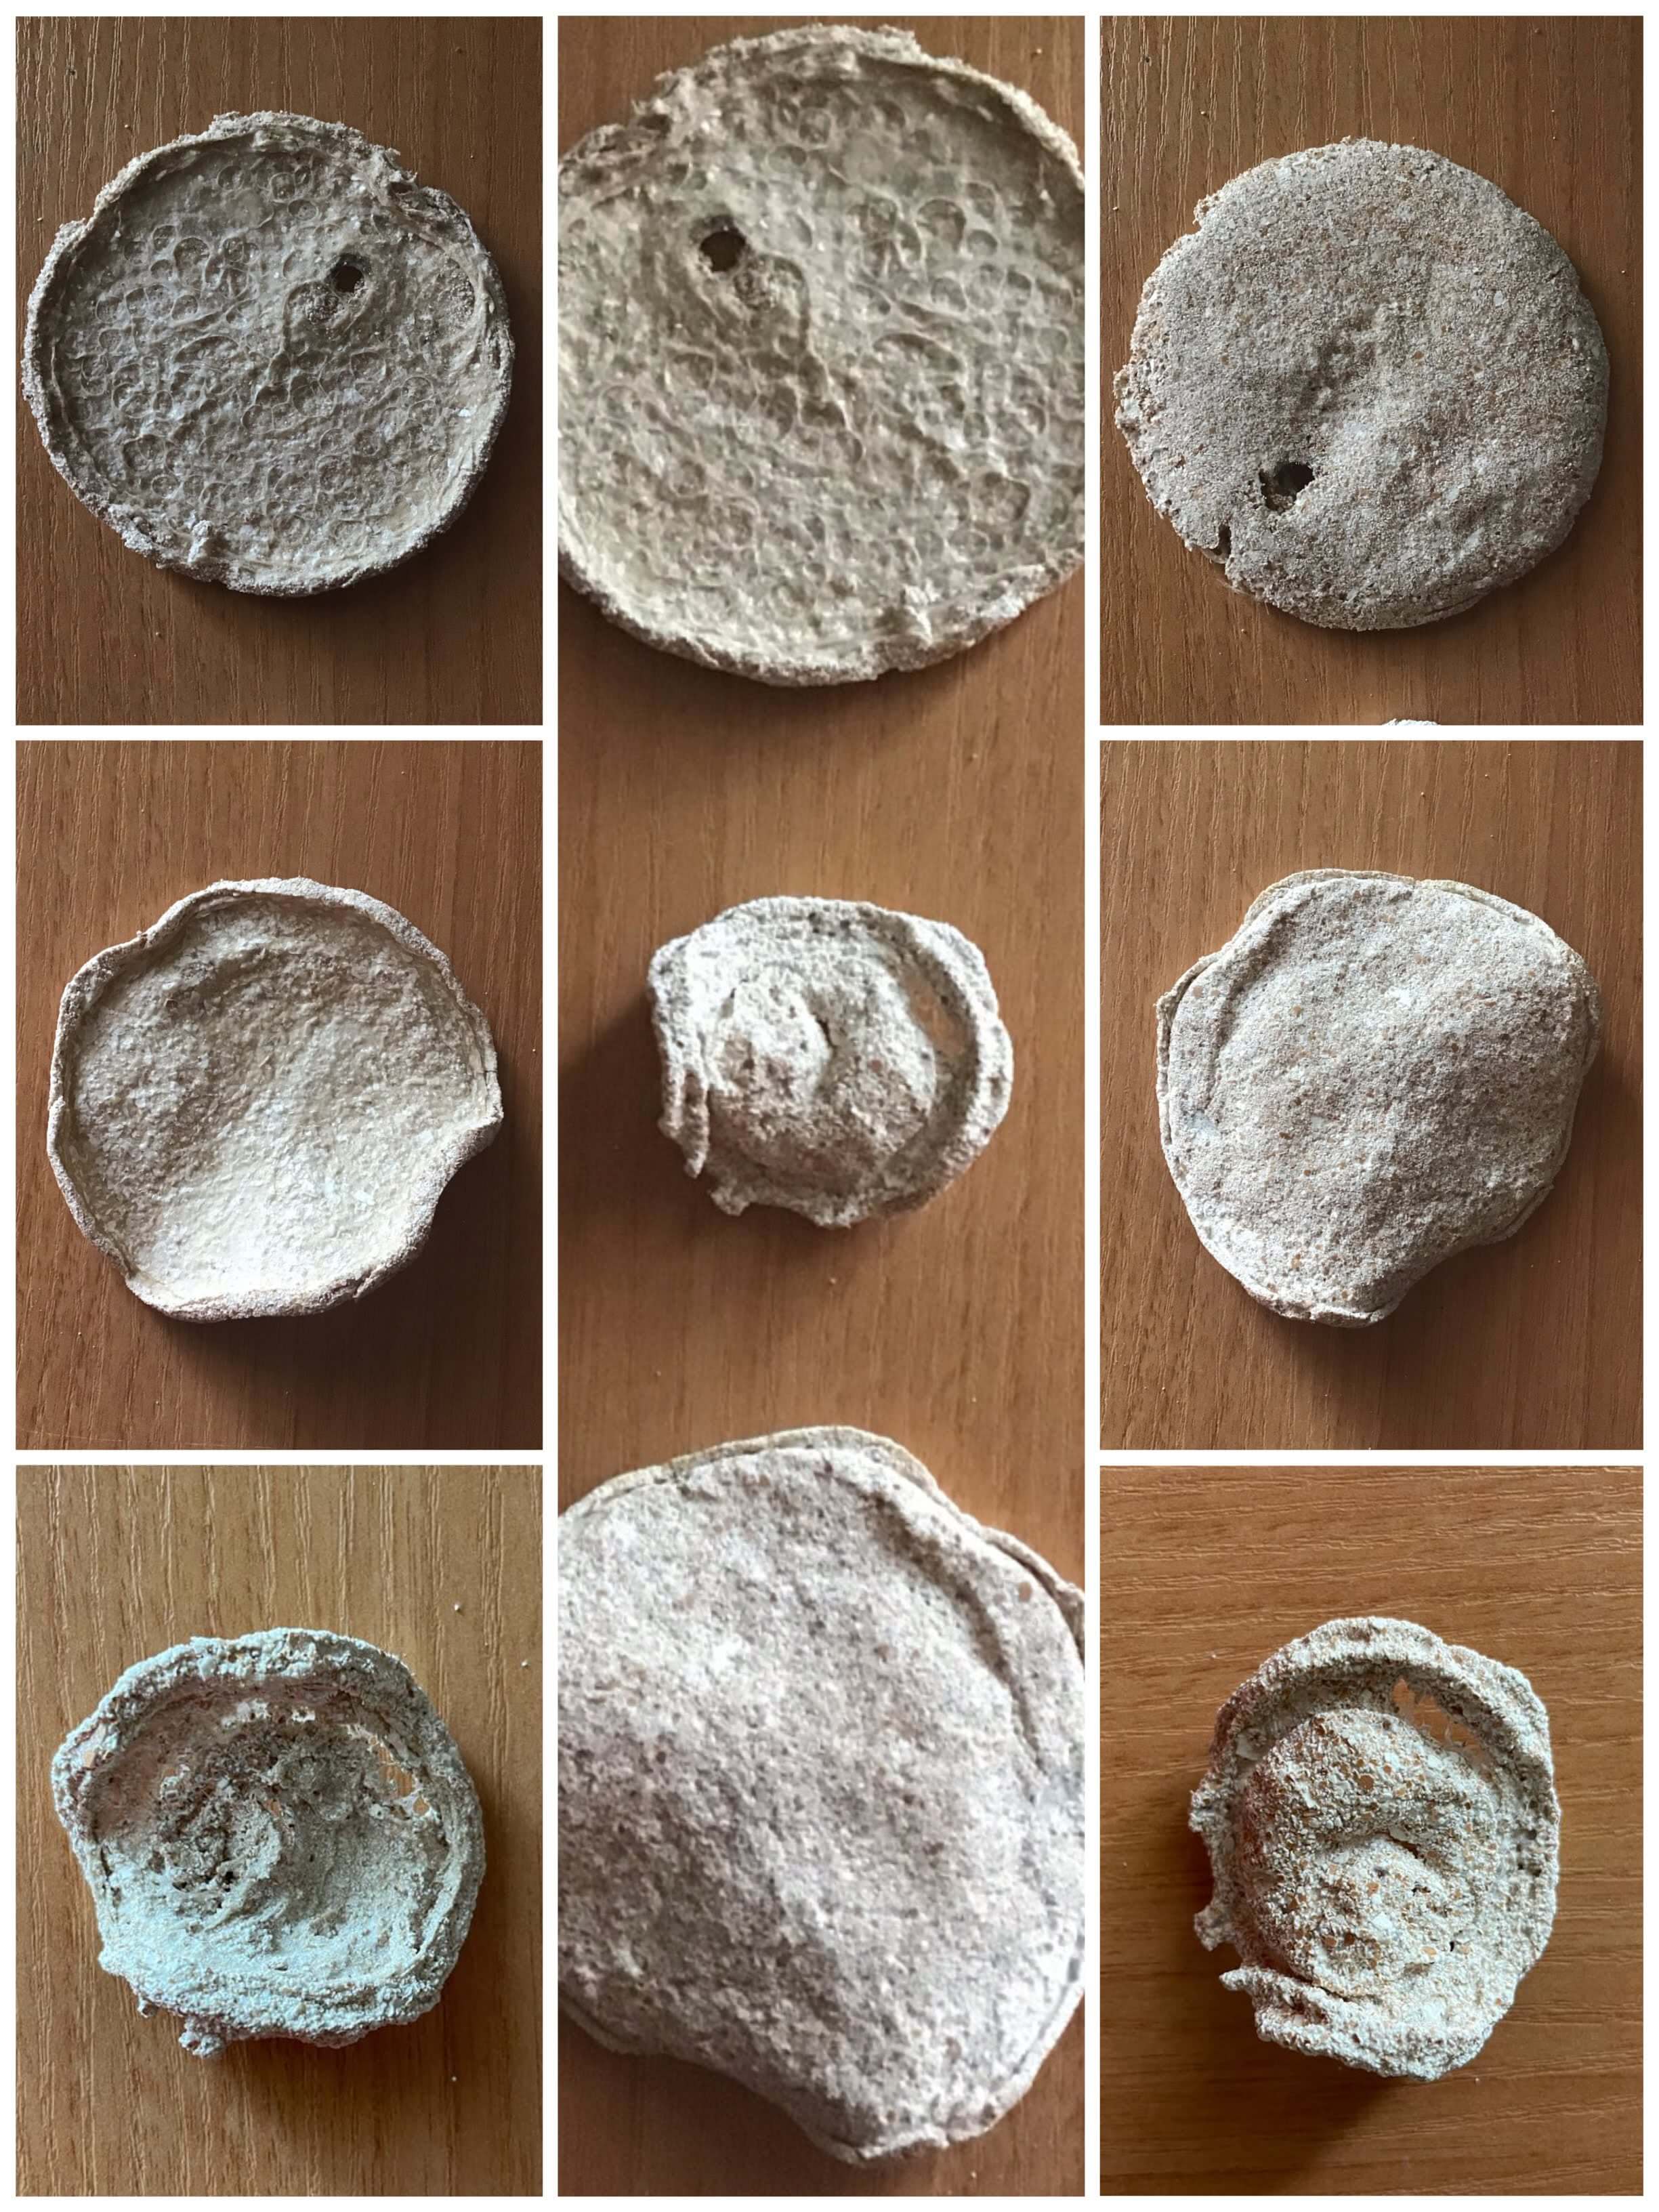
After a day, they were more solid so I took them out of the mold. However, they were still wet and when the one that I had in a silicone mold and the other one that was in a lid dried completely, they shrunk. On the other hand, the one that I had on fabric, kept its shape.
Characteristics:
- Transparency ⚫️⚫️⚫️⚫️⚫️
- Elasticity 🔘⚫️⚫️⚫️⚫️
- Smell ⚫️⚫️⚫️⚫️⚫️
- Flexibility 🔘⚫️⚫️⚫️⚫️
- Resistance 🔘🔘🔘⚫️⚫️
- Texture 🔘🔘🔘🔘⚫️
Orange peel
While I was looking for more inspiration, I found this interesting project: a 3D lamp made of orange peels filament. The lamp is a single piece that simulates the skin of the orange, and when it is turned on, the heat given off by the bulb makes it warm just enough to give off the smell of oranges. I mean, I’m speechless, look at this beauty.
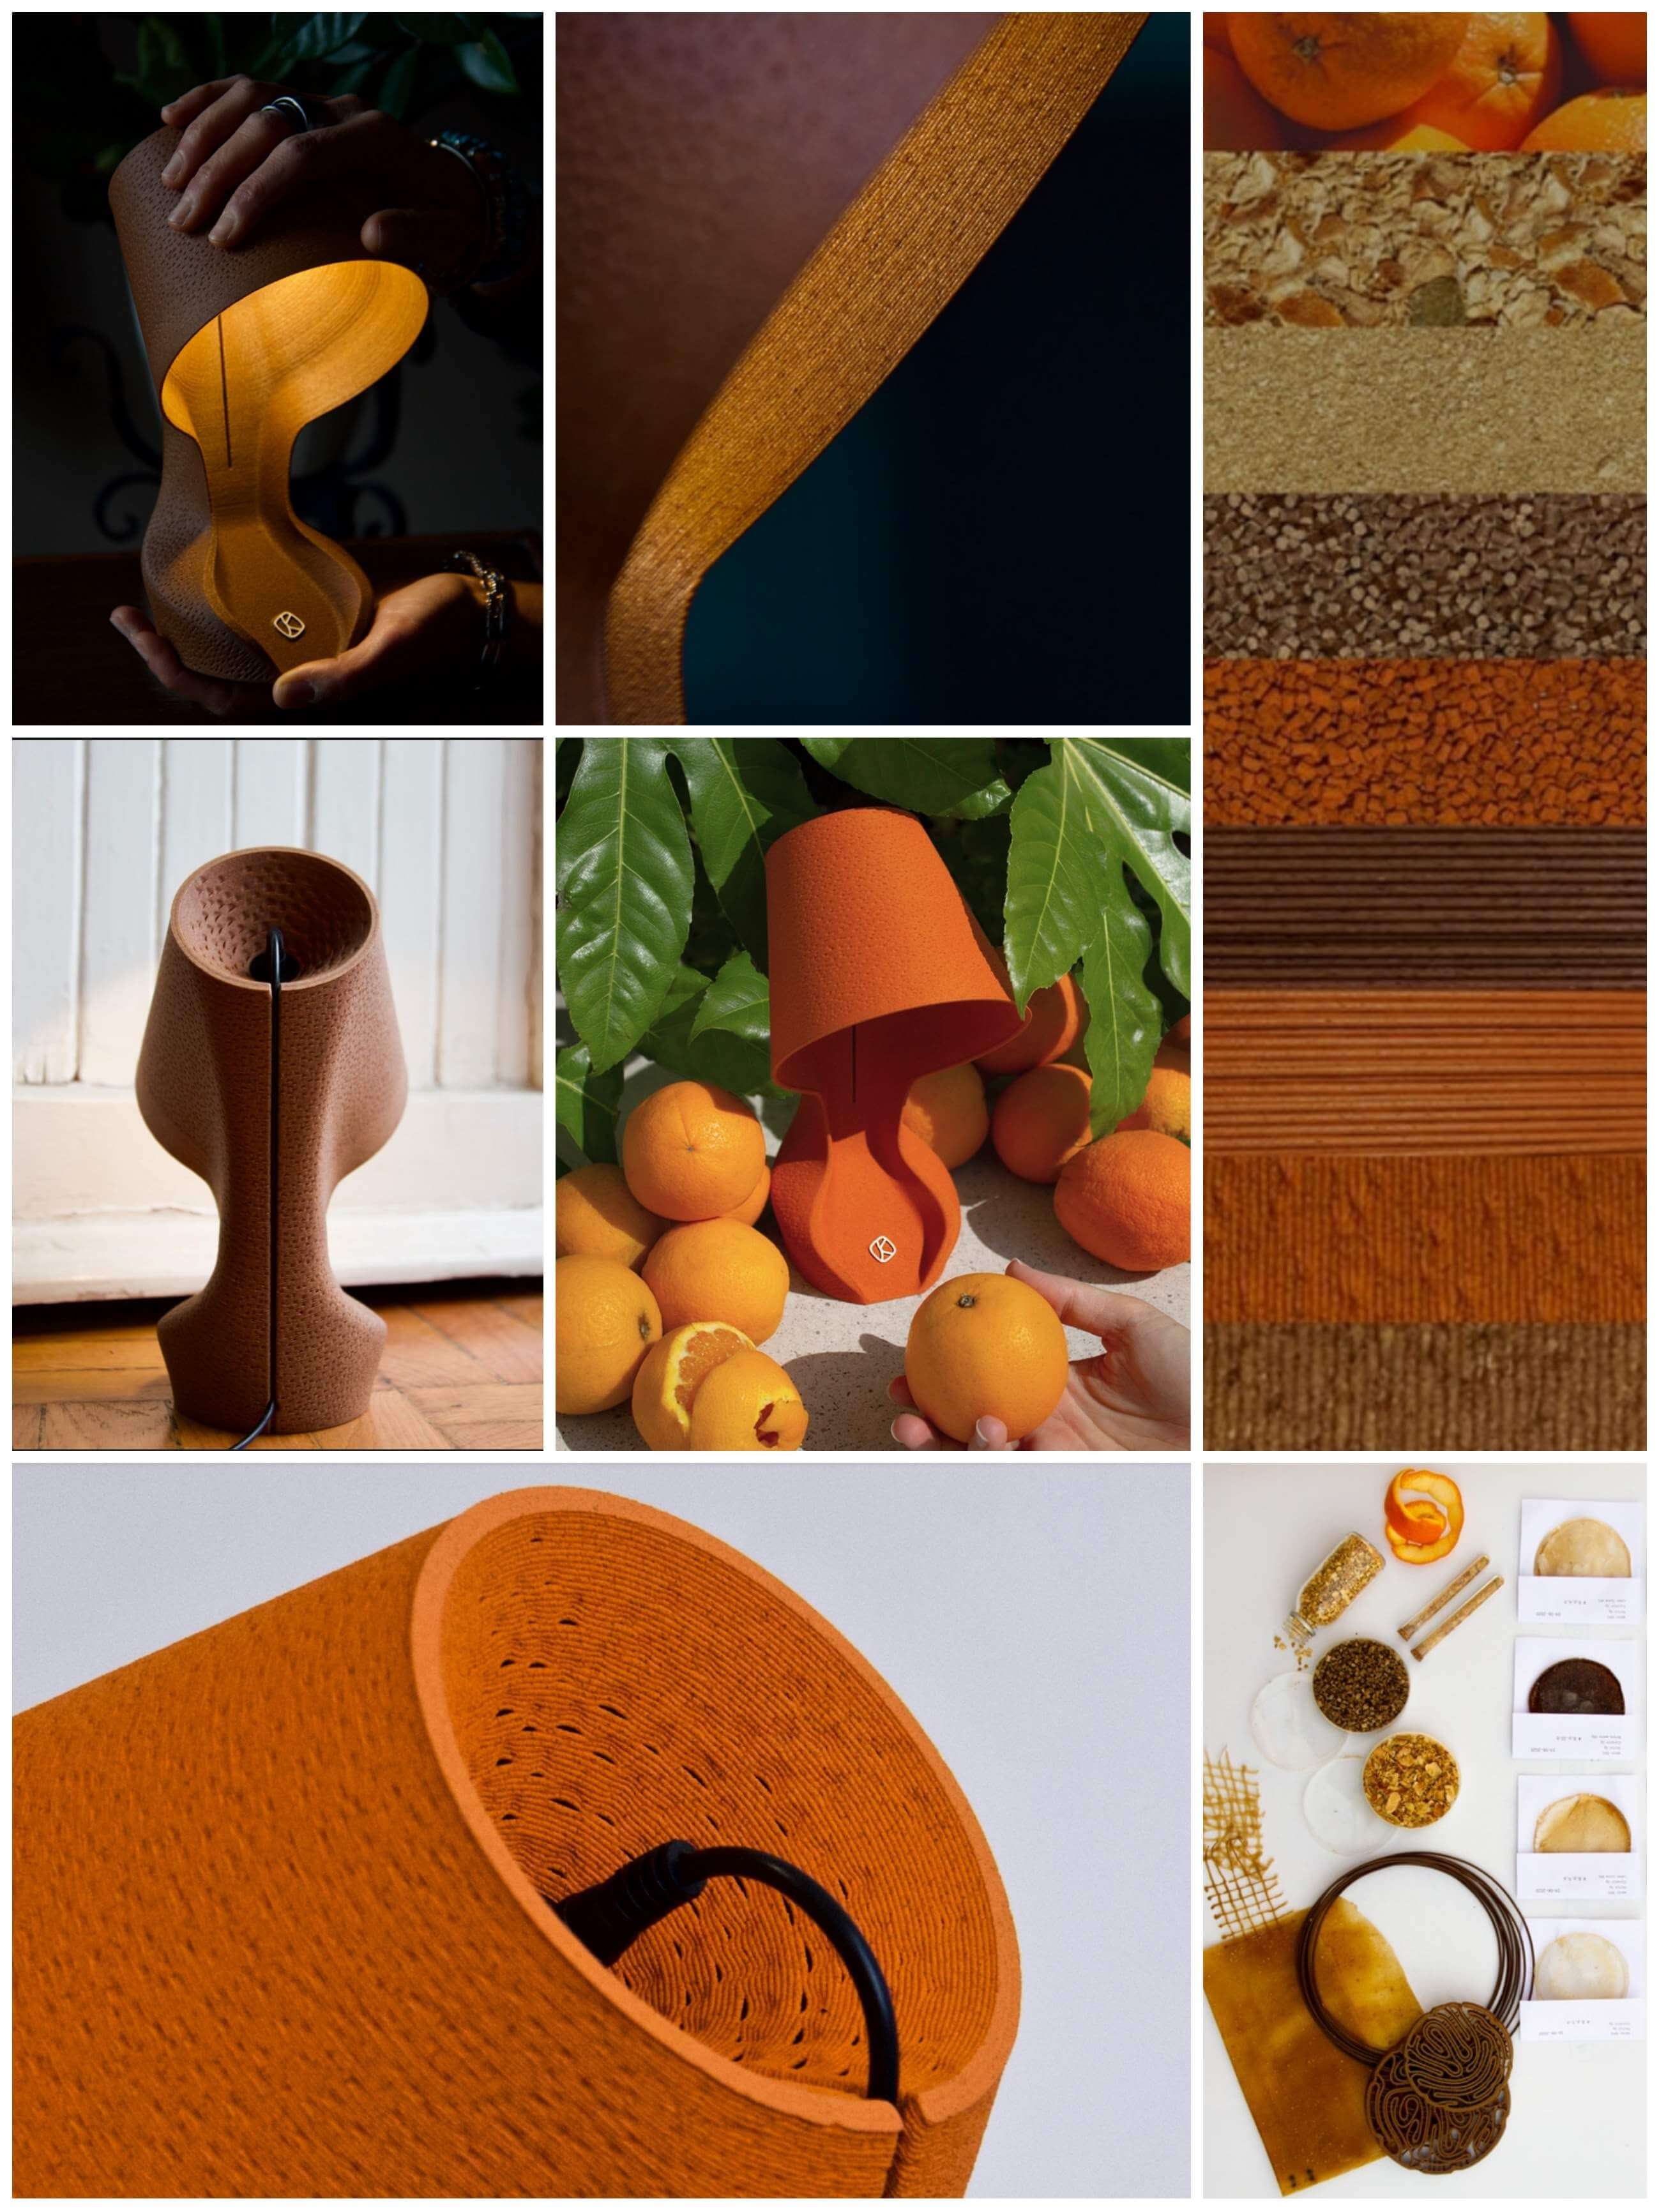
I wanted to do something similar, but it was beyond my knowledge and possibilities.
So I made something more achievable. I followed the recipe of Remix El Barrio from Fab Lab Barcelona. This recipe takes two days to make, too.
Components:
- Wool fiber 2’4 g
- Water 600 mL
- Orange peel 14’4 g
- Sodium alginate 15 g
- Glycerin 50’50 g
- Oil 6’70 g
- Calcium Chloride
Tools:
- Scale
- Spatula
- Mixer
- Shredder
- Dehydrators
- Baking tray
- Cooking pot
- Container
- Fridger
Method:
1.Orange peel mixture.
- Accumulate orange peel waste.
- Cut them into pieces and put them in the dehydrators.
-
Crush the skins.
I hadn’t got an industrial shredder, so I didn’t get powder.
-
Mix the alginate, glycerine, oil, orange peels and water.
- Mix them with the mixer.
Do not heat them up.
- Put the mix in a container in the fridge.
- Leave it for 24 hours.
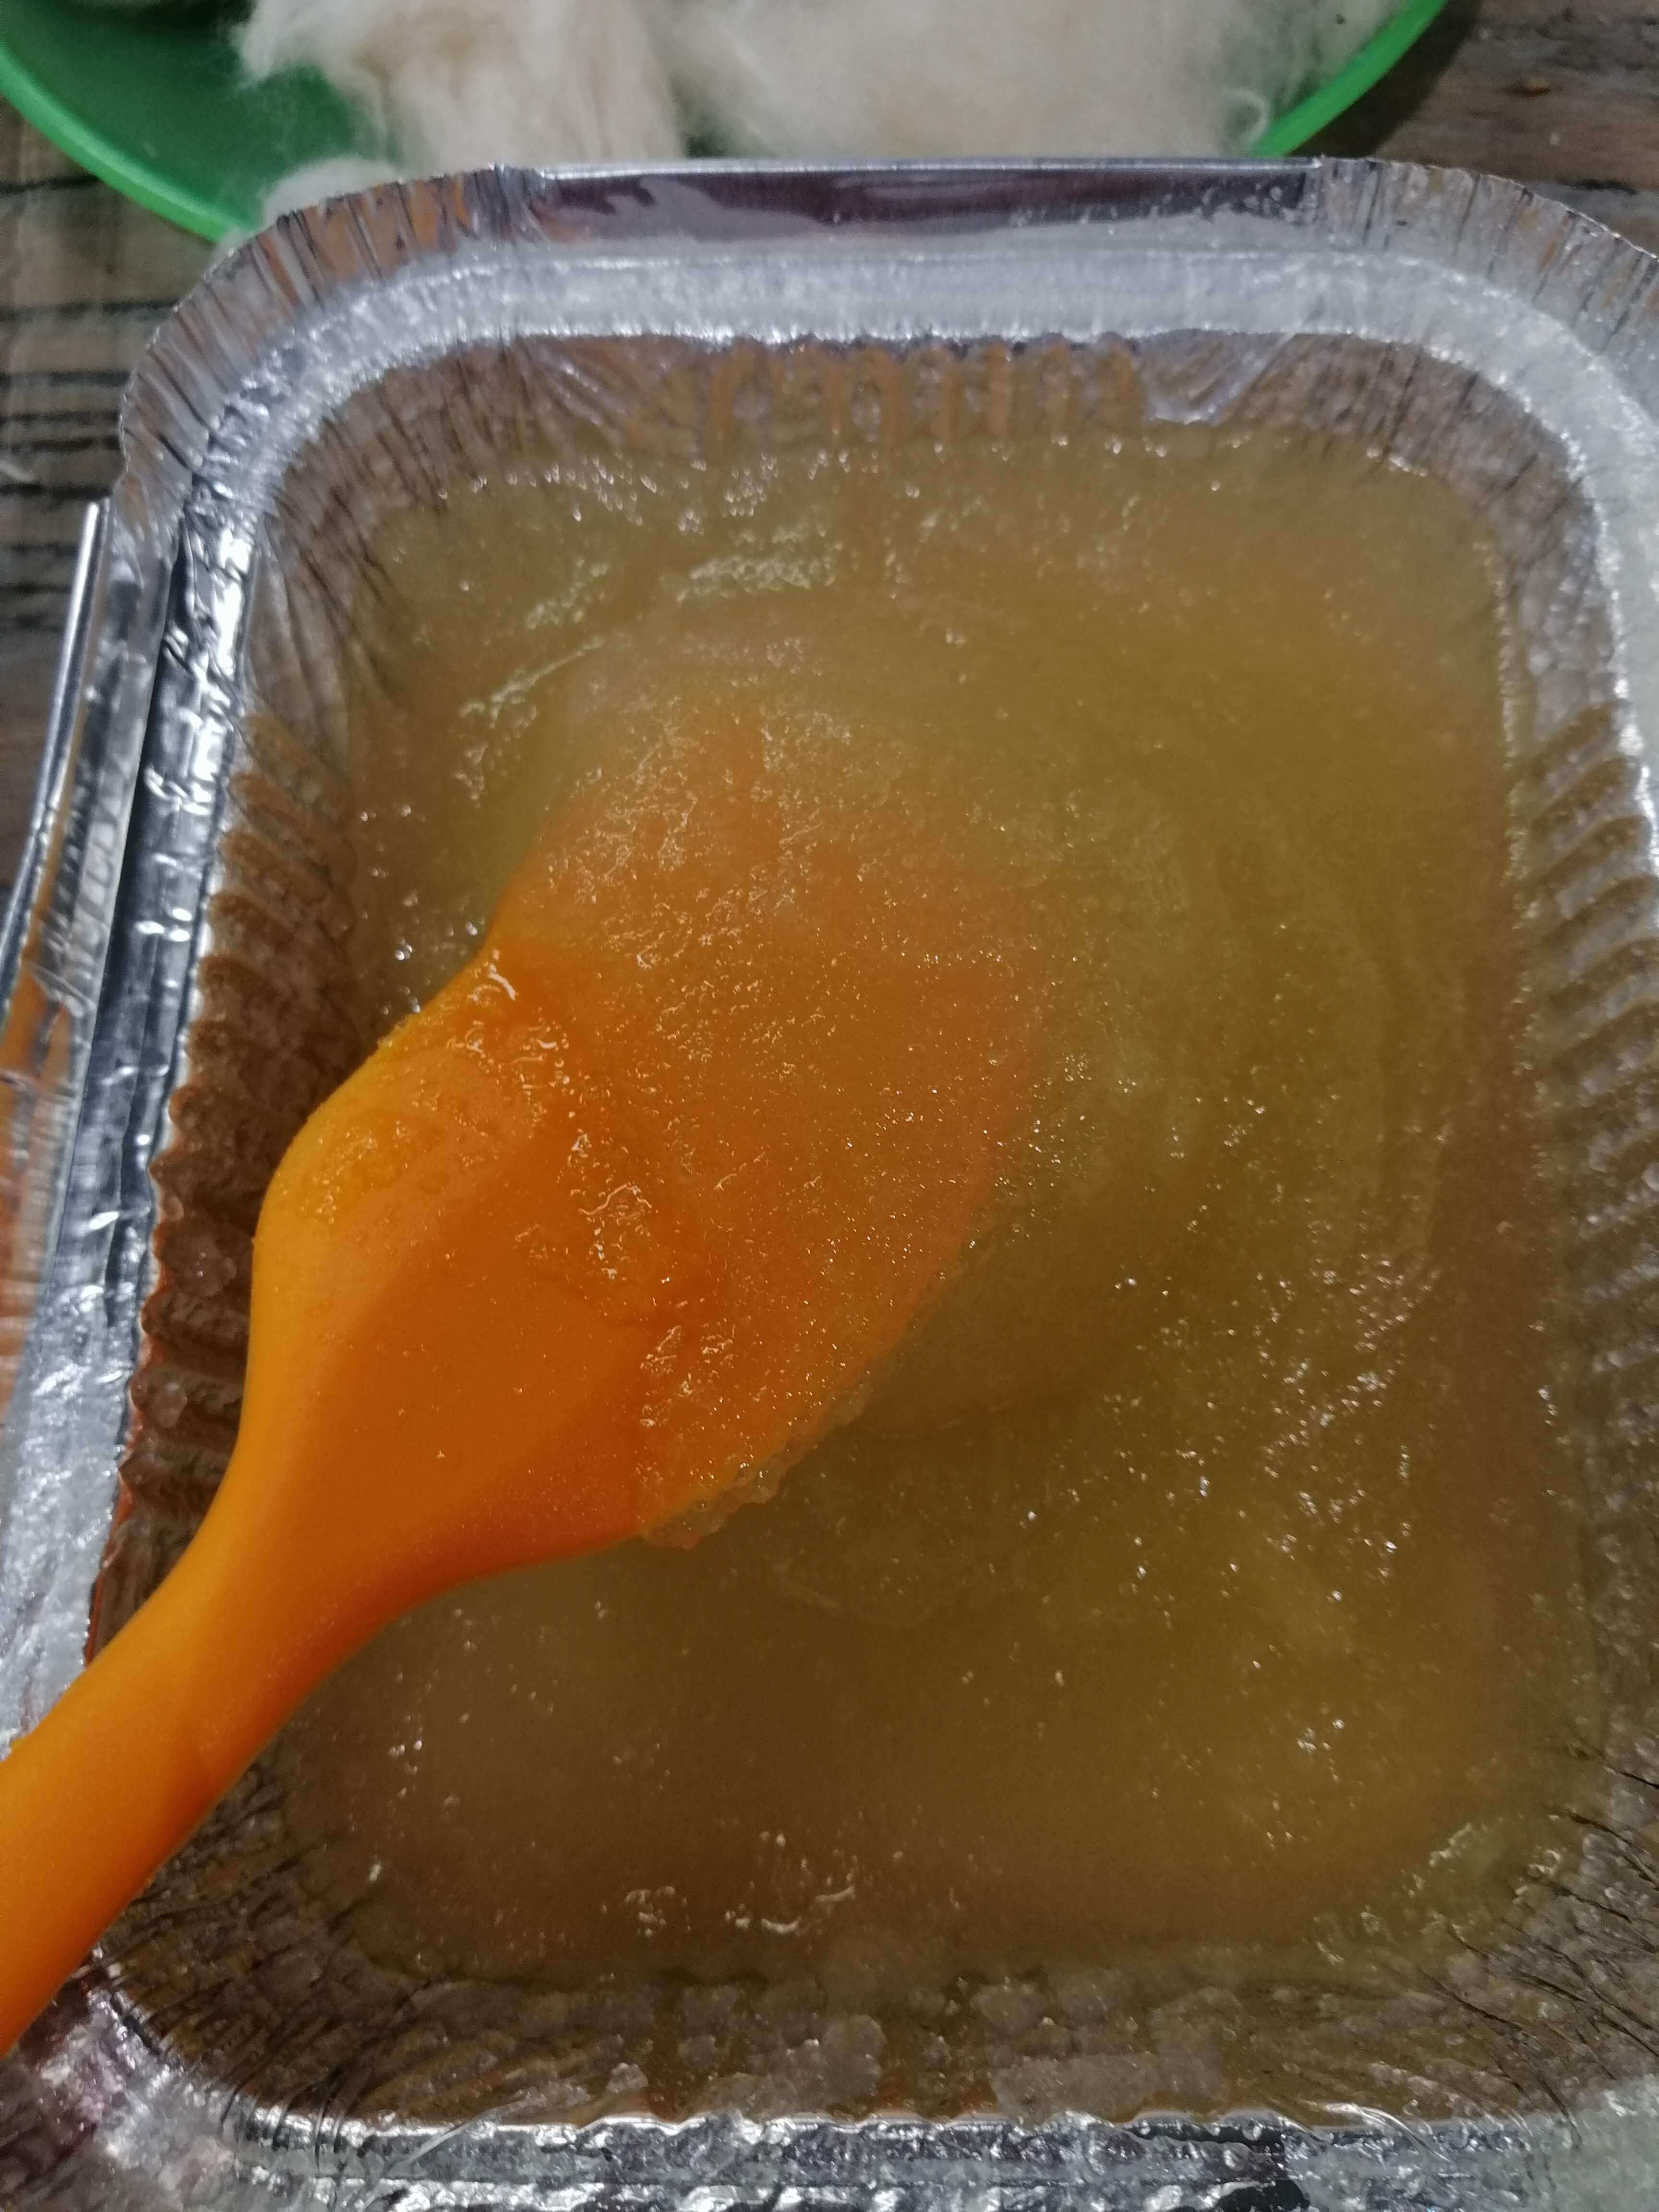
2.Orange biomaterial.
-
Add the wool.
If the wool is separated, it will be easier to blend.
-
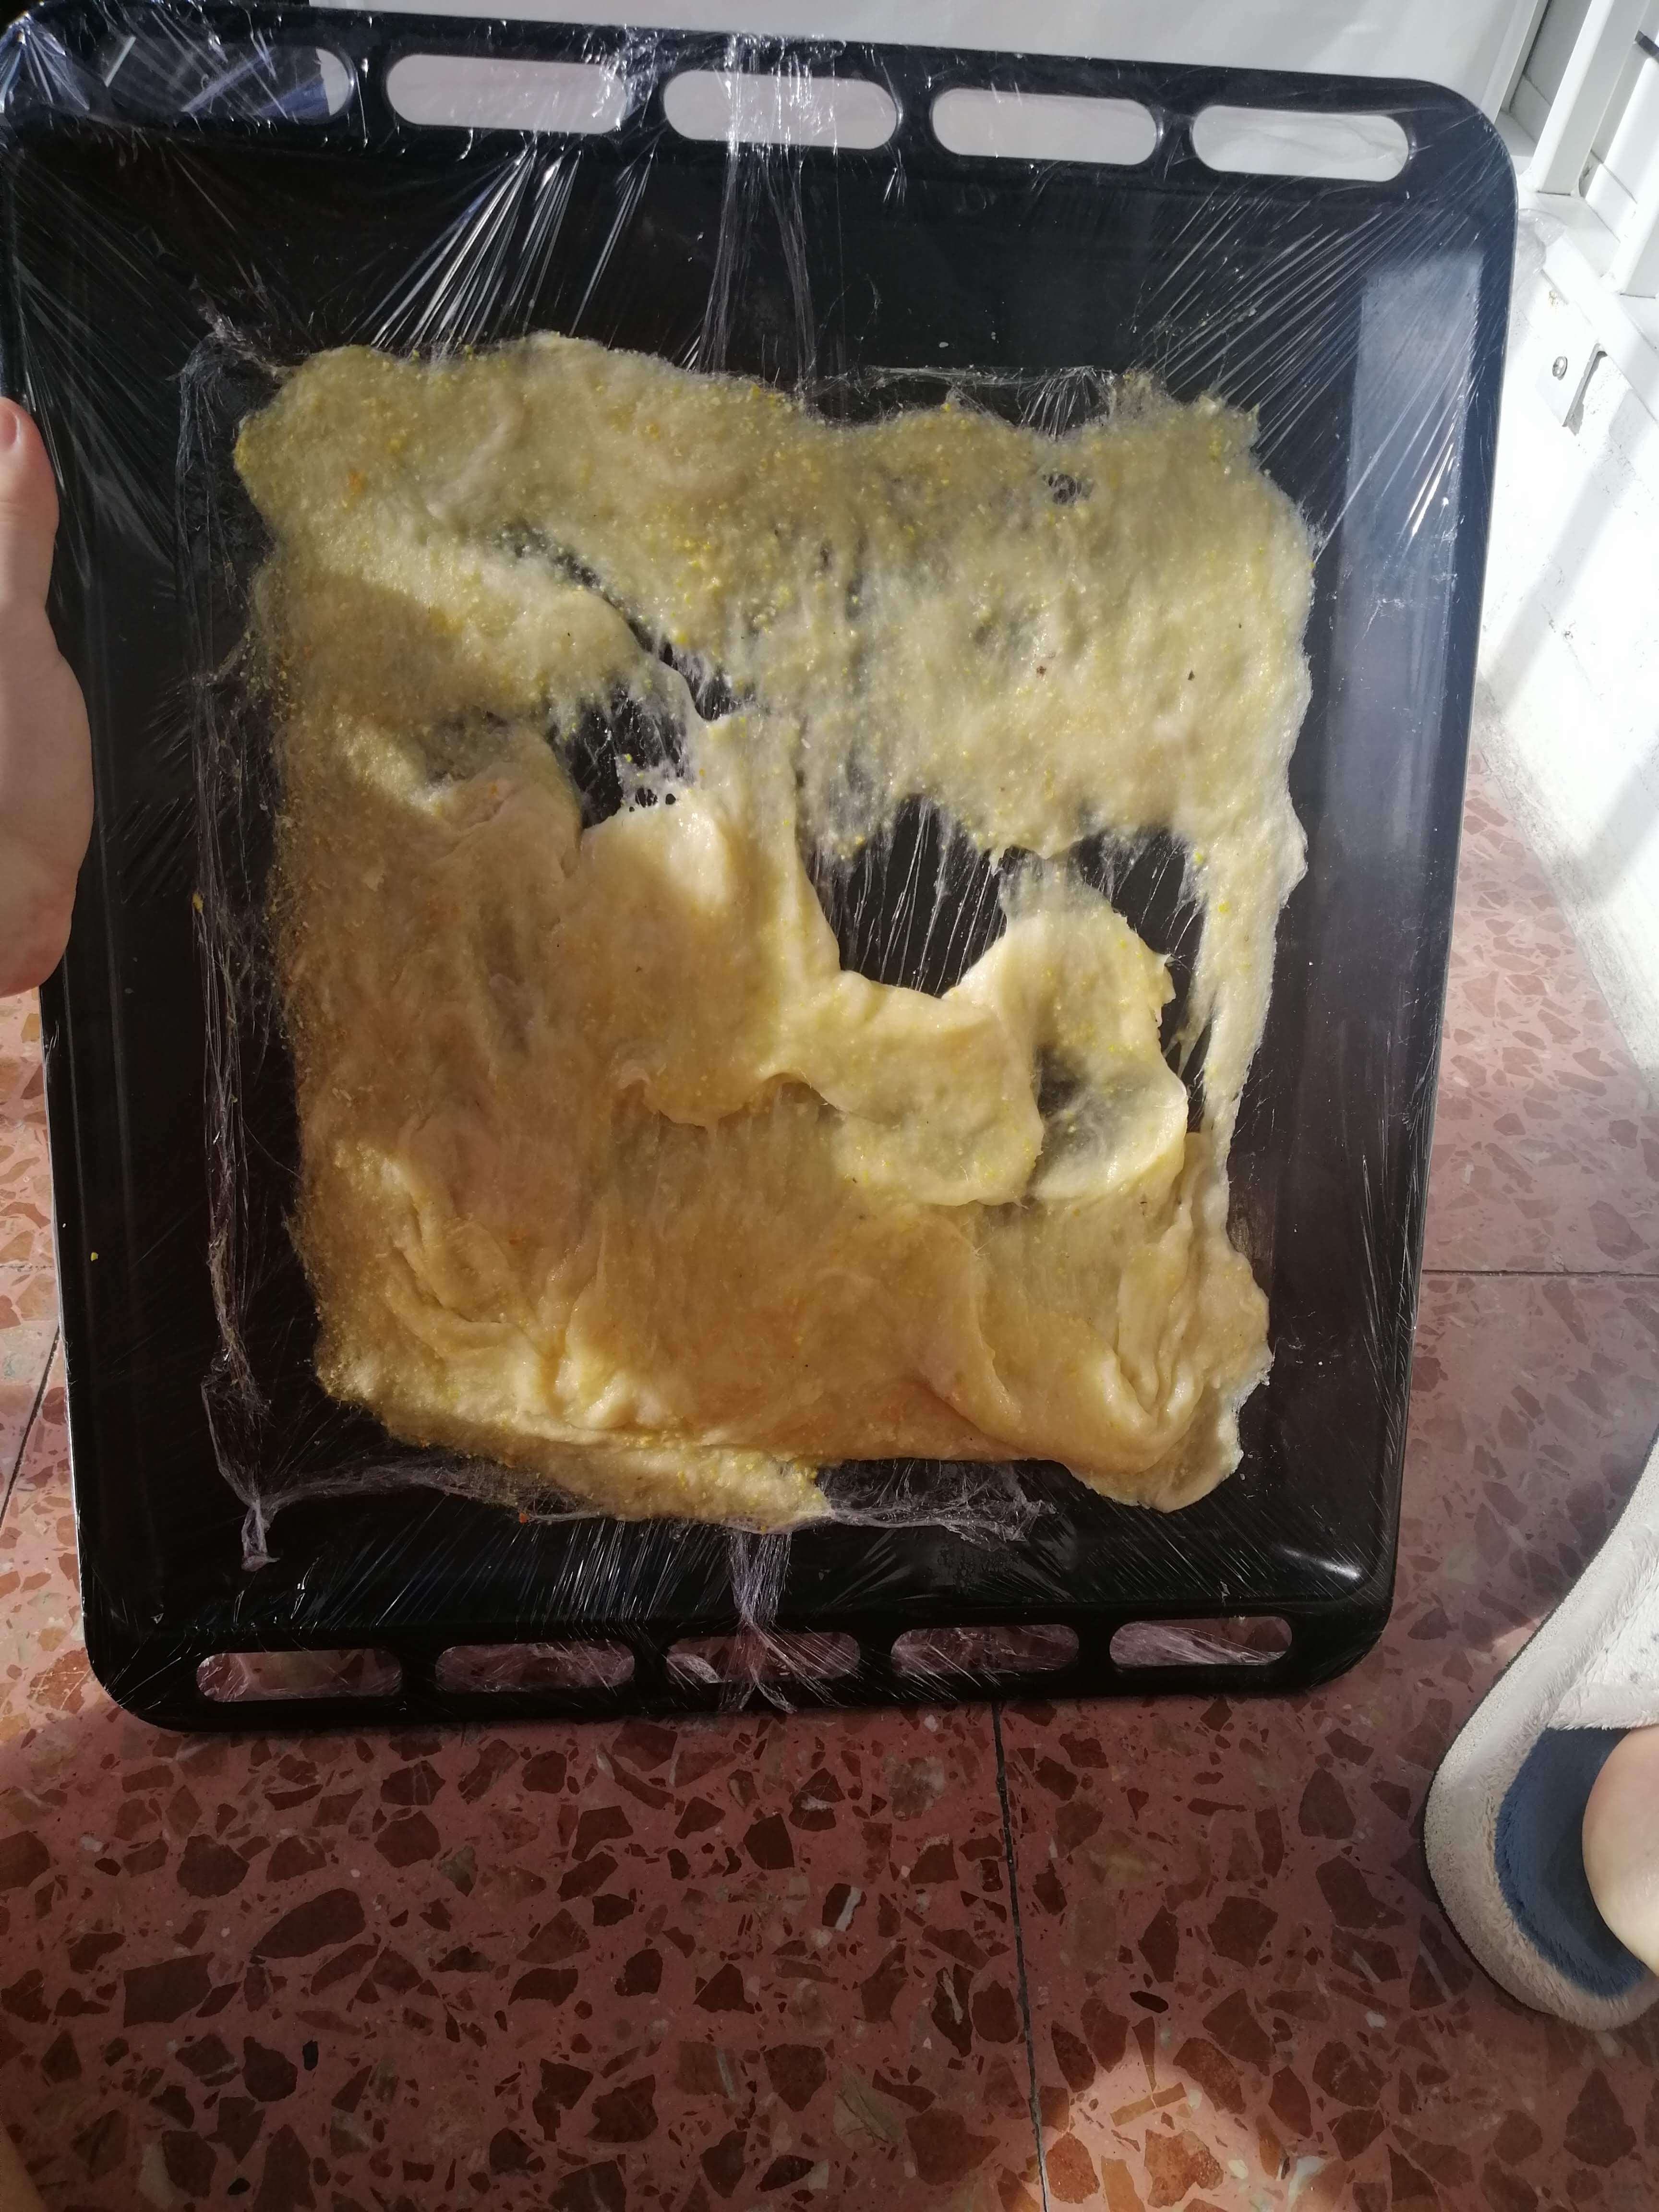
Extend the mixture over the baking pot.
-
Put calcium chloride above and below.
Spray it on.
-
Let it dry.
Mine took 2 weeks because it suffered a fatal accident.... To accelerate the process, you can put it in front of the radiator.
Characteristics:
- Transparency 🔘🔘🔘⚫️⚫️
- Elasticity 🔘🔘⚫️⚫️⚫️
- Smell 🔘🔘⚫️⚫️⚫️
- Flexibility 🔘🔘🔘🔘🔘
- Resistance 🔘🔘⚫️⚫️⚫️
- Texture 🔘🔘🔘⚫️⚫️
But in the end, I loved the result.
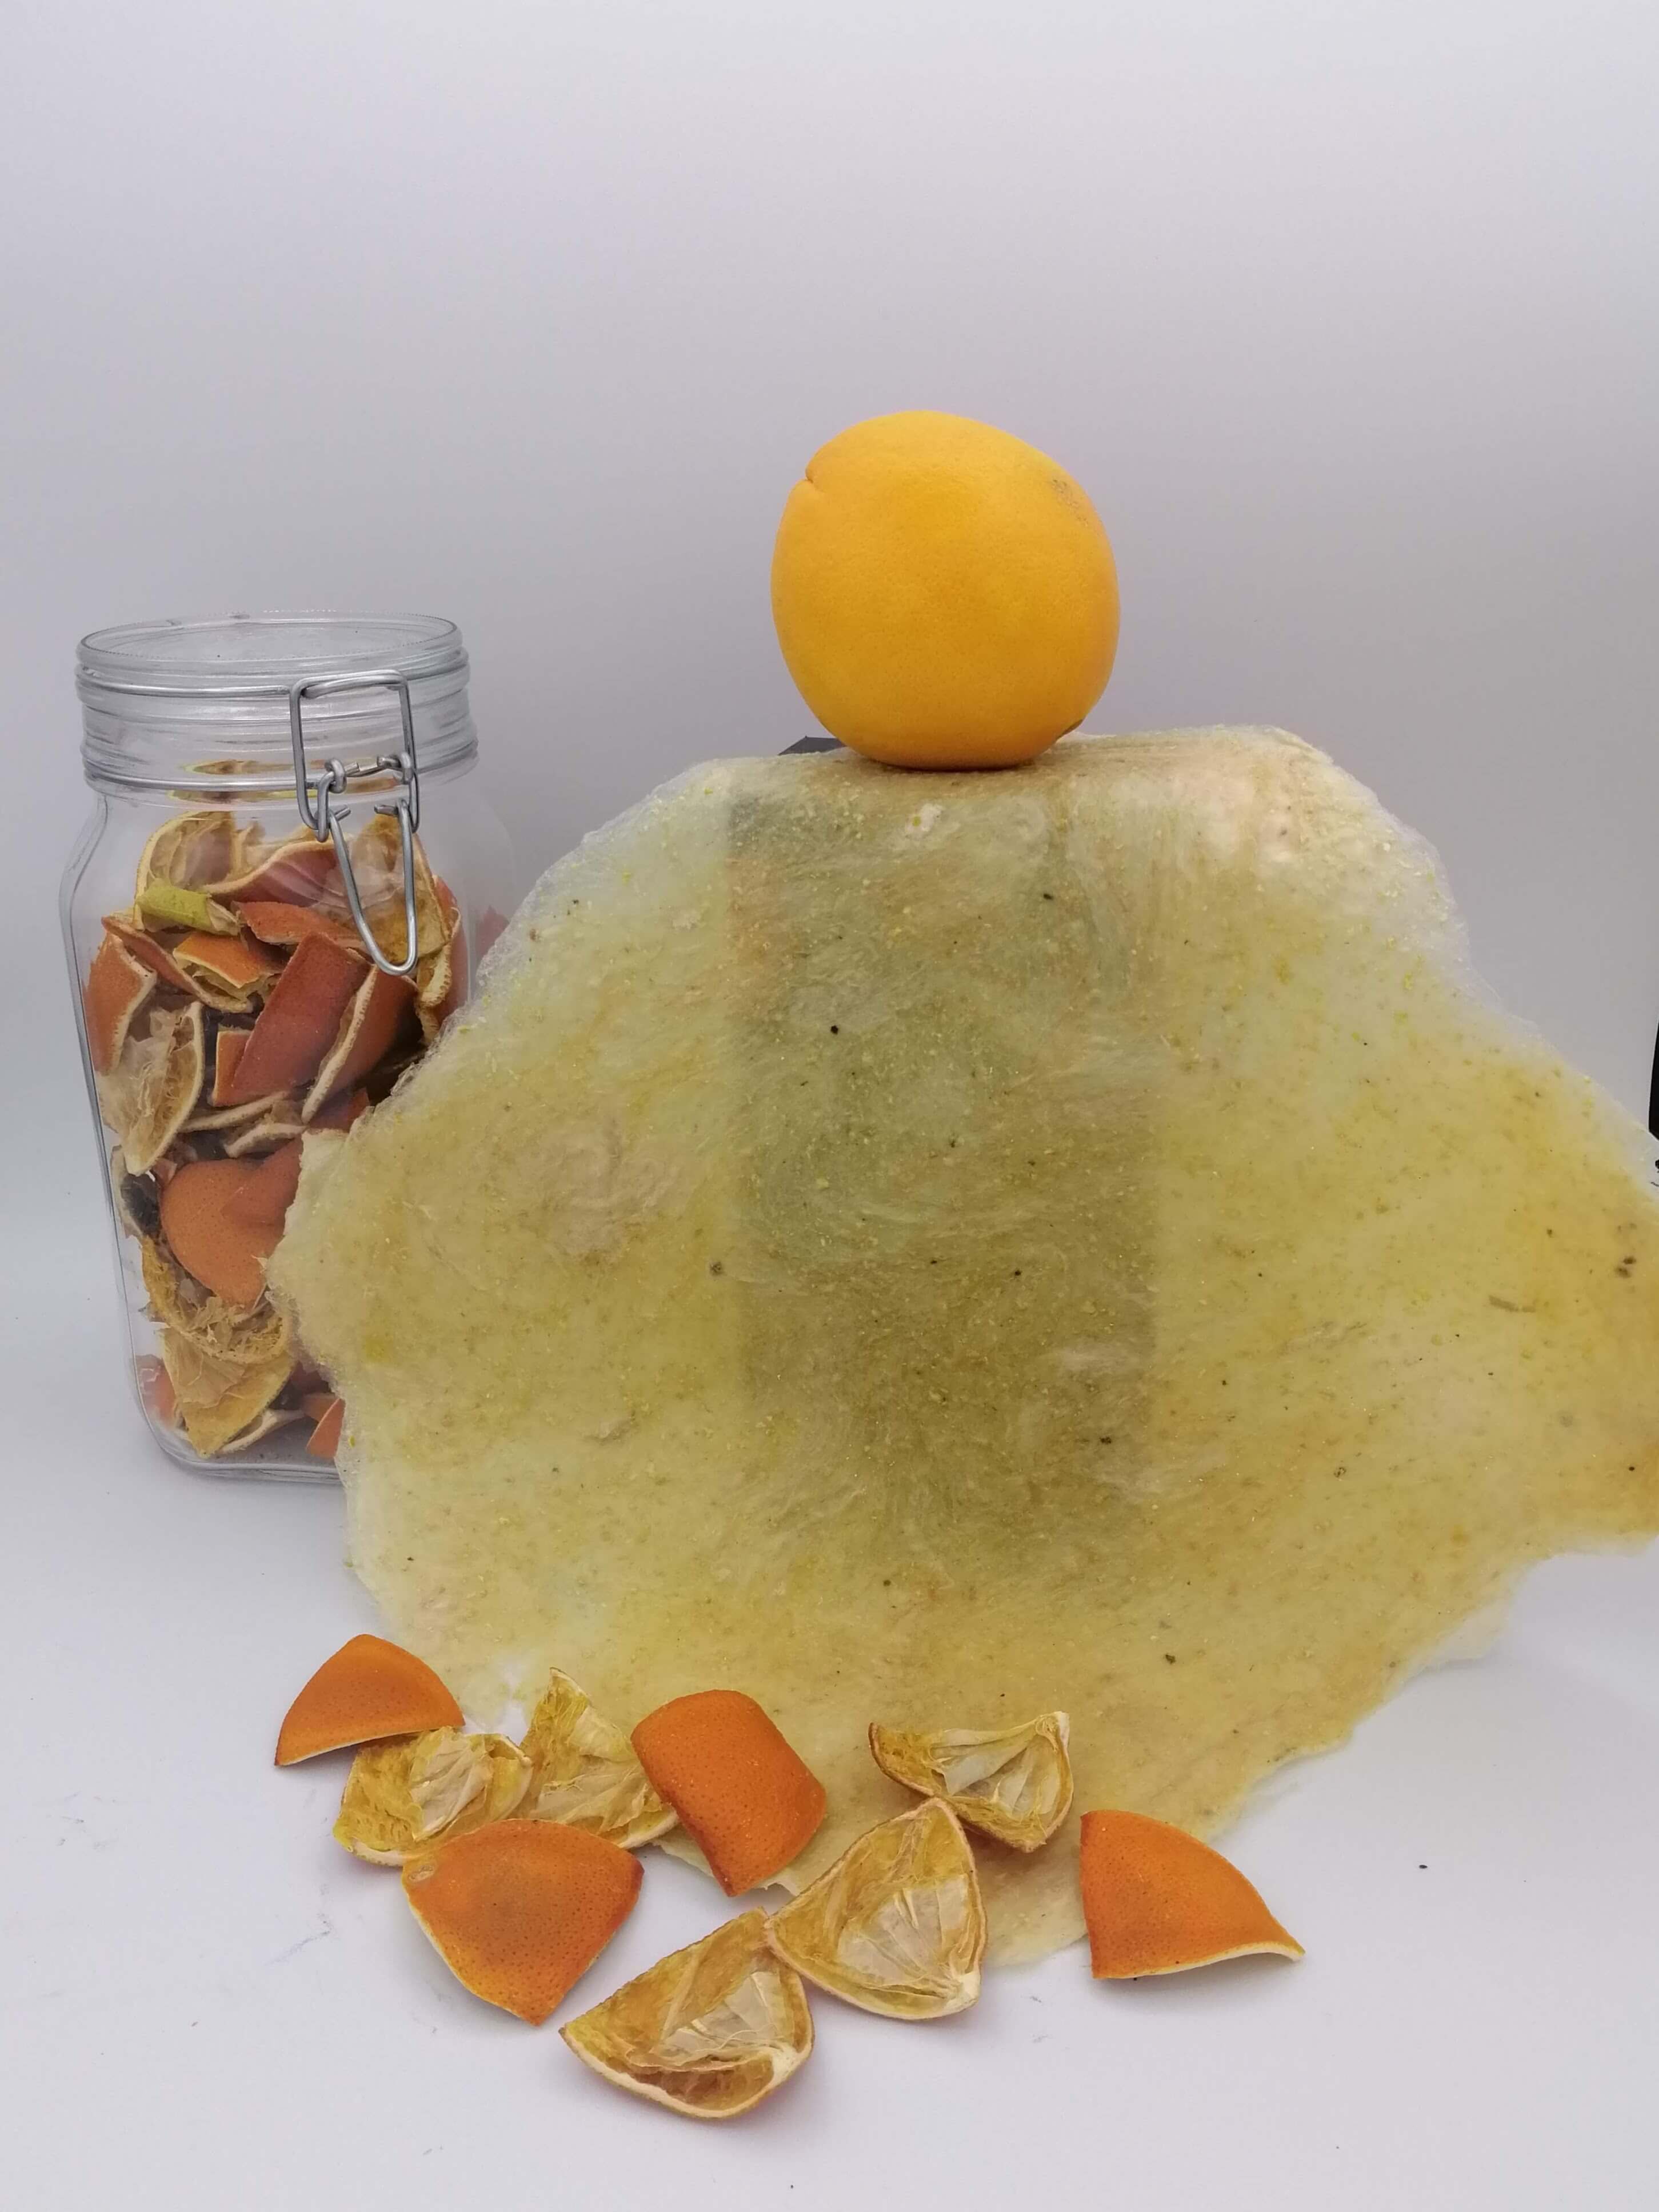
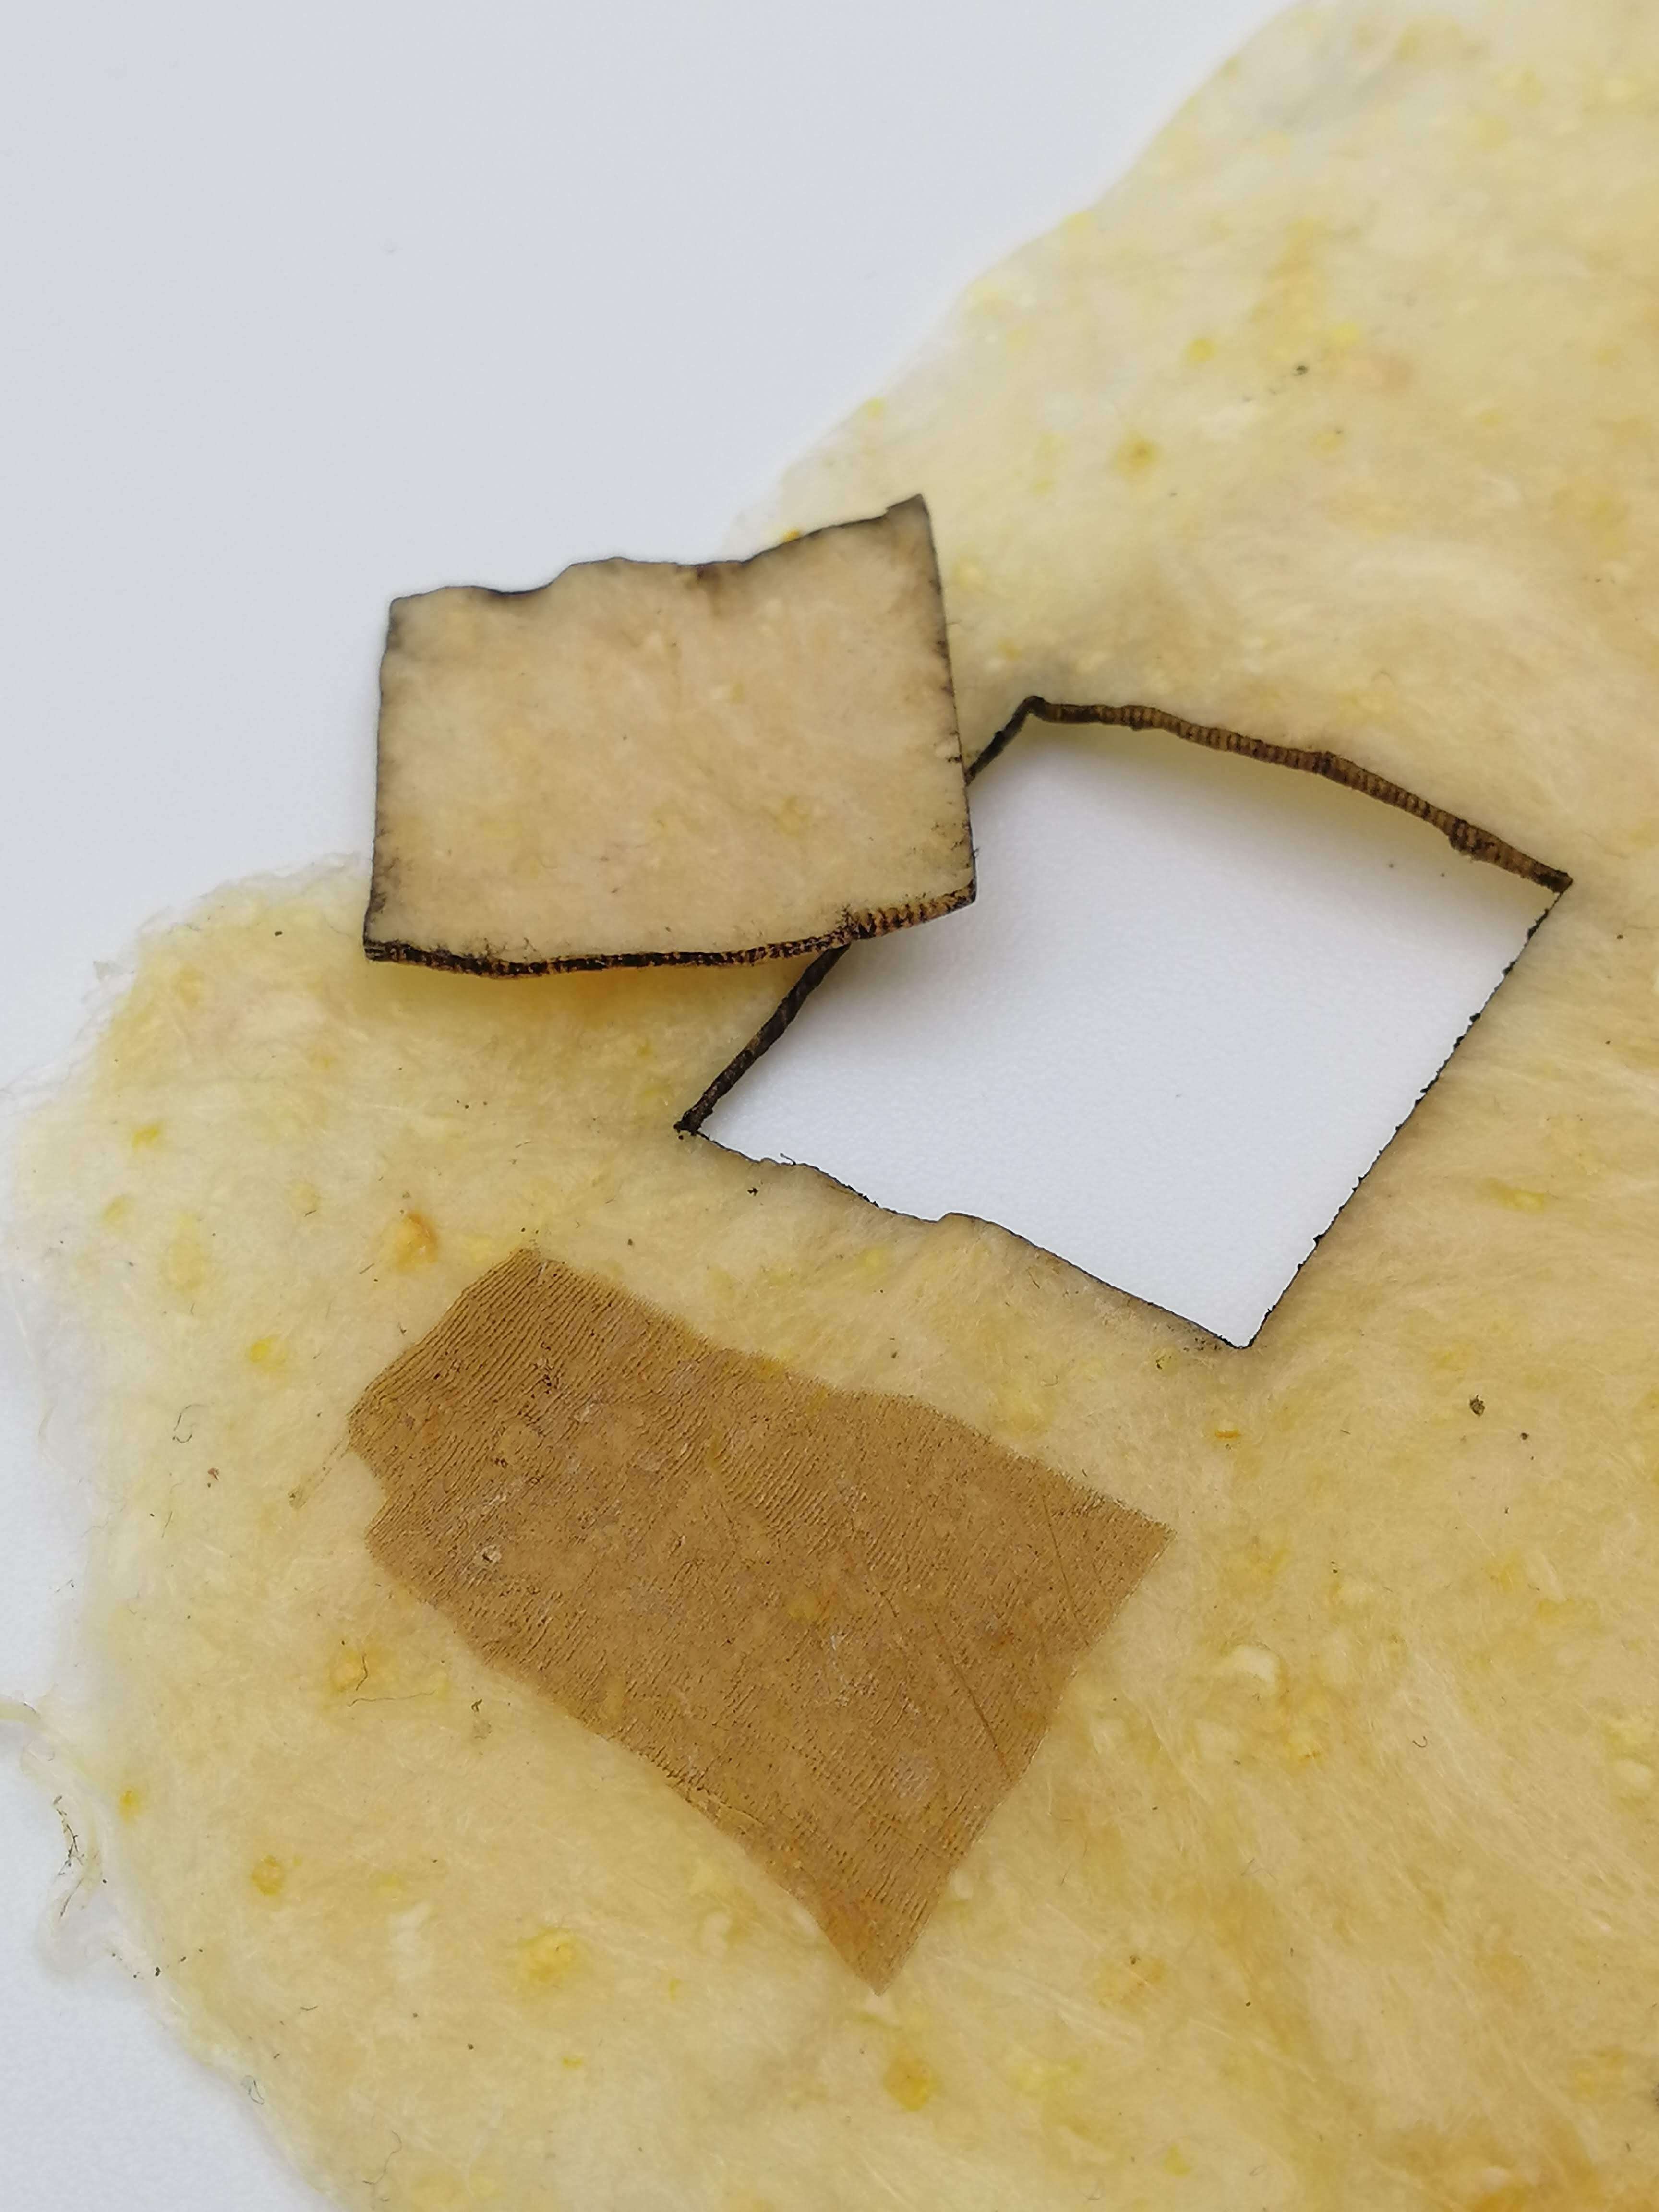
I cut it in the laser cutting and it worked really good.
Parameters:
Cutting:
 · Speed: 70 mm/s
 · Min power: 50%
 · Max power: 53%

Engraving:
 · Speed: 800 mm/s
 · Min power: 25%
 · Max power: 25%
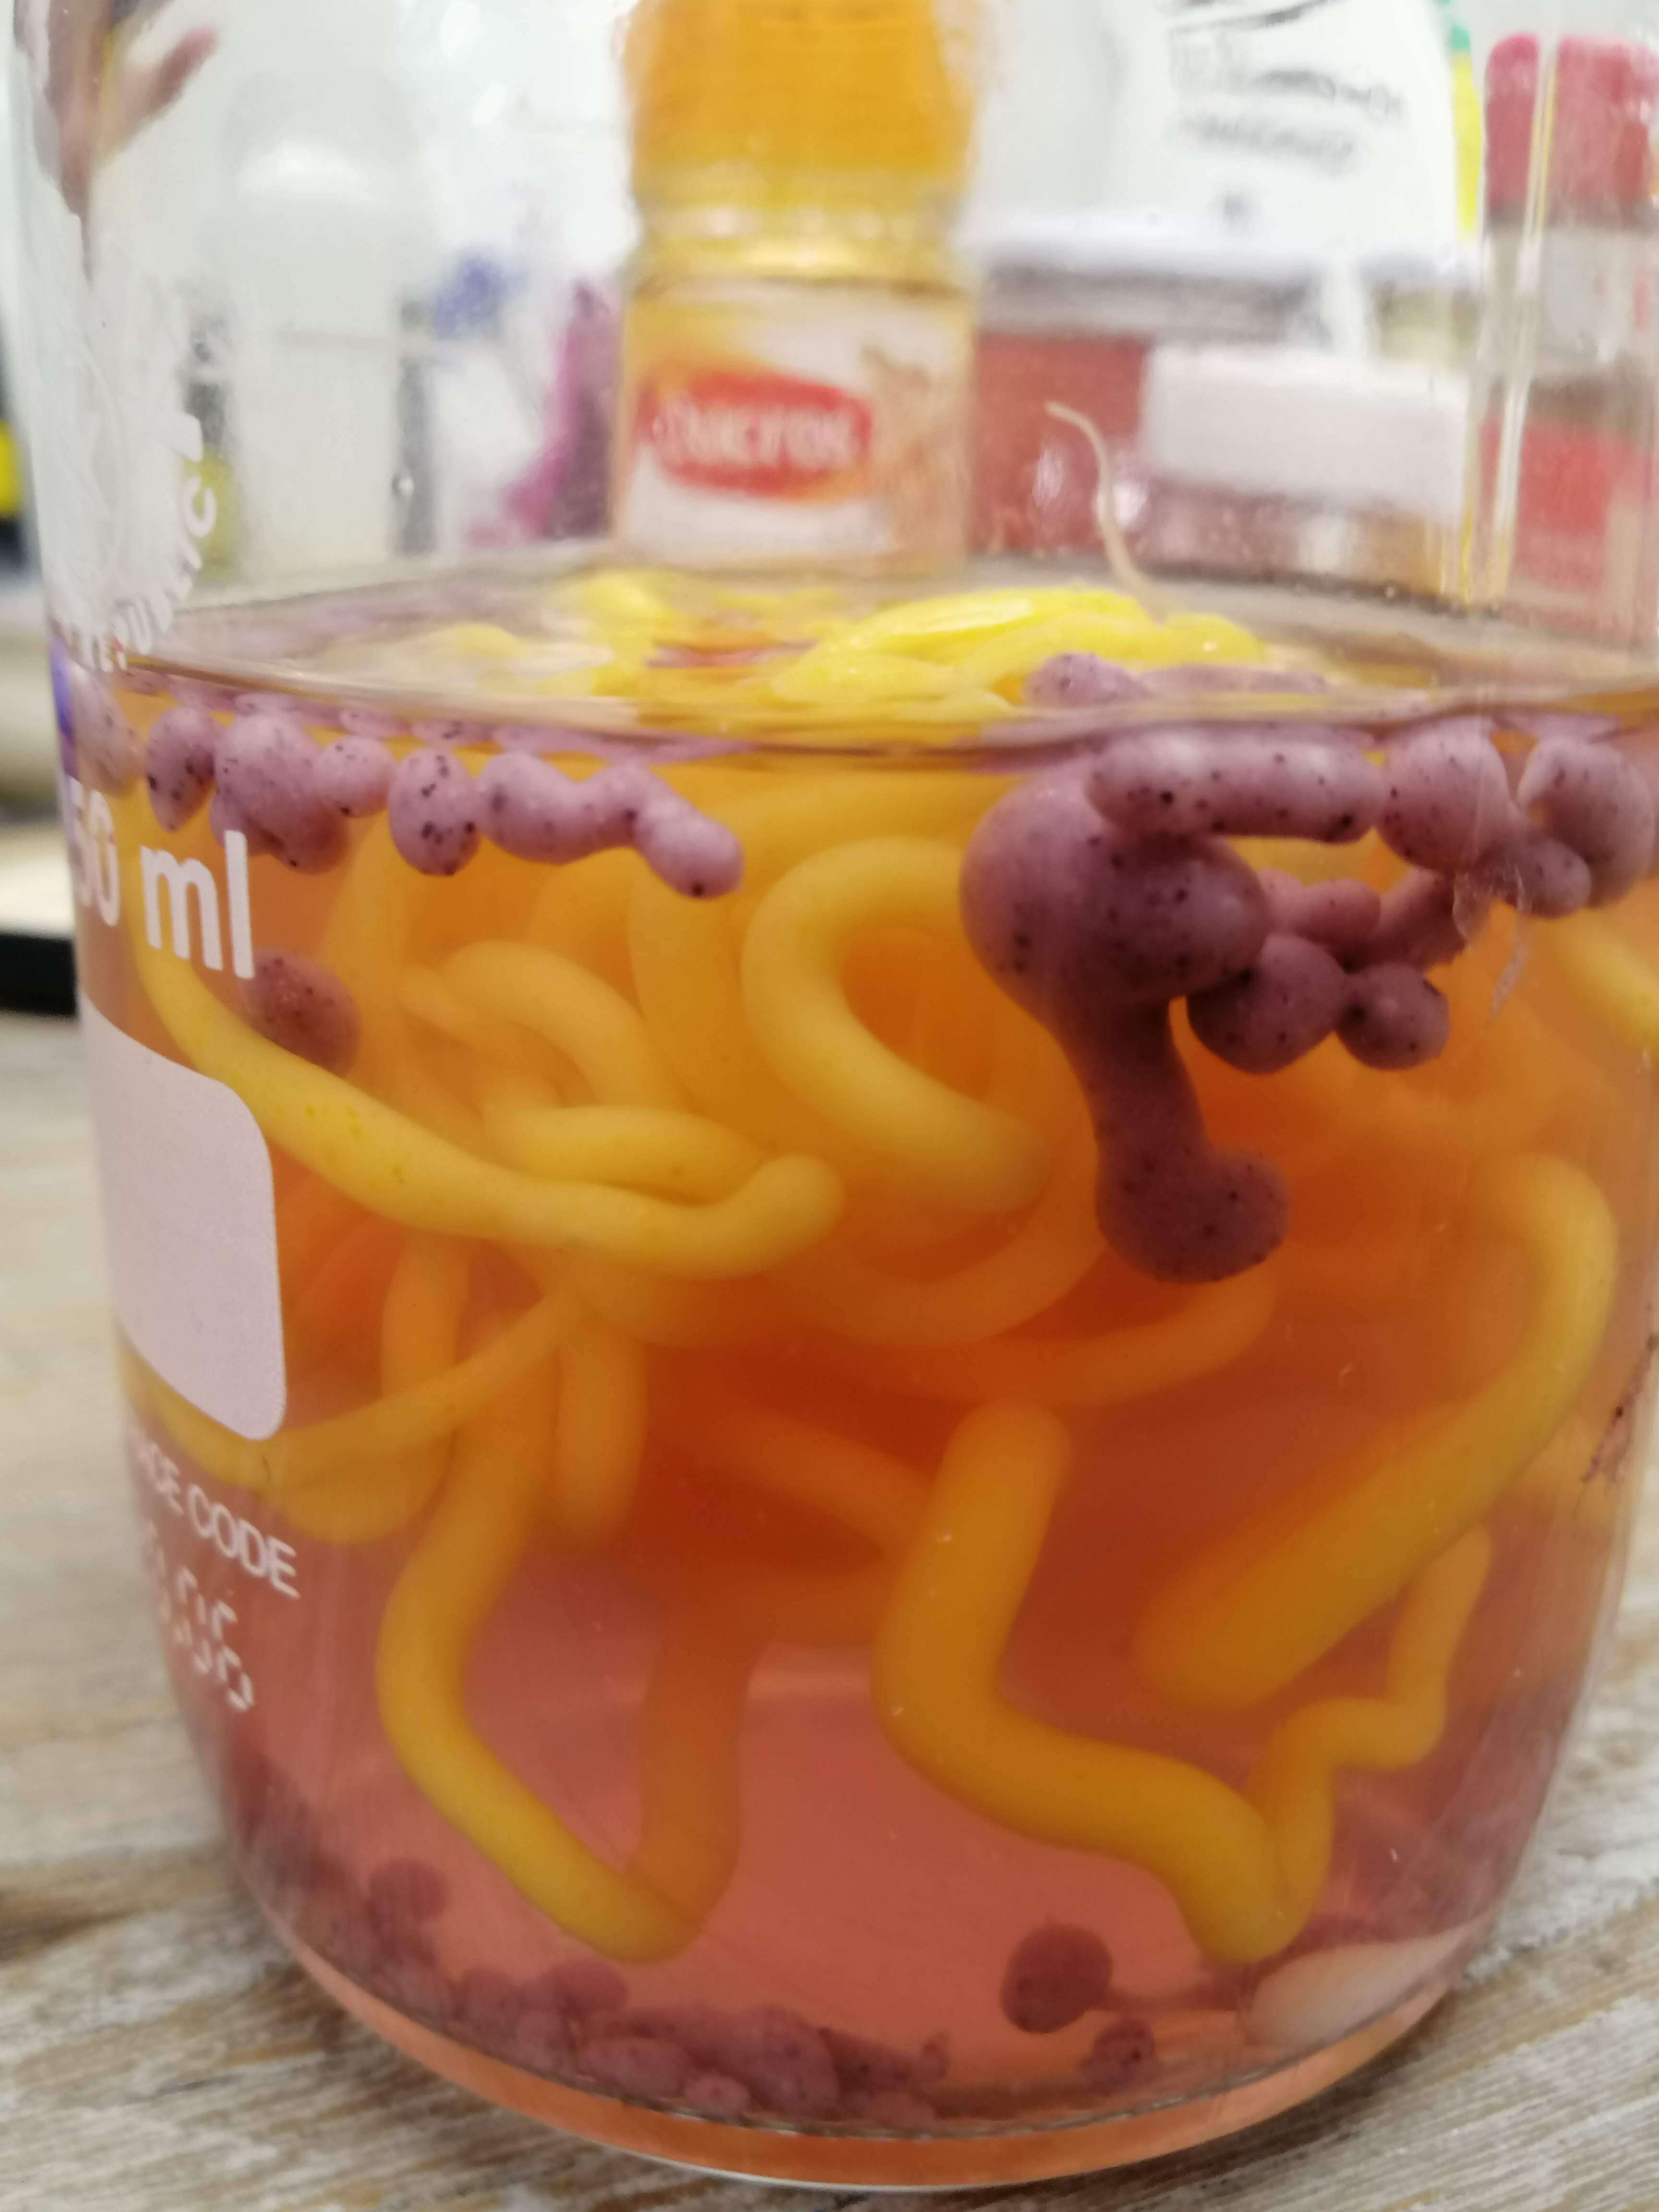
Alginate threads
Components:
- Sodium alginate powder 6 g
- Glycerine 10 g
- Water 200 mL
- Oil 5 g
- Calcium chloride solution 10% - 300 ml
30 g of calcium chloride to 300 g water.
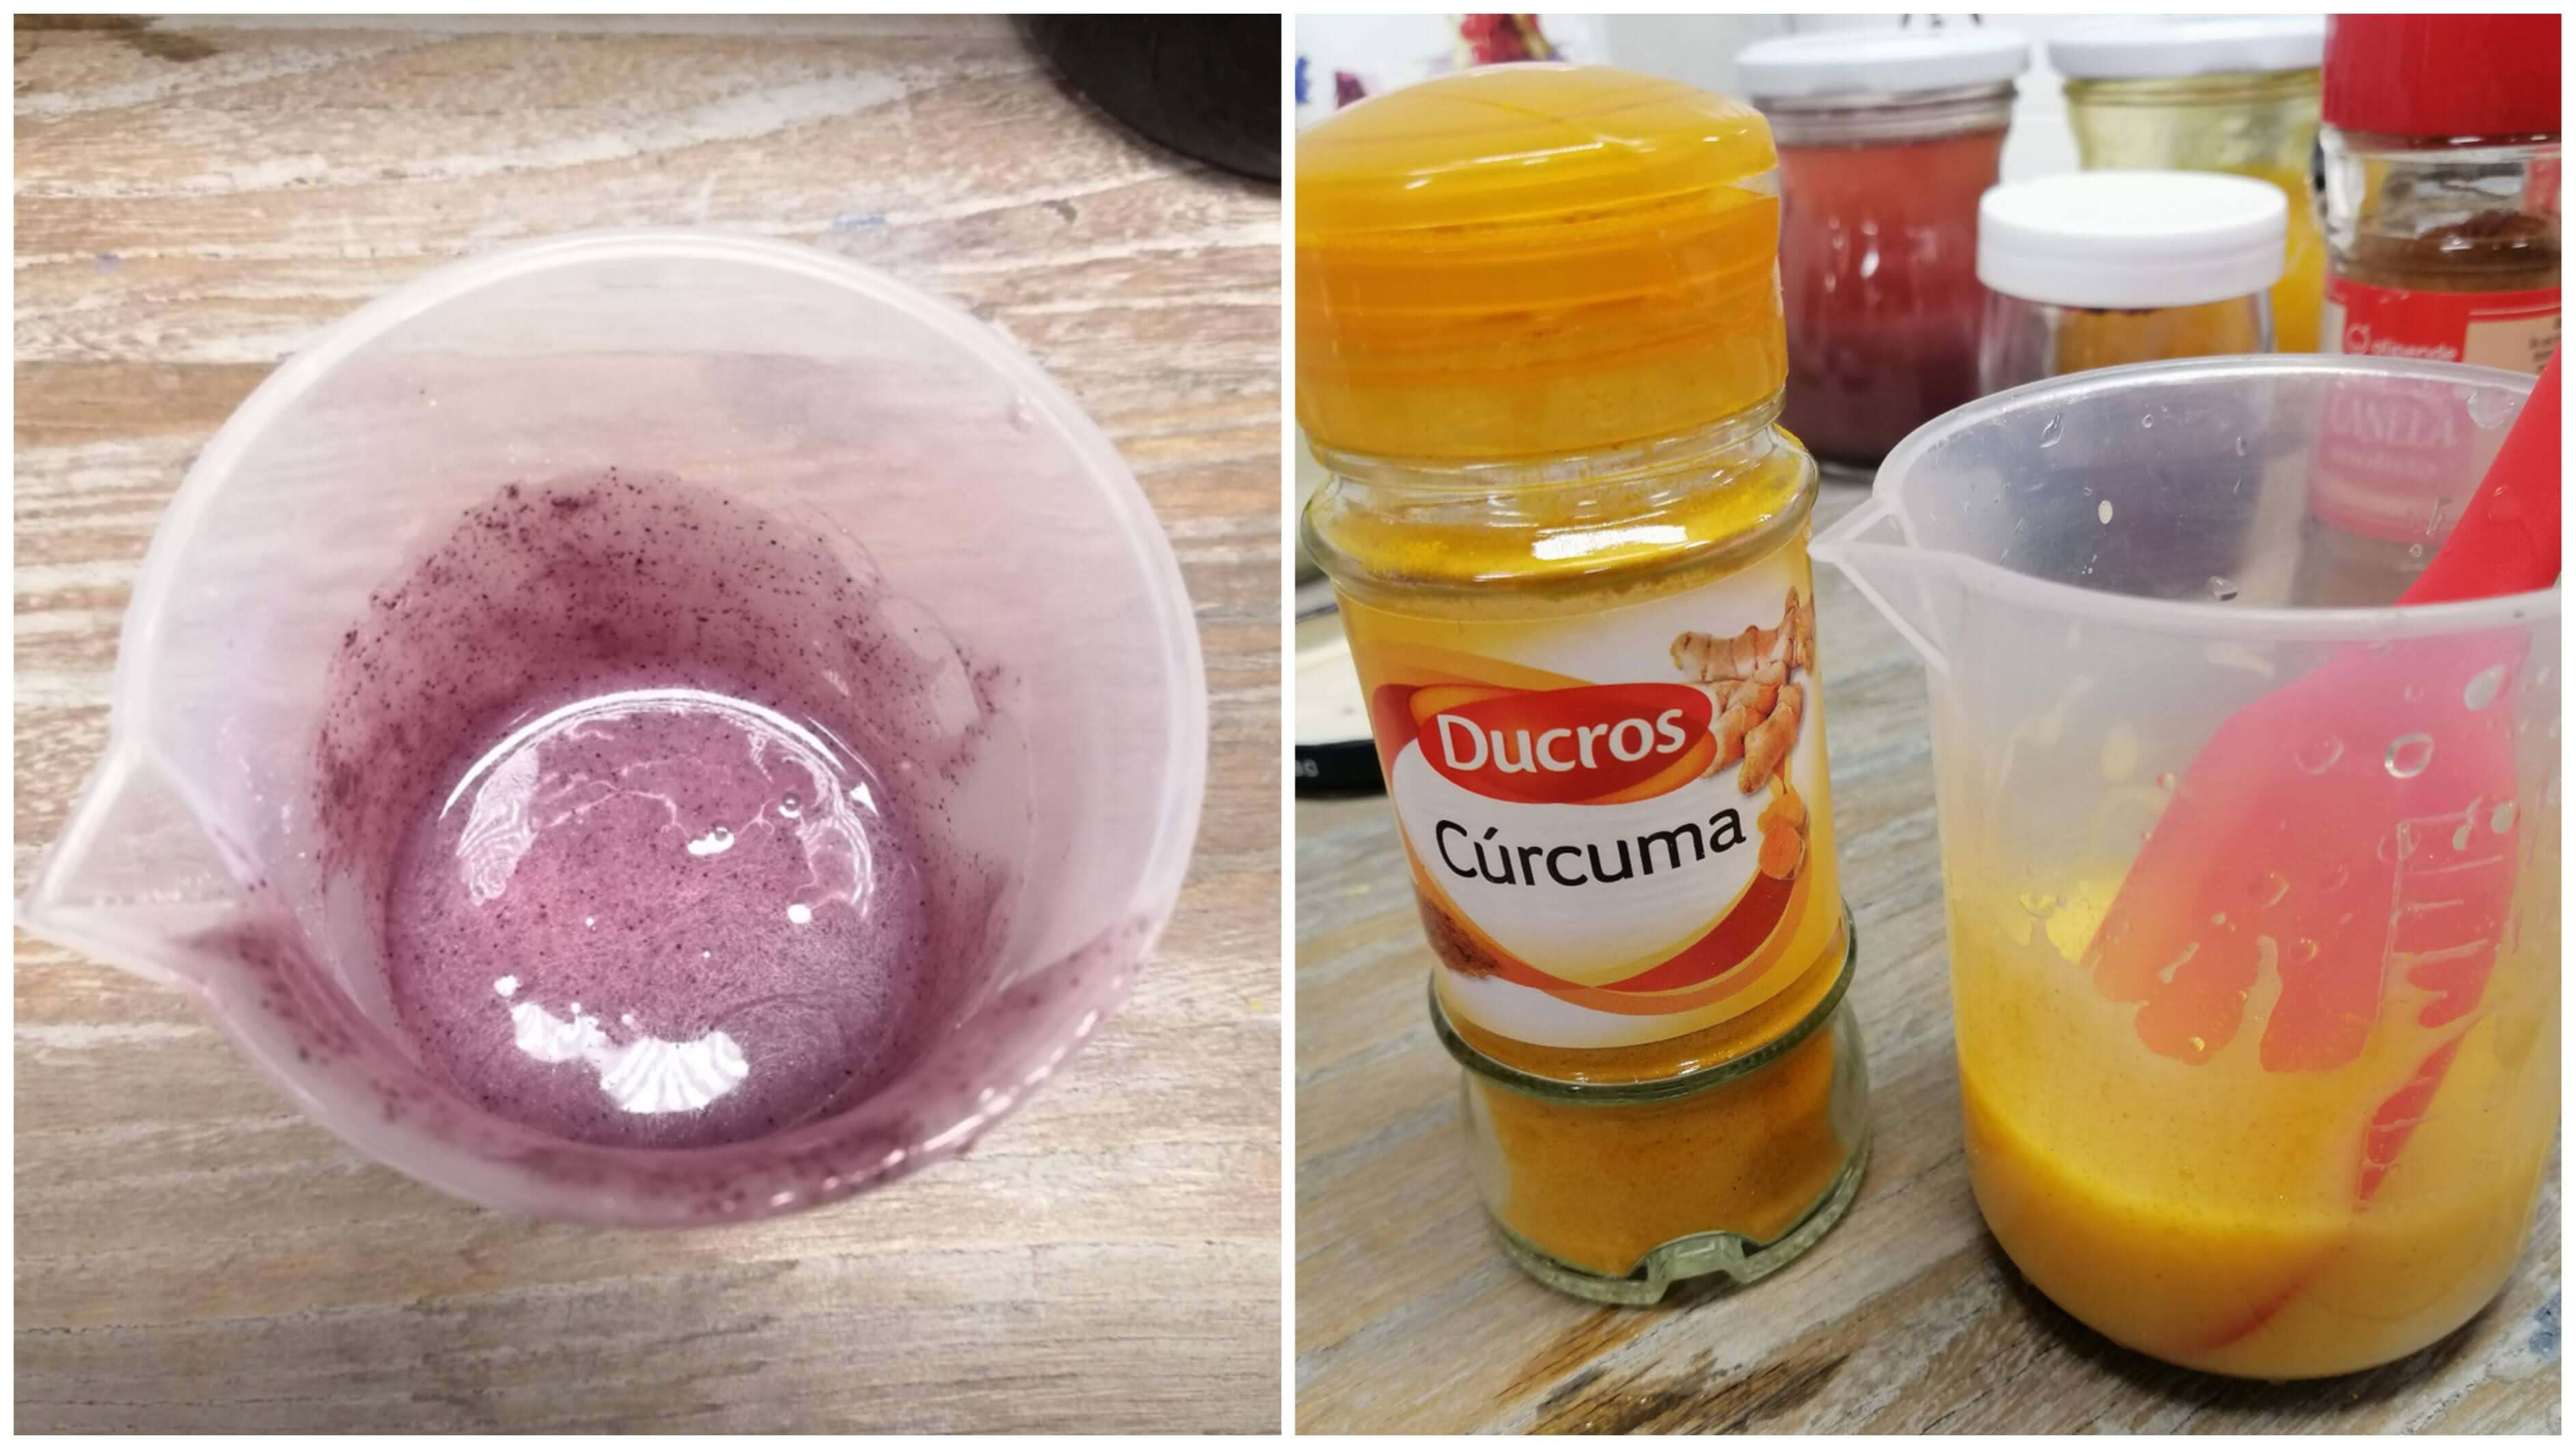
- Turmeric and purple popcorn powder (optional)
They are for dyeing only.
Tools:
- Scale
- Spoon
- Blender
- 2 Container
- Syringe
Method:
1.Alginate plastic
- Mix the oil, alginate and glycerin with a blender.
- Add the water and mix them.
- Put into a container.
If you want to dye it, divide the mixture into different containers and add the turmeric in one and the purple popcorn in the other.
You can let it sit for a day to avoid bubbles.
2.Calcium chloride solution
- Prepare the calcium chloride solution by dissolving in hot water.
- Put into the other container.
It is important that it is a deep container.
3.Extruding
- Fill the syringe with the alginate plastic mixture.
- Extrude into the calcium chloride.
The extrusion has to be continuous and uninterrupted.

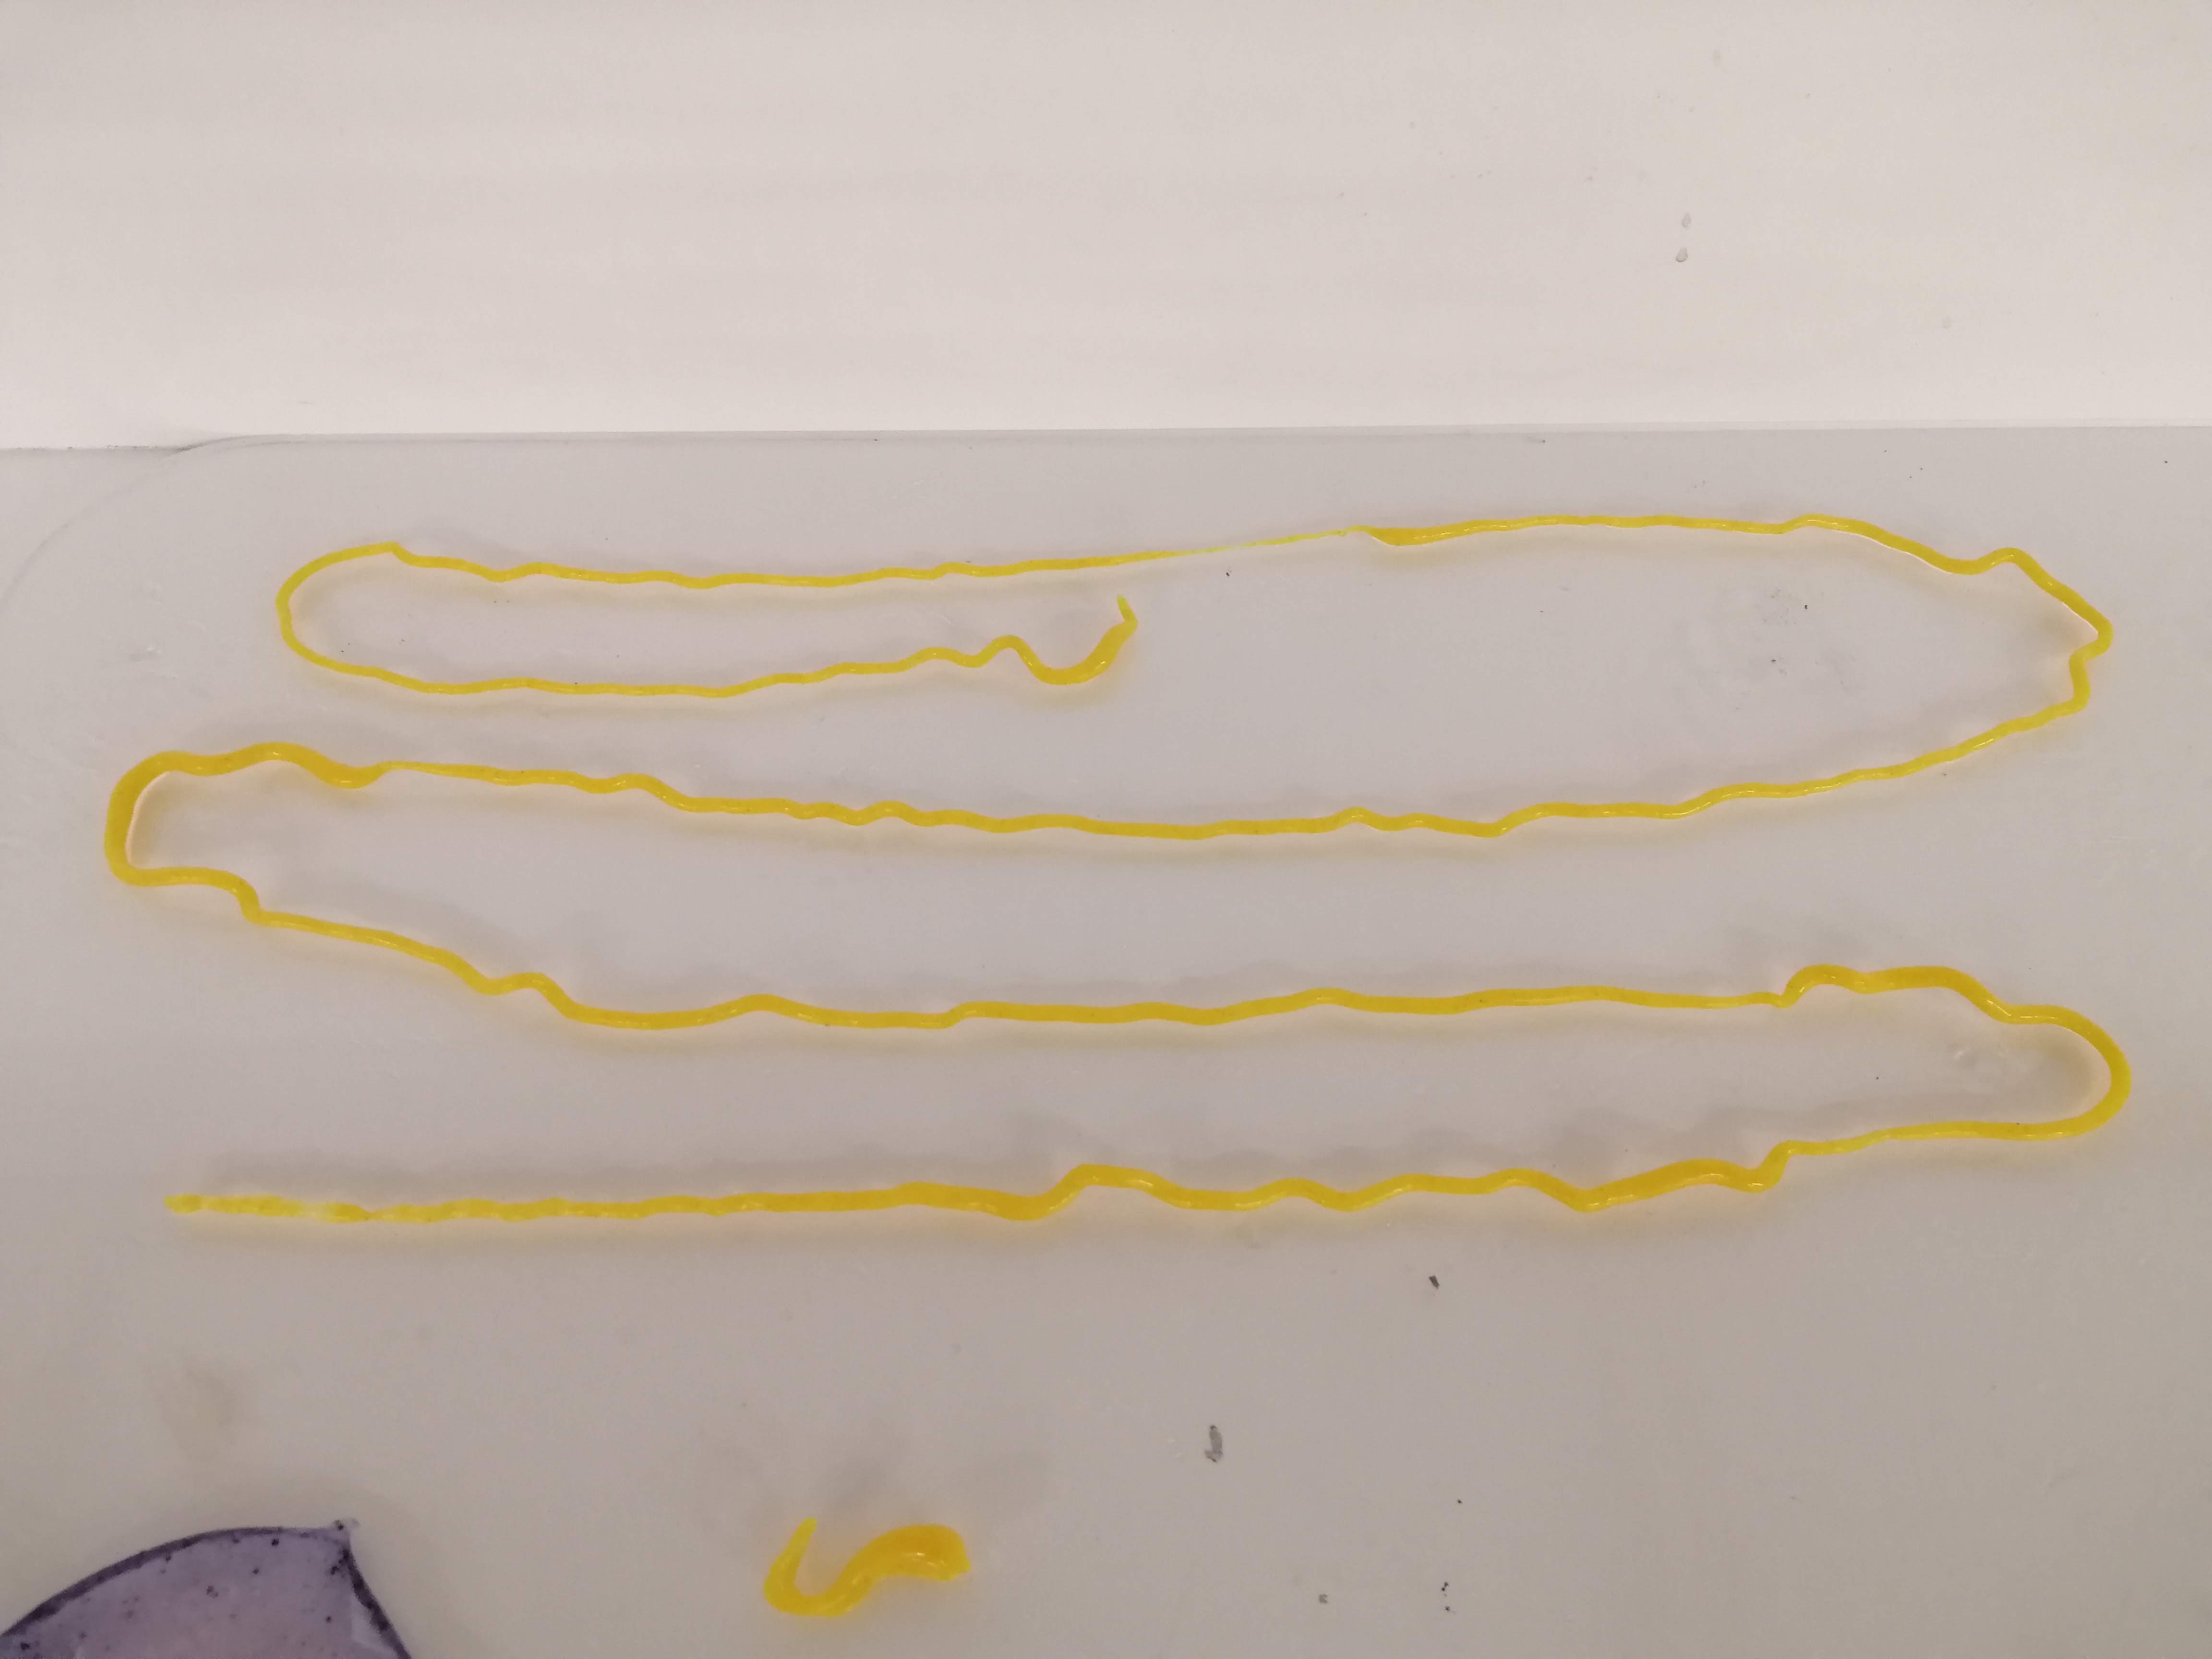
4.Drying
-
Leave it in the solution for a few minutes.
-
Rinse it with some water.
- Let it dry.
Gelatine bioplastic
Components:
- Glycerin 12 g
- Gelatine 48 g
- Water 240 mL
Tools:
- Stove
- Spoon
- Cooking pot
- Scale
- Fabric
- Container
Method:
I wanted to make the recipe in two ways. The original one consists of mixing the ingredients while heating them up, but I wanted to do it cold as well.
Cold
My aim was to achieve a texture with the texture of the gelatine itself.
- Put all the ingredients inside the container.
- Stir until a homogeneous mass is formed.
- Put the mix on the fabric.
- Let it dry.
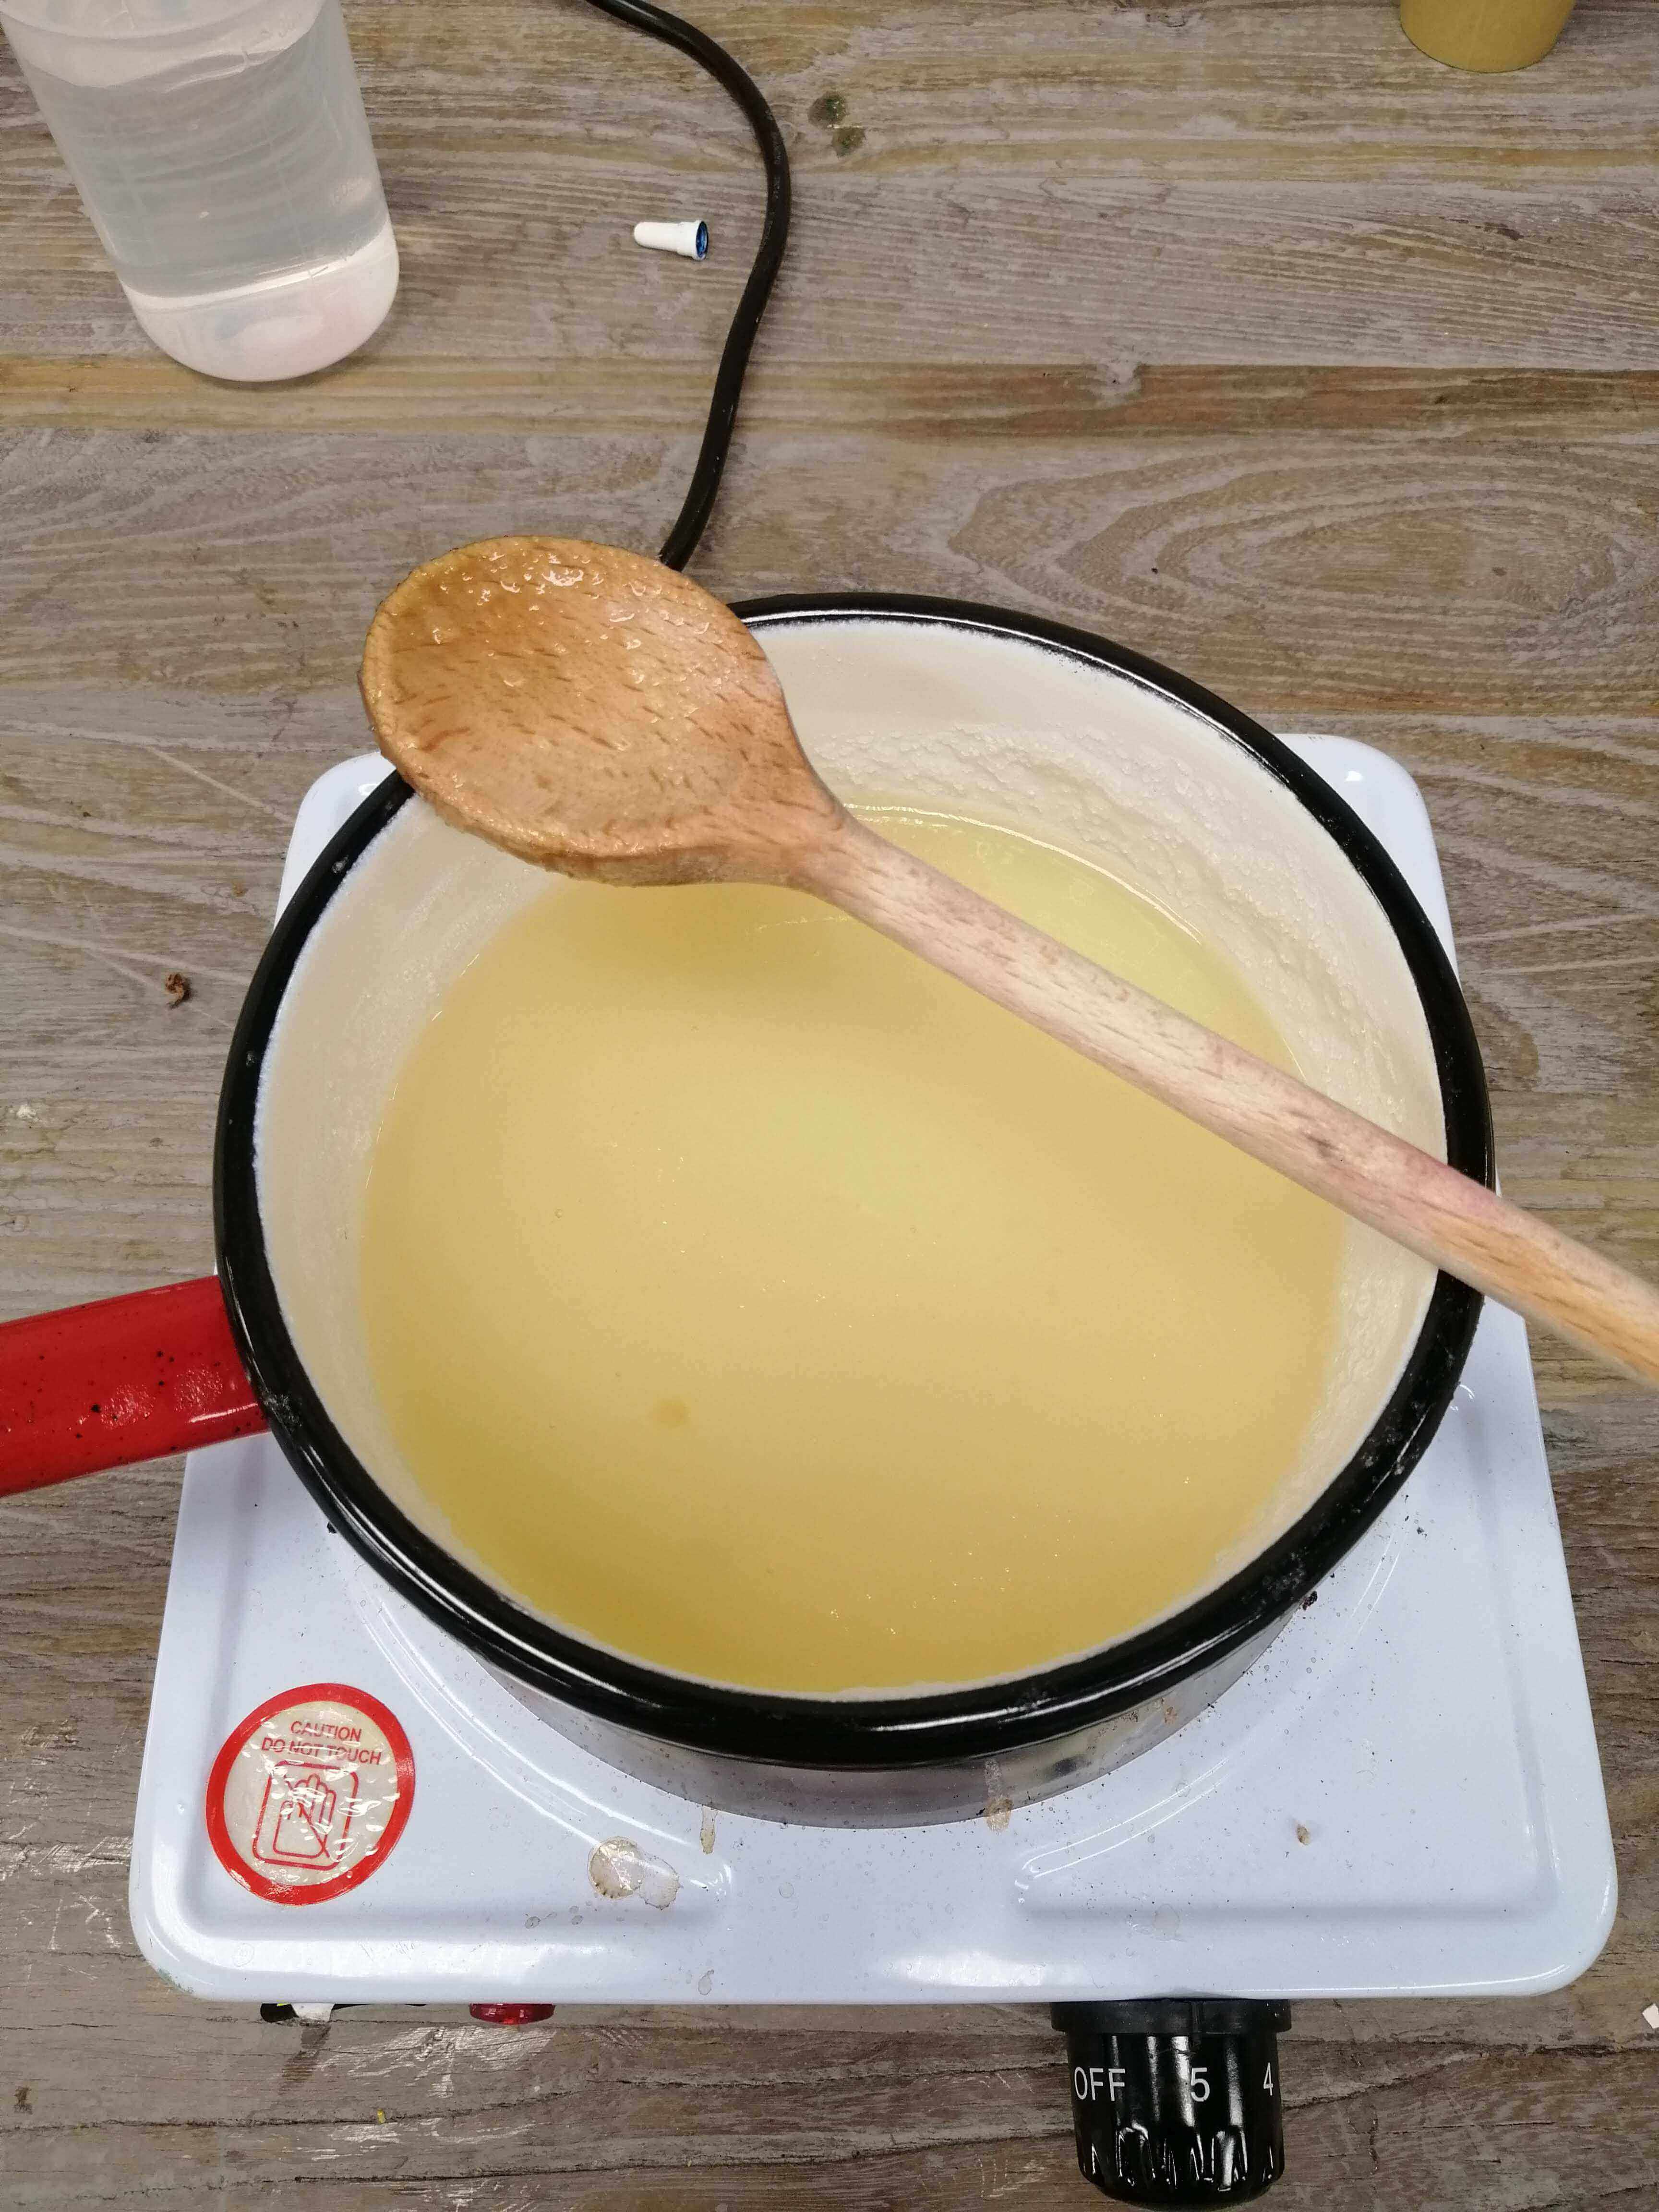
In heat
- Put all the ingredients inside the cooking pot.
- Heat the mix.
- Stir until a homogeneous mass is formed.
- Put the mix on the fabric.
- Let it dry.
I let them drying I let them dry for 3 days and when I went back to take the samples, the worst happened. They were mouldy, especially the one that I made in cold, probably because they were left in a very humid environment.
