9 | Textile as scaffold
I WANT TO DO THIS, I WANT TO DO THAT, I WANT TO DO THAT, I WANT TO DO THAT AND THAT…
This is how the assignment went. I was amazed about new techniques (for me). It was really hard to choose which one I wanted to start with. Each one had a process or a machine that I wanted to try, unfortunately, I didn't have time to do everything.
To understand me why I was with that enthusiastic I’m going to explain the techniques we have learned:
-
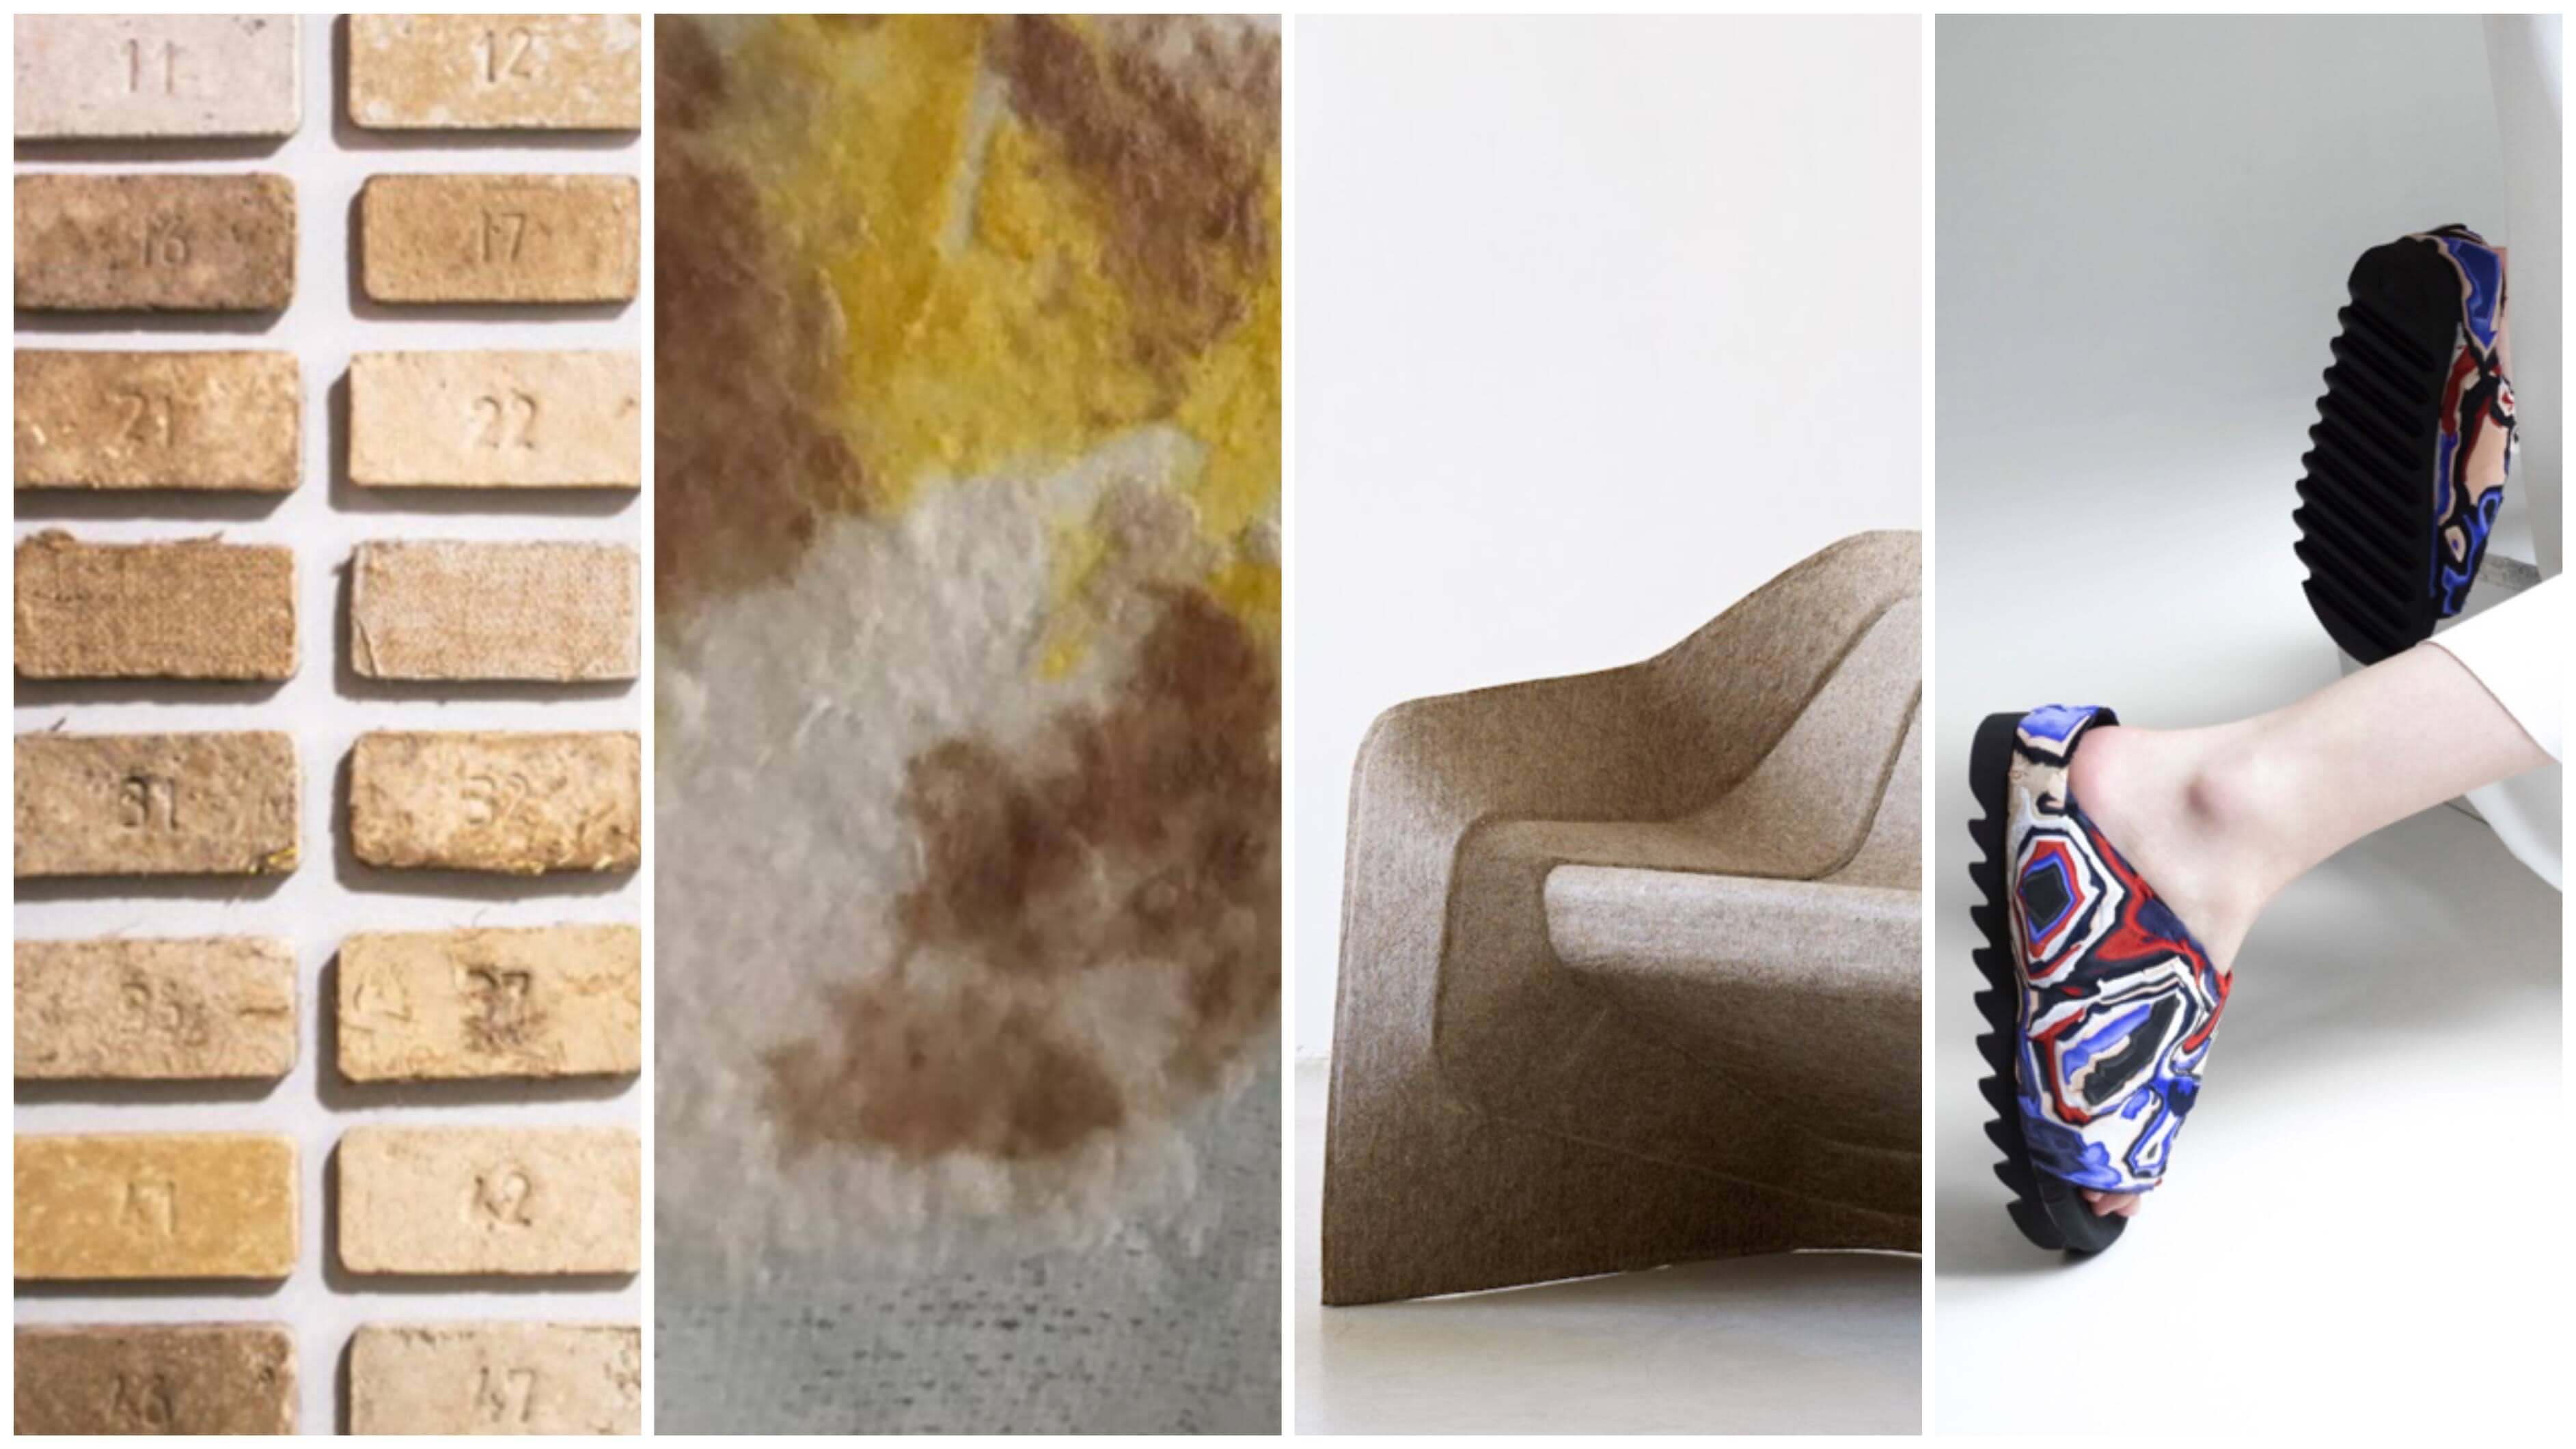
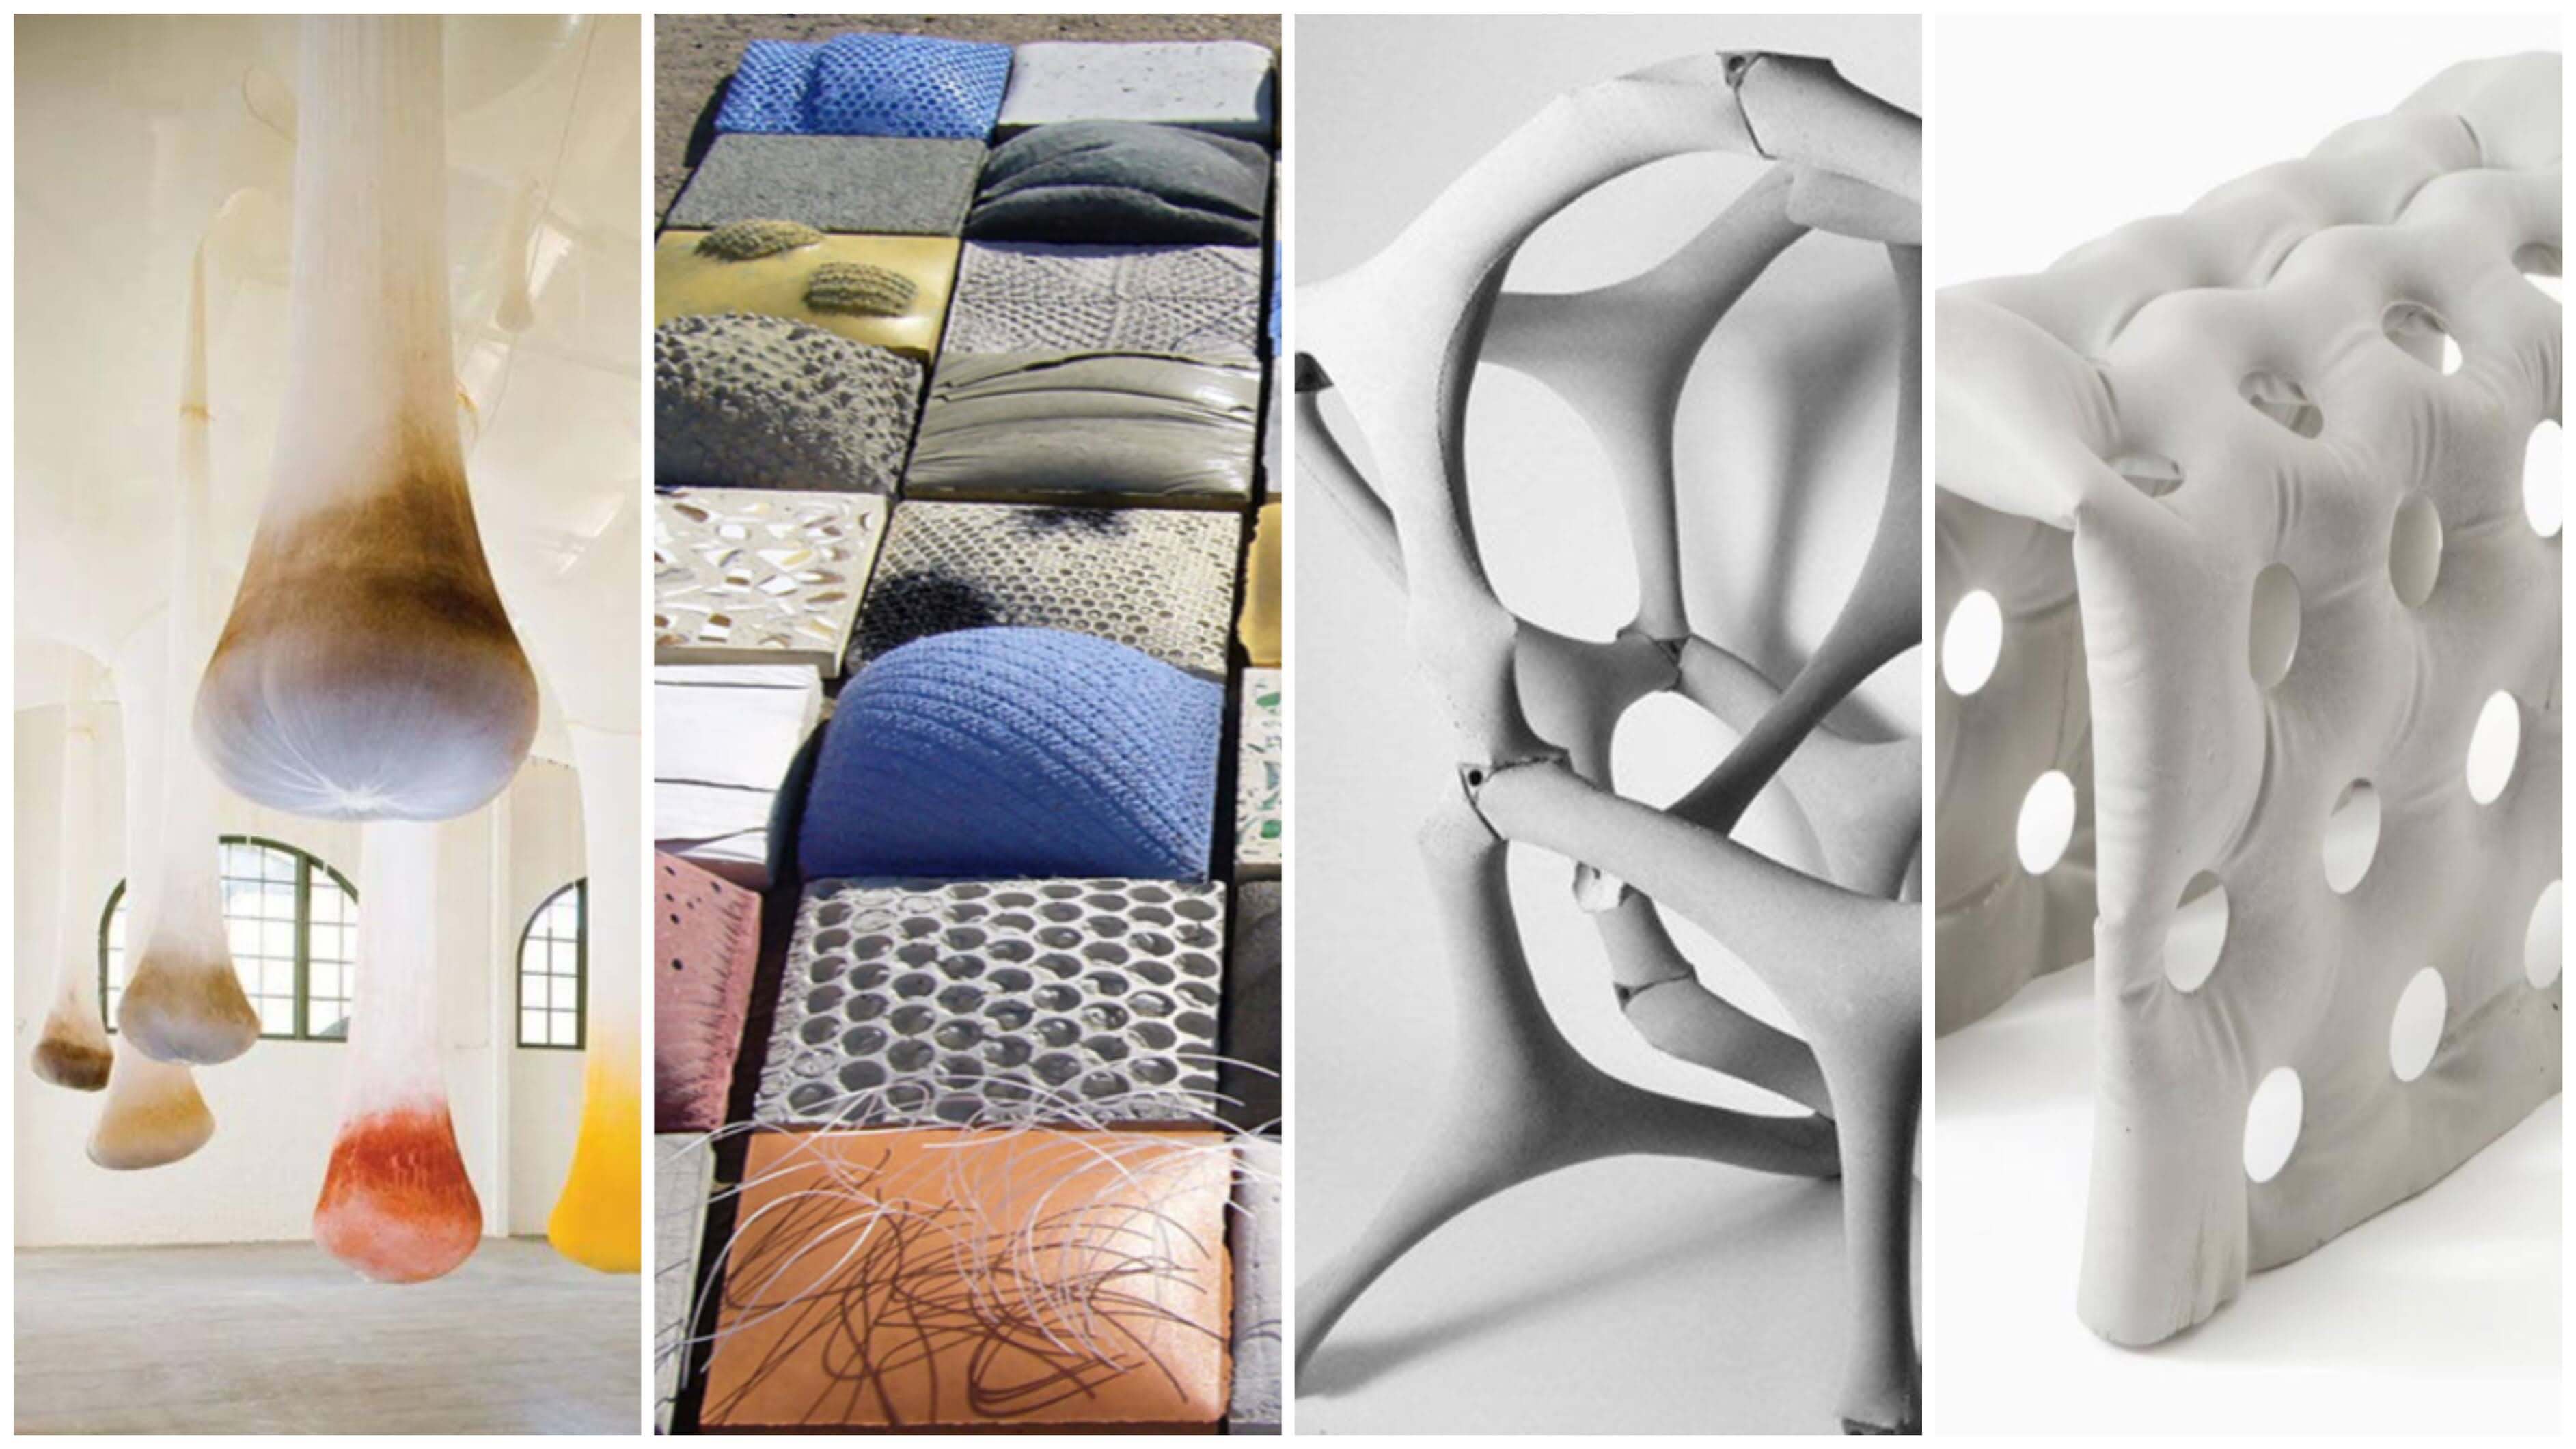
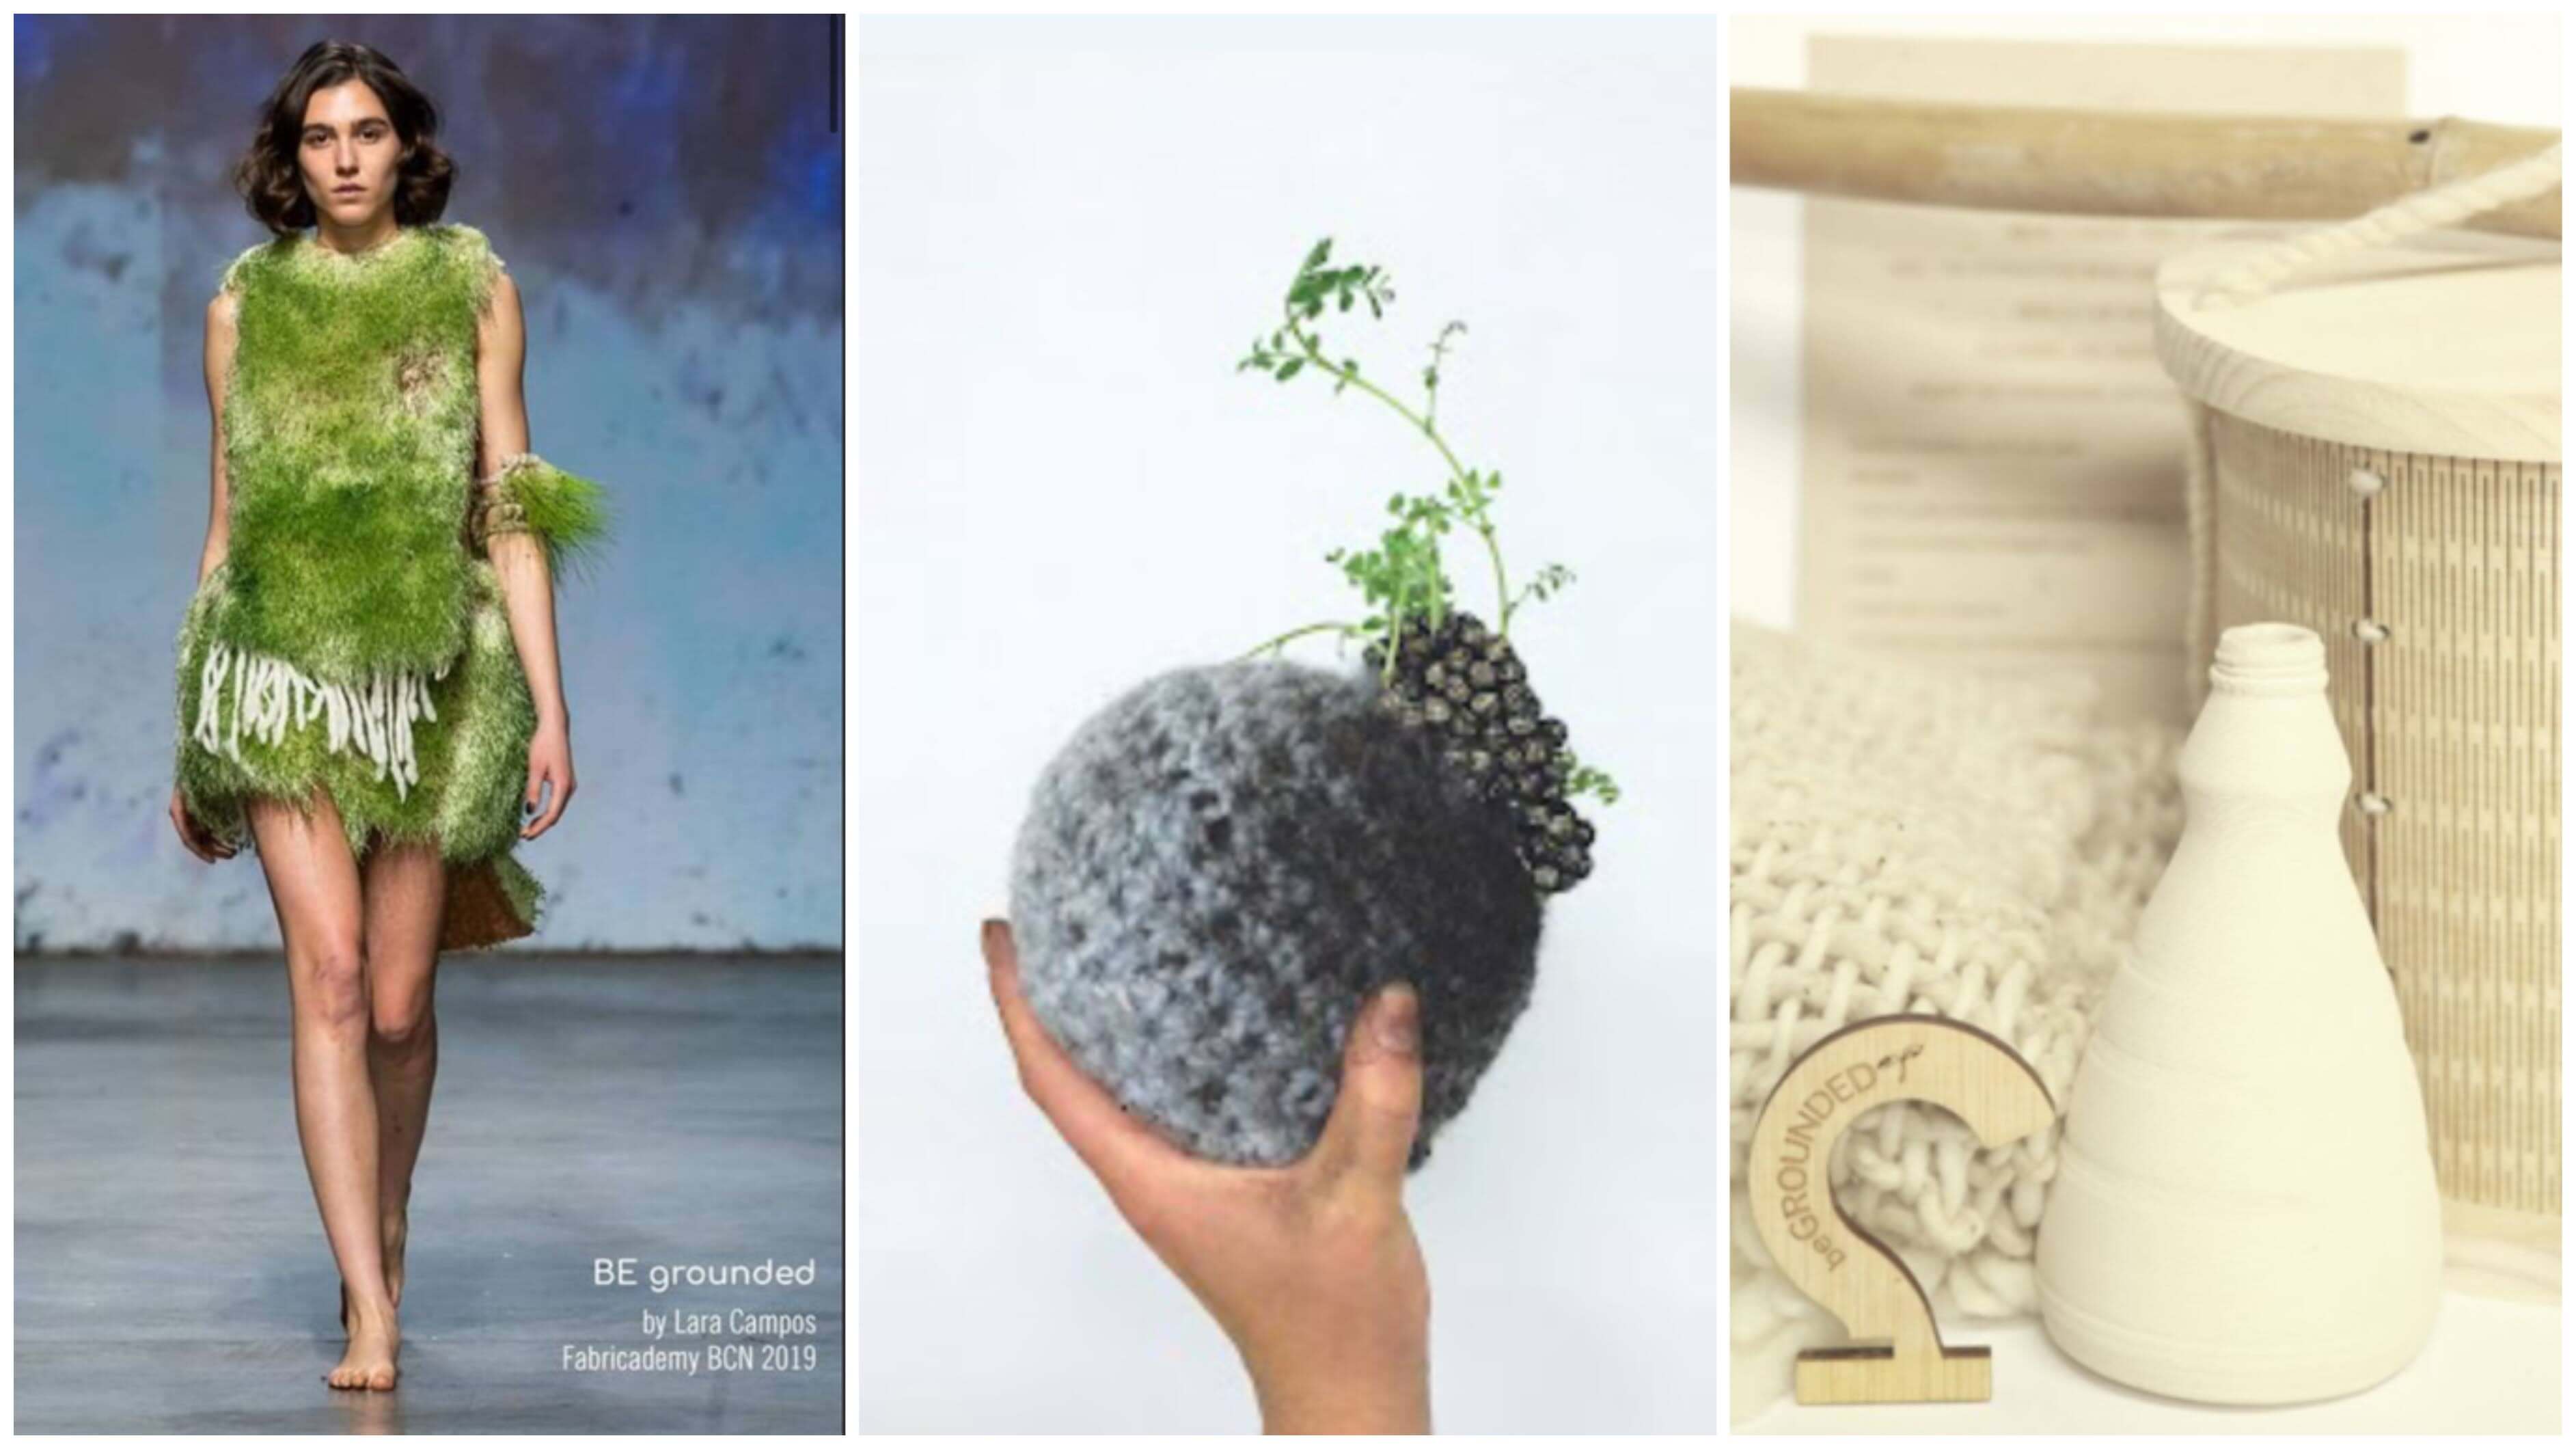
Composites: They are made up of biopolymer matrix and natural fibers as reinforcing phase. It is a material consisting of two or more distinct phases, bonded together: Abaca, palm, sisal, coconut coir, cotton, PLA, animal glue, mycelium… There are different techniques to use them: textile + white glue, carbon fibers, fiberglass, line + resin…
-
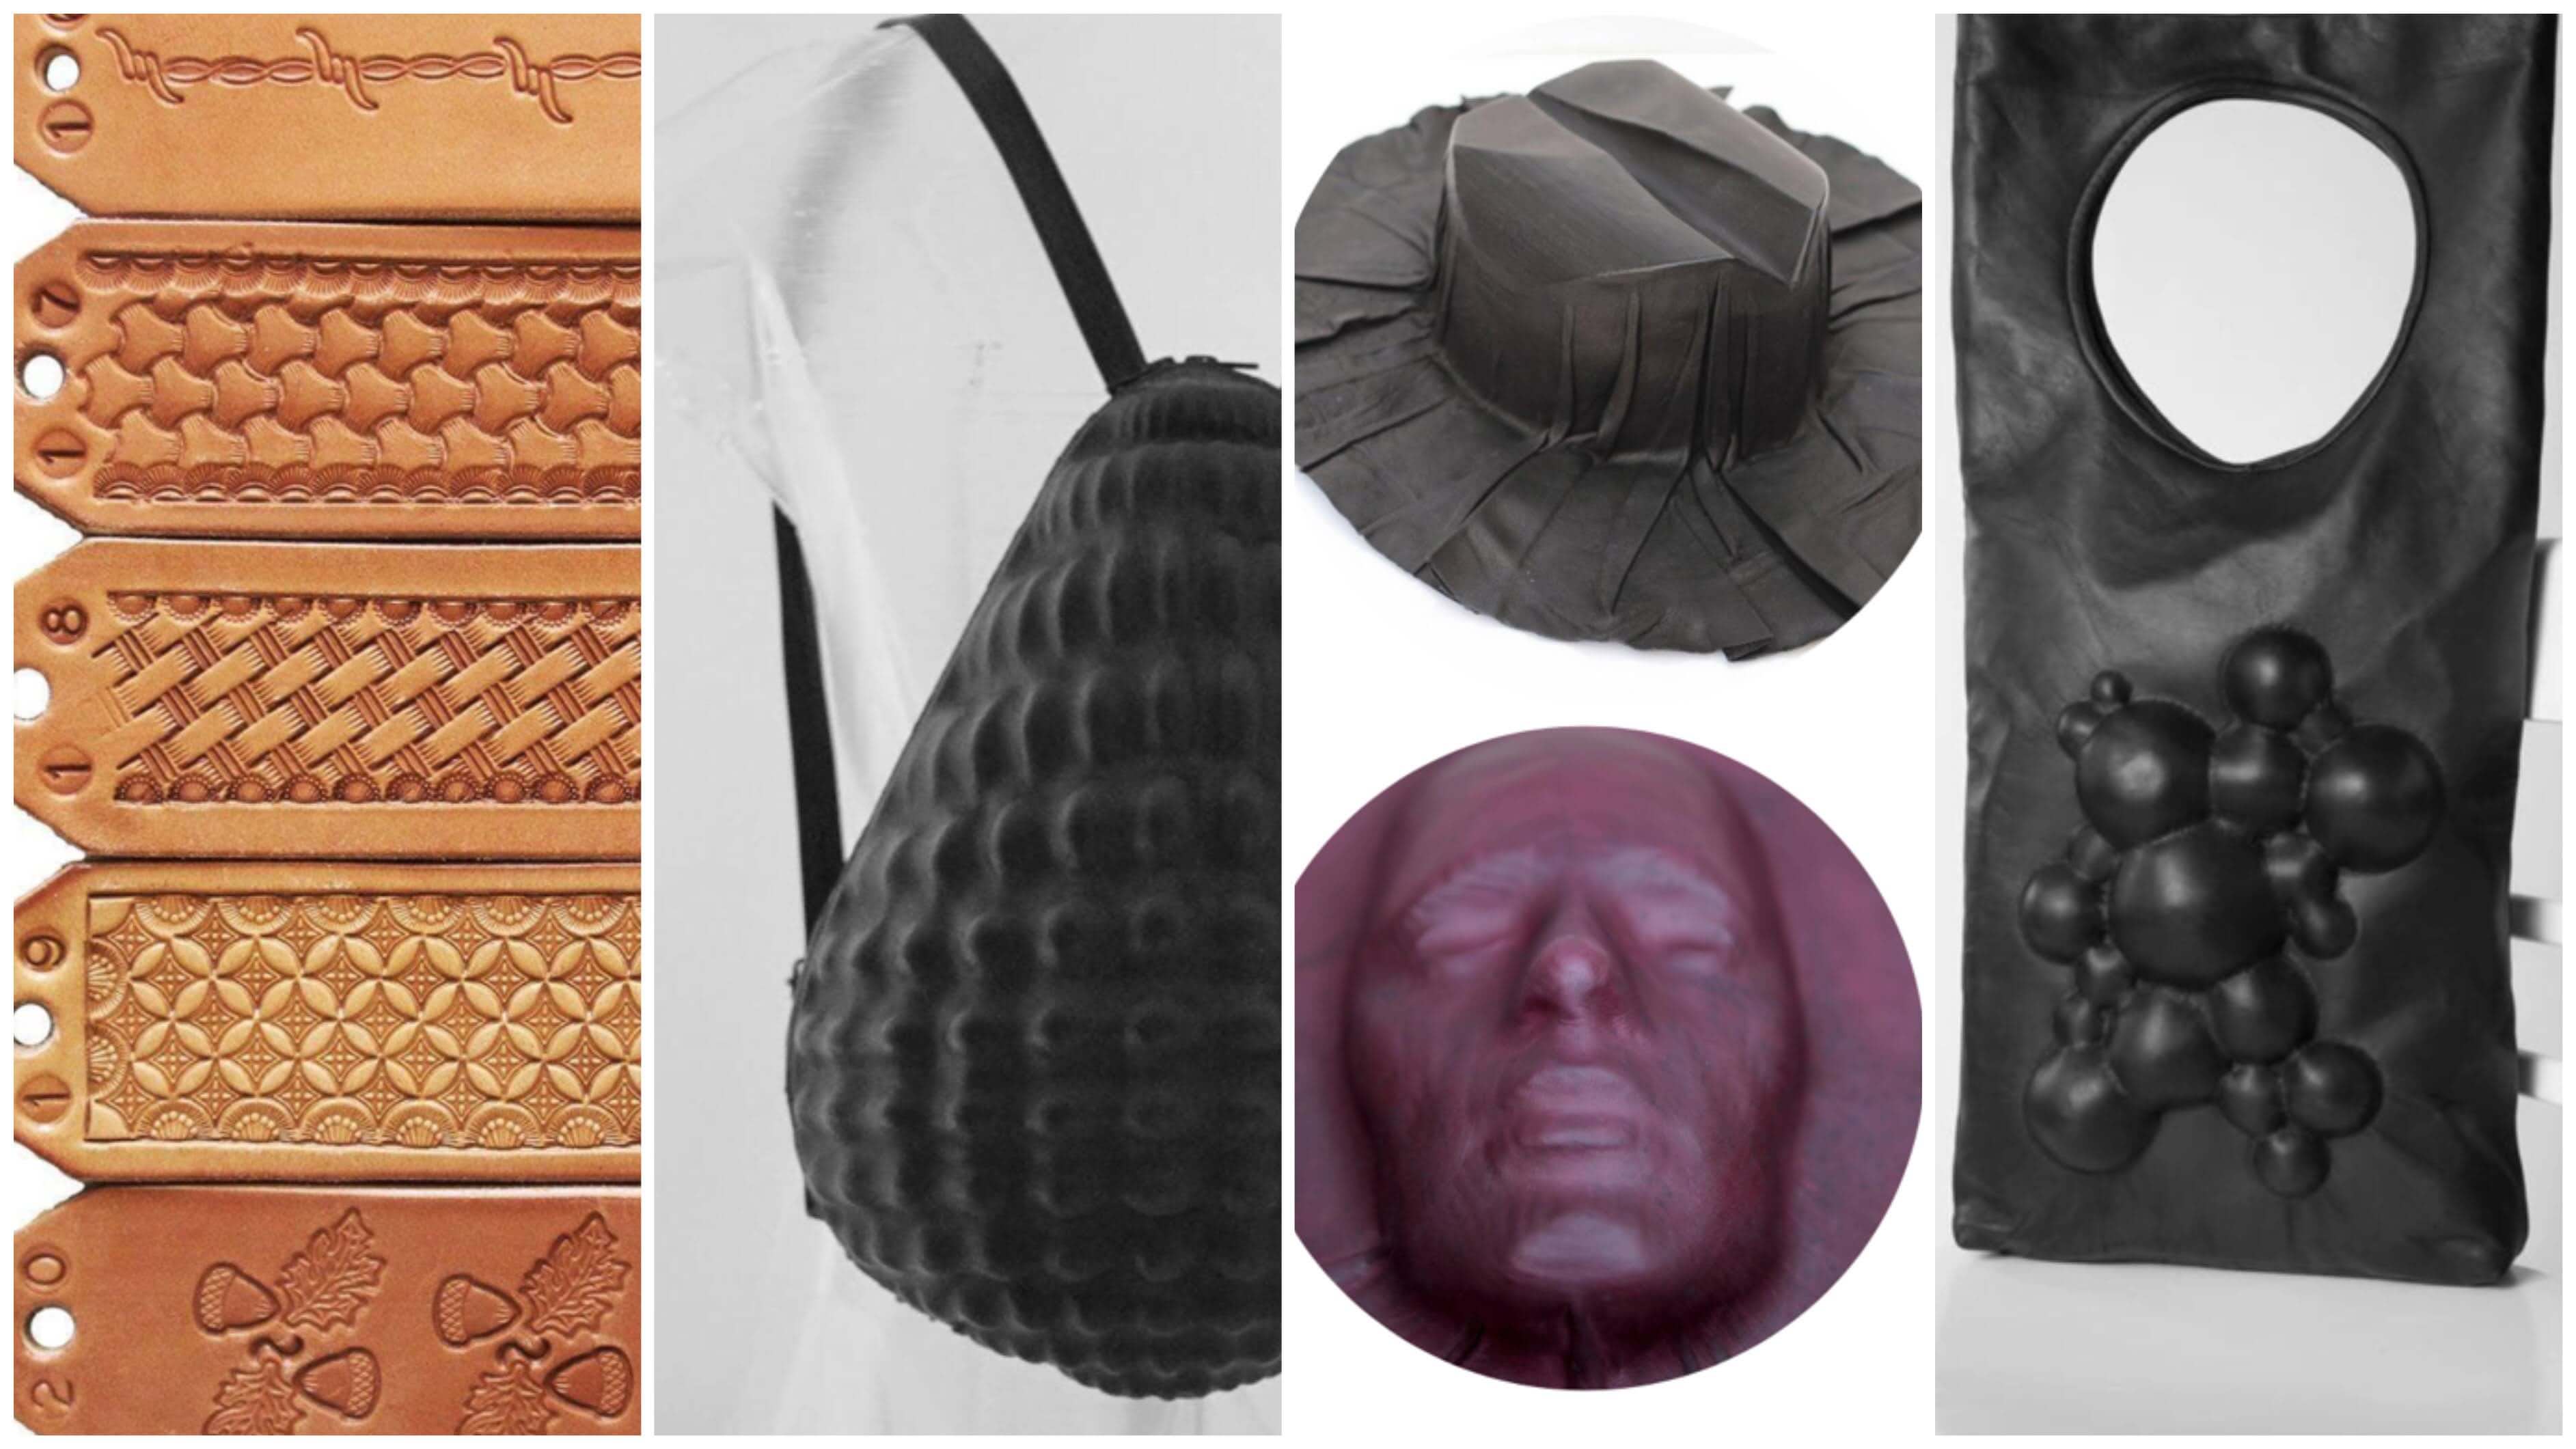
Leather molding: It consists of giving a “permanent shape” to the leather by hardening techniques: thermal, chemical, mechanical and “stabilizing methods”.
-
Fabric formwork: Use the fabric to define the shape of the concrete. It's an interesting tension that happens. The concrete pushes out with its weight, while the textile restrains and suggests a shape for the concrete.
-
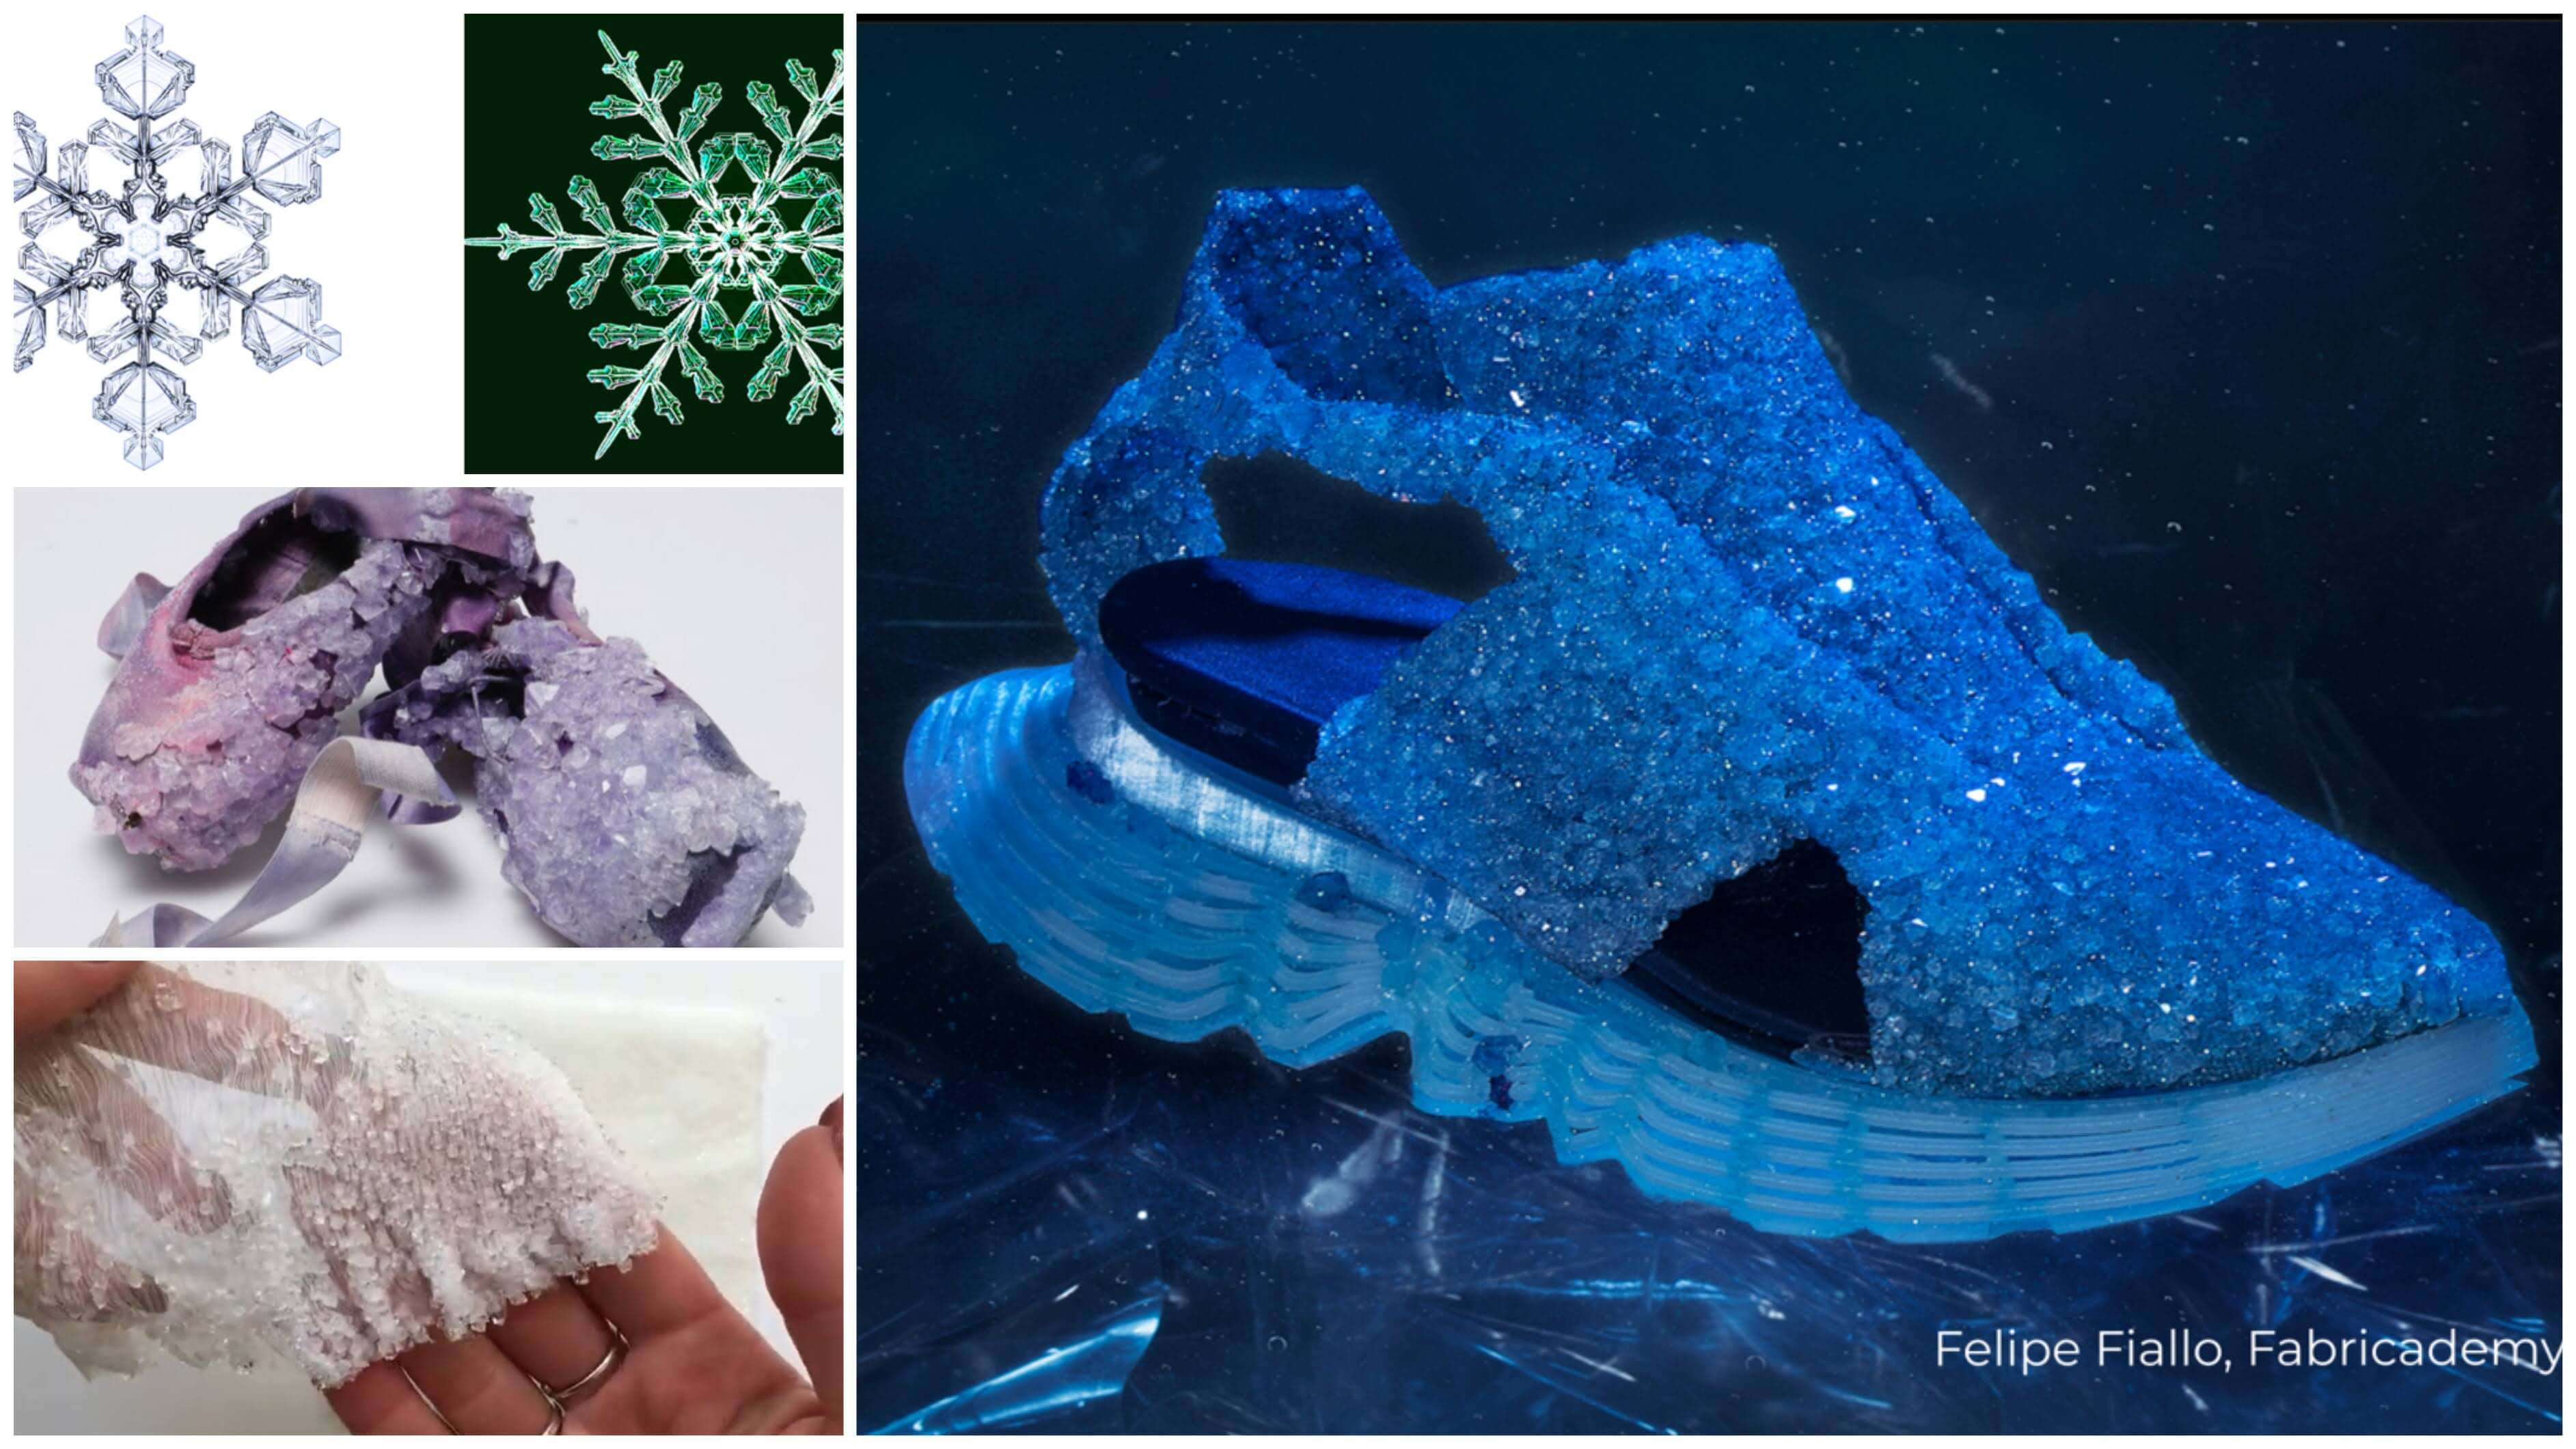
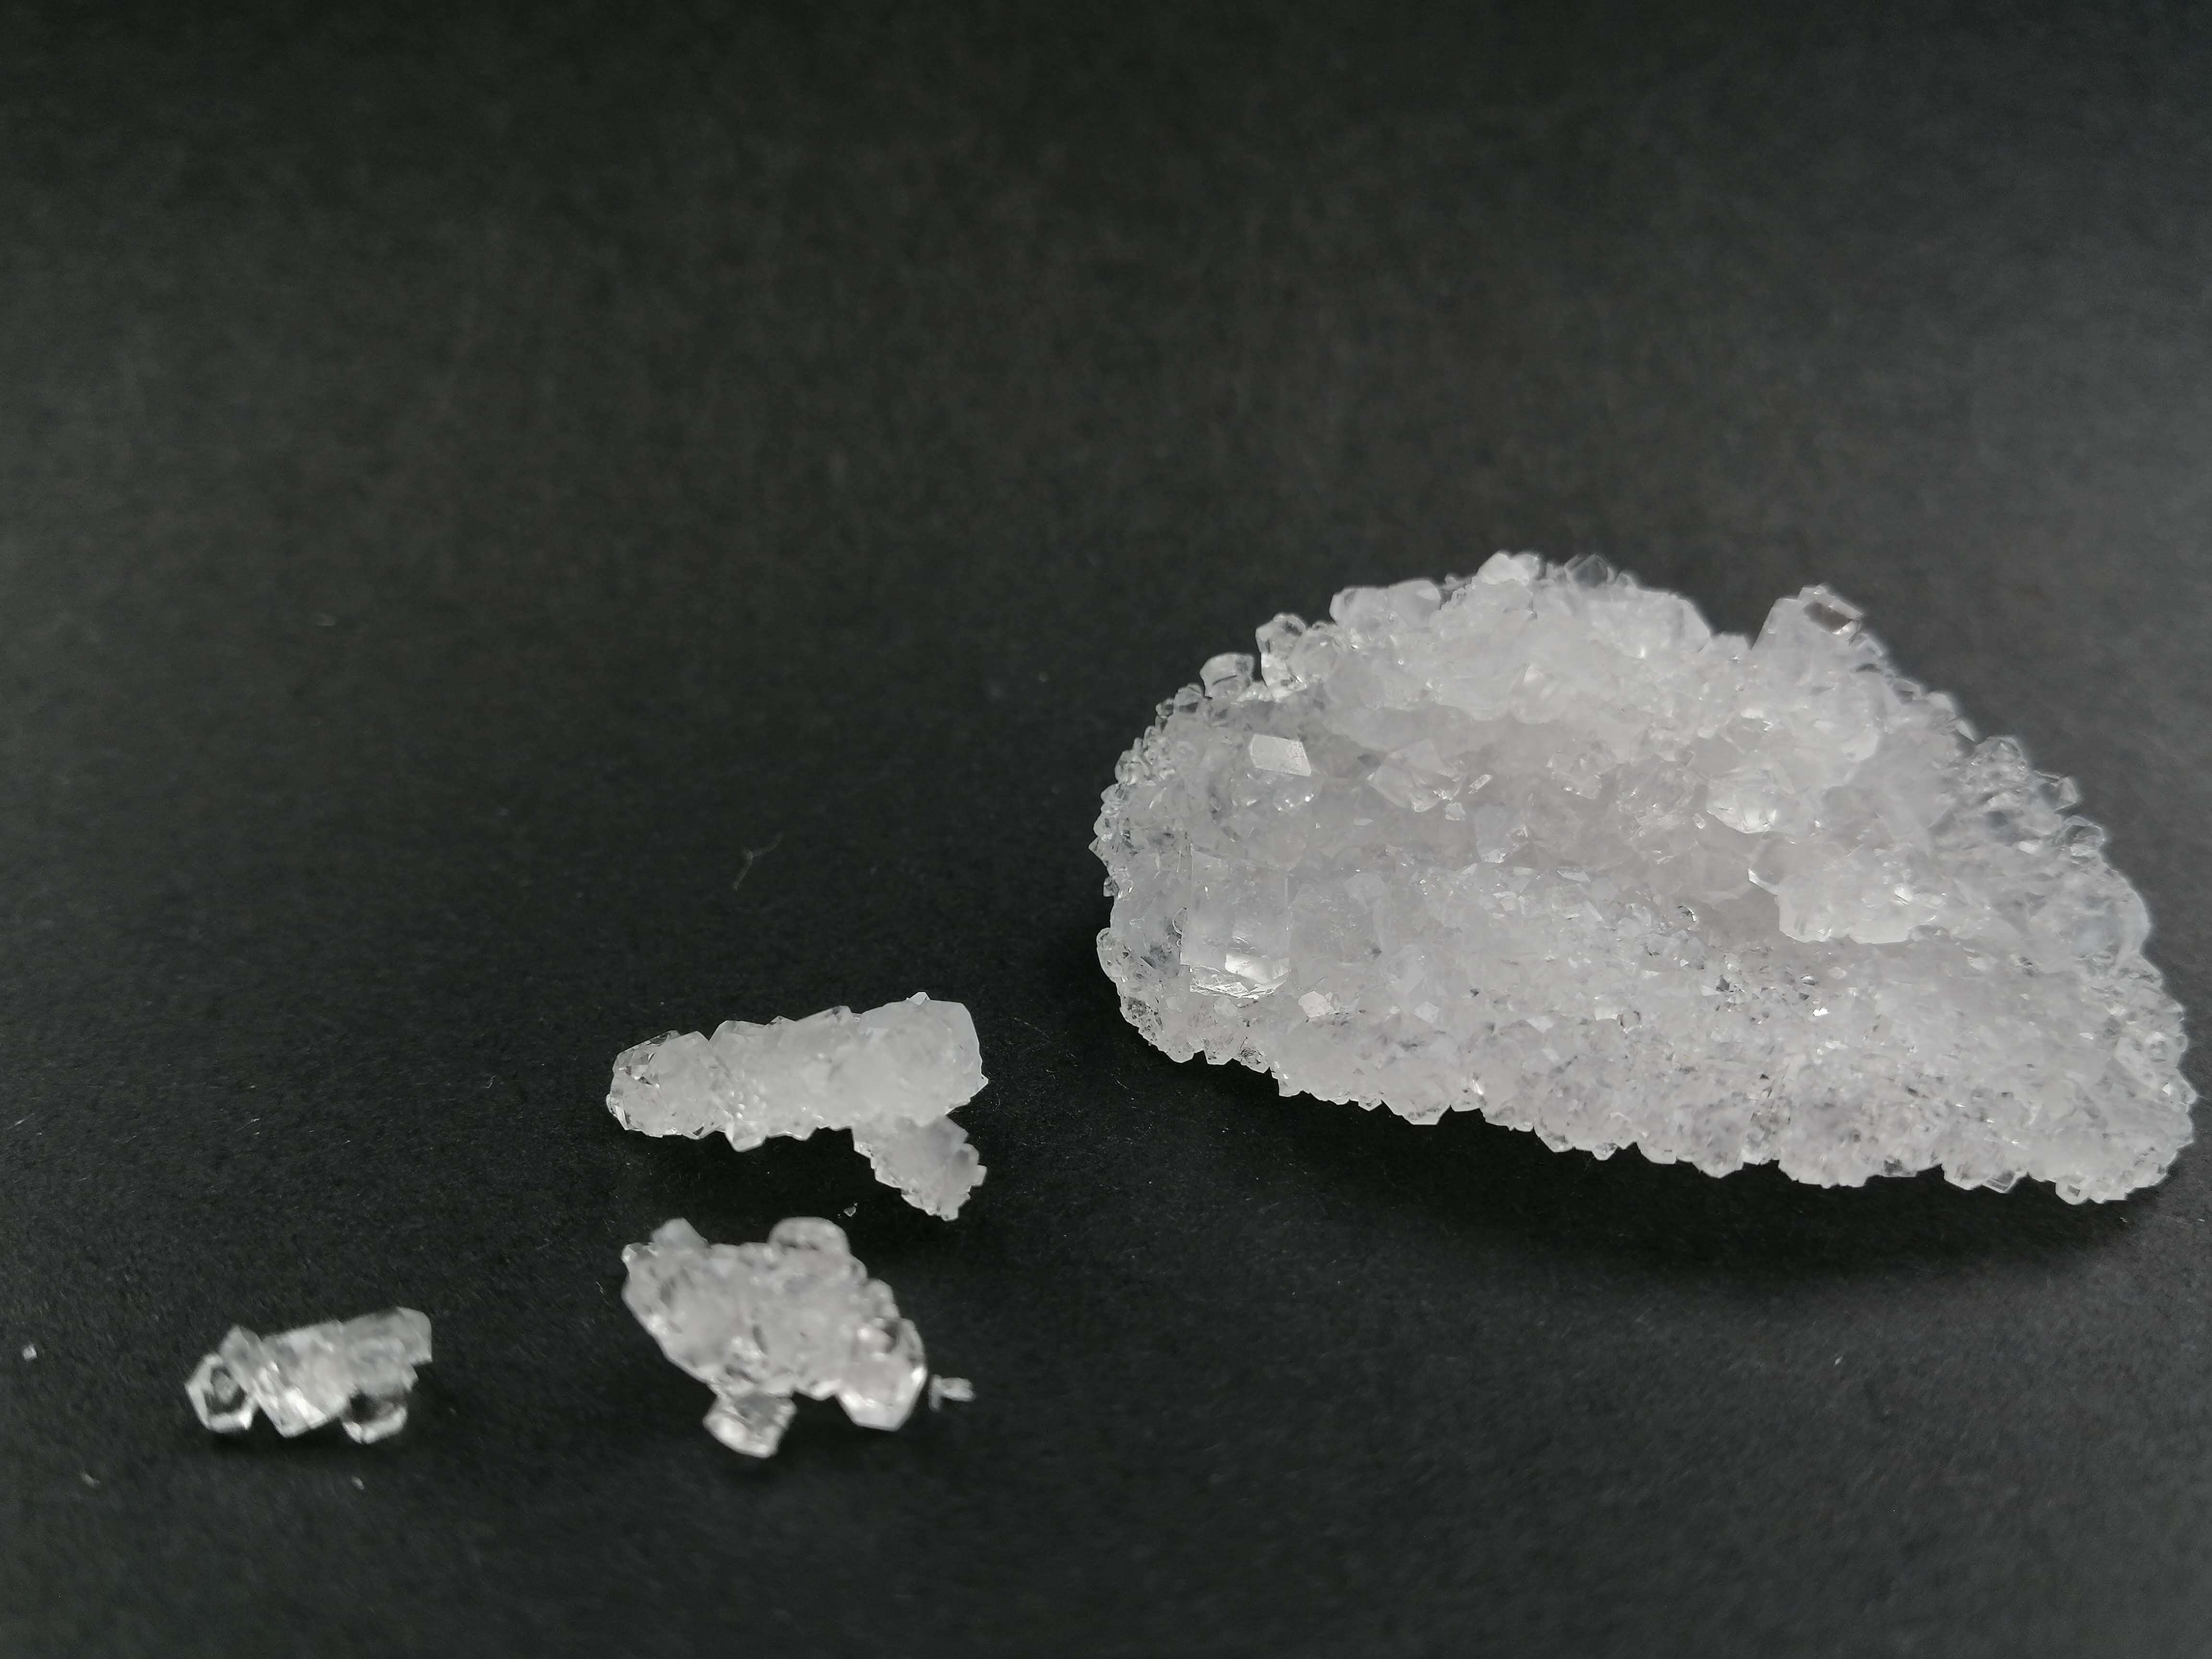
Crystallization: A crystal is a solid material whose constituent atoms, molecules, or ions are arranged in an orderly repeating pattern extending in all three spatial dimensions.
-
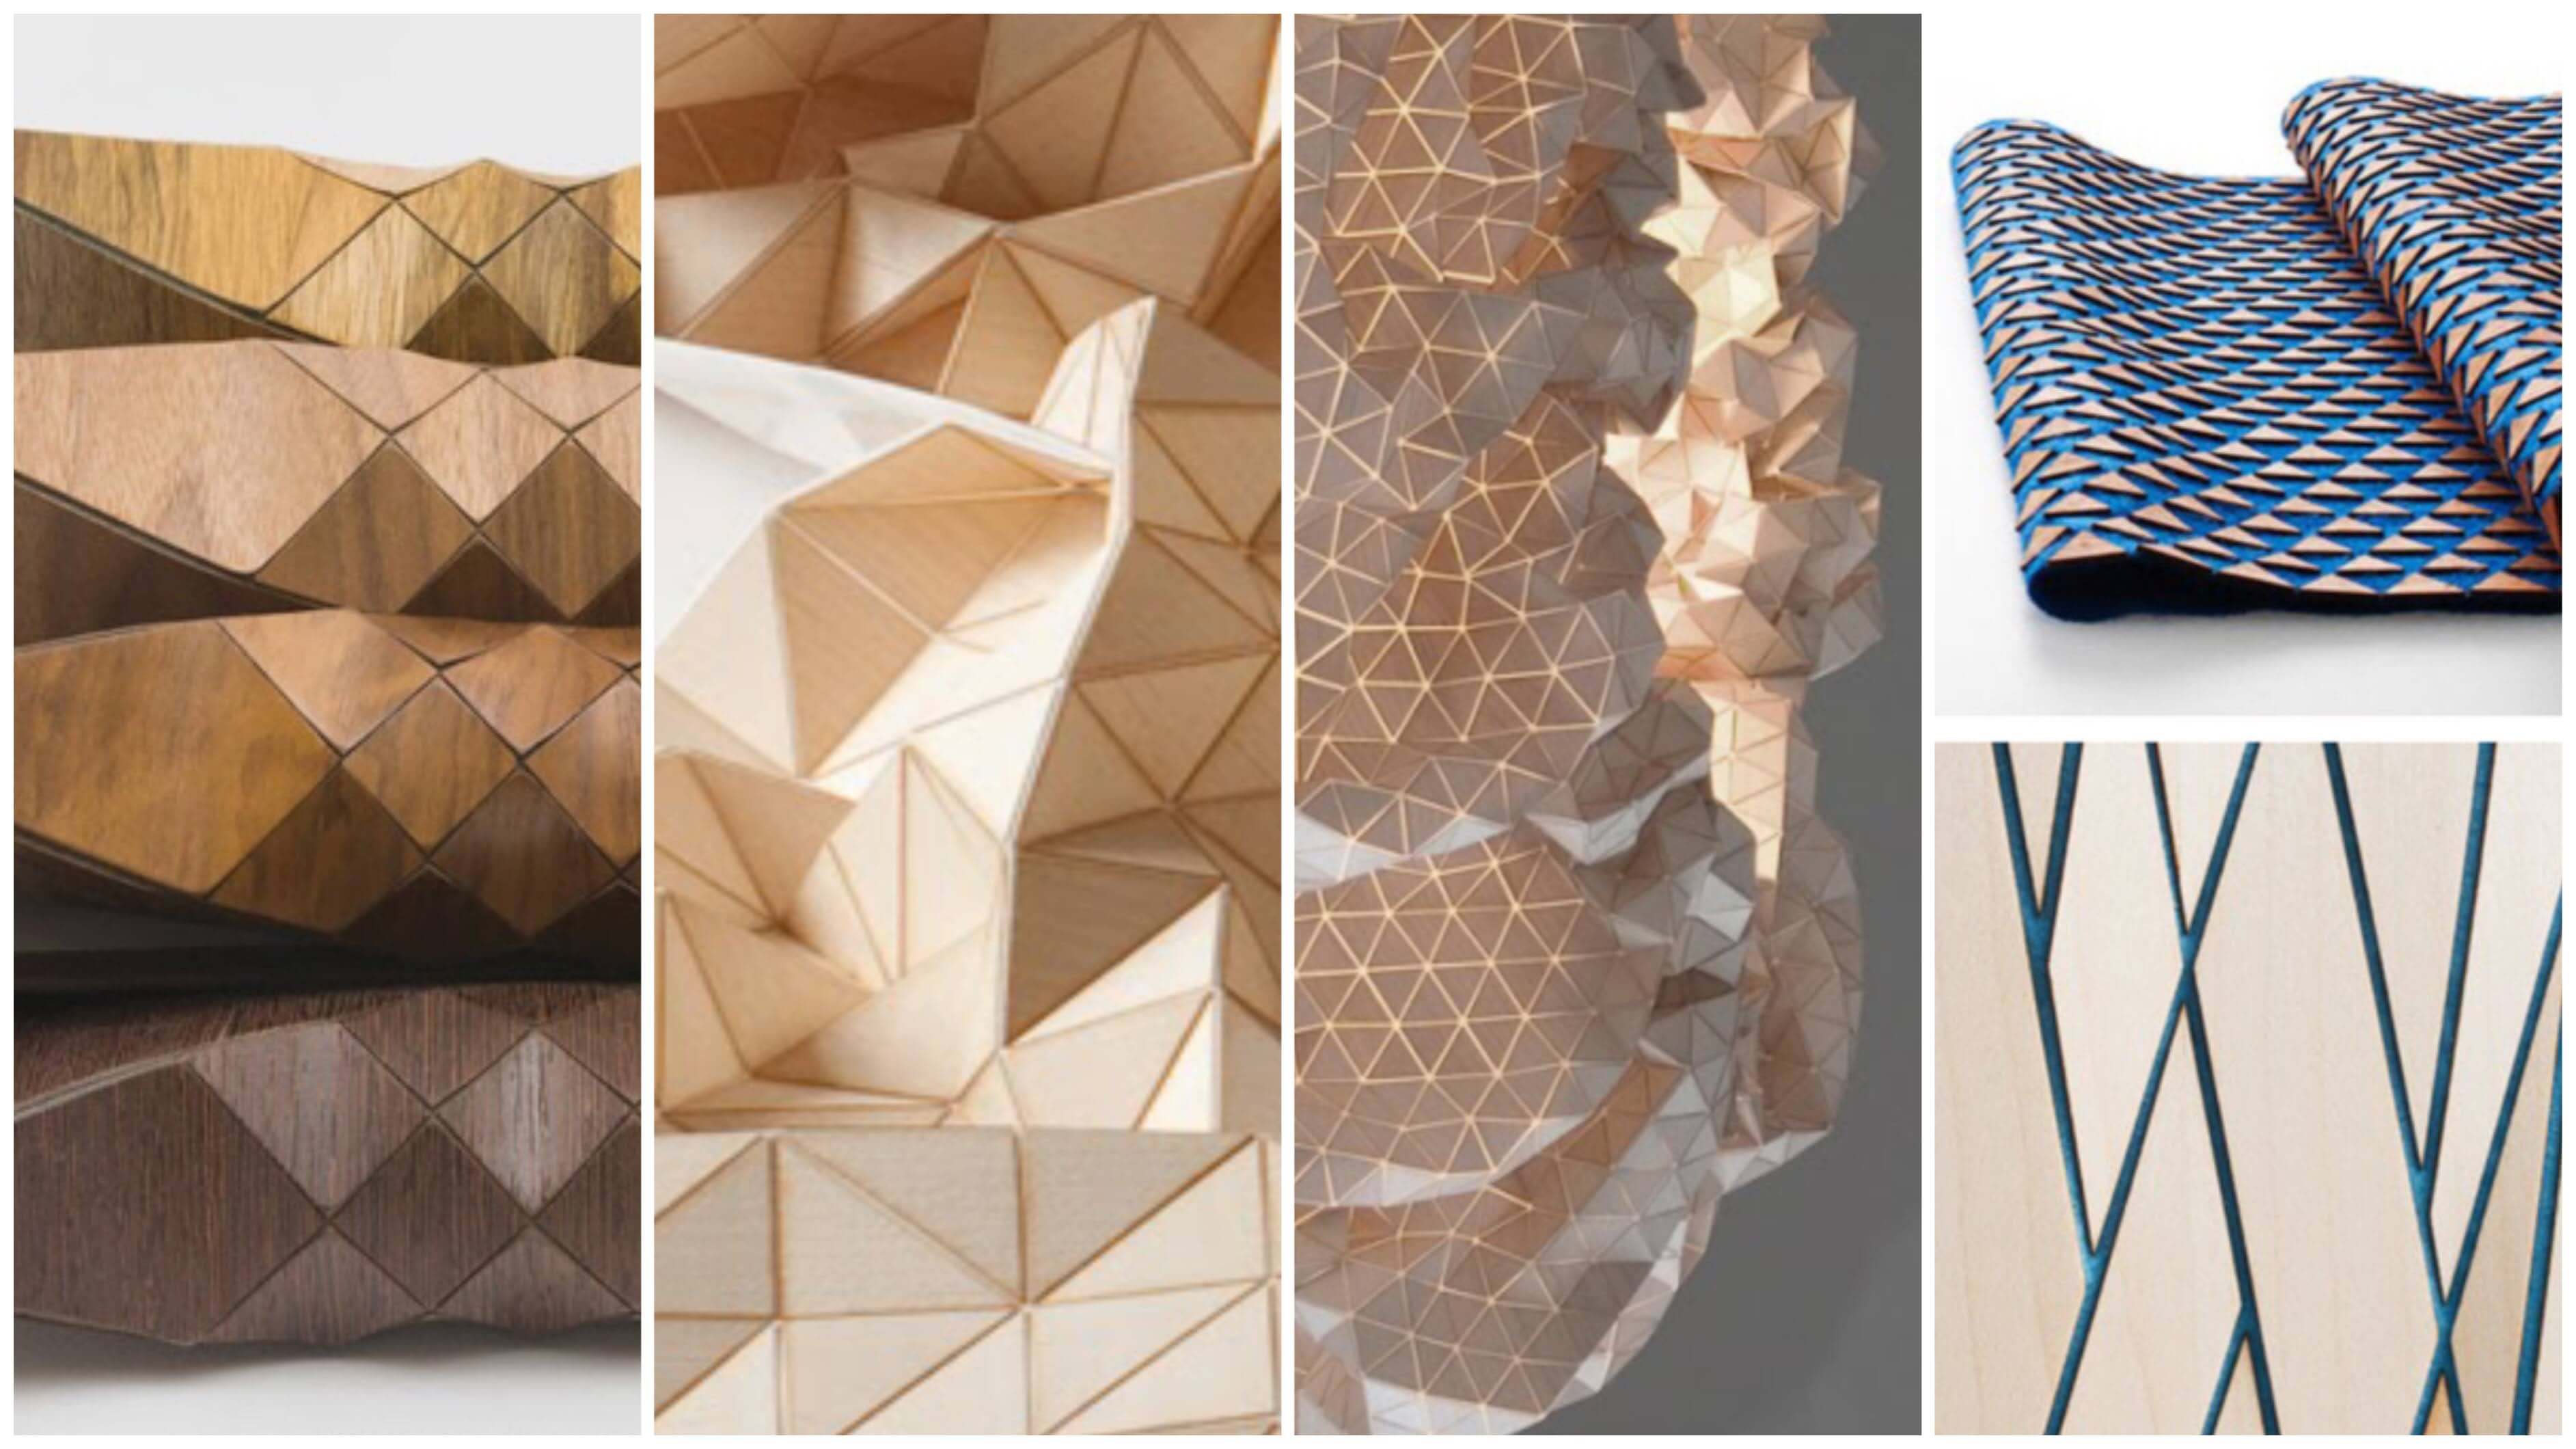
Wood and textile: It consists of giving “movement” and “flexibility” to the wood.
-
Mycelium and textile: The result is a very soft material that is thick, strong and can be imprinted with various textures. It is durable and can be mended easily. It is skin-friendly and, sometimes, doesn’t even need sewing. And, again, totally compostable.
Information and images taken from Anastasia's classes.
Just look at the pictures and tell me you don't want to try all the techniques. It was time to choose. I had to start from anywhere, so I decided to start doing the crystallization and then I would do the leather moulding, but instead of using leather I would use my orange peel biomaterial.
Molding
As I said, I wanted to mould my biomaterial, but as it was my first time with the CNC so, I just tried to mould a simple shape with foam.
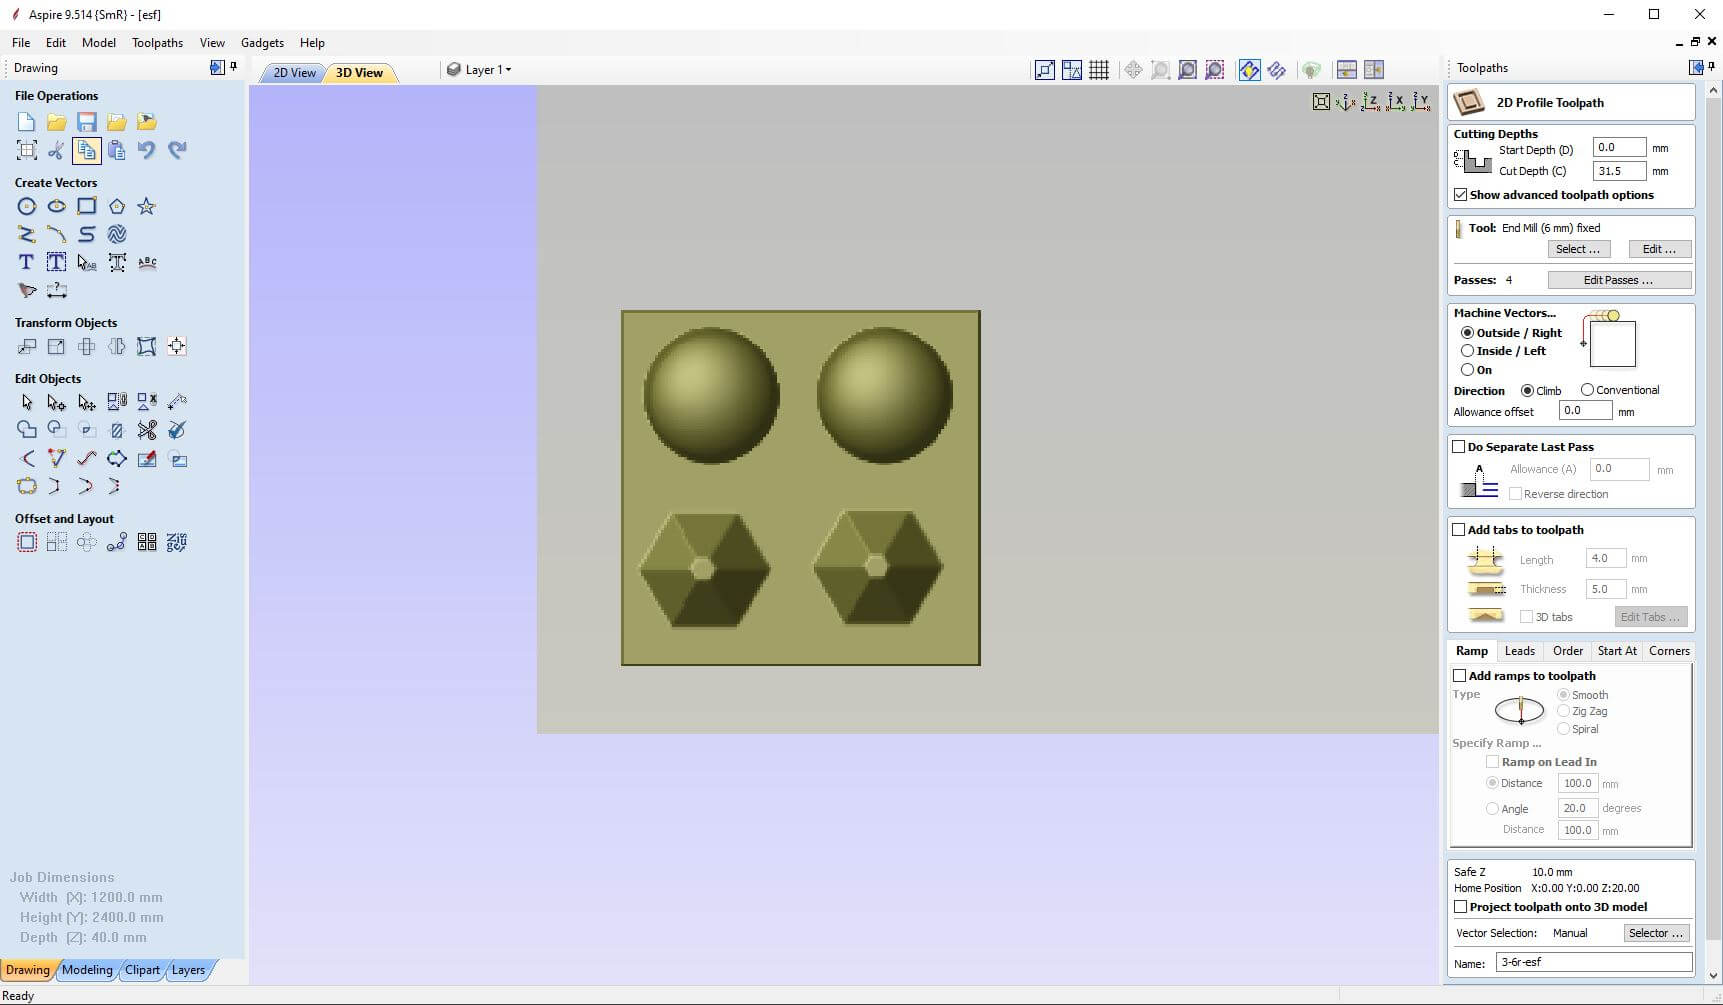
Mold design
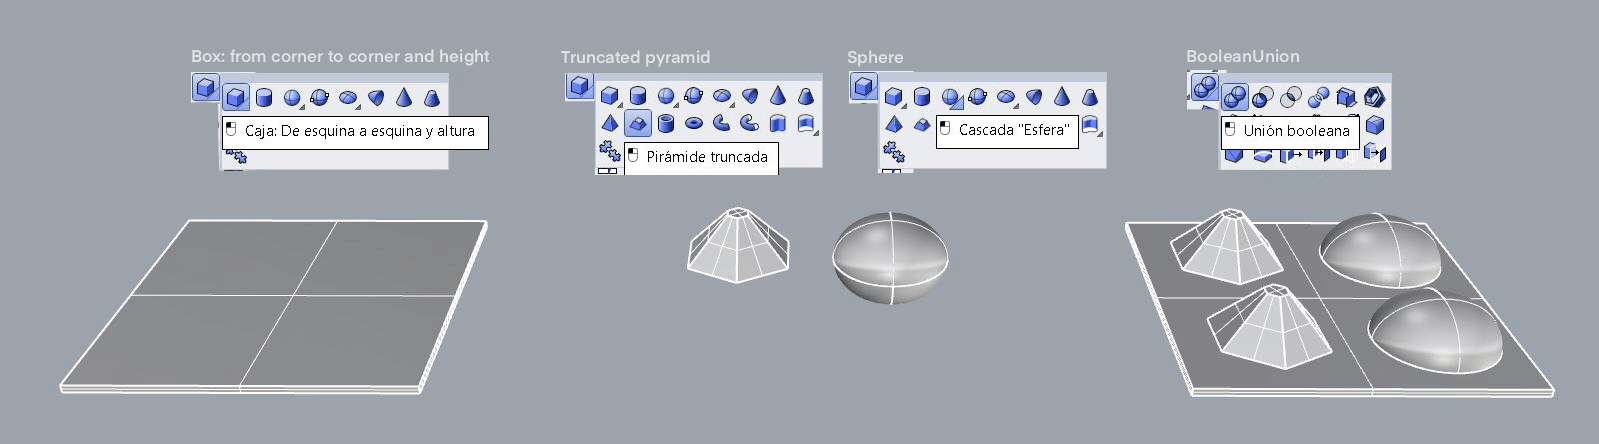
I used 2 types of shapes (a semi sphere and pyramid) to design the mold.
I had to take into account some aspects such as:
-
The mold couldn't be higher than 30 mm because it was the thickness of the material.
-
The space between the shapes had to be 6 mm because of the diameter of the milling cutter.
And I got this:
Molding biomaterial
While I was working on my final project, I developed a biomaterial, based on eggshells and rosin, and I wanted to explore it as much as possible. I wanted to try to shape it with silicone and wood molds to see how they behave with the materials.
It is really to biofabricate this material, you just only need 2 material:
- 210 g eggshells
- 150 g colofonia
And these were the tools used:
- 2 casseroles
- Sacle
- MDF mold
- Spoon / spatula
- Heat gloves
- FPP2 mask
In the final project I explain in detail how you have to prepare the eggshells, but it is to boil the eggs, dry them and crush them. Then you have to melt the rosin and add the powder. Finally, you poured it into the mold.
Wood mould
My lovely Elsa lent me her mould that she used for her biomaterial. It’s a simple mold based on a male and a female.
 I covered it with baking paper to prevent it from sticking. TRICK: If you wet the baking paper it’ll be easier to adapt the shape of the mold.
Silicone
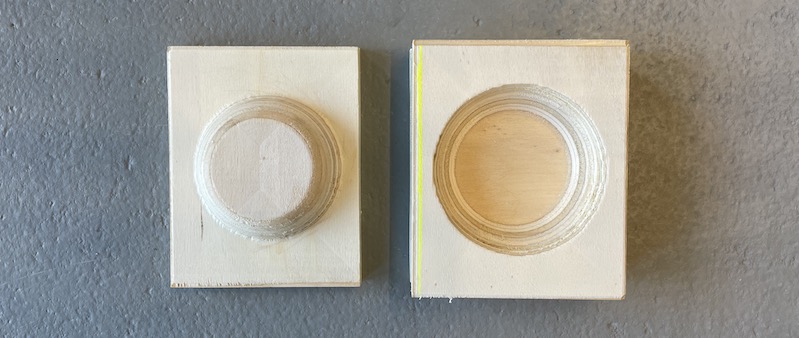
Silicone molds already available at BDC were used, two hexagonal molds, one with relief and one without.
These were the results:
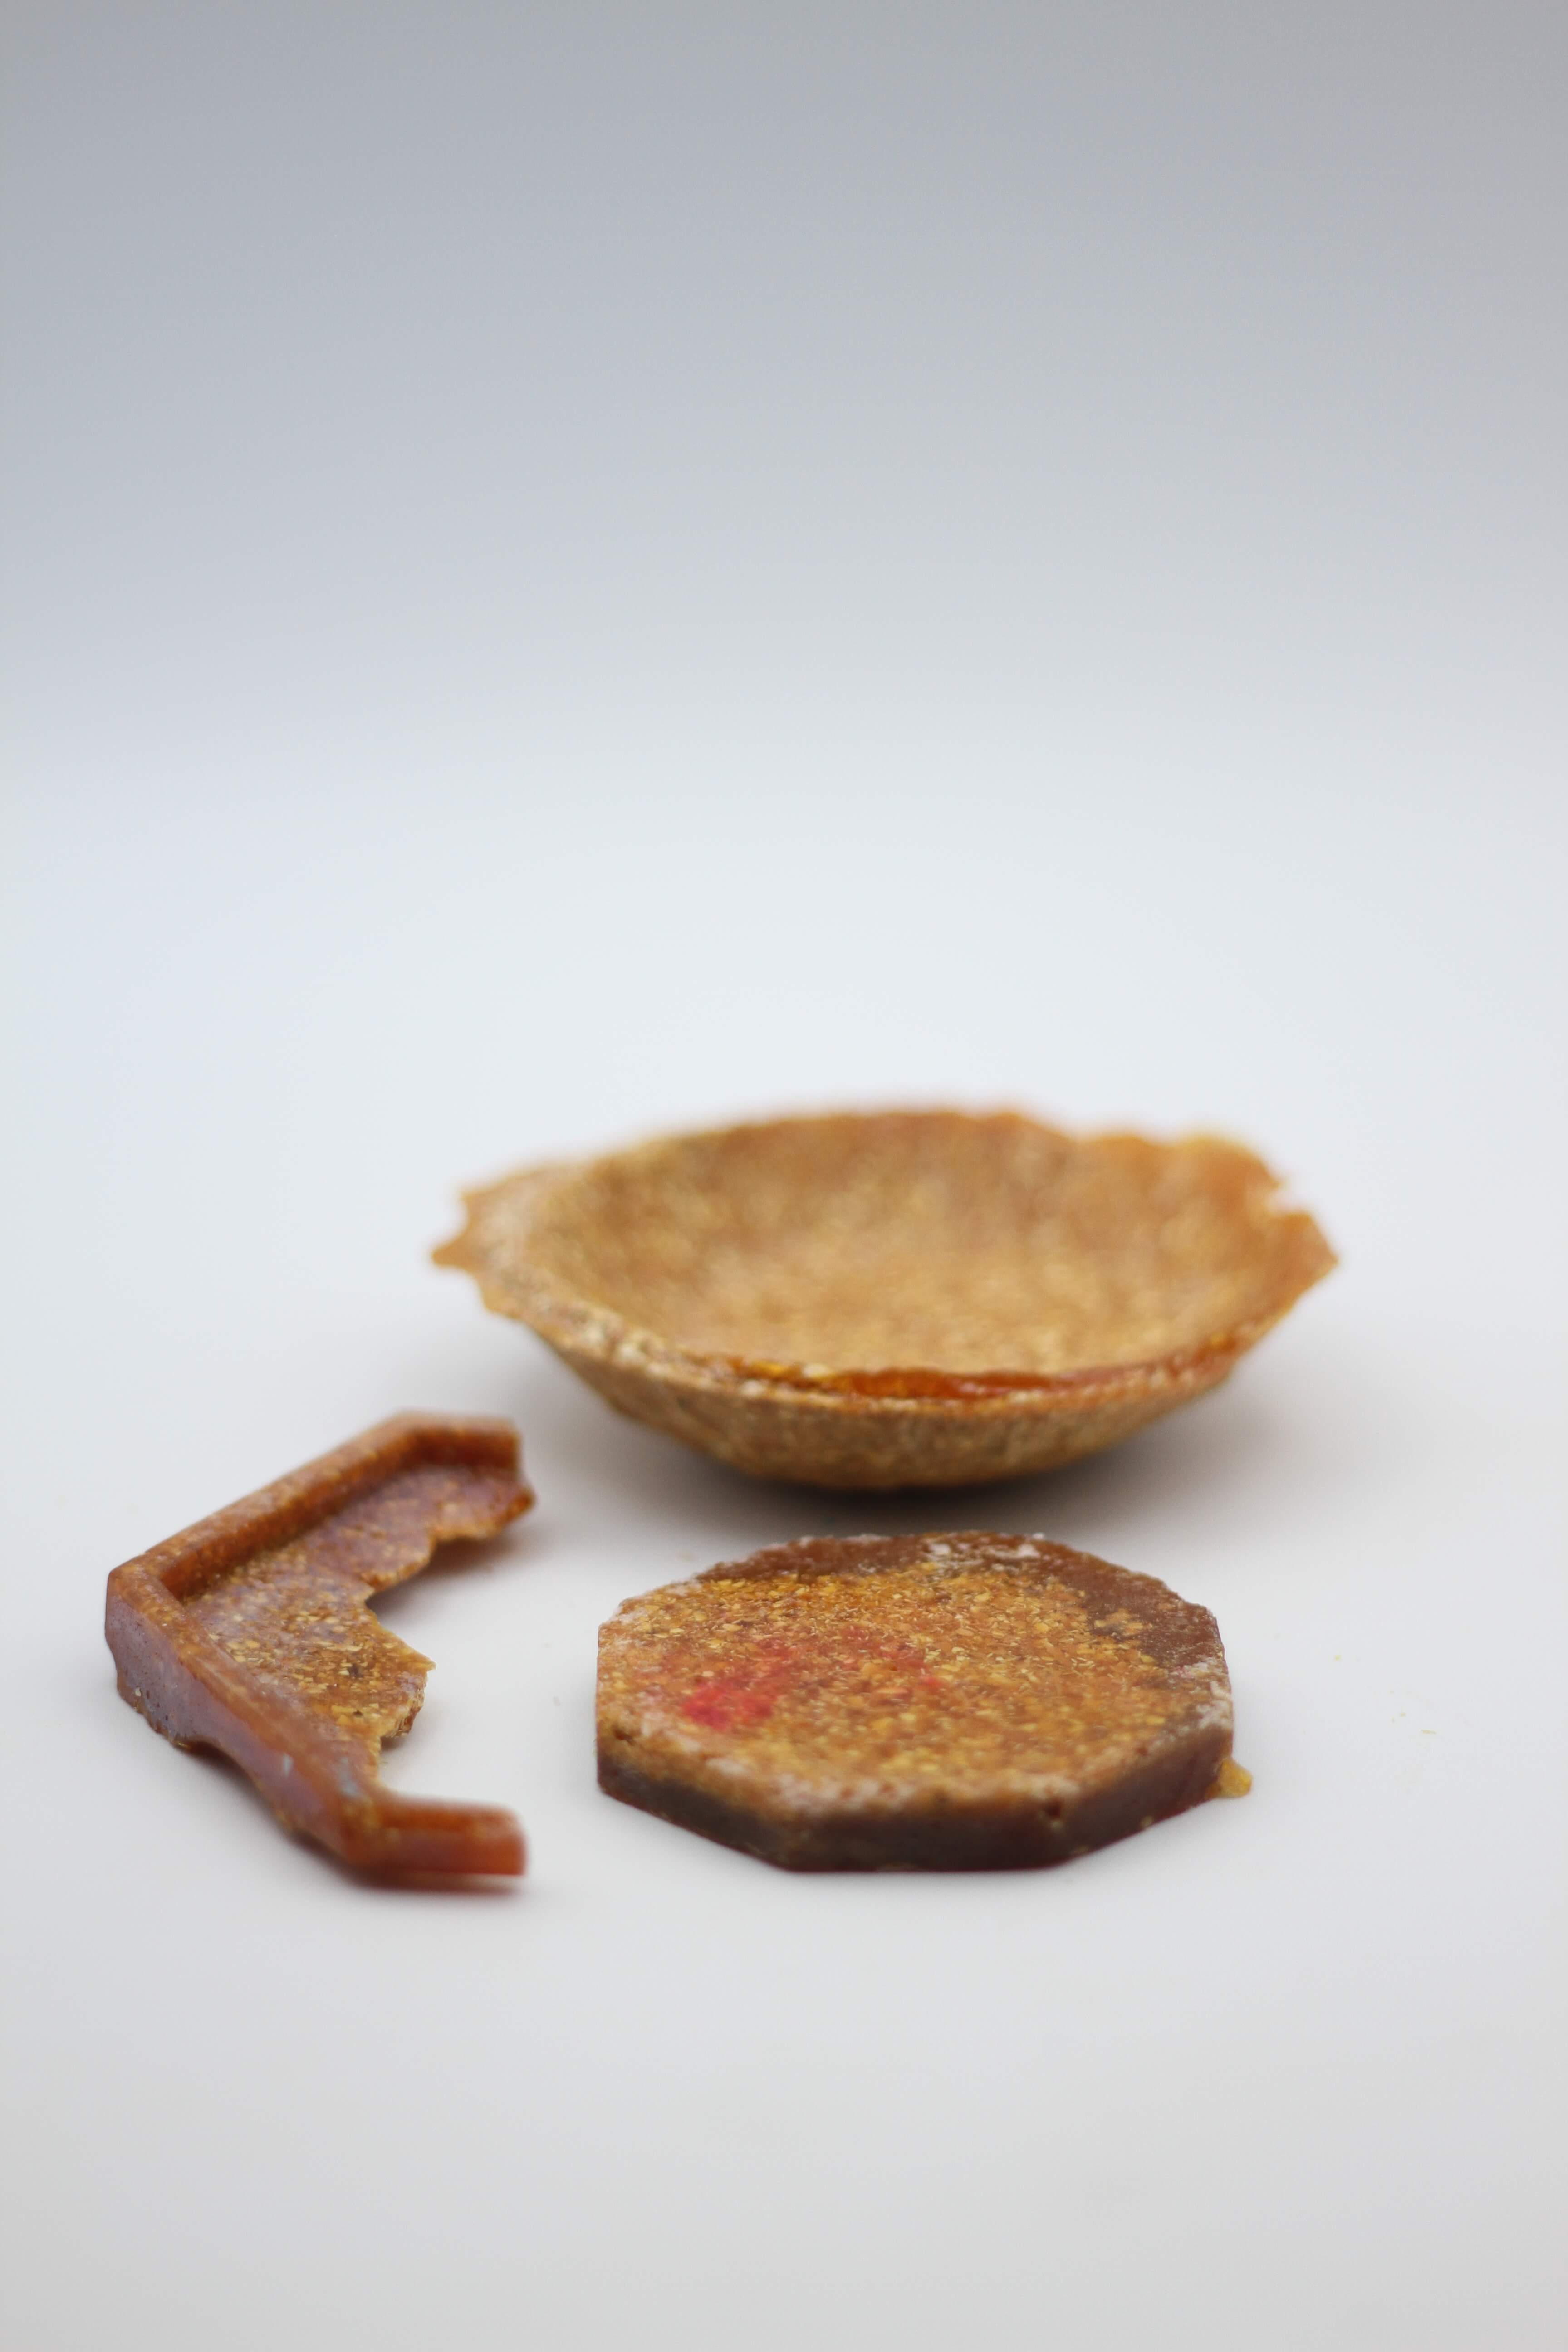
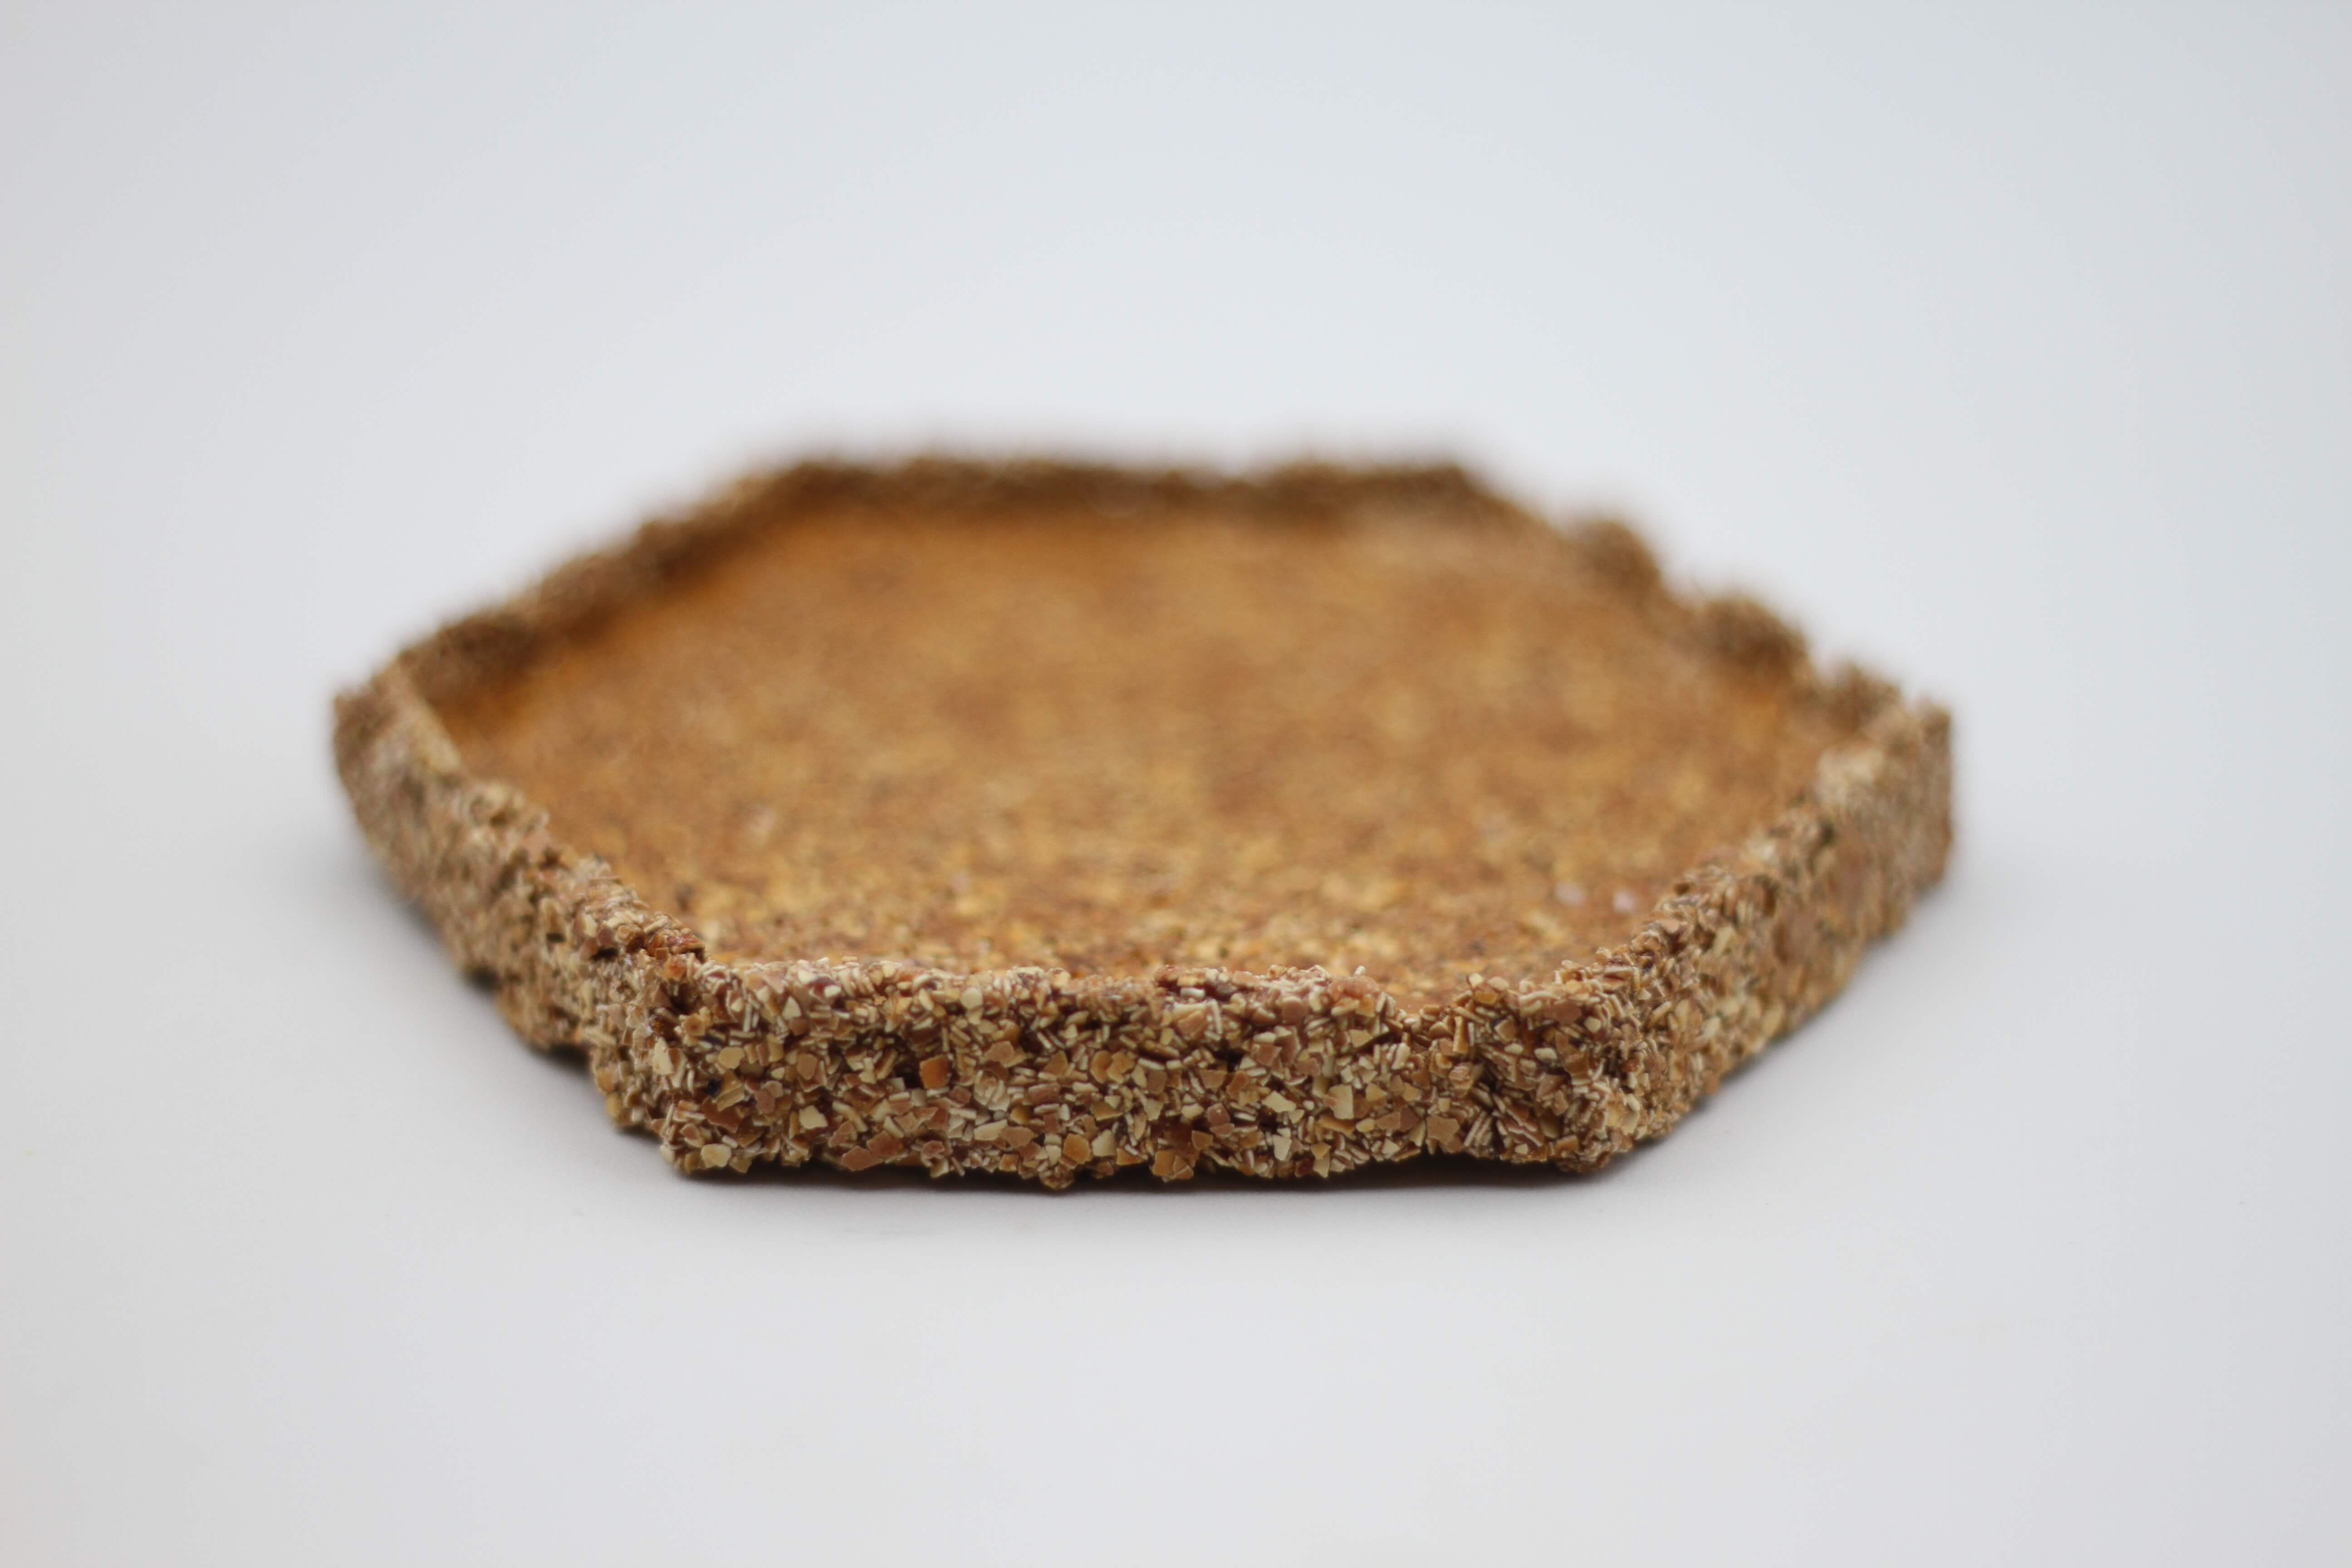
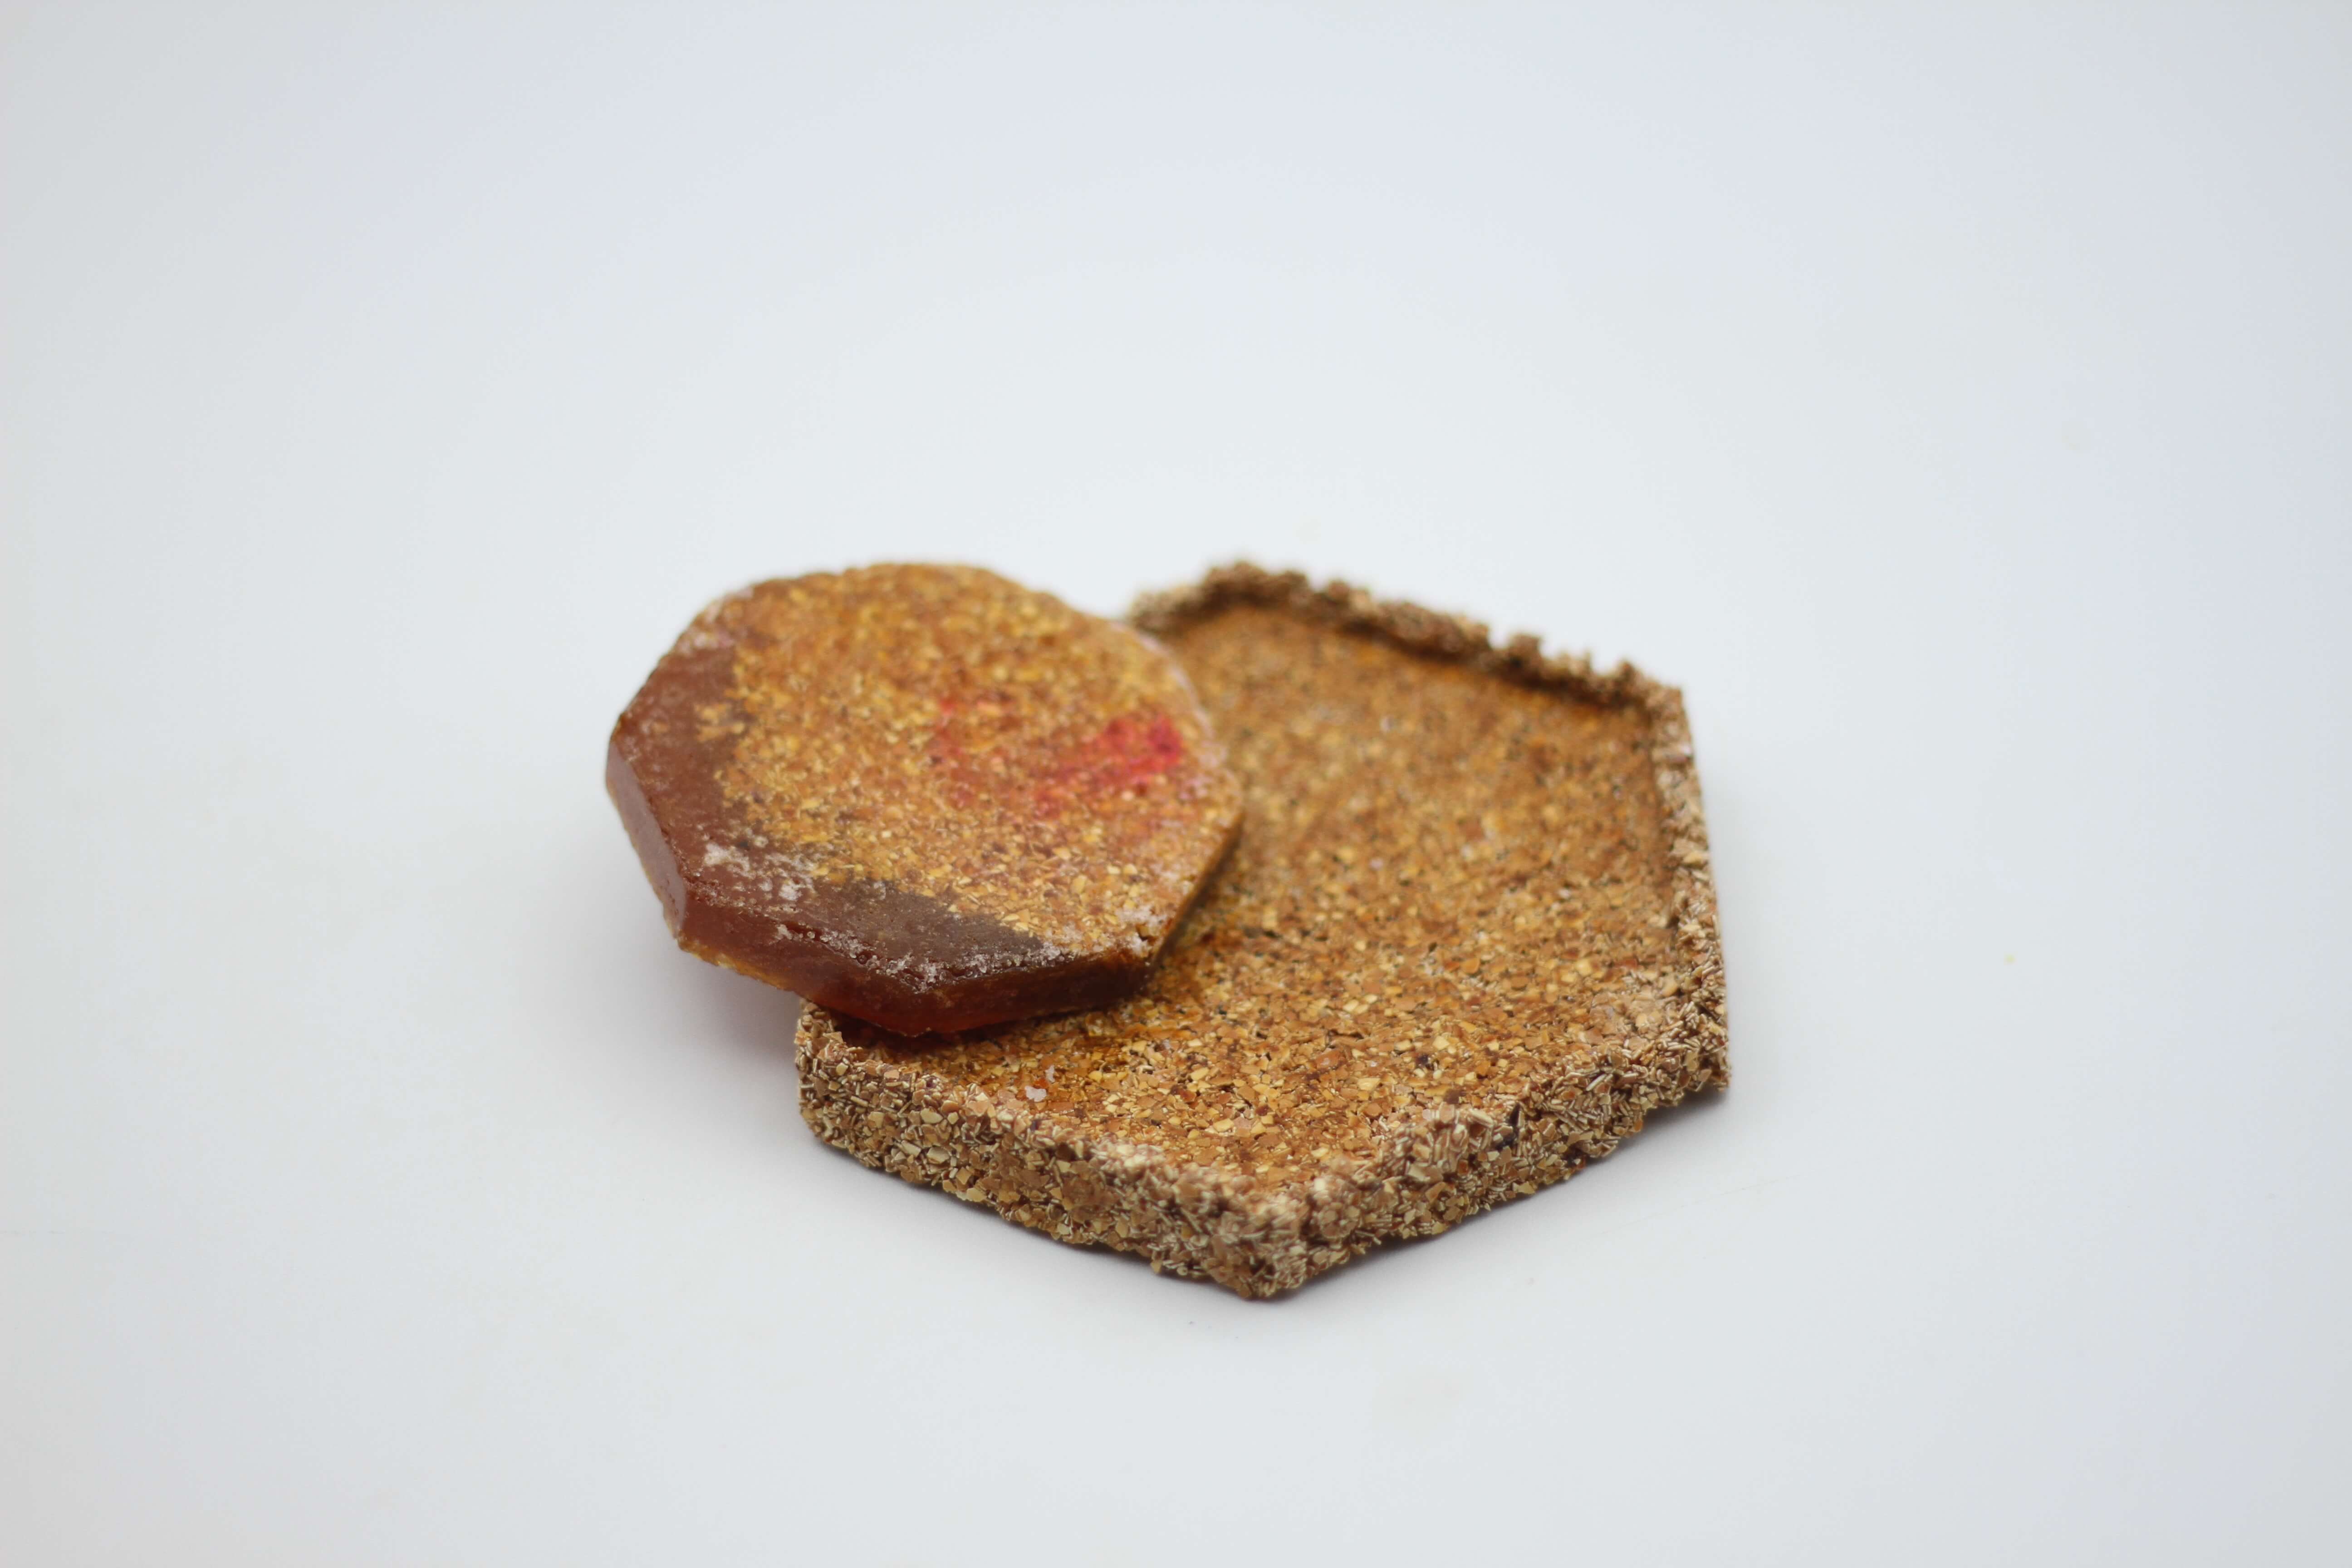
Surprisingly, depending on the type of mold, the biomaterial behaved differently. For example, with kitchen paper it had a matte tone, while with silicone molds it maintained a glossy finish.
CNC
Julián, our FabLab manager, teaches us how to use Aspire, a software for CNC. It was quite intuitive, so it was really easy to understand. Obviously, you need to have some knowledge about bits and milling cutters.
Process:
1.File preparation
-
Upload the file in .stl to the software Aspire.
-
Complete the settings.
Important to complete them from the top to the bottom.
-
Once programmed in the settings, it’s recommended to preview it.
2.CNC preparation
-
Upload the file in .stl to the CNC.
-
Put the material you will cut into the “cutting table”, in my case, it was foam.
-
Put the endmill.

-
The automatic sensor tool determines the thickness of the material.
-
Determine the 0,0 point, the origin point.
-
Switch on the vacuums: the one from the cutting table and the one that absorbs the material waste.
3.Cutting process
-
It starts to work.
-
The machine starts cutting with the endmill (6 mm).

-
Once you are done with the first tool, we change it for the bullnose.

I got this mold:
Crystallization
Piezoelectric crystal
Components:
- 100 g Potassium Bitartrate (Cream of Tartar)
- 60 g Sodium Carbonate
- 125 mL Distilled water
Tools:
- 9 V Battery
- 500 ml Beaker
- Pot
- Coffee filter
- Stove
- Spoon
- Gloves
- Glass containers with lid
Method:
- Mix the potassium bitartrate and the distilled water into the beaker.
- Stir the solution continuously.
- Put the beaker inside a pot filled with 2 cm of water (“normal water”).
-
Heat it and maintain the temperature constant.
In the original recipe said to heat about 80ºC
-
Add sodium carbonate spoon by spoon while stirring it.
It will fizz and bubble.
-
Repeat the process until there aren’t bubbles when it is adding the sodium carbonate.
-
Filter the mixture with the coffee filter into another beaker.
-
Put it back onto the stove and heat it for a few minutes.
-
Filter it again into the glass container and close with the lid.
Before filtering it, I added a spoon (0.5 mL) of purple corn powder to see if I could dye it.
-
Keep it in a cool place for several days.
I left it for 4 days.
This was the process:
It was time to put the cathode and the anode. This recipe was done with my colleague Marisa and we divided the mixture to try different ways to crystallize it.
-
Marisa’s way: She put some wires into the glass container and connected them to the 9V battery for a couple hours. In her documentation you can see it in more detail.
-
My way: I just left it drying without using the battery. 4 days before, I saw the result and I thought it was going to be solid, but it was very “soft”. As a result, I decided to put the cathode and anode in and I left it for half an hour. It made a reaction but nothing else.
So, I created snow instead of crystals!
Borax crystal
Components:
- 4’5 tablespoon of borax powder
- 1L of water
- 0’5 mL purple popcorn powder ( you can use food colouring)
Tools:
- Casserole
- Cooker
- Material to crystallise: Wool and synthetic thread (the fuzzier the better)
- Deep glass container
- Copper wire(I used to give a specific shape)
Method:
-
Put the water in the casserole and boil it.
-
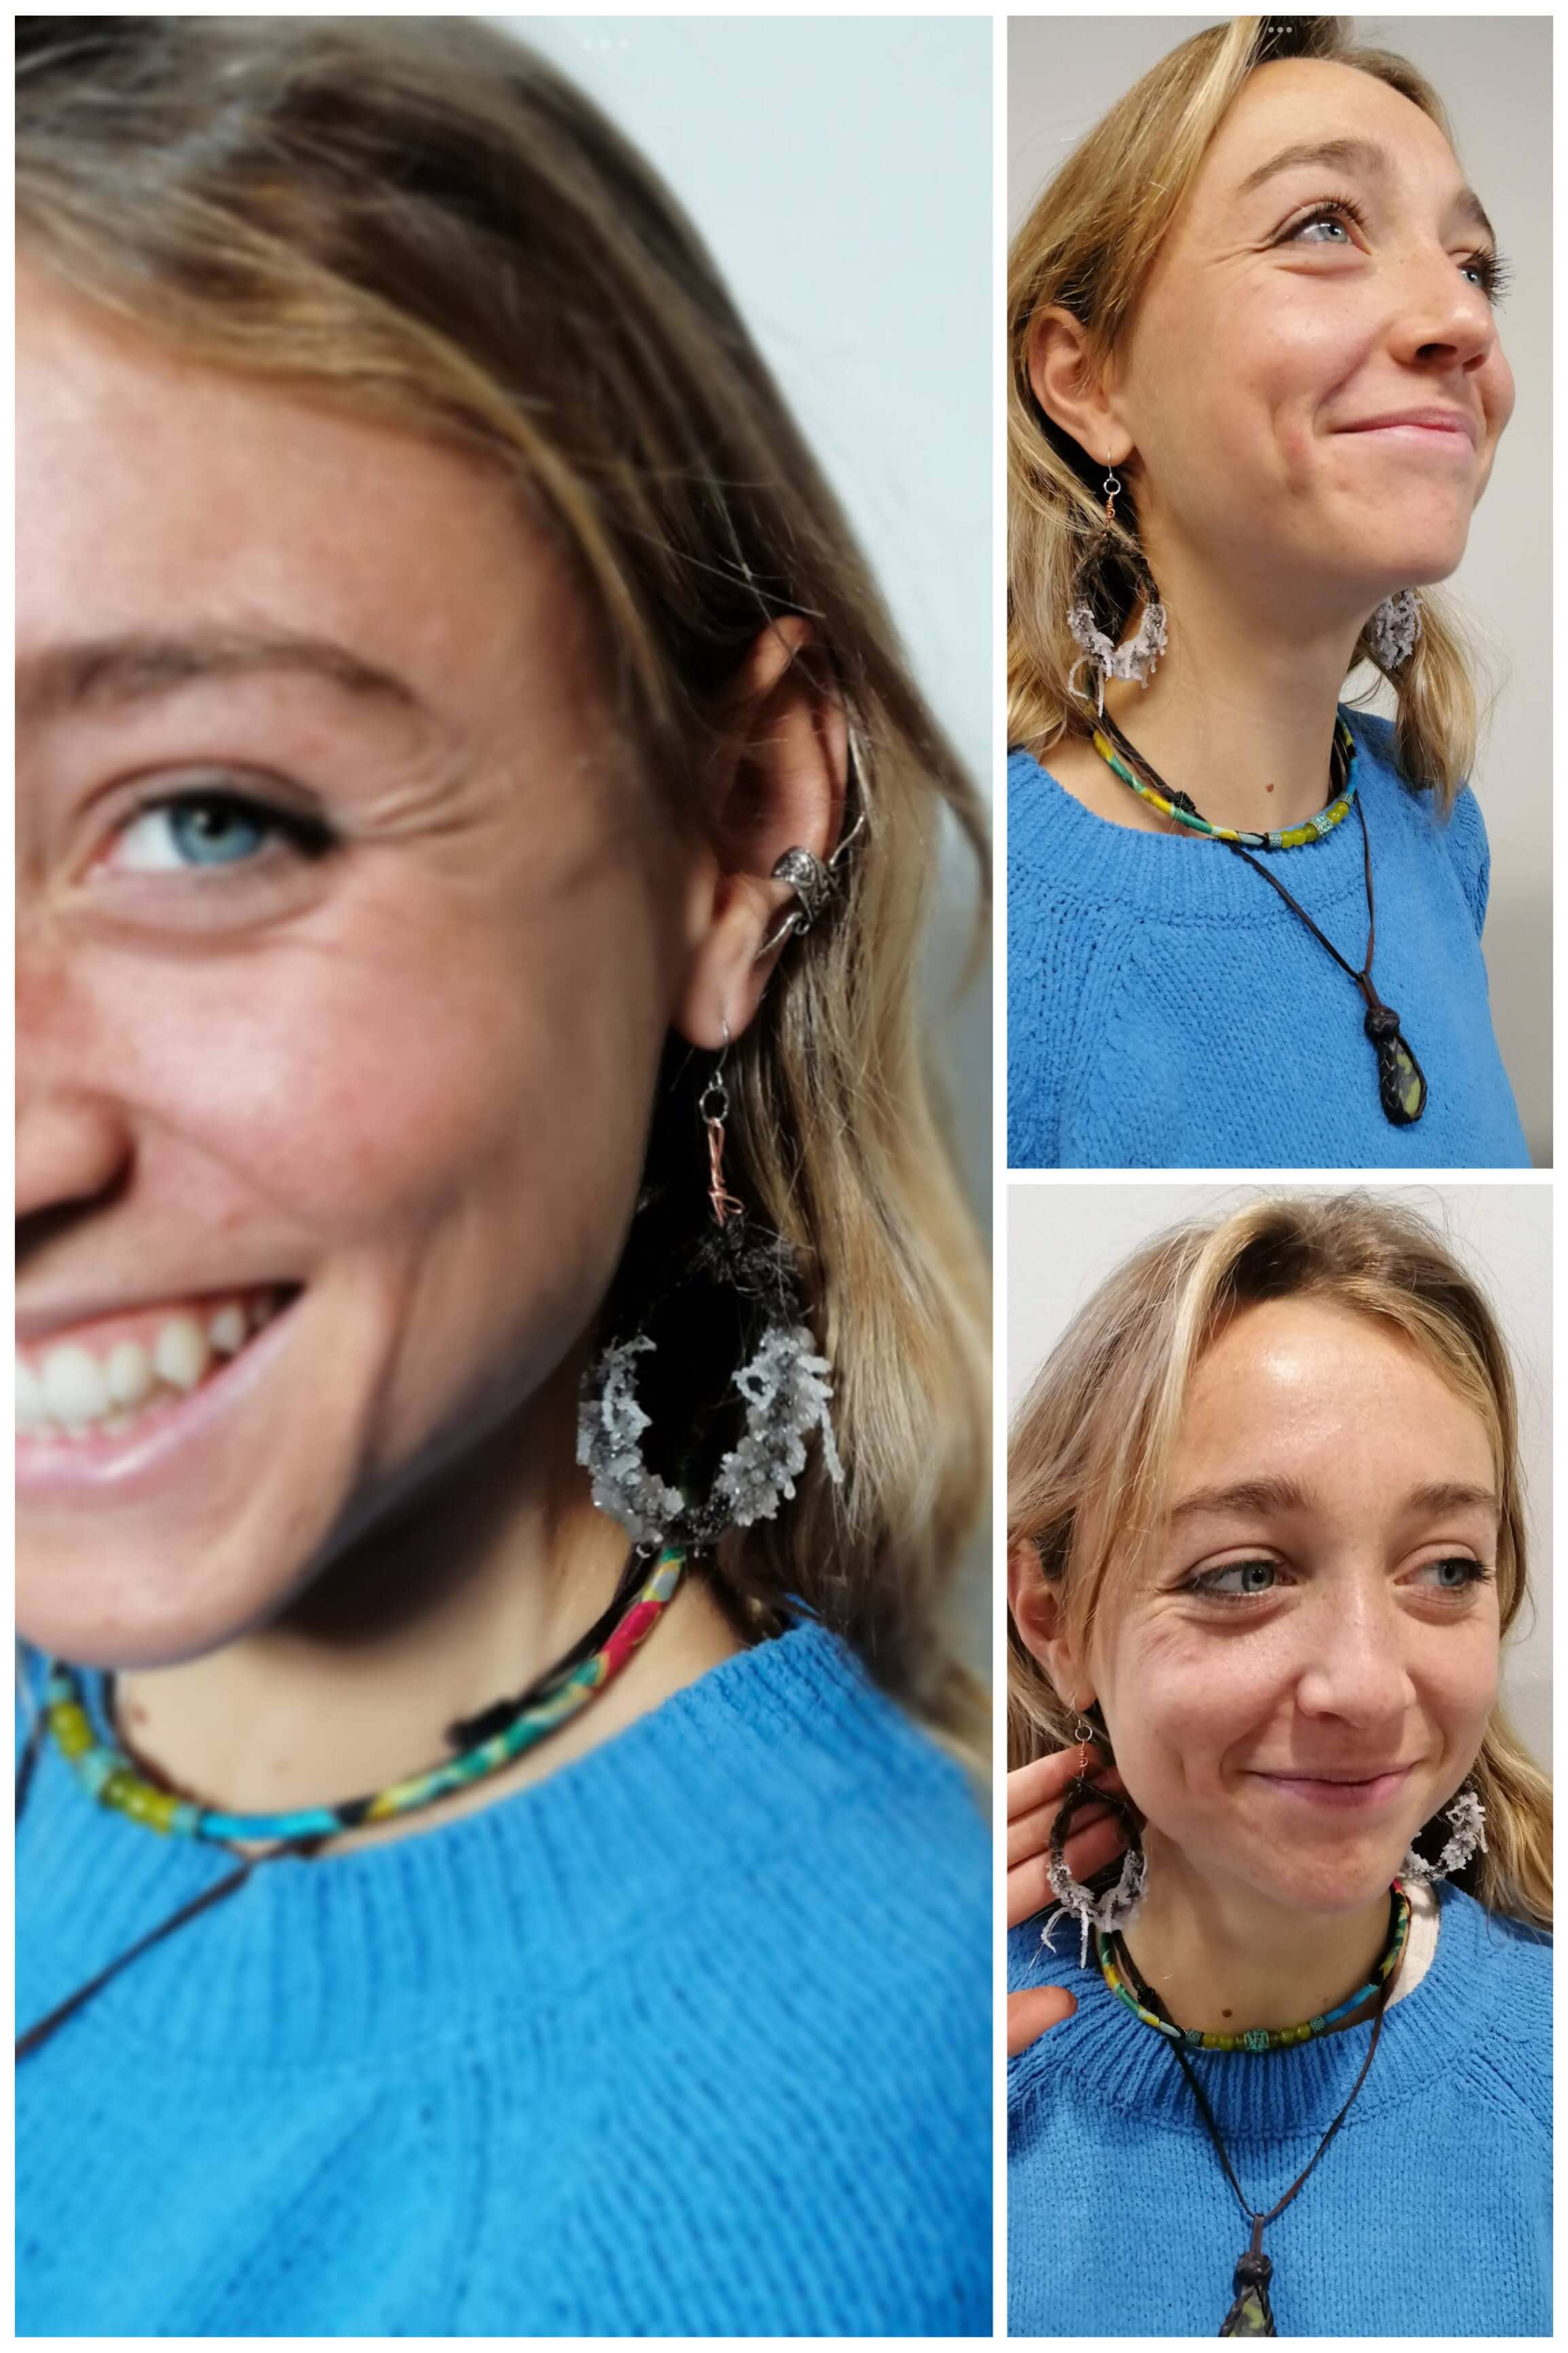
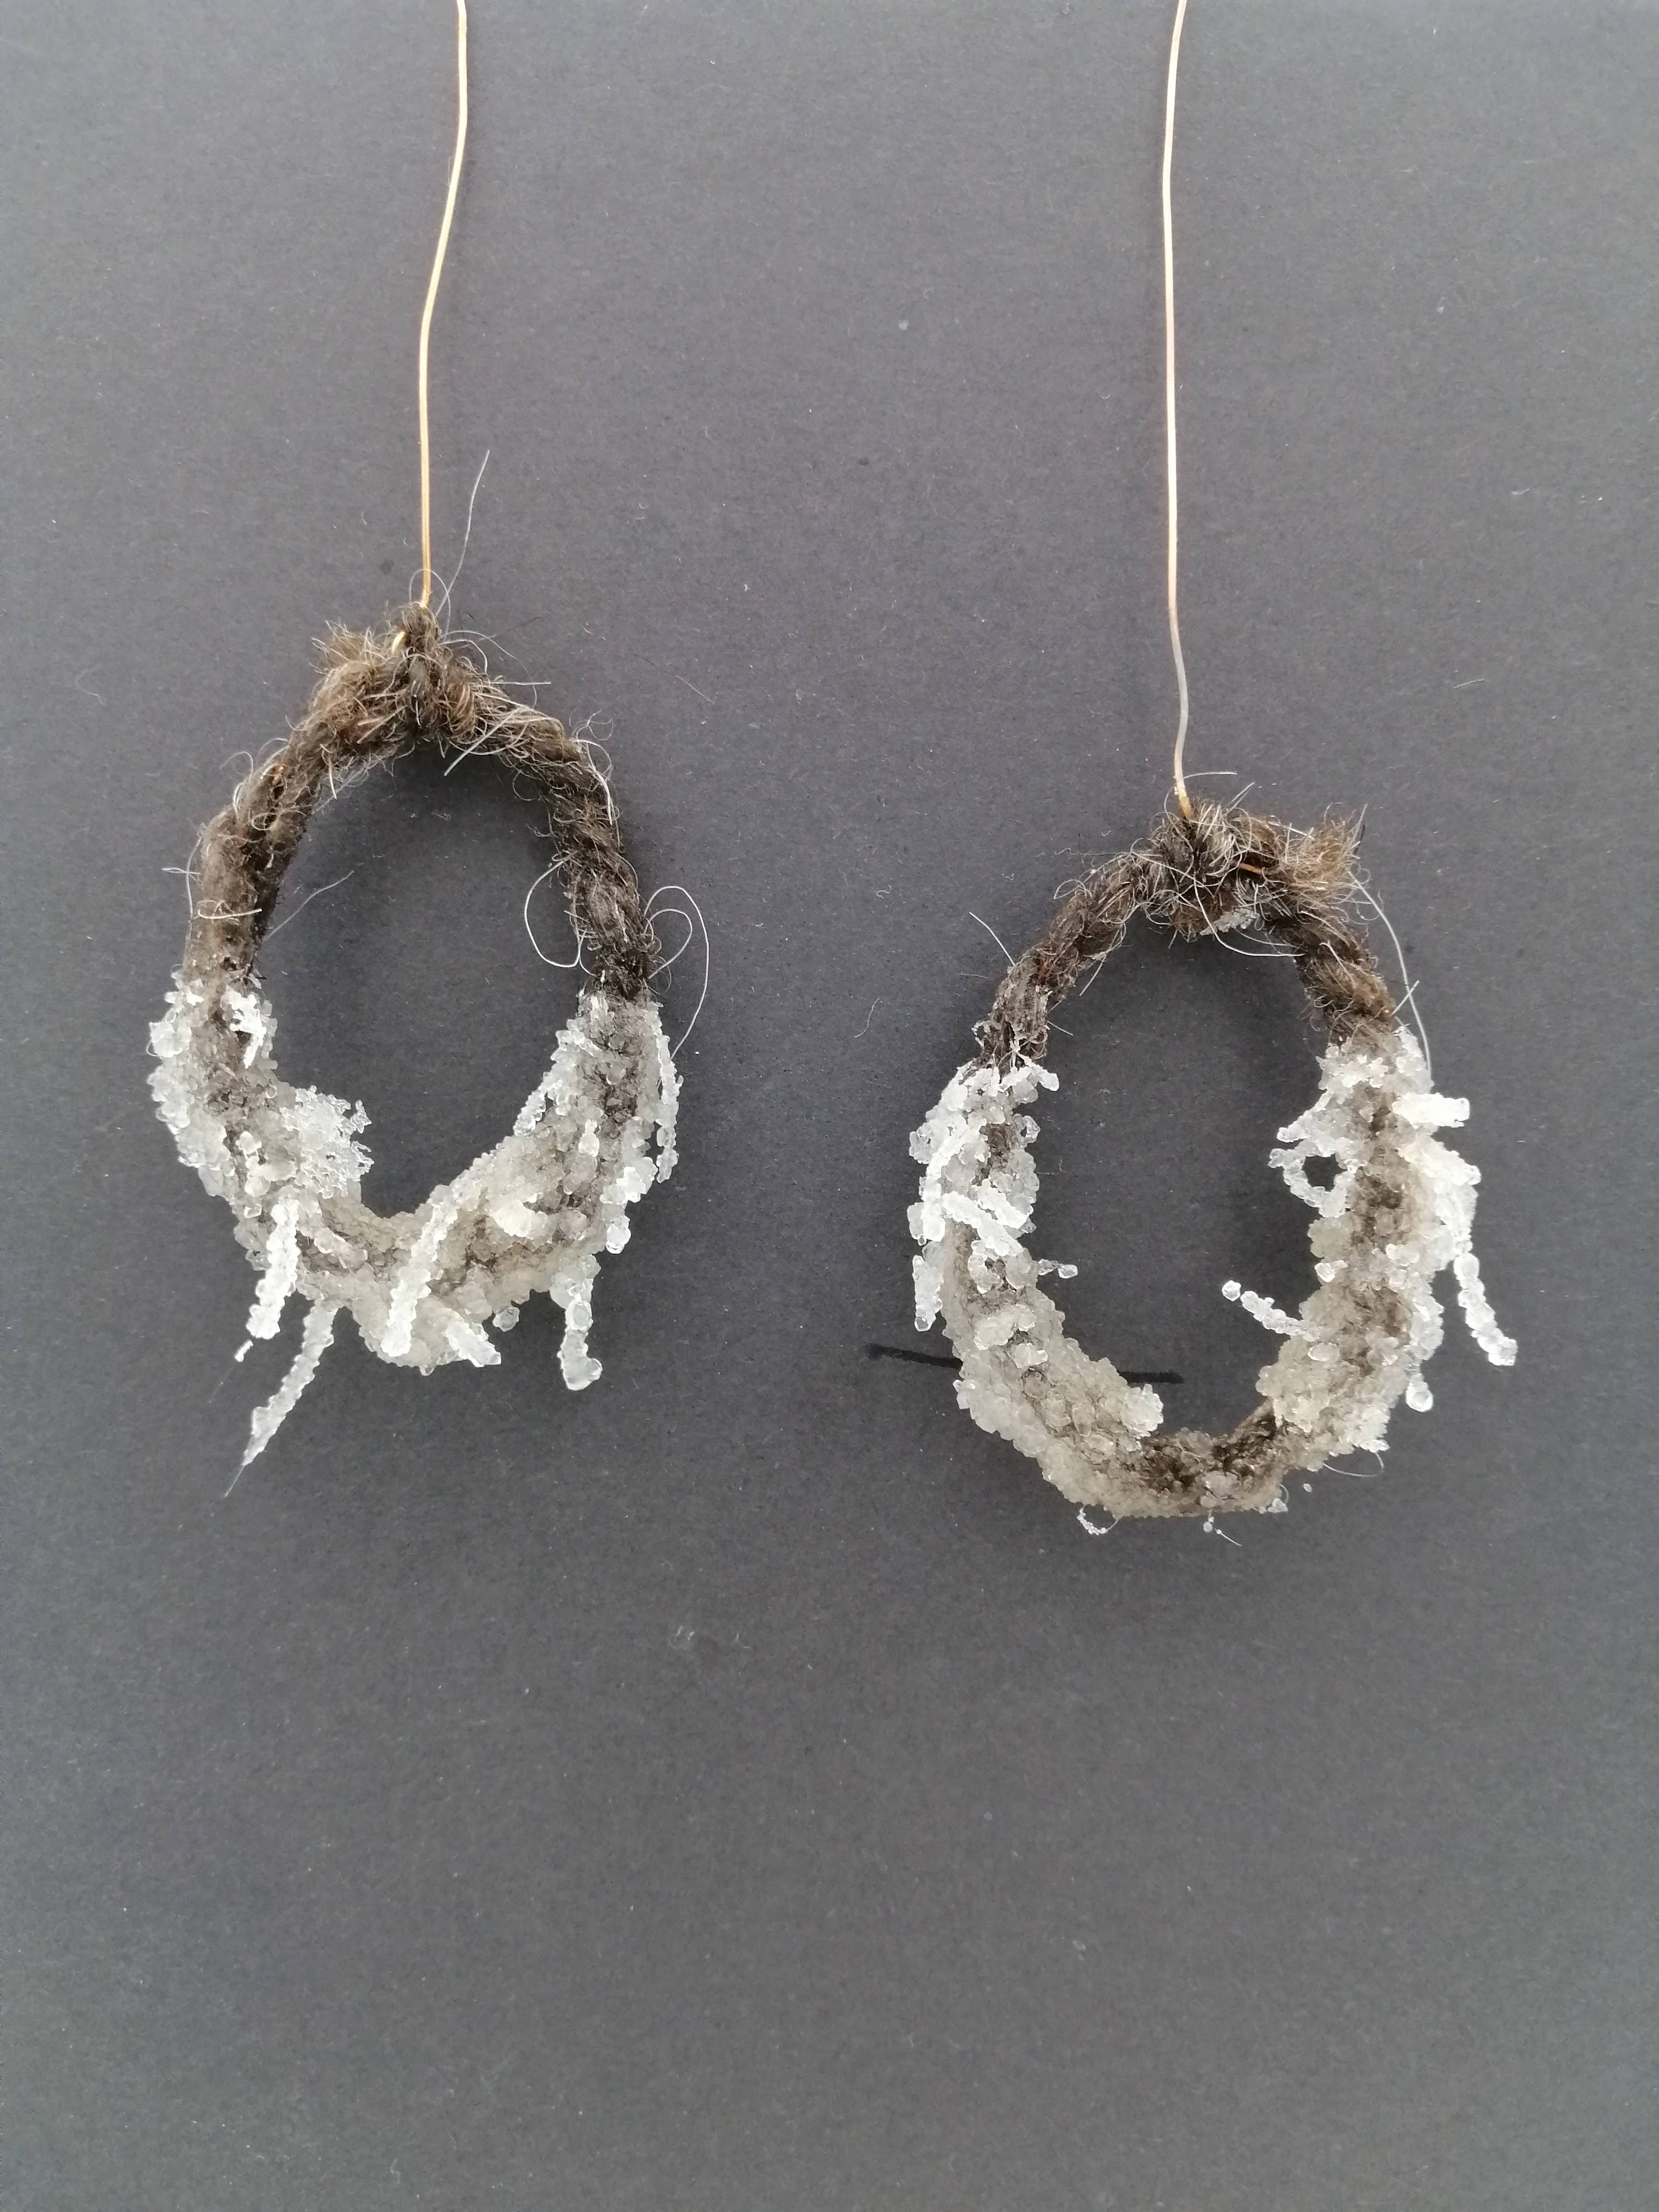
While it was heating up, I wound the woollen yarn onto the copper to give it a shape, in this case I wanted to try and make earrings. I rubbed it to make it fuzzier.
-
Add borax, spoon by spoon, until the solution is saturated.
You will know when the borax doesn’t dissolve any more.
-
As soon as it happens, put the solution into a deep glass container.
I put half of the solution into a glass container, and the other half I kept on the heat and I added the purple corn powder. I removed it until it dissolved.
-
Suspend the material inside the container.
It’s important that the material doesn’t touch the container.
-
Leave the container in a cool place for, at least, 8 hours.
Cover the top to prevent the entry of any particles.
I left them for 4 days, too.
These were the results:
-
Without dying: Here we can see the importance when it says the fuzzier the better.
-
With the purple popcorn dye.
Tip: the crystals are so fragile, so you can use transparent nail polish to harden them.
Download files
-
Mold design for Aspire. It only works with Aspire softwere.