Final Project4
WEEK 4: From January 30 - February 5
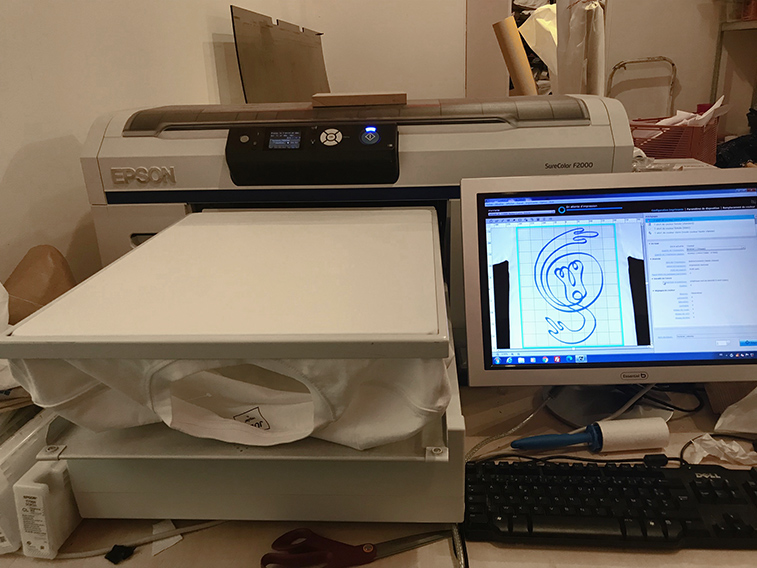
This week, in addition to continuing the project, we went to familiarize ourselves with a textile printing machine in Lyon's workshop, the Epson F2000. This machine uses the Garment Creator software and it can only print on natural materials.
Steps
-
The design is loaded into the machine's program. It can be a .jpg or .png image at 1200 PPI. The image must be set to CMYK colors and must contain the color you want to print, although small adjustments can be made within the program.
-
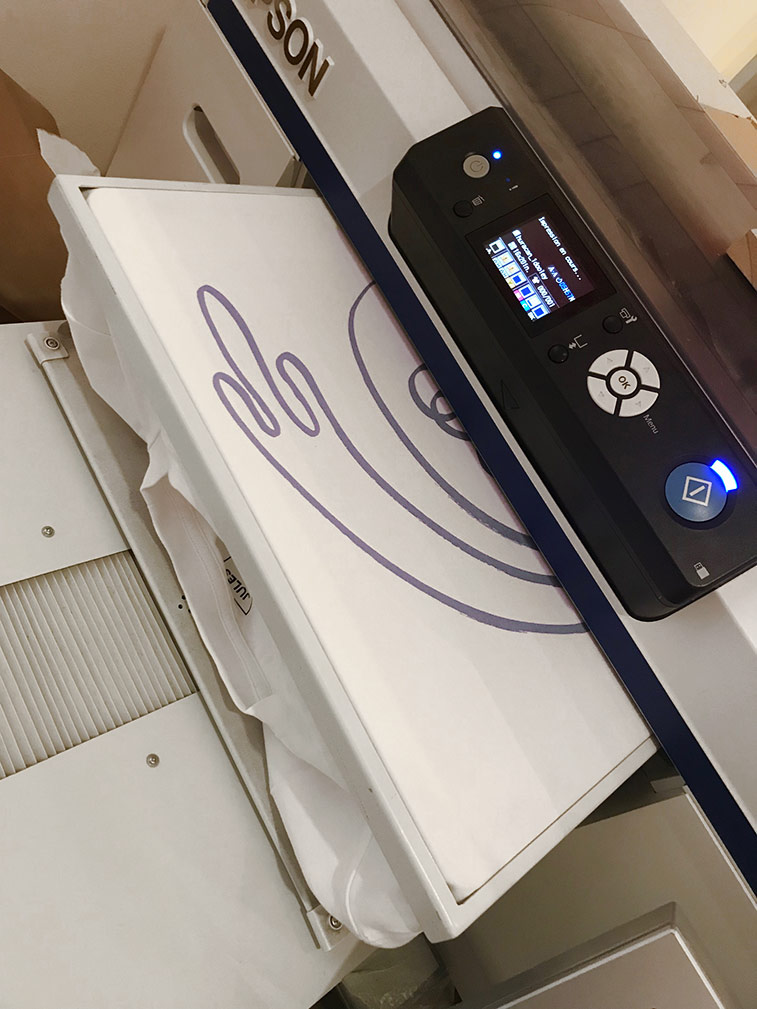
The plate is selected and placed in the machine so that the design fits inside it. The largest plate measures 40 x 50 cm and the smallest 10 x 10 cm.
-
Then you adjust the position parameters in the program so that it is centered.
-
You can also make density adjustments, if you want more or less ink. And you define, in case the garment is dark, if it will have a white base coat before the color.
-
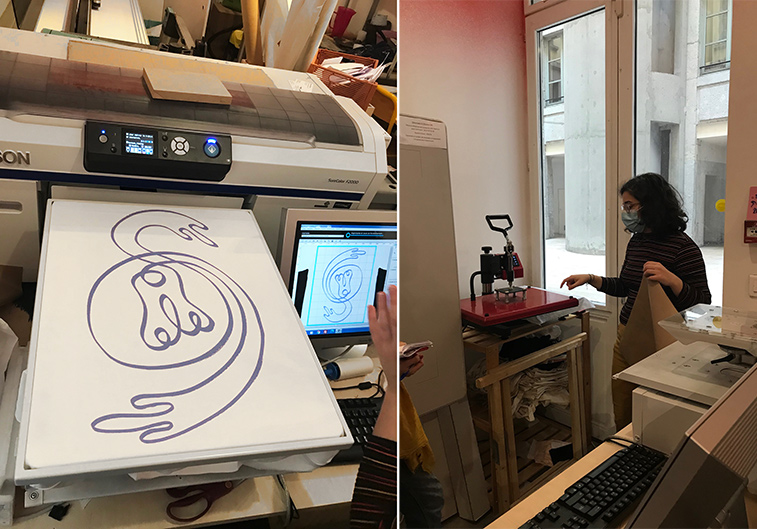
Place the piece of clothing on the plate, check the heights, position and centering. Smooth the surface as much as possible and remove any dust or particles.
-
Do a test run, where the piece goes in and out of the machine to confirm that the surface is correct.
-
Press Print
-
Carefully remove the piece from the plate and place it on a transfer iron at 170 degrees (for a cotton t-shirt), between the piece and the iron place a piece of protective paper and hold the pressure of the iron for 1 minute.
-
If you verify that it is perfectly dry, remove the garment and it is ready.
This week I have done the project for week 2: Digital Bodies, which was pending.