13. Skin Electronics
WEEK 13:
This week the idea is to learn how to program a certain action in a microcontroller using Arduino. To then use it in an element on the body. This microcontroller, in this case the Attiny 45/85, allows you to save all the actions that you have programmed from Arduino, so you don't need to be connected to a computer to execute it later.
Research
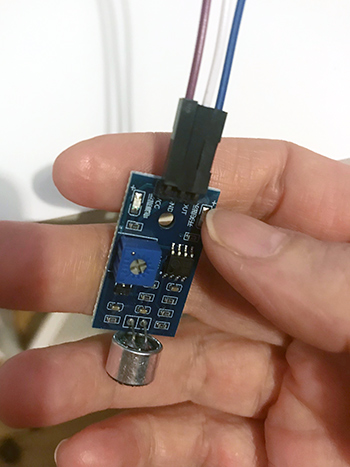
Looking for information about some action that I found interesting and that I could try to take it to the Attiny later, I found on the internet how to program an LED to be activated to the rhythm of a music. For this I only needed a sound sensor, which I easily found online.
Microphone Sound Sensor Module
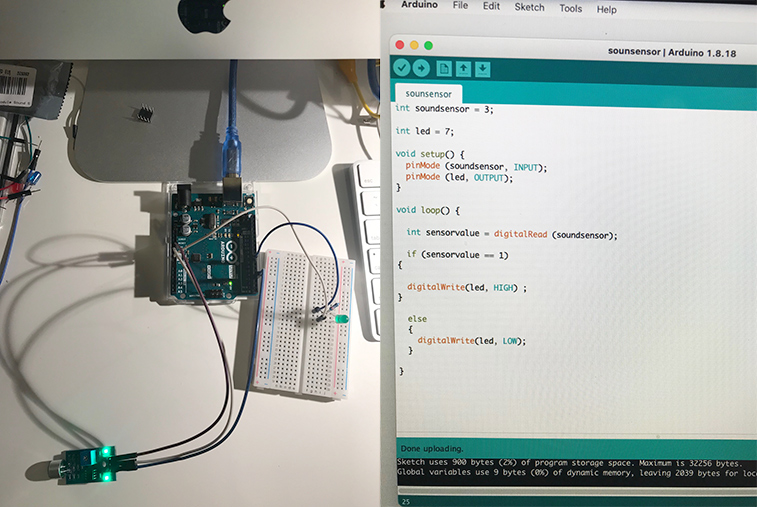
Arduino connection and programming
Action!
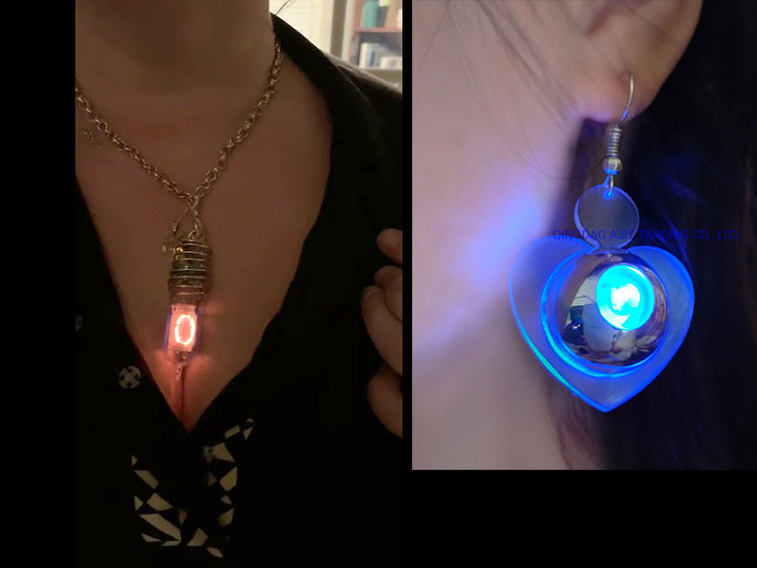
The idea was to have created a pendant or a bracelet with this LED that lights up to the rhythm of the music.
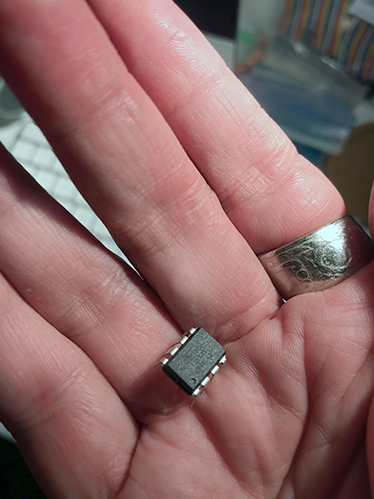
How to program the Attiny
This was the first step, no problems.
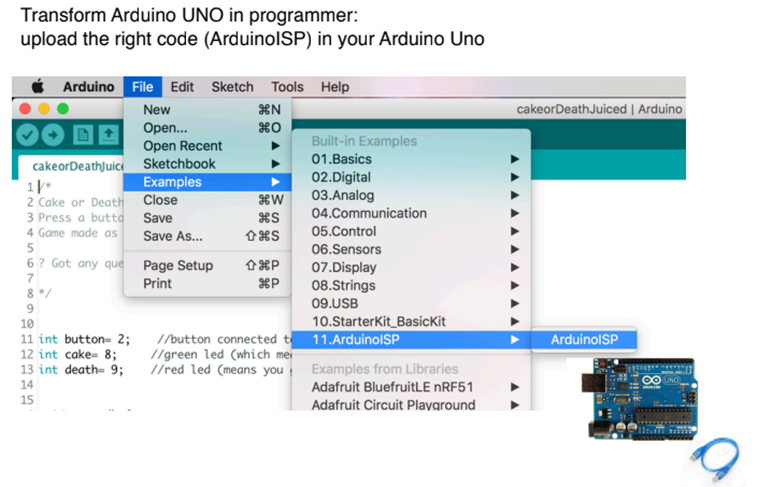
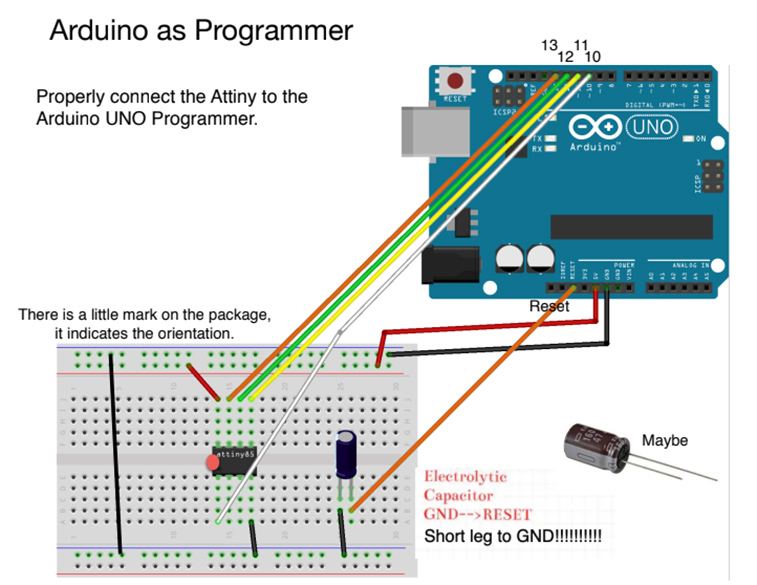
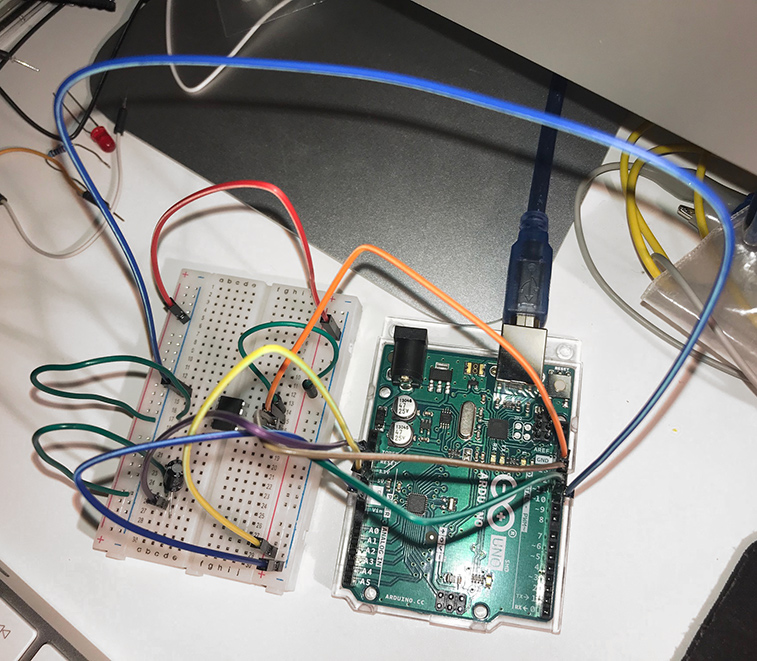
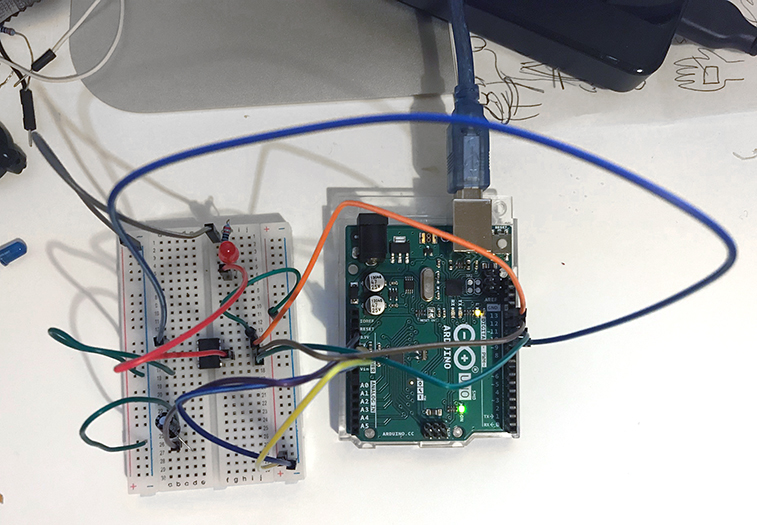
Now we had to connect the Attiny to the Arduino.
Now we must specify the values of the Attiny and set the Bootloader.

I had to change the number of the Attiny, I had selected 45 and I had to change it to 85. Then it worked correctly.
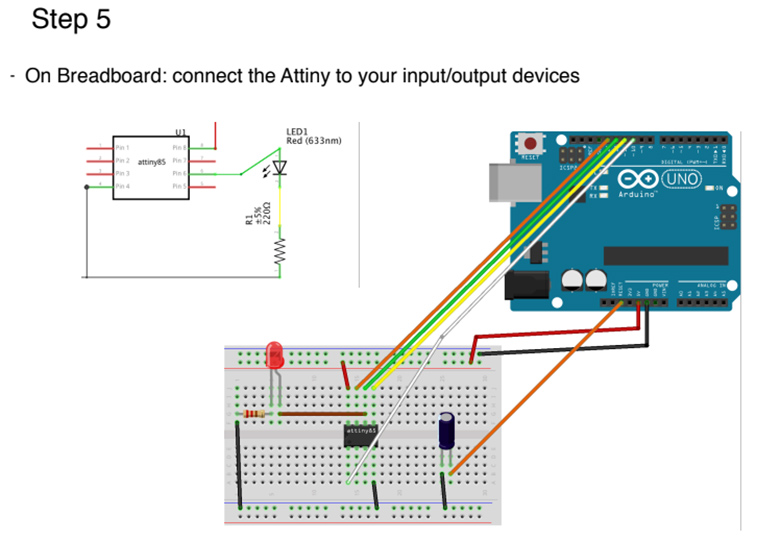
Now we must create our action and connect it to a device. In this case the test was with a LED.
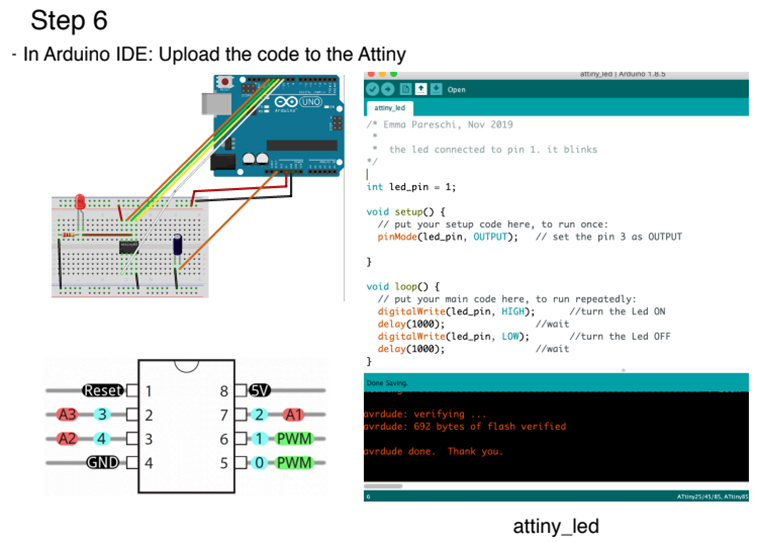
And this programming of the LED actions must be uploaded to the Attiny.
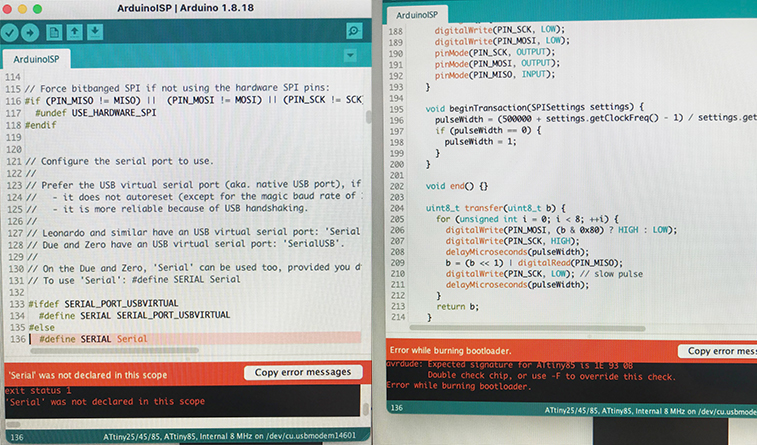
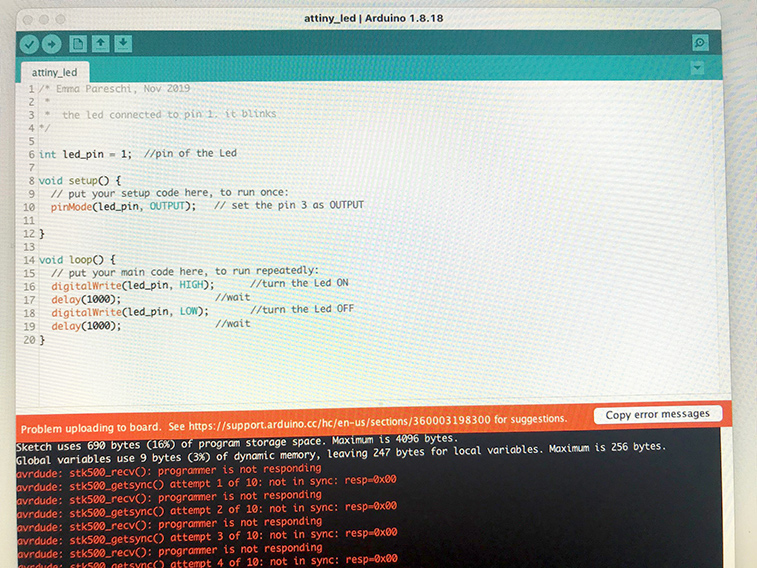
But in my case it did not work, I repeated the procedure several times and I could not load the attiny.
Here you can see the error
After loading the attiny you are supposed to proceed to make an independent circuit.
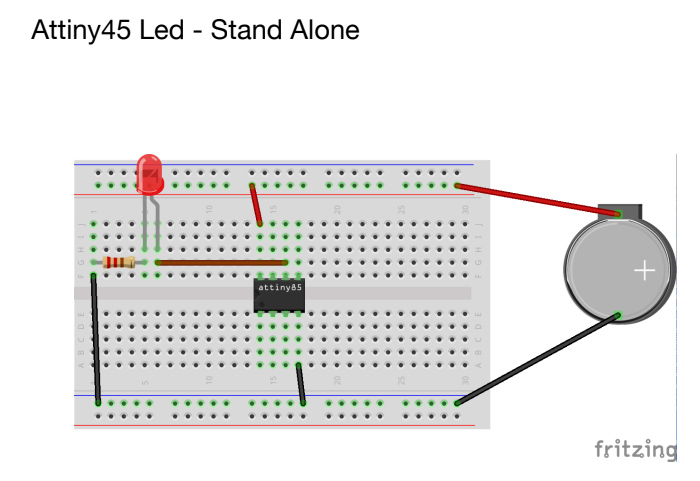
It remains as a pending learning! I would have liked to make a simple jewel that would light up to the rhythm of the music!