2. Digital Bodies
This week I felt super lost at first, but when I started my research, I realized that I learnt about a lot of artists which worked around the subject of the body when I was at university. So for this week, I firstly went to my notes, and then, try to find inspiration in other different artists from the Japanese culture, and tried to create something related to it.
Inspiration: Michelangelo, Constantin Brancusi, Fernando & Vicente Roscubas
My research for this week is based on artists who work with the body:
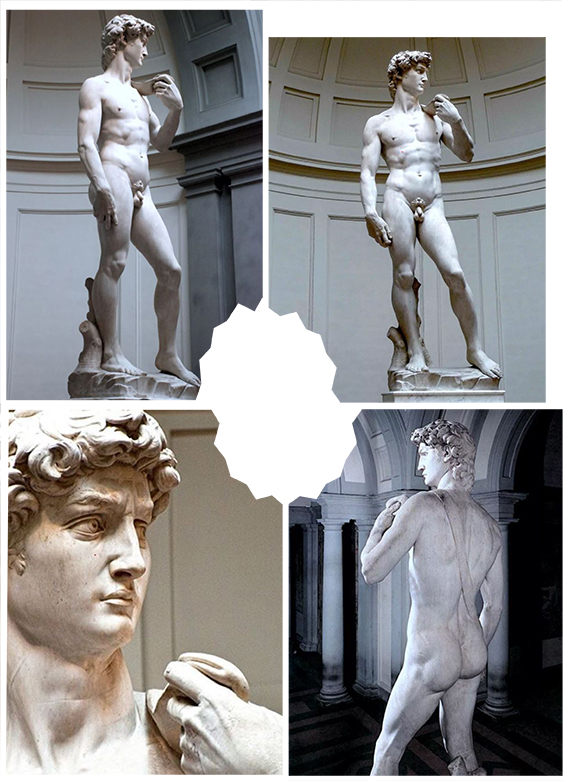
· Michelangelo
"The greatest danger for most of us is not that our aim is too high and we miss it, but that it is too low and we reach it." - Michelangelo
So, here you can see my beloved "David" -and how handsome he is-, which is my favourite masterpiece in the world.
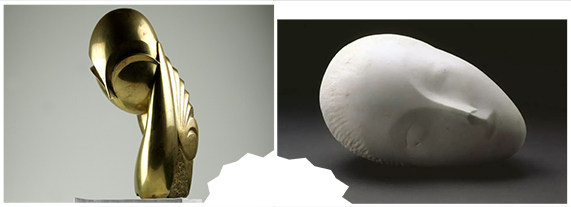
· Constantin Brancusi
"Simplicity is not an end in art, but we usually arrive at simplicity as we approach the true sense of things." - Brancusi
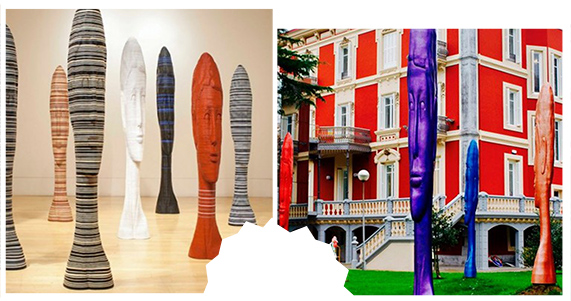
· Fernando & Vicente Roscubas
We are so lucky here, in the Basque BioDesign Center, because we have one of Roscubas' work super near here, located in one park where we can go by walking.
This Week's Practice
After all of this research, I wanted to try all the techniques that we where taught about and learn how to use the machines. So this are my practices processes.
· 3D Scanning
3D scanning is the process of analyzing a real object for collecting all the data in order to recreate the appearance and shape in a digital way. Then, this object can turn into a 3D model.
Firstly, our instructor showed us how to use the Scanner. The one we have is a HandyScan that looks like the Anet HandySense 3D scanner, and it is so cute. Here you have the link to that scanner.
-
These are the steps you need to follow to 3D scan an object:
- 1. Open the HandyScan software on your computer.
- 2. Specify what type of object you'll be scanning.
- 3. Make sure that you press the "AUTO FUNCTION".
- 4. Press "Start" on the screen.
- 5. Press "Play" in the scanner and scan your object carefully.
- 6. Move around your object until you get the complete shape.
- 7. Once you finished, the HandyScan automatically fills the hole of your design if you choose that option.
- 8. Wait untill the program fills the hole and you see the "Meshing completed" message.
- 9. Then you need to export the model into an ".obj" file.
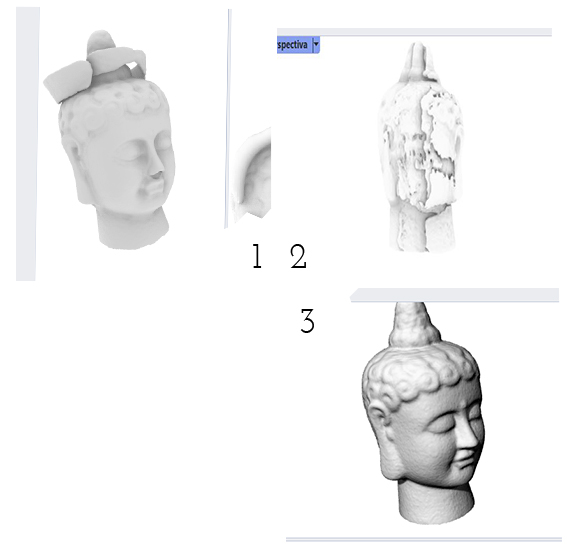
I tried to scan a Budah head, and try it three times at list, until I achieve a good 3D scan.
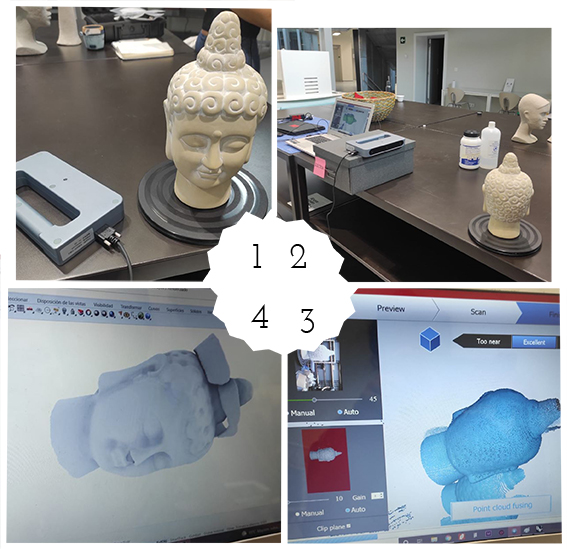
These are the three final results of my scans:
· Working With Rhinoceros
For manipulating and preparing our 3D scanning file for the next step we worked on Rhinoceros.
This is the tutorial where Anastasia Pistofidou showed us the process to follow:
So, in a nutshell, I opened my design in Rhinoceros, and closed the open space my design had below using the "MeshTrim" command and then the "Cap" command. Then, I streched the head, inspired by Roscubas' elongated heads, and export the design for work with it in Slicer for Fusion 360. For doing so, I the file needs to be exported in ".stl" or ".obj".
These are the steps you need to follow:
- 1. Open you ".obj" or ".stl" in Rhinoceros.
- 2. On the "Top" view, draw an horizontal line on the bottom part of your design to cutting it from there.
- 3. Use the "MeshTrim" command and choose the line as the "cutting object" and then your object as the "object to trim".
- 4. Then when pressing "enter", your design should be cutted from the line.
- 5. Select your cutted design and use the "Cap" command to close it.
- 6. The design is now closed.
- 7. I used the "Scale 1D" command for elongating the head.
- 8. Once your design is ready, you need to export it as an ".stl" file.
This is the video of the manipulating process:
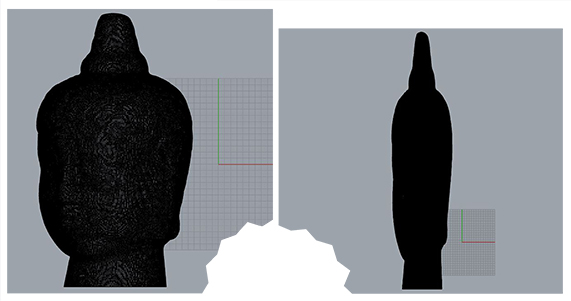
Here you can see how I elongated the head in Rhino:
And here you can see the difference on between the first and the second design:
· Slicer for Fusion 360
For slicing the file we used the Slicer for Fusion 360, which allows you to choose the assembling technique you prefer.
"Slicer for Fusion 360 is a software that turns your 3D models into artefacts. It slices and converts 3D models into 2D patterns that you can laser cut out of any flat material."
**This information is taken from this webpage, which is actuall a so easy tutorial about the process of using this software.
This is the tutorial where Anastasia Pistofidou showed us how to use Slicer for Fusion 360:
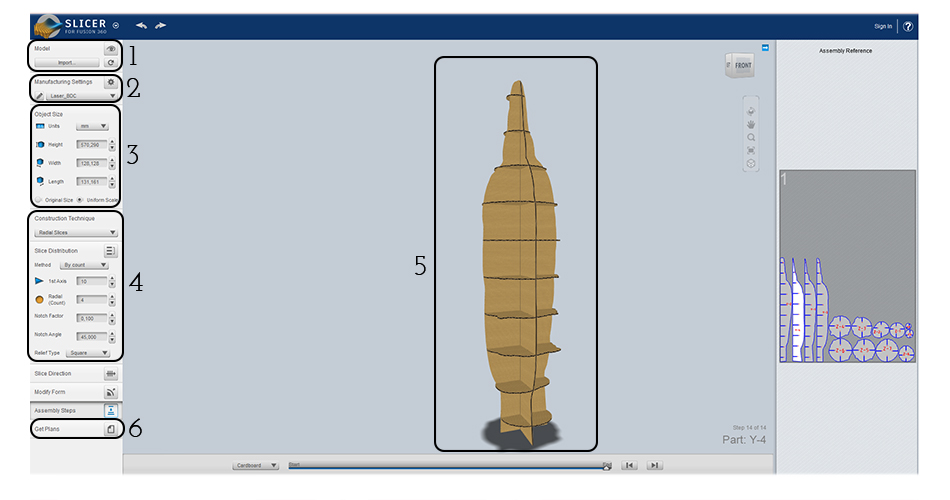
These are the steps you need to follow for creating your design:
- 1. Import your ".stl" or ".obj" file.
- 2. Click on the pencil icon and select the dimensions of the material to be used.
- 3. Check that the size of the object is as desired.
- 4. You can find several assembling techniques (the one I chose is the "Radial Slices" one).
- 5. Check if there are any errors in your design that could make the assembly impossible.
- 6. Click on "Get Plans" and select the ".dxf" format and "mm" as units of measurement and then "Save" it.
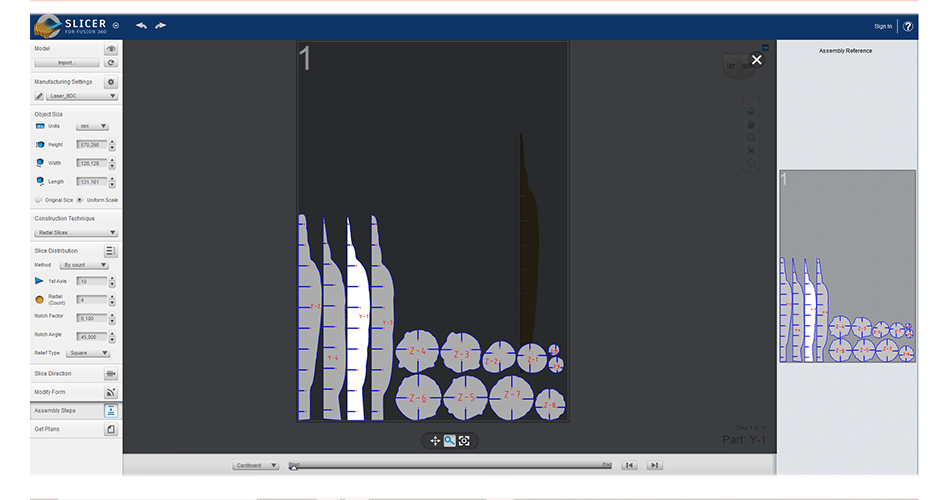
This is how the plans of the design look like:
· Laser Cutting All The Pieces
"Essentially, laser cutting is a fabrication process that uses a thin, focused, laser beam to cut and etch materials into custom designs, patterns, and shapes as specified by a designer. This non-contact, thermal-based fabrication process is ideal for several materials, including wood, glass, paper, metal, plastic, and gemstone. It’s also capable of producing intricate parts without needing a custom-designed tool."
This information is being taken from this What Is a Laser Cutter? - Simply Explained.
Among the materials that can be cut with a laser cutter we can find: wood, plastic, acrylic, foam, metal, leather, cardboard, cork, textiles and paper, for example.
These are some pages where you can check further information about the type of materials that can be cut on the laser:
- The Complete Laser Cutting Materials List!
- Laser Cutting & Engraving Materials List
- The complete laser cutting material list!
- What materials can a laser engrave, cut and mark?
And here you can check some other materials that shouldn't be cut on the laser cutter:
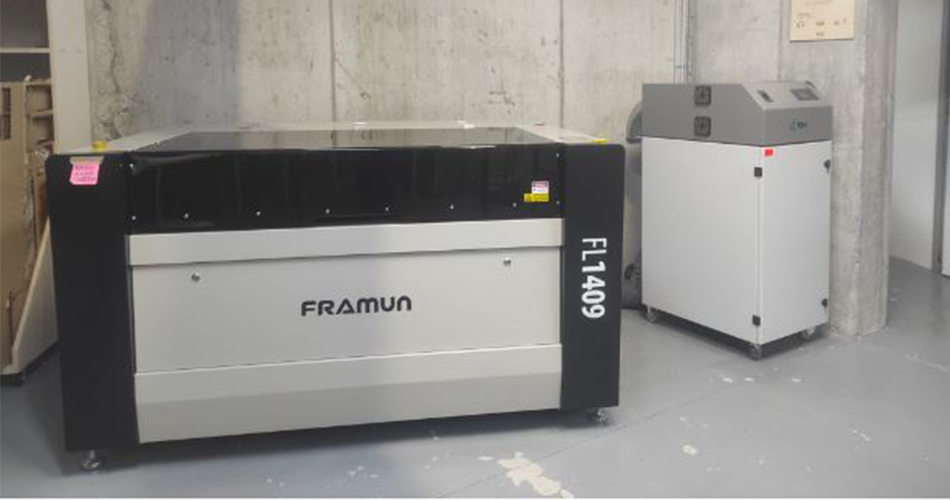
Our Laser Cutter: Martha
The Laser Cutter we have in the BDC is Martha, and she's a FRAMUN FL1409.
Say "Hi" to Martha:
For Laser Cutting you need to follow the following steps:
- 1. Import your ".dxf" into the software and select an order of cutting by colors.
- 2. Select the parametters for each layer that you have.
- 3. Once you do that, you need to send the file to the laser cutter.
- 4. Place your material into the laser cutter.
- 5. Select your file from the list of files on the laser.
- 6. Calibrate the Z axis.
- 7. Choose the Origin Point.
- 8. "Frame" the working area.
- 9. Turn on the extractor.
- 10. Press the "START" button and here we go!
This is a collage that shows the workflow:
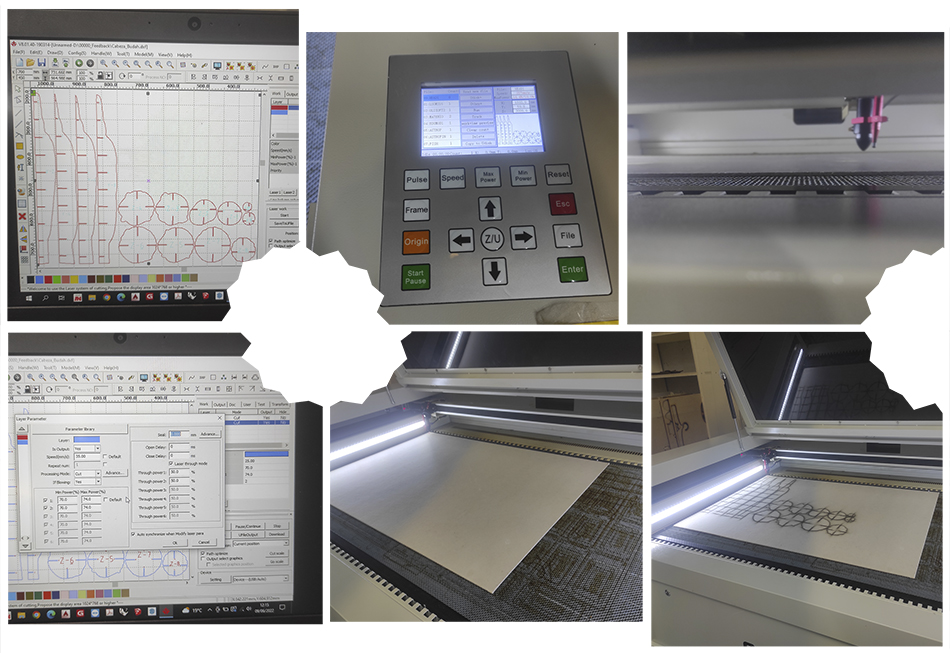
This is a small video of the laser cutting process:
The material and the seetings for the laser cutter in my case where these:
- Material: Type: Cardboard; Thickness: 3 mm
- Machine Settings: Cut: Speed: 70 / Power: Min.:70, Max.:74; Engrave: Speed: 800 / Power: Min.:25, Max.:35
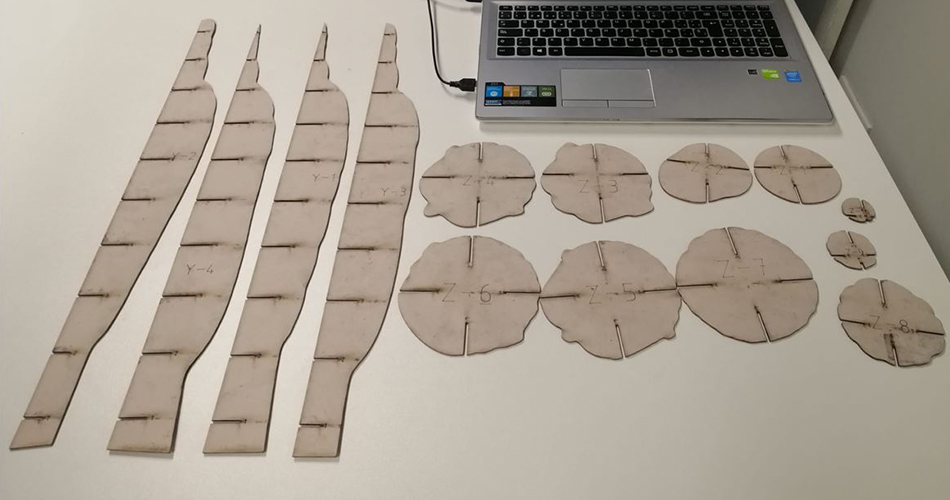
· Assembling All the Pieces Together
So these were all my pieces:
This is the step-by-step video:
And this is me on the assembling process:
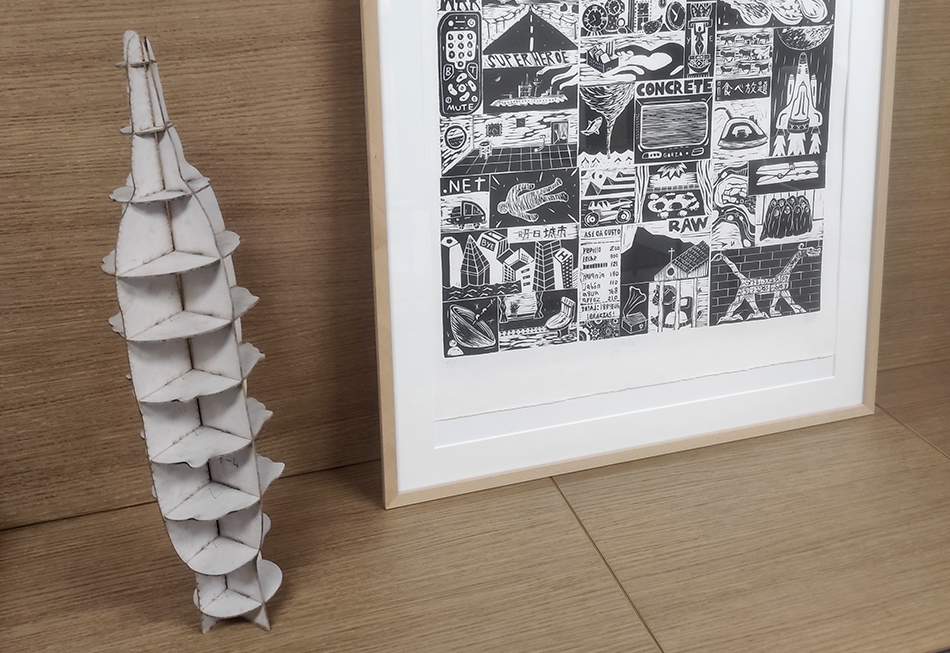
This is the final result:
Downloadable Files
In this DOWNLOADABLE FILES FOLDER you can find all the files of this assigment.
References & Useful Links
These amazing artists works inspired me:
Useful Links
- Scan Jam Live Session - Fabricademy 2021-22
- Tutorial Rhinoceros Basics Part 1 by Anastasia Pistofidou
- Slicer for Fusion 360
- Tutorial Slicer for Fusion 360 by Anastasia Pistofidou
- Slicer for Autodesk Fusion 360 Tutorial: Prepare your files for laser cutting
- What Is a Laser Cutter? - Simply Explained
- The Complete Laser Cutting Materials List!
- Laser Cutting & Engraving Materials List
- The complete laser cutting material list!
- What materials can a laser engrave, cut and mark?
- NEVER CUT THESE MATERIALS
- Framun FL1409