2. Mold Creation for Molding & Casting
One of the aspects I wanted to cover in this project was also the mold creation. A mold allows you to both dry and cast te materials you pour into it, and I wanted to try this technique with the materials I created. Fo doing so, I worked with different kind of materials as a surface for drying such as plaster, wood, plastic or methacrylate. I divided my research in two parts: Handmade Mold Creation & Digital Mold Creation.
· Handmade Mold Creation:
This first part was mostly tried at first with plaster. As I was working with clay, I tought that it would be good for drying my materials, but I also tried to dry my samples in wooden surfaces which finally worked better.
Adjustable Mold Creation Technique
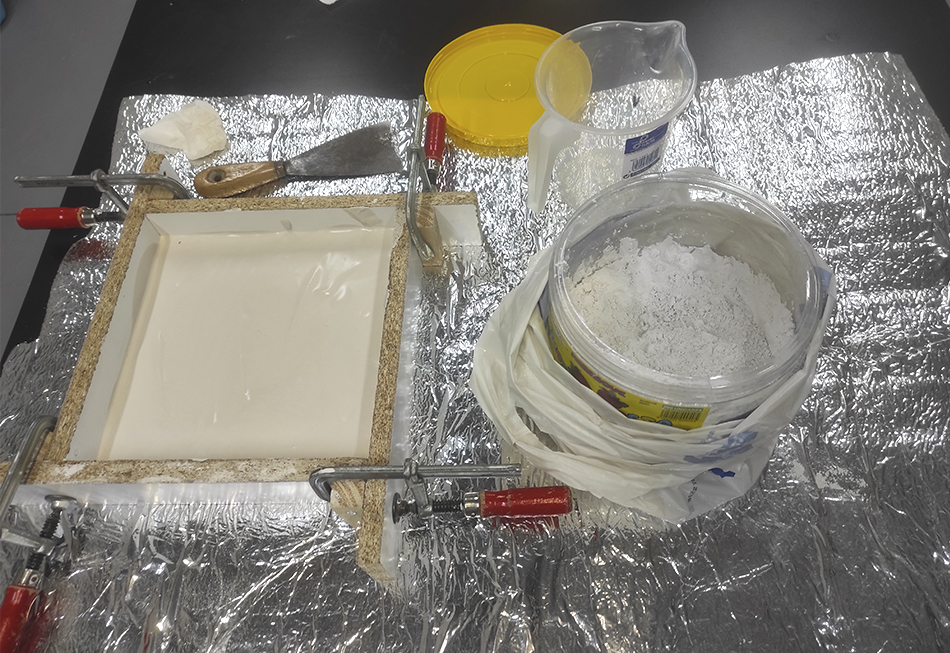
This mold creation technique is the one we normally use for ceramic mold creation, an it's a really useful technique because it allows you to create a lot of different sizes of plaster molds (squared or rectangular ones).
The materials you need:
- A melamined board
- 8 screws
- 4 small pinewood chunks (same shape)
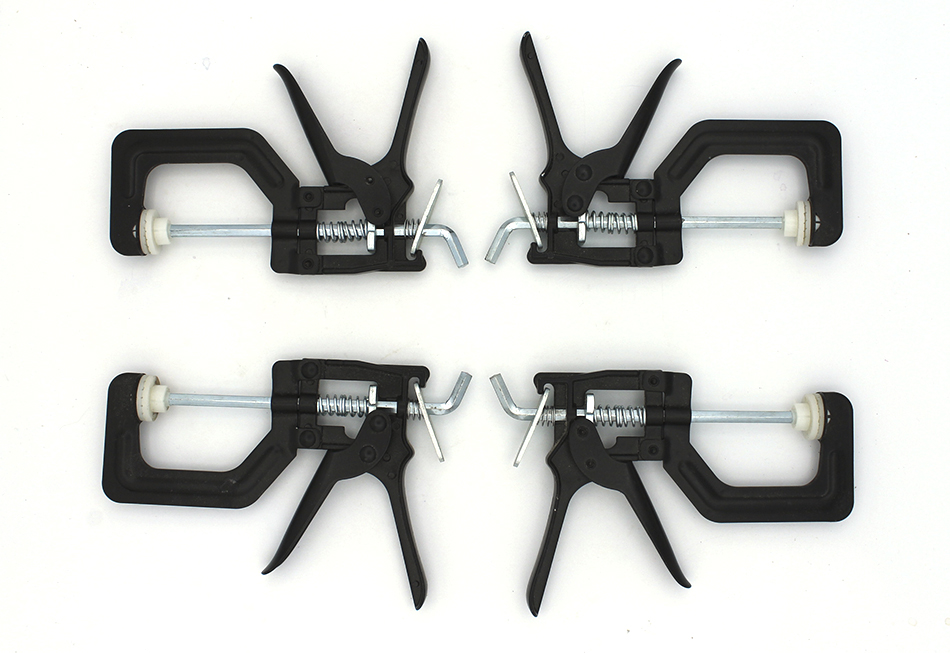
- 4 small clamps
- Screwdriver
- A melamined squared or rectangular base
The process you need to follow:
-
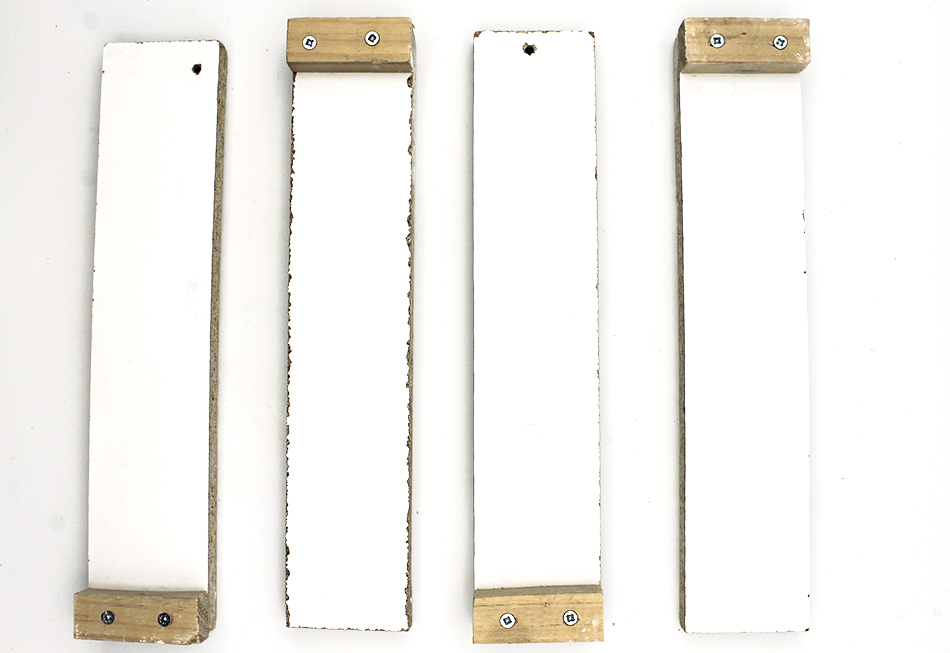
1. First, you need to cut 4 equal pieces from the melamined board (you choose the size, but they need to be all equal).
-
2. Then, you need to join the pinewood chunks (they need to be the same height of the melamined pieces, and between 20-30mm wide) with the pieces mentioned before (one with each), by screawing them up in the edges of the melamined piece.
-
3. You are now ready to create your first mold!
These are the steps you need to follow:
-
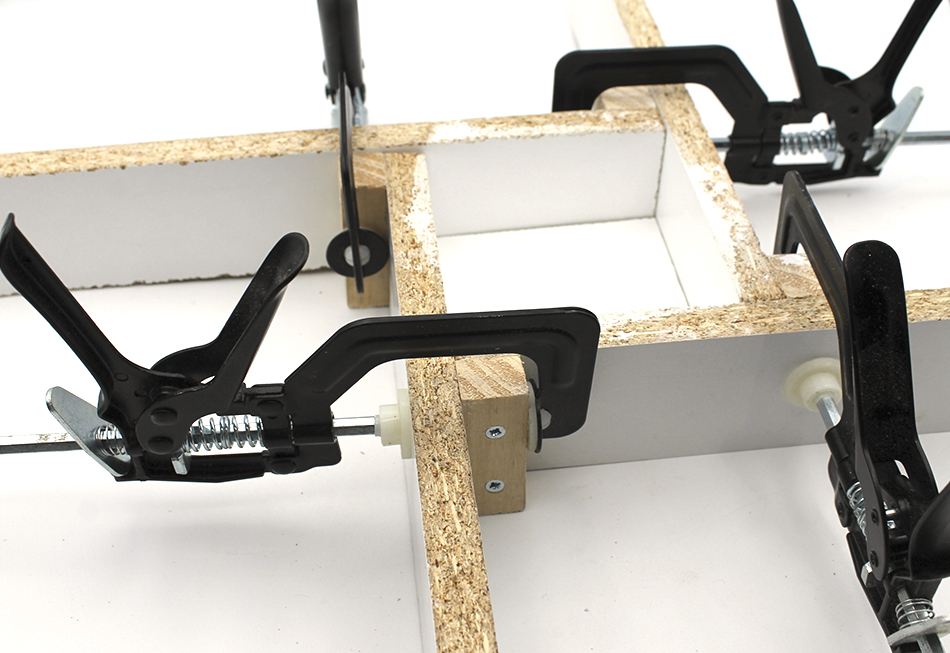
1. Choose your melamined base (squared or rectangular).
-
2. Put one of the pieces next to one of the edges (with the pinewood piece looking to the outside).
-
3. Continue putting the rest of the pieces in the same way, this would generate like an empty box.
-
4. Hold the pieces with the clamps.
-
5. Prepare your plaster and pour it in (the thicker you make your mold, the faster the sample dryes).
-
6. Wait until the plaster is ready and remove the clamps and the melamined pieces, then let your mold dry.
-
7. Once it dries it will be ready to use!
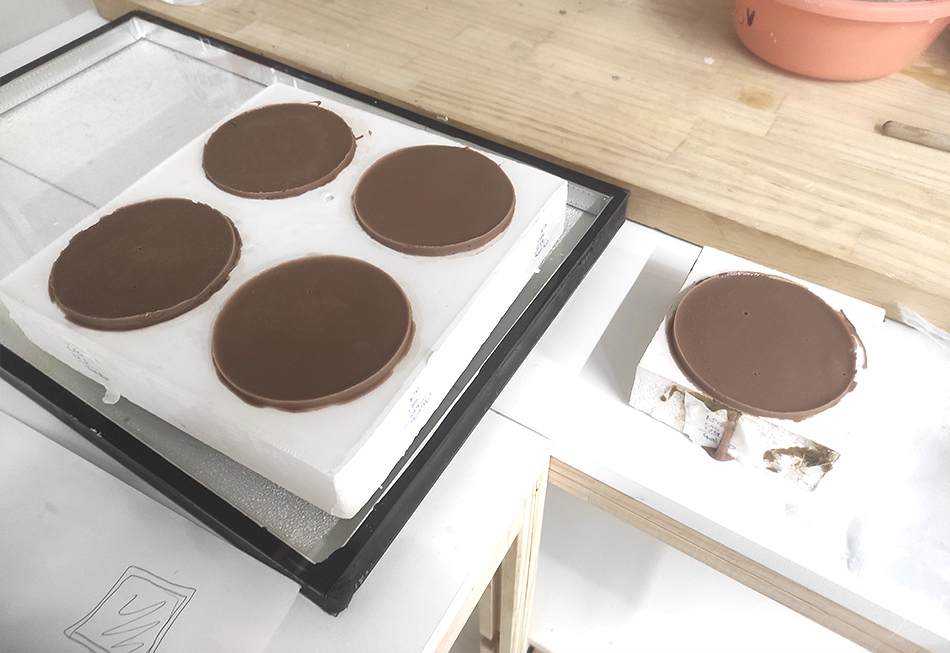
Different Sizes Plaster Molds for Drying
· Digital Mold Creation
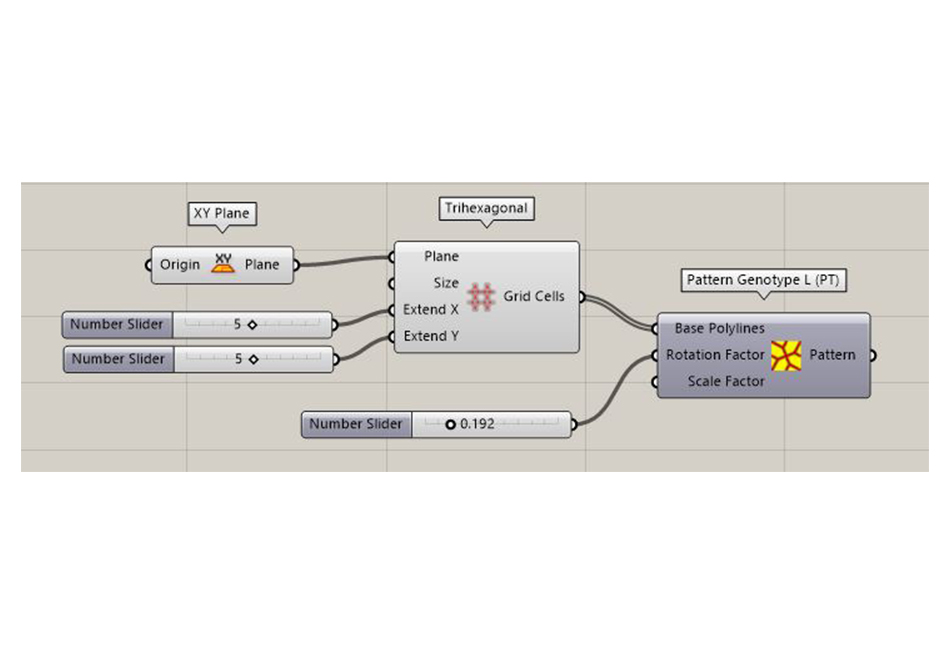
Digital Mold Design With Grasshopper
The plugin I use for designning my molds is called "Parakeet". It is a really easy an useful plugin to use, and with it you can create an endless amount of designs of all kind.
You can download this plugin from here.
Here you have the tutorial I learned to use Parakeet from:
These are the steps I follow to create my molds:
-
1. I first play a little on Parakeet until I like a shape.
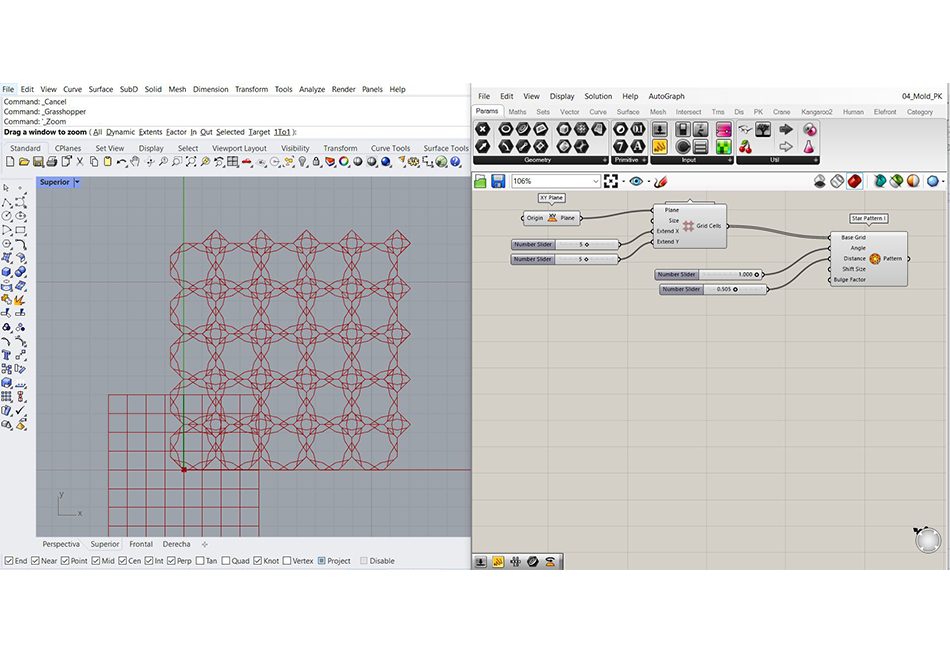
-
2. Then, I bake the lines and start working on Rhino.
-
3. I decide how the outer shape of my mold will be, and addapt the inner lines to it. For doing so, I create an external shape and then and offset of it to the outsite.
-
4. I offset also the inner lines, as I like them, and try to join as many as posible.
-
5. Once I generate a pattern, I fillet the edges (this way the bioplastic would easily go out of the mold).
-
6. I then, create two more parts: a base and a frame, so the mold would have 3 parts in the end.
-
7. You need to export it as a .DXF for the laser cut.
So once I choose the design I want to work with, I bake those lines and then work on Rhino.
These are two definition samples using Parakeet:
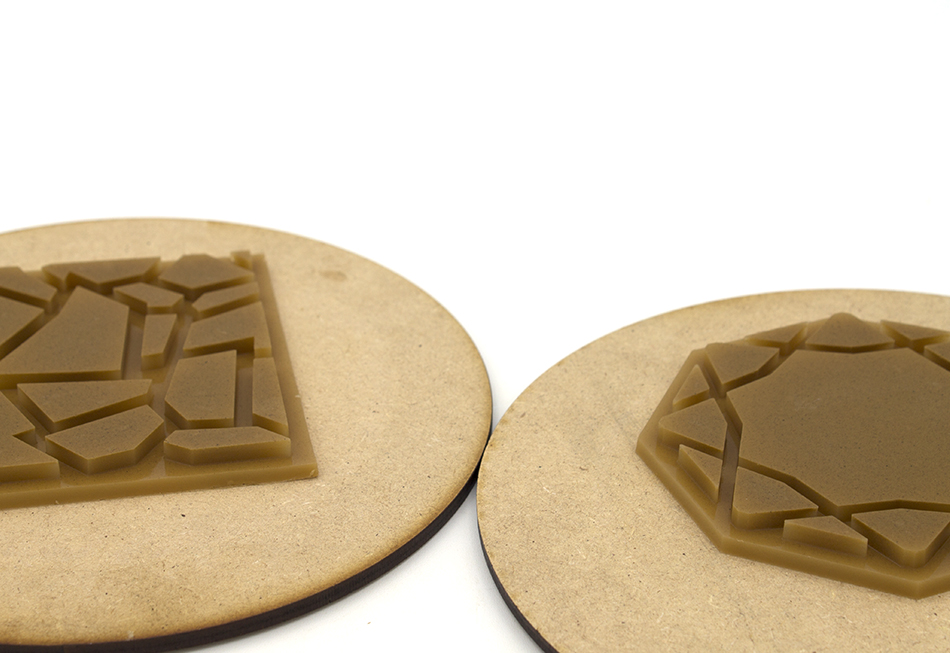
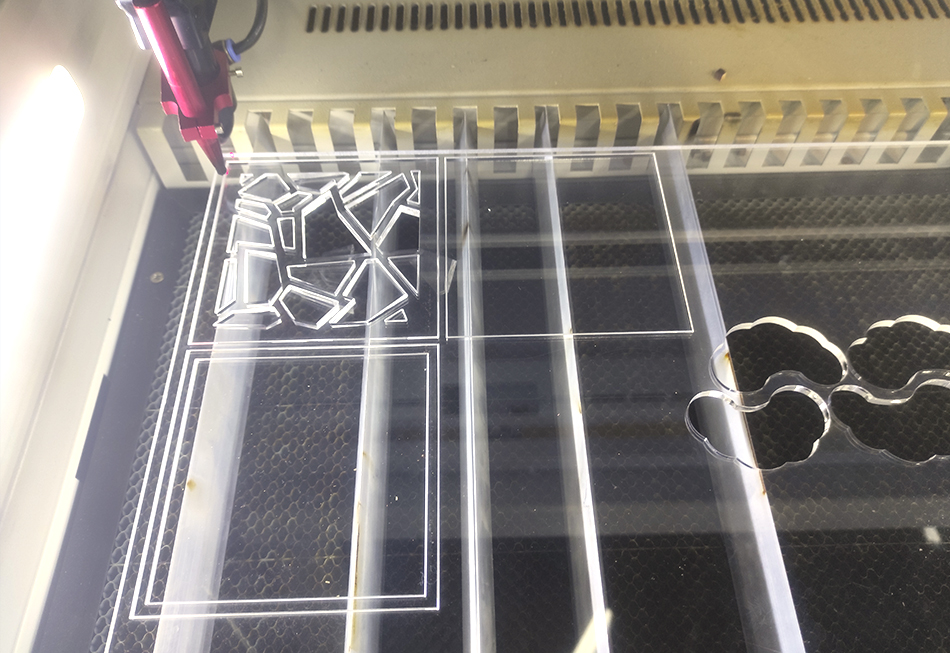
Some Mold Designs, Tries and Results
So these are the next steps you need to follow now:
-
1. First, you need to laser cut the molds.
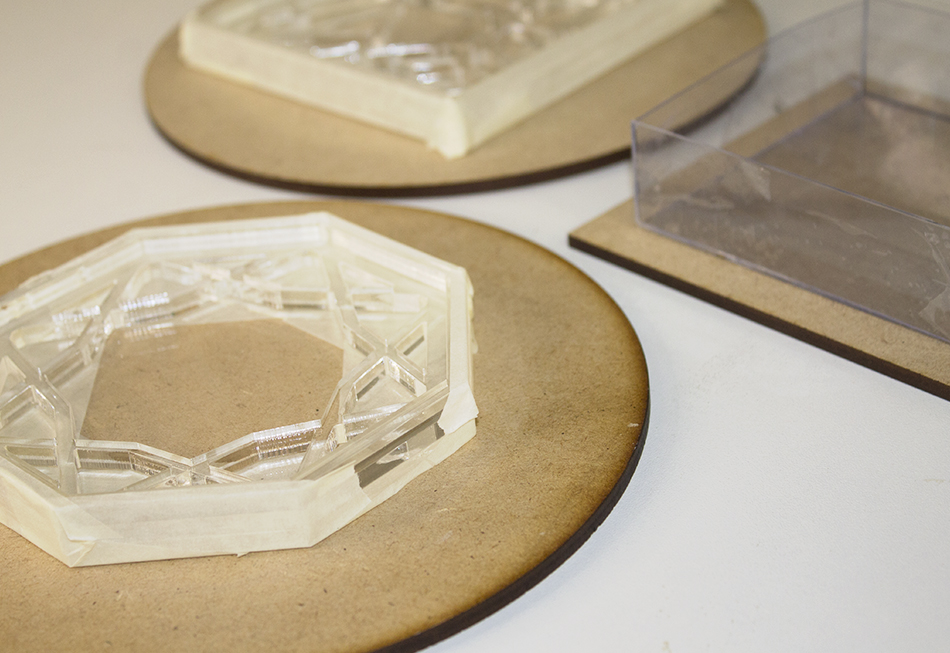
-
2. Then, you need to put a tape around the 3 parts for being sure that the bioplastic would not go out of it once you pour it into the mold.
-
3. Now, you need to wait until you can get the bioplastic out of the mold.
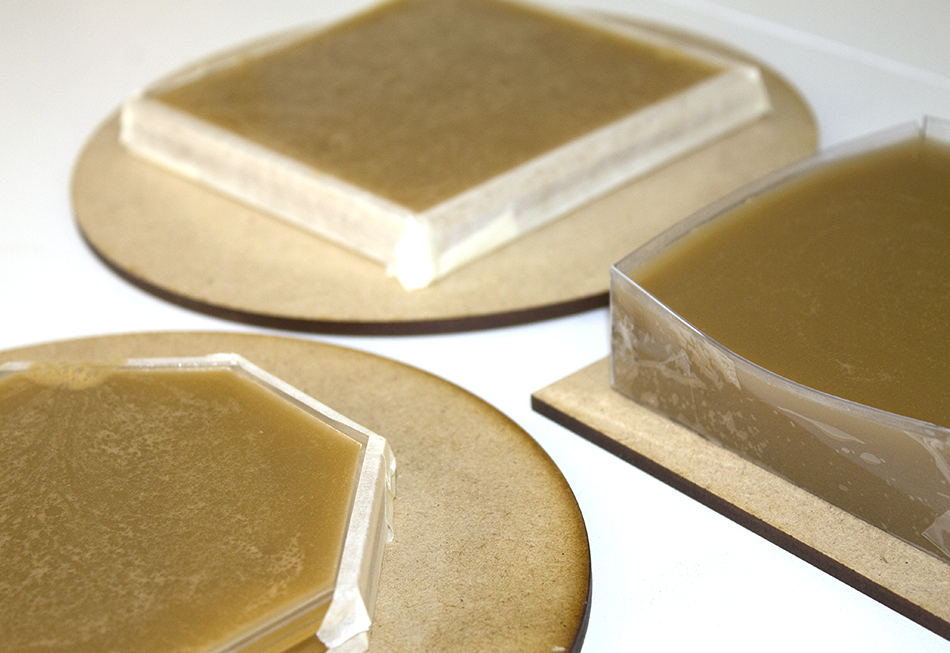
-
4. Wait until the bioplastic dries (this can take a few days).

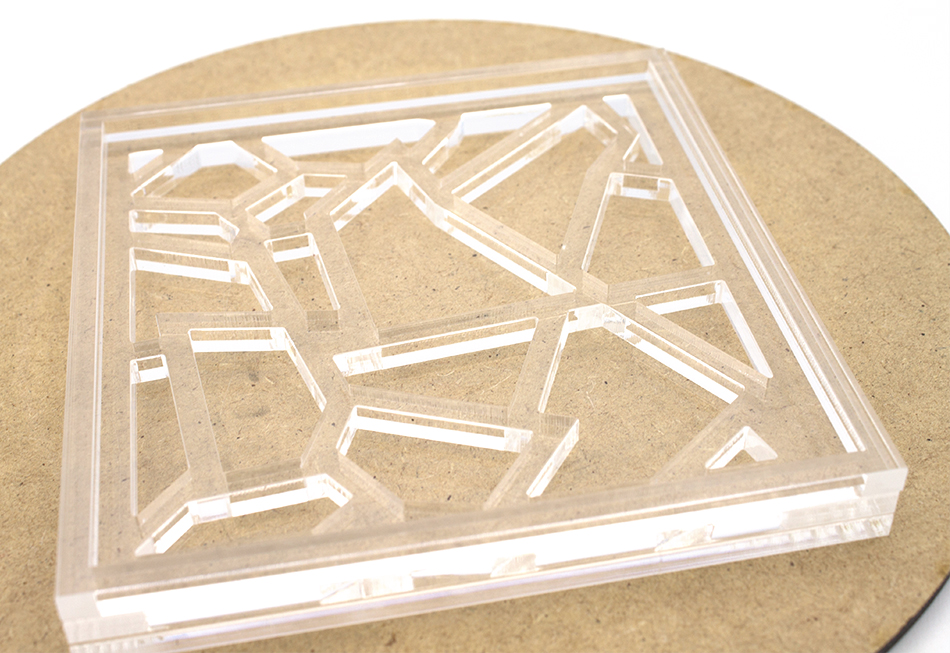
· Mold 01: Methacrylate
These are the parametters to cut this mold:
Material: 5mm Methacrylate - Speed/15 - Min. Power/70 - Max. Power/74
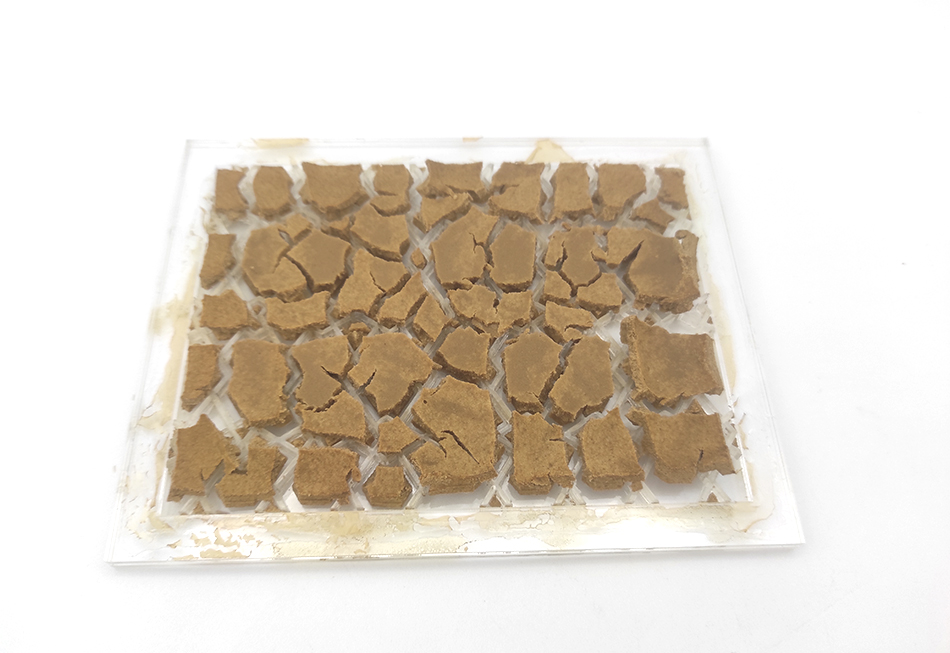
General observations: This mold works depending on the recipe, due to the fact that the design is so detailed and with a lot of small holes which make the bioplastic get stucked into the them.
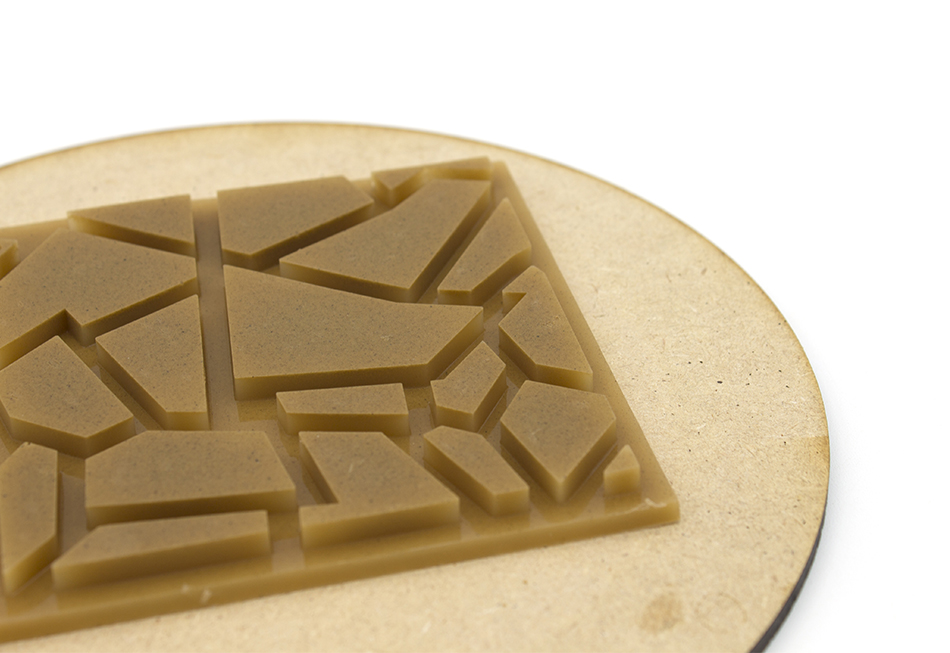
· Mold 02: MDF
Material: 5mm MDF - Speed/25 - Min. Power/70 - Max. Power/74
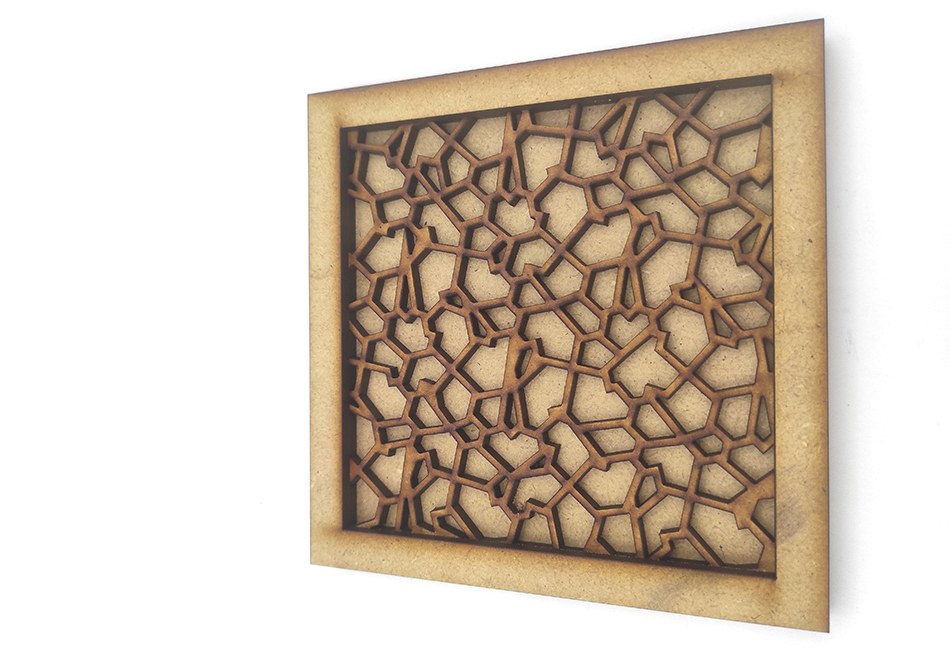
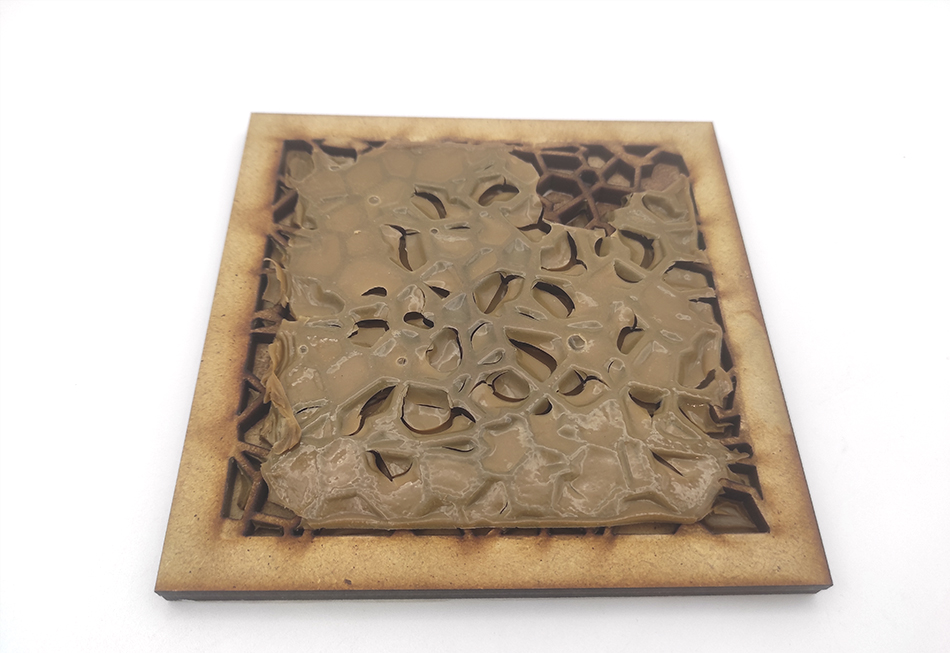
General observations: This mold doesn't work at all, the bioplastic sticks to it so you can't get it out.
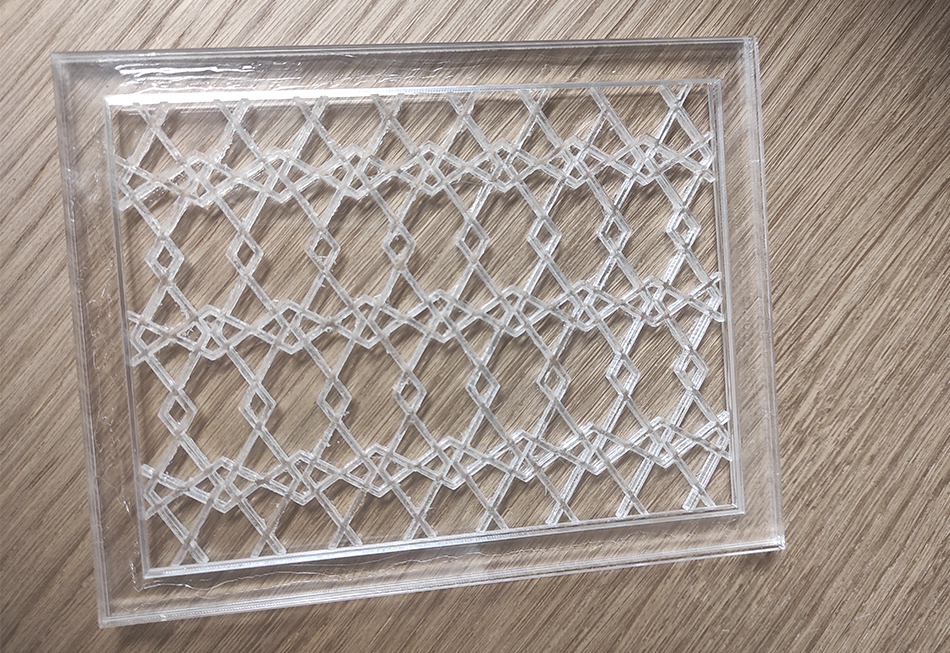
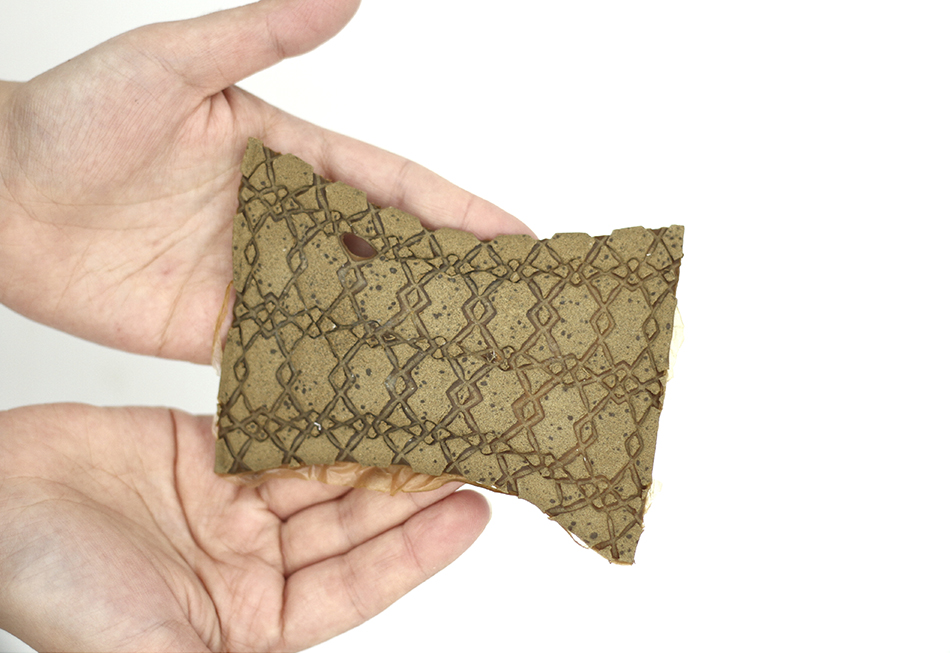
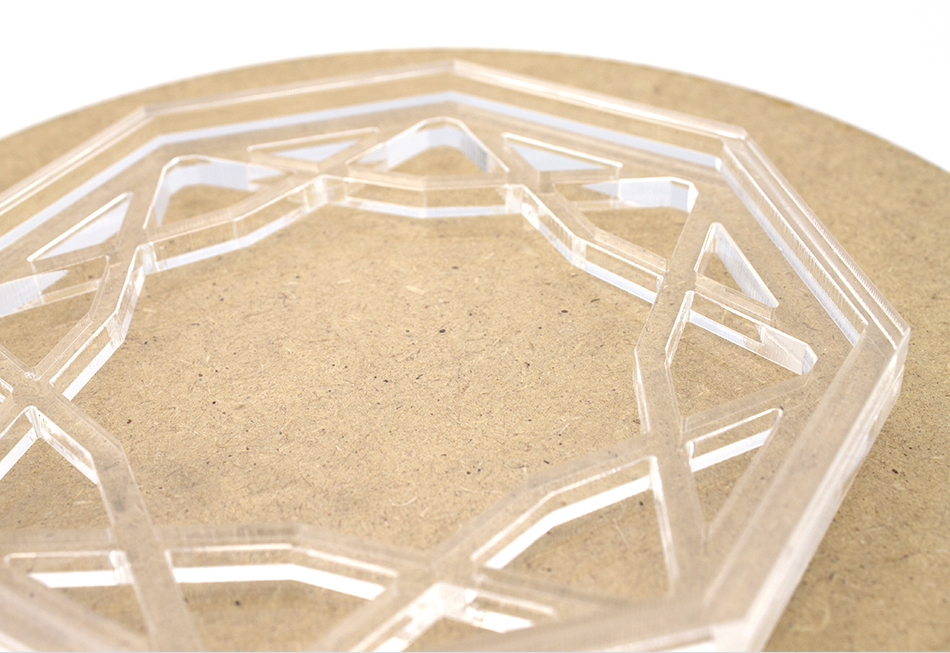
· Mold 03: Methacrylate
These are the parametters to cut this mold:
Material: 5mm Methacrylate - Speed/15 - Min. Power/70 - Max. Power/74
General observations: This mold works really well, the methacrylate is the most appropiate material for doing this kind of molds because the bioplastic doesn't stick to it and it's easier to clean up once used.
· Mold 04: Methacrylate
These are the parametters to cut this mold:
Material: 5mm Methacrylate - Speed/15 - Min. Power/70 - Max. Power/74
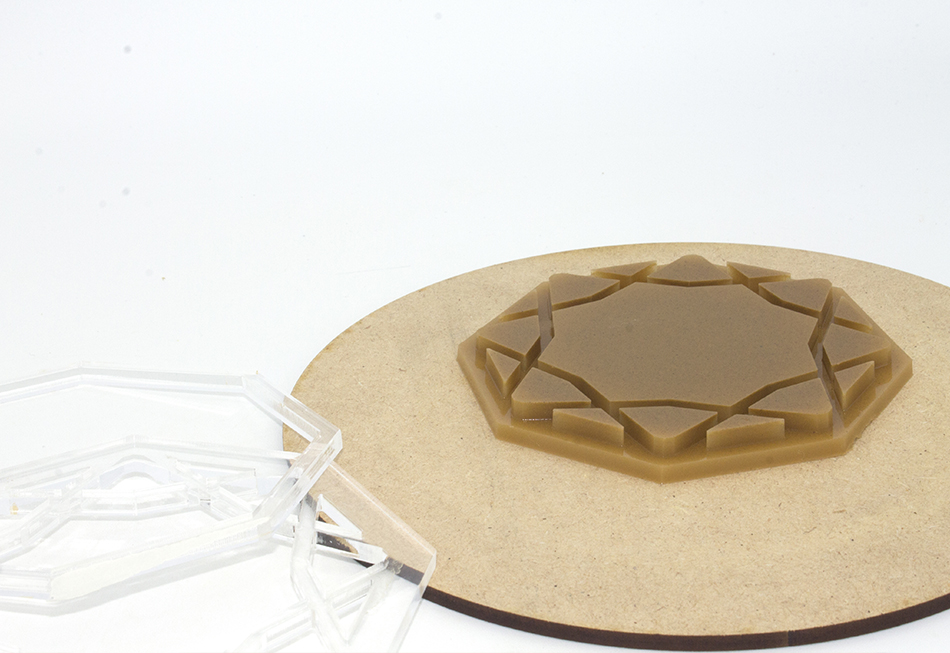
General observations: This mold works really well, just like the previous one.
Downdloadable Files
In this folder you can download all the cutting files of the molds I've created.
Useful Links & References
- Food4Rhino: Parakeet
- Grasshopper Algorithmic Modeling For Rhino: PARAKEET
- Grasshopper Docs: Parakeet