4. Biochromes
Hello dear reader! This week we had a big deep breathe with fun, colours and enjoyment filling our bodies and hearts entirly. It was great to work as a team and share knowledge that we had as some of us already have done the natural dyes before, including me.
Inspiration
The world of natural dyes is a truly magical world where you become the magician. I had a chance to have these kind of professional magicians as friends, Im going to present them.
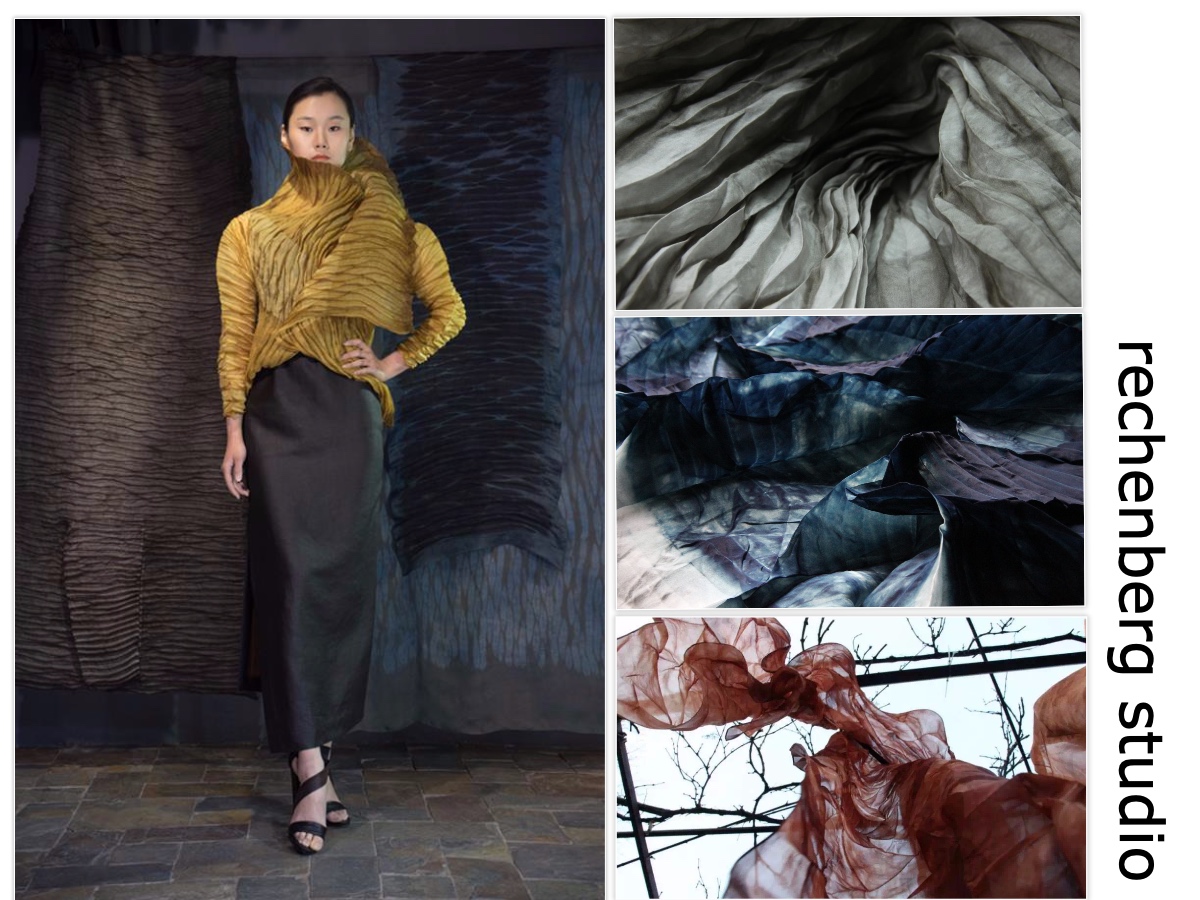
rechenberg studio
The first serious dive into natural dye world was thanks to Kathrin von Rechenberg who creates natural dyed pieces of art of the highest luxury quality, I had a chance to work as a fashion designer for her sustainable luxury brand rechenberg that is based in Beijing.
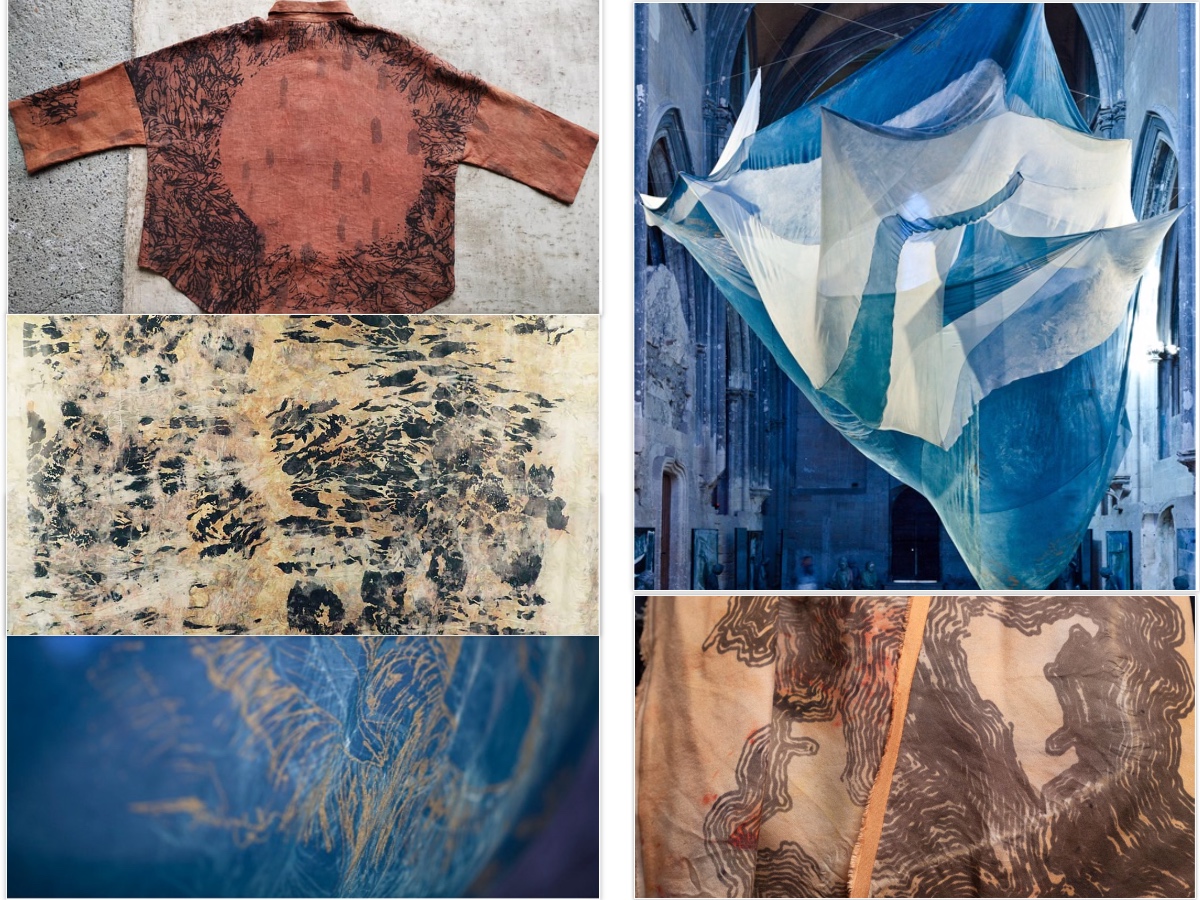
Aurore Pelisson My friend textile artist based in Provence that creates beautiful natural dyed garments and accessories, also uses serigraphie technique on her works. You can see her works and follow here
Harumi textile
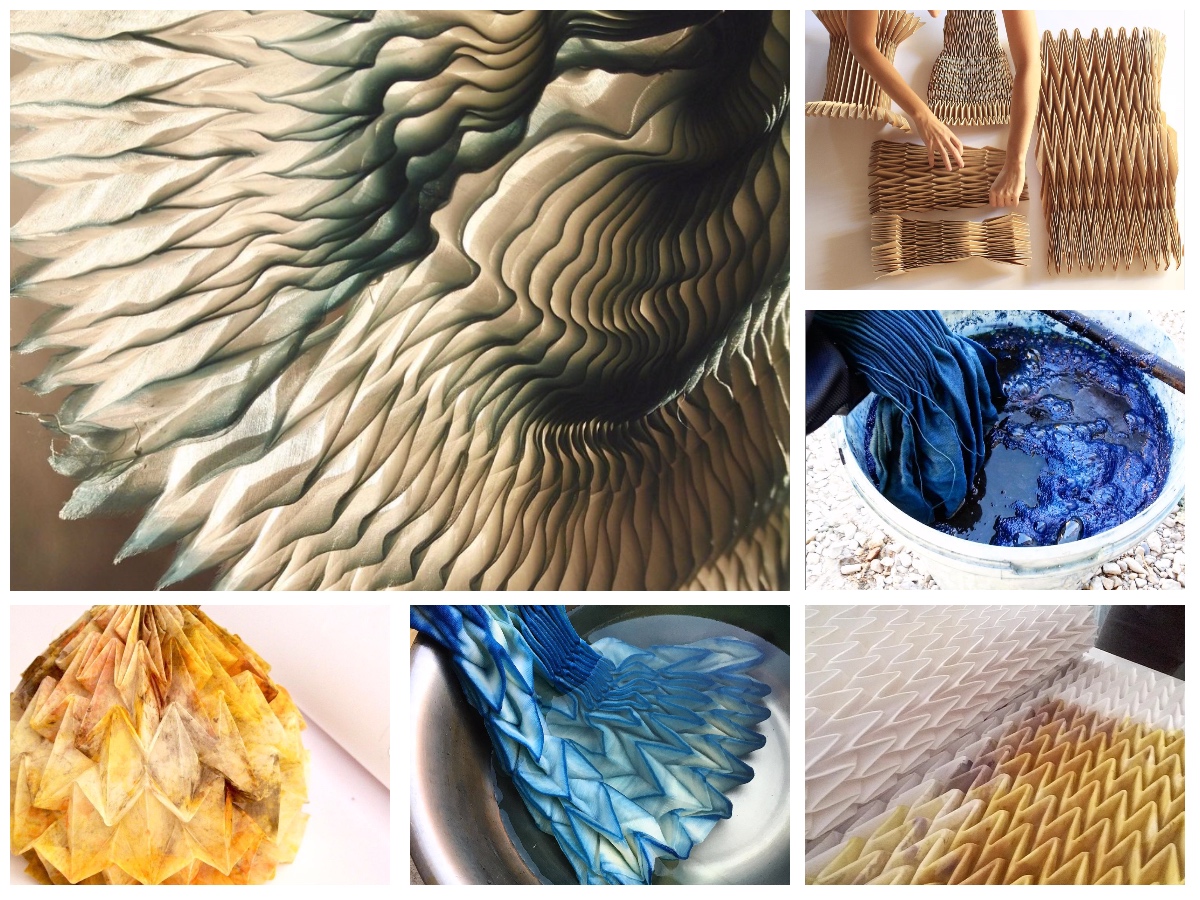
Another friend of mine that makes incredibly beautiful pieces using endless folding tecniques and inks to dye silk and wool fabrics. Her work is full of patience, rhythm and beauty. You can see her works and follow here
FABRICS AND INGREDIENTS
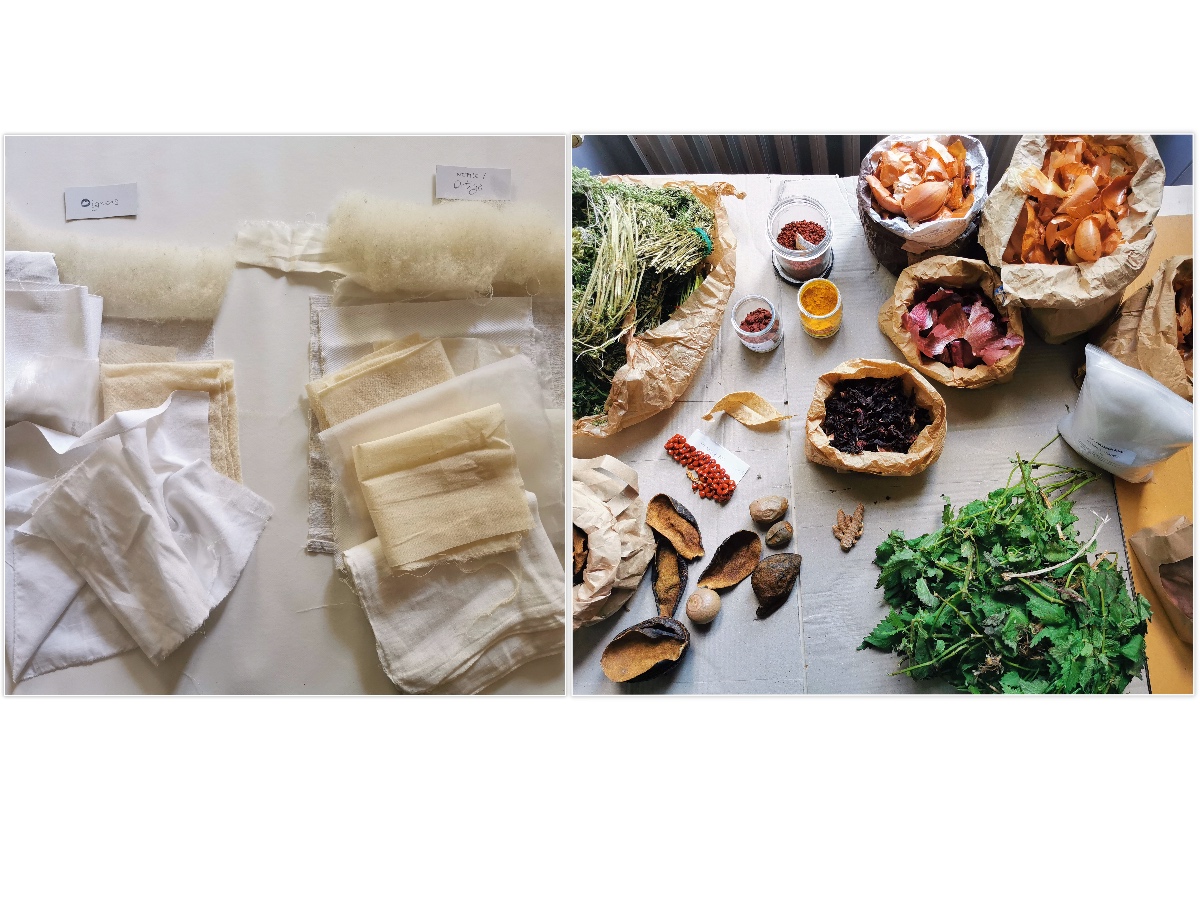
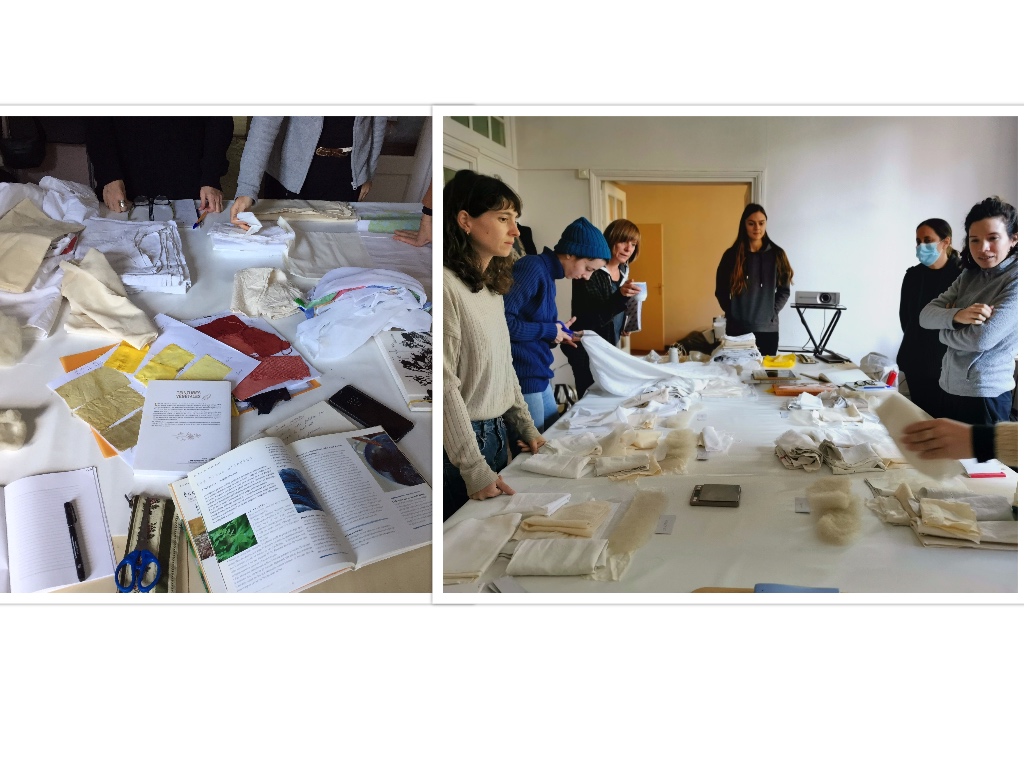 First, we had to make a plan because we wanted to experimente a lot of colors and fabrics. There were plant and animal textiles with different properties (silk, silk organza, coton, wood,…) see excel board.
TIPS : when the fabric looks used or has marks, put it at the end in the bath and without the other fabrics because it might have consequences on the dying result. Be careful with rust marks (iron).
We decided to do 6 baths, with 6 different dying stuff. We grouped different samples to test in the different baths.
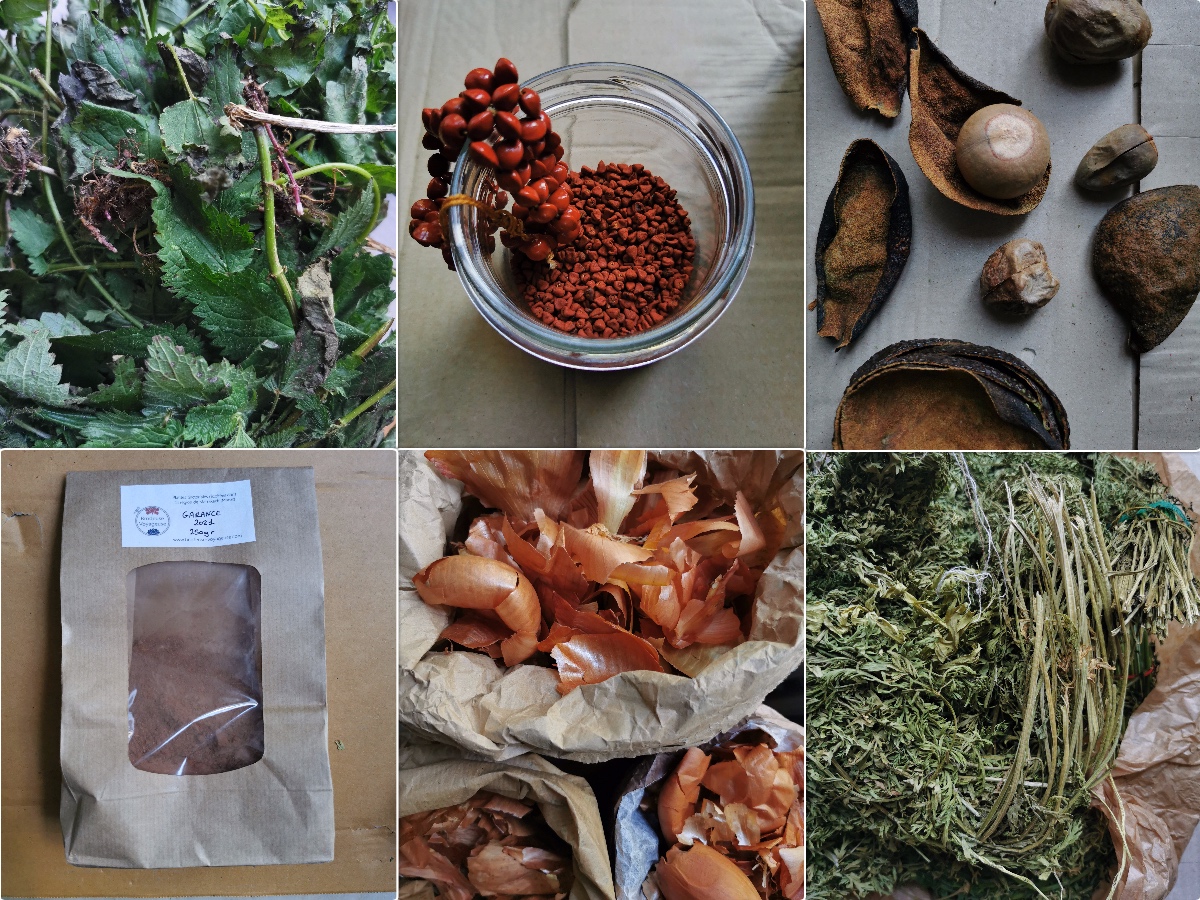
Then, we weighted different sample groups to calculate different ingredients which we needed to do mordanting baths.
- Madder : 283g of fibers
- Onion: 194g of fibers
- Leaf carrot : 248g of fibers
- Avocado : 209g of fibers
- Nettle : 220g of fibers
- Anato : 267g of fibers
| 6 Baths of 18th Fabrics | |||||
|---|---|---|---|---|---|
| Fabrics | Carrots leaf | Onions | Madder | Annatto | Nettle |
| Weight | 248gr | 194gr | 283 gr | 267 gr | 220gr |
| Carded Wool | x | x | x | x | xx |
| Co canvas weird shape | x | x | |||
| Light Co canvas | x | xx | xx | ||
| Pillowcase Co | x | ||||
| Embroidered sheet Co/linen | x | x | x | x | x |
| Wool stamen | x | x | x | x | x |
| Satin of silk | x | x | x | x | |
| Organza | x | x | x | xx | |
| Raw silk | x | x | x | xx | |
| Thick Co canvas | x | x | x | x | x |
| Pongee silk | x | x | x | x | x |
| Soft Co canvas small square | x | x | x | x | x |
| Soft Co canvas big square | x | x | x | xx | x |
| Baptiste Co | xx | x | x | xx | |
| Tea towel Co | x | ||||
| Co node | x | ||||
| Baby bodie | x | ||||
| Swaddle | x | x |
MORDANTING
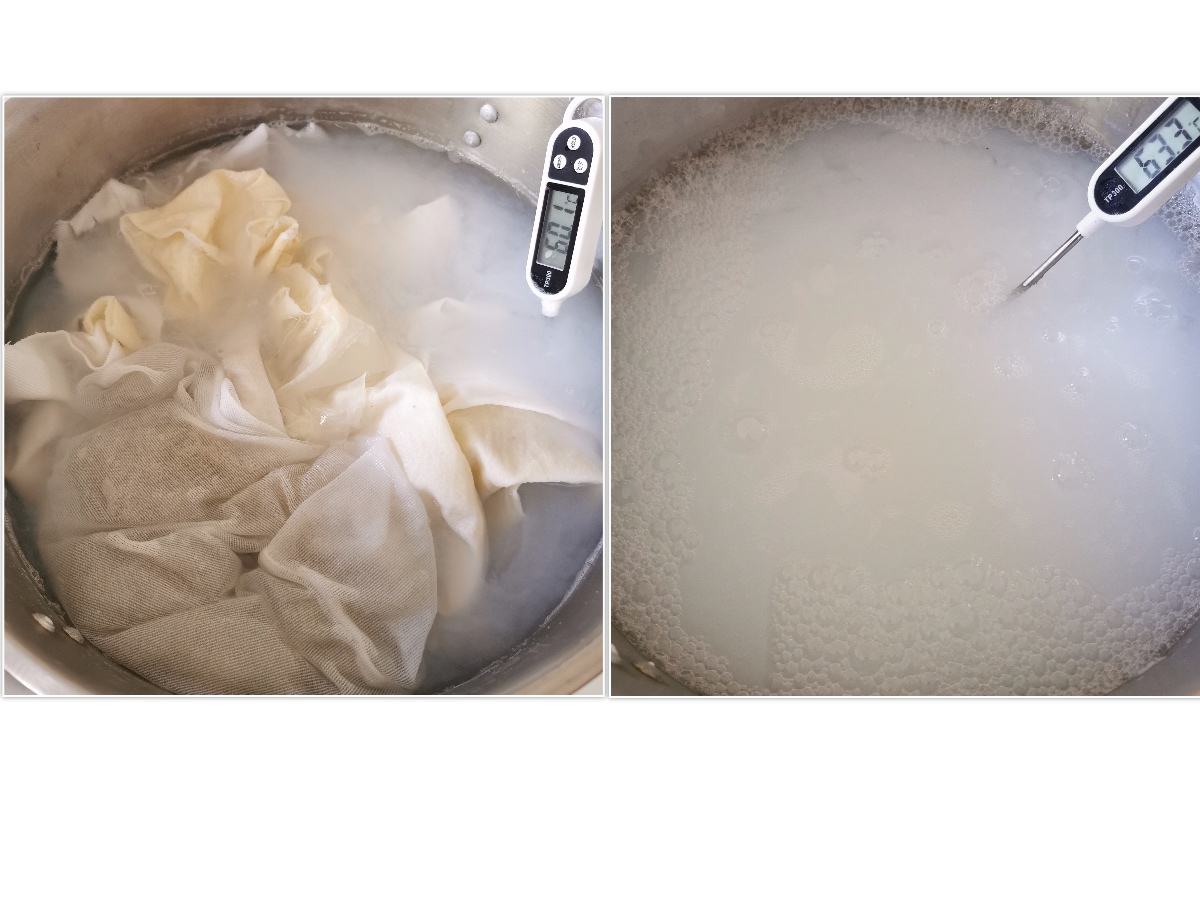
Recipes :
1st mordancing bath : Carrot + Onion > 452g of fibers 20% of the weight in alum :
90g alum Half of the alum weight in sodium carbonate : 45g Vinegar 1L = 100g of alum : 90cl vinegar And water 3L water = 100g fibers : ~ 8L water
2nd mordanting bath : Madder + Anato > 550g of fibers 20% of the weight in alum :
110g alum And water
3rd mordancing bath : Nettle + Avocado > 507g
500ml vinegar 20% of the weight in alum : 100g alum 50g calcimine? / lime (chaux) Water
Process : We have distributed and soaked fabric groups in the three baths. Fabrics in the baths remained a minimum 45min.
DECOCTIONS (DYEING BATH & FILTERING)
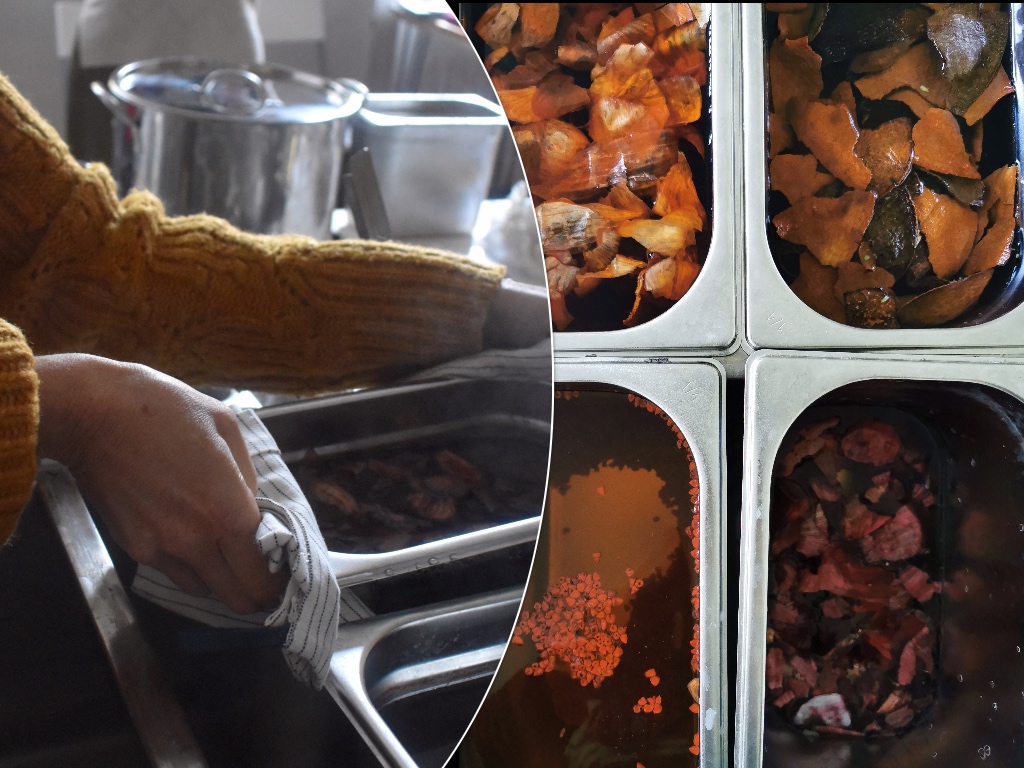
Then we weighed the different dying stuff to prepare and make dyeing baths.
Quantities to add according : - Dry dying stuff : 100% of fiber weight - Wet dying stuff : More of fiber weight - Dying extract : 10% of fiber weight
Weight of different dying stuff for our baths :
- Leaf carrot : 75g wet and 125g dry
- Onion : 44g dry (because colour is very intense)
- Madder : 28,3 g (extract)
- Anato : 100gr dry (total weight of what we have)
- Nettle : 350 g
- Avocado : 210g dry
Except the madder, the different dyeing stuff was immersed in hot water to make the decoction. Baths remained one all night in hot water to activate the dye colour.
1 hour minimum of maceration is needed (the more time the better) In our case we left the baths overnight, except for the madder, which is an extract. That we did the same day. Note: Do NOT boil the decoction/maceration
DYEING
DYEING DAY
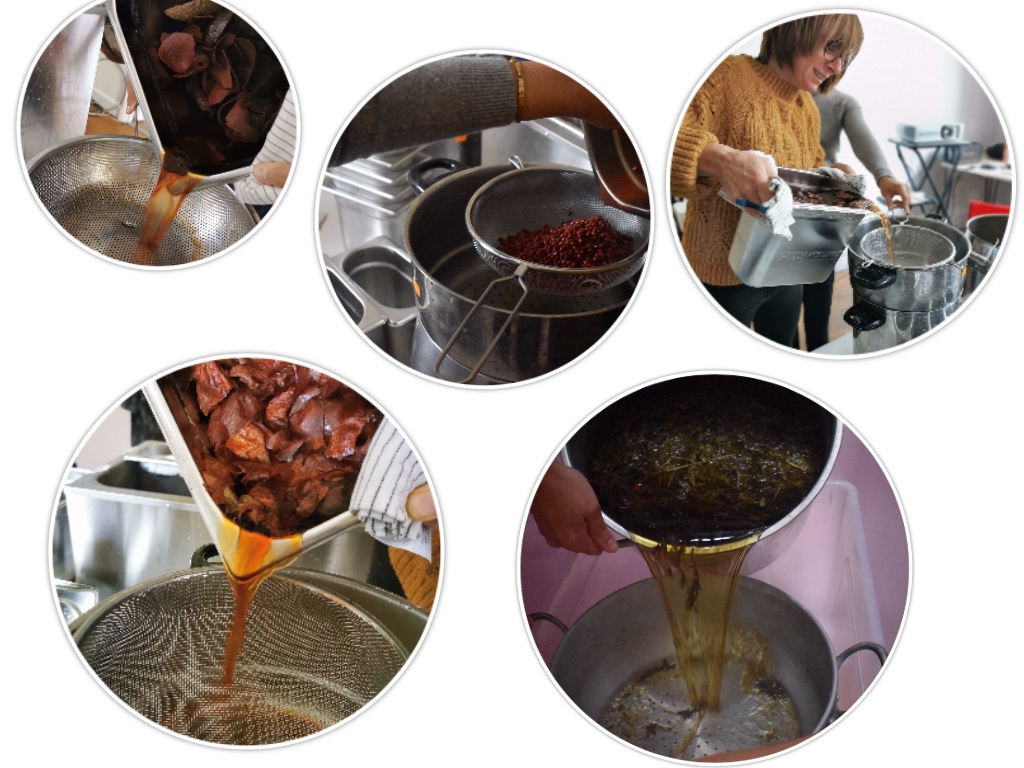
- Filter the decoction (it’s possible to add water to the decoction so that the textile are soaked enough)
- Raise the temperature of the dye to around 45 °
- Once at 45 °, we put the fabrics into the bath
- Then continue raising the temperature slowly/gradually to around 60/70 °
- Once the bath temperature is around 60/70 ° - time/count 45min before taking off the textiles of the bath
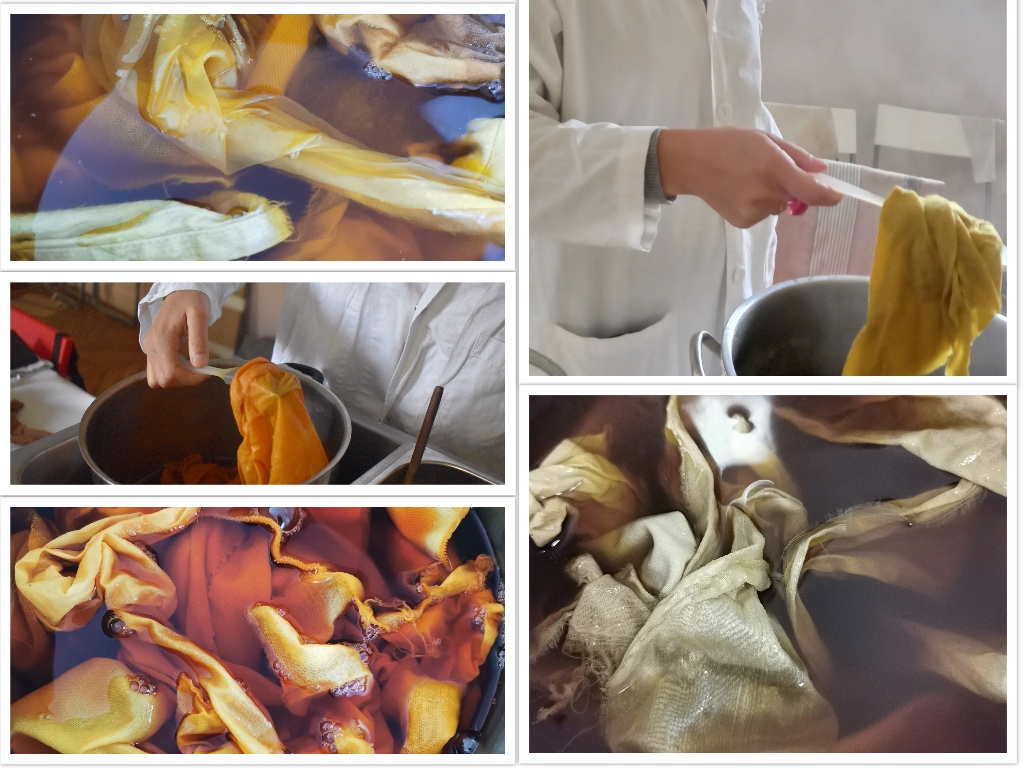
Important notes : when filtering the bath we kept the ingredients for future experimentations with inks/pigments - we placed the different ingredients on cardboard and let them dry, we grinded some, as carot’s leaf and nettle, directly before drying Stir the textiles regularly in the bath Textiles should not be too tight in the bath, and be easily submerged so that the dye can act evenly on the fibers. In order to have a more uniform shade and result
Process and time followed for each bath:
| Time in the dyeing bath | |||||
|---|---|---|---|---|---|
| Ingredient | IN | 70° | Minimum Time (45min) | OUT | TOTAL time in the bath after 70° |
| Leaf carrot | 11:50 | 12:35 | 13:20 | 14:10 | 1H35 |
| Onion | 11:15 | 12:00 | 12:45 | 13:40 | 1H40 |
| Madder | 12:51 (decoction at 11:30) | 13:35 | 14:20 | 15:20 | 1H45 |
| Annatto | 11:00 | 11:45 | 12:30 | 14:20 | 2H35 |
| Nettle | 11:55 | 12:40 | 13:25 | 15:25 | 2H45 |
| Avocado | 11:30 | 12:15 | 13:00 | 13:40 | 1H35 |
| --------------------------------------------- |
WASH & HANGING
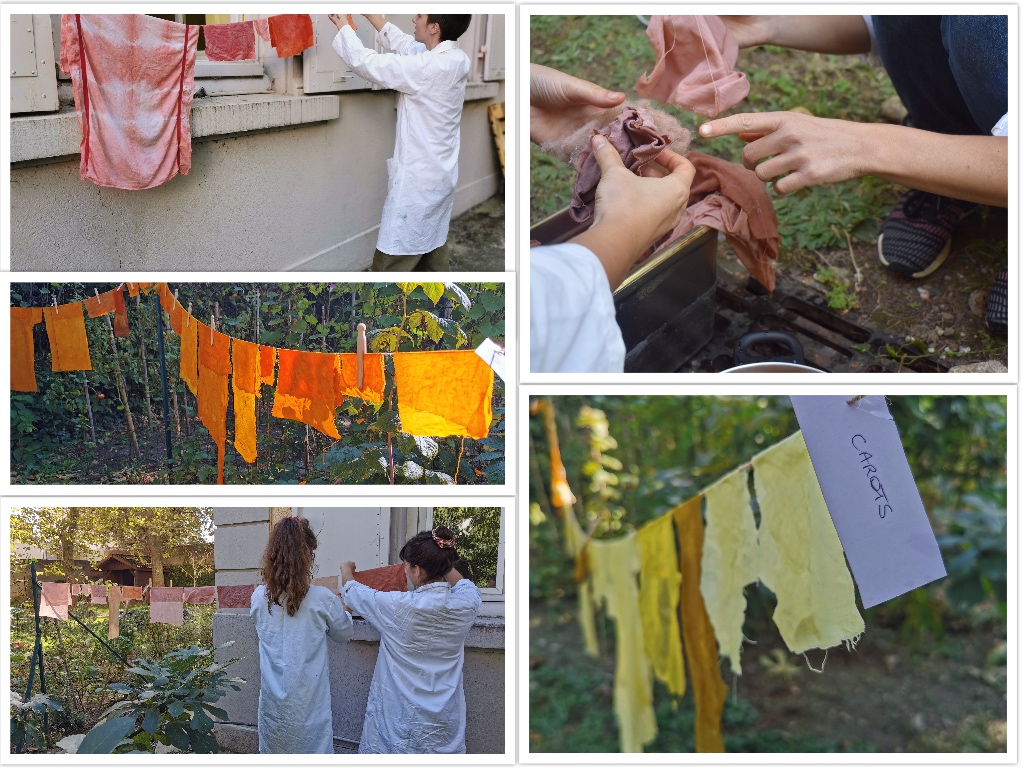
Wool and silk are delicate fabrics so they need to be washed with attention to avoid thermal shock. In general, fabrics have to be well washed with clean and clear water.
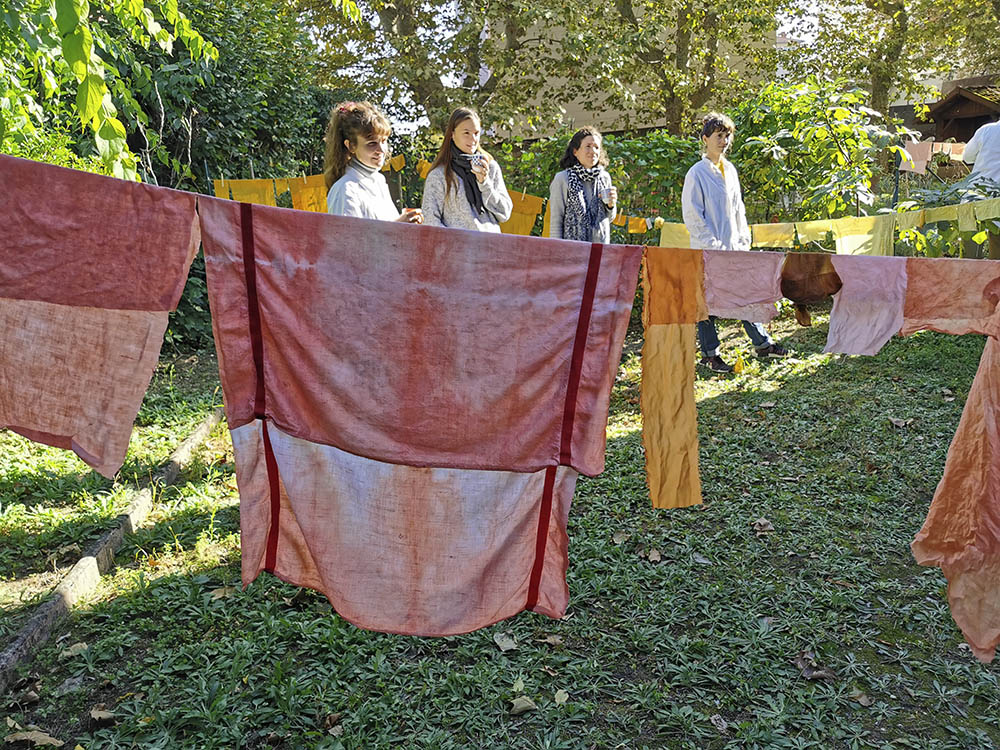
We hung dying fabrics outside so they dried super quickly. It was beautiful to see the result with the light of the sun. One of the best parts of the process :)
SAMPLES:

When the fabrics were dry, we took pictures of every pieces. Then we made compositions out of it.
Last step was to organise and cut a piece of every fabrics with the different dyes in order to put it on a book. One per fabricacademers and one for the TextileLab.
For not making mistakes we drew our last board: Per dye Fabrics names (fr/eng:) Piece of fabric
Inks
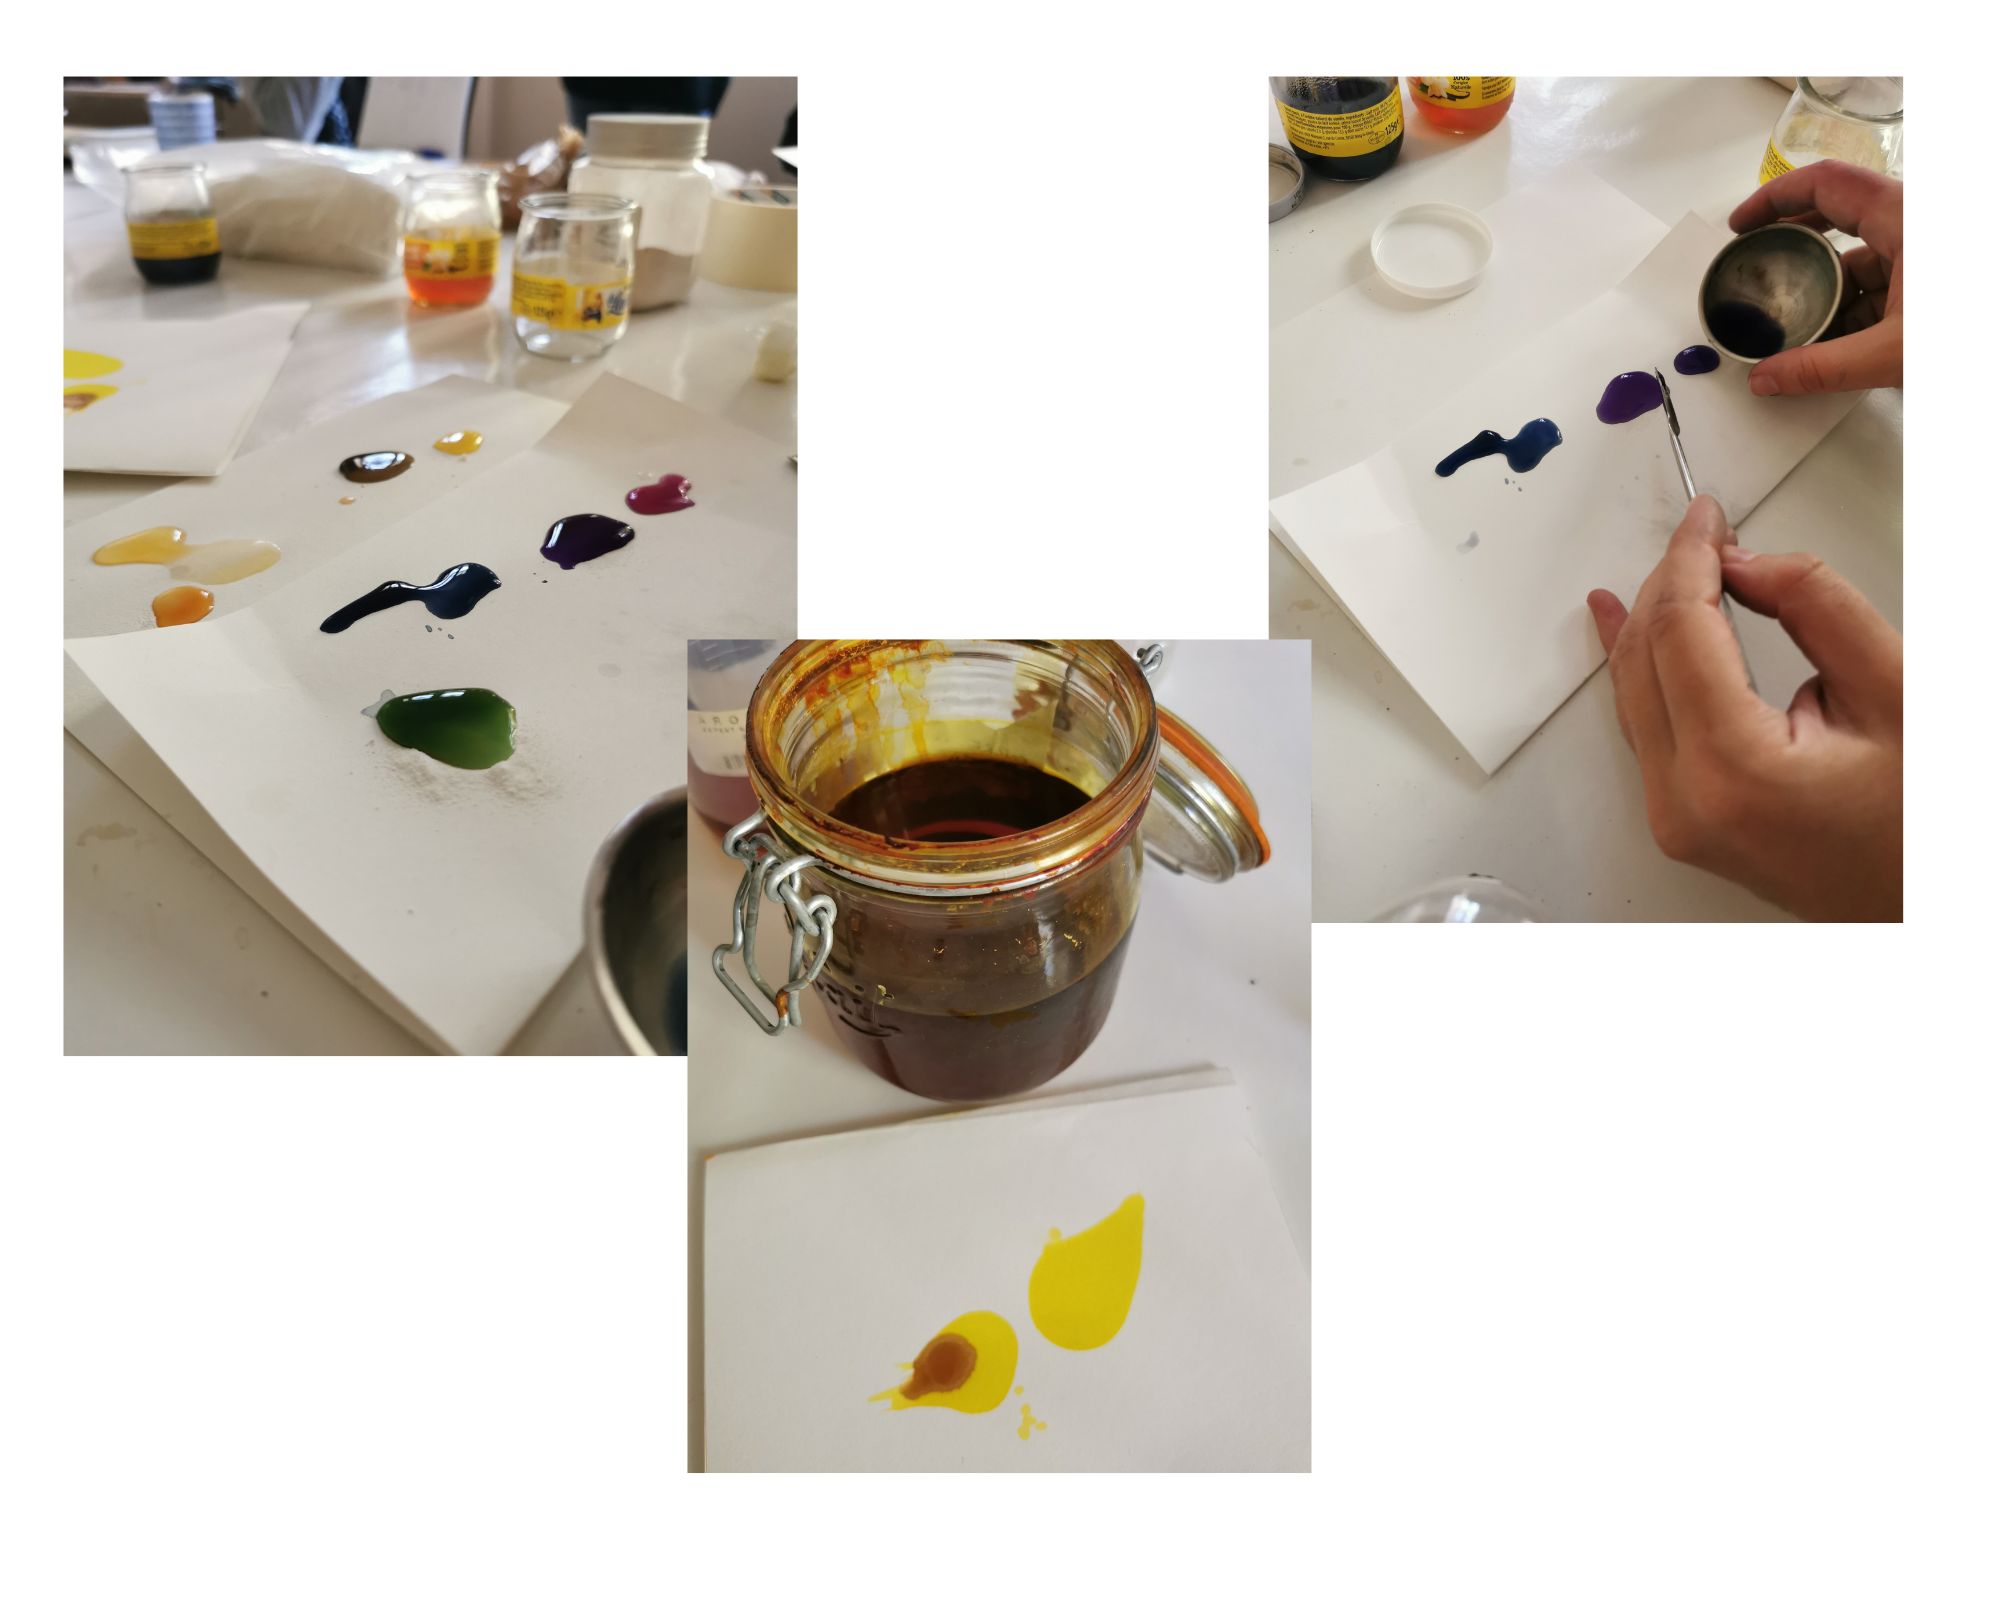
And with Diane we made some inks, was a lot of fun. Using red cabbage as a base and changing its color with iron, alum and sodium bicarbonate. To make the base red cabbage ink, we boil it for some time, filter it and its ready. Would be nice to make a full aquarelle pack this way.
KOMBUCHA
To be ready for the week of biomaterials, we started our Kombucha.
We used a classical recipe with black tea to start with and later on we might make other recipes.
So here is the recipe:
For 1L of water - 1,5 to 3 gr of tea ( we used black tea,but it can be any tea, depending what color of material you want) - 100 gr. of sugar - Vinegar from 0 to 100ml (depending on PH of your liquid) - Scoby mother
In our case as we want a little bigger of a piece of Kombucha material, so we made 7 L of water.
For 7L of water - 21 gr of black tea (+ filter bag or tissu) - 700 gr of sugar - Vinegar - we added around 100 ml of vinegar untill it got to PH 3 - Scoby mother - 15cm ø
Steps:
Prepare all the ingridients, tools, utencils that you need at your workspace.
First we sterilise our equipment, especially the tray where you gonna grow your material and make sure that all is clean as Kombucha can get contaminated by various microorganisms aournd us.
We boil water in a pot and add tea into it and keep boiling a bit, in our case we didnt have extra pots, so we added boiling water directly in a plastic tray and then we added tea in a coffee filter bag closed with a thread that leaved dont go all over.
And then we add sugar and mix it well until it dissolves, the best to do add it while its hot, it will its work better.
Now its time to let it cool down untill room temperature, for us it took almost 2 hours for 7L of water. If we add Scoby into hot liquid it will most likely kill it, so we better wait.
When our liquid has reached the room temperature we meausure the PH with PH strips or PH meter, french tap water meauseres around PH 7. So we added around 100 ml of Vinegar until it got to PH 3.
And now when we set up good sweet, acicid conditions we can add our Mother Scoby, make sure you do it with gloves or desinfected hands.
We cover it with thin breatable cotton fabric that insects and dust can't get in, put elastic around that its well covered and can be easily open for our weekly check-ups.
Place it in a warm (ideally 30' degrees Celsium) temperature, we put it on a specail matrass for germination of seeds. The speed of growth depends on the temperature of the ambiance.
And the last important thing - dont move the tray while the Kombucha is growing, keep it in a dedicated place. The desired Kombucha material will appear in about few days - week as a thin layer. The second part of the Kombucha travel will be later on the Biomaterials week.
Thank you !