WEEK 1 - STATE OF THE ART
Last Update: Nov 27, 2021
September 21-26, 2021
The Fabricademy program has begun! It has only been 3 days and I have already learned a massive amount.

Here are some of the things I have learned and executed.
Keywords: GitLab, Visual Studio Code, coding, Markdown, language, CSS, Canva, Introductions, website design, documentation, fablab, git, update
Quick Summary
 Tools Learned:
- Gitlab: an integrated platform for software development
- Markdown: a styling language for web design
- NuEval: an evaluation platform for instructors to review my work
- Fablabs.io: a compendium of makerspaces around the world and the incredible equipment, events, and networks connected to them
- Mattermost: a communication platform altnerative to Slack
- TinyPNG: an easy way to reduce or compress images
- Visual Studio Code: a source code editor I'm now using to document and edit my documentation website locally on my desktop
Using the tools I learned above, I created a documentation website to.. well, document the projects and work I have done and will continue to be doing with Fabricademy this cycle 2020-2021.
 Tools Refined:
- CSS: a styling and customizing language I learned at least 7 years ago that needed a lot of fine-tuning again to get the customization I wanted for the current website layout
- Canva: a graphic designing platform
- Terminal: a default program on the desktop used to perform various tasks specified by the user
- Adobe Illustrator: a photo editing program
 What I still want to learn better:
- How to use Gitlab and make documentation edits locally on both MacOS and Windows
Update 10/02/2021: see 'Working Locally' below
Working Directly from a Browser
Navigating Gitlab
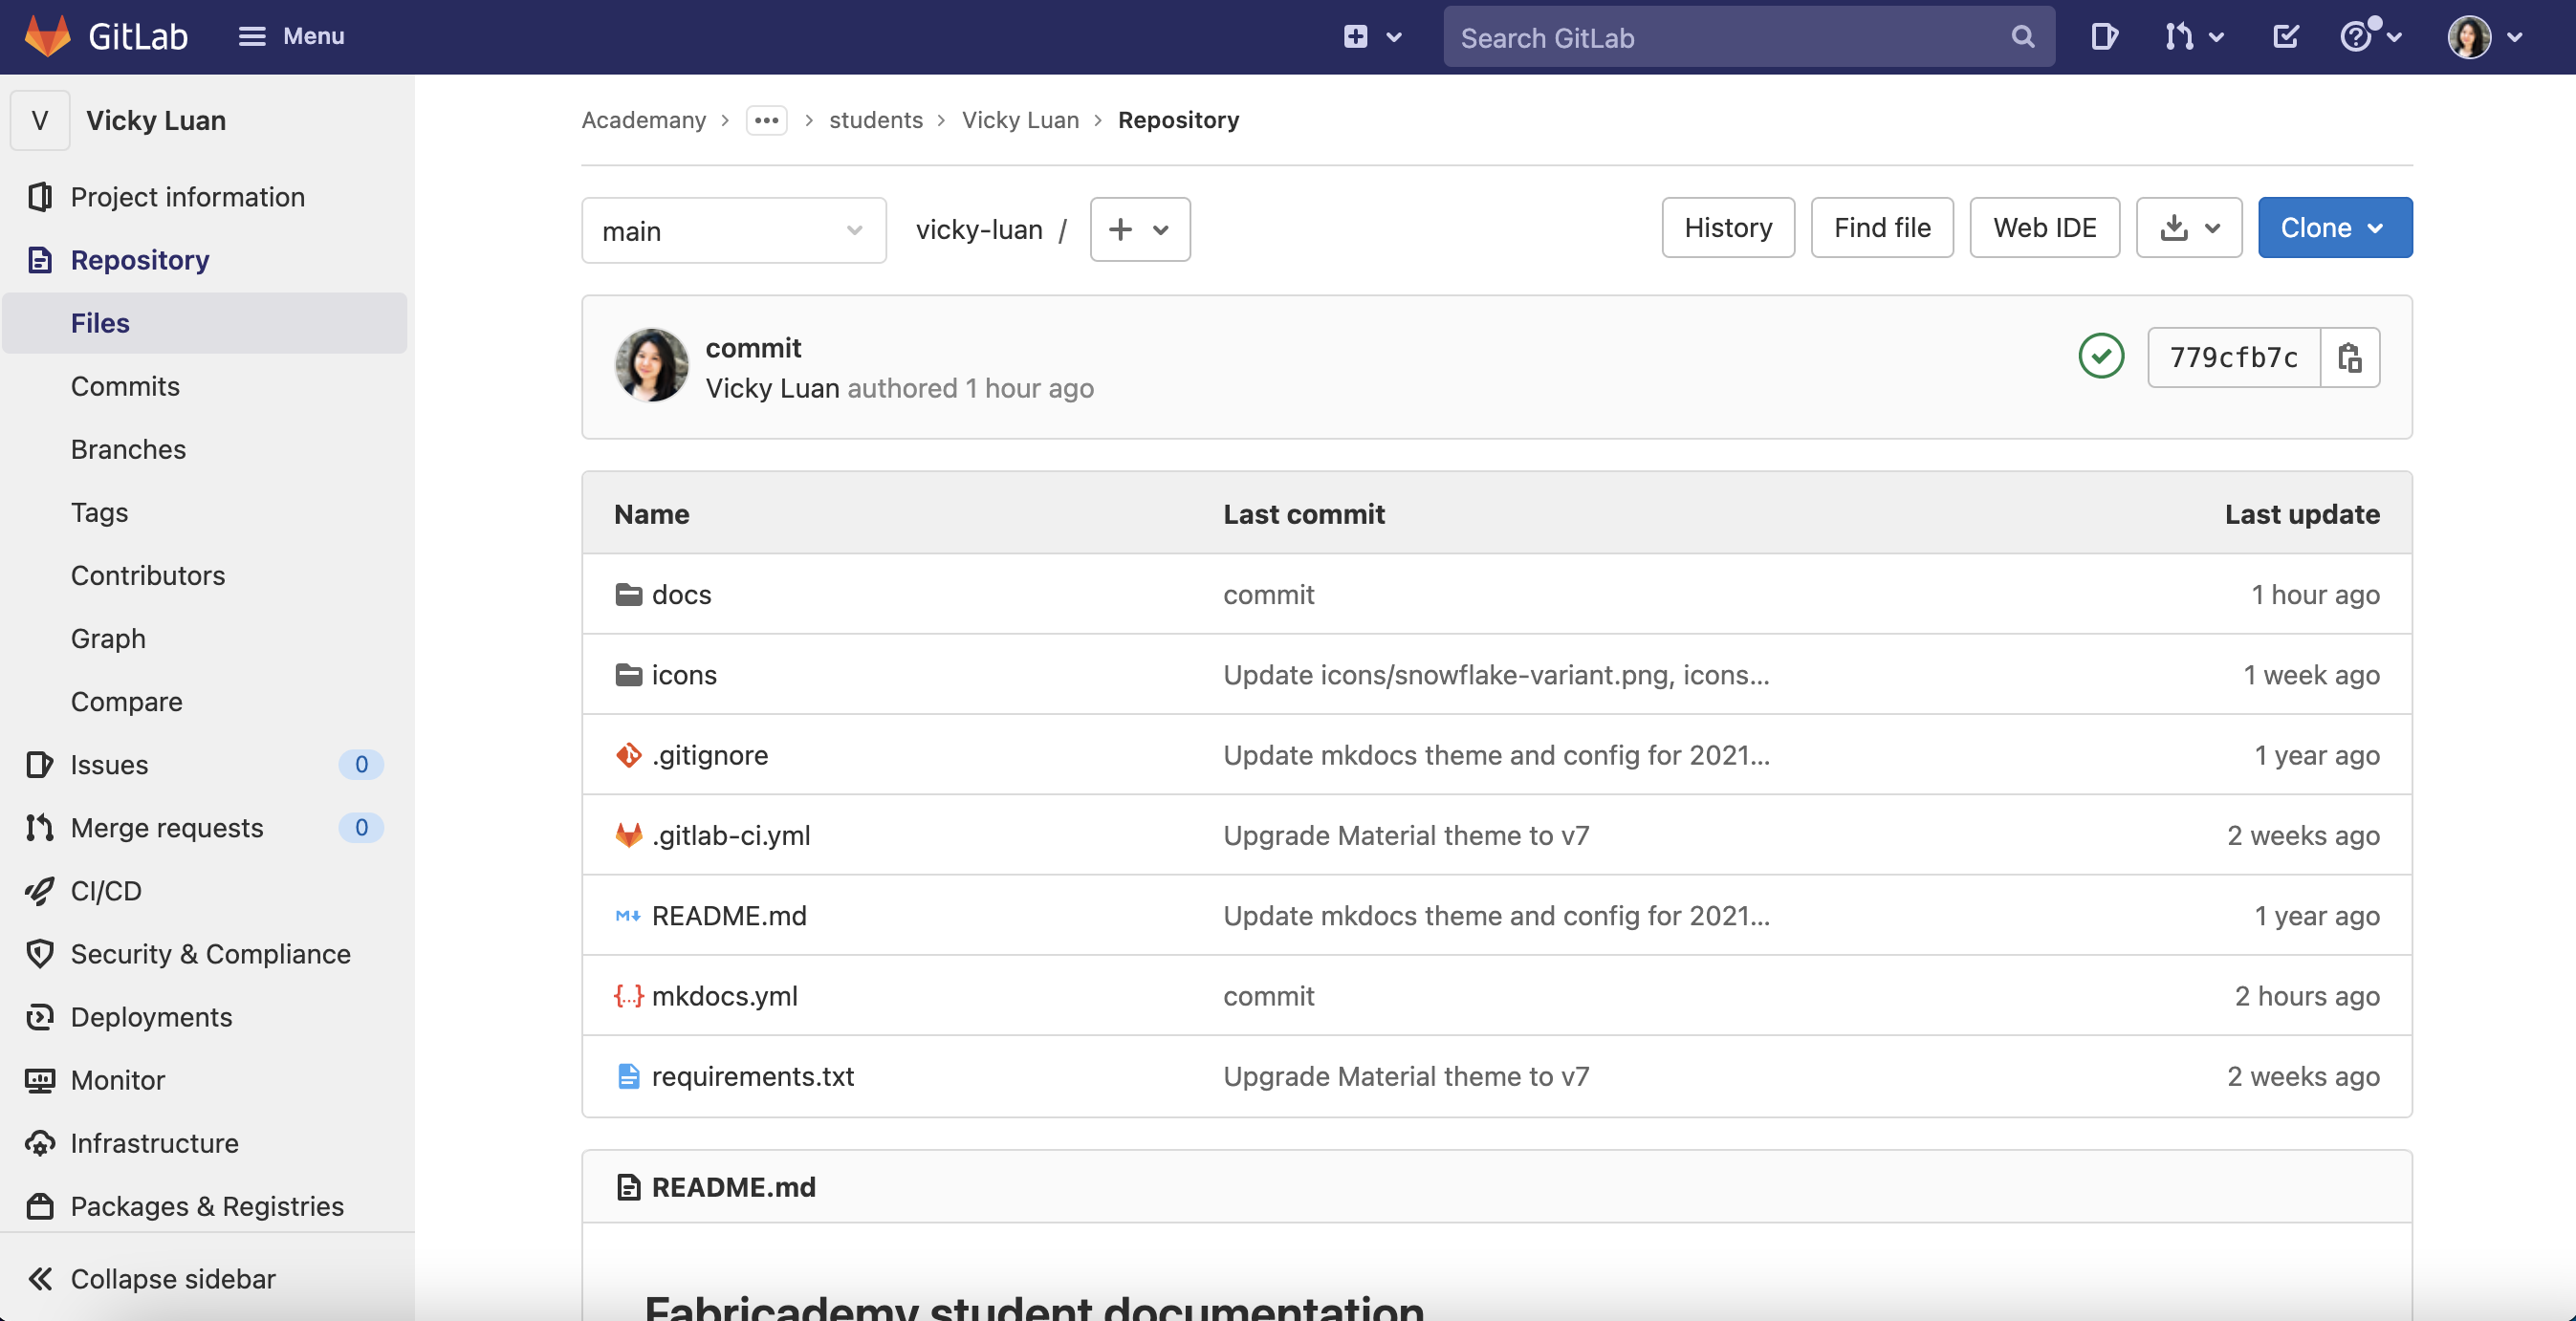
When I first enter my GitLab account and access my Fabricademy project, I am taken to the homepage of the project and its files
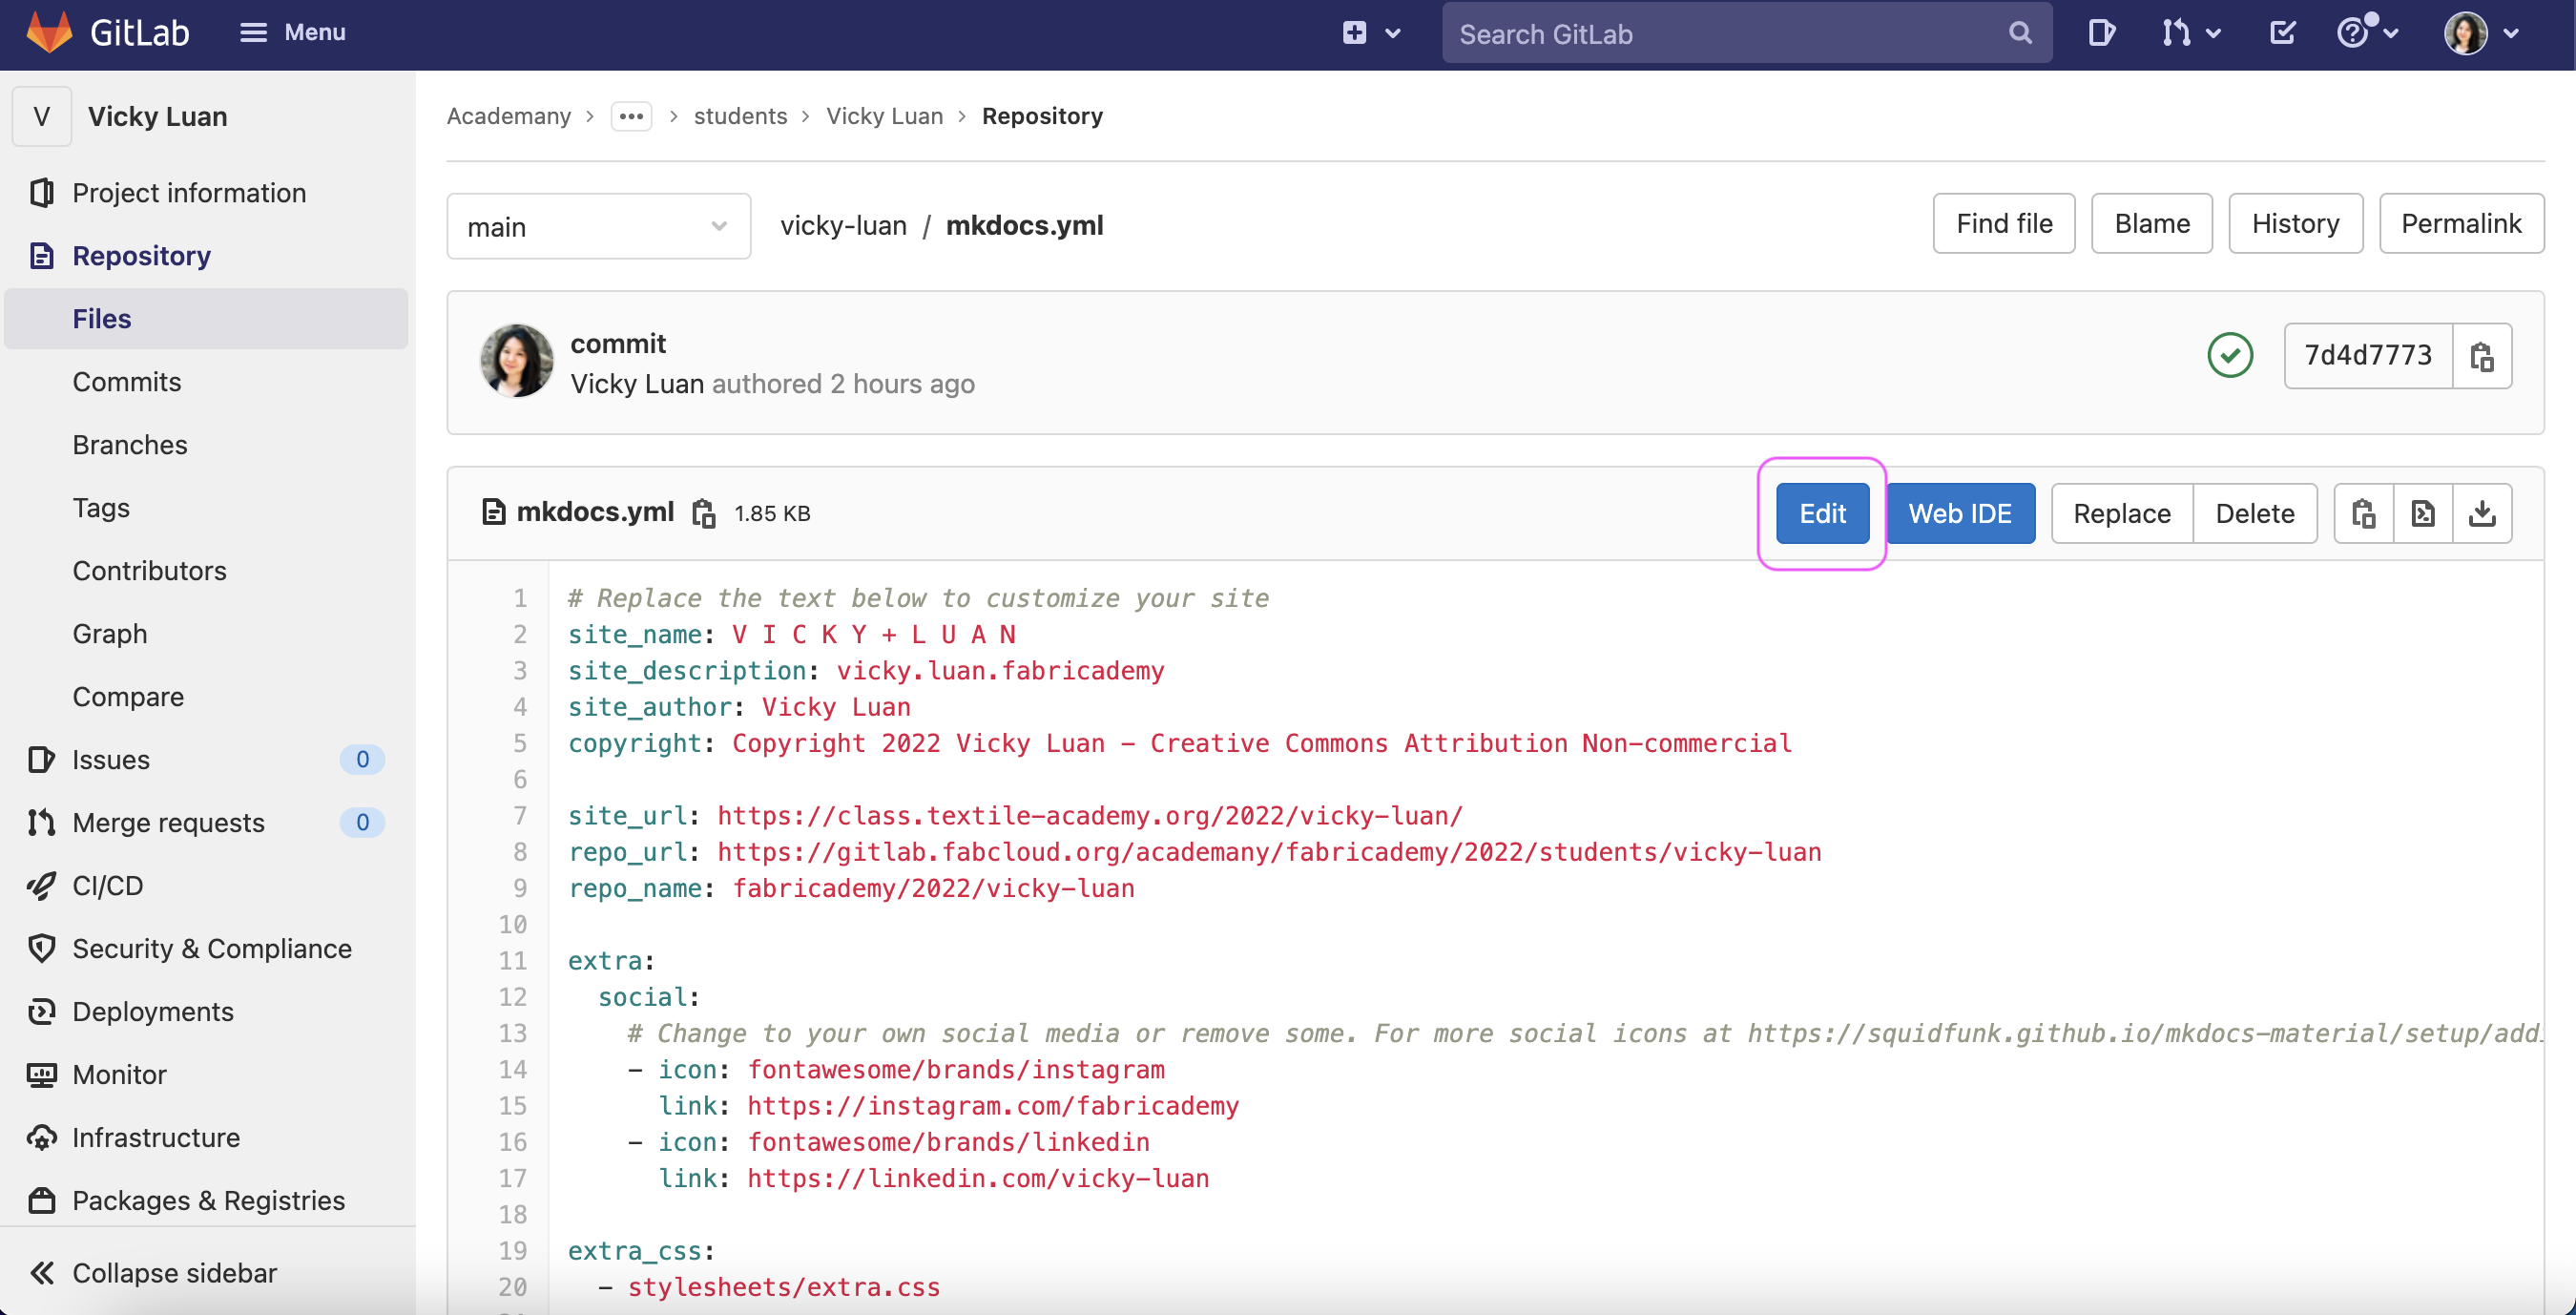
 To make thematic changes to my website, I used to click on the mkdocs.yml file and then hit the Edit button on the top right. Once I've made the changes I wanted such as the theme colour and palette and font type, I would save the changes and return to the previous page.
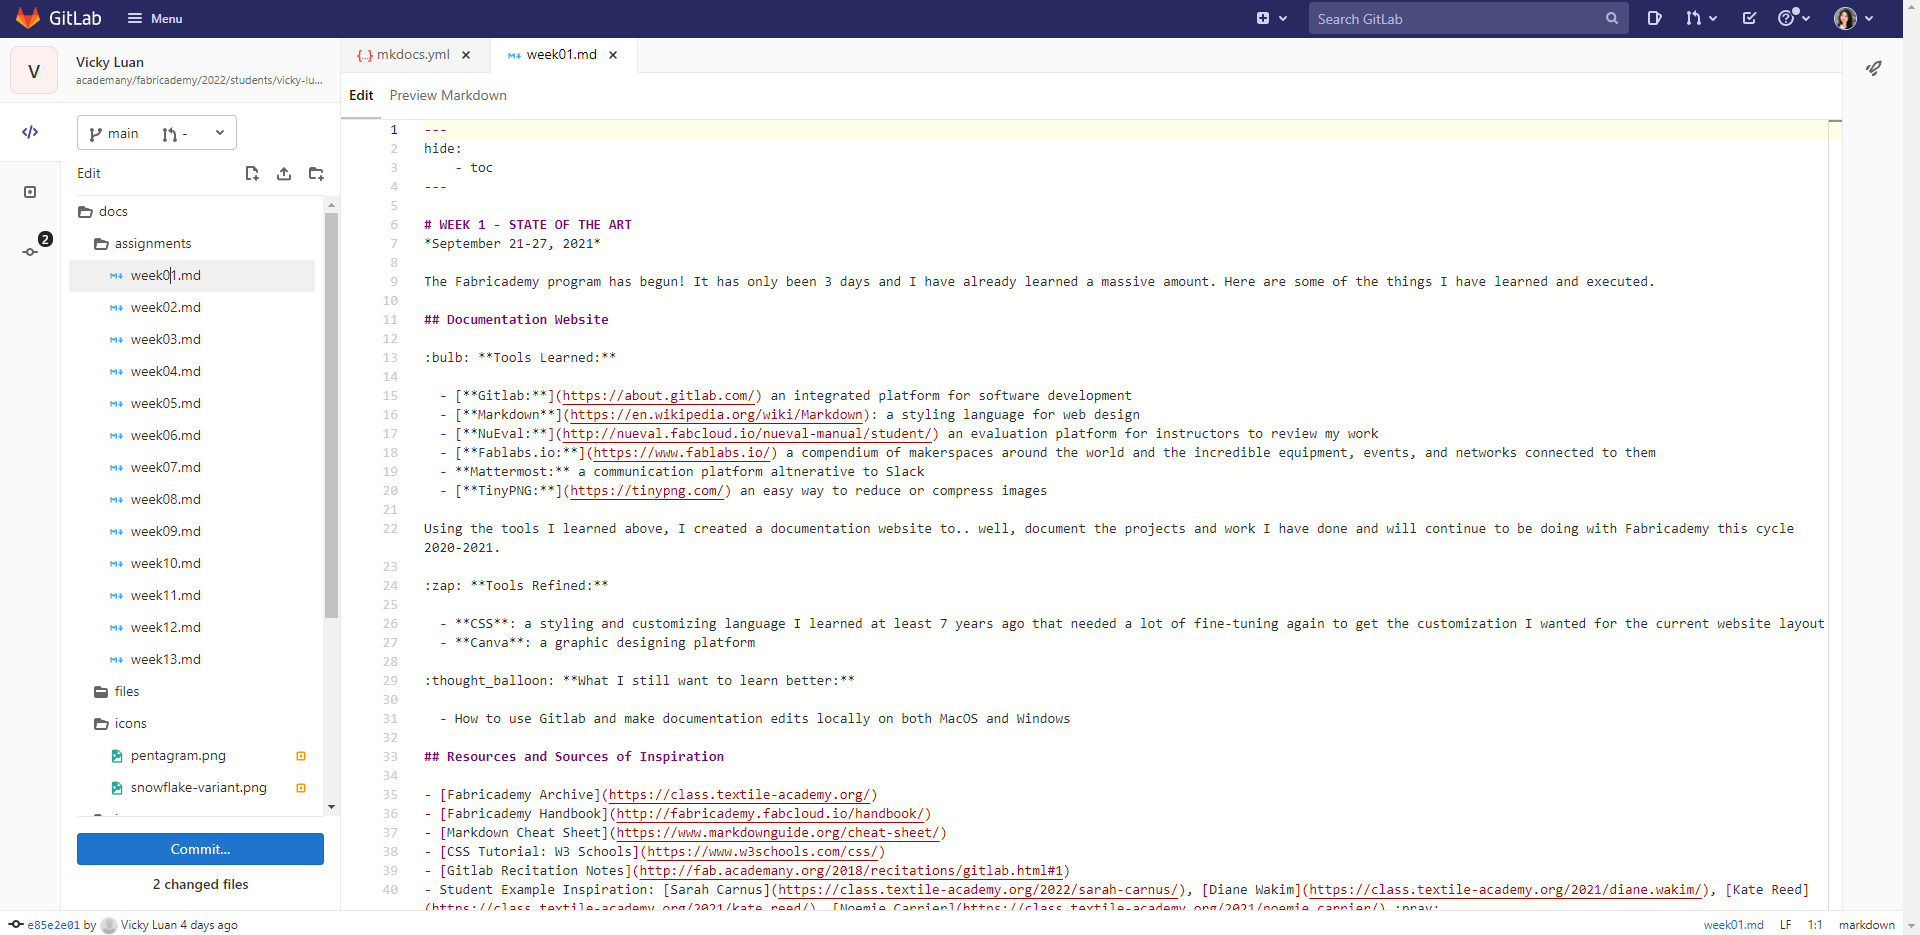
 After about an hour or so of doing this I realized that cliking on 'Web IDE' was a much more efficient interface to make edits and changes.
 Once I make the changes I want with those pages, I'd click on "Commit" on the bottom left corner and proceed with "Commit to main branch" to submit those changes.
Aesthetic Changes
Some of the major aesthetic changes I made to my homepage from the given template are: - Eliminating the table of contents - Moving the navigation to the left column - Changing the header color to black - Create a new stylesheet in the docs directory called "extra.css" which is referenced in mkdocs.yml
Code Example - mkdocs.yml
//a splice of the code used to make thematic changes to the homepage//

extra_css:
  - stylesheets/extra.css

theme:
  # The name of the theme, check your requirements.txt file
  name: material
  palette:
    # try other colors from https://squidfunk.github.io/mkdocs-material/getting-started/#primary-colors
    primary: pink
    accent: pink
  font:
    # See available fonts from https://fonts.google.com/
    text: Arimo
    code: Roboto Mono
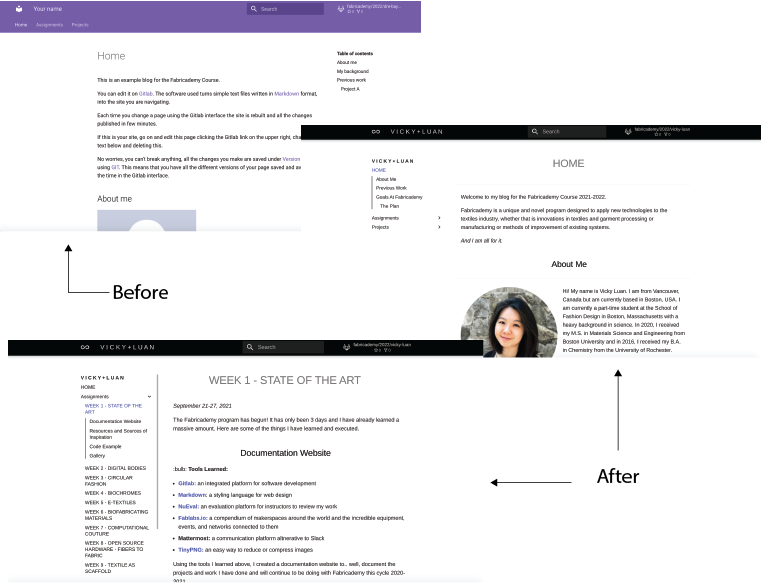
In the end, this is how the homepage was modified compared to the given template:
Working Locally
After the first week of documenting on Gitlab directly from a browser, I wanted to go back and learn how to document and use git locally from my desktop. This took a lot.. a LOT of trial and error and research to get it to work successfully.

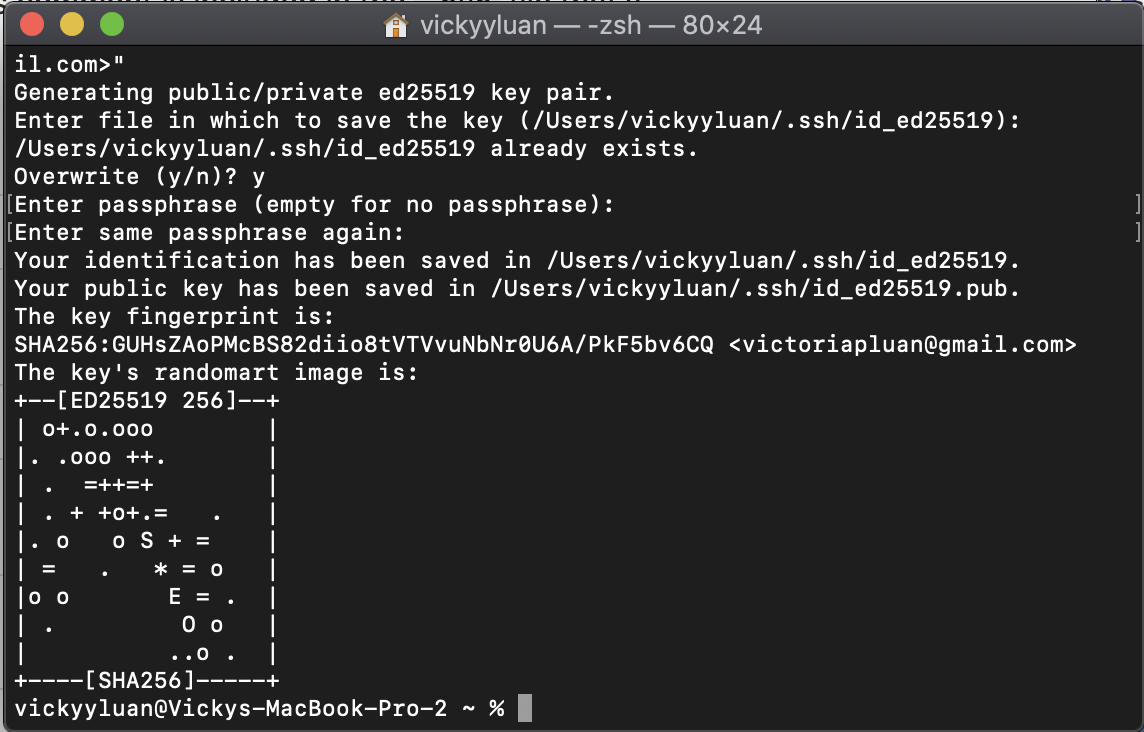
1) Generating a SSH Key
Following the instructions provided by Gitlab, I first entered the following code into Terminal:
ssh-keygen -t ed25519 -C "<victoriapluan@gmail.com>"
When the terminal showed the following prompt:
Enter file in which to save the key (/Users/vickyyluan/.ssh/id_ed25519):
I didn't need to input anything and just hit 'Enter' immediately. When I was asked to input and confirm a passphrase, I chose a password I knew I'd remember and hit 'Enter'. Finally, when my public key was confirmed to be saved in the directory previously determined, I checked my desktop folder for the files.
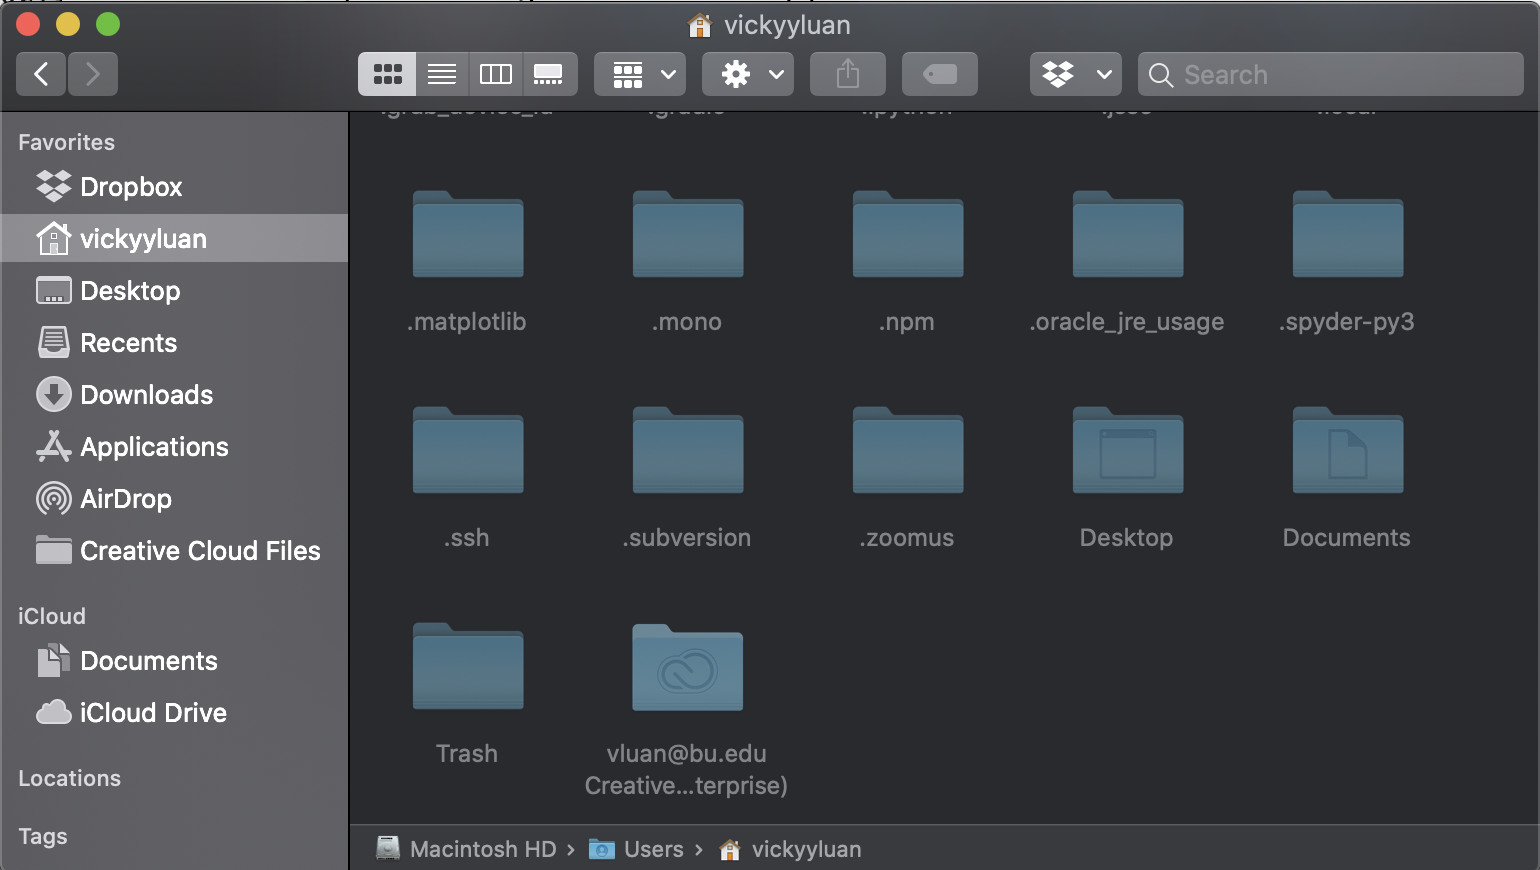
Side Note Problem: I had attempted this before and thought I failed to do this successfully because the folder I was expecting to create on my desktop was not showing up
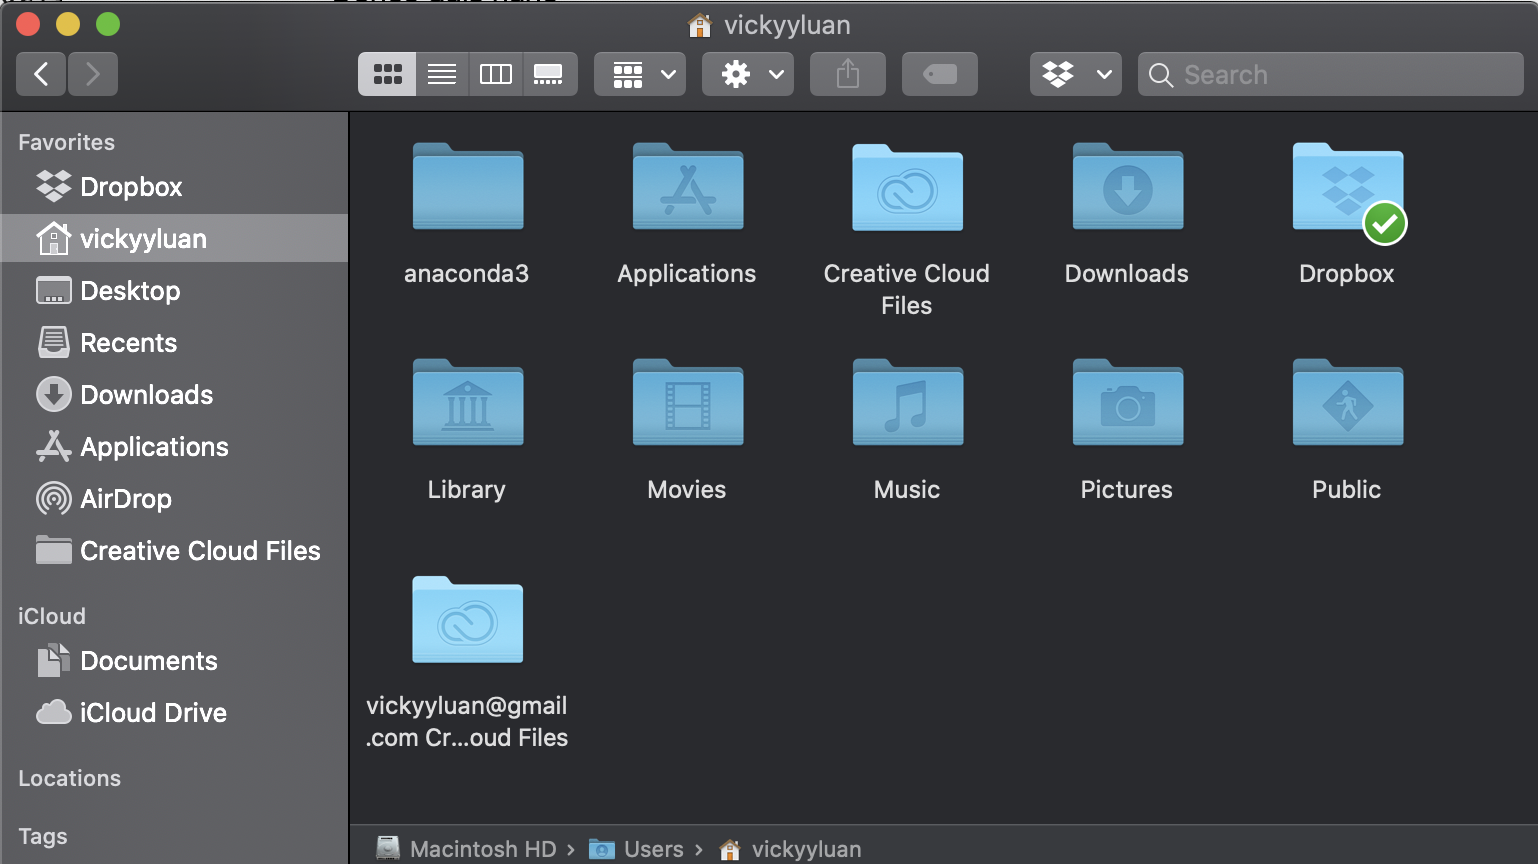
Solution: I learned that my Macbook had hidden folders that were accessible by the keyboard shortcut Command+Shift+Period and from there my expected '.ssh' folder was found where all my files were.
2) Sharing SSH Key to GitLab
After generating the SSH Key, I then copied the key through the terminal by typing:
tr -d '\n' <~.ssh/id_ed25519.pub> | pbcopy
And then going back to GitLab and accessing my profile
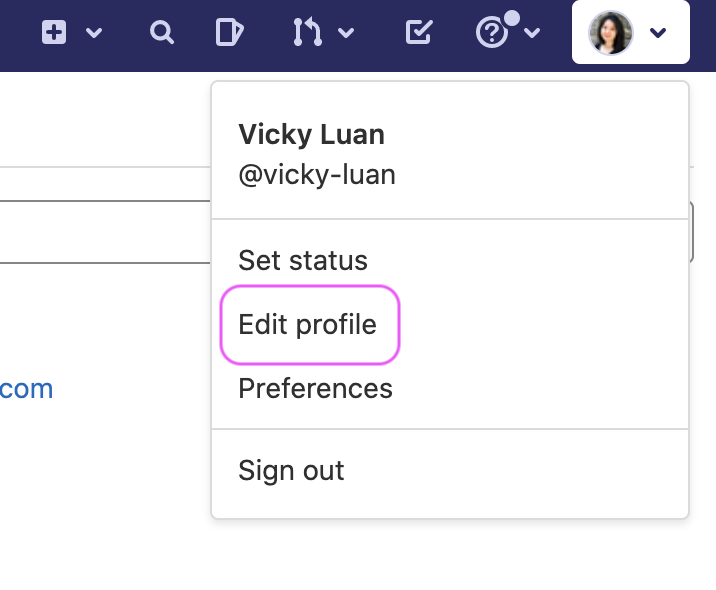
then going to the SSH Key page from the left-hand column
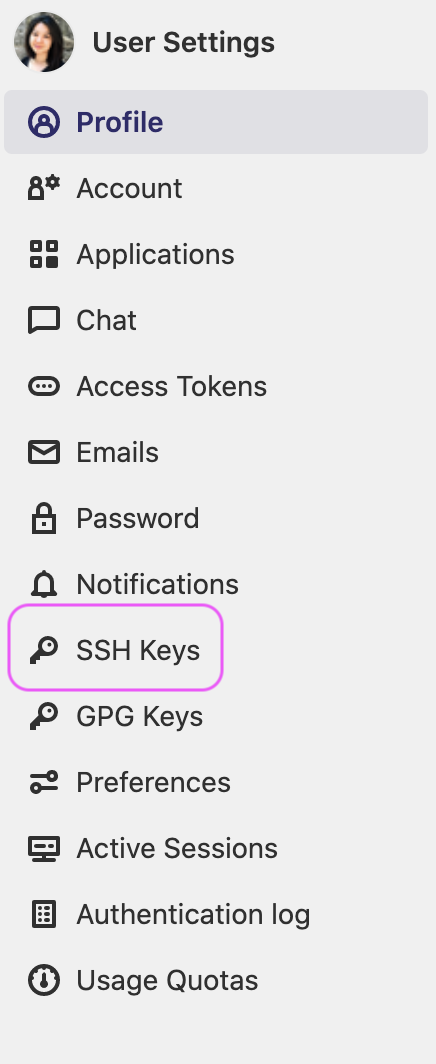
which brought me to the page where I pasted the SSH Key to add it
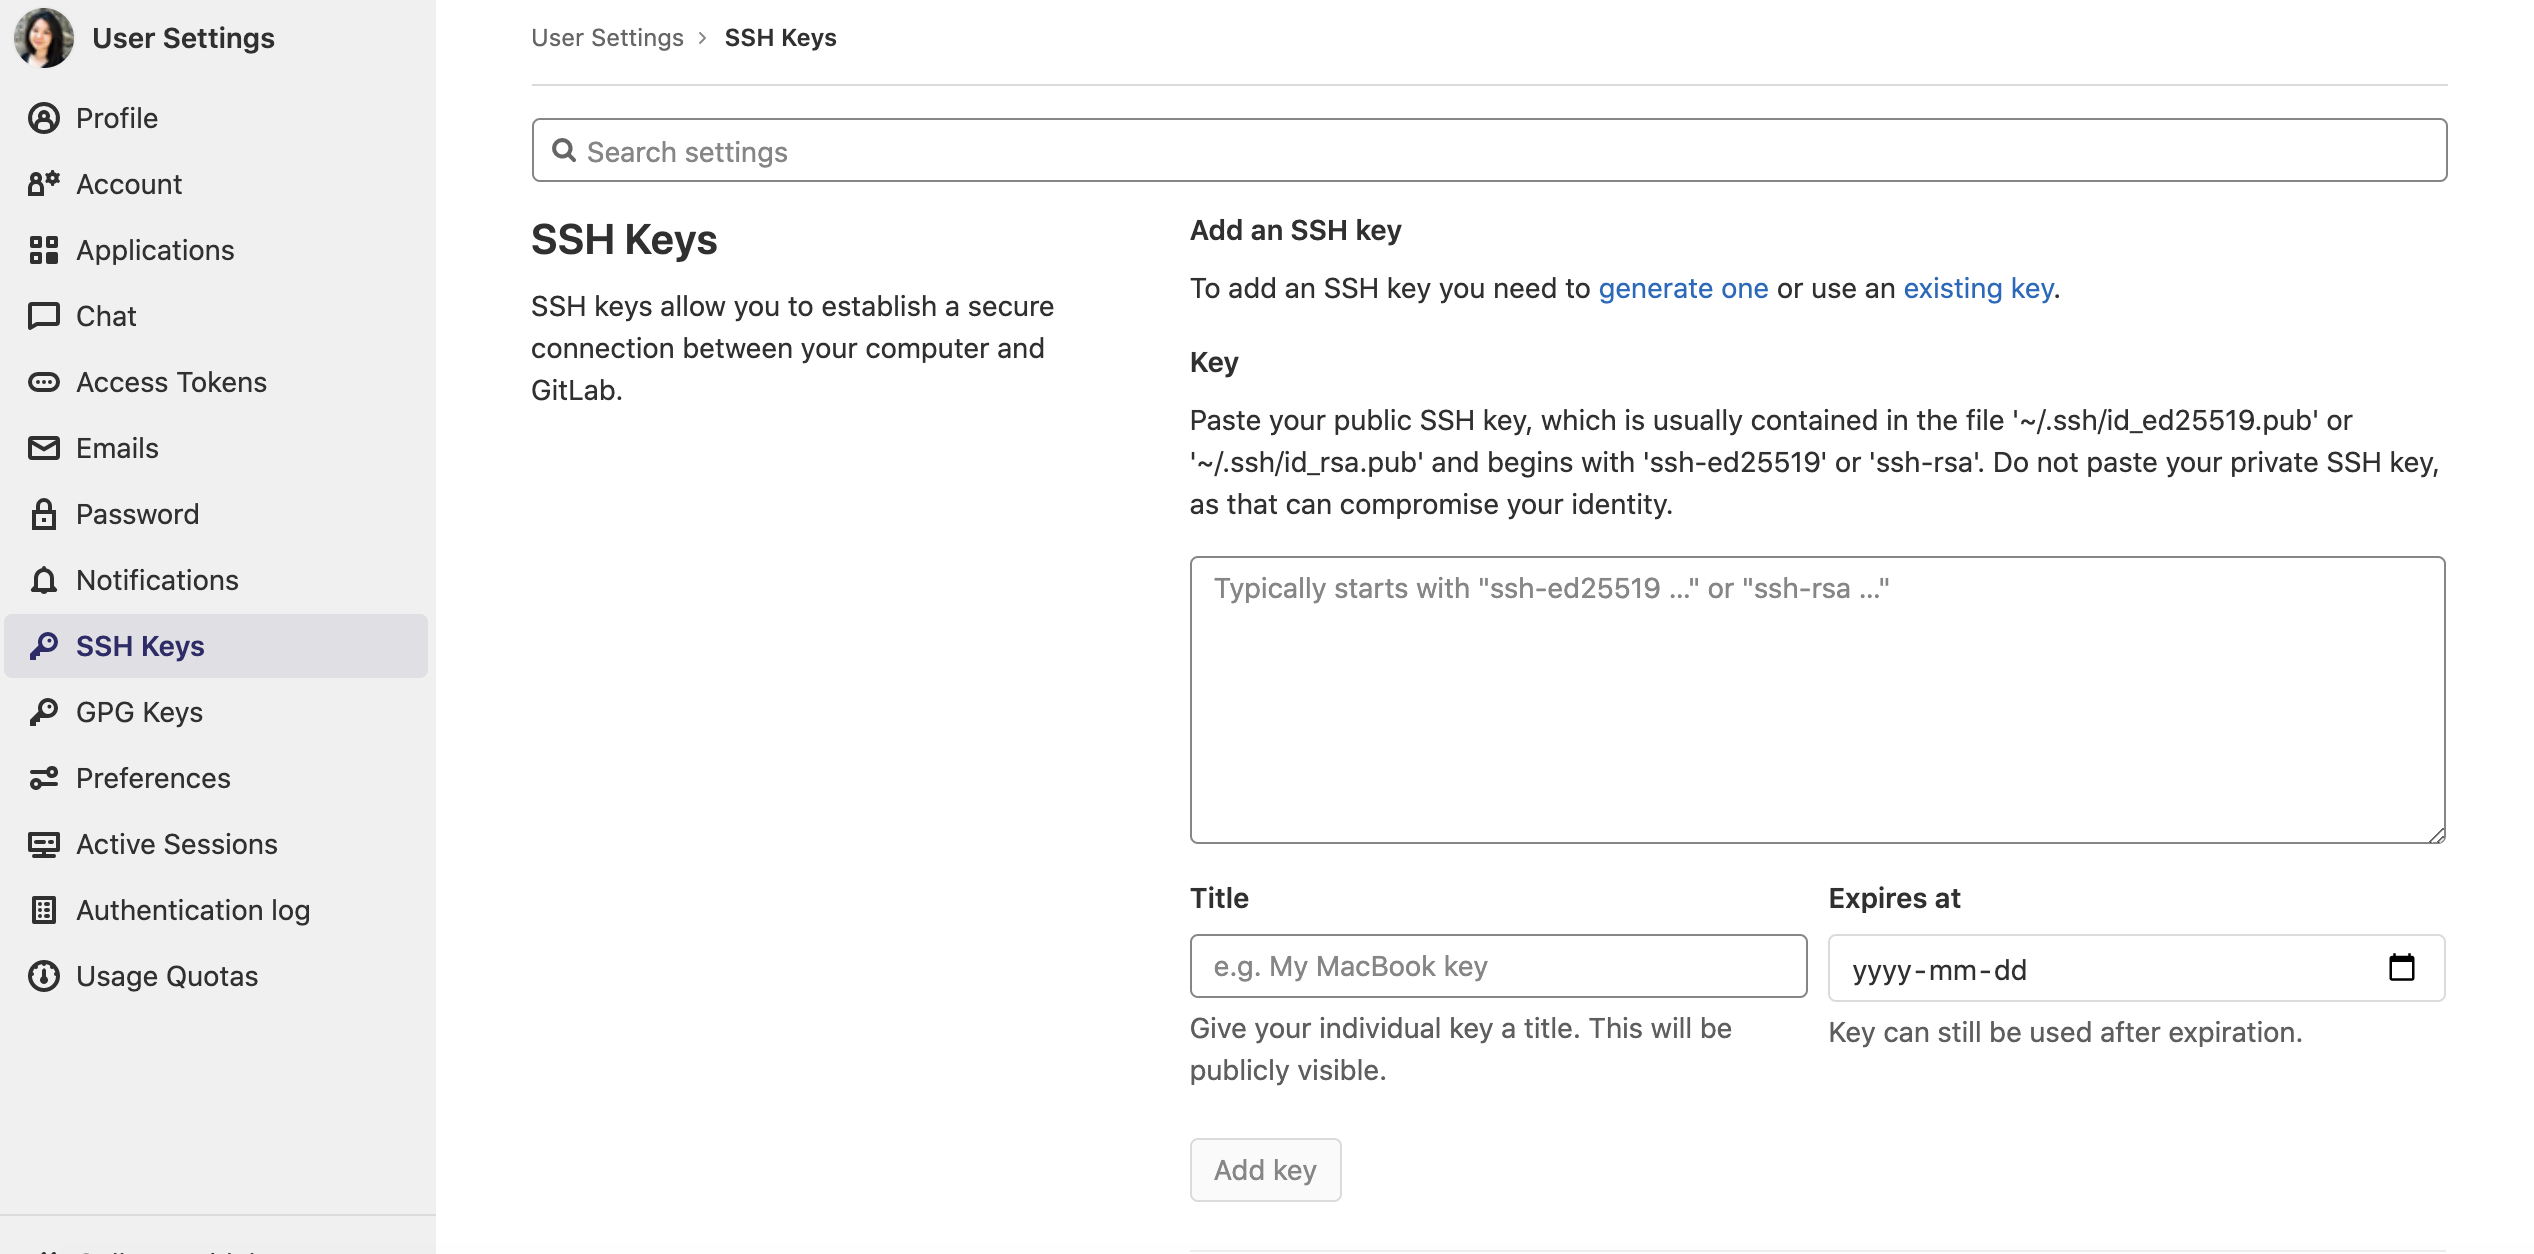
Once done successfully I was brought to the confirmation page

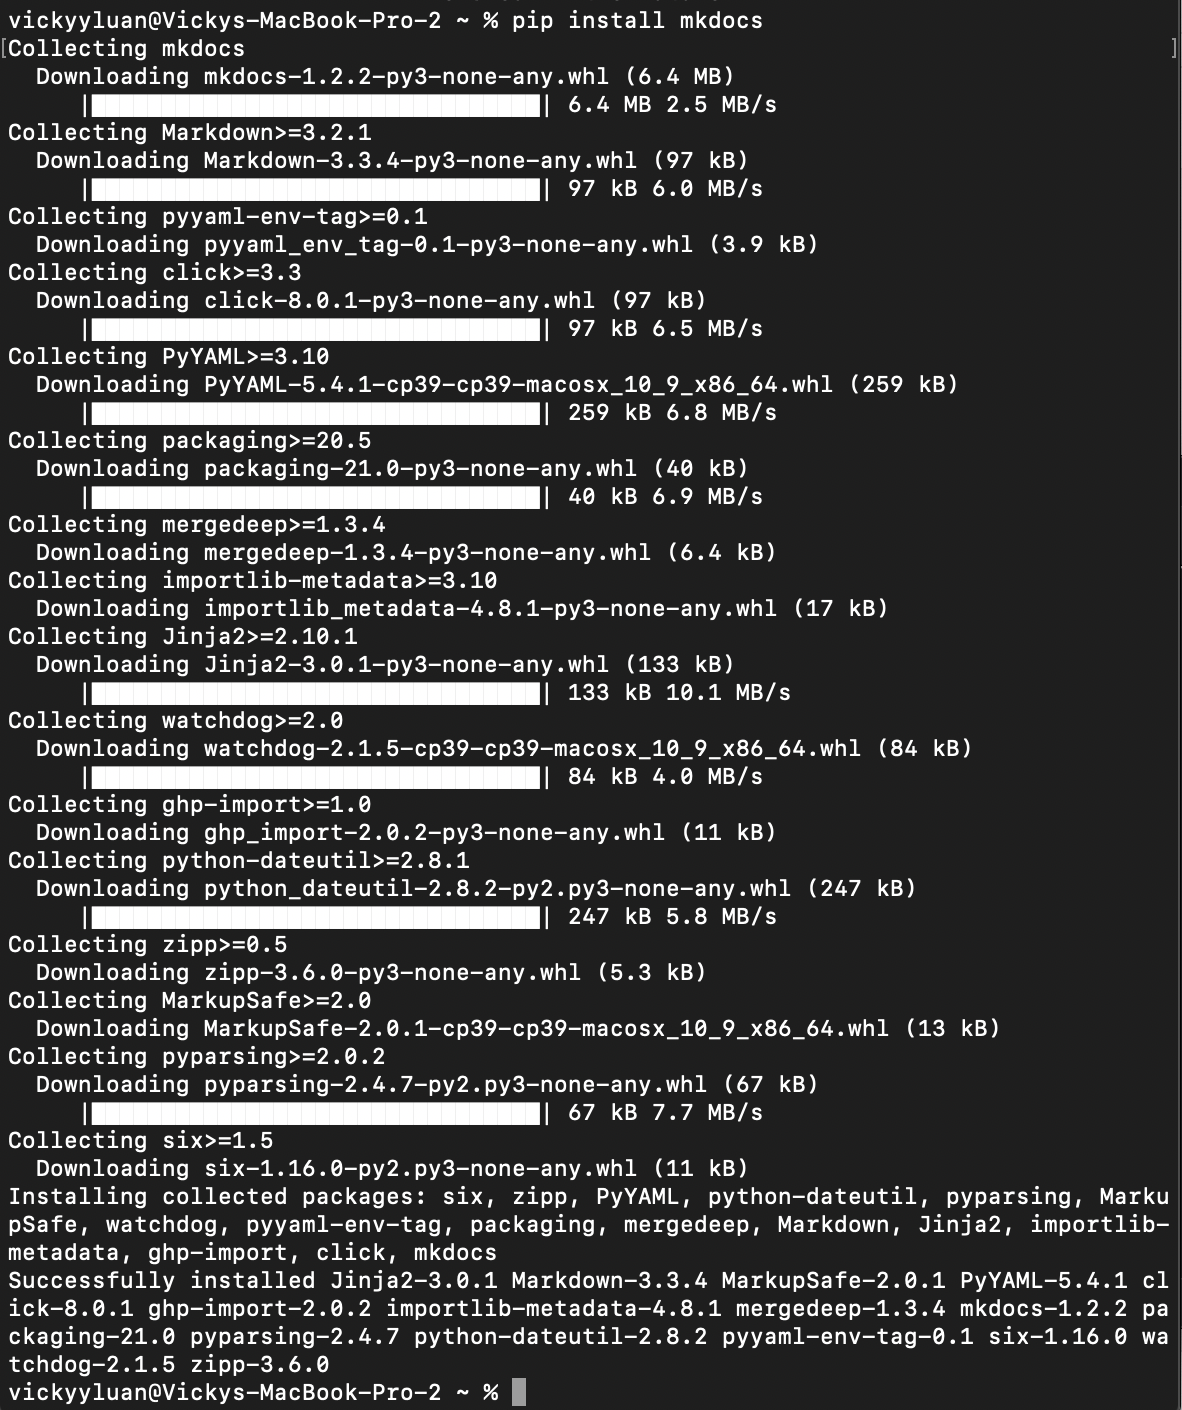
3) Installing Mkdocs.. and Python and pip
To install Mkdocs, I following their online guidebook and fell down a dangerous rabbit hole of installing a whole set of other programs required to have mkdocs installed at all 
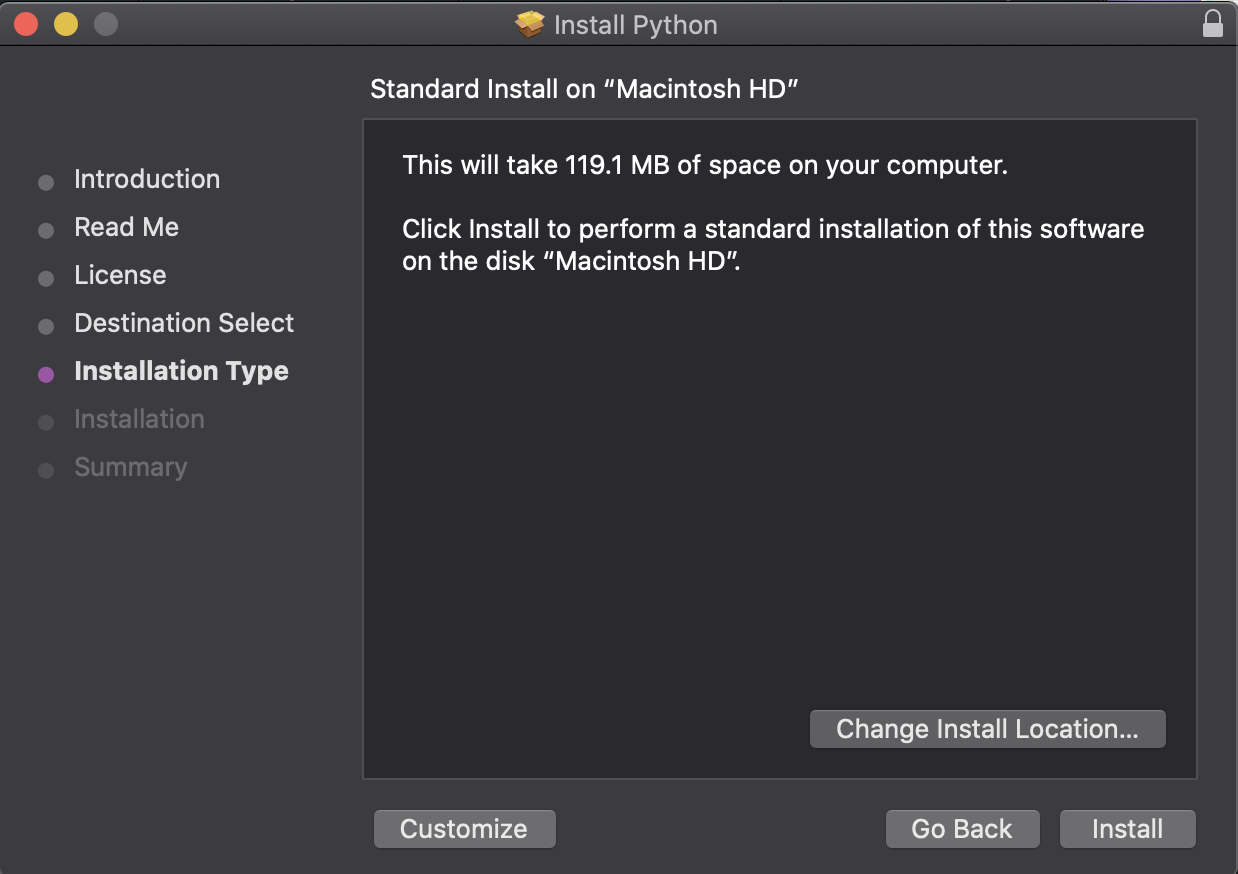
First I had to install Python
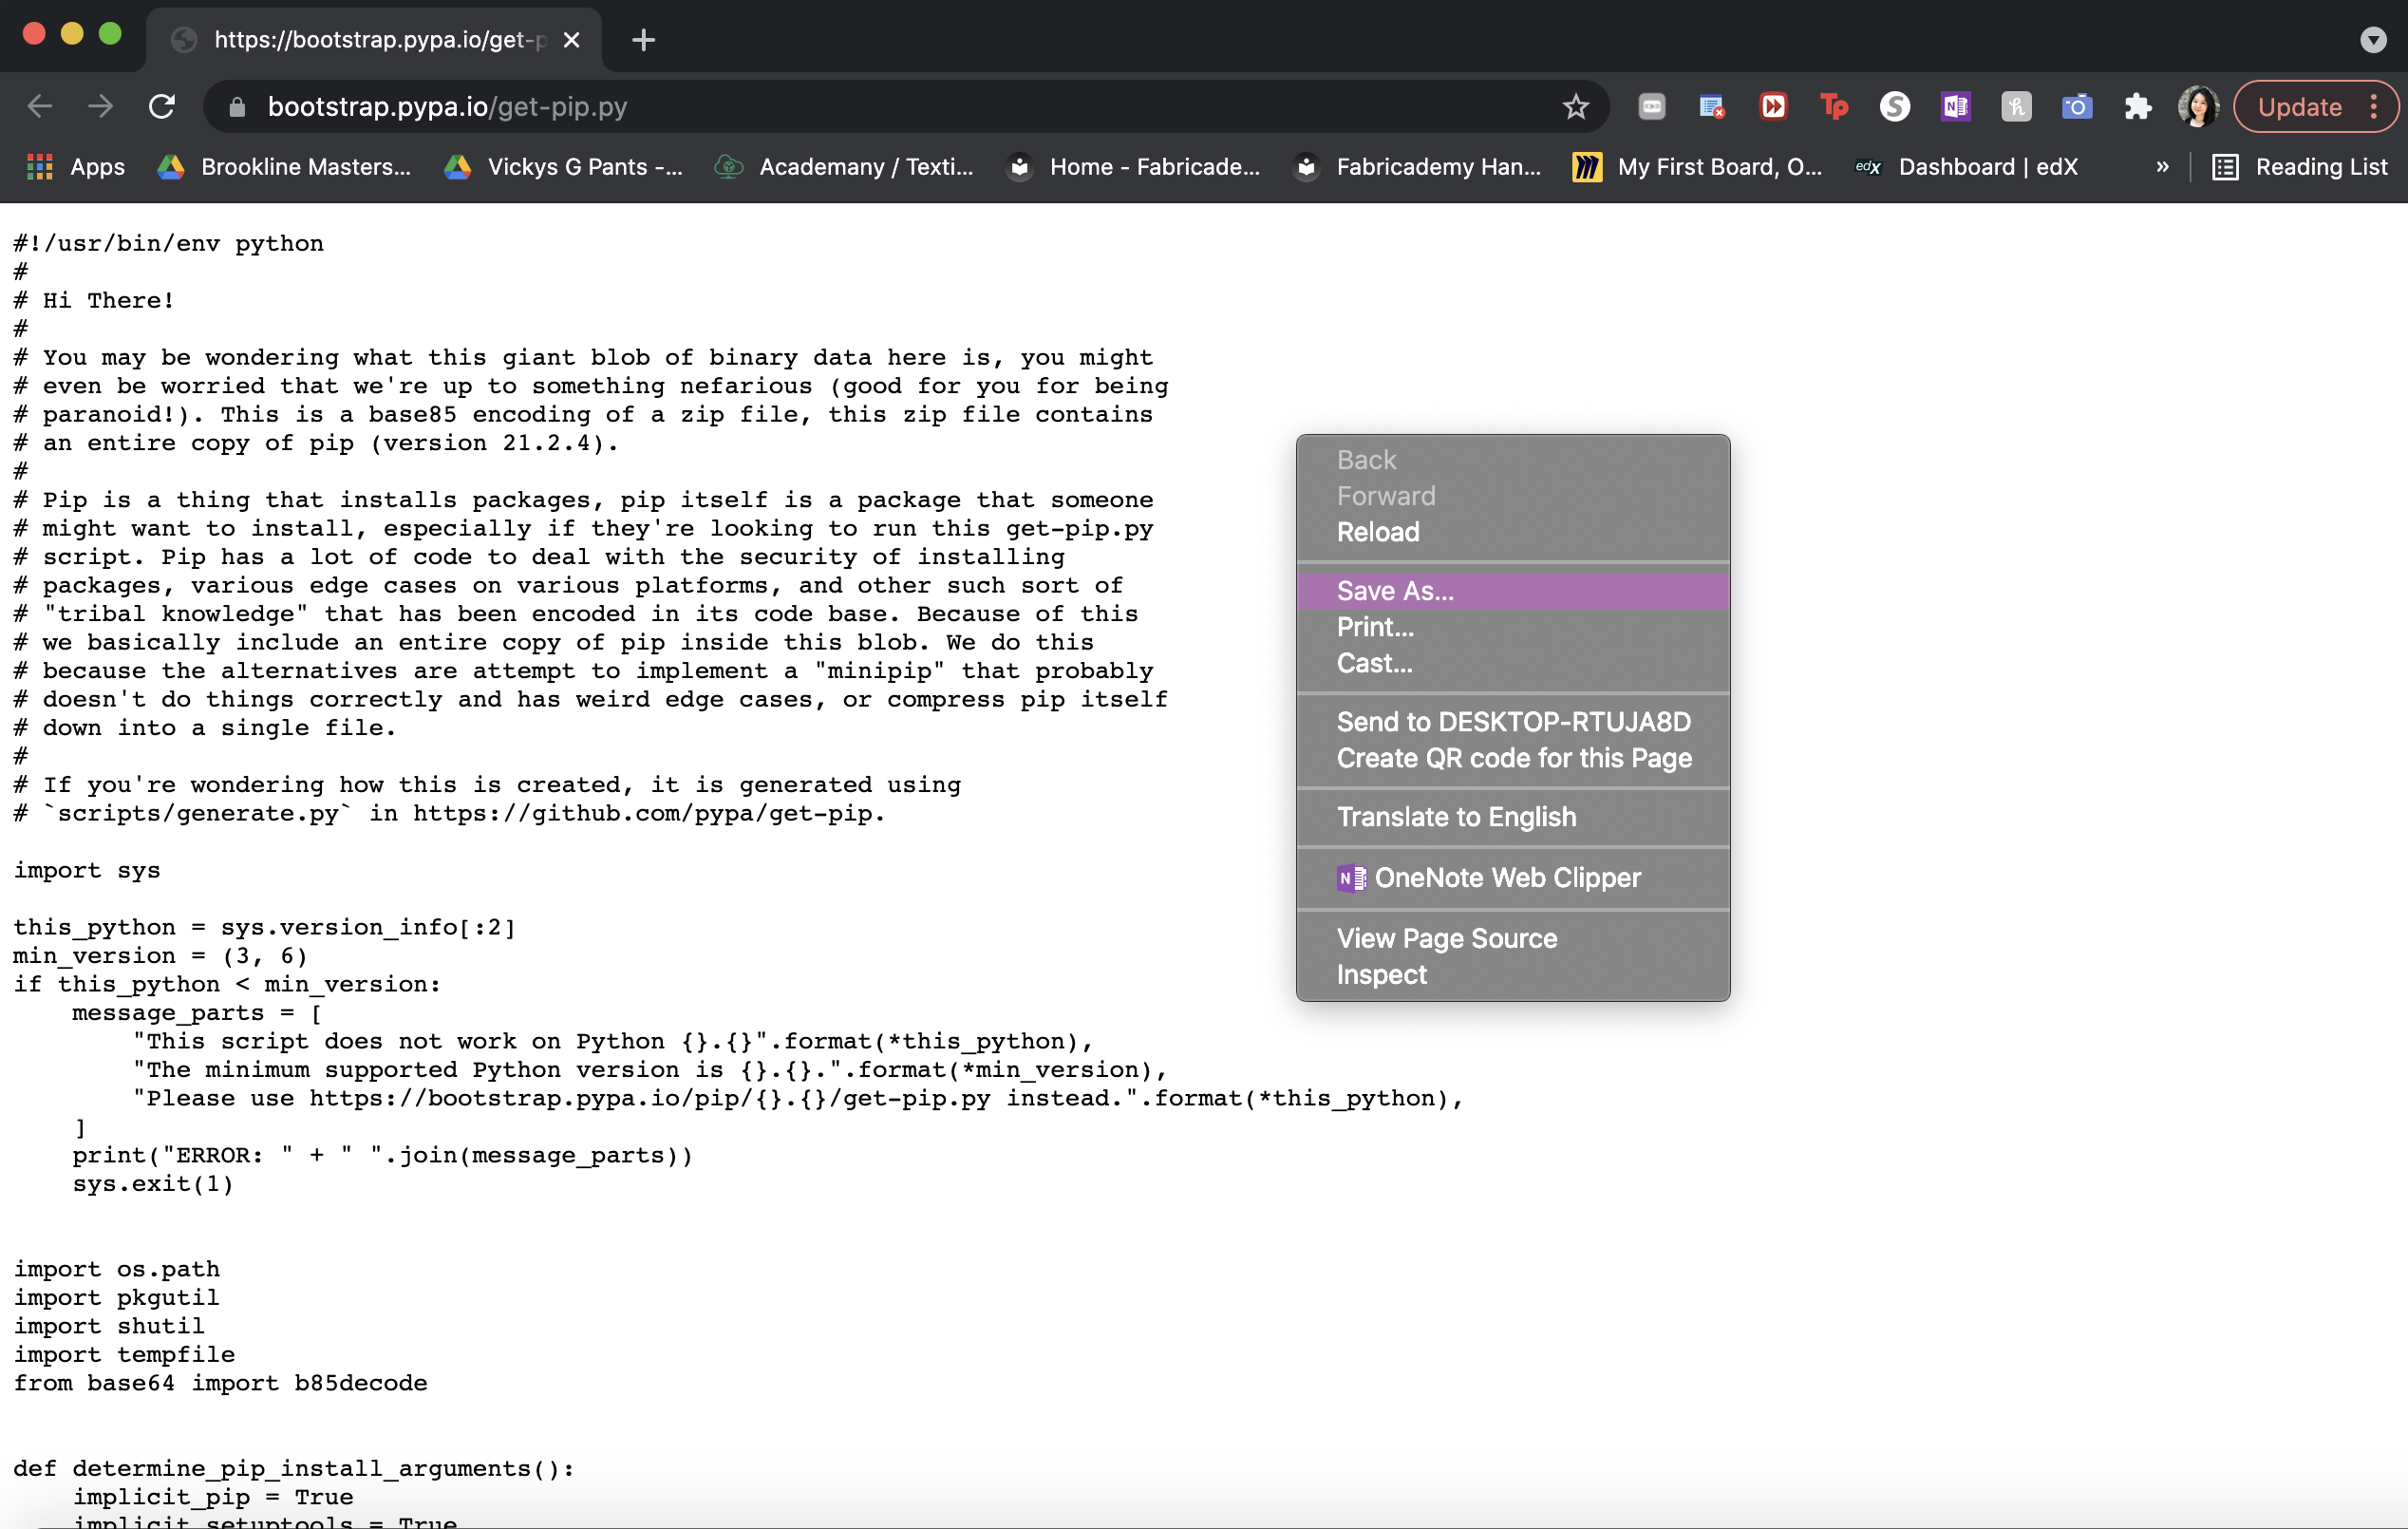
And then install pip by "downloading" get-pip.py by saving it to the same directory as Python 3.6 was saved to
Then I upgraded pip to the latest version by typing in Terminal:
pip install --upgrade pip
Finally, I installed mkdocs with
pip install mkdocs
After a few minutes, the installation was complete 
4) Installing Git...and Xcode and Homebrew
Before installing Git, I first had to install XCode directly through the Terminal:
xcode-select --install
And then Homebrew
/bin/bash -c "$(curl -fsSL https://raw.githubusercontent.com/Homebrew/install/HEAD/install.sh)"
and then used Homebrew to install Git through the Terminal:
brew install git
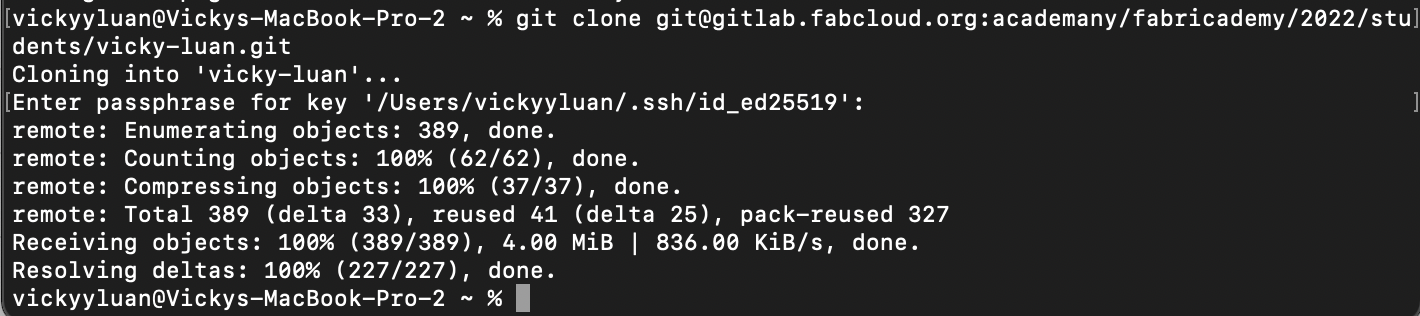
5) Cloning Git
Lastly, to clone my project, I had to return to GitLab and copy the project "URL"
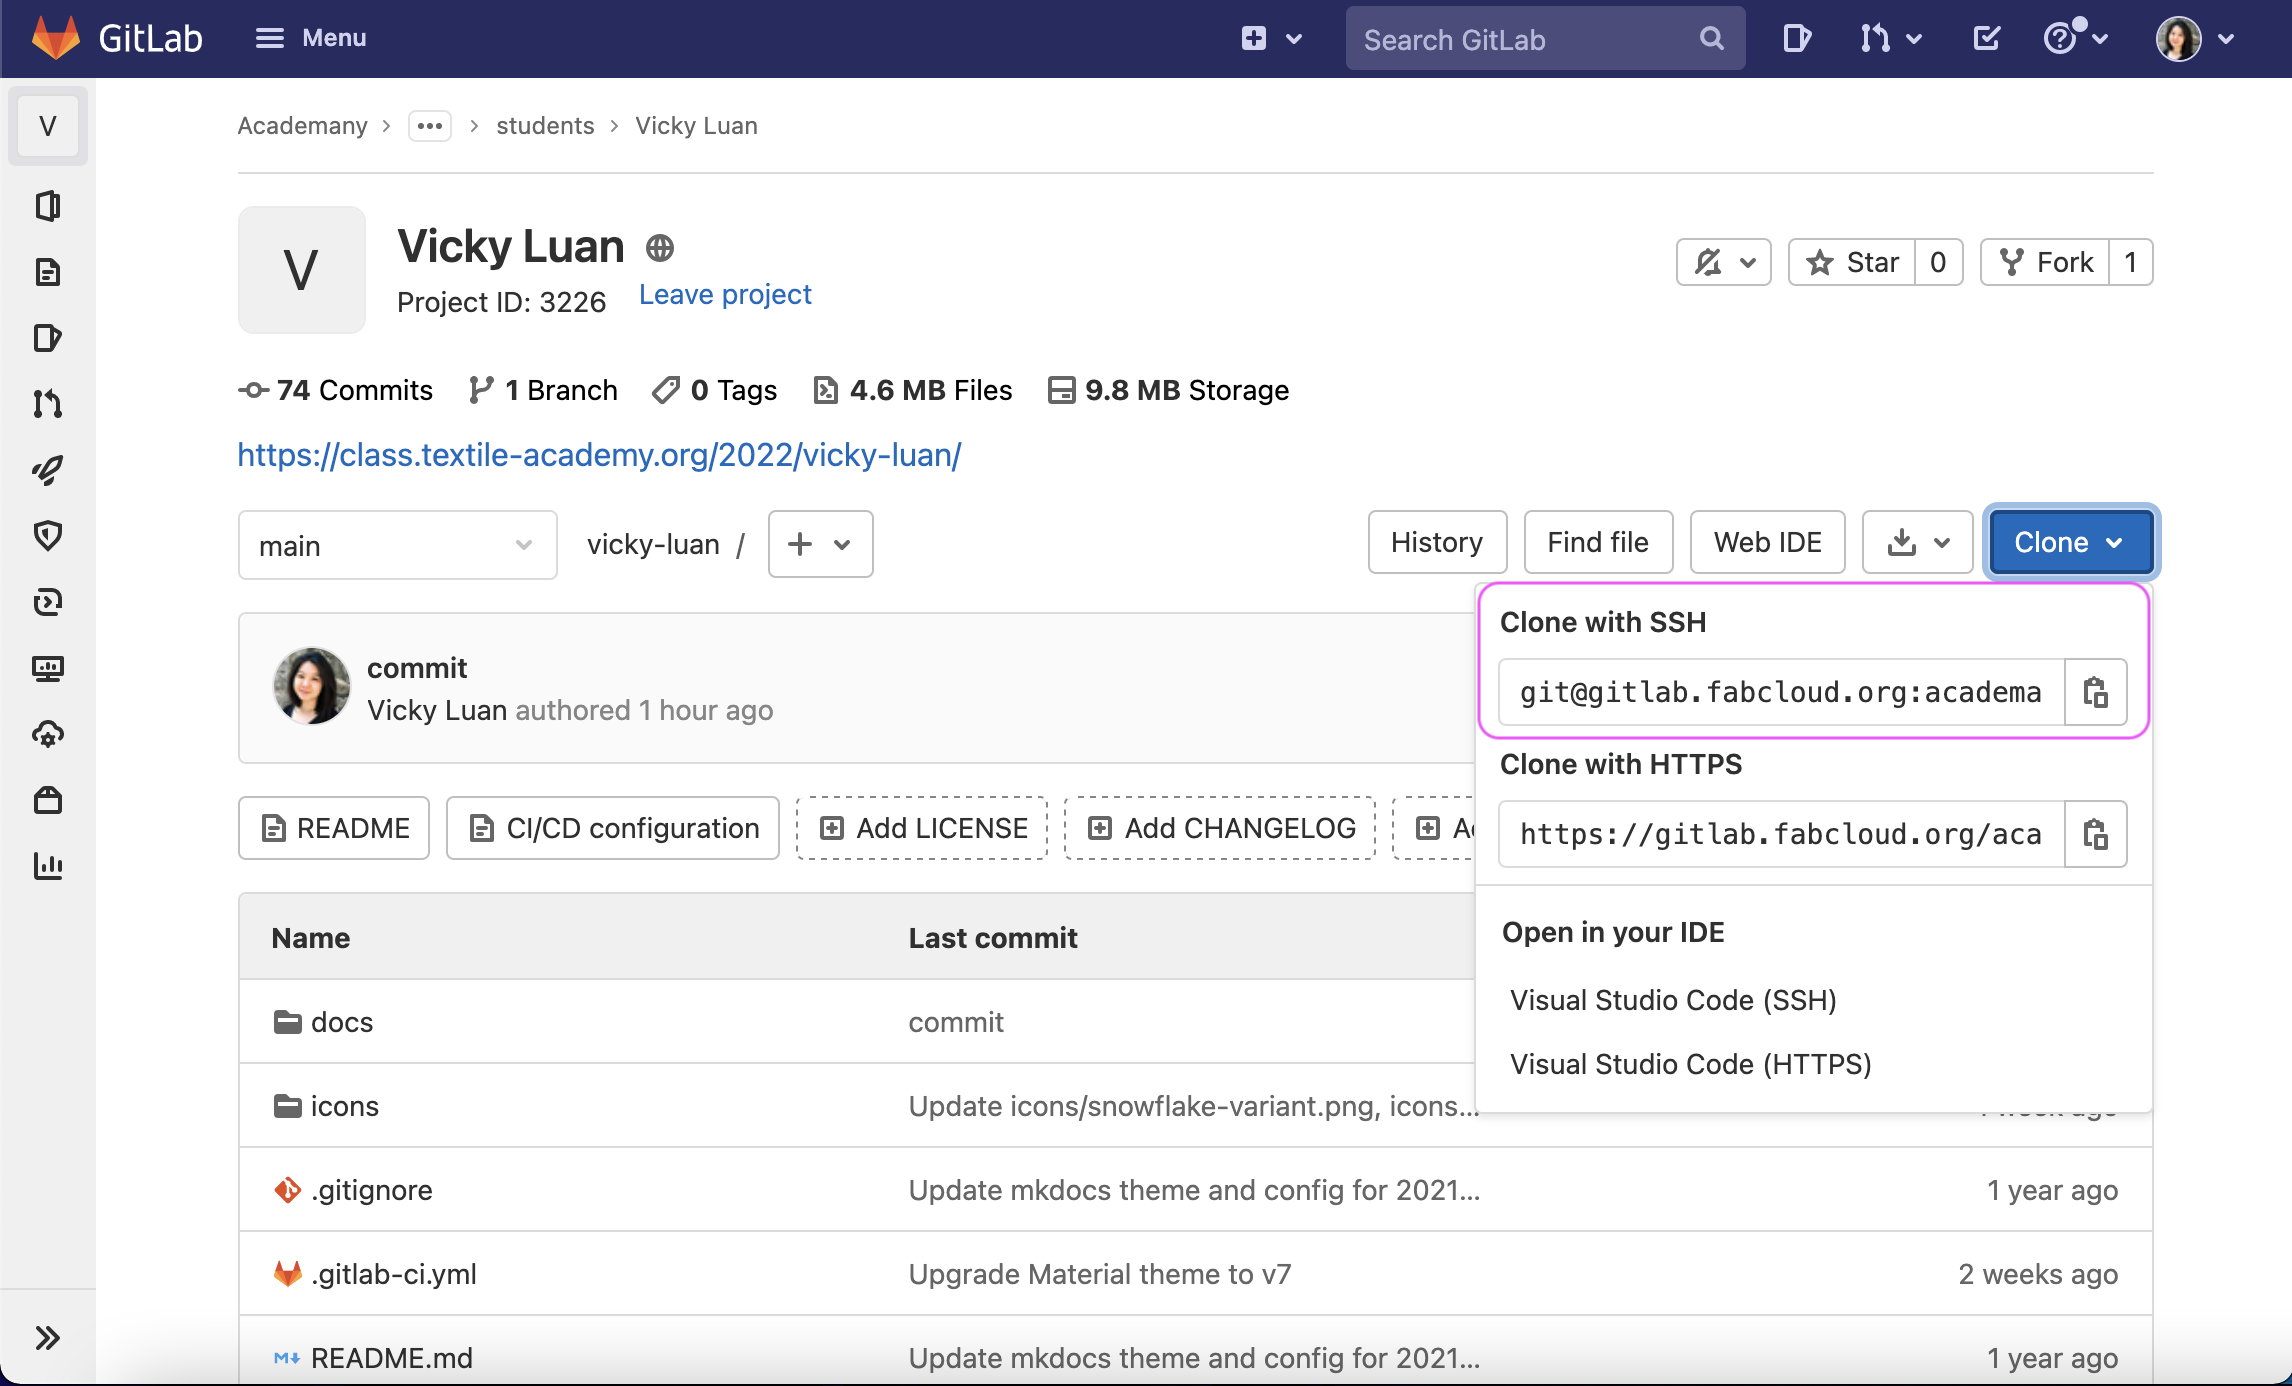
and then paste it into Terminal in the following manner
git clone git@gitlab.fabcloud.org:academany/fabricademy/2022/students/vicky-luan.git
6) Switching to Visual Studio Code
After setting up all the programs above, I decided to switch the interface I'd use to make local edits by downloading Visual Studio Code (somewhat similar to how I switched to Web IDE when working directly from the browser)
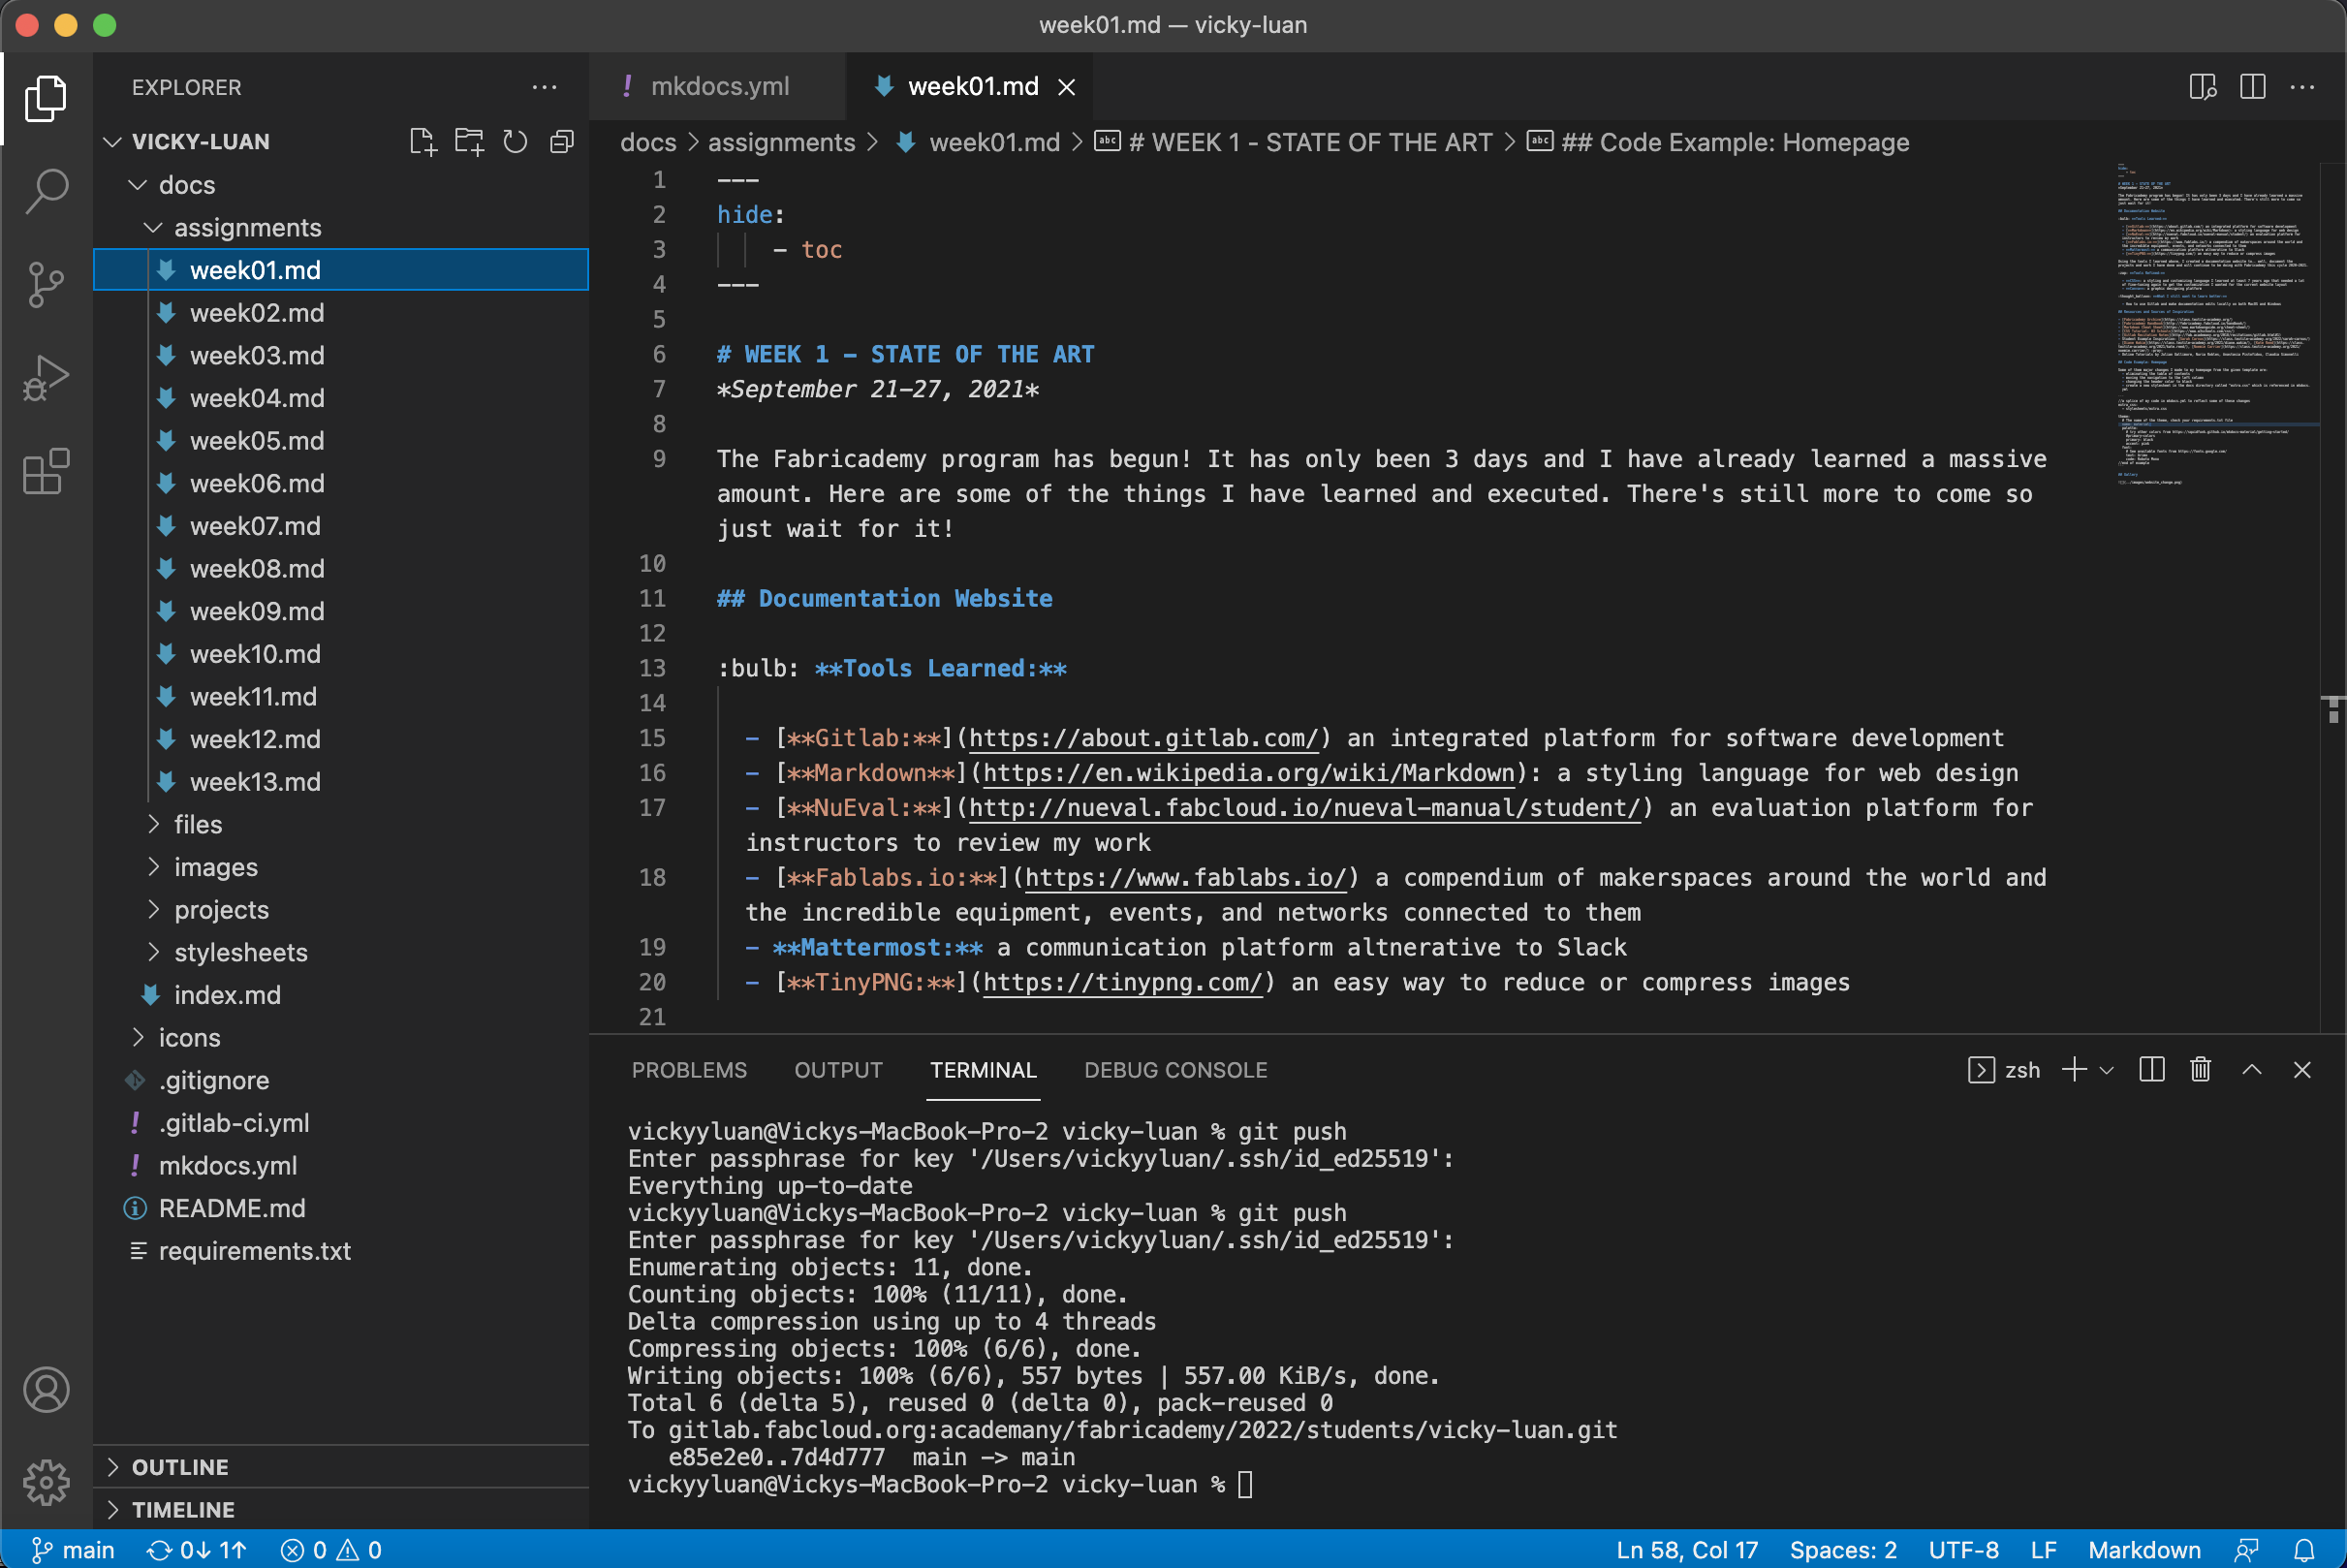
From VS Code, I can access Terminal directly from the program and submit changes by committing the files and then typing
git push
Problem Areas
Git Repo Issue
Problem
Oct 24, 2021
One day, my laptop crashed and when I opened Visual Studio Code again and tried to push my latest updates through the terminal, I received an error.
vickyyluan@Vickys-MacBook-Pro-2 ~ % git push
fatal: not a git repository (or any of the parent directories): .git
Solution
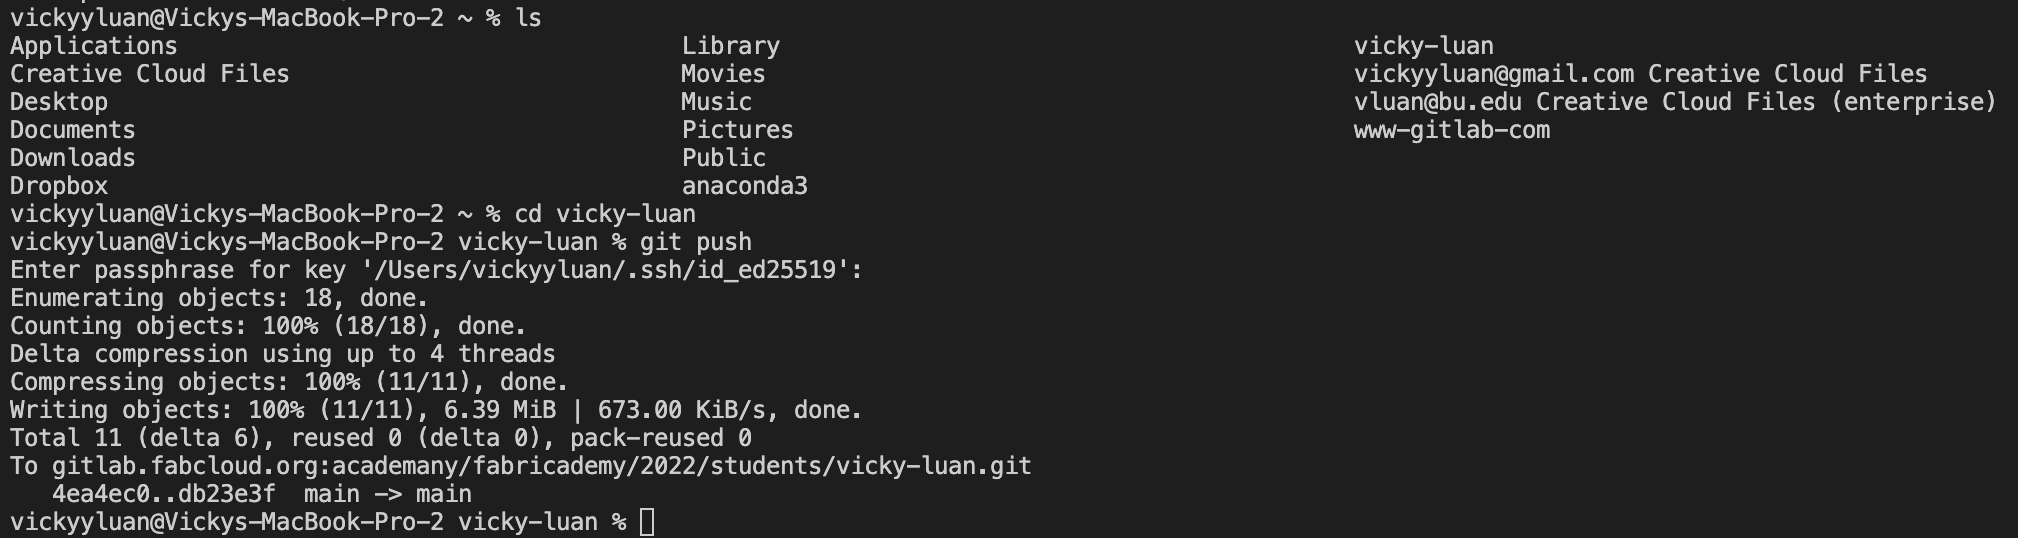
I first checked my directory by typing in 'ls' in the terminal.
ls
I then changed the directory to the folder containing all my git files by typing in
cd vicky-luan
This fixed the git push issue immediately.
Git Push Fail
Problem
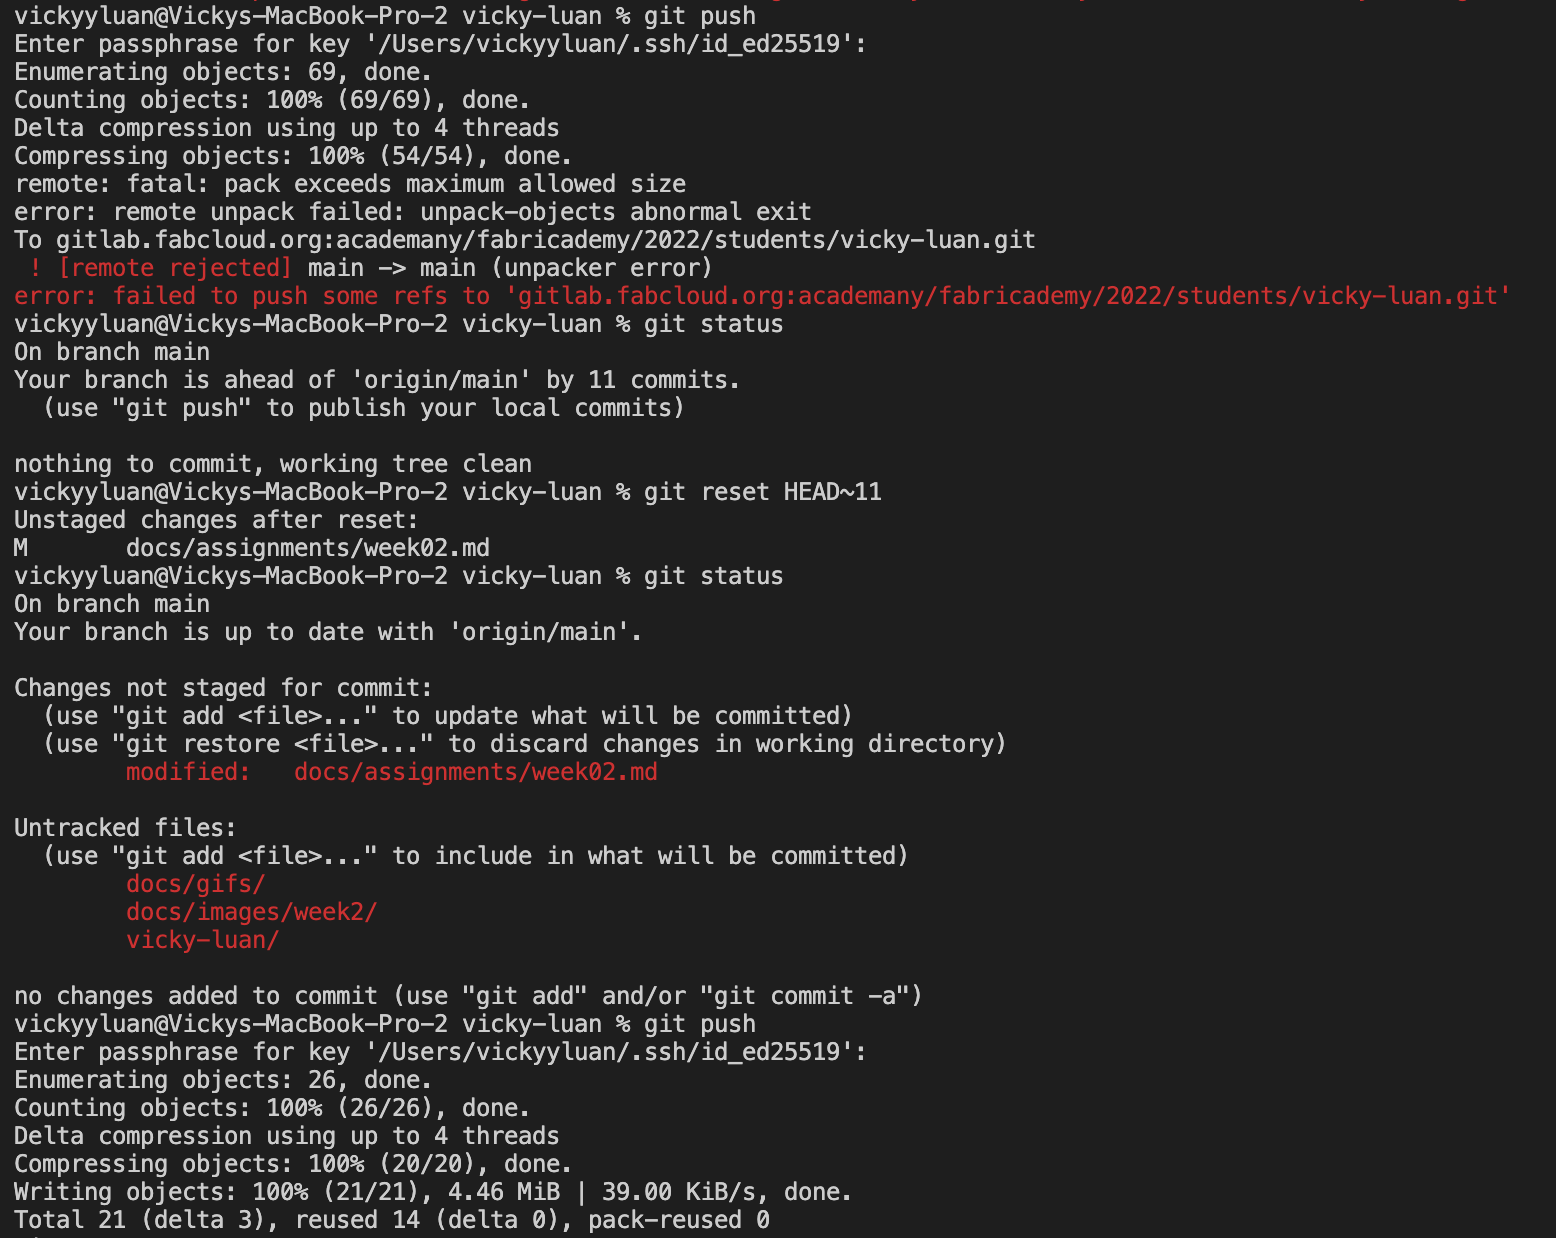
When I got too ambitious documenting this week, I committed and pushed too many changes that exceeded the combined total size. As a result I received the error:
remote: fatal: pack exceeds maximum allowed size
error: remote unpack failed: unpack-objects abnormal exit
To gitlab.fabcloud.org:academany/fabricademy/2022/students/vicky-luan.git
 ! [remote rejected] main -> main (unpacker error)
error: failed to push some refs to 'gitlab.fabcloud.org:academany/fabricademy/2022/students/vicky-luan.git'
Solution
1) I checked the git status
git status
and received an output of
On branch main
Your branch is ahead of 'origin/main' by 11 commits.
  (use "git push" to publish your local commits)

nothing to commit, working tree clean
2) New input:
git reset HEAD~11
3) Retried git push and solved the issue
Other Resources and Sources of Inspiration
- Fabricademy Archive
- Fabricademy Handbook
- Markdown Cheat Sheet
- Emoji Cheat Sheet
- CSS Tutorial: W3 Schools
- Source for gifs: GIPHY
- Gitlab Recitation Notes
- Student Example Inspiration: Sarah Carnus, Diane Wakim, Kate Reed, Noemie Carrier, Sarah Fdili Alaoui

- Past Student Examples: Mahavir Singh, Mathiew Laporte
- InstaGantt
- Online Tutorials by Julian Gallimore, Nuria Robles, Anastasia Pistofidou, Claudia Simonelli