7. Computational Couture
Week 07- a week in which two states accompanied me: interest, curiosity and the unknown.
This week's outcomes: executing from file to production workflow, from 3D modelling to 3D printing.
Research & Inspiration
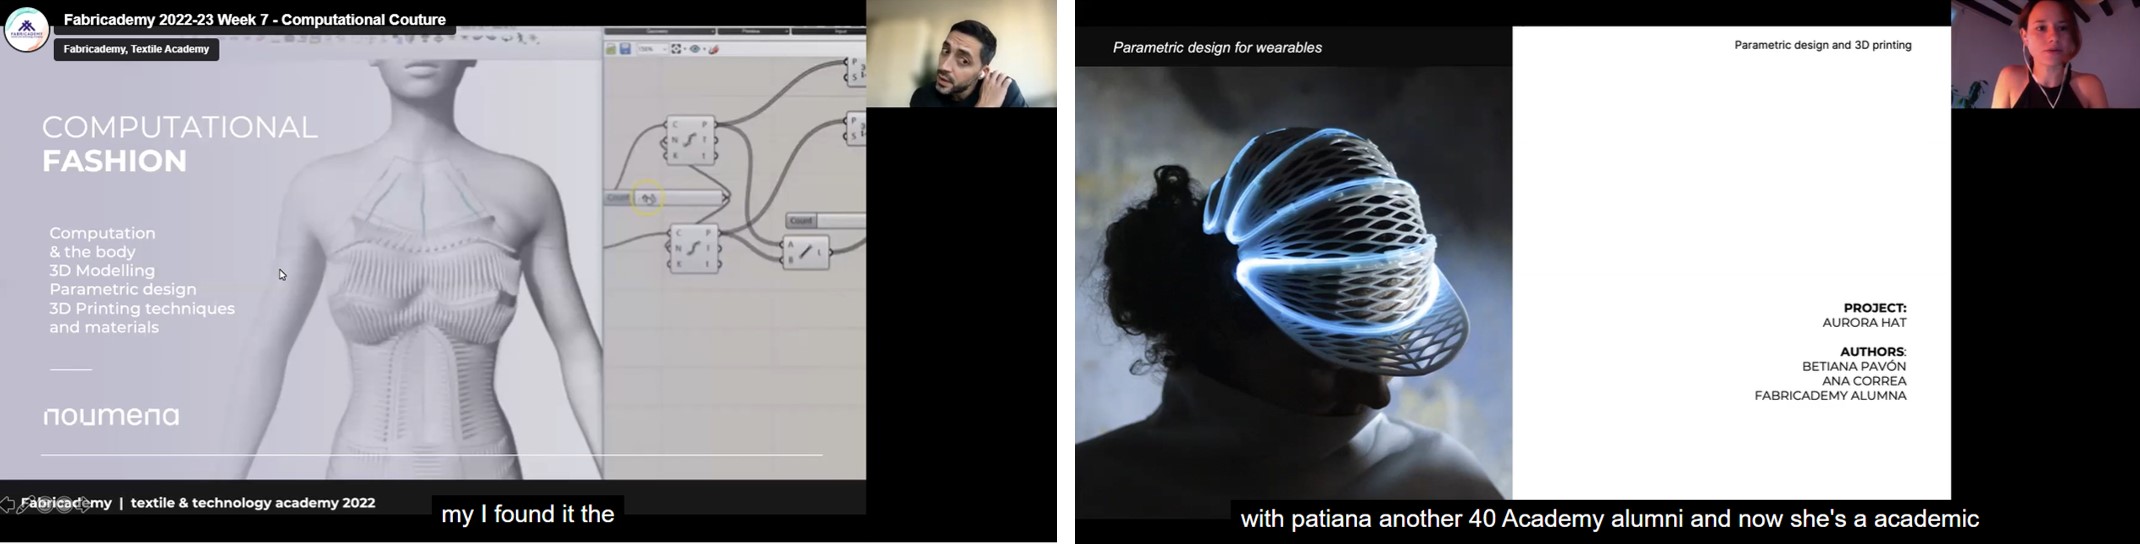
The week beggin with a lecture about Computational Couture.
Next, we carefully watched Grasshopper Tutorials.

Although is was complicated, in the end of the week I was able to design a parametric model using Grasshopper3D.
What did I understand at this stage? 3D design is not only beautiful, but also useful.

The beautiful side: „3D printing technology is interesting for fashion because it allows to work on fashion models more easily and create amazing things for the fashion industry, such as garments, ornaments and eyelets.”
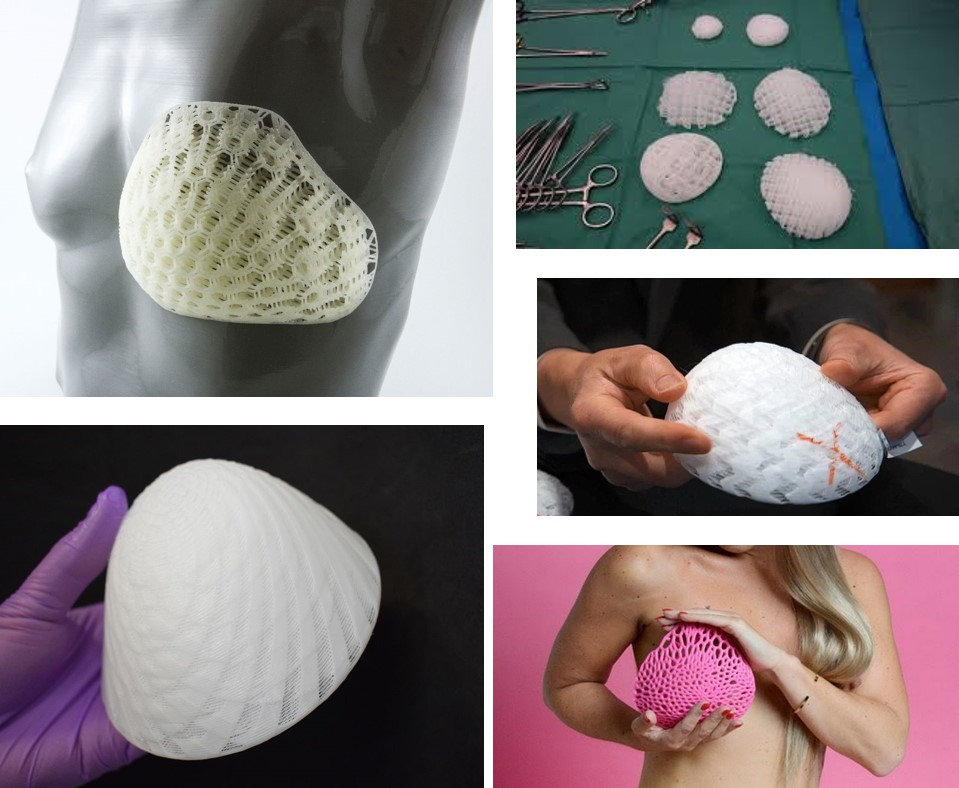
Useful side: „3D printed anatomical models from patient scan data are becoming increasingly useful tools in today’s practice of personalized, precision medicine. As cases become more complex and operating room efficiency becomes more important for routine cases, visual and tactile reference models can enhance understanding and communication within OR teams and with patients.
Healthcare professionals, hospitals, and research organizations across the globe are using 3D printed anatomical models as reference tools for preoperative planning, intraoperative visualization, and sizing or pre-fitting medical equipment for both routine and highly complex procedures that have been documented in hundreds of publications.”
Process and workflow
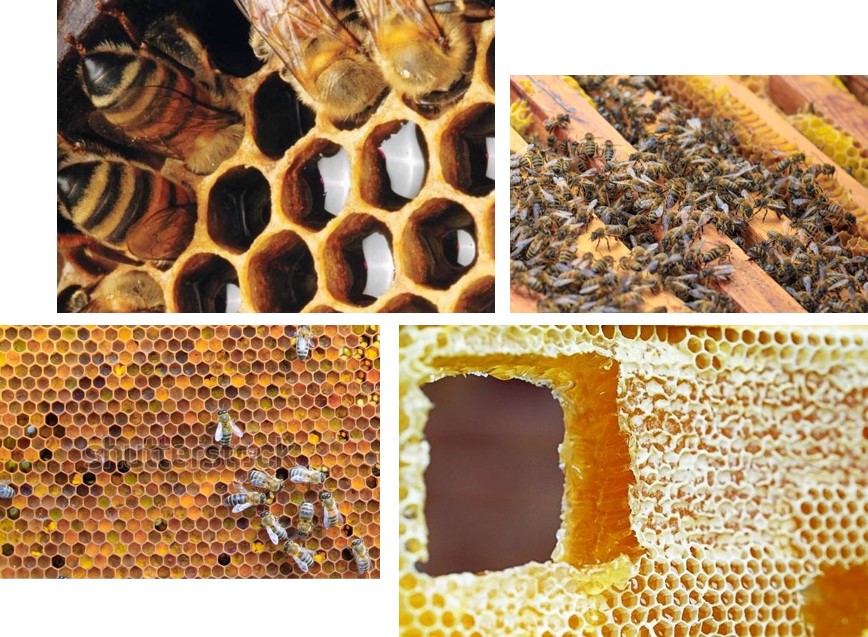
Step 1 - searching for shapes
For this week, as a inspiration for shapes I formed was the house of bees.
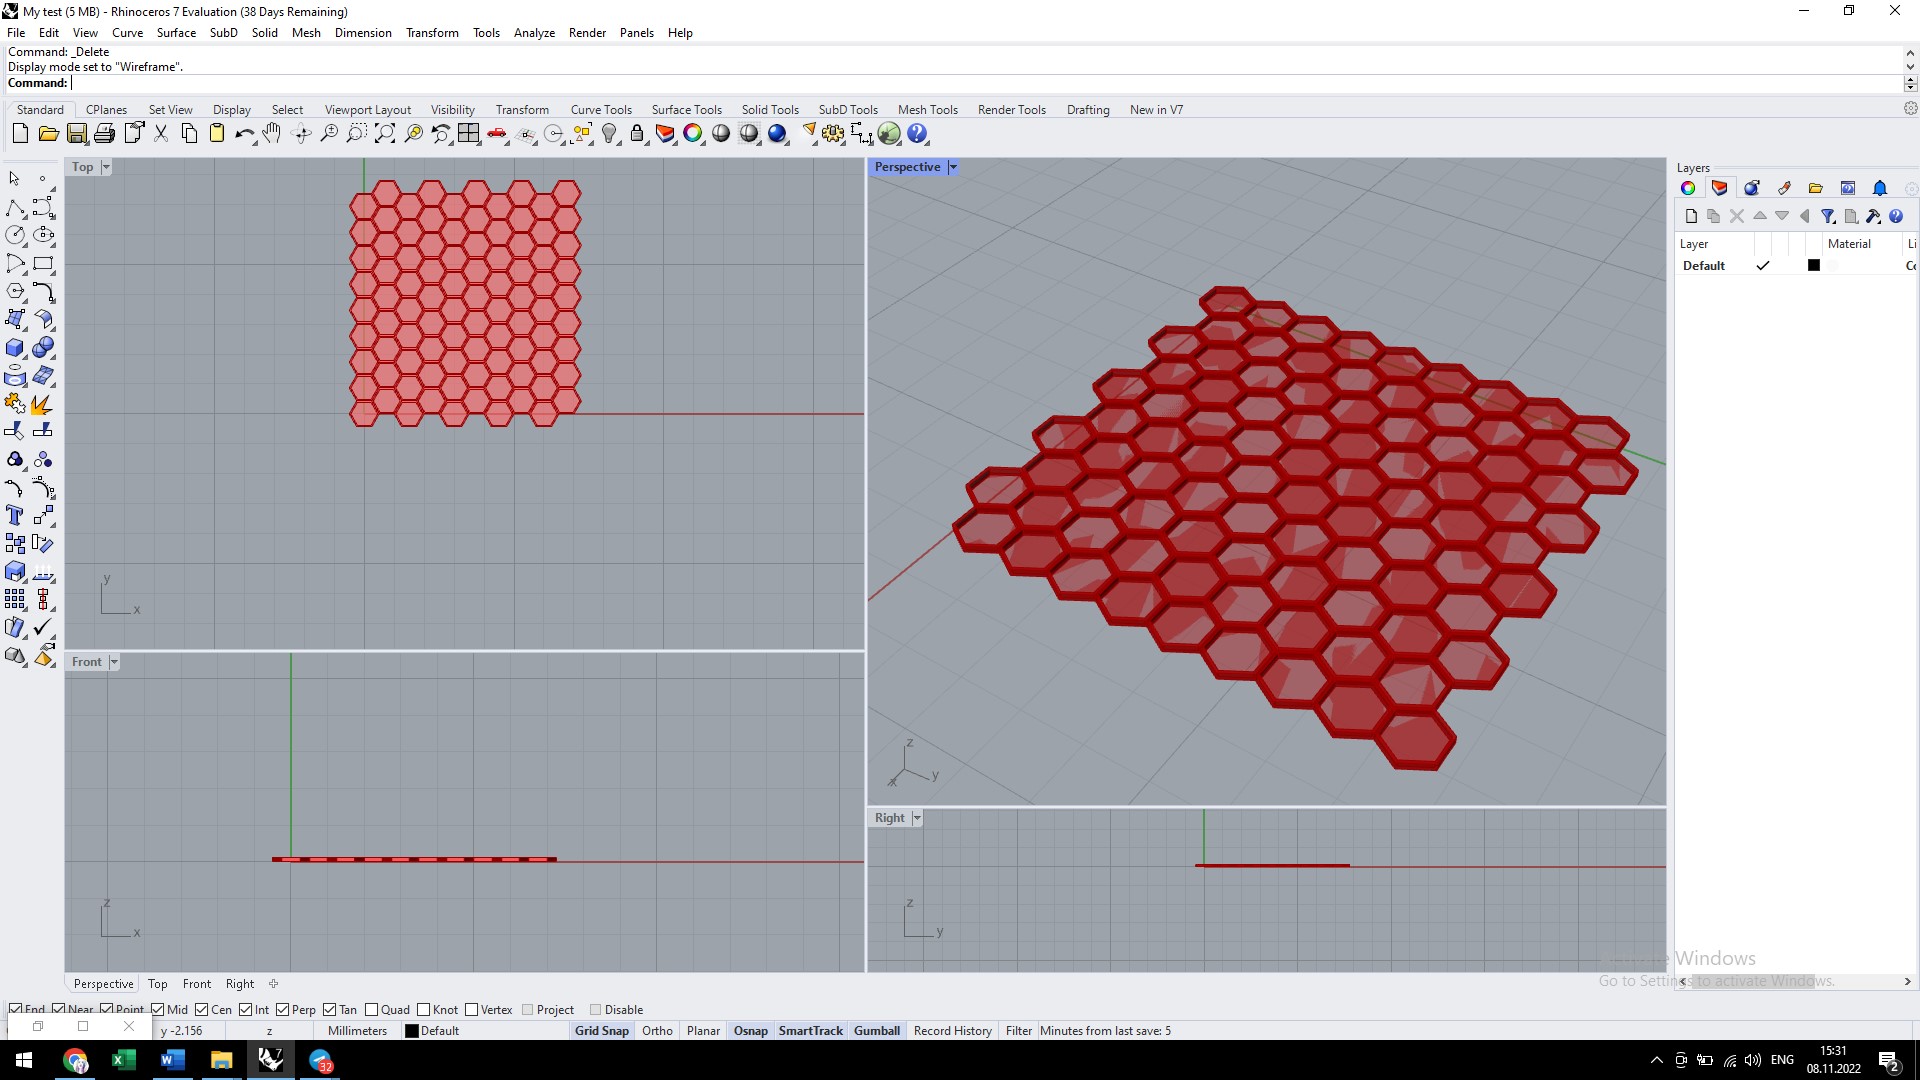
Step 2 - experiments in Rhino and Grass
Grasshopper is a visual programming language and environment that runs within the Rhinoceros 3D.
To build my model I was guided by the tutorials by Eugenio Bettucchi Fabricademy TUTORIALS Grasshopper
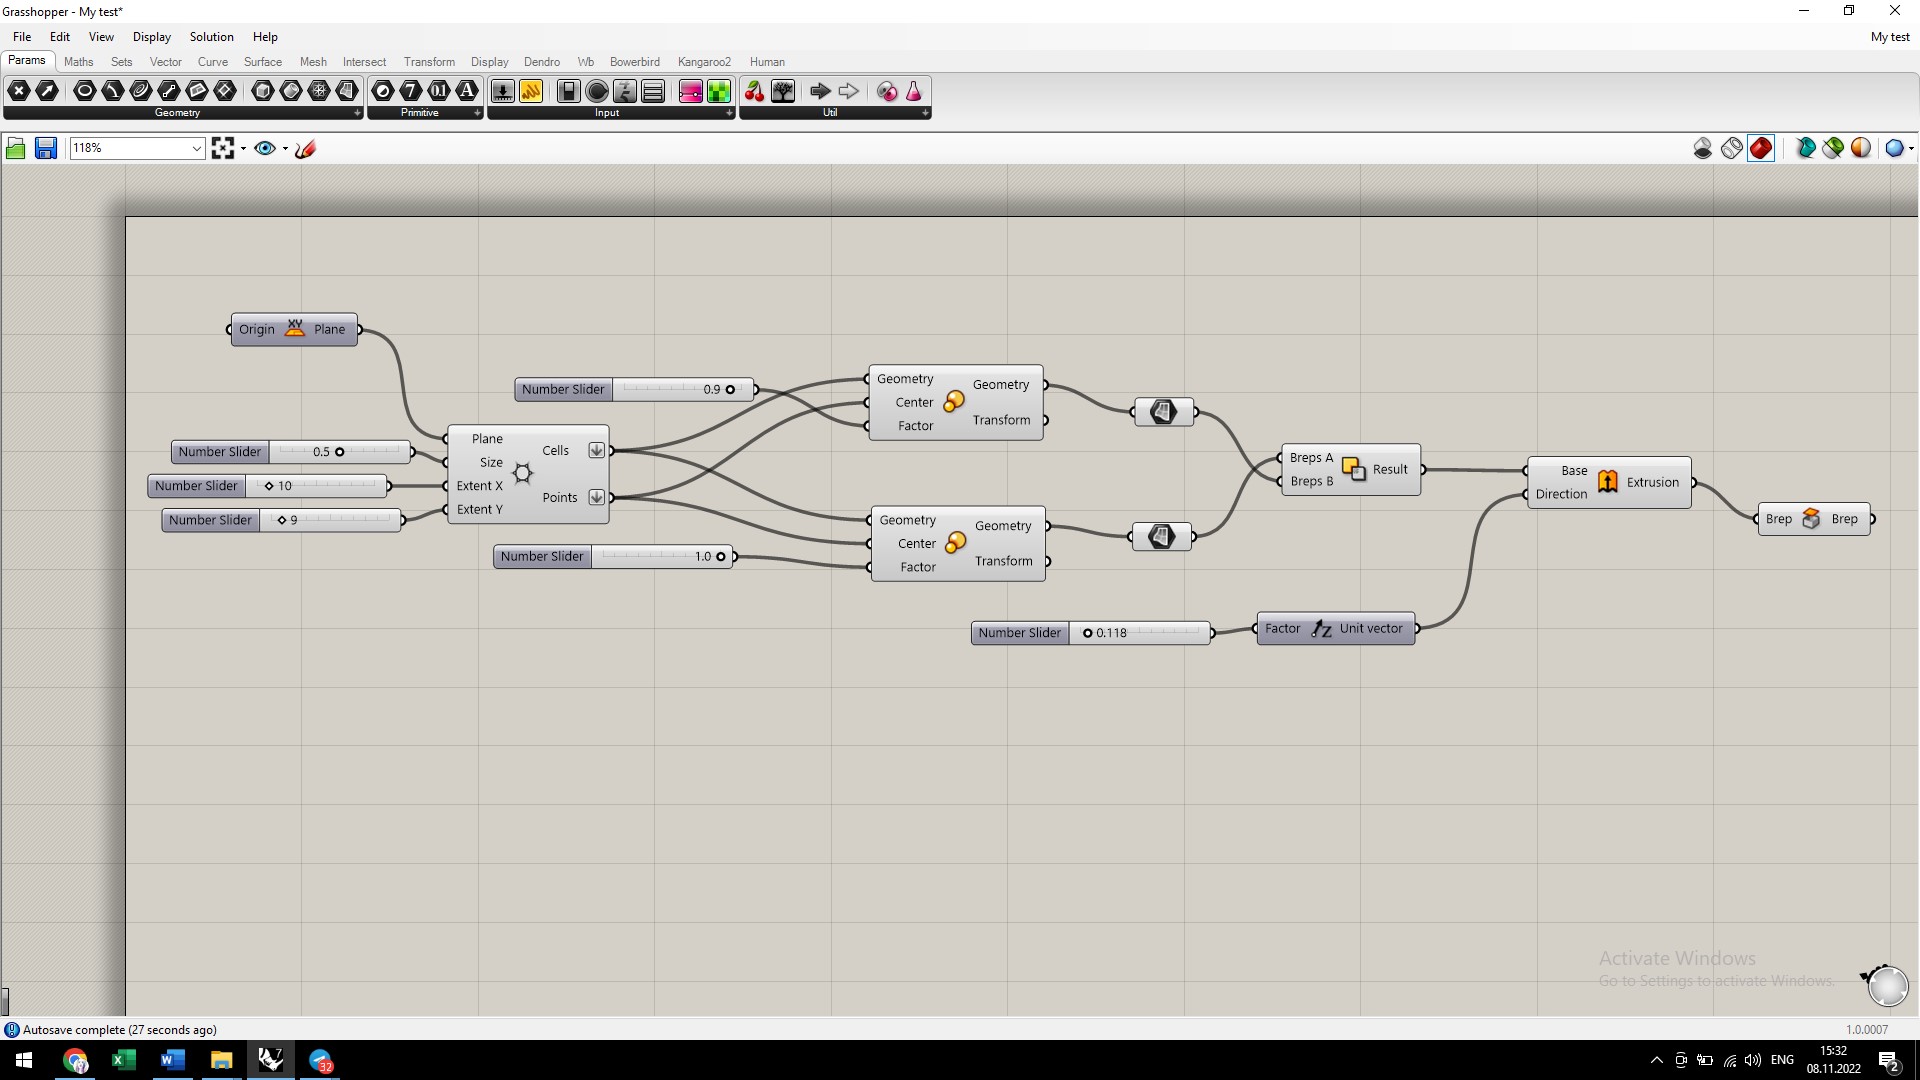
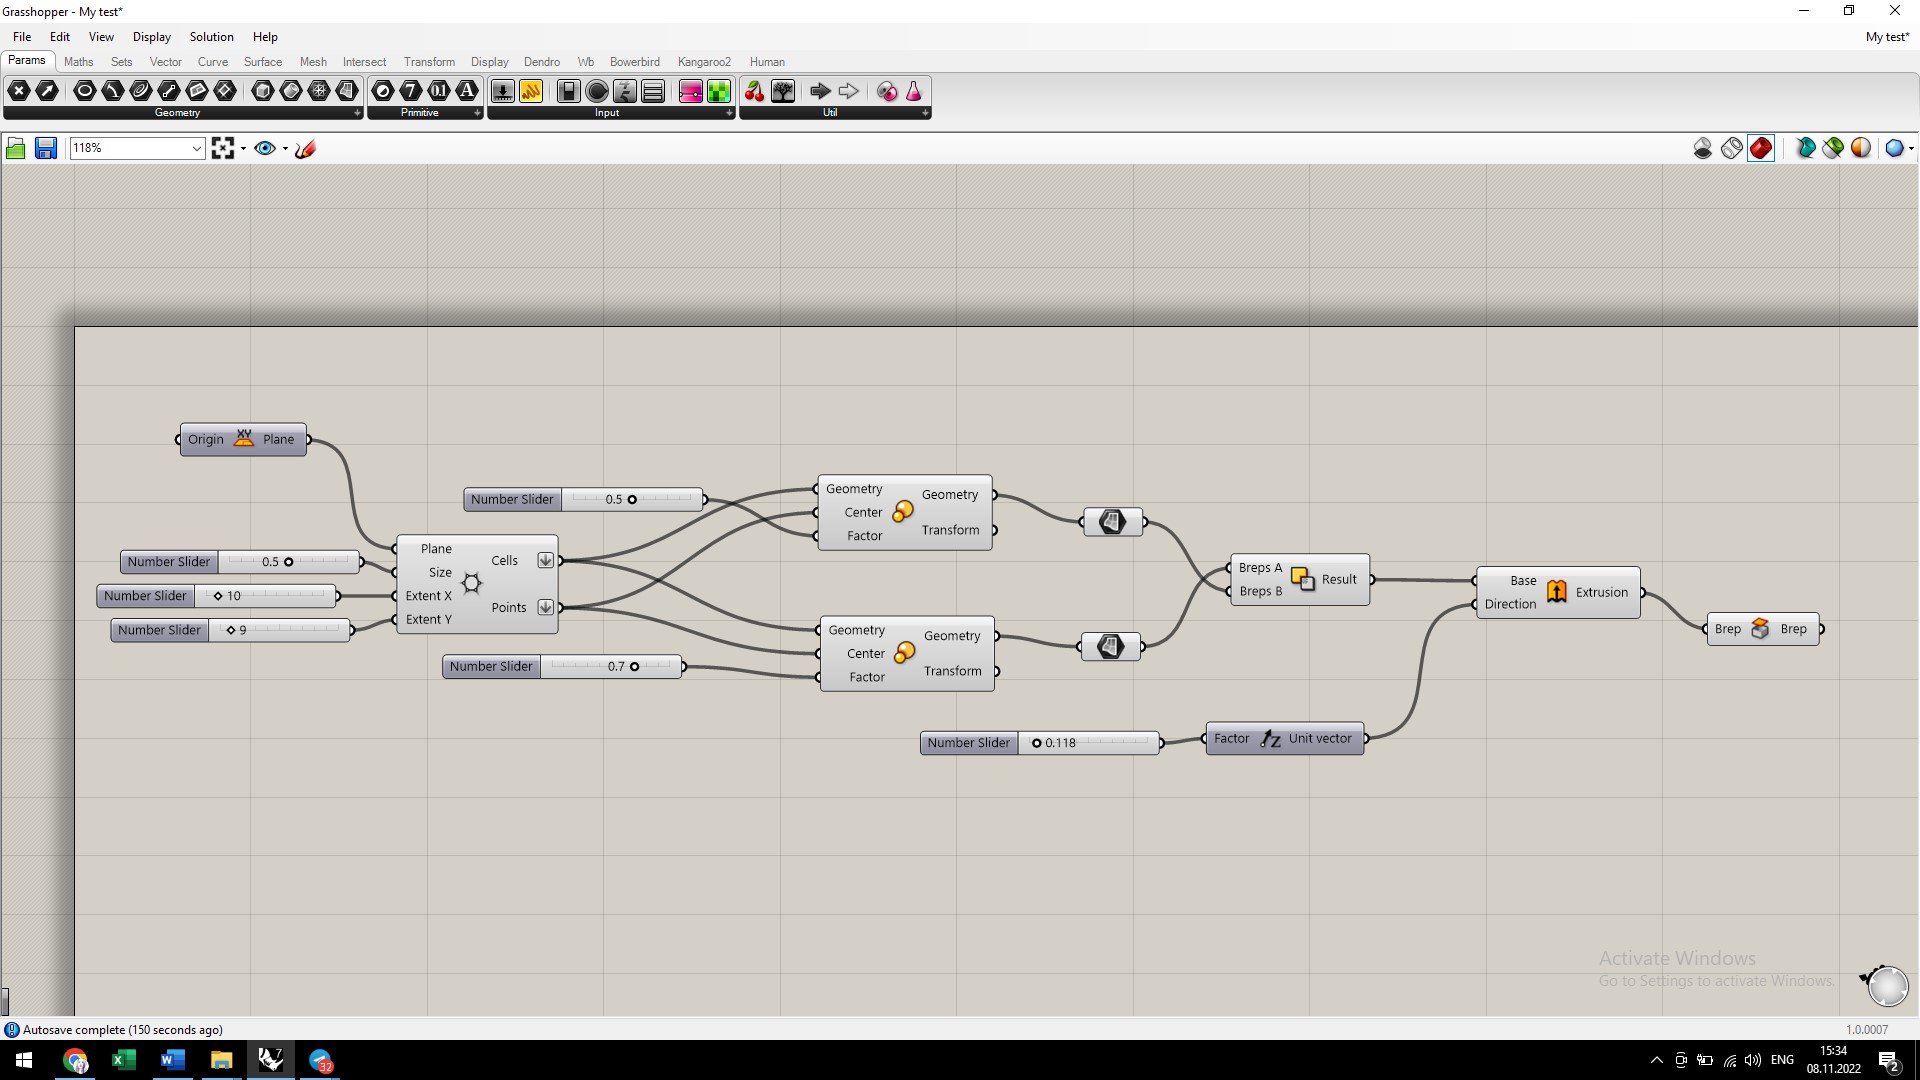
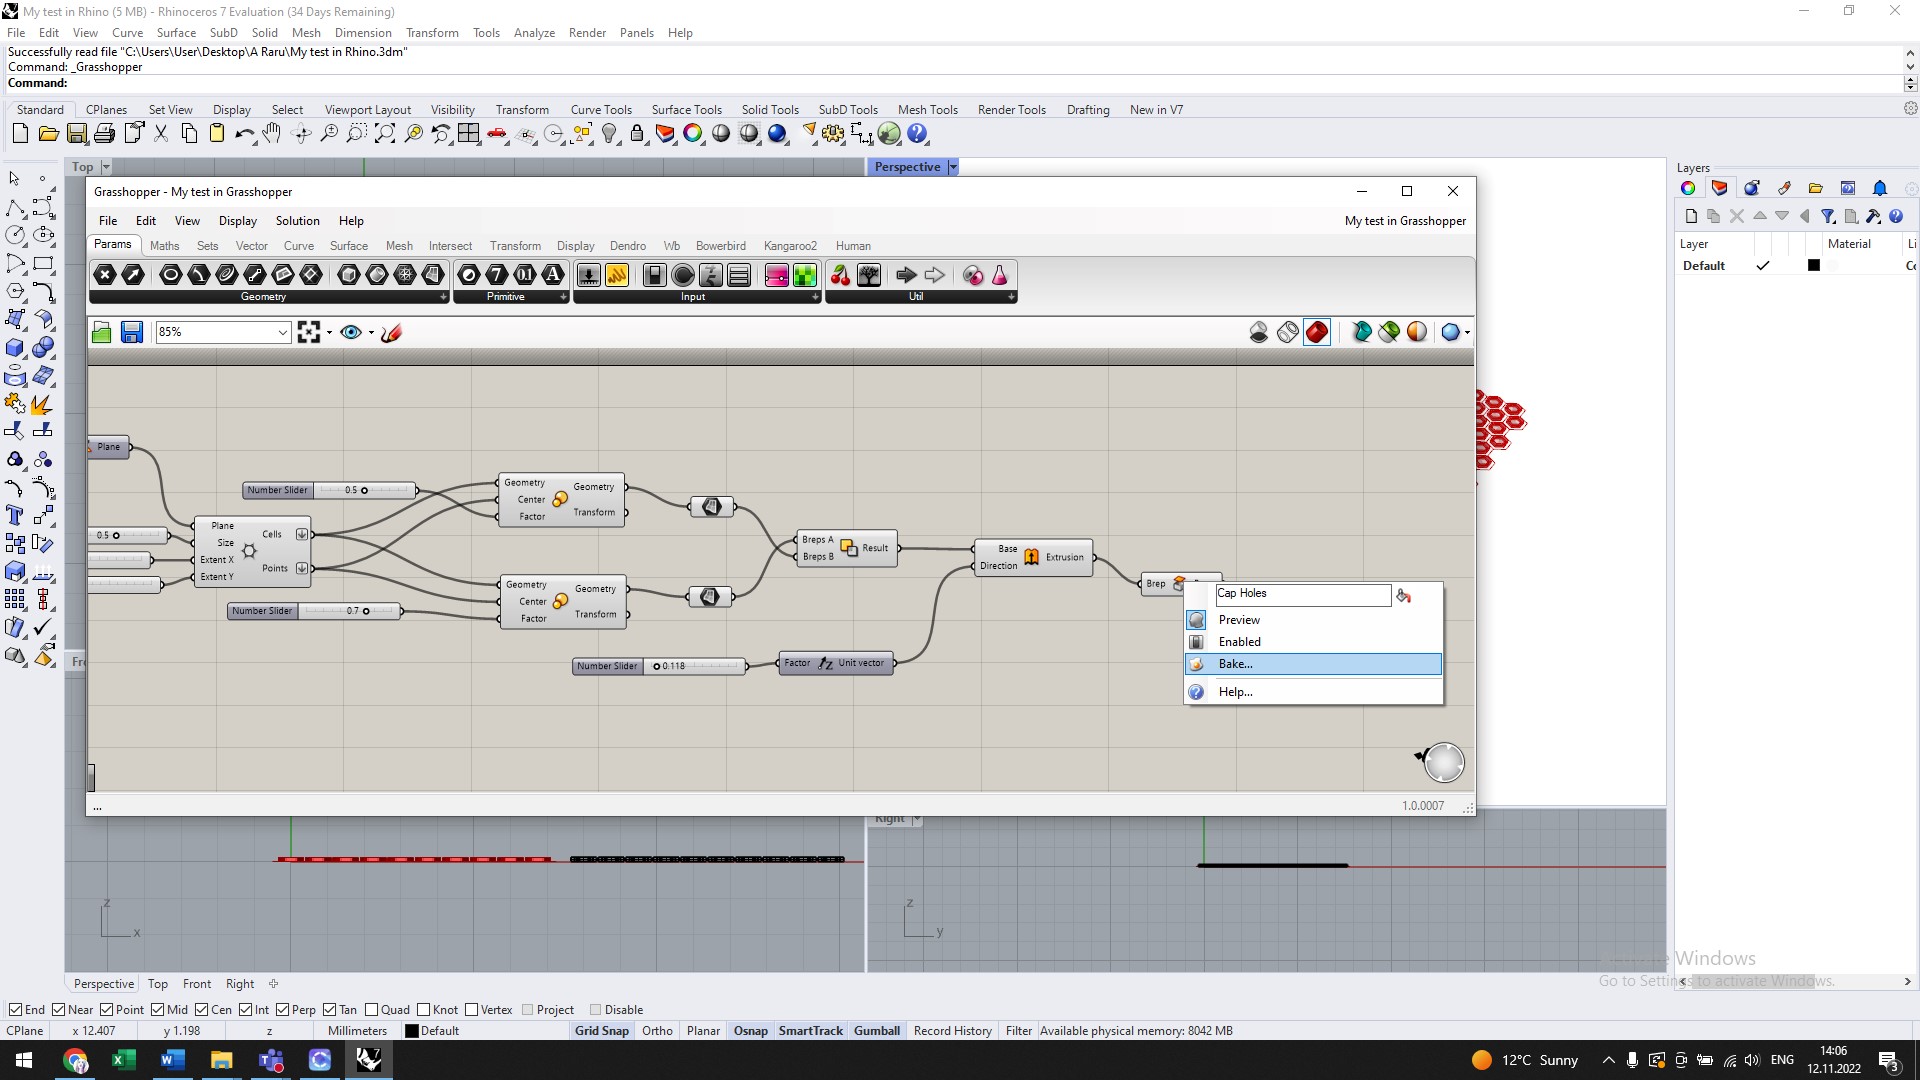
To create the algorithm of the surface to be 3D printed I used Rhino, a new software for me. The volumetric shapes I created using the Grasshopper module, was an absolutely new experience for me. Guided by tutorials I created the form.
At first I created a grid 10x9, size 0.5. I did 2 Scaling and created the surface. We practiced the tools of the grass module giving different values for heights and number of Offset. Some of the examples obtained from the exercises are presented in the following images.
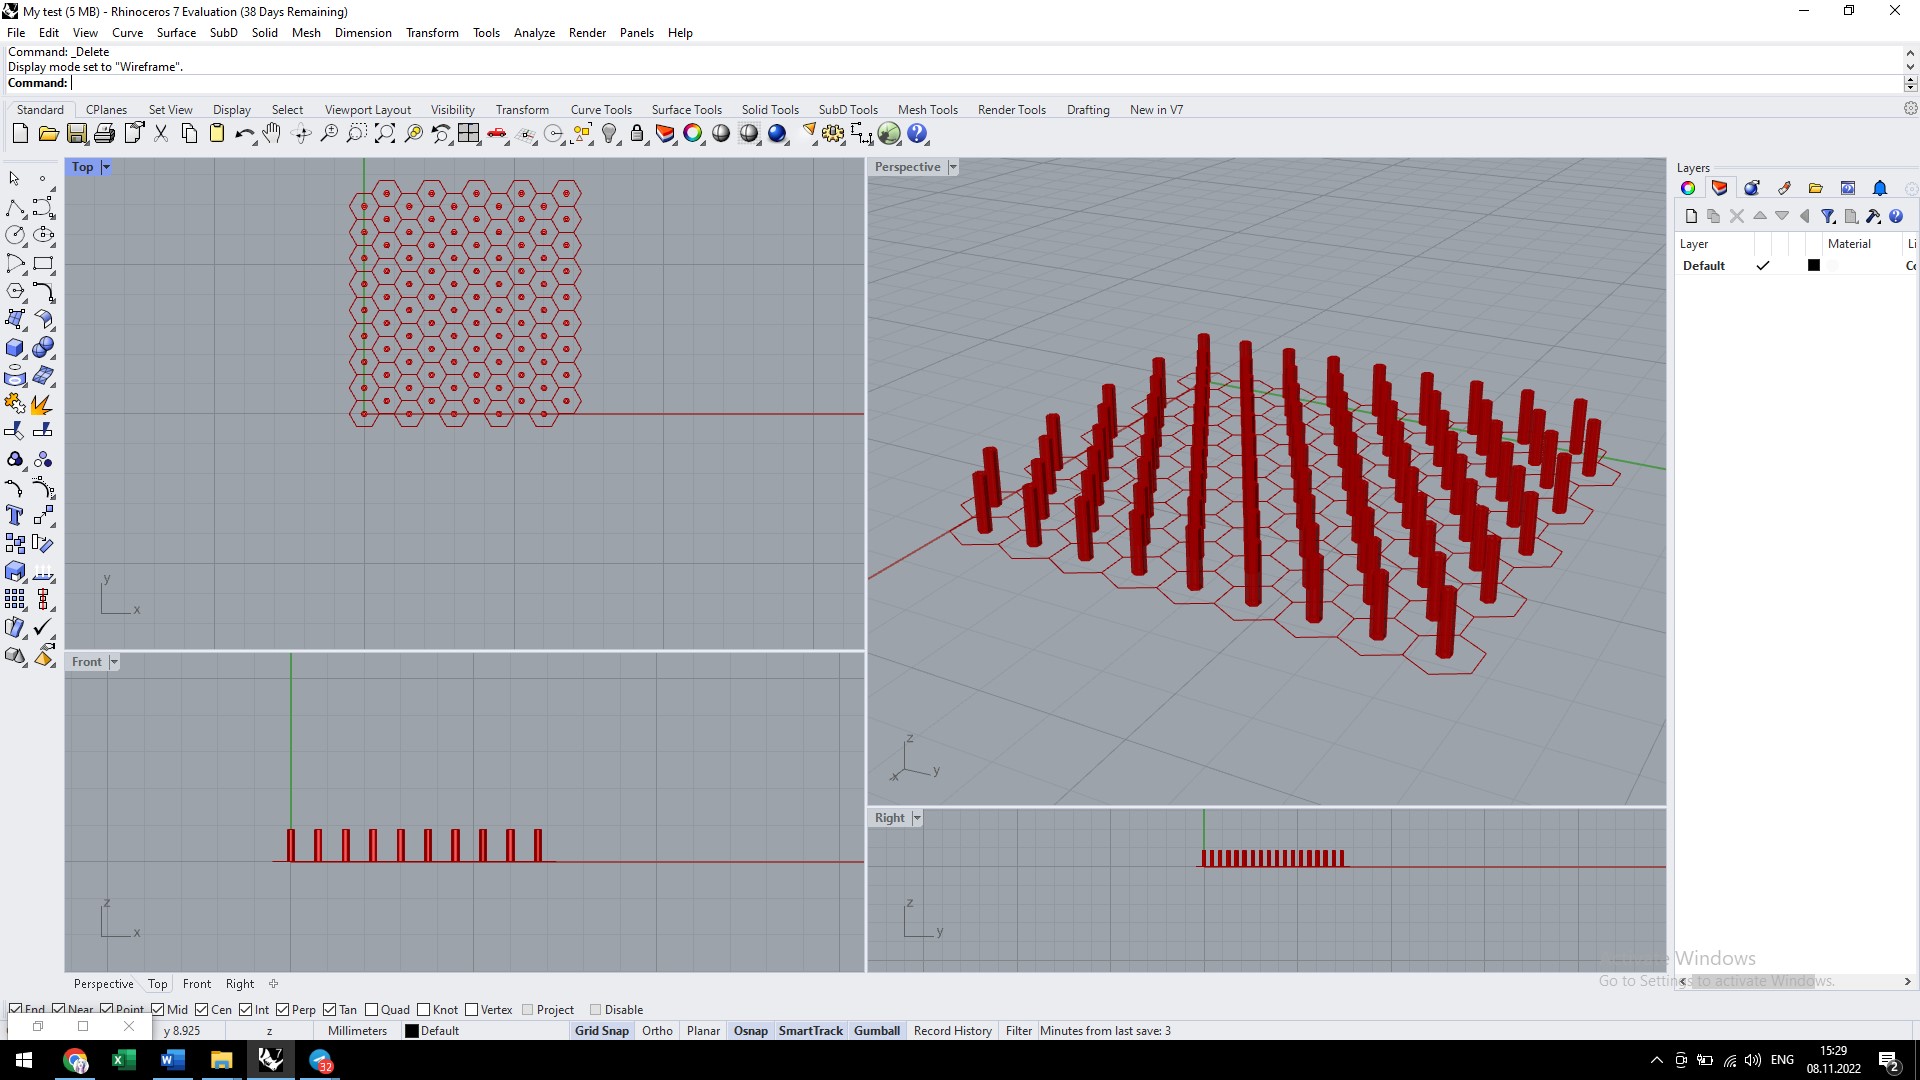

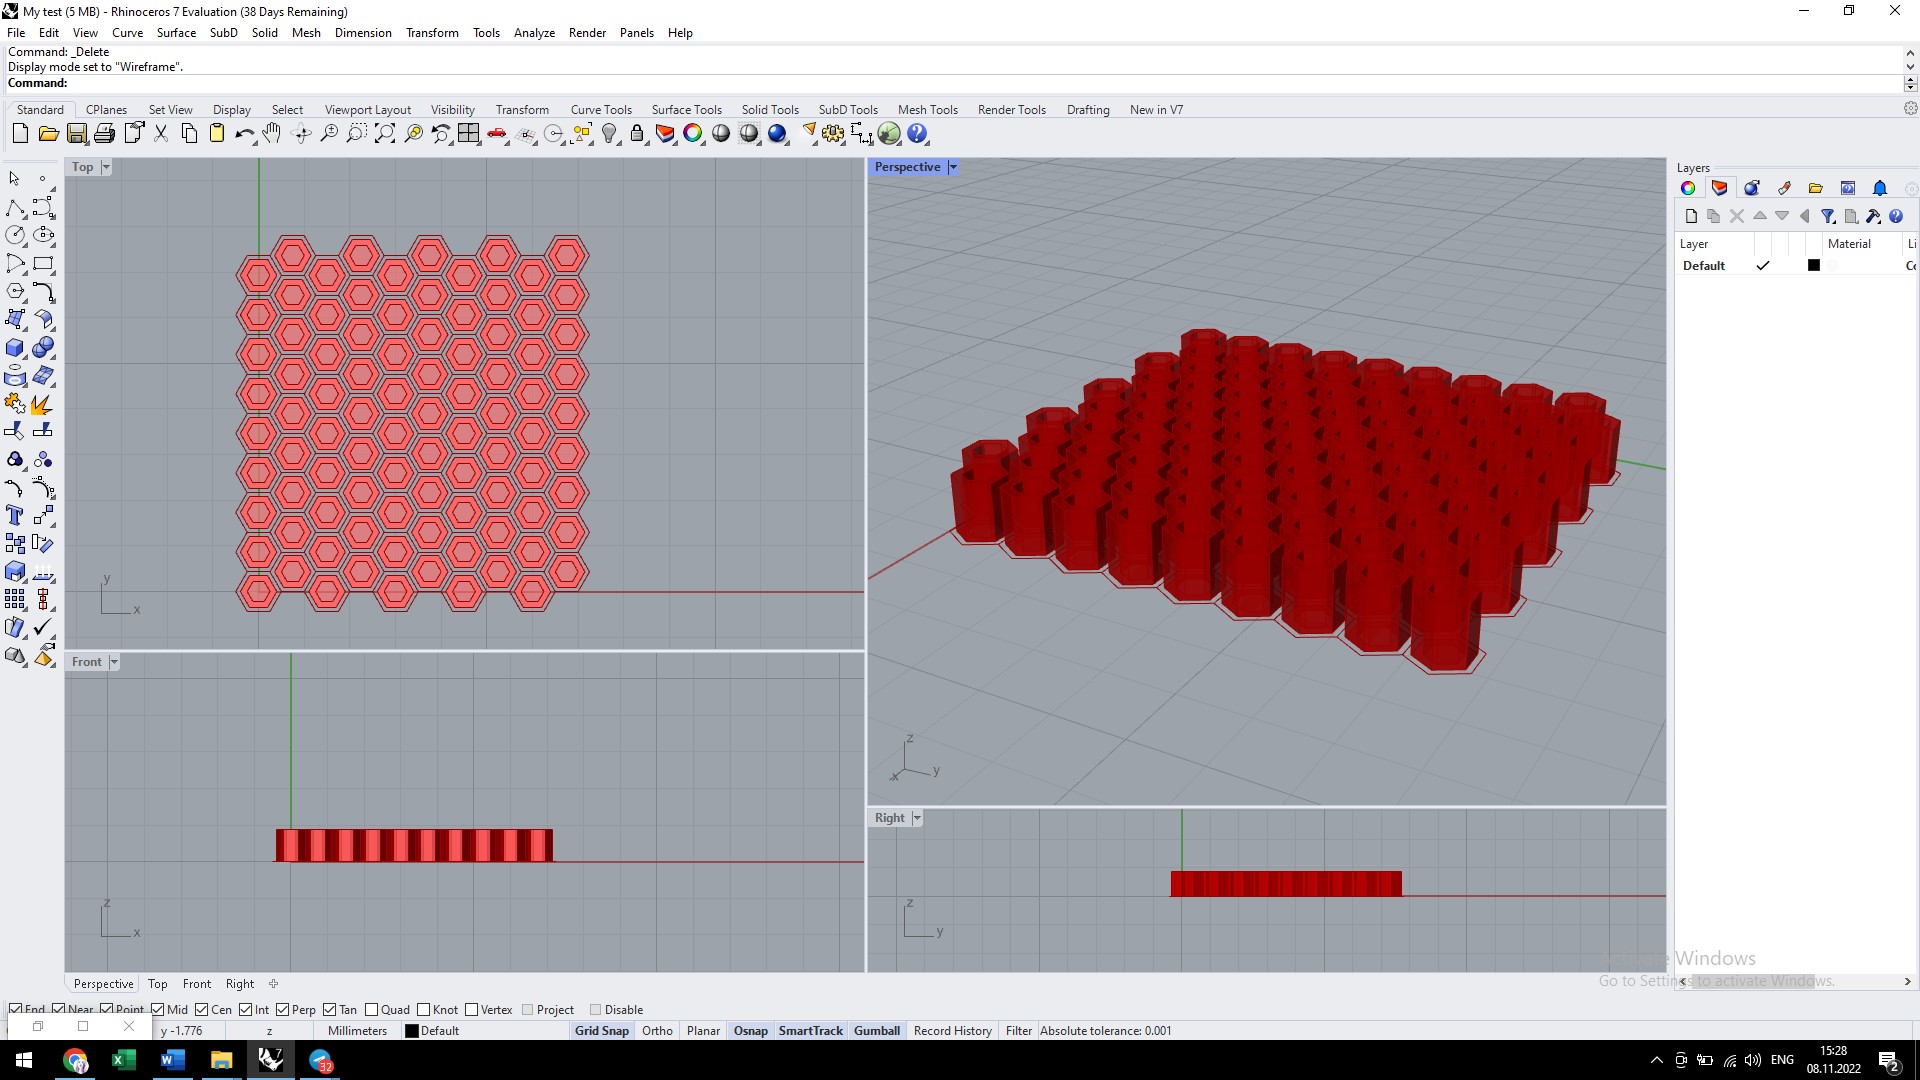


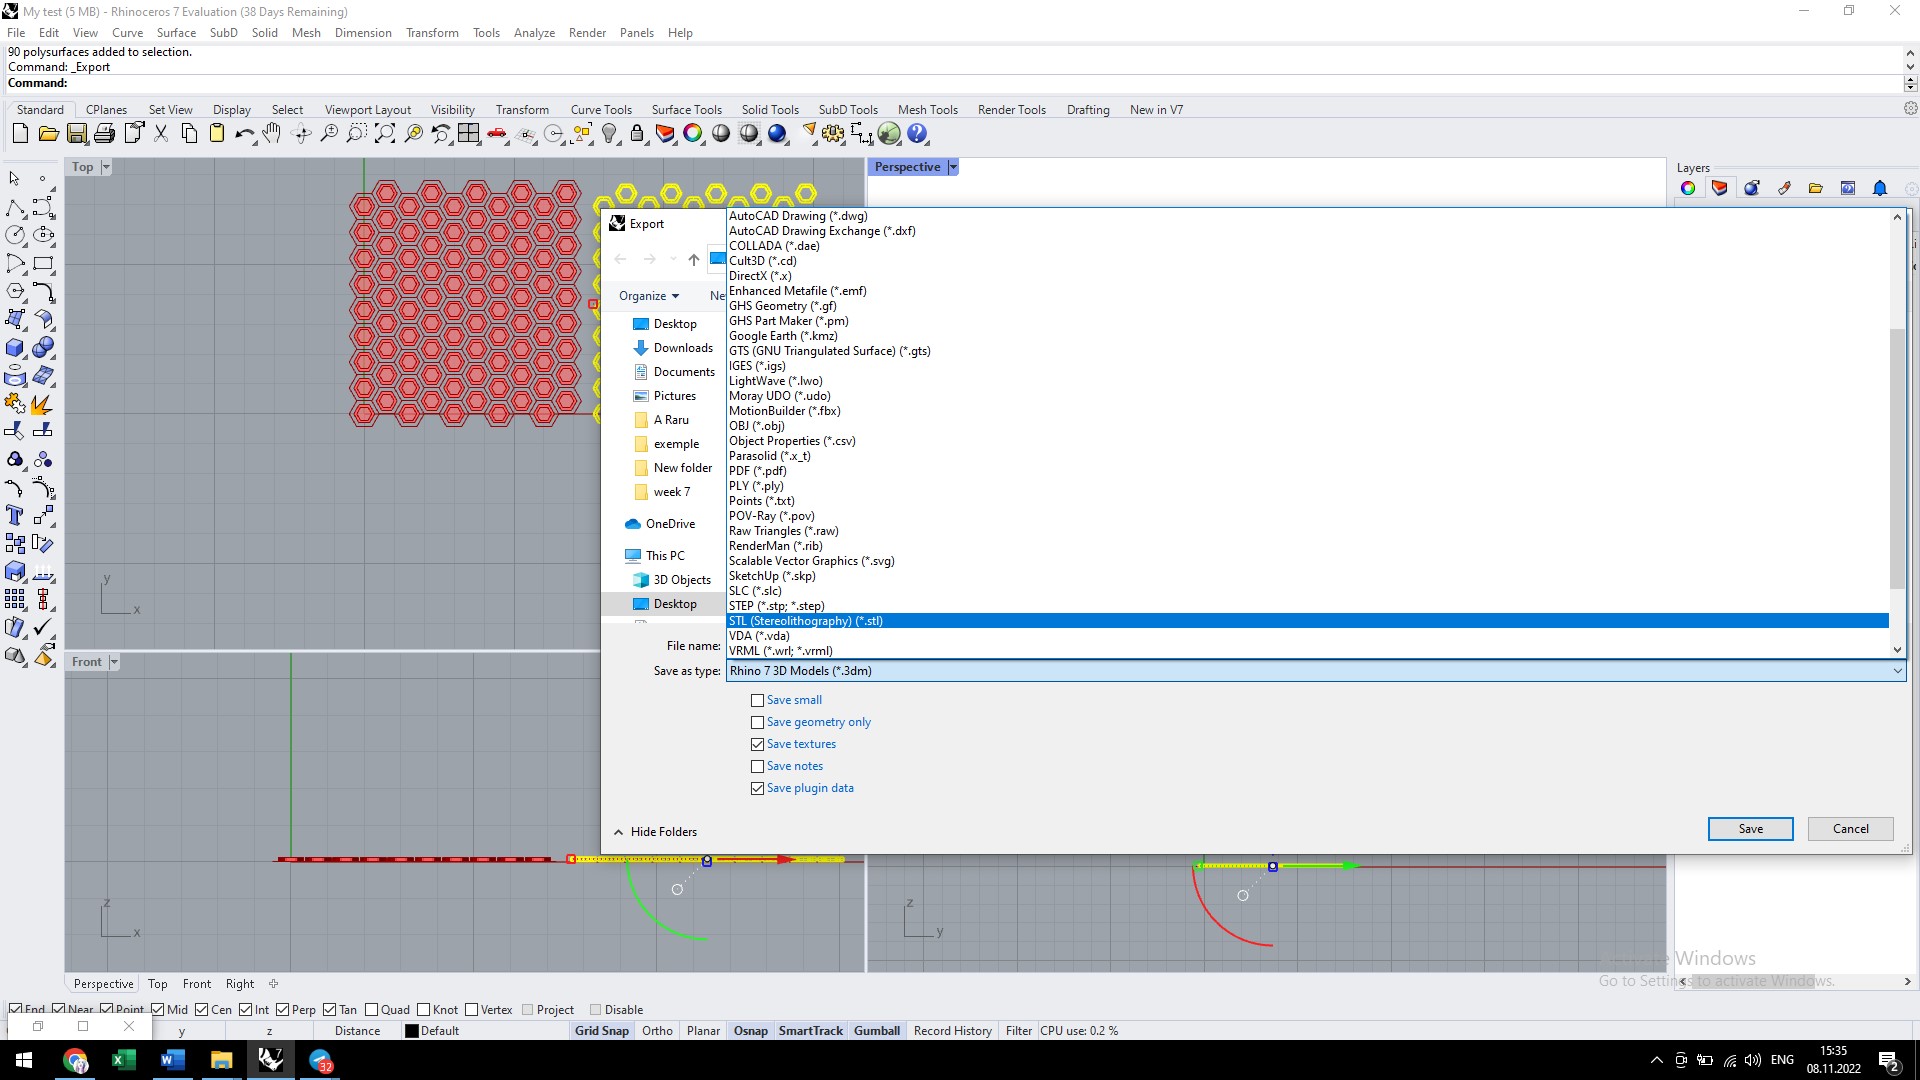
Form creation, model preparation for Export and Export Stl files.
360 view of my model.
Step 3 - preparing for 3D printing
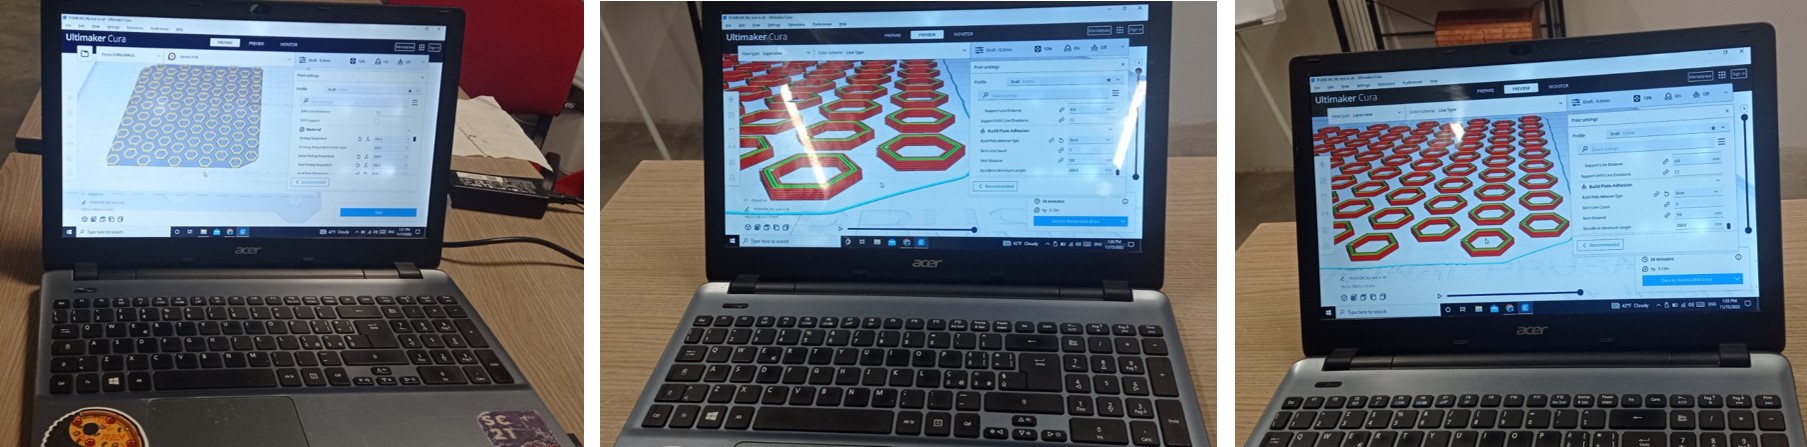
The STL file was imported into Ultimaker Cura, where the parameters for printing are set: the speed, height, proportions and quality of the printed design are set. After setting the print parameters the file is saved on flash printers.
Step 4 - experiments 3D print
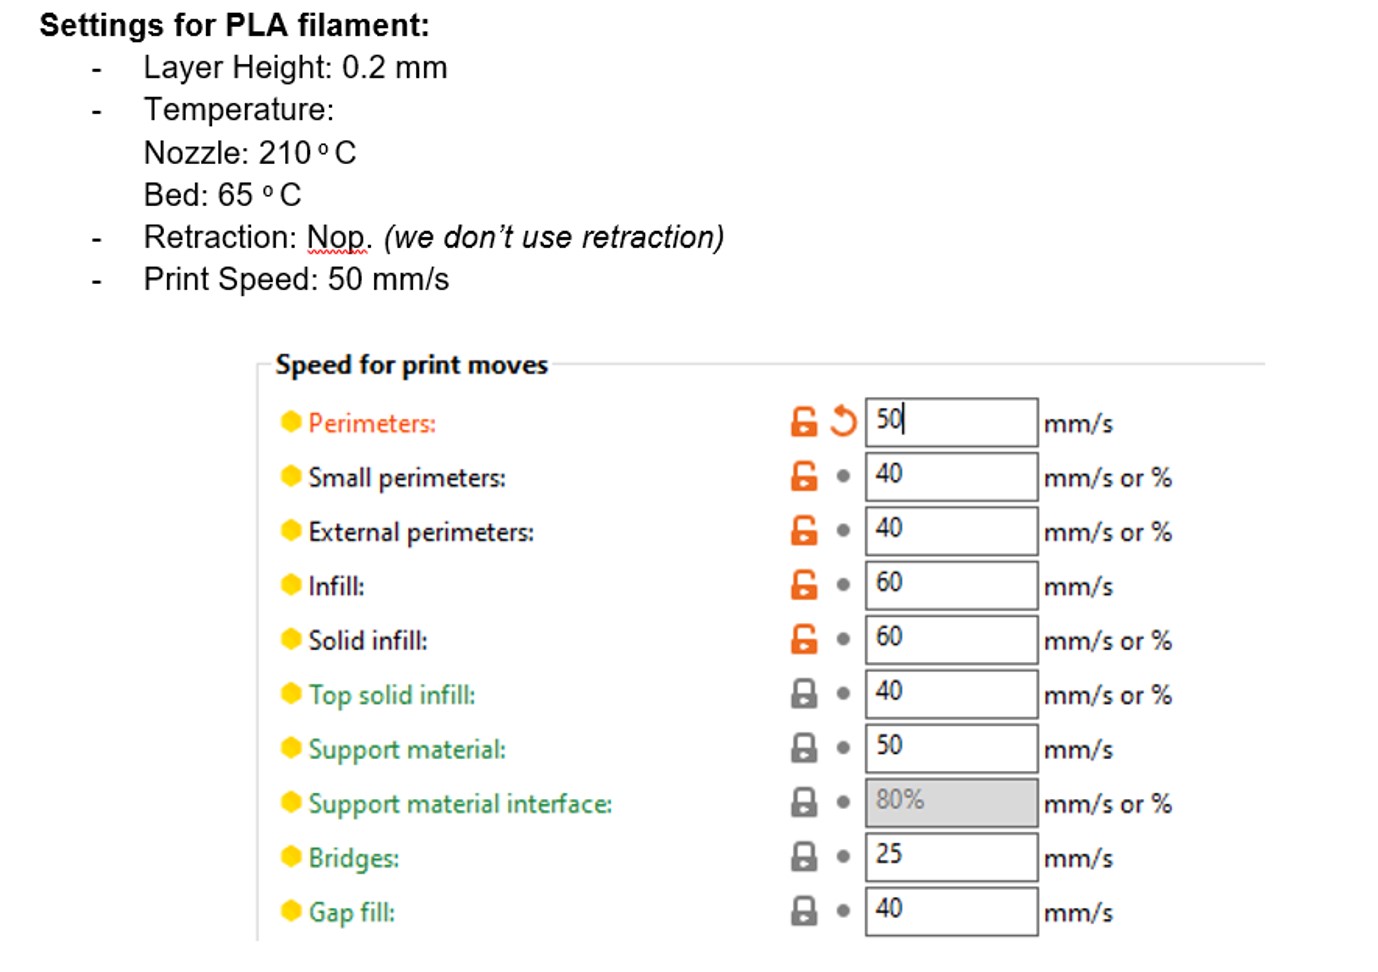
In the attached pictures it can be seen the parameters set for the printer.
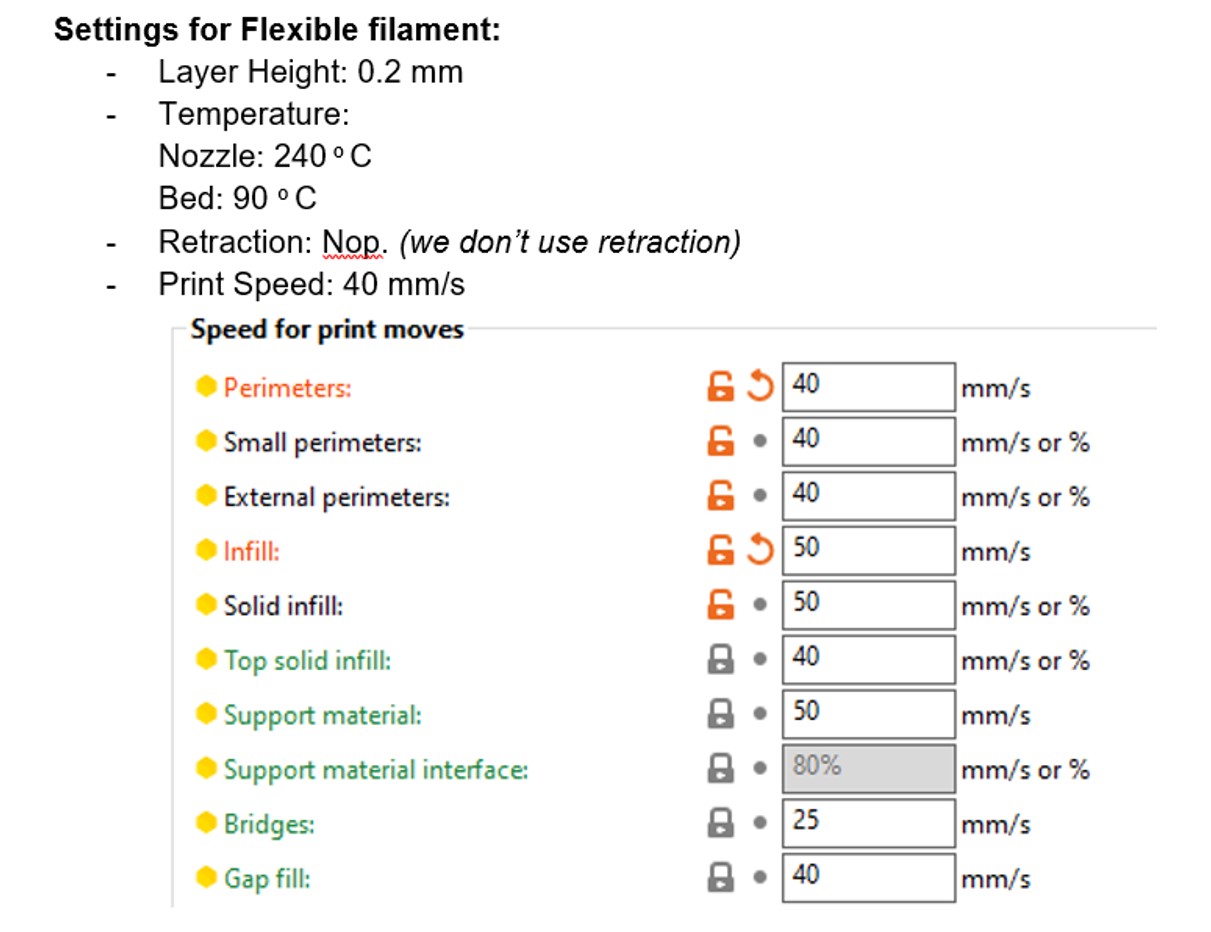
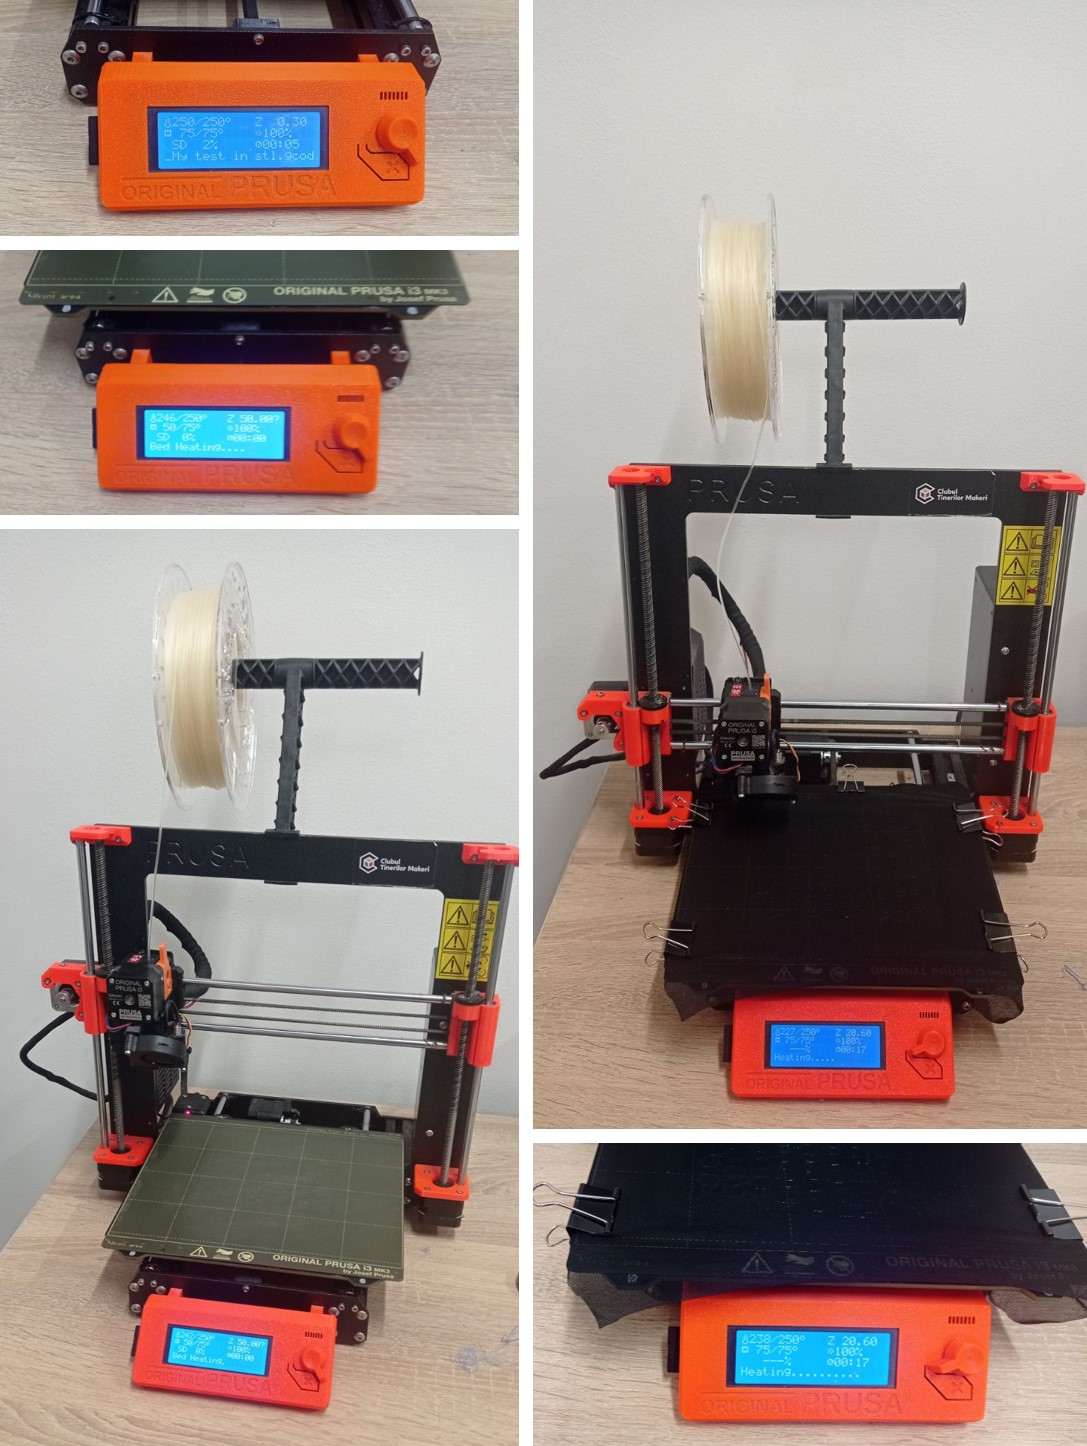
As well as a small part of the printing process. On the recommendation of the instructor, we printed the first layer on the printing surface, after which we fixed the material and the other layers were printed.
Rezults
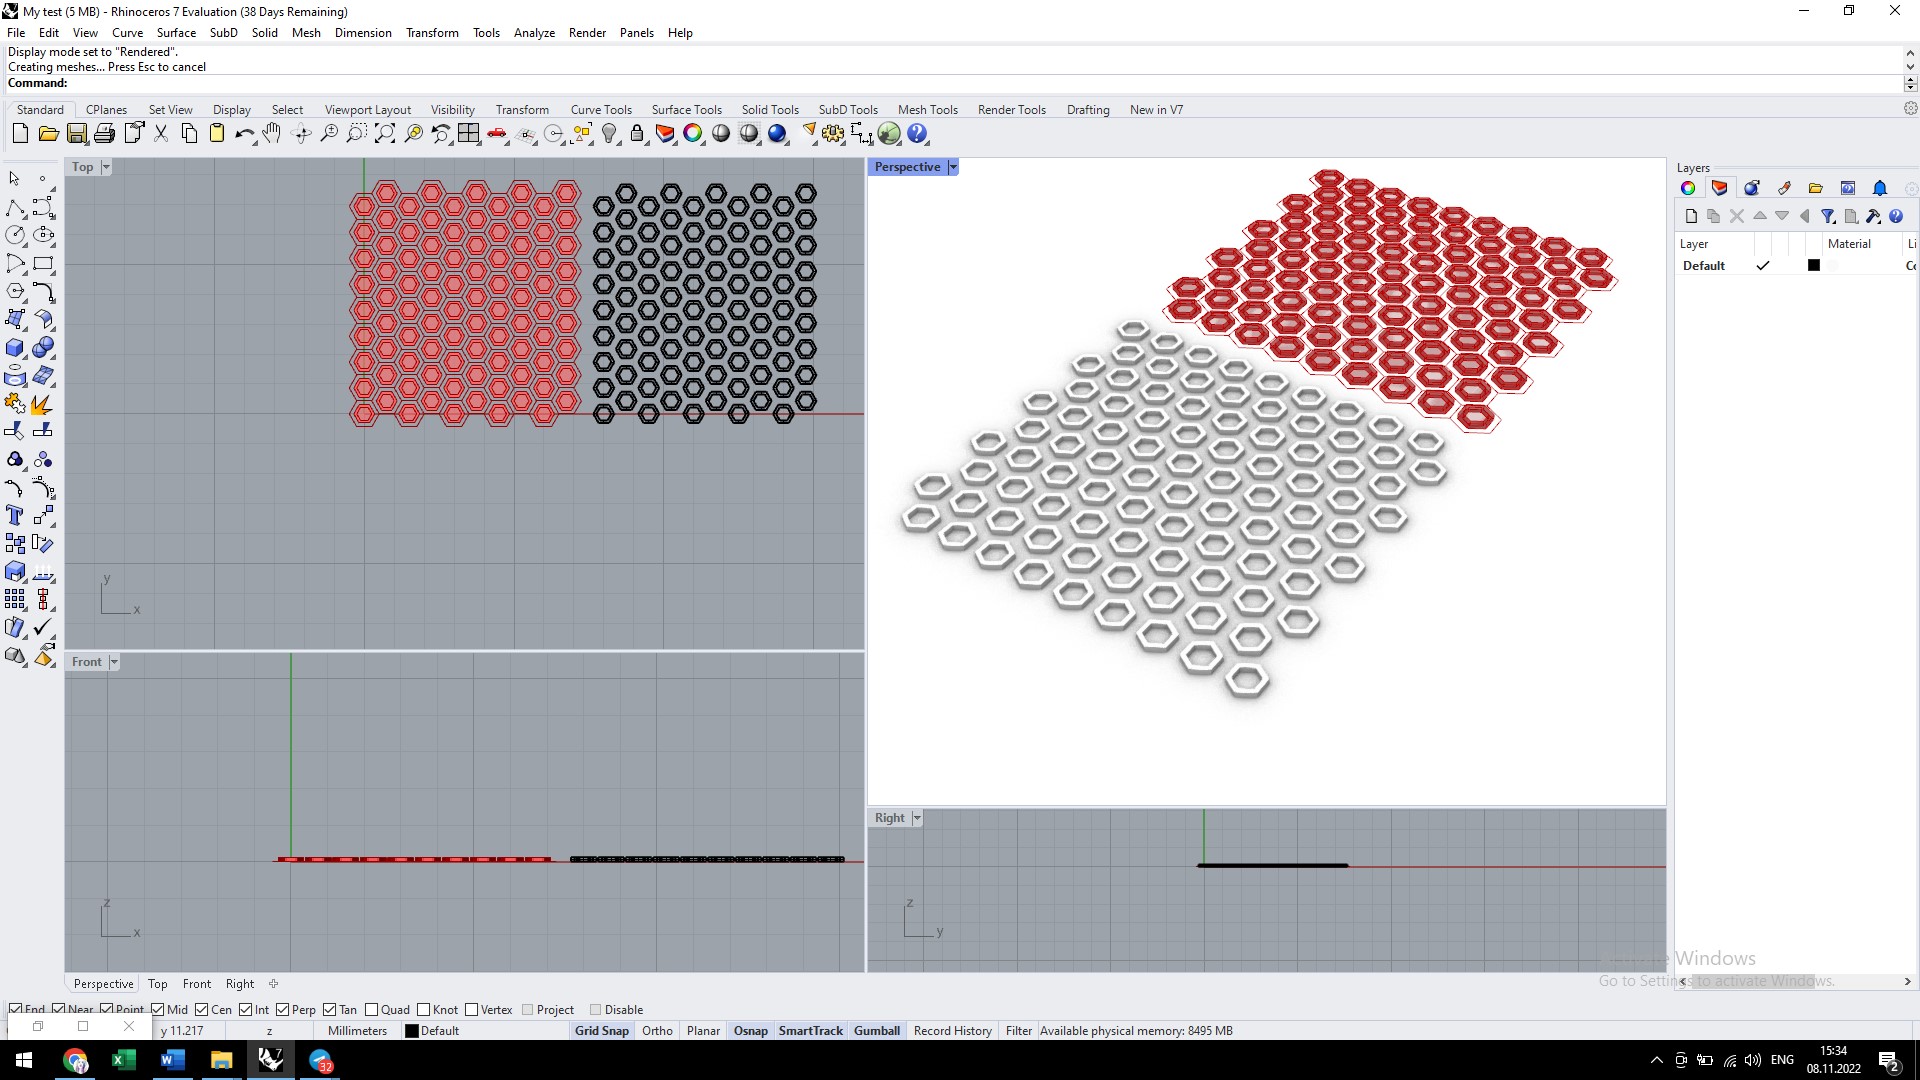
I printed the same pattern on two different materials: on the first flexible filament material, on the second rigid filament material. I used two different materials on which I printed my models: stretch jersey knit (the grey one) and Polyester Super Deluxe Fabric (the black color).

Fabrication files
-
File: my test in Rhino ↩
-
File: my test in Grasshopper ↩
-
File: my test in stl ↩