2. Digital bodies
”I am not young enough to know everything.” Oscar Wilde
A quote about my emotions felt this week.
Research & References & Inspiration
To carry out the tasks of this week, in the usual way, already, I started with the tutorials Anastasia Pistofidou Fabricademy 2022-23 Week 2 Digital Bodies
In search of shapes, ideas and sculptures I turned to [Pinterest].
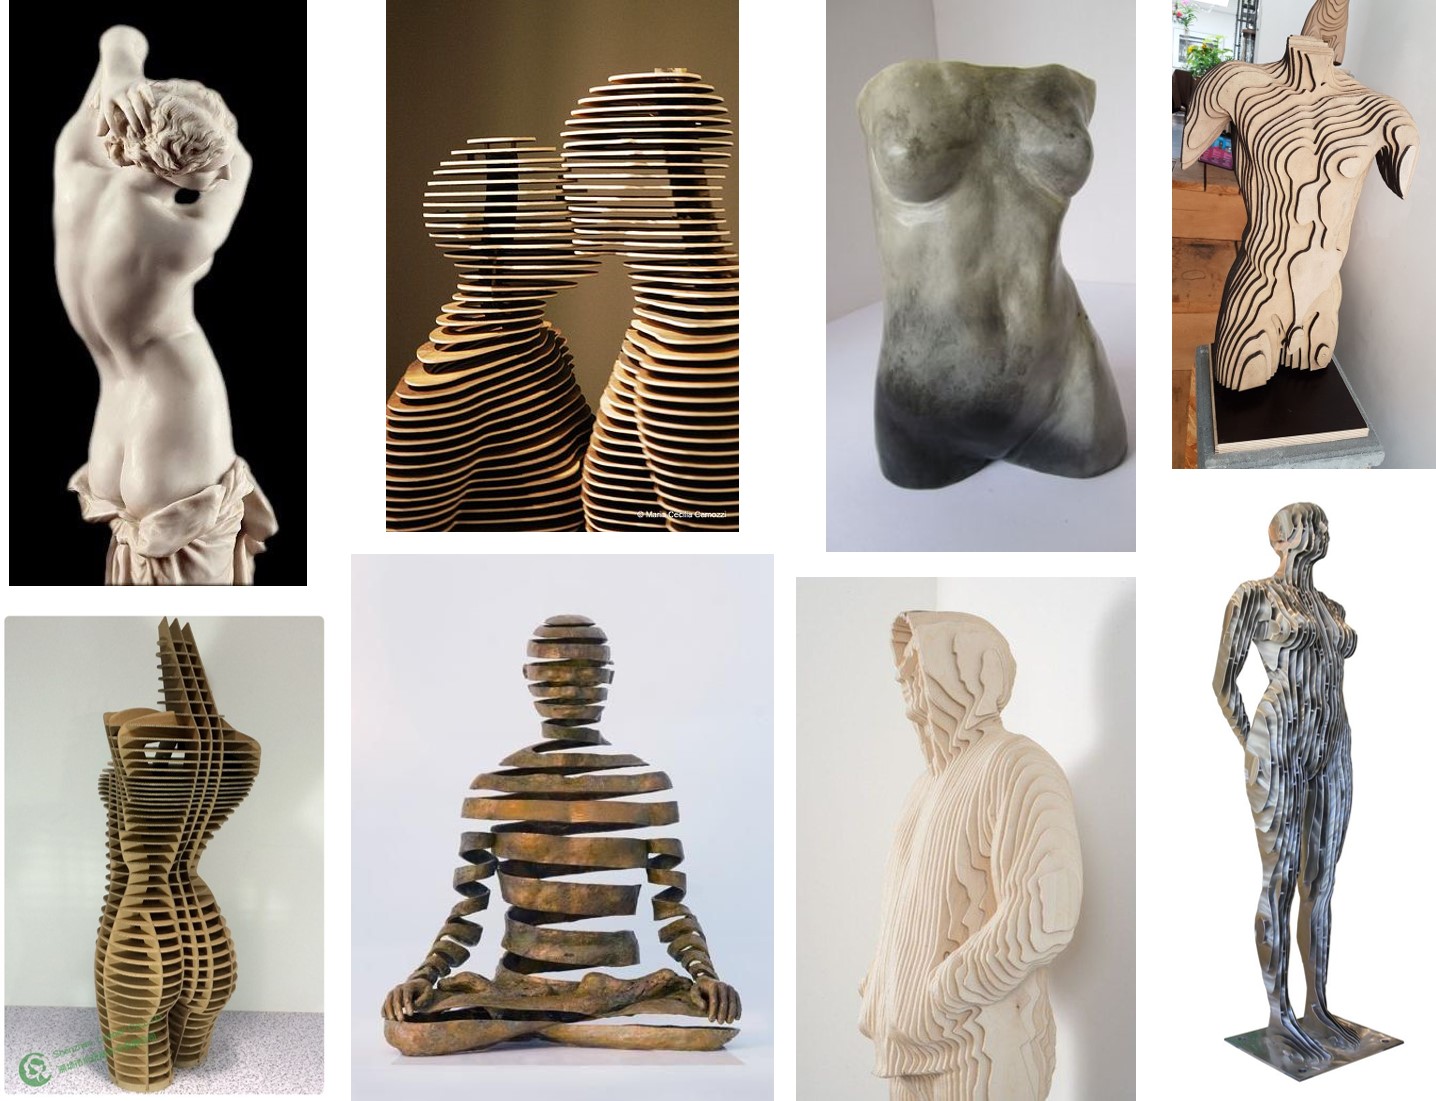
For more inspiration I leafed through the pages of Fabacedemy students of past years. The pages Kathy Sinclair and Iane Cabral they were also my inspiration.
Process and workflow
3D scanning's process
3D scanning is the process of analyzing an object or environment, and collecting data about its appearance. The scanning tool then creates a 3D digital object, which can then be replicated with a 3D printer or CNC mill, if desired.
Professional 3D scanning can be divided into two categories: contact and non-contact. Contact scanning places the object on a precision surface and probes the object with touch. Non-contact active scanning uses light to probe an object, while non-contact passive scanning detects ambient radiation.
Sometimes these types of 3D scanning require expensive hardware and software, but a more accessible option is to 3D scan with photogrammetry, for example, with a smartphone app. Scanning with a mobile phone used to require additional hardware such as a depth sensor, but these days, you can scan directly from the apps with just your device, thanks to some modern phones being equipped with lidar (light detection and ranging).
The Texel Portal MX is a compact, full-color 3D scanner for scanning people. It quickly scans and prepares a 3D digital model in just 90 seconds.
It takes just 30 seconds for the Texel Portal MX to analyse the person standing on the platform. Within one minute the Portal MX uses data from the sensors to create a realistic 3D model, develops it in the cloud and displays it on the screen.
A small demonstration of how this process proceeds is shown in the video taken from Youtube 3D Body Scanner Texel Portal MX
Step 1
Since 3D scanning requires special equipment and programs, I did not have the opportunity to experience the 3D scanning process.
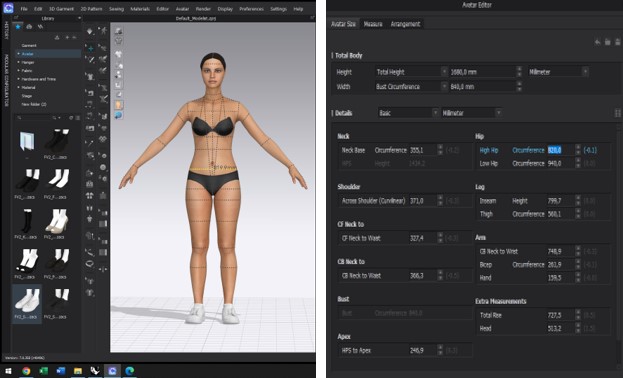
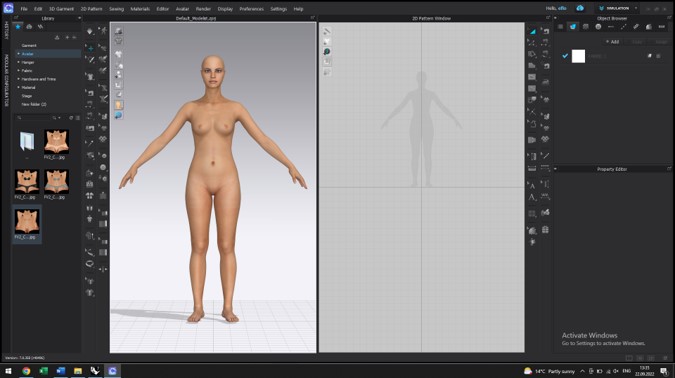
In this case I used a body that can be adapted to the required shapes and sizes.
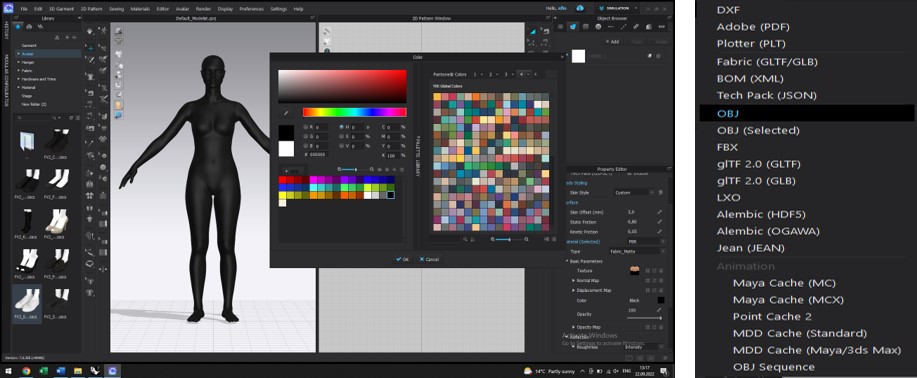
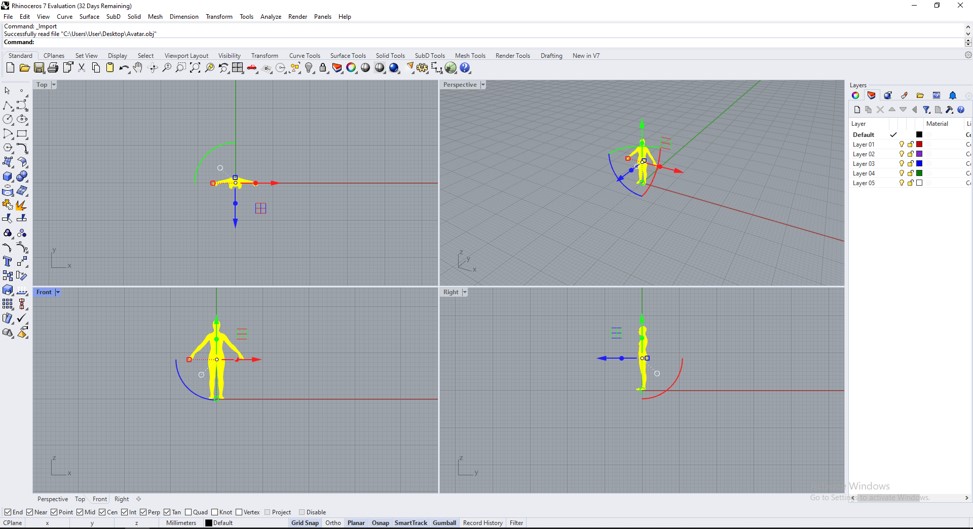
I used an avatar available in the CLO 3D program. For this I choose the right CRP, changed the necessary dimensions, after which I removed the hair and shoes. I changed the color of the body and saved the Avatar obtained in .obj format.
Step 2
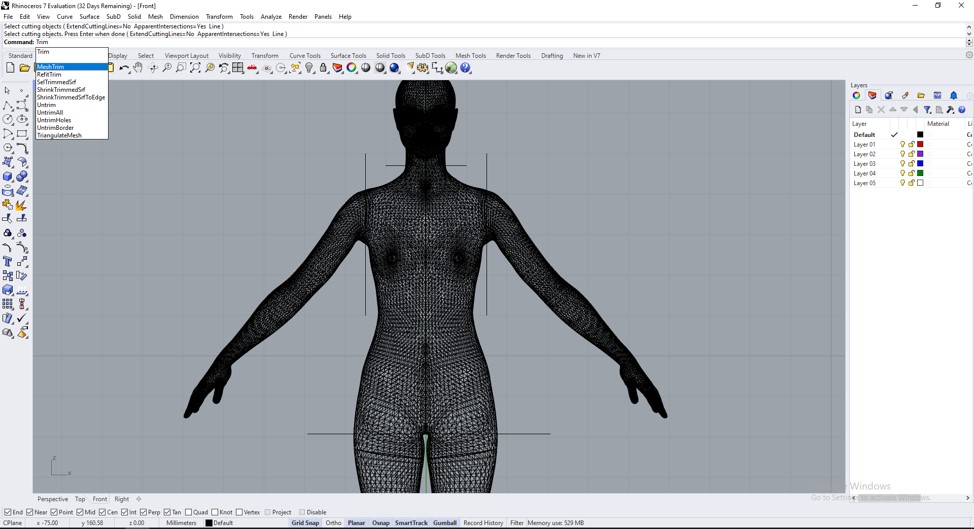
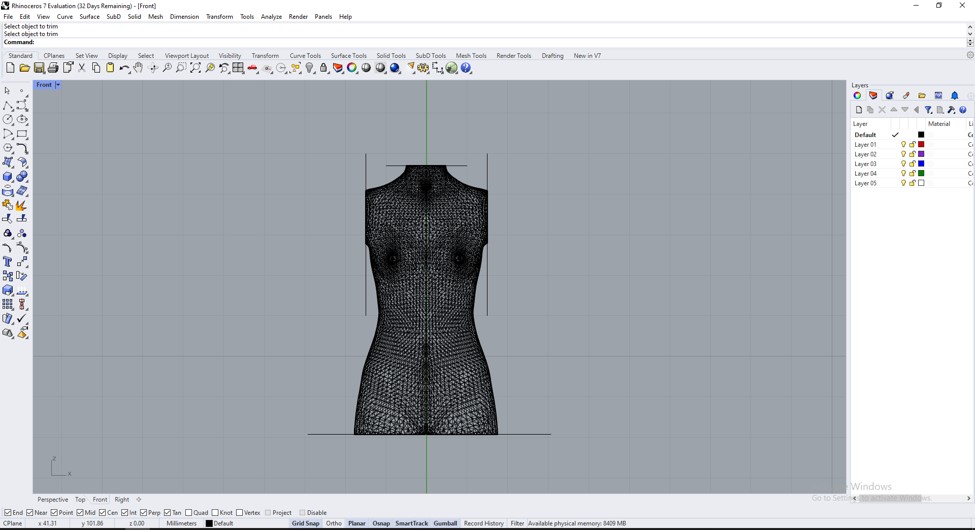
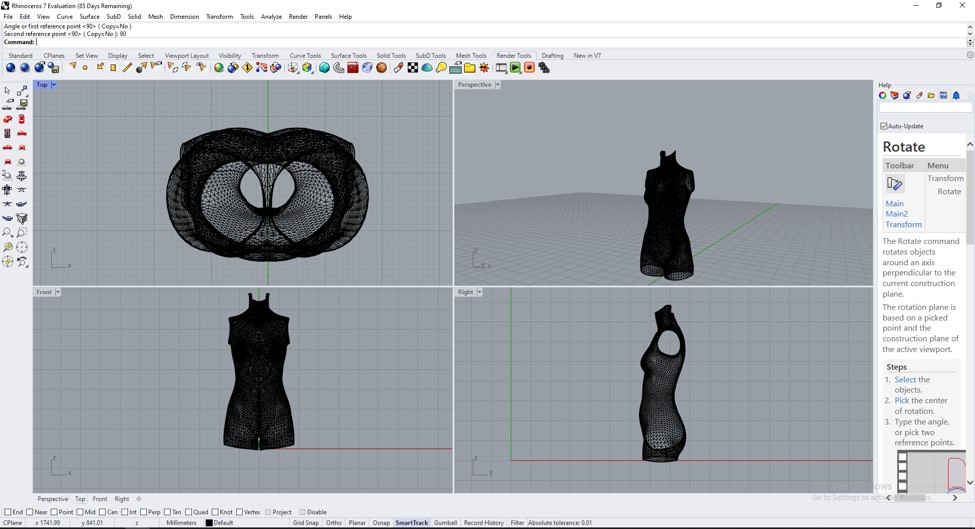
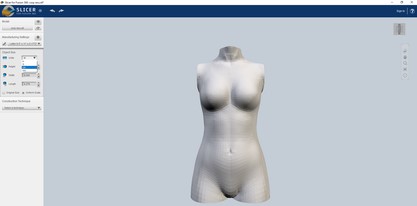
After I saved the body in .obj format, I imported it into Rhino. Using different controls like: line, polyline, cut, rotate, I got the dummy I wanted. I saved the mannequin in .stl format.
The following pictures show how the mesh is cut into the RHINO.
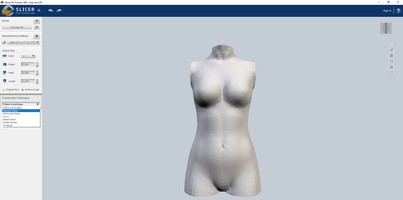
Step 4
360 view of my model
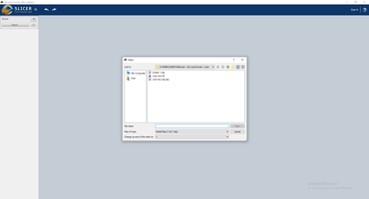
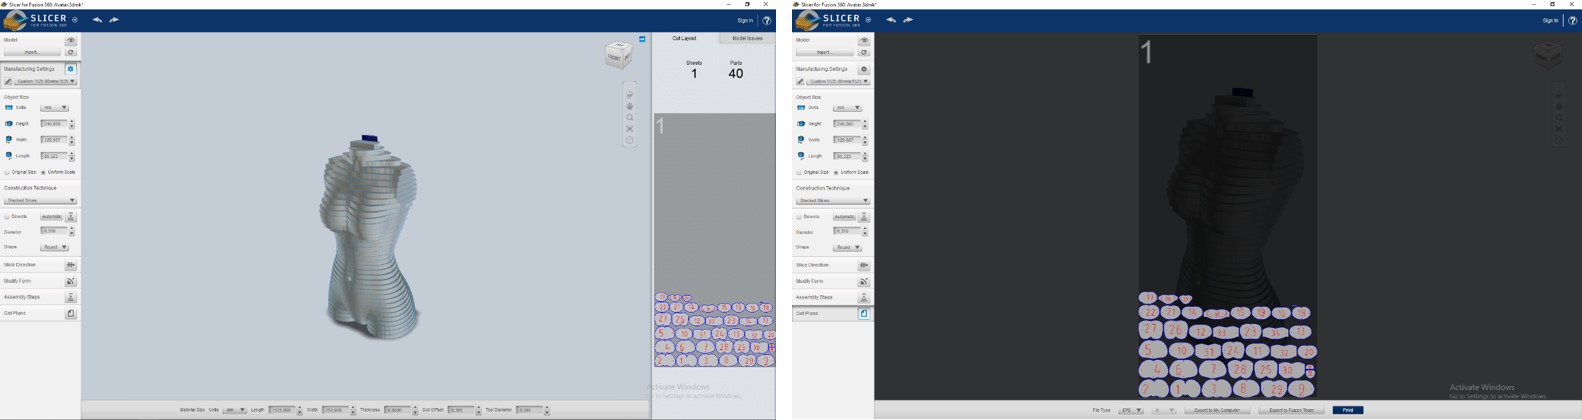
After I saved tHE .stl document, I import it in the slicer program for Fusion 360. This software is new to me, but being relatively simple to use, I handled it pretty quickly.
For created my slice model I used technique and commands presented below.
Import into in the slicer program for Fusion 360.
Choice of unit of measurement.
Choosing the type of sectioning.
Laying the thickness of the wood Layer-6 mm.

Saving the file in the format necessary for laser cutting.

When I was satisfied with the result, I saved the document in the necessary format for laser cutting .3dmk format.
Step 5
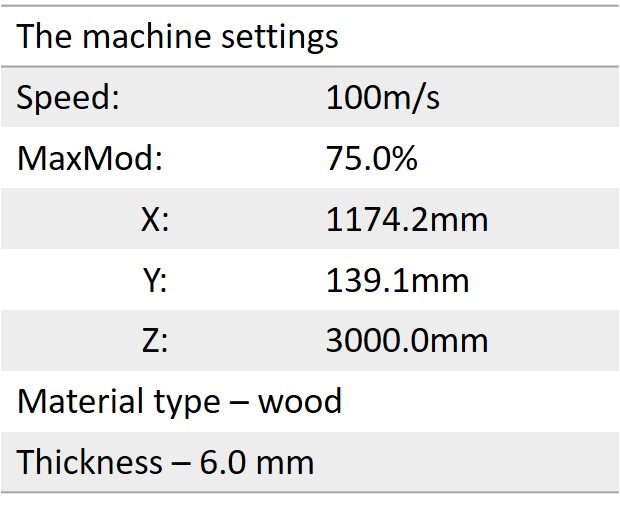
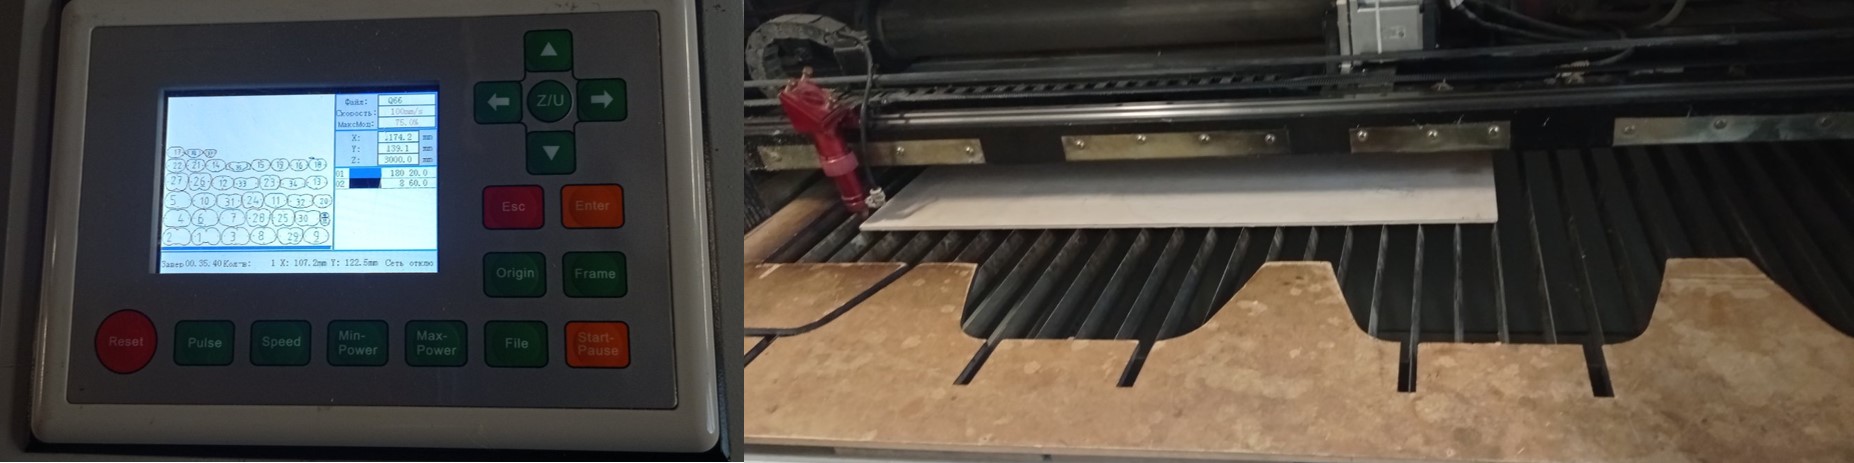
With the document saved in the format .3dmk, I went to the FabLab laboratory for laser cutting. Being helped by the local instructor, I experimented with laser cutting. In order to proceed to the process of cutting the figure made, for the beginning, I set the parameters to the laser.
The following pictures and video show the laser cutting process.
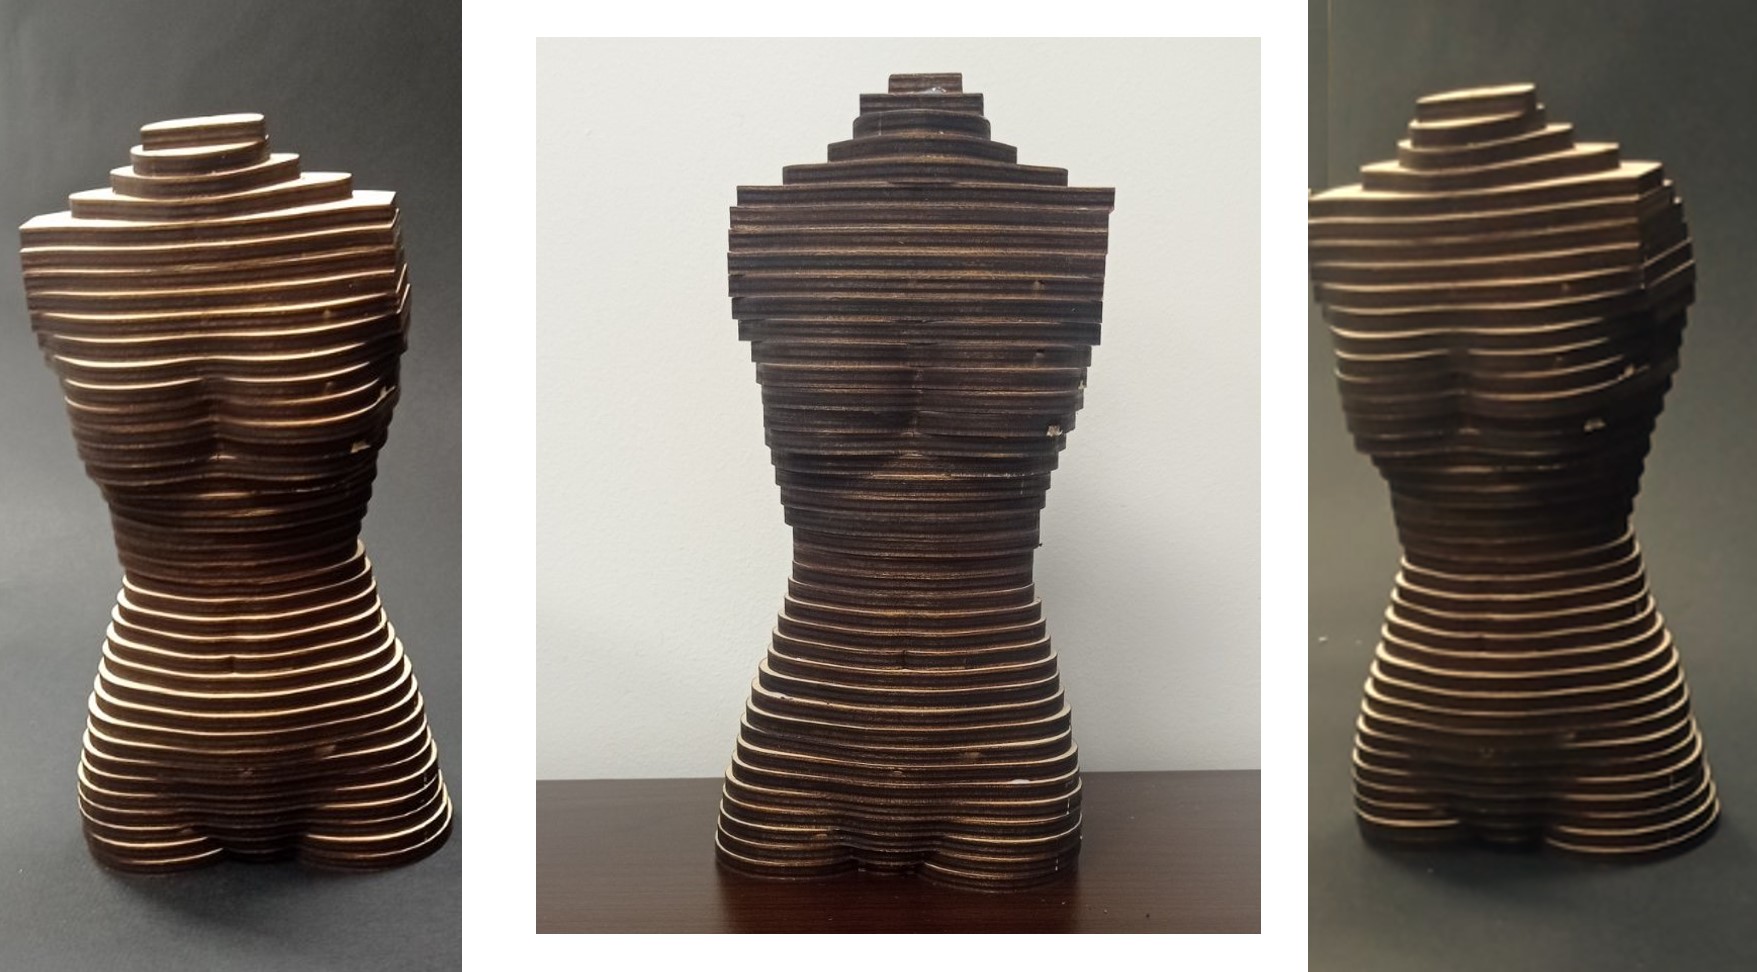
Step 6
The process of assembling the figure is shown in the following video.
Results - 3D Model
Fabrication files
-
File: doc for cut ↩