3. Circular Open Source Fashion
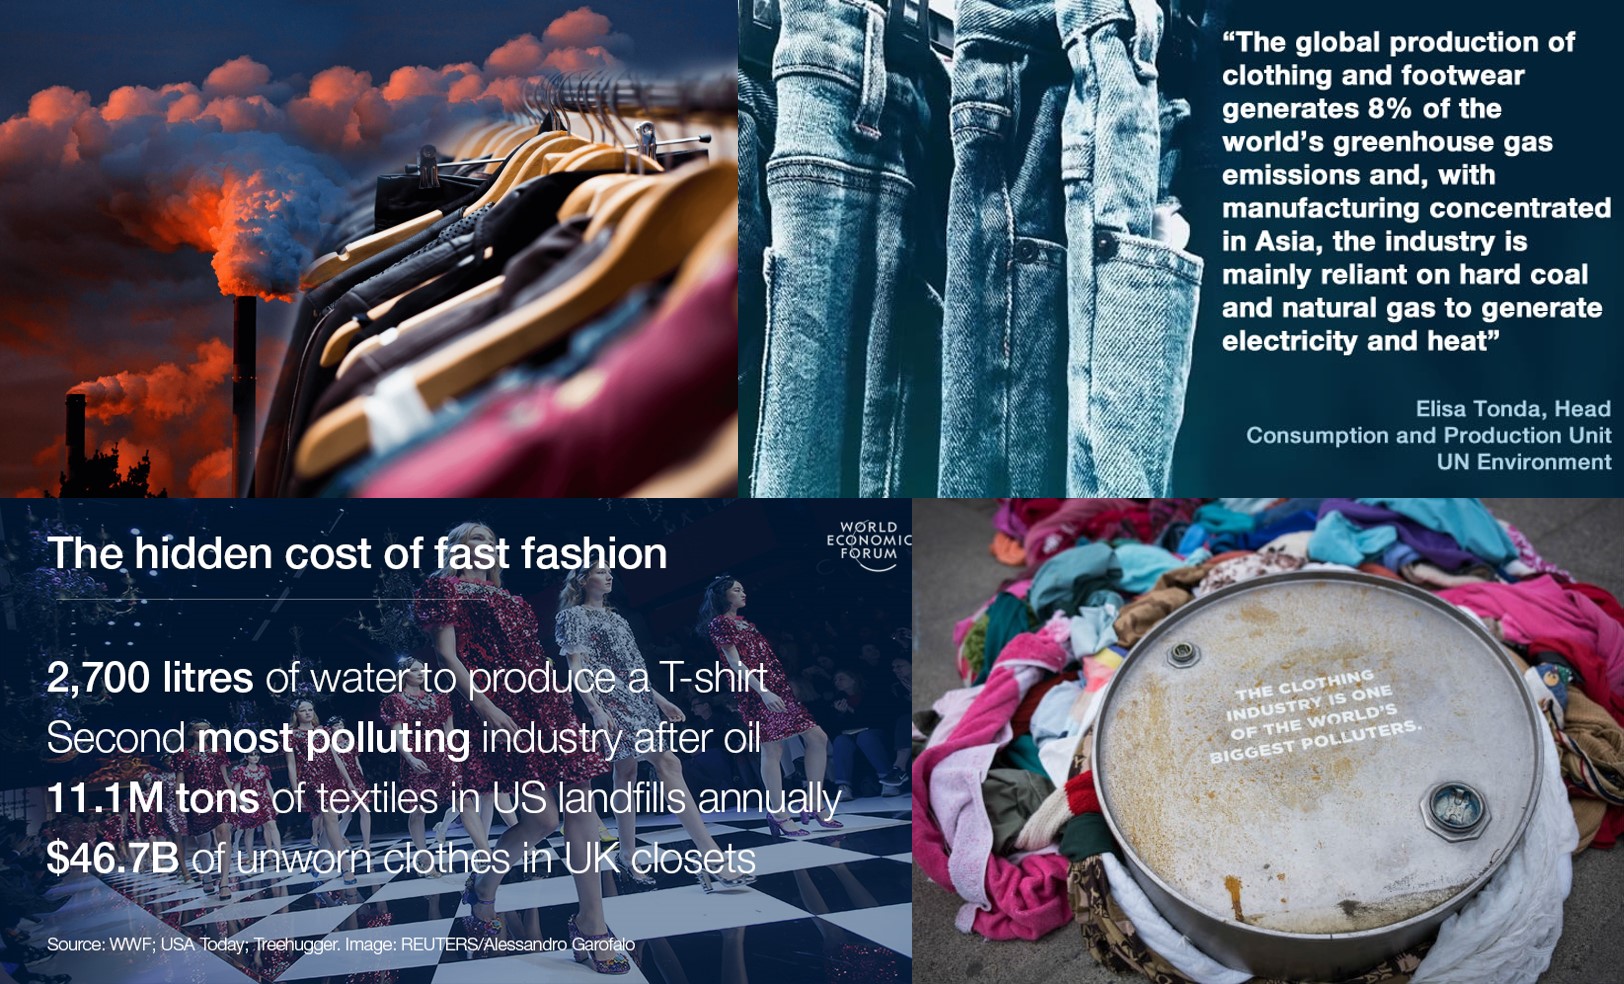
Circular Open Source Fashion - it comes as a response to excessive environmental pollution by the textile industry.
Research
Some ideas from Internet:
”The concept of “fast fashion” has boosted clothing consumption over the last quarter of a century. This is a very aggressive model for the environment, which has led the textile industry to become the second most polluting in the world. The situation is beginning to change, but the supposed circularity is still a long way off.
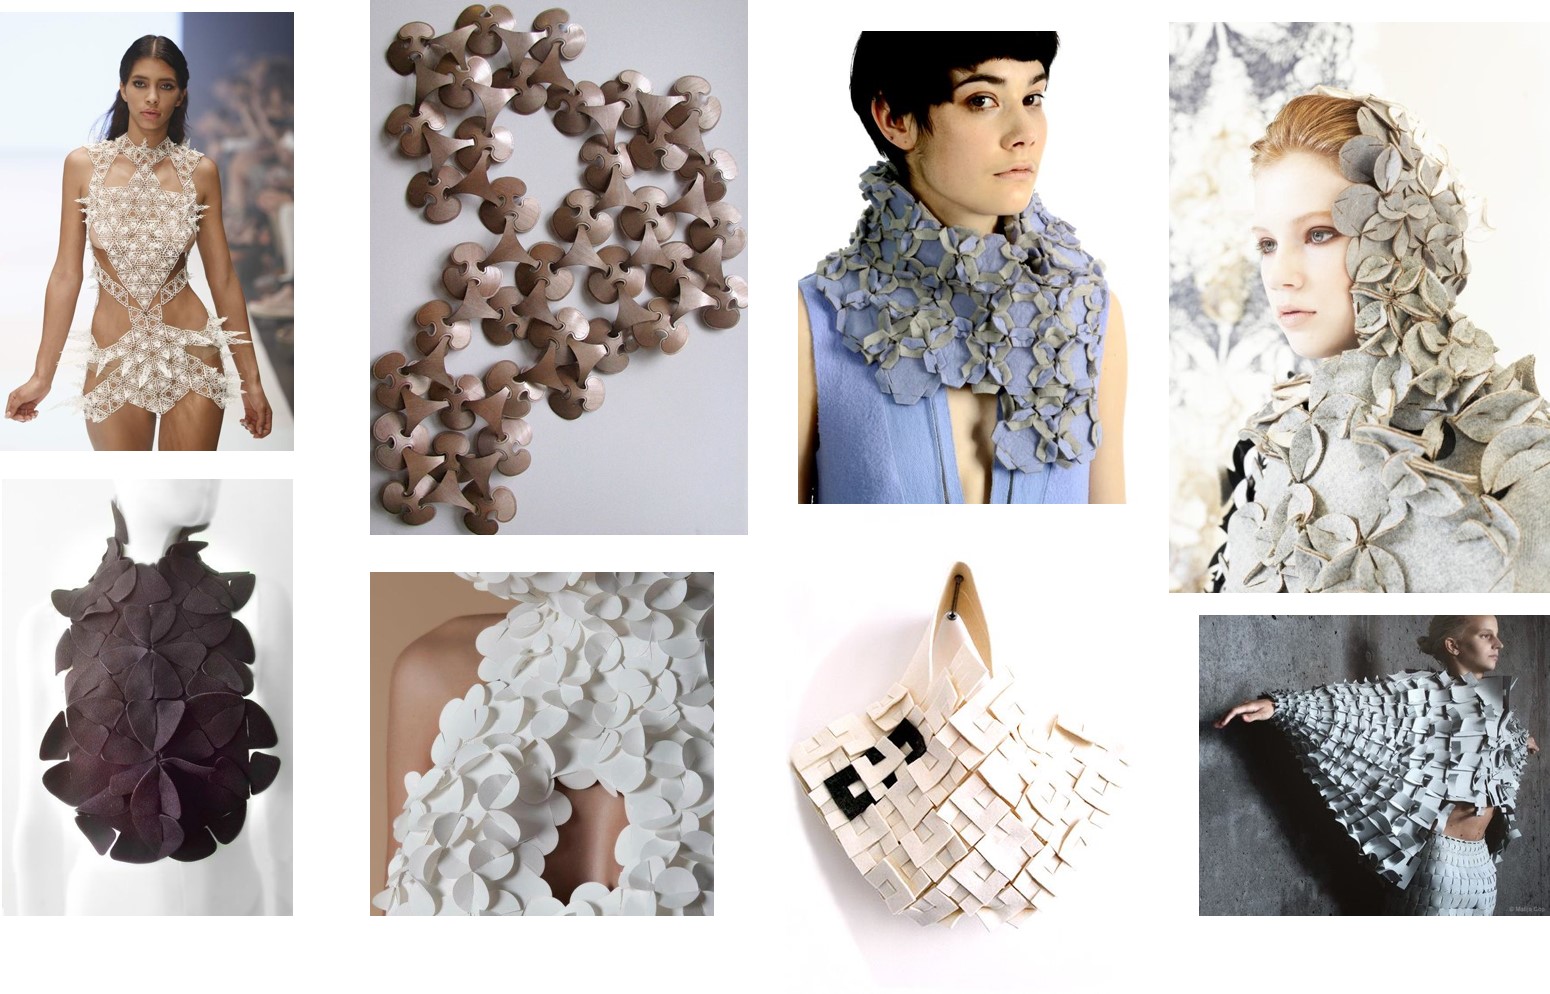
Some might use the term ‘multi-functional’, others prefer ‘convertible’ or 'adaptable’. The semantics may vary but, conceptually speaking, modular fashion translates into a garment, shoe or accessory that changes shape or form for different purposes.
A modular garment is one that can be disassembled into different parts, or modules, and reassembled at the wearer’s will. This is generally achieved through a variety of fastenings, from buttons and zips to press studs and Velcro.
These fasteners are used to attach or detach optional extras such as collars, hoods and pockets to transform one kind of a garment to another, such as a pair of trousers which can become shorts thanks to detachable leg bottoms.”
References & Inspiration
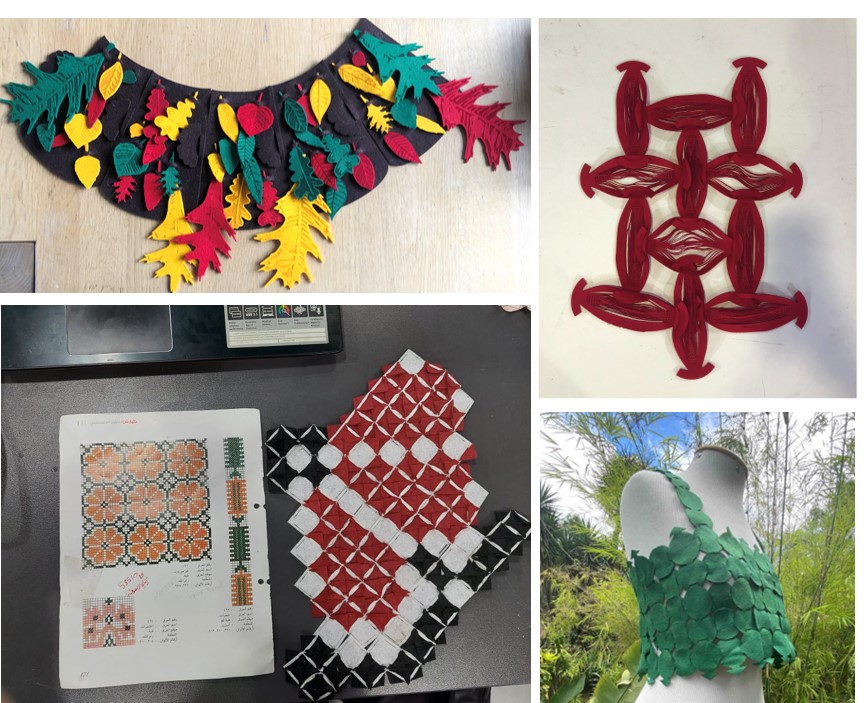
Searches began with browsing the pages of participants from past years, stopping at the works performed by: Isabel Allaert, Hanna Gonzales, Maryam Ibrahim and Iane Cabral
I also looked for ideas on Pinterest.
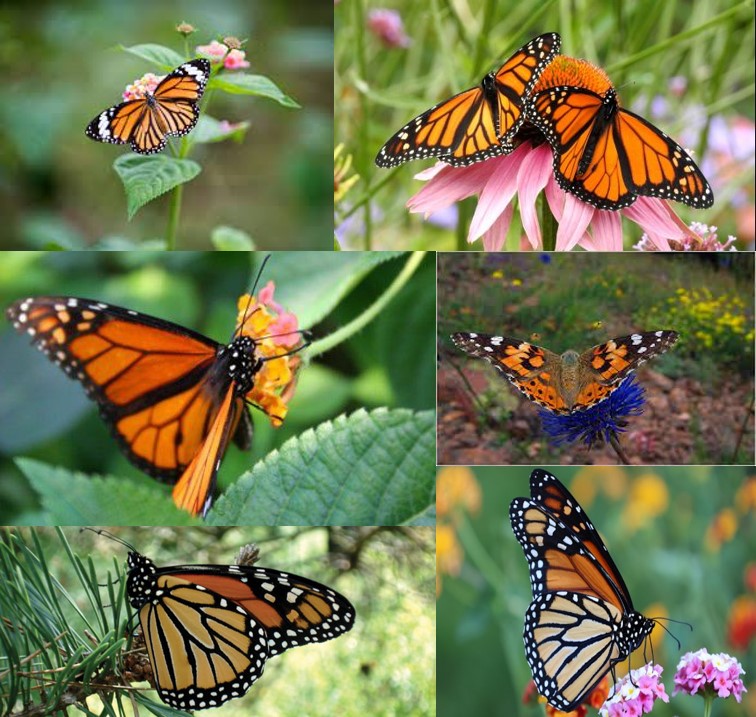
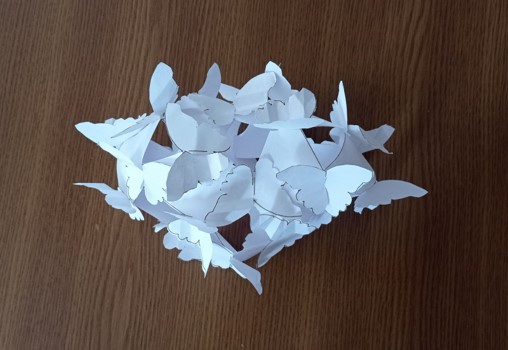
For get insiration I went to nature. Nature is perfect and amazing!
Process and workflow
Step 1 - Paper test
There are a few less successful attempts from paper.
And finally a successful model, which will be made as an example model:)
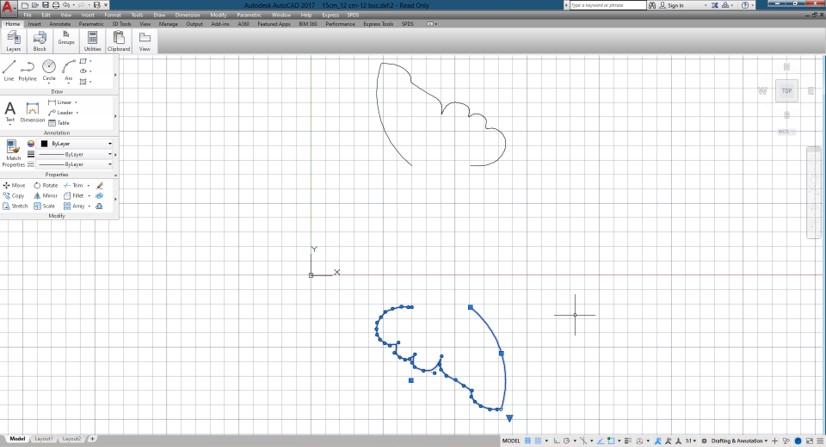
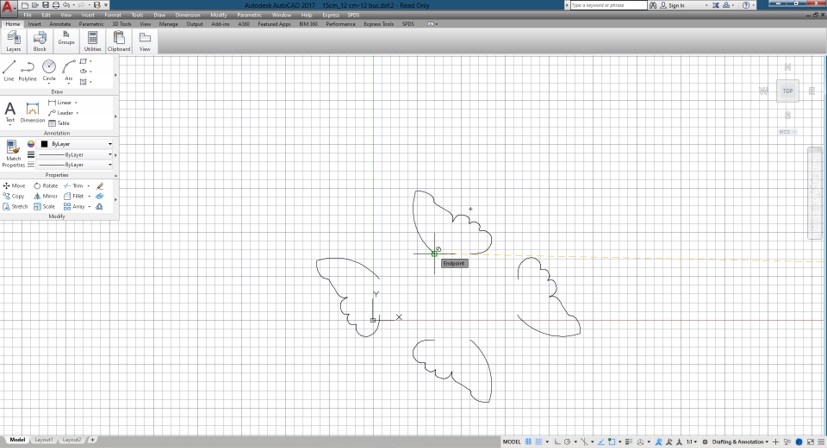
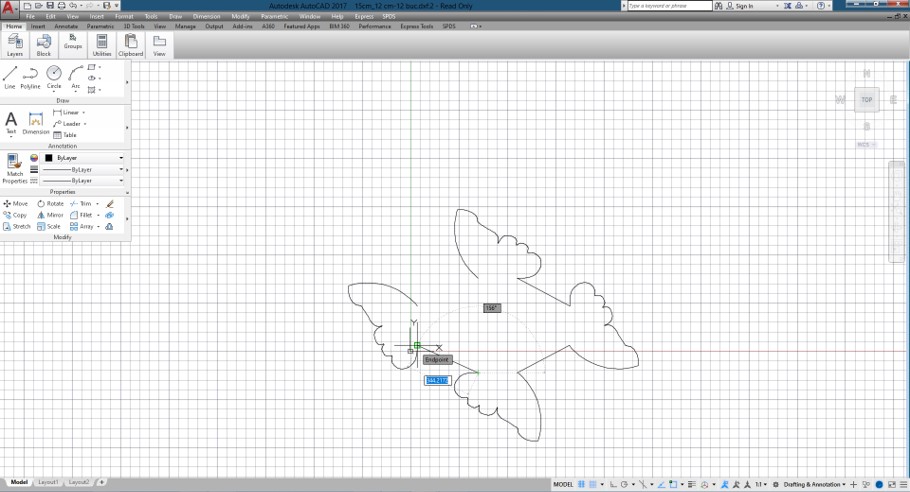
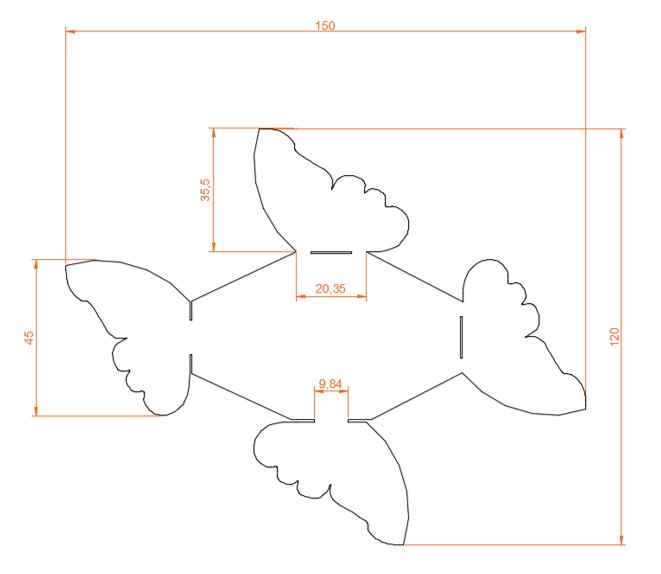
Step 2 - Designing my model
For drawing the model I used 2D software: Autocad.
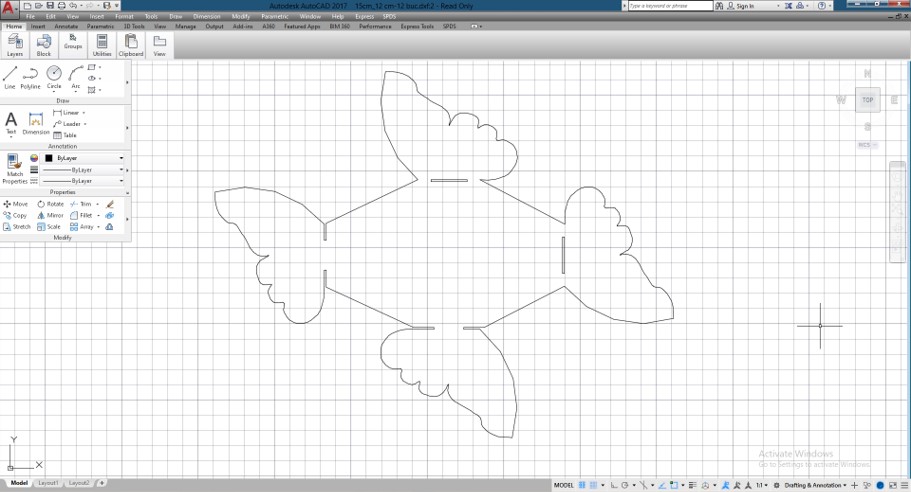
The stages of drawing the model are shown in the following pictures. AutoCad 2D tools were used for drawing, some of them being: Line, Polyline, Move, Mirror, Trim, Copy, Rotate ...

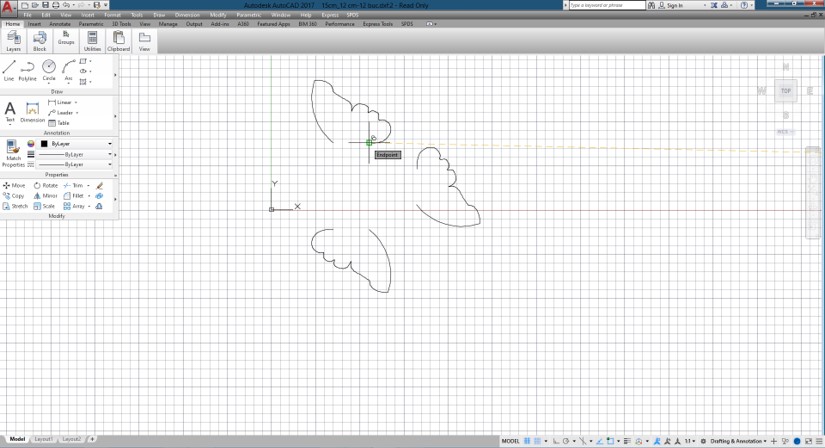
STEP 3 - Laser cutting
I exported it as a [.dxf] file. This is my first laser cutting experience. Initially I made some attempts for cut the drawn shape for finding the required dimensions.
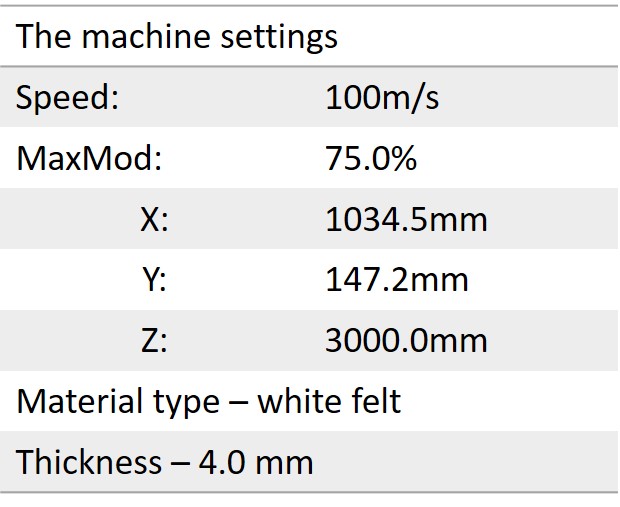
When I found the required size, being helped by the local FabLab instructor, we set the necessary parameters and cut the design with laser.
In the next picture I note the machine settings, material type and thickness.
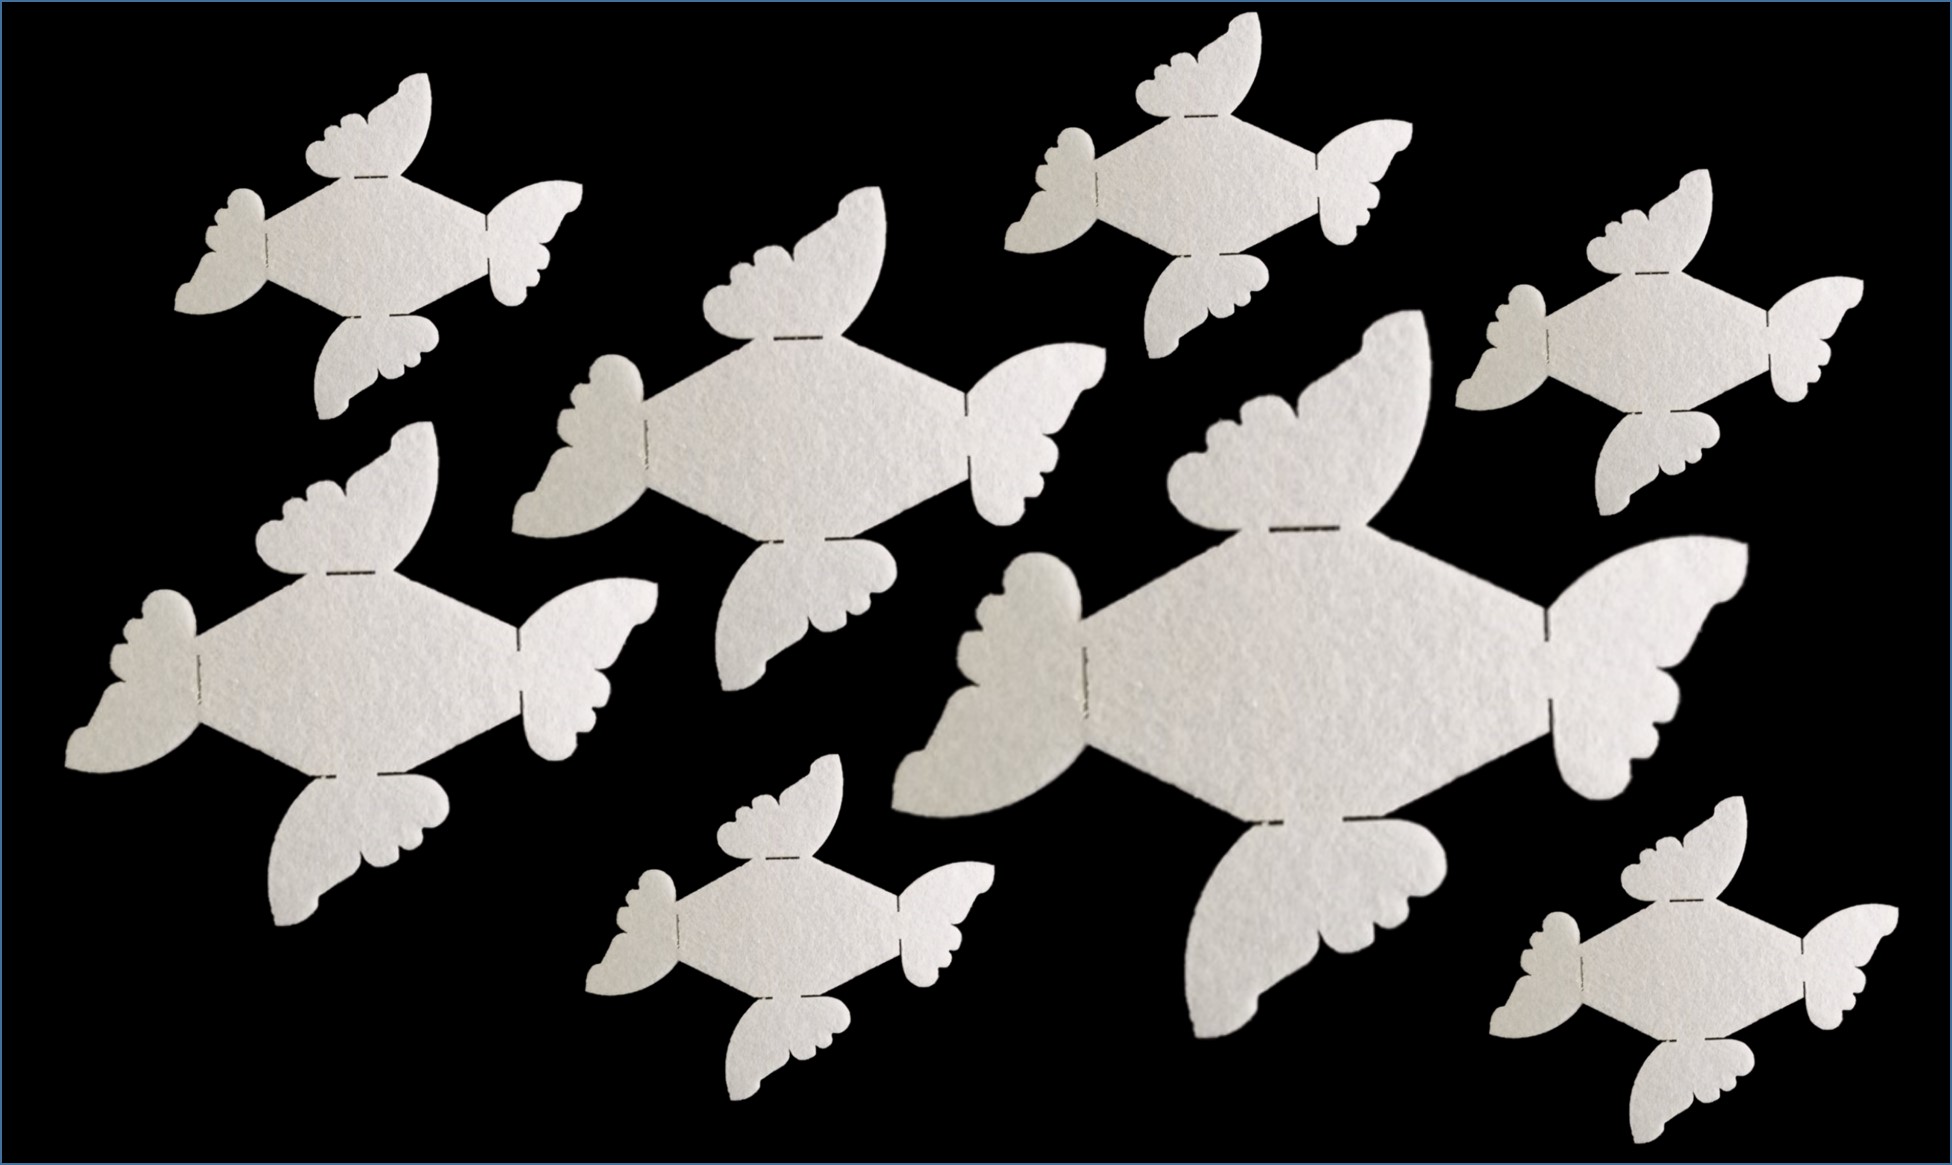
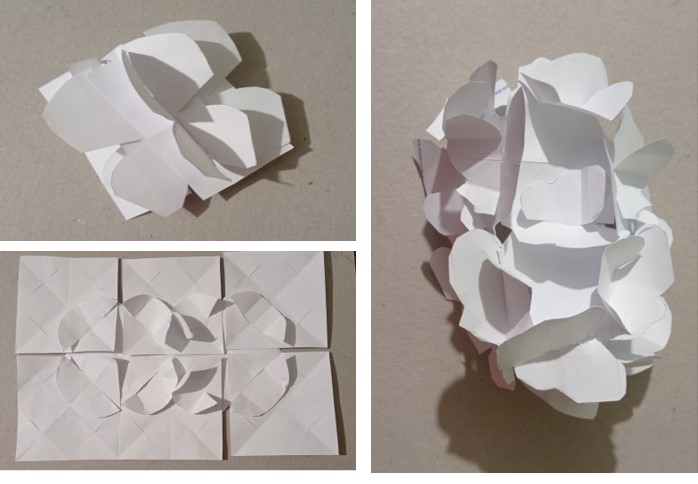
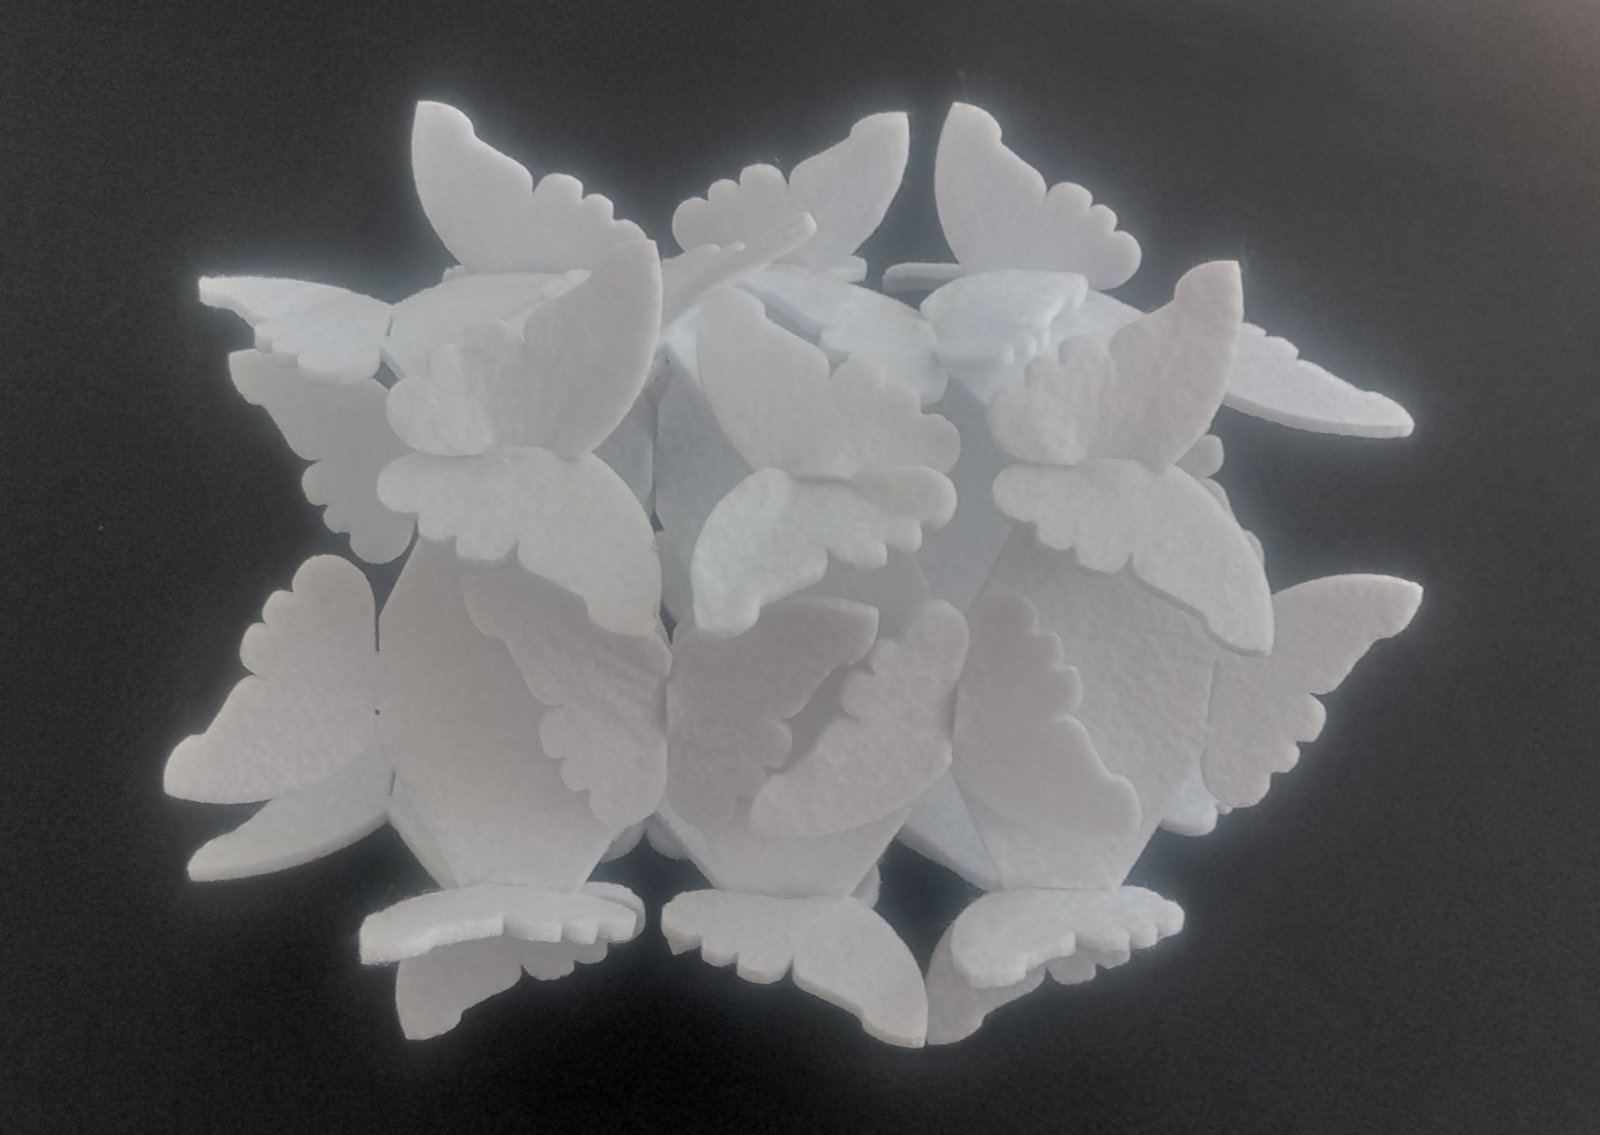
STEP 4 - Assembly of modules and results
To get my model I needed 12 modules. The connection points are clearly seen in the pictures attached above. Each module have 4 connecting points which help of connecting them to each other.
The assembly process is shown in the following video.
... and FINAL RESULTS
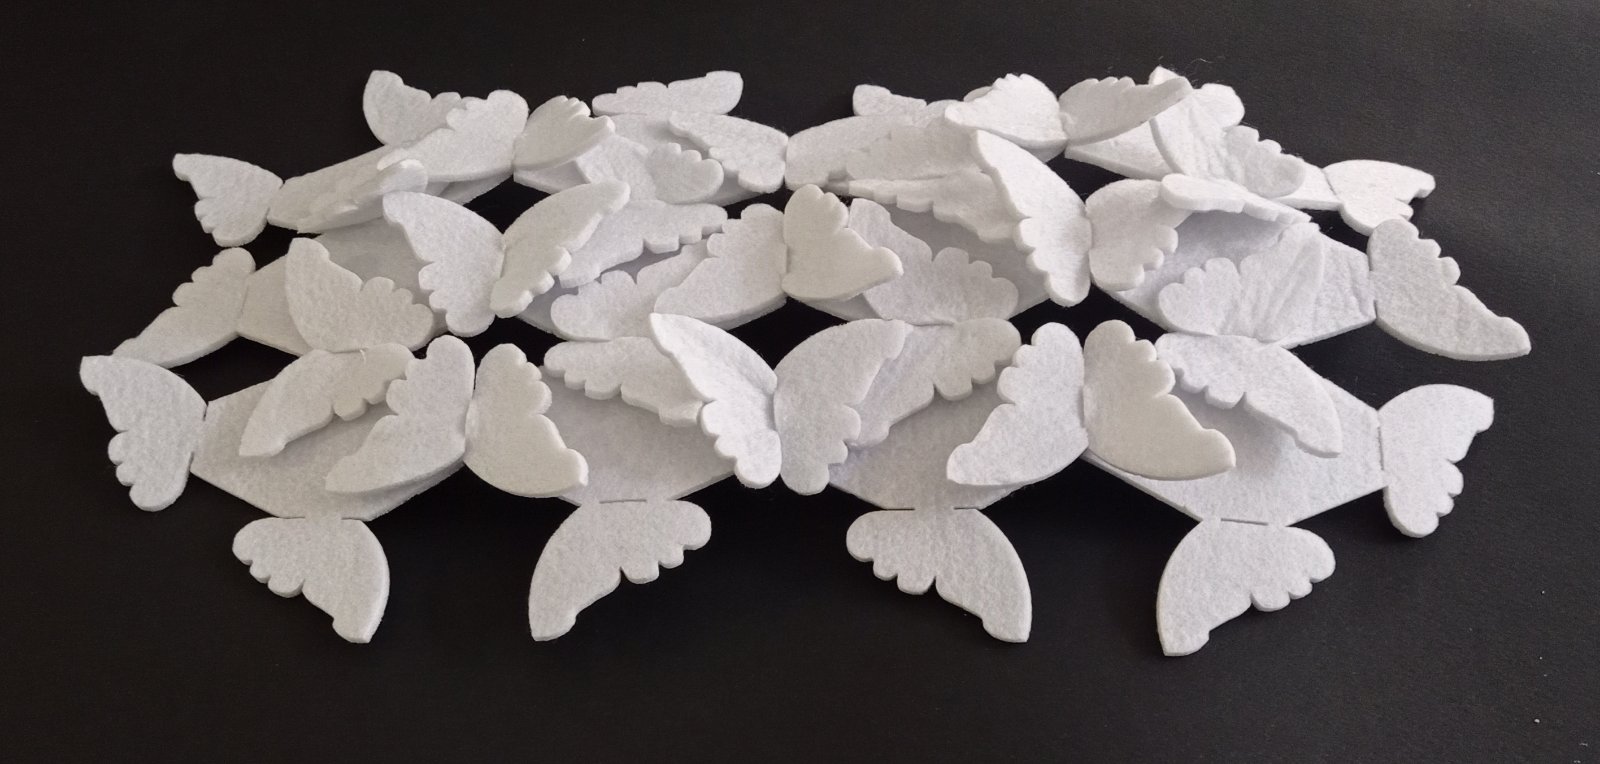
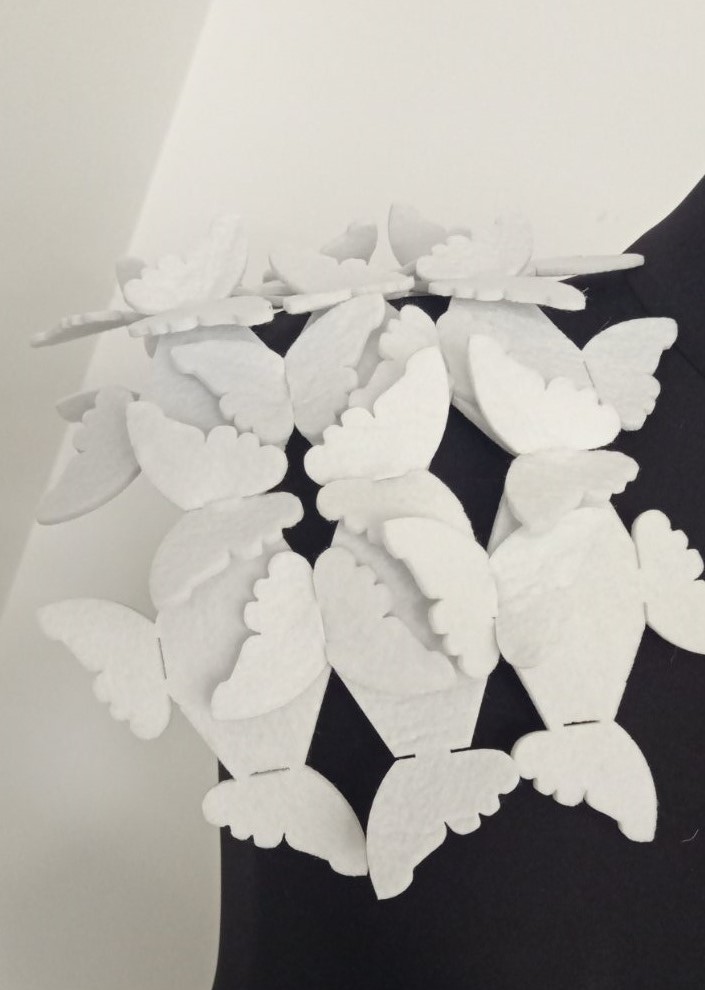
The pattern can be continued by assembling several modules, or it can be applied by the same method without seams to a basic landmark where this decoration is desired.
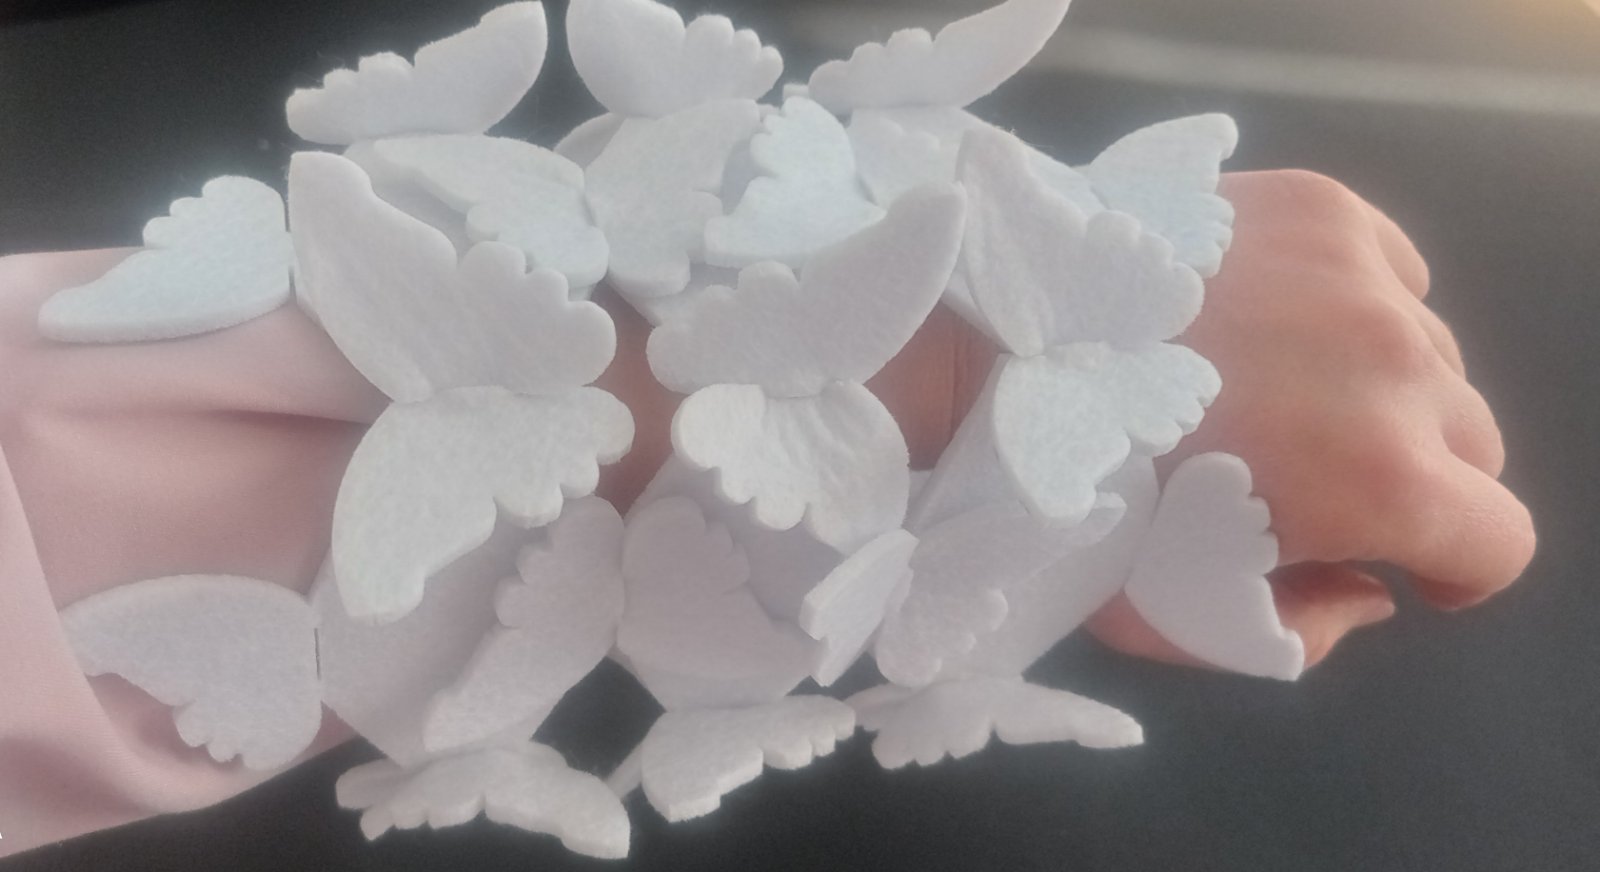
In the result we got an element of modular garment which the connection is well designed and holds the stretch, what we can see from the following video.
You can find my model by going to the link MODULAR SLEEVE