2. Digital bodies
Week 02 _ lost
The week did not start very well. Due to my busy schedule and tons of messages, I was unable to connect to lecture. I hope it won't be a problem in the final evaluation. But...
Research & Ideation
But I managed to see the recording.
After a lecture Digital Bodies by Anastasia, I got inspired by various artists and their sculptures. It is an interesting subject. So I went to pinterest and I analyzed various sculptures of the human body.
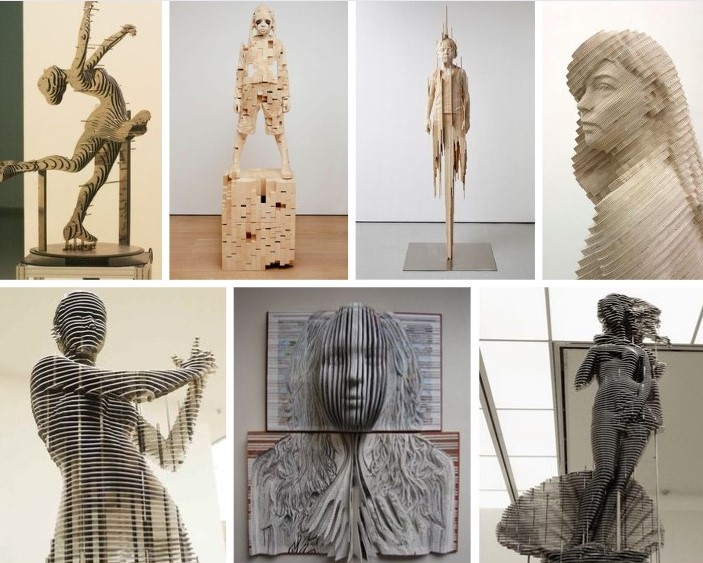
I admired various works. Here I can present some access links to the works presented above: 1, 2, 3, 4, 5.
And I started working :).
The scanning process
The 3D scanning process is a process that requires time and specialized equipment. Spiral technology is used to scan the face, head or full figure of a person. The person stands on a special platform that rotates. Another person with the scanner in hand, scans each required part.The 3D scanner is harmless to the eyes, so don't be afraid to do 3D face scanning, and the whole 3D scanning process is absolutely safe for the human body.
Skanect is a free software version. With Skanect, capturing a full color 3D model of an object, a person or a room has never been so easy and affordable. Skanect transforms your Structure Sensor or Structure Core depth sensor into a low-cost 3D scanner able to create 3D meshes out of real scenes in a few minutes. Enter the world of 3D scanning now!
Method 1
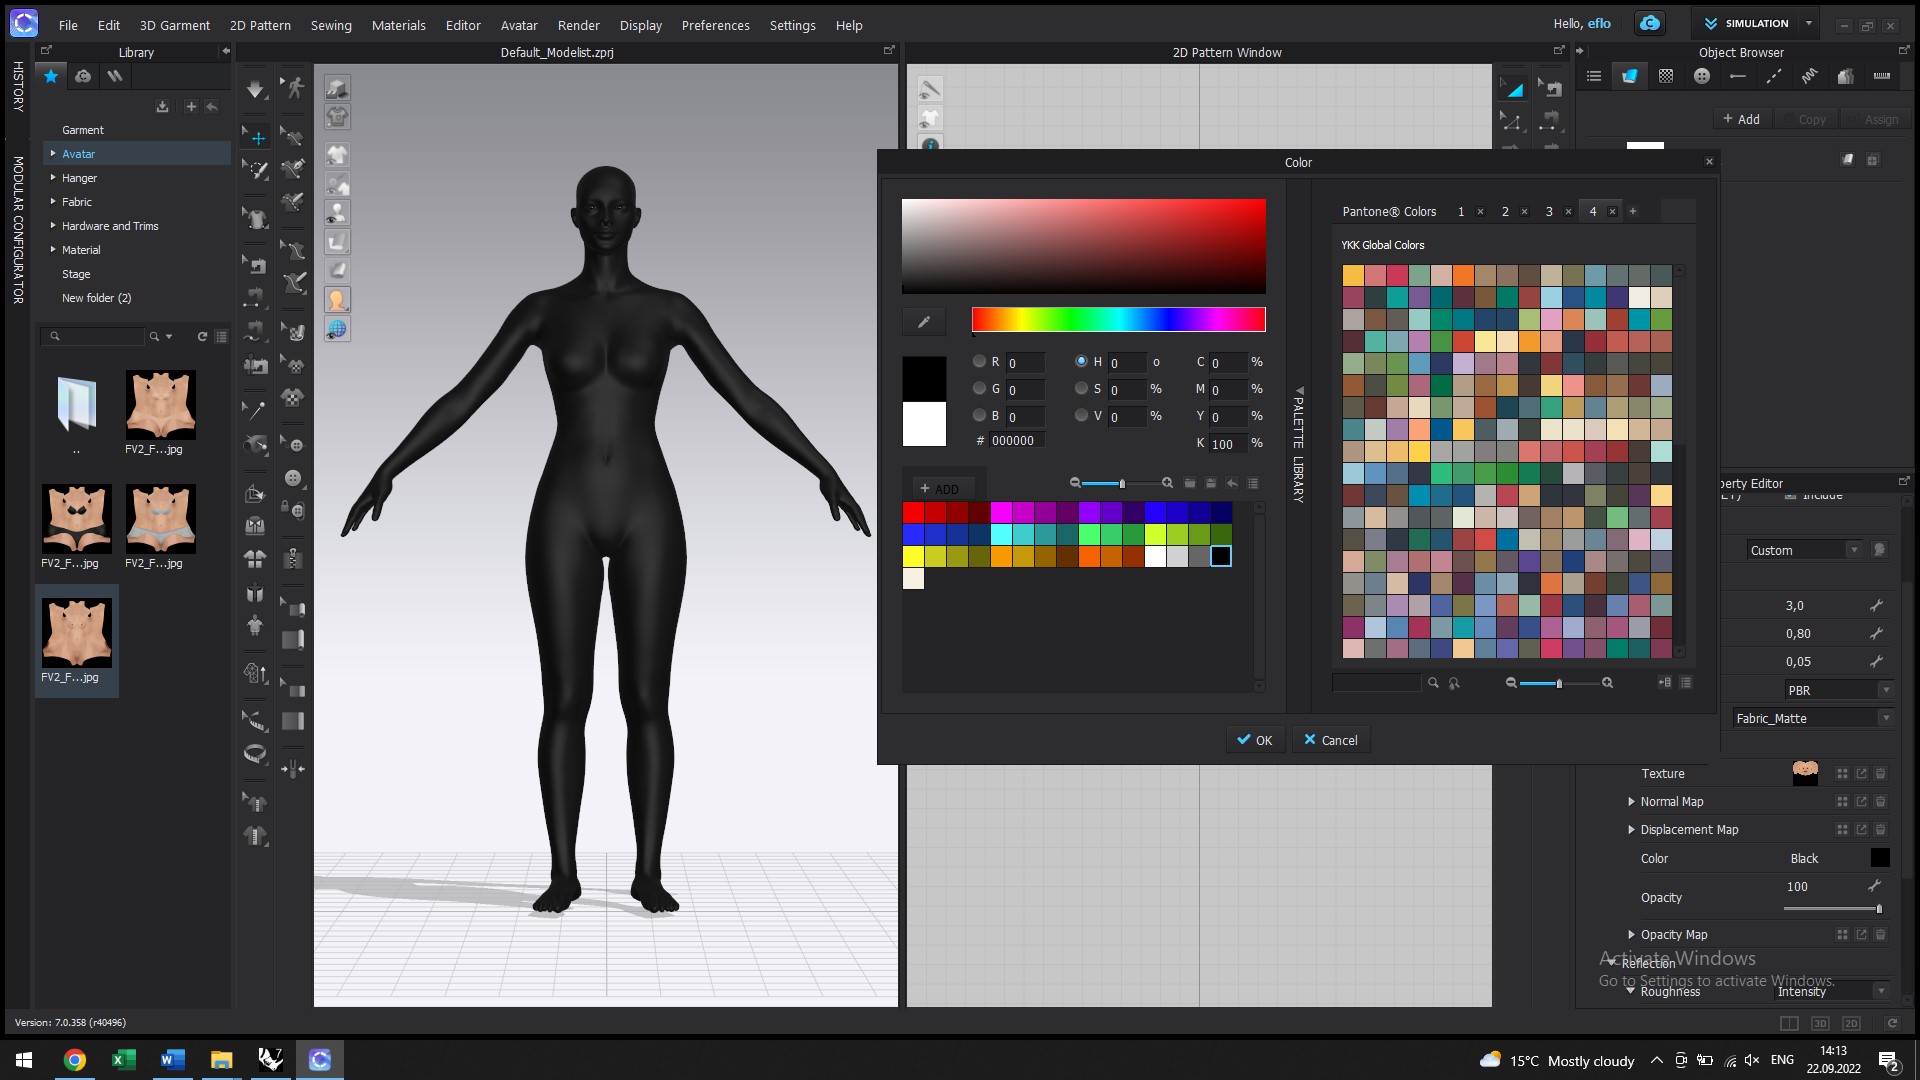
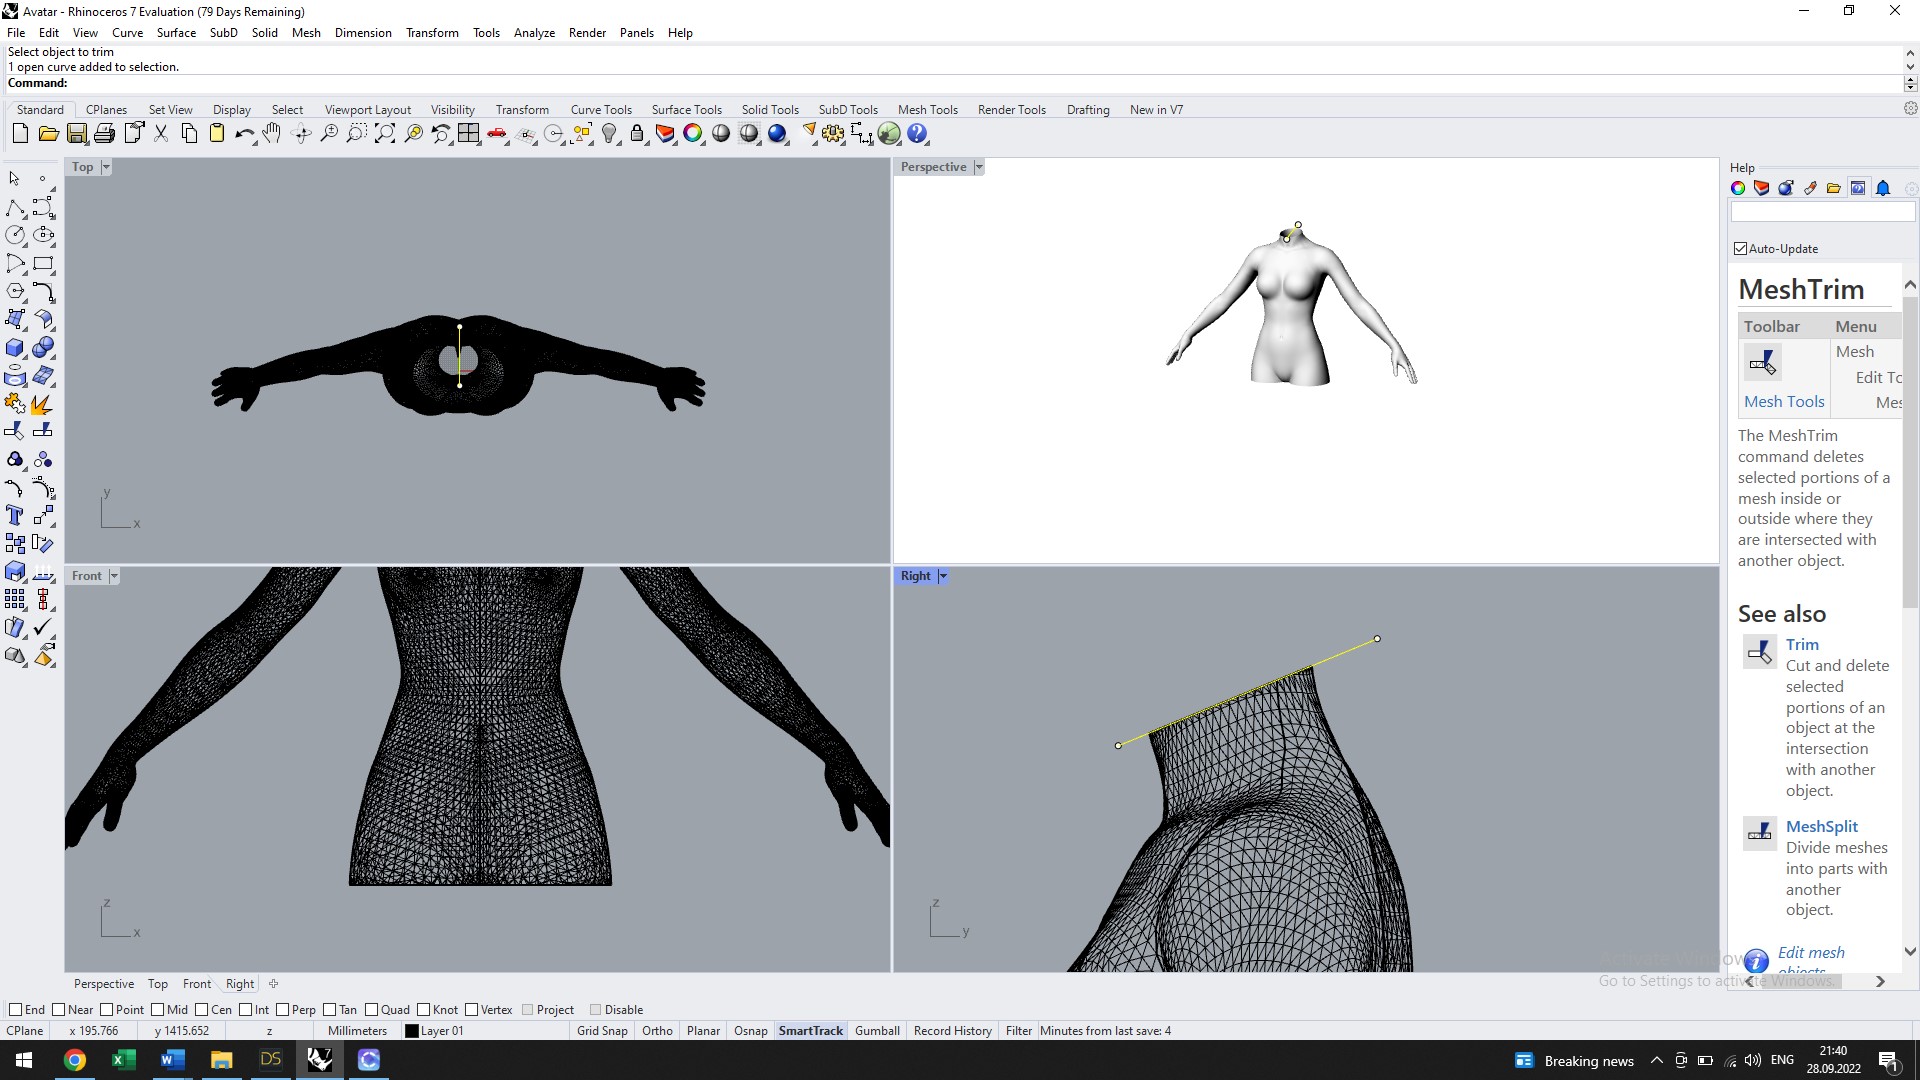
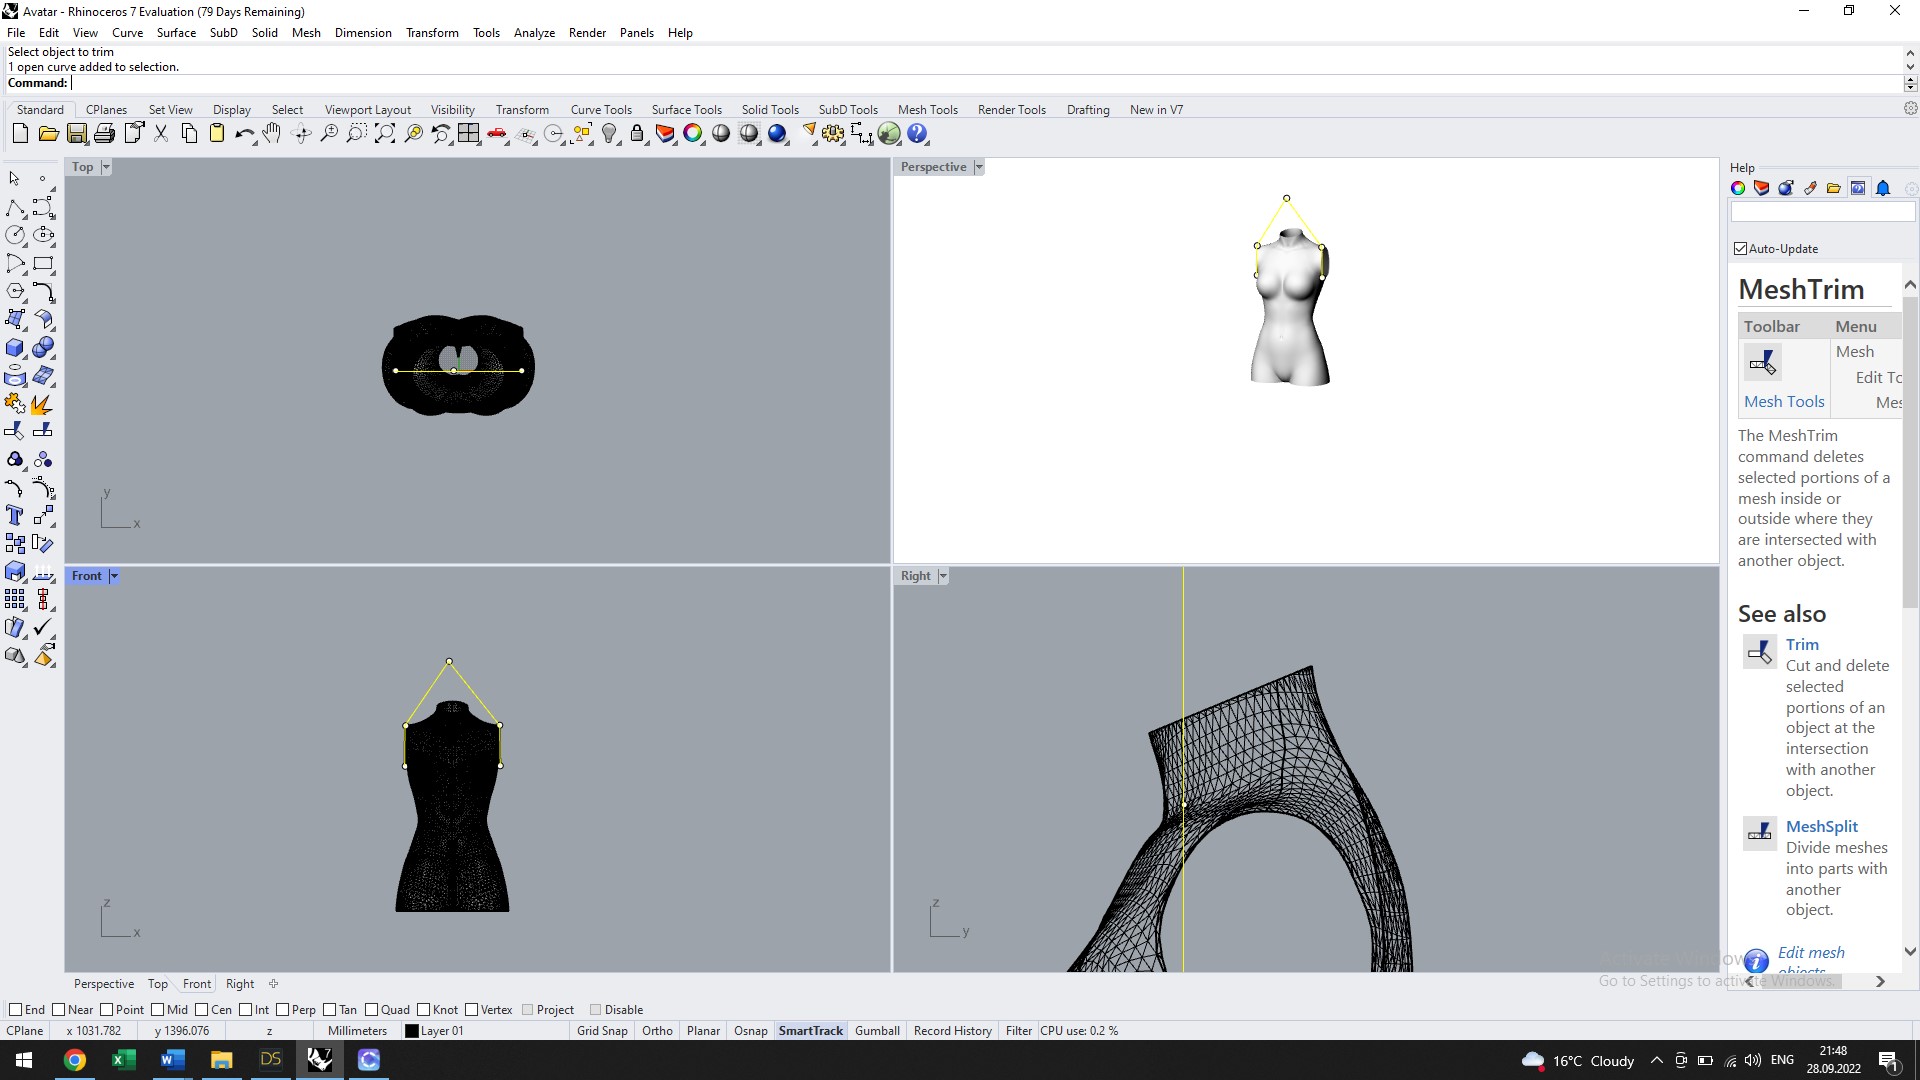
Unfortunately, I don't have a scanner to scan human bodies, but I decided to use bodies that can be adapted to the necessary sizes. The easiest was to use CLO3D software. Initially I selected the avatar by gender, changed the dimensional characteristics and deleted the hair and shoes.
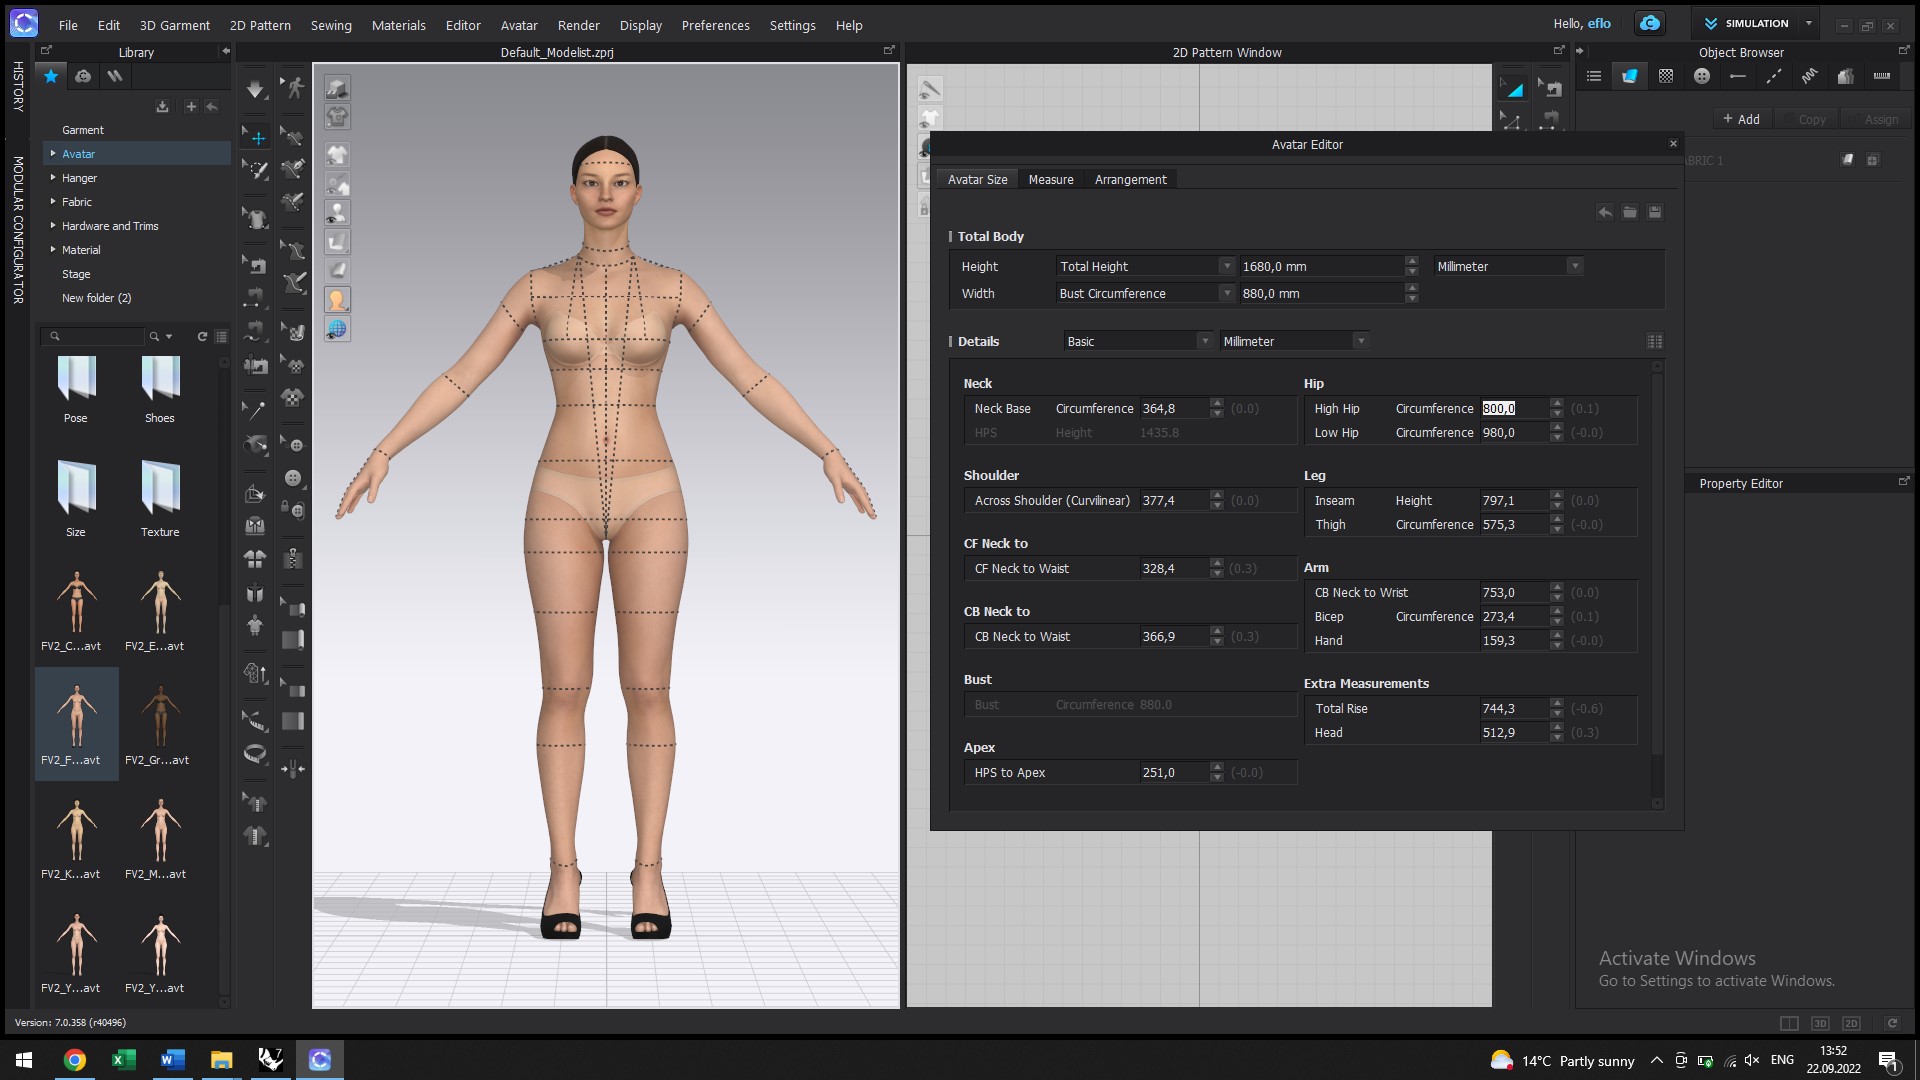
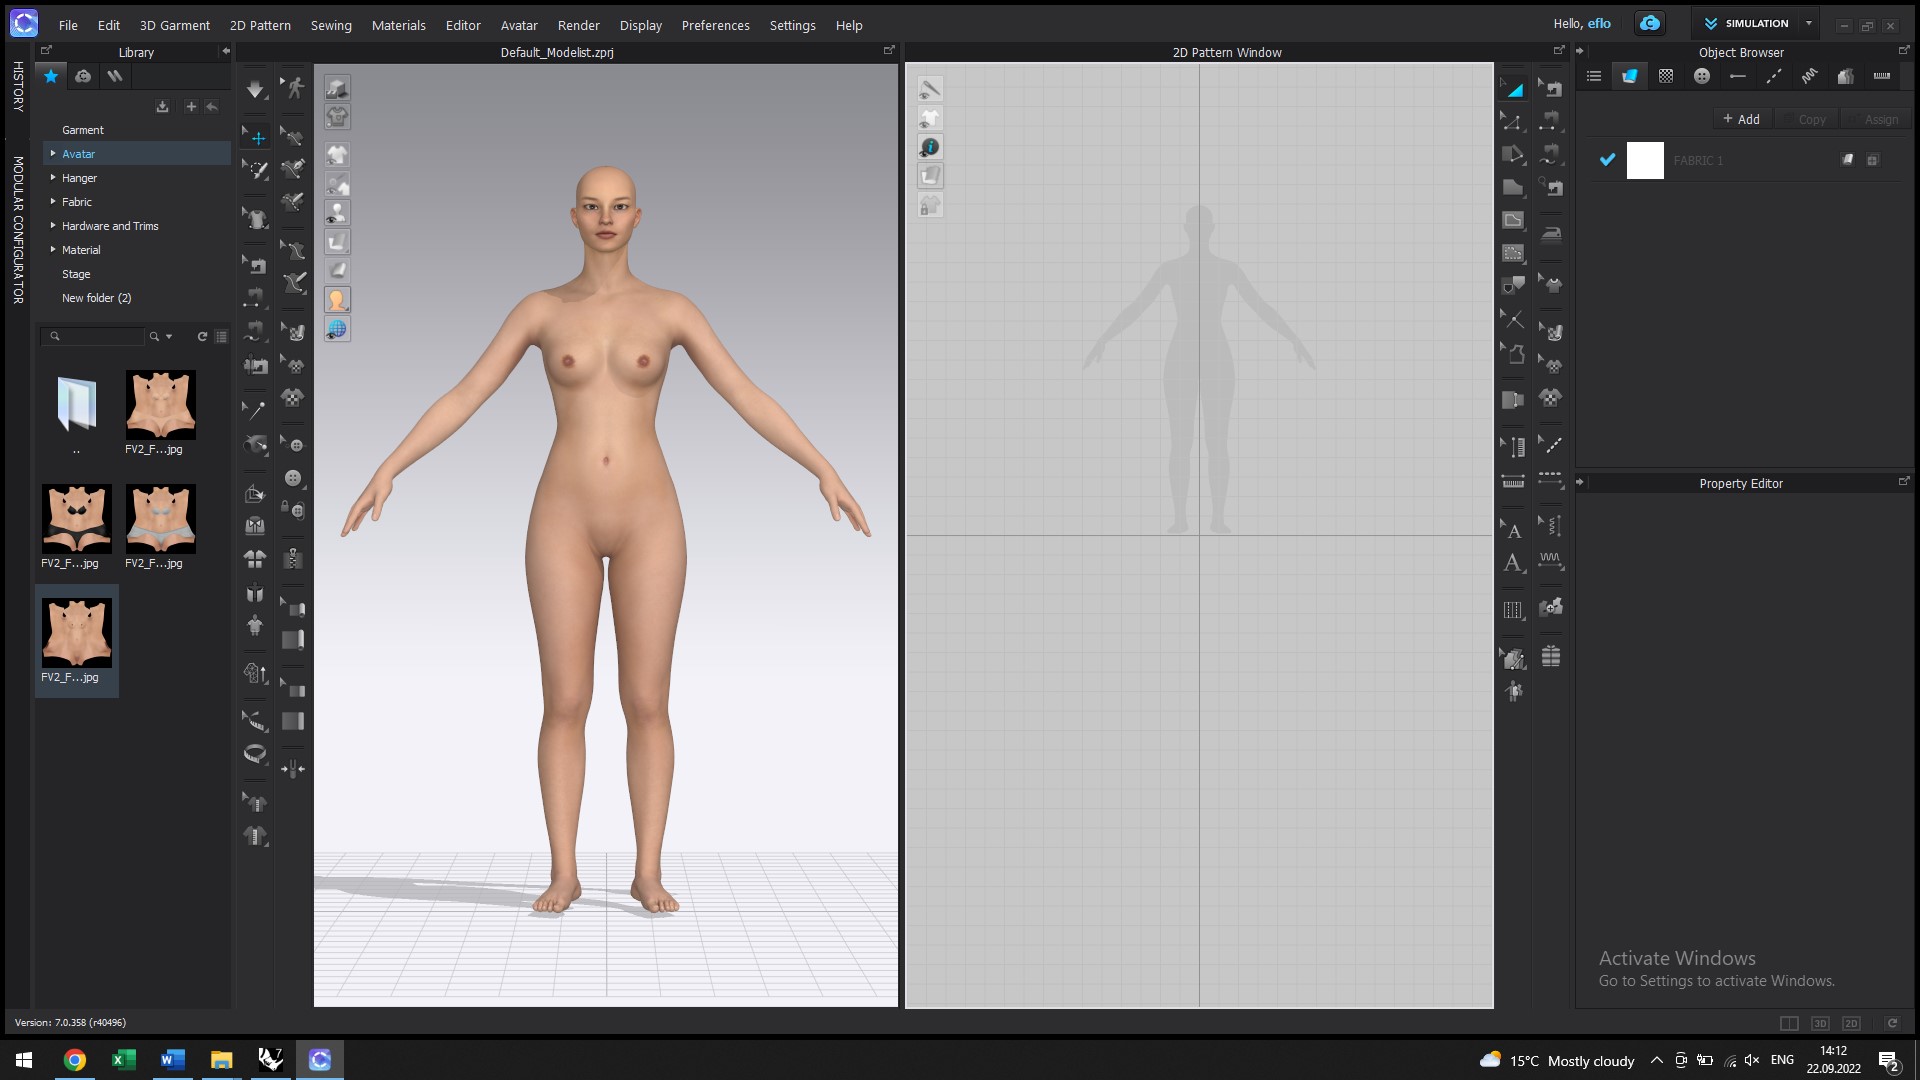
Then I changed the color of the avatar and saved in it .obj format.

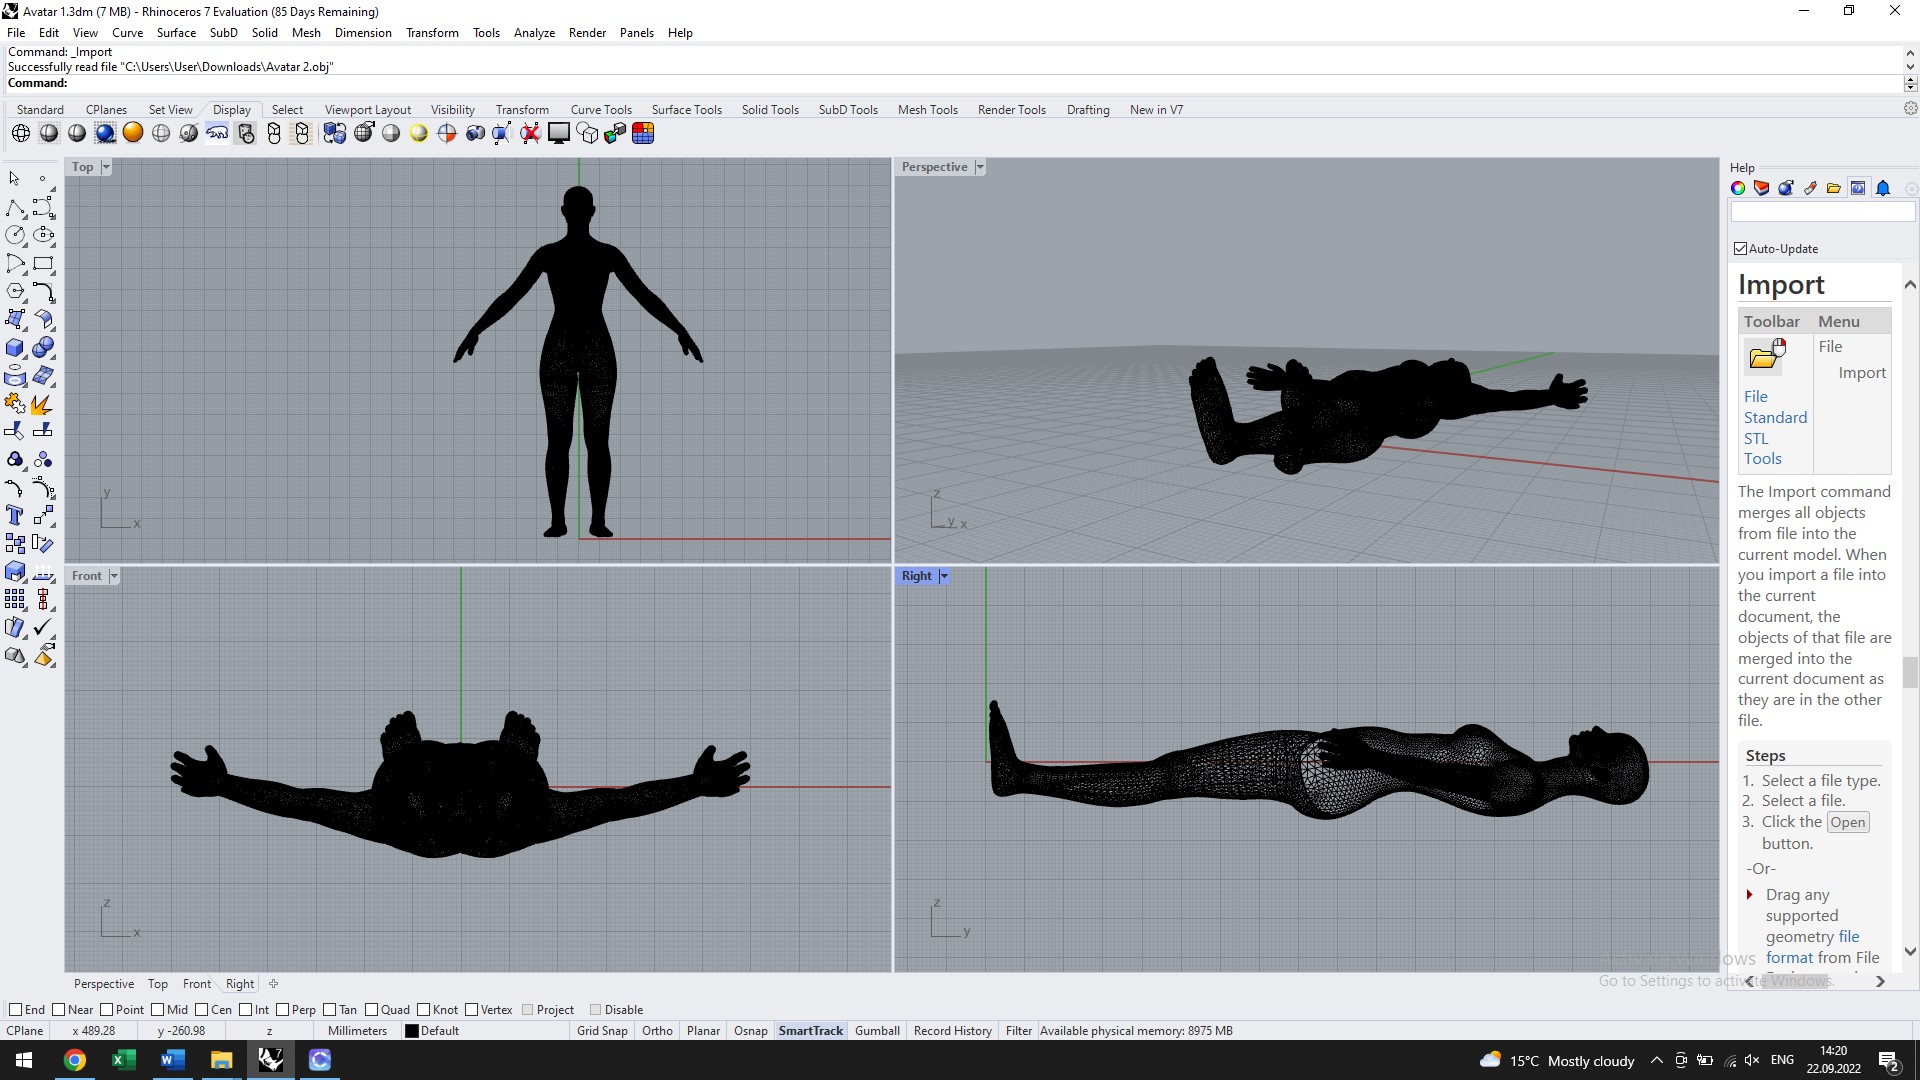
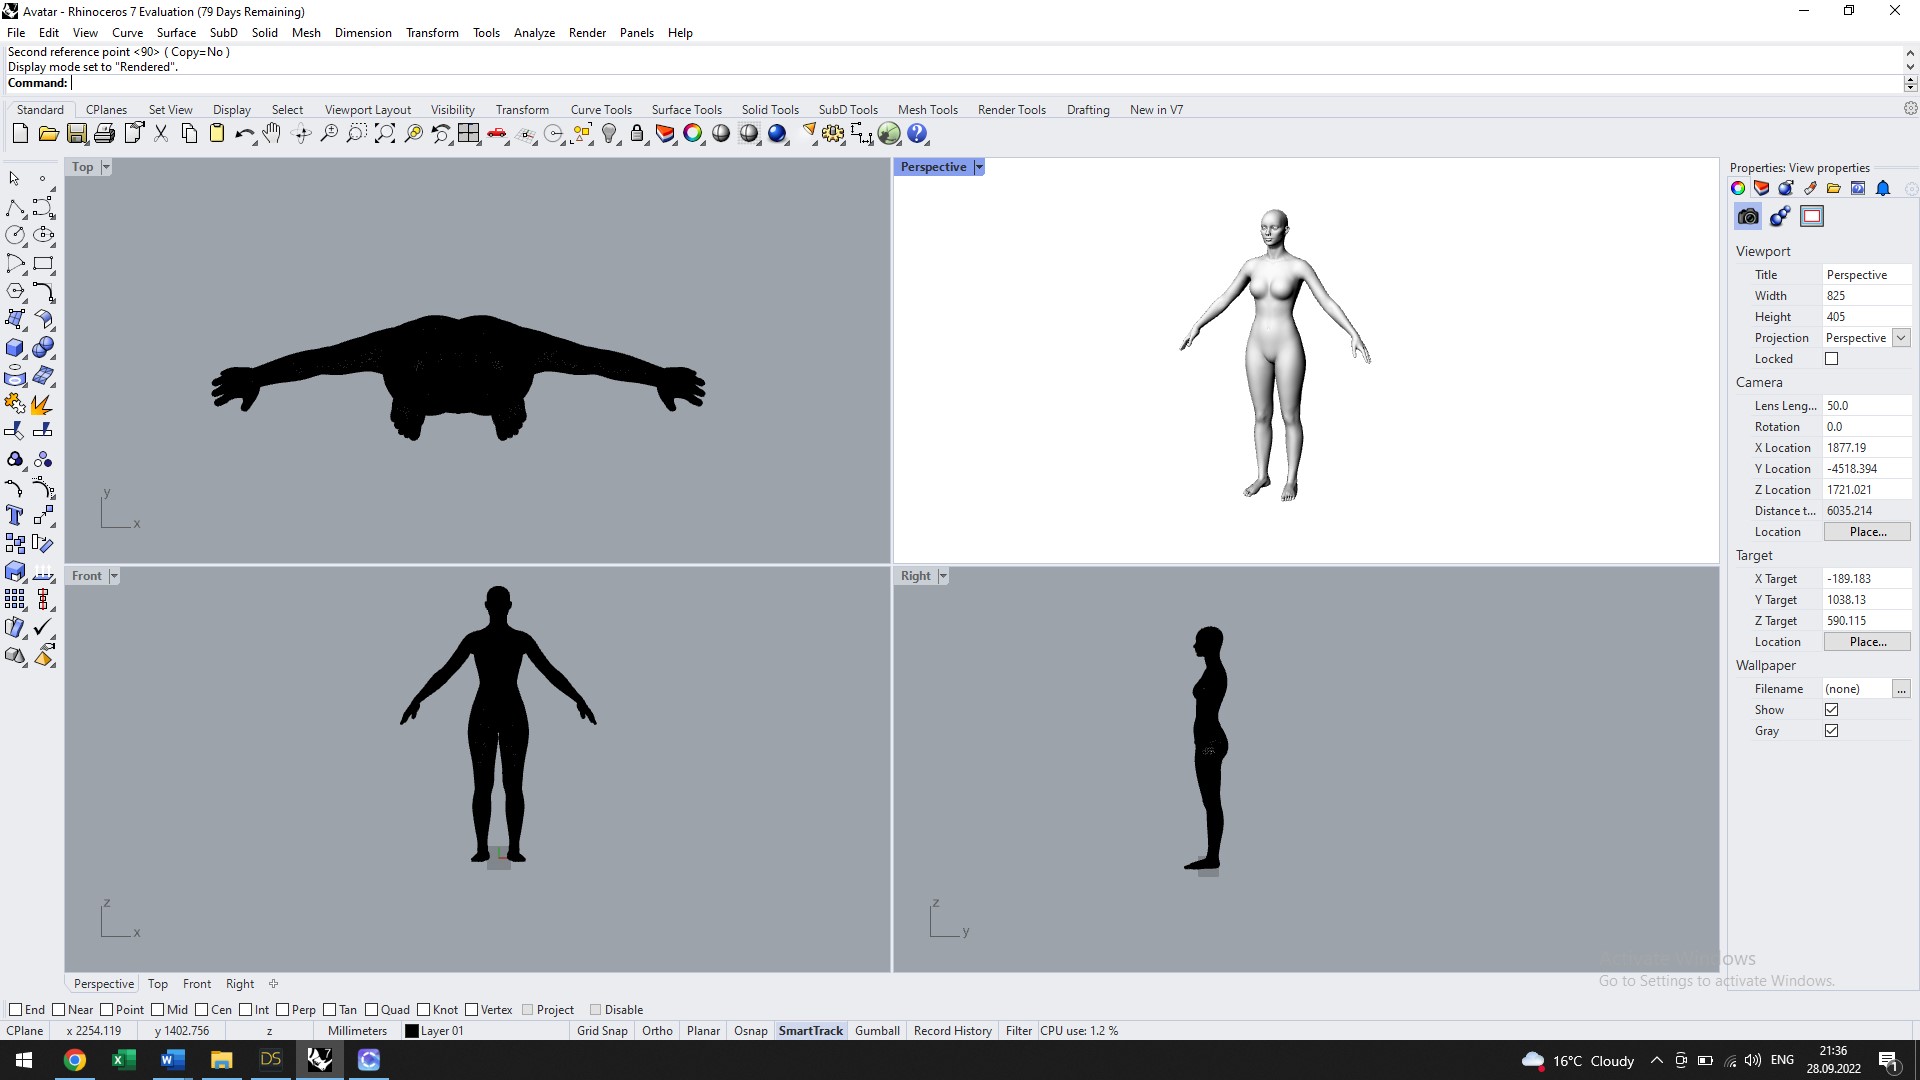
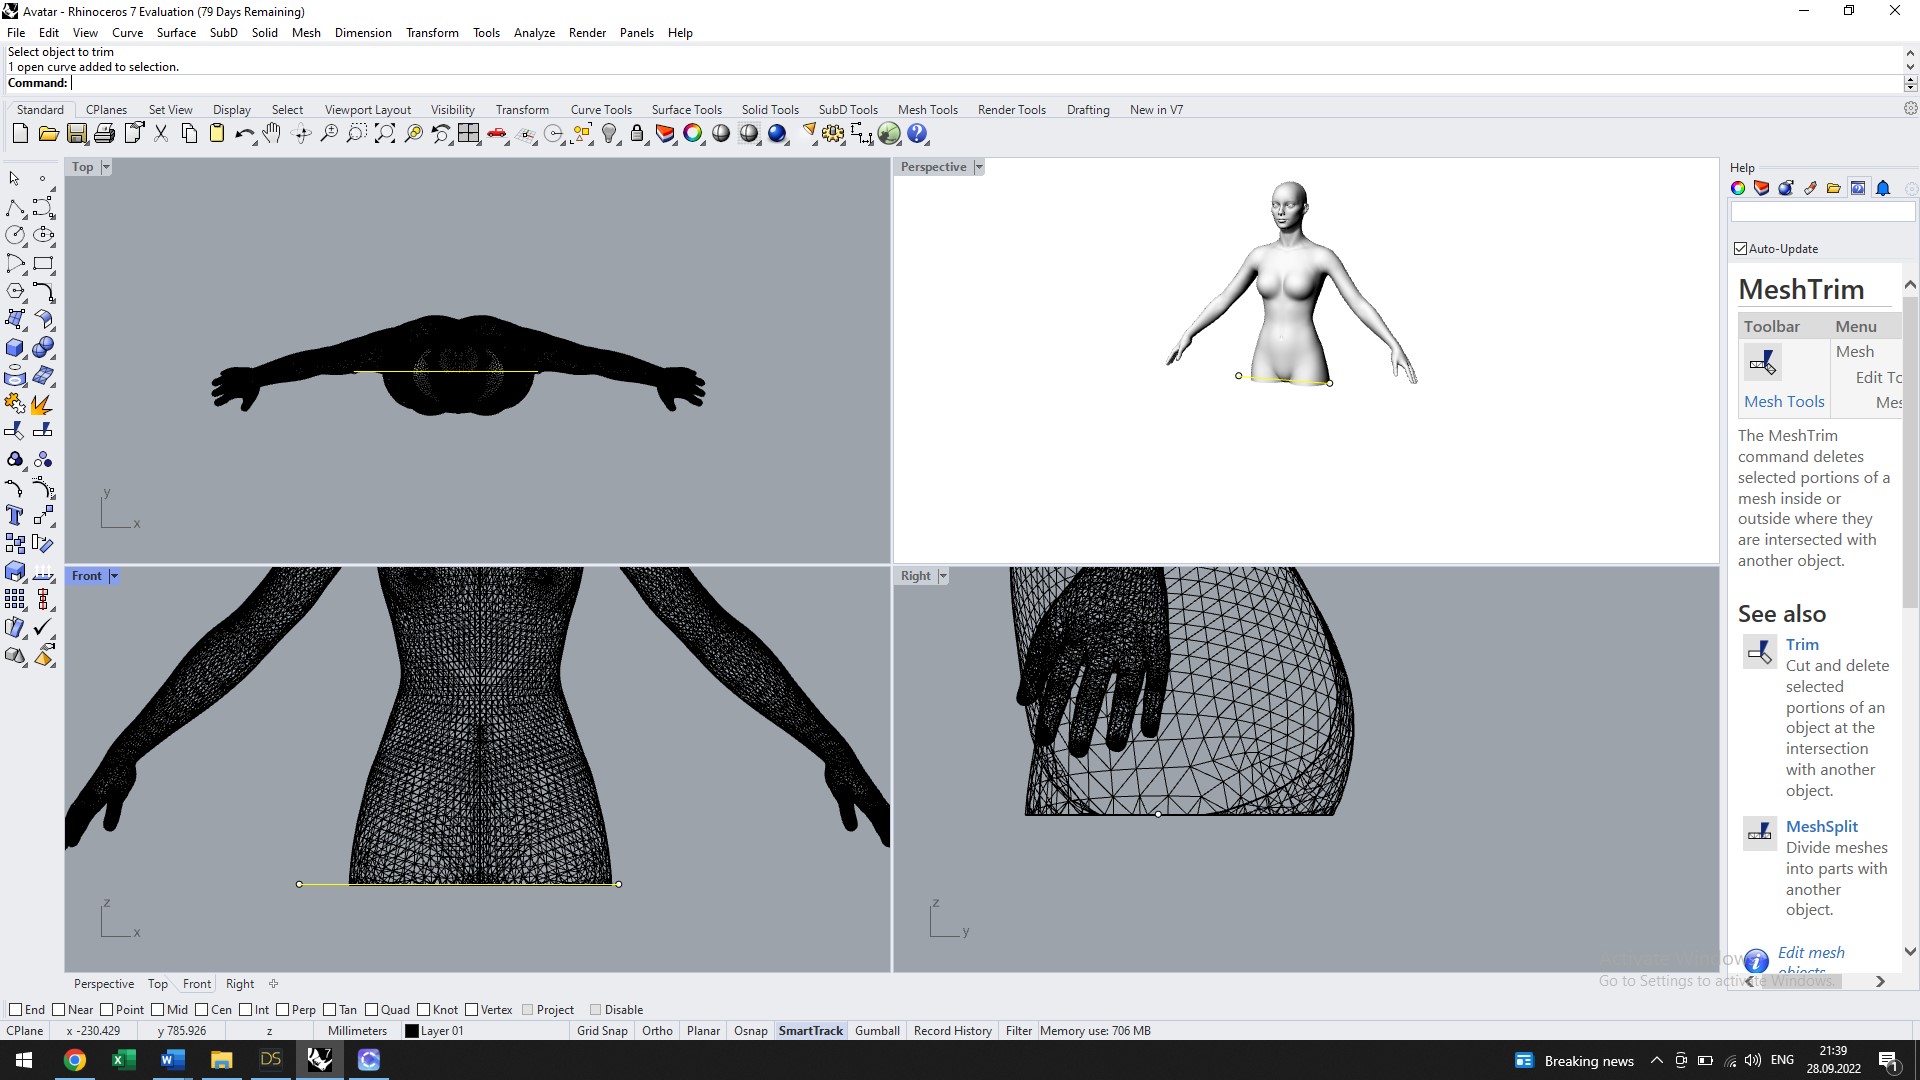
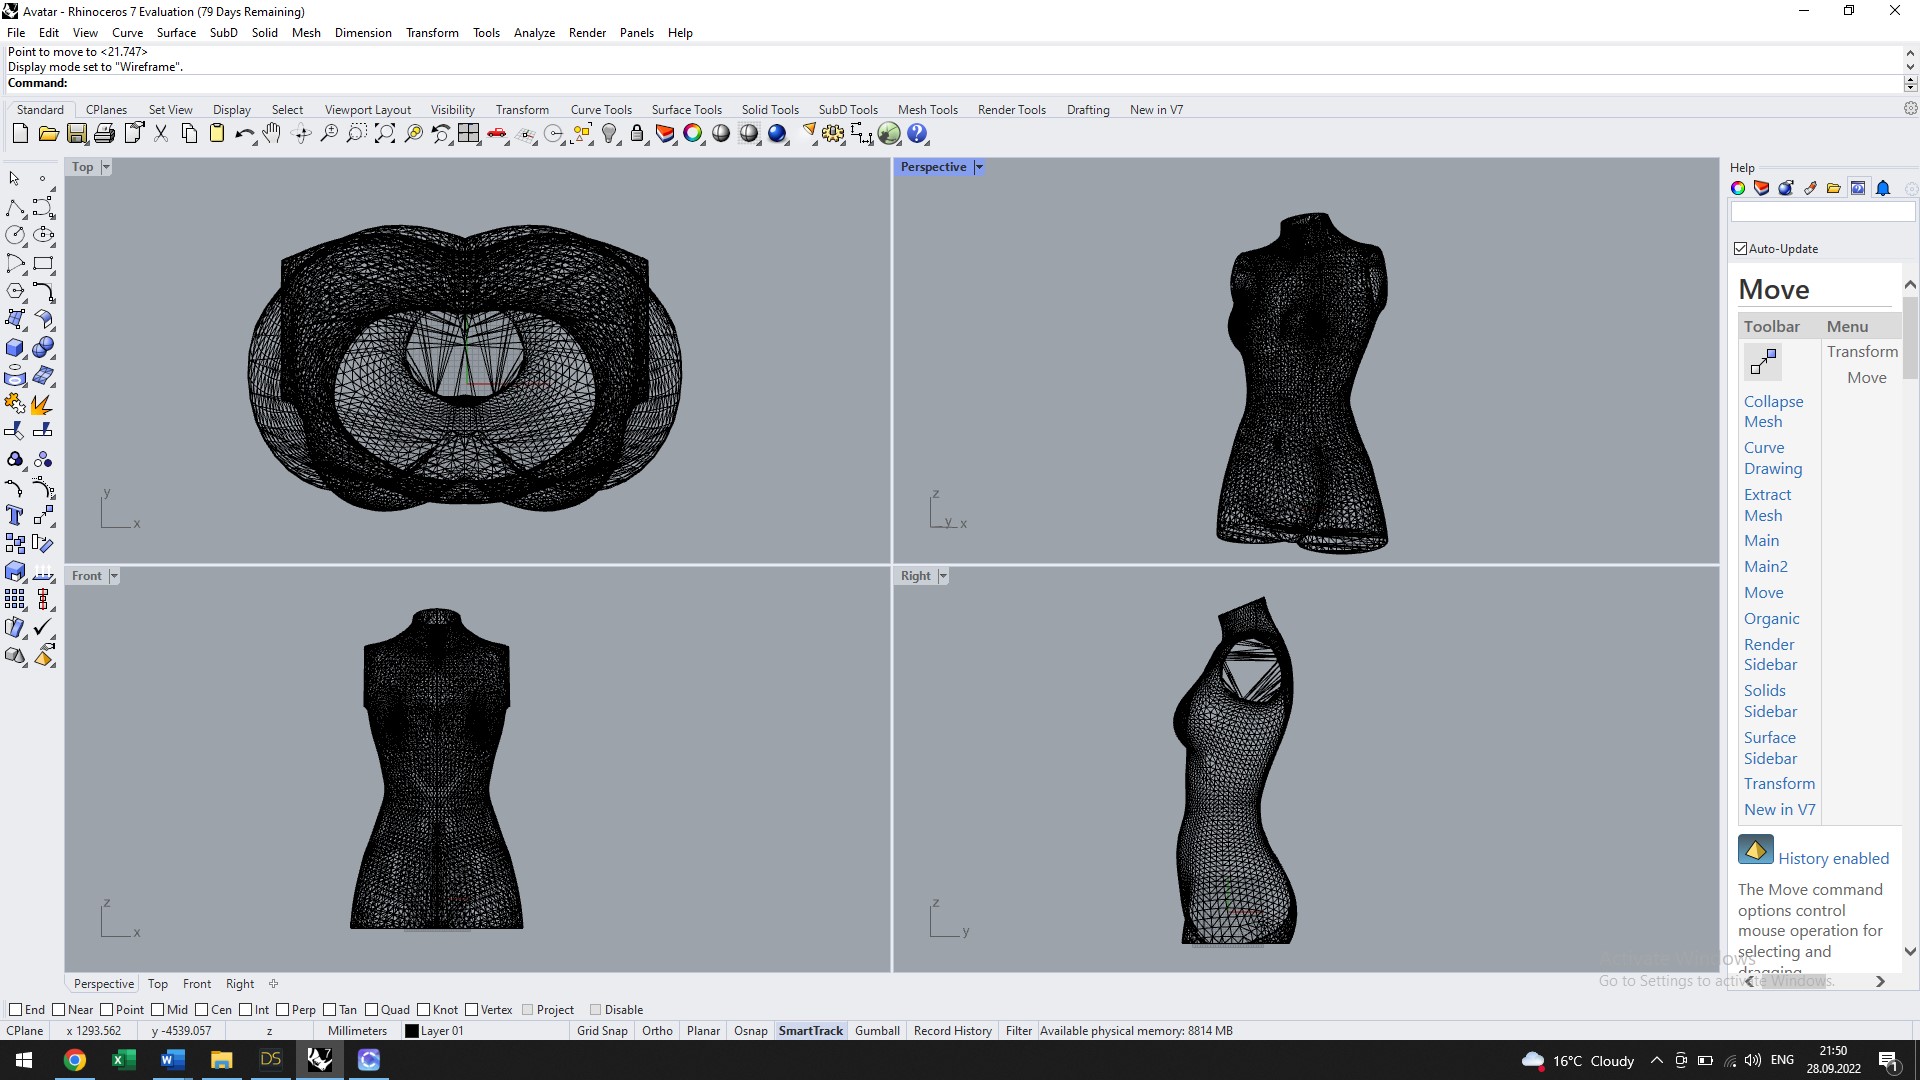
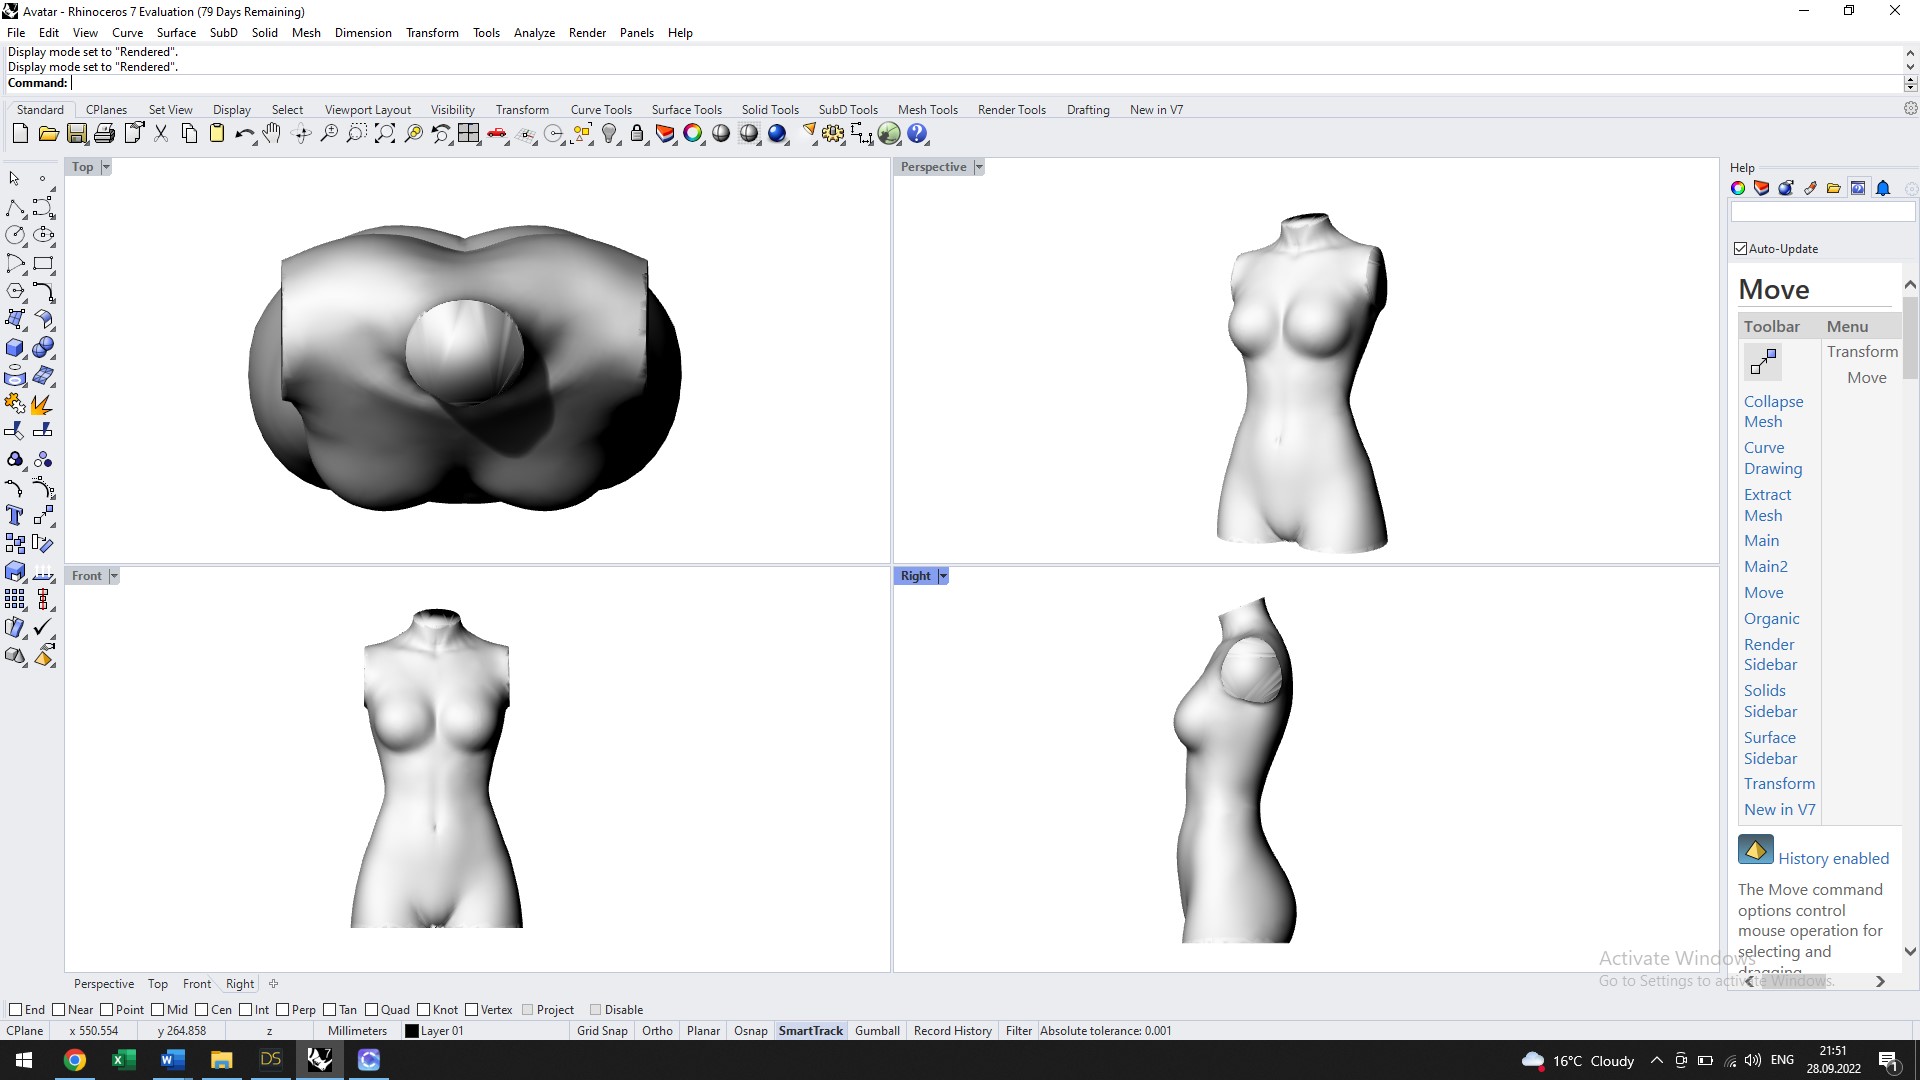
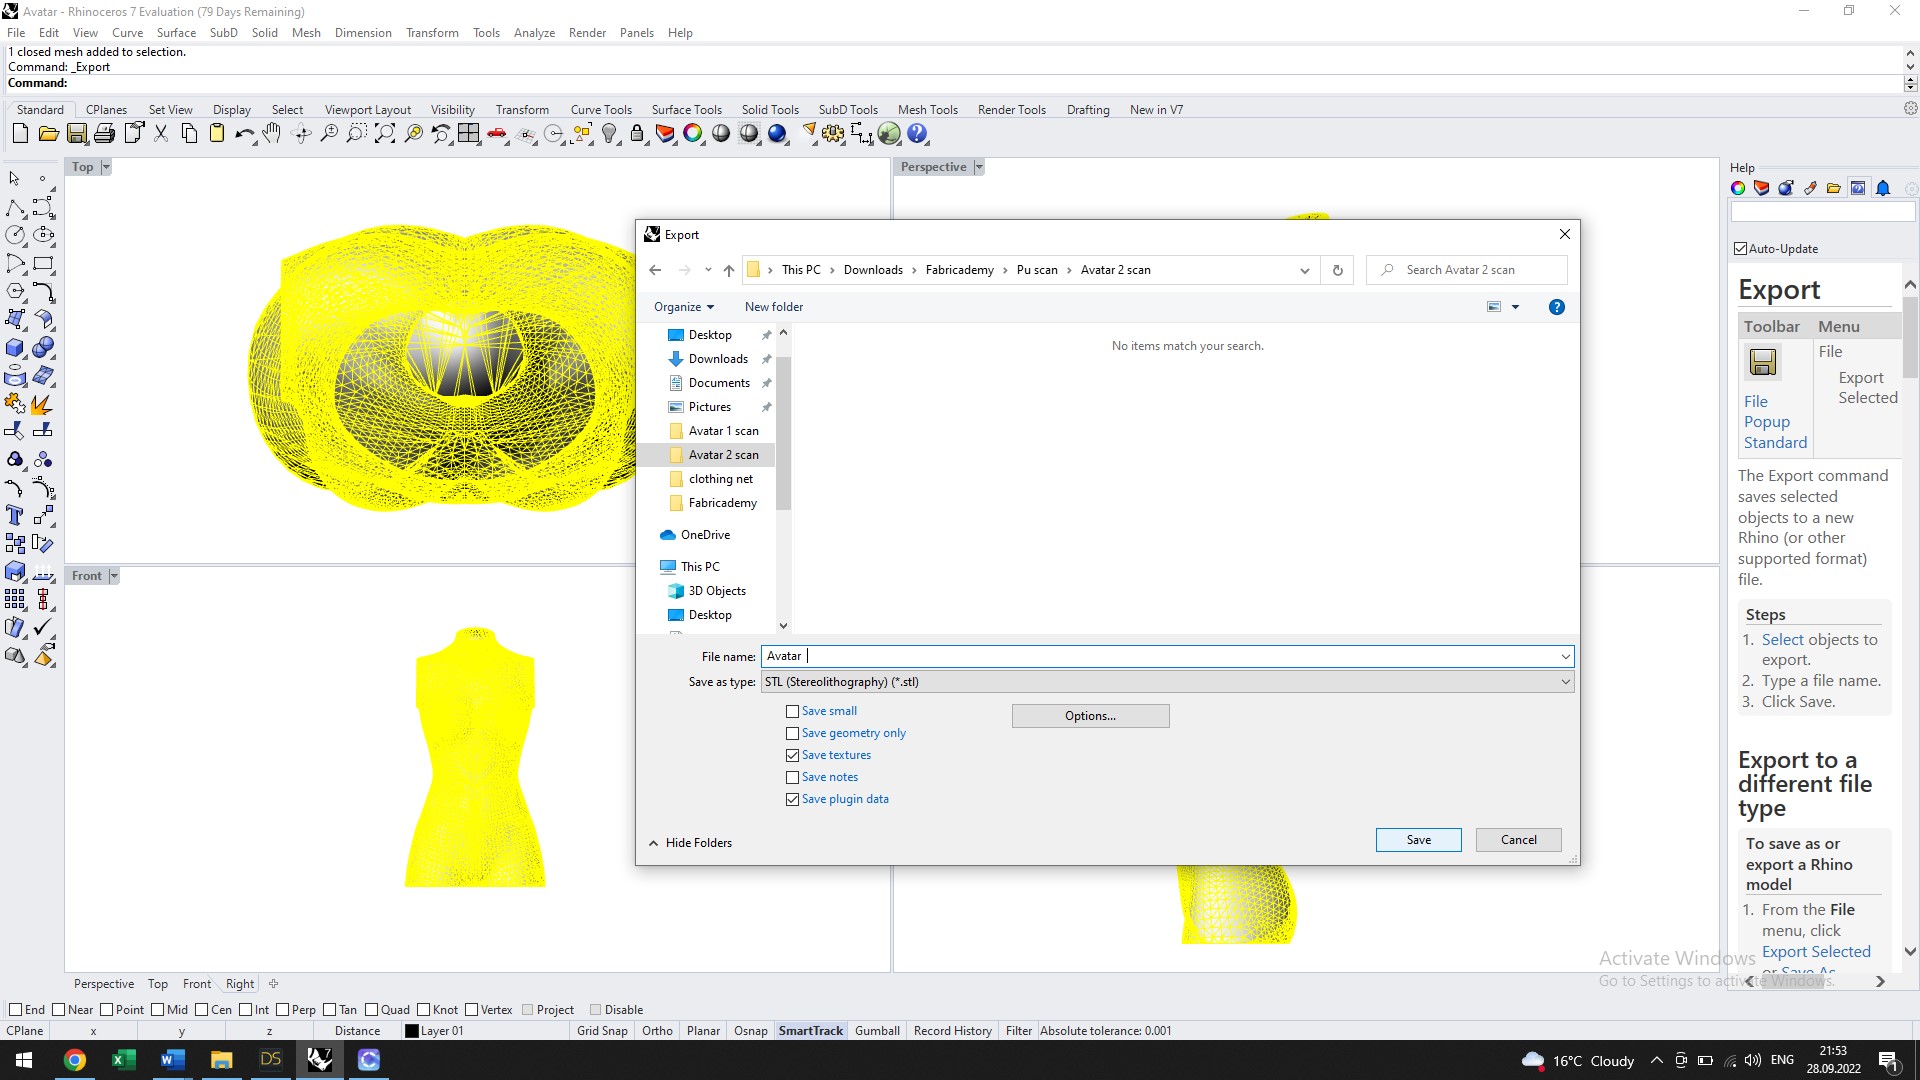
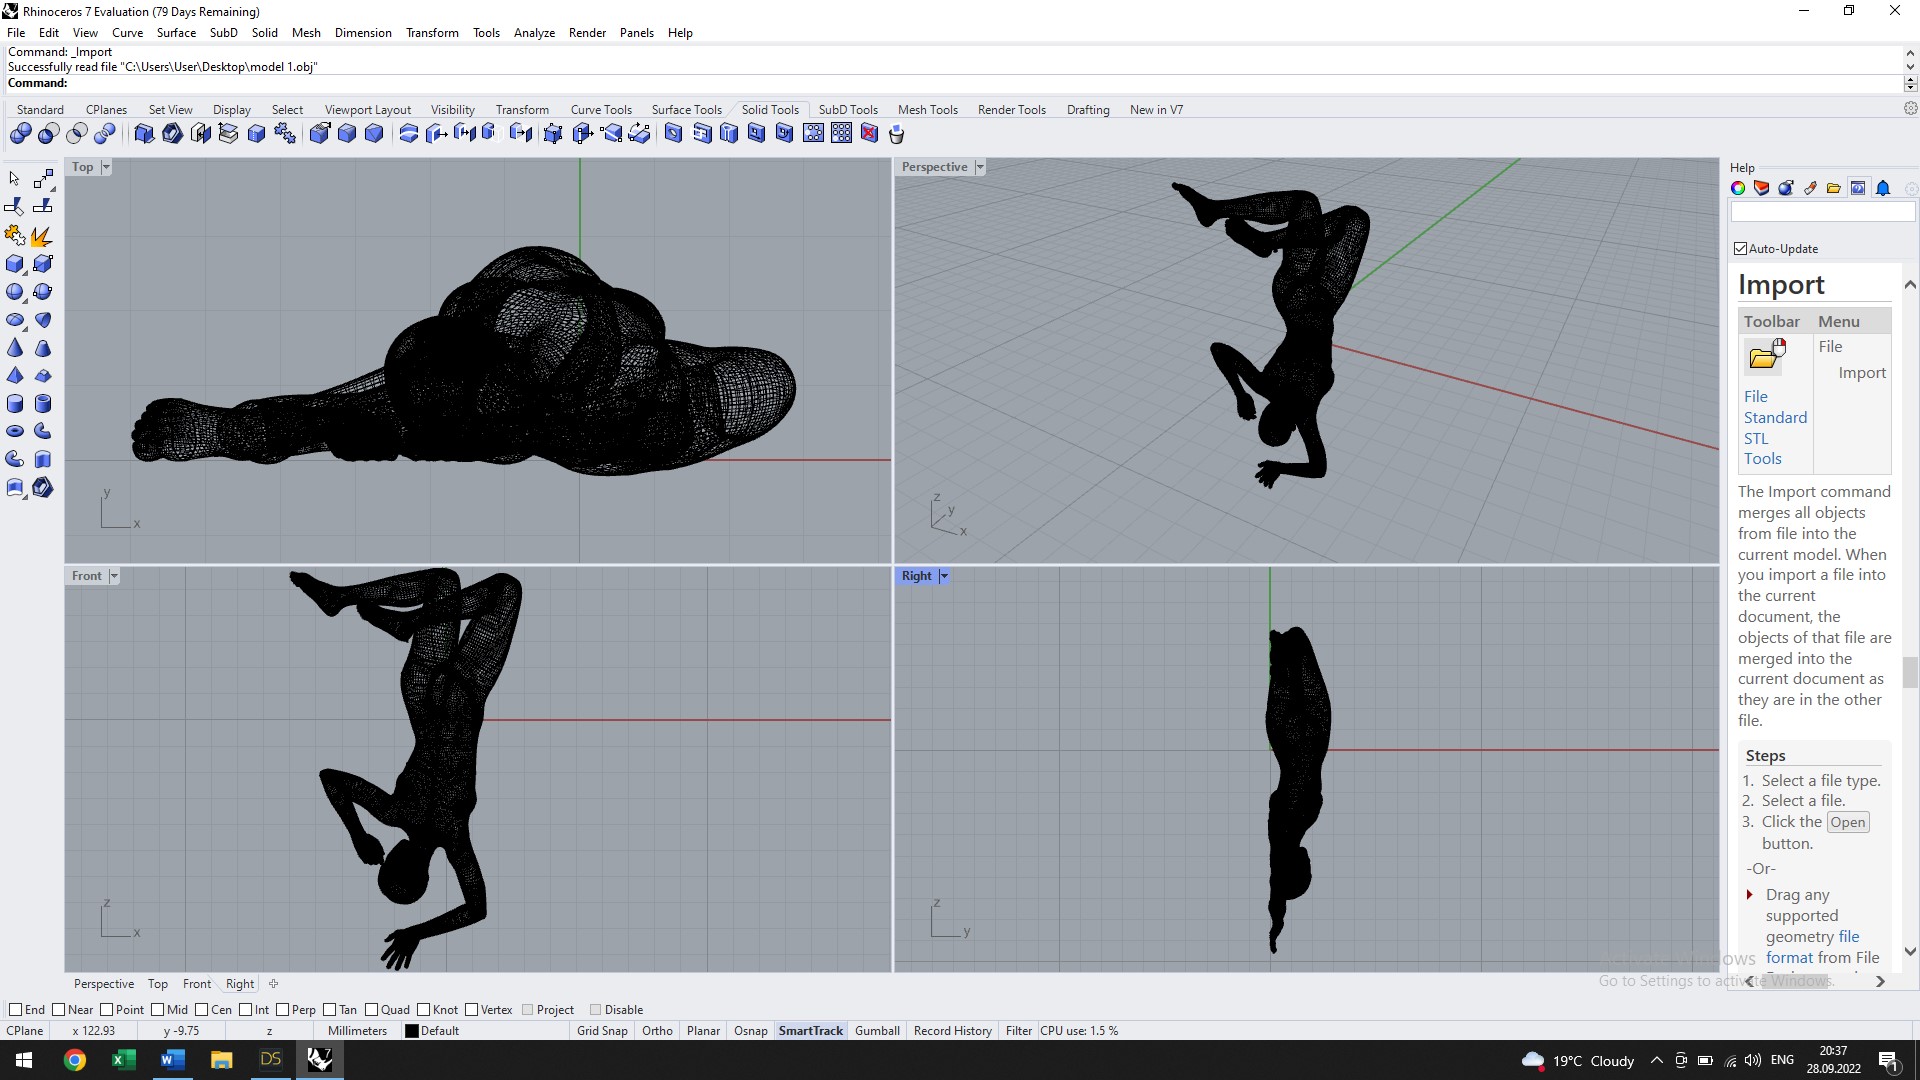
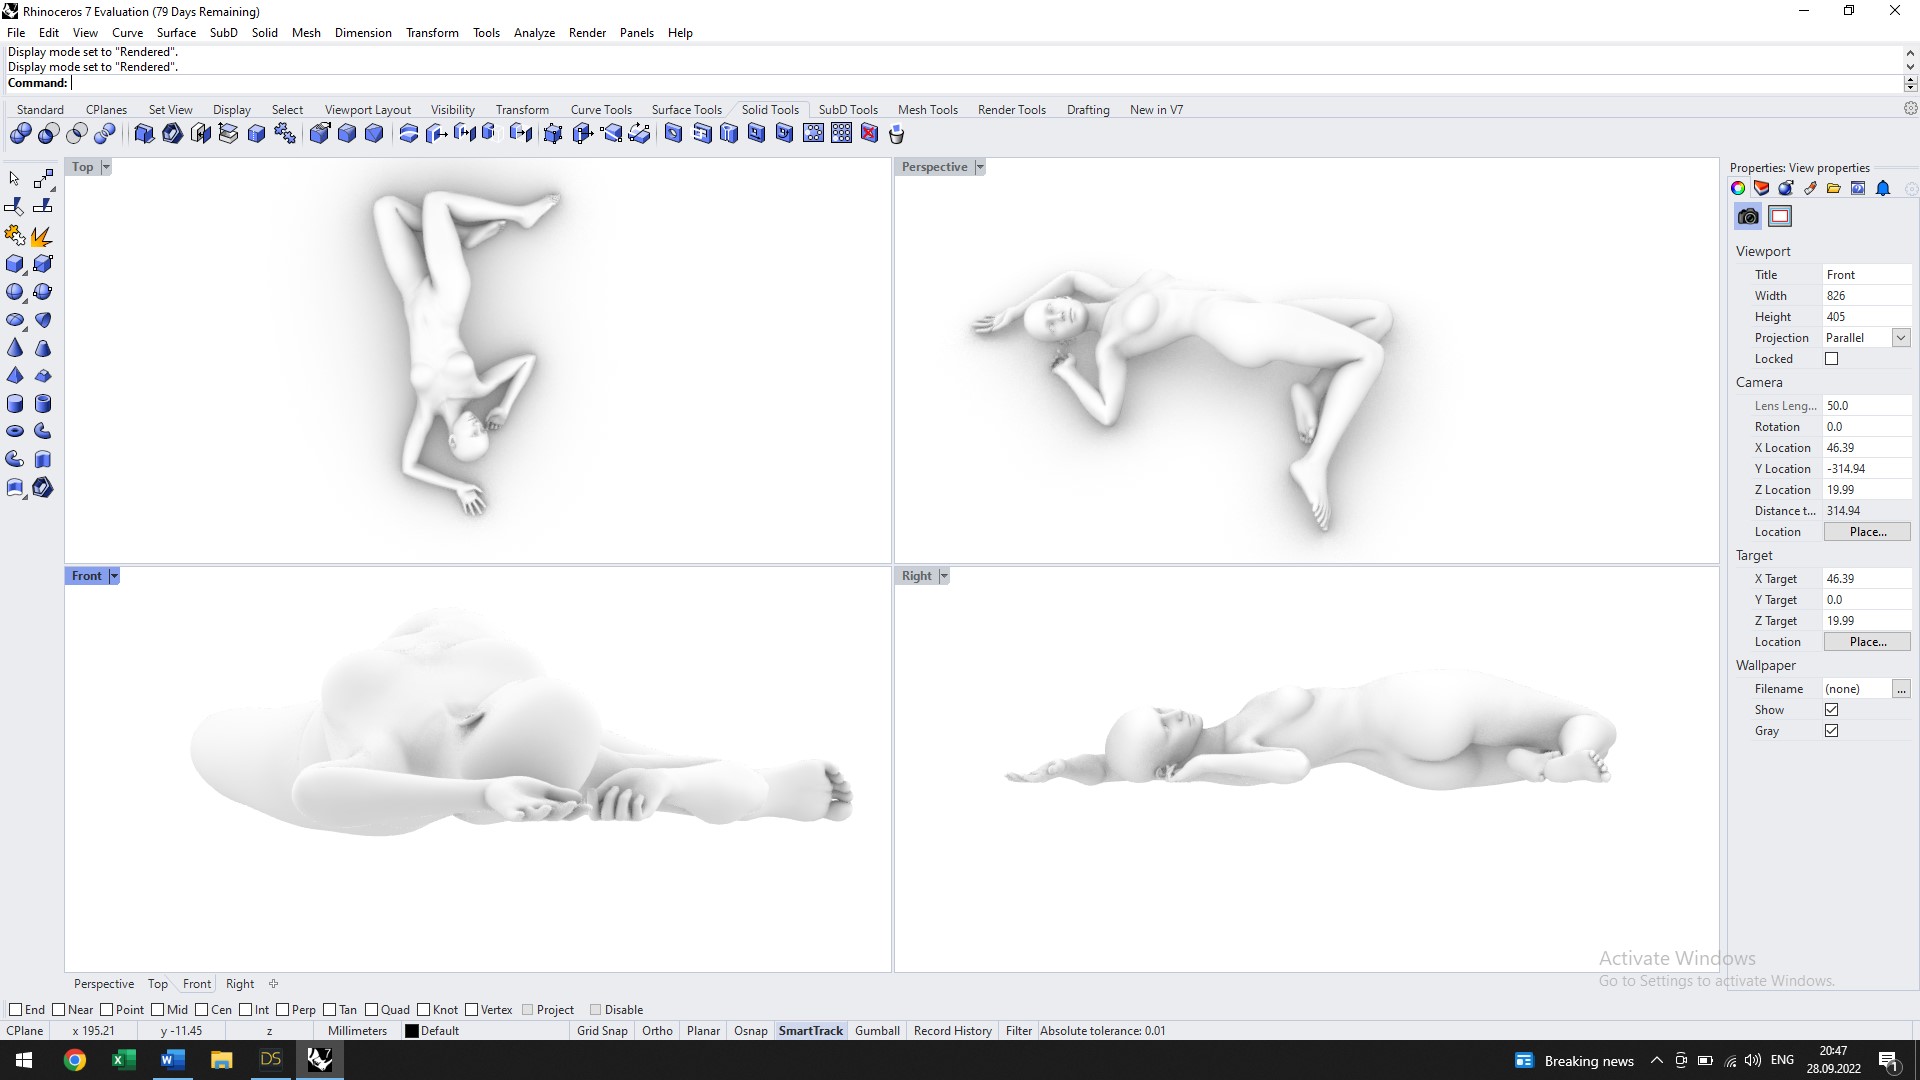
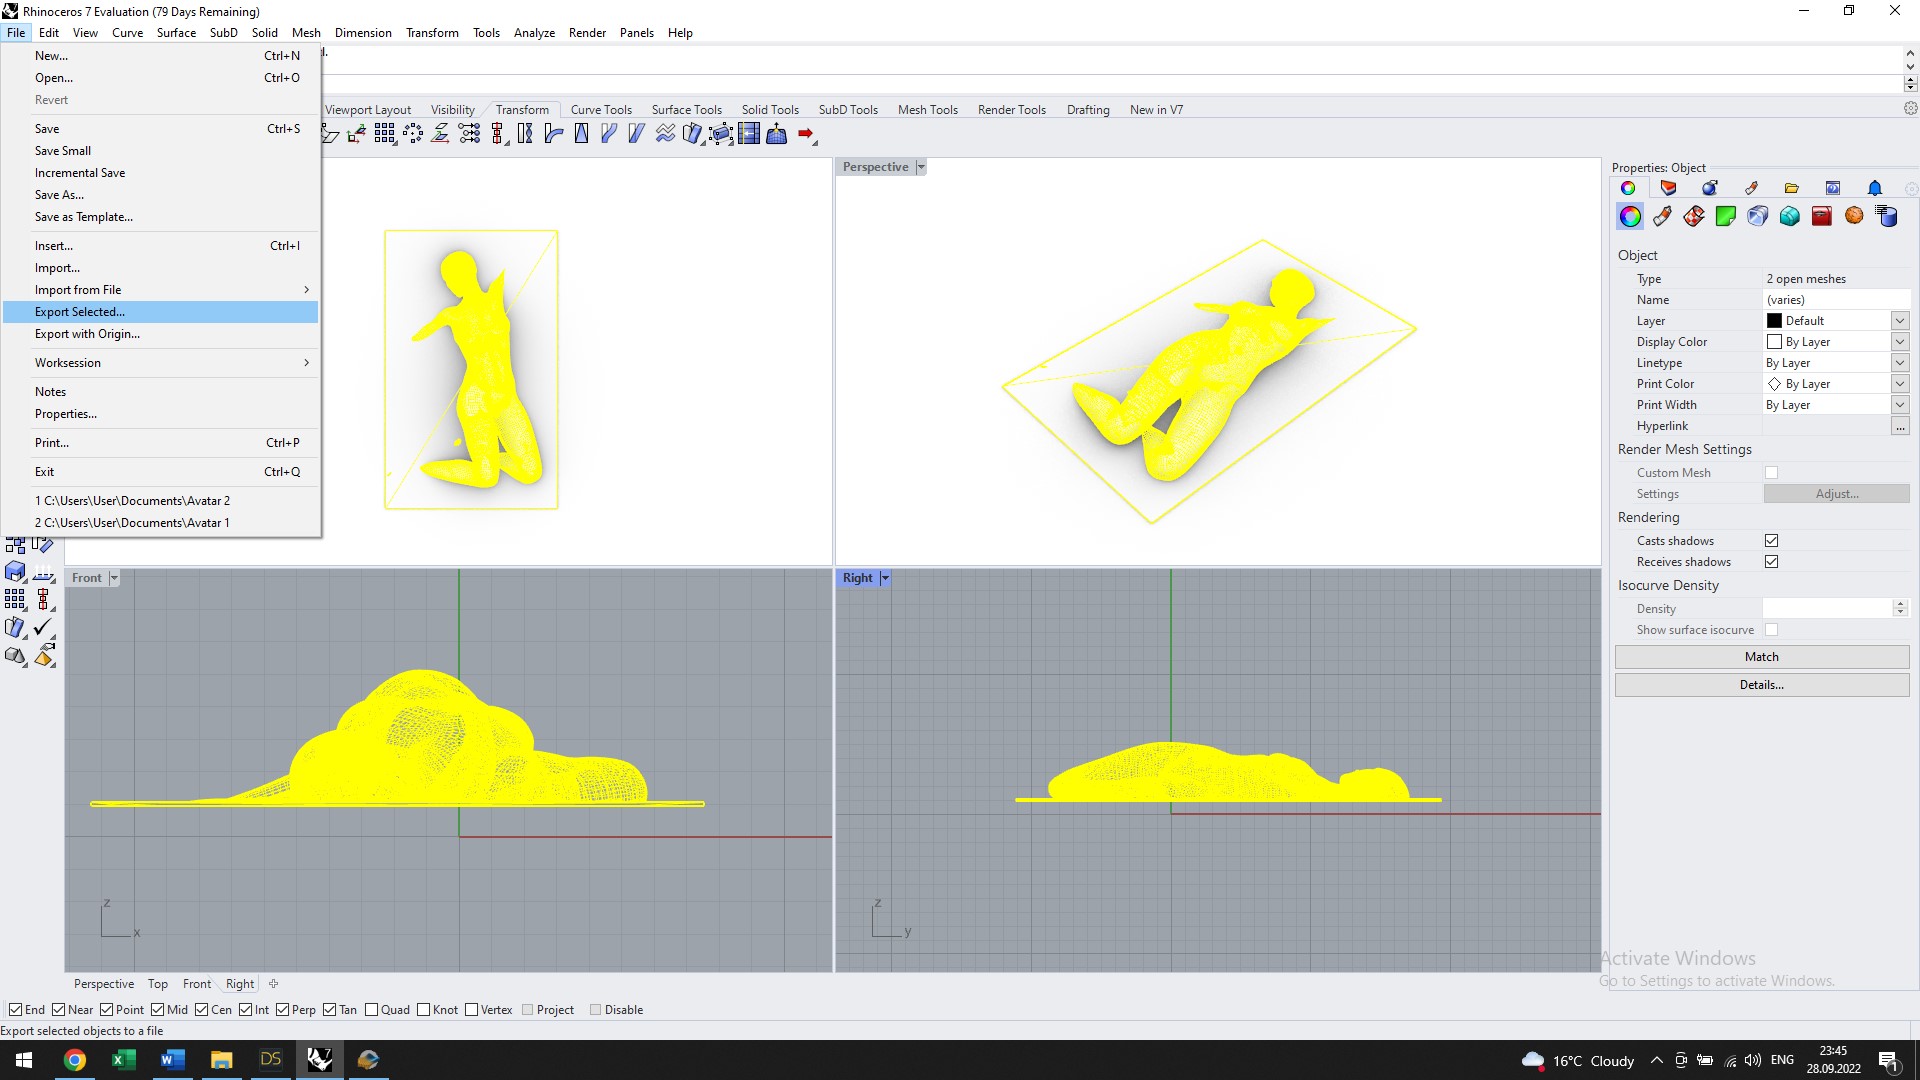
The avatar created in CLO3D was imported into Rhino and the manipulations began. Using various tools like line, polyline, rotate, trim, cap, I managed to get the required mannequin.
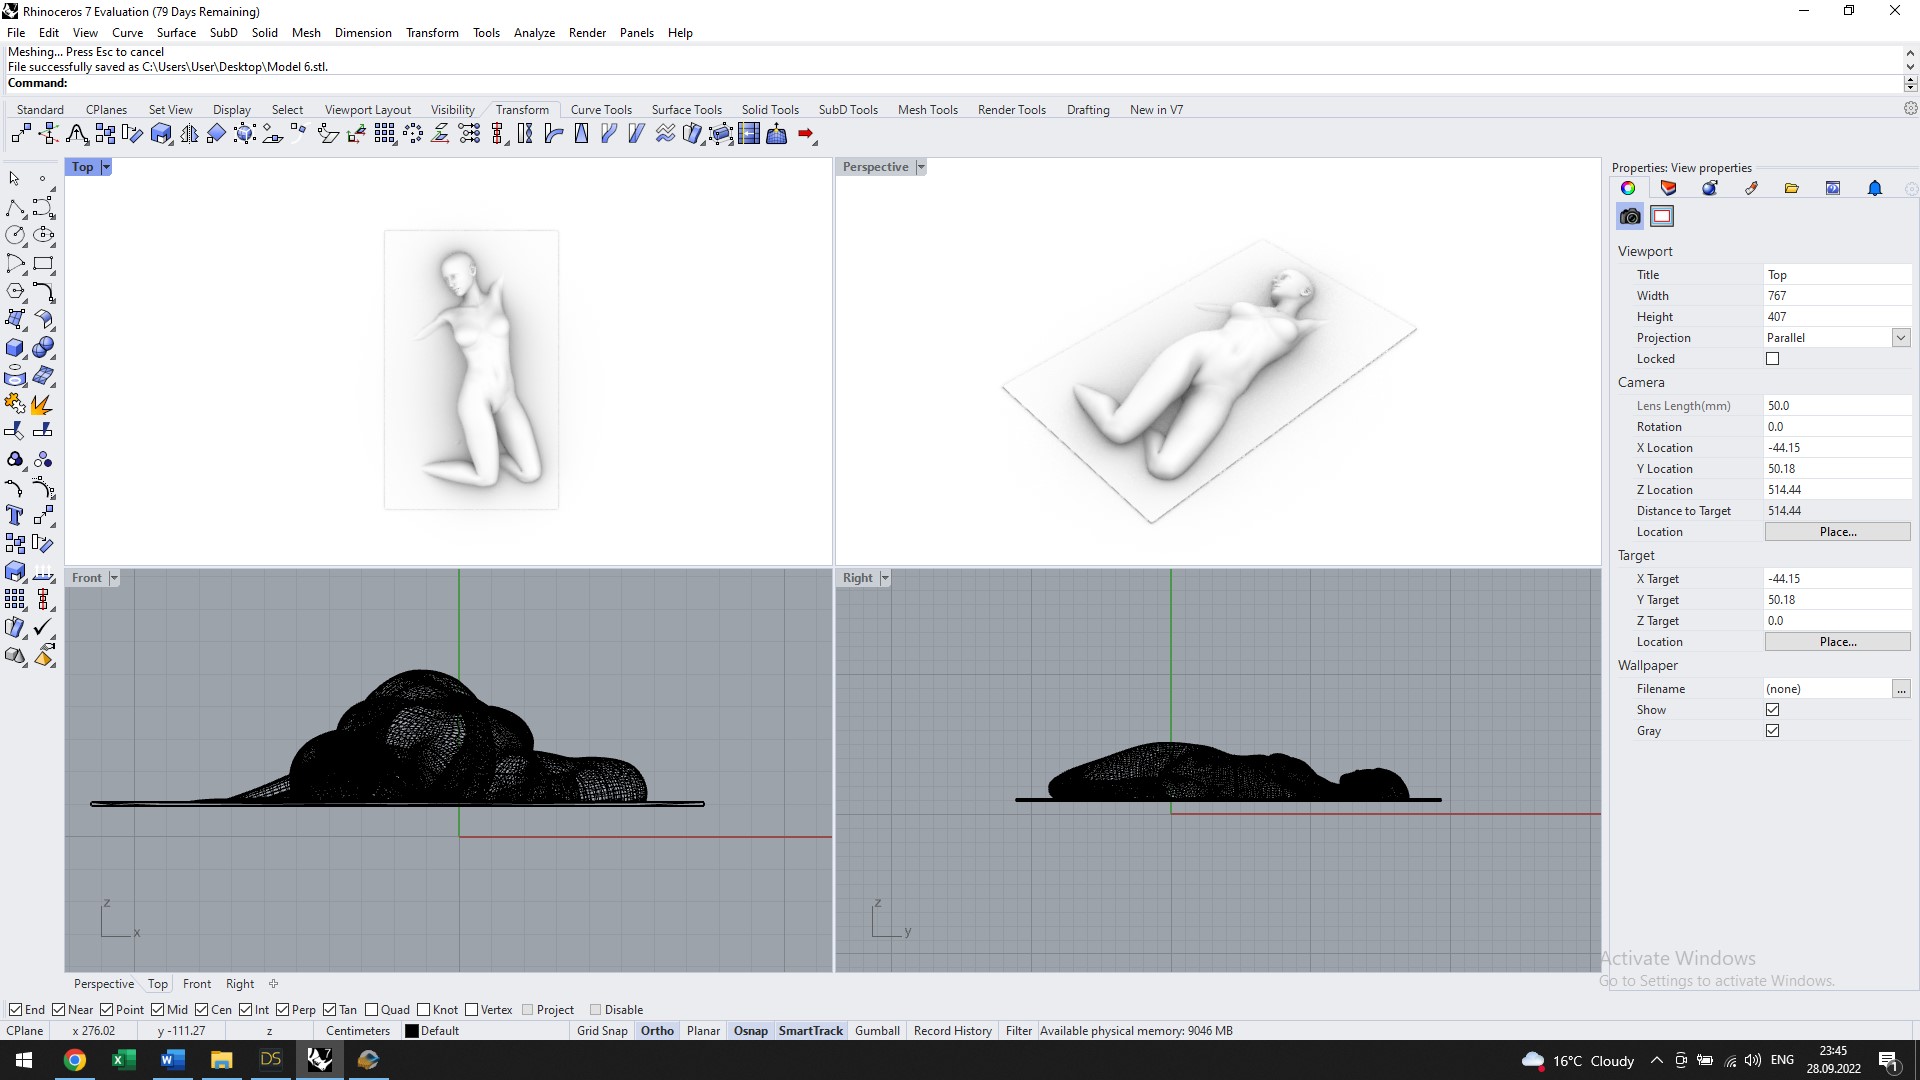
Finally, the mannequin obtained was exported in .stl format.
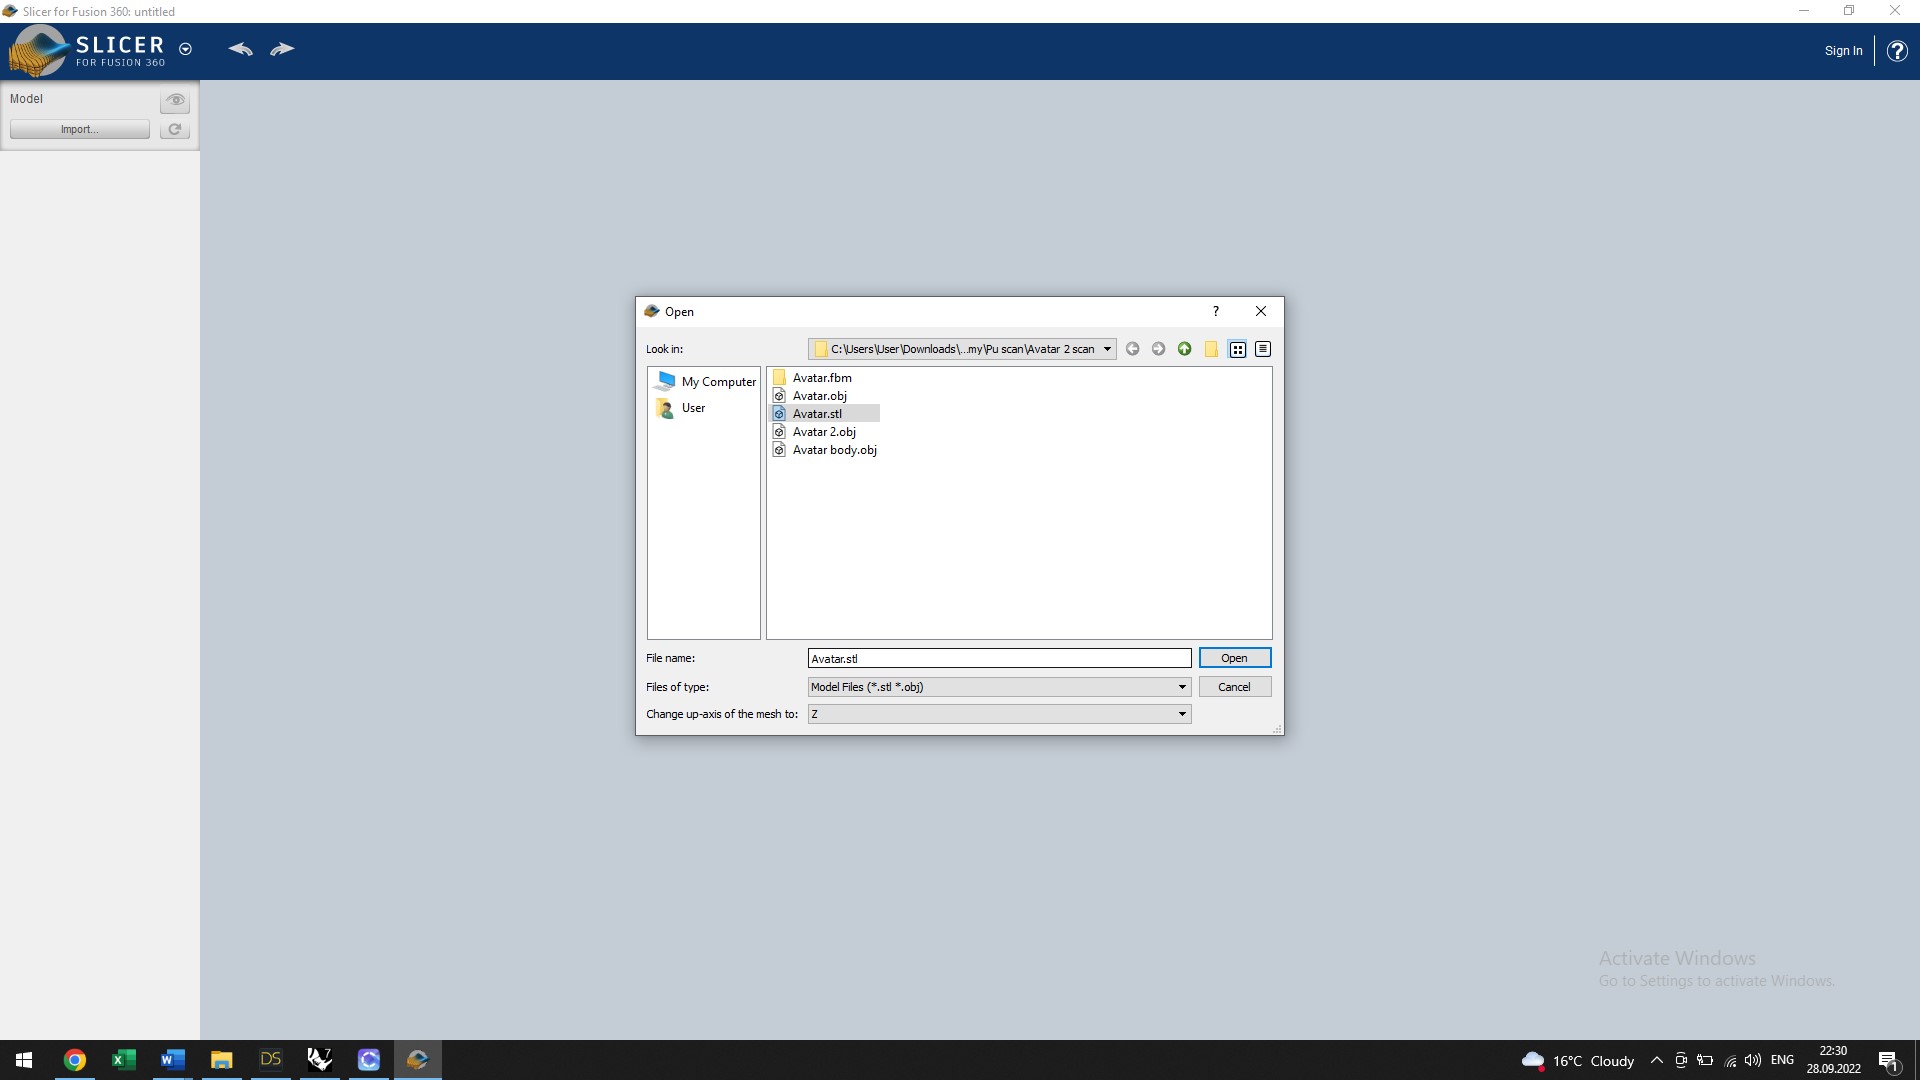
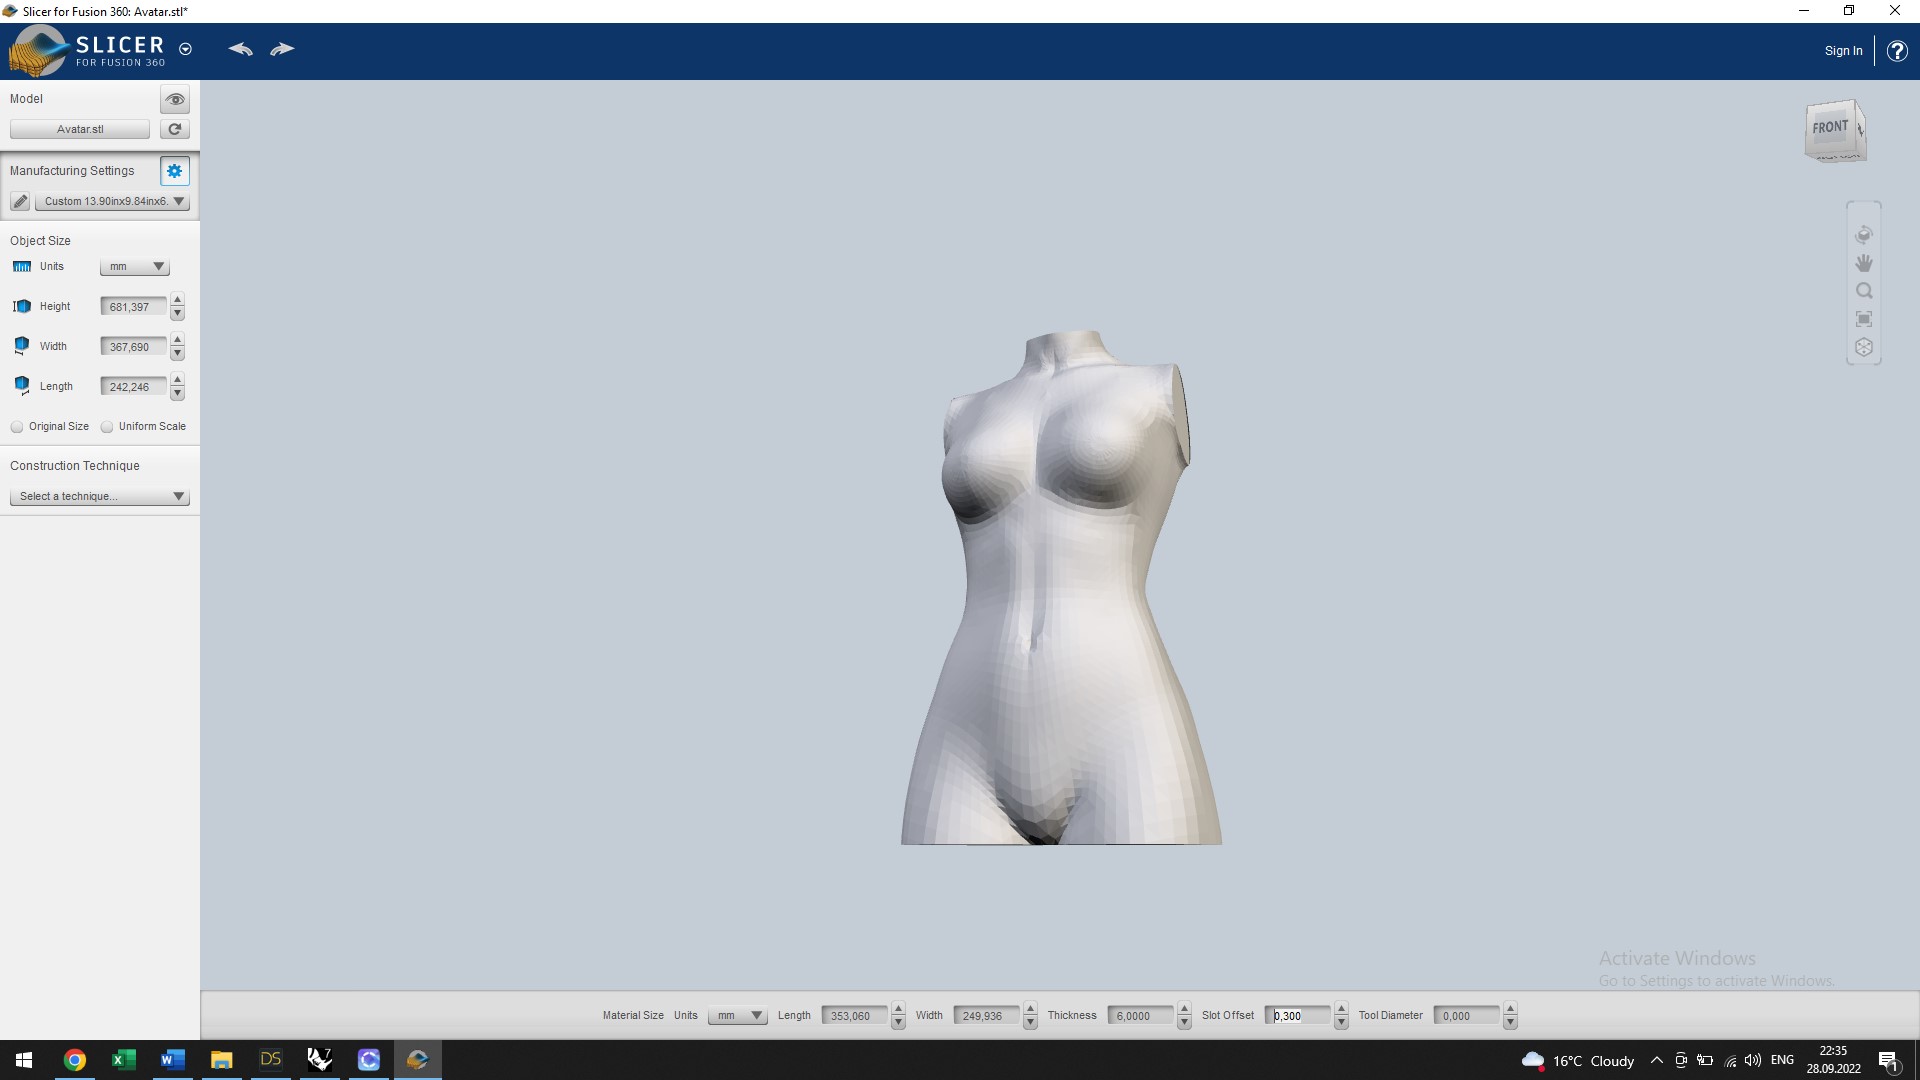
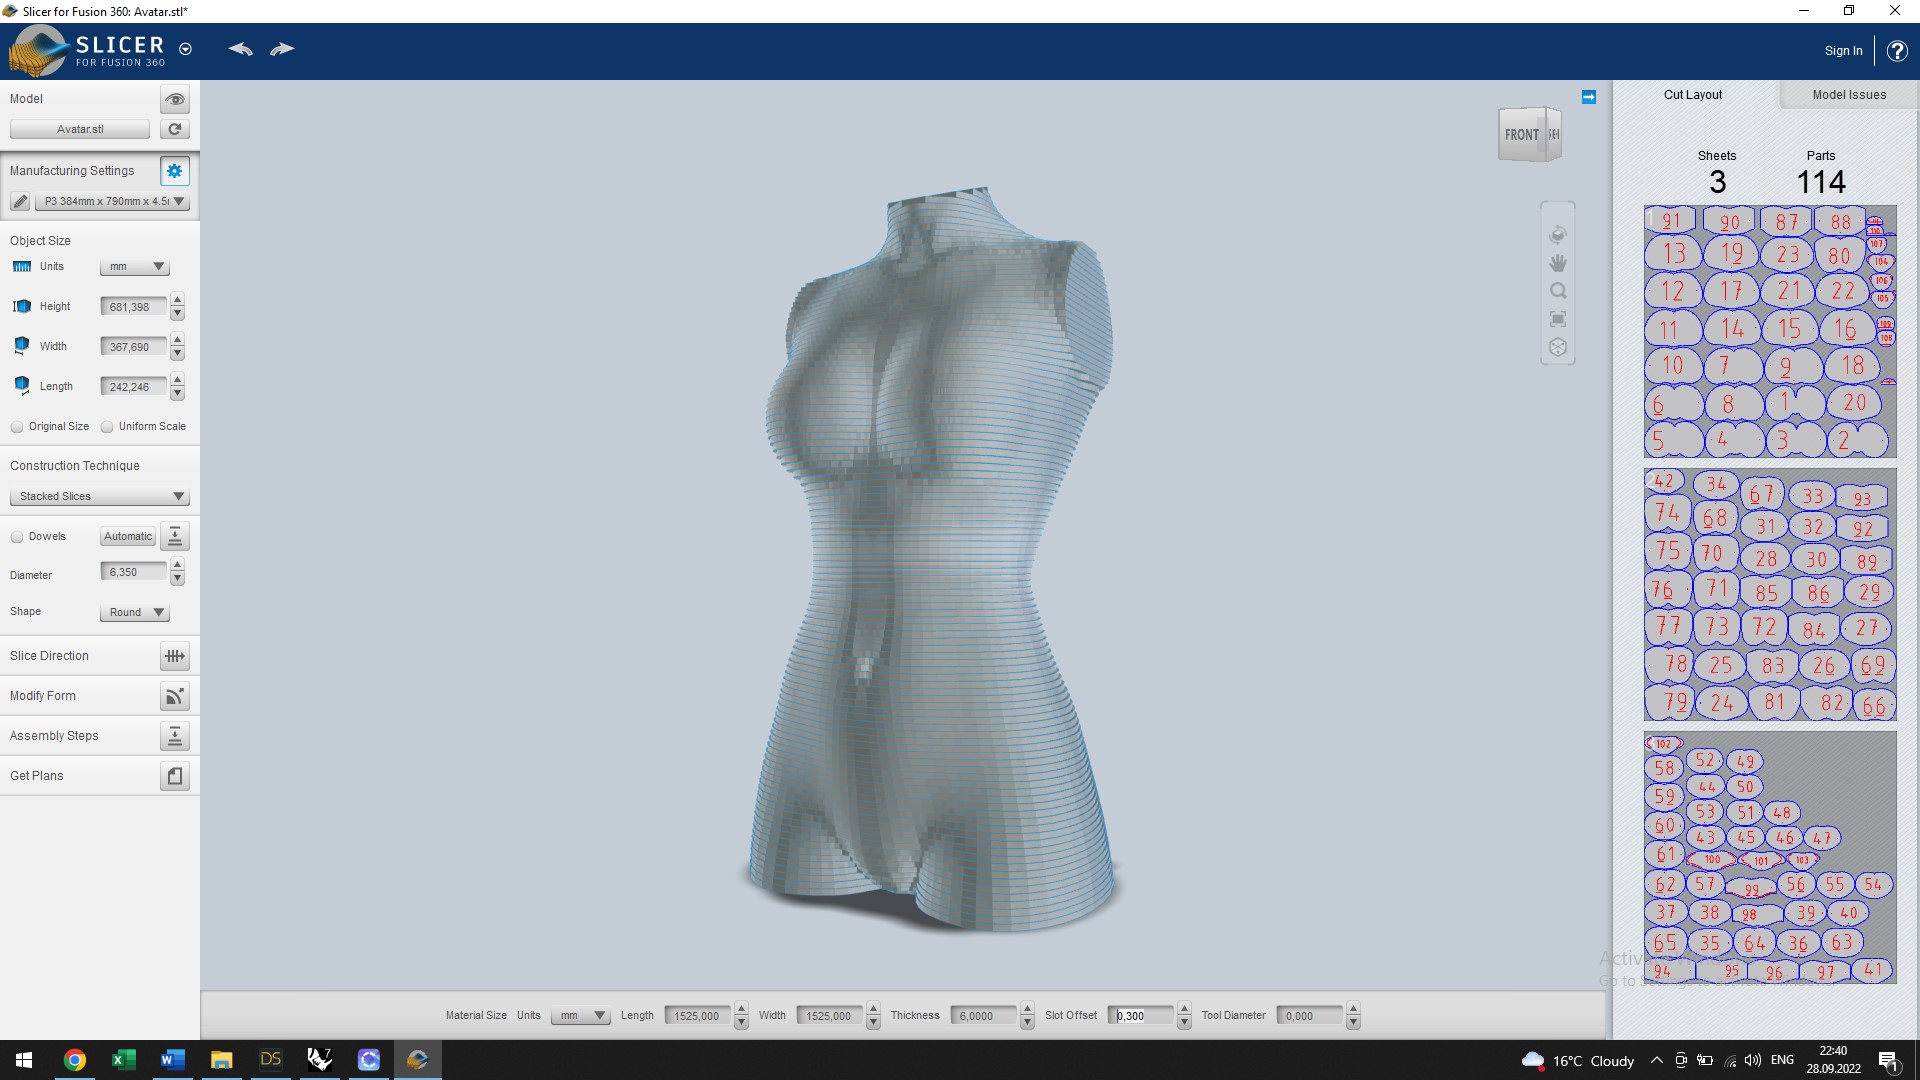
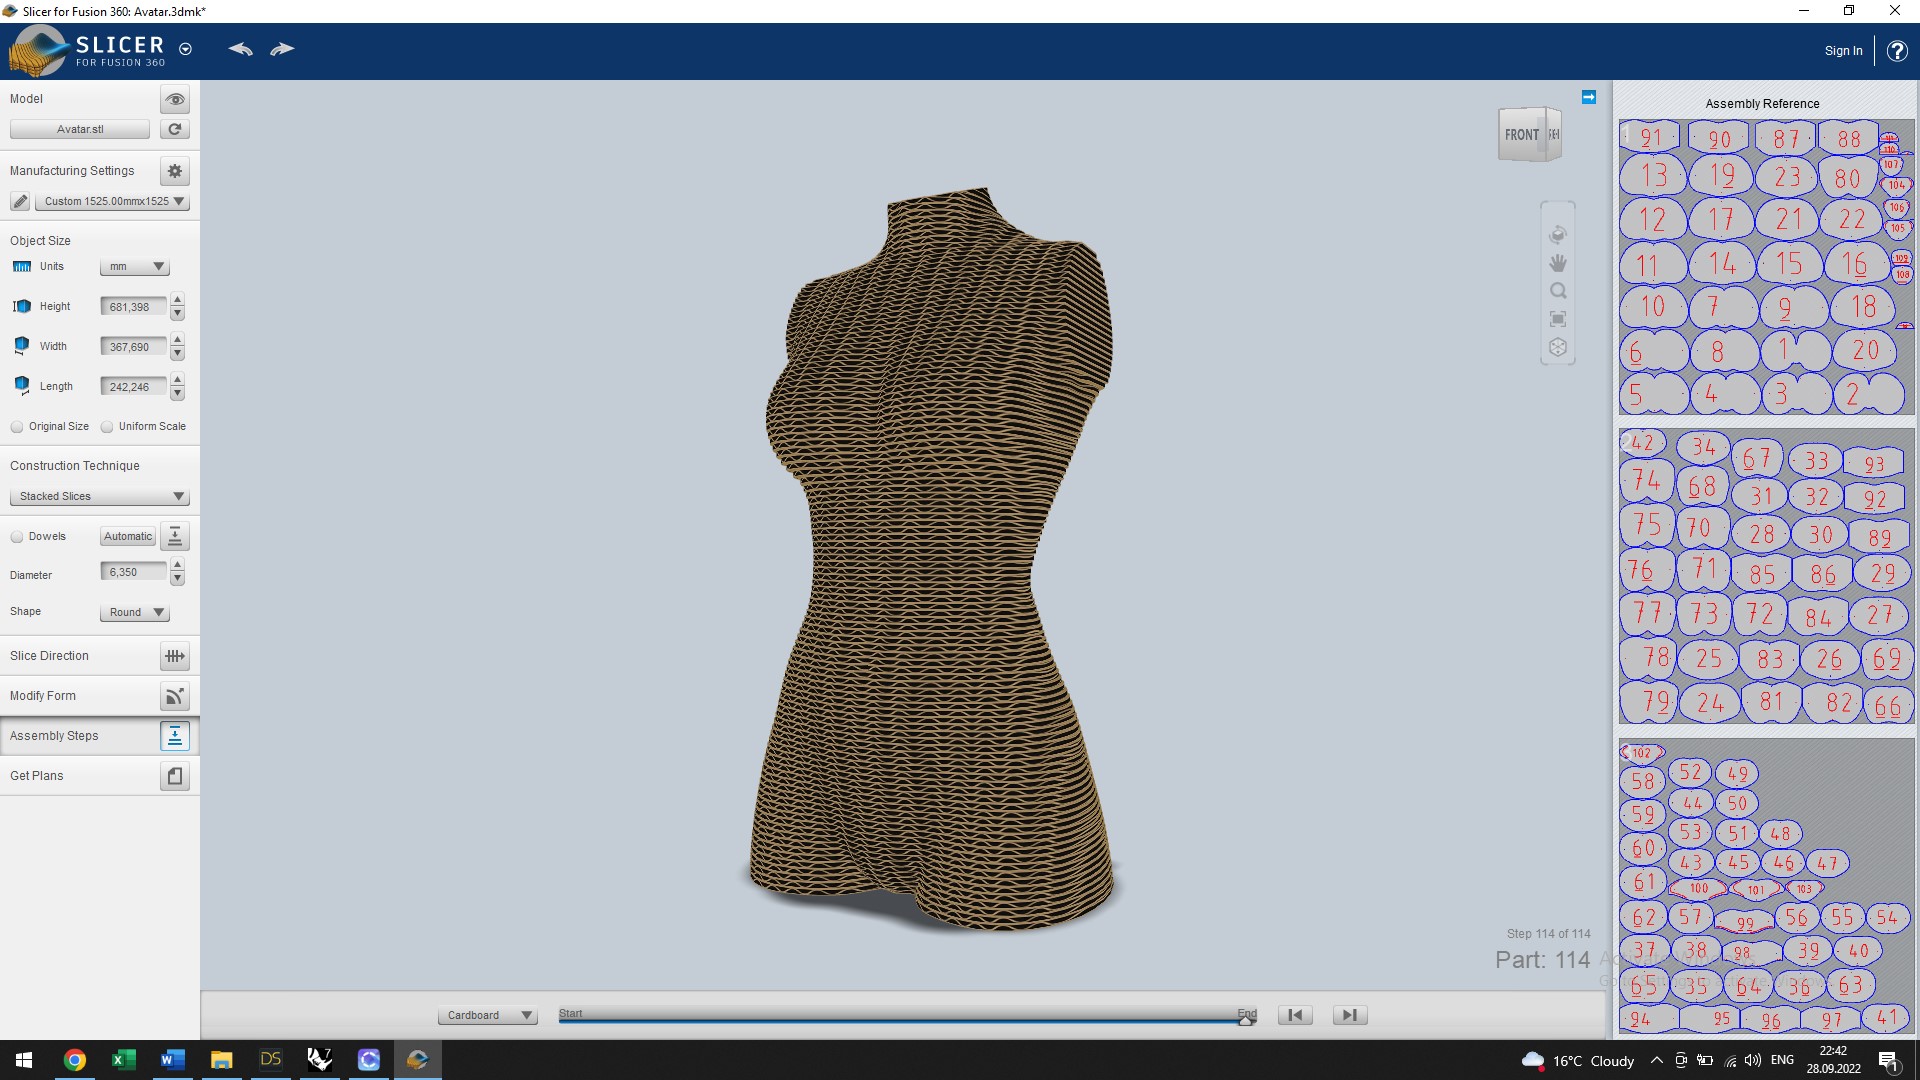
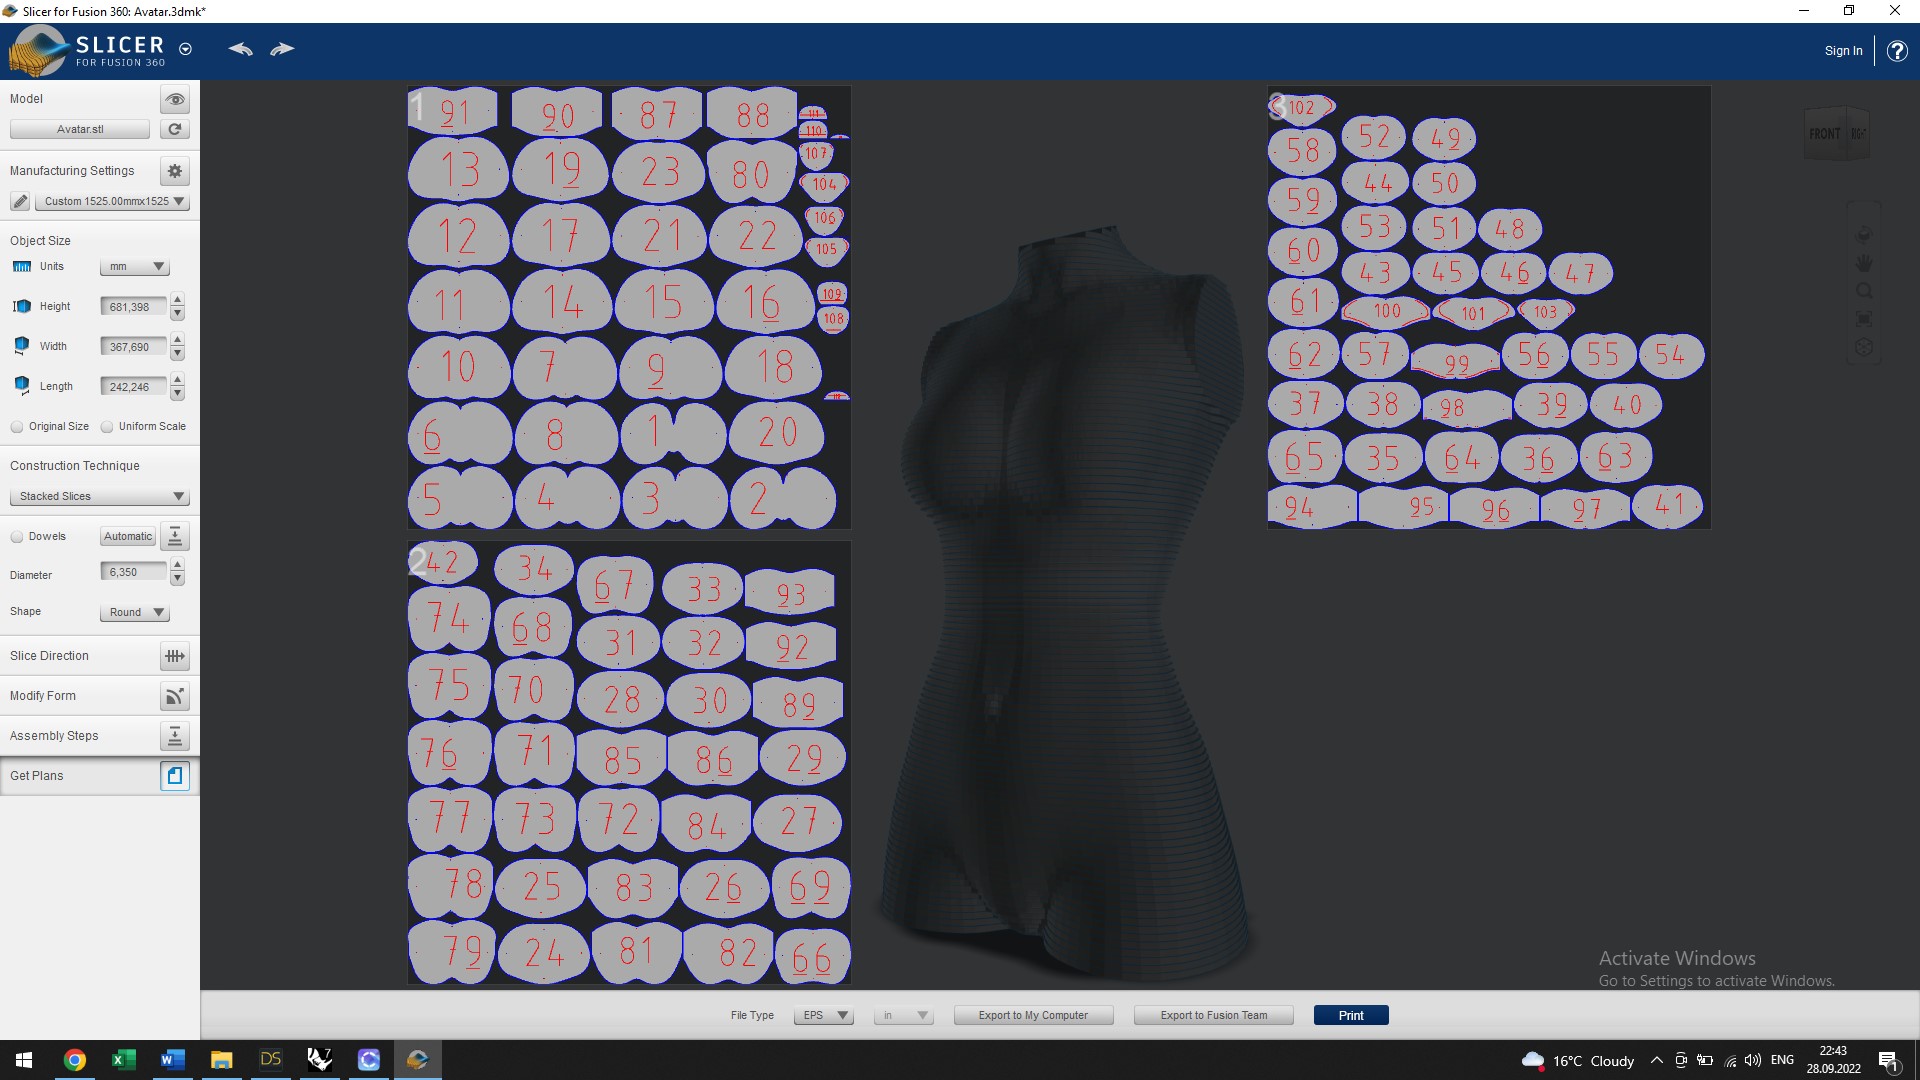
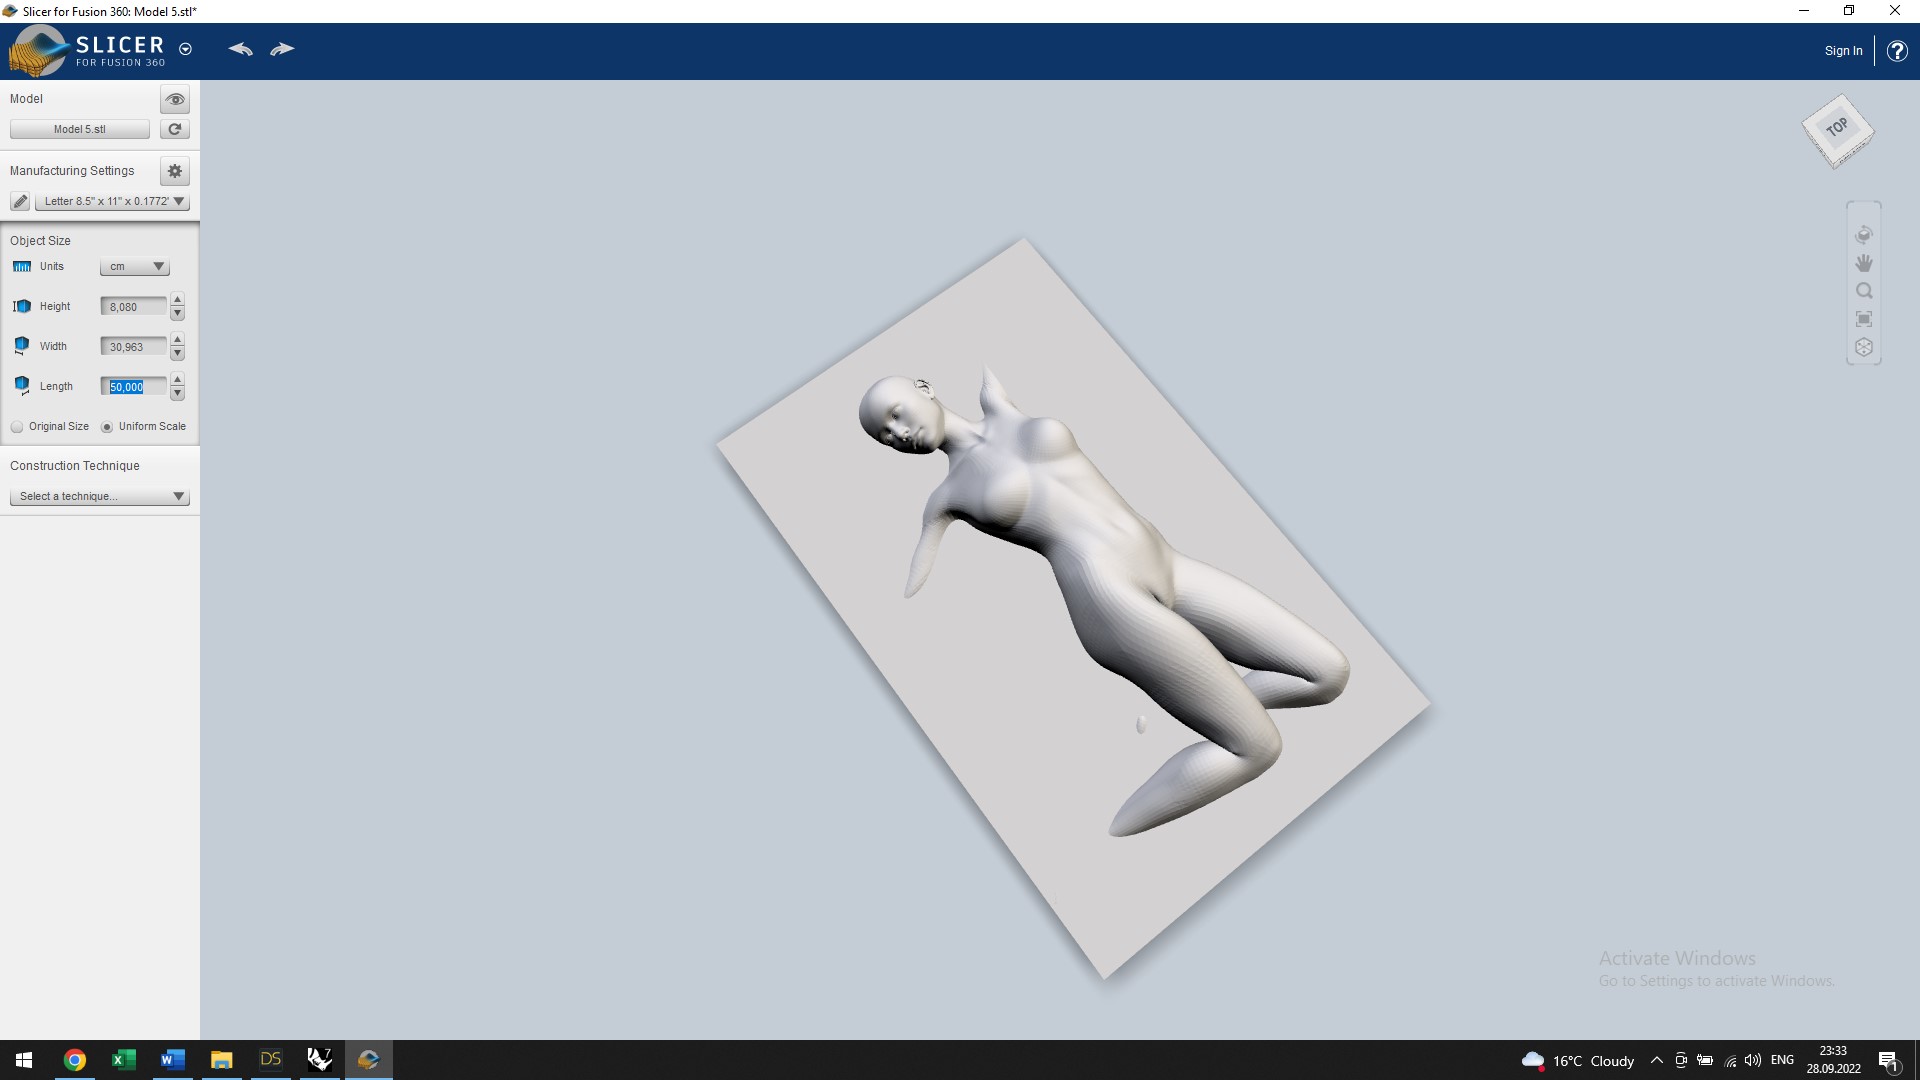
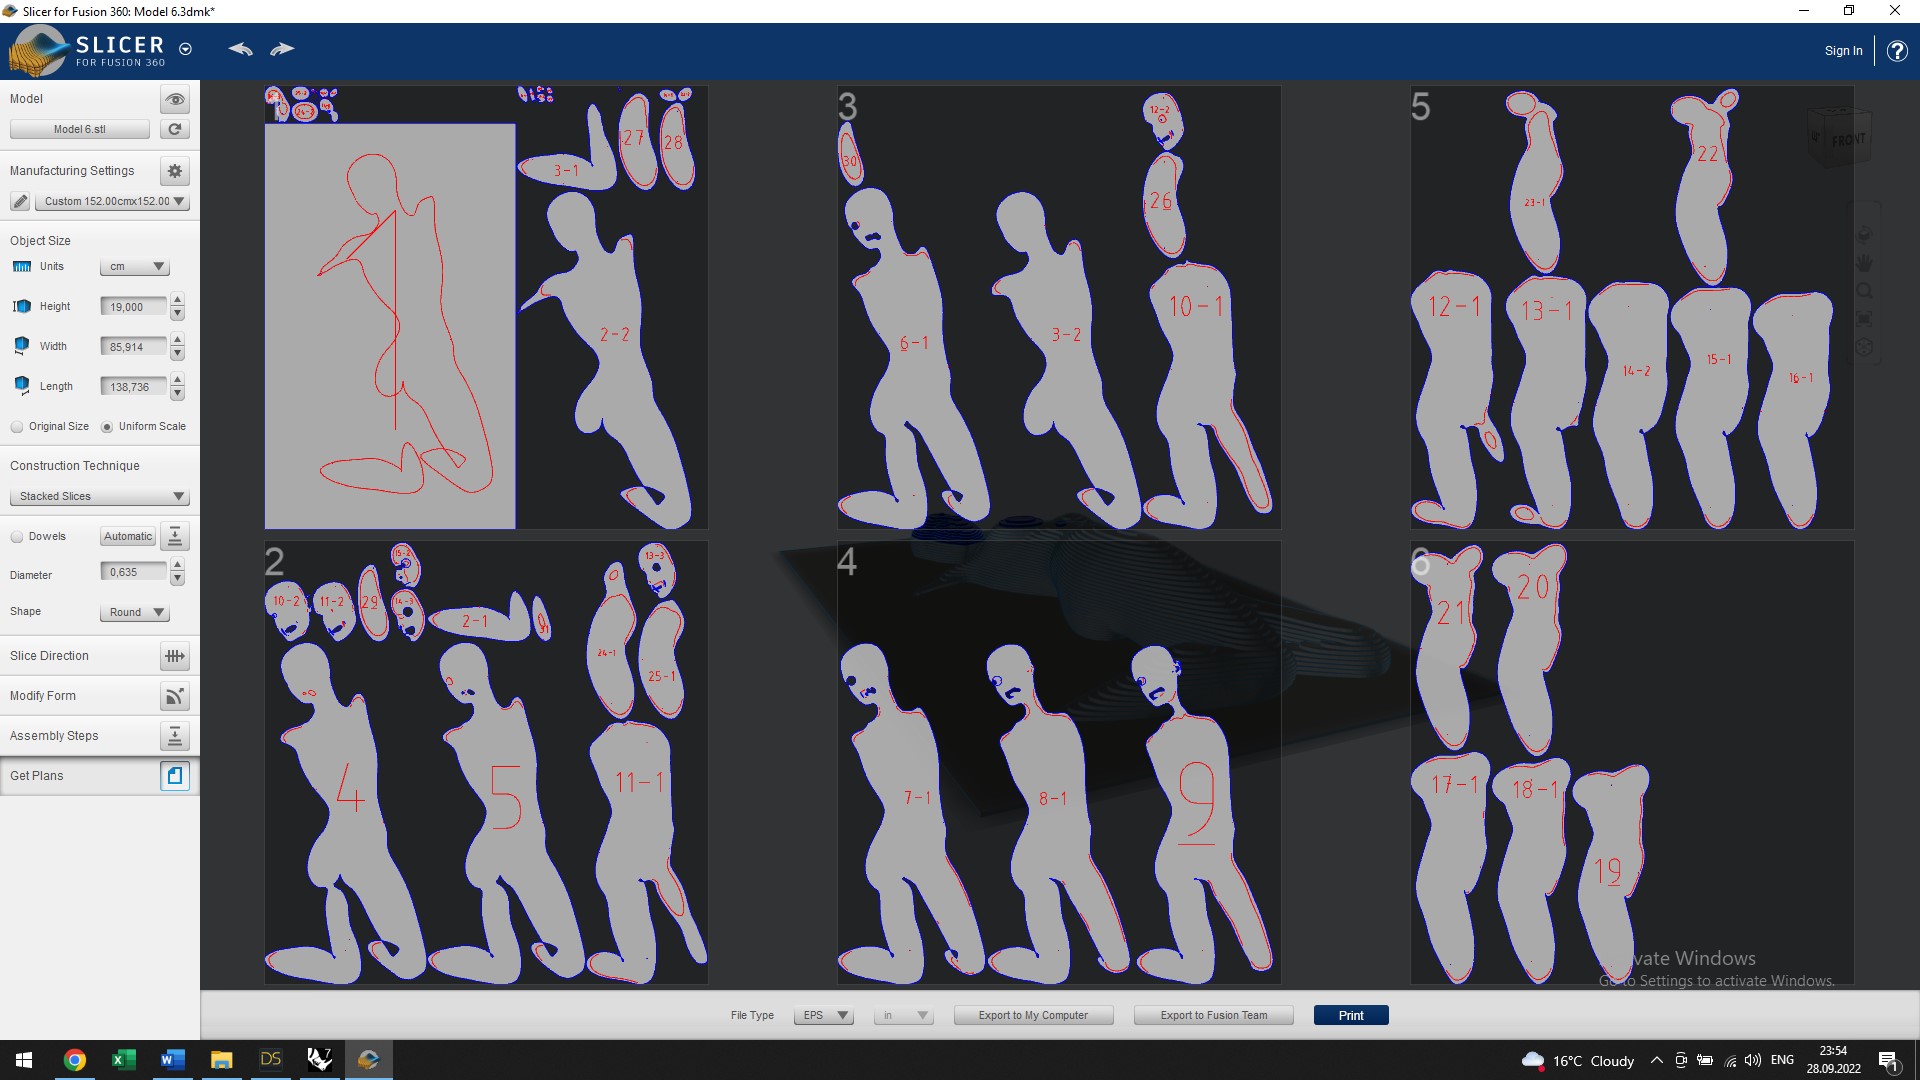
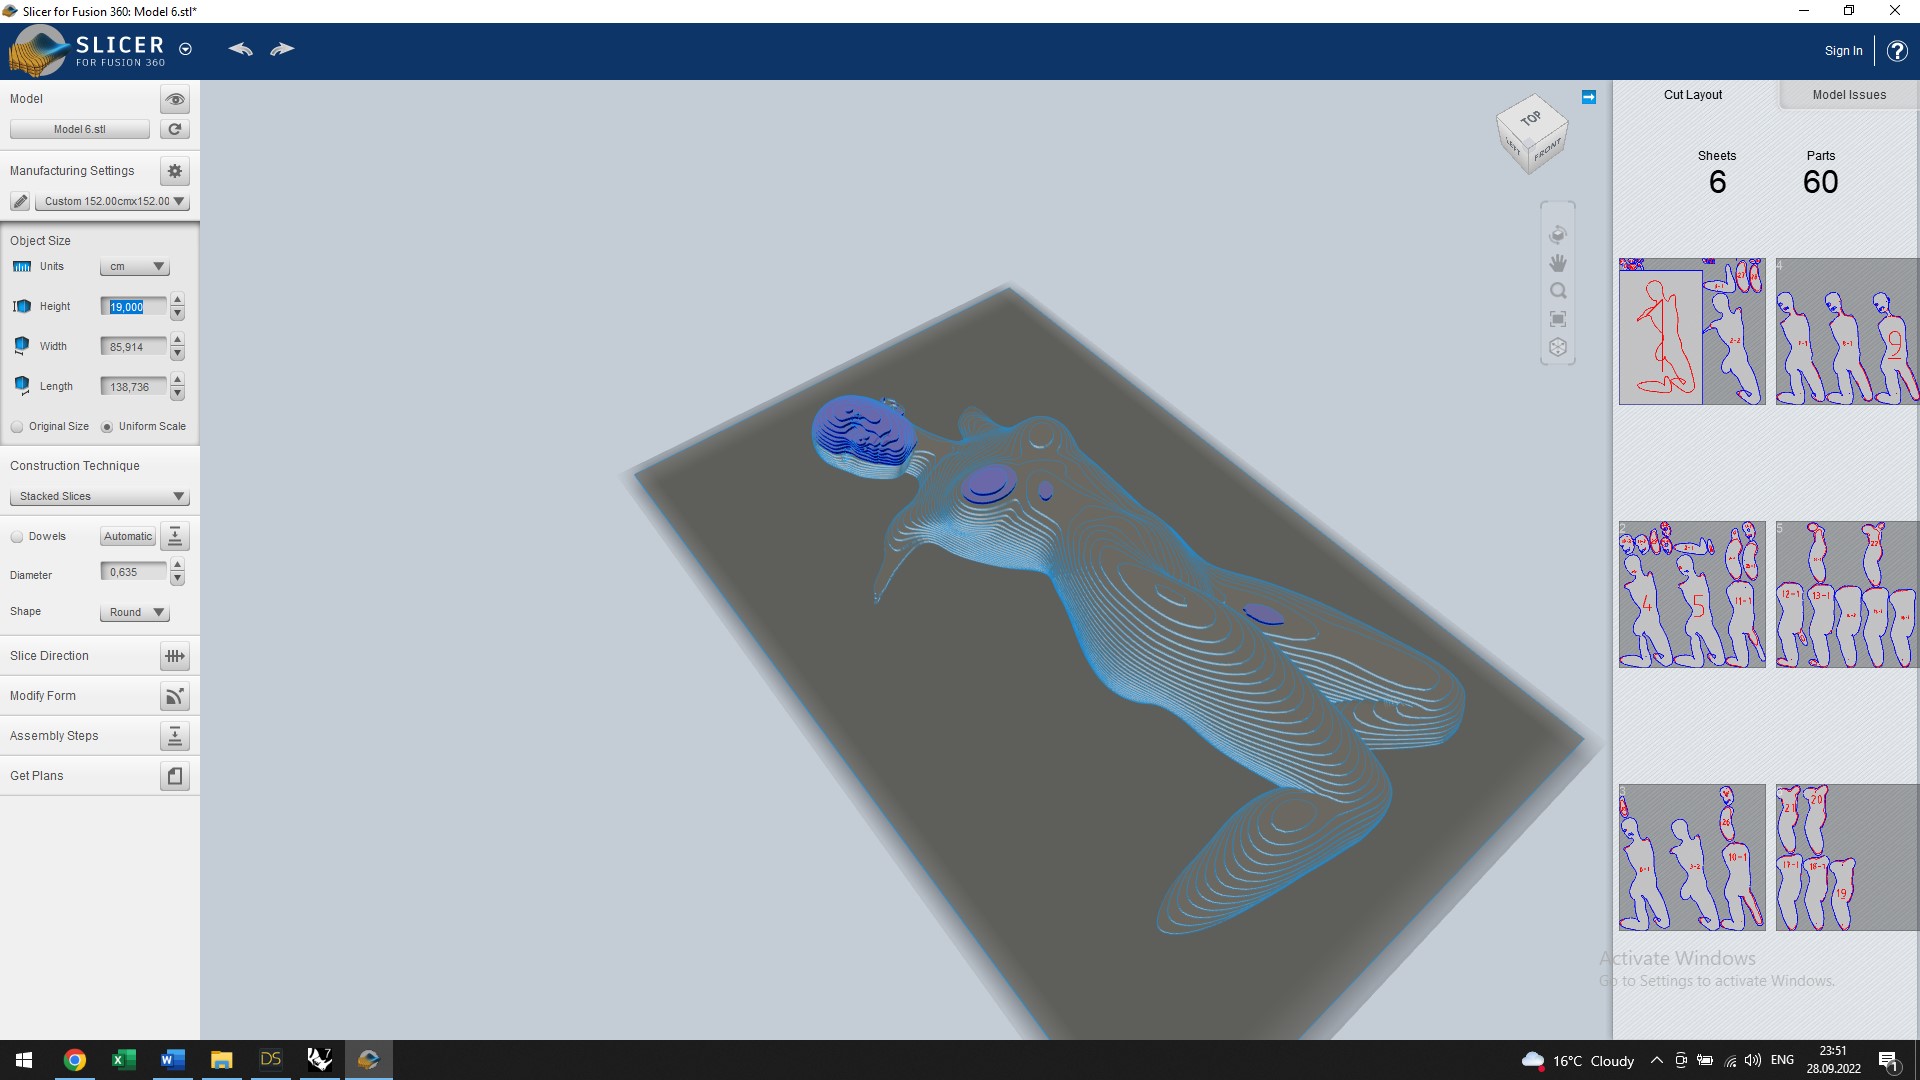
The next step was working in Slicer for Fusion 360. It's a new software for me, but I quickly got used to its tools. I imported the desired mannequin, indicated the unit of measure, set some values of the final object and experimented with various sectioning methods.
The completed object was saved in .3dmk format to be cut in the experimental lab.
Method 2
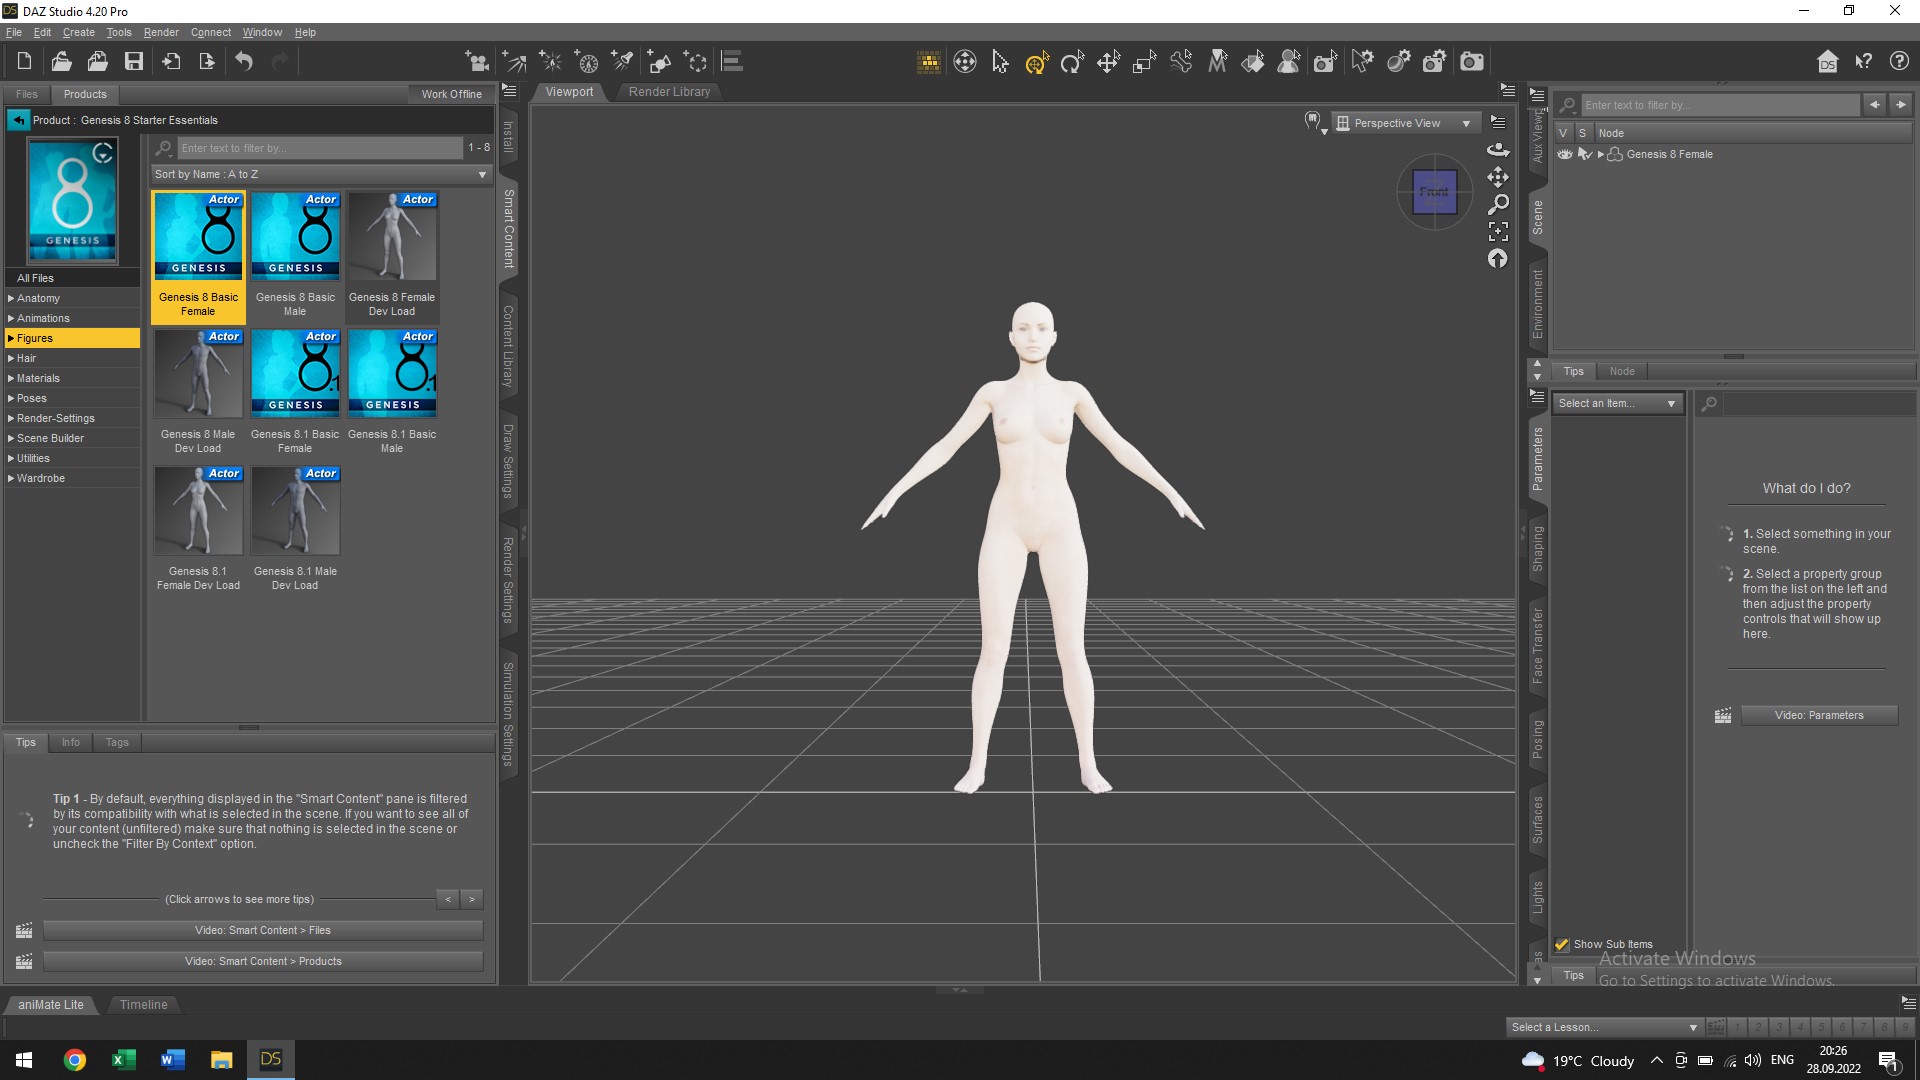
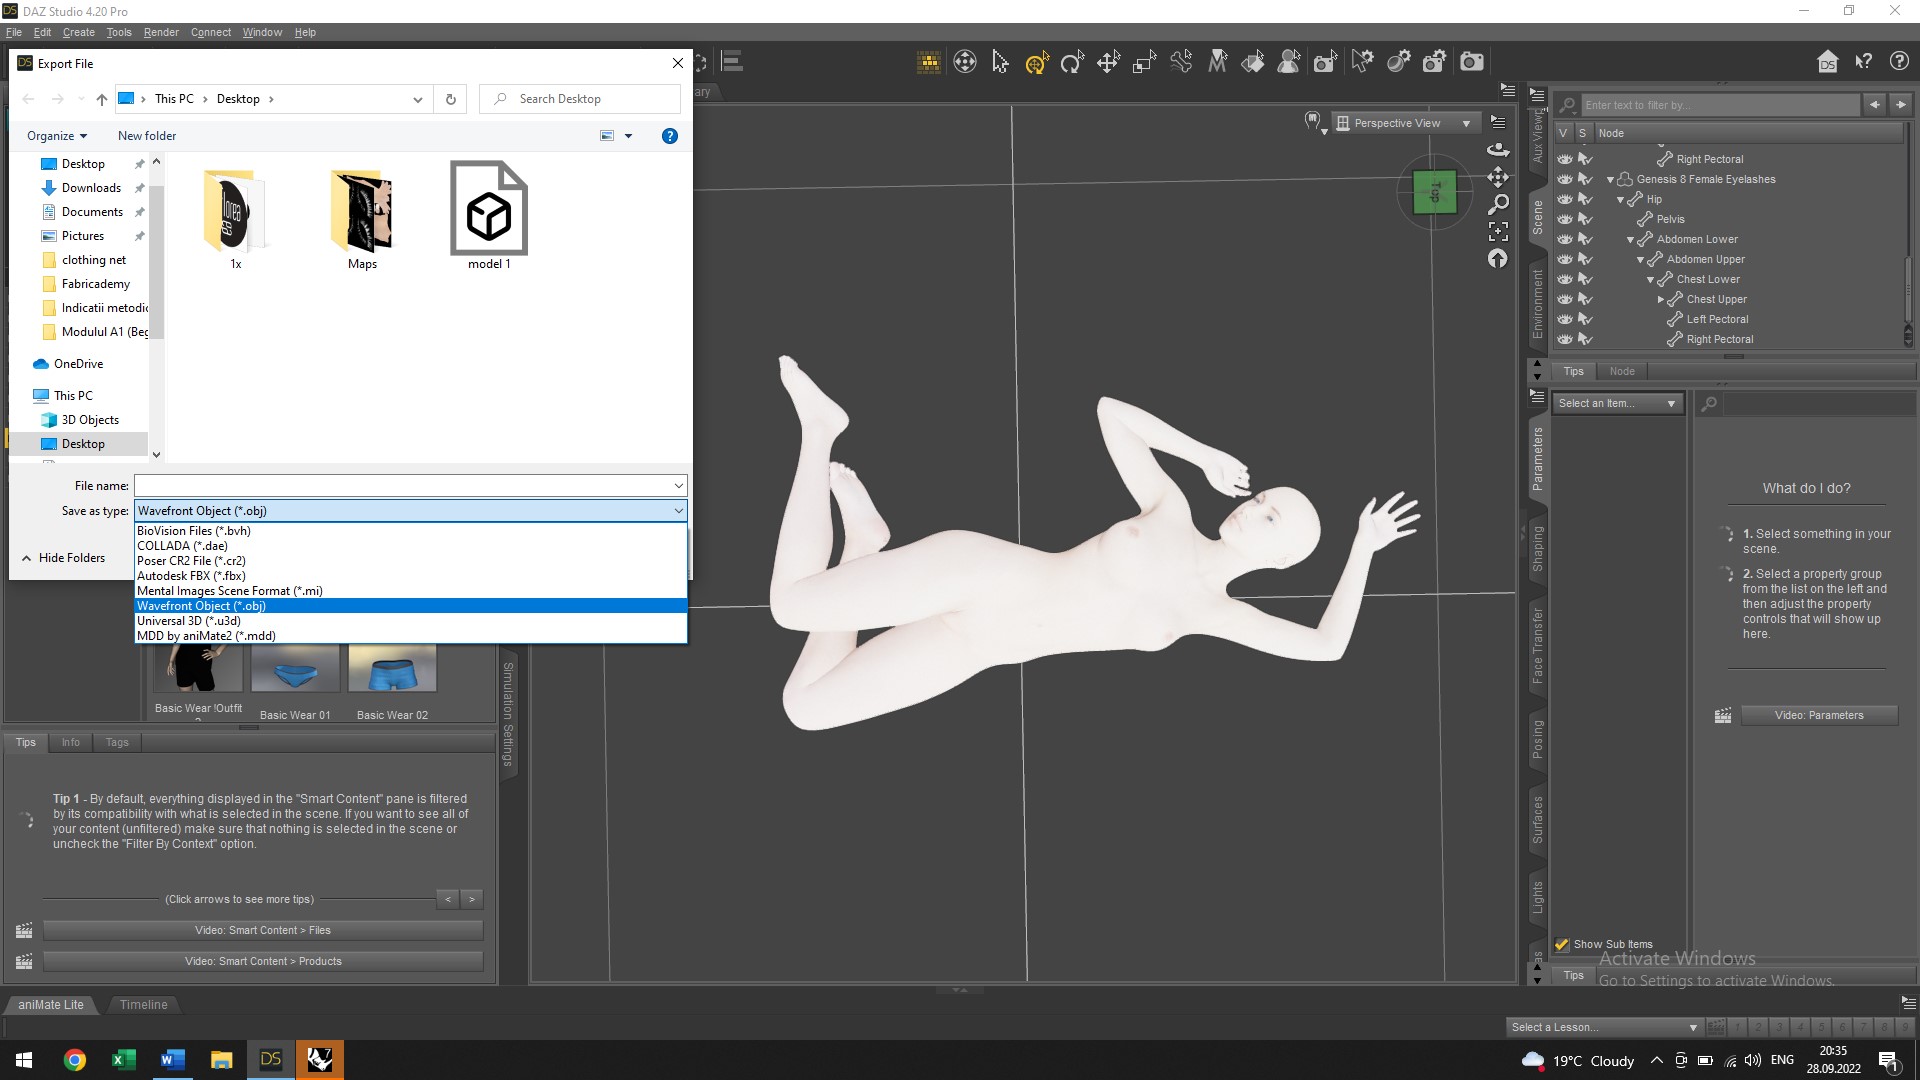
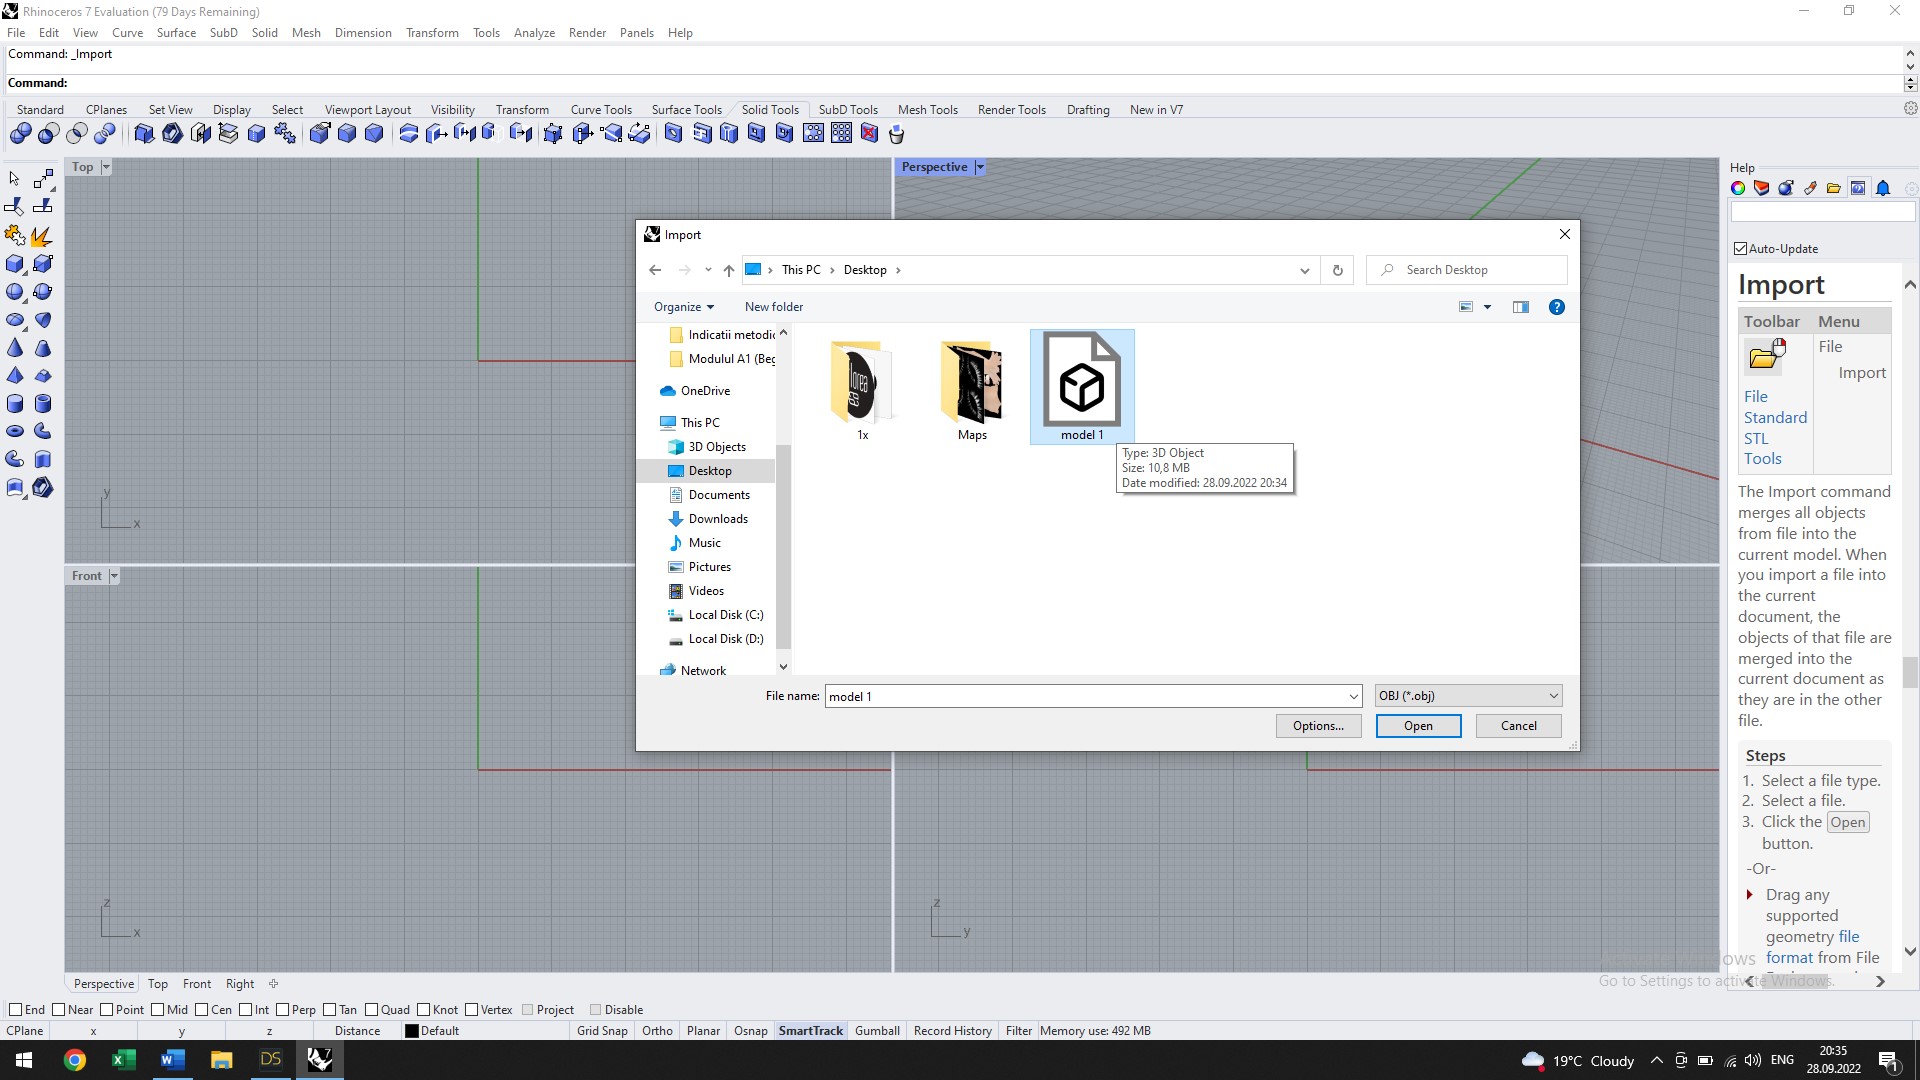
Another attempt was to use digital bodies created in the DAZ Studio software. This application allows you to get more special poses. The work sequence is the same. Create and modify the body in DAZ Studio. It is then exported in obj format. Import into Rhino and make the same changes as in method 1. Here I've created another body placement surface. Working in Slicer for Fusion 360 was easy and creative and the result can be seen below.
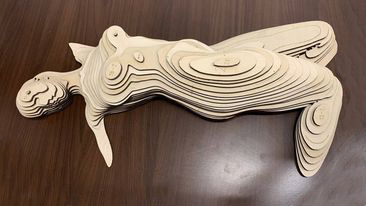
The 3D project
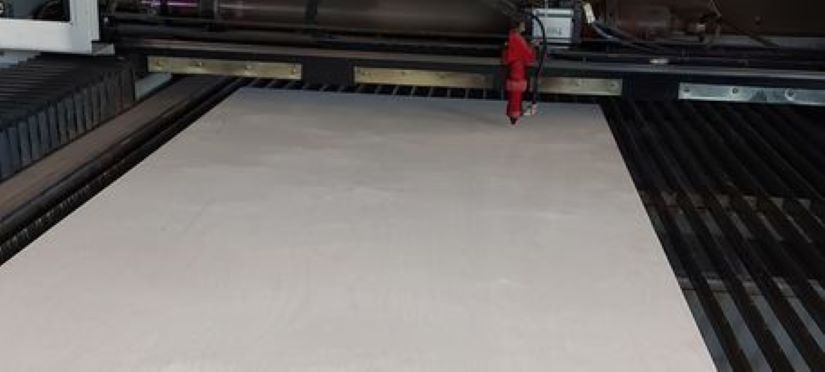
The most interesting part started at the Fablab. Here, the templates have been arranged in the required format. Polywood boards were selected as cutting material. Initially, the cutting area was set to 1525mmx1525mm. Then it was changed to 740mmx1525mm.
The machine settings: Speed: 100mm/s; MaxMod: 73%; Material Type: polywood, Thickness: 6mm
The document required for the laser cutter has been saved in .dxf format. The cutting process was very fascinating. The laser cut the pieces for about 4 hours!

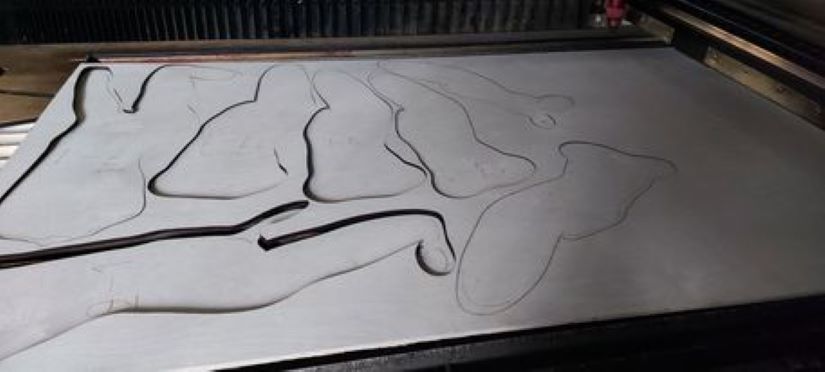
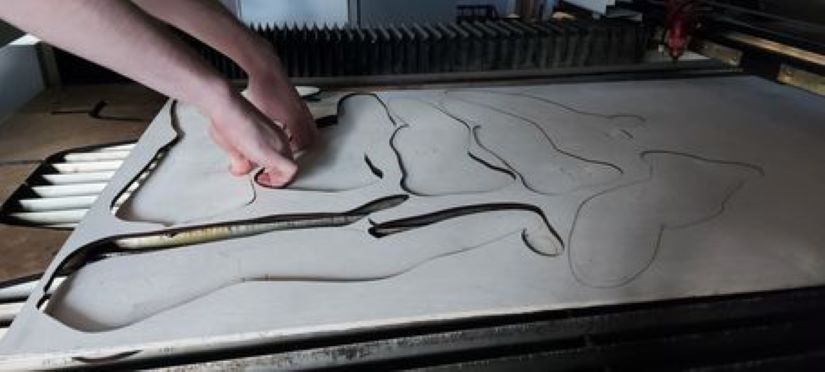
And here is the result :)

And here is the step-by-step assemblying process :)
weekly assignment!!!
Every day we know a lot more!!!
attention!!!
Important! To create a digital body we can use any 3D software: Make Human, CLO3D. DAZ Studio, etc
inspiration!!!
Fabrication files
-
File: Digital body in PDF ↩
-
File: Digital body in Slicer ↩
-
File: Digital body for CUT ↩
-
File: Digital body in PDF/RAR ↩